
Oak storage cabinet – day 7
Today the plan is to get the doors done.

Gang jointing the edges
I already cut the verticals for the door frame, a couple of days ago. They are a little burned on some of the edges, so I ganged them up and ran them through the planer to joint the edges.

Cutting the horizontal parts of the door frame
Next, I cut down the horizontal frame pieces and the pieces for the panels.
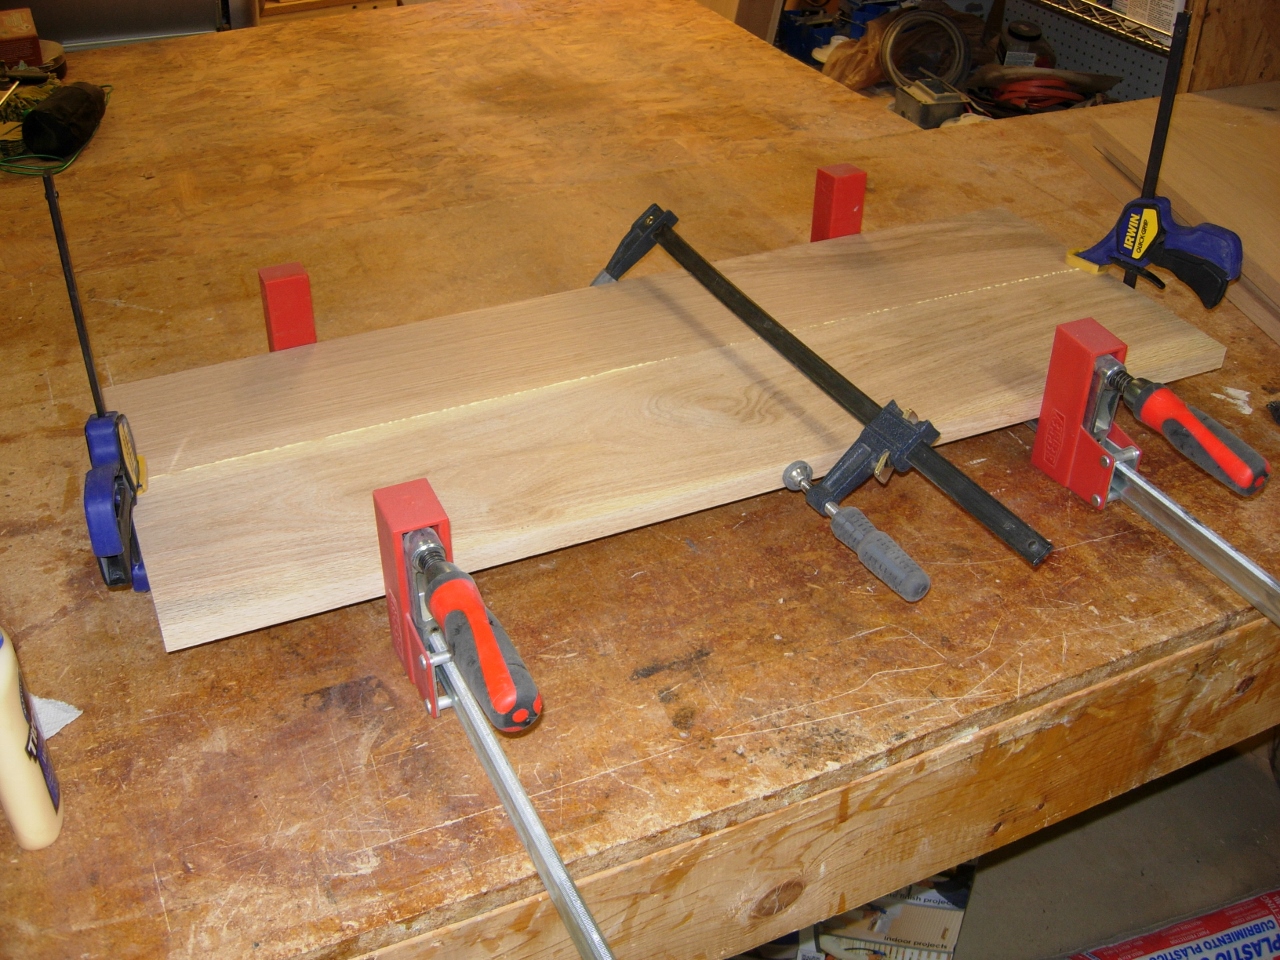
Glueing up door panels
I glued up and clamped four oversized panels.
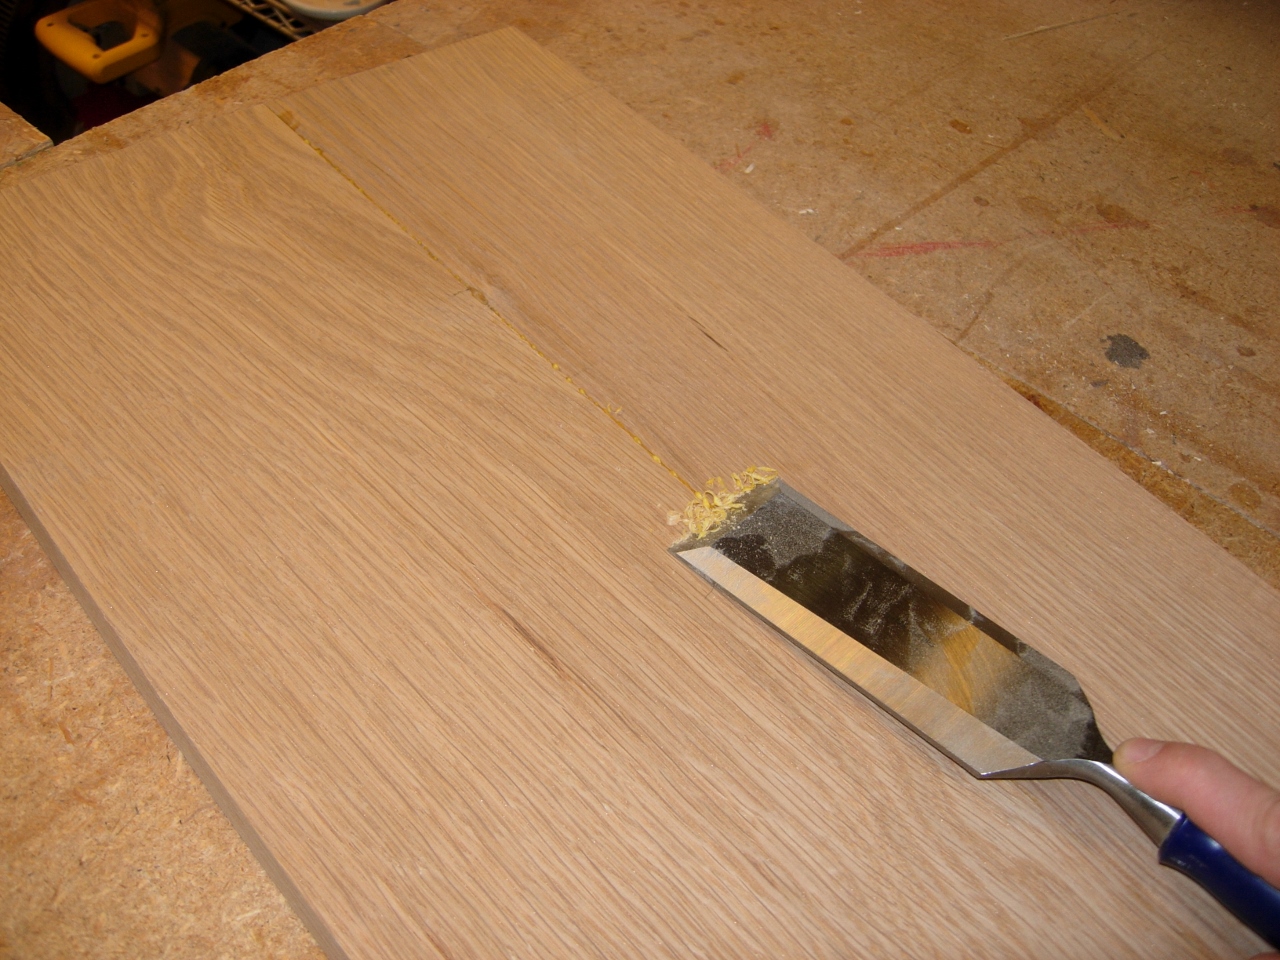
Scraping the glue squeeze-out
After an hour and a half, I pulled the clamps and scraped off all of the glue squeeze-out with my 2″ wide chisel.

Planing down the full width panel
Once scraped, I ran the boards through the thickness planer and took them down to 5/8″ thick.
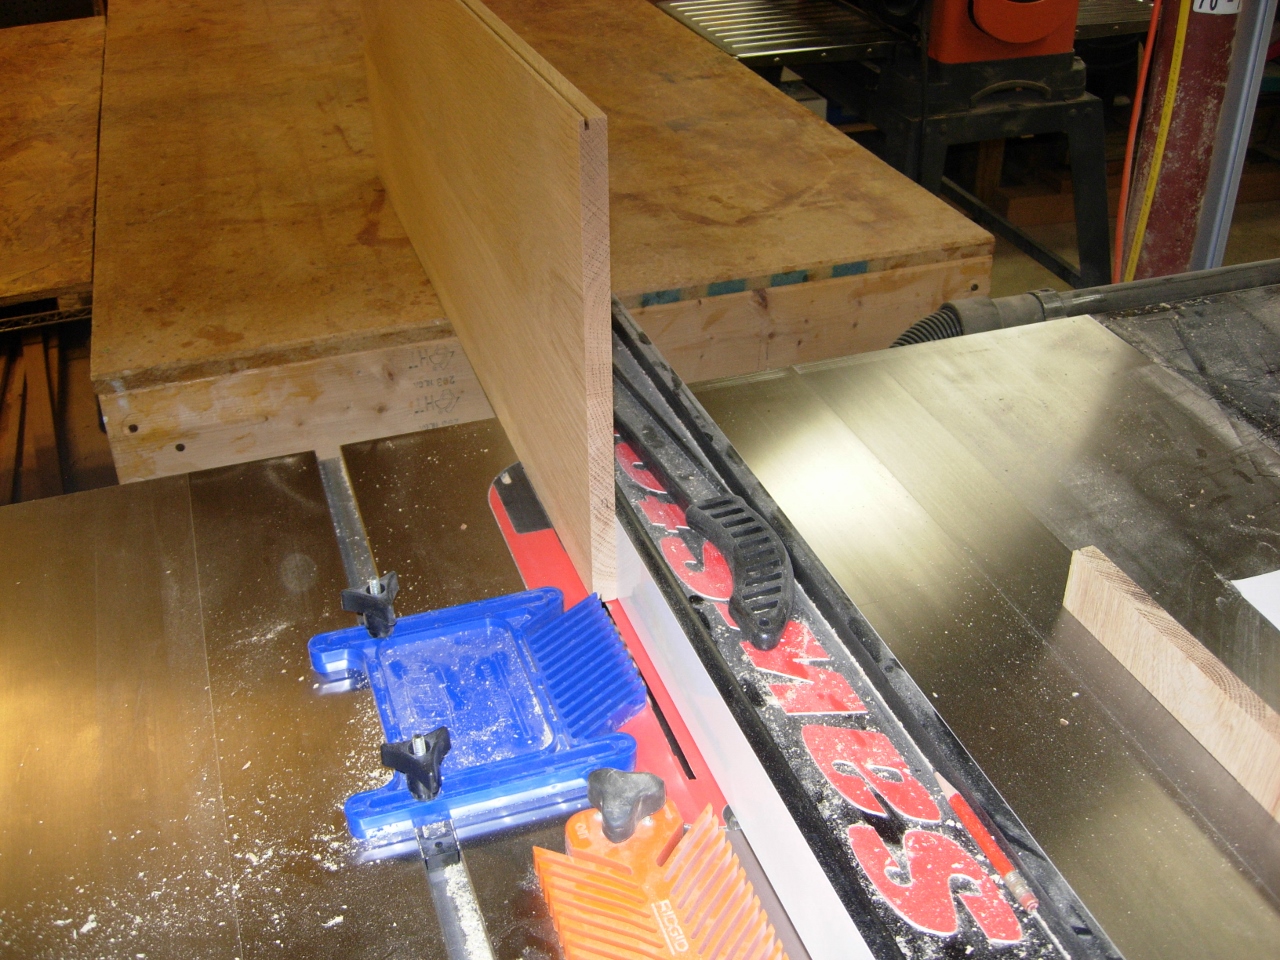
Notching the back of the panel
If I were doing a normal raised panel door, I would have left them 3/4″ thick, but I am trying to match some existing cabinets. This also means that none of my raised panel bits will be of use.
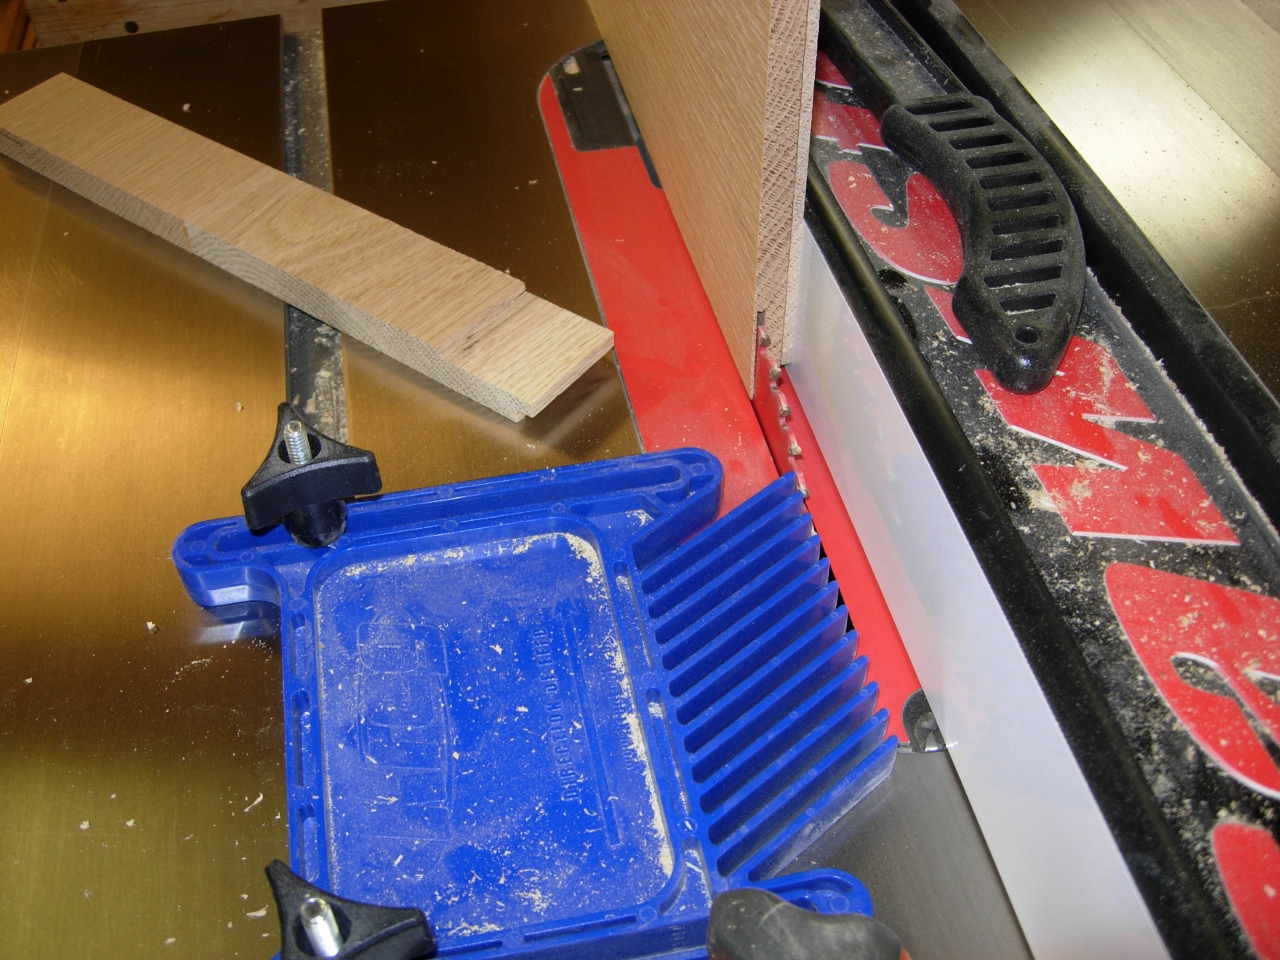
Notch cut
I will be doing all of the panel shaping on the table saw. The panel will look more like a basic mission style panel, but the cuts will all be at 90 degree angles. I cut a 1/4″ notch on the back of the panel, and a 1/4″ x 1-1/2″ notch on the front to create the raised portion.
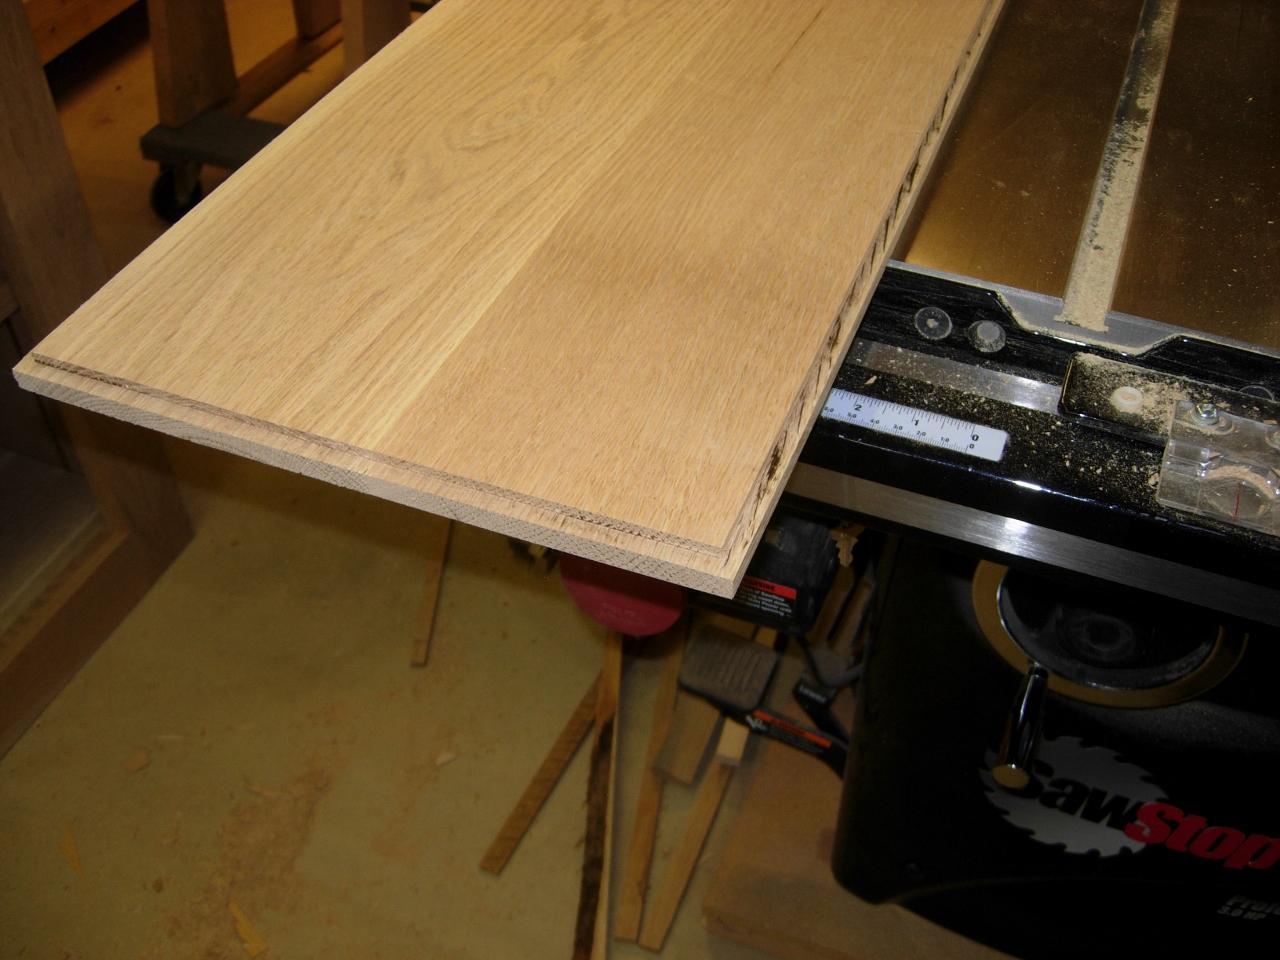
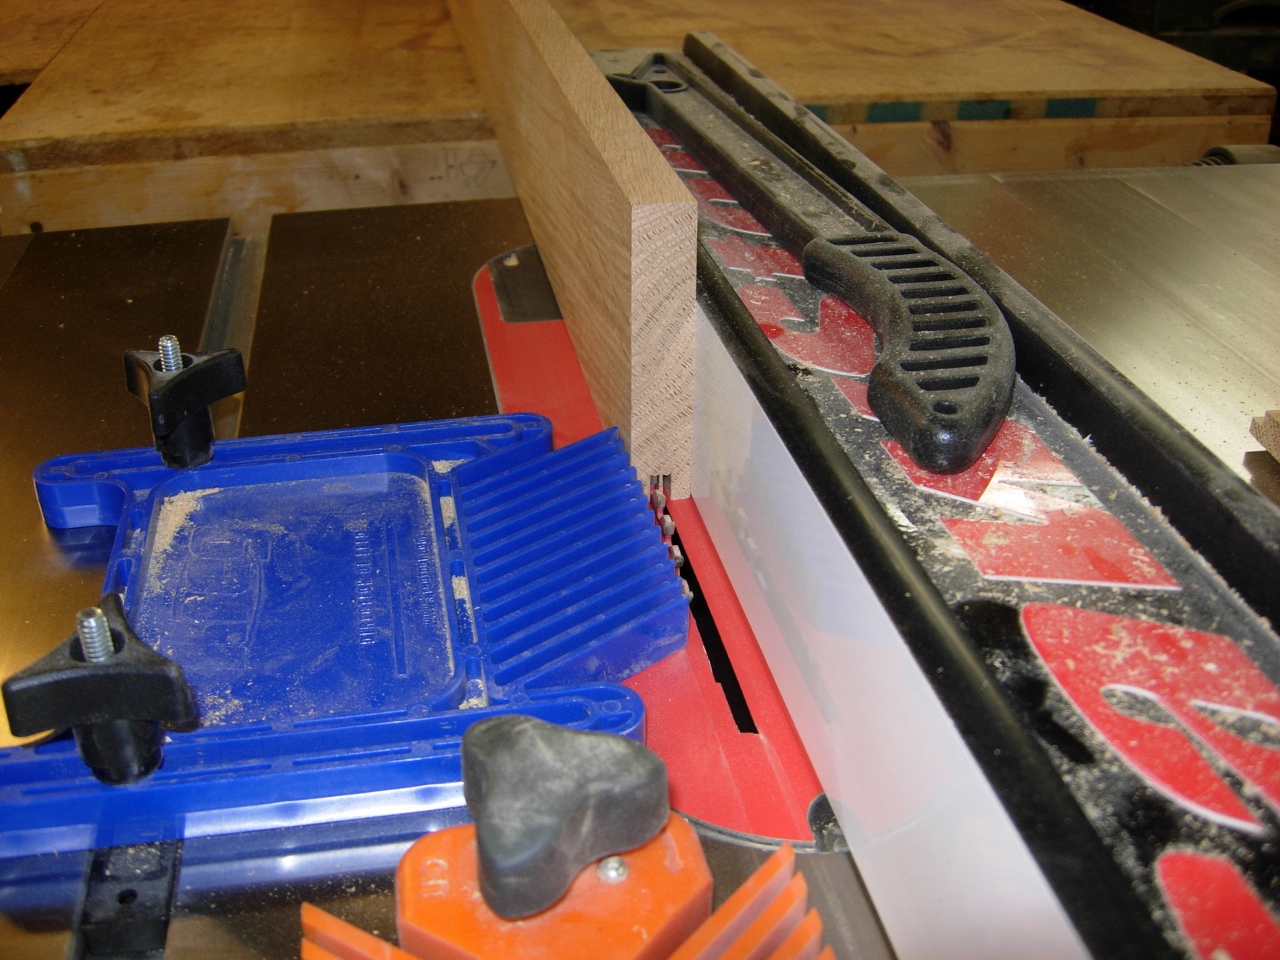
Cutting the raised part on the front
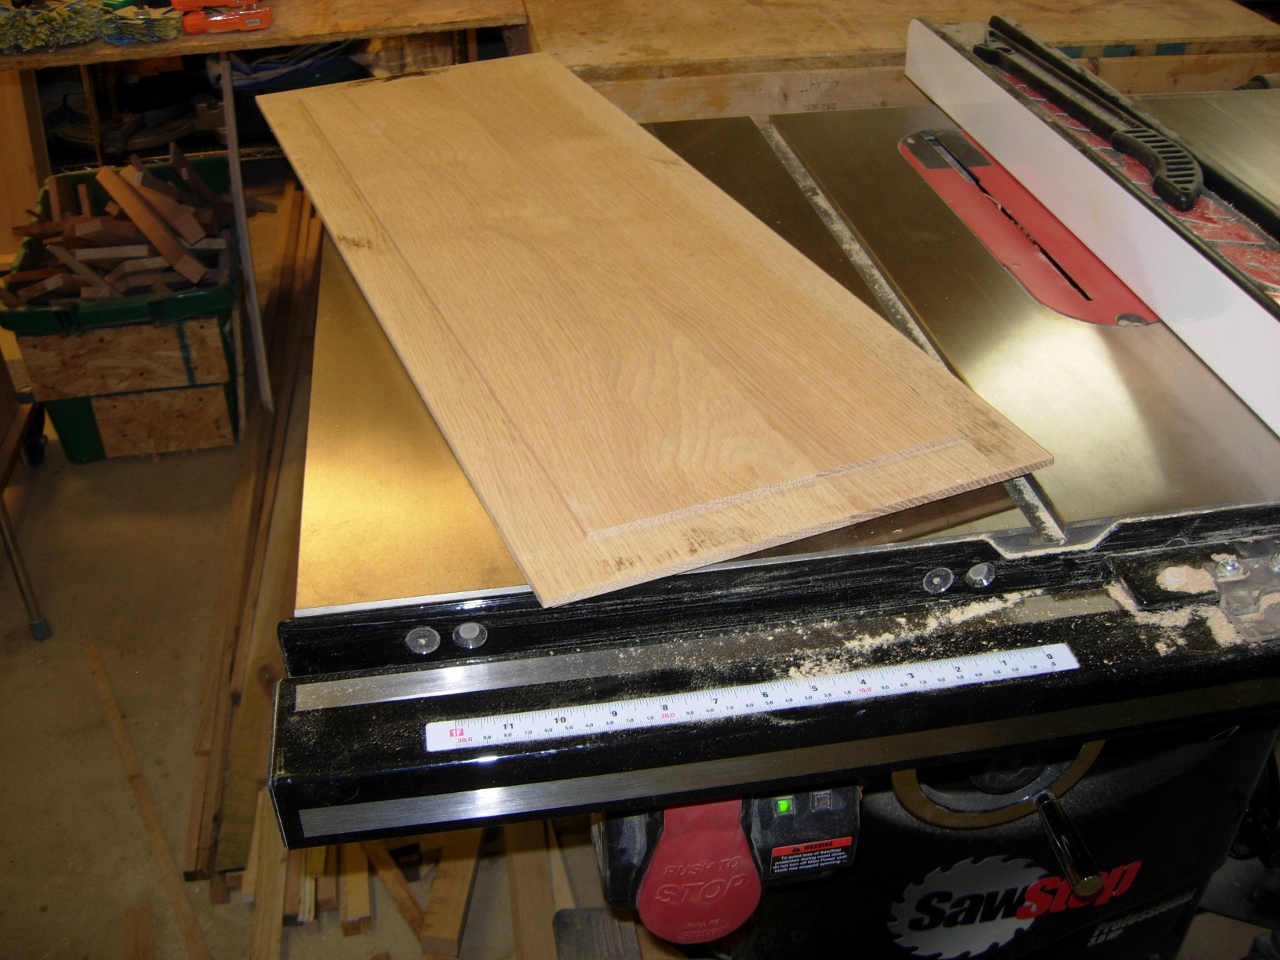
Panels cut
After the panel was cut out, I set it aside and started cutting a 1/4″ wide x 3/8″ deep groove in the frame pieces to receive the panels.
1/4″ groove in the vertical rails

1/4″ tounge on the horizontals
The horizontal pieces needed a matching tenon on the ends, so I cut them out as well.

Doors dry-fit
I did a quick dry-fit and everything went together surprisingly well…

Cleaning up the table saw cut
Since it all fit without adjustment, I moved to cleaning up the panels. I started with the bull-nose plane, just cleaning up the table saw cuts in the corners, then I sanded down the saw marks.
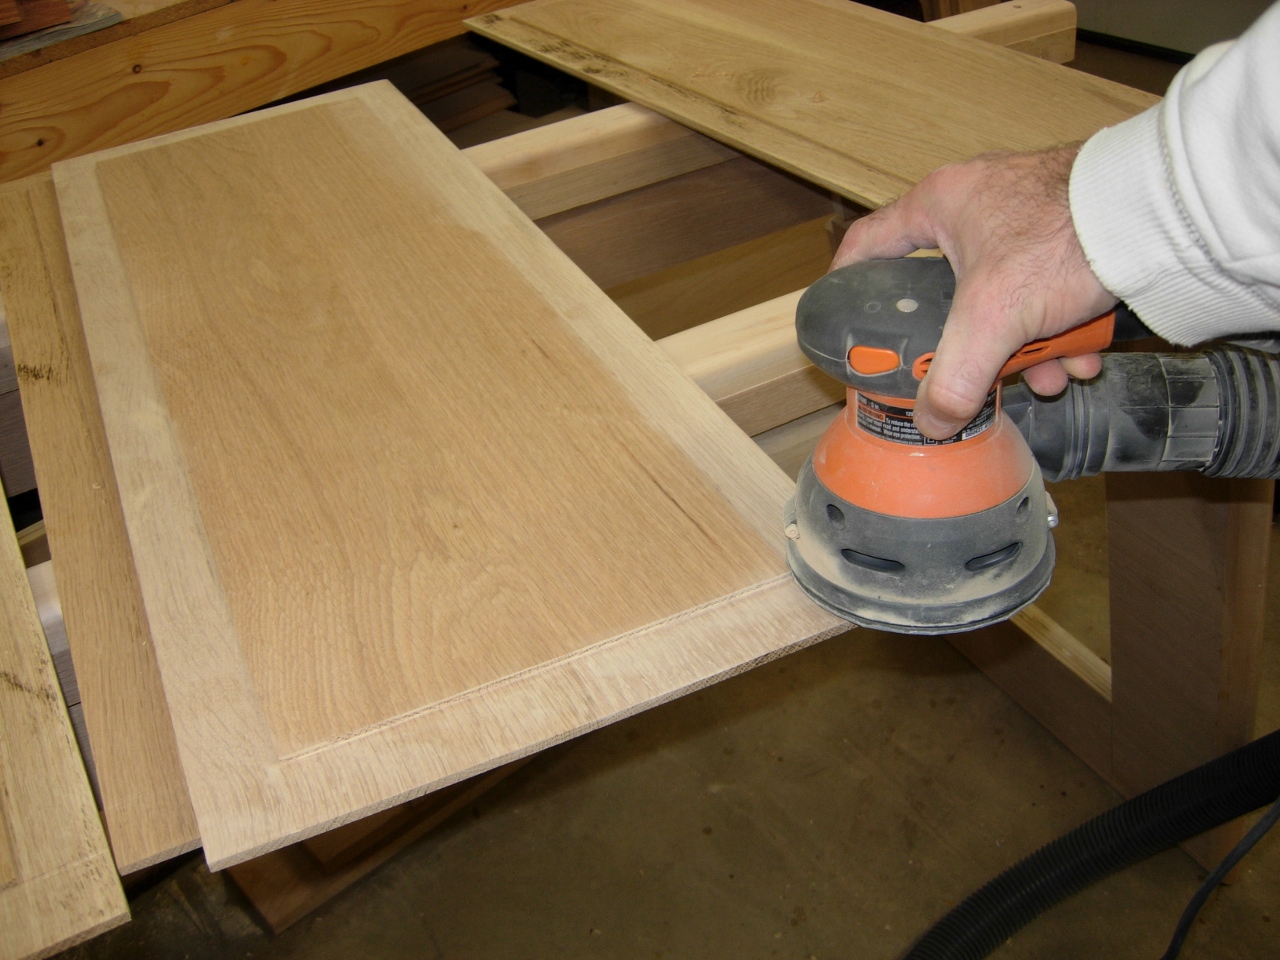
Sanding the panel down

Applying spacer foam
Now that I am ready to assemble, I cut some 1/4″ wide x 1/8″ deep spacer foam to stick in the grooves. This will allow the panels to expand without cracking the door frame. Next, I applied glue to the tenons, and clamped it all up.
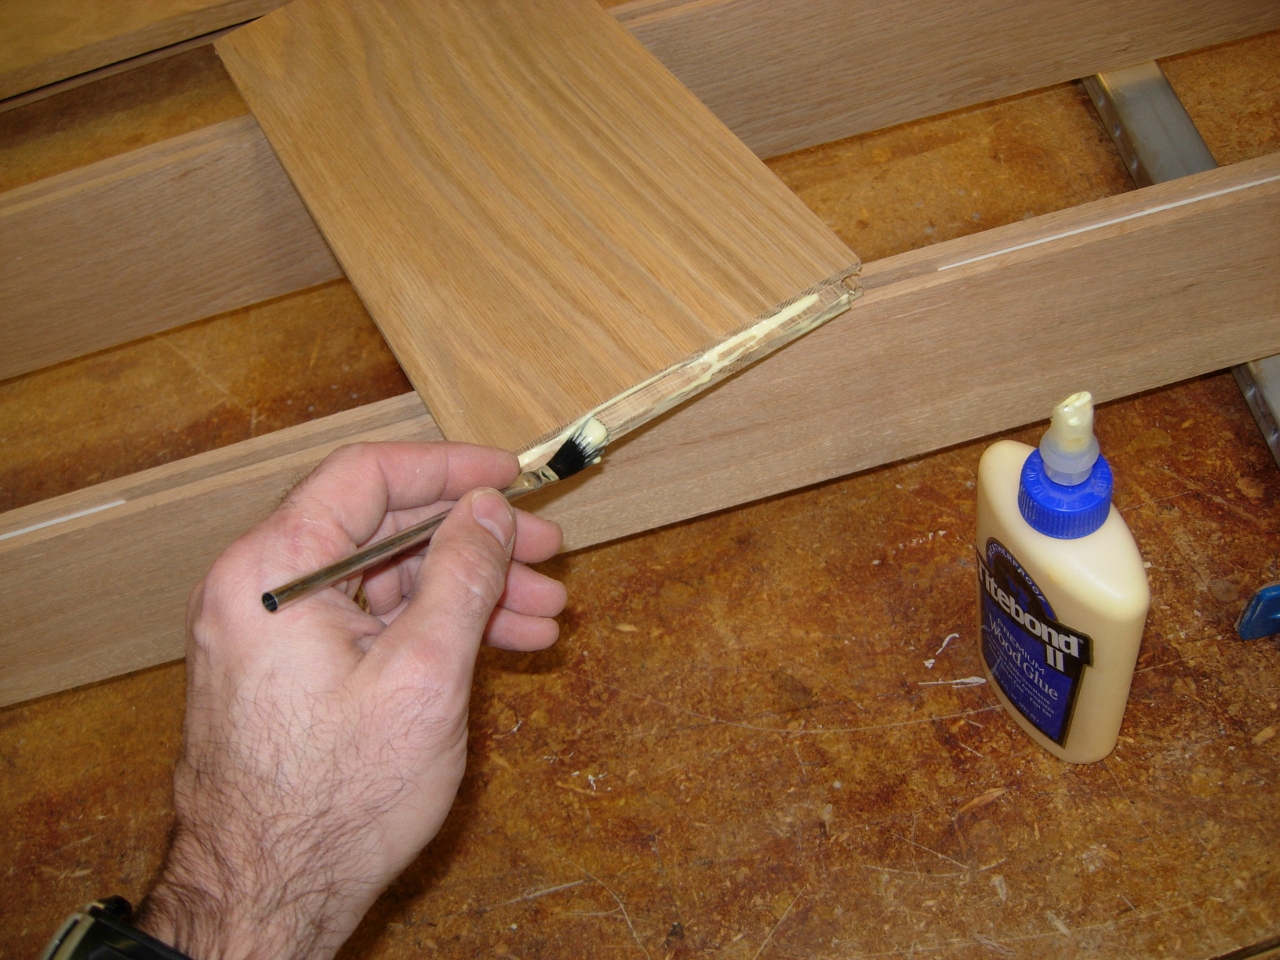
Applying glue
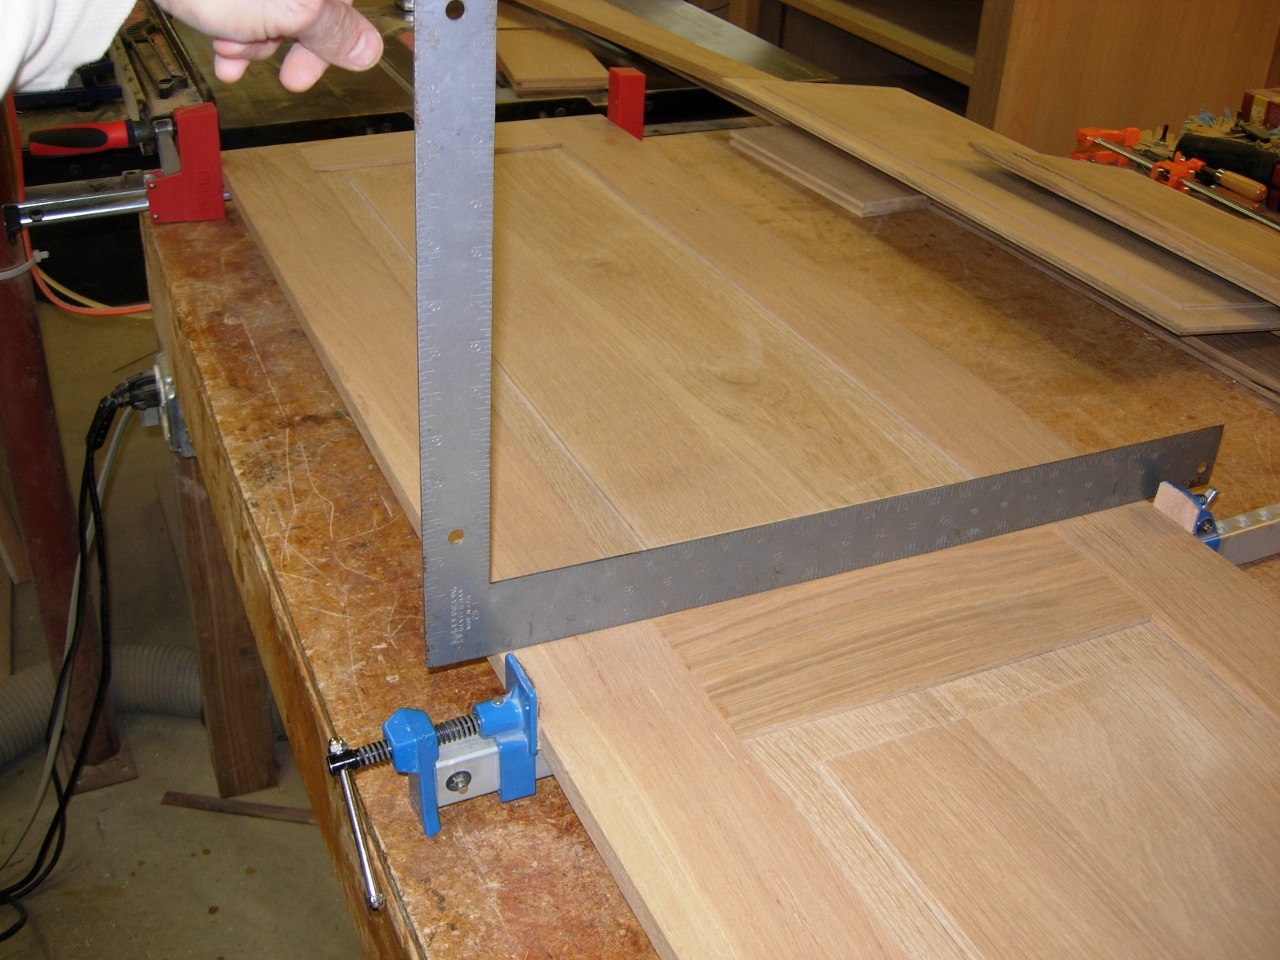
Checking for flatness
I remembered to lay a straight edge along the door to check for flatness. only one spot wanted to raise up, and I cured that with a clamp.

Doors all glued up
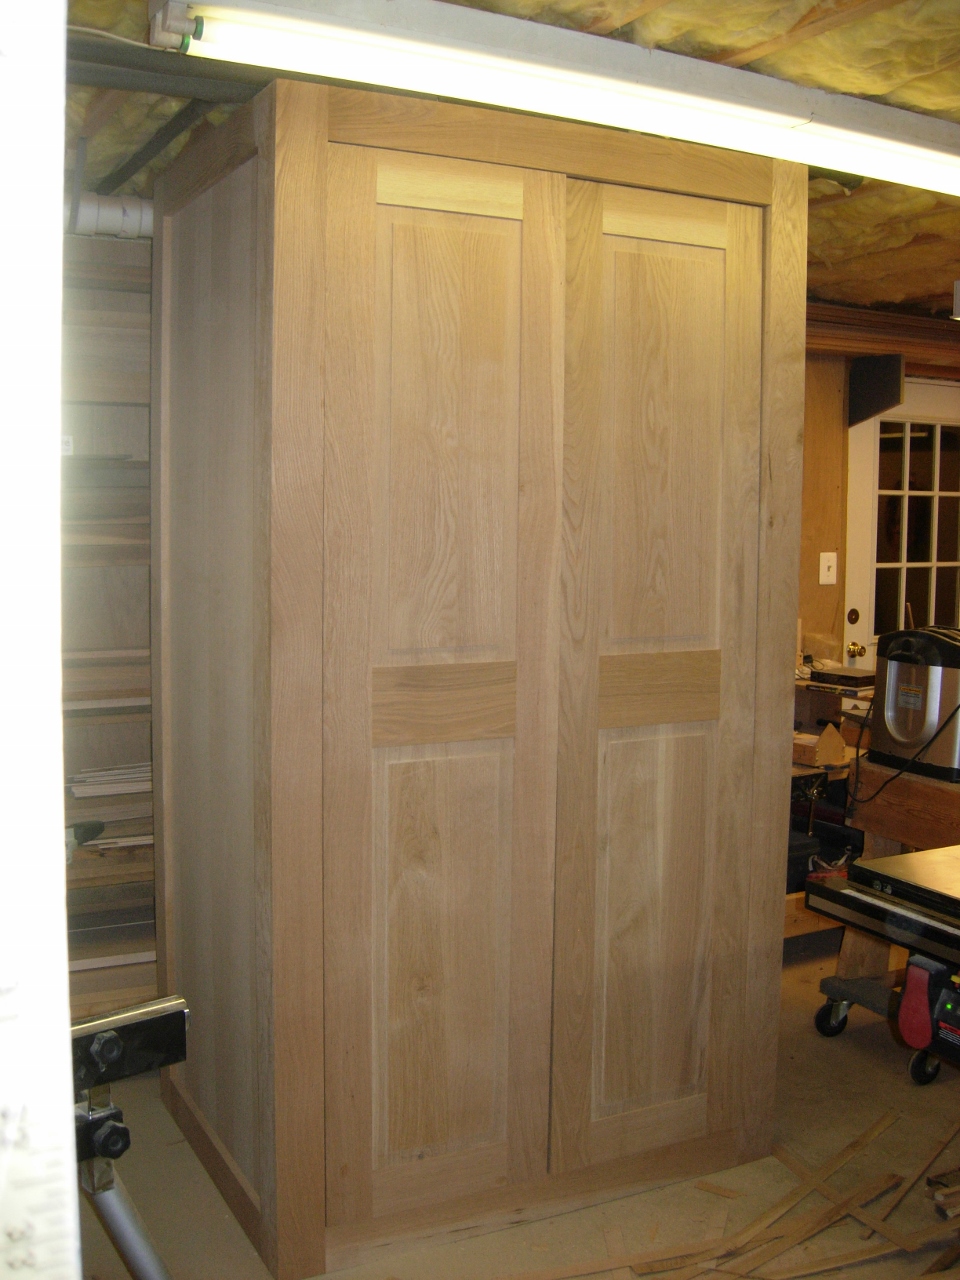
Doors leaned into place
After the doors were dry, I pulled the clamps and leaned them in place. I think that is enough for one day, I will worry about hanging them another day.

Dang! You were not kidding when you said that was a tall cabinet!