
Oak storage cabinet – day 6
I decided to get the shelves finished up today. They are all cut out, but without a center support for the front, I decided to do a heavy-duty piece of edge banding to prevent sag.

Cutting groove for edge banding on the shelves
First I cut the groove into the front edge of the plywood shelves. Then I did a test piece with the edge banding bit.
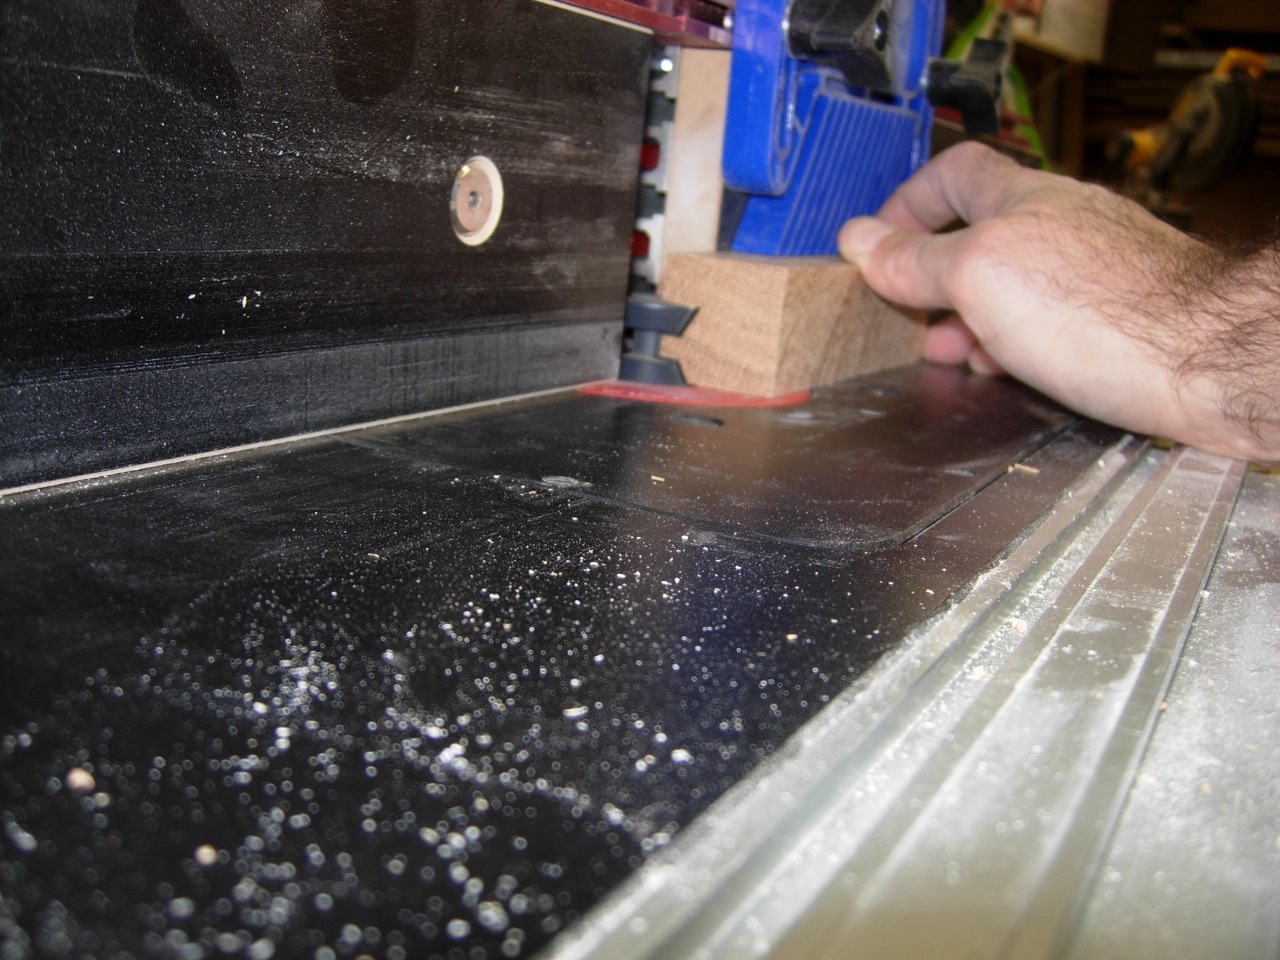
Cutting the edge banding
Typically you make the edge banding the same thickness as your shelf. The goal is to make the shelf appear to be made from solid wood. In this case, I am more worried about structural support, so I am attempting to cut a piece of 6/4 scrap with the bit.

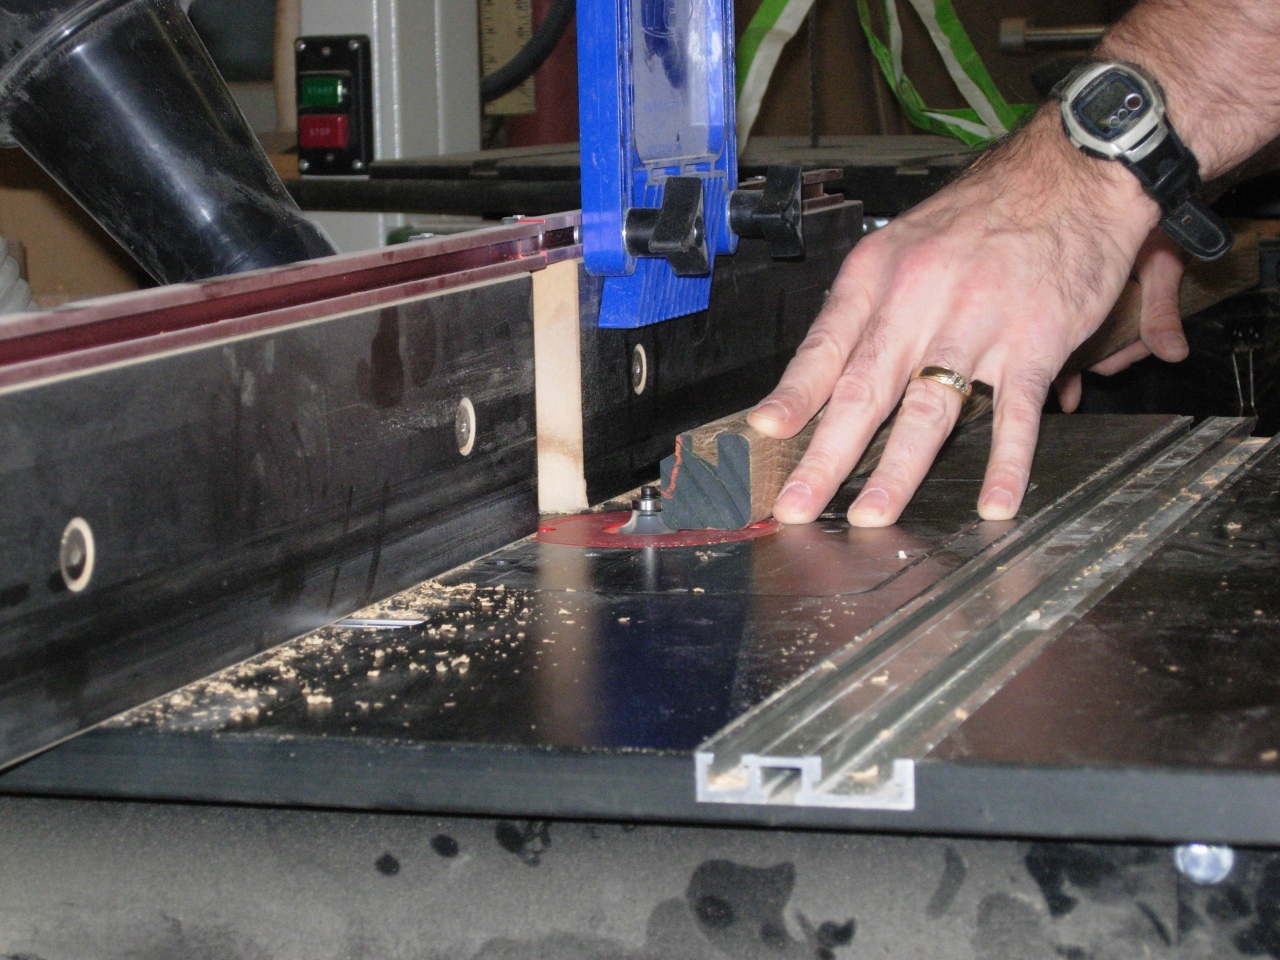
Test fit
There is a slight gap above the bottom lip, but I can glue in a thin strip to fill the gap. Since the test piece fit fairly well, I rip five 45″ long pieces down to 1-1/2″ square.

Ripping 6/4 boards for the shelf edge banding
I ran them through the edge banding bit on the router table, then set up the 1/4″ round-over bit and took off all of the sharp edges.
Rounding over all the edges
Since these shelves will have to be angled into place, I opted for a small 45 degree angle at each side, to avoid binding when angling in the shelves.

Chopping 45 degree angles on each end
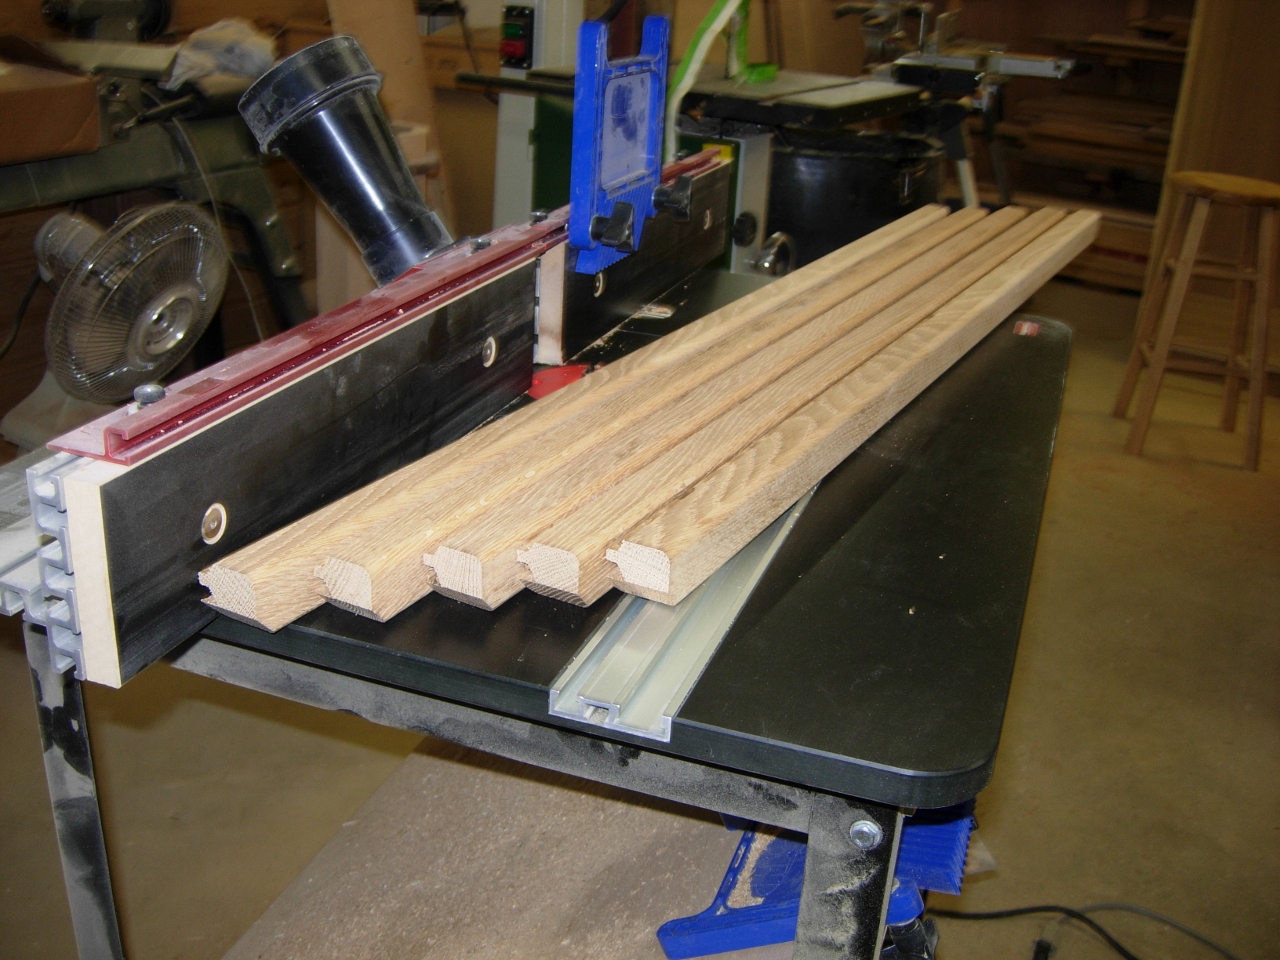
Edge bands cut
With all of the bands cut, I ran the sander over everything to remove any burn marks.
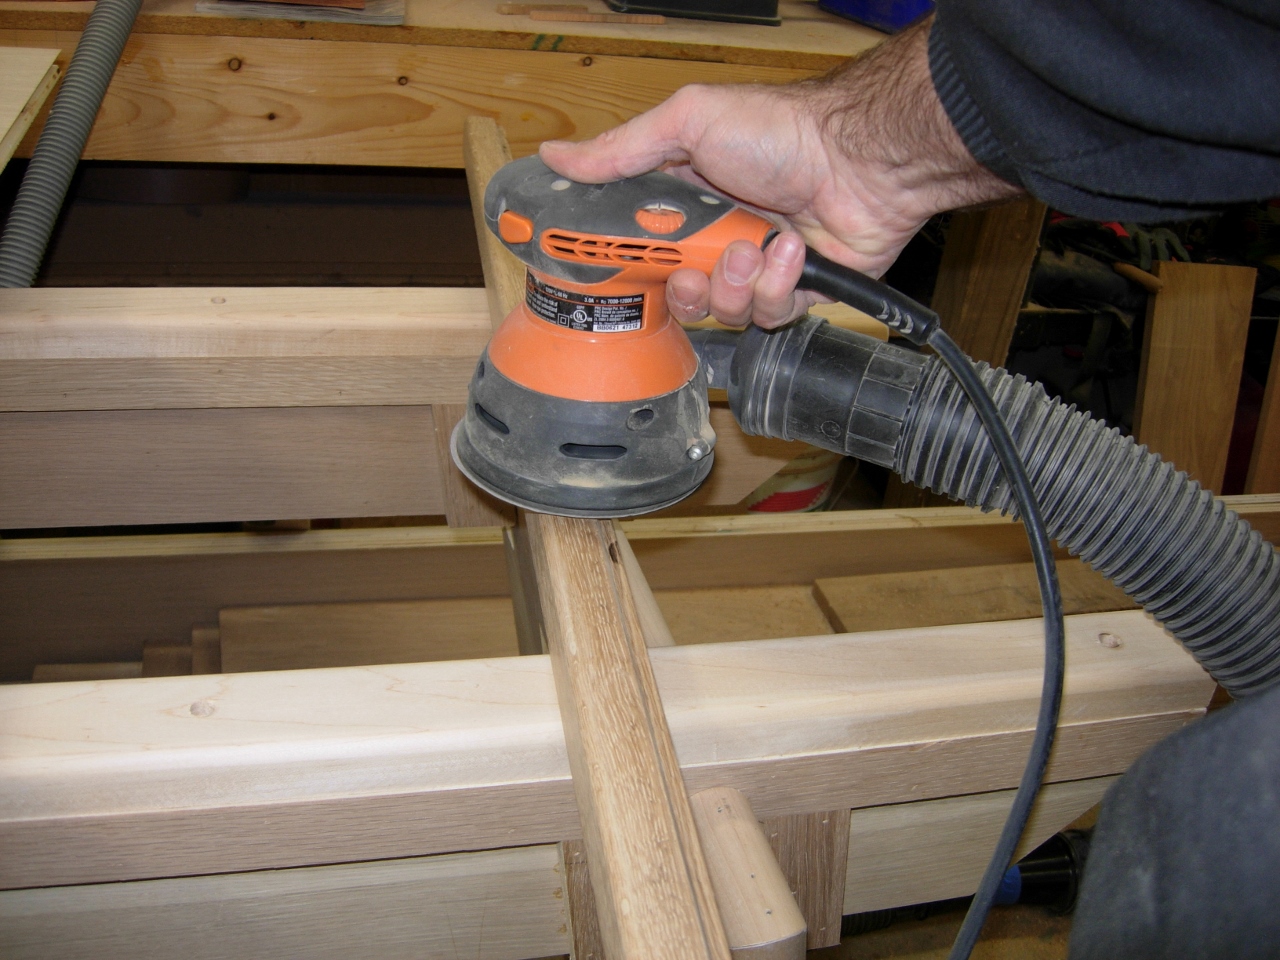
Sanding them down before installation
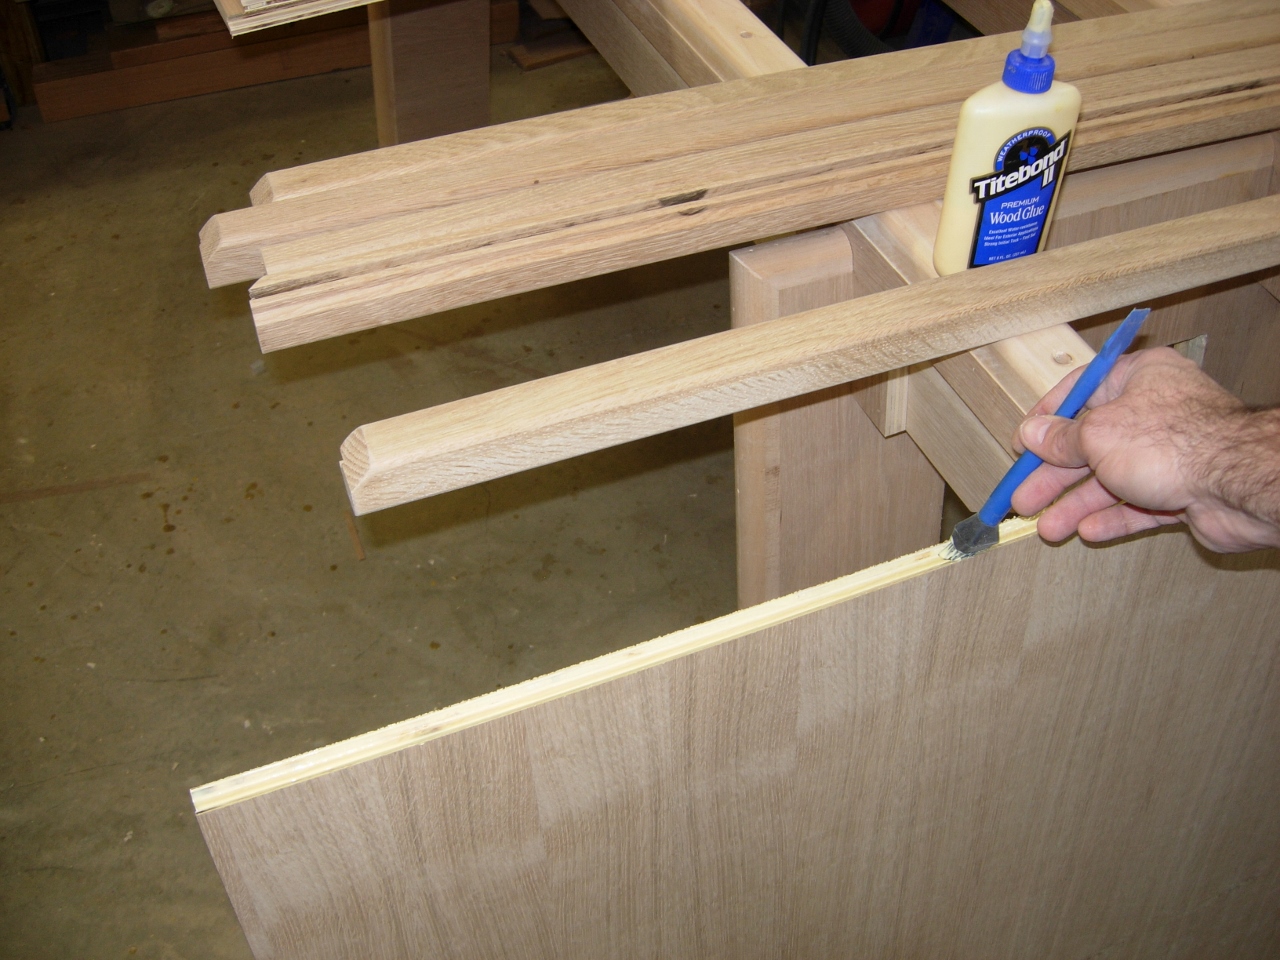
Applying glue to the groove
I applied glue to the groove, then pressed the band firmly in place. I decided to attach it with four 2″ brads, instead of clamping. I don’t have enough big clamps to do them all at once, and I want to finish them today…
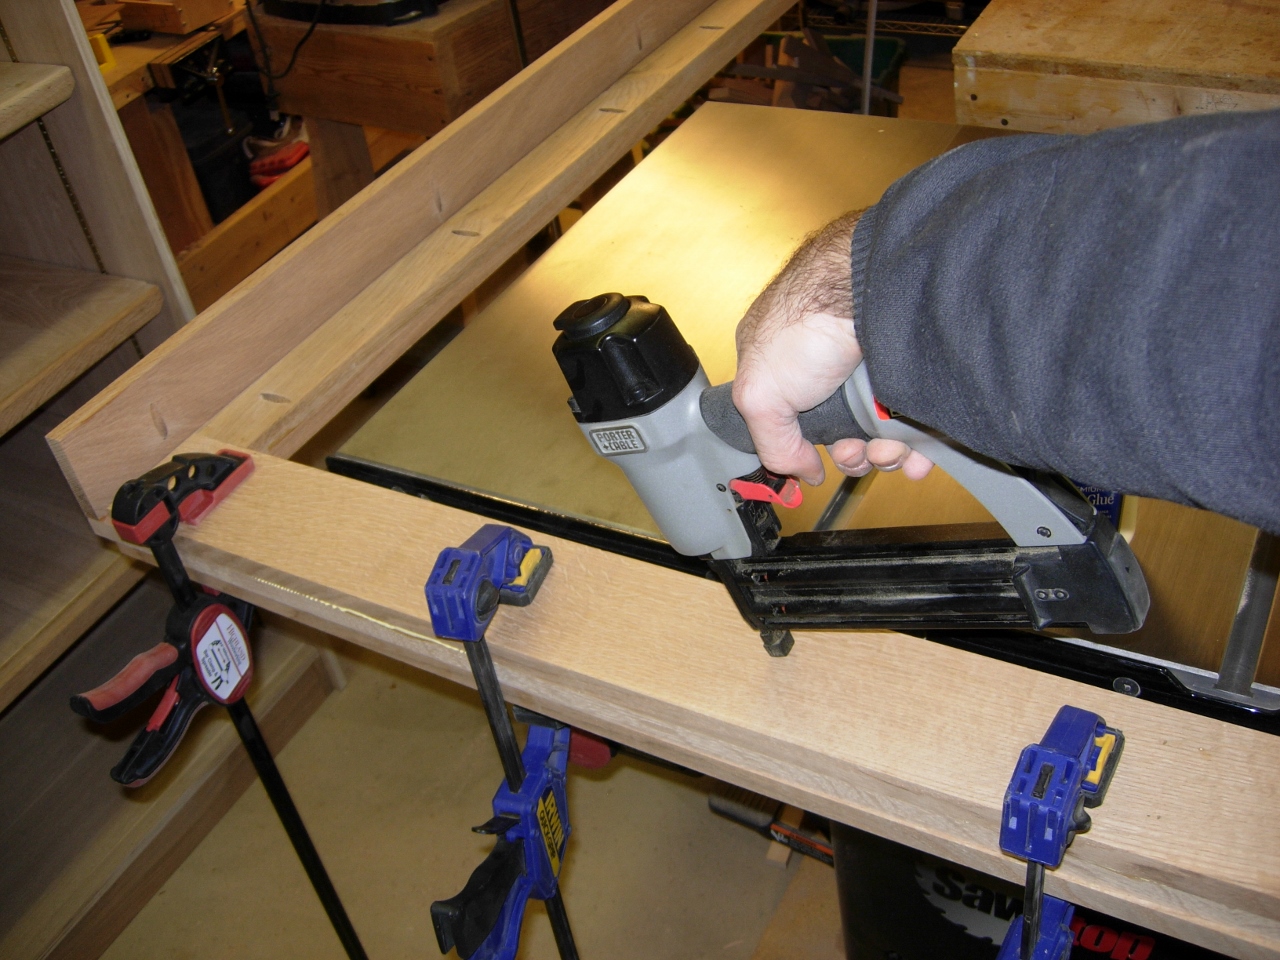
Attaching the banding with 2″ brads

Load test #1
After installing the first shelf, I performed a detailed structural analysis, to determine that each shelf could hold a live load of nearly 200 pounds. Then after installing a few more shelves, Adam wanted to see how many children, each shelf would hold comfortably. We determined that each shelf would hold one small child comfortably, but could probably hold one and a half with some discomfort. I believe the shelves will only be used to hold church supplies though, but it is good to have the shelves thoroughly tested to be sure.

Load test #2
With the shelves set and drying, I need to get the front trim assembled.
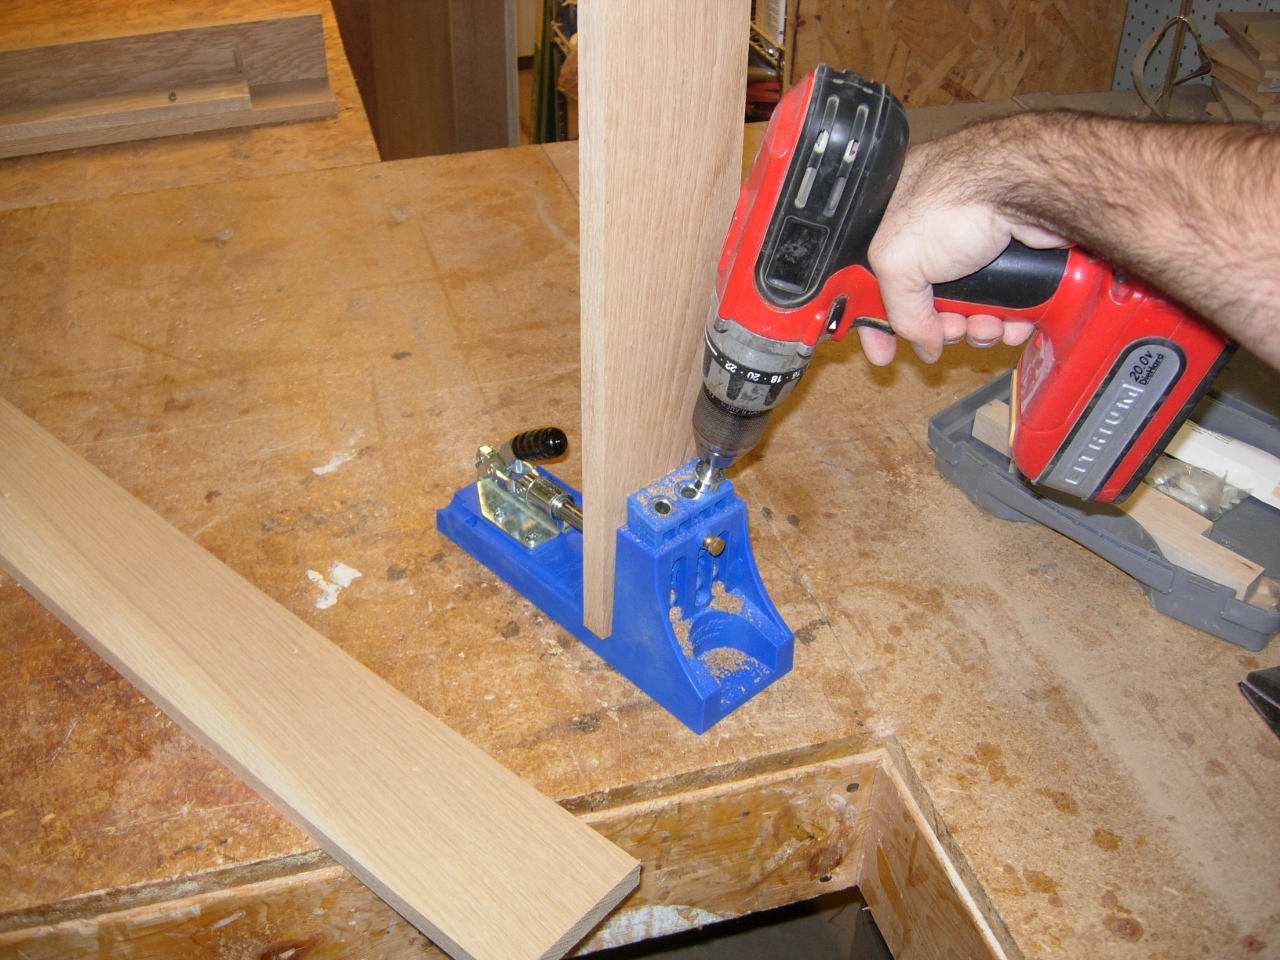
Drilling pocket holes on the front trim pieces
I cut two 40 ” x 4″x3/4″ pieces for the top and bottom face, then two 45″ pieces for the inside backer boards.
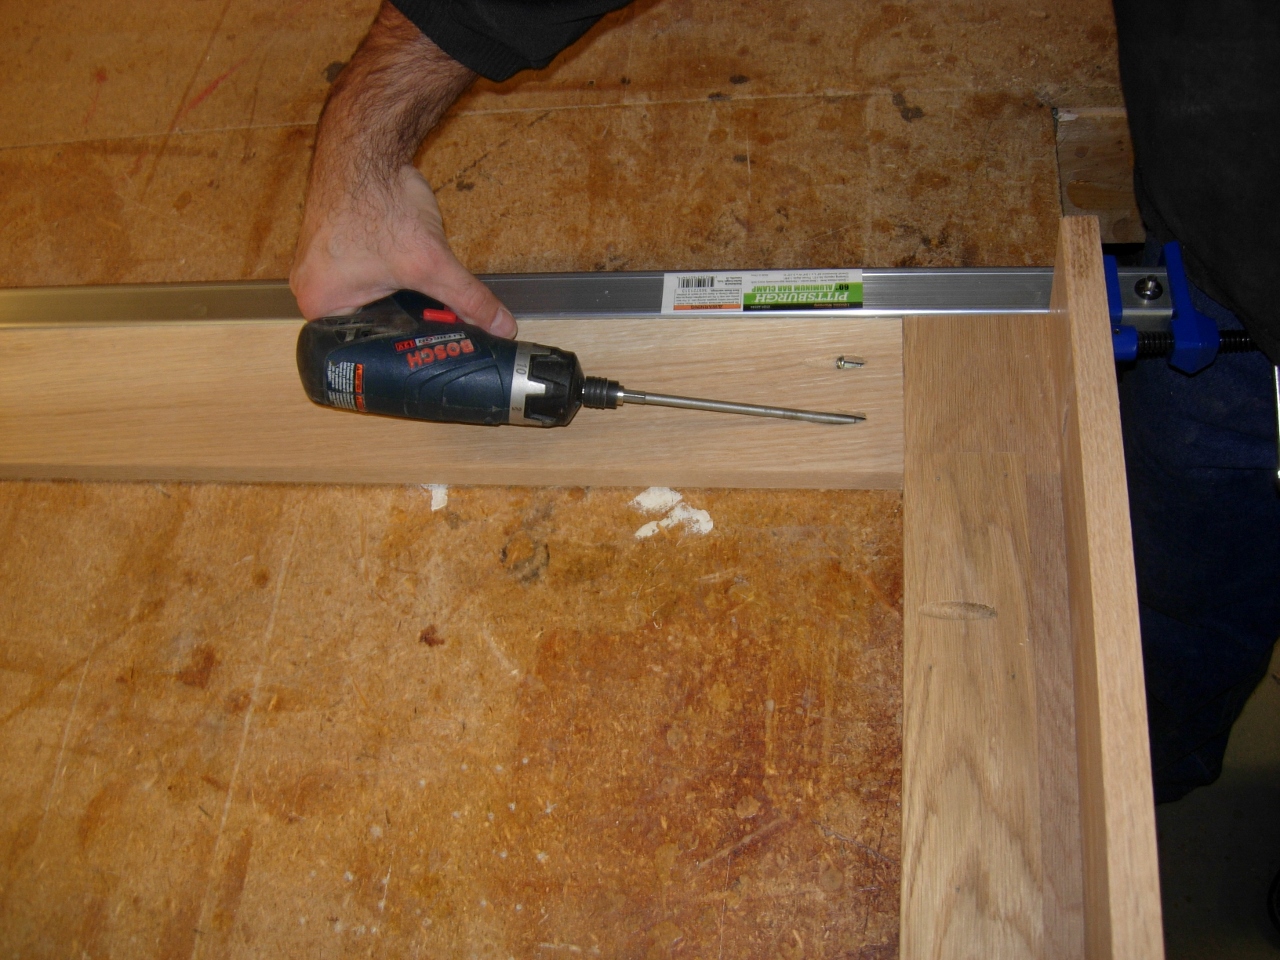
Attaching upper and lower face trim
I installed the front pieces with pocket hole screws. This tends to hold everything square without clamping. That makes it easier to install the backer.

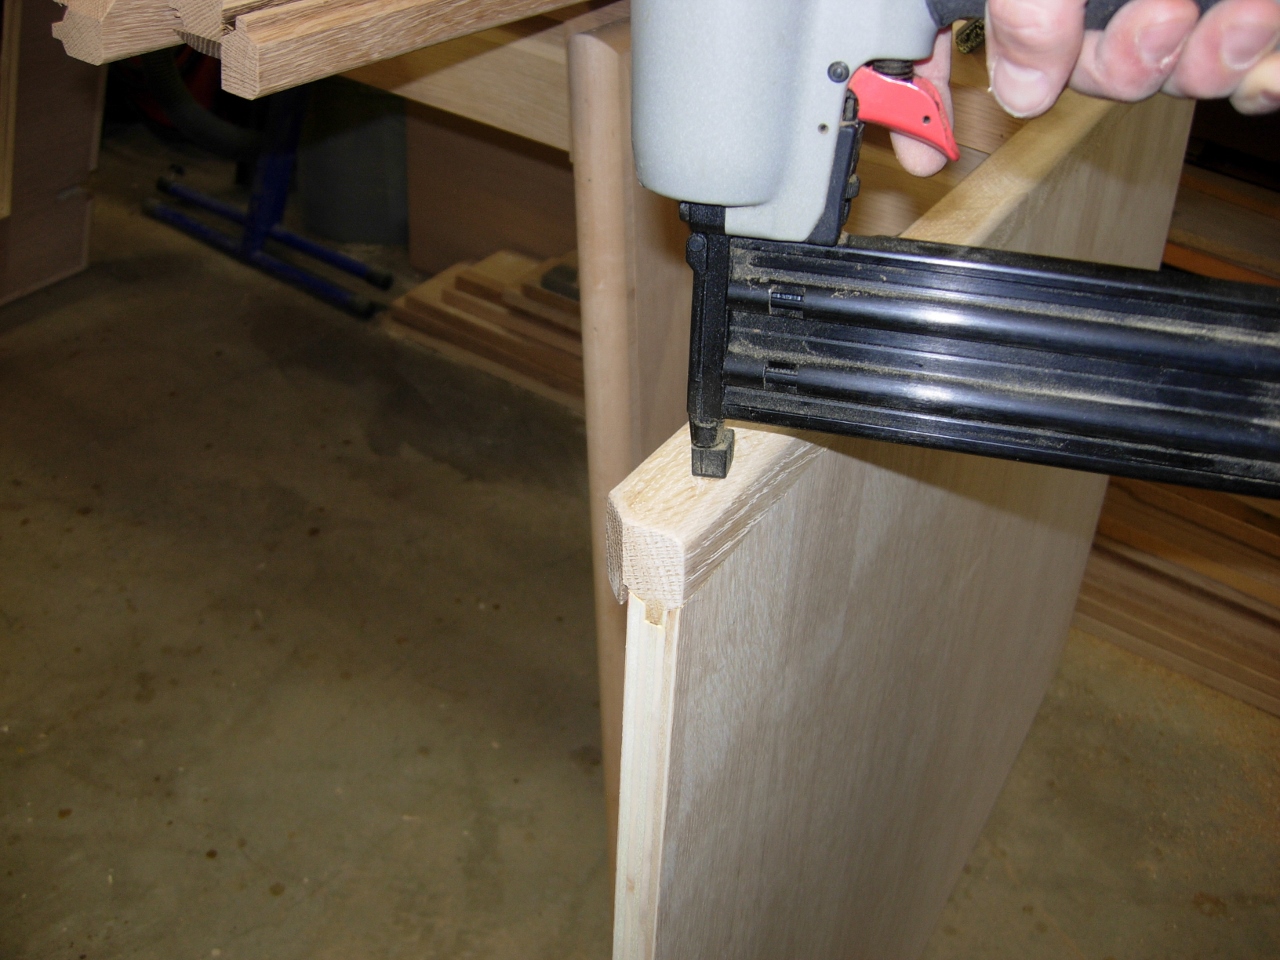
Applying glue for backer pieces
The backer board extends past the top and bottom face pieces that I just installed. When glued to the verticals as well as the horizontals, it locks it all together, to help prevent racking. I glued the backer liberally, then clamped and nailed it in place.
Attaching backer pieces
With some careful maneuvering, I managed to squeeze it into place without taking out any of my lights. Even though I can’t install the top quite yet, the face trim slid on nicely, leaving me only the doors to build.
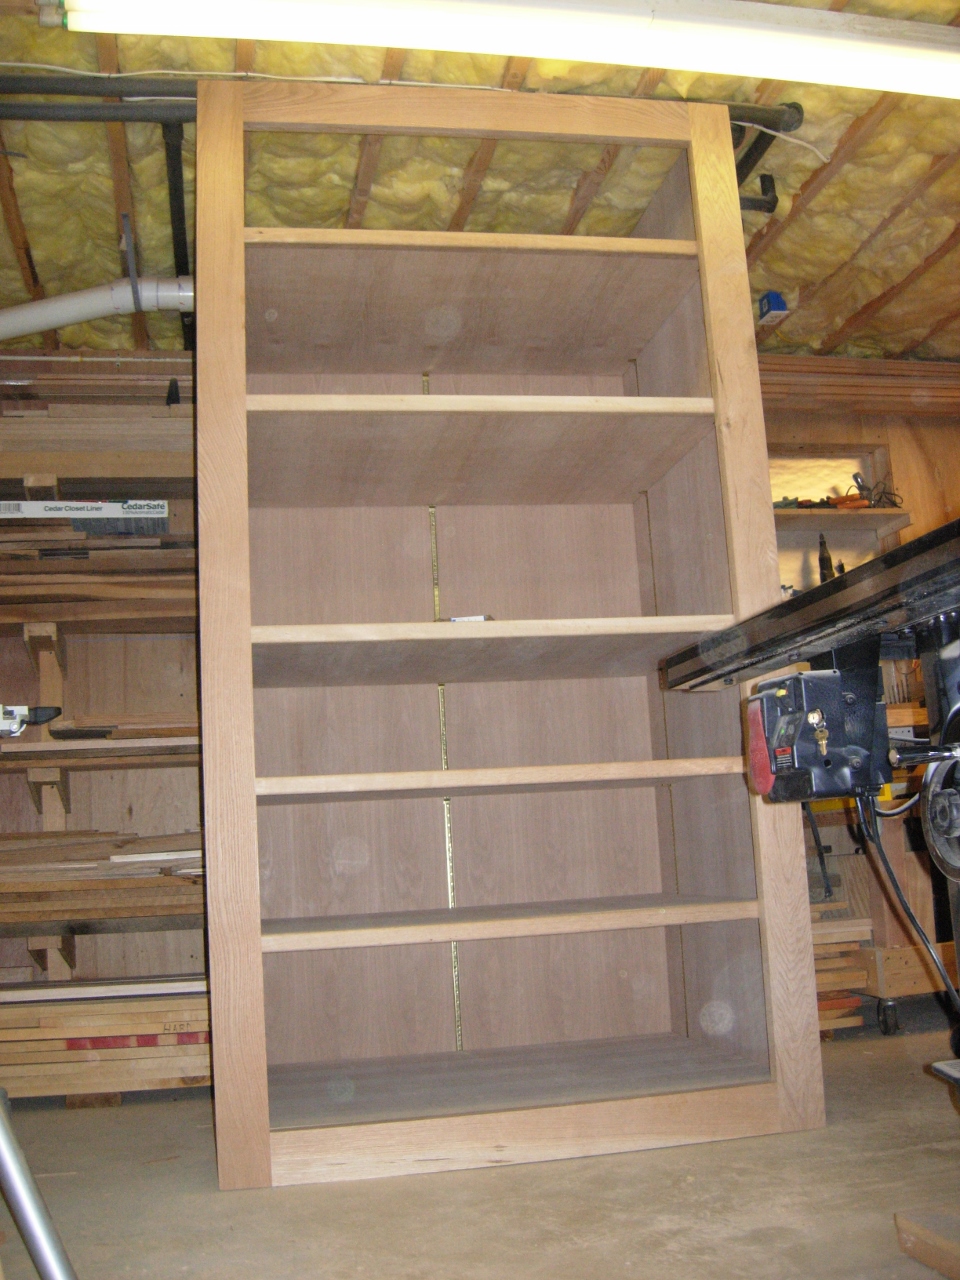
Everything done but the doors
