
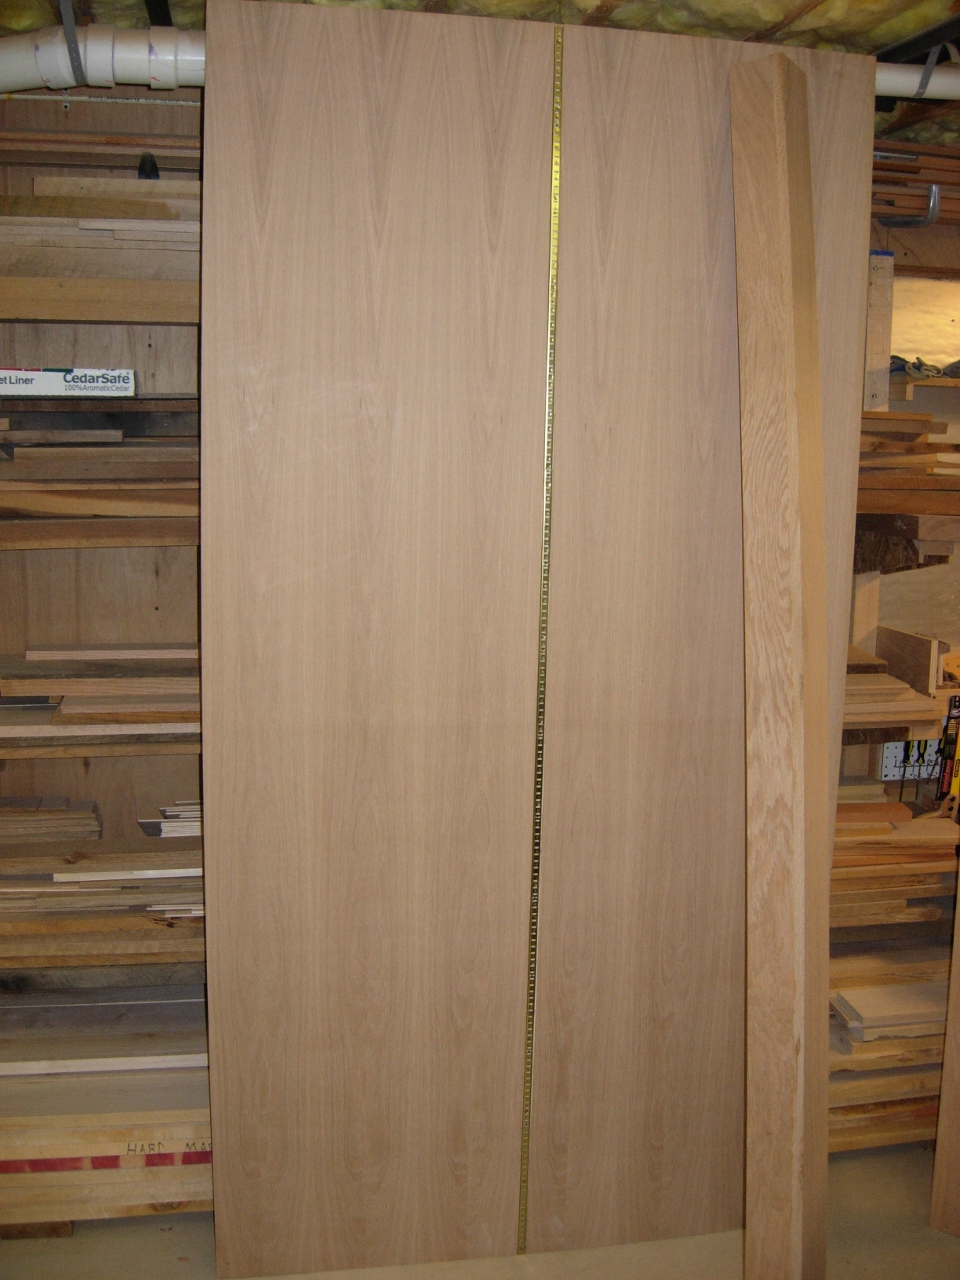
Oak storage cabinet – day 5
I made some good progress today. Things are really starting to take shape. I originally planned on assembling the back panel by running screws straight into the sides from the rear. As I thought about it some more, I realized that the screws could tear out if someone pushed the back too hard from the inside. I revised my plan to run the screws in at an angle, into the solid oak trim instead. This offers the added benefit of drawing the sides up tight to the rear panel as well. I had my older son hold the rear panel on its side, so I could attach the pocket hole jig, to drill pocket holes about every 12″ along both sides.

Adding pocket holes to rear panel

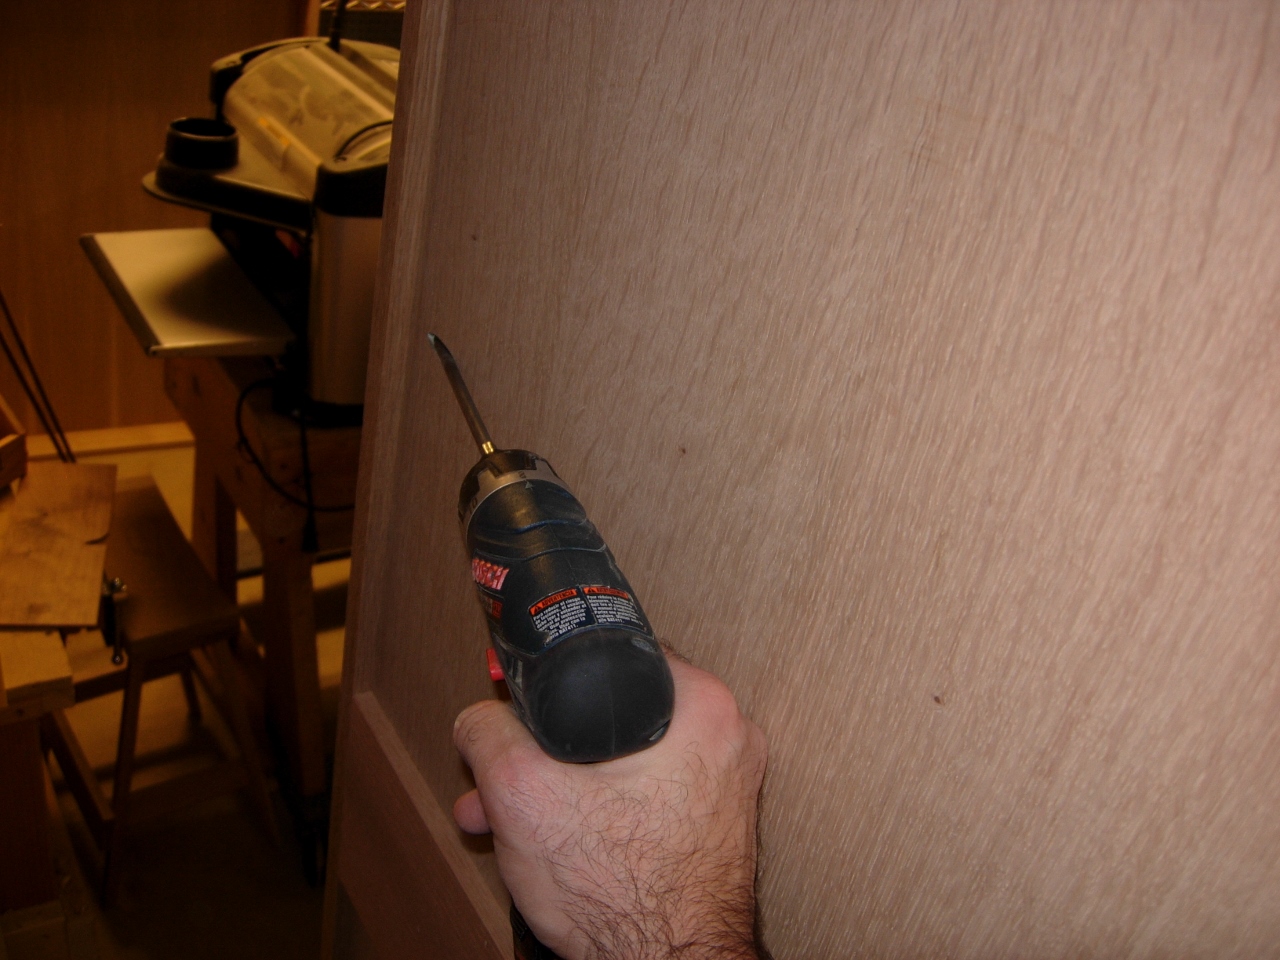
Drilling pocket holes upside down…
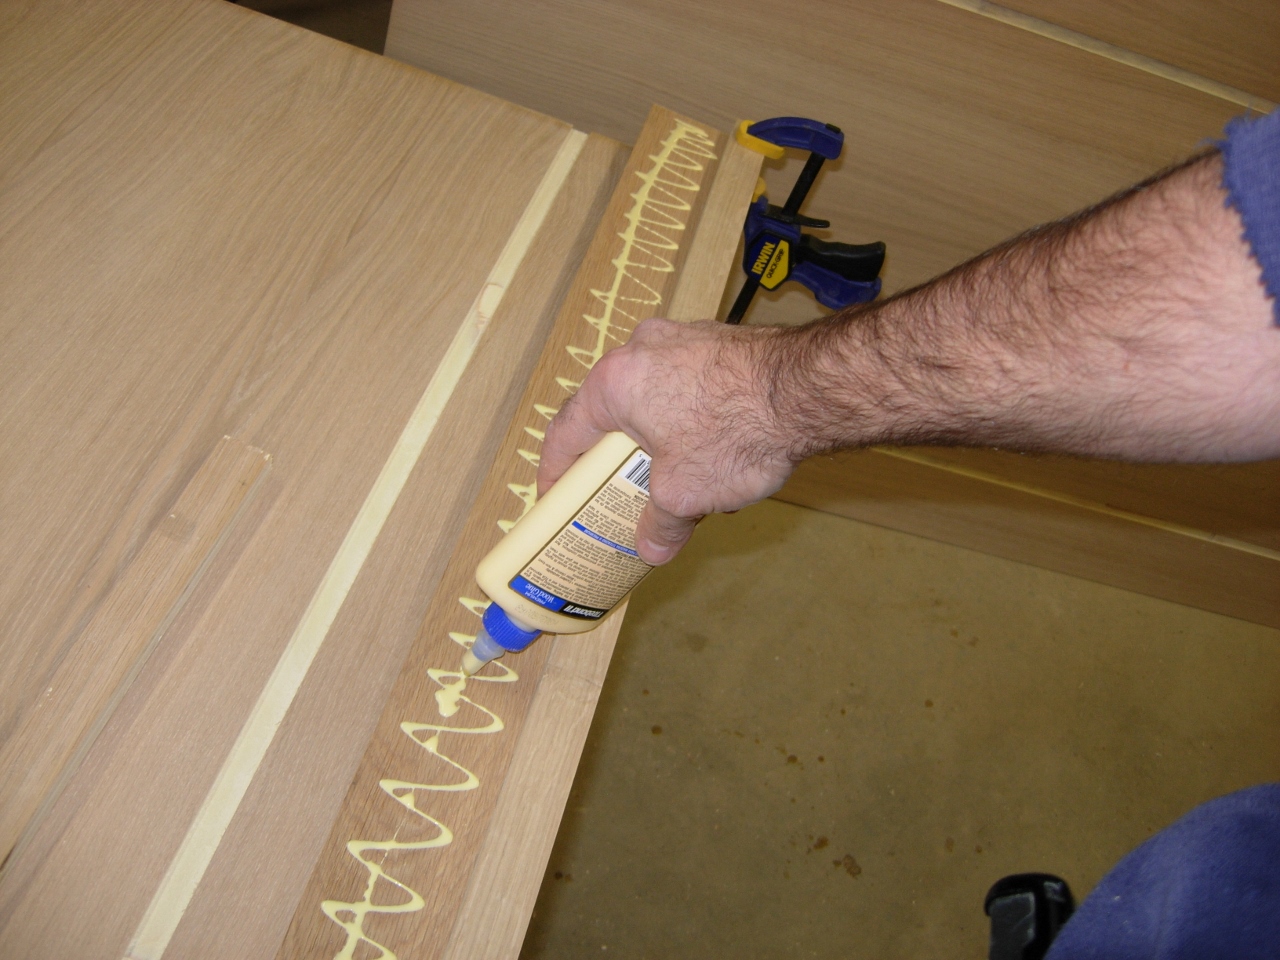
Before my helper ran off, I had him help me flip the panel over, so I could attach the rear stiffeners/spacers.
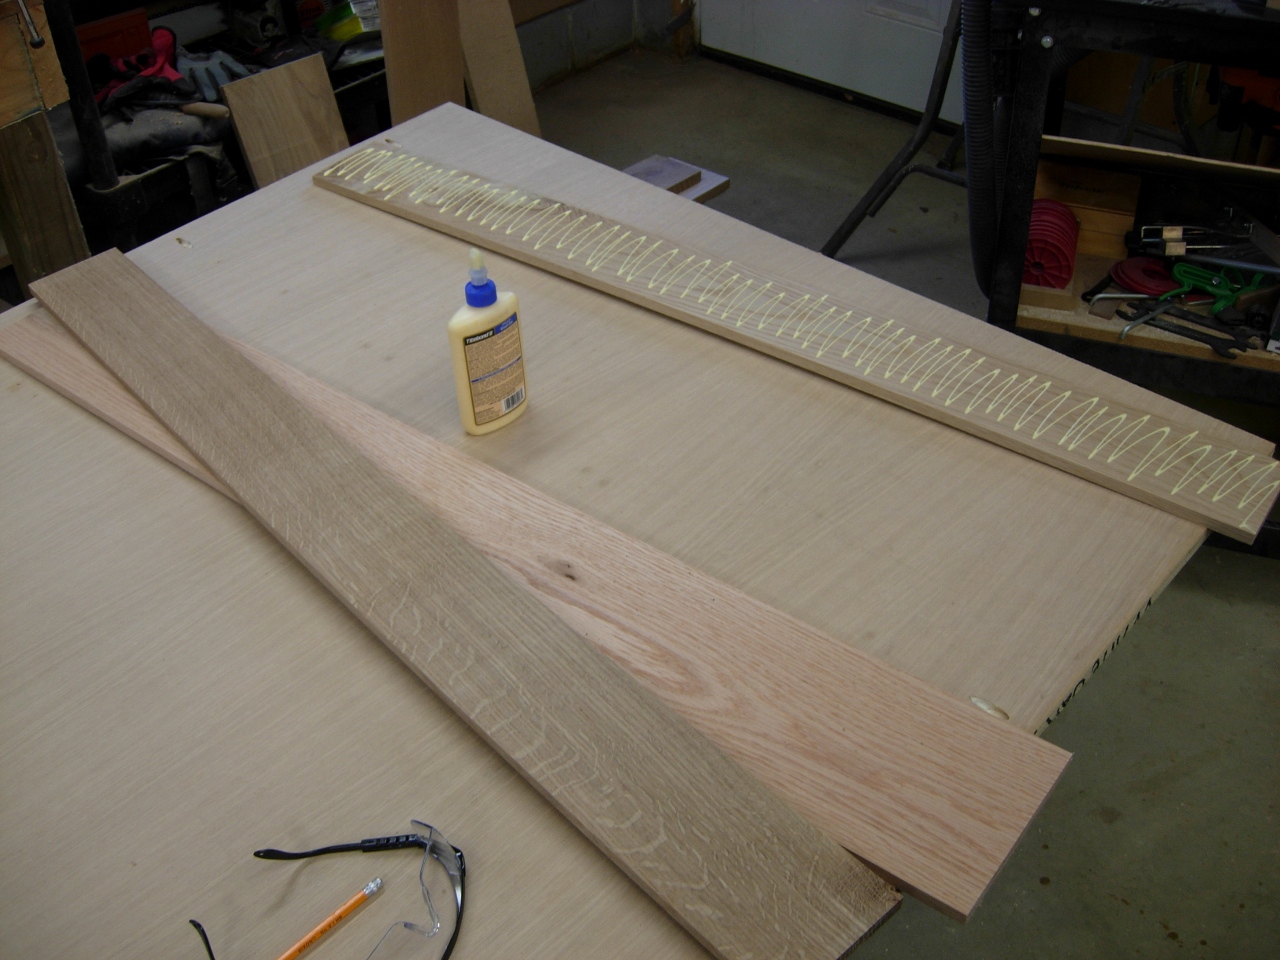
applying glue to the rear stiffeners
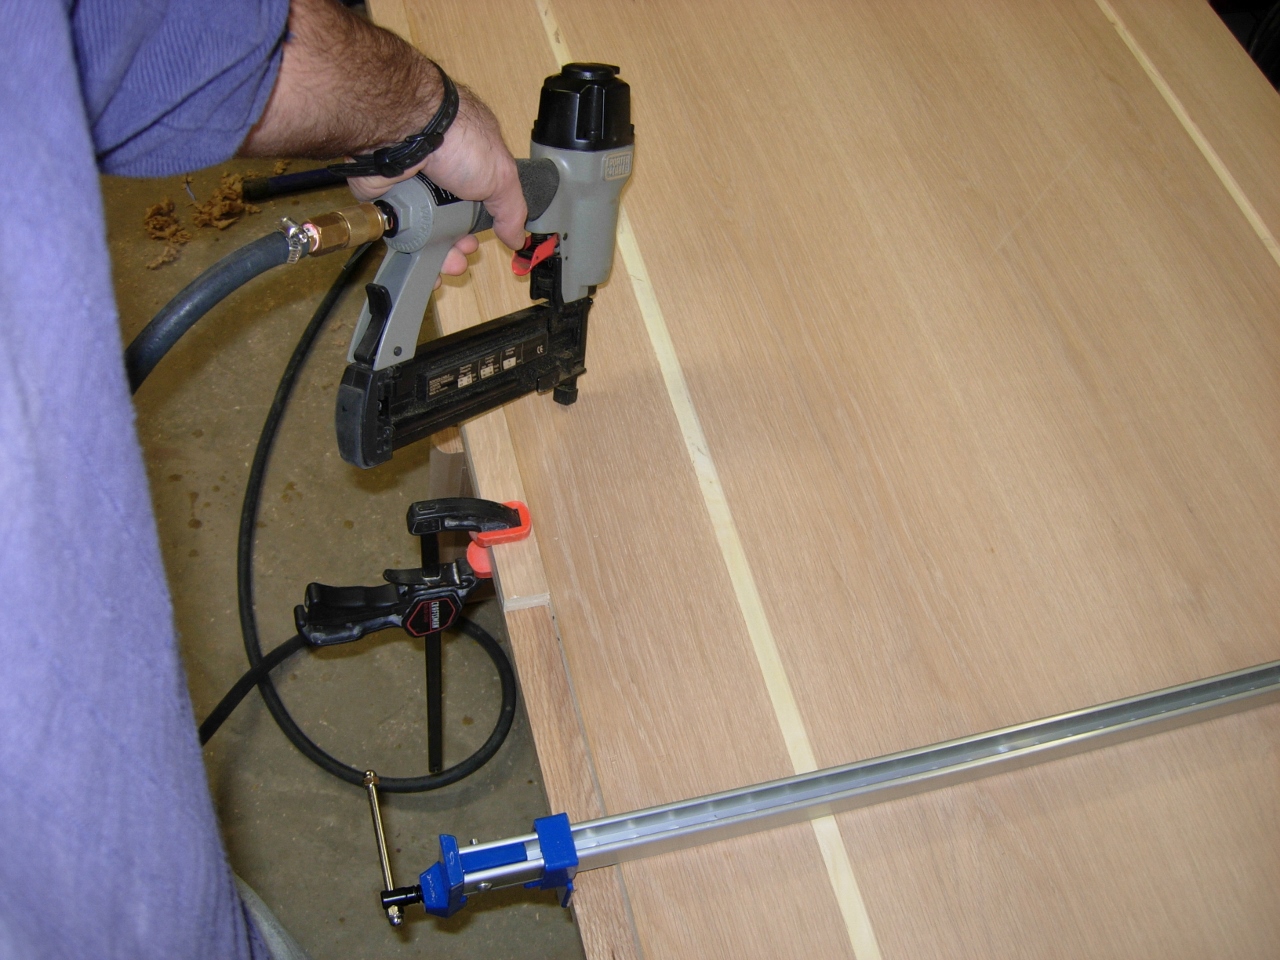
I cut a couple of boards 46-1/2″ long to match the width of the plywood, then planed them down to 1/2″ thick, applied glue and nailed them on.

Attaching the stiffeners
I put a 4″ one at the top and at the bottom. I had a 6″ wide piece as well that I placed in the center.
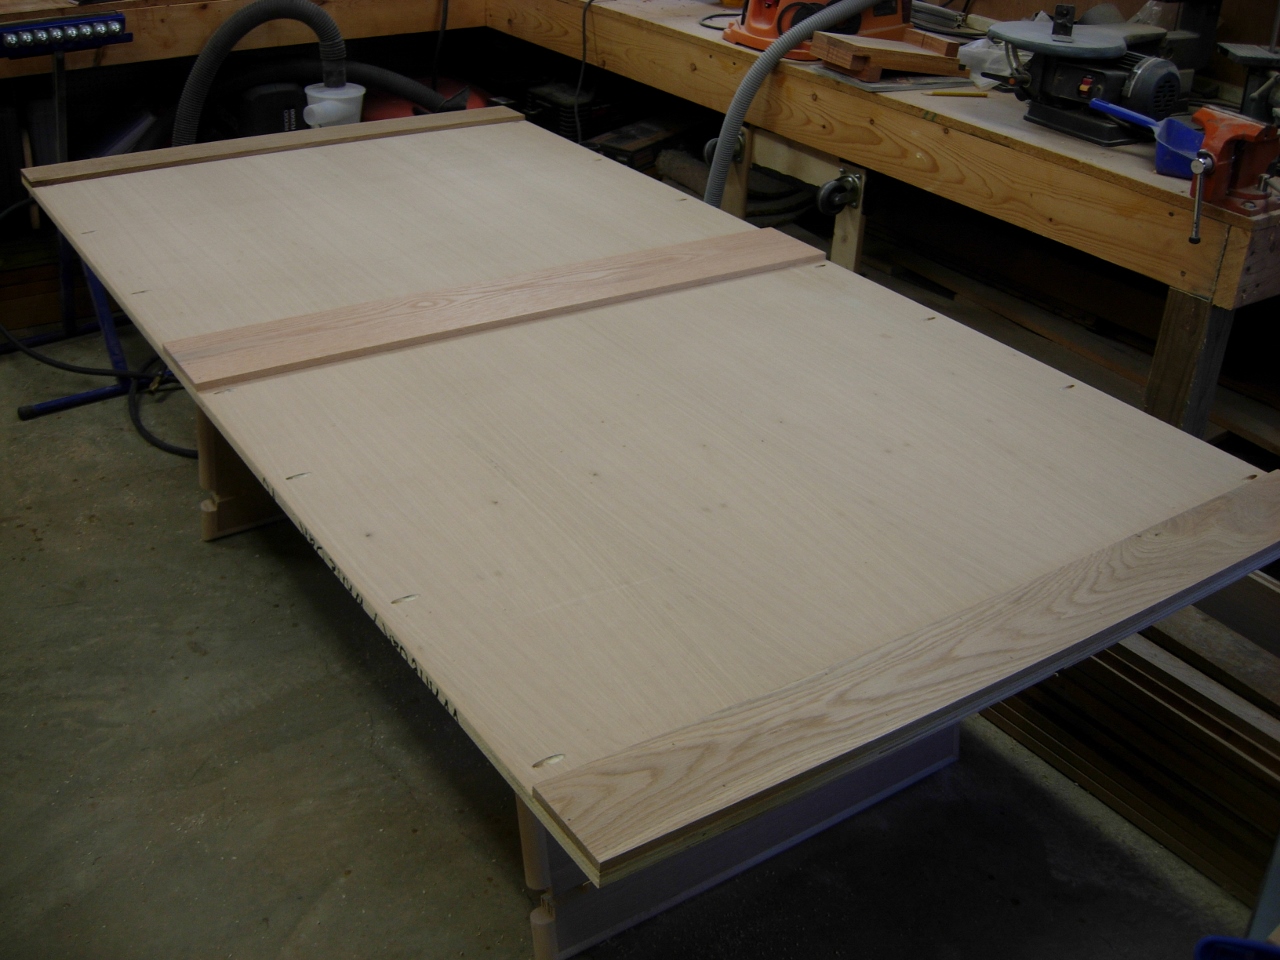
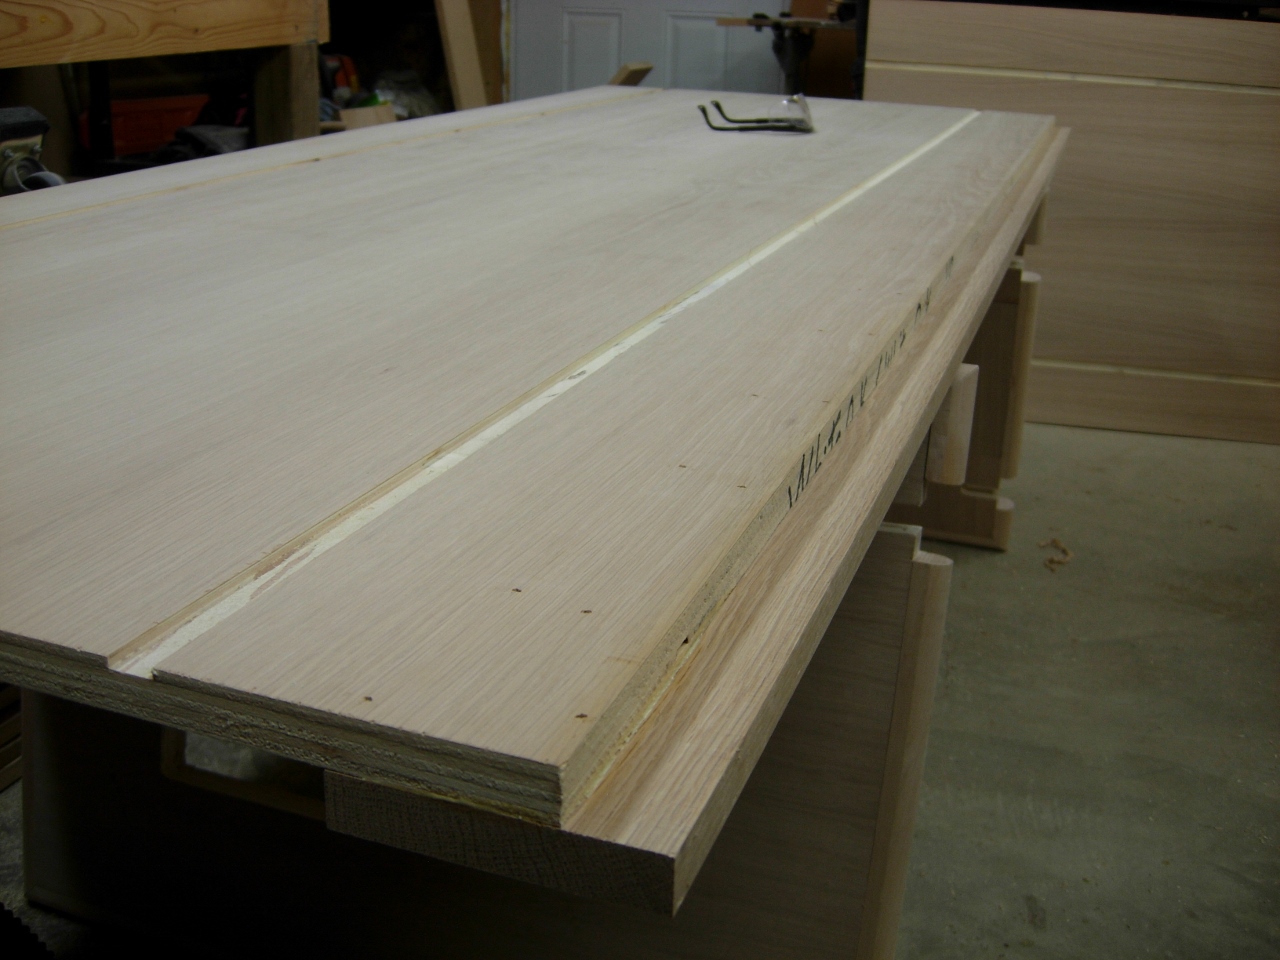
Rear panel complete
My son and I hauled the rear panel over to the one corner of the shop that I will be able to stand this cabinet up in. I decided to attempt a dry-fit of the cabinet before finishing, just to make sure everything would work the way I planned…
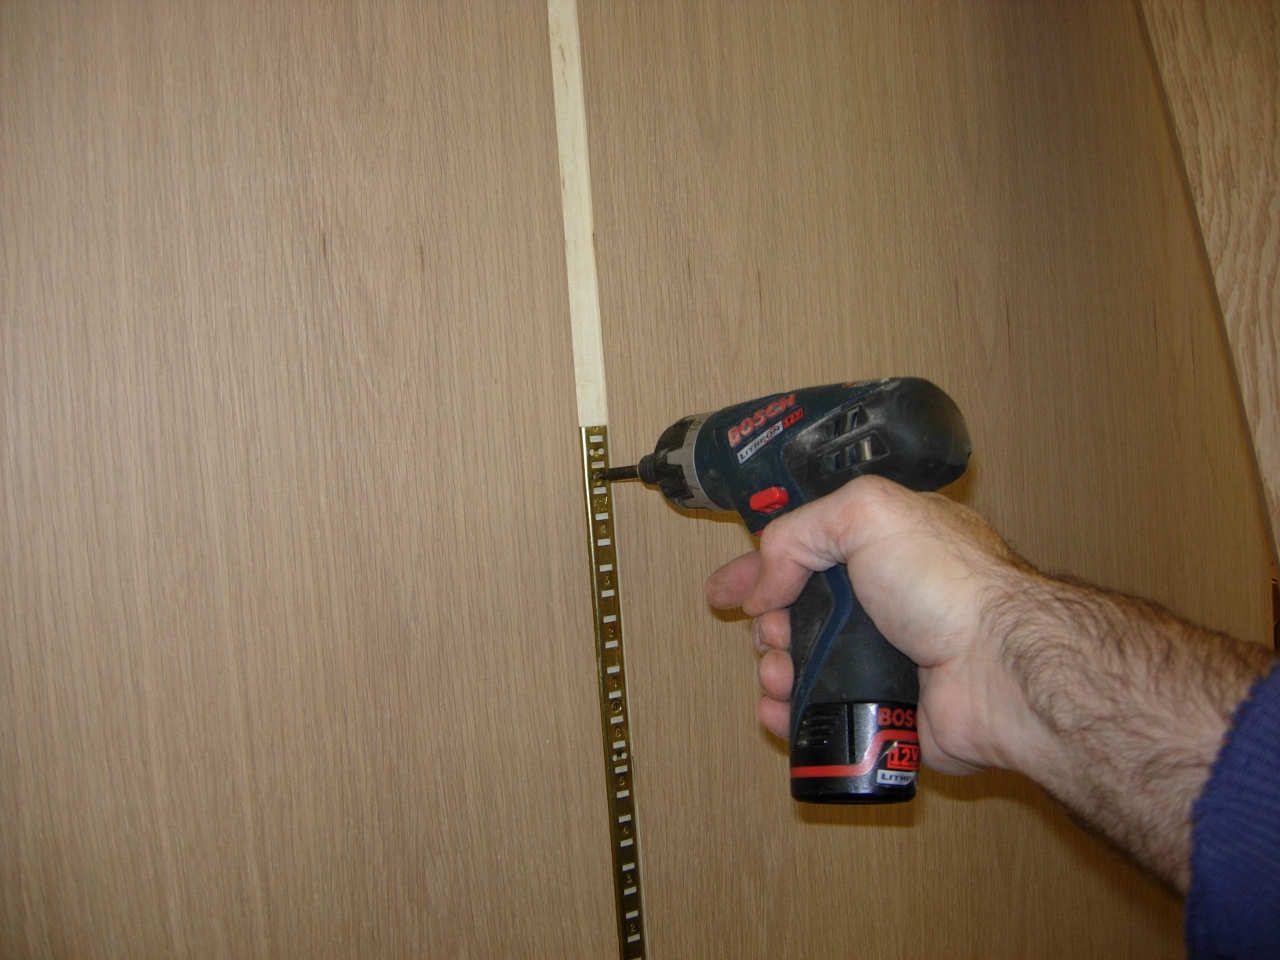
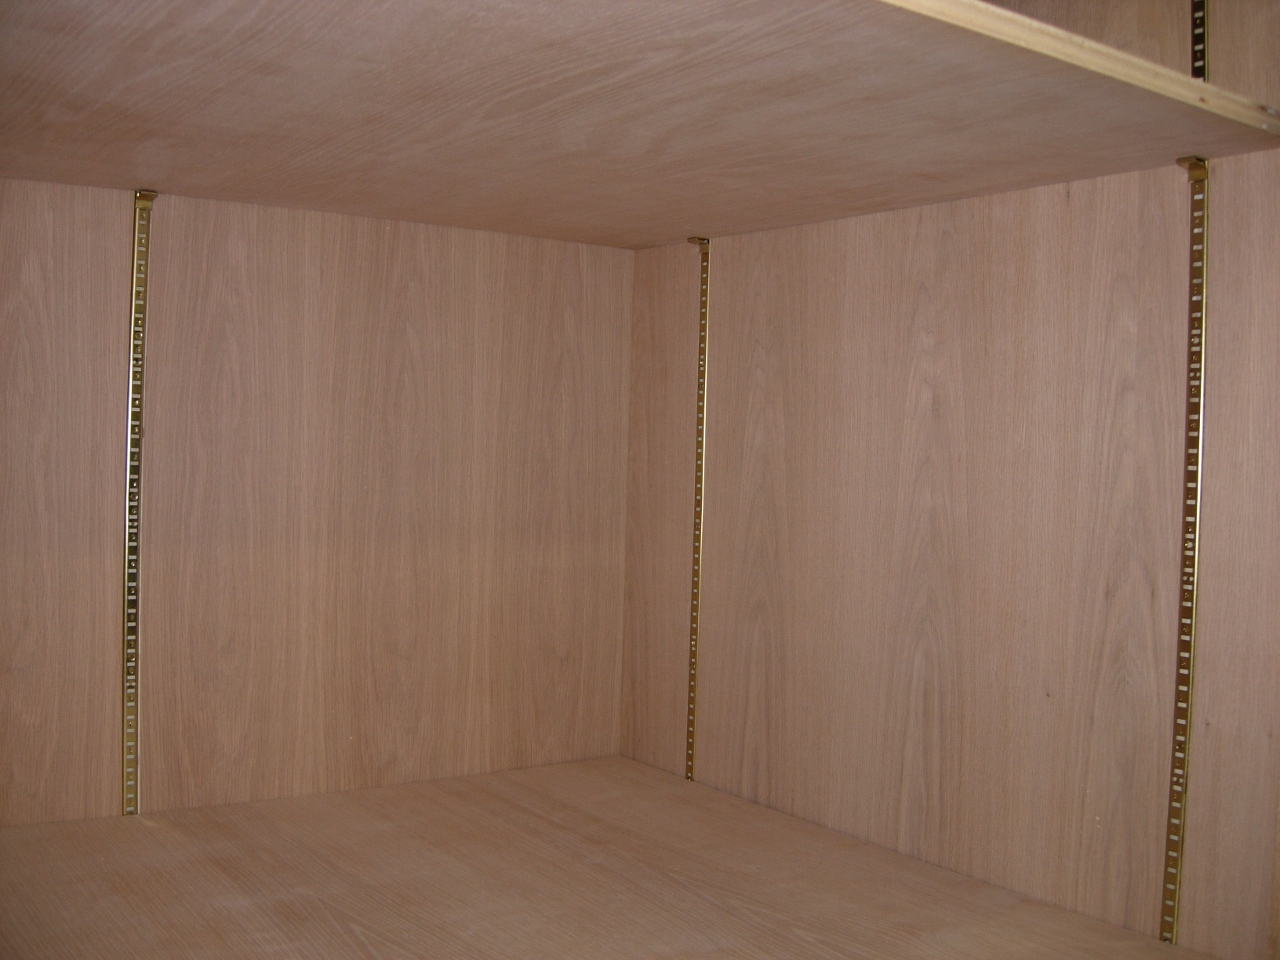
attaching shelf standards
With the panel vertical, I started attaching the adjustable shelf standards. The maximum length I could get was 60″, so I ordered some 36″ ones as well. The cabinet is only 90″ tall, so I had to cut 6″ off the 36″ pieces. The standards come marked with numbers to make it easy for you to match the shelf locations, so I had to make sure that I installed them all in the correct direction. I also made sure that I cut all of the short ones to exactly the same length. After they were cut, I used a metal file to de-burr the cut end. You don’t want to leave any surprises for someone to cut themselves on.
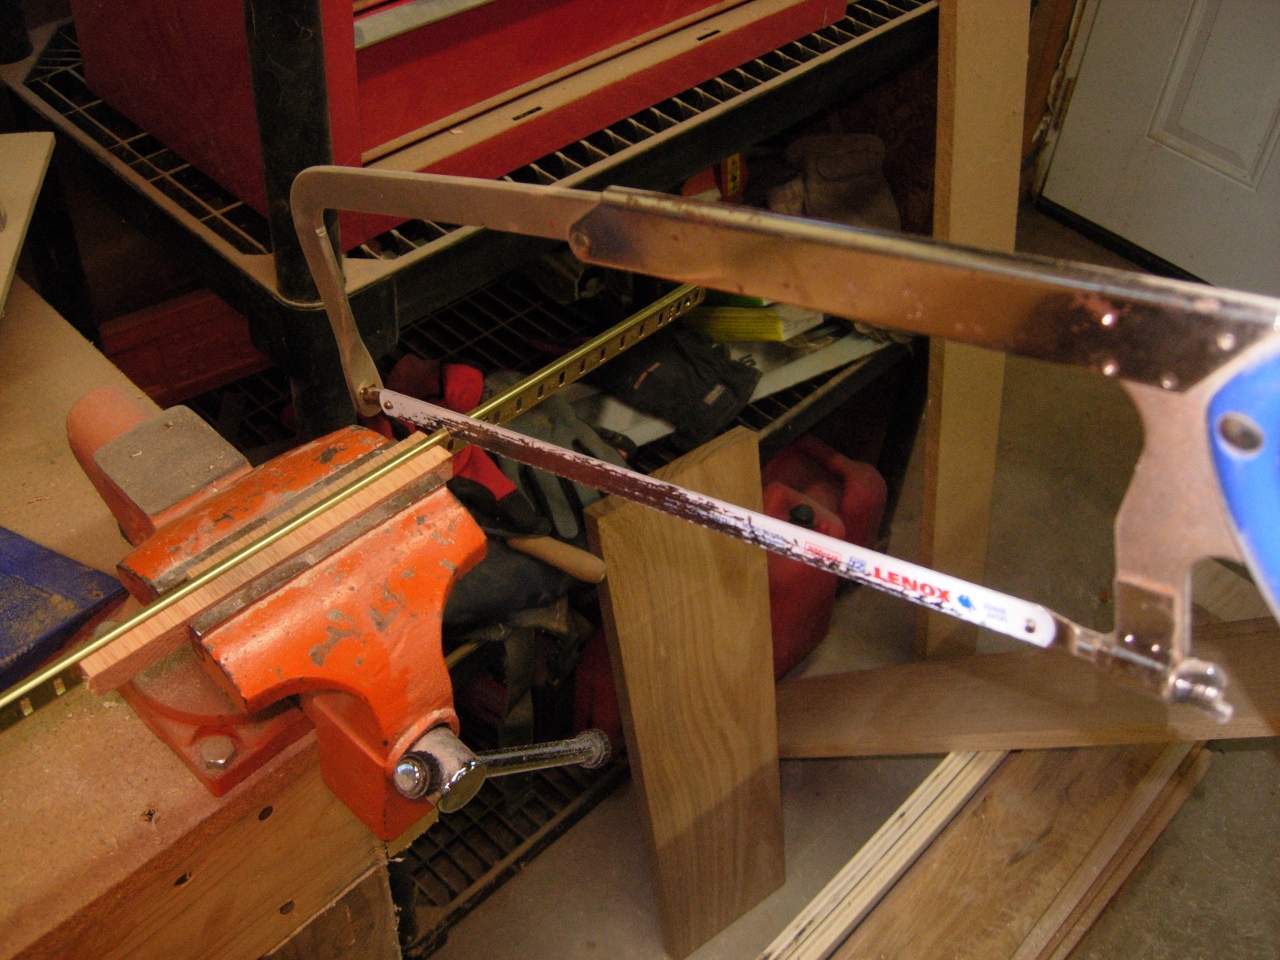
Cutting down the shelf standards
First standard installed
With the rear panel done, I started on the first side panel. I grabbed one of the pieces of 4″ x 90″ trim and clamped a couple of 1-1/4″ spacers along one edge.
Attaching spacer and applying glue
I slid it under the edge and clamped it in place. With it clamped firmly, I shot two rows of nails, from the inside, to hold the trim in place. The goal is to not have any visible nails on the outside of the cabinet.
Trim clamped on and nailed from the inside
Rear trim piece attached
The 1-1/4″ notch that I created will accept the 3/4″ piece of plywood and 1/2″ spacers that make up the rear panel.
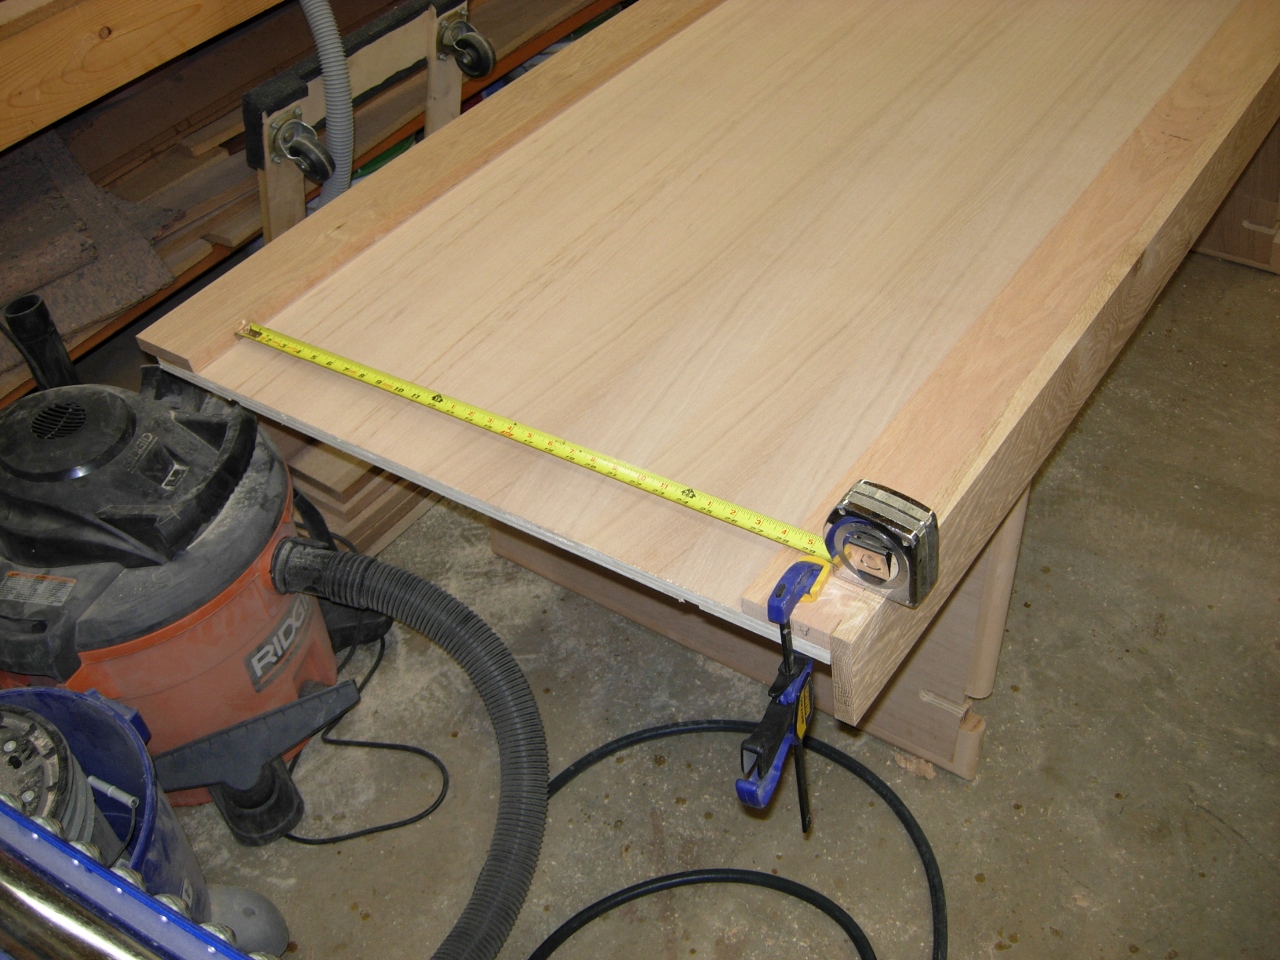
Measuring top and bottom trim pieces
Next, I flipped the panel over and attached the front corner piece, that I made yesterday. This corner piece will eventually be assembled to the rest of the pieces that make up the front, but it is easier to work with just the corner at the moment. I attached the corner with clamps, then measured the distance between the two pieces of trim. I added 1/8″ to the 28″ measurement that I got. This extra little bit will ensure that the front will hit the trim, not the plywood edge during final assembly. That will prevent any gaps when it all comes together.
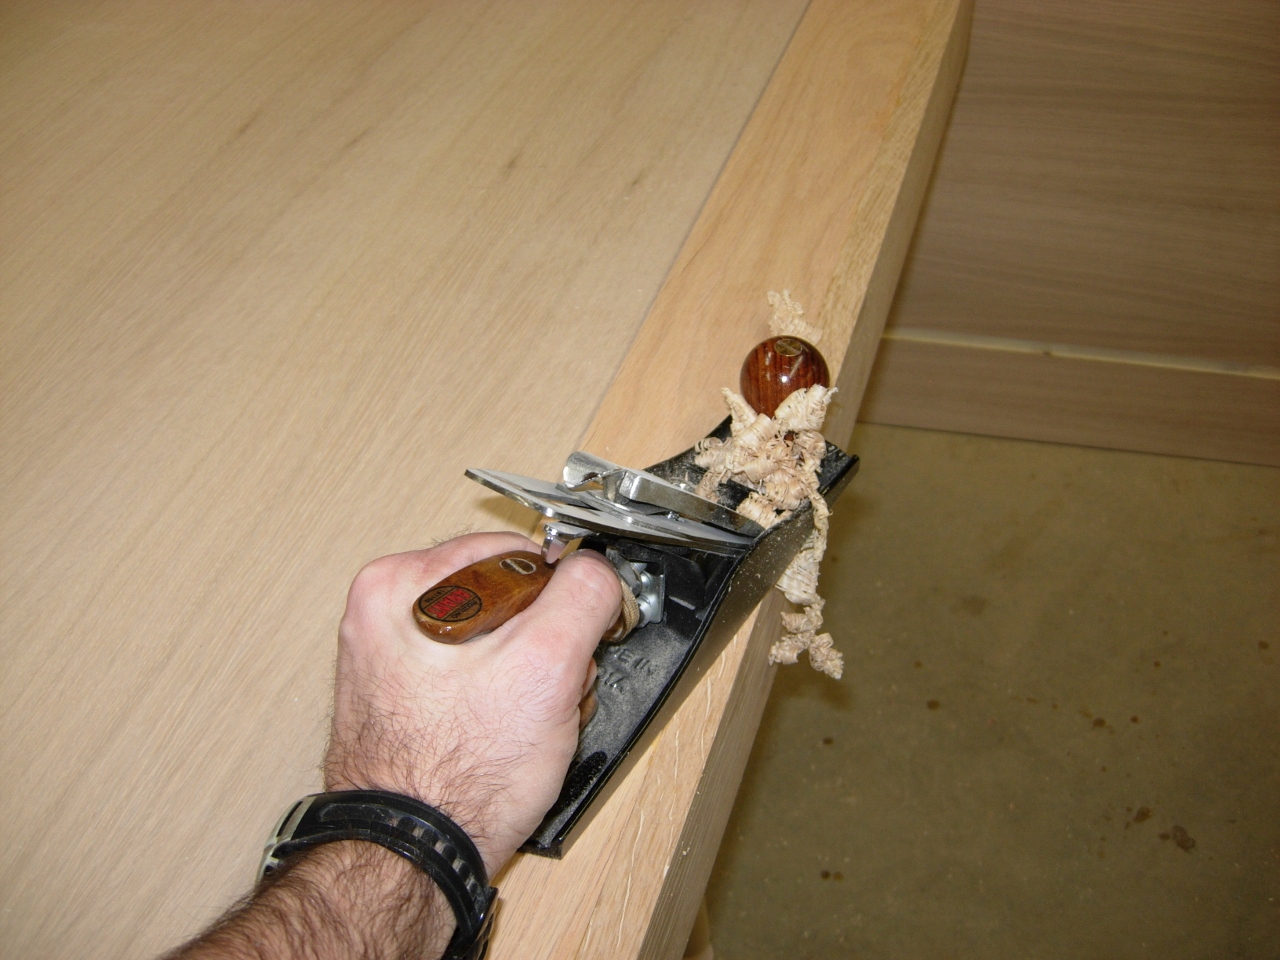
Planing down the corner piece while it is sitting there…
While I had the corner clamped in place, I took the opportunity to plane the front trim piece a bit until it was flush with the side trim piece. They shifted slightly, and needed just a bit of trimming. I glued and clamped the top and bottom trim pieces then flipped the assembly over and nailed them on from the rear.

Side trim assembled
I carried the completed side over to attach it to the rear panel with some pocket hole screws, then repeated the process and built the other side.
Attaching sides to rear panel
After Adam and I installed the shelf standards down the sides, I installed some of the adjustable shelf clips and set a couple of shelves in place. I also added the base and the front corners to see how well it all fit together. As you can see the cabinet is touching the pipes over head. I didn’t install the top, because things are just a little too tight…

Dry fit with shelves
As you can see in the picture below, the shelves seat very nicely, with no wobble. I intend to attach a thick oak edge band to the front of the shelves to help prevent them from bowing when fully loaded. Adam wanted to see if a shelf would hold him, but I think I will wait until they are banded before I let him try. Tomorrow, maybe…
Adjustable shelving fits well
