
Oak storage cabinet – day 4
Before I start assembling the side panels, I need to rout in the grooves for the adjustable shelf standards. I have an adjustable guide for my Hitachi router, so I attached it, and added an extended face to keep the guide steady against the edge.

Setting up the router
After a test run on a small piece of plywood, and a few adjustments, I loaded the 1/2″ bit and started cutting.
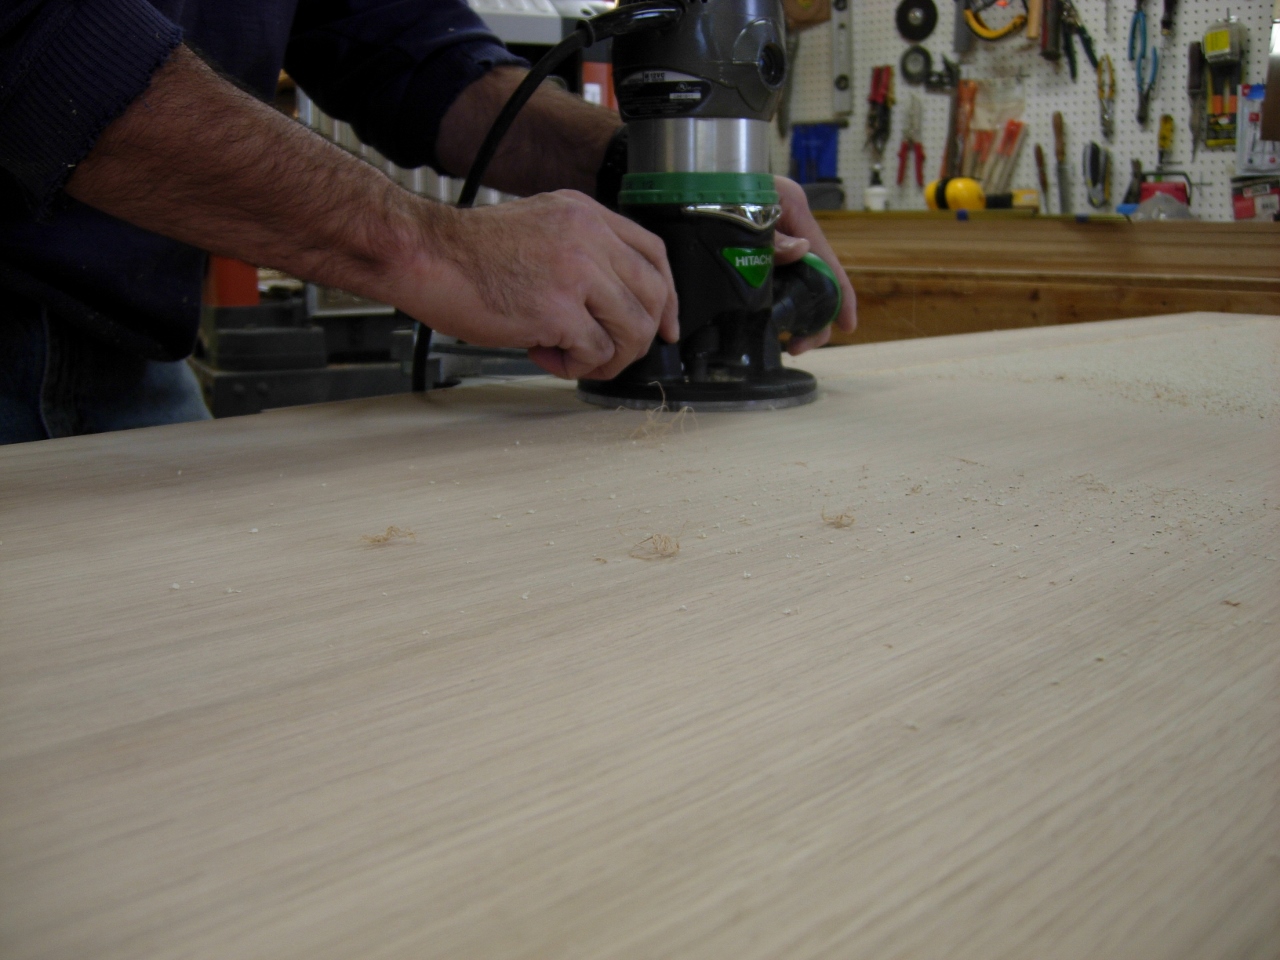
Routing the first slot
The standard is 5/8″ wide, so I placed a mark on the gauge and slid it forward 1/8″, and marked that as well. By moving it forward and cutting along the same edge again, I increased my dado from 1/2″ to 5/8″. After the test fit, I repeated the process on the other side of the same board, then on to the other sheet of plywood that will be the opposing side of the cabinet.

Perfect fit

Both sides finished
With those done, I placed the rear piece of plywood on the work stand and clamped down two straight edges to act as guides for cutting the 5/8″ groove in the center.
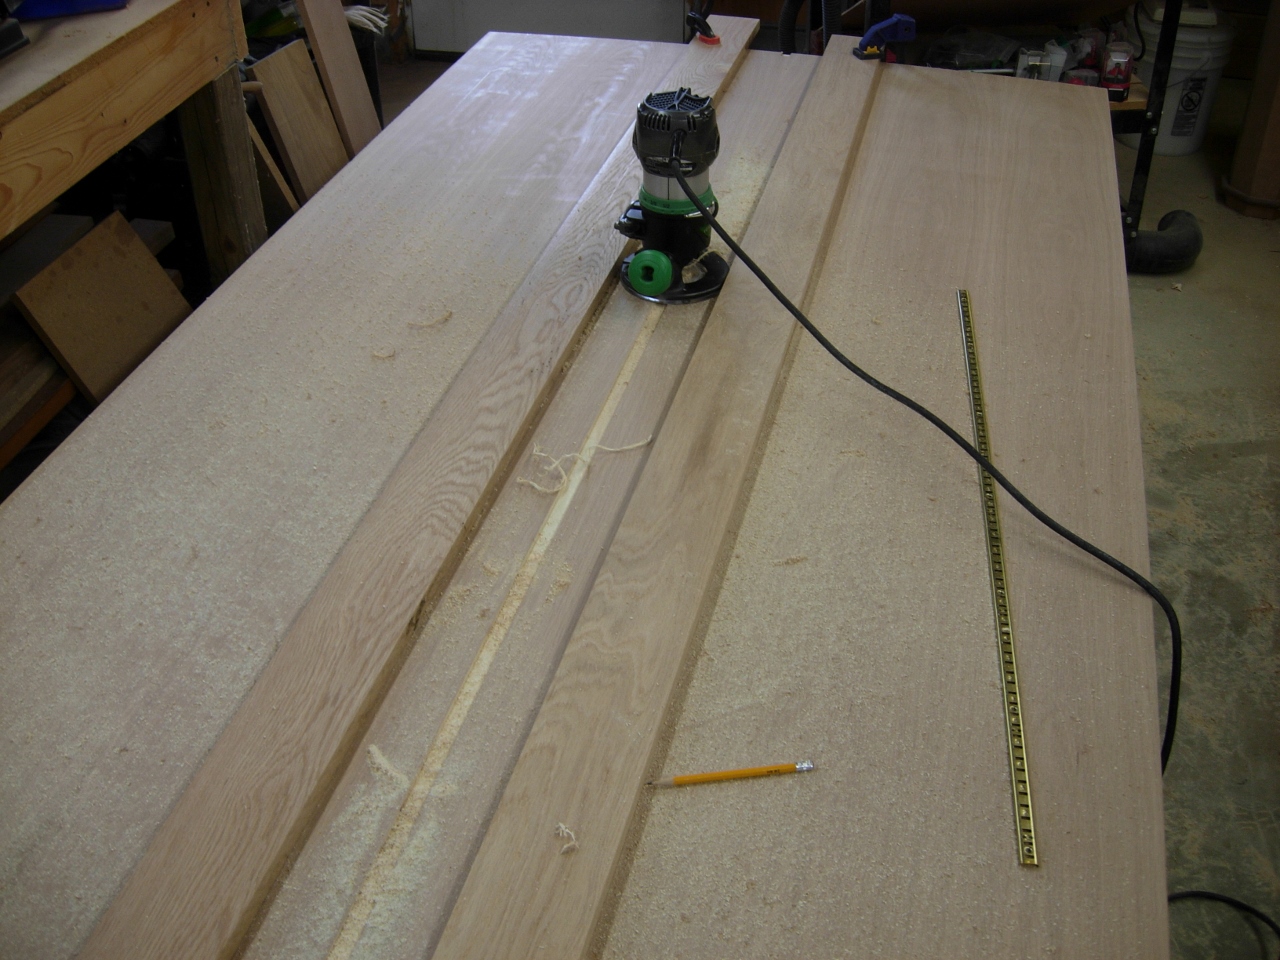
Cutting the center groove on the back
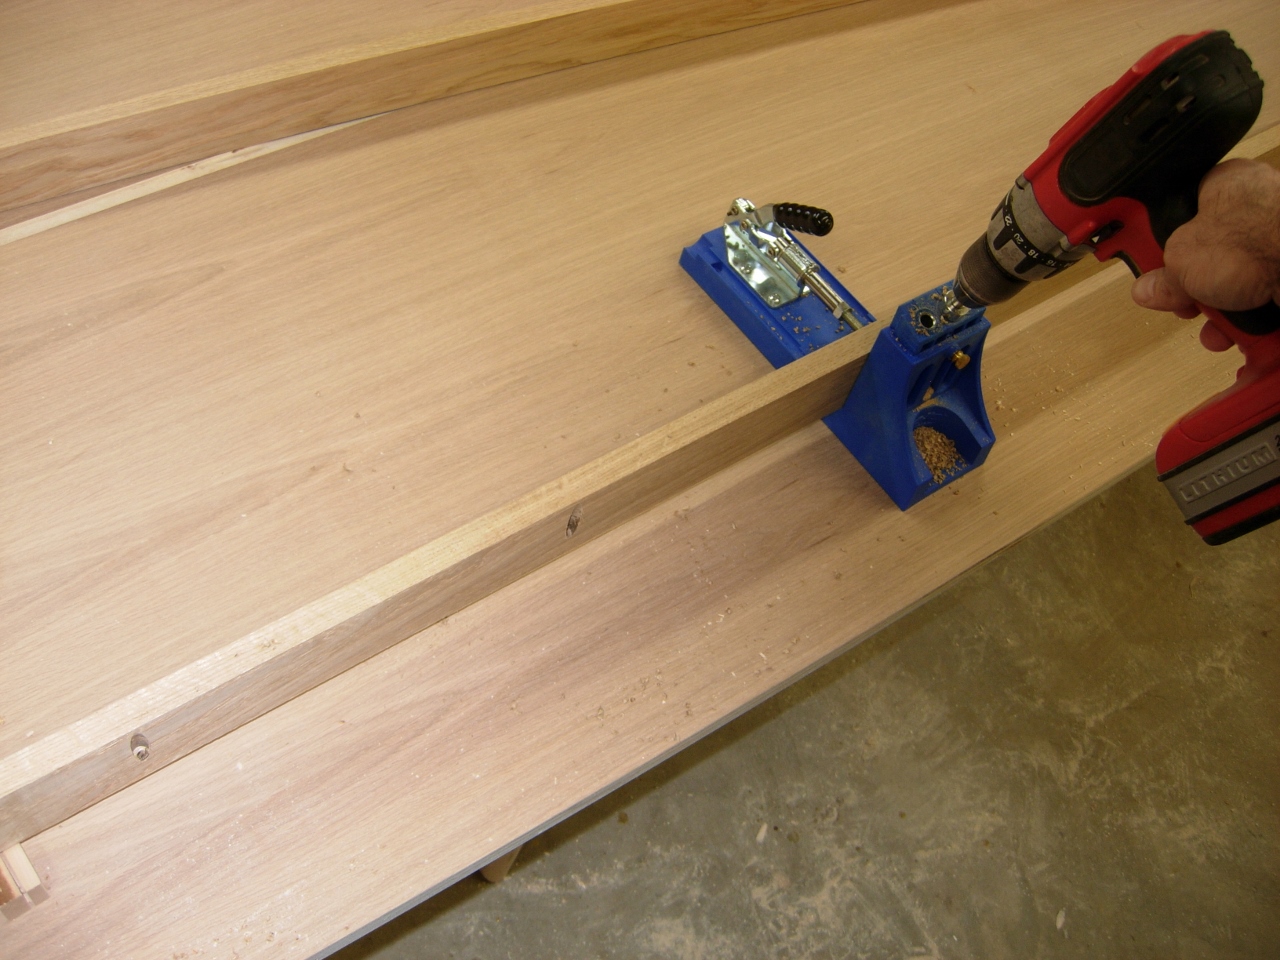
Drilling pocket holes
Since this cabinet will be built in pieces and assembled later, my corners are designed to accept the sides later and be attached to them with pocket screws. I have to drill those screw holes now though, before the corner is glued up. I placed a hole about every 10″ on the 2-1/2″ wide pieces.
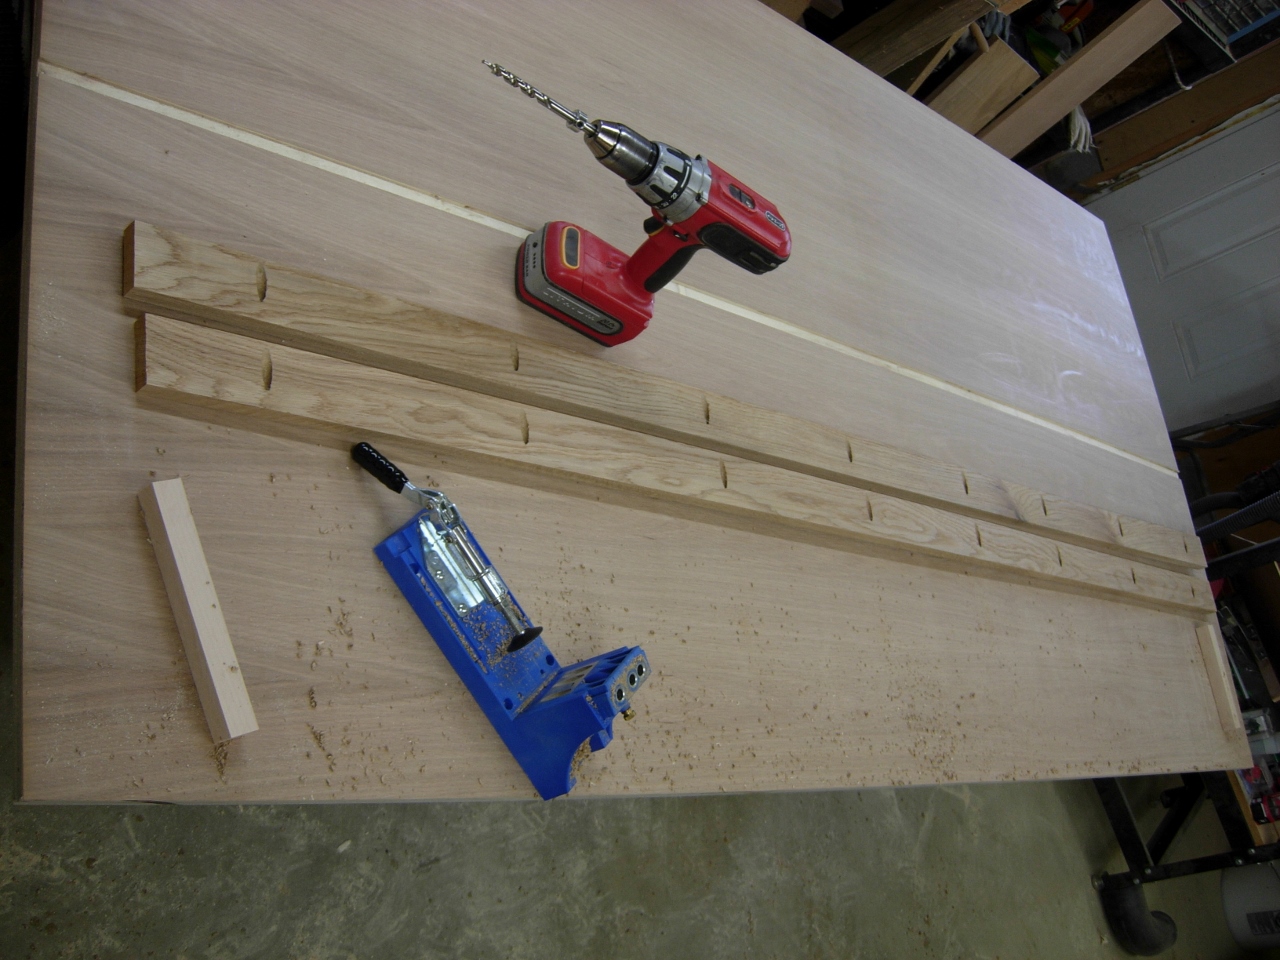
First two boards done
I also decided to put pocket holes in my 3-1/4″ pieces that will go on the sides of the front corners. These boards were glued and screwed to the front corner pieces. I originally intended to just clamp them, but I wanted to get the corners assembled without waiting for the glue to dry.

Assembling the front corners
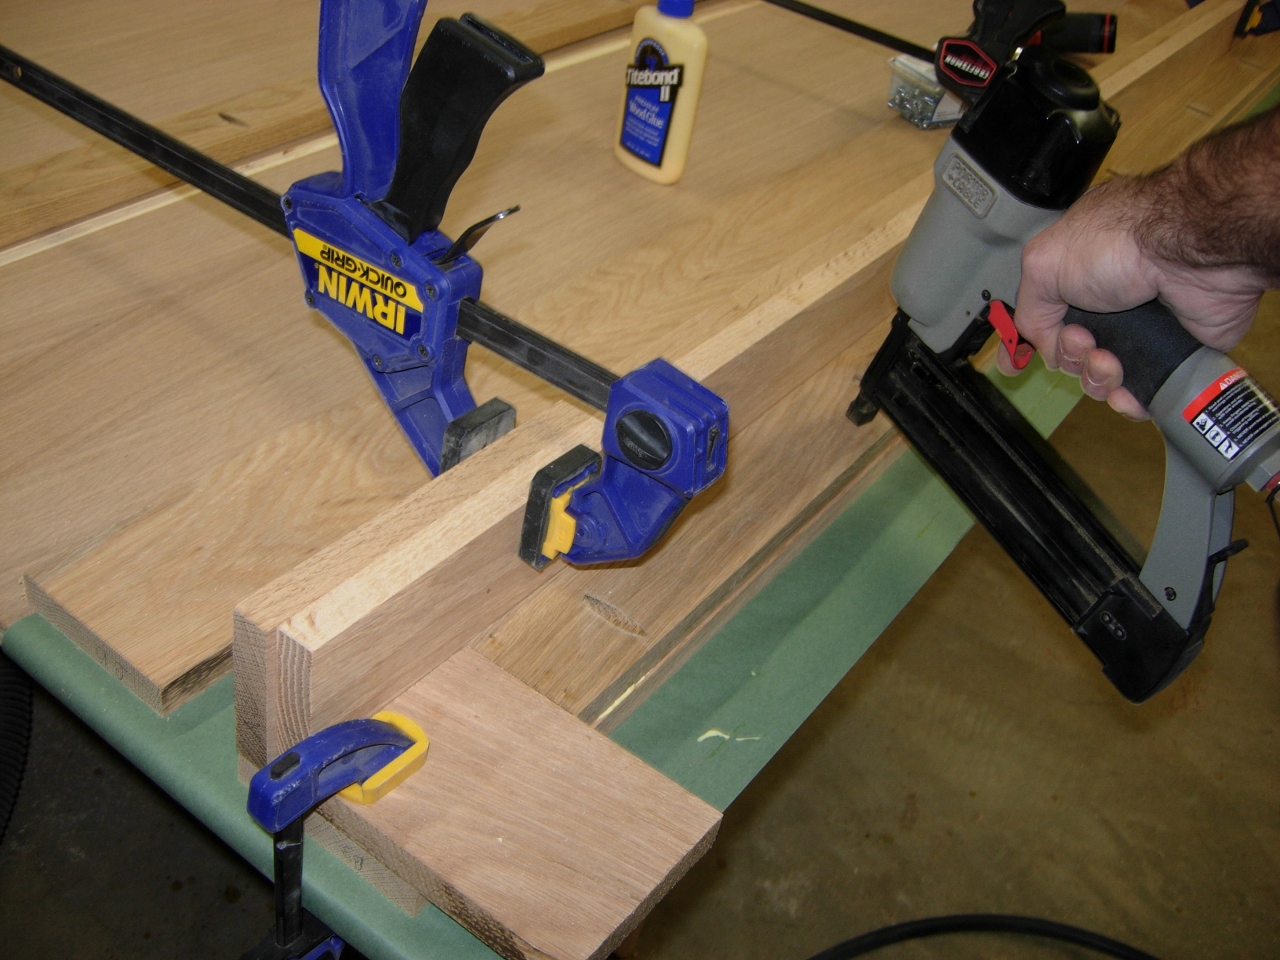
Clamping in a spacer
After those were assembled, I placed a 3/4″ spacer against the side and clamped in a 4″ spacer block to the top and bottom to leave space for my horizontal cross pieces and glued and nailed the 2-1/2″ pieces in place. Once nailed, I pulled the clamps and left both corners to dry over night.

First front corner assembled
