
Knock-down Workstation – upgrade
I decided to set the storage cabinet project aside for a few hours today, to upgrade the knock-down workstation. I realized just how sharp the edges on the workstation were, when I tore off a chunk of my finger, the other day, catching a corner. Not a major injury, but a painful one. I am going to go ahead and add rounded over rails to all the edges that I, or my material, might bang into.
Ripping down the rails
I started by ripping down some scrap maple to match the thickness of the legs, and the width of the top rail.
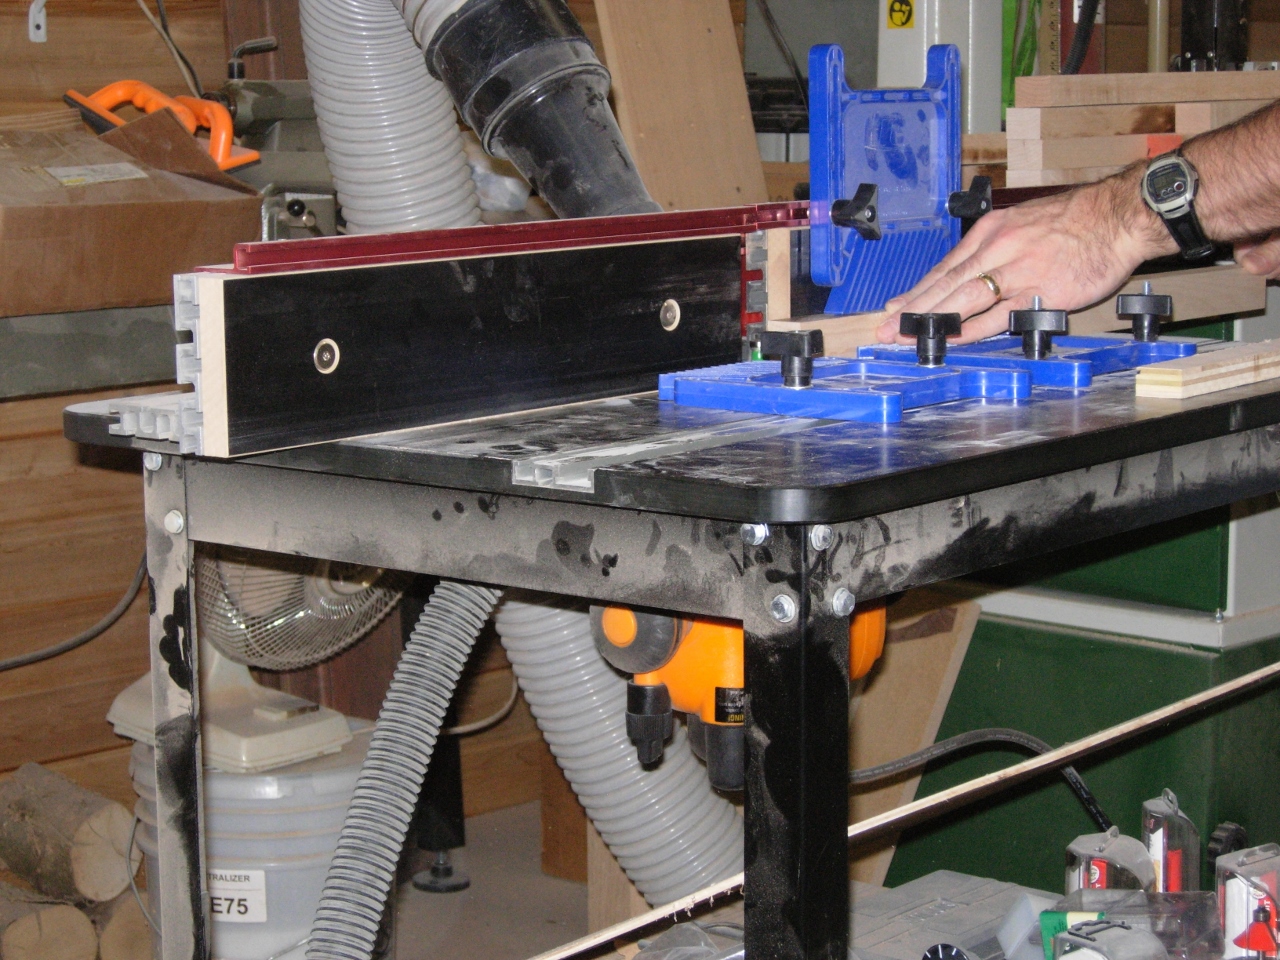
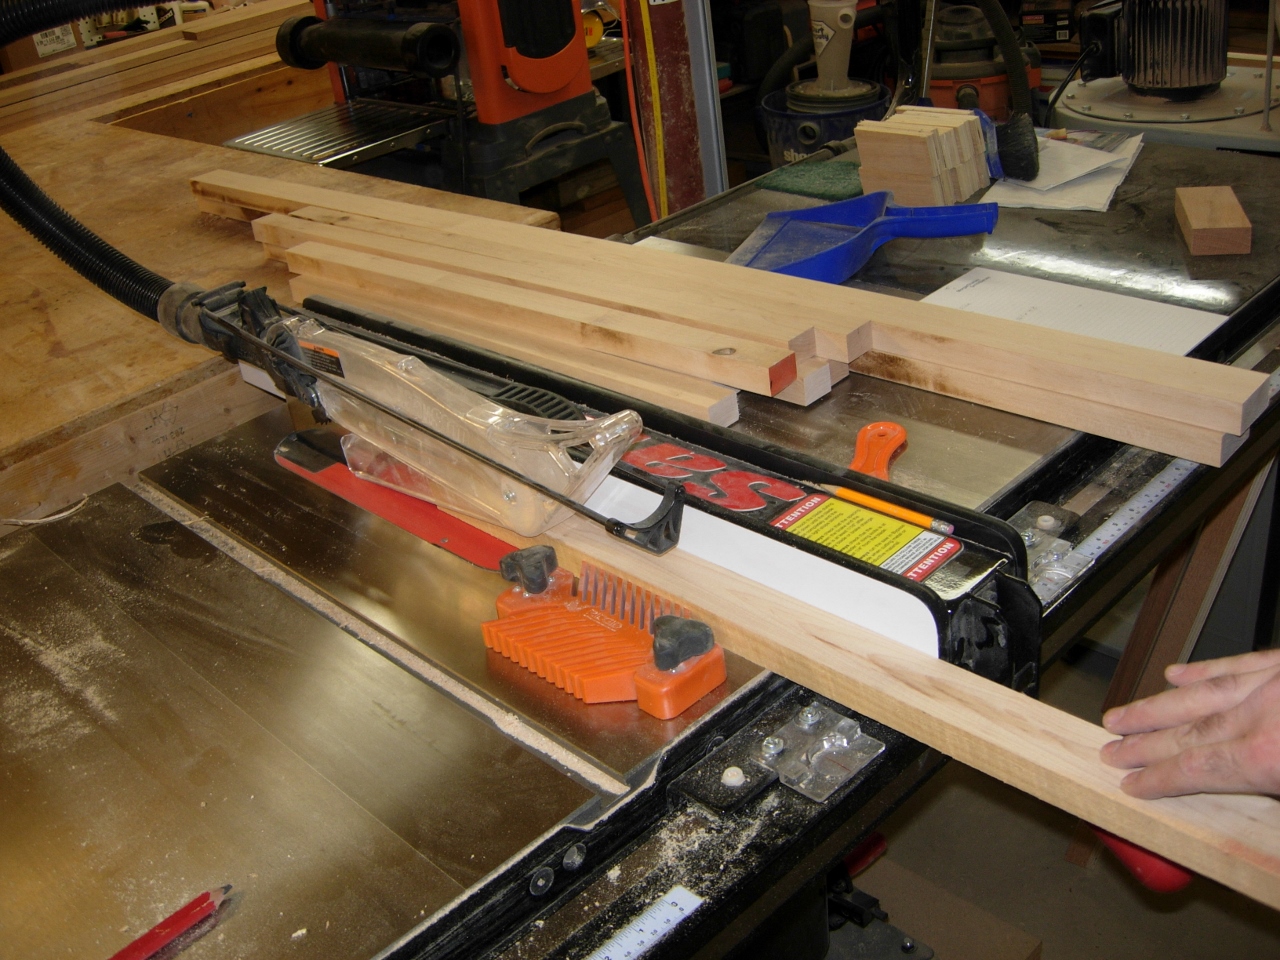
3/4″ round-over
I put my 3/4″ round-over bit in the router table and ran all of the leg pieces through twice to create a half round on my 1″ thick maple rails.
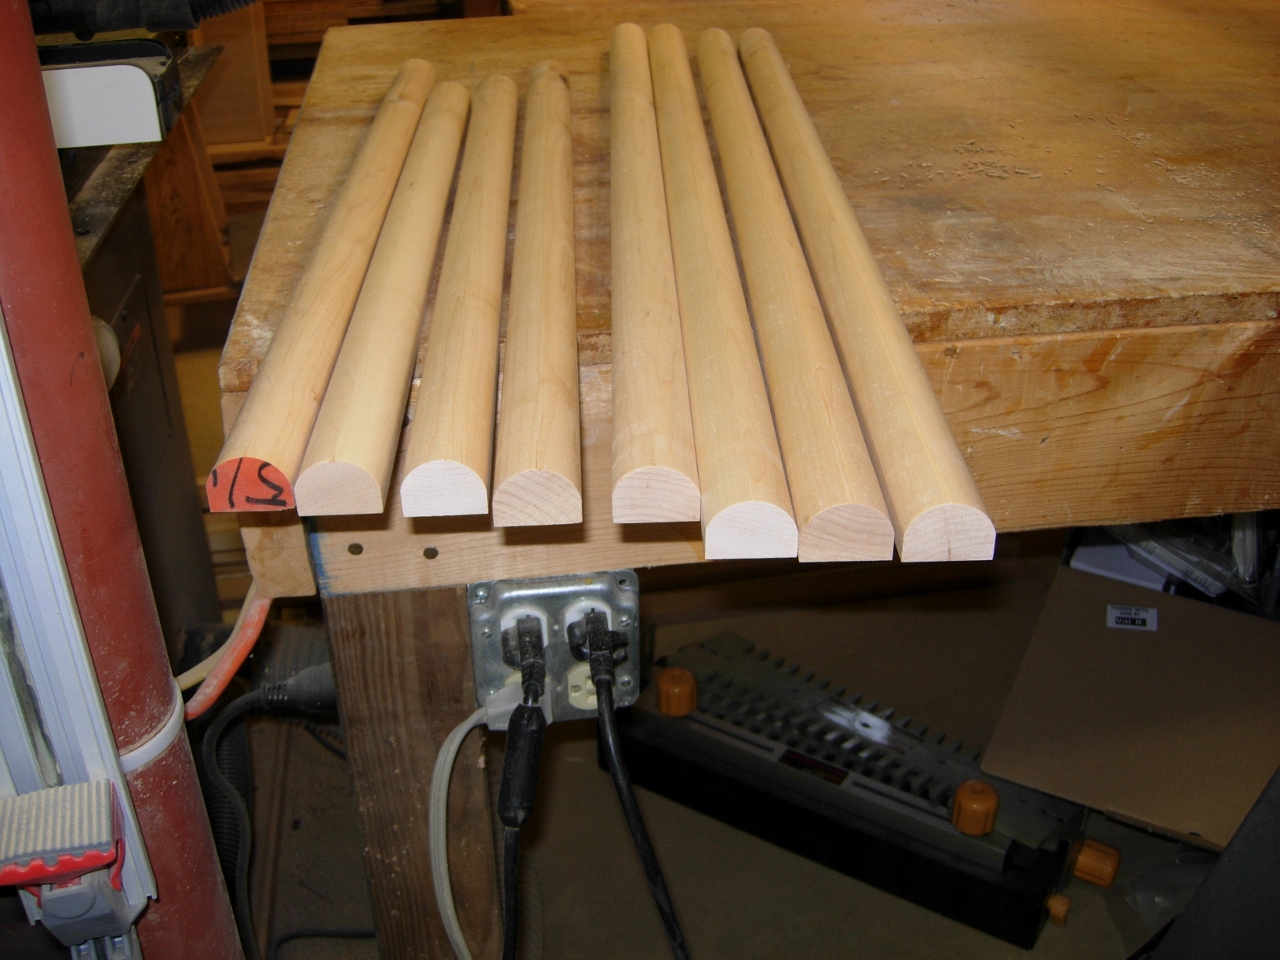
Rails all rounded

Cutting the miters
I cut a 45 degree angle on each of them, and started laying them out around the legs. I marked the corners and cut the other 45 degree angles.
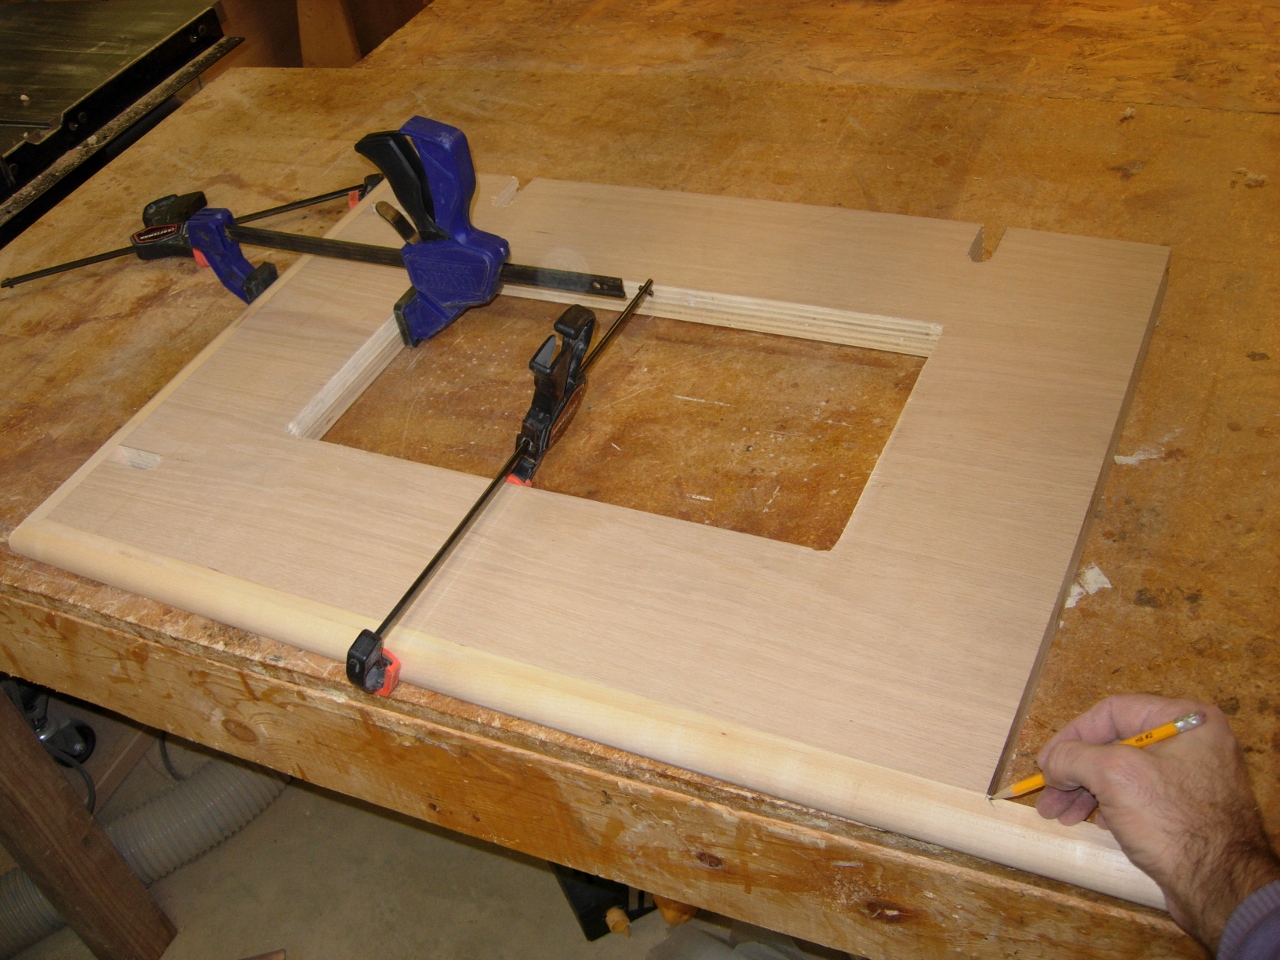
Clamping and marking

Glueing on the edge rails
I applied glue and clamped the trim in place, then shot 2″ brad nails in to hold everything in place. I didn’t bother measuring the notch, I just ran the trim across it.
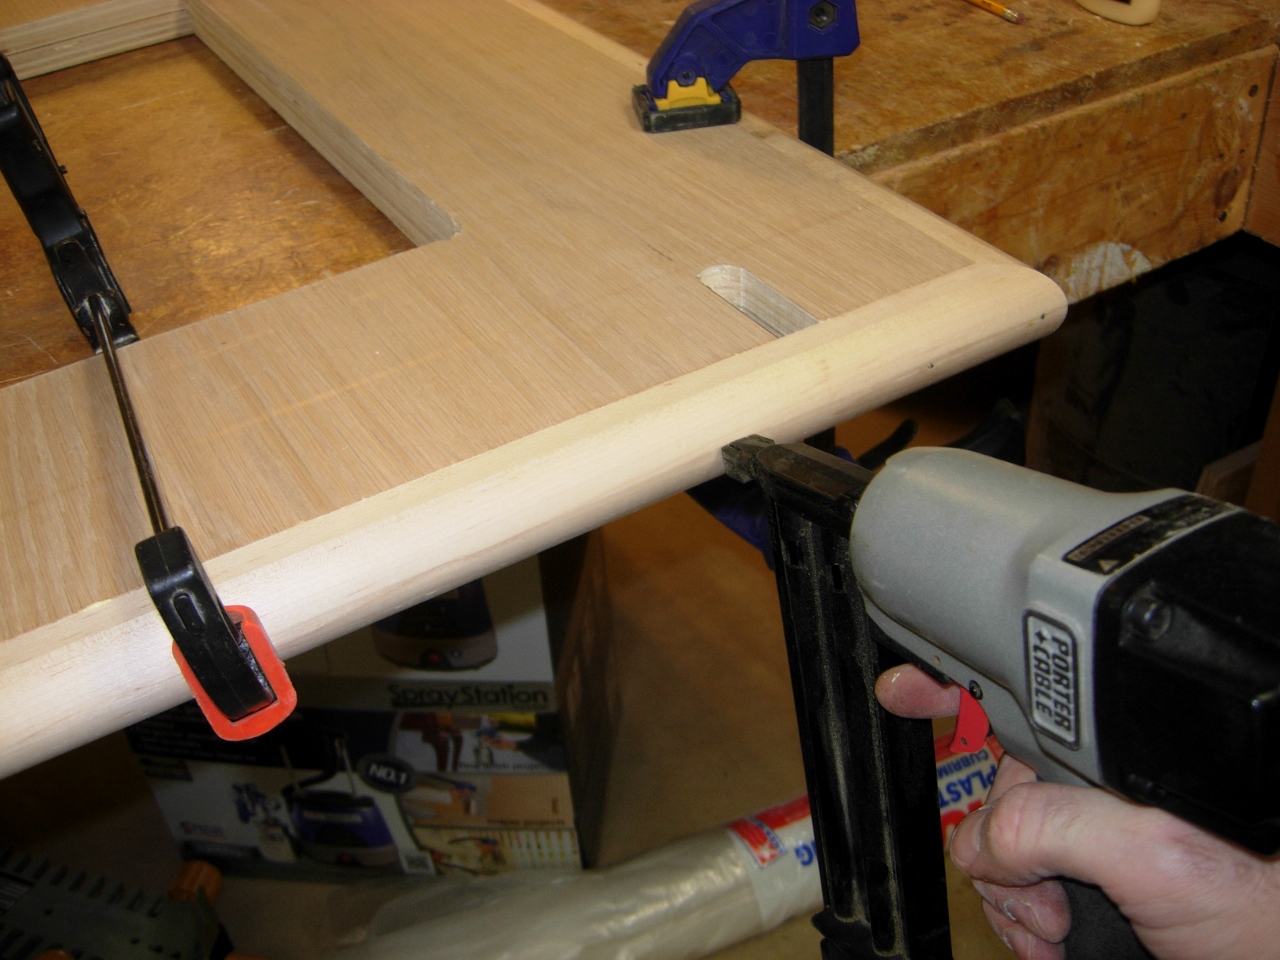
Holding them in place with 2″ brad nails

Cutting the notch back out
When the legs were wrapped with trim, I took them over to the band saw and cut the 3/4″ notch out. Next, I set the top rails in place and cut the notch wider to accommodate the top flange on the rails.

Notching around the top rail

Top rail seated
With the legs all trimmed, I set the maple cap for the top rails in place, and counterbored some 1/2″ holes half way through the cap.
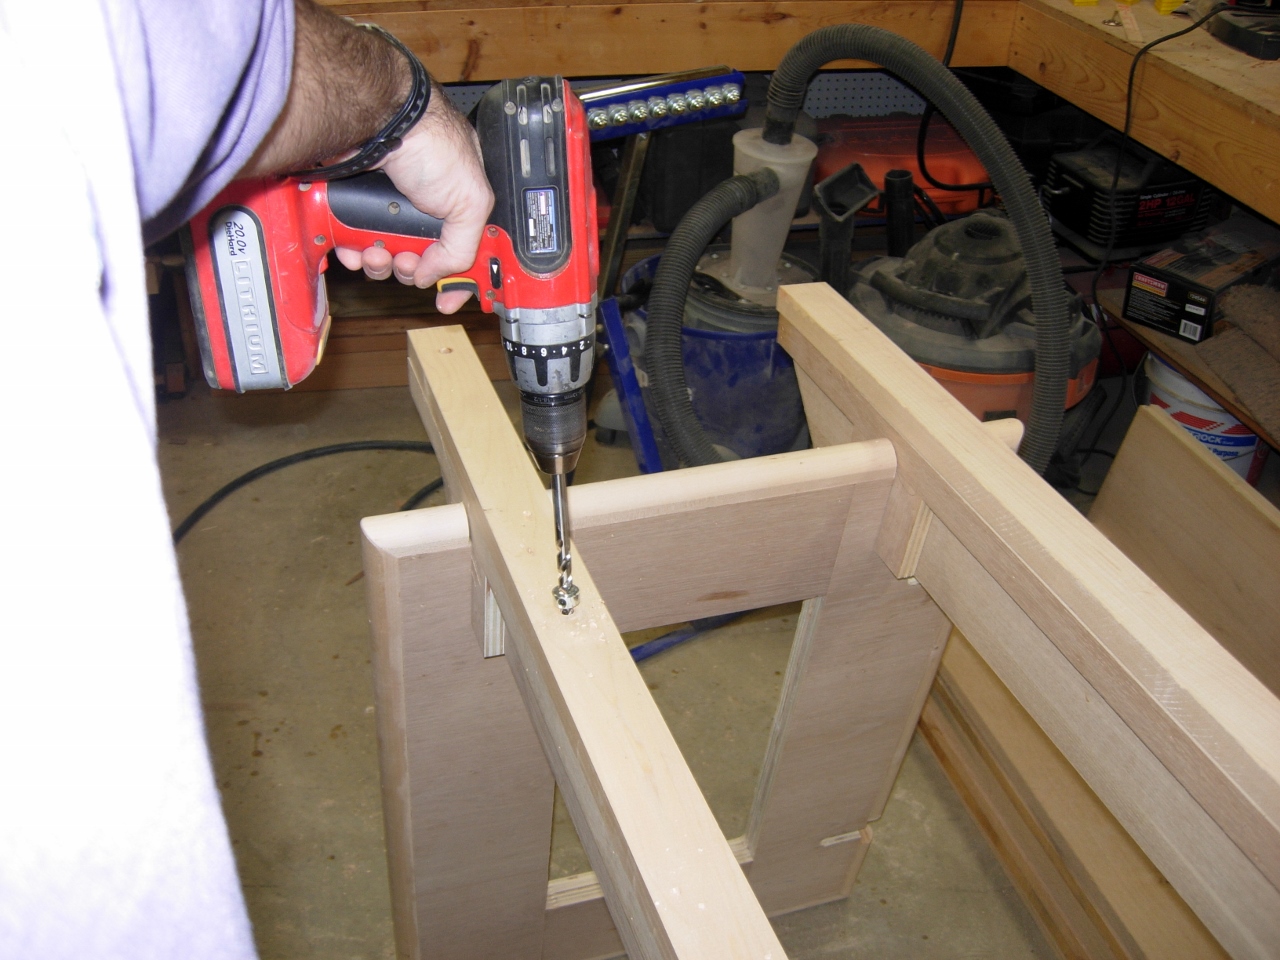
Drilling counter bores to mount the top rail

Attaching with pocket hole screws
I attached the caps with 2-1/2″ pocket hole screws. The top caps will be sacrificial, so they don’t get glued on, when they get cut up enough, I will just pull them off and add new ones.

Adding a 3/8″ round-over to the top
The nest step was to add a 3/8″ round-over to the top caps. This was easily done with a router after the caps were secured. When it was done, I ran the orbital sander across everything with 80 grit paper to ensure that all of the corners were round and smooth.

Rounded and sanded
I shouldn’t tear off any more chunks of skin, and the rounded base of the legs should work better than the squared-off plywood edges. They would have torn up or de-laminated over time. The maple should last a lot longer.

Pingback: Knock-down Workstation | Midnight Woodworking
Thanks for posting. I will be building this table in the near future and am thankful for your upgrade idea! How has the table faired for you since building, was it worth the (minor) investment, or looking back would you have built something else?
Thanks for posting,
Tom