
Maple and walnut blanket chests – day 4
The plan today was to get all eight of the sides cut and assembled. Since I have decided to do raised panels, I grabbed both of my routers, that are set up for the router table, and set up the rail and stile bits. I made a couple of set-up blocks when I made the panels for the altar, so I used them. Since my memory isn’t always the greatest, I even wrote directions on the set-up blocks.

Setting up the bits

Clamping several for a safer cut
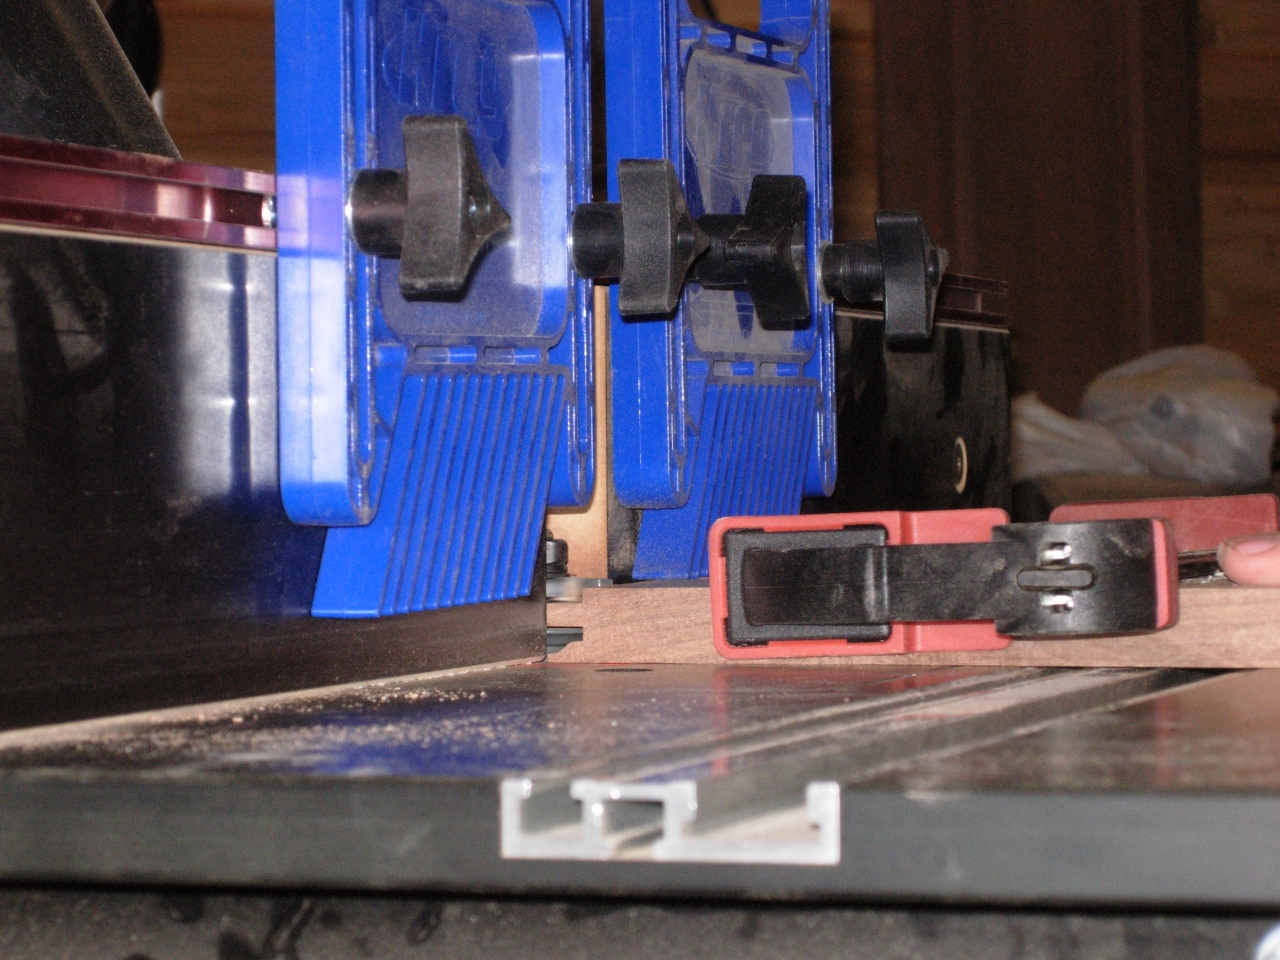
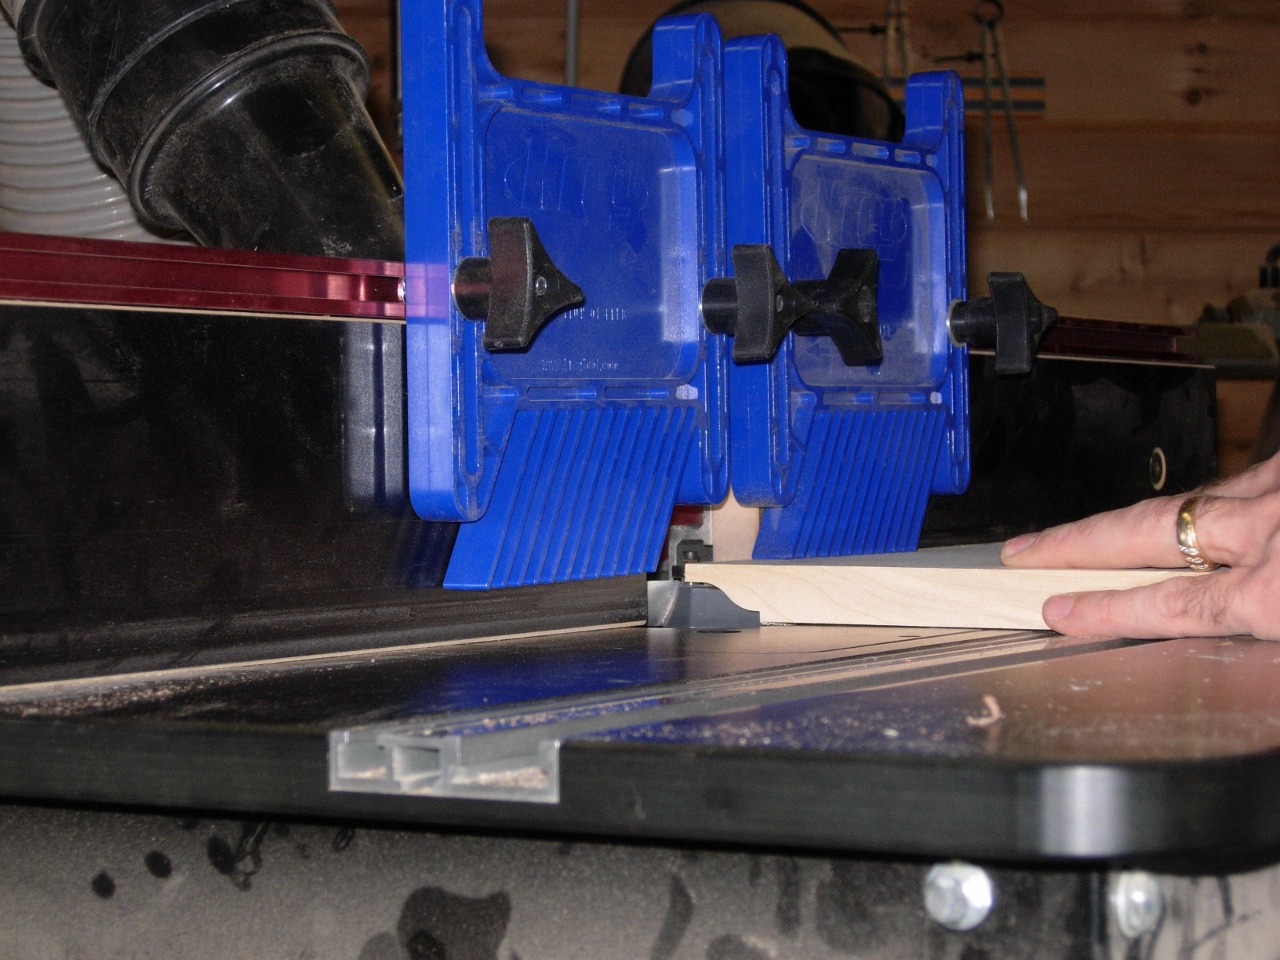
Following those directions, I set the boards face down and prepared to cut all the end cuts first. Last time I cut the sides first and I ran into some tear-out issues. I clamp together four boards and a scrap piece as a backer. The four boards, clamped together act like a much wider board, giving me a larger surface to run along the fence. the backer piece prevents tear-out on the last piece.
Cutting the ends of the walnut
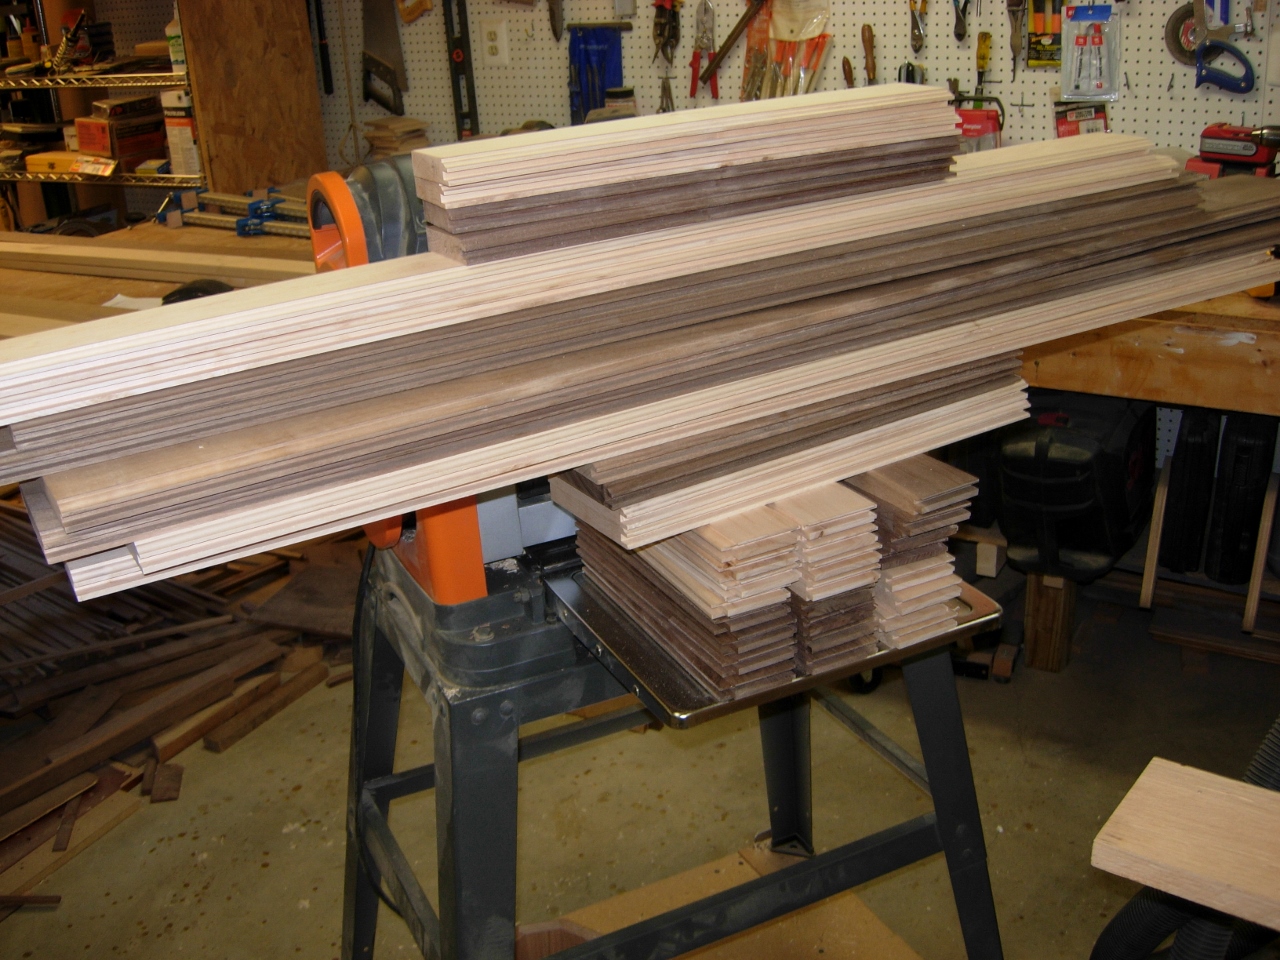
All the ends cut
After all of the ends were cut, I carefully determined what direction I wanted each board to face and laid them all in the same direction so I could cut the sides.
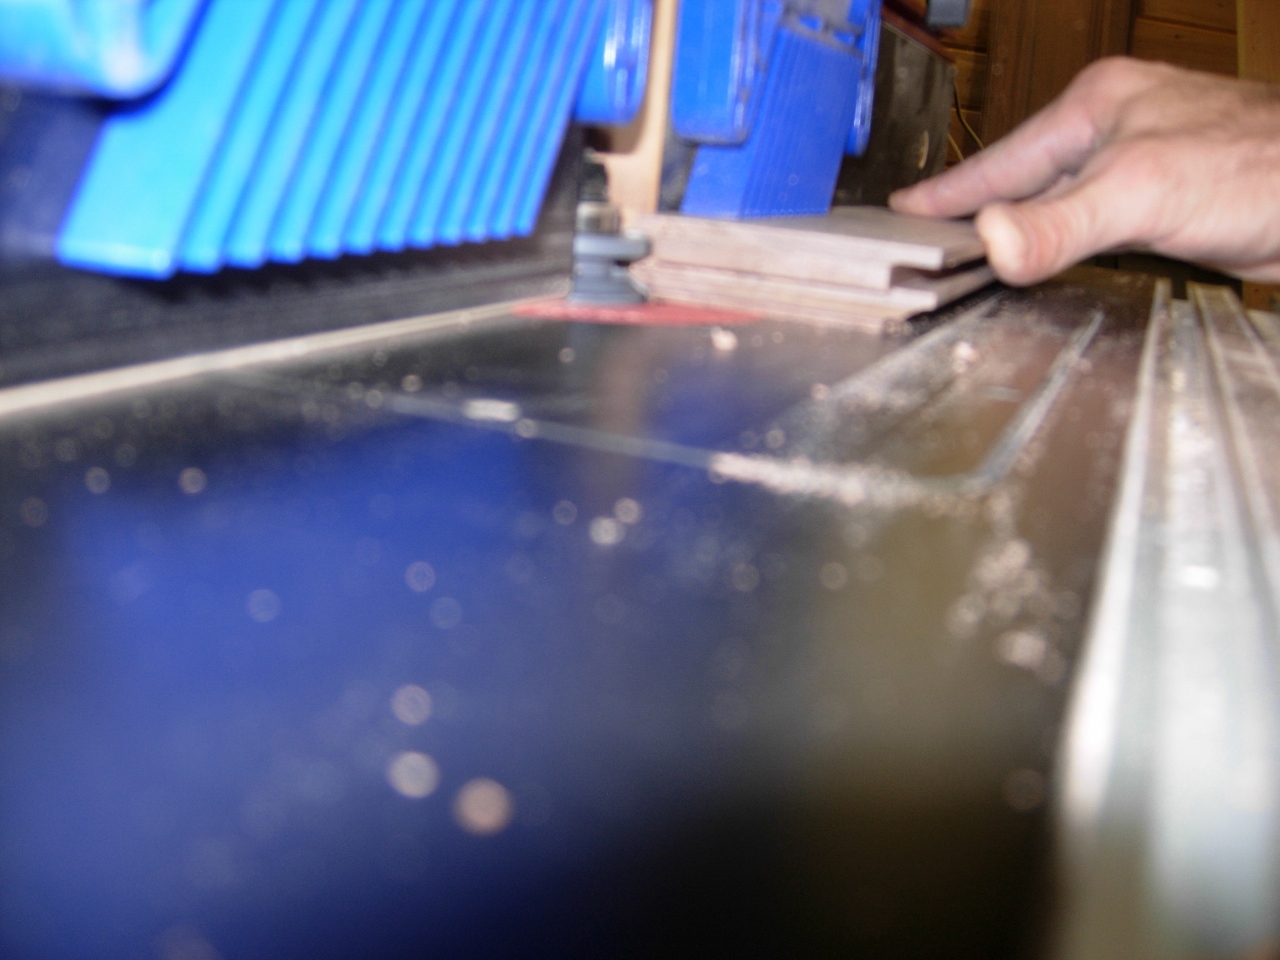
Cutting the sides
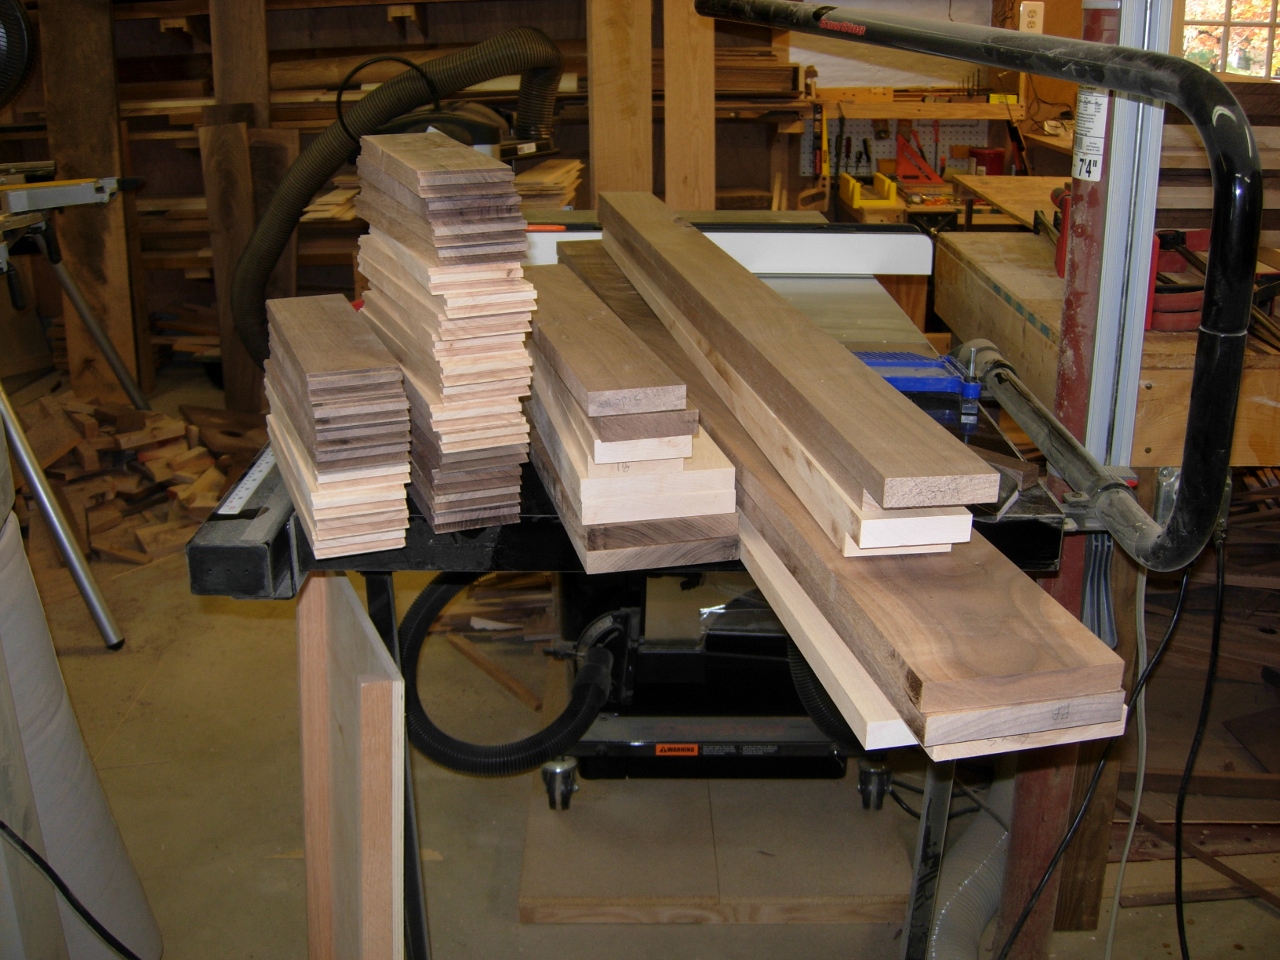
All the sides cut
An hour or so later… I dry-fit two horizontals and a vertical to see how tall the center panels would need to be. The panels are held in place with foam spacers, so I cut a couple and tucked them in the channels. The opening, minus the 1/8″ spacers, comes to 11-3/4″.

Checking the panel height

Cutting the panels down to size
My panels were all cut long so that I could resize them once I had the rails cut and measured. After removing 3/4″ from all of my panels, I set up the panel bit on the router table and started running the boards through.
Cutting the panel edges

First panel done

All the panels complete
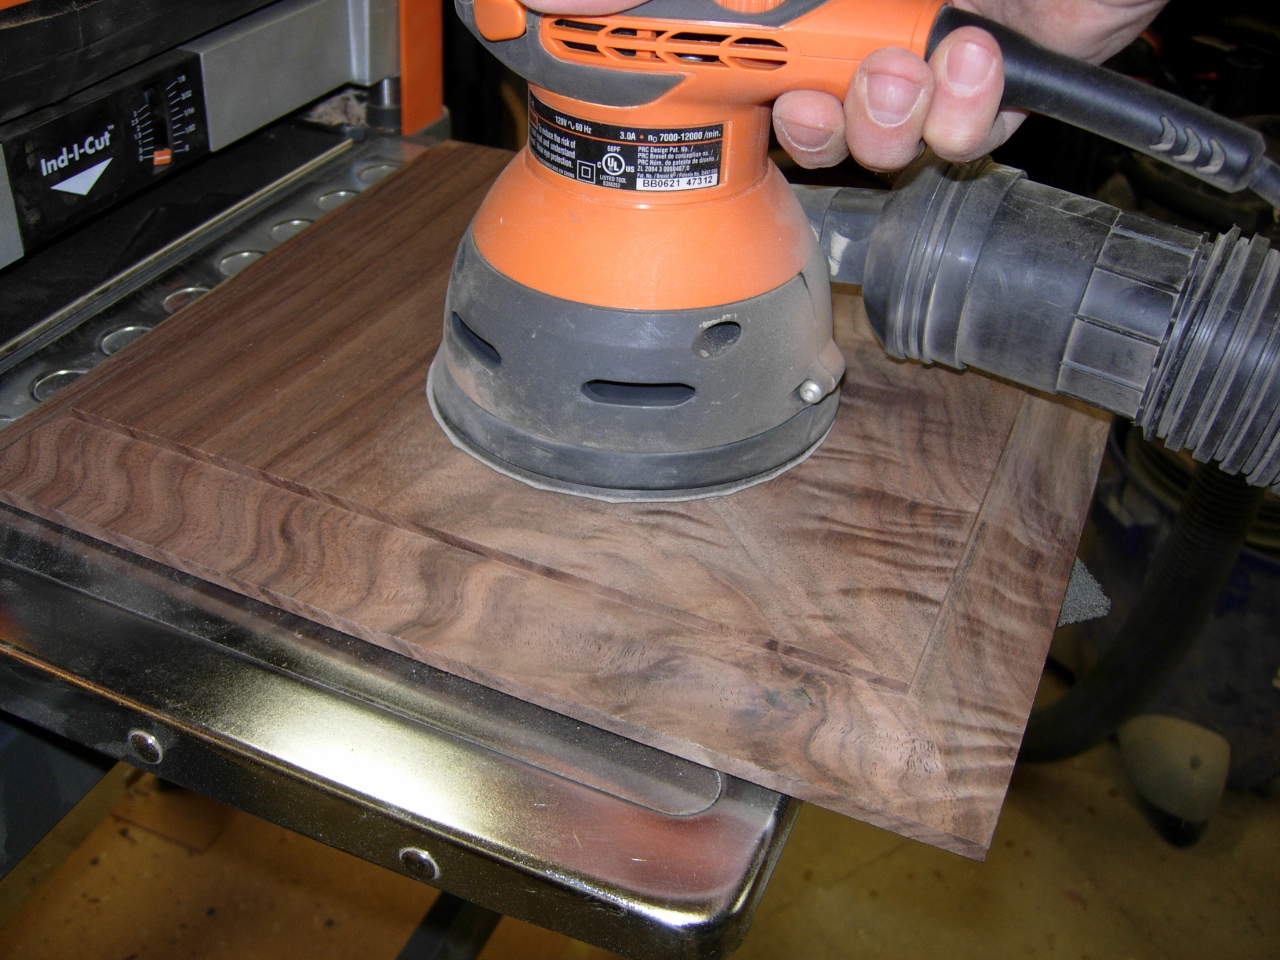
Once the panels are installed, it will be more difficult to sand down the routed edges. To make things easier on me, I ran the sander over the face and the edges prior to assembly. Check out the grain on that piece of walnut. I have a pretty piece, like that, for each side of the chest that gets walnut panels.
Sanding down the panels

Cutting the spacer foam
The next thing I did was to cut down a bunch of spacer foam. I use the foam to capture the panels, so they don’t move, but still have the ability to expand and contract. This prevents cracks from wood expansion and also prevents the panels from rattling when they shrink. The foam is peel and stick, so it holds in place well enough to get the panels inserted.
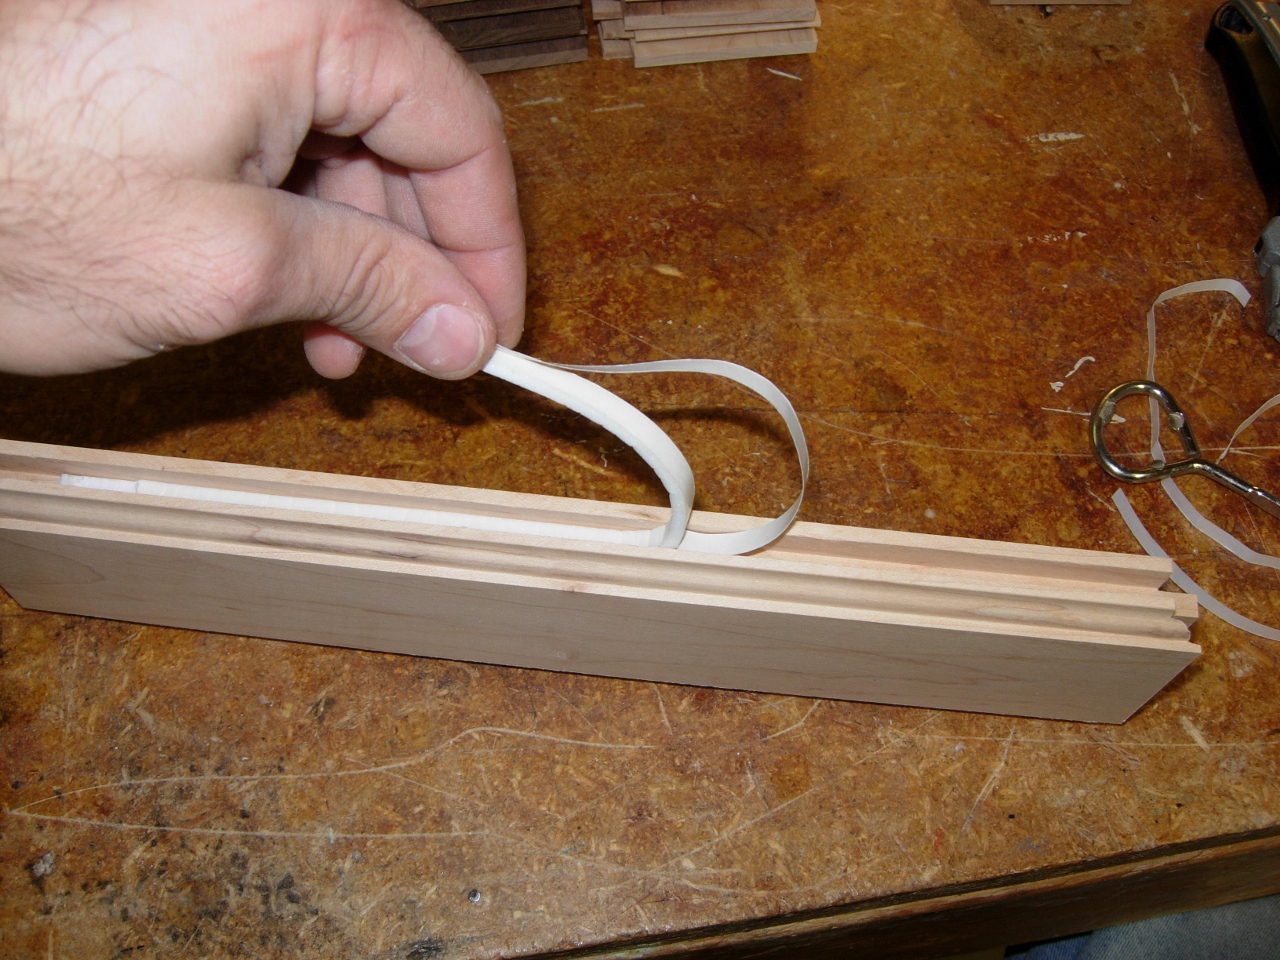
Peel and stick
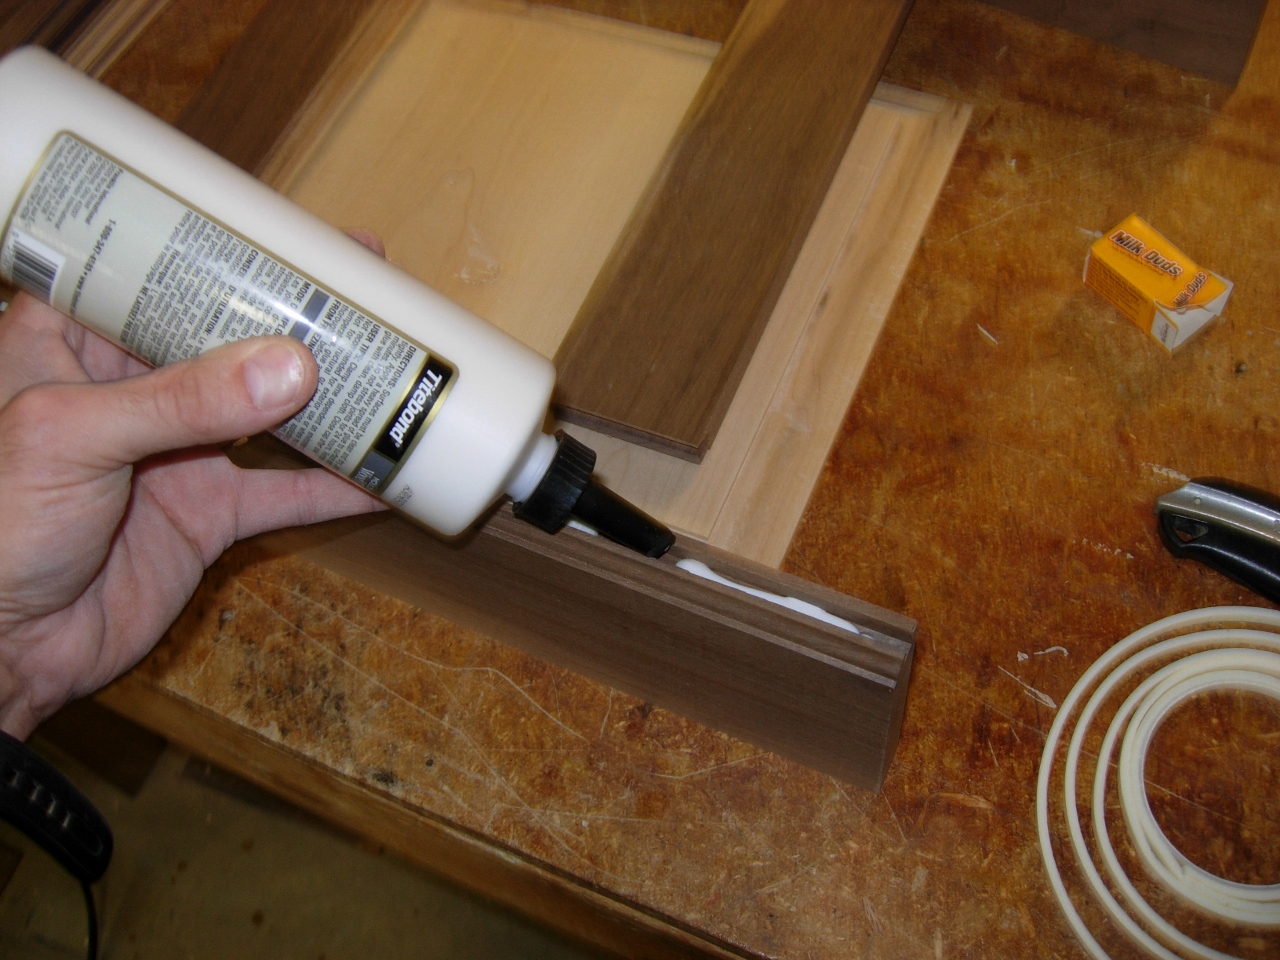
Applying the glue
Once my foam is inserted, I apply glue to the grooves on the sides of the rails. If I were to apply it to the groove in the verticals, the glue would squeeze out onto the face of the boards. You may notice, in the picture, that the top and bottom boards run a little long. That is because I didn’t know exactly how long they would need to be, so I cut them all long with plans to cut the ends flush after the glue dries. Once glued, I clamped it together and set that panel aside to prepare the next one.

Side panels glued up

Setting up the front/rear panel
I decided to do one of the front panels next. They are a bit more complicated to assemble, but not much more.
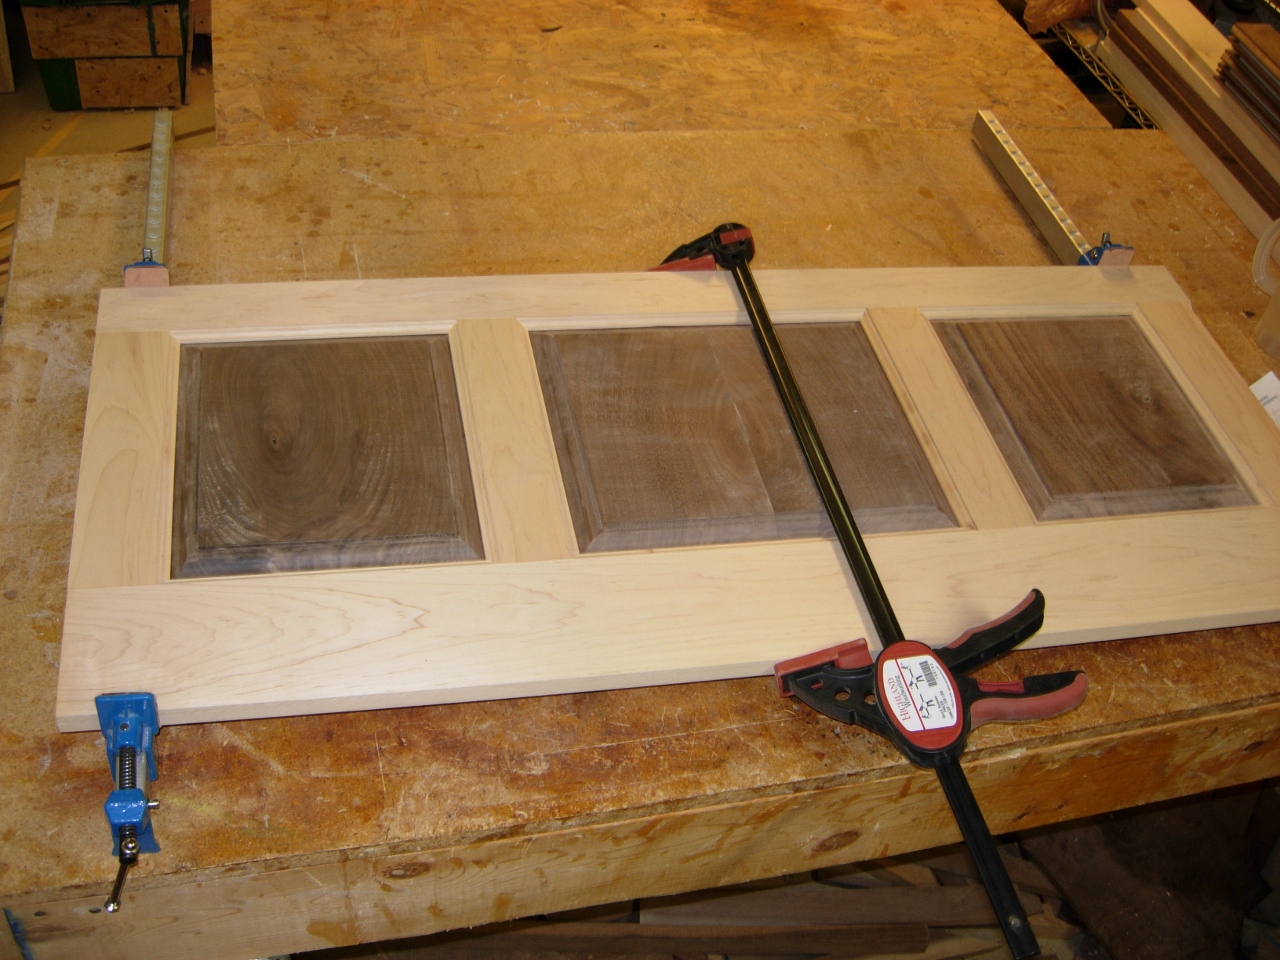
Maple with walnut panels
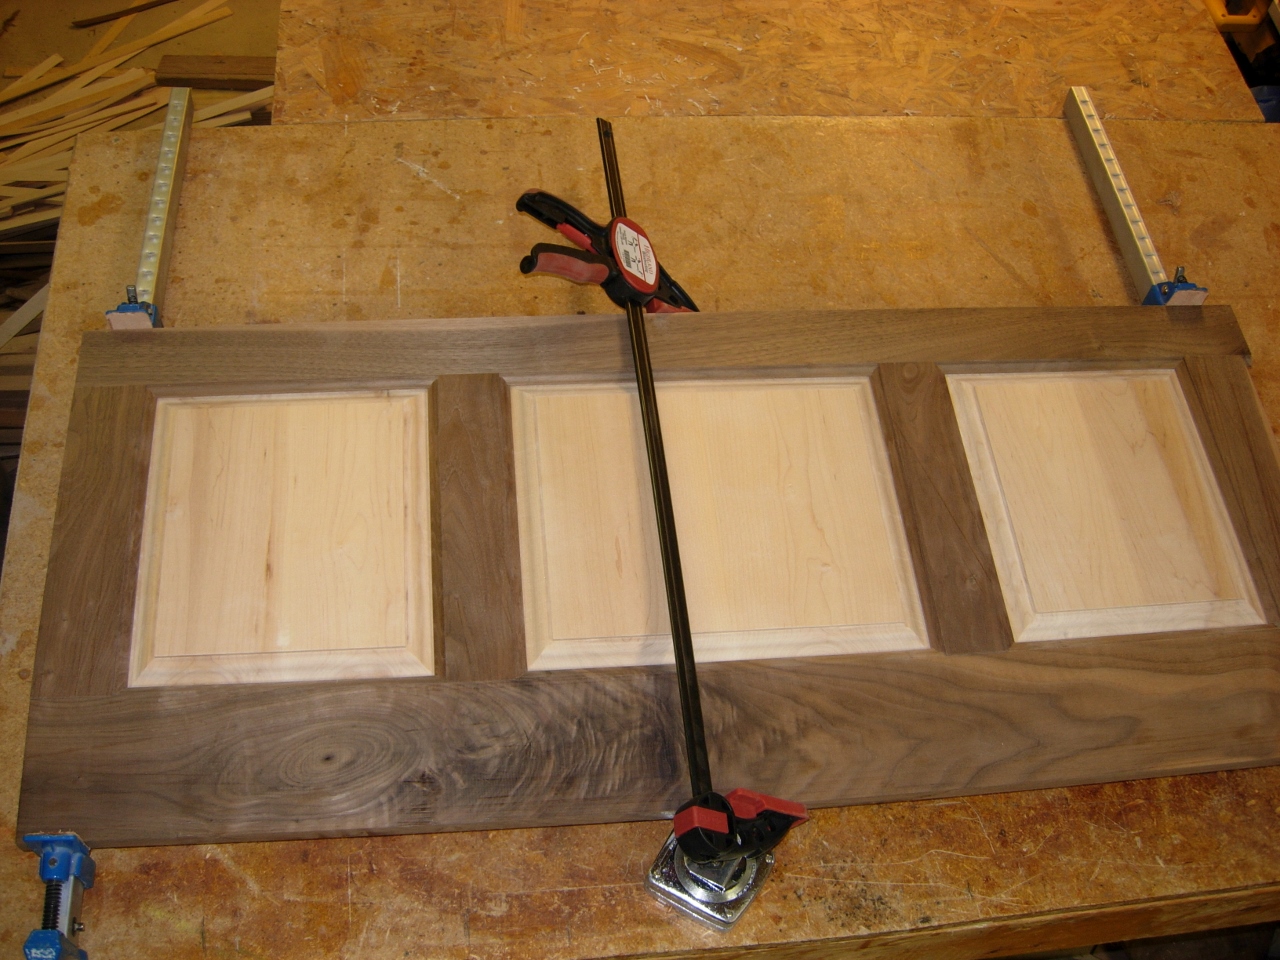
Walnut with maple panels
After another hour or two, I finally have all of the panels glued up. I had to pull the clamps off of the first two panels assembled to have some for the last two panels. Two hours was long enough for them to set up.

All the panels assembled and drying
Tomorrow, I hope to get the sides and bottoms cut down and assembled, as well as get started on the lids for both cabinets. After midnight though, so I am done for today.
