
Maple and walnut blanket chests – day 5
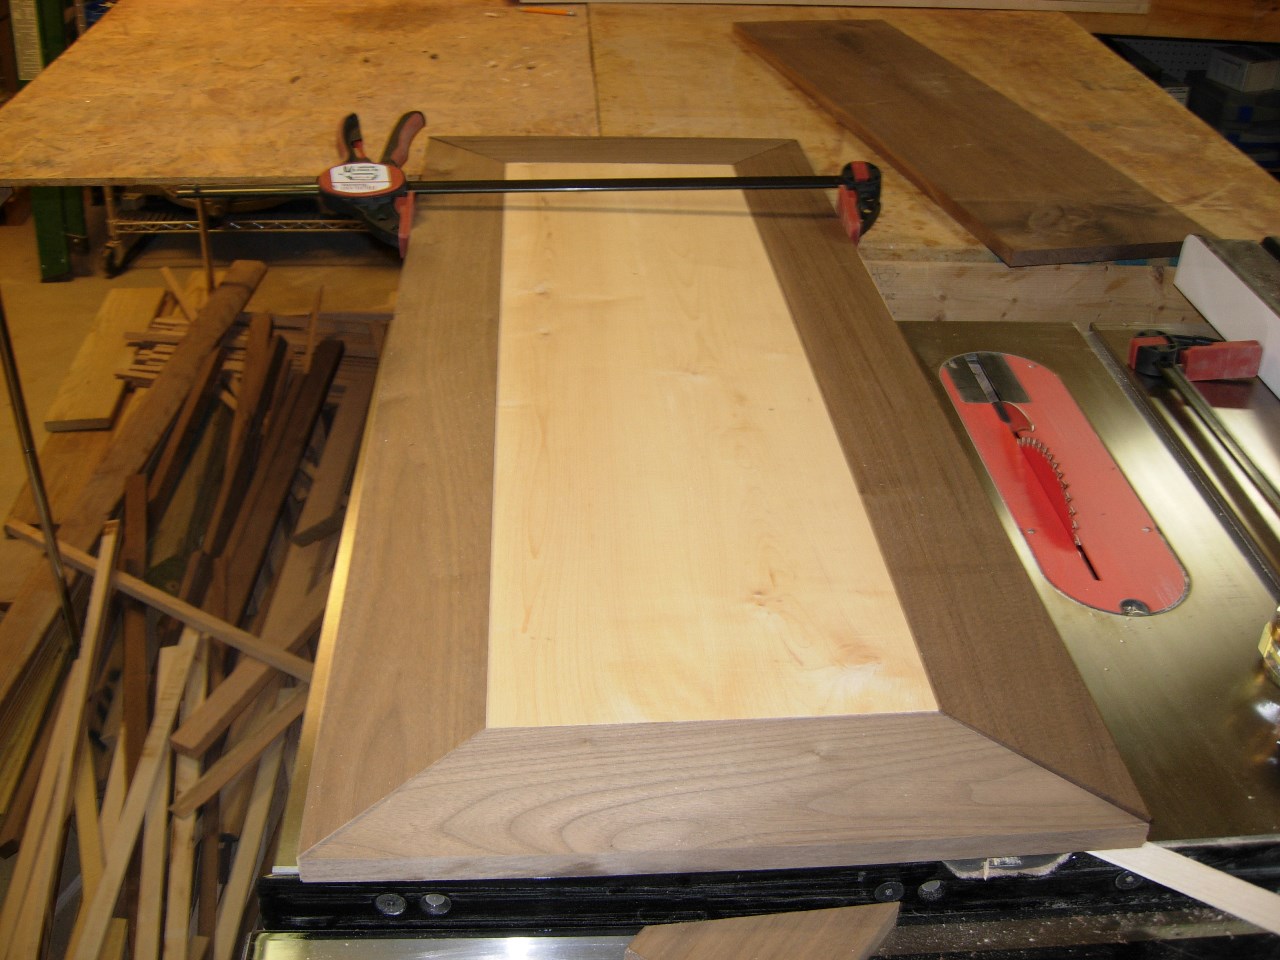
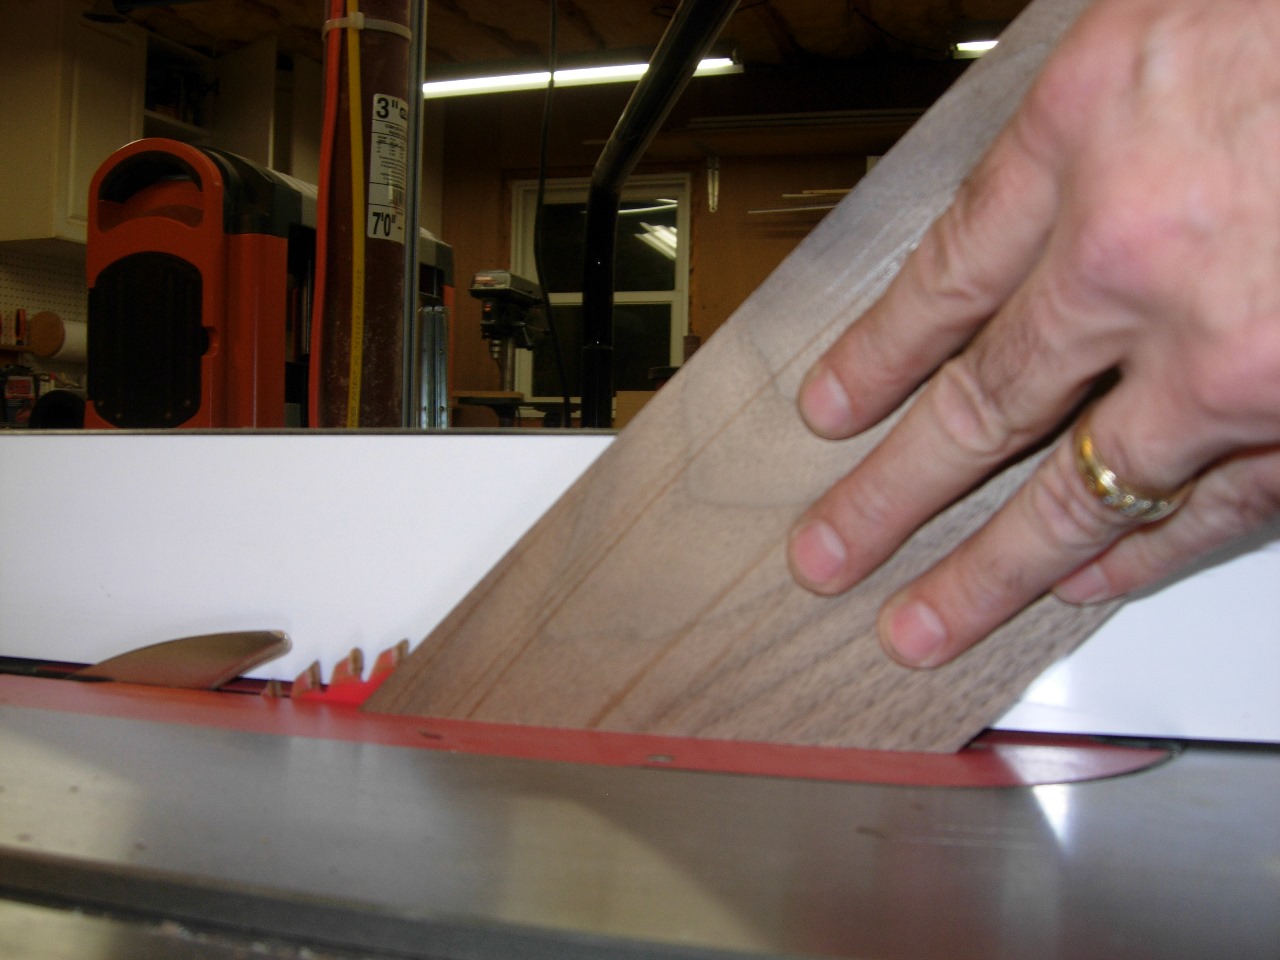
What a long day in the shop yesterday. Time to start putting these things together. I started out by trimming down the long ends on the panels, and making sure they were all exactly the same length. I used the table saw for the short panels and the sliding miter saw for the long ones.

Trimming down the panels
I ran the orbital sander over all of the face frames to smooth out any glue joints.
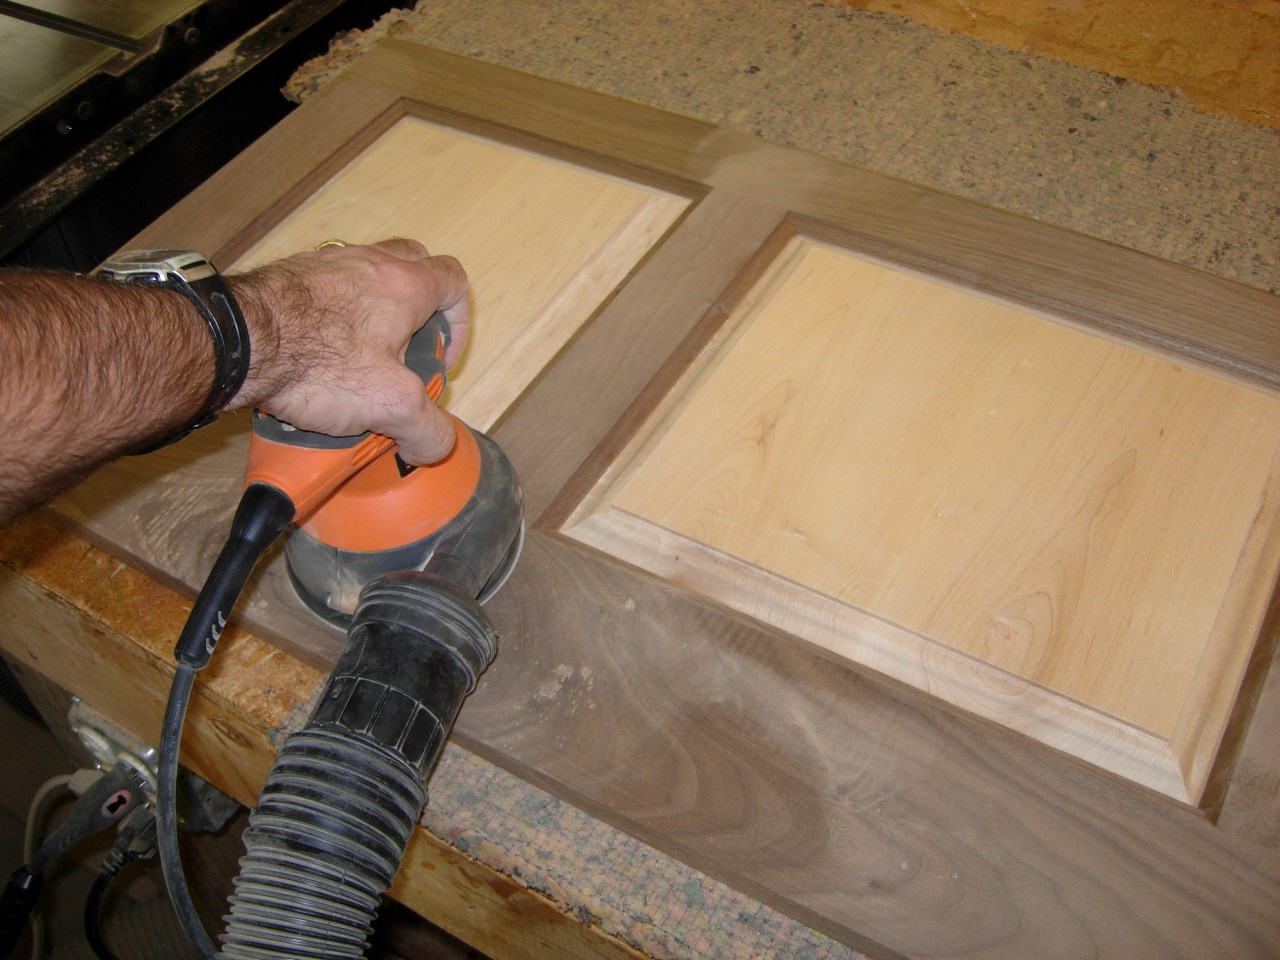
Sanding the face frames

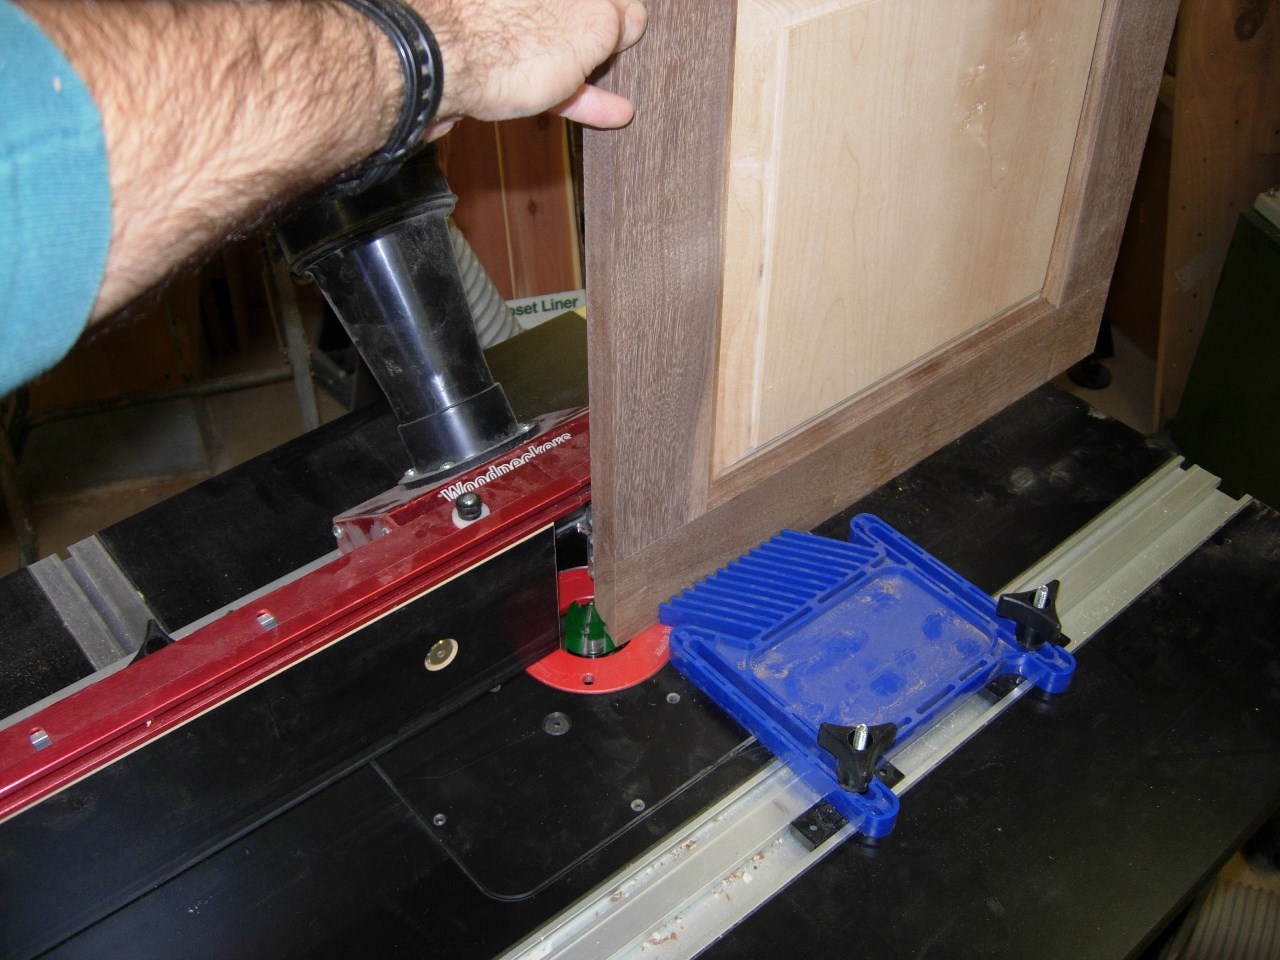
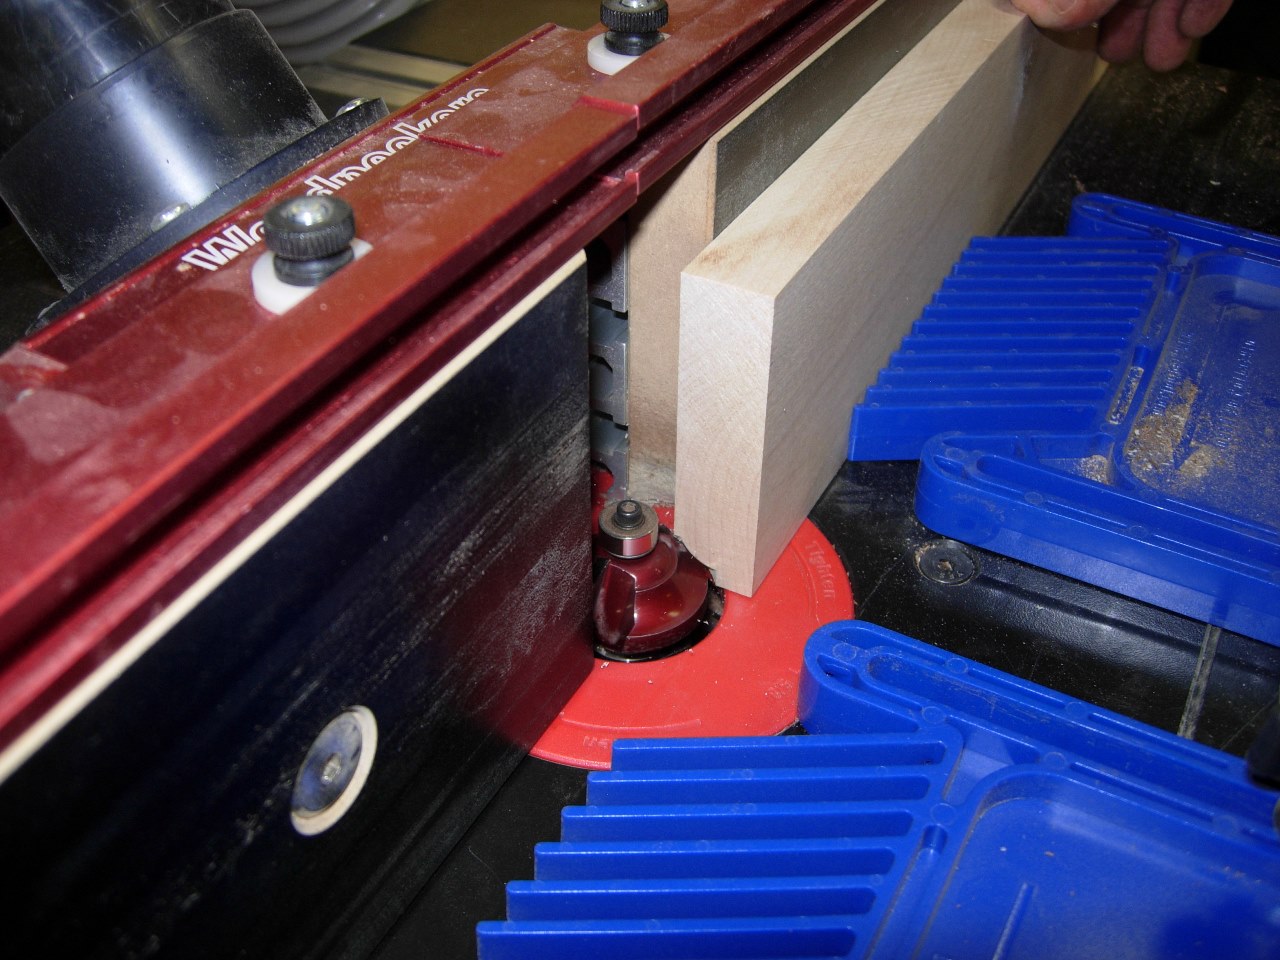
Routing a lock miter
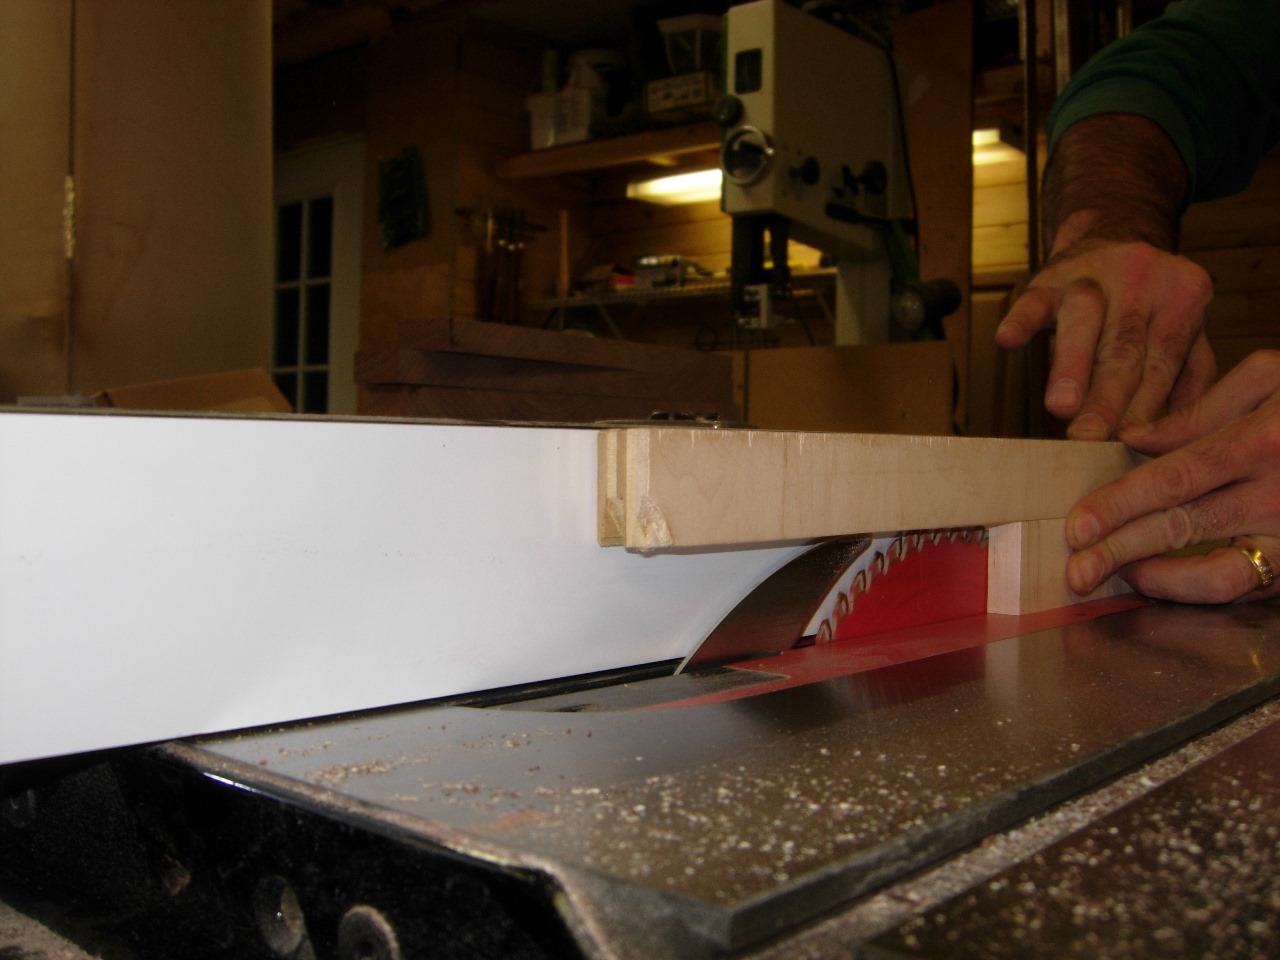
Since I seem to enjoy making things difficult for myself, I decided to attach the panels to each other using a 45 degree lock miter. If you set it up correctly, you can theoretically achieve a seamless mitered corner that is very strong. I cut the ends of the longer sides in the horizontal position, and the short panels in the vertical. This gives you two opposing joints that fit perfectly together.

One down…
Cutting the verticals
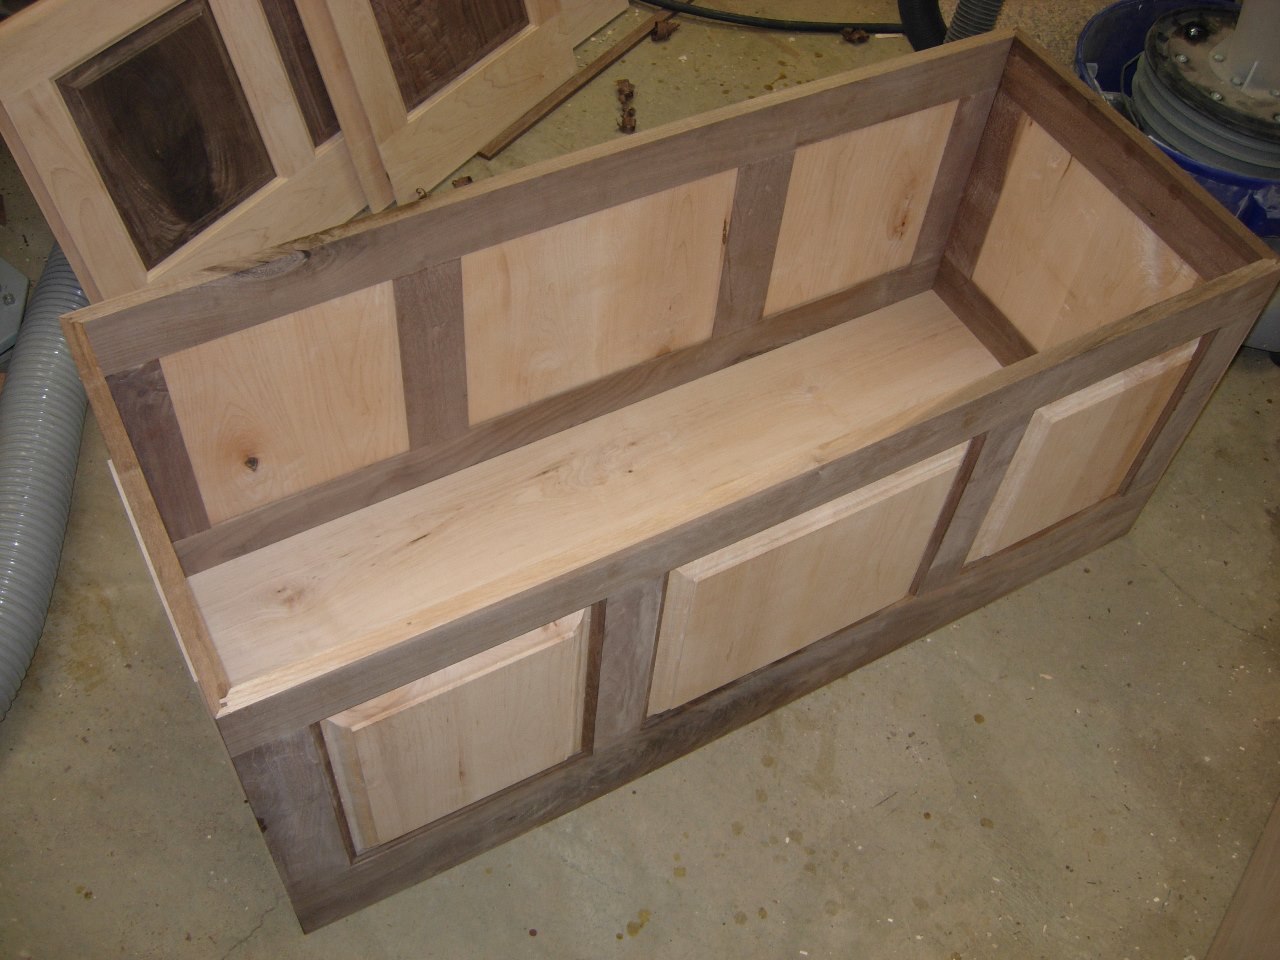
The first one went together very well. It was down-hill from there…
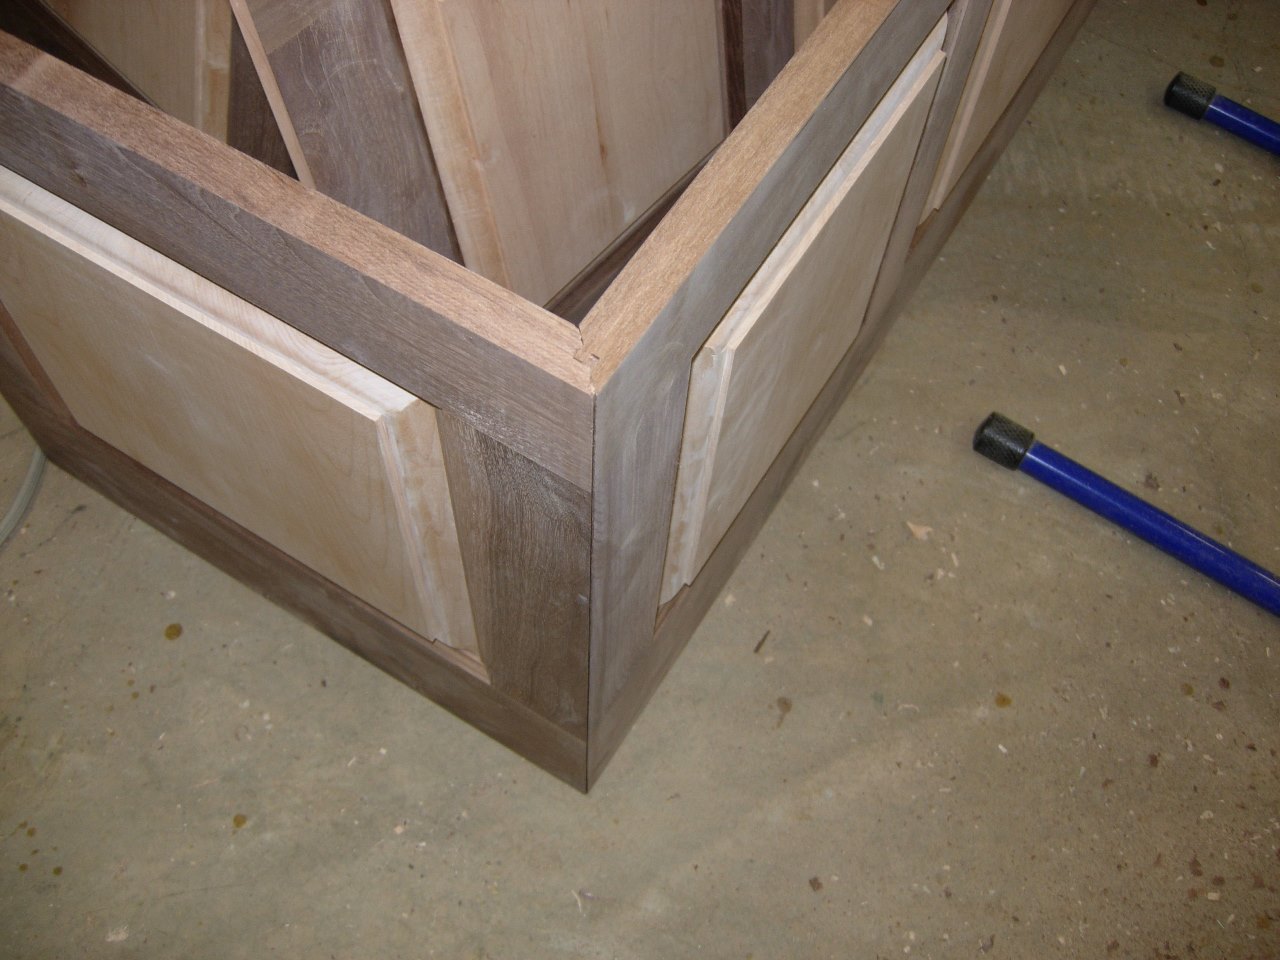
Tight joint
The rest of the side panels suffered from tear-out at some very annoying locations. Luckily they were all on the inside or bottom, so the repairs are less noticeable.
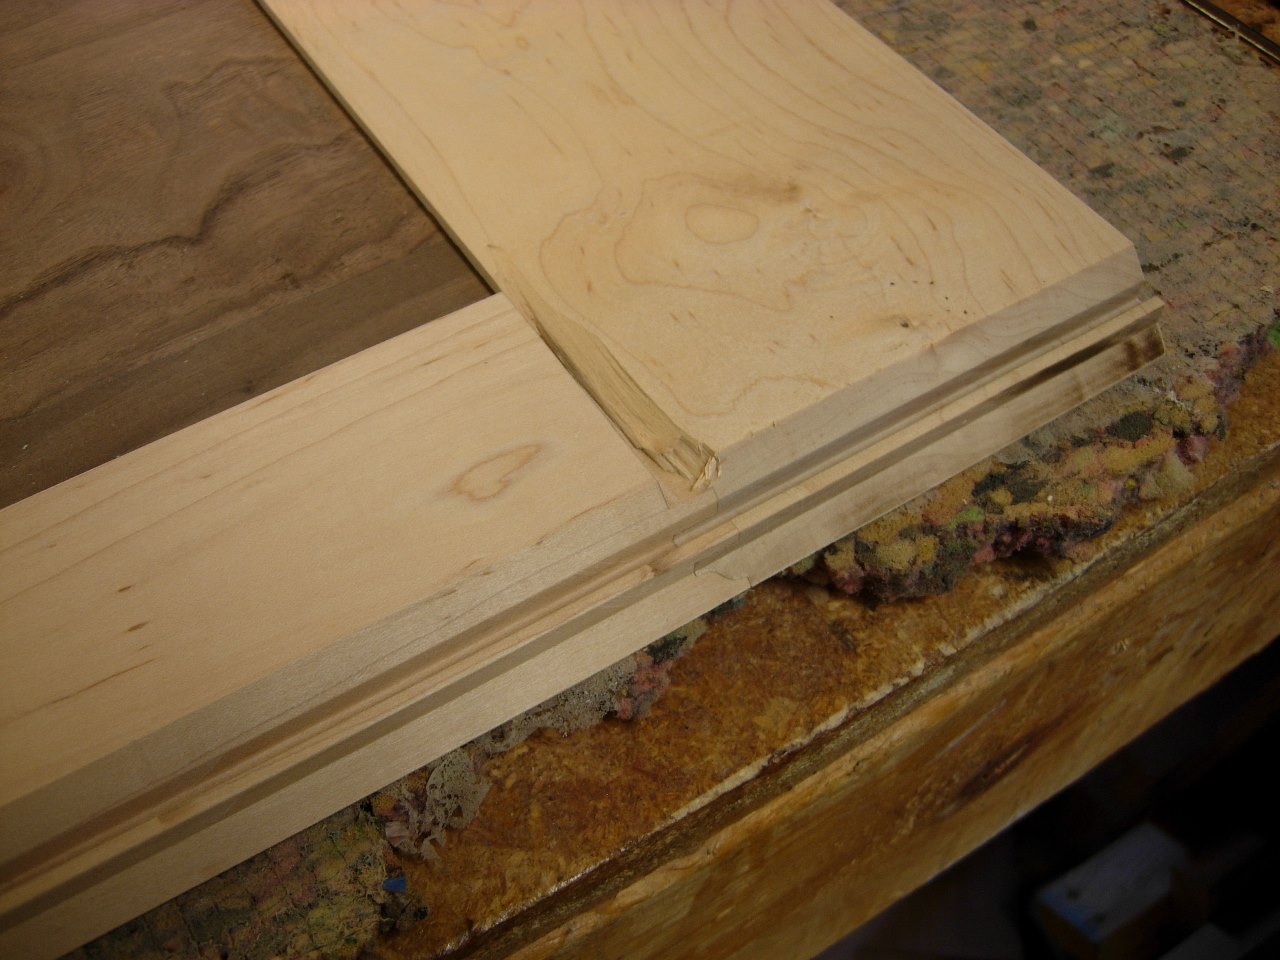
A bit of tear-out to repair
To repair these, I started out by cleaning out the damaged area, then squaring it up.
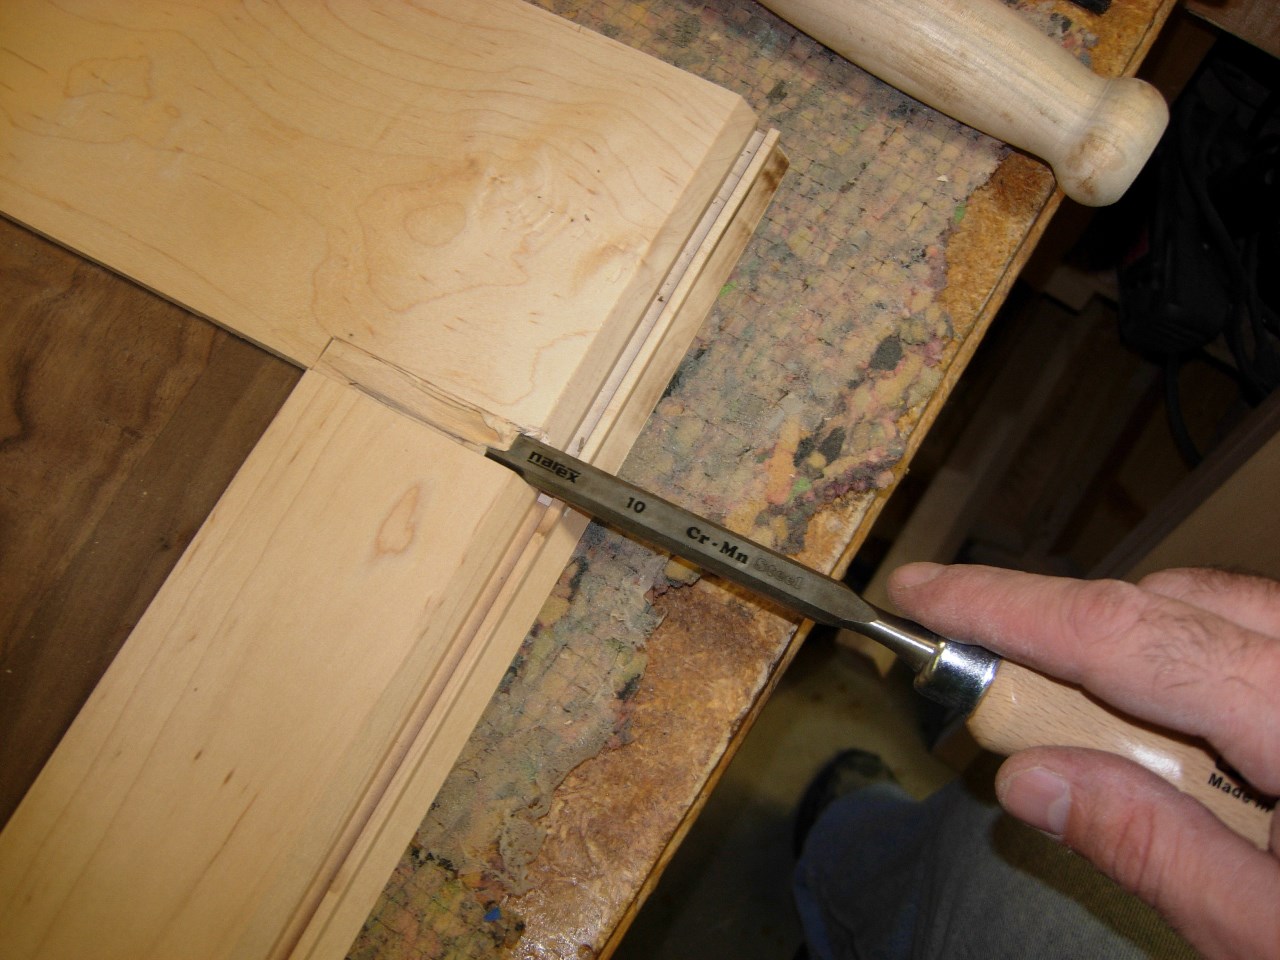
squaring off the damaged area
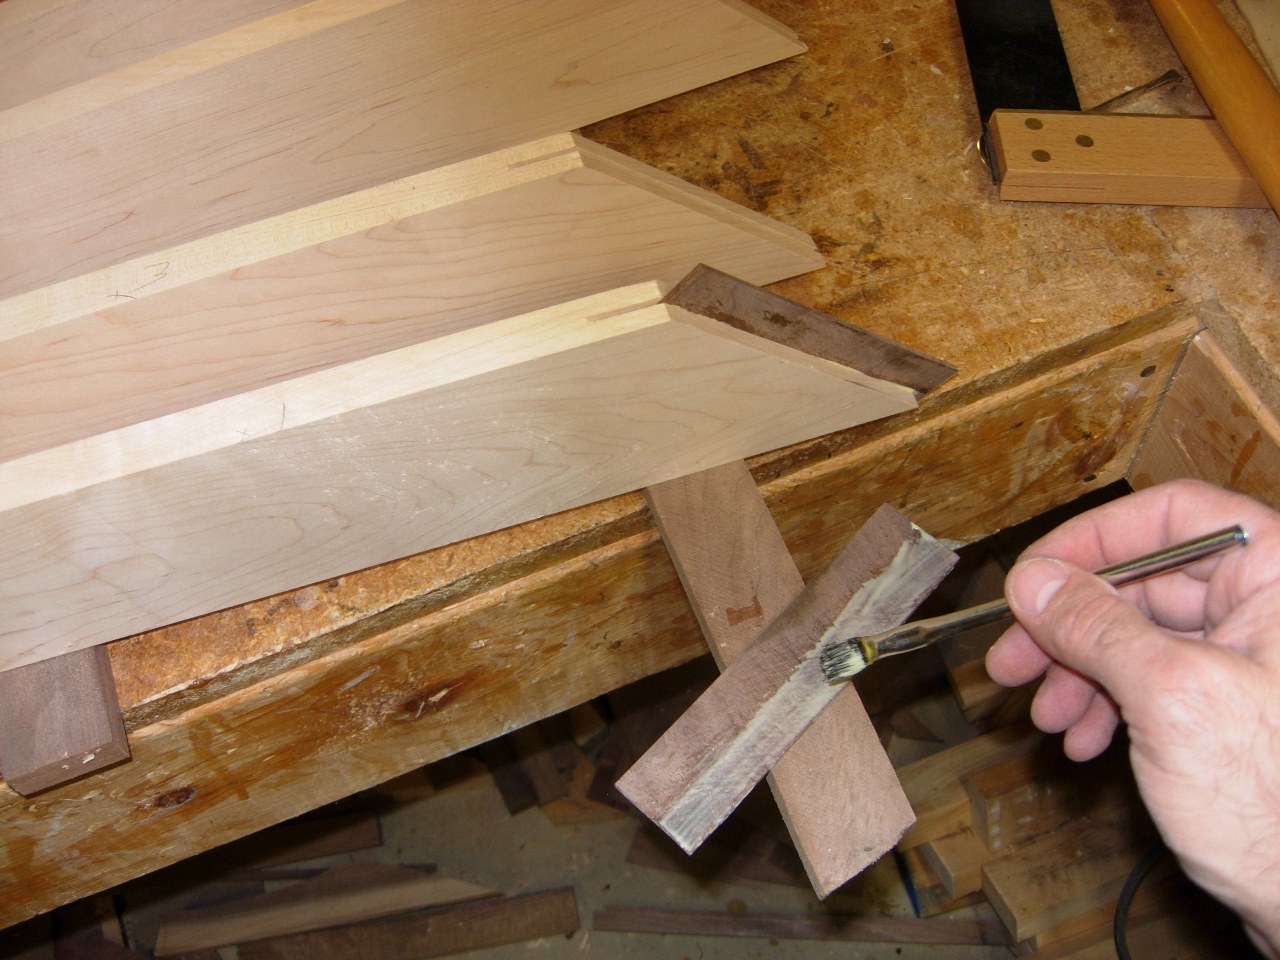
Next, I cut a plug slightly larger, then sanded it down till it was a press fit. I used Nexabond to attach the plug. It is basically a super-glue gel. It sets up in minutes, so I can finish up quickly.

Quick glue-up

Shaping the plug
I used my block plane to take the plug height down to match, and also along the chamfer.
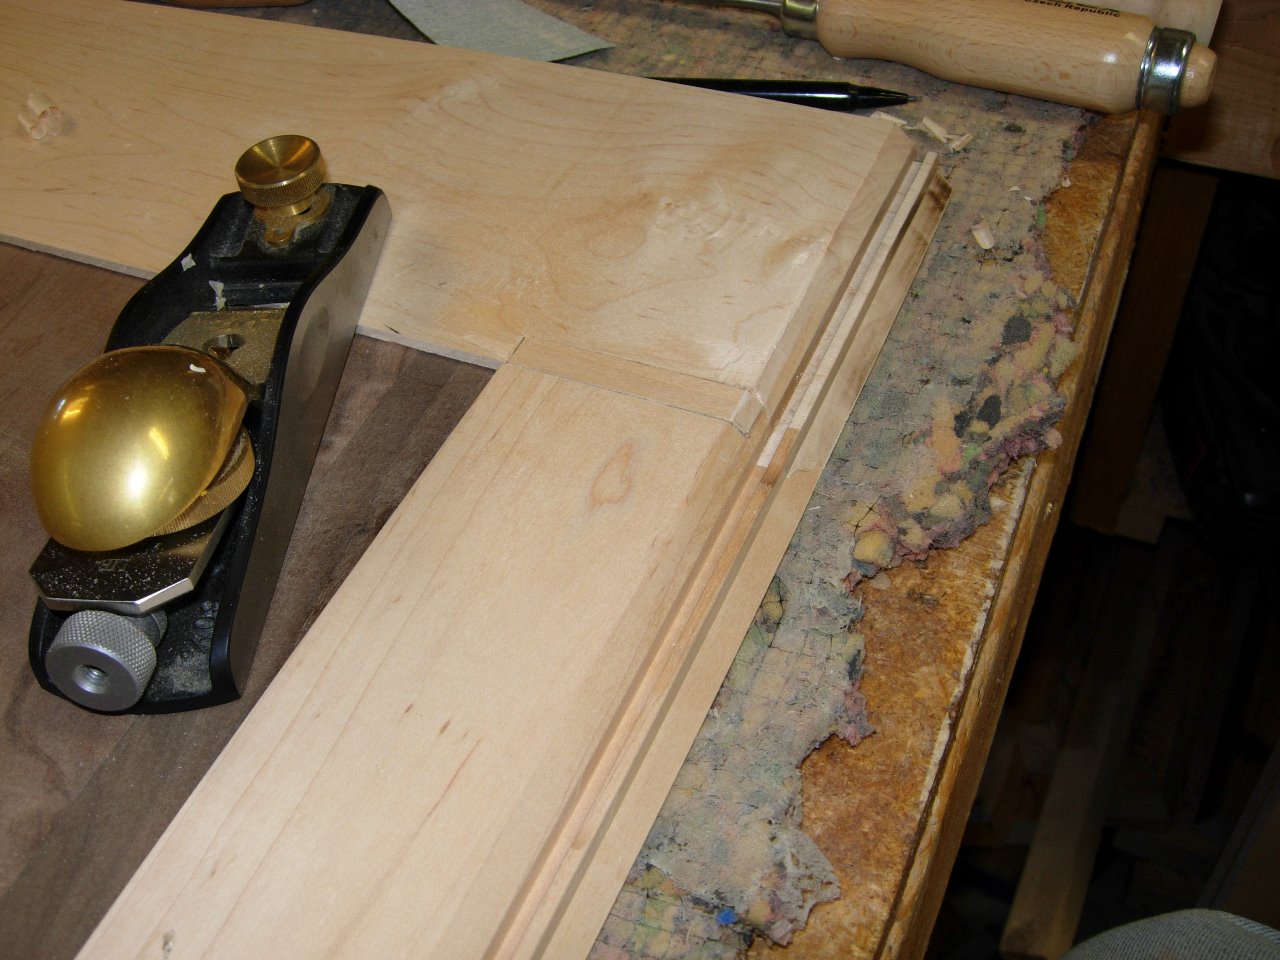
Repair complete
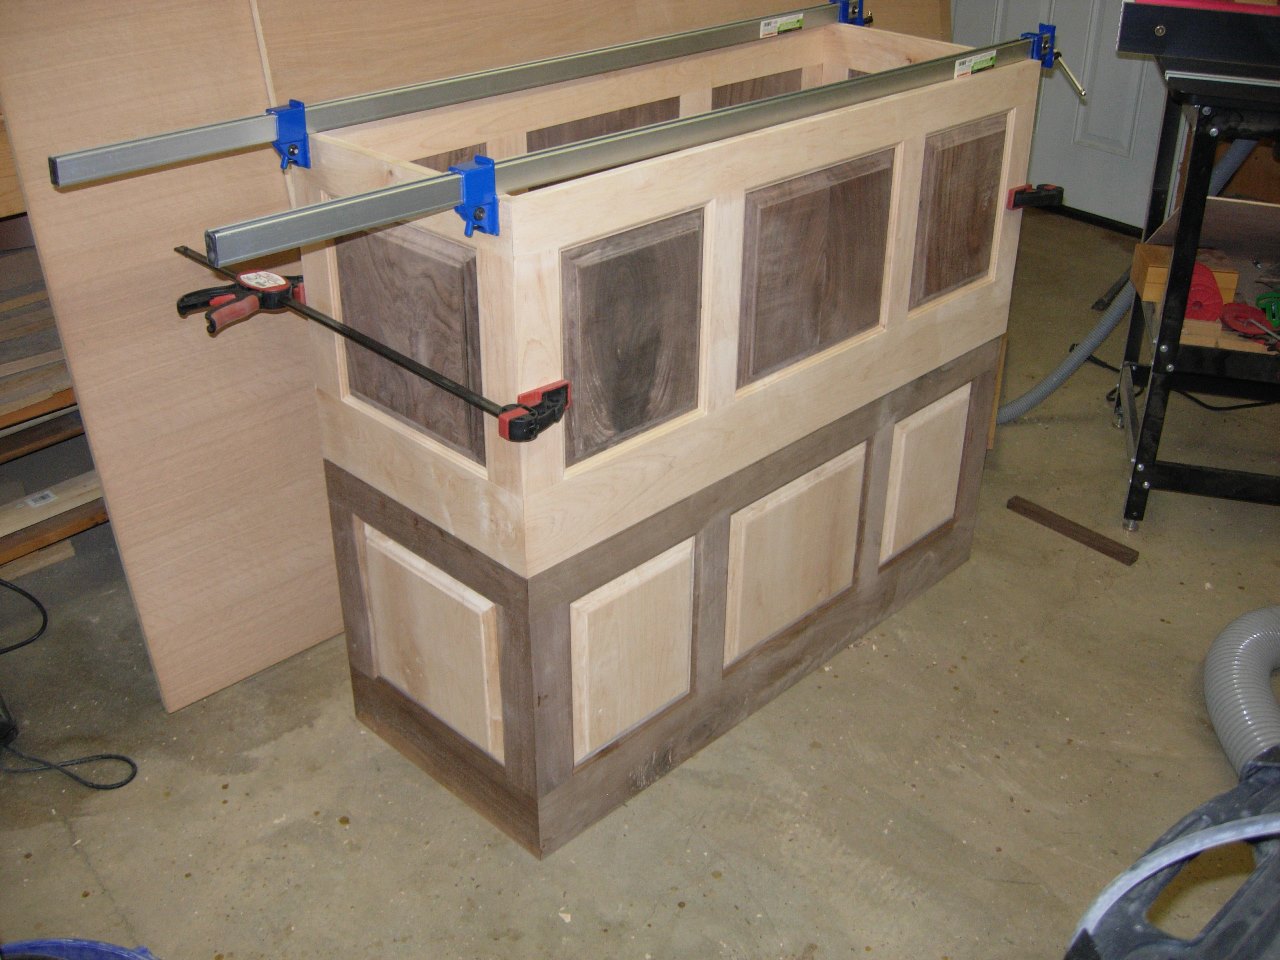
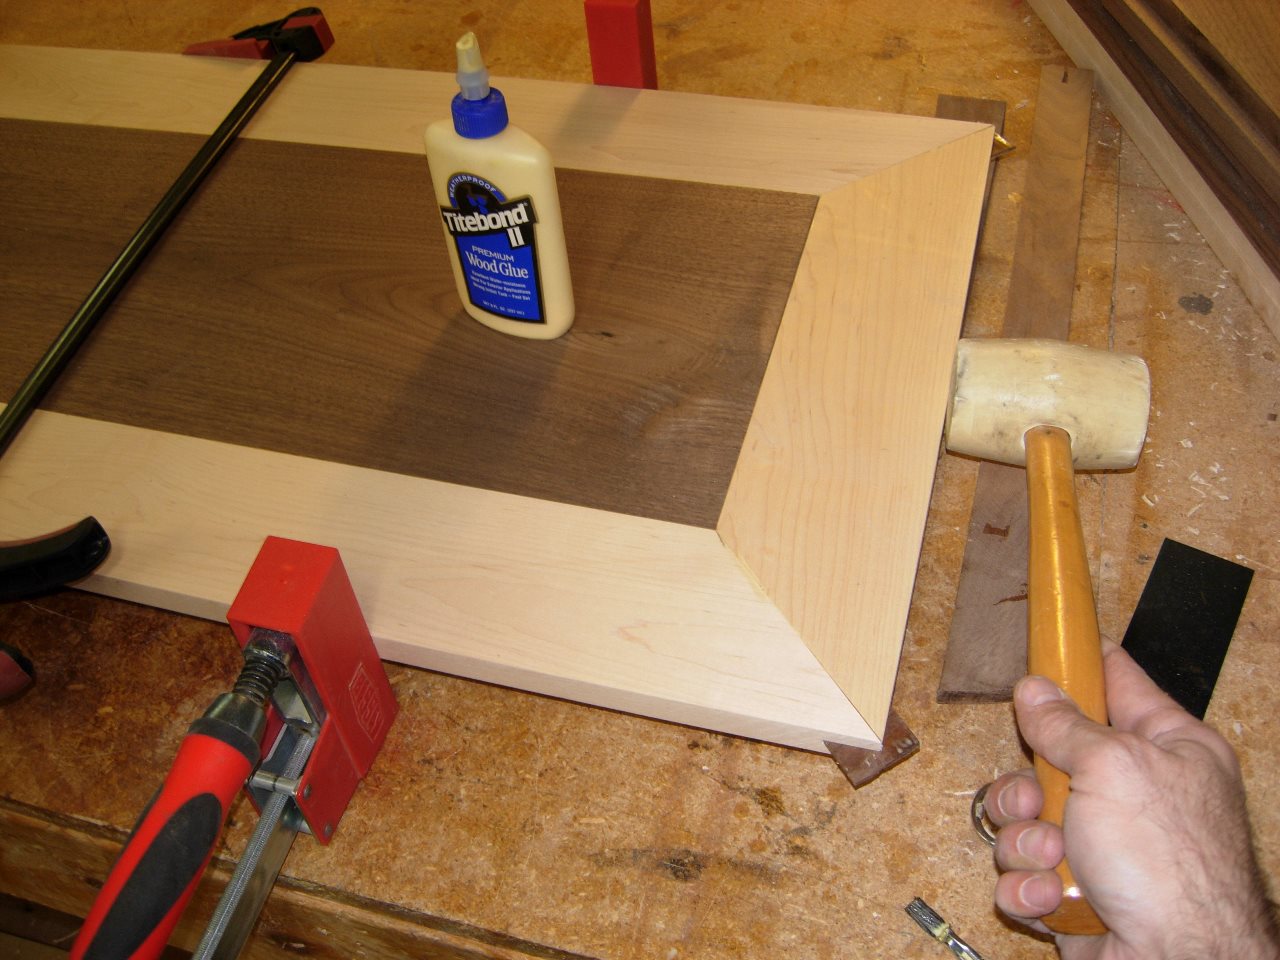
Two hours later, I was back to assembling…

Applying glue to the lock miter
I applied wood glue to one surface of the lock miter then clamped the sides up. I used a thin layer so I wouldn’t get squeeze-out at the inside corners. That would have been difficult to clean up.
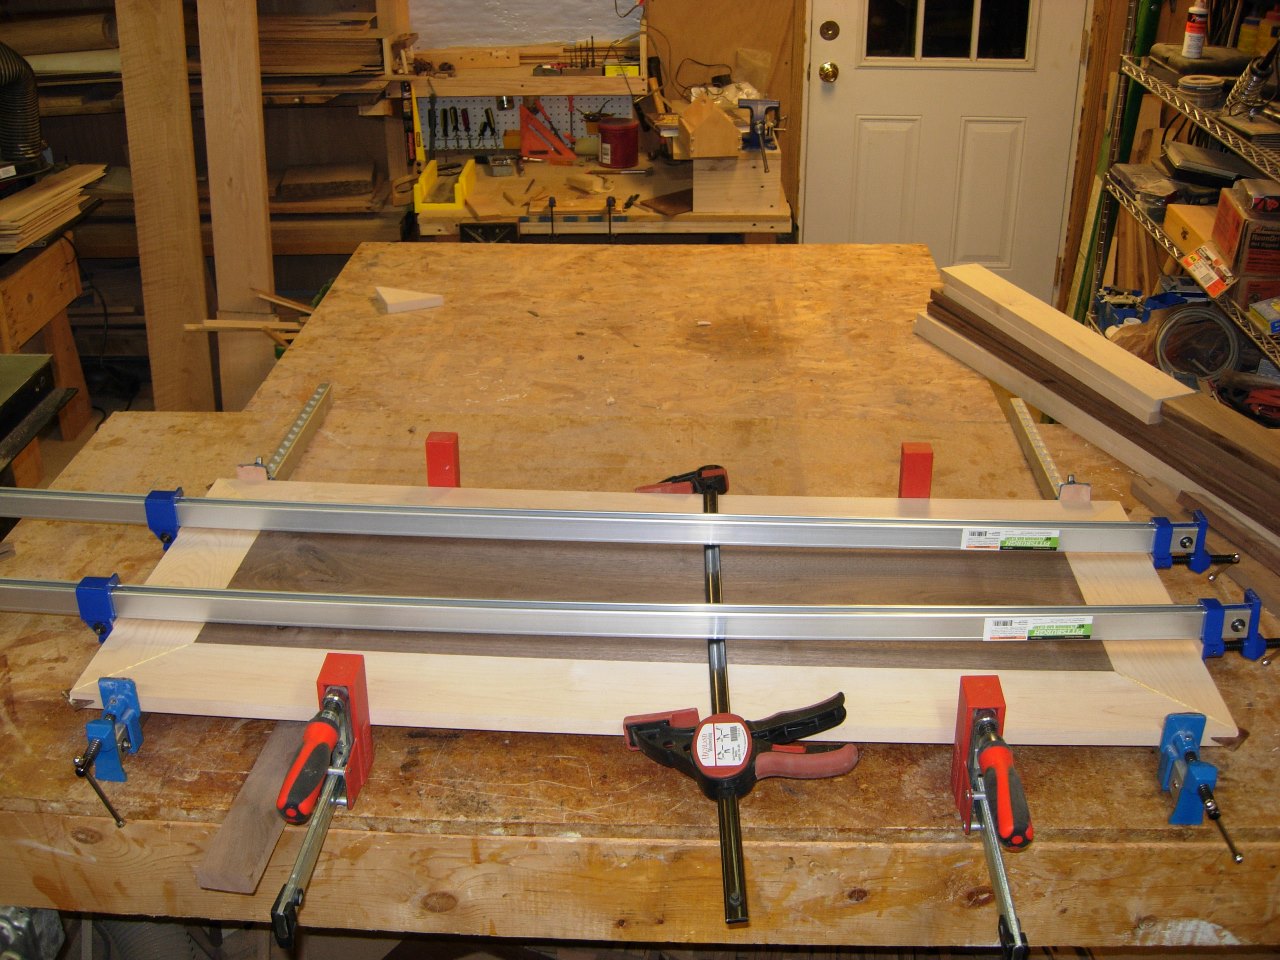
Clamped up and drying
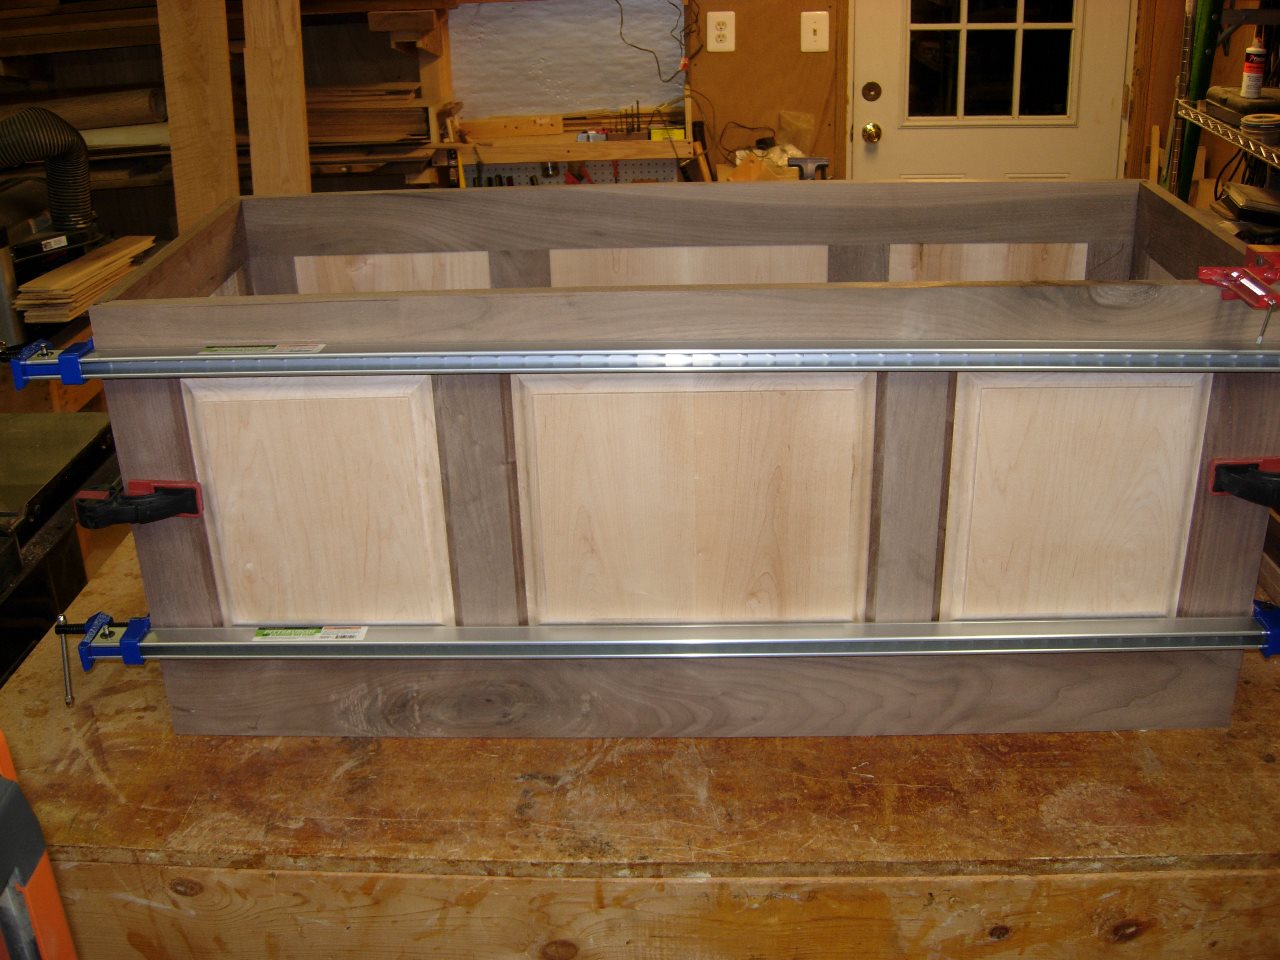
I noticed that the box was not staying square, so I decided to install the bottom to hold it square while it dried.
Ripping strips for the bottom
I cut the panel down to fit snugly, then cut down some 1″ strips to go around it.

Applying glue
I applied glue and nailed the strips around the perimeter.

Nailed in place with 2″ brads
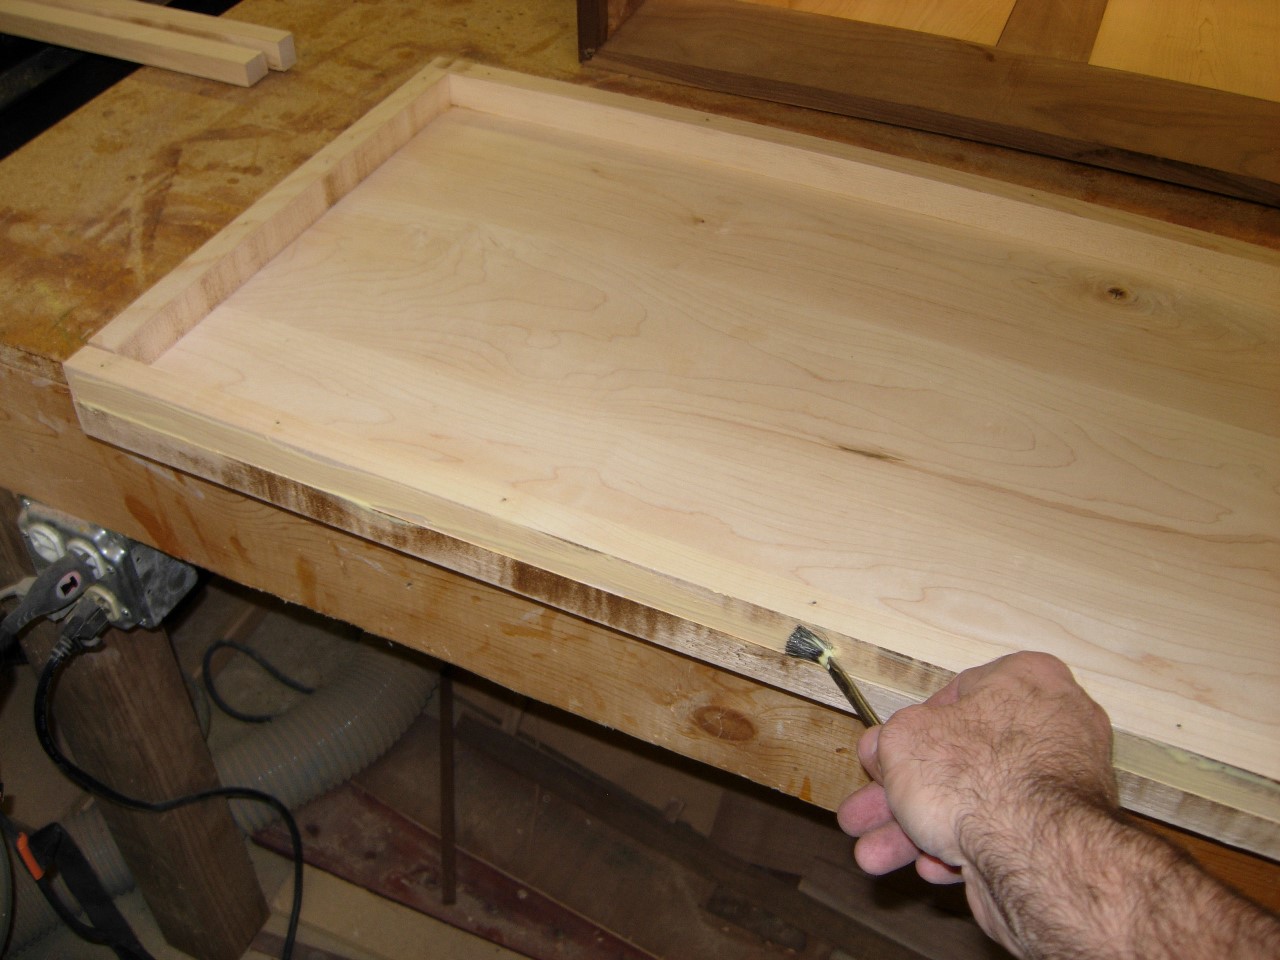
Applying glue
I applied glue around the outside and pressed it into the bottom, clamped it in place, then nailed it.

A few more brads to mount it
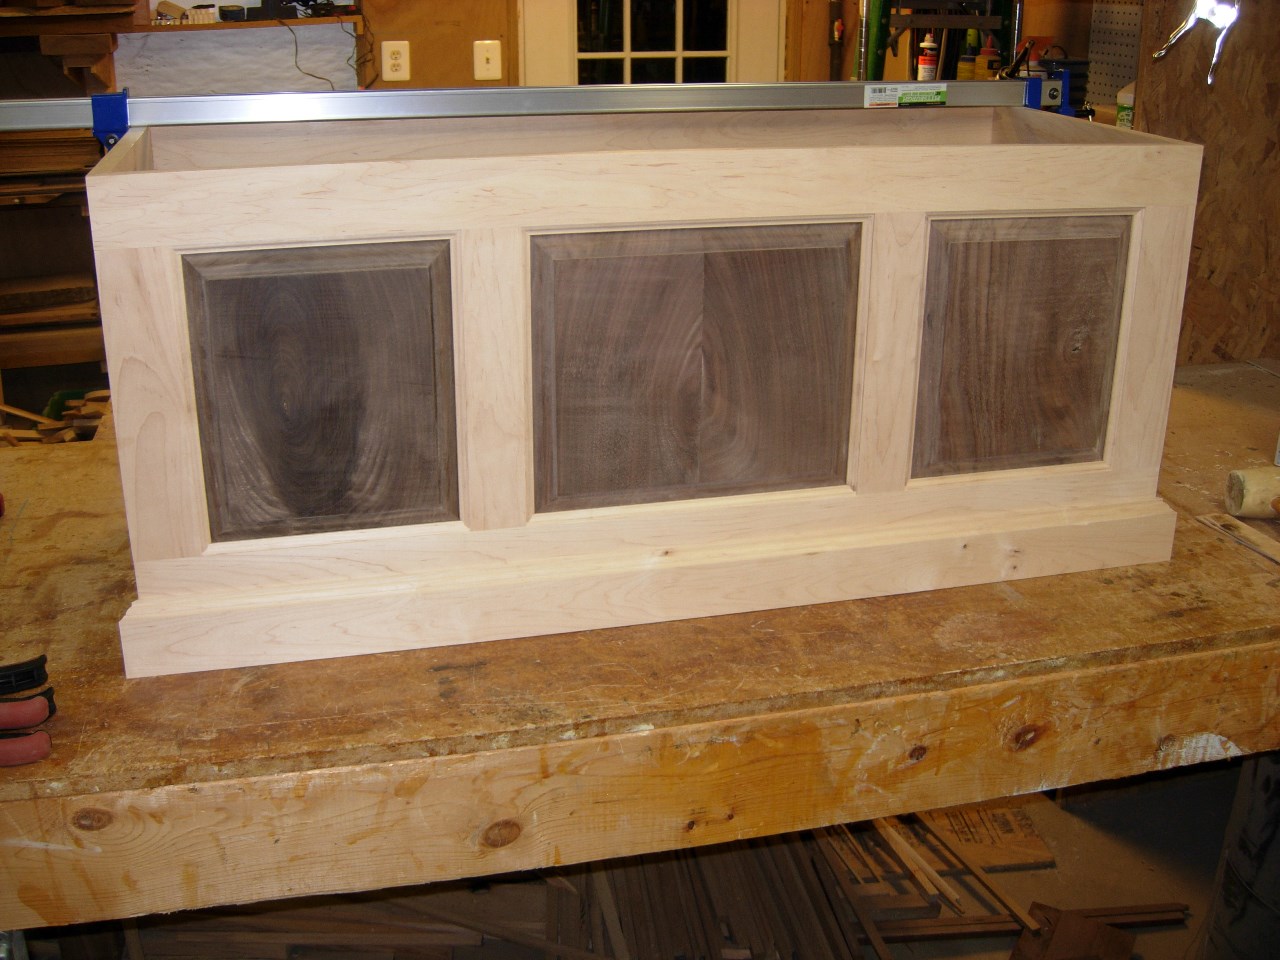
The box stayed square after that.
First bottom installed
Before assembling the second chest, I went ahead and made up the second bottom panel and installed it as I was assembling the sides. It went way easier that way…
Second one clamped and drying
While the two bodies were drying, I decided to start on the lids.
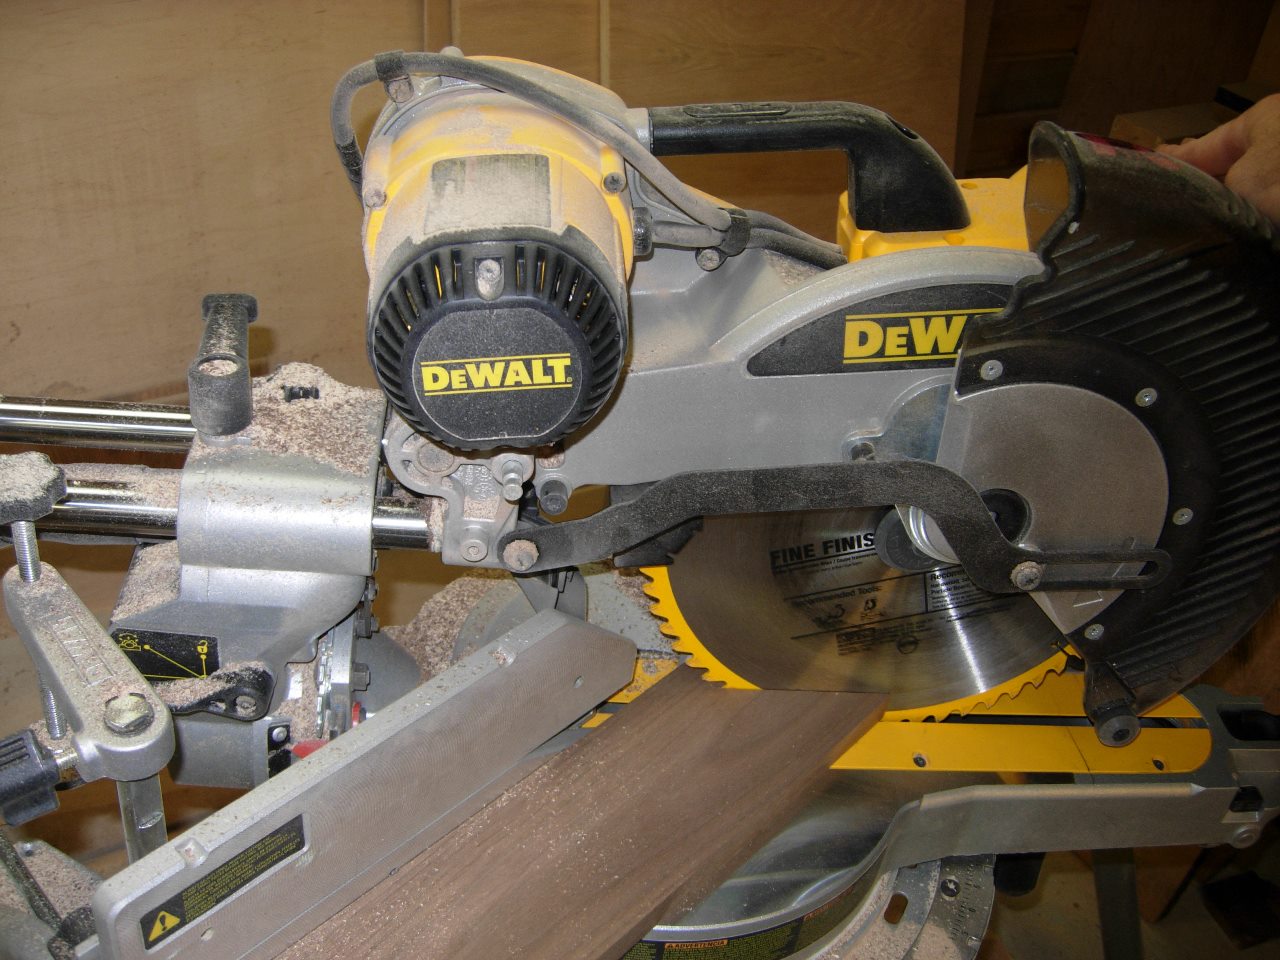
Cutting the miters for the lid
I am doing two-tone lids to match the boxes. I decided on a 4″ trim piece mitered at the corners.

Marking the opposite miter
I took my time measuring and cutting the miters so everything fit tightly.
All four cut
I am worried that the miters could split over time, so I decided to add a spline at each corner. I have never done splines before, so this seemed like a good time to start…
Cutting a groove for the spline
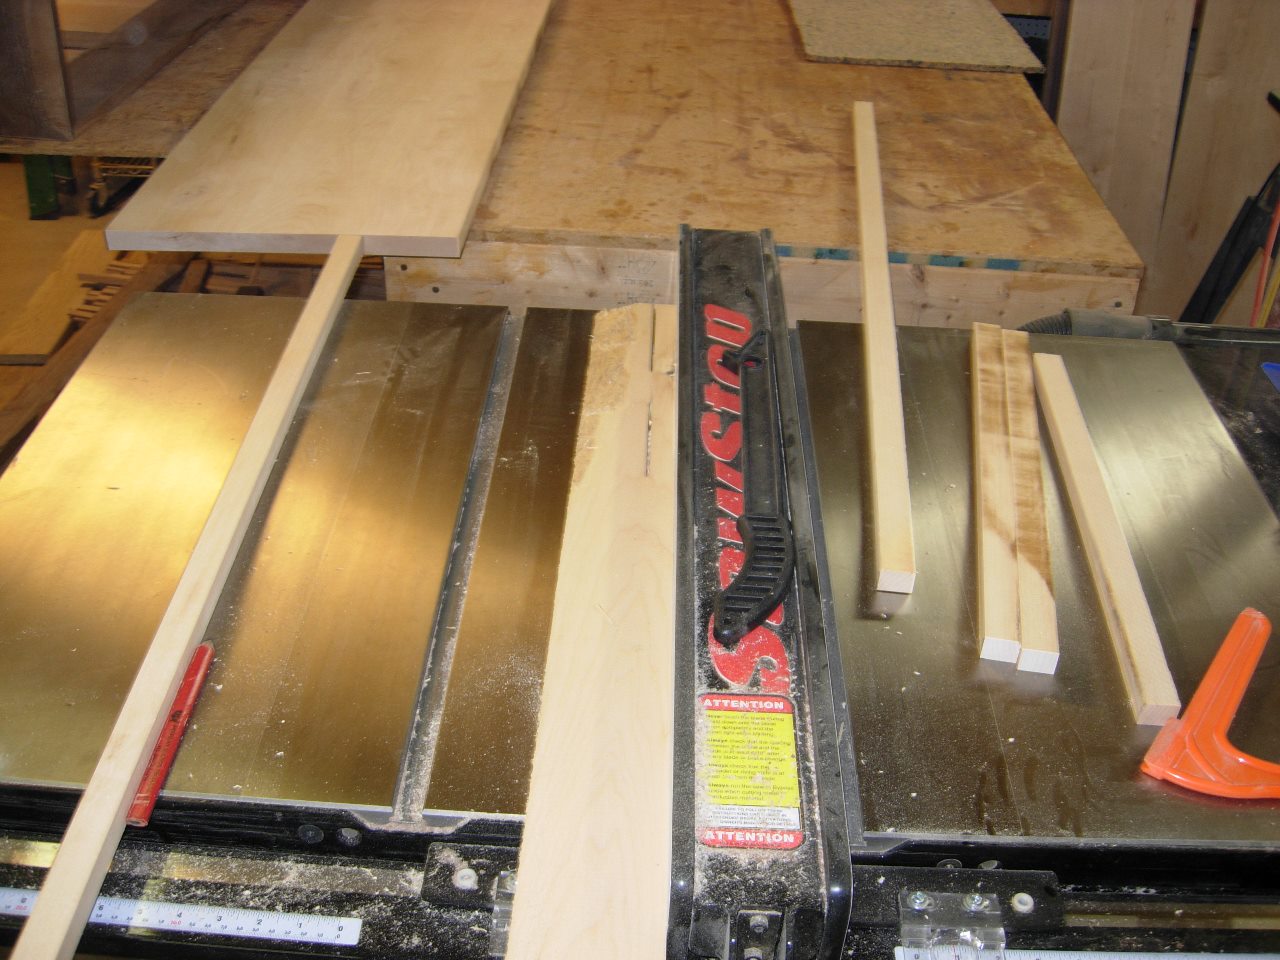
I cut a 3/4″ deep slot in the center of each miter, then grabbed some end cut-offs from the scrap pile to resaw down into strips the same width as the slot. I used the end cuts so the spline’s grain would be perpendicular to the miters. If the grain went in the same direction, it would split too easily.
Cutting the spline strips
Applying glue to the splines
I applied glue to the splines and stuck them into the slots on the side pieces. I “gently” persuaded the trim into place and clamped up the panel.
Gently persuading them into place
Panel one clamped up
I got both panels glued and clamped. Tomorrow, when the glue is dry, I can cut off the excess and plane down the splines to match the surface.

Panel two clamped up
Routing trim for the base skirt
The next thing to do, while the panels are drying, is to make the base skirt for the chests. I set up a router bit, in the router table, that has a nice profile. I ran some 3″ wide strips through to make enough for both boxes. I am not sure if I want to mix or match the colors, but I am getting tired, so I think I will put the decision off for another day. Just a few more things to do, then I can finish and install the hardware. Hopefully I will finish by Friday since they get auctioned off saturday…
Base skirt
