
Maple and walnut blanket chests – day 3
I decided to prioritize the processing of the maple. I was lucky enough to have several large pieces of walnut, reducing the number of glue-ups I had to do. I decided to re-saw and plane down the parts, to make all of the maple panels, first, instead of doing all of the re-sawing at once. This will allow the panels to be drying while I am thinning the rest of the stock. The panels will only need to be clamped for an hour or so. Then I can plane everything down at the same time.

Ripping down the maple
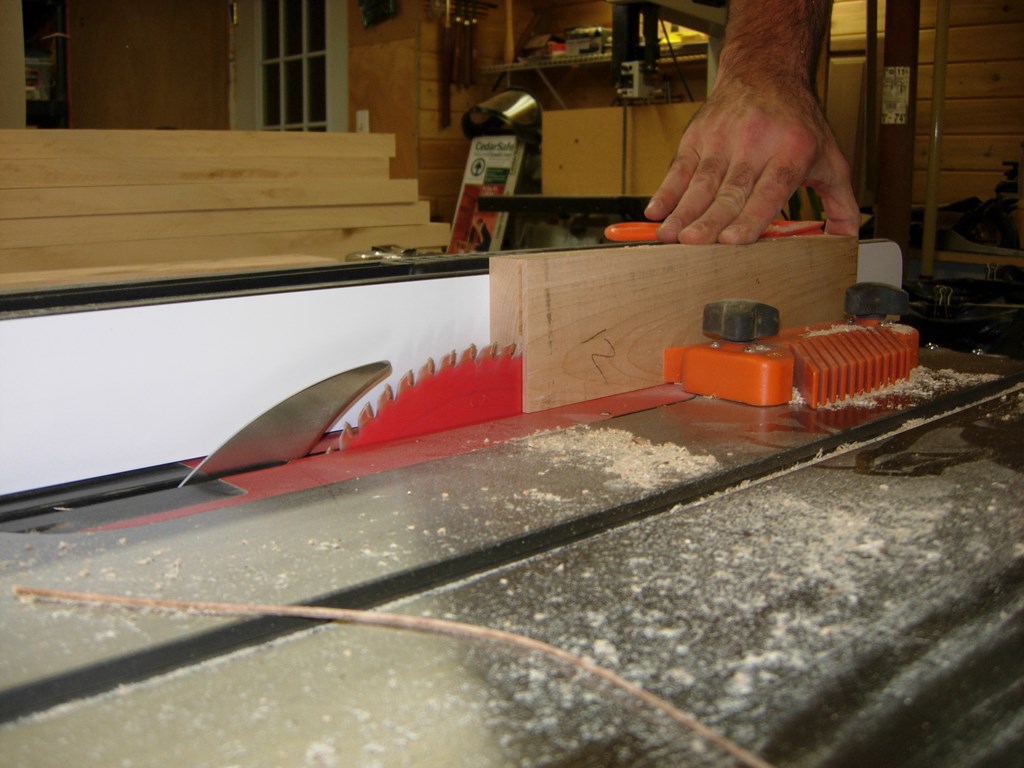
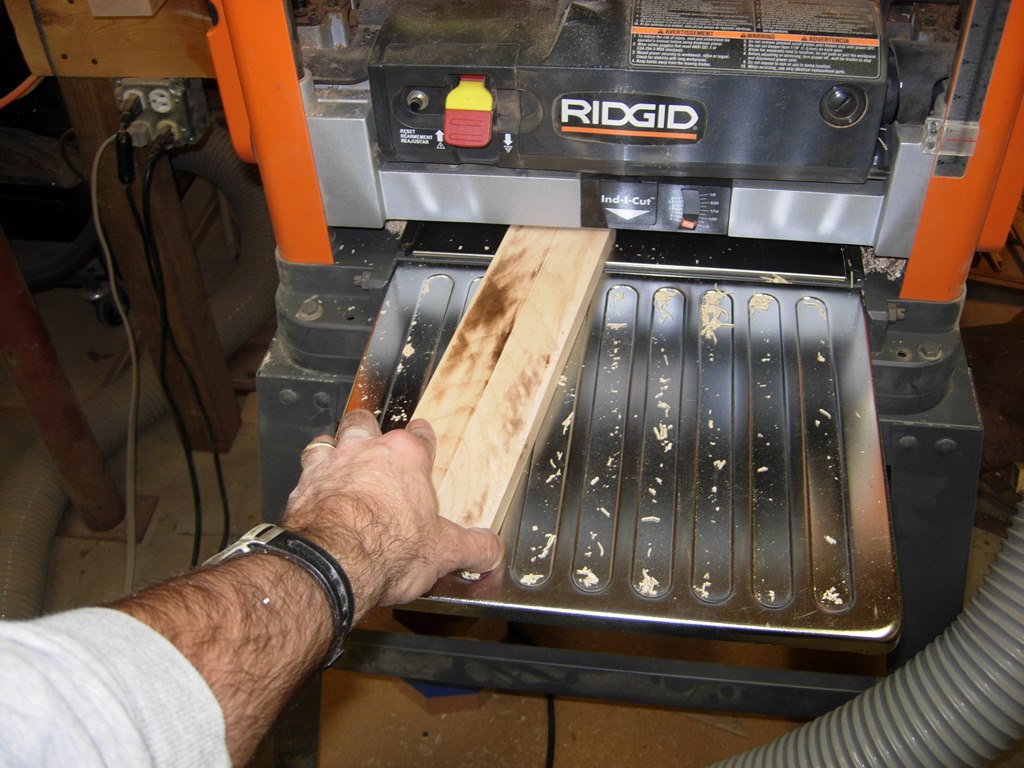
I started out by ripping the boards down to the exact width I required, then set the fence to be about 1/16″ wider than 3/4″. This will allow me about three passes in the planer and will leave a piece of veneer scrap that is about 1/8″ thick. I raised the table saw blade to just about the center of the board. Only cutting half-way through the board gives me ample room to keep my fingers clear of the blade.

Re-sawing the panels on the table saw
For the boards that are too wide, I finish them up on the band saw.
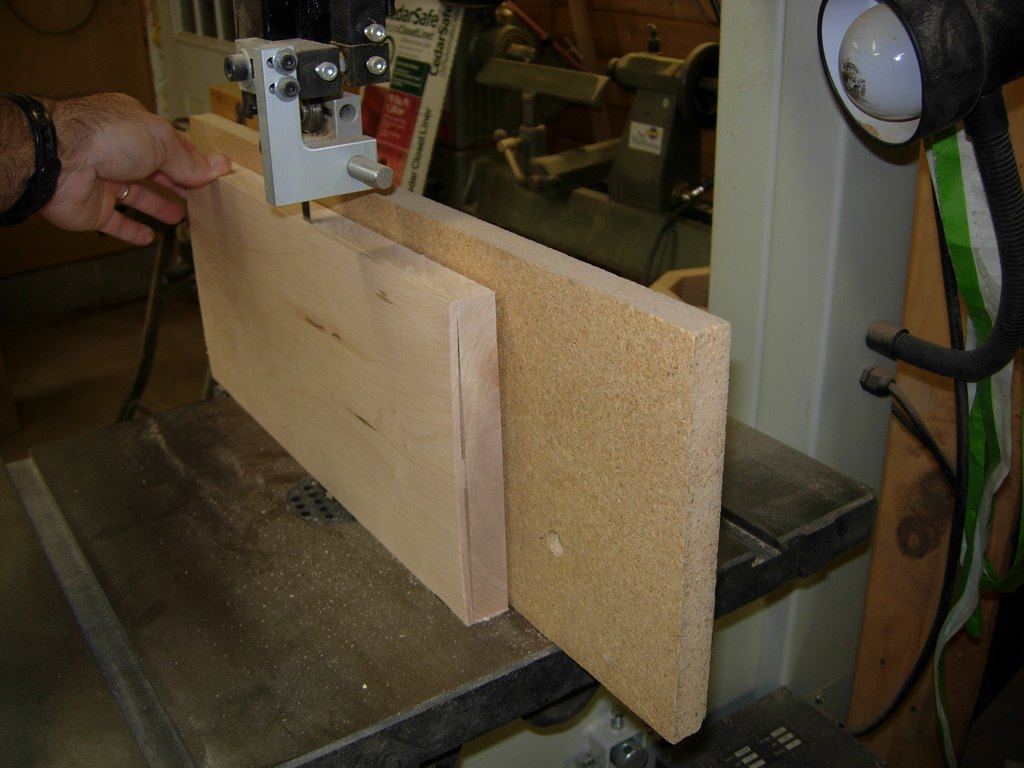
Finishing the re-saw on the band saw
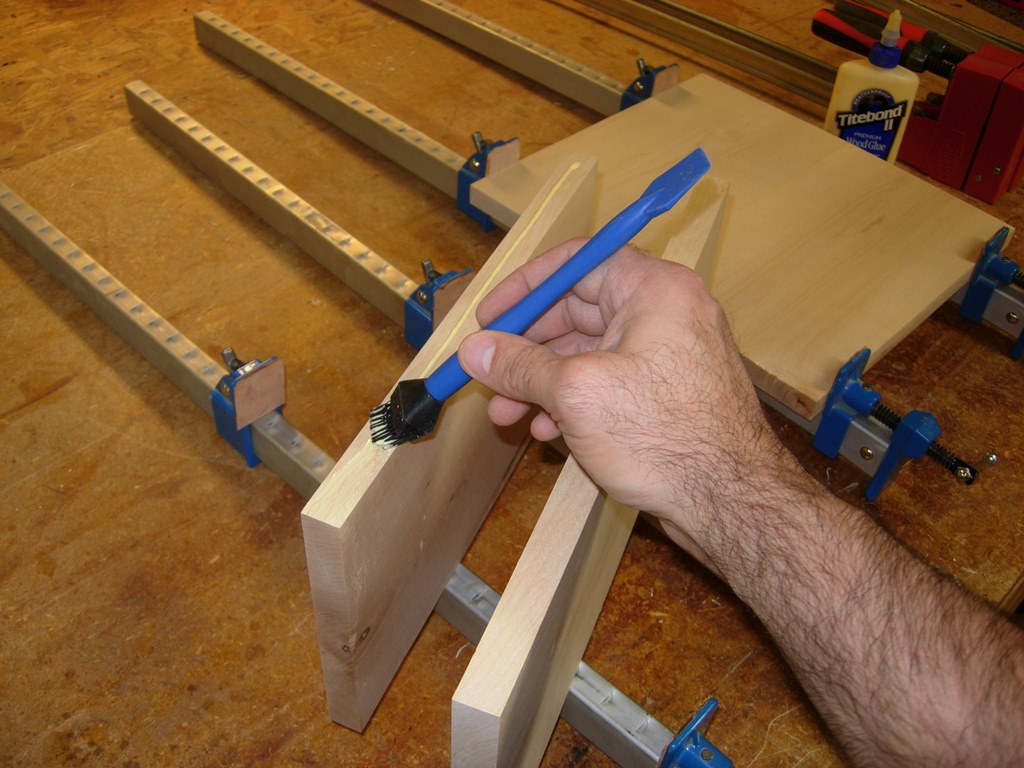
Glueing up the panels
After running the panel boards through the planer, I applied glue to the edges and glued up all of my panels. I stacked them off to the side to dry, and went back to cutting down the rest of the boards.

All the maple panels glued
Re-sawing the rest of the boards
For safety, even on the boards that could have possibly been cut all the way through in one pass, I only cut half way through. After an hour, or so, of fun I finished re-sawing all of the maple. I now have a lovely pile of maple veneer that will go on the scrap pile for some later project.

My new pile of veneer…
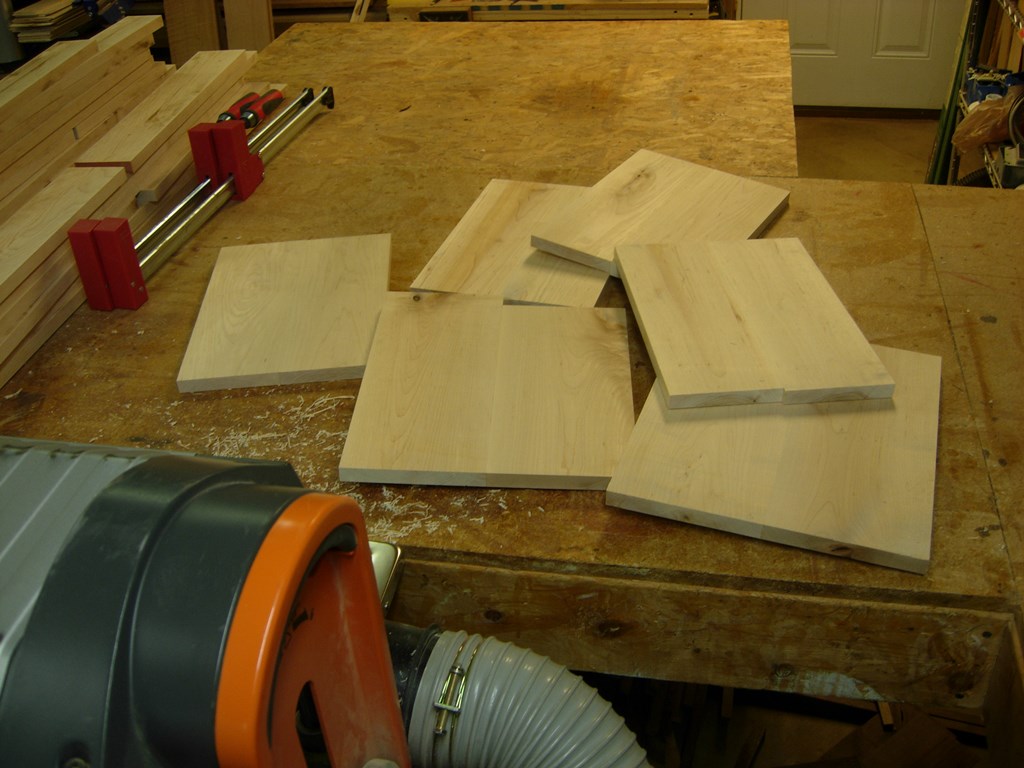
Panels dried and planed down
Since the glue has had plenty of time to set-up, I pulled the clamps and ran the panels through the planer. When they were done, I ran the rest of the maple through as well.
Planing down the rest of the maple

Maple all planed down
When the maple was all planed down, I cut down the large walnut panels into the individual panels. Boards like this 14″ wide panel are why I upgraded to the sliding 12″ miter saw…
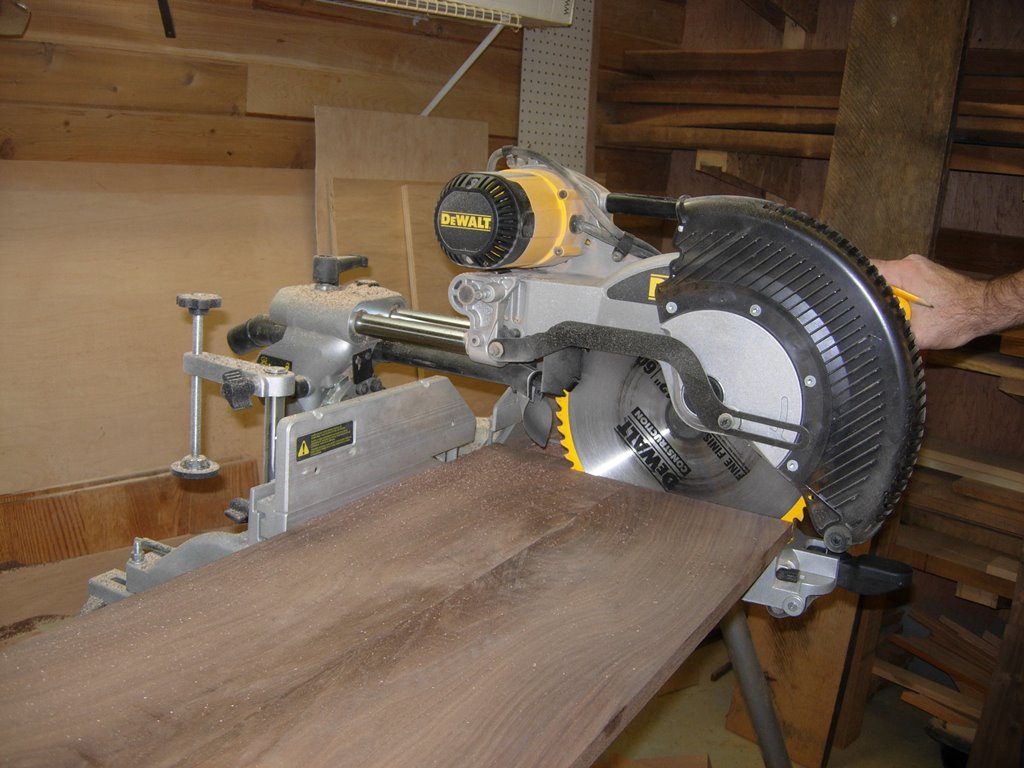
Cutting down the panels to size
I know that I will need a few more small strips to complete the chests, but all of the main components are cut and ready. The next step will be to hit the router table and start making the frame and raised panel sides. But, it is almost midnight, enough for today.

All the boards sized and ready for the router table
Just ignore the ever growing scrap pile on the floor. It is only a piece of the ever expanding mess…
