
Maple and walnut blanket chests – day 2
I had a chance to work on the chests last night. I pulled the tape off of the epoxied boards, most of it came off…

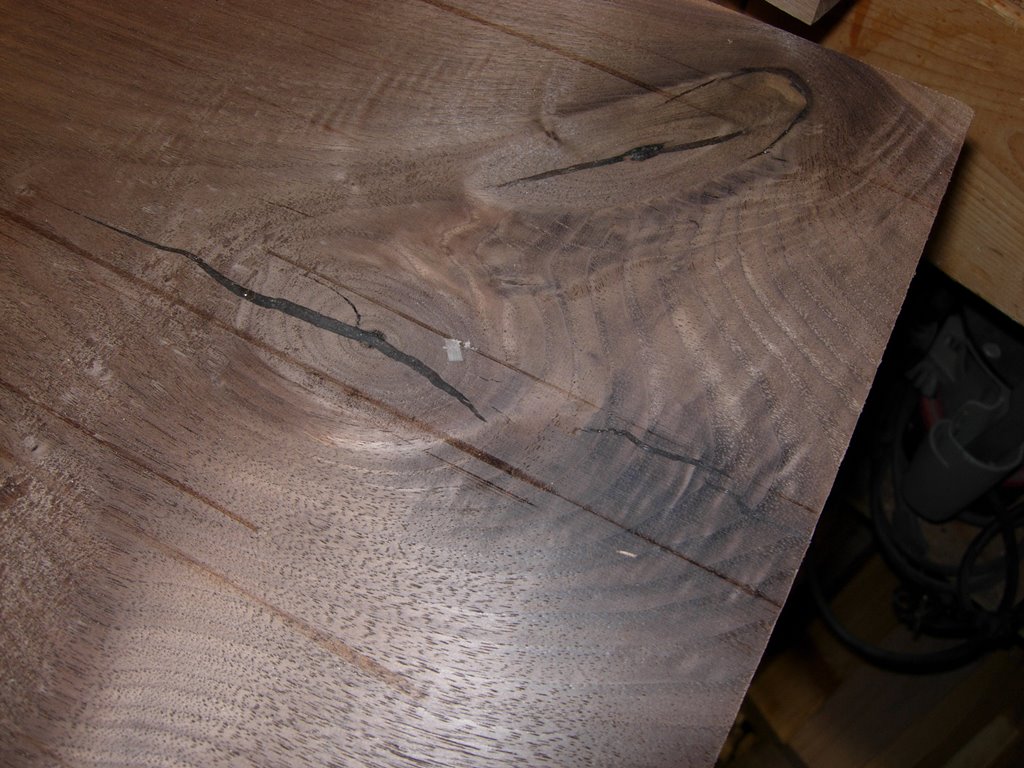
Cured epoxy
After running the large panels through the planer, the only thing left of the epoxy was the filler in the knots. Now the knots are smooth and stabilized. It dries clear, so the epoxy will not be visible when the board is finished.
Epoxied knots, planed down

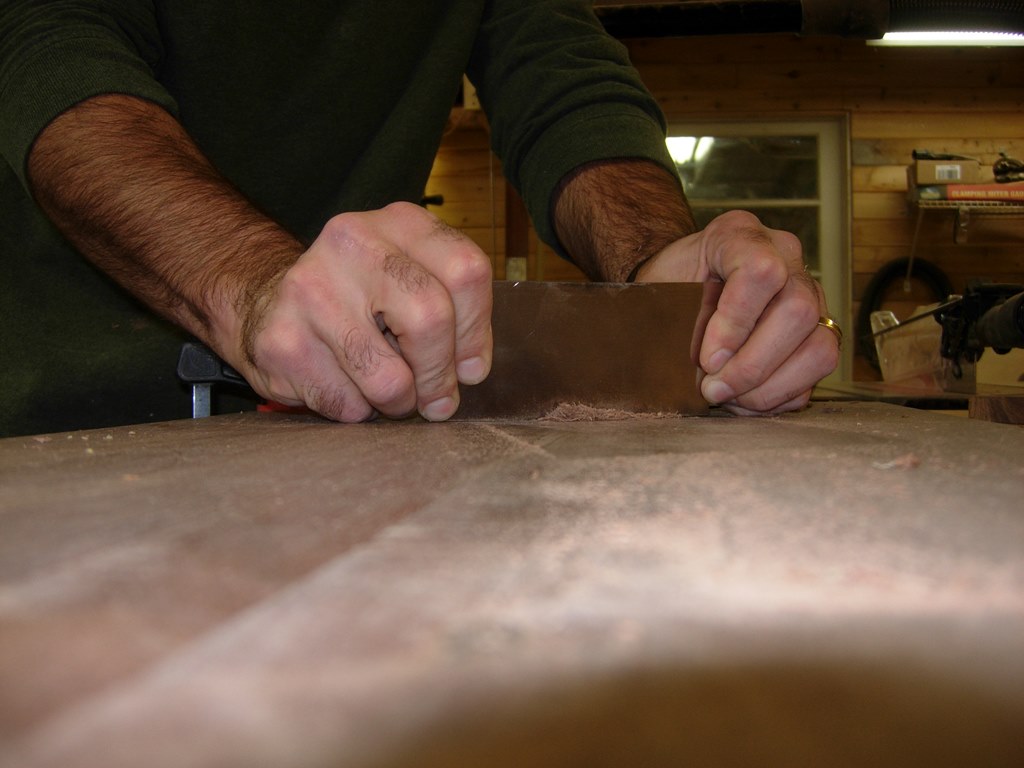
Cleaning up the glue joint
I pulled the clamps on the 14″ wide panel and removed the painter’s tape. There was a tiny bit of glue left to clean up, as well as a slight shift in the wood. I used a smoothing plane to clean up the joint and finished it up with a card scraper where the grain of the wood was being difficult.
Touch up with the card scraper
All in all, the joint looks pretty good. I will cut these boards down to the final panel size later. Time to move on to the maple.

Not a bad joint
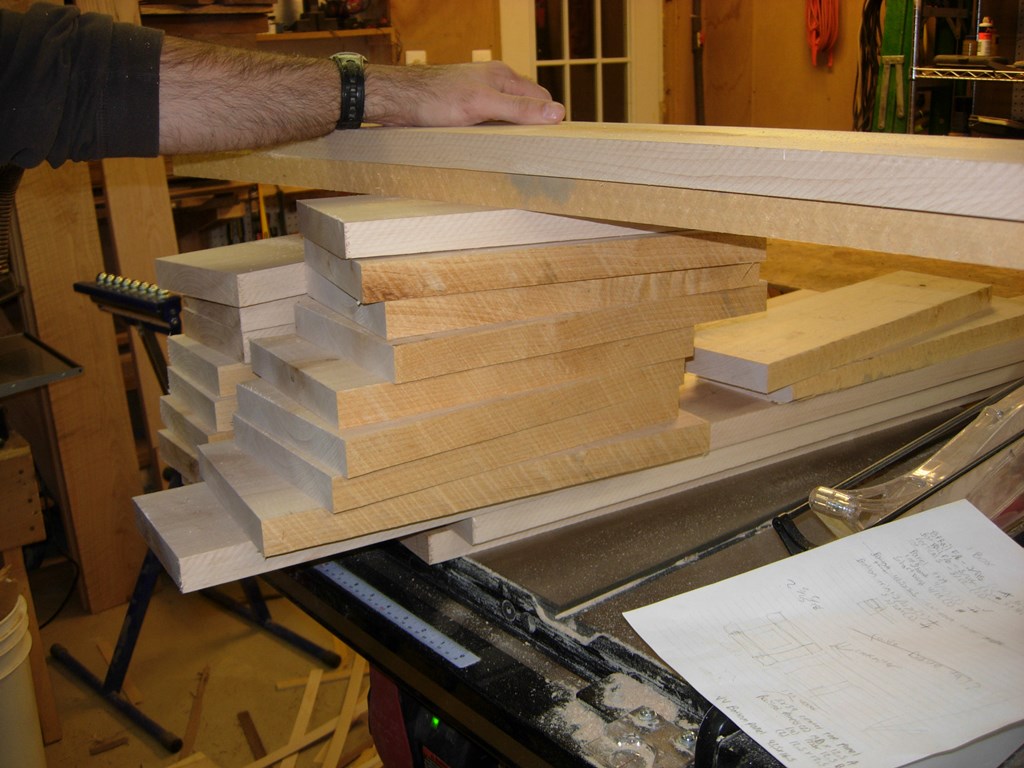
Cutting down the maple
All of the maple boards, that I have, are 9′ to 10′ long, so the first step is to cut them all down to the approximate length required. I started with the large panels that will make up the bottom of the chests. I ripped three boards down to about 6″ wide for each panel. This will give me a panel that is a little too wide, but I can cut them down later.

Ripping down the bottom panel parts
Planing them down to 1″
All of the maple is about 1-1/16″ thick. I planed the boards for the bottom panels down to 1″ and spread some glue onto the edges.
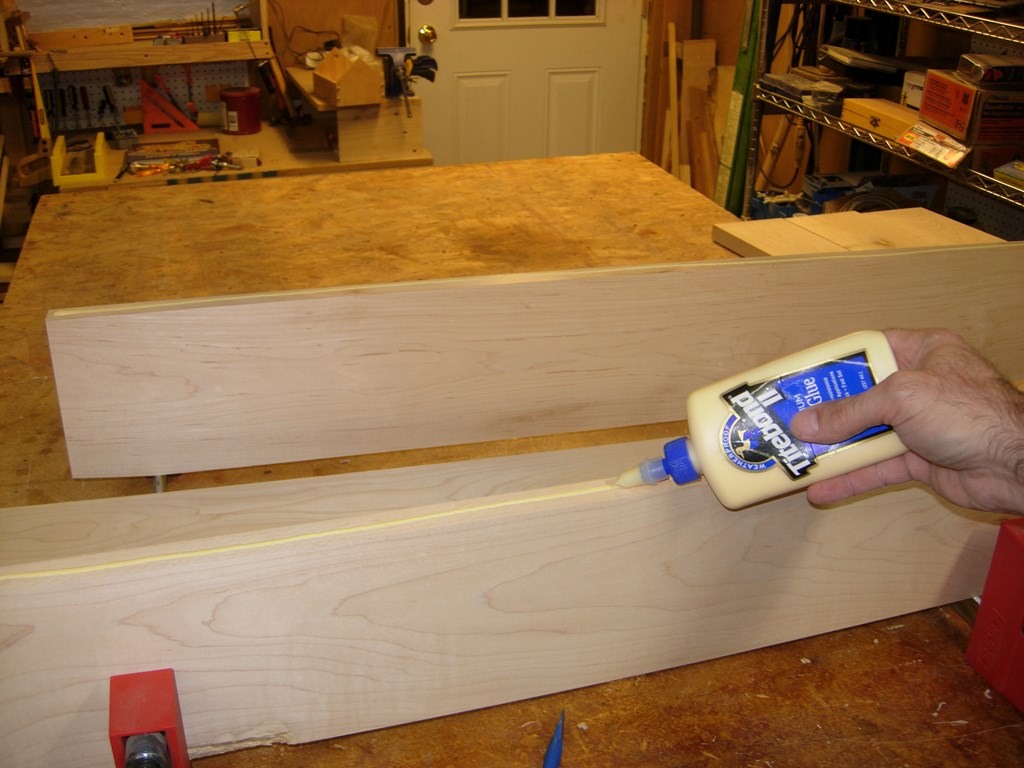
Spreading the glue
I set both panels together and clamped them up to dry. I set them out of the way and went back to rough cutting the rest of the maple boards.

Clamping up the panels
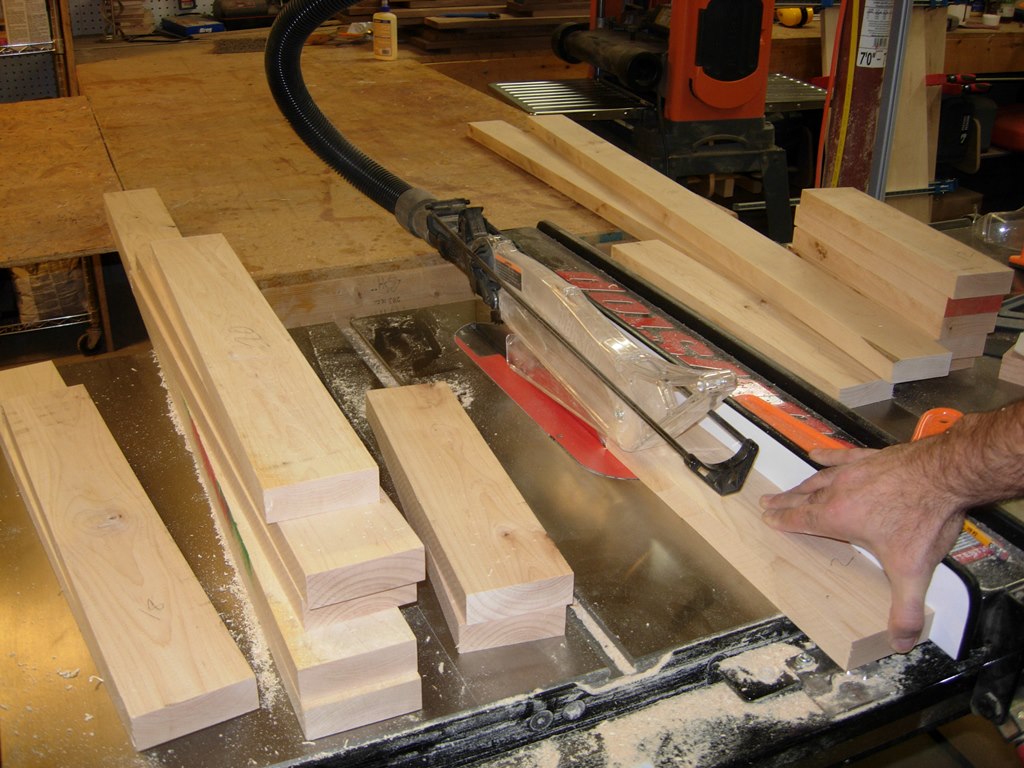
Ripping down the 3″ wide parts
I started with the 3″ wide stock, cutting and ripping it down to the exact width and the approximate length. I will need to resaw and plane most of these boards down to 3/4″ to create the raised panels and the frame-work to hold them.

My carefully thought-out plans…
Working from my highly detailed sketch (above…) I proceeded to also cut the 4″ and 5″ parts to a rough length. After looking at the pile of stuff that I have to rip and resaw, I decided to call it a night. Hopefully I will be able to get that done today, and glue up the rest of the panels.
4″ & 5″ parts to be ripped down
