
Maple and walnut blanket chests – day 1
I started another project today. Actually, it will be two projects. I am going to be building two blanket chests using maple and walnut. The goal is to mix the two types of wood so the chests will be opposites. The chest need to be finished in about a week and a half so they can be sold in the silent auction at Saint Peter’s Christmas in the Country Holiday Art & Craft Show Festival.

A small pile of walnut
Yesterday I took a ride out to Vintage Lumber and picked up the wood for my projects. Alex had a small pile of walnut set aside, that I could use, and a large pile of maple. I suspect that I will be able to get a few more projects out of the maple… I haven’t actually had time to draw plans for a blanket chest yet, this project was requested just before I went on vacation. I made a crude sketch so I could figure up a rough cut list. I will play it by ear from there.
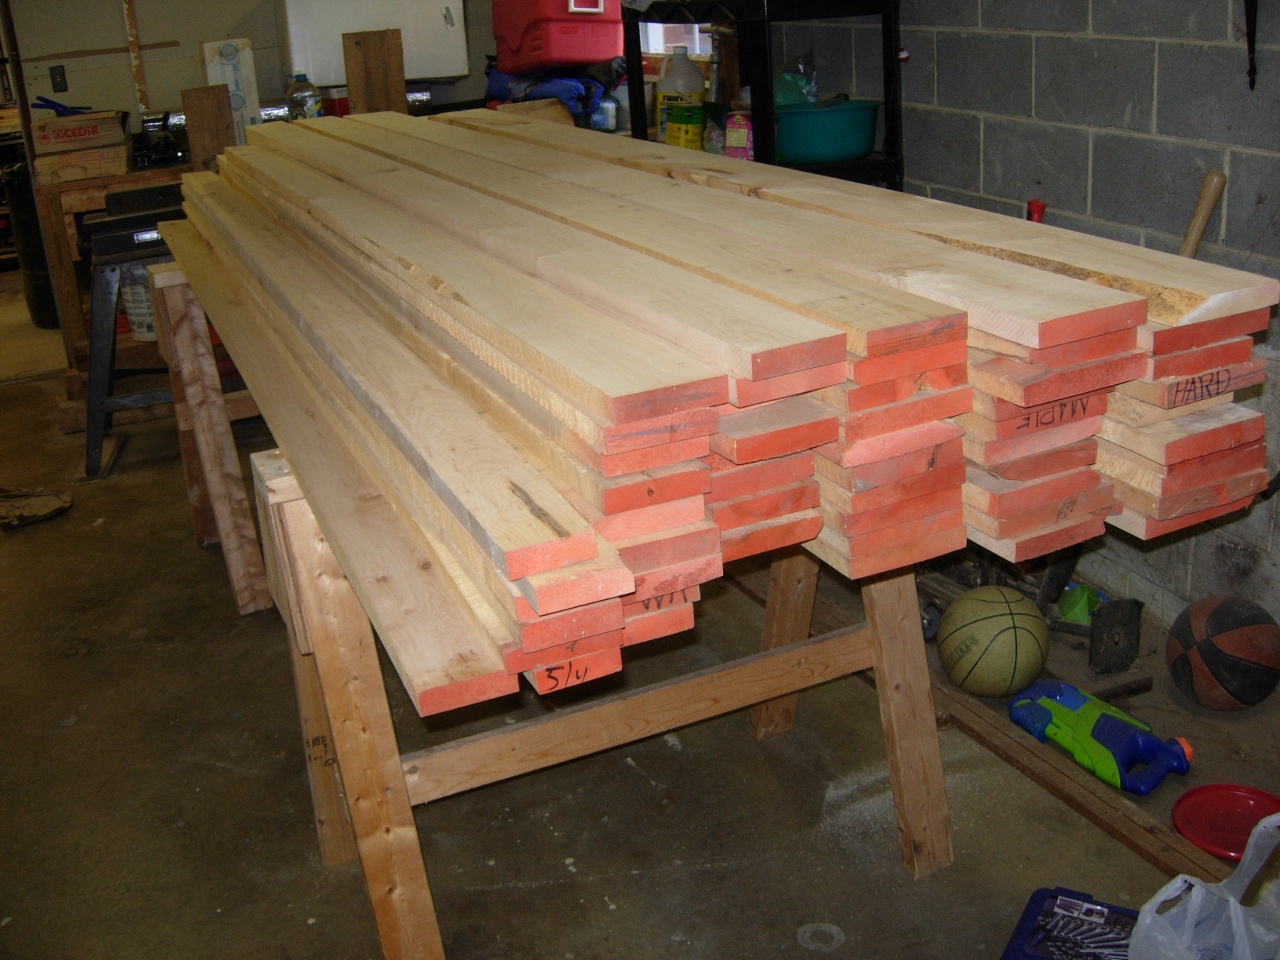
A large pile of maple

Mixing some epoxy
I sorted through the walnut and added a few pieces that I had left over from building the altar. I should have just enough if I am careful. I am going to build the cabinet with a flat top and raised panels all the way around. Alex gave me some nice wide walnut pieces so I will only have to glue up one board for the wider center panel. For the top and side panels, I have a couple large, pretty pieces, but they have a couple of knots and a crack. I decided to stabilize the knots and crack with epoxy. I have used it before, and it works well, filling in the holes solid. Since the epoxy is clear, it leaves everything natural looking.

Stabilizing some knots and cracks
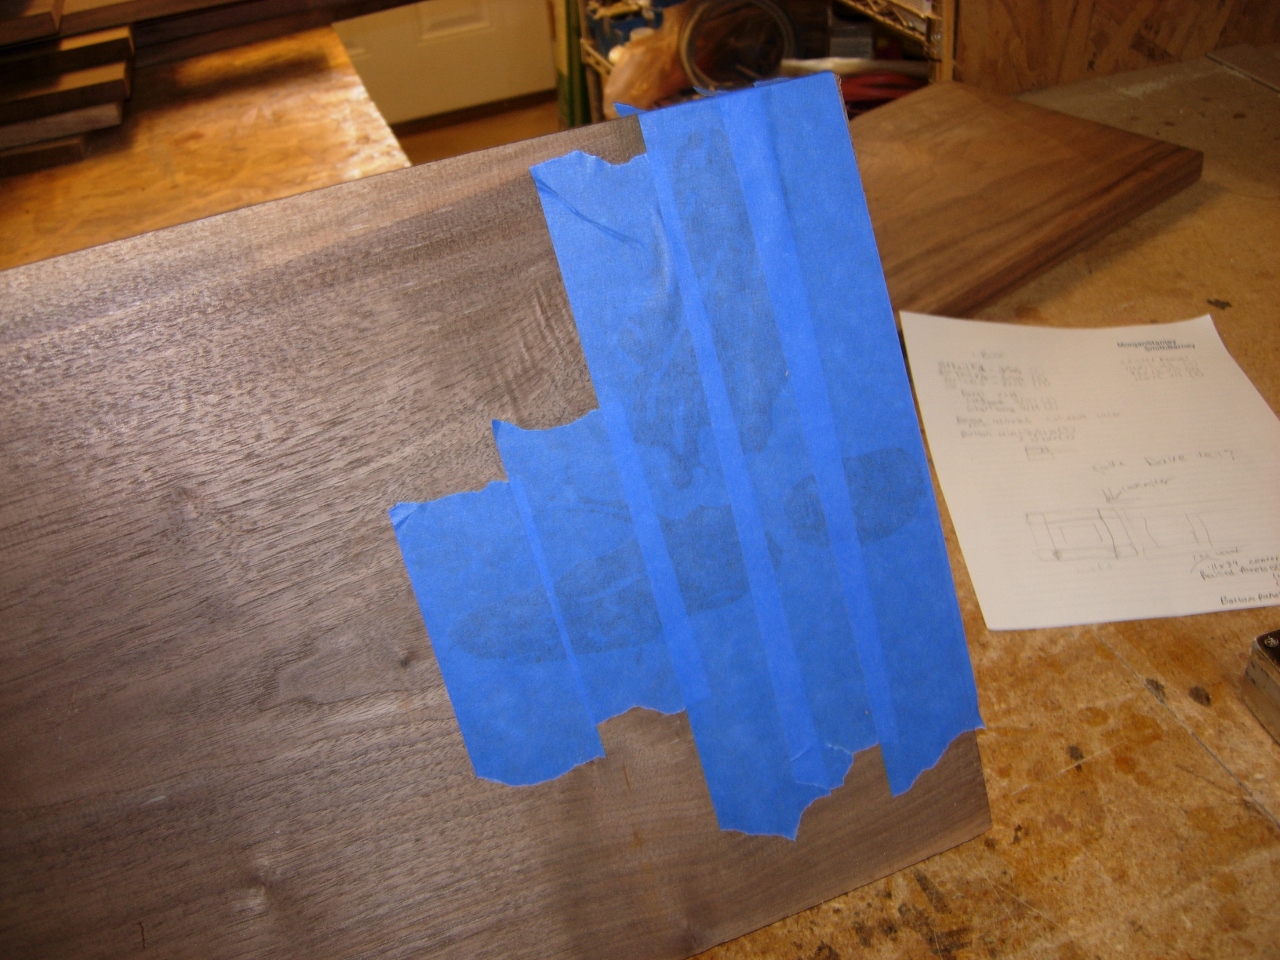
Tape to hold in the epoxy
When I finished filling one side, I applied painter’s tape to the entire area, then flipped the board over and epoxied the holes on the other side. Some of the holes ran all the way through, if I had not taped it up, It would have run out the back and glued the board to my bench.

A little epoxy on the other side
With the cracks stabilized, I set the boards aside, I will plane down the epoxy tomorrow when it has fully cured.
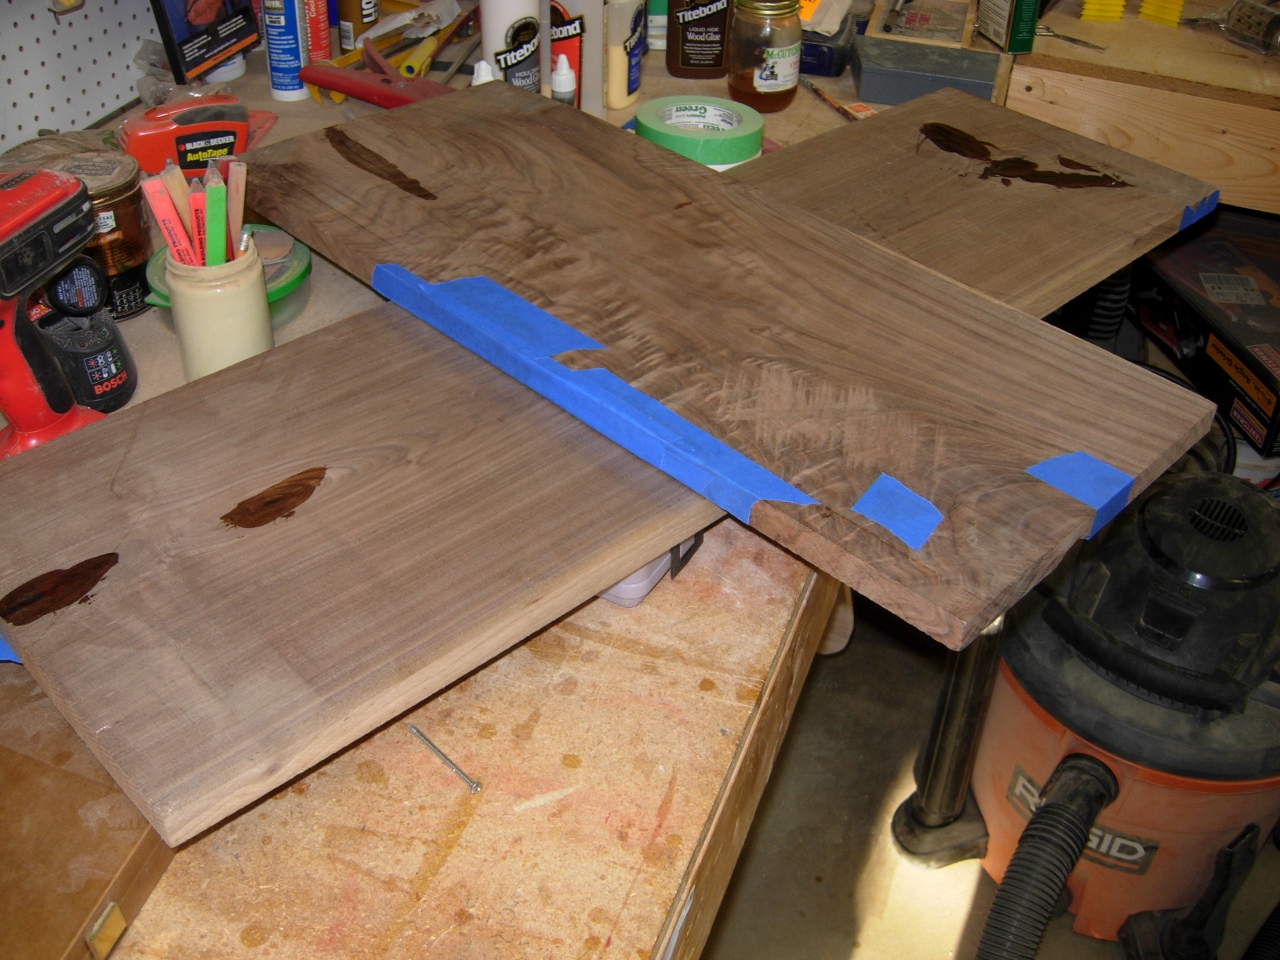
Both boards epoxied and drying
The center panel on the chest will be 14″ wide. That is wider than my planer, so I found two boards that were almost perfect book matches to each other, and planed them down to 3/4″.

Planing down some boards
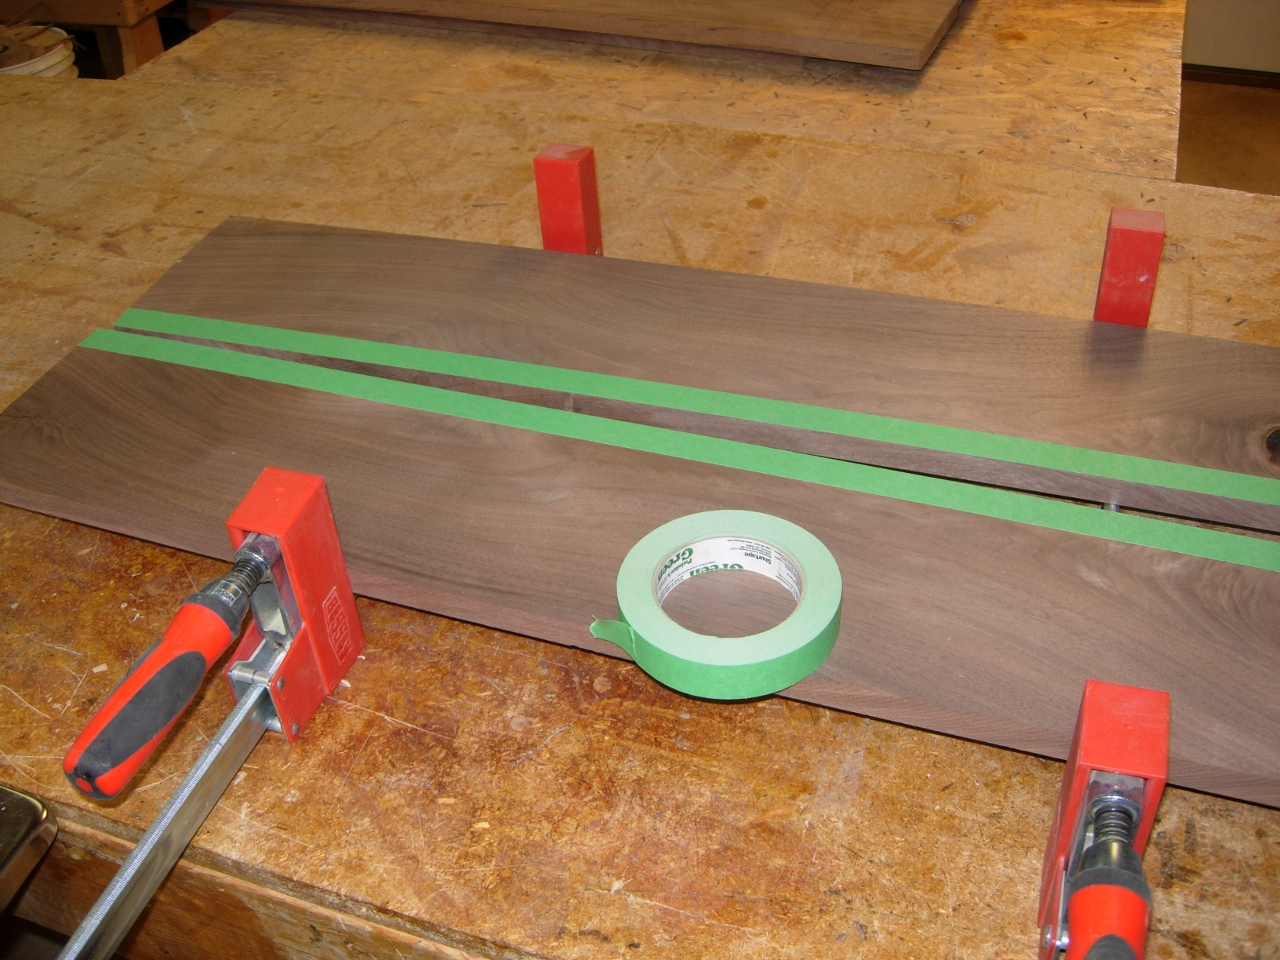
A little tape to catch the squeeze-out
Since they are now planed down to their final size, I applied painter’s tape to the edges of the board. The tape should catch all of the glue squeeze-out. Then I applied a thin line of yellow glue to each edge and spread it thin.

Glueing the edges
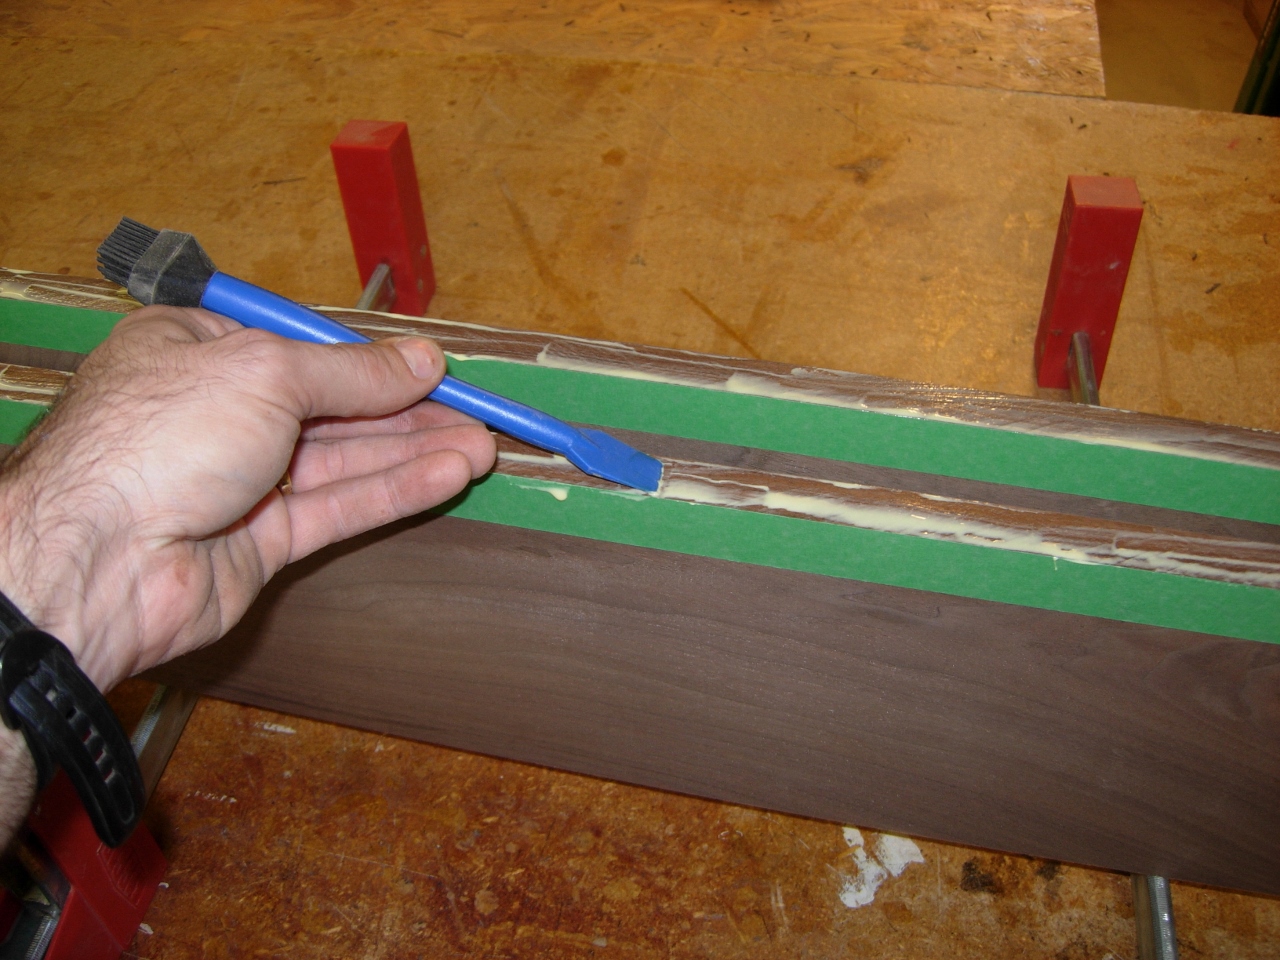
Spreading the glue
I lined up the grain as well as I could (difficult to do with the tape in the way…), then clamped the boards tightly together. The tape definitely made it easy to clean up the glue.

Clamping up the panel

Cutting the rest of the walnut to rough length
I set that panel aside to dry as well. Next I moved on to sorting the walnut and cutting it down to the approximate length required. I cut all of the boards to the exact width required on the table saw, but left the lengths long, where I could, because the next step was to plane everything down to 3/4″ thick. Sometimes my planer will snipe the ends of the boards. When I make them longer than I need, I can cut the snipe off if it occurs.
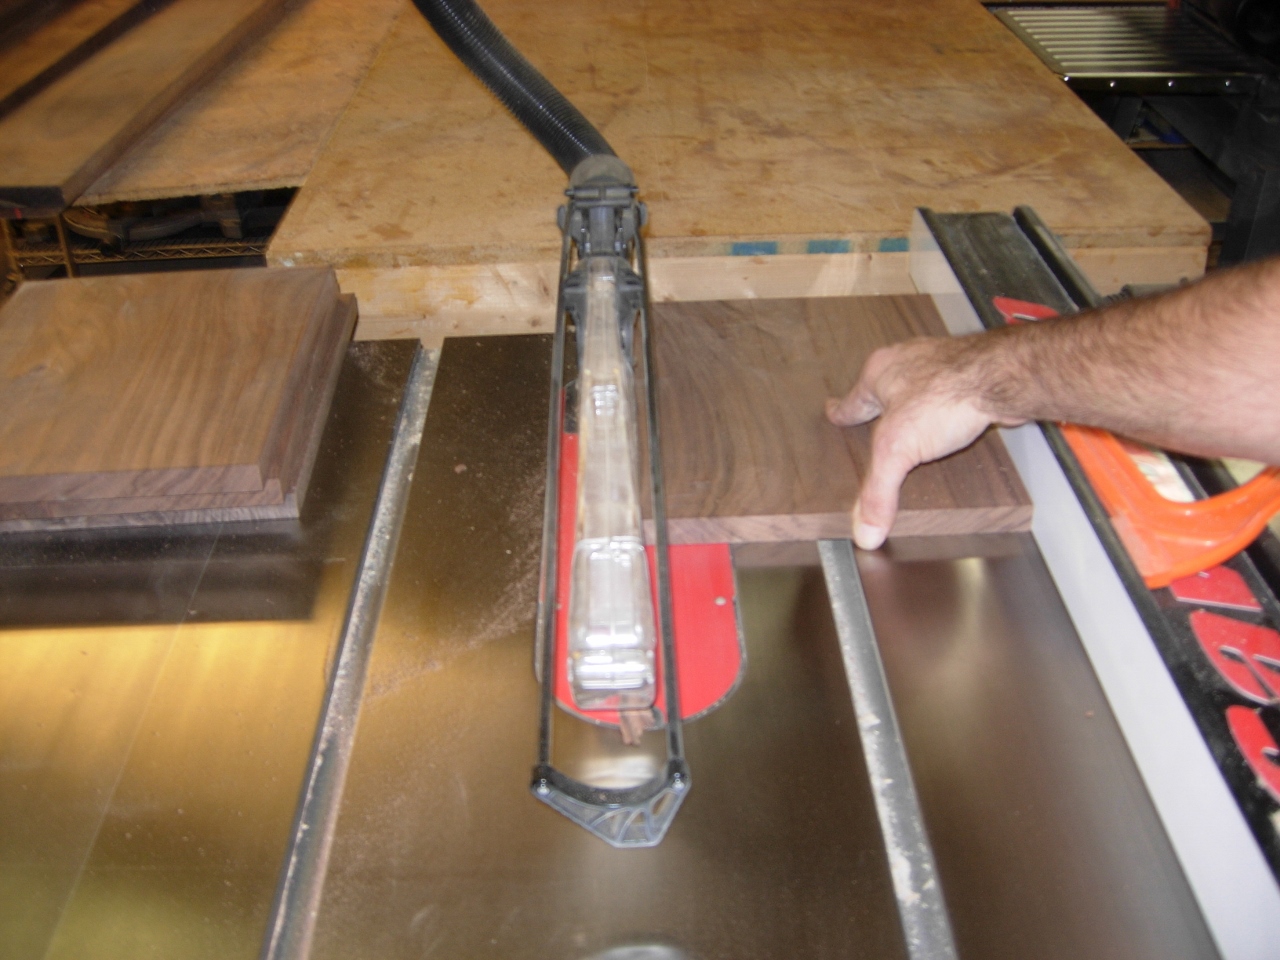
Ripping the walnut to the correct width
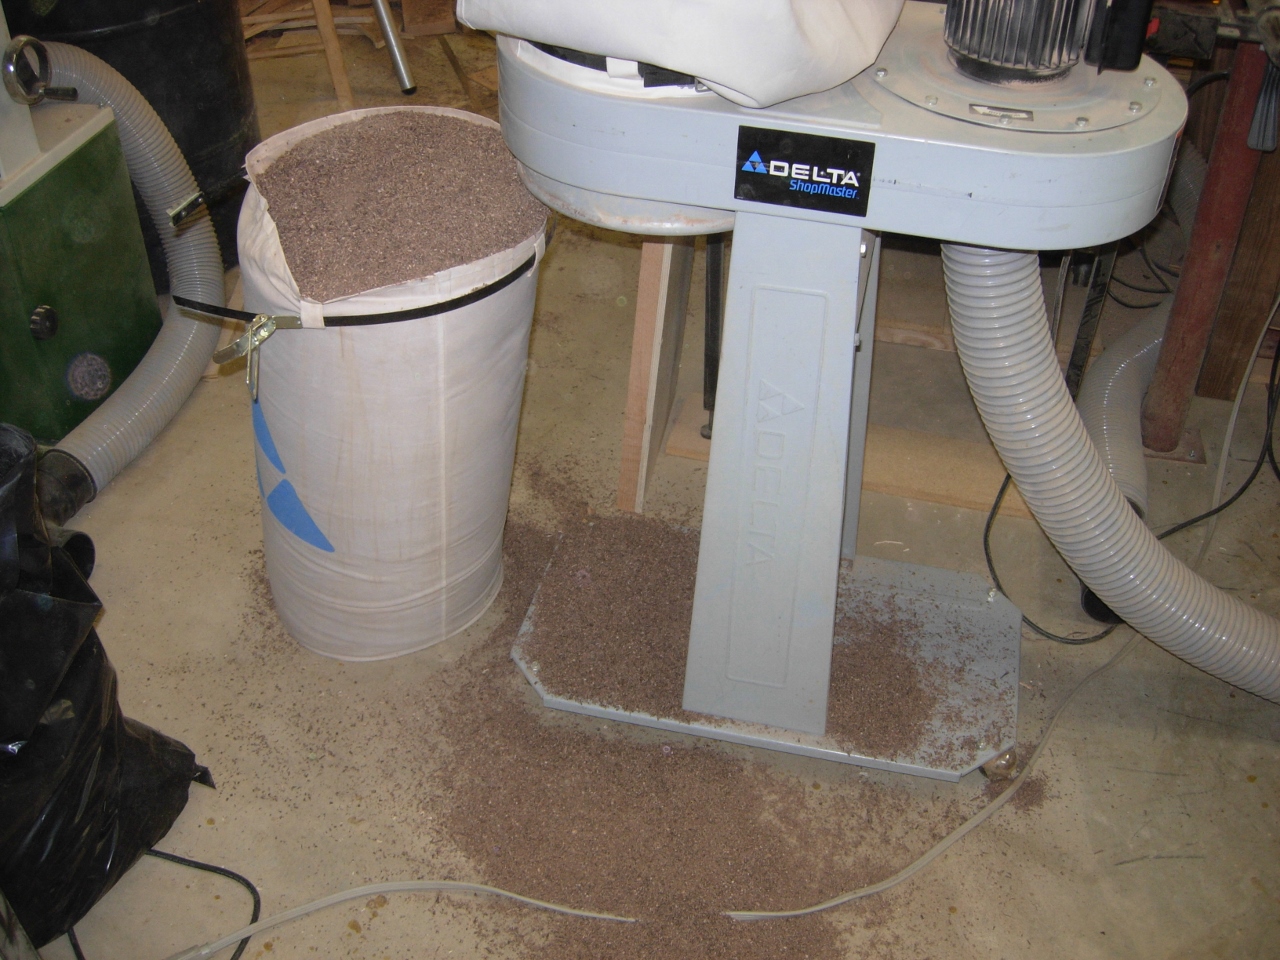
Forgot to check the dust bag…
Halfway through planing, I was noticing that my dust collector was not working very well. This usually means a clog, but after checking the hose a couple of times, I realized that my dust collection bag was overloaded. After dumping that, things worked a lot better. Except for the two wide boards that need planing, all of the walnut is down to size. I will be pretty busy tomorrow, but I should be able to get started on the maple Tuesday. There will be a lot more panels to glue up with the maple. my widest maple board is only 8″. Enough for today.

Walnut nearly done

Lawrence, the neat thing avoutbyourbposts is that you give us the ‘day to day’ progress on a project. It really is wonderful seeing a project progress.
I’m glad to see I’m not the only one who forgets about the dust bag.