
Breaking down plywood
I am gearing up to start another large project. It will eventually be a large storage cabinet, 4′ wide x 3′ deep x 90″ tall, with five adjustable shelves inside, and raised panel doors. I normally work with solid wood, glueing up the panels to make the sides, top, and base. This project will be significantly larger, so I decided to use plywood instead. The cabinet will be going into a room that will have some seasonal temperature and humidity changes, and the plywood will give the cabinet more stability than solid wood, which tends to move when subjected to those conditions.
Plywood presents some interesting challenges that I don’t usually deal with when I am milling and joining solid boards. The biggest two challenges are the size and weight. I am using 3/4″ white oak plywood for this project. I will be trimming the edges and making the doors from solid wood, so I will deal with them in a later post. The only place that I can work with the full size sheets of plywood is in my garage. I intend to do all of the cross cutting on the garage floor and the ripping of the long side will be done on the table saw. Since a track saw is not currently in my budget, I will be experimenting with a few ways to cut down on tear-out while cross-cutting the plywood.
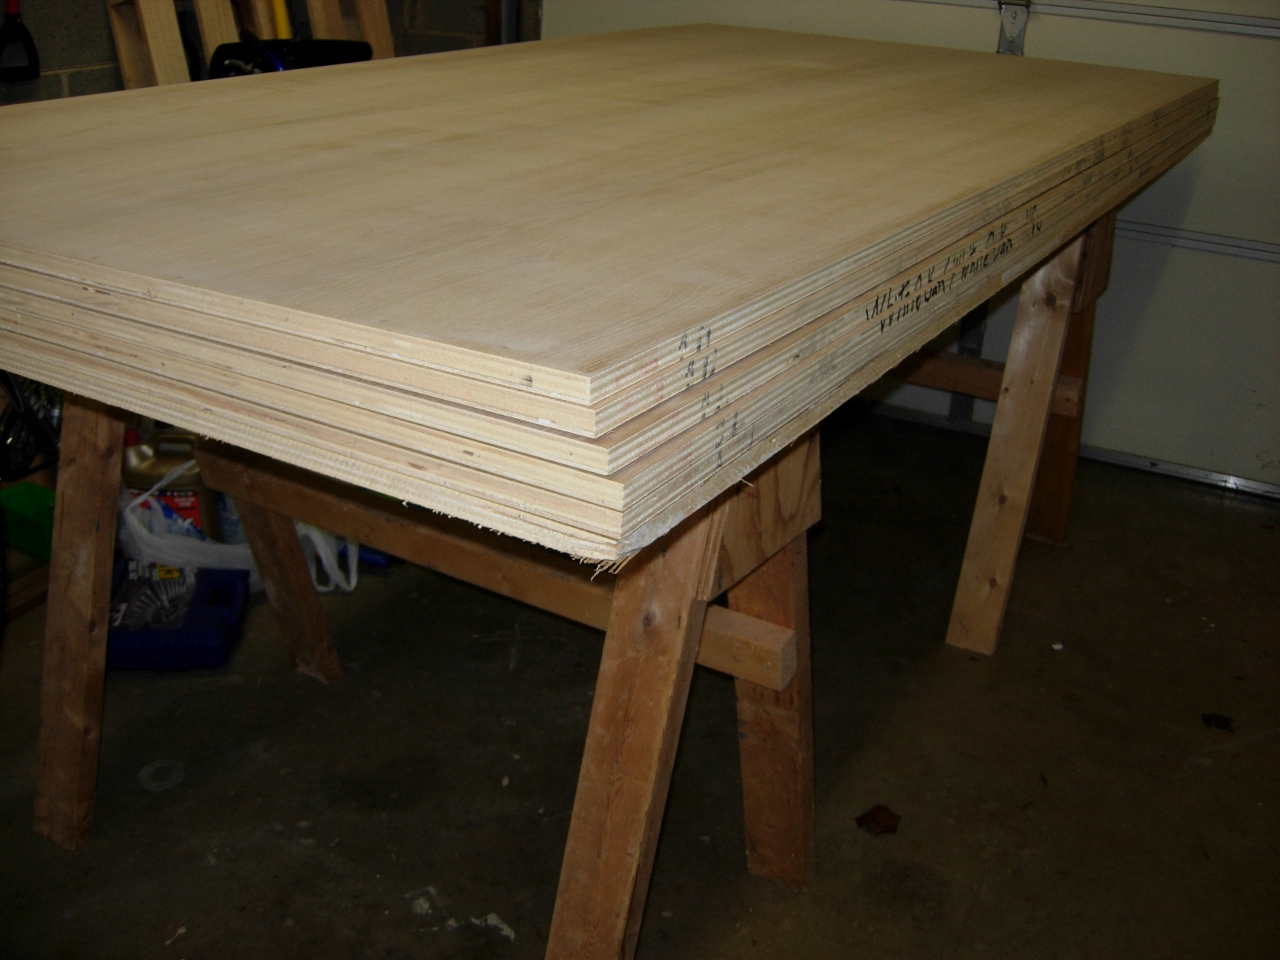
Seven sheets of 3/4″ oak plywood
The first thing I noticed was the busted corner on the bottom piece of the stack. Luckily it falls into the 6″ of the top of the board that I will not need. I only need to remember that it is there when I get to that board…
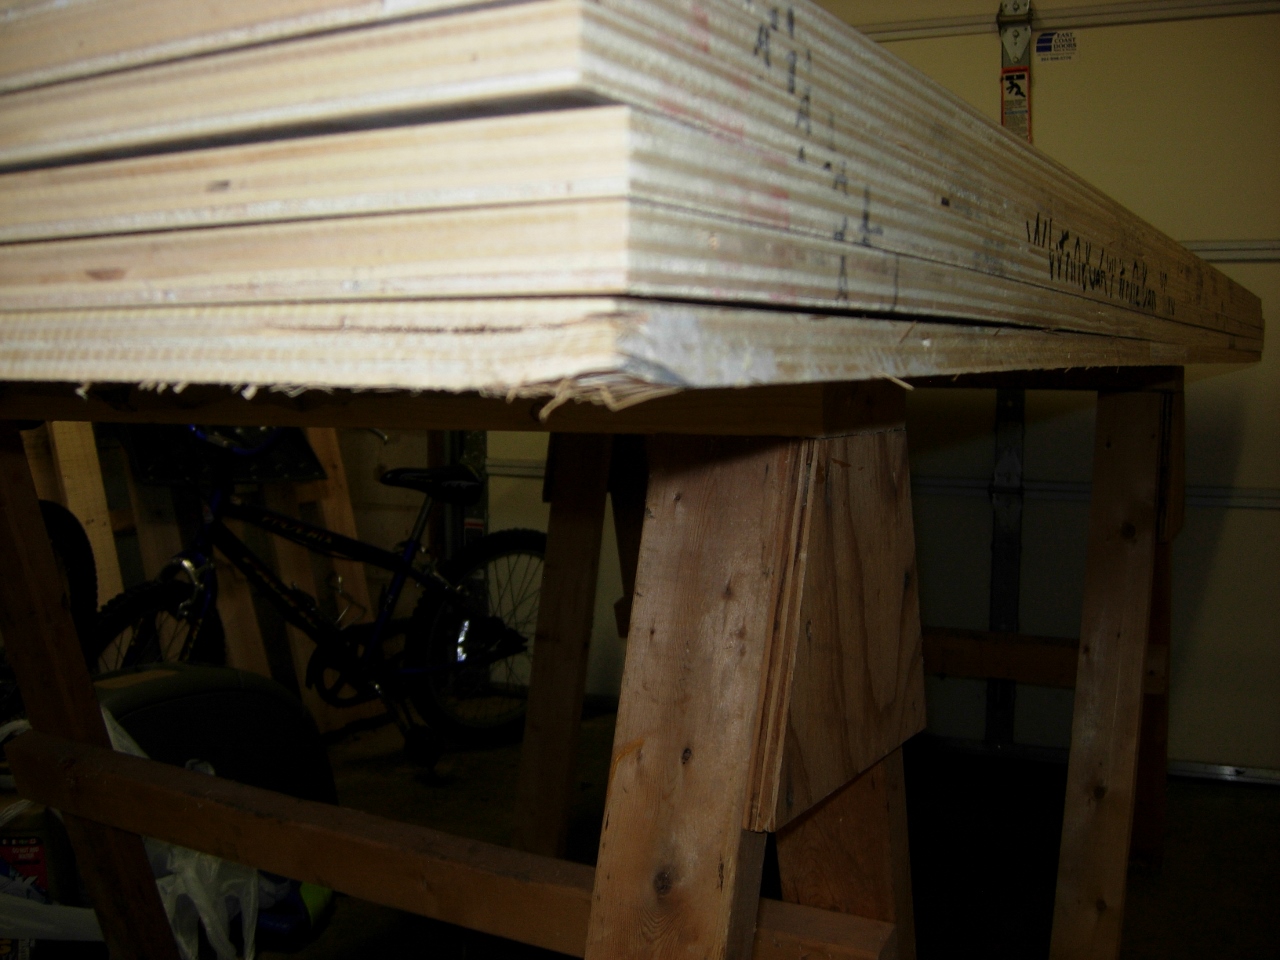
One busted corner
To get these boards down to a manageable size, I am going to start with the shelves. To prevent tear-out on the bottom of the boards, I invested in some 1-1/2″ thick foam insulation boards to lay on the floor. They will also prevent me from cutting through the plywood into the floor. I pulled my dimensions from the factory cut edge on the near and far side in each location and connected them with a long straight edge.
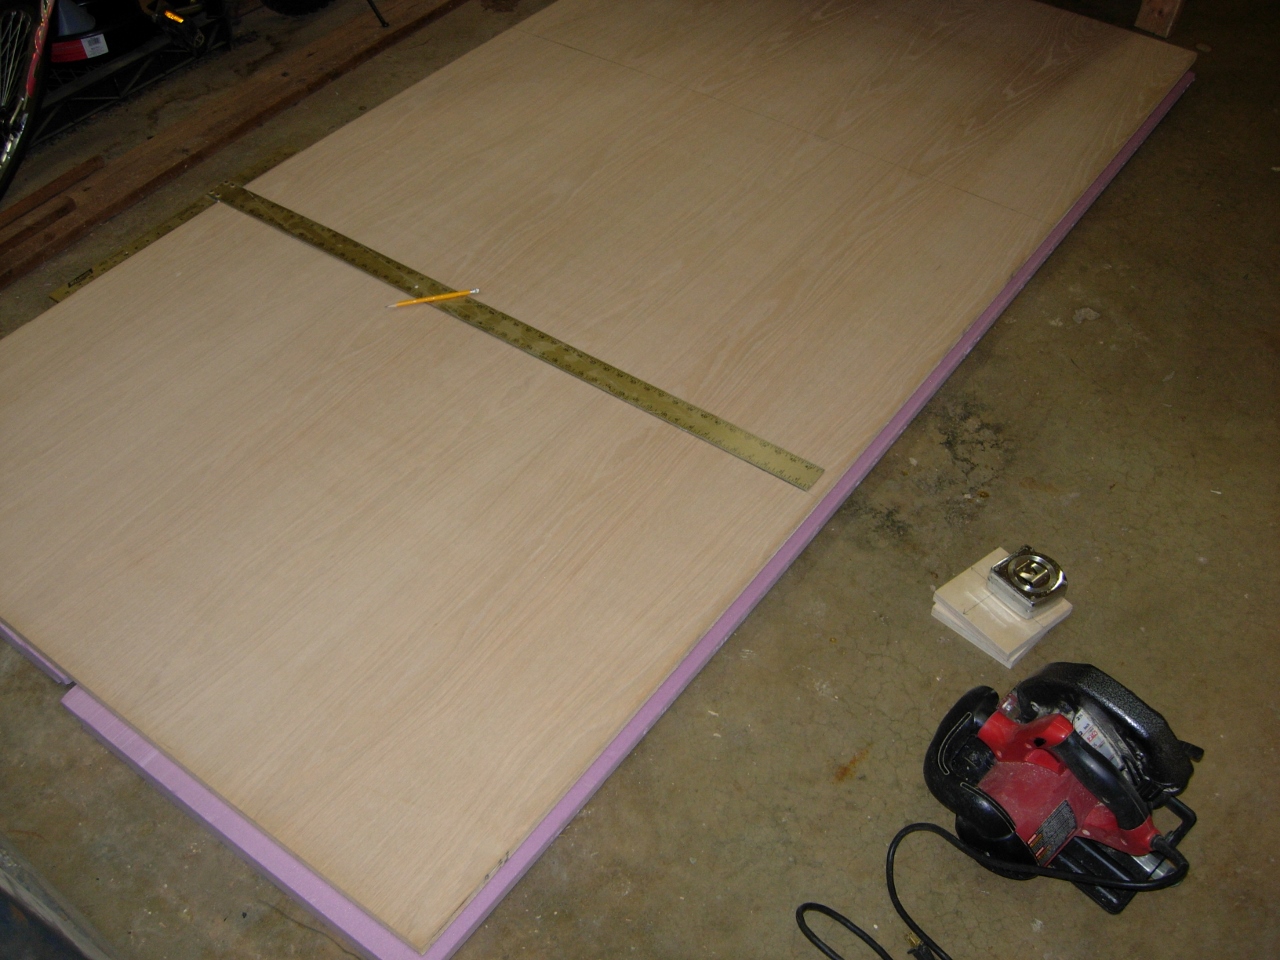
Laying out the pieces
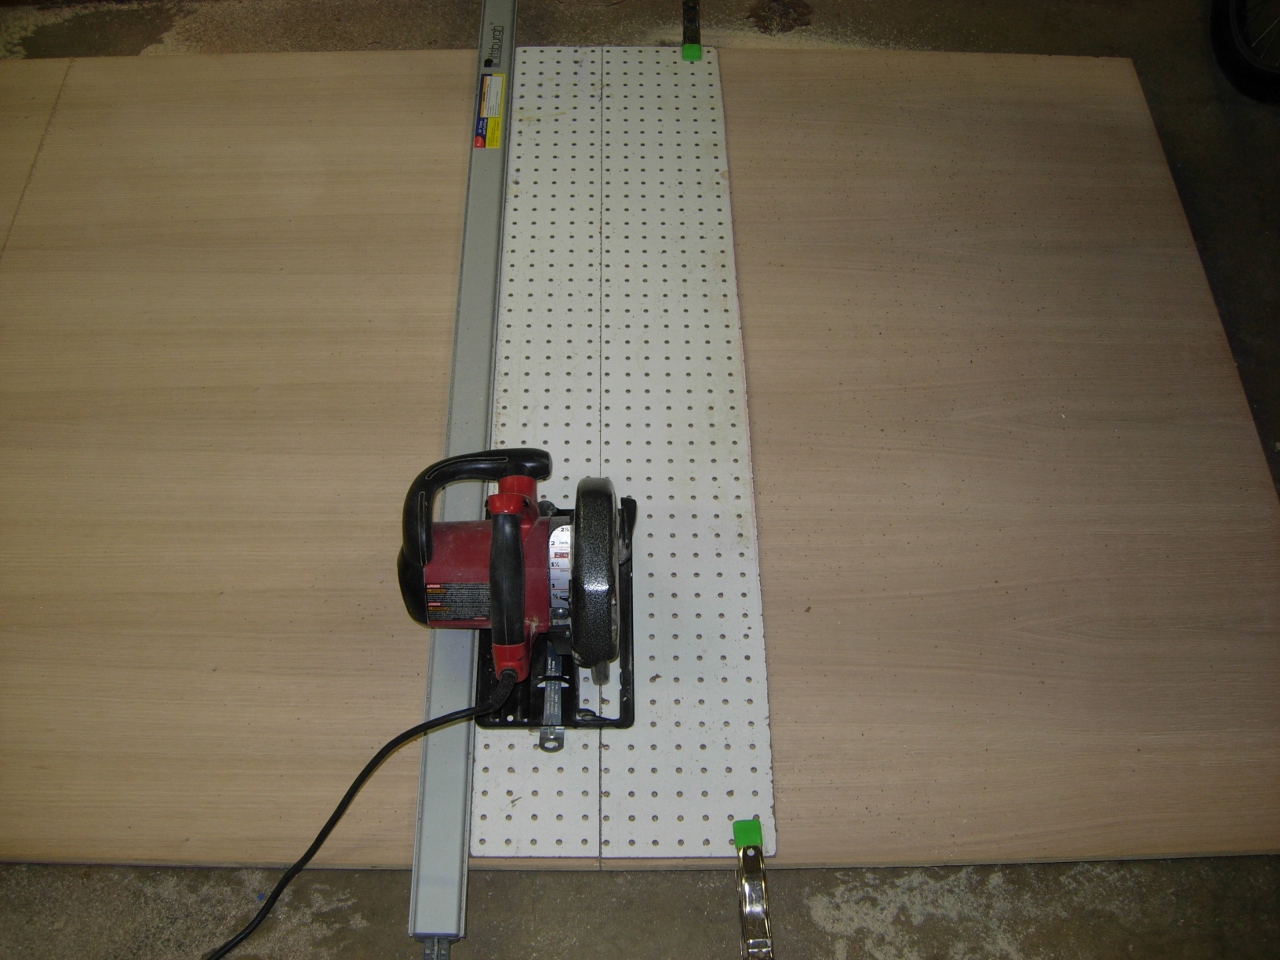
I have an inexpensive clamping straight edge that was designed to guide a circular saw. To make it easier to locate the straight edge from my mark, I cut an old piece of peg board down the 5-1/8″ dimension that matched the dimension from the blade on my circular saw to the edge of the saw’s base that rides along the guide. This piece should also help prevent tear-out on the guide side of the line.
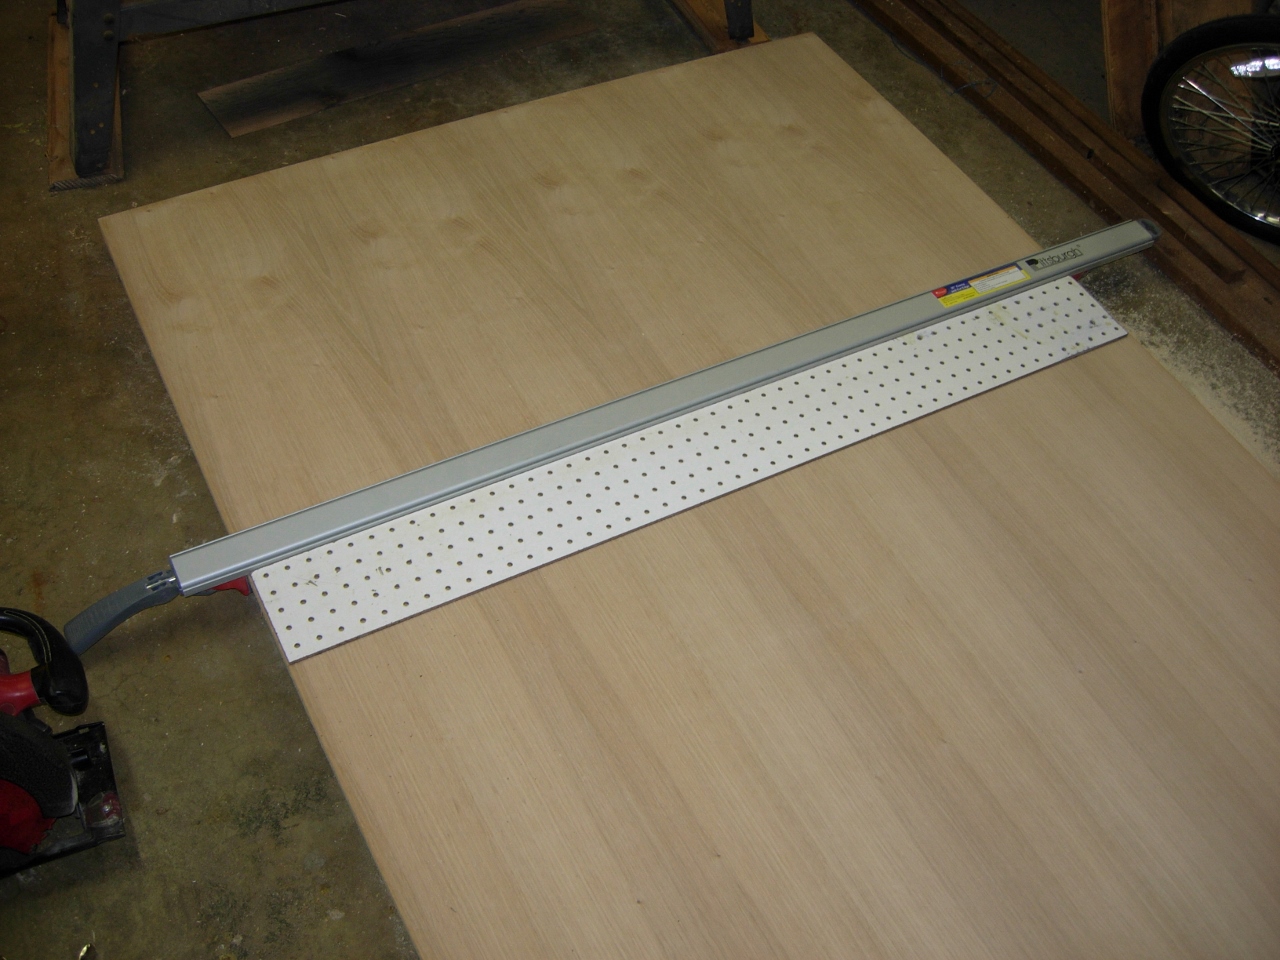
Using a straight edge

Cutting along the straight edge
As you can see in the picture below, the tear-out was greatly reduced on the side that was covered. Unfortunately, I need to use both sides.

Tear-out only on the waste side
Avoiding the tear-out
I decided to simply clamp down a second piece of peg board, right next to the first. This successfully prevented the tear-out on both sides of the line when I made the next cut.
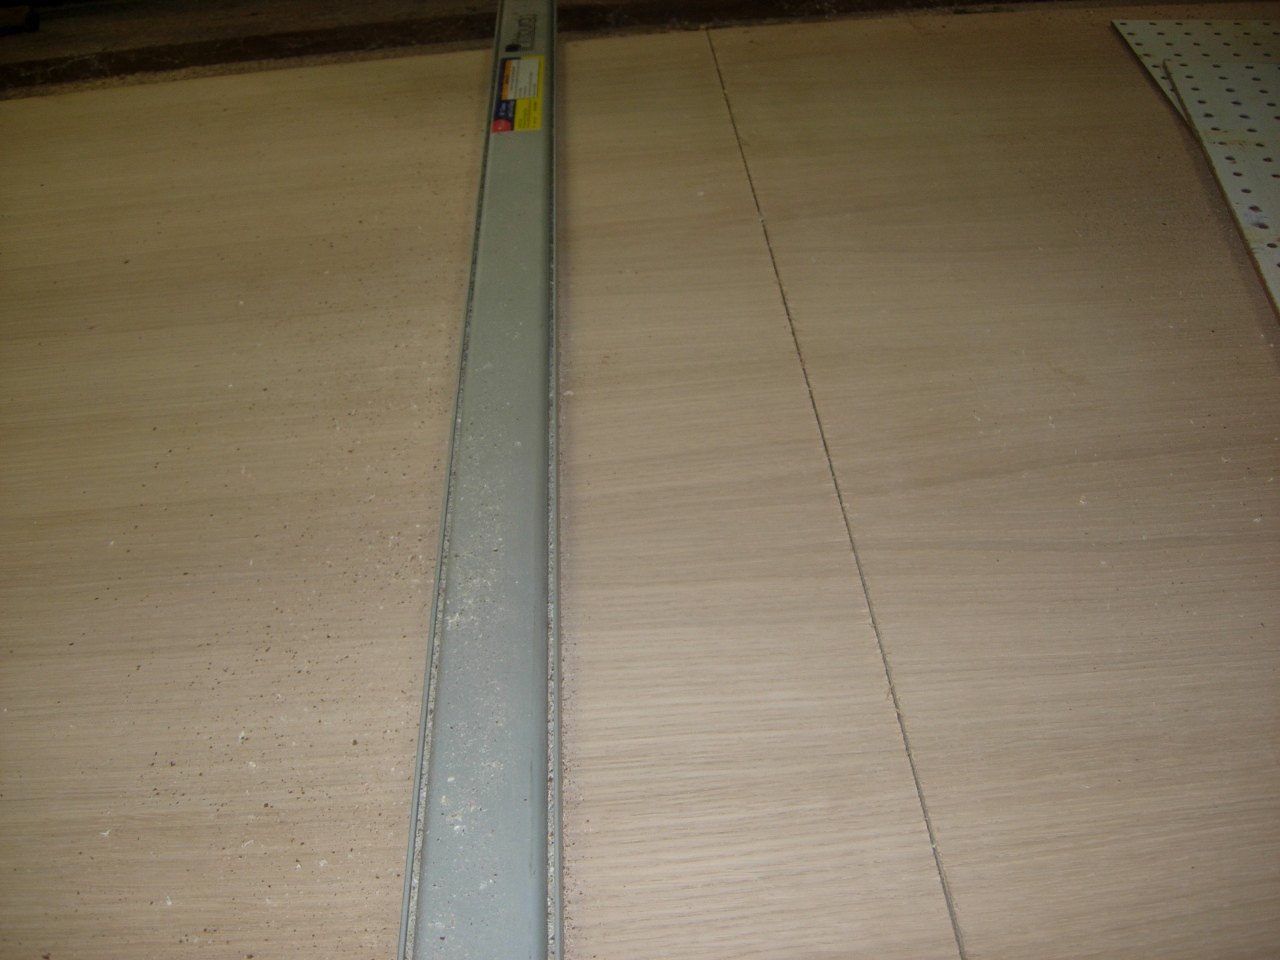
Minimal tear-out this time
Ripping the edges on the short boards
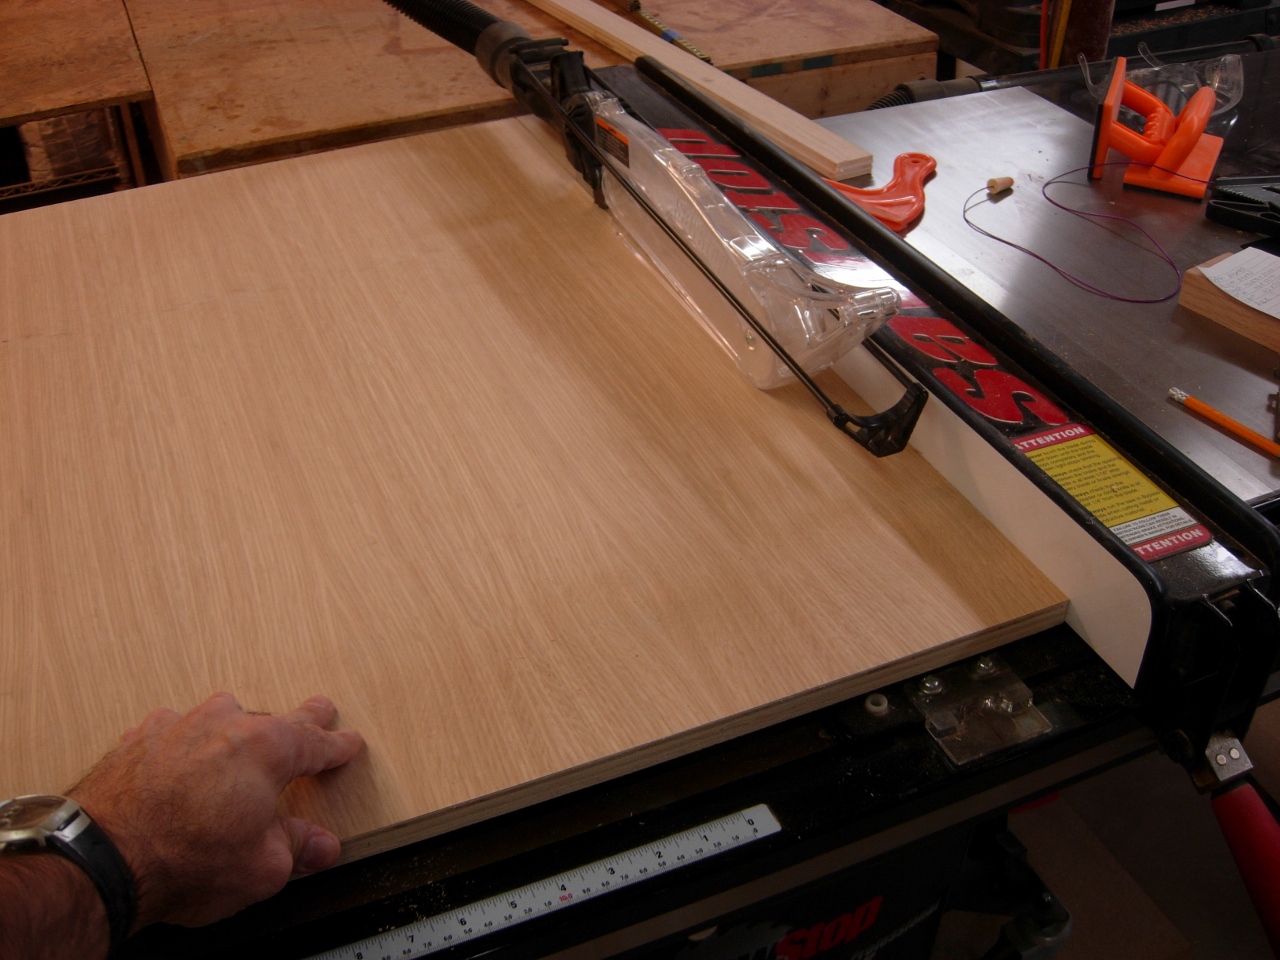
After I cut down all of the boards in the 4′ direction of the plywood, I decided to do all of the cutting, down the long side, on my table saw. Since the saw guide is only 50″ long, it would not be useful in the 8′ direction.
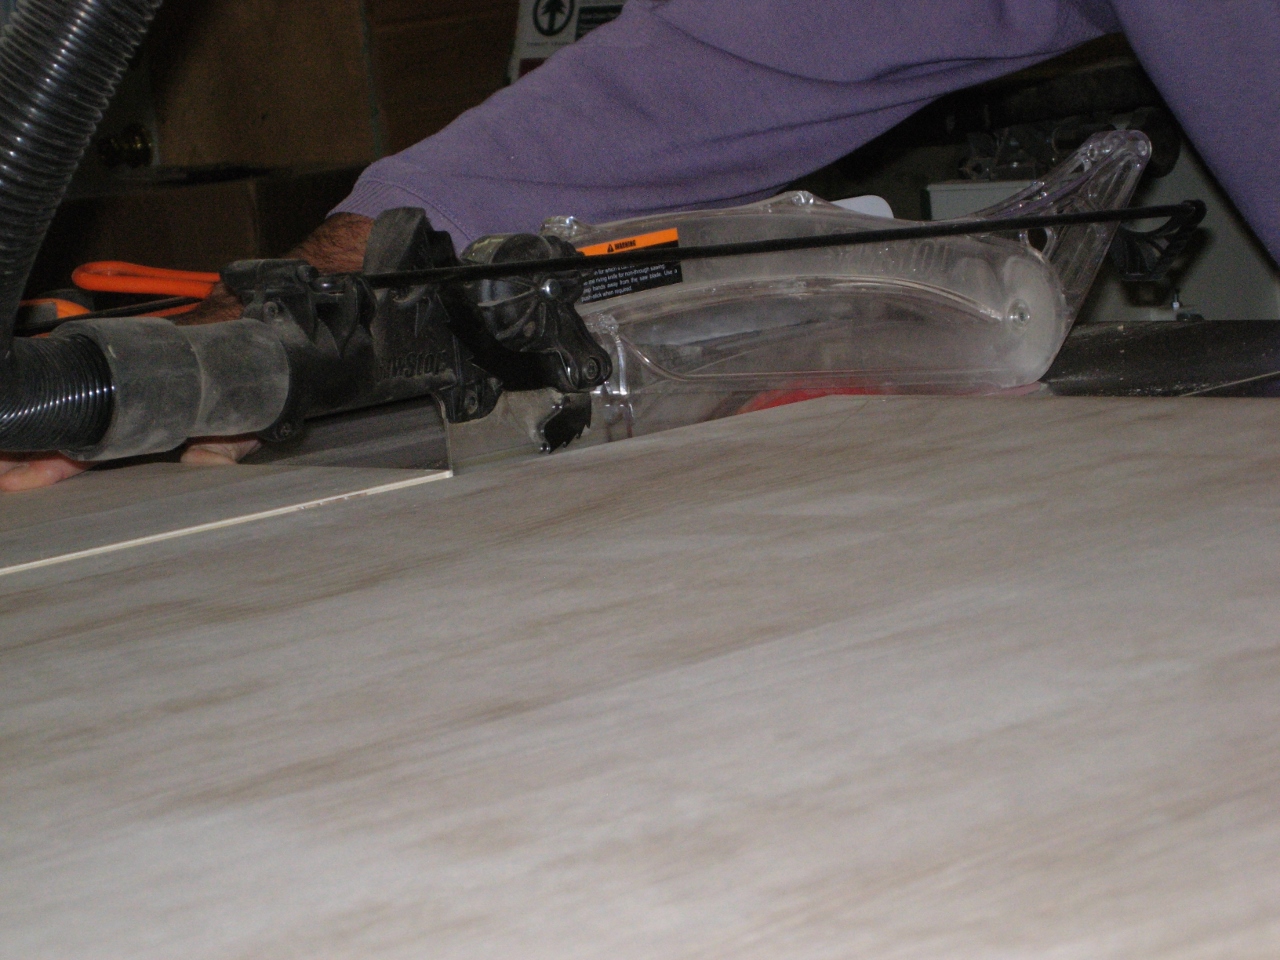
Minimal tear-out on the table saw
The table saw also has the added benefit of having very little tear-out due to the zero-clearance insert that surrounds the blade. Since each of these boards weighs about 100 pounds, I enlisted the assistance of one of my teenagers to help me maneuver and support the heavy boards. Adam assisted by being the camera man. You can always tell when I take the pictures, I try to avoid putting my face in them…
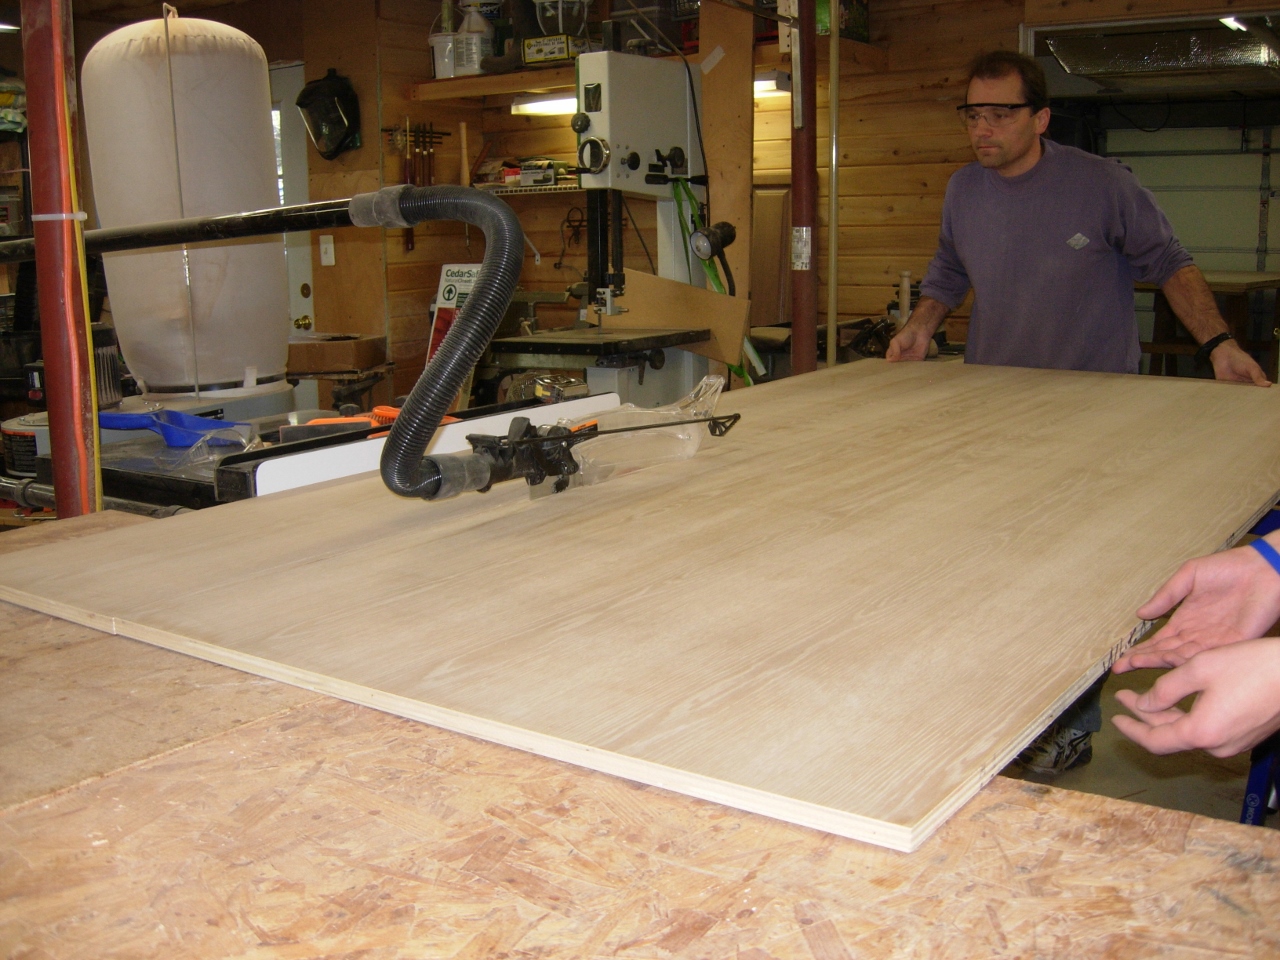
Ripping down a full size sheet
After a couple of hours, I managed to get all of the plywood, for this project, broken down to the required sizes. I don’t yet have the white oak boards that will trim the edges or make up the door panels yet, so I will probably work on another project or two while I wait on that. I need to get a couple of blanket chests built for the church, for a silent auction, in the next couple of weeks, so that will probably claim priority over this project. Of course I am waiting on the wood for them as well…

Pingback: Oak storage cabinet – day 2 | Midnight Woodworking