
Oak storage cabinet – day 2
I am finally done dragging my feet on starting this project. I actually started it a few weeks back (breaking down plywood) but I have had other things to do, and I was waiting on the oak. I picked up the oak last week, and refined my drawings, so I am ready to get started in earnest. This cabinet will be massive, 4′ wide x 3′ deep x 7′-6″ tall. Constructed with 3/4″ white oak plywood and 3/4″ white oak trim, and have five adjustable shelves inside.

Dull planer blades
The last few projects have really taken a toll on my planer blades, so before I start, I need to replace them. The Rigid planer that I have is not really designed to have the blades sharpened and re-used. Instead, the blades are cheap enough that they designed the planer to only take new ones. This actually makes it very easy to install the blades. They just drop in and they are set at the correct elevation. No set-up or aligning needed. The only problem is the series of nuts that you have to loosen are right in line with the exposed blades. I have learned, the hard way, that even when you are being very careful, breaking loose the nuts, you can still slip and slice open your fingers.
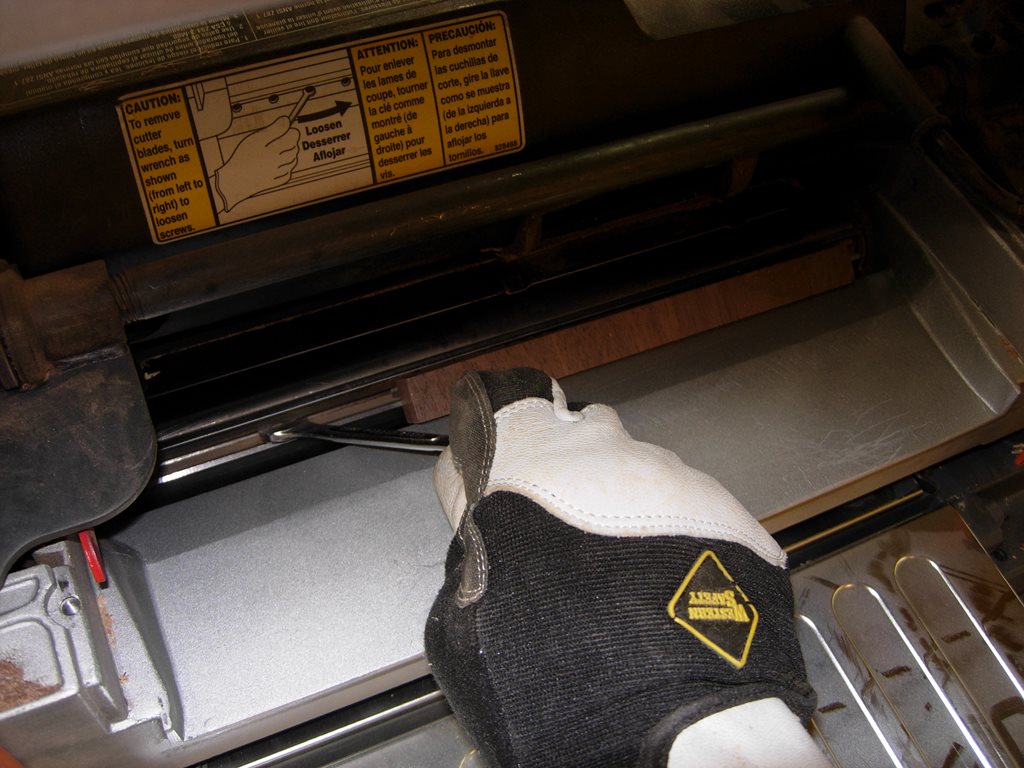
Carefully busting loose the nuts
After the second time I managed to slice my thumb open, it dawned on me that a simple fix was to lay a strip of wood across the blade and wear leather gloves. The strip of wood covers the blade, and the gloves protect my knuckles.

Sorting and selecting
Last night I built some of the smaller pieces, the Top and the Base. To start, I laid out all of my short boards to select the least attractive ones. The boards for the base will be completely out of sight, and the boards for the top will only be visible from inside the cabinet.

Planing works better with sharp blades
I planed these boards down to 3/4″ thick and ripped them down to 3-1/4″ wide.

Ripping down tha stock
Cutting to length
After cutting them down to the correct length, I applied a bit of glue to the ends and nailed the corners and center support in place, for the base.
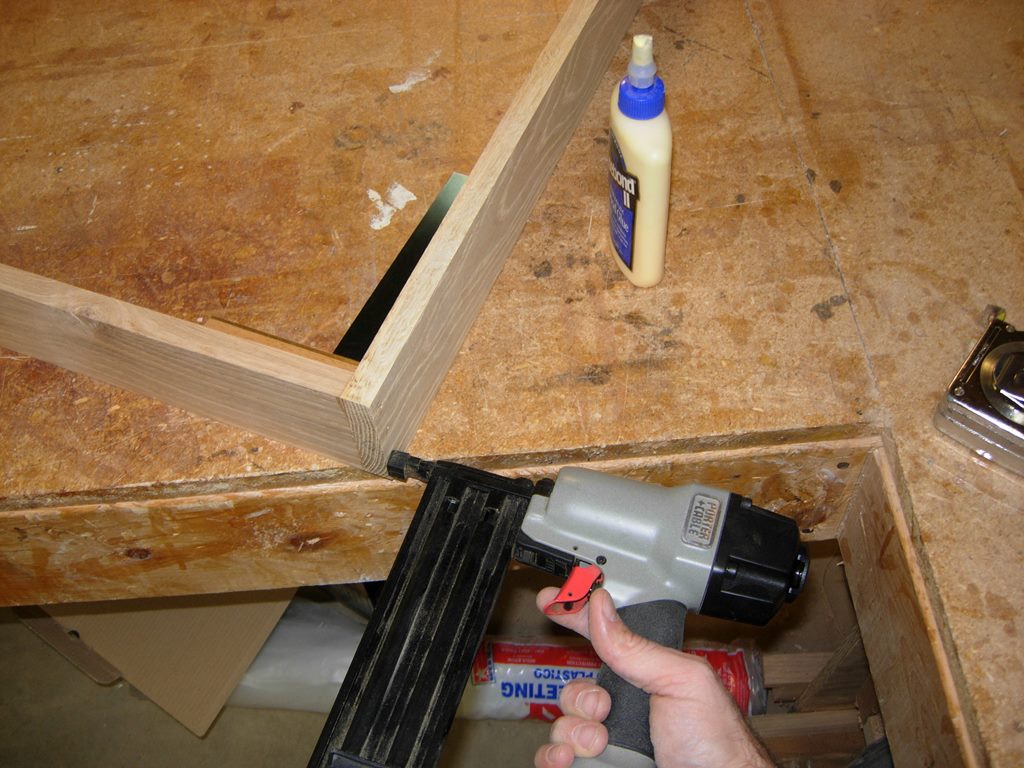
Nailing the base frame

Base frame assembled
I squared the base up, and applied a bead of glue along the top edge.

Applying the glue
I applied the 3/4″ sheet of plywood, that I had cut out earlier, and nailed it in place.
Nailing the plywood down

Base squared and assembled
After the base was done, I repeated the process with the top as well.
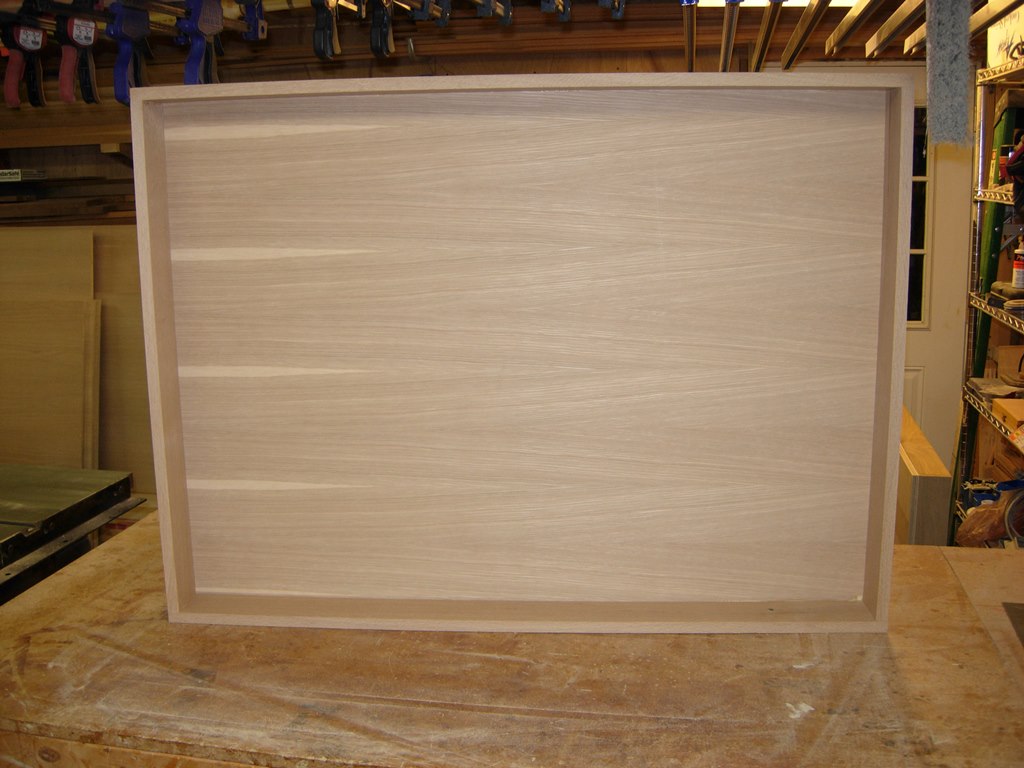
Top assembled as well
The nails should hold everything together nicely, but to be safe, I stood both panels back to back and clamped them up until the glue dries. With my space limited, I will be doing this project in stages, so I will probably be doing the side panels this evening.
