
Church Altar and tabernacle stand – day 16
I have received a few software upgrades for the Carvewright CNC router. I now have the ability to import 2D and 3D images, instead of trying to create them in the base software that comes with the Carvewright. Since I do 2D and 3D design for a living, this greatly expands my options. The trim that will mount to the second tier of the top was intended to be a simple pattern of fish. I was having difficulty achieving this with the base software, but it was a snap with the Autocad software, that I have used for the last 25 years. I generated a 3D STL file and imported it. With minimal effort, I was able to create the exact size and shape I wanted for the trim. I created two programs to run on the Carvewright. Trim for the altar and trim for the tabernacle stand.

Carvewright software
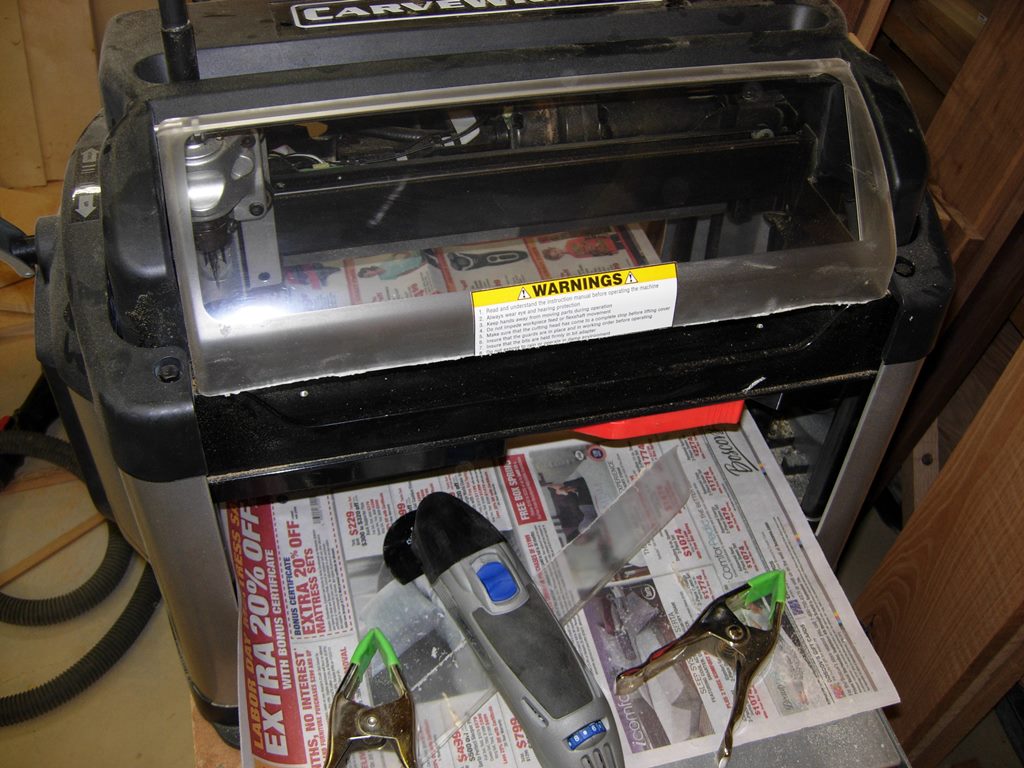
Before I could start carving, I needed to install the dust collection hood on the Carvewright. The hood was sold on the Carvewright website as a “third-party product”. The one I selected was the Dust Devil by Erwin Products. Apparently the Carvewright was designed with no thought for dust collection. I was very unhappy when the first step in the installation directions said to cut the “clear cover” that keeps fingers out while letting you watch the cutting operation. Step two was to drill holes in the front as well. I emailed Carvewright to ask if this voided the warranty. They stated that it would not, so I went ahead with the modifications.
Prep for modification
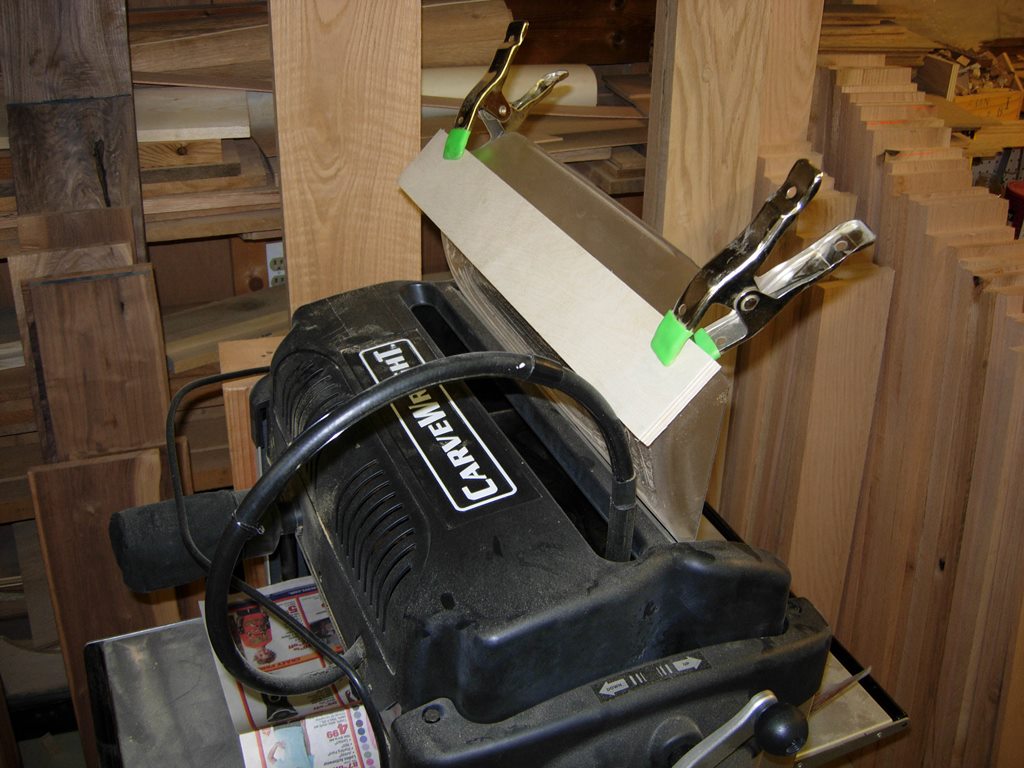
Of course the clear hood cannot be easily removed, so I had to come up with a way to cut an inch and a half off of the plastic cover. I clamped a board to the lid as a guide, then used my dremmel multi-tool to cut along it.

Cutting the lid
The cutter did as much melting as it did cutting, but it completed the task. I used a small block plane to clean off the melted bits and straighten the edge.
Edge removed
With the edge removed, I located and drilled out the mounting holes.

Drilling out the mounting holes

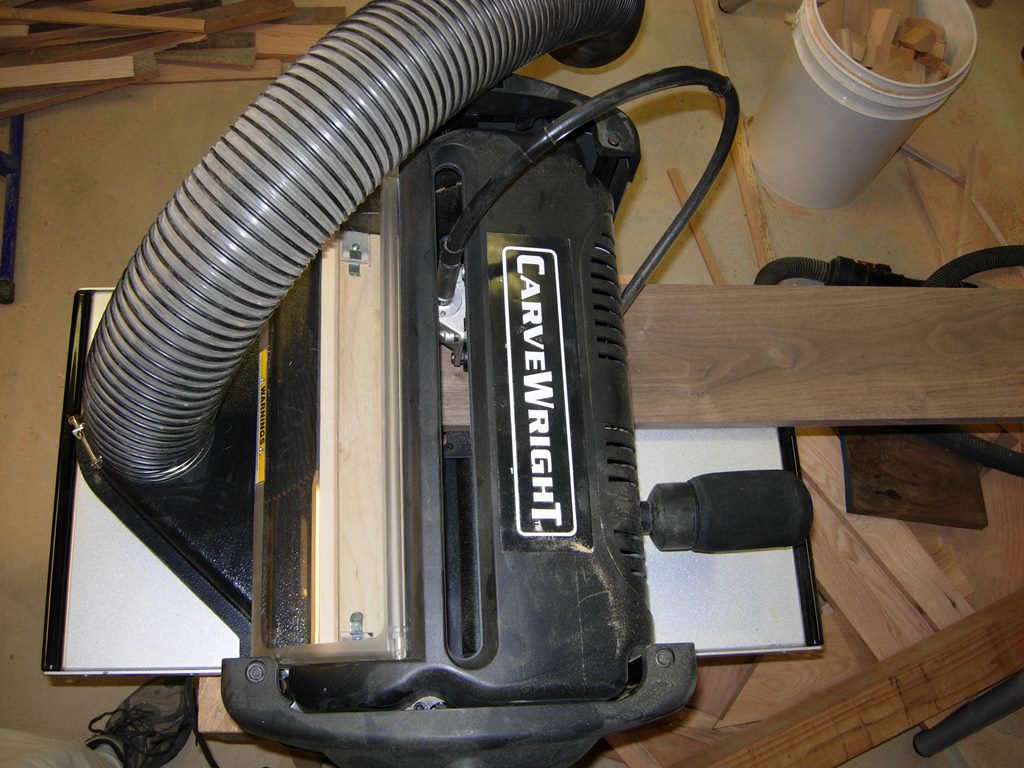
Dust hood mounted
I mounted the hood and the wooden pieces inside, that guide the dust to the hood.

Internal components mounted
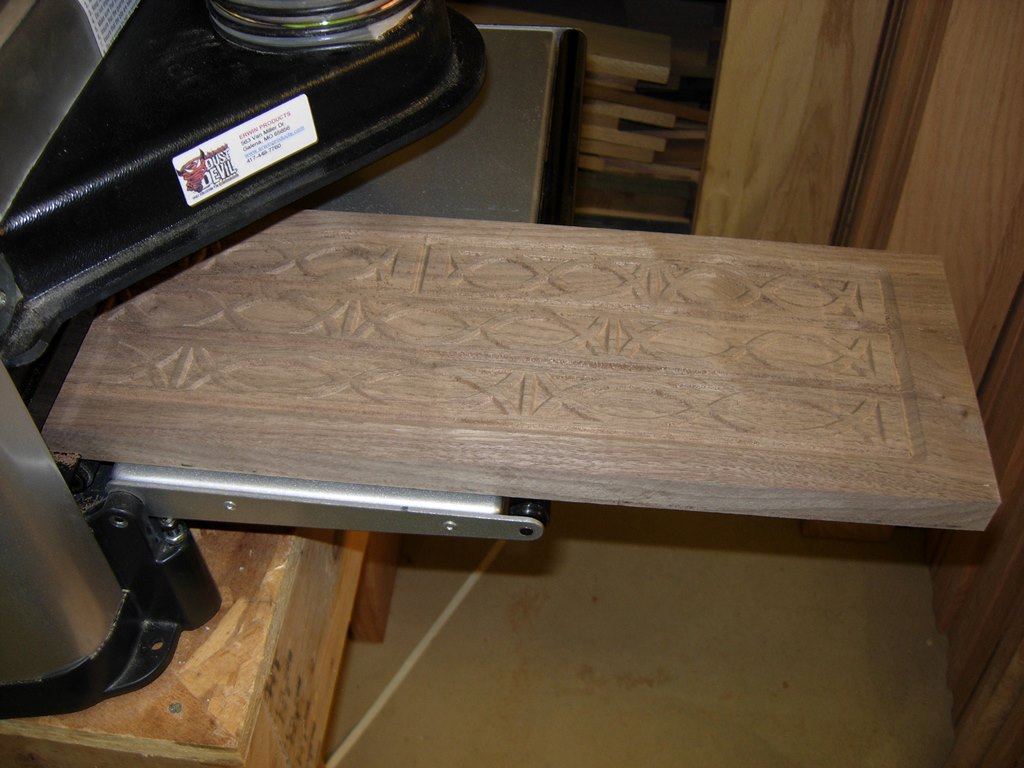
I inserted a board, cut to the required length, and I was ready to run the first program.
Ready to use
The smaller program, of the two, required an hour and a half to run. The larger will require about three and a half. Since it was already 10:00 PM, I opted for the shorter of the two.
Starting the carve
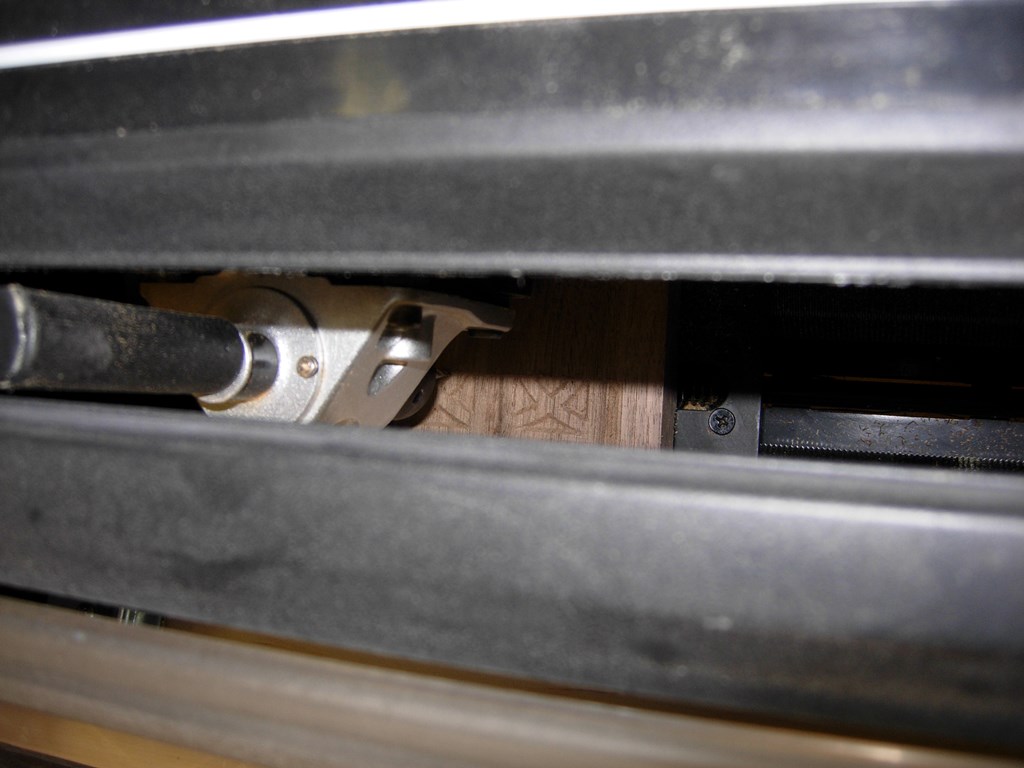
I had a bit of snipe on the first inch or two of the carve, but nothing I can’t fix. I watched for about 10 minutes before the noise of the carver and the dust collector drove me away…
A little bit of snipe

Sanding mop cleanup
I ran the carve at the “Normal” setting. The “Best” setting would have taken more than twice as long. It wasn’t too rough when it was finished. The recommended method for cleaning up the carved boards is using a sanding mop. The sanding mop is just a large stack of sandpaper cut into strips and mounted to a spindle. When inserted into a drill, it works very passively to remove the furry left-overs from the carve. I was pleased with the final effort. I will resaw and trim the pieces to get them down to the final dimensions another day.
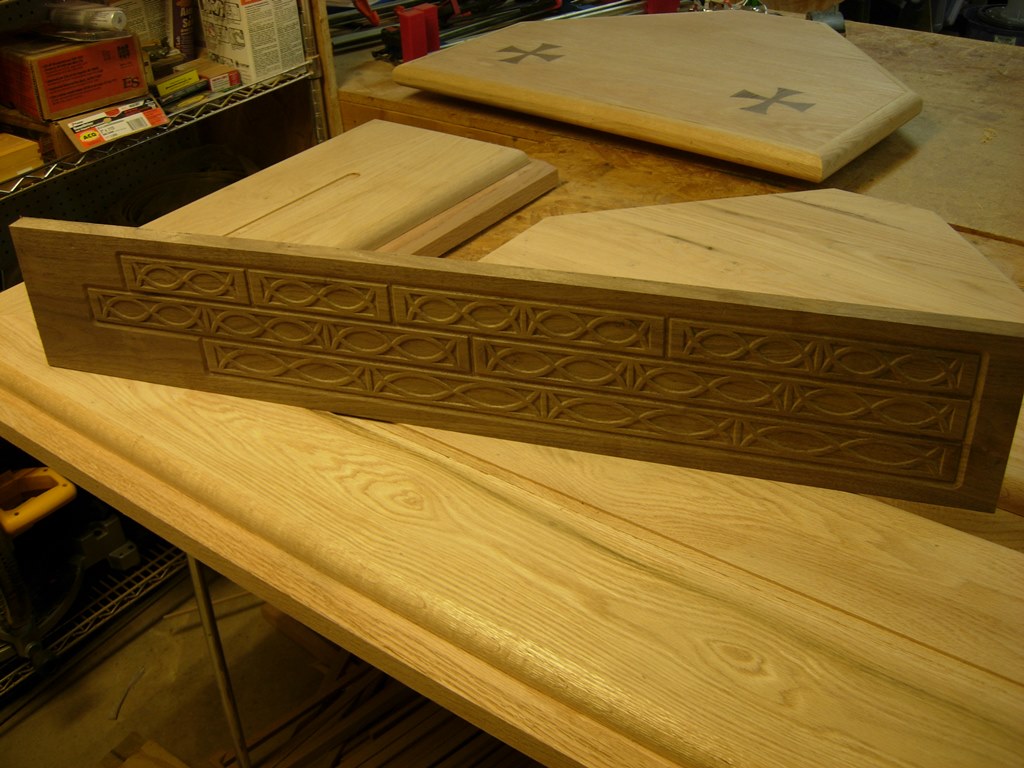
Not a bad effort
