
Church Altar and tabernacle stand – day 15
I decided to start off the day yesterday (afternoon) by mixing up a bit more wood filler. Same recipe as before, stained wood flour and hide glue.
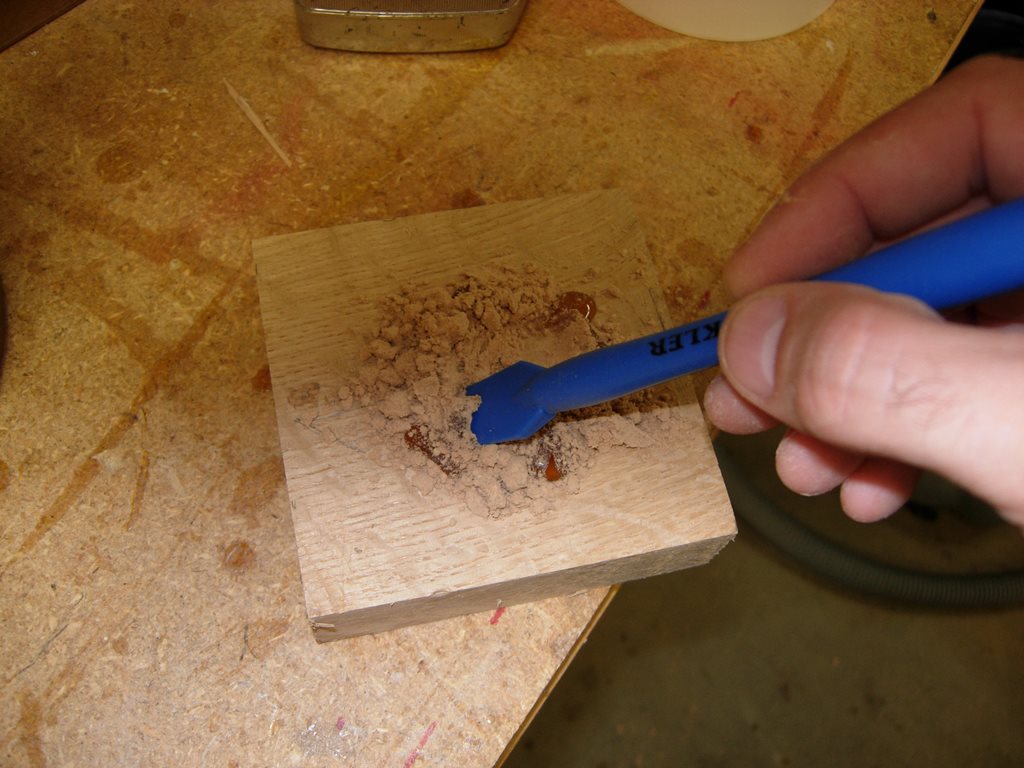
Making more wood filler
I thought I would get the nail holes filled, as well as the top for the relic chamber that I forgot about when I filled the other crosses.
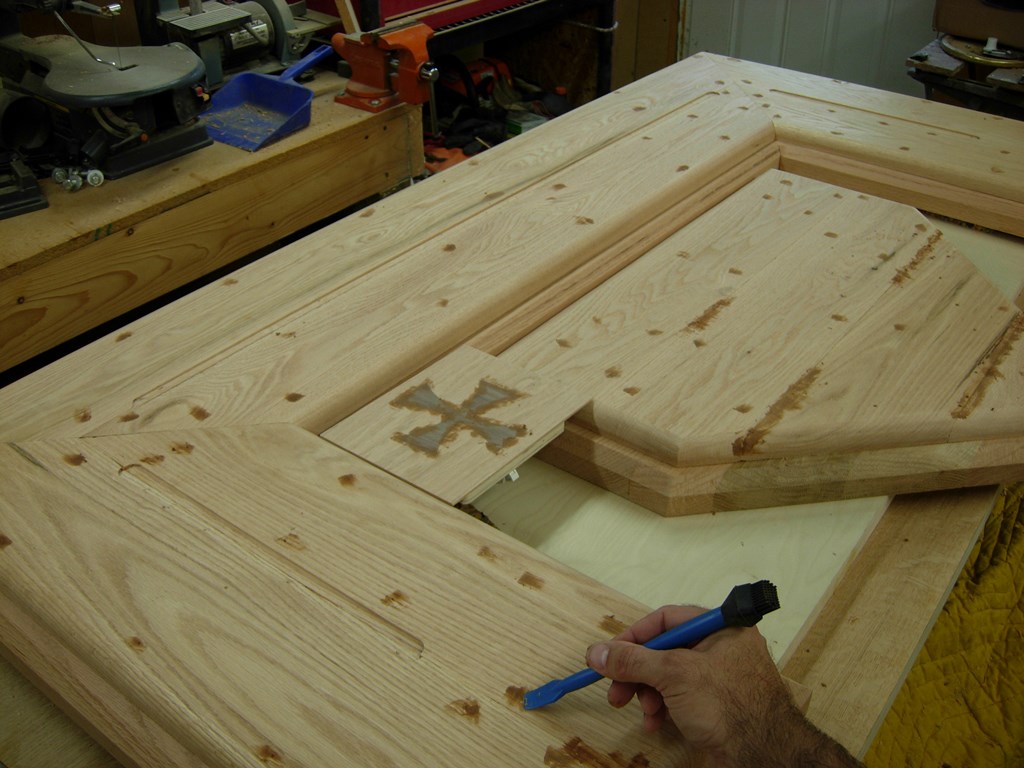
Backfilling the nail holes
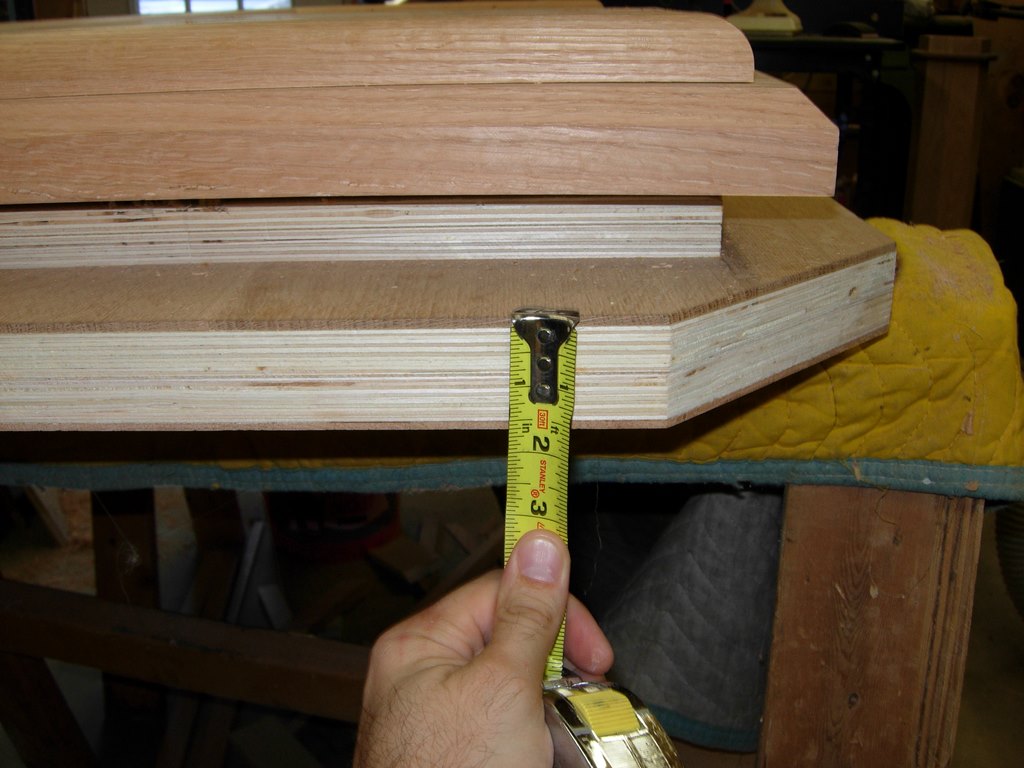
Measuring the edge
While that was left to dry, I measured the final veneered thickness of the altar top. I want to make a rounded over edge banding. I decided to make it 1/16″ larger than the top’s thickness. I will hold it as flush to the top as possible then sand or plane the bottom flush. This will allow me to accommodate anywhere that the veneer may be slightly raised.
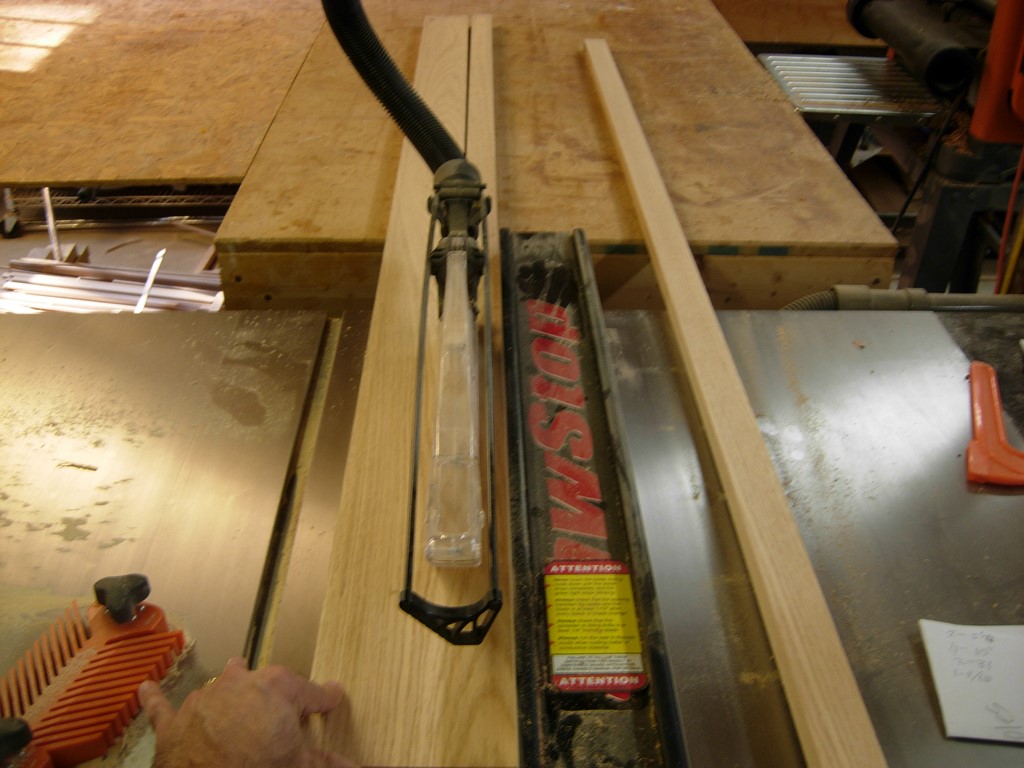
Cutting the edge banding
I have some 5/4 boards set aside for this purpose. I should say that they were 5/4 rough sawn, before they were planed down, now they are almost exactly 1″. I set the fence on the table saw to the proper width and ran a few strips. I measured all of the lengths that I needed to band the altar top and added 3″ or 4″ to allow for the miters, then cut the strips to the desired lengths.
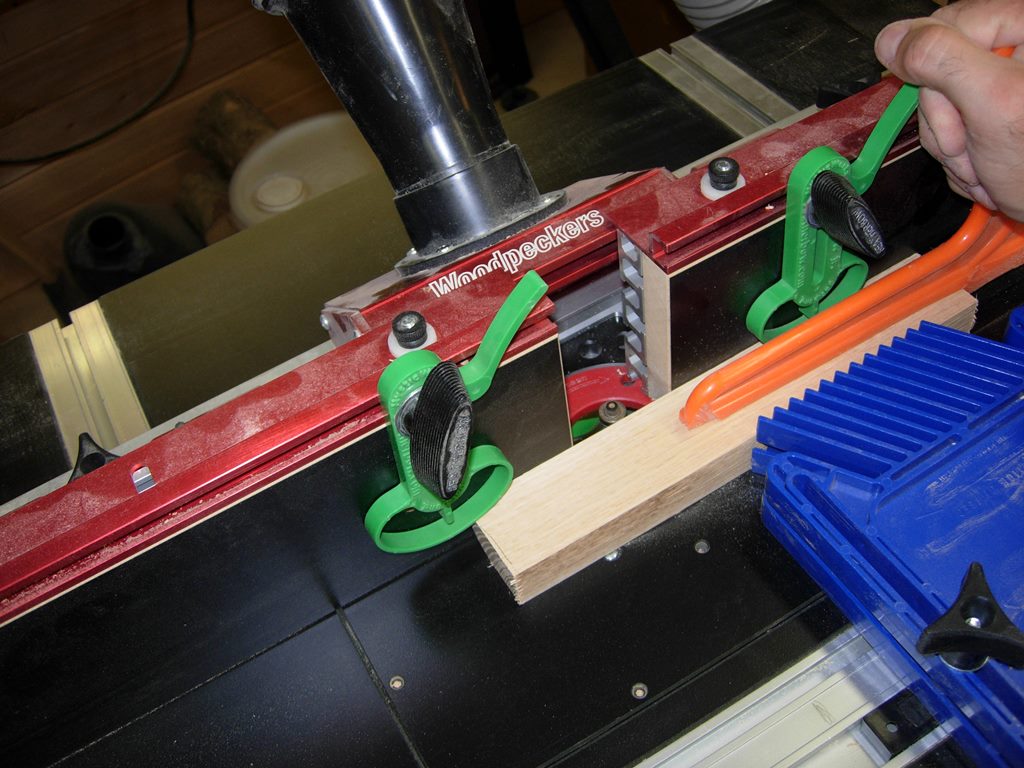
Rounding over the first edge
I set up the 3/4″ round-over bit in the router table and ran the strips through twice. This gives me a nice, heavy edge banding that still has flat surfaces so I can hold it squarely in the miter saw.

Rounding over the second edge
A quick test fit of the first one shows me that it will work well, so I ran the rest.
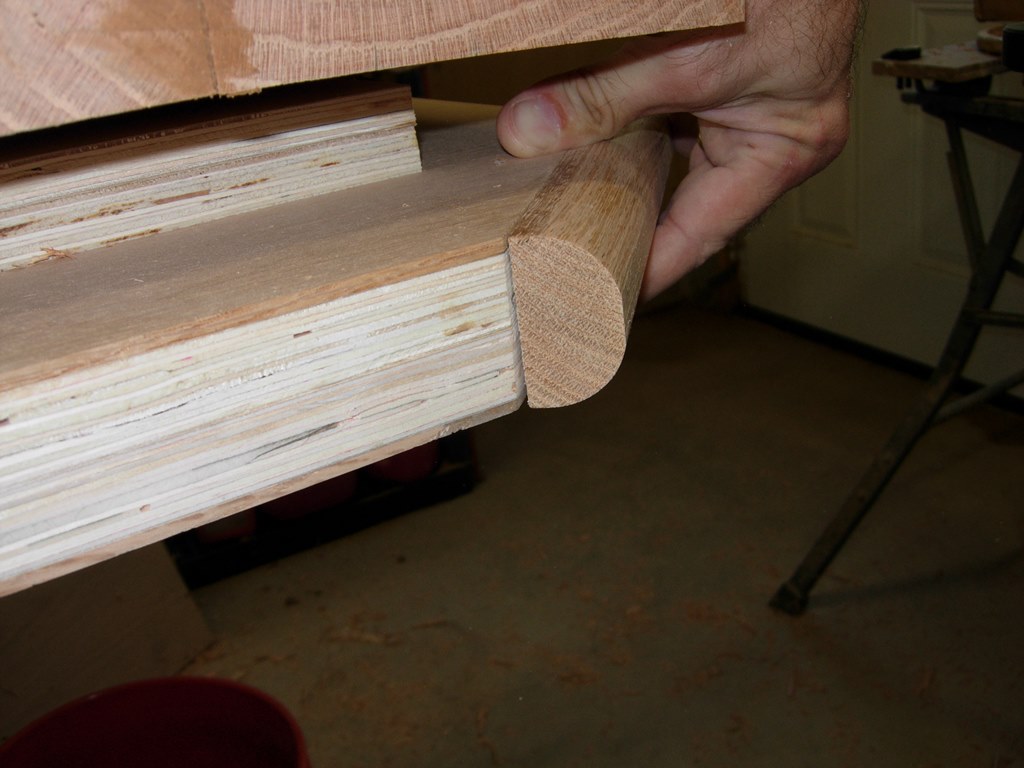
Perfect fit
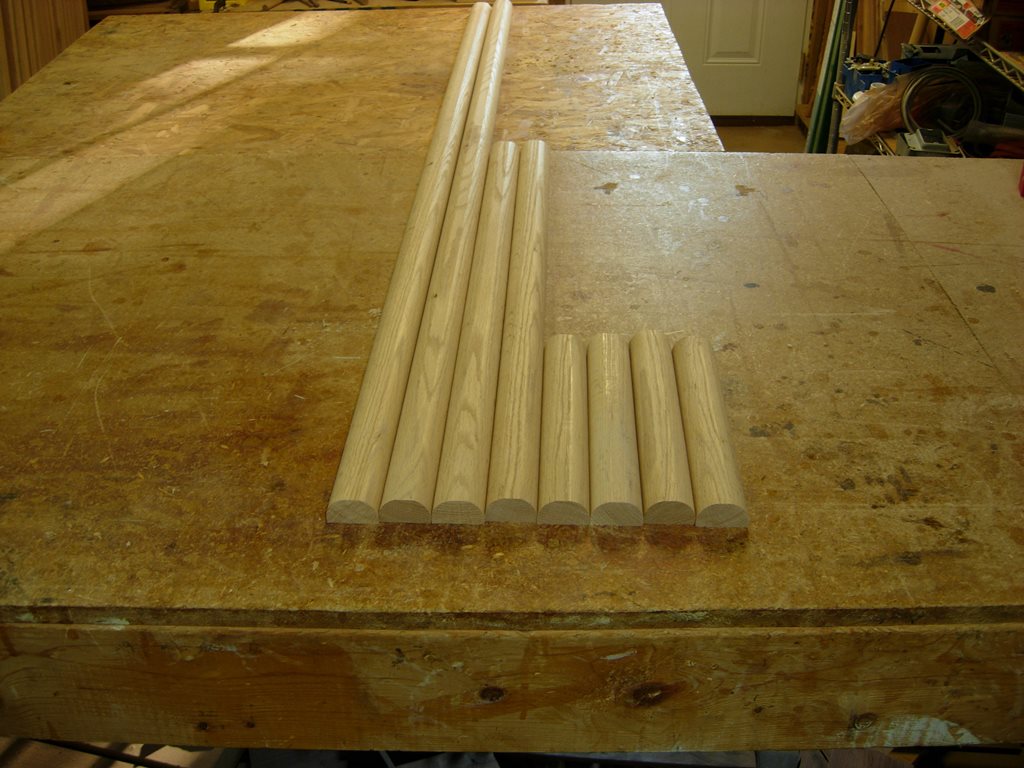
Altar top banding cut
With those done, I need to move the bases before I install the edge banding. I have been using the altar top as a workbench for the bases.

Sanding down the dried wood filler
I sanded down the now dry wood filler, then had one of my teenagers come help me relocate the bases to my outfeed table. Hopefully I won’t have to plane any long material for a while. I am running out of places to put stuff…
Bases finished
As we were moving the bases, I realized that I forgot to cut edge banding for the top of the tabernacle stand. I ran a few more pieces then rounded them as well. I figured that I would start with the tabernacle stand top first since it was smaller.
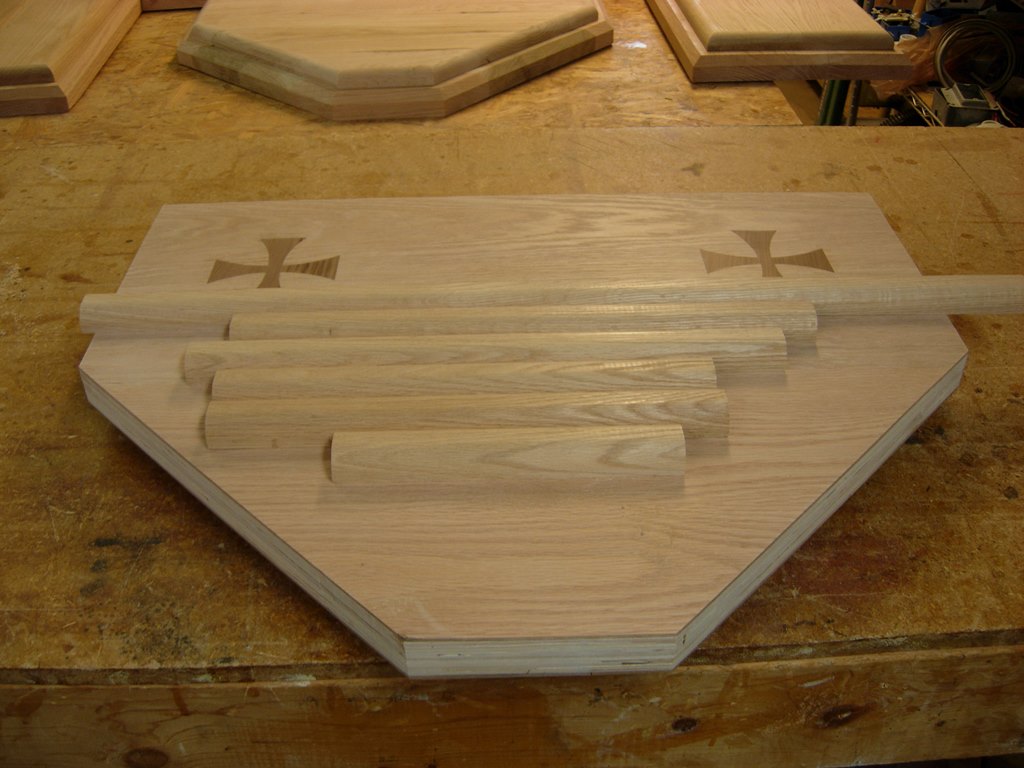
Edge banding cut for the tabernacle stand
The best way that I have found to miter trim is to do one piece at a time and work my way around a part. I start by mitering two pieces that will meet and form the first corner.
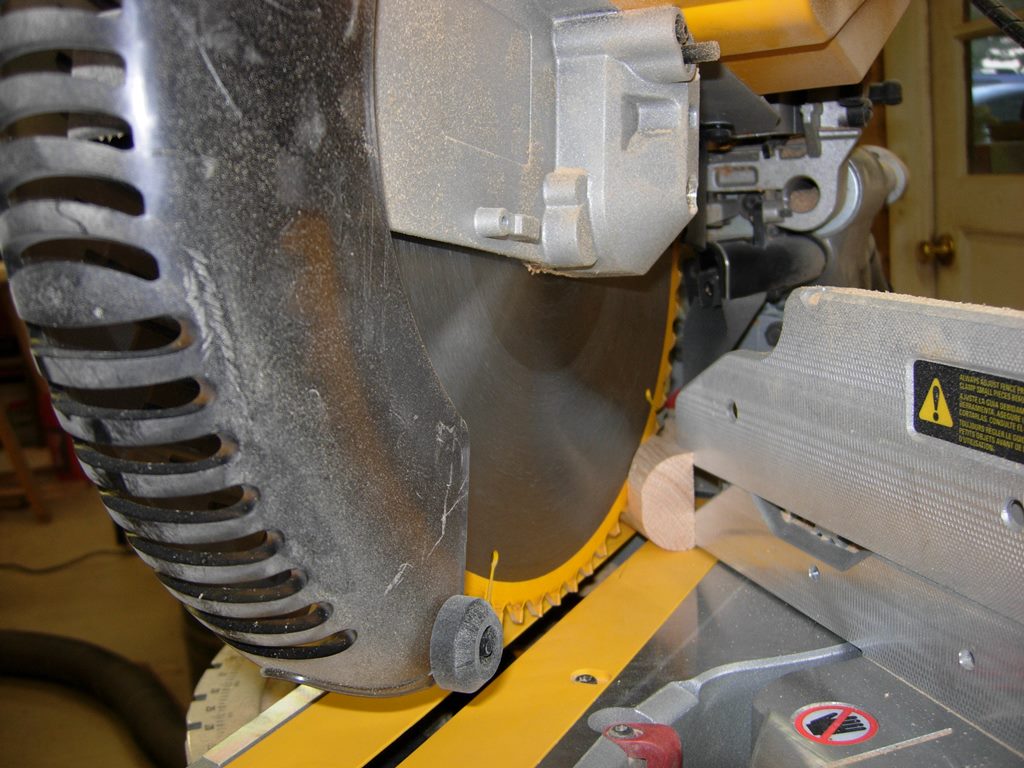
Cutting the miters
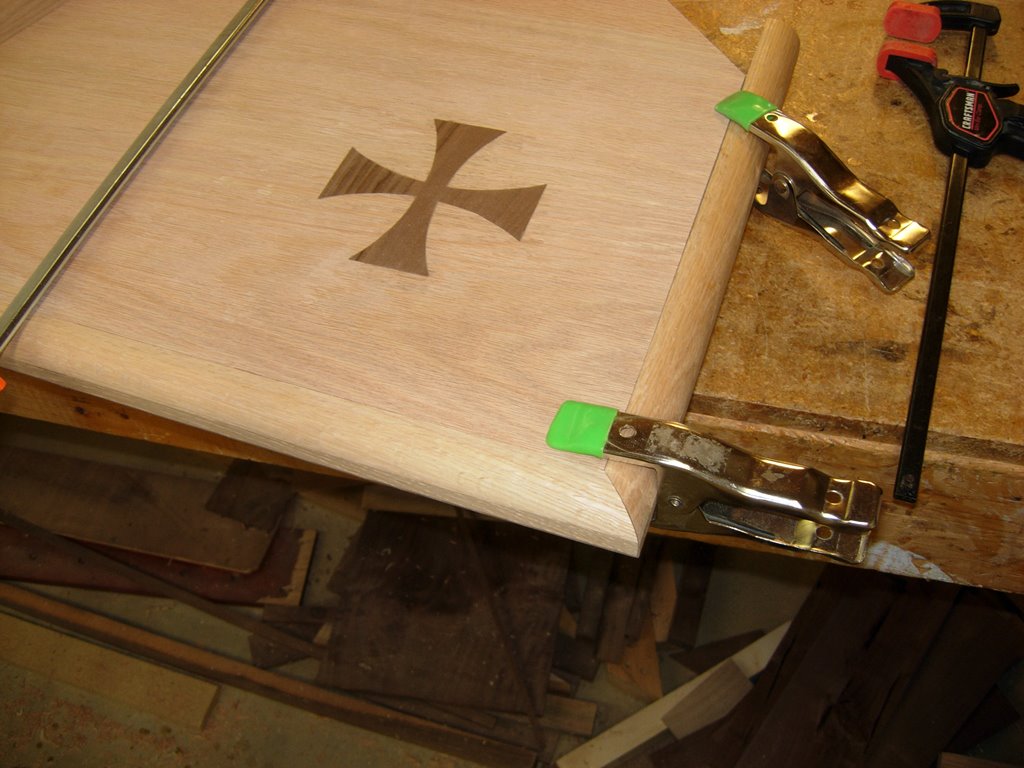
Checking the first corner
Spring clamps work great for holding the trim in place. With the first two pieces located, I can carefully mark the corner and direction of the miter. Leaving one piece clamped, I cut the other one on the miter saw. The best method , that I have found, is to cut the piece slightly long then check it, and cut again. If you try to cut exactly to your mark, you will inevitably over-cut some, just a bit, leaving you with small gaps at the corners or having to recut a new piece. A little extra back and forth is worth the effort.
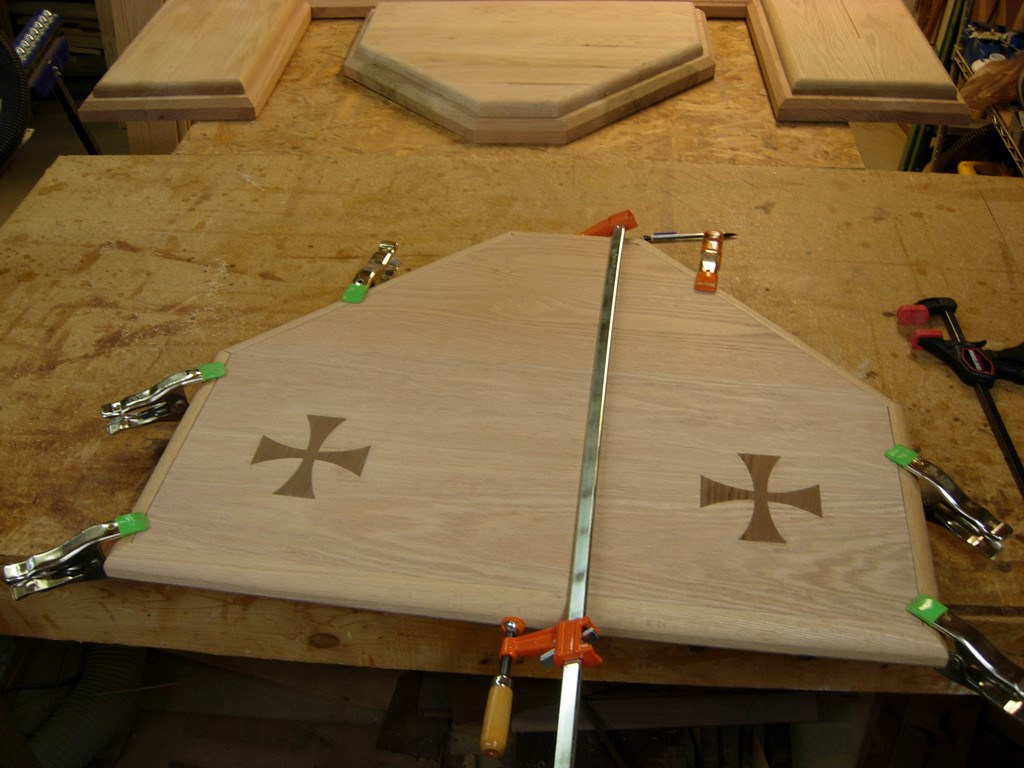
Dry-fit
With the dry-fit looking acceptable, I started the glue-up. I thoroughly saturated the plywood edges with yellow glue and put an additional thin coat on the back side of the edge banding and clamped the board in place.
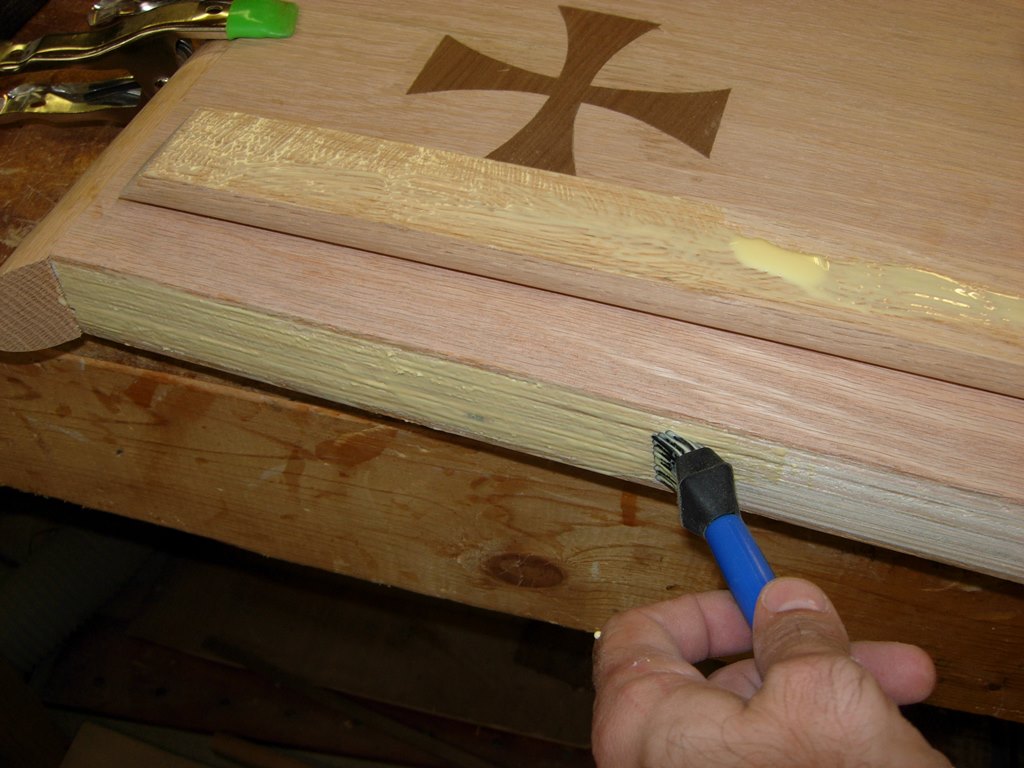
Applying the glue
I attached the trim with a few 2″ brad nails to hold it in place while it dried. Then I proceeded to work my way around the top, one piece at a time, remembering to put a bit of glue on the miters as well.
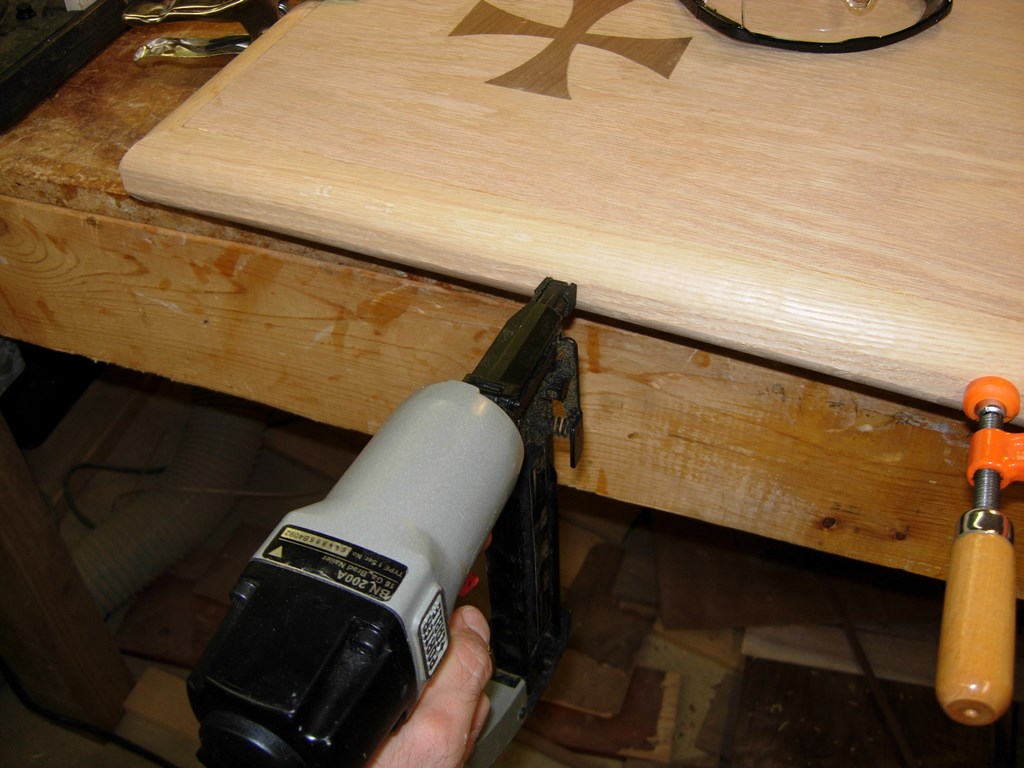
Nailing it in place
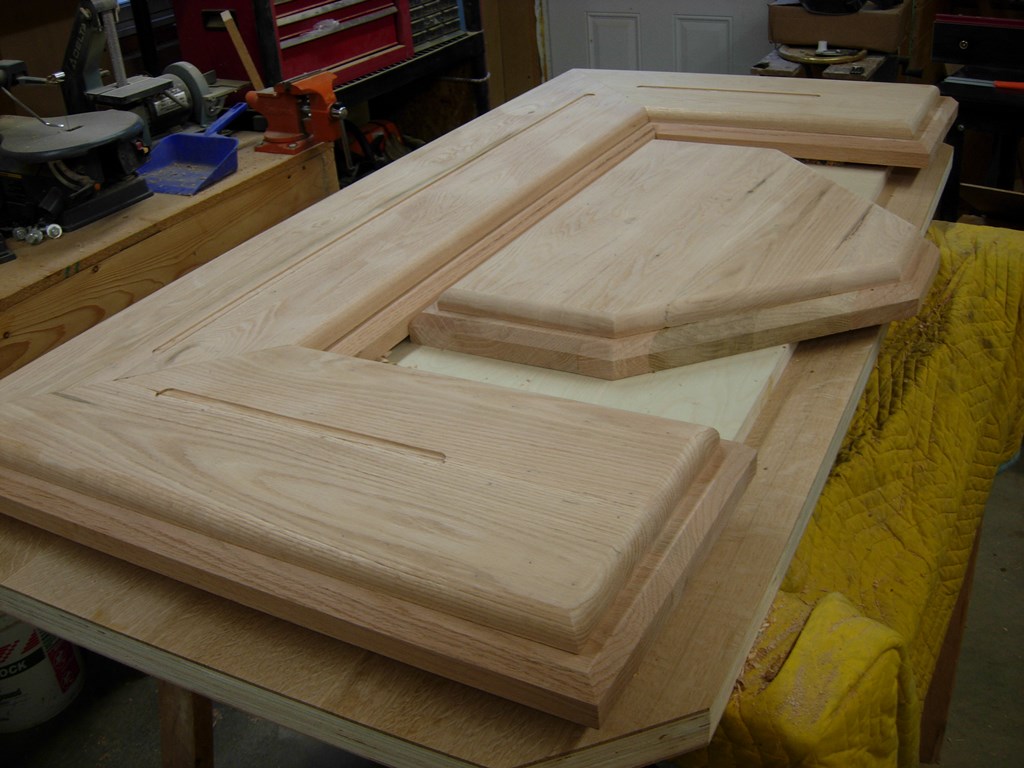
Well, the first top is done. I did not have time to do the altar top as well this weekend, but I should get to it some time this week.
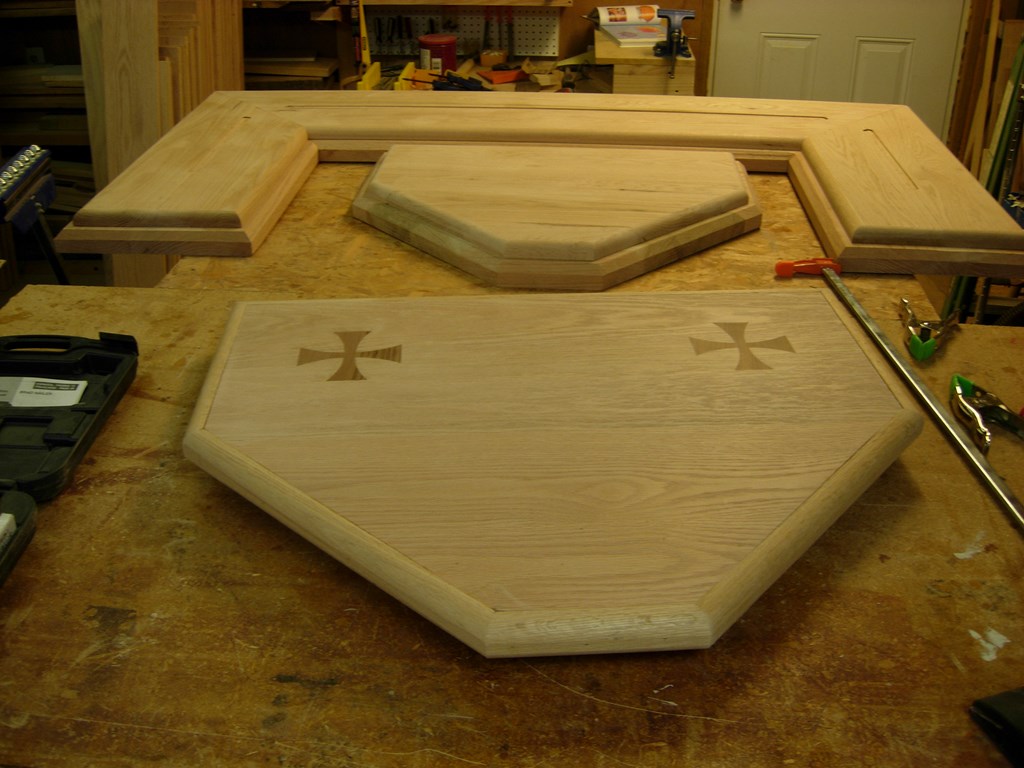
Tabernacle stand top done
