
Church Altar and tabernacle stand – day 14
My goal today was to get the bases knocked out. I pulled the clamps from the tabernacle base and planed down the high spots and glue joints.
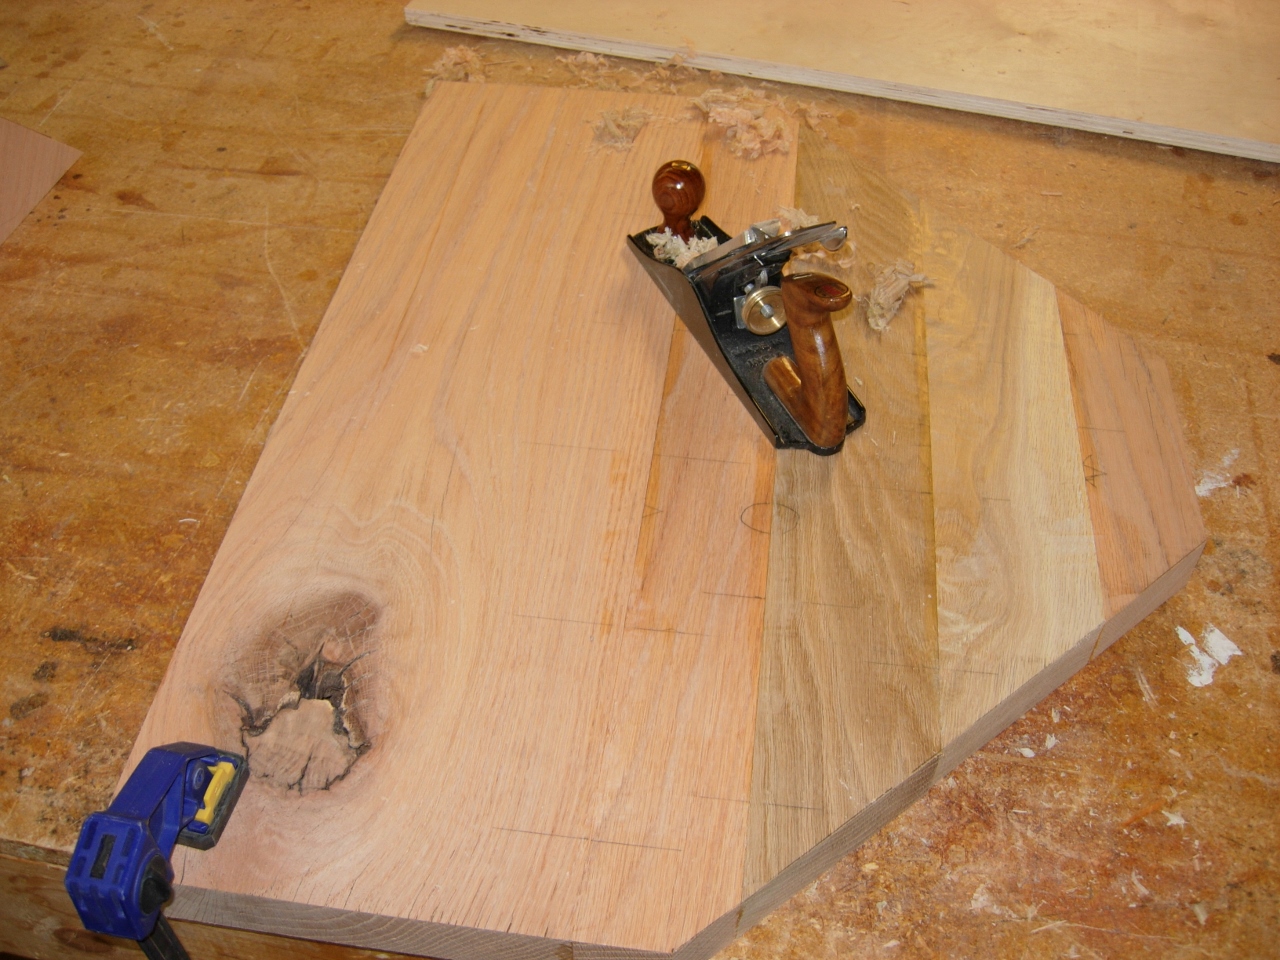
Planing the glue joint
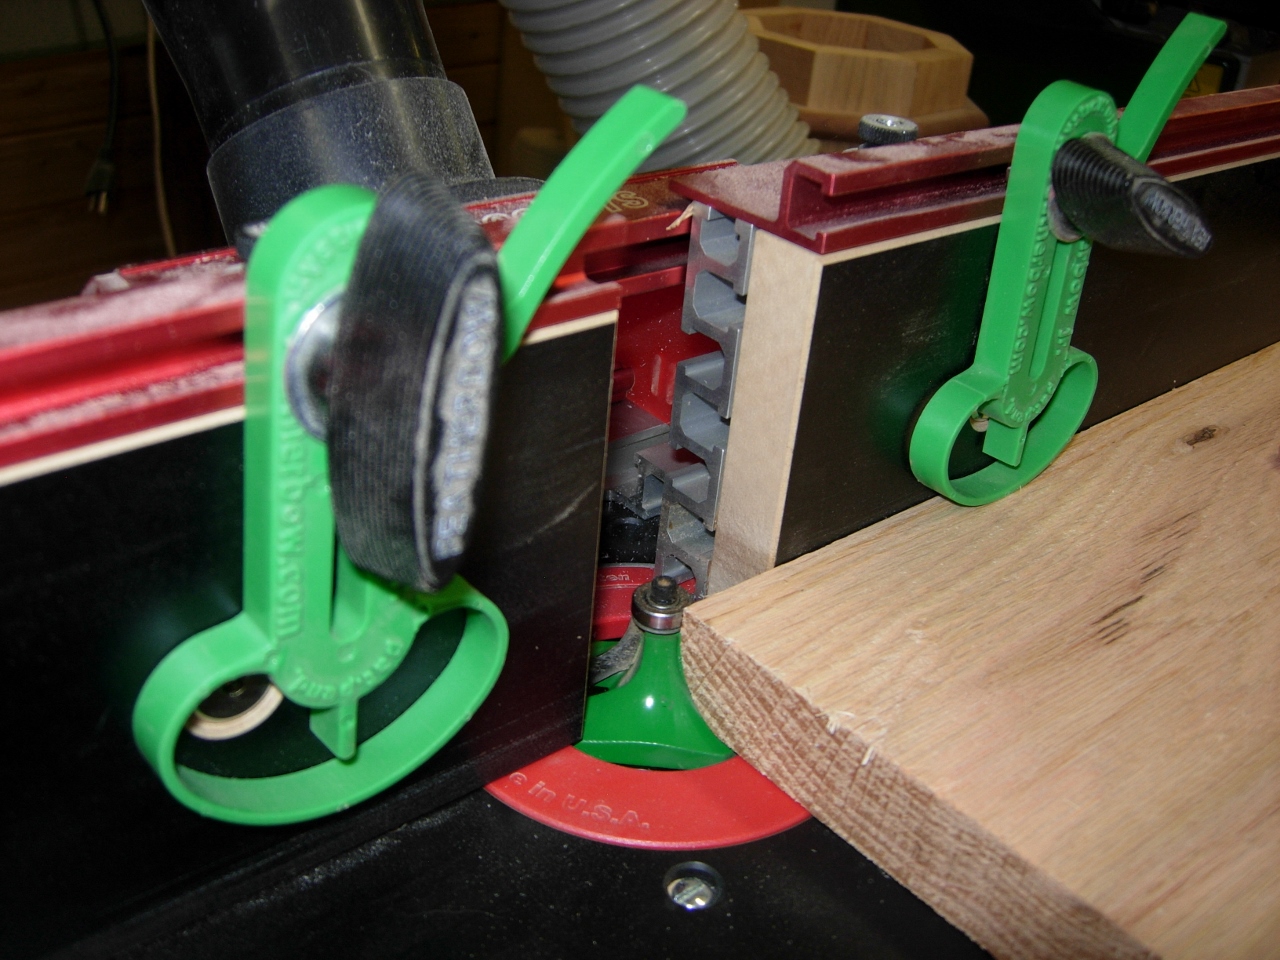
Chamfering the bases
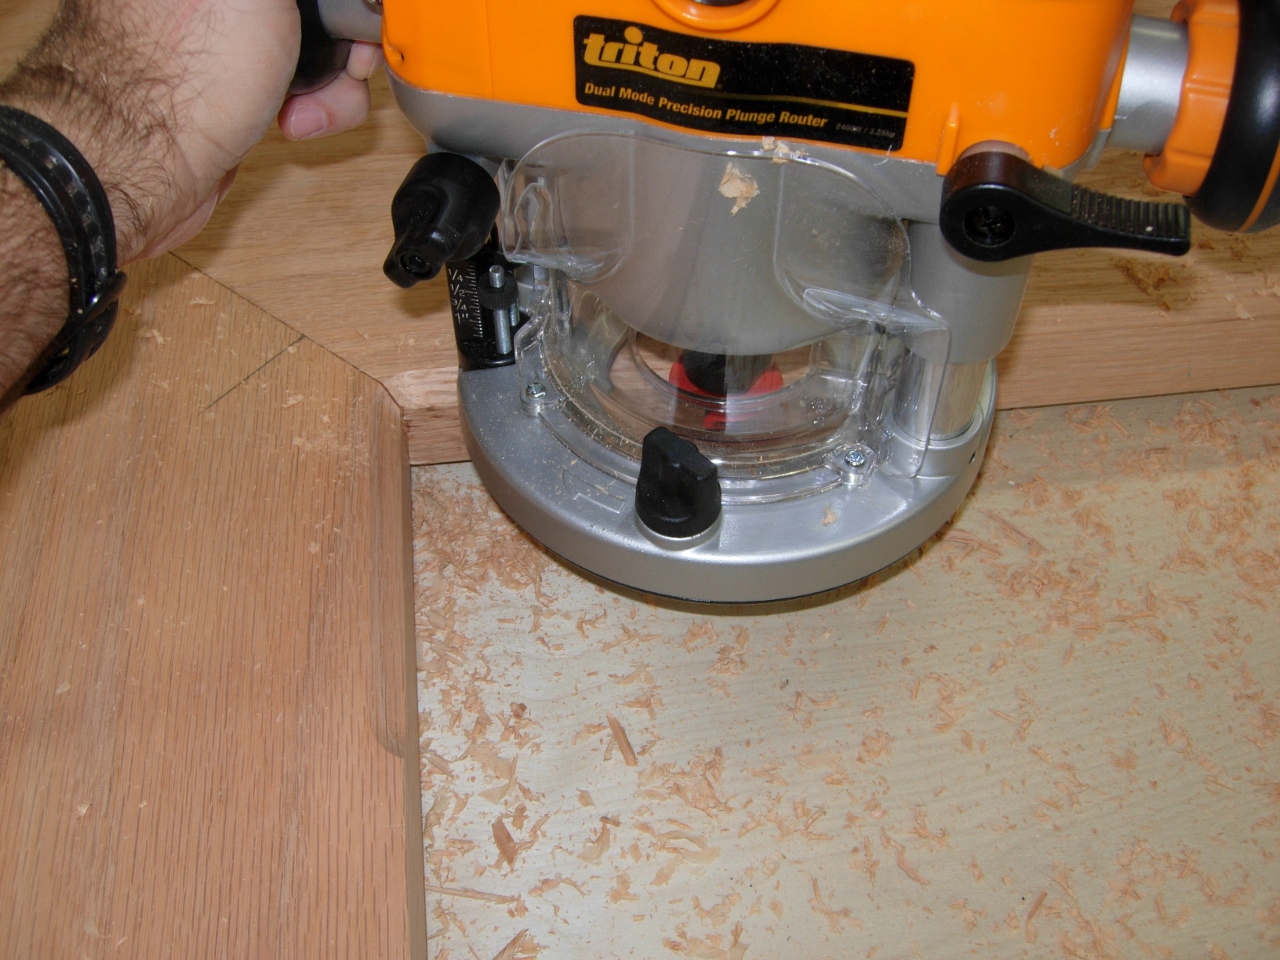
Before I can add the second level, I need to add the 3/4″ chamfer. I loaded the chamfer bit into the new Triton router to see how well it handled. It is a bit heavier than my other routers, but it does a nice job cutting. I used the dust collection connection on the base in an attempt to keep down some of the mess. It worked for about half of the dust, oh well. I ran the chamfer bit around both bases twice. Once at about half the full depth and the final pass at full depth. There was no tear-out and it cut very smoothly.
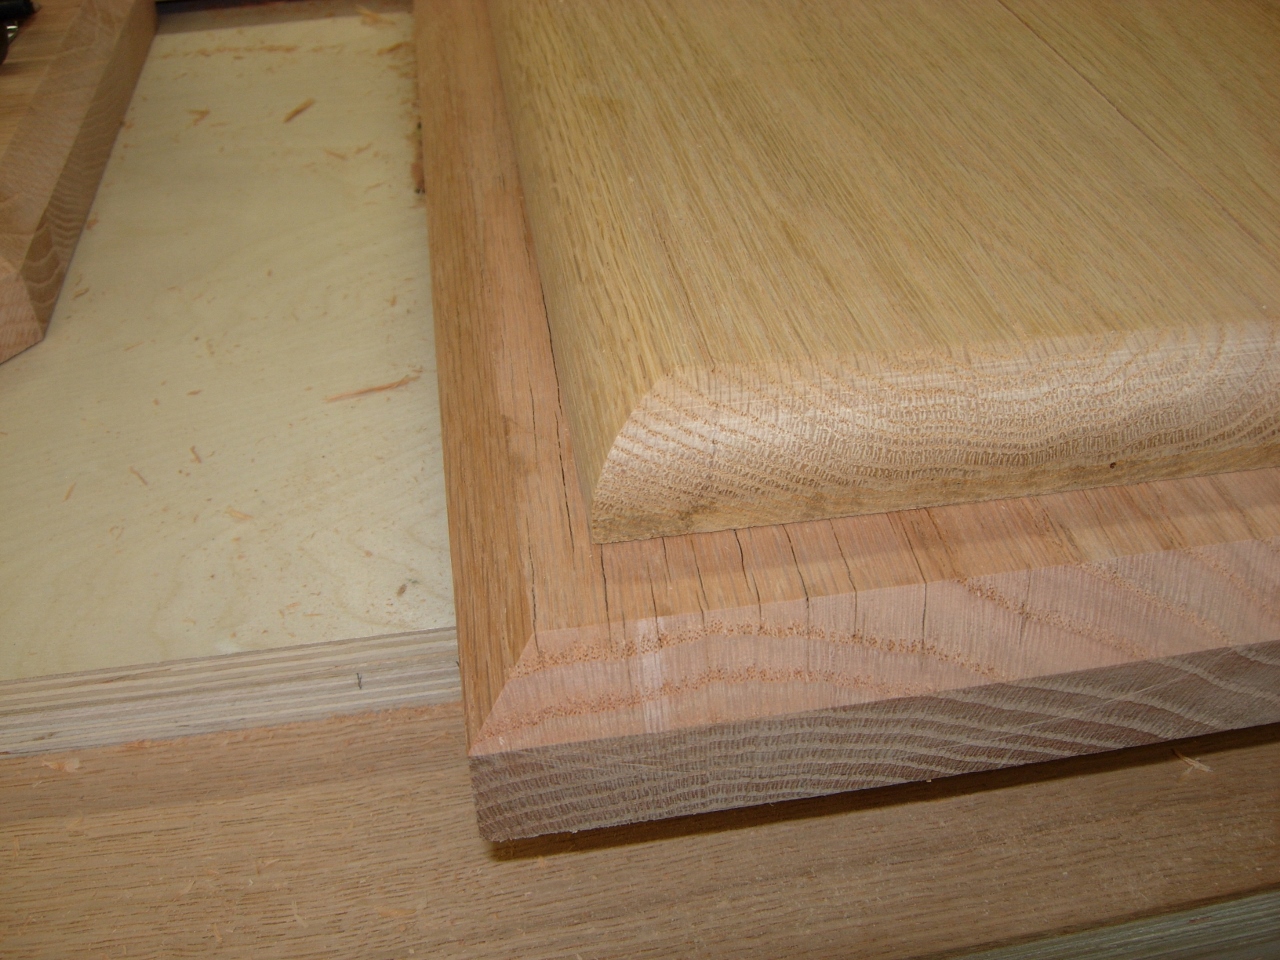
Altar base chamfered

Tabernacle base chamfered and sanded
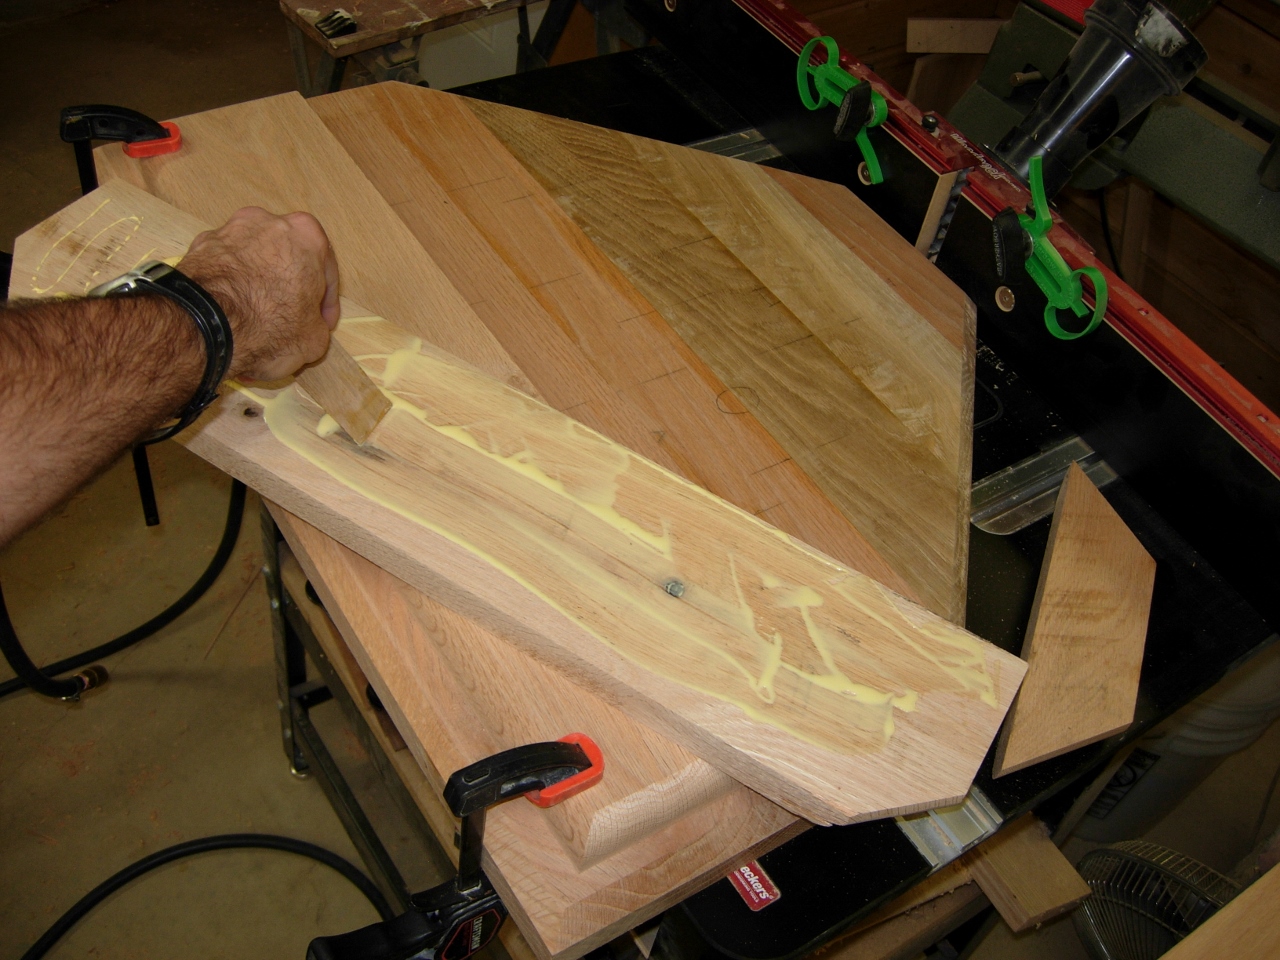
I ran the sander around any glue joints that would be exposed after the top level was attached. Only about an inch will be visible, but it is easier to sand it now, while it is all flat. after my glue joints were cleaned up, It was time to start on the second level. I have a pile of 1″ thick boards that I ripped down to exactly half the width required so that when assembled, the joint would be in the exact center.

Cutting the top boards for the bases

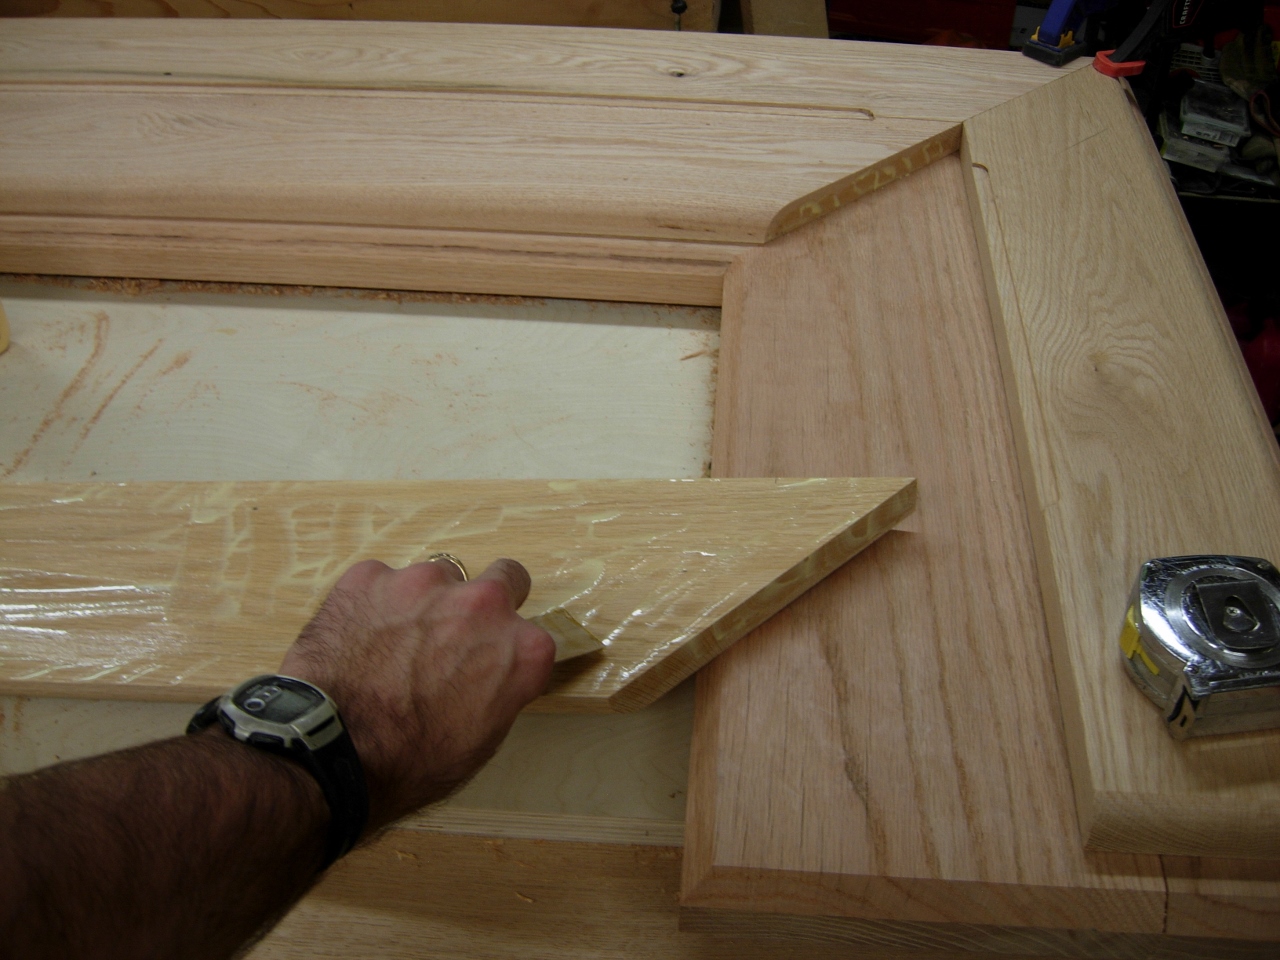
Marking the miters
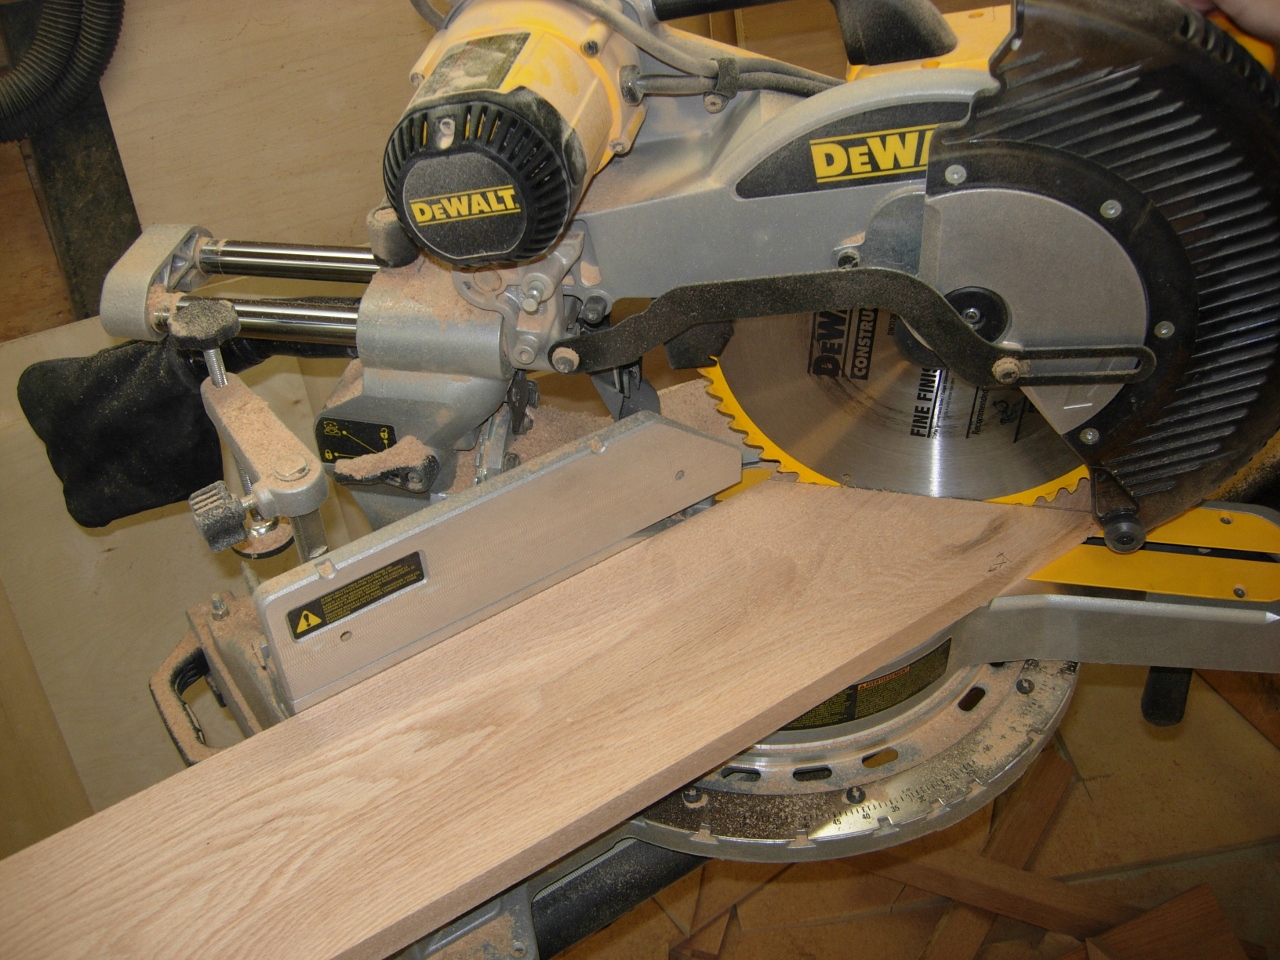
I located and clamped down the front board, them laid the second up against it to mark the location of the miter on both boards. Once that was done, I cut the miters on the front boards and used them to locate and lay out the side pieces.
Cutting the miters

Locating the sides
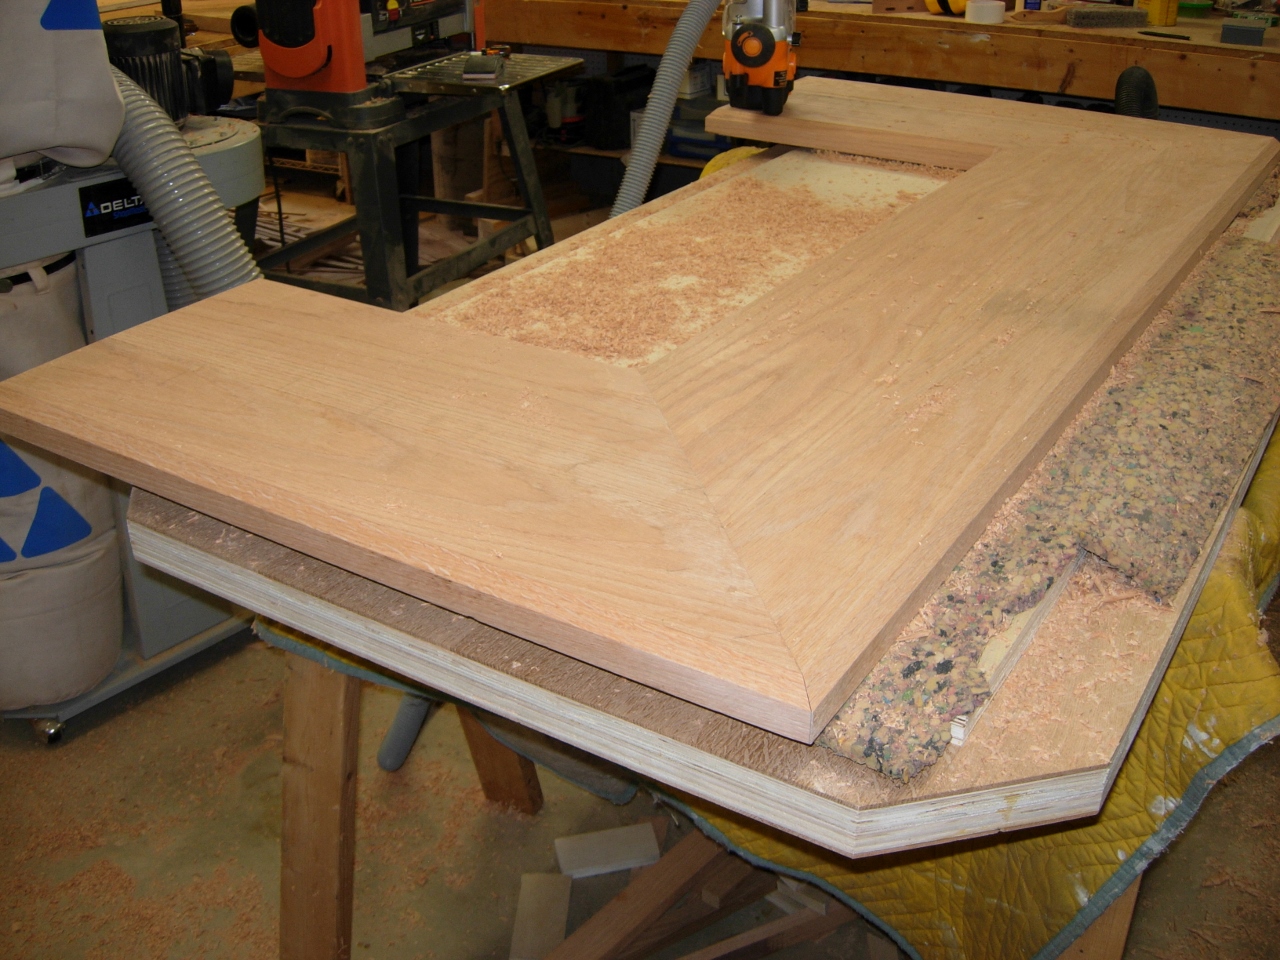
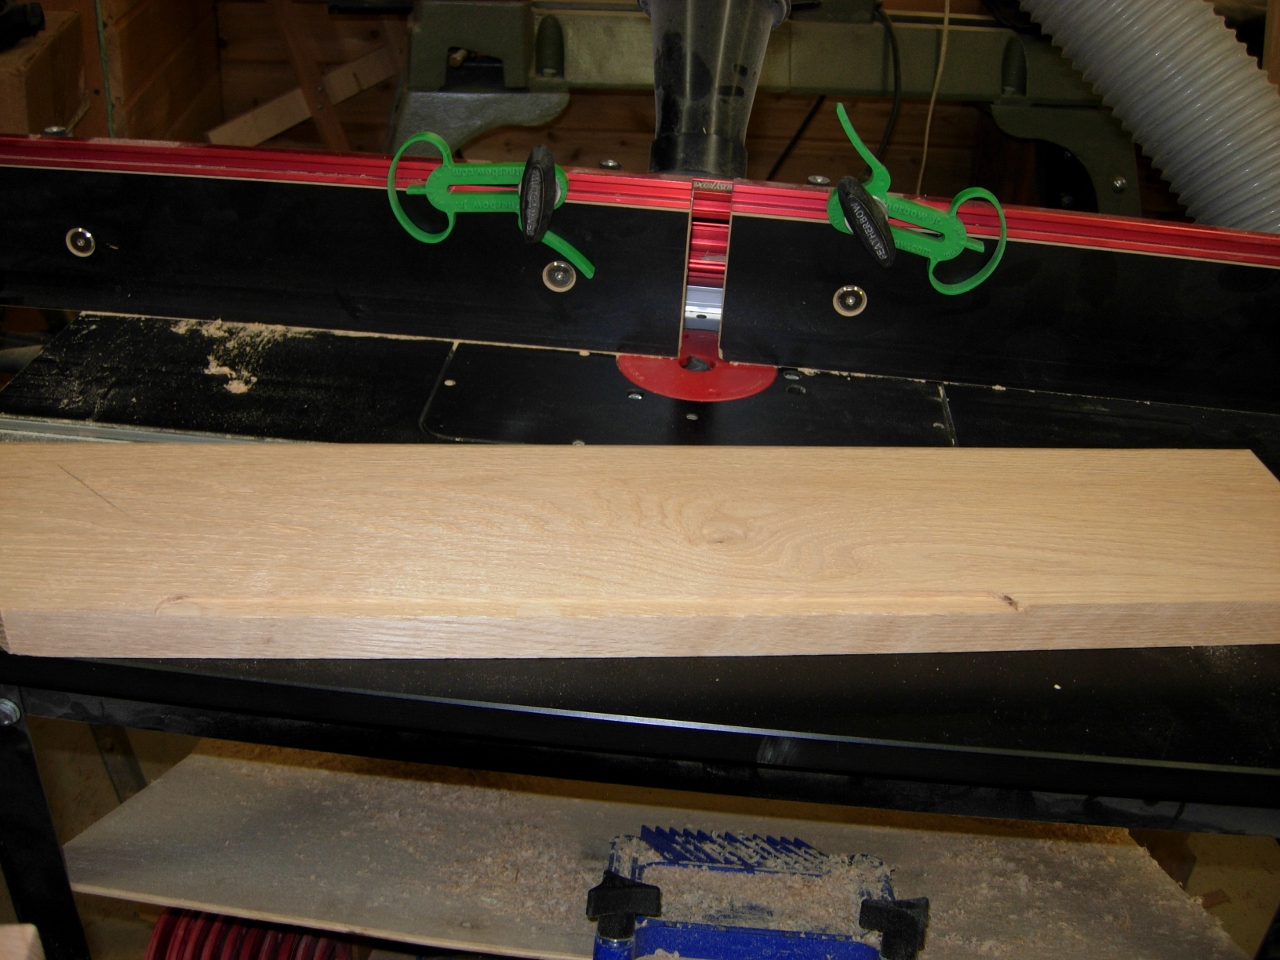
Once everything was sized and located, I marked the outside edge where I need to run the 3/4″ round-over bit to make a bull nose. I also marked the approximate location of the side and front panels. I installed the 3/4″ bit in the router table and ran my boards through one at a time being careful to only route the marked edges.
Routing the bullnose
Altar base bullnose complete
Before changing my bit to cut the center channel for the panels, I still have to repeat the process on the tabernacle stand.

Tabernacle stand base top laid out

Tabernacle stand bullnose complete
The reason I decided to put the joint for, this level, in the center was because I intended to rout a 3/4″ wide by 1/8″ deep groove to conceal the edges of the panels that will be installed. It will be easier to route a rabbet into each board on the router table then assemble it, rather than try to jig up a straight edge and free-hand it. I will also place the same channel in the columns as well as the top. The groove in the top will be deeper to accommodate any minor size differences. I have a 3/4″ dado clean-out bit that I set up in the router table. I marked the start and stop points for the rabbet on the back of the boards then pushed them into the bit to start and stop routing at my marks.
Routing center channel
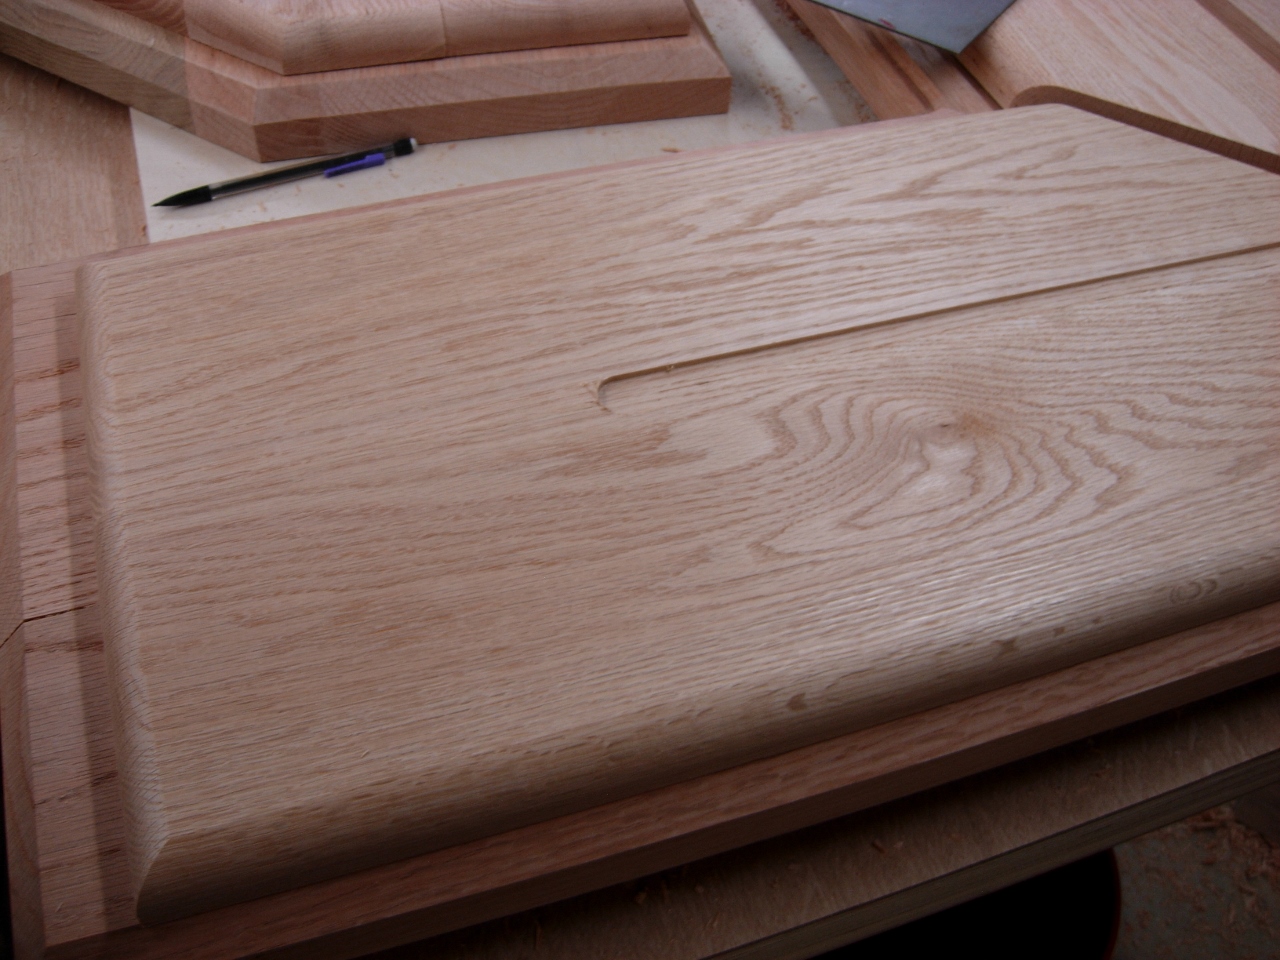
Center channel complete
With the channel complete, I started glueing everything down. To locate the boards as I glue them to the tabernacle stand, I clamp down the front board. Now I just spread glue on the second board and place it in line with the first, then nail it in place with 2″ long 18 gage brad nails. I will probably have to fill the holes later, but I can’t reach every point with a clamp. Once the rest of the boards are installed, I unclamp the first and glue and nail it. I try to locate most of the nails where the columns will stand.
Glueing up the top plate

Brad nailing it in place
The top layer on the altar base is done in a similar fashion. I clamp all three outer boards in place. This allows me to push up tightly against them while installing the inner boards.

Locating and clamping the outer board
Glueing and nailing the inner boards first
Once I glue and nail the inside three boards, I pull the clamps and start with the front board then move to the sides. I try to place most of my nails into the center channel when I can. They won’t be visible there. Well, the bases are complete for now, its past midnight, so I am not starting anything else tonight.
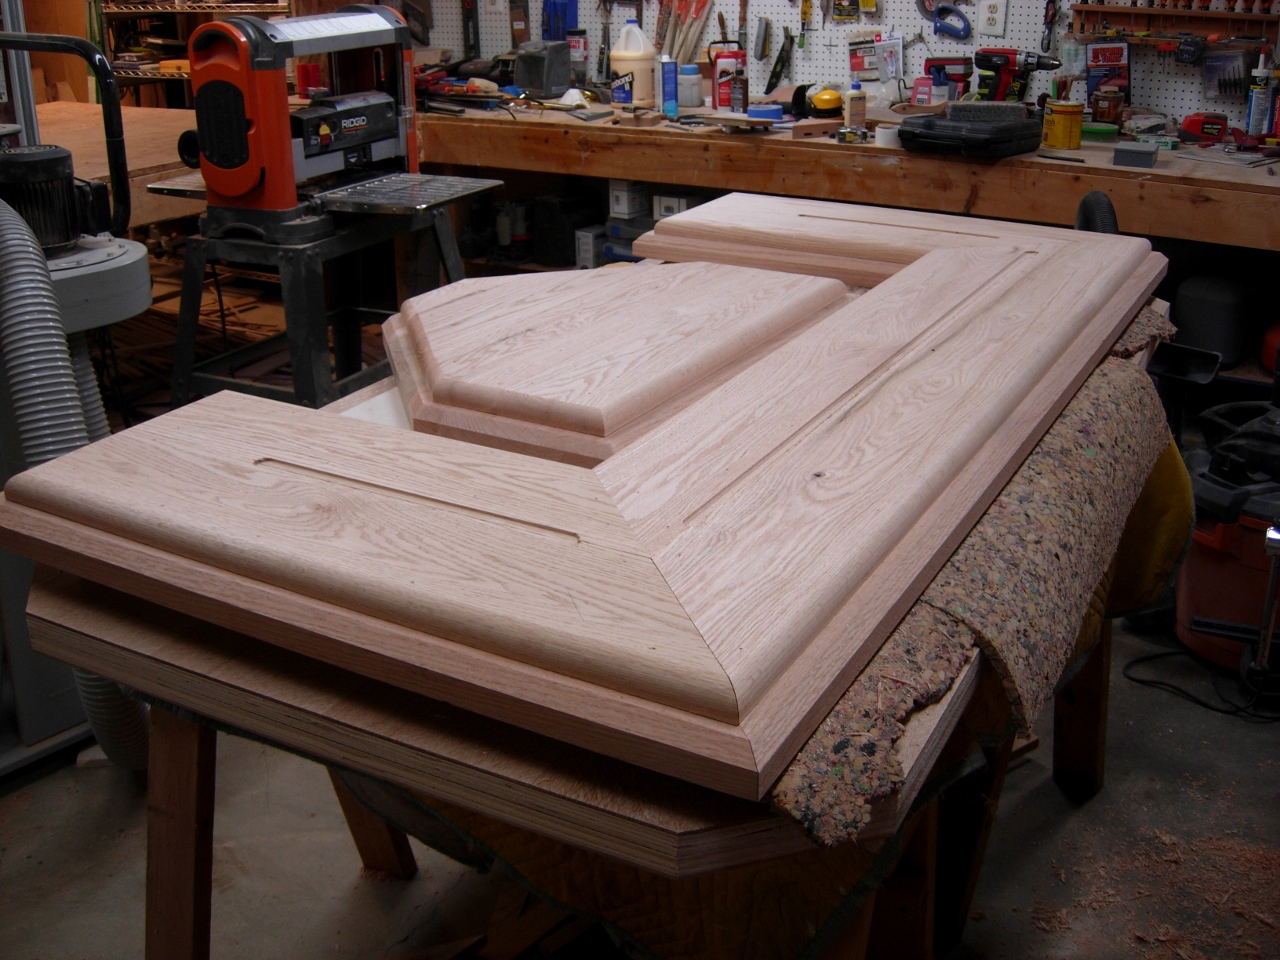
Bases complete
