
Pub chairs – day five
So I went out and spent some money today. I picked up a 4-1/2″ angle grinder, a power carving disc, and a couple of flap sander discs. The bandsaw was rather inconsistent with cutting the curves in the seat pieces. I picked up these items to help me quickly carve the seat down to where I wanted it.

Evening out the seat sections
The power carving wheel and the sanding discs were extremely aggressive and everything was ground down to where I wanted it in about five minutes. Not a perfect surface, but impressive none the less.
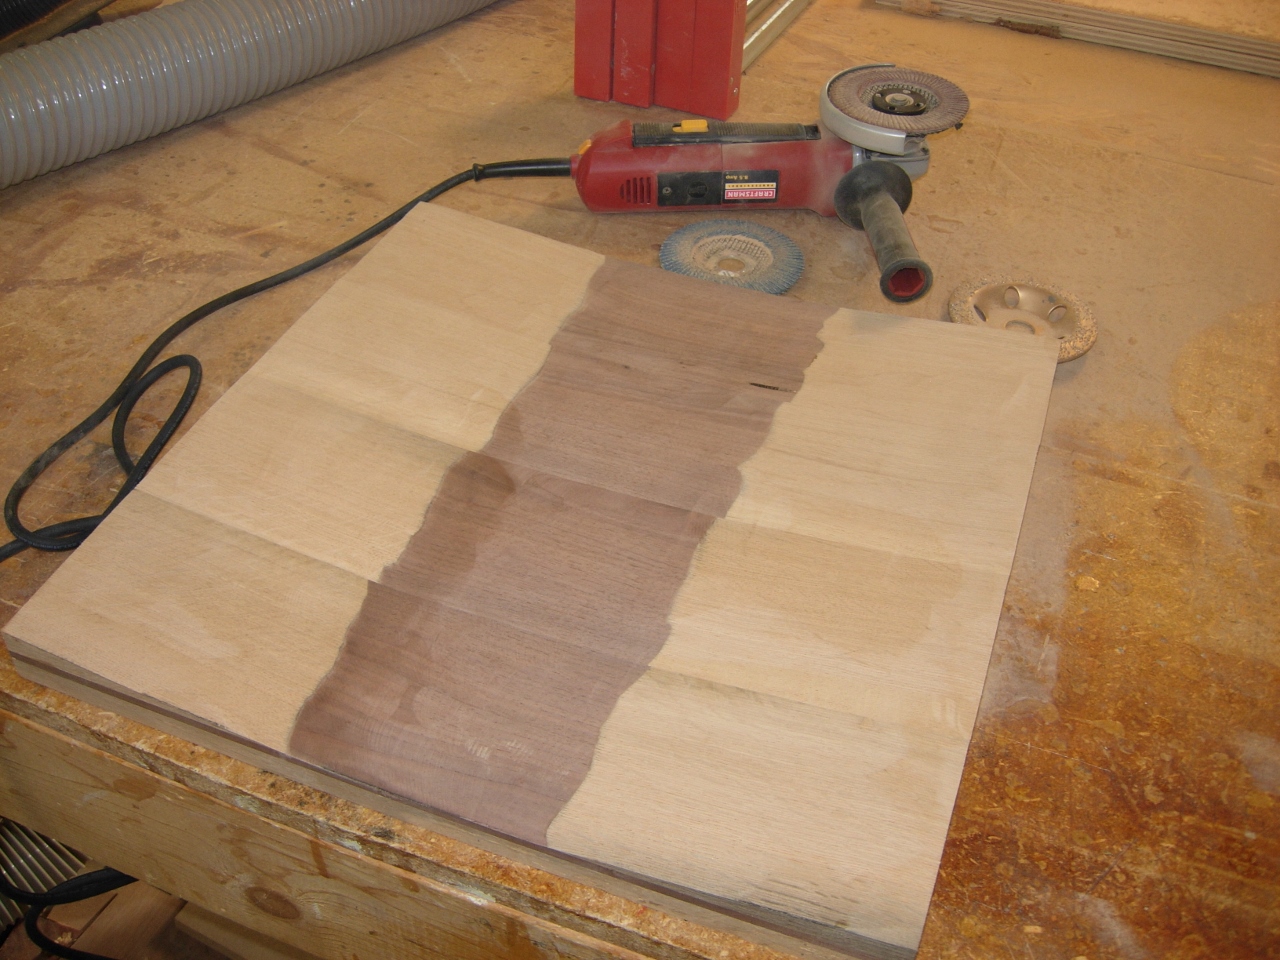
All ground down
After sanding the surface down further with my orbital sander, I made up a very crude beam compass with a piece of scrap and a nail. I marked out the 10″ radius for the rear and the 15″ radius for the front.

Laying out the curves
Next I layed out the notches for the legs.

Seat layed out
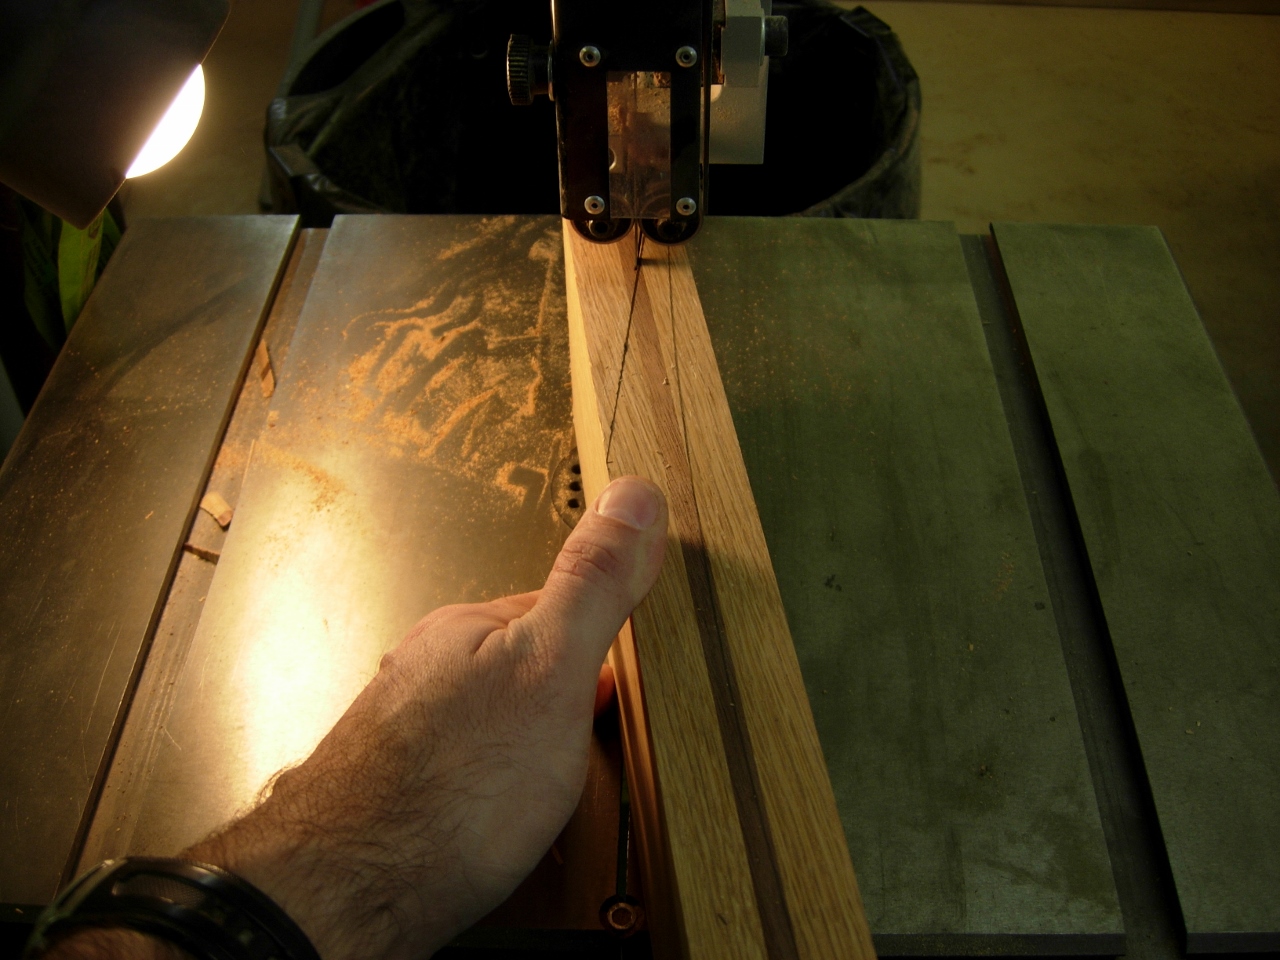
Once everything was drawn, I cut it out on the bandsaw.

cutting the seat shape on the bandsaw

1/4″ round-over
With that done, I got out my old trim router to do the 1/4″ round-over. I needed the router with the smallest base because a wider base would straddle the curves of the seat and the bit would rise up too high.

The seat sanded down
To do the 1/8″ chamfer on the bottom, I had to get the router with a larger base because my chamfer bit was too large for the trim router.

1/8″ chamfer on the bottom
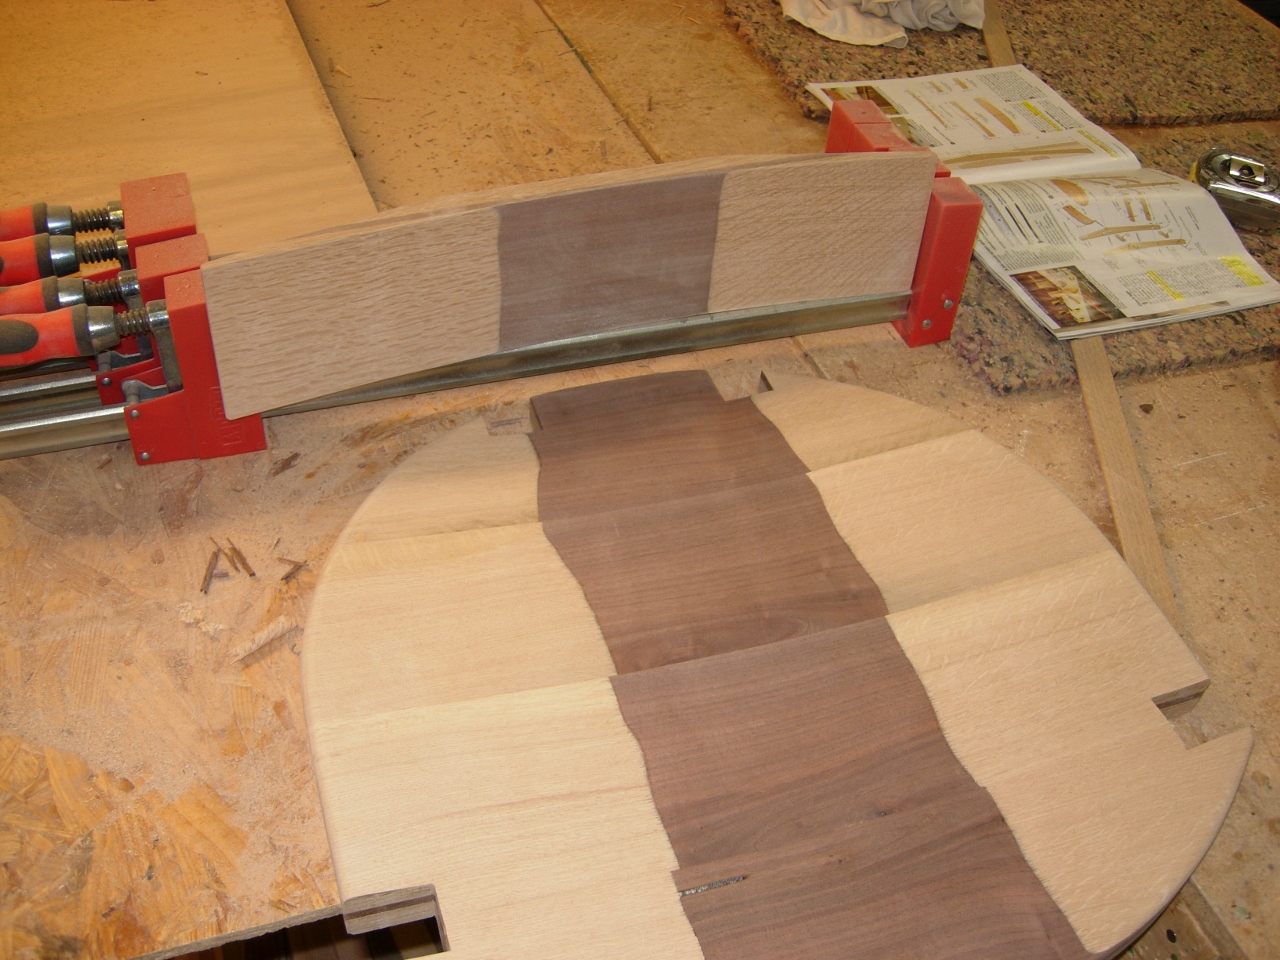
Next I got the seat back that I made yesterday and cut it down to 20″ wide and layed out its shape to be cut on the bandsaw.
Cutting the seat back
After that was cut, I finish sanded both the seat and the back.
Seat and back ready for assembly
One last thing I want to do today. When I carved the seat out, I cut down into an imperfection on the walnut. This area would get picked at by the kids or get filled with dust or crumbs. I decided to fill it with a two-part epoxy. Once it dries, I can scrape it down flush. It should blend in nicely with the finish when the project is complete.

Filling the gap with epoxy
