
Ironing board storage cabinet – day 7
I was thinking about the door hardware that I ordered for this cabinet. The hinges require a half inch deep bore for mounting. I wanted a raised panel look, to match the sacristy cabinet drawers. I thought I might have some problems cutting into the door panel from both sides, so I made a test piece.
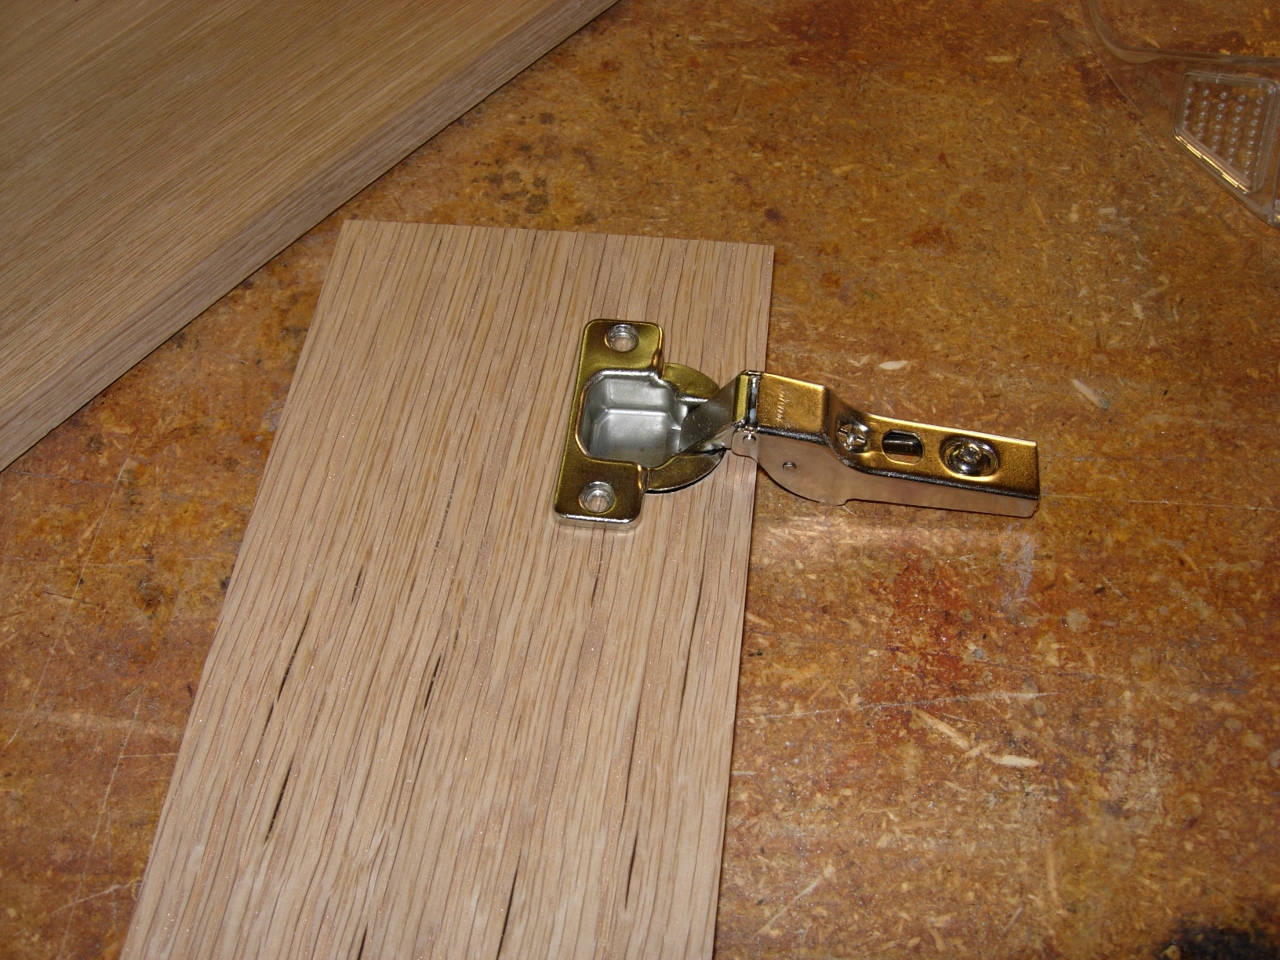
Test hinge installation
I was correct, the 35MM bore required to recess the hinge body came right through the face of the door.
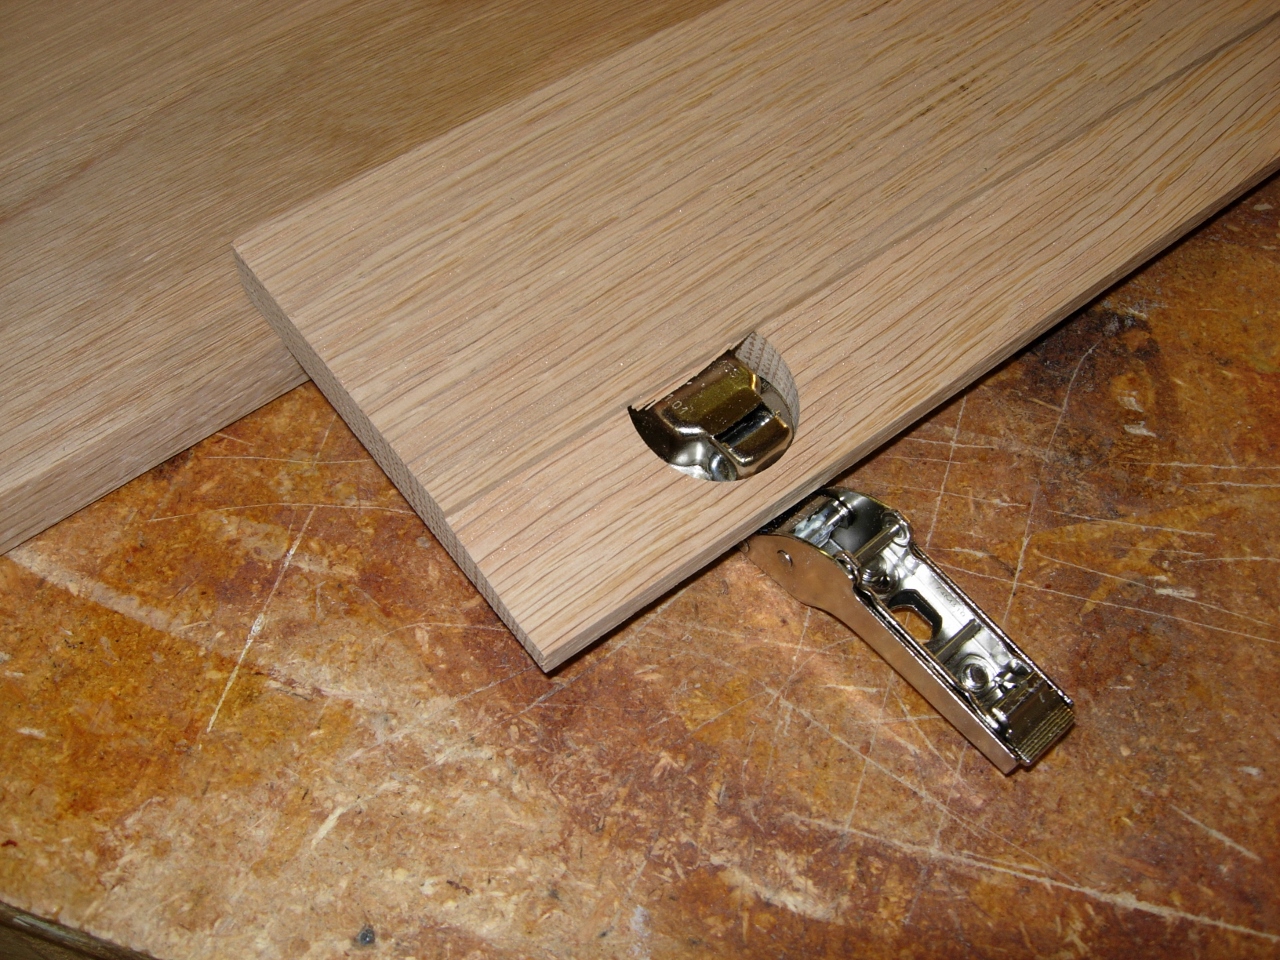
Epic Fail!
I decided to run a 2″ wide x 5/16″ deep band around the inside of the door to thicken it.
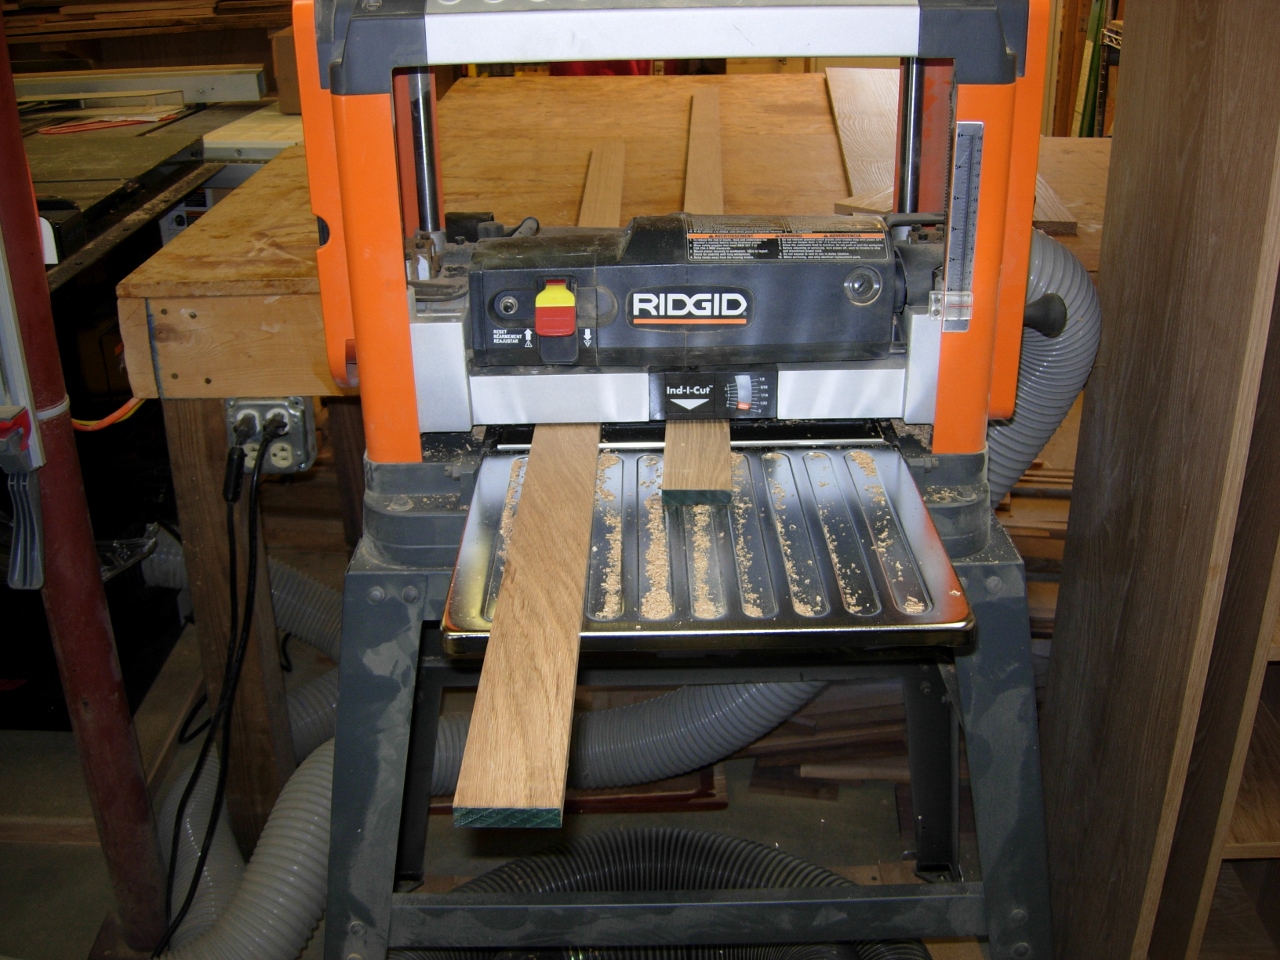
Planing down the strips for the door
I planed down some 2″ wide stock, then laid it on the door to mark the length. I also cut some short pieces to run across the top and bottom on the door panel.
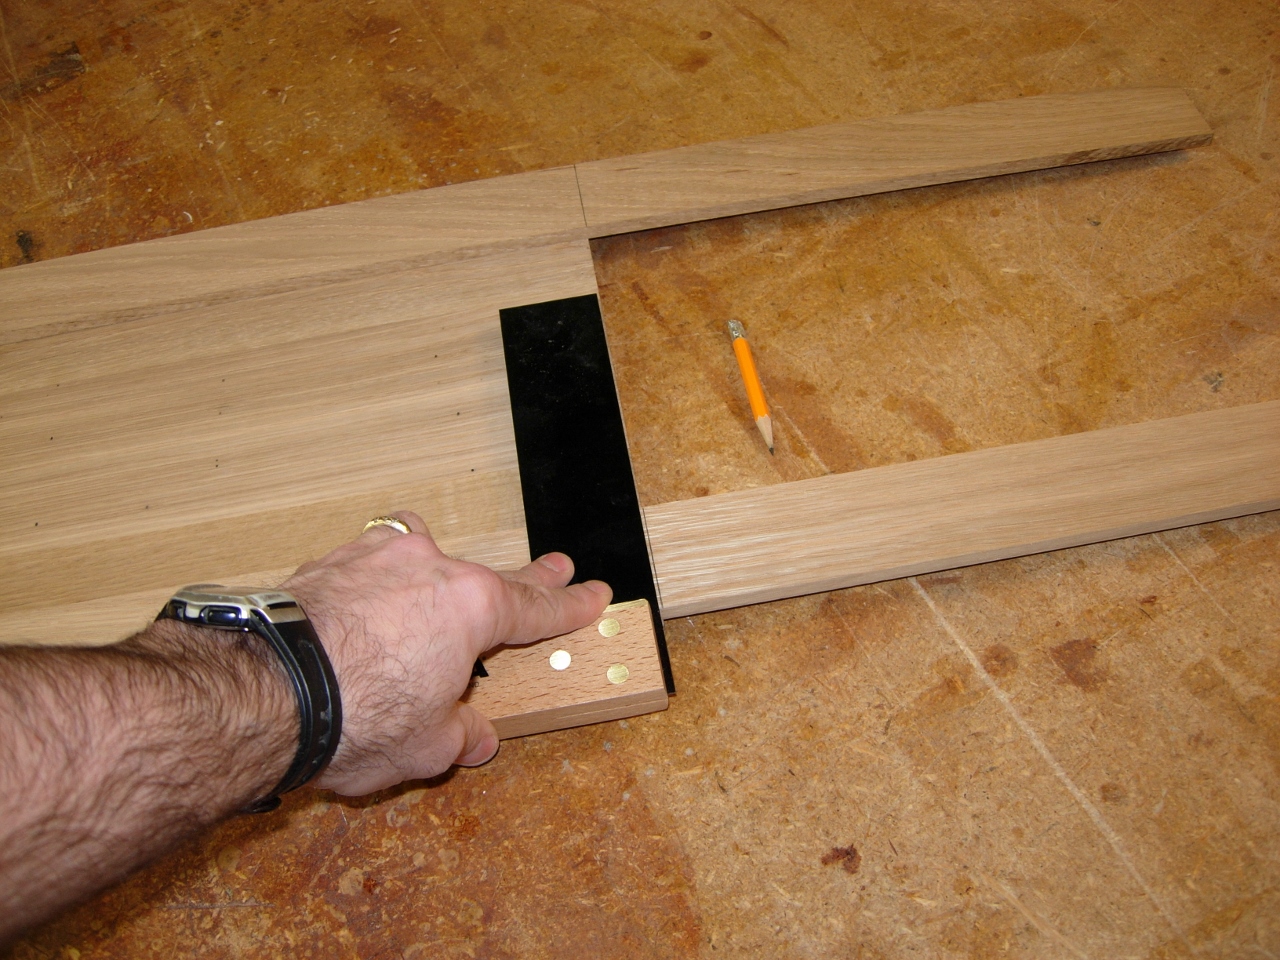
Marking and cutting
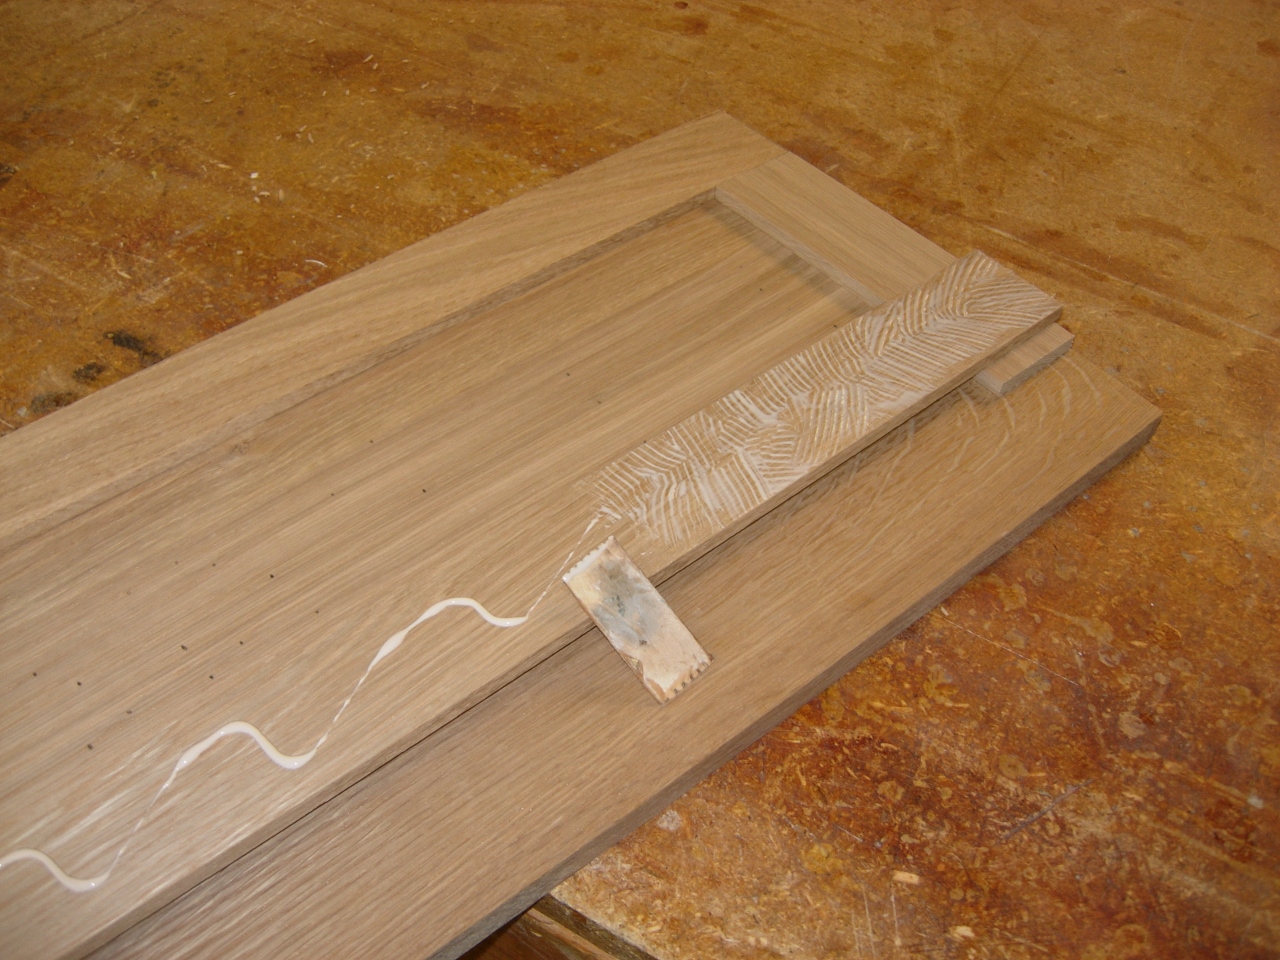
Spreading the glue
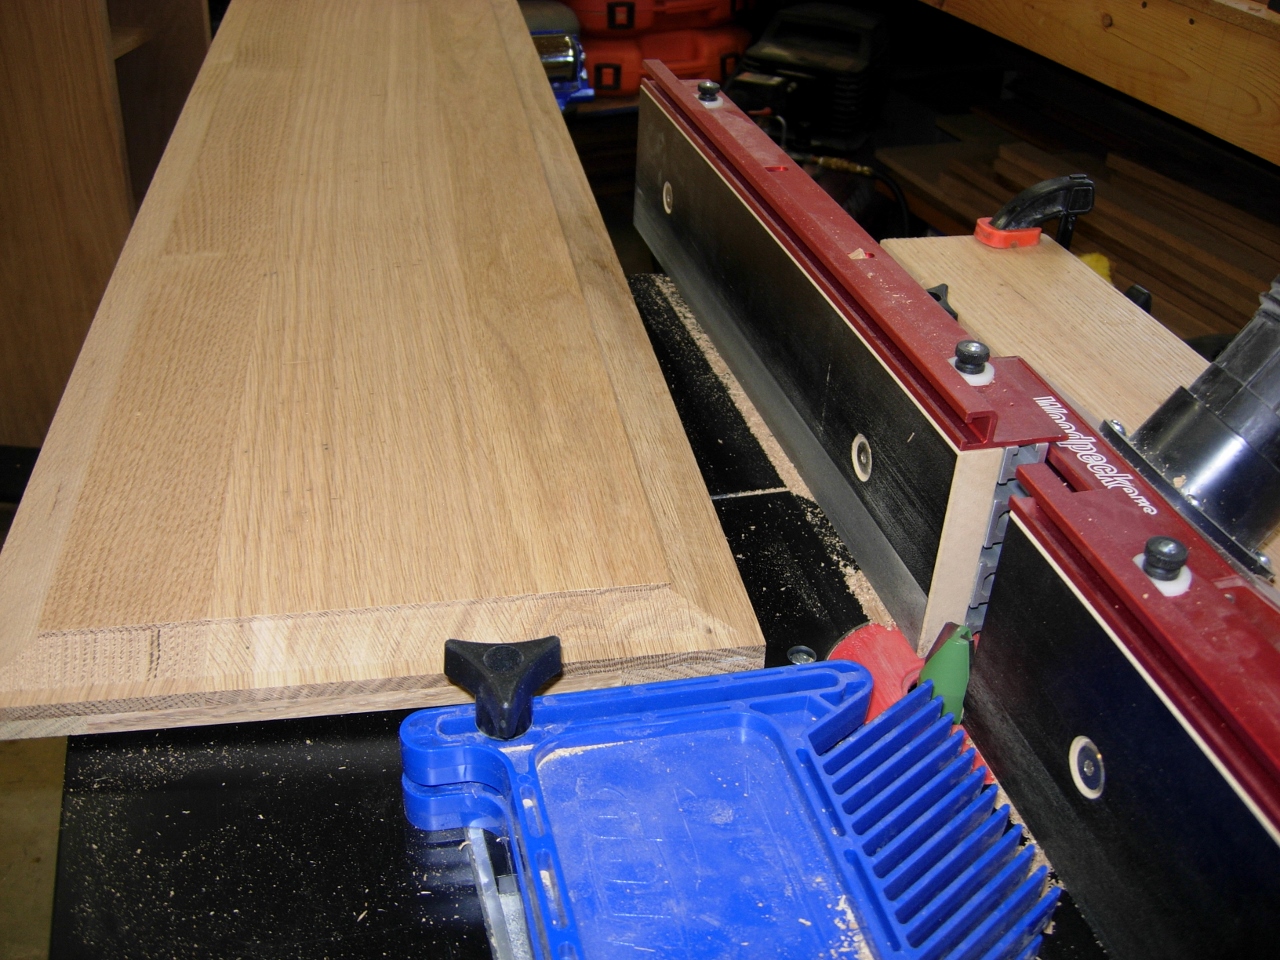
Once cut, I spread the glue evenly along each strip, clamped it in place and Fastened it with 1/2″ long pins with my pin nailer. I made sure to locate the pins where they would not be drilled or routed.

Pin nail it in place
With that complete, I ripped about 1/8″ off of each side of the door panel. This took the panel down to the exact size I needed and cleaned up the glue squeeze-out at the same time.

Ripping the door to actual size

Removing a bit of insulation to have room to cut the door ends
Next I wanted to go ahead and cut the raised panel into the face. Since my doors were a few inches too tall to cut without hitting the floor joists above, I turned my router table 90 degrees and removed some insulation from the ceiling. My 9-year old Adam called that cheating, but it worked.

Cutting the raised panel feature into the face of the door
Door cut
While I was cutting the sides, I accidentally bumped the panel into the spinning bit and notched one corner.
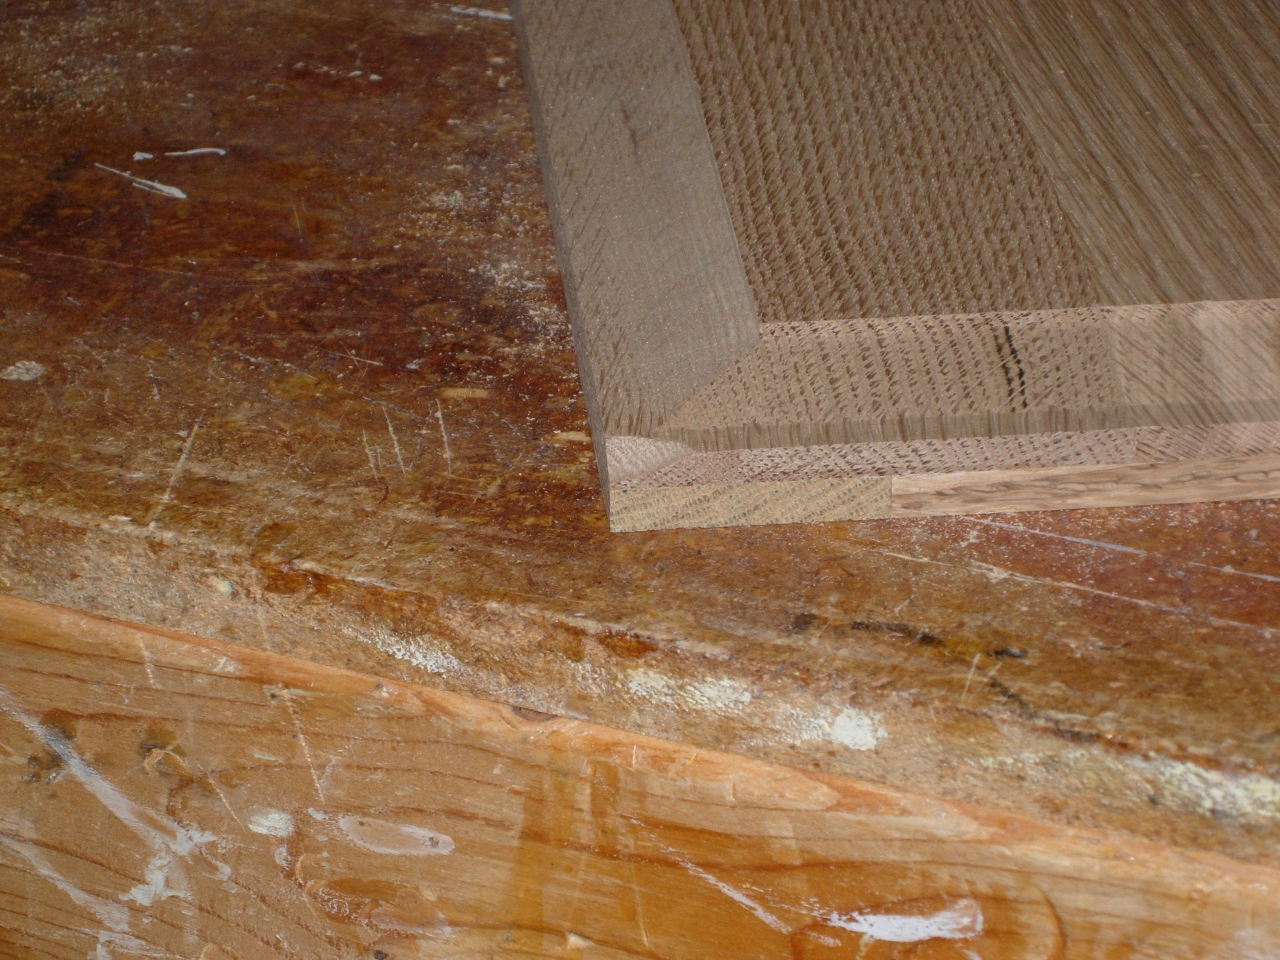
Notched a corner with the bit by accident
It would look funny if I tried to fill it with wood filler, so I decided to cut a square pocket and insert a plug in its place.
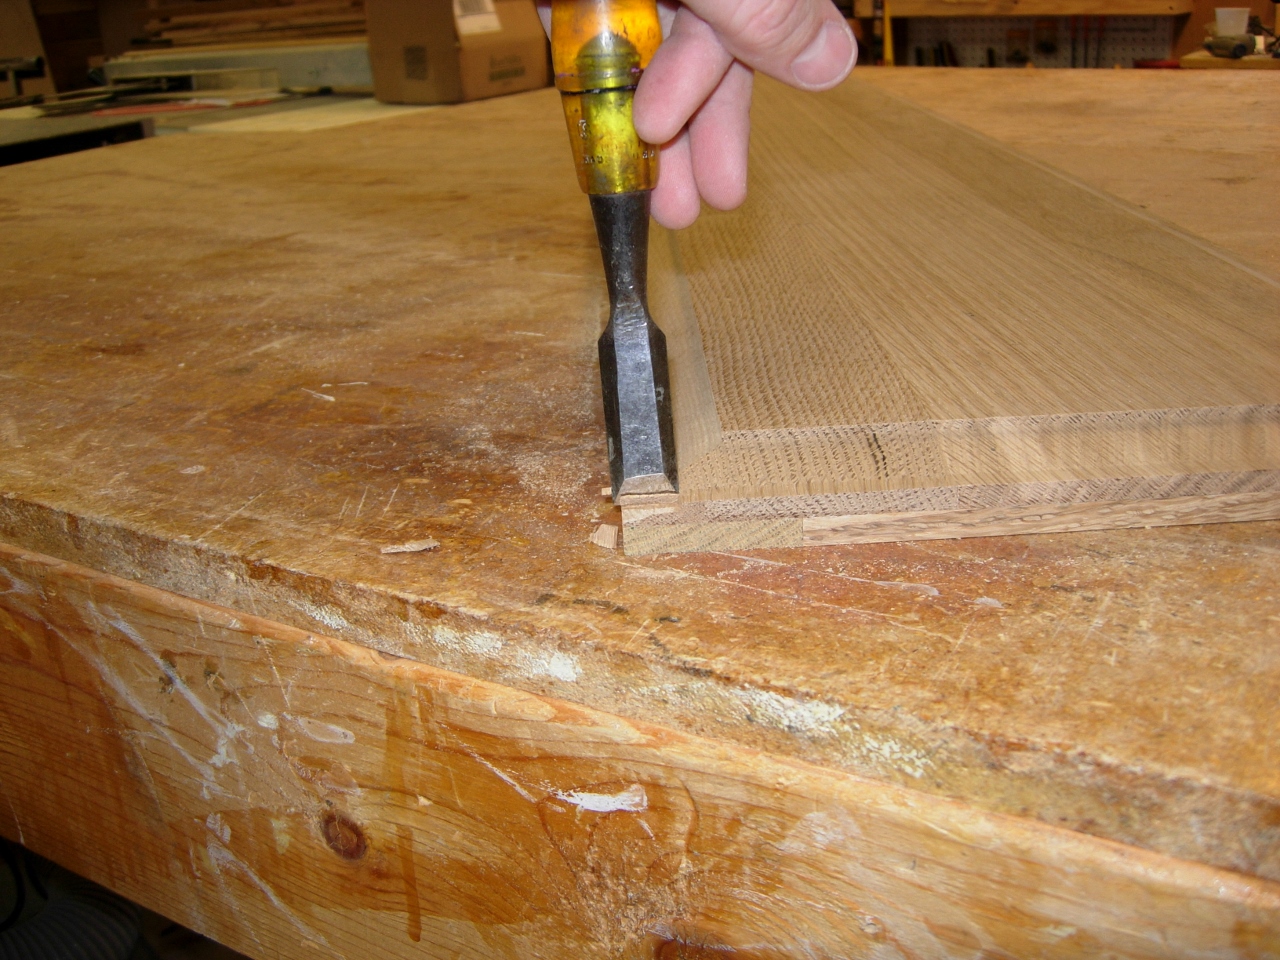
Using the chisel to cut a square corner

New square notch cut and ready for plug
I cut the plug about 1/16″ oversized in all directions. I then glued the three sides that would meet up to the door panel and clamped it in place. It will dry over night, and I will try to plane or chisel it down to match tomorrow. It should be barely noticeably when I am done, but I will put this corner at the bottom just to make sure…

Glueing in the oversized plug

Pingback: Ironing board storage cabinet – day 9 | Midnight woodworking