
Ironing board storage cabinet – day 6
Made some progress today. It will probably take a week or so to get the hinges and drill bit that I ordered, so I decided to get everything else done while I wait. I have the outer shell pretty much complete, but I still need to make an internal divider and some shelves. The left side of the cabinet will be for the ironing board and the right will be shelves. The top shelf will be oversized and have a ceramic tile on it. This shelf will be where the iron will be stored. The tile will be there in case the iron is put away hot. that is also the reason for the shelf being oversized. The extra height will allow the iron to cool down without scorching the finish on the wood above. the shelves will be supported by a divider that will be two inches off center. I am leaving about four inches for the ironing board. The shelves will be about 6-1/2″ wide. I planed my last two long boards and glued them up.

Glueing up the divider
While that was drying I grabbed a board to cut my shelves. I found one with a lovely curve to it. I won’t be able to use this board for any longer stuff so I will cut it into twelve inch long pieces for my shelves. The curve will be unnoticeable on a short board.
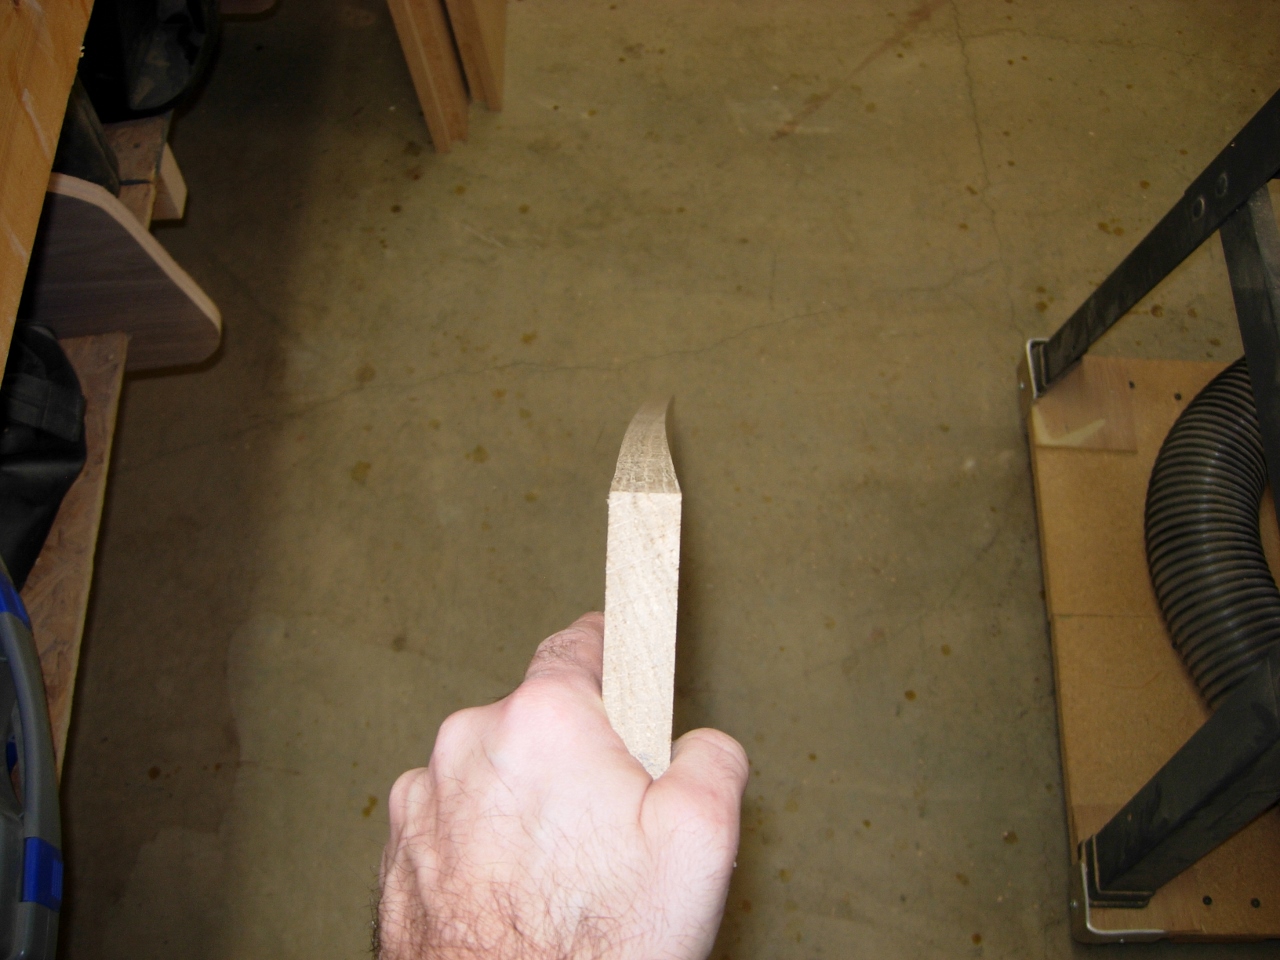
The curvy board that will become my shelves
Once I roughed the size of the shelves, I cut them all together down to the exact depth. I made them 1/8″ shorter than the divider because I will cap the end grain with a facing piece later that will finish out flush to the divider.
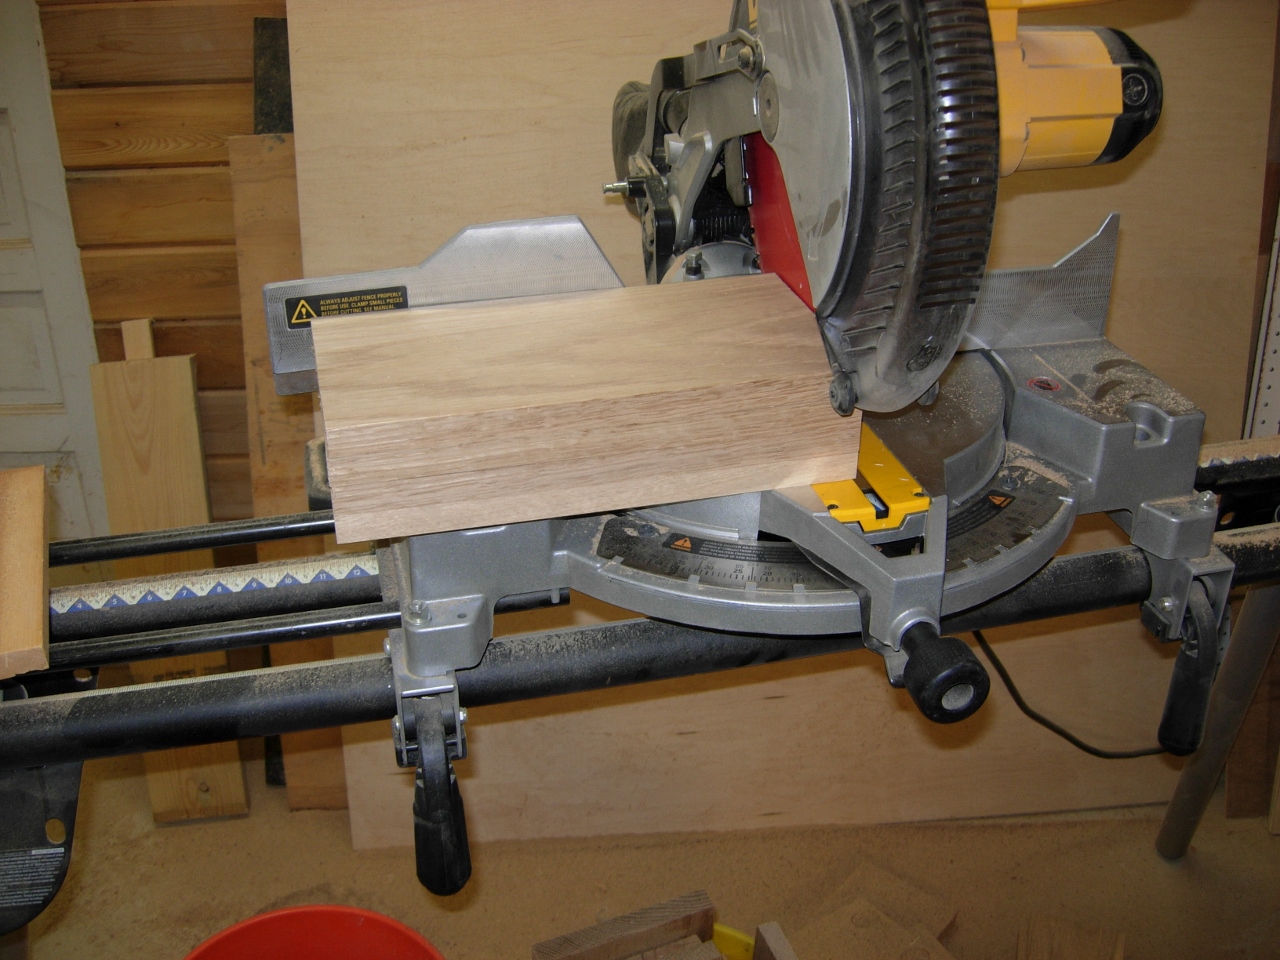
Cutting all the shelves to be exactly the same size
I found a twelve inch tile lying around and cut it down to use on my top shelf later.
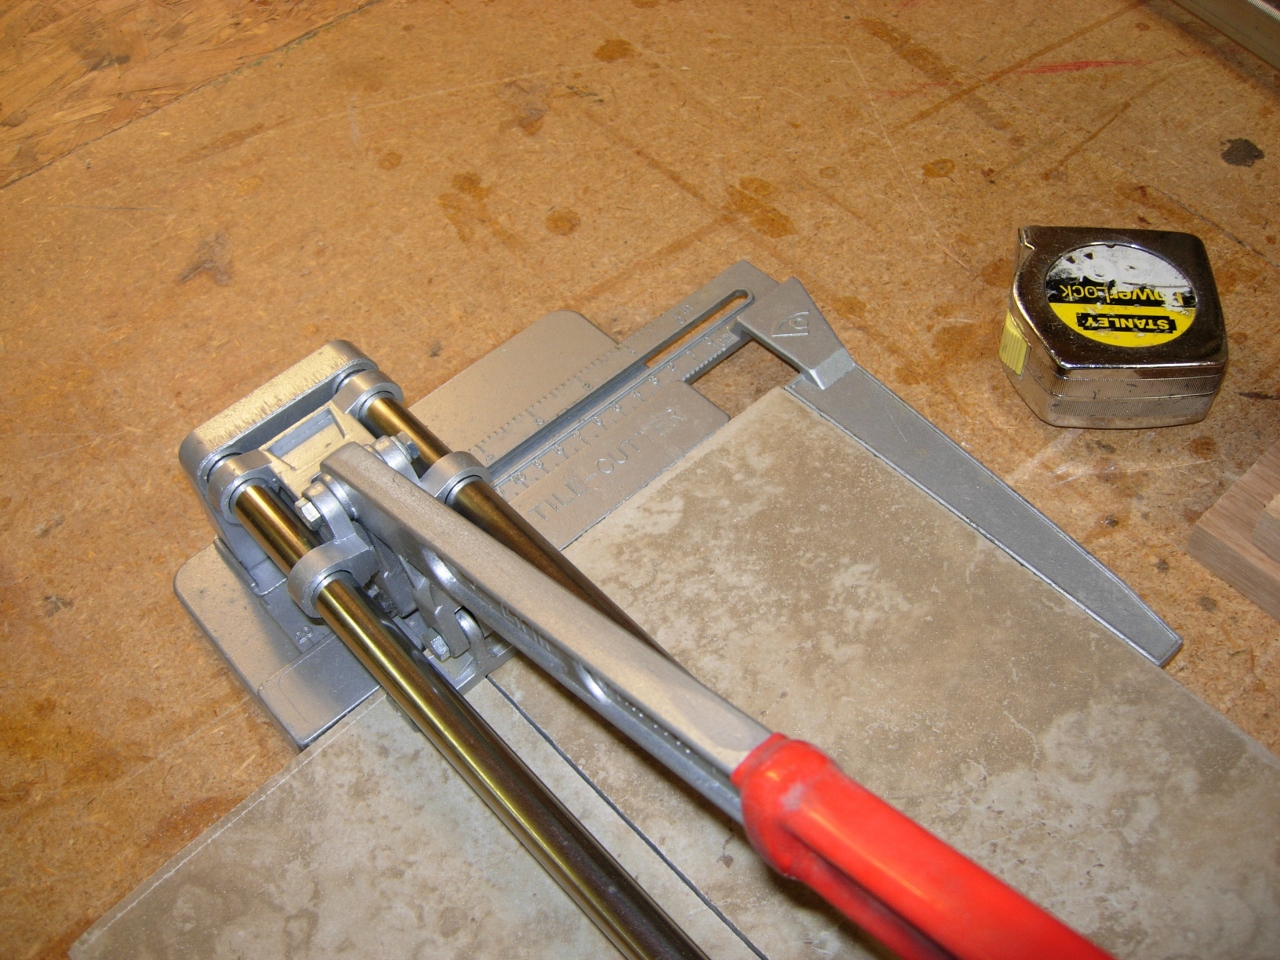
Cutting a tile to fit the top shelf
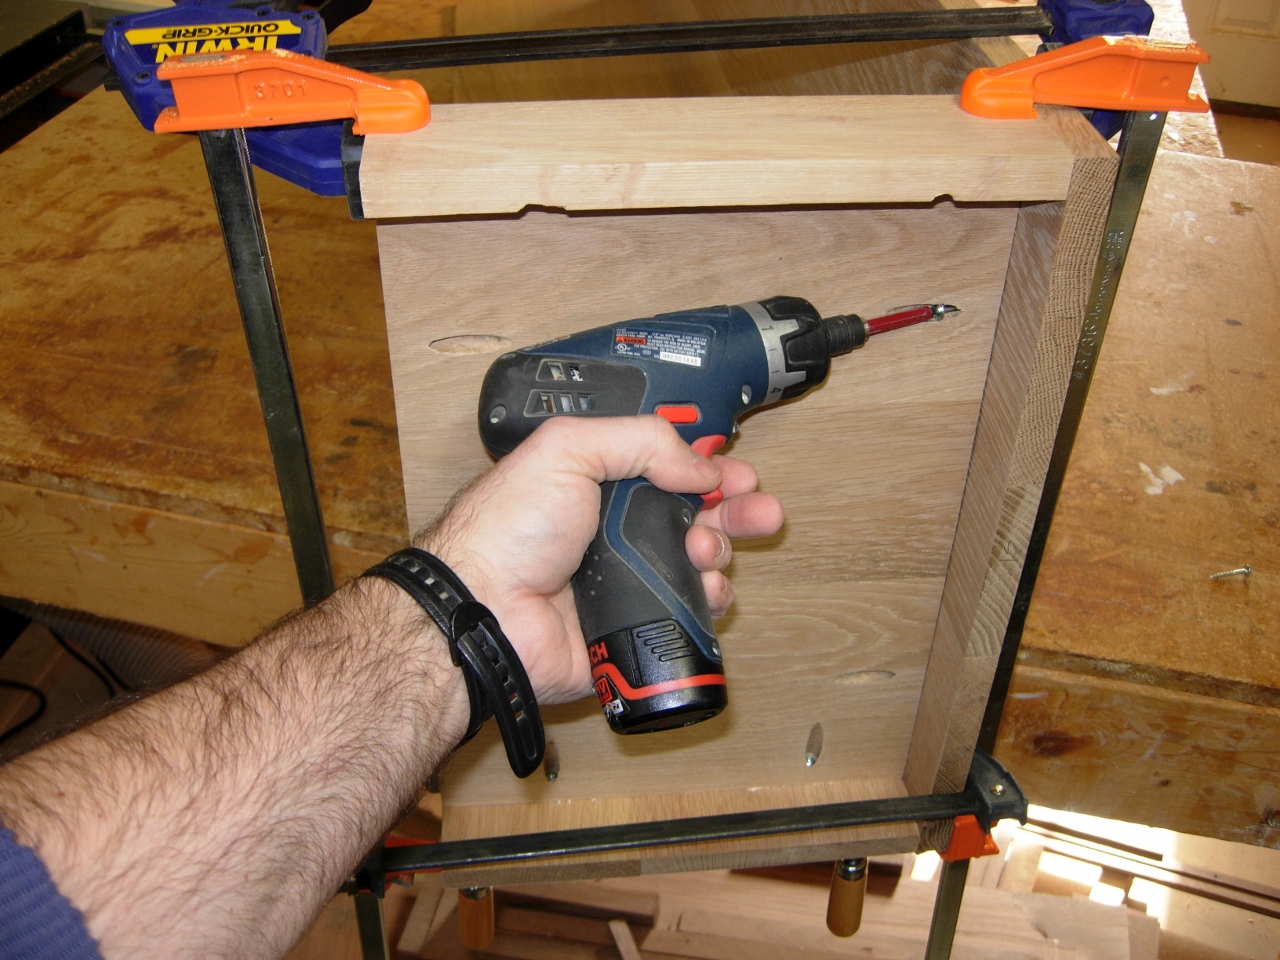
Since I destroyed the step drill bit for my pocket hole jig, I am going to use brad nails to assemble the rest of the project. I put a bead of glue on the right side of the back panel and clamped it to the right side panel. I flipped it over so I could access the side I wanted to nail.

Glueing and clamping the right side
Since I want this to hold really well, I am using two inch brads. They go deep into the wood and hold well, but you run the risk of having the brad turn and shoot through the face. I will try to be careful.
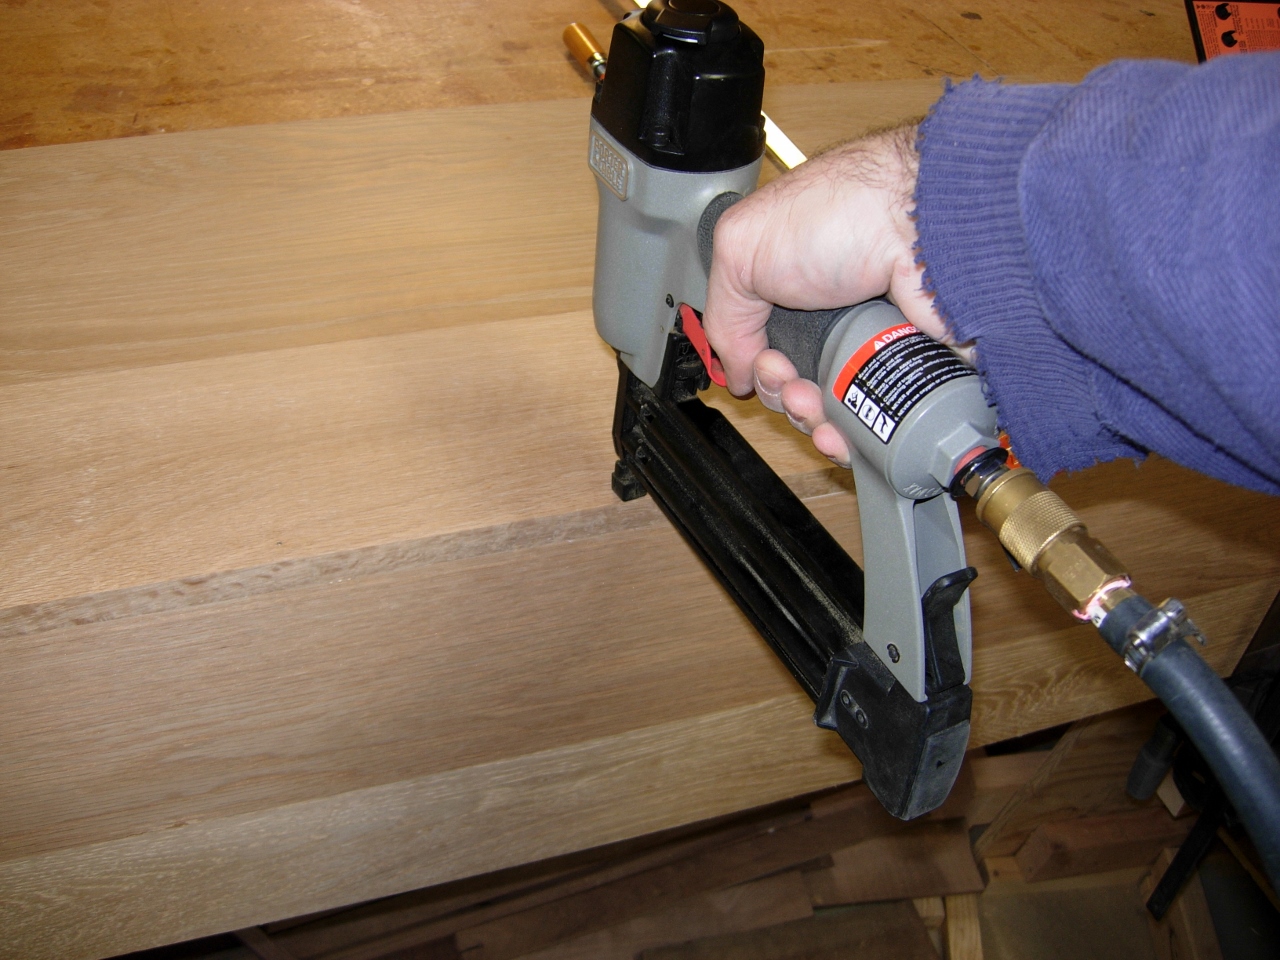
Attaching the right side
Once the side was mounted, I attached the base. I used pocket hole screws to attach it because I drilled them out a couple of days ago just before I broke my bit.
Attaching the base
With those three pieces assembled, I moved them out of the way and planed down the divider panel that I glued up earlier. I then proceeded to glue and nail the shelf boards to the divider. Since the divider and shelves set back about 4″ from the face of the cabinet, I won’t be able to clamp everything in place inside the cabinet. I decided to attach the shelves to the divider outside of the cabinet. This allowed me to line them up nice and straight.

Attaching the shelves
Once the four shelves were attached, I put glue on the side of the shelves and divider and laid it in the cabinet up against the right side. I nailed the shelves in from the outside of the cabinet. I carefully measured so that I wouldn’t miss the shelves.

Shelves installed on inner divider
I ran into a small problem with one of my boards. the piece was really hard at one end. Every time I shot a brad into that end, it would turn and shoot out the face of the board. I cut the brads with wire cutters and drove the end of the nail back in with a nail set. It will be deep in the shelf, nobody should see it any way.

Hard oak causes the brads to bend

Shelves installed
Once the nails were repaired, I attached the left side panel. The cabinet had developed a slight twist and things did not line up exactly square. I started by nailing the panel to the base then pulled the side into line with clamps as I moved along the rear working my way to the top with the brad nailer. Things straightened out just fine when I was done. Had all of the glue been dried, things may have gone differently.

Left side attached
Since the end grain is showing on the front of the shelves, I needed to cut some face pieces. I cut one piece 3/4″ wide to cover the bottom three, and one piece about 1-1/8″ wide to cover the top shelf and retain the tile for the iron.
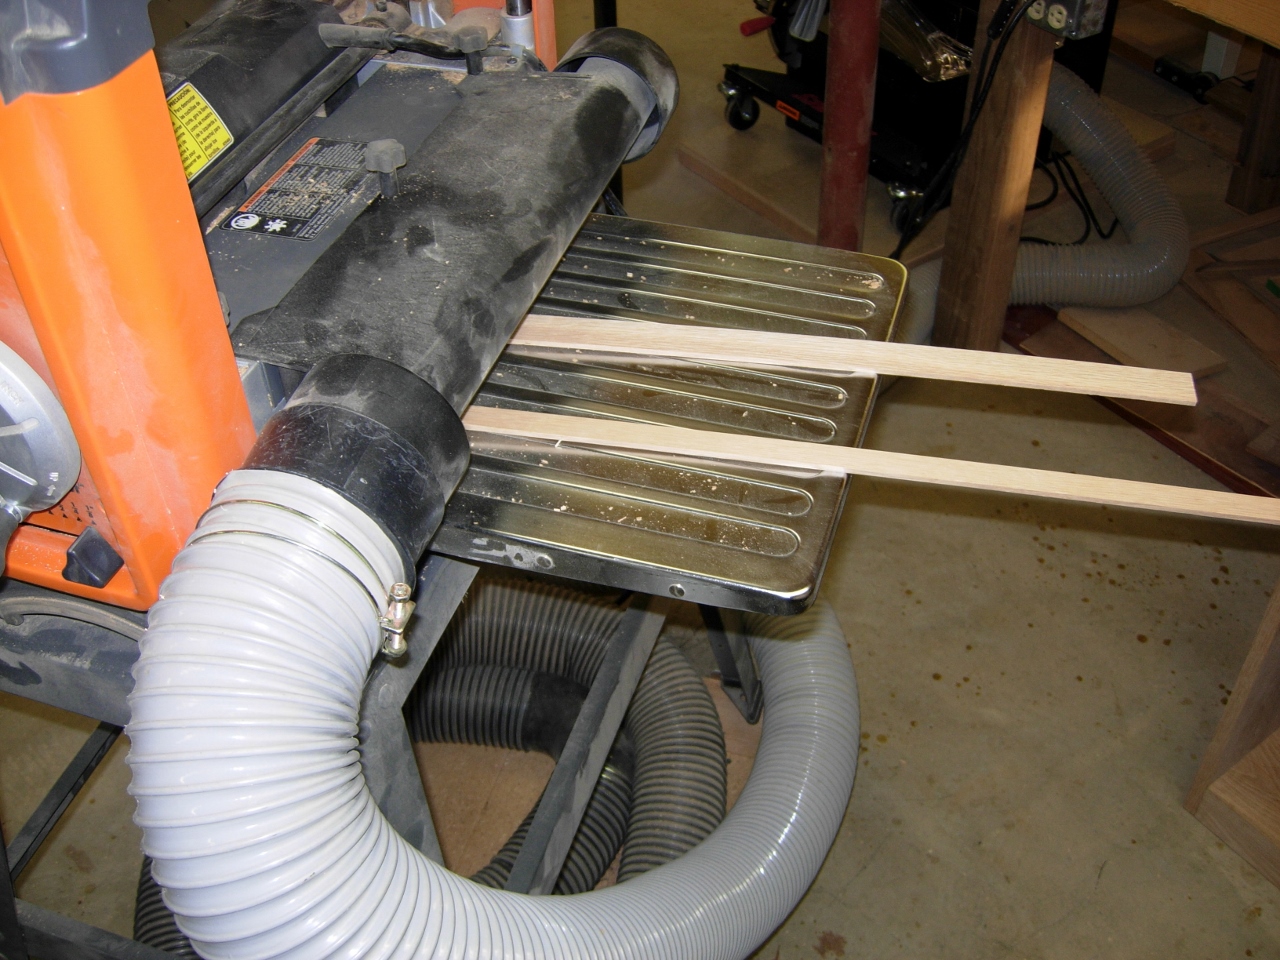
Planing down the wood for shelf faces
I planed the strips down to 1/8″ thick. This was the thinnest that my planer will cut. Next I cut the strips to be slightly larger than the width of the shelves. I then sanded them down until they fit exactly. I applied glue to the back of the strips and attached them with my 23 gauge pin nailer. I used the pin nailer to avoid splitting the thin strips. The brad nailers I have are 16 & 18 gauge. They would have been too thick, and split the wood. The pin nails are also nice because you can hardly see them.

Glueing and pin nailing first shelf face
Once they were installed, I ran the top across the round-over bit on the router table and rounded all the edges but the rear.

Rounding over the top piece
I set it on top for now. Tomorrow I will Glue and nail it in place then cut the raised panel onto the door panel.

Shelf faces and Tile installed

Do you sell these and if so how much are they please?
No, sorry. Just a hobby. If you have a local woodworker, show them the post and see if they want to tackle it. I would be happy to answer questions if they have any.