
Statue bases
While I let the benches cure in the shop I won’t be making any saw dust. I figured I would put up another project that I completed a few months ago.
Our church burned down a few years back so we built a new one. Churches are expensive and the furniture required can often be custom and expensive. We decided to put the available funds into things like a roof, walls, heat and so forth. That meant things like the statues behind the altar have been sitting on some spindly little Ikea tables for a few years, artfully hidden by some leafy plants. I was asked if it would be possible to make some bases that matched the oak paneled walls behind the altar. With great confidence, I smiled and said “Uhh, I don’t know. Maybe?” Once I started looking closely at the walls I had to match, I realized that I needed more tools. first I went out and bought a contour gauge and slapped it up against the trim. This gave me a size and shape that I could re-create at home on the computer. Next I began a search of router bit profiles. I found a couple of standard profiles that were similar, but the builder must have had their own custom profiles. The standard ones would do, so I ordered them and got to work on my design. I decided to start with a 3/4″ oak plywood box. I added a piece of 1/2″ plywood for the bottom in case anyone wanted to store anything in there at some point. This PDF shows a cross-section of what I came up with:
Base cross-section.PDF

Trim to match
I took the time to make a mock-up corner piece and took it in to compare to the existing wall. Glad I did, I was off a bit here and there. I made note of the adjustments and got to work on the bases. For the assembly, I purchased a new 23 gauge pin nailer. I have an 18 gauge, but I didn’t want any visible nail holes. It worked well, but The safety lever is extremely close to the trigger, I accidentally shot several pins into my walls before I figured out that my hands were a bit too big to put all of my fingers on the grip. Oh well, at least the kids were not helping that day…
I personally have a heck of a time getting my miters to meet up perfectly, so I decided to build the entire trim assembly for each side, then miter it and assemble it to the box in one piece. This way I only needed to get four, nearly perfect, miters per box instead of every single piece of trim. I glued and nailed the trim assembly to the boxes from the inside with my 18 gauge nailer. Earlier I had glued up the panels that would become the tops to the boxes. Once my trim was installed, I cleaned up the lid glue joints and rounded off the edges. I cut a 3/4″ dado to catch the trim that I installed about an inch taller than the box. This prevents you from seeing a gap under the lid if it doesn’t sit perfectly. I also added a couple of stiffeners to the bottom of each lid. Both boxes were then stained to match the walls and coated with two coats of satin polyurethane.
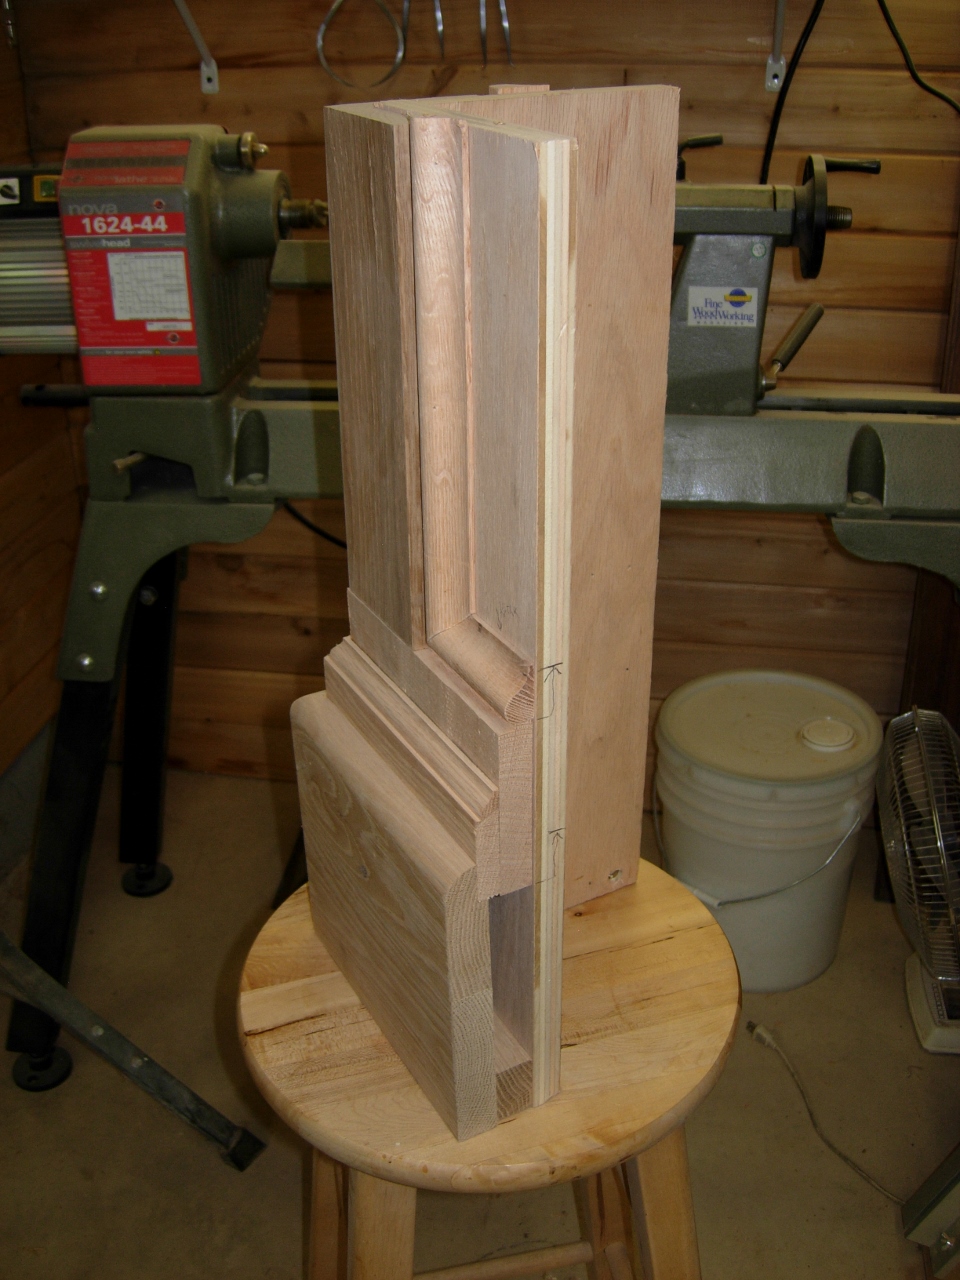
Corner mock-up
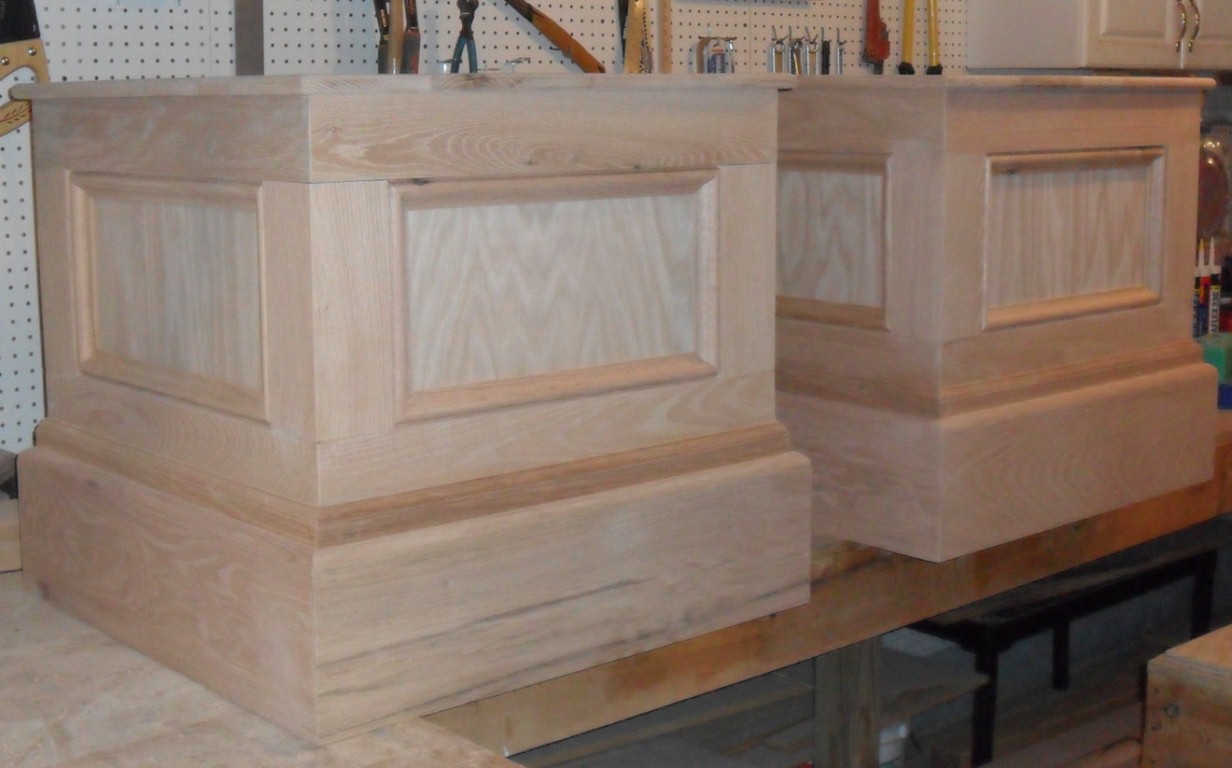
Pedestal exterior
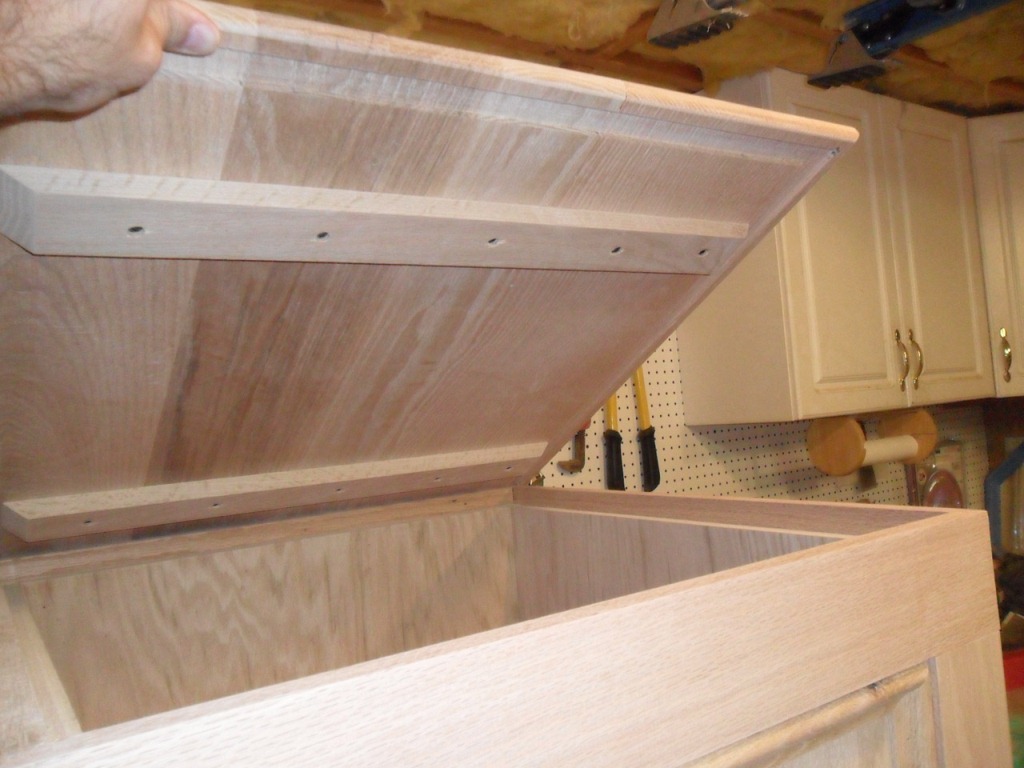
Pedestal interior
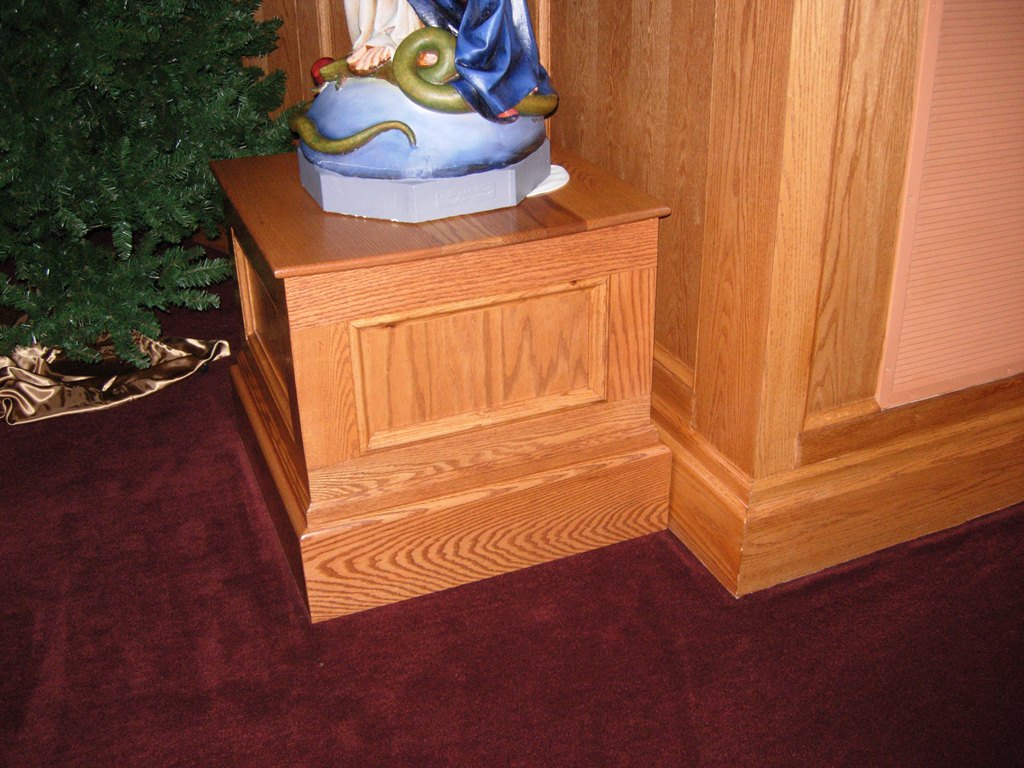
Installed, they look pretty good. at least they don’t need to be hidden behind big leafy plants…

Base #1
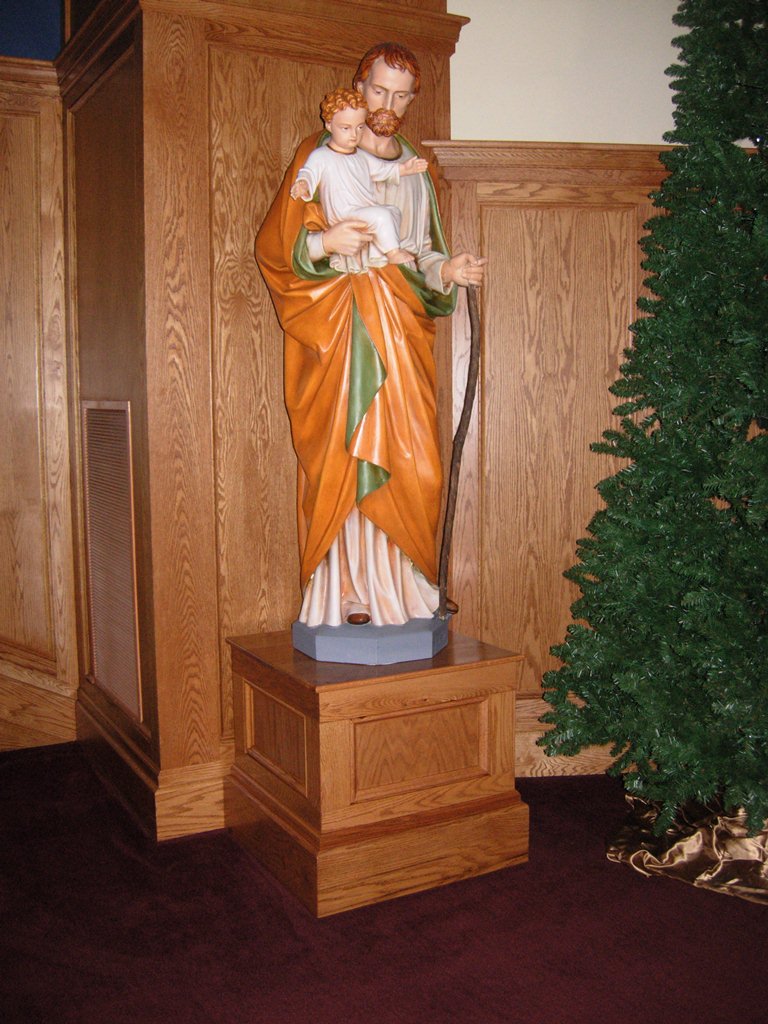
Base #1 with statue
Base #2

Base #2 with statue

They look like a good match to me. I like the stingers and the dado you put in the top, these statues can weigh a lot, hiding the gap is a good touch
I have admired these in church and didn’t realize you had made them. I wondered what would ever be stored inside these…
Anyway, they are beautiful.
Pingback: Statue bases – day 1 | Midnight Woodworking