
Day 12 – Sacristy cabinet
My last pieces to construct for this project are the spindles. First I sanded down the spindle bodies that I made last night. Then I made up a jig to allow me to bore a 3/4″ diameter hole in the center of each end. I clamped the jig in place and put my 3/4″ forstner bit into my drill. The forstner bit does a nice job cutting a smooth hole. Unfortunately they don’t drill through nails as well as I would have liked. With my good bit now dull, I moved to my only other 3/4″ bit, my speed bit. It worked well, but white oak is tough stuff, I burned the bit black. I guess I will be replacing two bits… I started turning down 3/4″ dowels a few weeks back on my lathe. After an hour and just a few successful dowels created, I just bought a 36″ dowel for $3 and said “the heck with it”. I cut the dowels down to 2″ long segments on my bandsaw. The blade is a lot thinner then my other saws and it was safer to cut small pieces on. I sanded down the edges of the dowels then put a ring of glue in the holes. Giving the dowels at least one full twist, I pressed them in place. Since I still don’t have a bunch of 4′ long clamps, I resorted to brad nails to hold them while they dry. I dropped the spindles into the rests in the drawers and they worked perfectly. In case you were wondering why I went through all the trouble to create these spindles the way I did, I will explain. If you lay the altar cloth out flat on a table or the floor, you can slide one end into the slot that runs through the center of the spindle. Now you can roll it up evenly without struggling to hold the cloth in place until you can get the roll started. This makes life a little easier for the roller, and hopefully cuts down on wrinkles. Tomorrow I believe it will be time to start staining.

Don’t forget the dust collection

Sanding the spindles

building the jig

Clamp the jig in place

Drilling with the jig

First hole, see the nail?
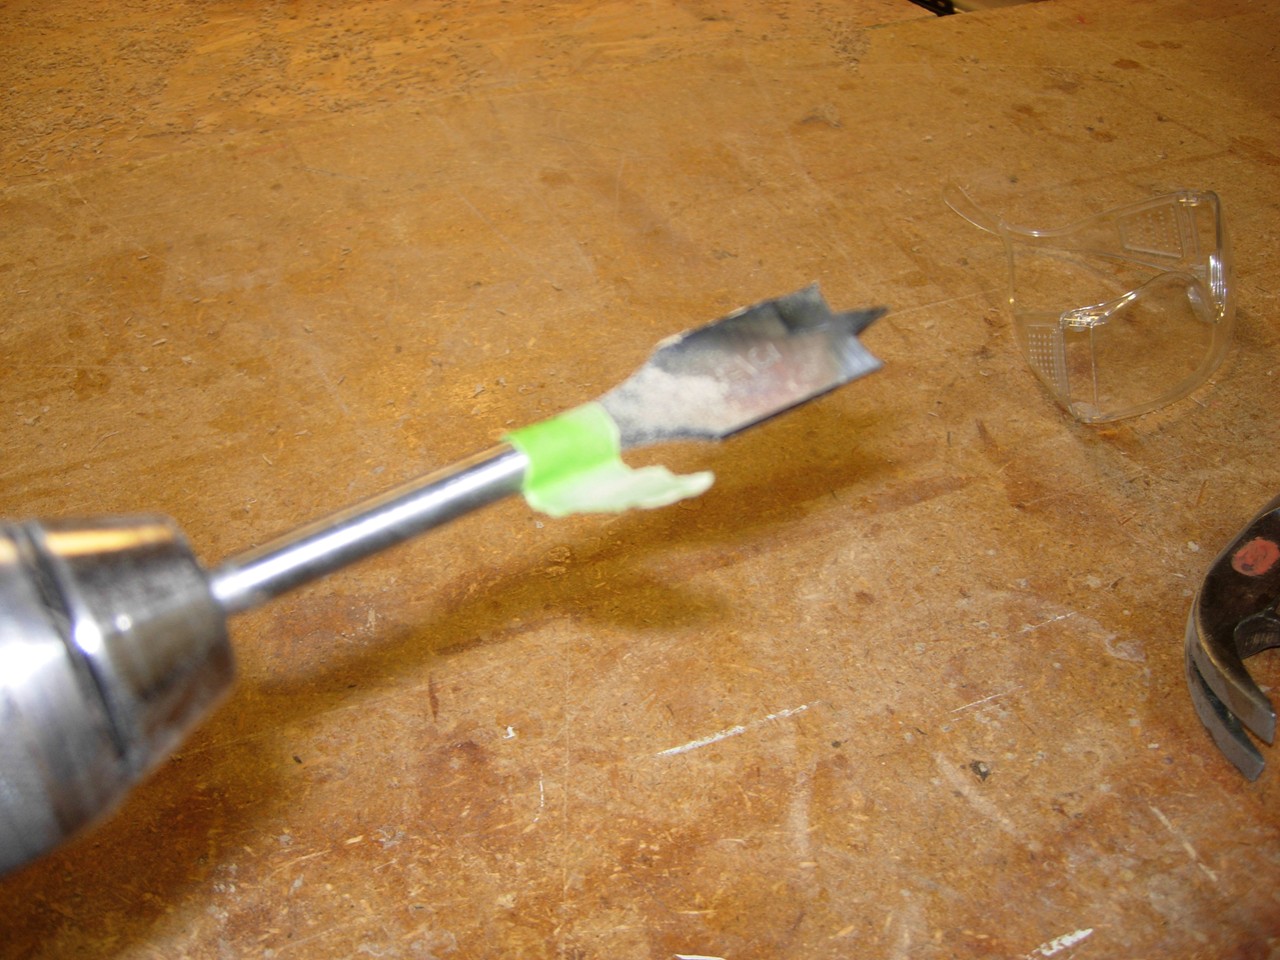
Burnt bit
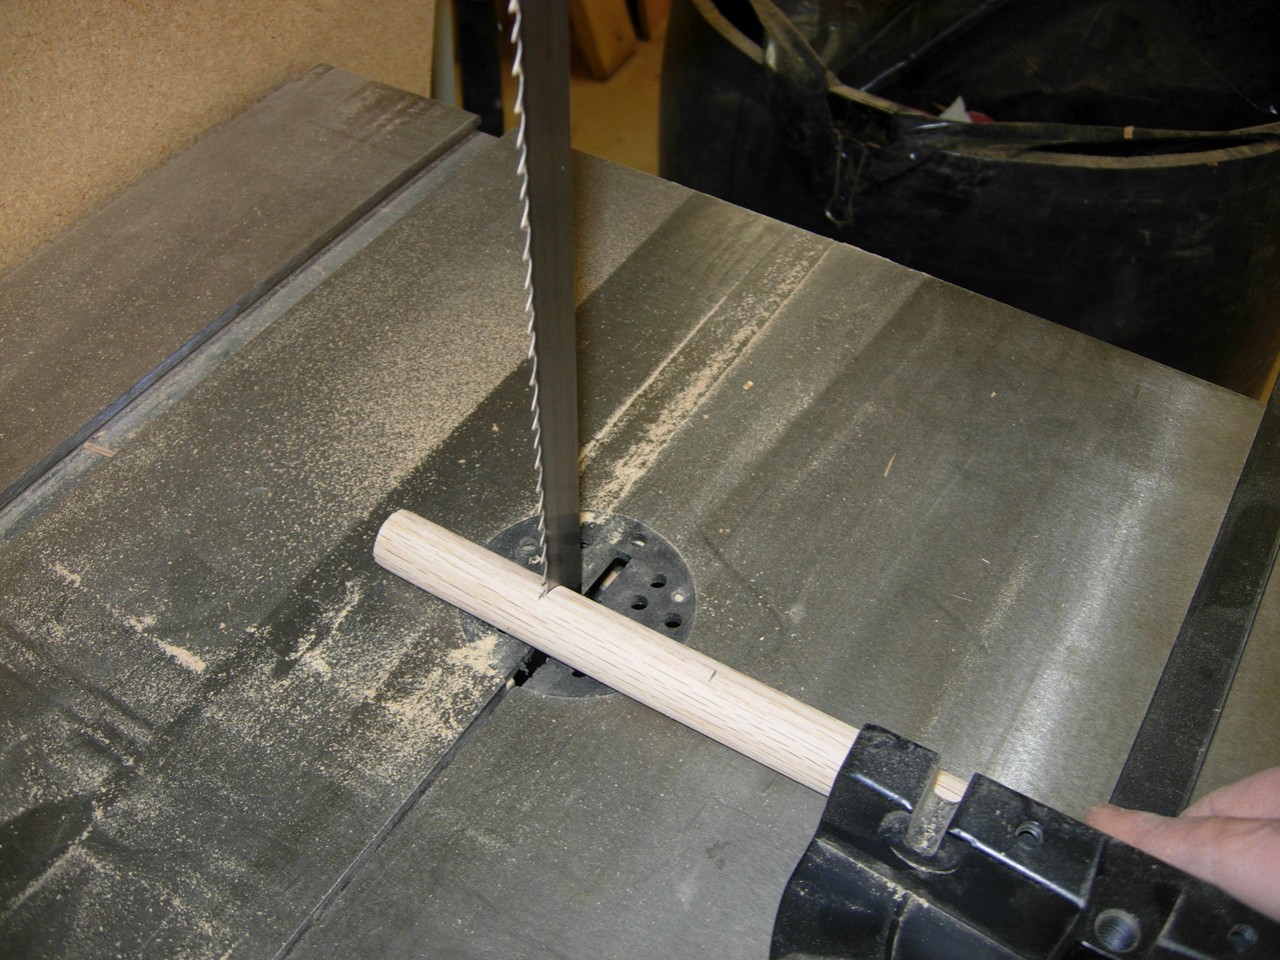
Cut 3/4″ dowels to 2″ lengths

Glued and nailed dowels
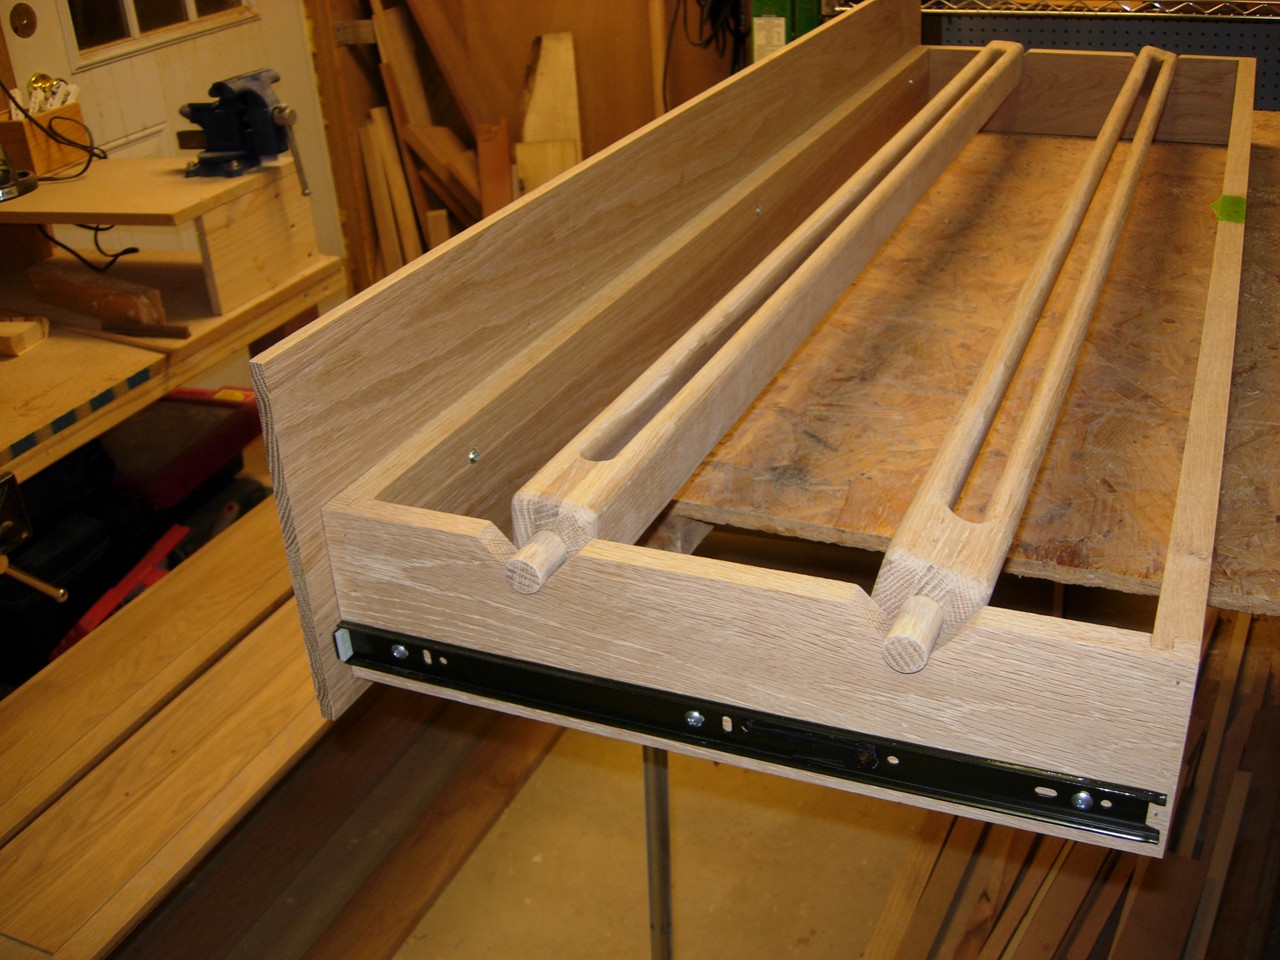
Spindles in their rests

finished spindles
