
St. Peter’s Back Altar – part 1
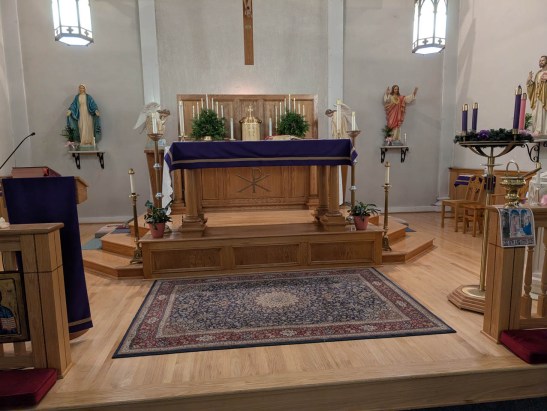
I am starting a new project this week. A new back altar for Saint Peter’s church.
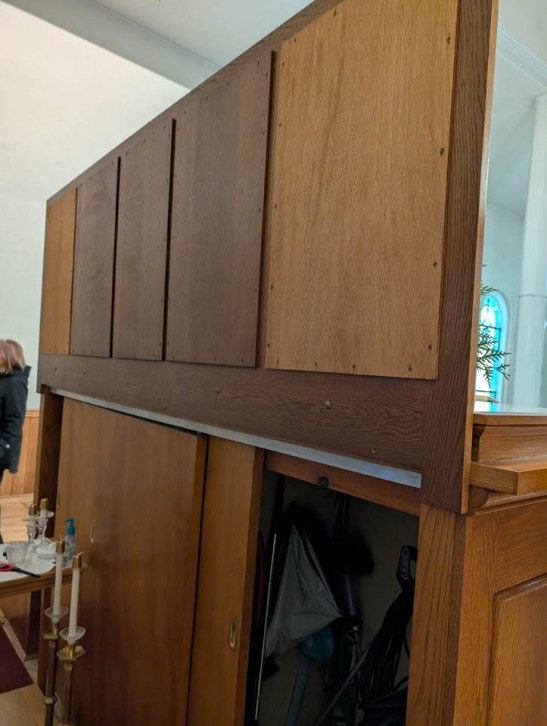
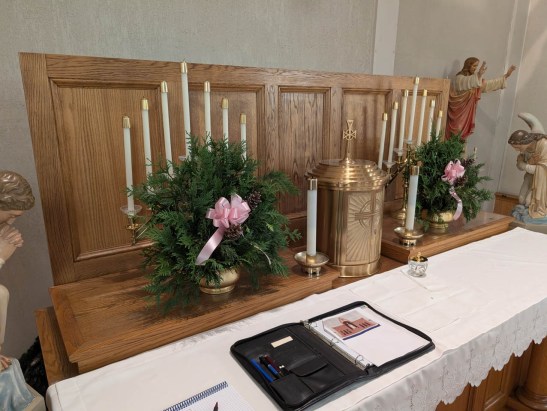
Actually it will be just the top of the back altar. I will need to remove the existing panel and build come new cabinets with arched alcoves for icons. A raised section for the tabernacle as well as an arched roof above.
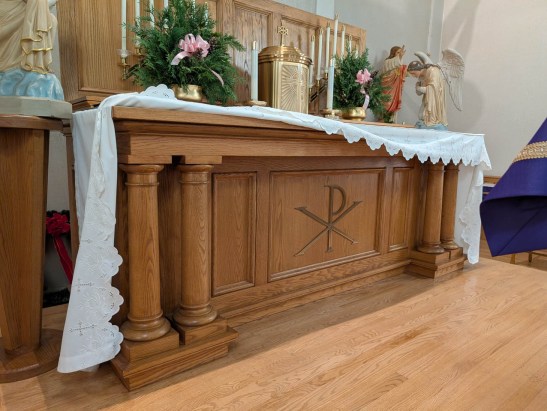
My design will replicate the existing columns to tie the new section to the old.
This is the design that we settled on.
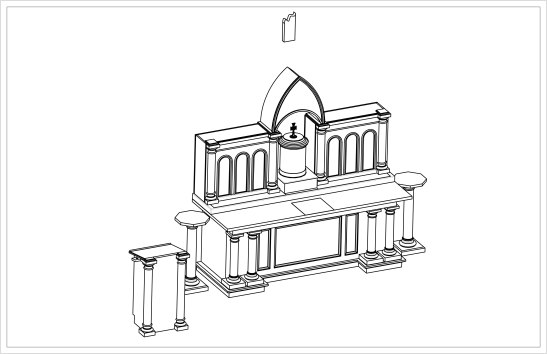
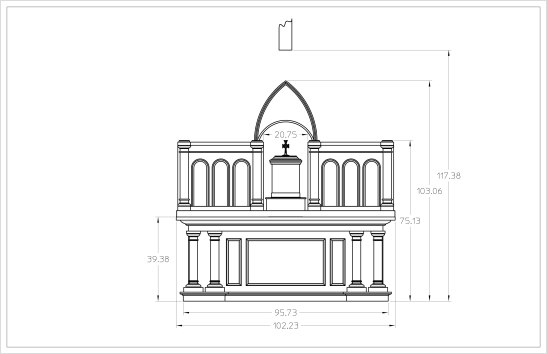
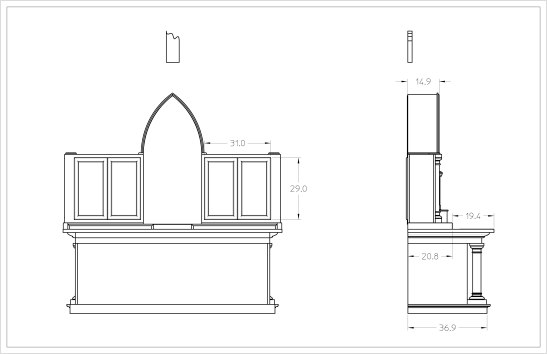
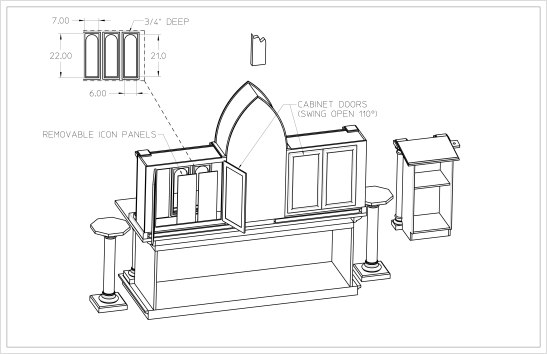
There are several pieces to this project so I am going to start with the cabinets first. This project will mainly be made from red oak.
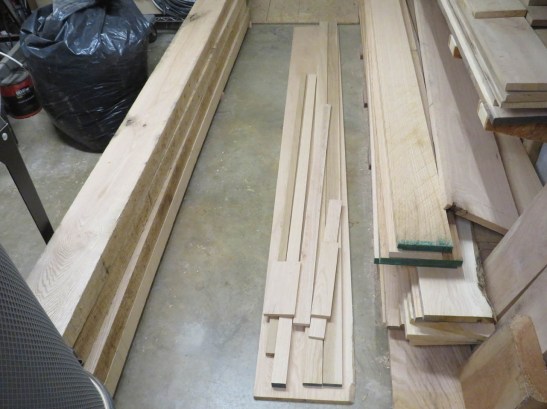
I want to start with the arches around the icon windows So the first step is to plane down a wide enough board.
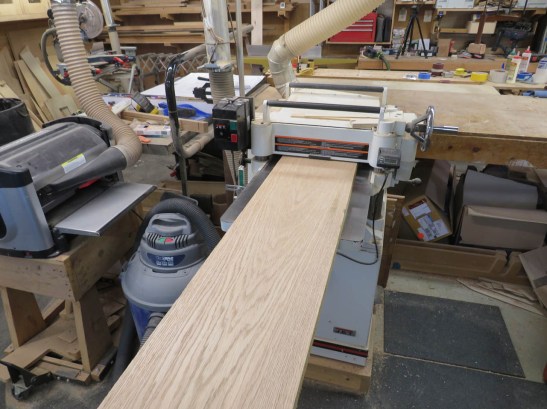
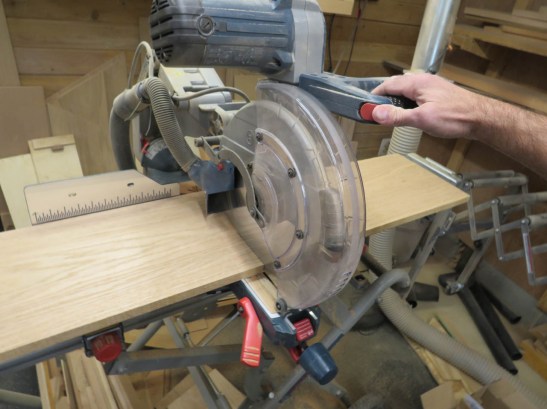
Then I cut the board into 27″ long sections.
I bought a new CNC router capable of much larger work than my smaller CNC. This one can cut up to 49″x49″.
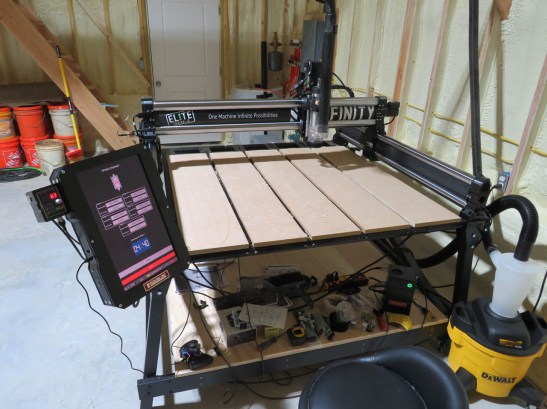
This will be one of the first pieces made with the new machine. I am just learning it’s capabilities so nothing too complicated to start.
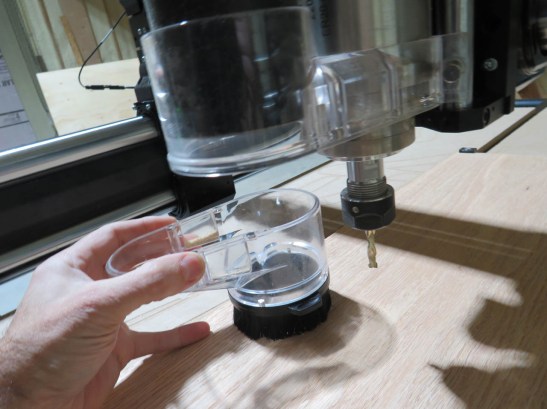
First thing I am cutting will be a nested set of arches. I will explain what they will be for in a moment.
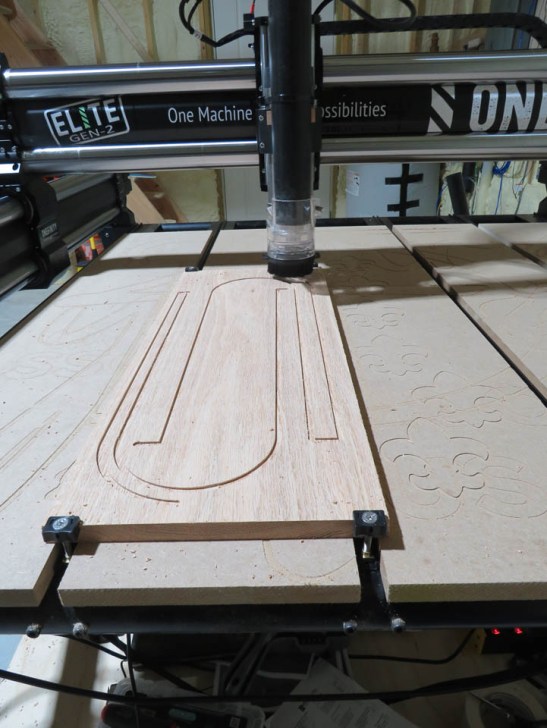
The new machine is pretty quick. It only takes about 7 minutes to cut the first two arches.
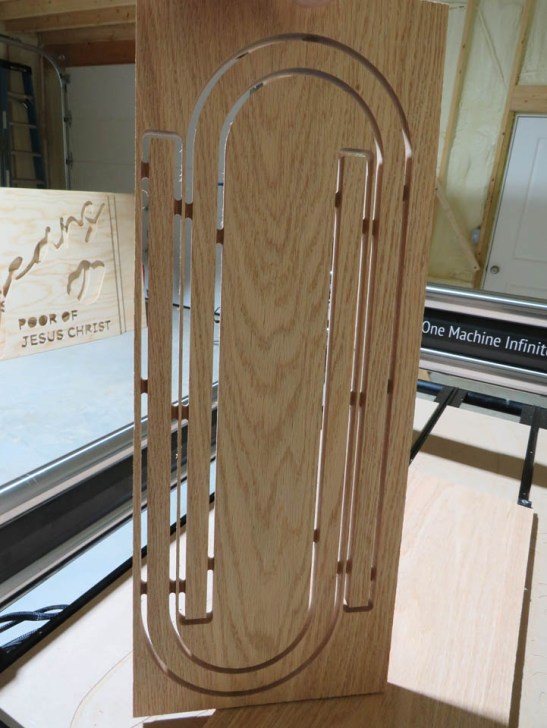
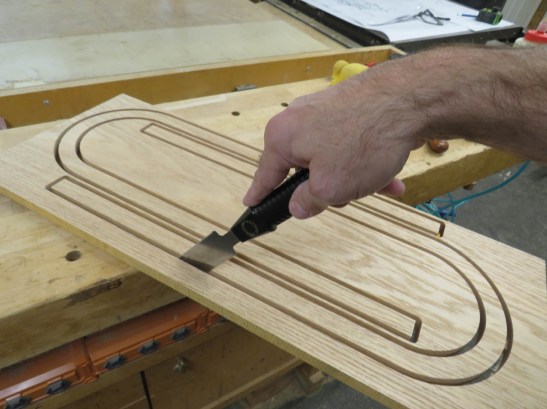
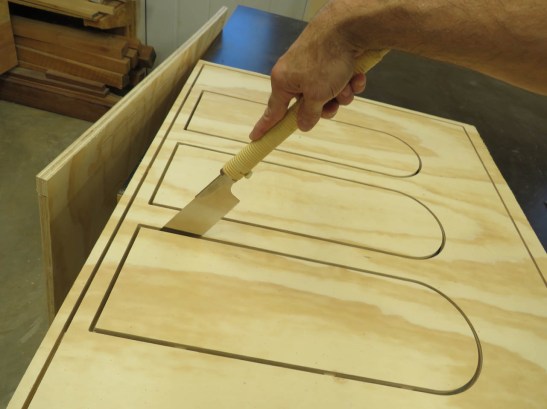
I left a couple of tabs to hold the work in place while it cut so they need to be cut away with a hand saw.
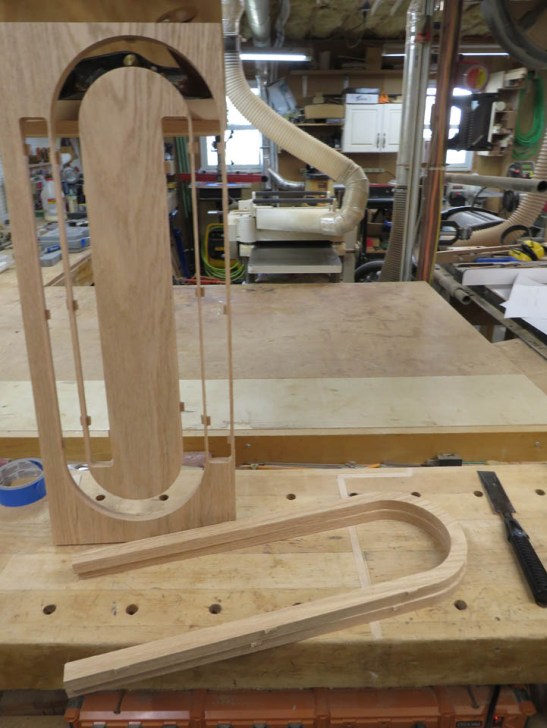
Then I can sand off the remainders of the tabs.
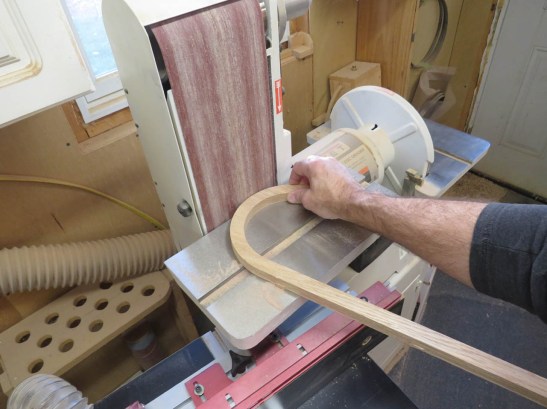
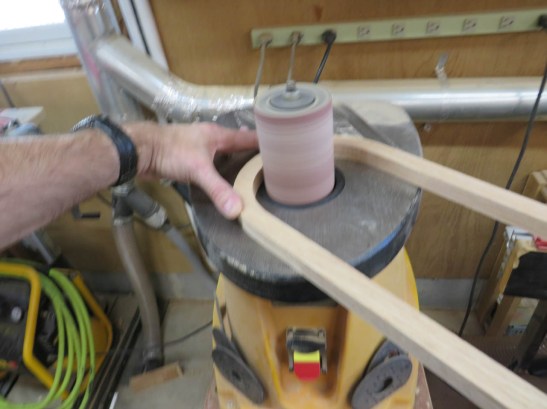
As well as smooth all of the fresh-cut sides.
Next up is a set of smaller but slightly wider arches made from cherry. These too I will explain in a moment.
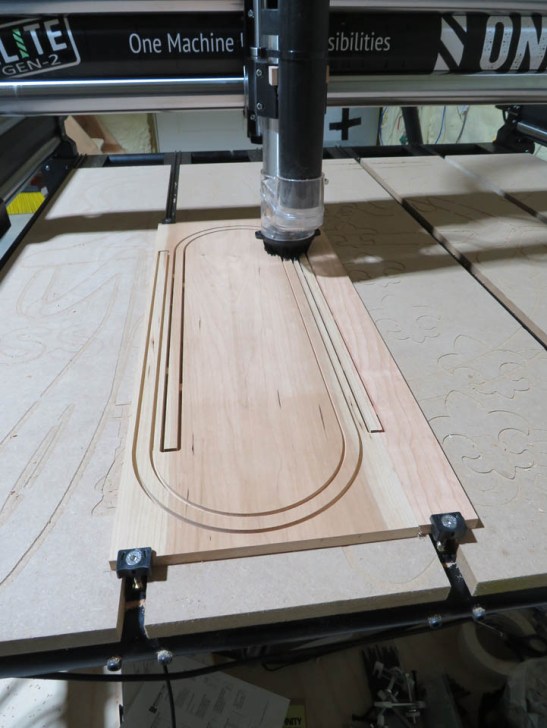
I am also cutting the front faces of the cabinets from a sheet of 3/4″ plywood. I cannot make this piece from oak. Changes in humidity will cause solid wood to expand and contract. If I were to make the front of the cabinet with red oak, the wood around the arches may crack over time.
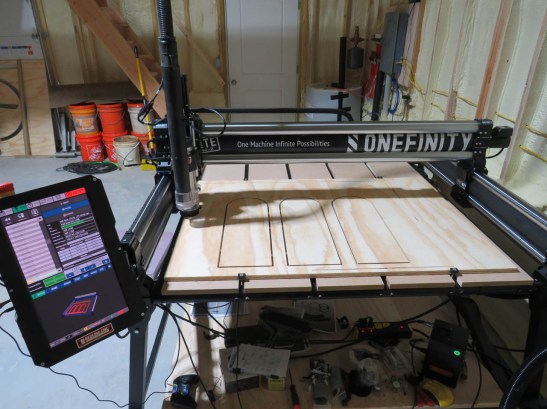
When the plywood is cut, I can cut away the tabs and get started assembling things.
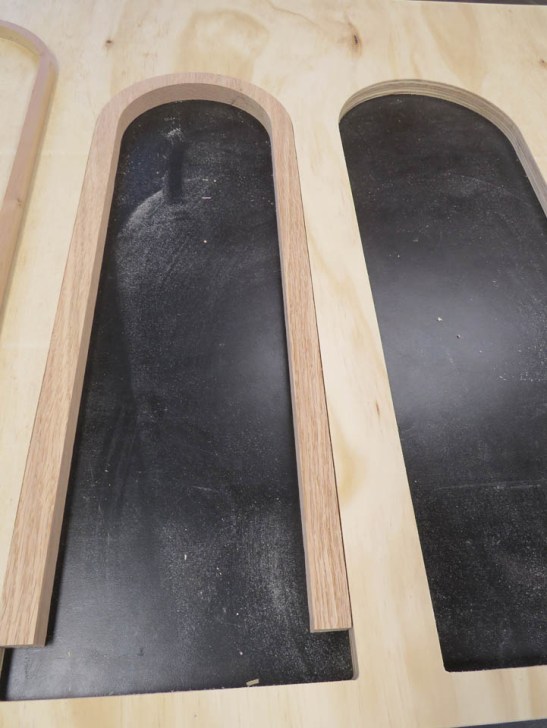
Here is where the oak arches will eventually go.
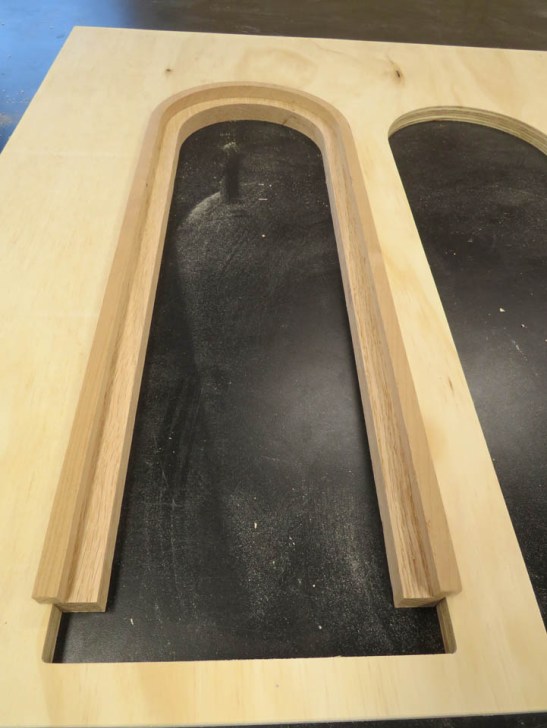
On top of that will be the cherry arches. They are just large enough to cover the seam between the oak and plywood. They are a bit unattractive at this stage. I need to modify them first.
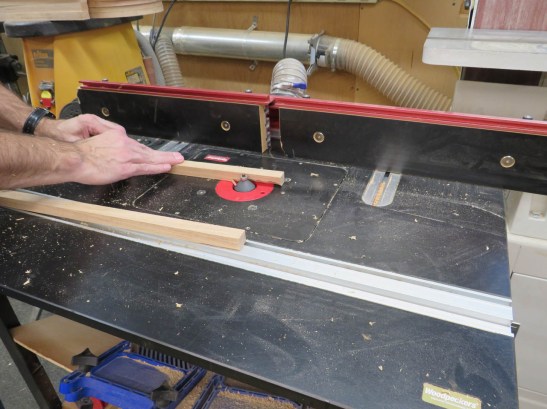
I put a 45° chamfer bit into my router table and cut a 1/2″ bevel into the center of the 3/4″ thick oak arch.
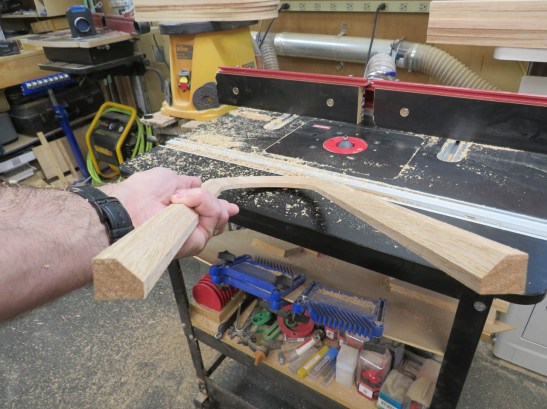
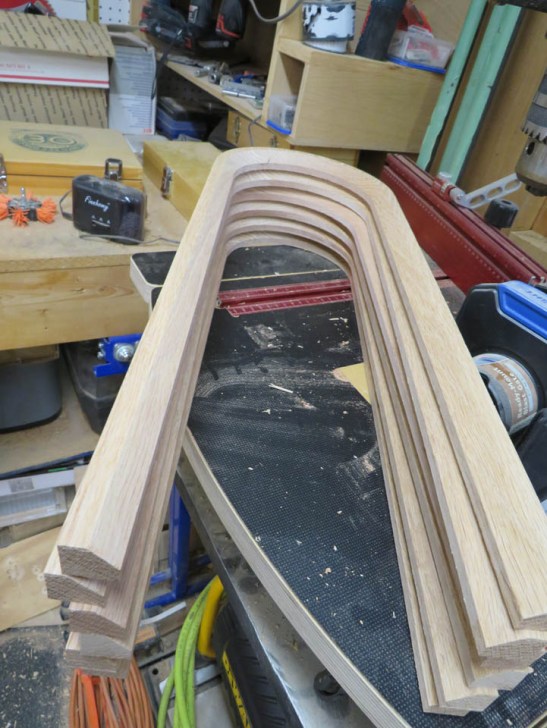
The cherry arches will get a full round-over on top. To create this, I used a 1/4″ round-over bit and cut both the inside and the outside.
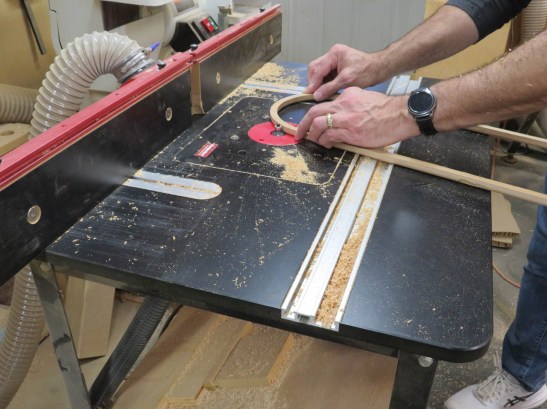
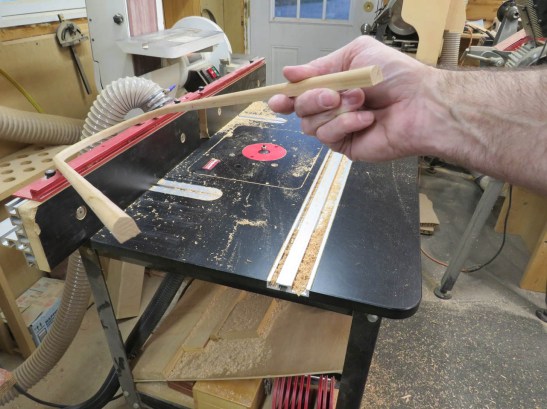
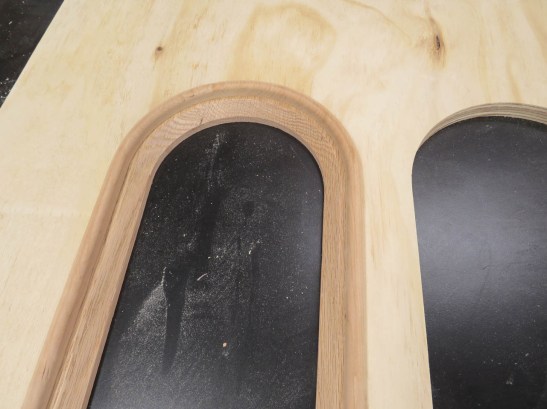
These are re-installed in the arch. The oak now gently bevels down to the icon and the cherry trim will rest on top, hiding the seam.
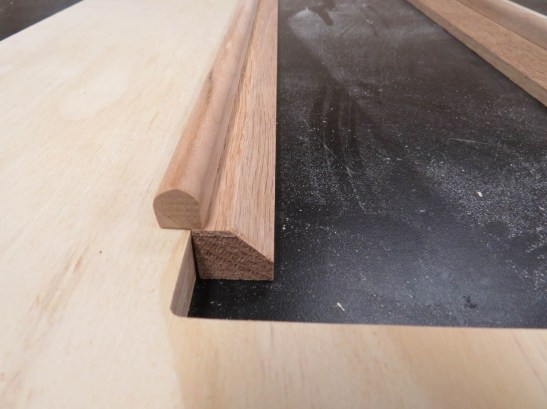
The reason I am using cherry on an oak cabinet is because they want these trim pieces gold-leafed. Cherry has a much tighter grain and it make a smoother substrate. I hand sand both the oak and cherry arches before moving to the next pieces.
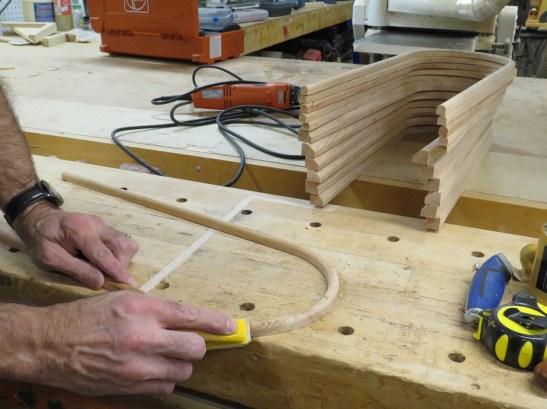
I also have to trim the bottom of the arched openings as well so I cut some more oak pieces that will go there.
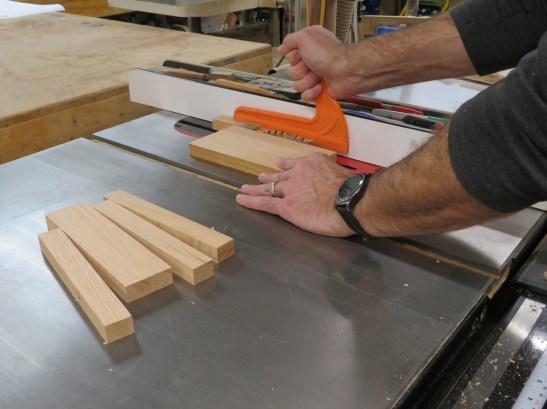
Since the router bit left a small radius in the bottom corners, I radius the oak pieces as well.
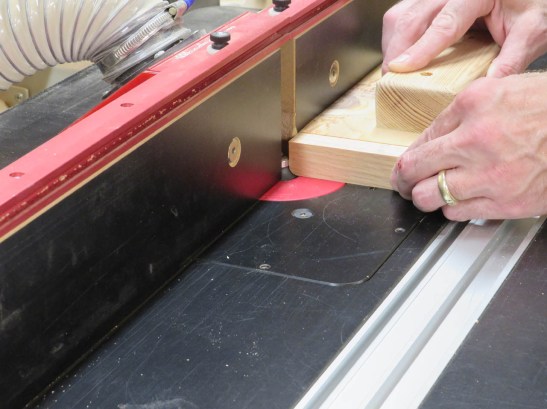
These get glued and clamped in place.
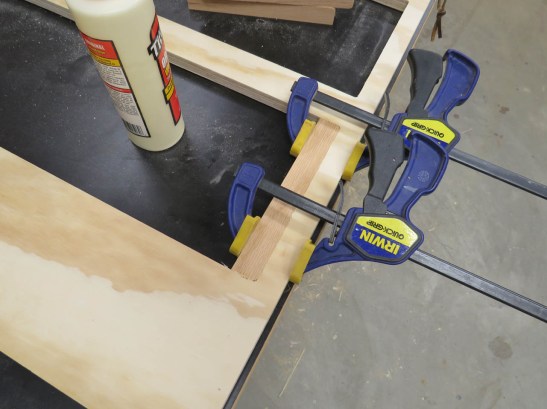
My intent is to veneer the face with oak veneer so I also create oak trim pieces for the sides and top as well and glue them on. You may also notice that I cut out two cabinet faces as well as enough arches for both.
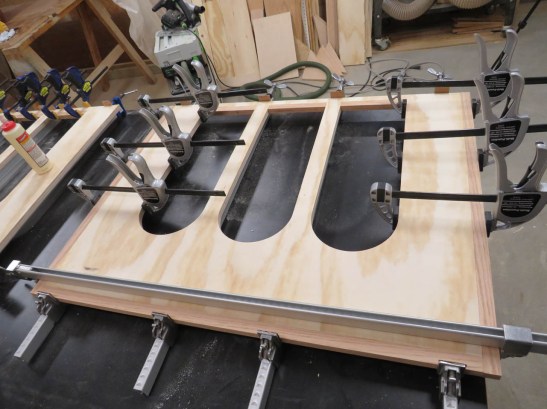
I will be bouncing back and forth a lot because I have to keep working while glue and paint are drying…
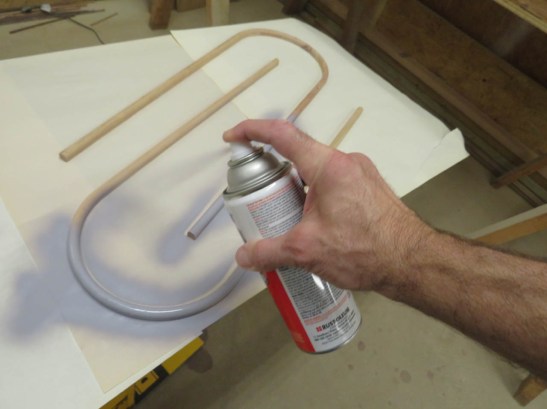
The cherry arches still have pores so I decided to use a good high build primer to fill those pores.
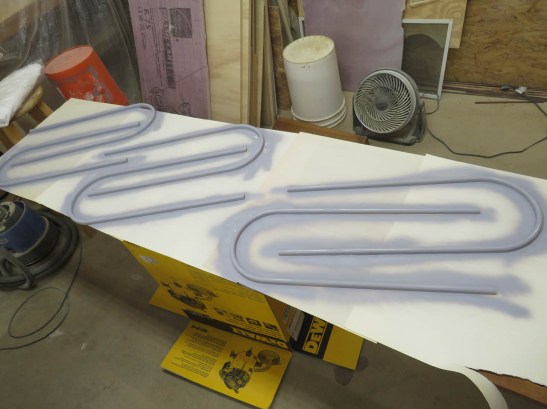
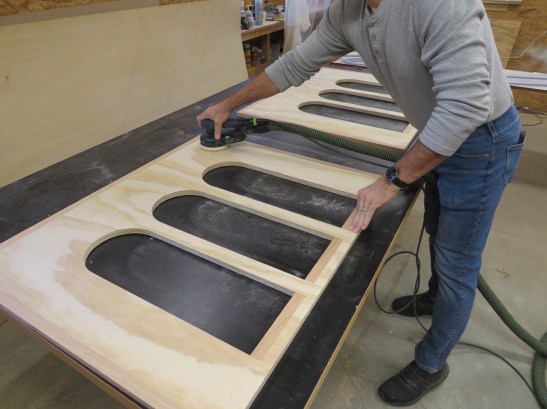
While the primer dries, I can go back to the panels and pull the clamps. I can also sand the faces smooth.
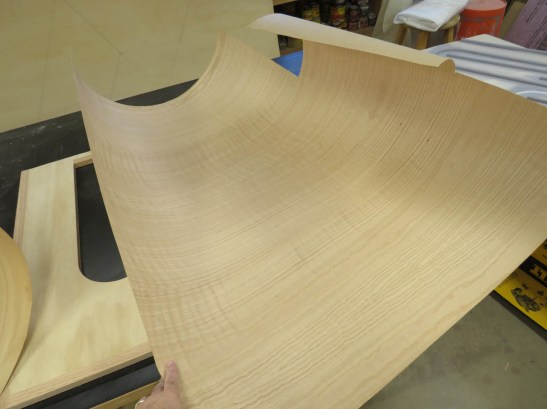
I have a good, high quality paper-backed oak veneer for the faces.
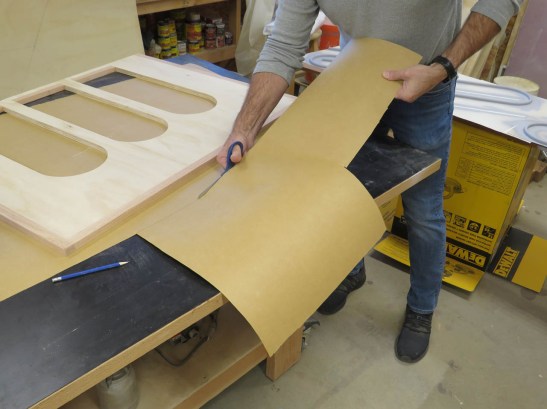
I unroll them and cut them down to size, then leave them flattened under the plywood for a bit to help keep them stay flatter for applying glue.
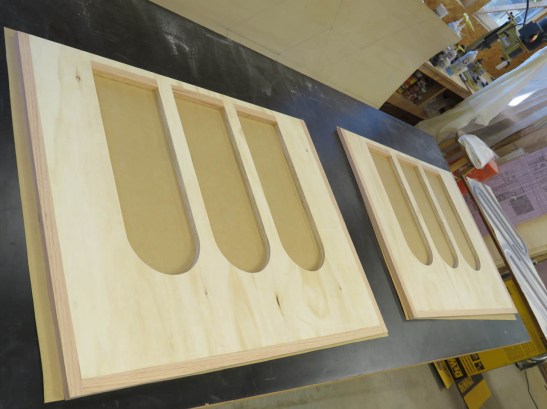
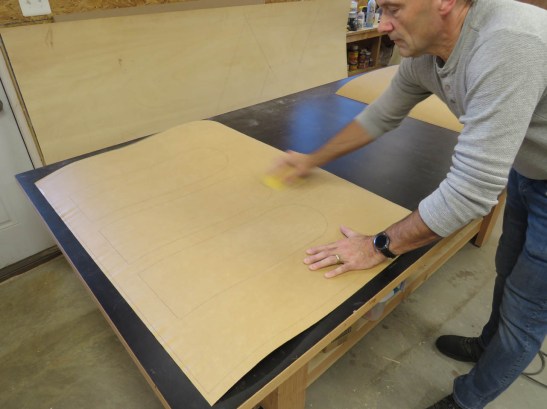
Both the face of the plywood and the back of the veneer will get glue so they both need to be rough sanded with 80 grit sandpaper.
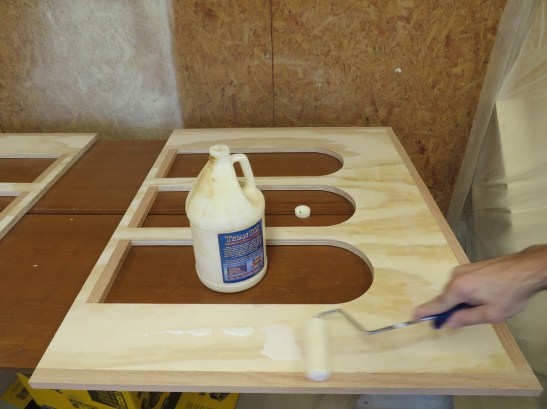
This glue needs to be rolled on, then left to dry for about a half an hour.
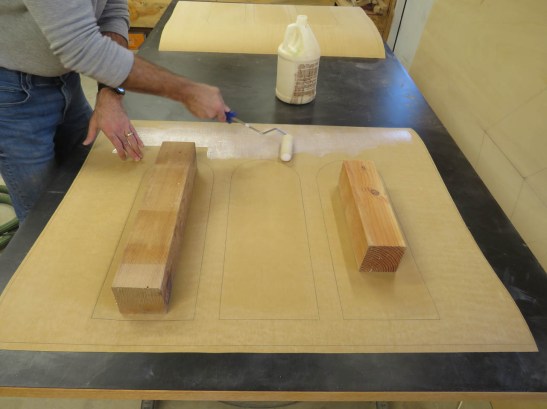
I traced the window locations so I could avoid applying glue where it wasn’t needed. The blocks of wood help hold the veneer down flat since the glue is very liquid and would roll off the veneer easily and it makes a mess…
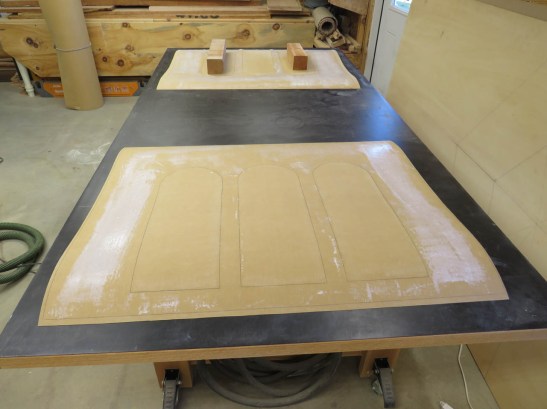
When dry enough, I can bring the two together.
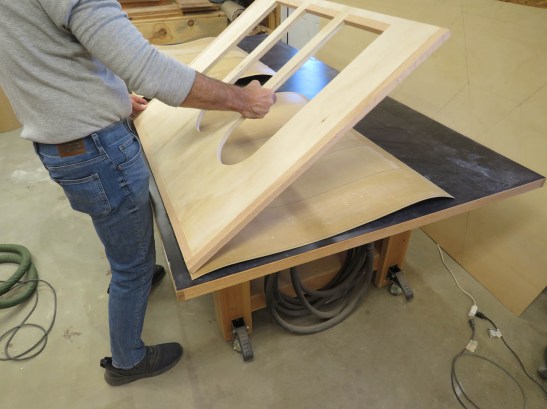
After they are joined, I need to bond it with pressure so I scrape the veneer heavily with a plastic scraper. It applies more force than a roller.
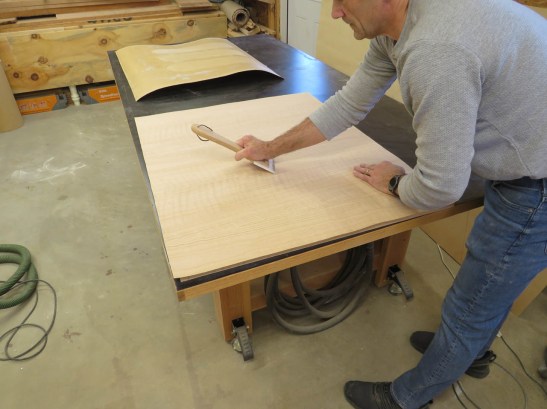
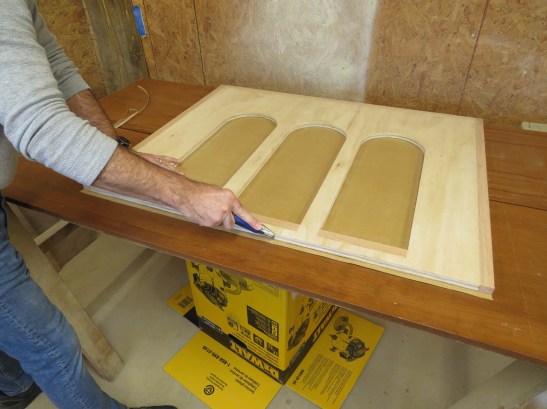
Then I can use a utility knife to trim away the excess veneer, then sand all of the sharp edges. With the veneer applied, the edges make it look like a solid oak face but the plywood will be much more stable over time.
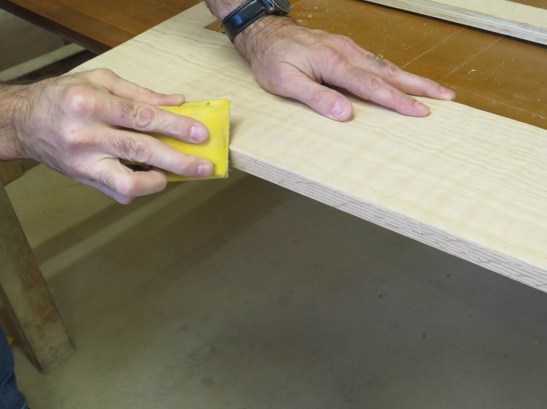
With the veneer on, I flip the panels face down and apply glue to the sides of the oak arches.
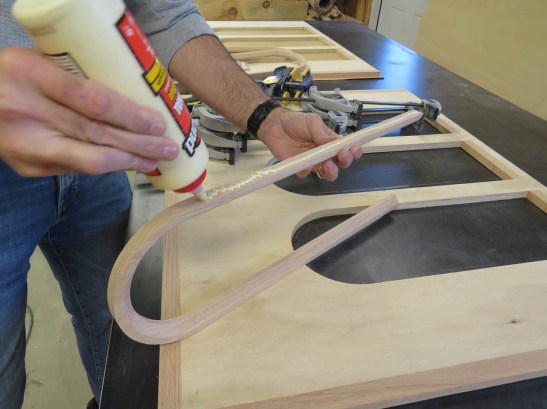
These can then be clamped in place, pressing down firmly to make the face of the trim flush to the veneer face.
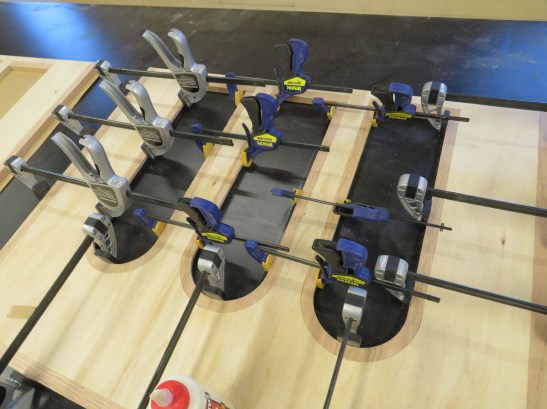
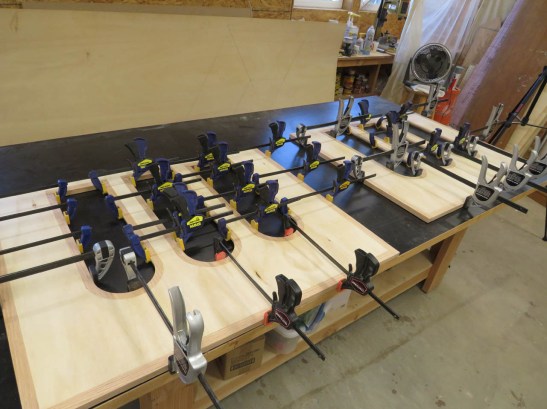
After they dry, I can pull the clamps and flip them over for sanding.
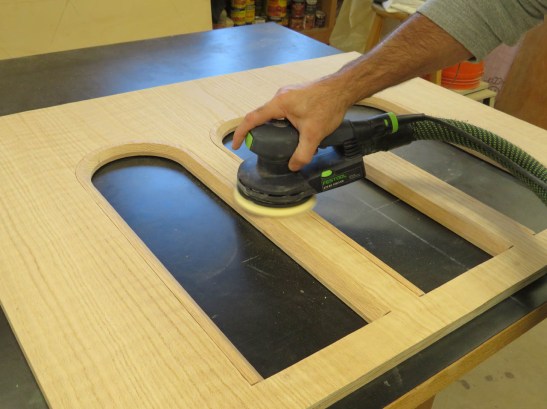
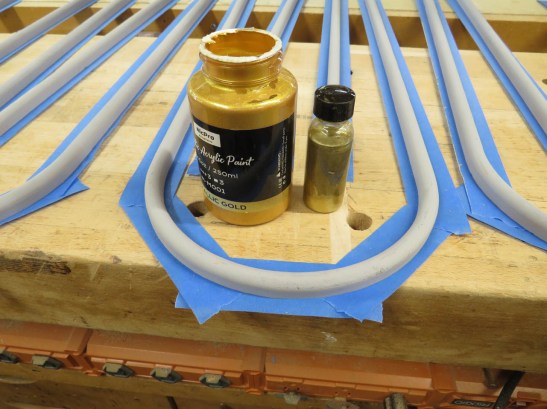
Now I can get back to the cherry arches. I have not done gold leaf before So I want to try a gold leaf paint. For a base coat, I am going to use a far less expensive gold acrylic paint.
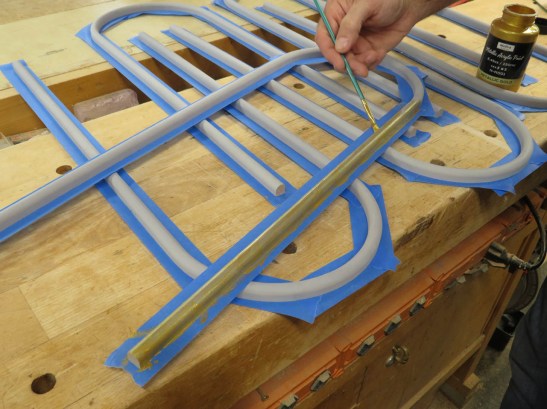
It doesn’t look bad but it is definitely not gold leaf.
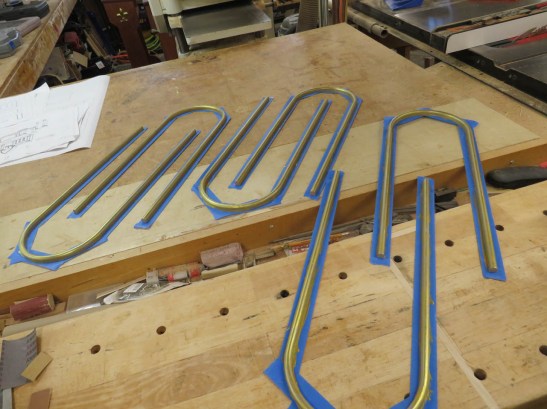
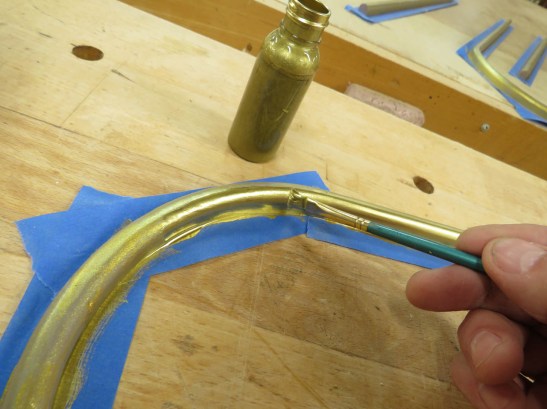
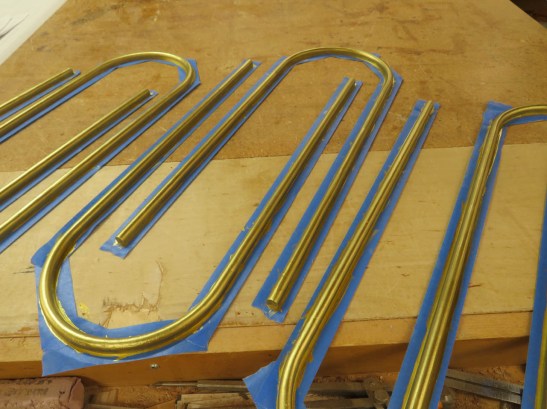
The alcohol based liquid leaf I am using goes on very smooth and looks quite good when dry and you cannot see any of the wood grain.
While that dries, I milled down some more oak to create the base trim for the front of the cabinets. This will create a stop point for the gold trim.
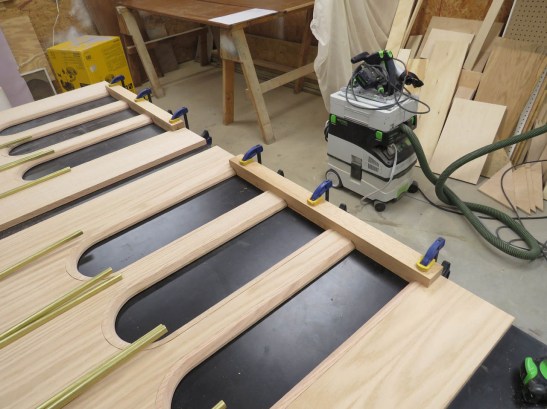
I clamped the trim in place then start applying glue to the back of the gold arches.
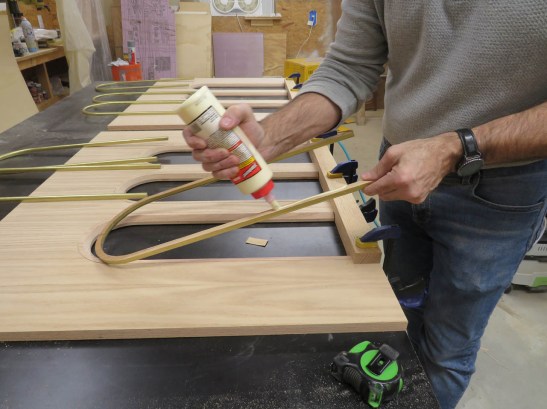
The arches get carefully located, then pinned in place with a couple of 23 gauge pin nails. This will prevent the trim from moving when it gets clamped in place to dry.
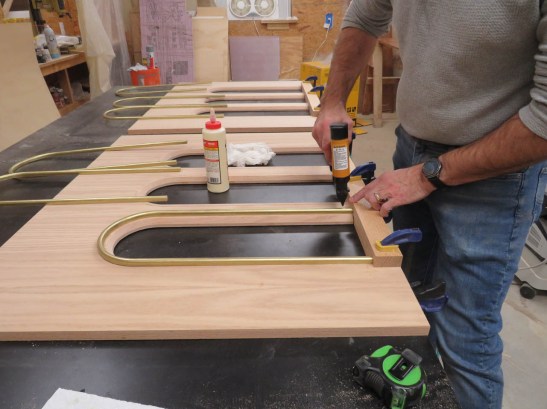
I got so busy gluing and clamping that I forgot to take a picture…
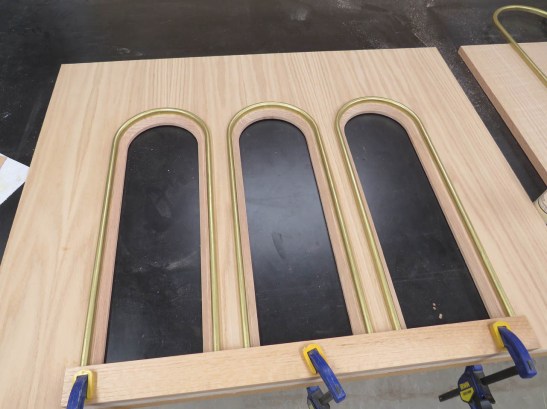
After the arches were in place, I went back and touched up the paint to cover the pin holes and any other imperfections.
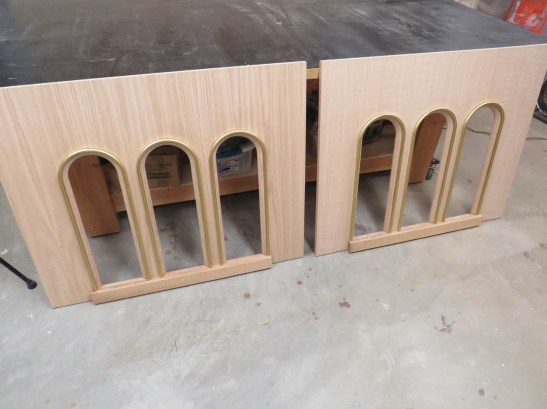
It doesn’t seem like much but those two panels took two days to make. Next up will be building the cabinets and turning the columns.

