
Guest book stand / Podium for St. Joseph’s chapel
I have another fun project for Saint Joseph’s. A Guest book stand / Podium for the entrance to their chapel.
This is what I designed: podium.pdf
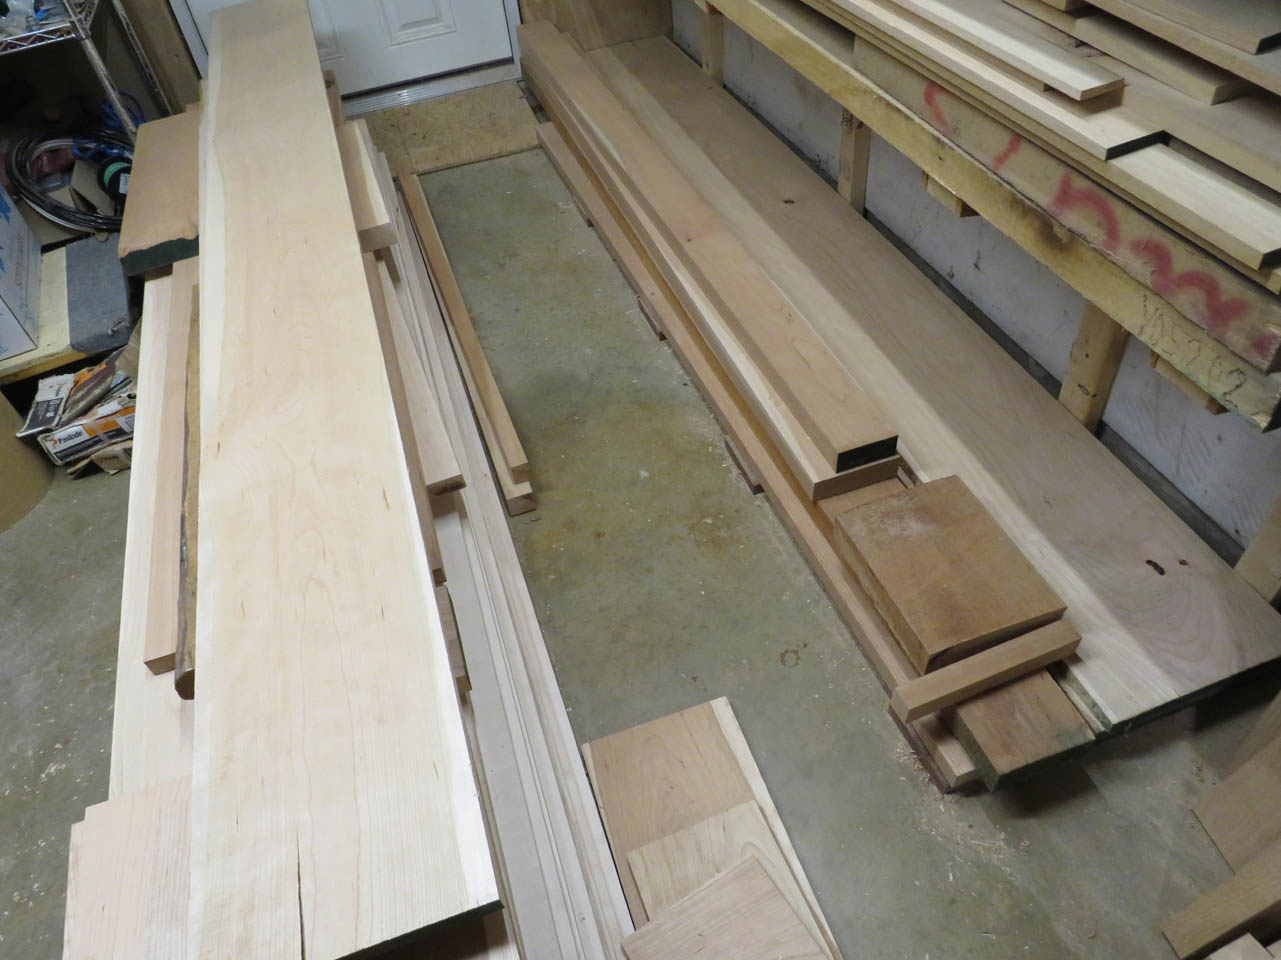
I start by pulling a bunch of cherry from my stock.
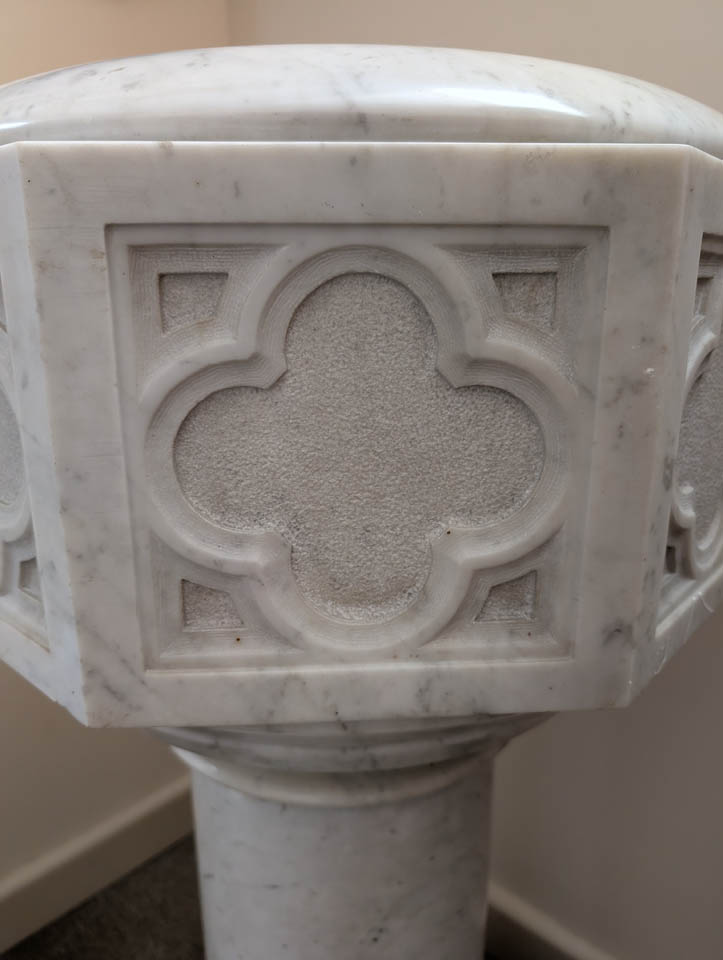
They want me to incorporate a quatrefoil into this piece to match the baptismal font so I spent some time 3d modeling a couple of versions to mimic the marble one.

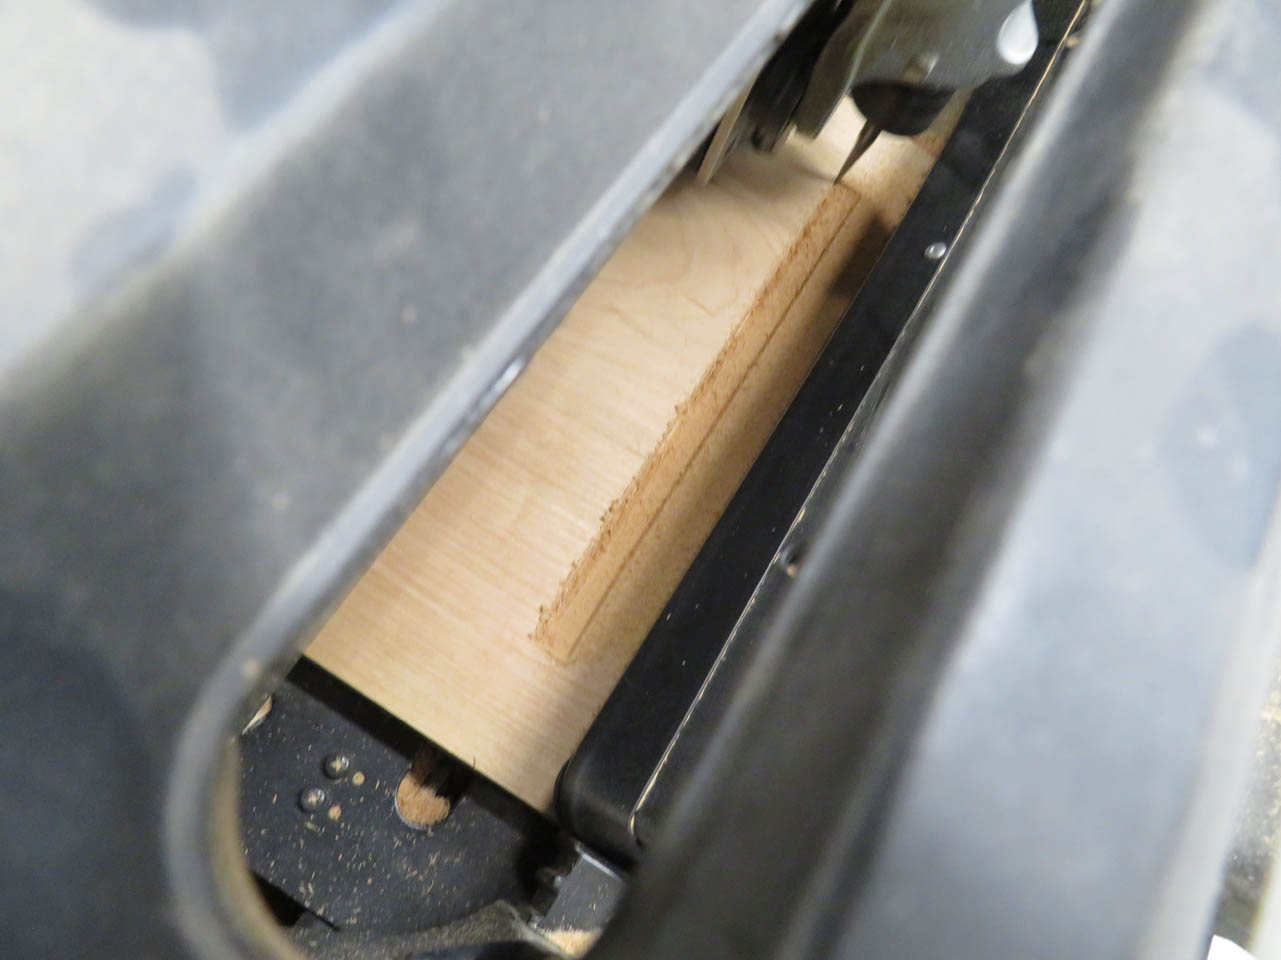
When I was happy with one, I loaded a piece of cherry into my CNC and started it carving.
I thought this would be the easy part but just before the 3-hour carve finished something happened and there was a shift to the side and the carve carried on in the wrong place.
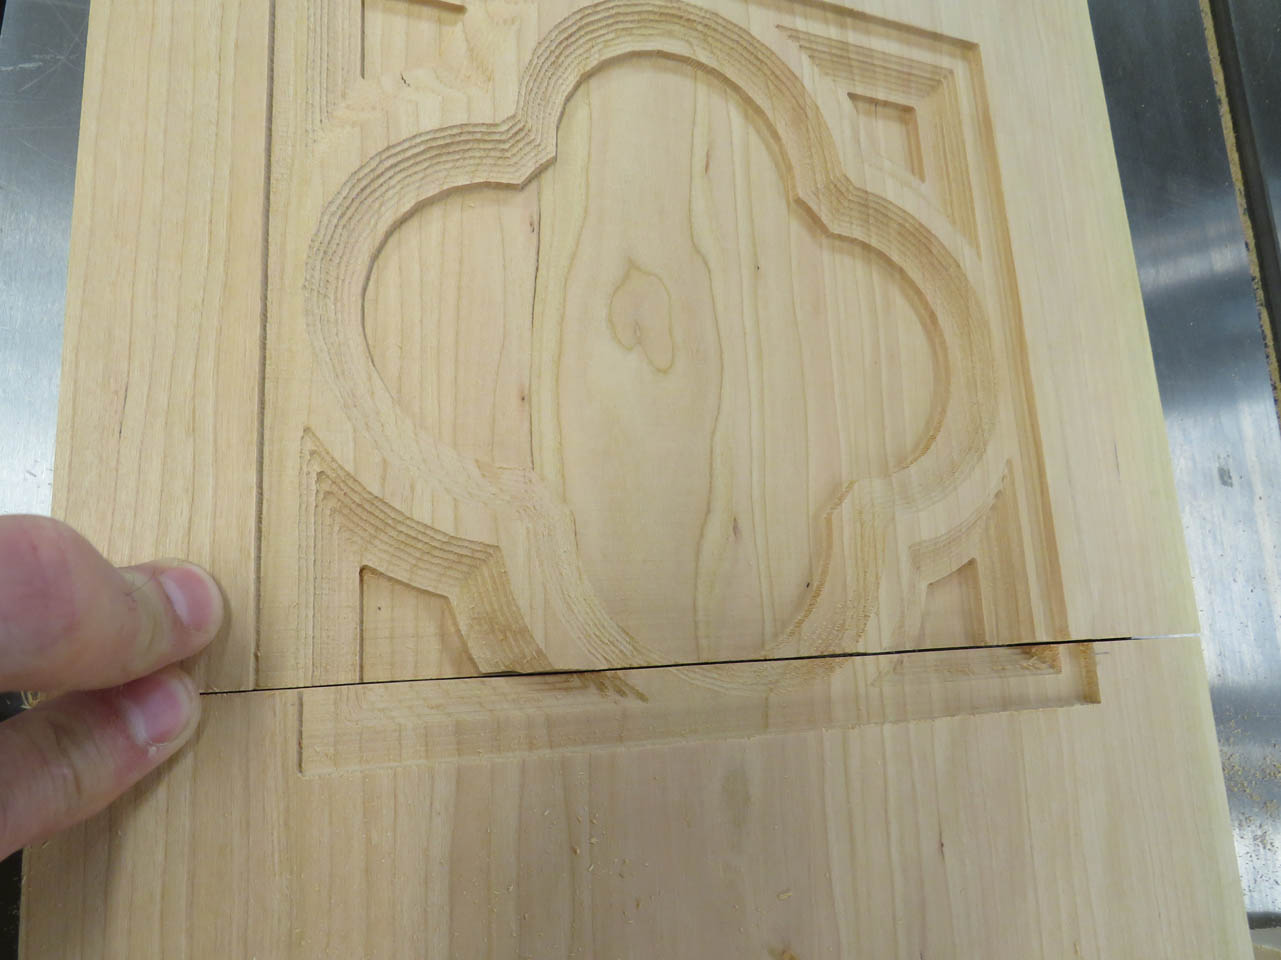
This happened twice so after a brief attempt at merging the two failures, I went back to the computer to try another option.
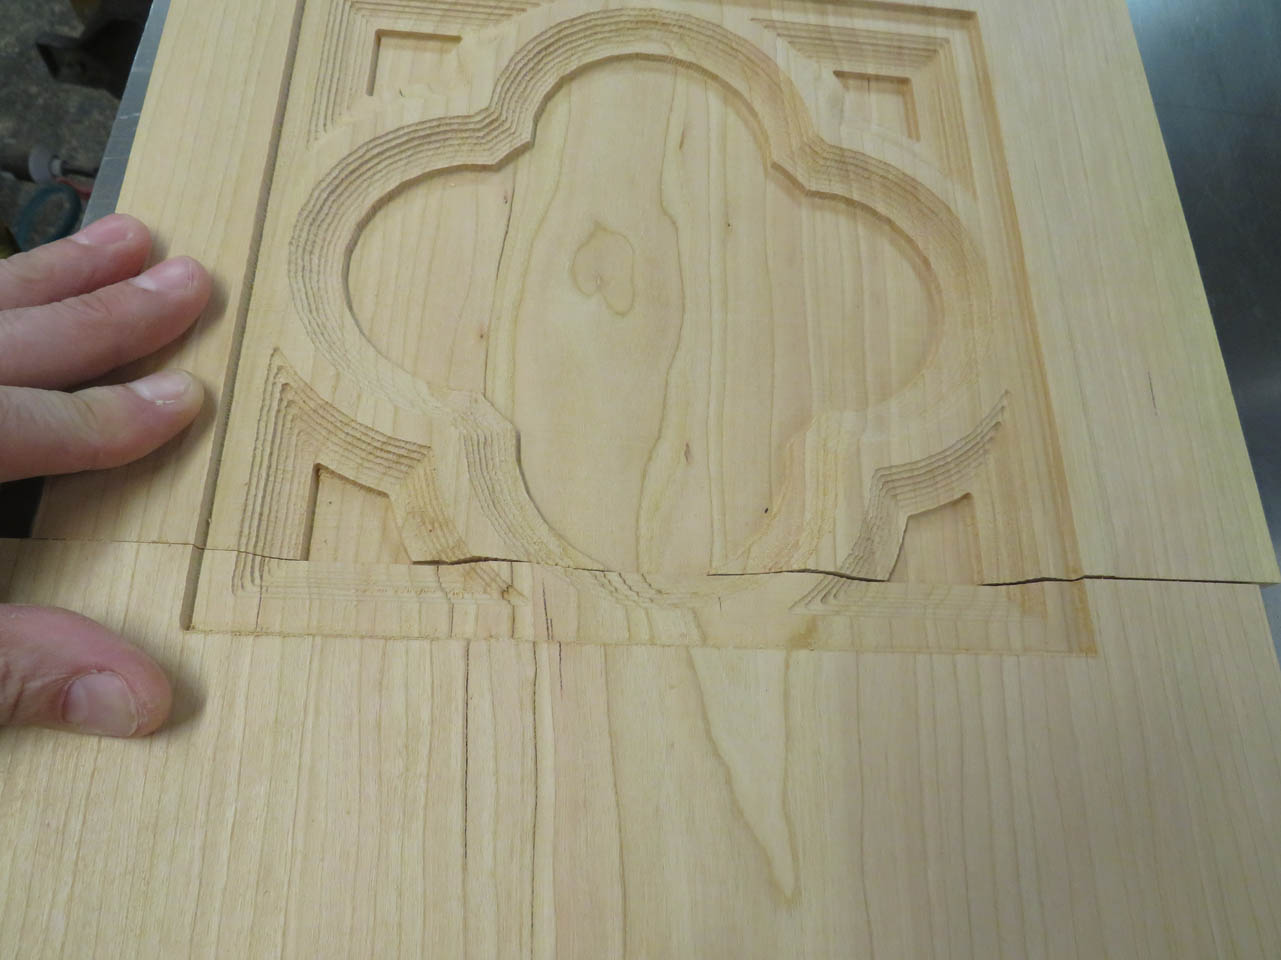
I don’t know what caused the X-axis failure but I changed to a finer bit and ran the carve at a higher resolution which meant it ran slower.
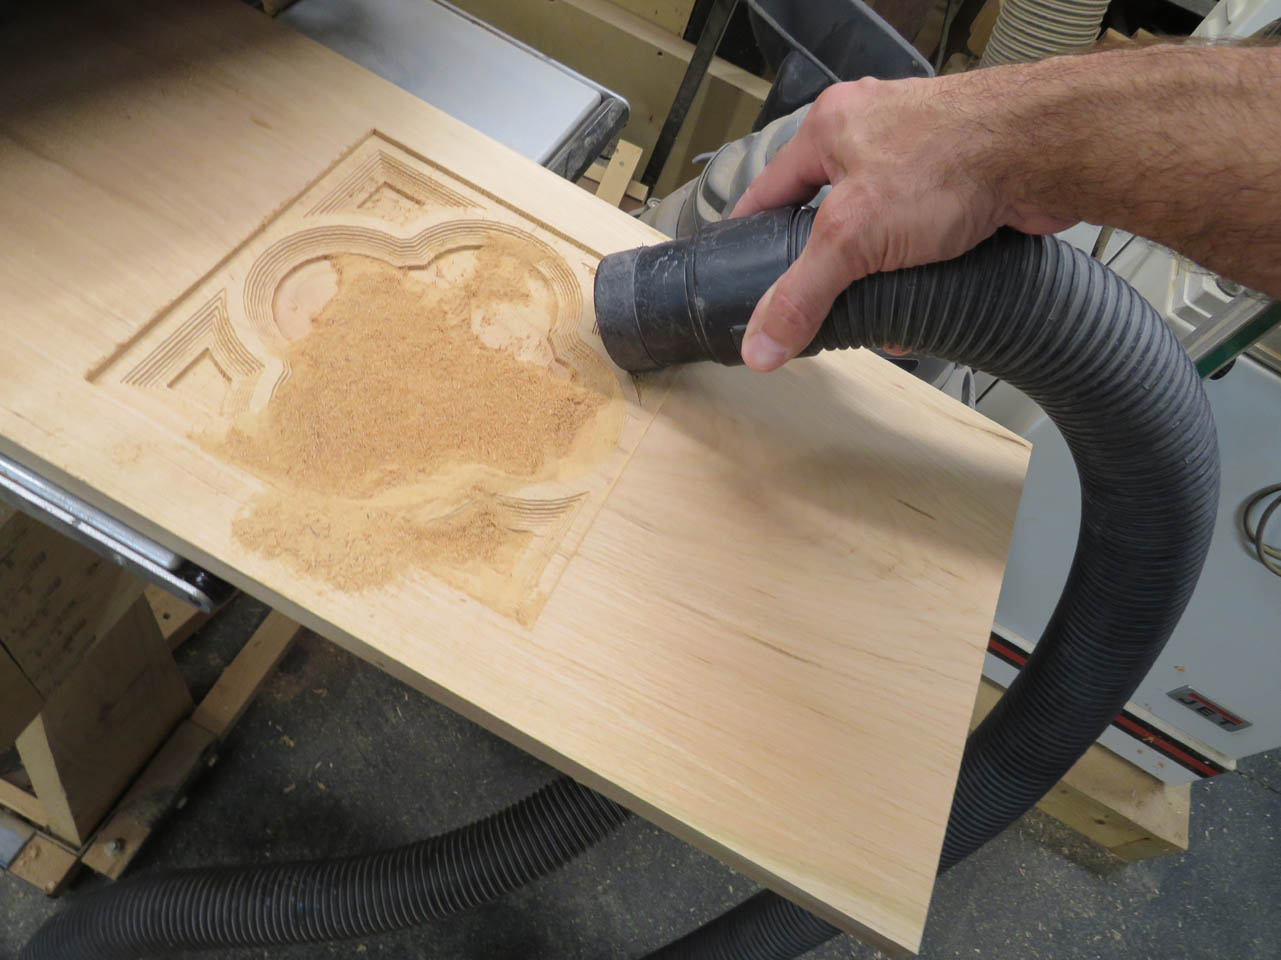
This one was a success but it took nearly five hours to run.
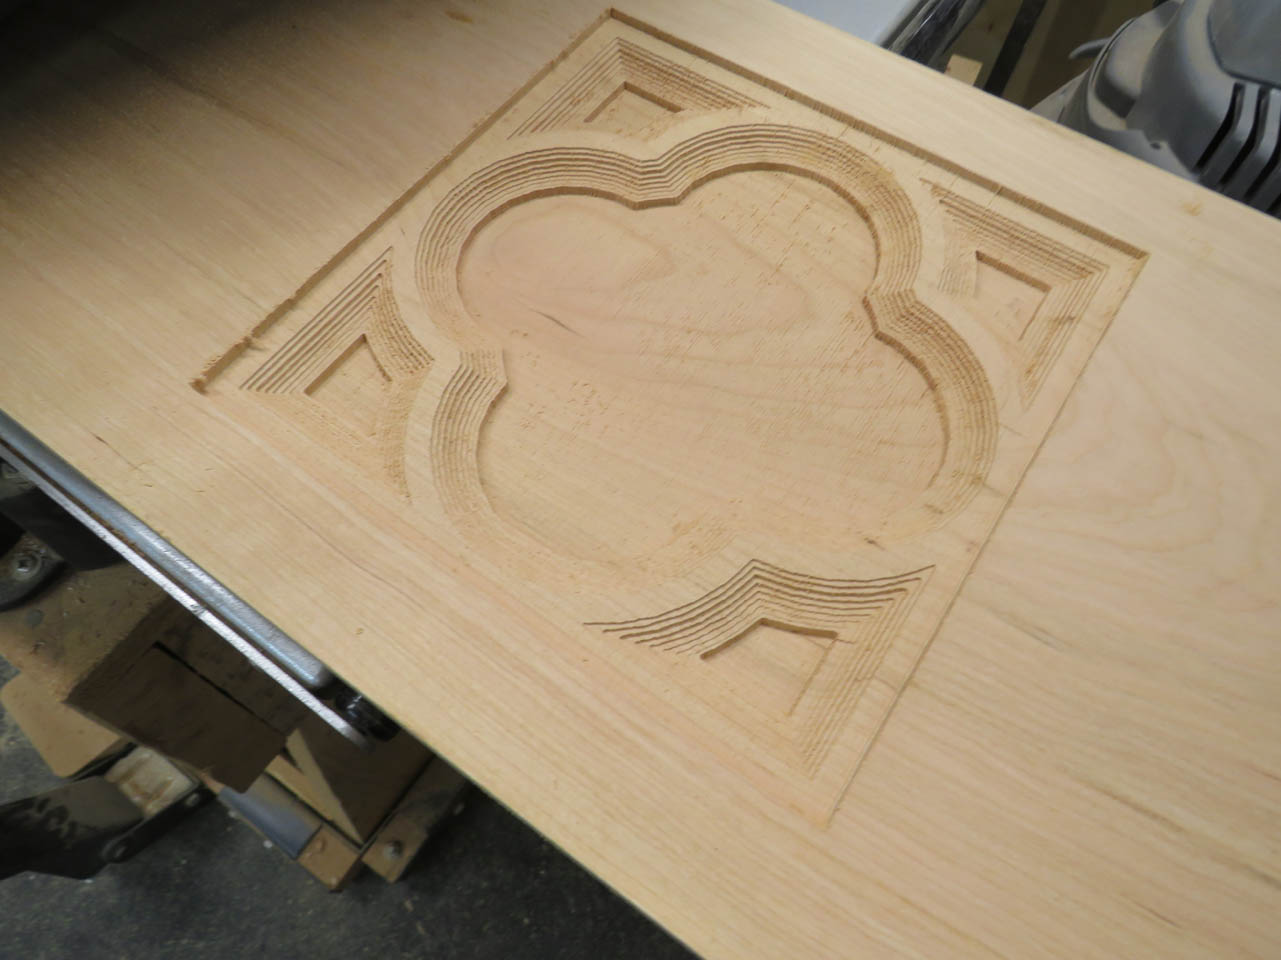
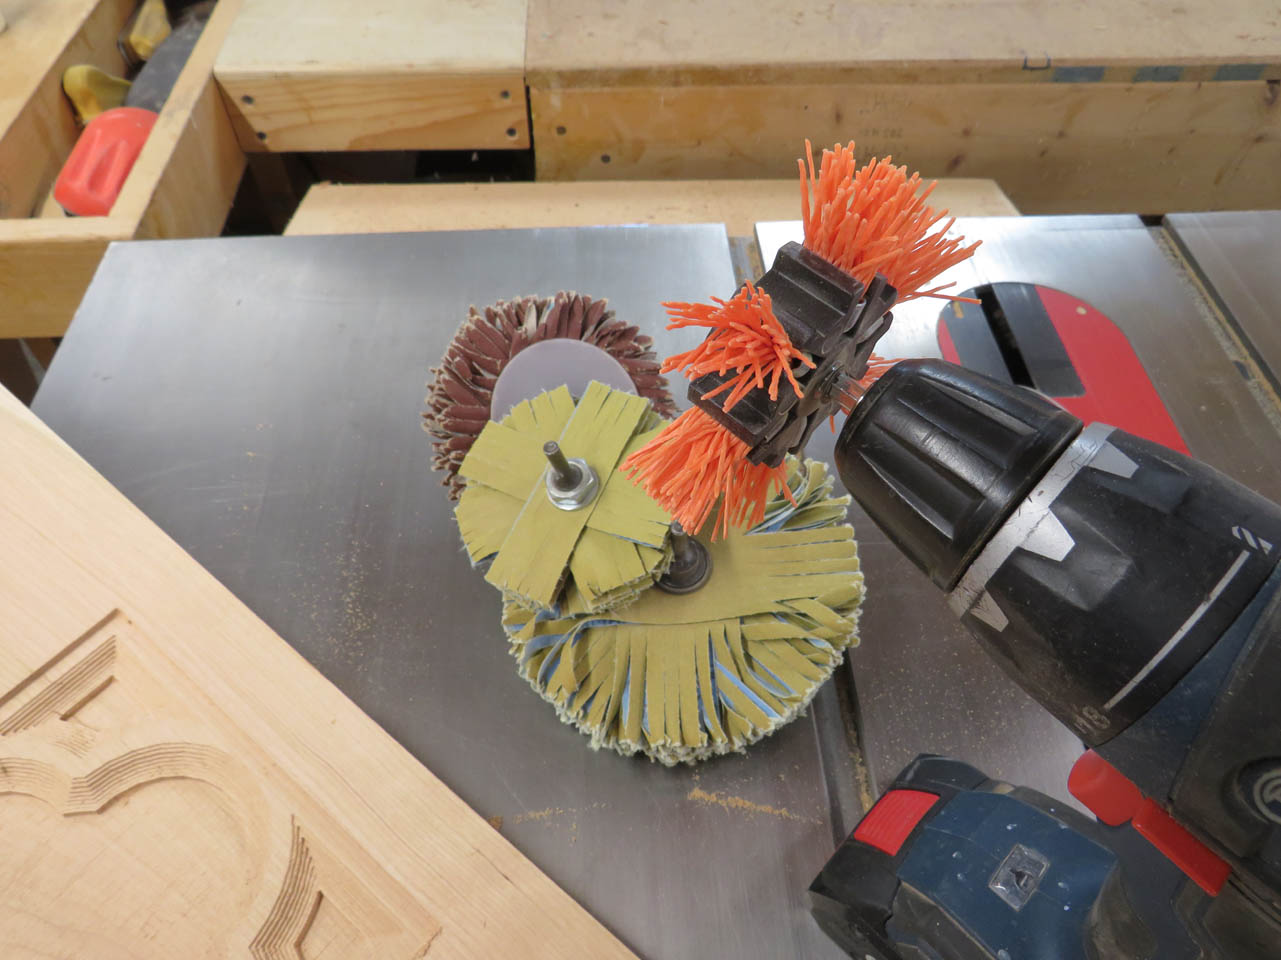
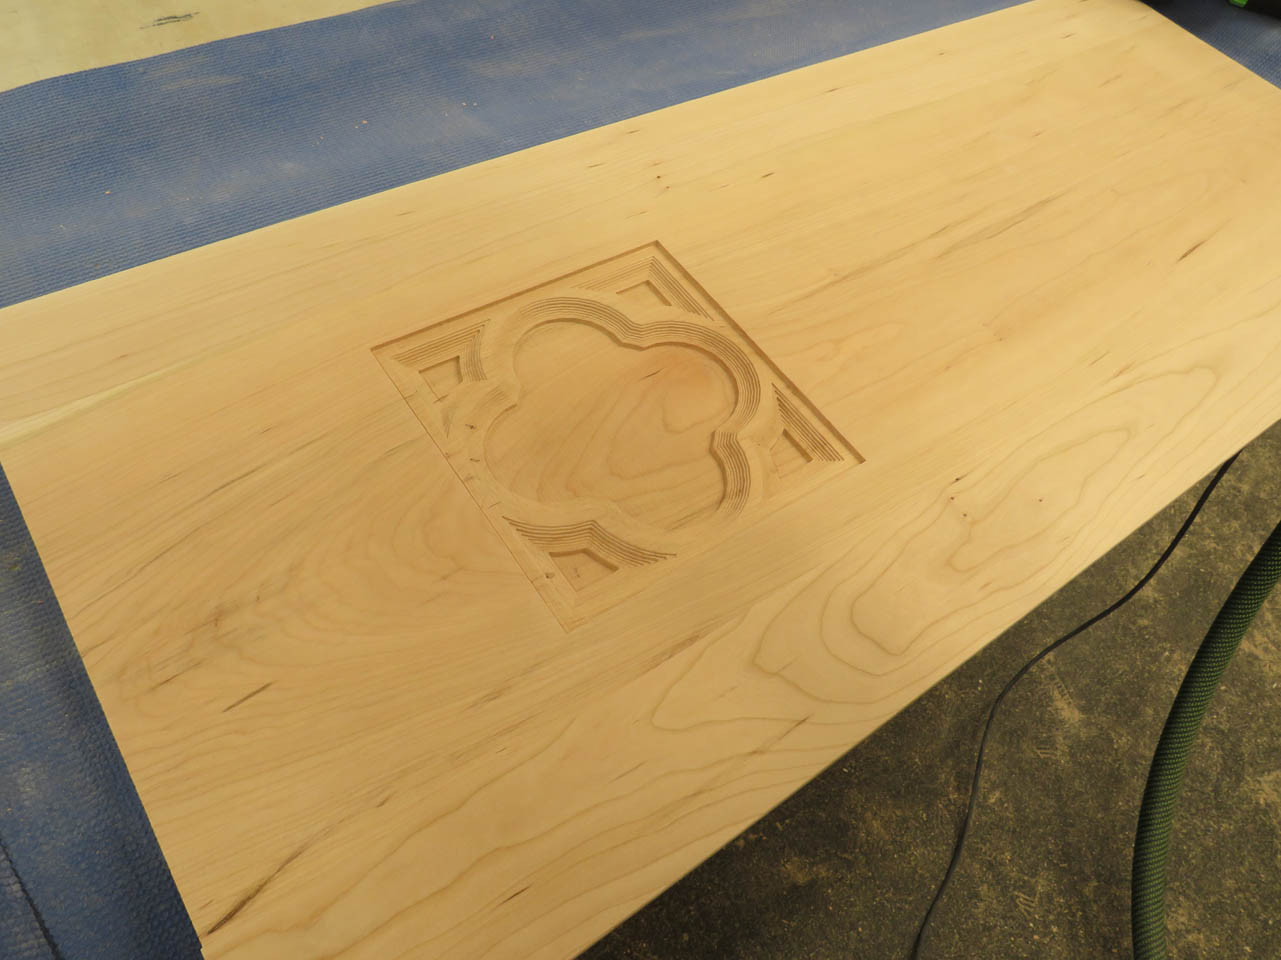
I was very happy with this carve. I know that it looks a little rough but I was trying to mimic the texture of the original marble version. To clean it up, I tried several different sanding options.

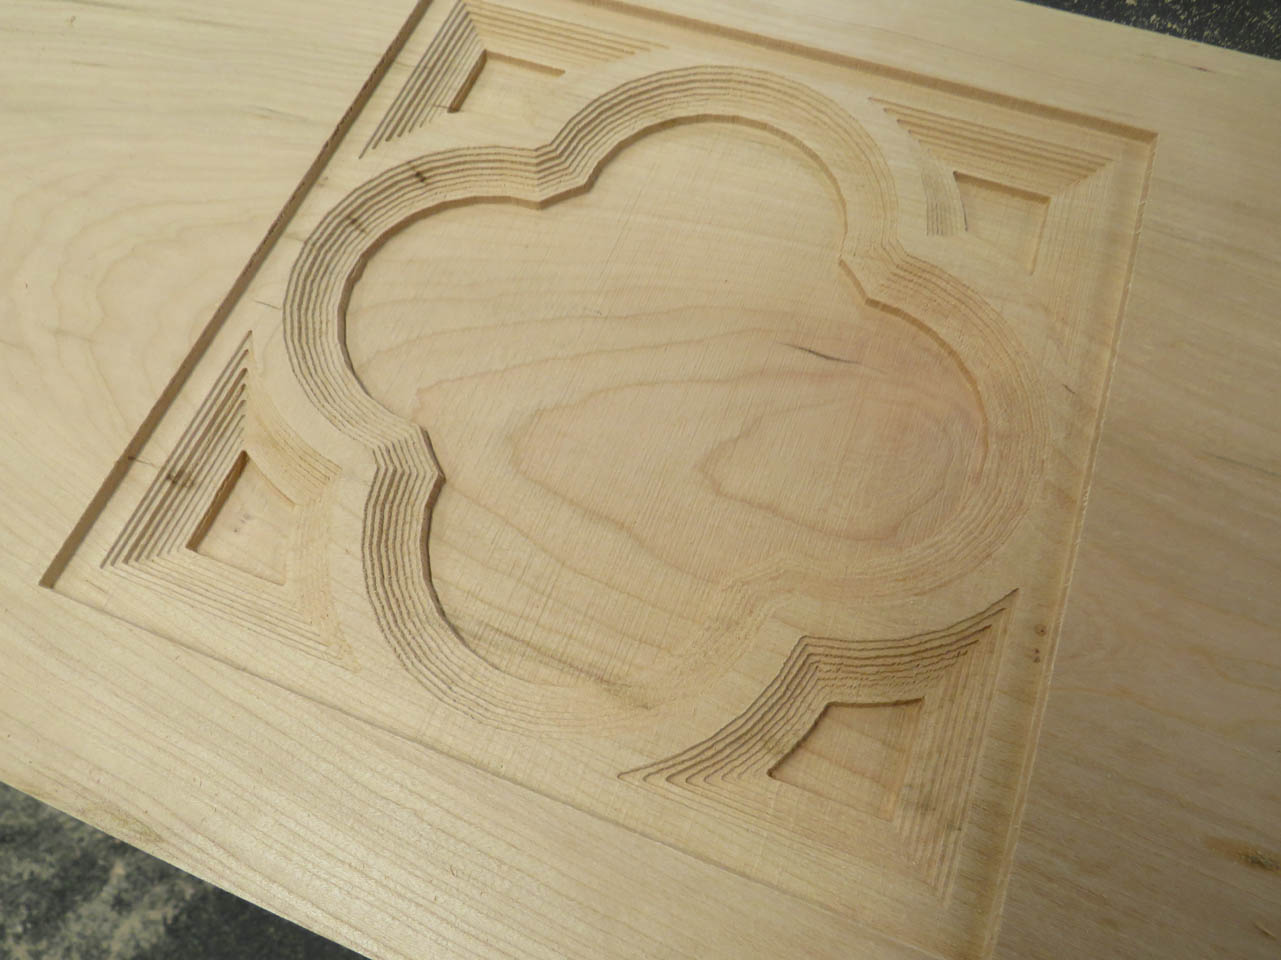
The sanding mop did the best job.
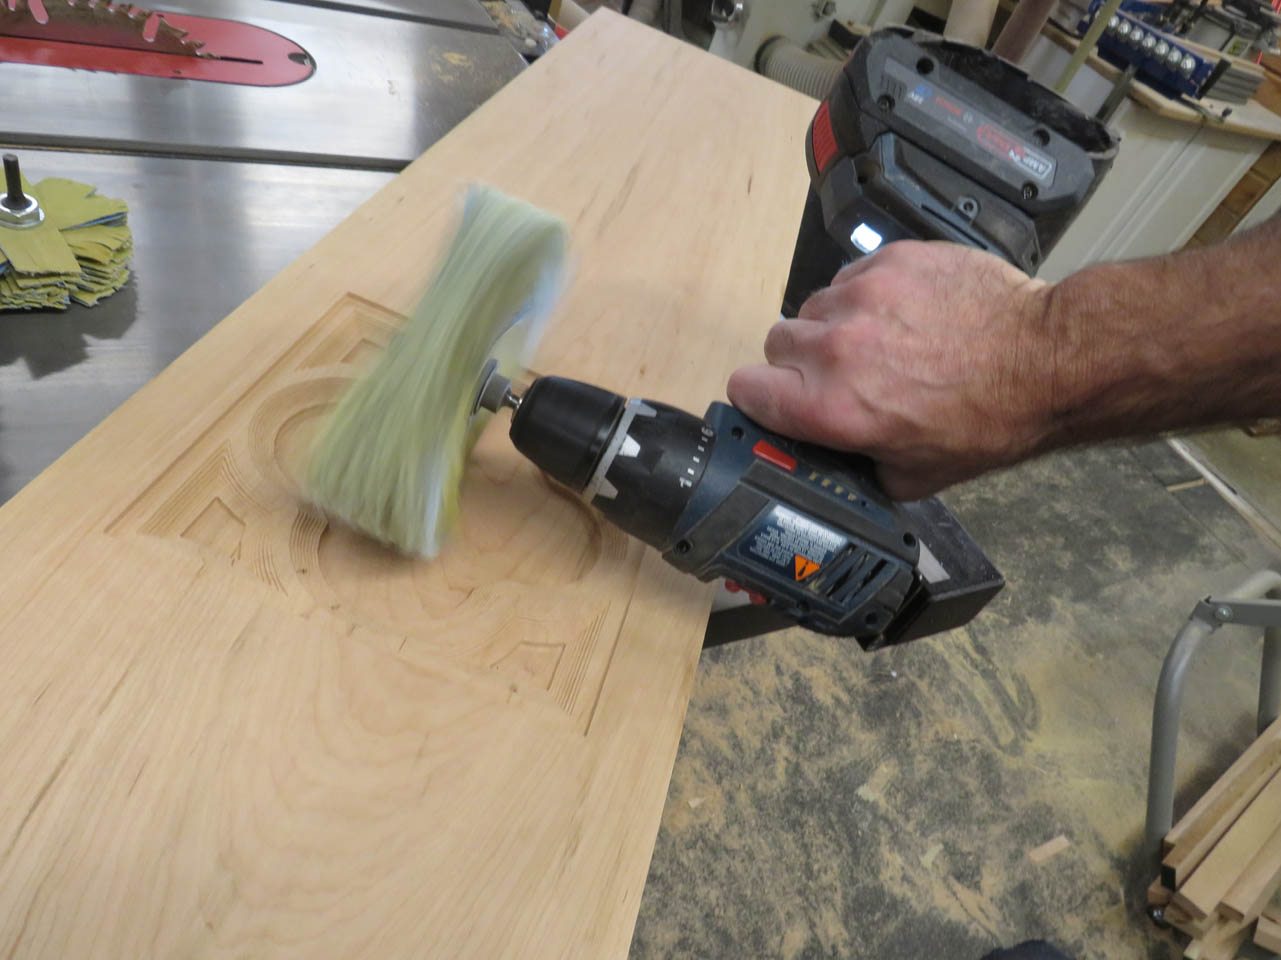
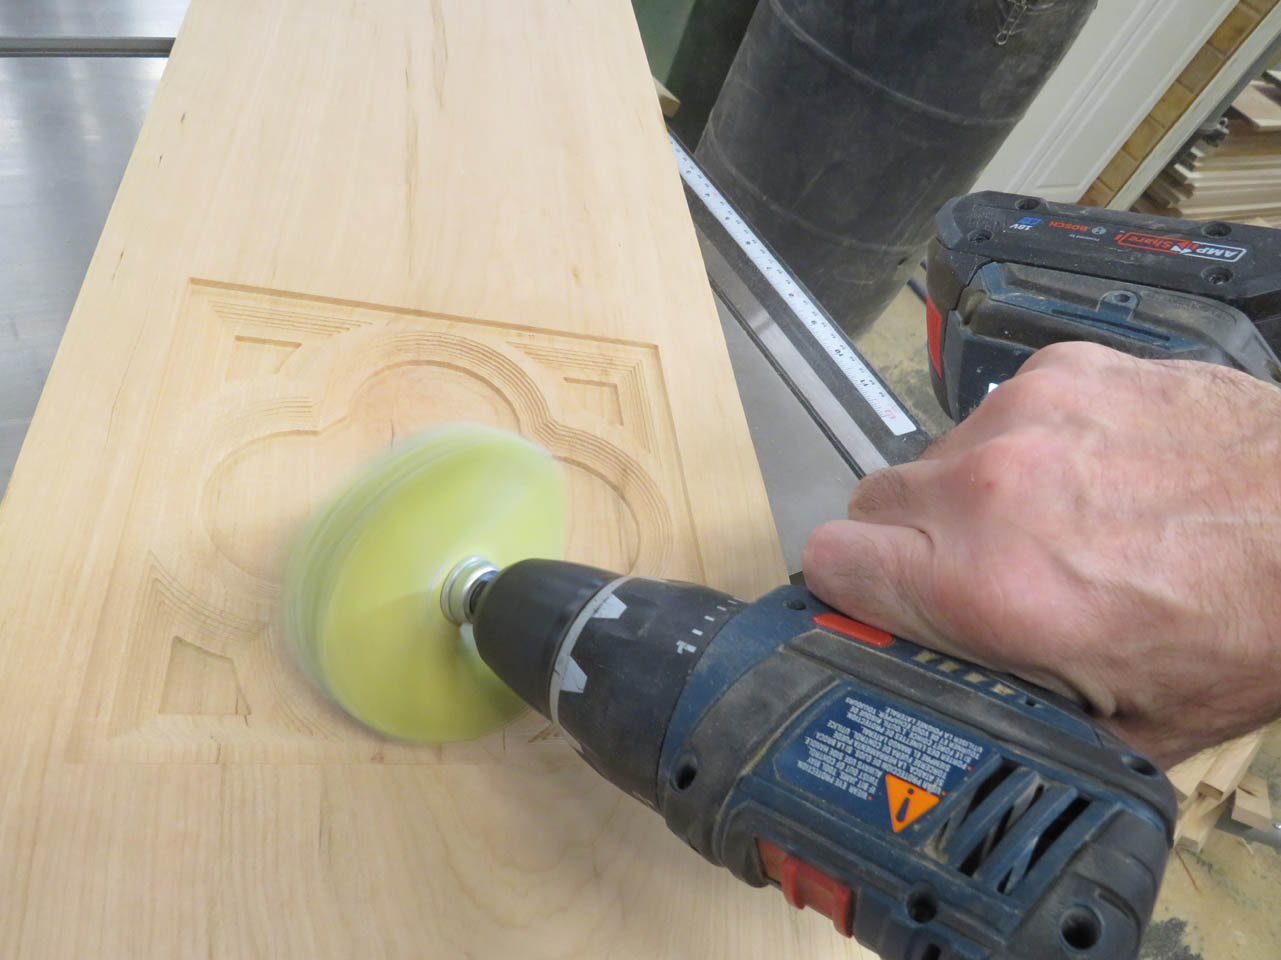
Still looks rustic but without all of the fuzzies…

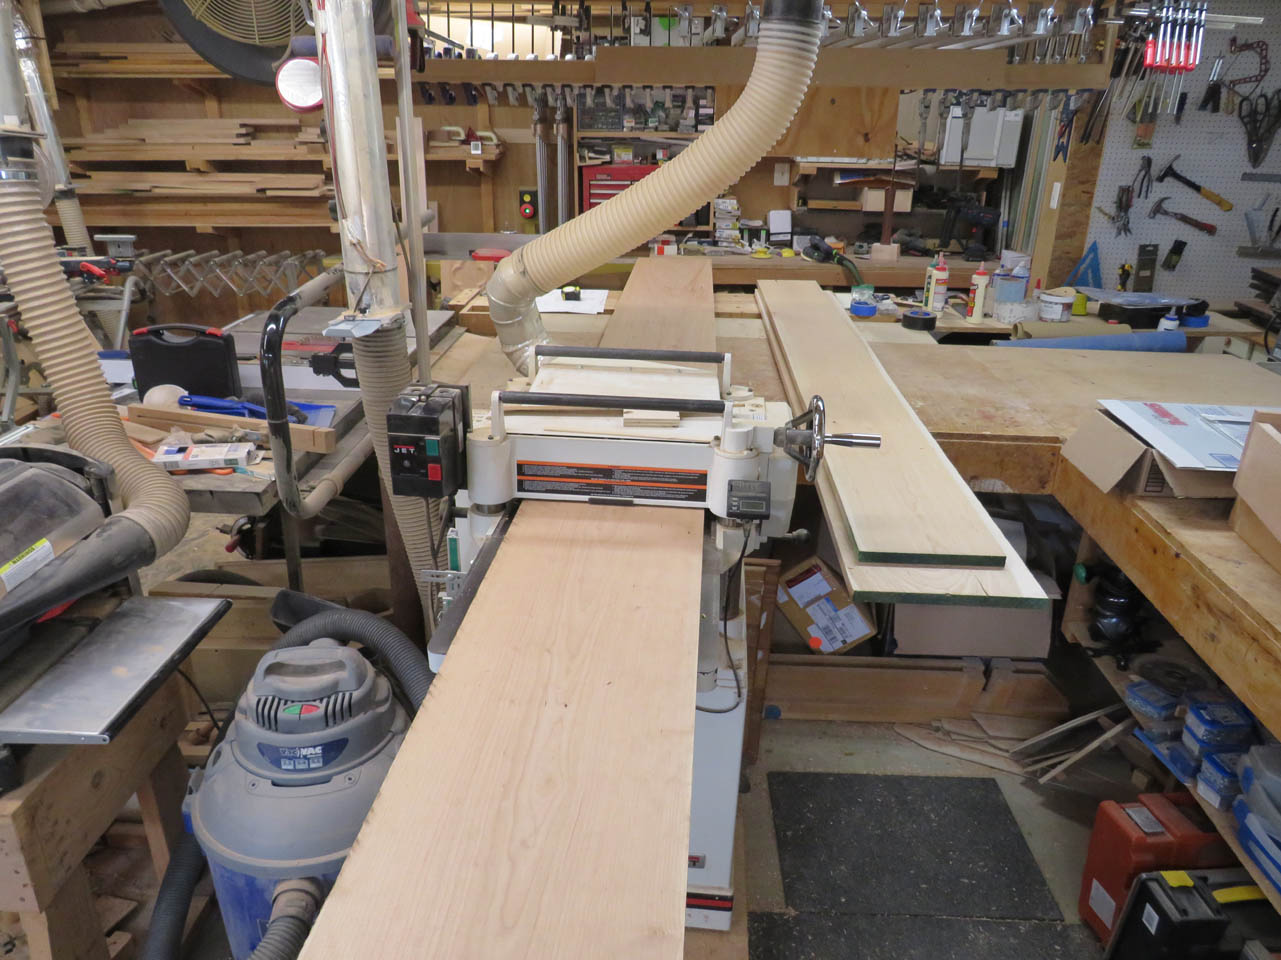
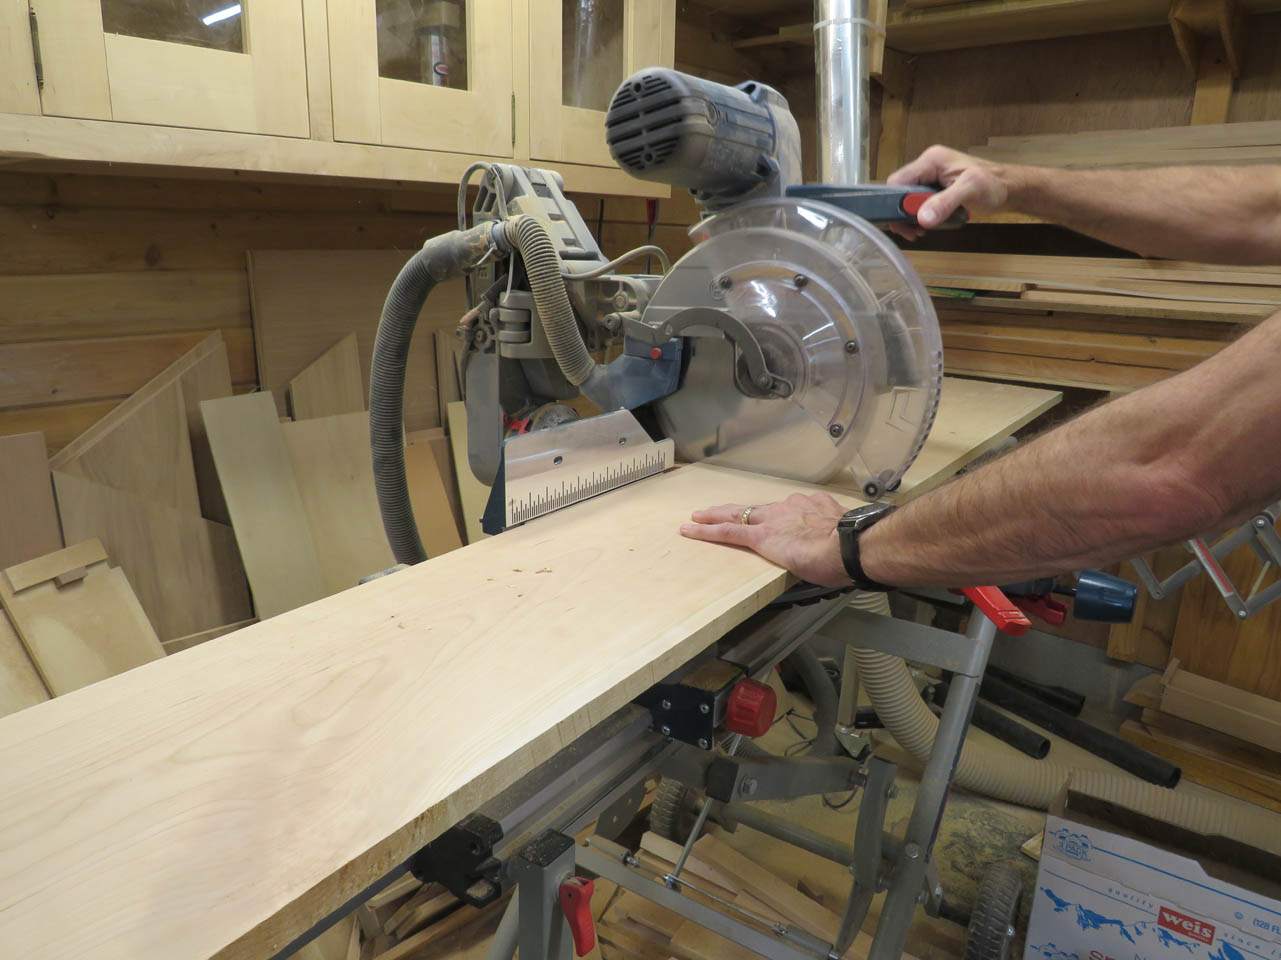
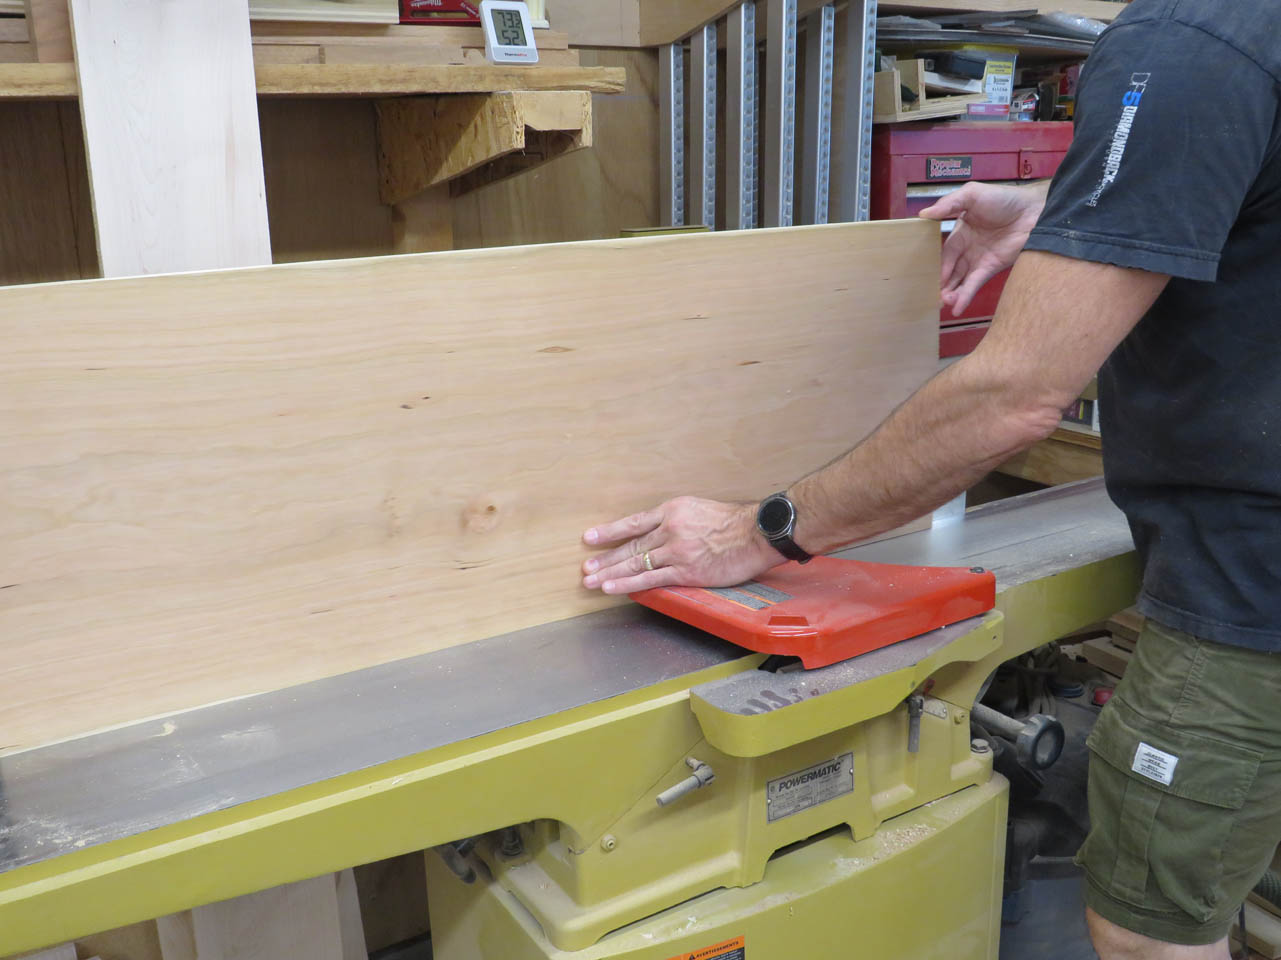
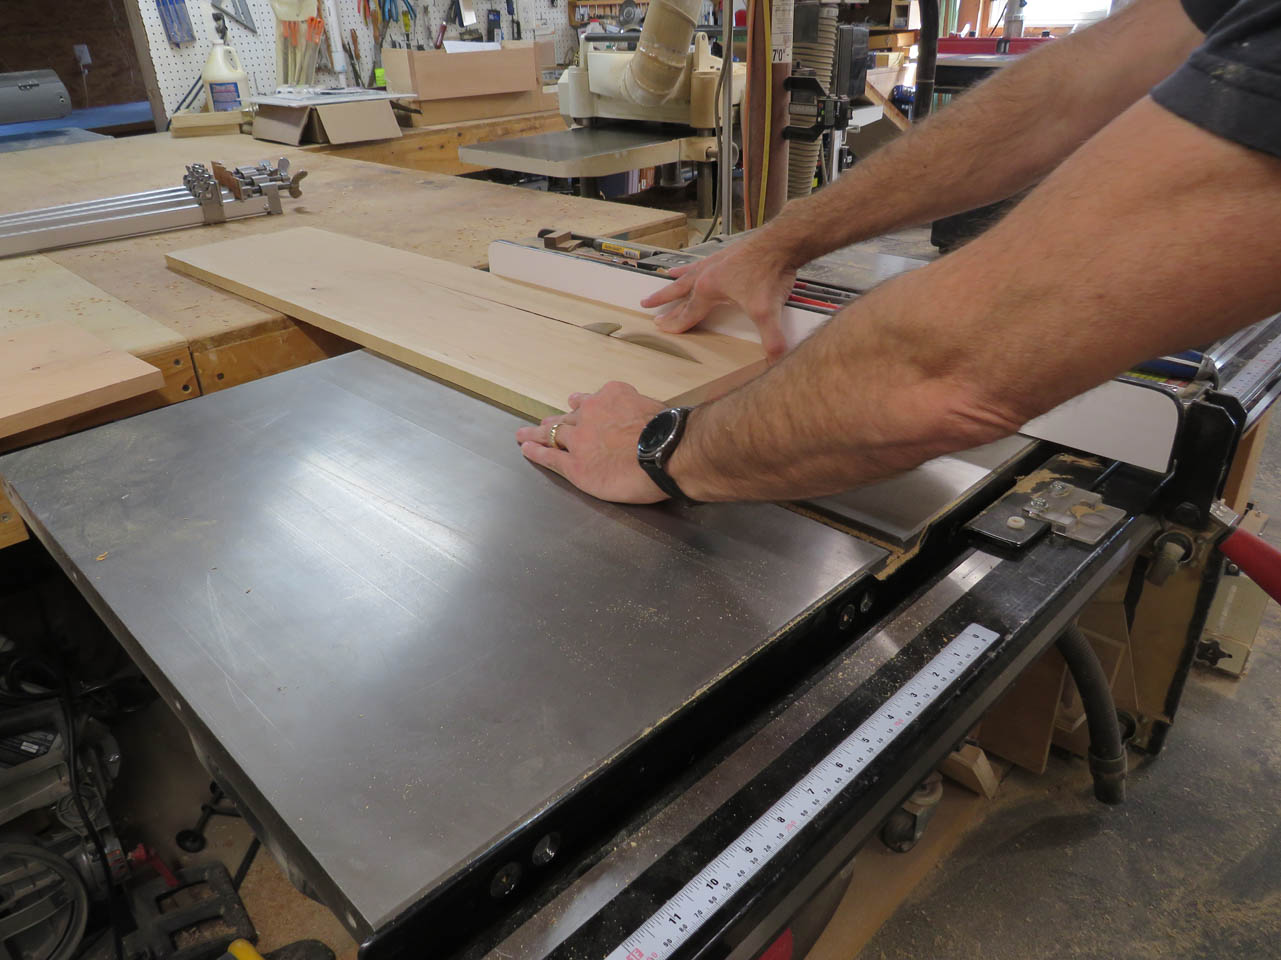
With that piece done, I can mill down all the rest of my cherry to 3/4″ thick and start joining boards into much wider panels.
I had to carve the quatrefoil before joining the board together because it has to be 17″ wide and my CNC has a max width of 14″.
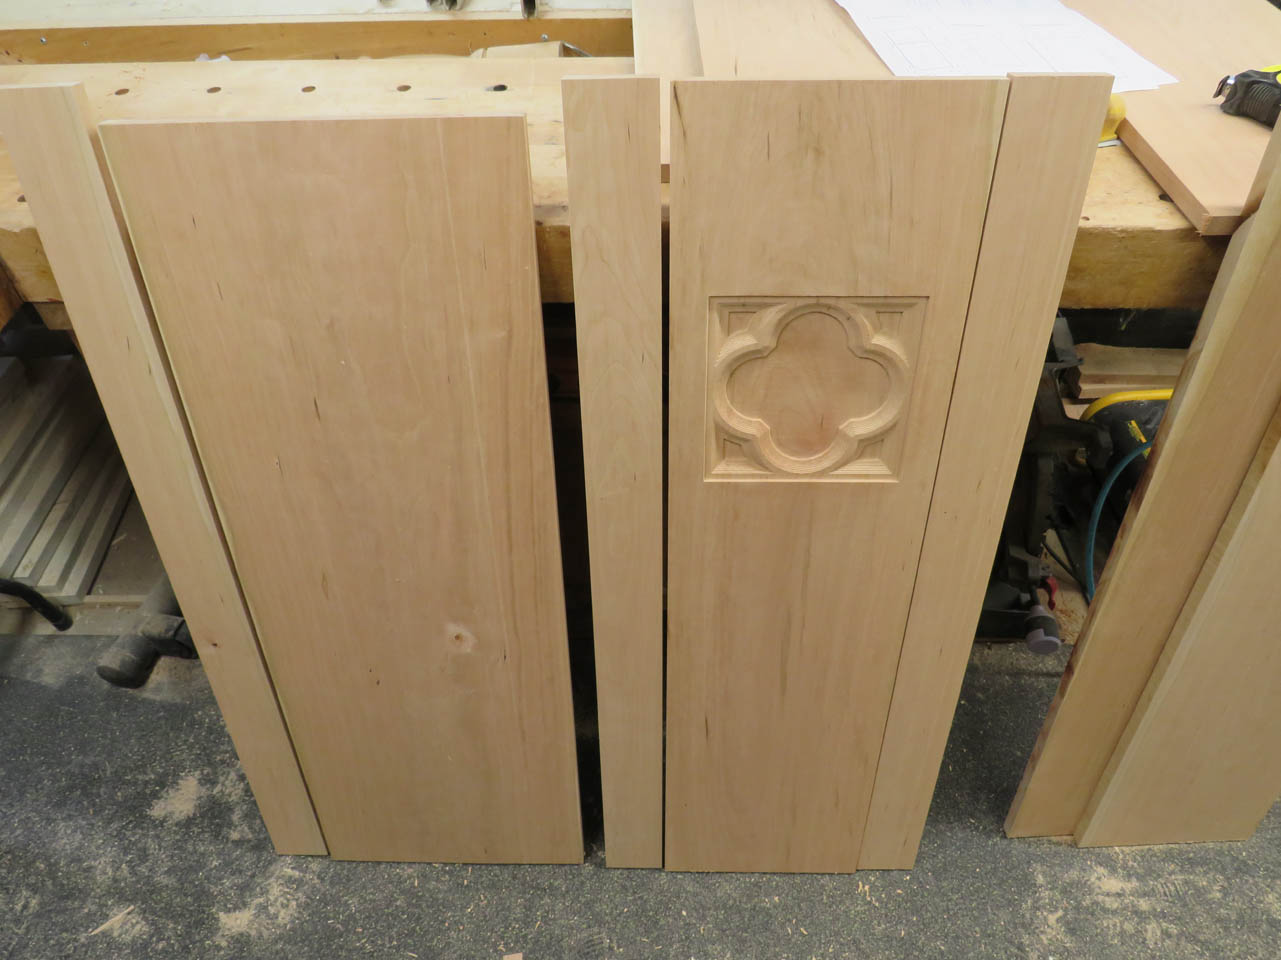
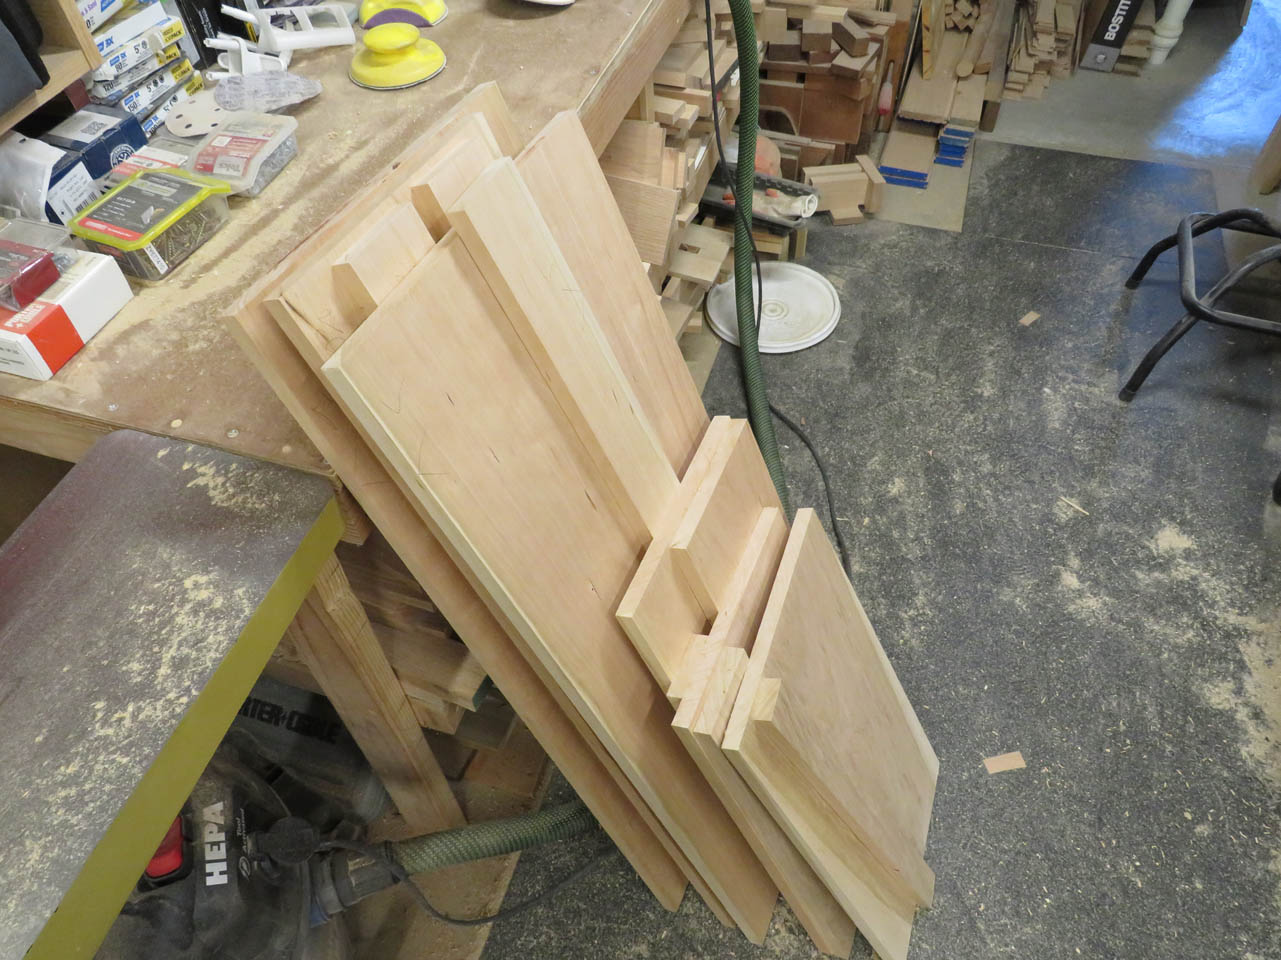
So I cut and paired all of the pieces needed to make my wider panels.
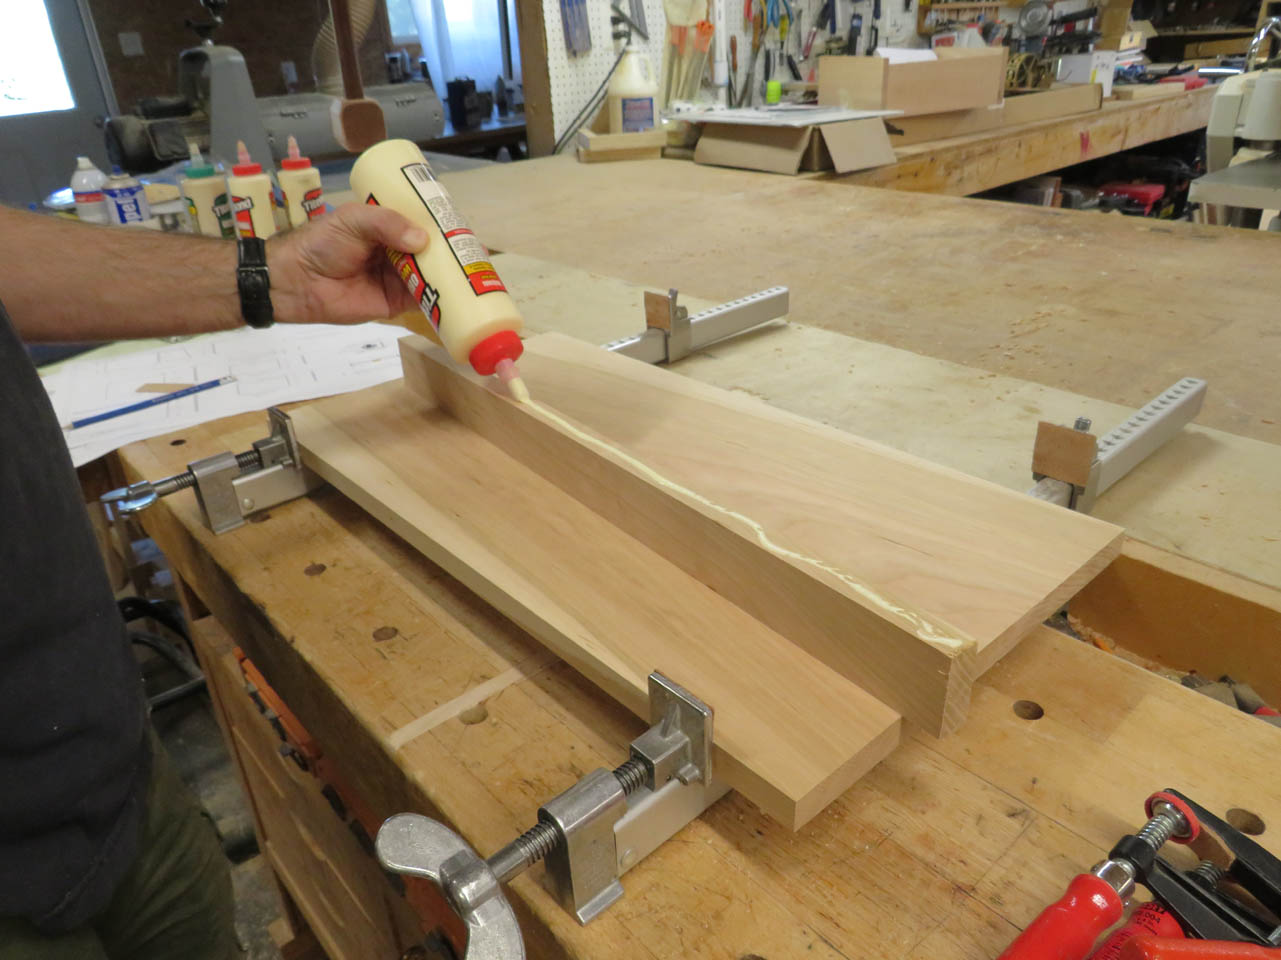
Then it was time to start gluing and clamping.
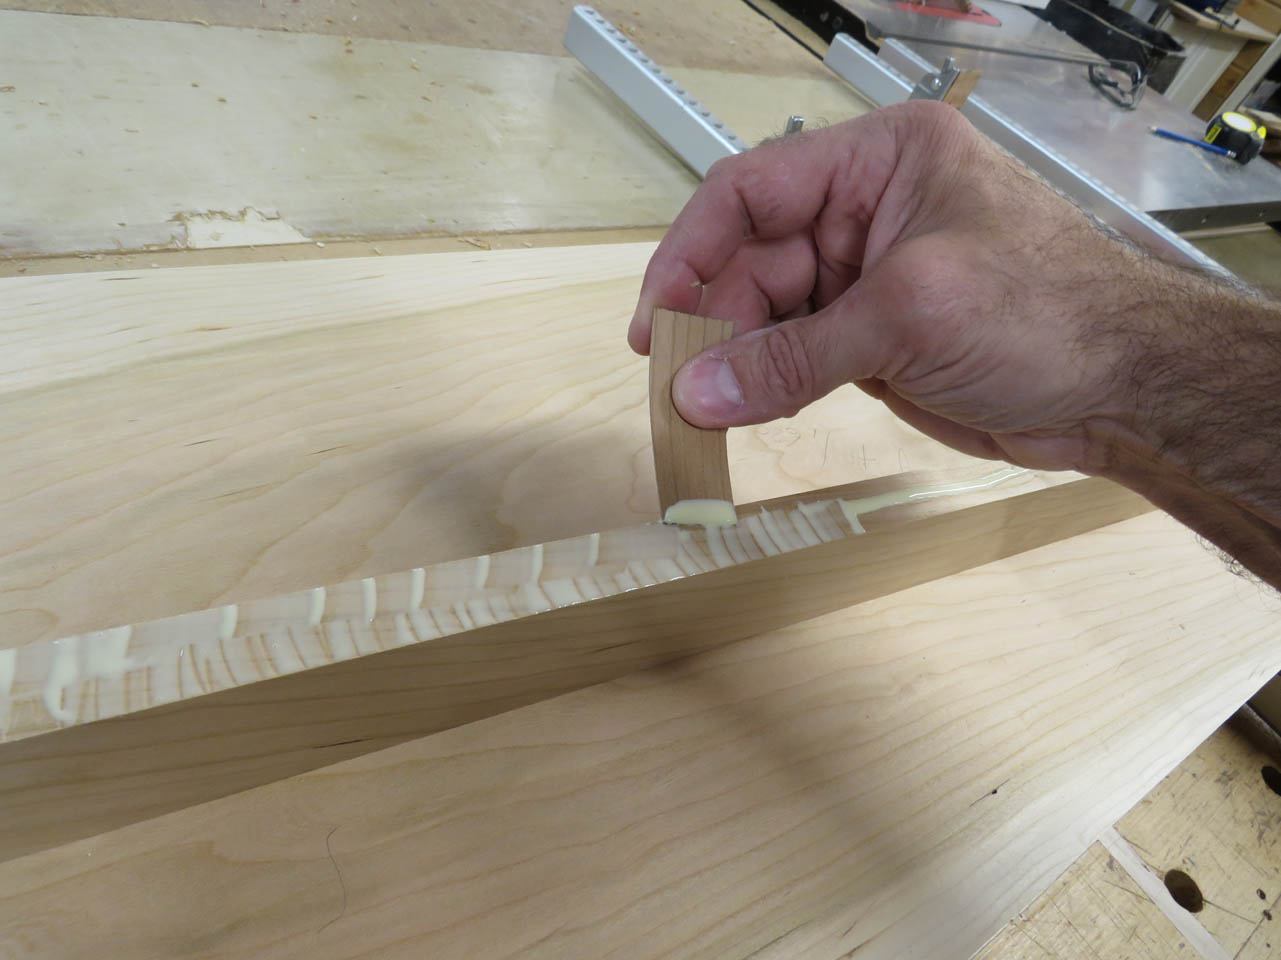
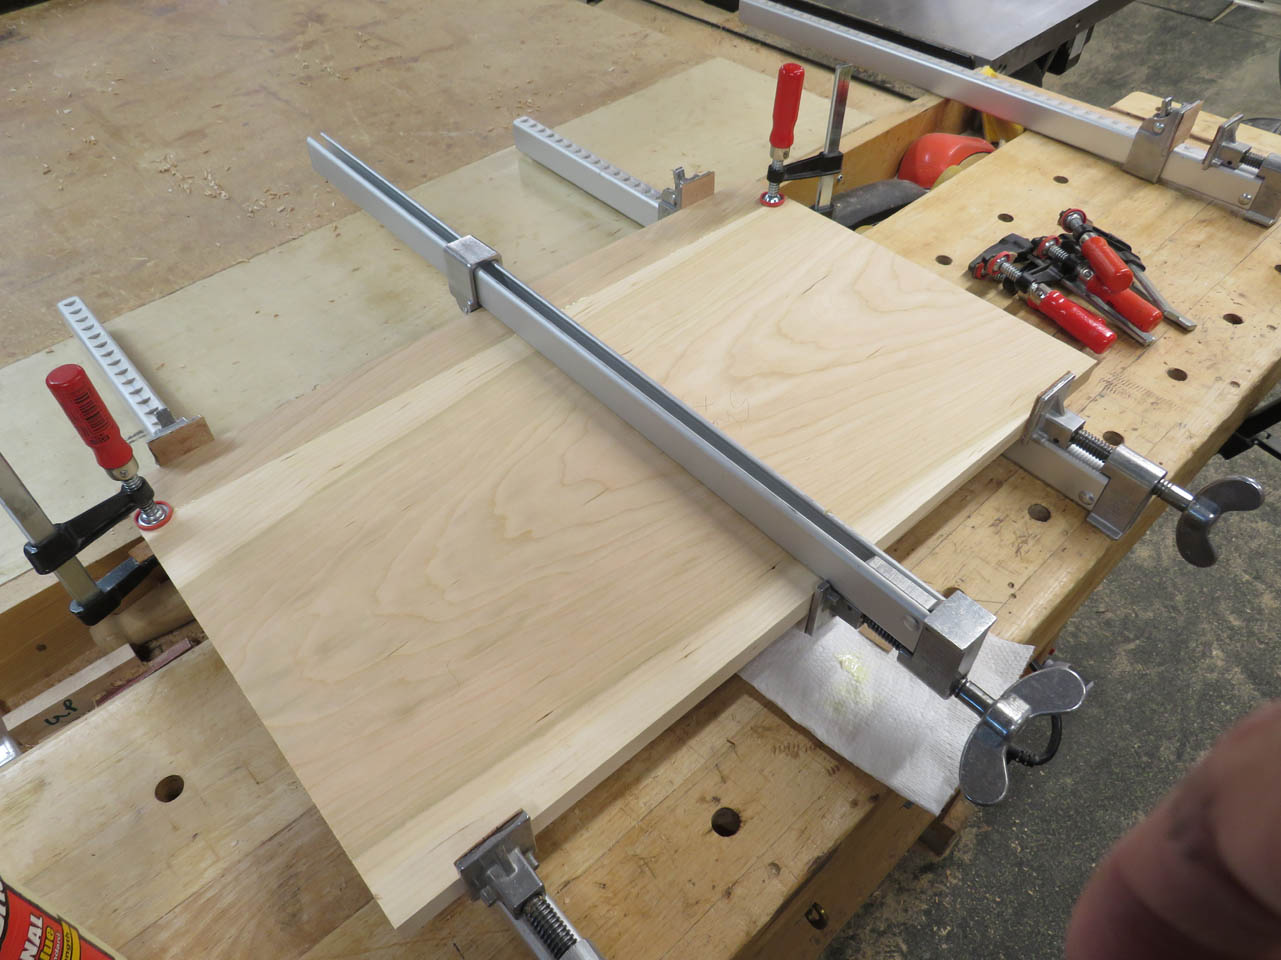
I placed additional clamps at the join points to help maintain alignment.
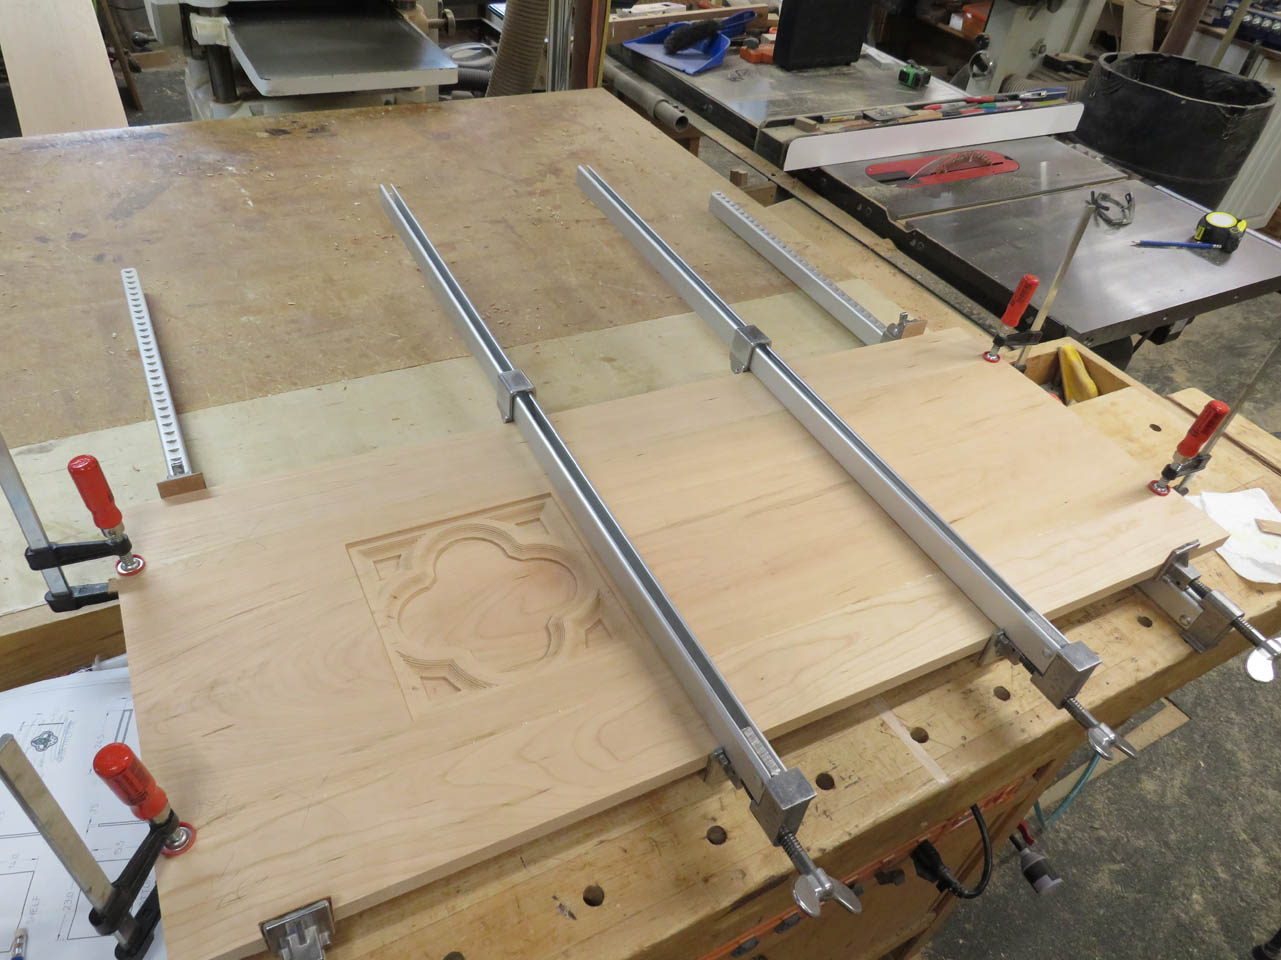
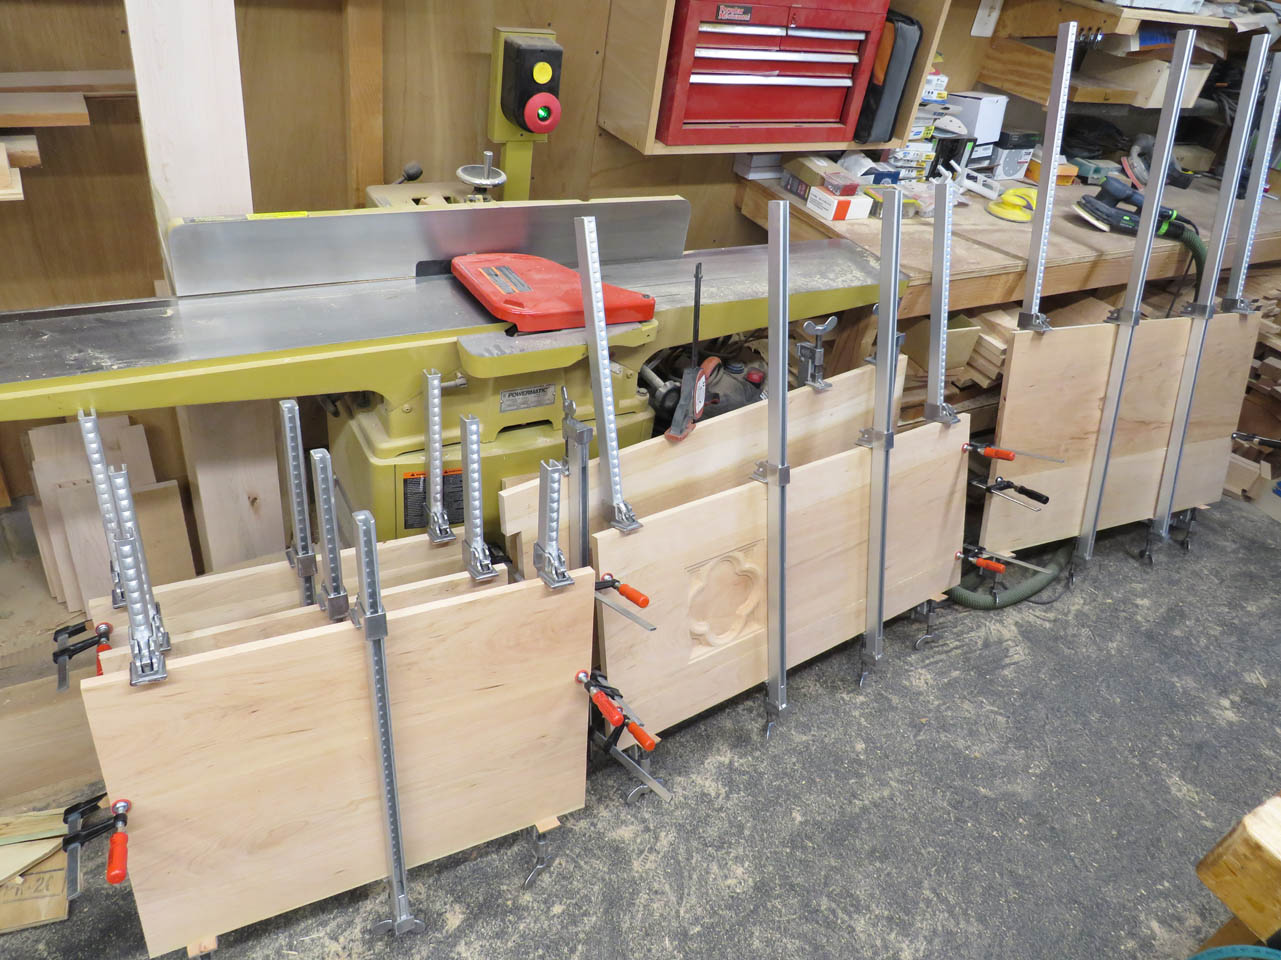
Those sat a couple hours to dry enough to pull the clamps and start sanding.
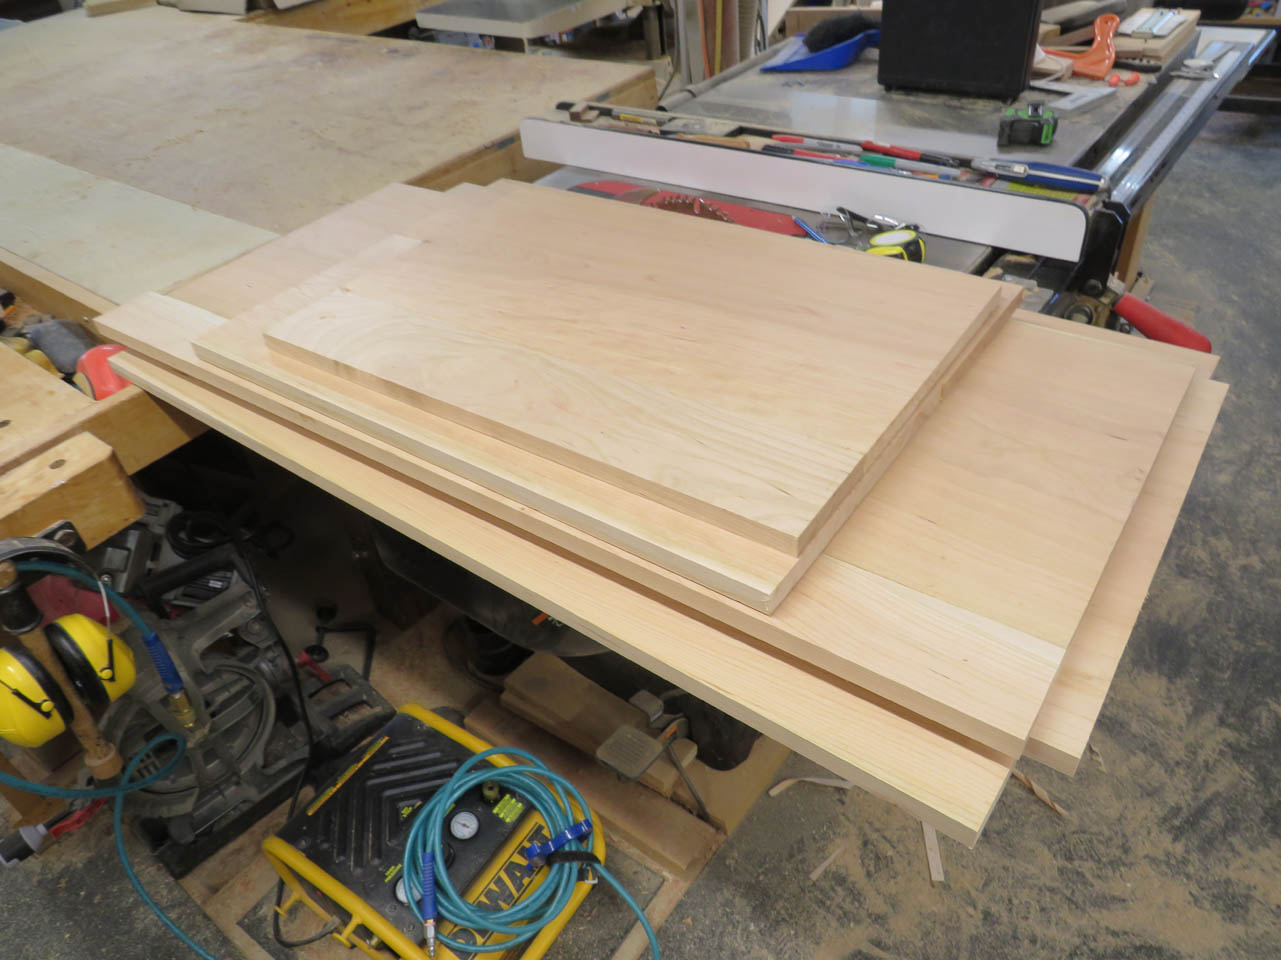
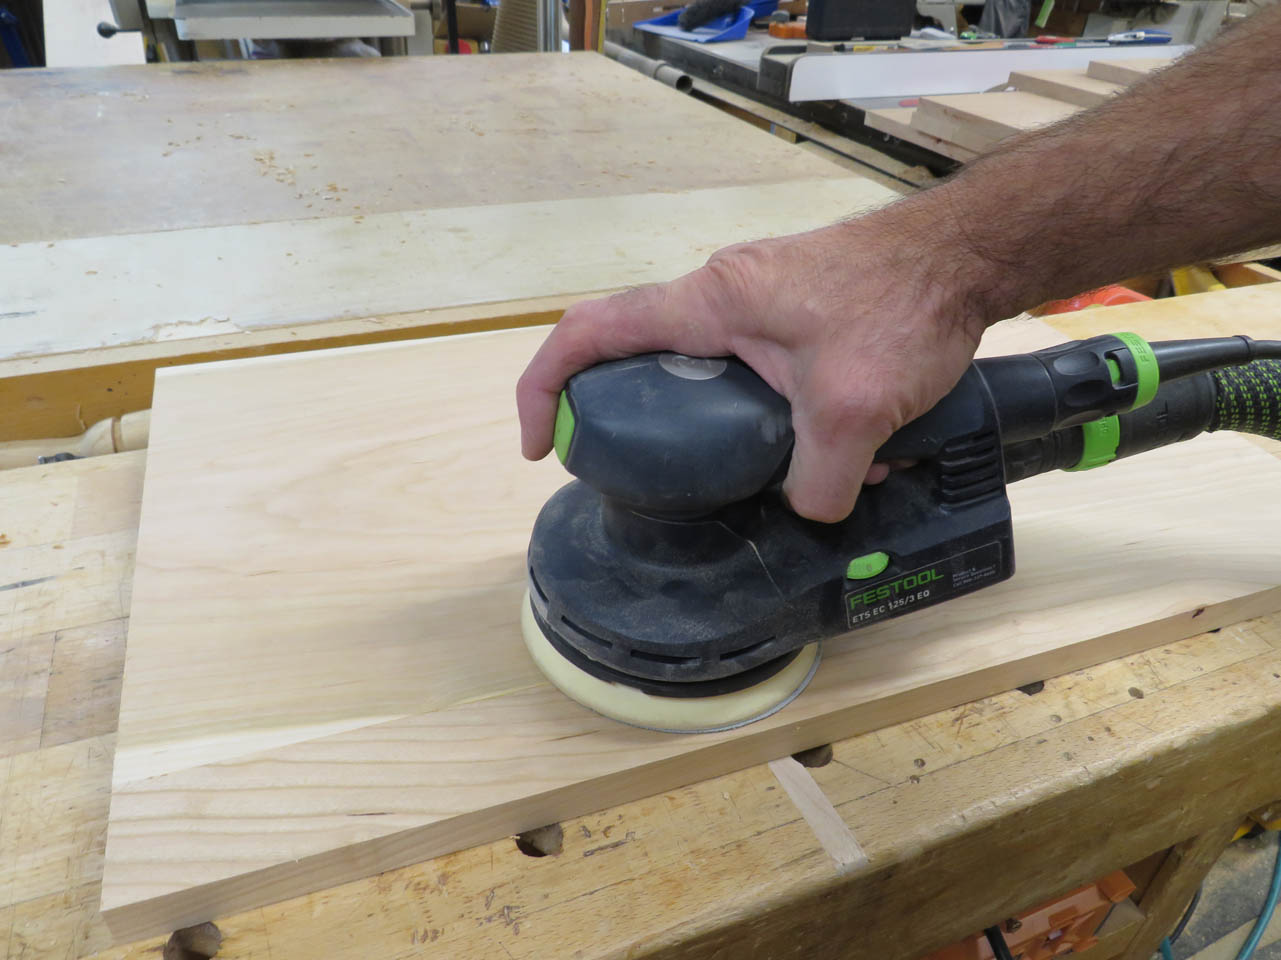
All the joints were sanded smooth starting at 80 grit and working up to 220 grit. These will be stained so a higher grit is required for a nice stained surface.
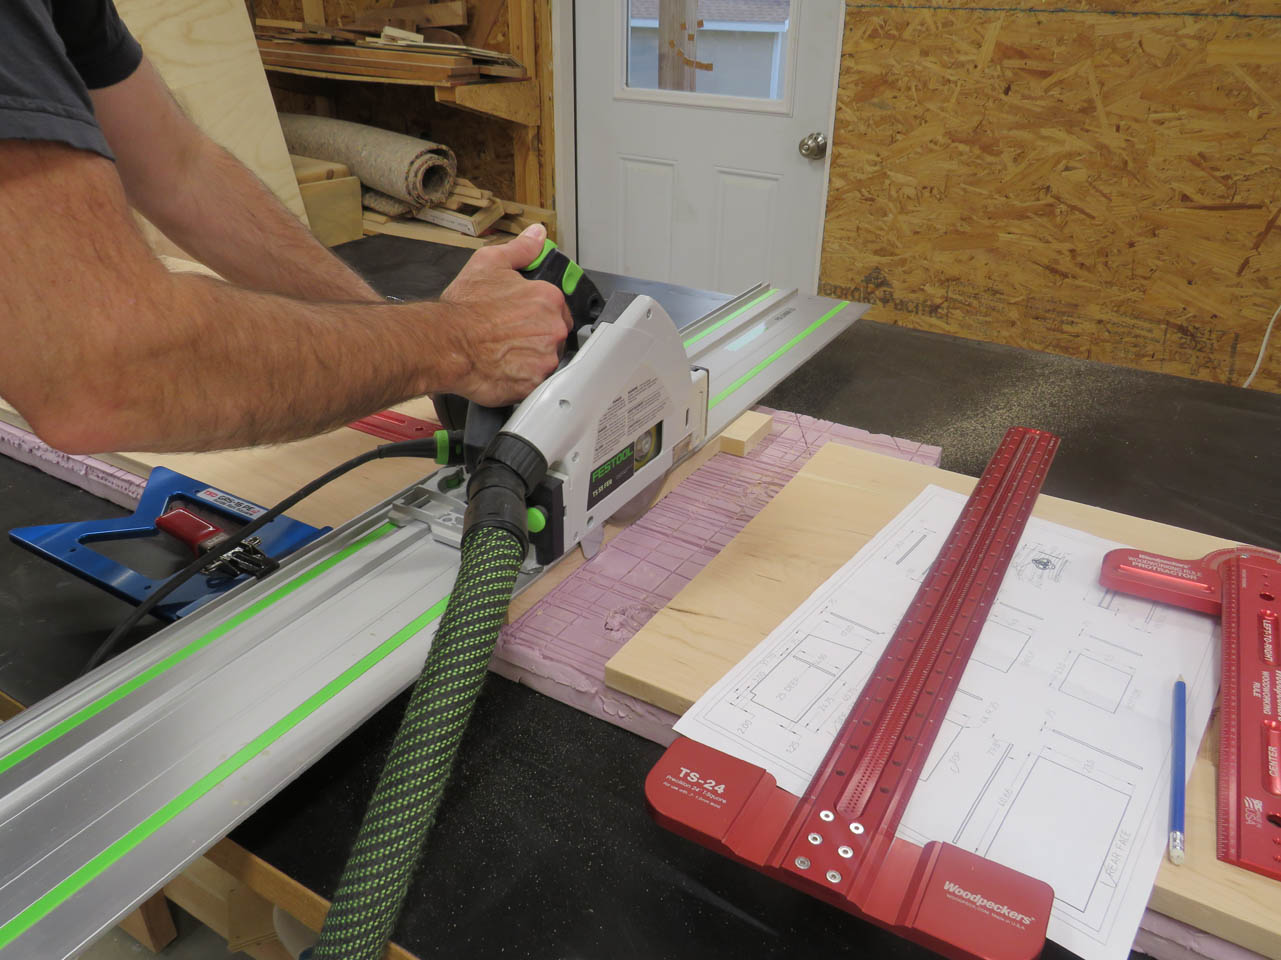
The sides have an angle at the top and a notch at the bottom. I laid these out and used my track saw to start cutting them down to the exact length.
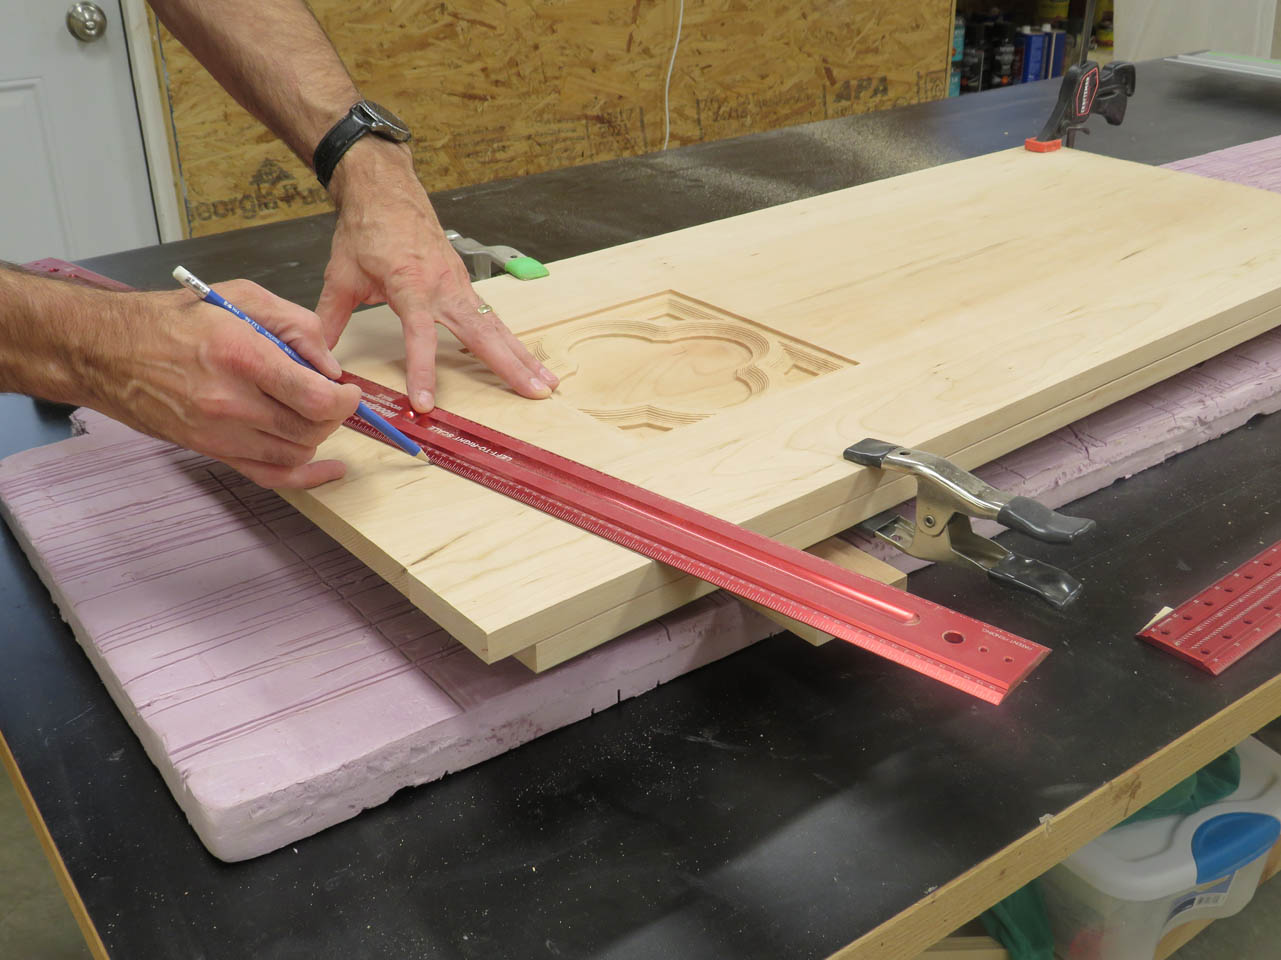
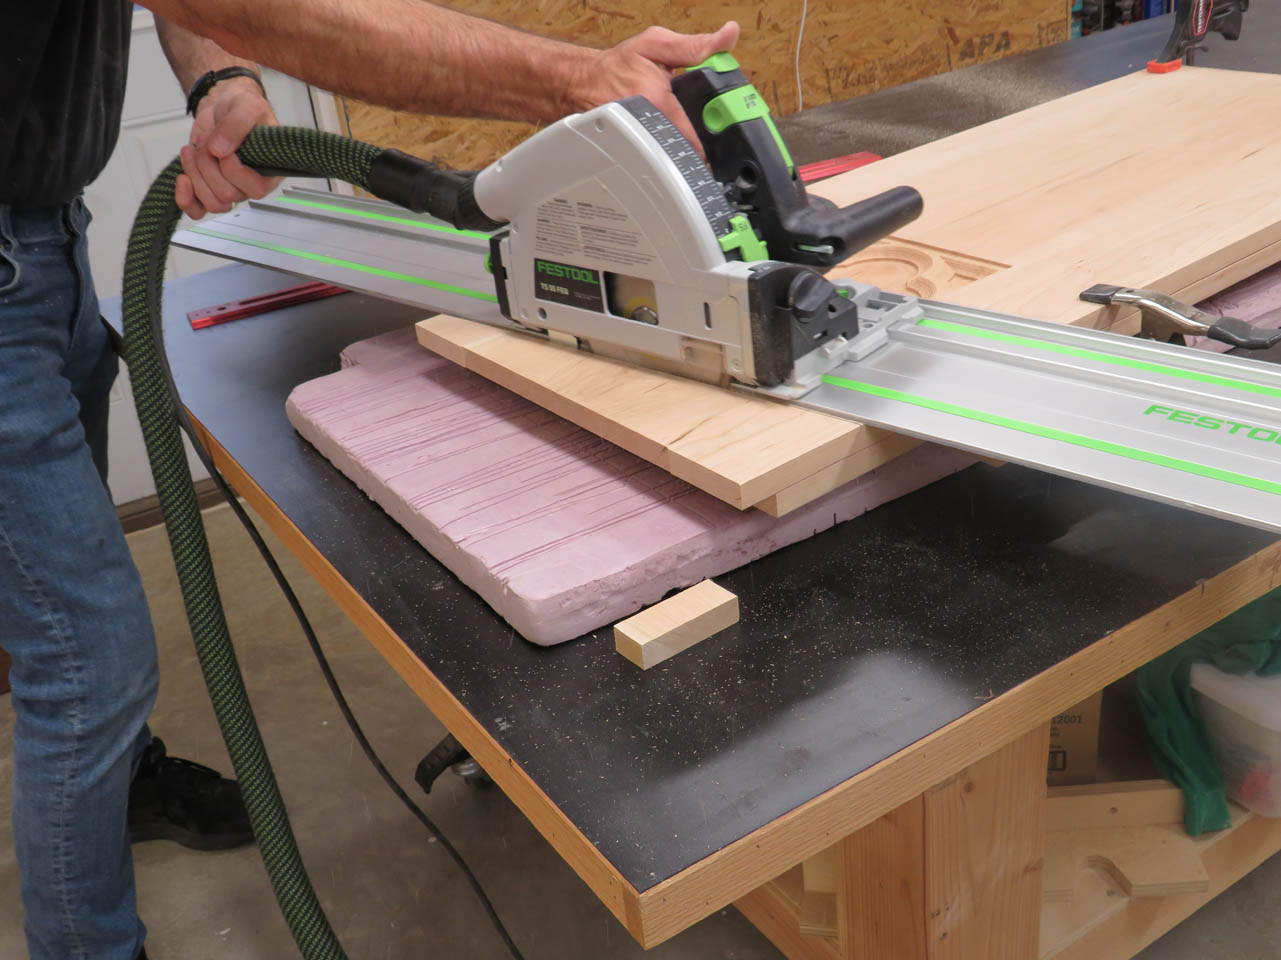
The notch at the bottom, for the toe kick, was finished by hand.
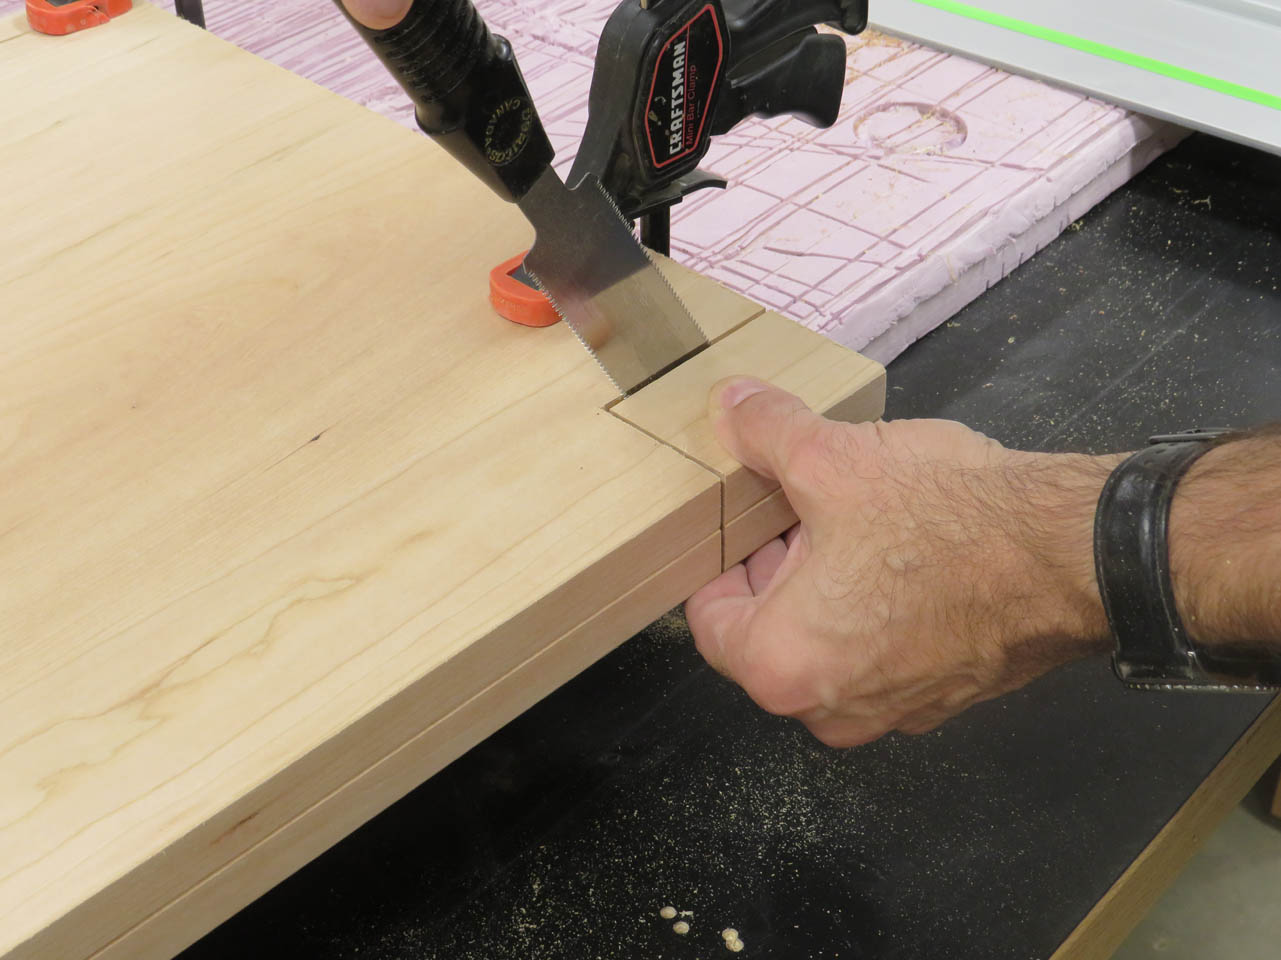
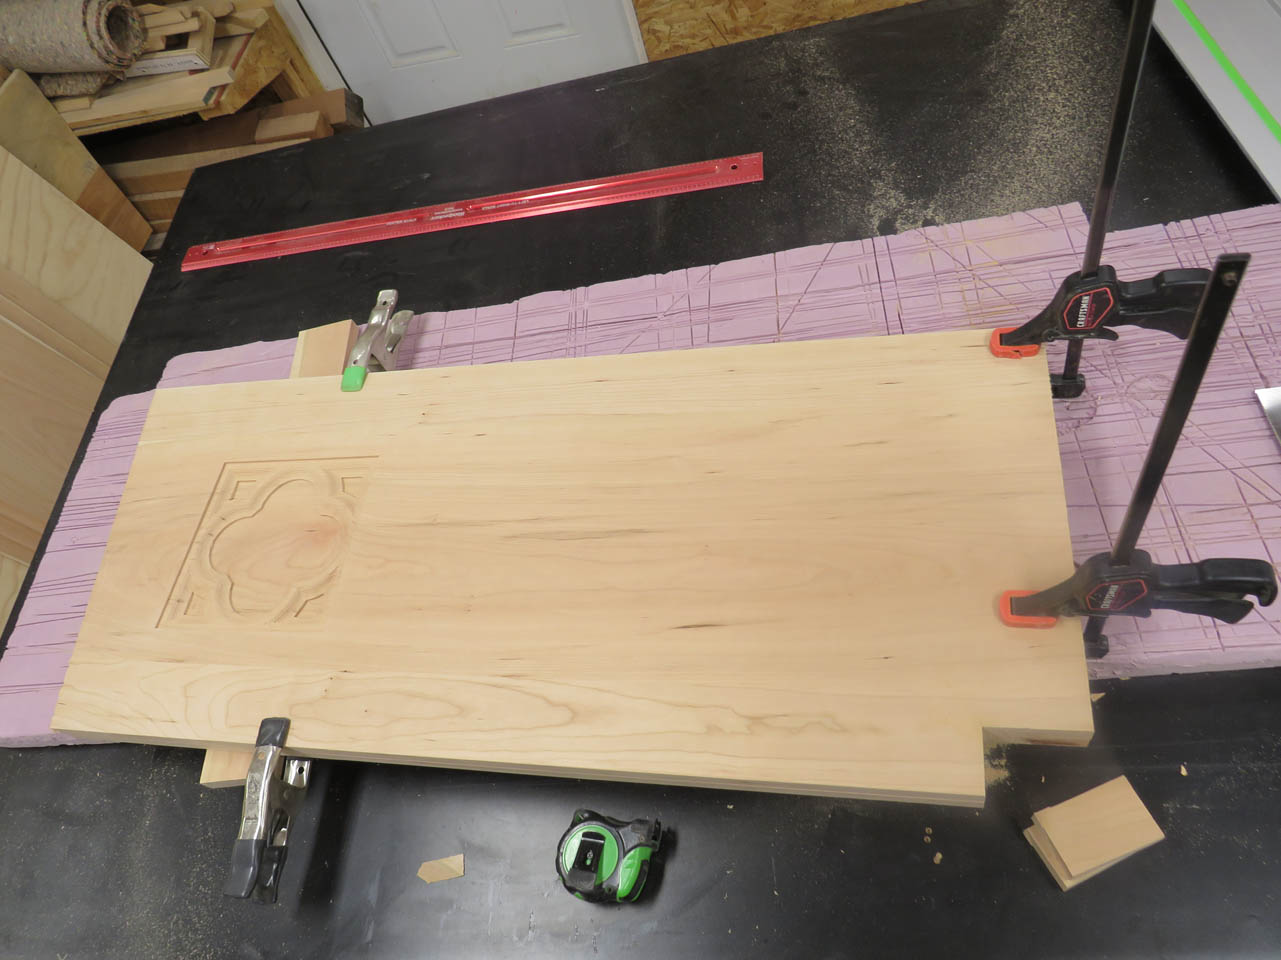
When cut to length, I flipped both sides over and laid out the dado for the shelf.

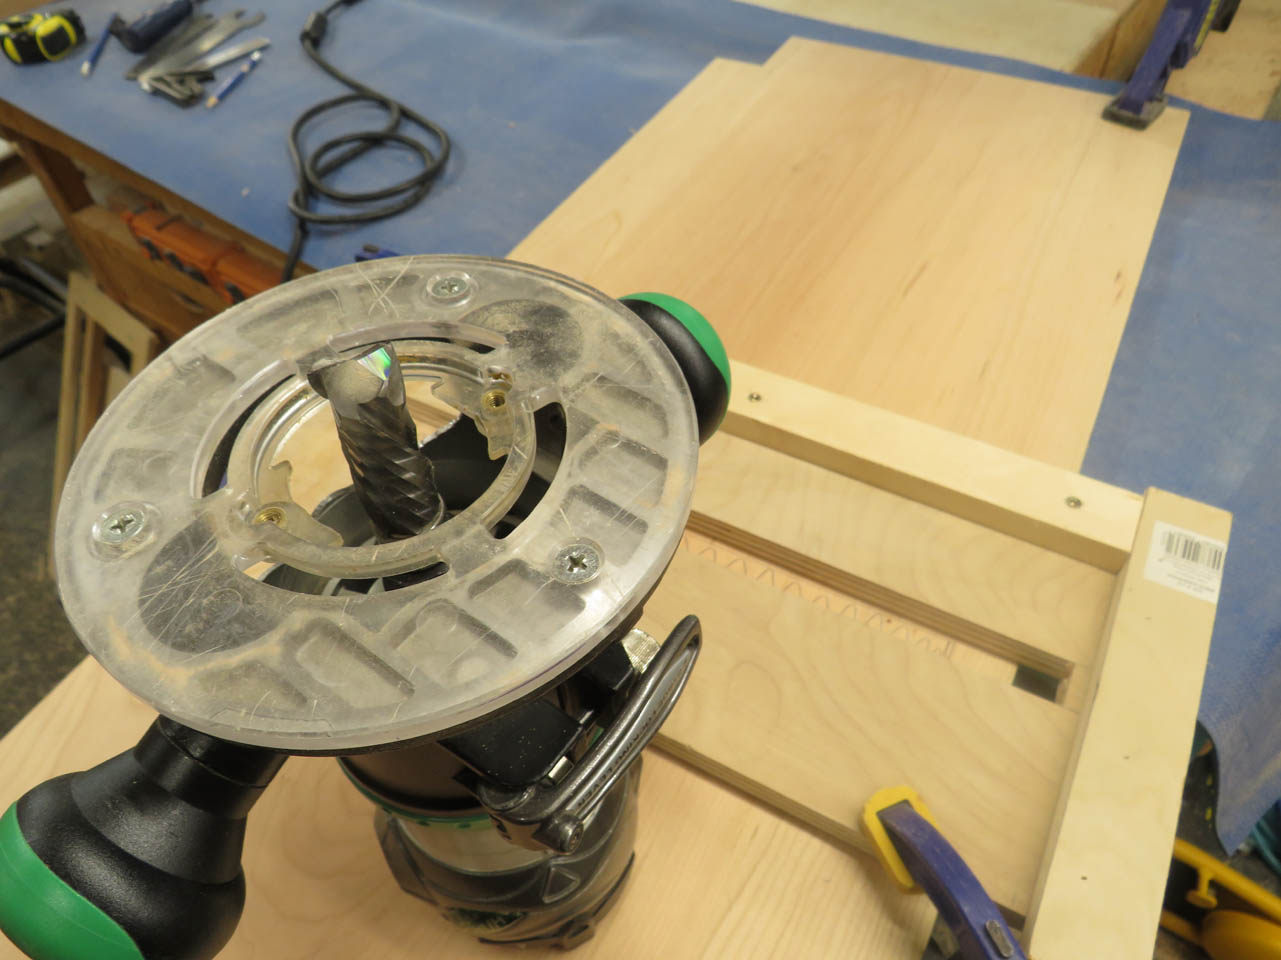
This will be cut with a 3/4″ spiral bit in my router. I used a jig to keep the line straight.
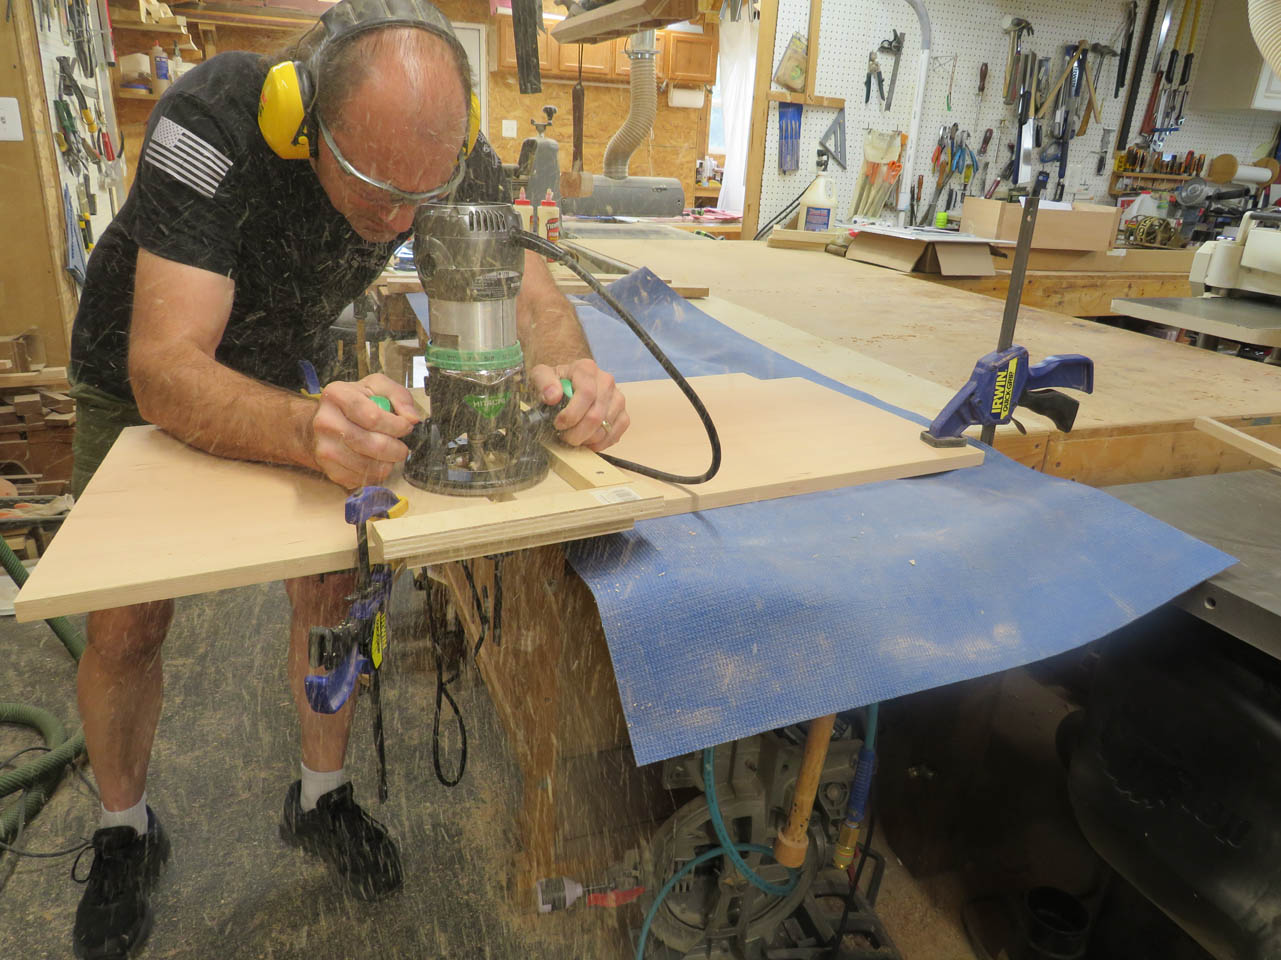
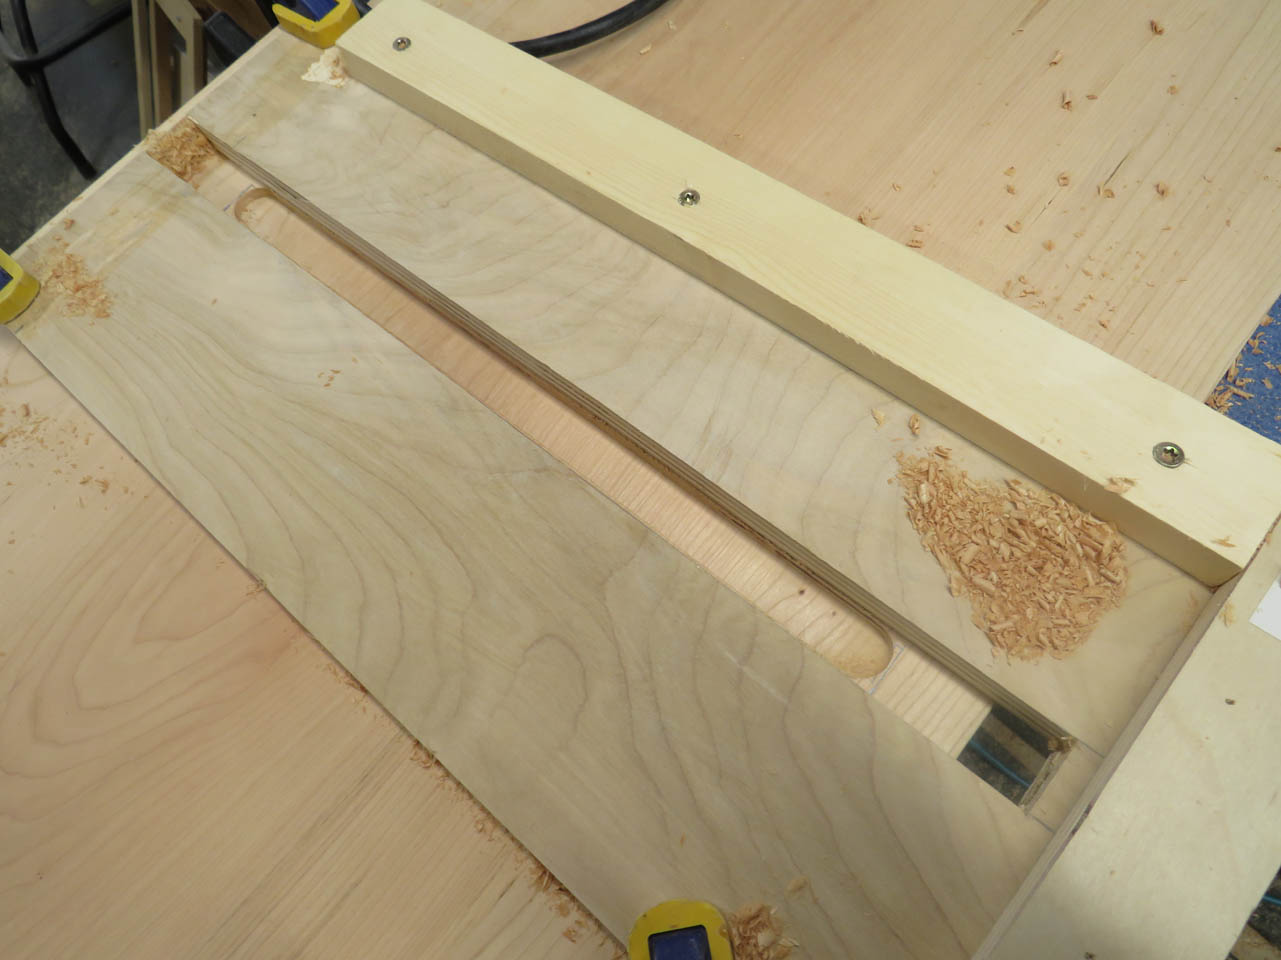
After routing, I cleaned up the ends and squared off the corners with a chisel.
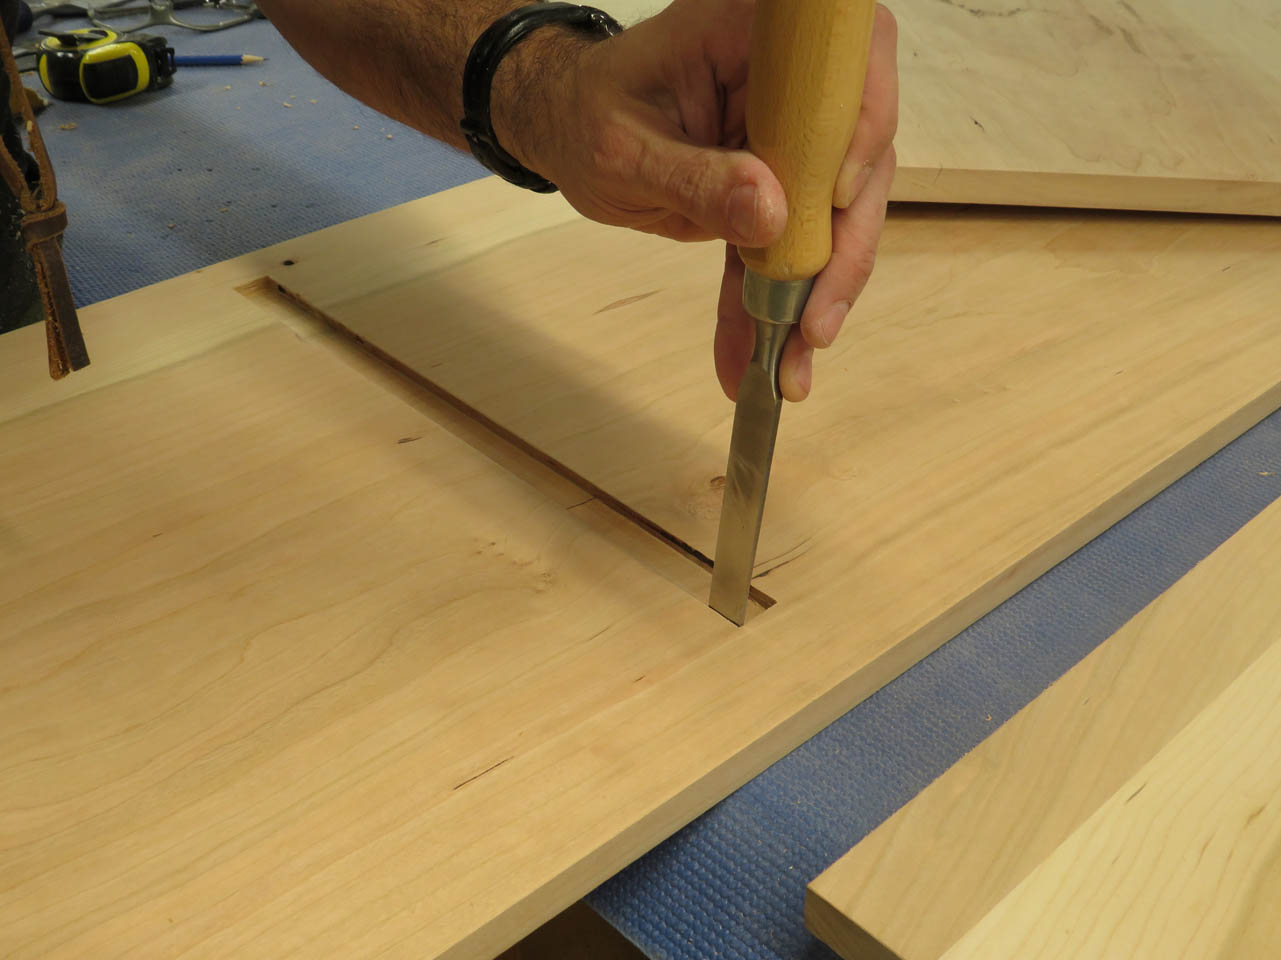
Then test-fit the shef.
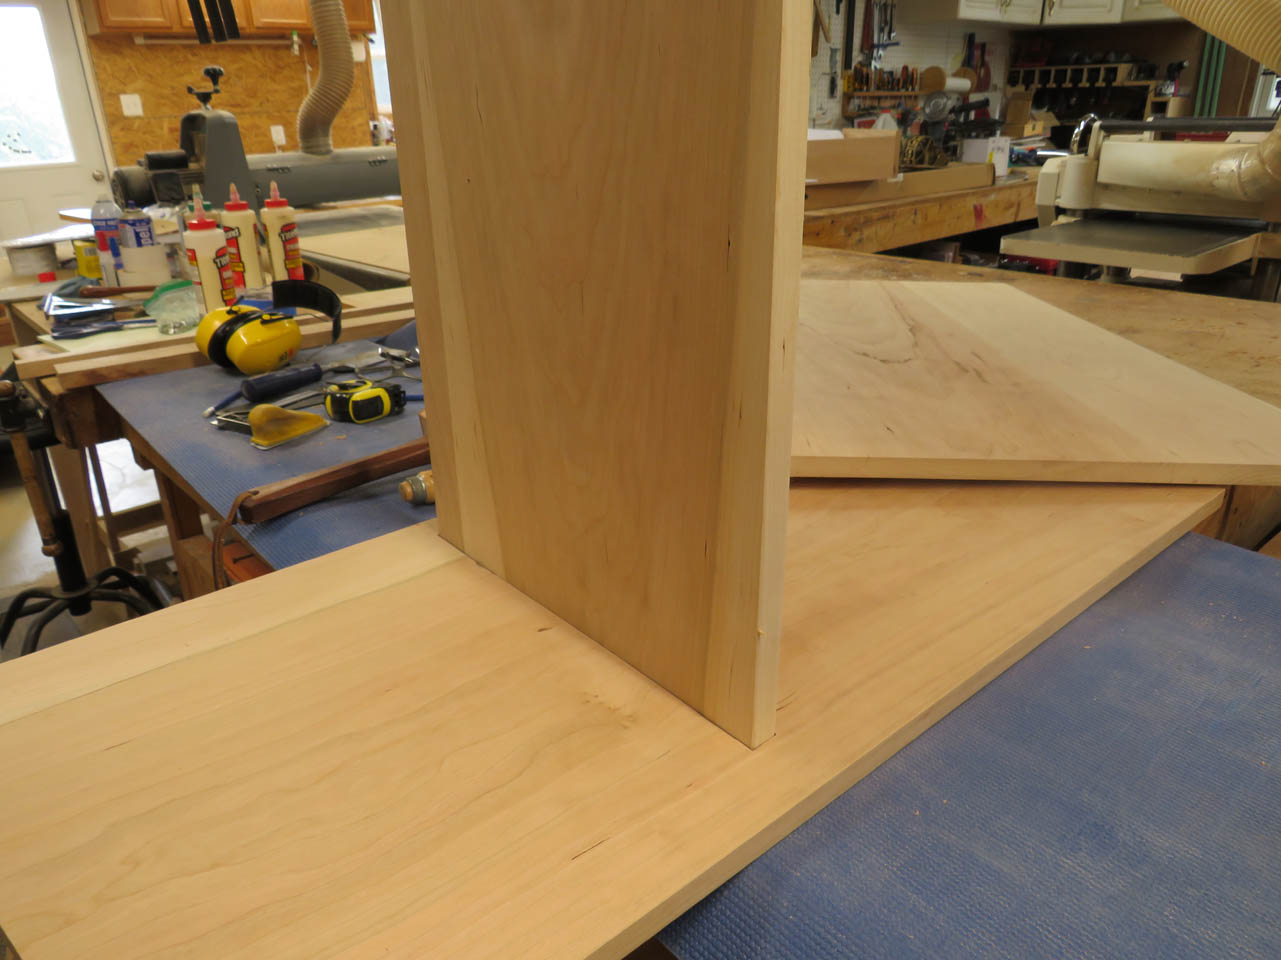
The front and rear edges of the stand get 1/4″ round-overs so you don’t have sharp edges to bump into.
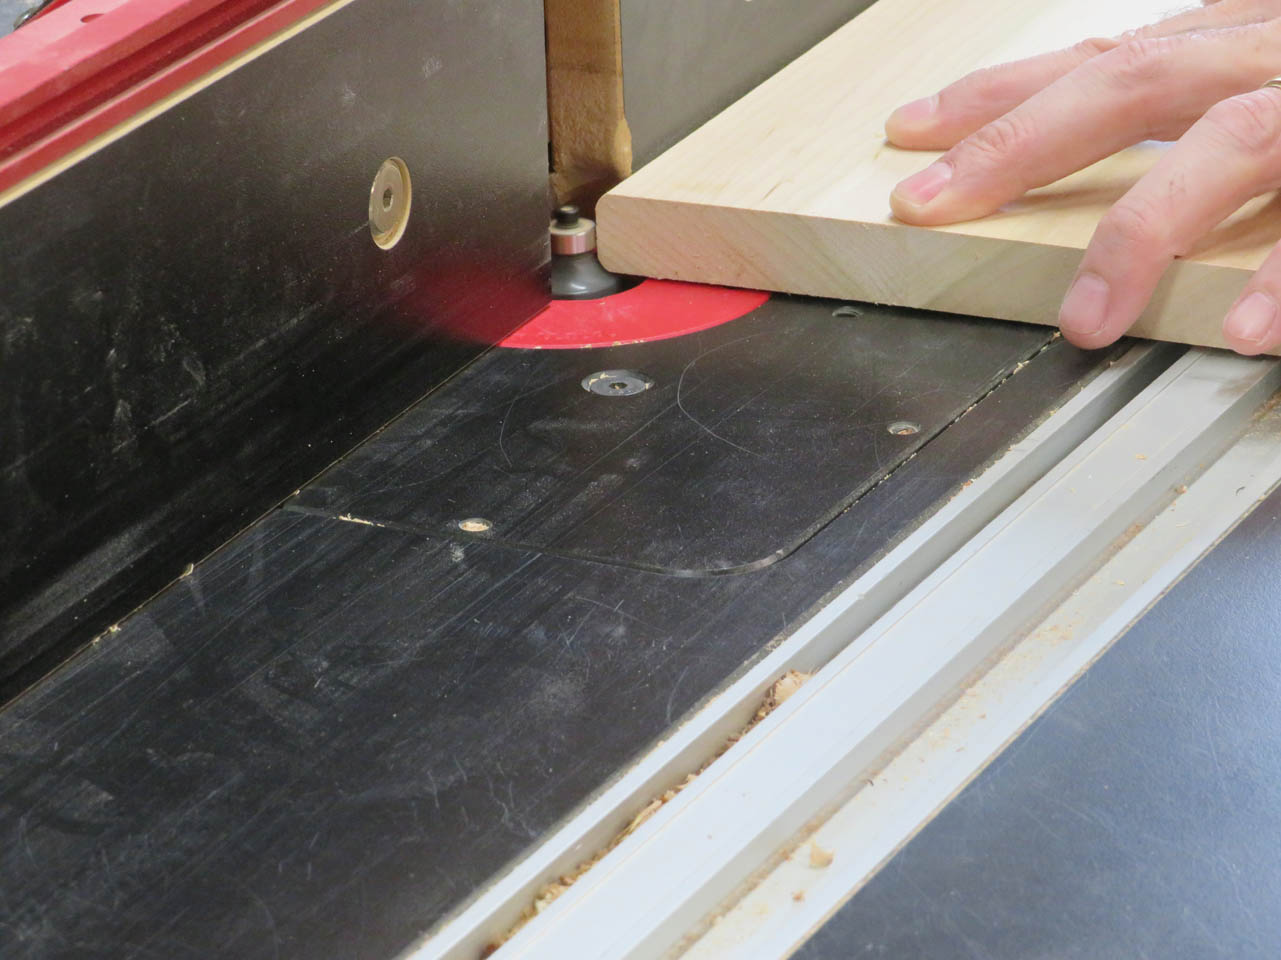
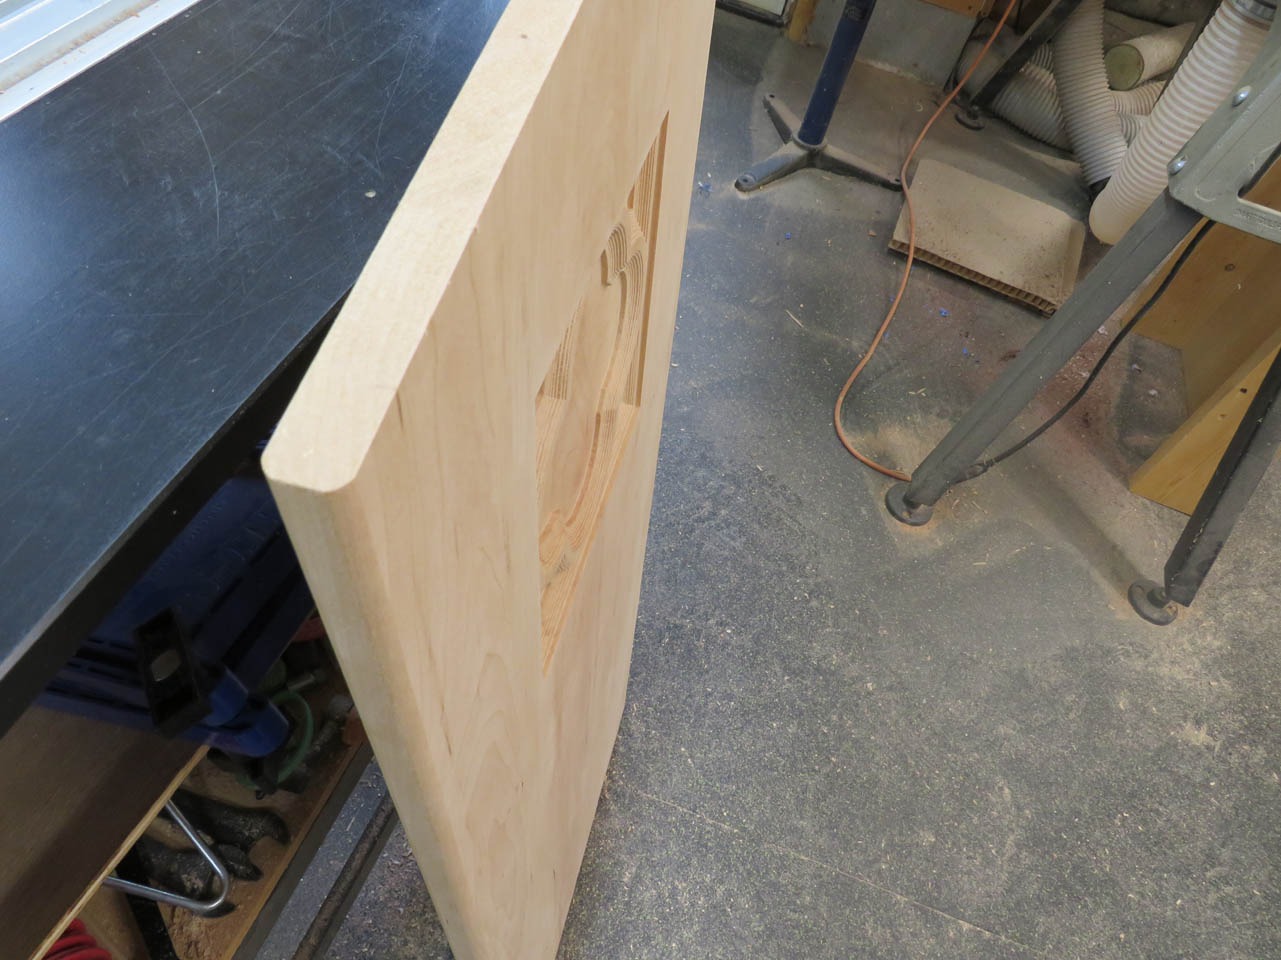
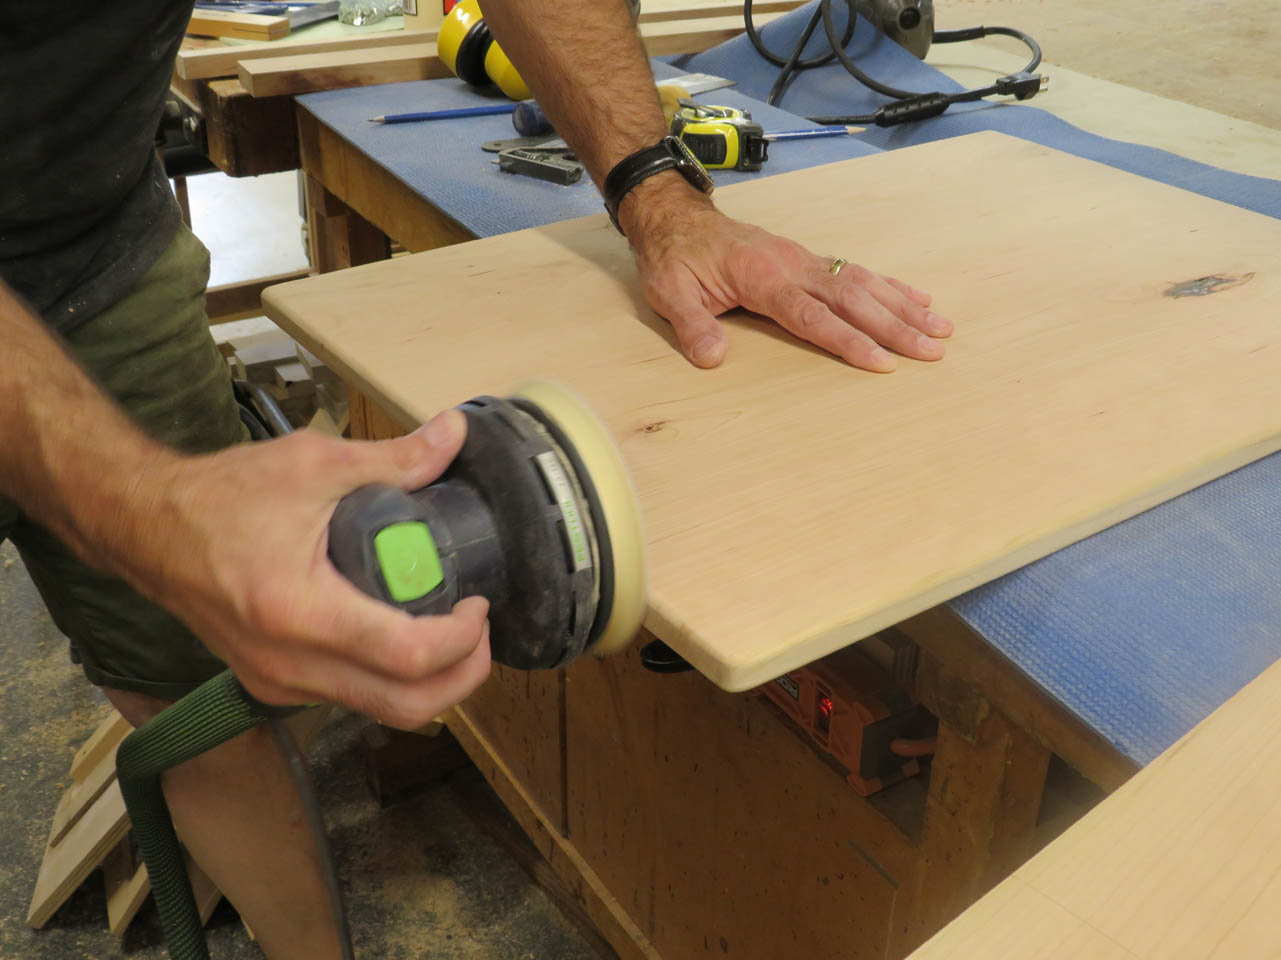
Then all of my rounded edges get a good sanding.
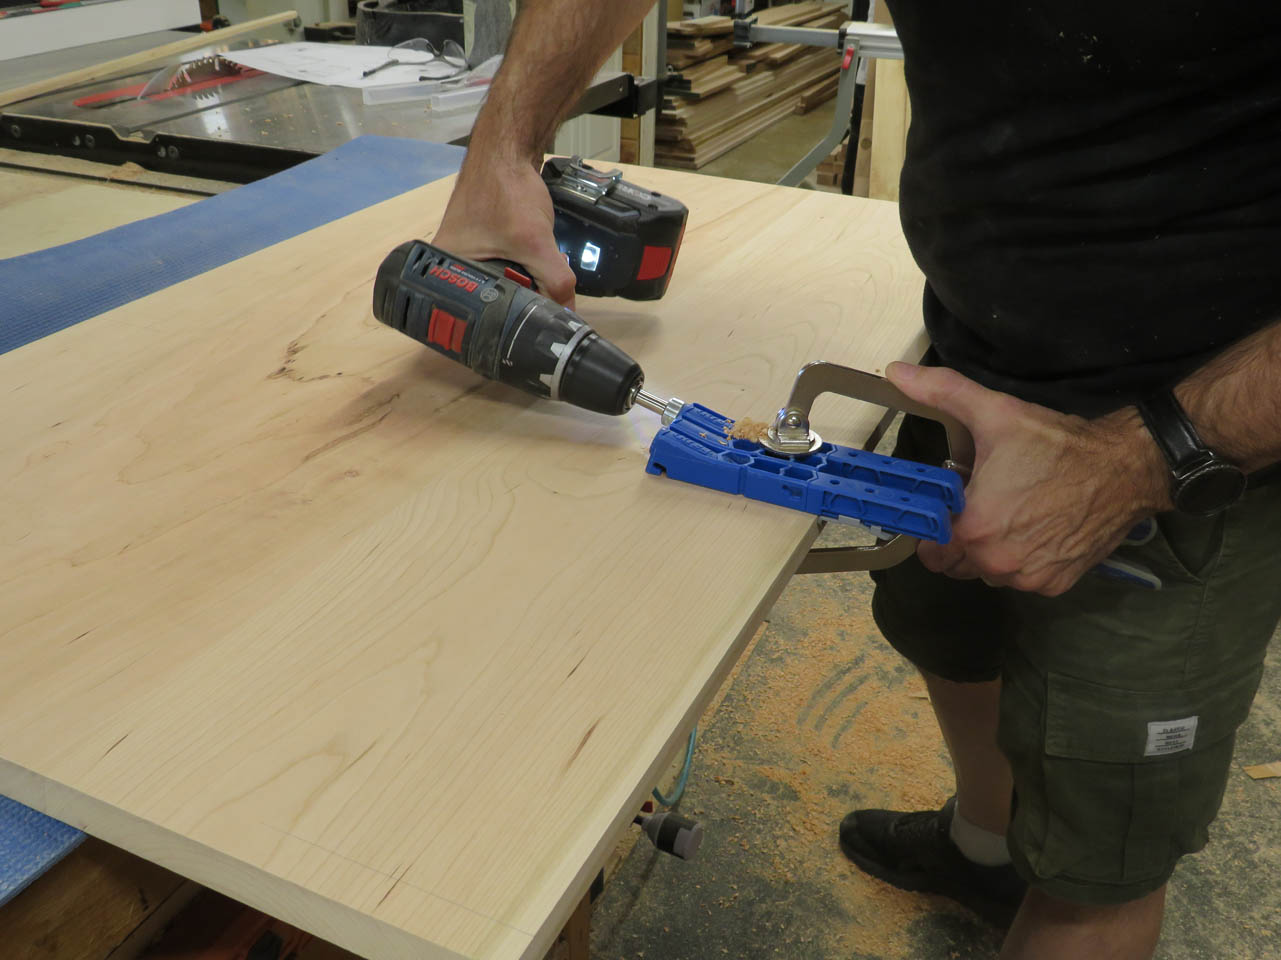
To attach the front panel to the sides, I placed a few strategically located pocket holes to reinforce the glue joints. These will be placed where they will not be seen after assembly.
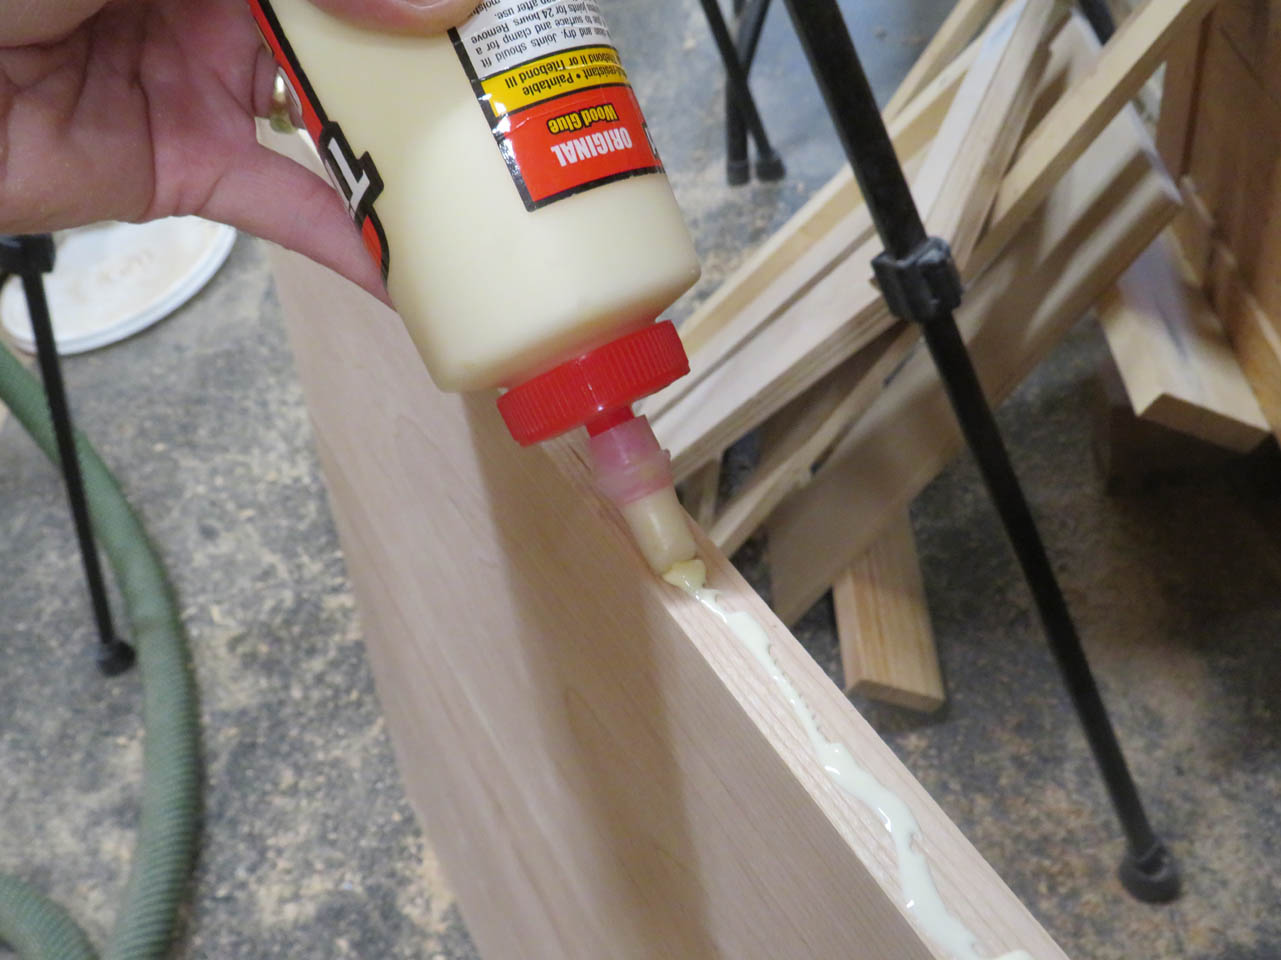
Then the sides of the front panel are glued and the panels get screwed together.
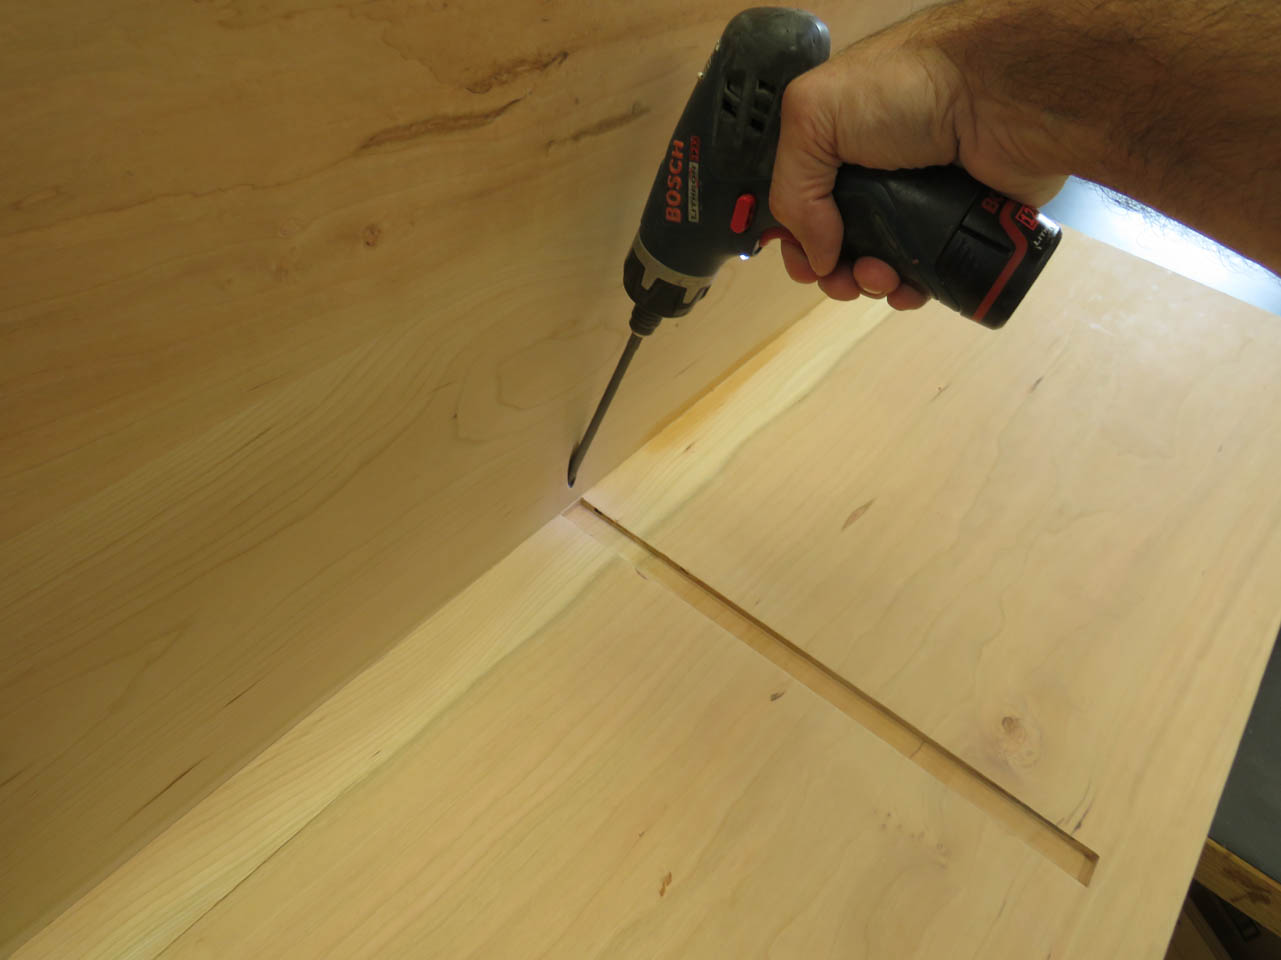
A few clamps get added to hold the sides in place till the screws are added.

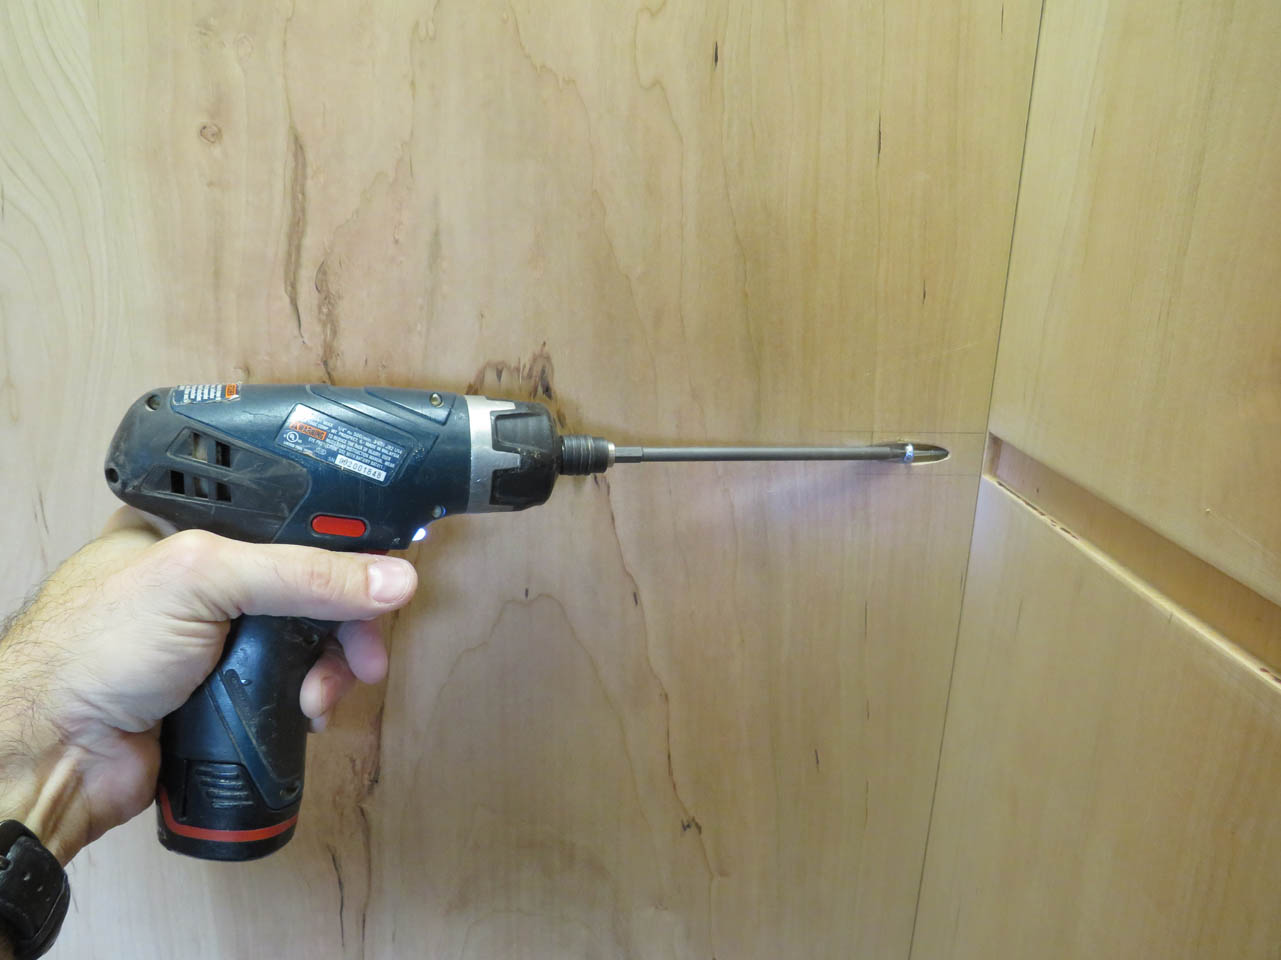
After the screws get attached, I test to make sure I have enough flex to install the center shelf.
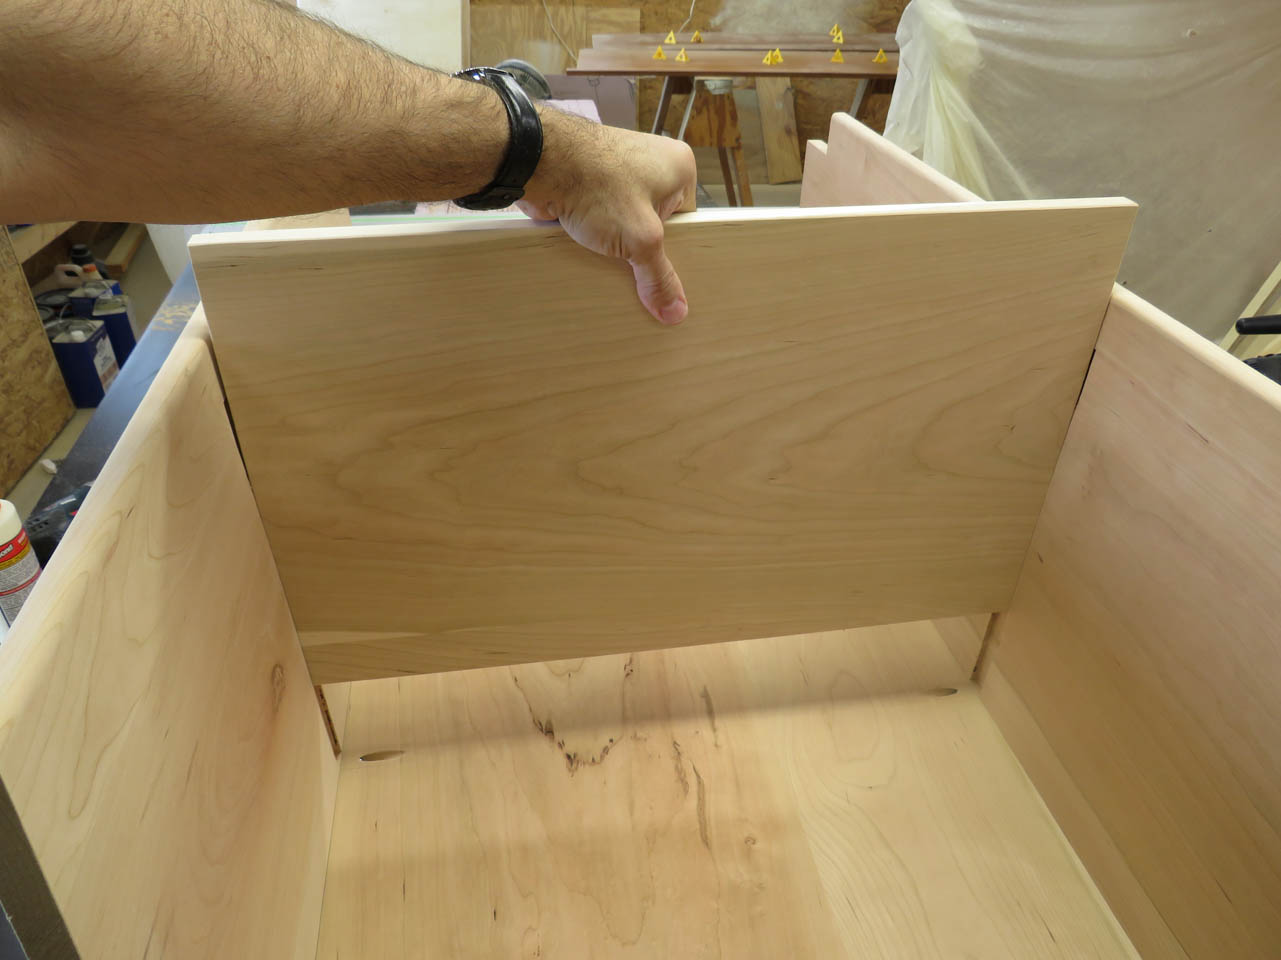
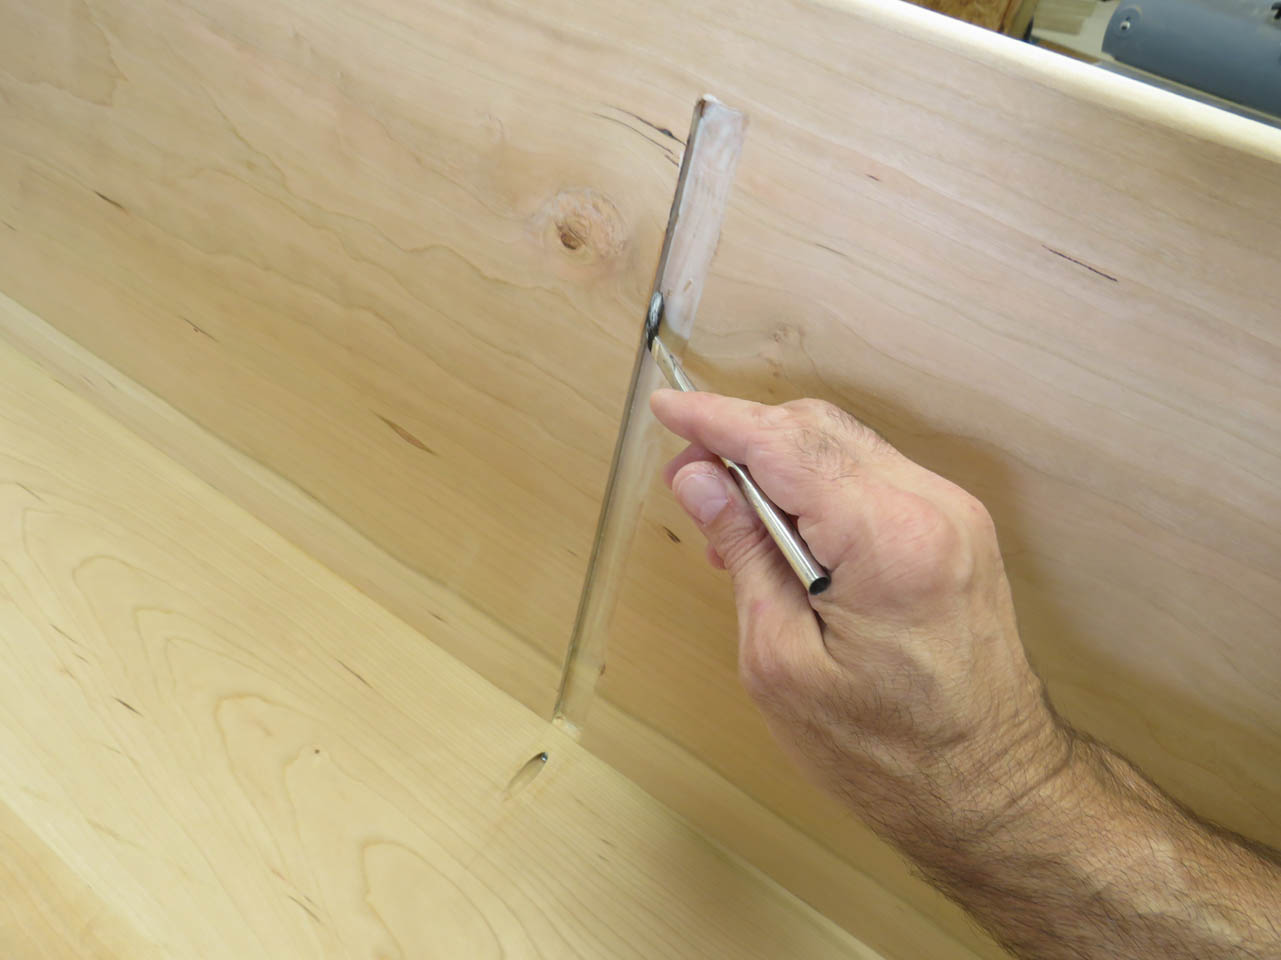
Then line the dados with glue and clamp the shelf in place.
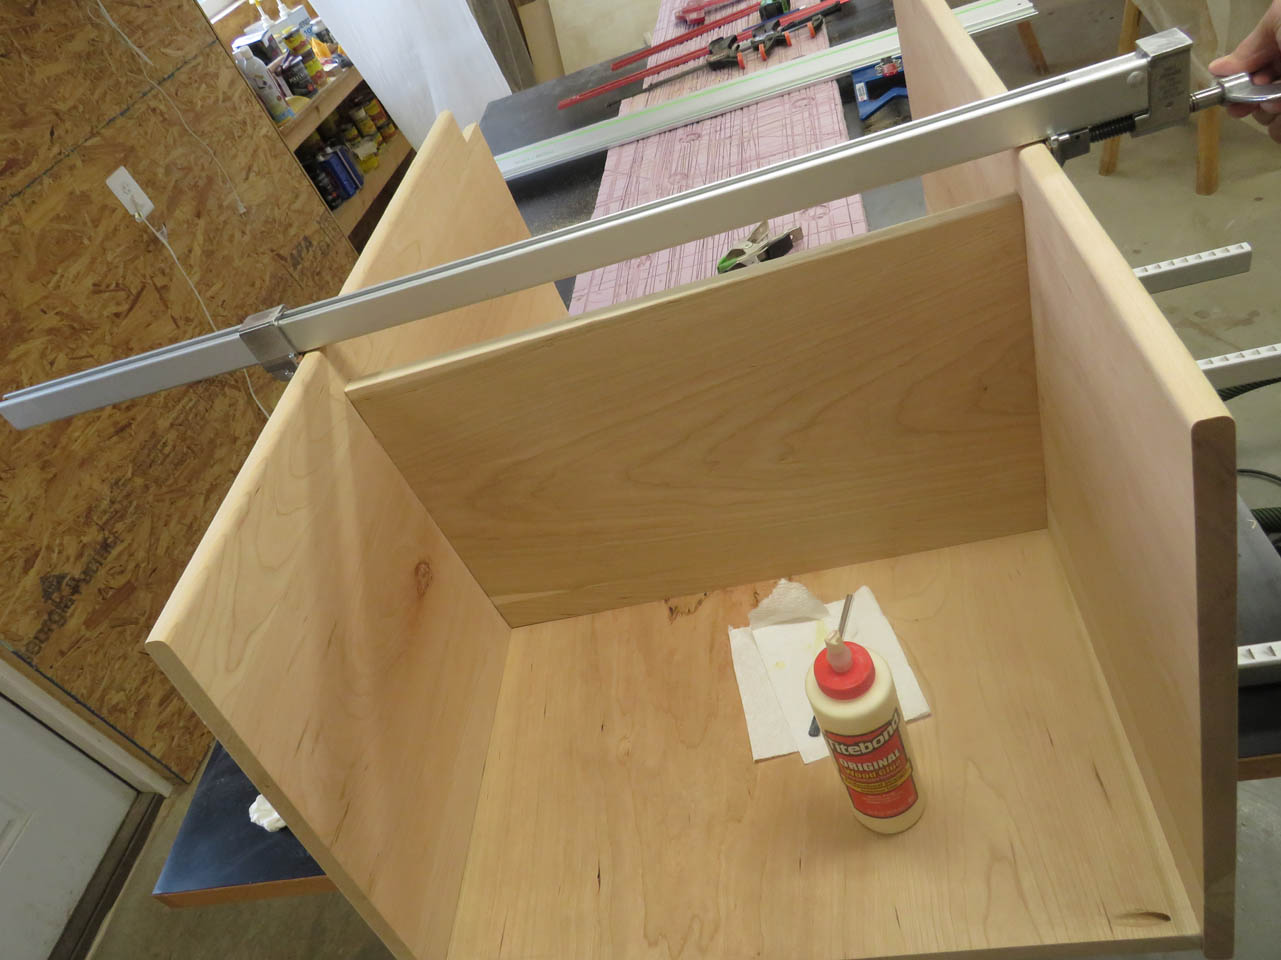
While that is drying, I add the front kick plate and a rear shelf support.
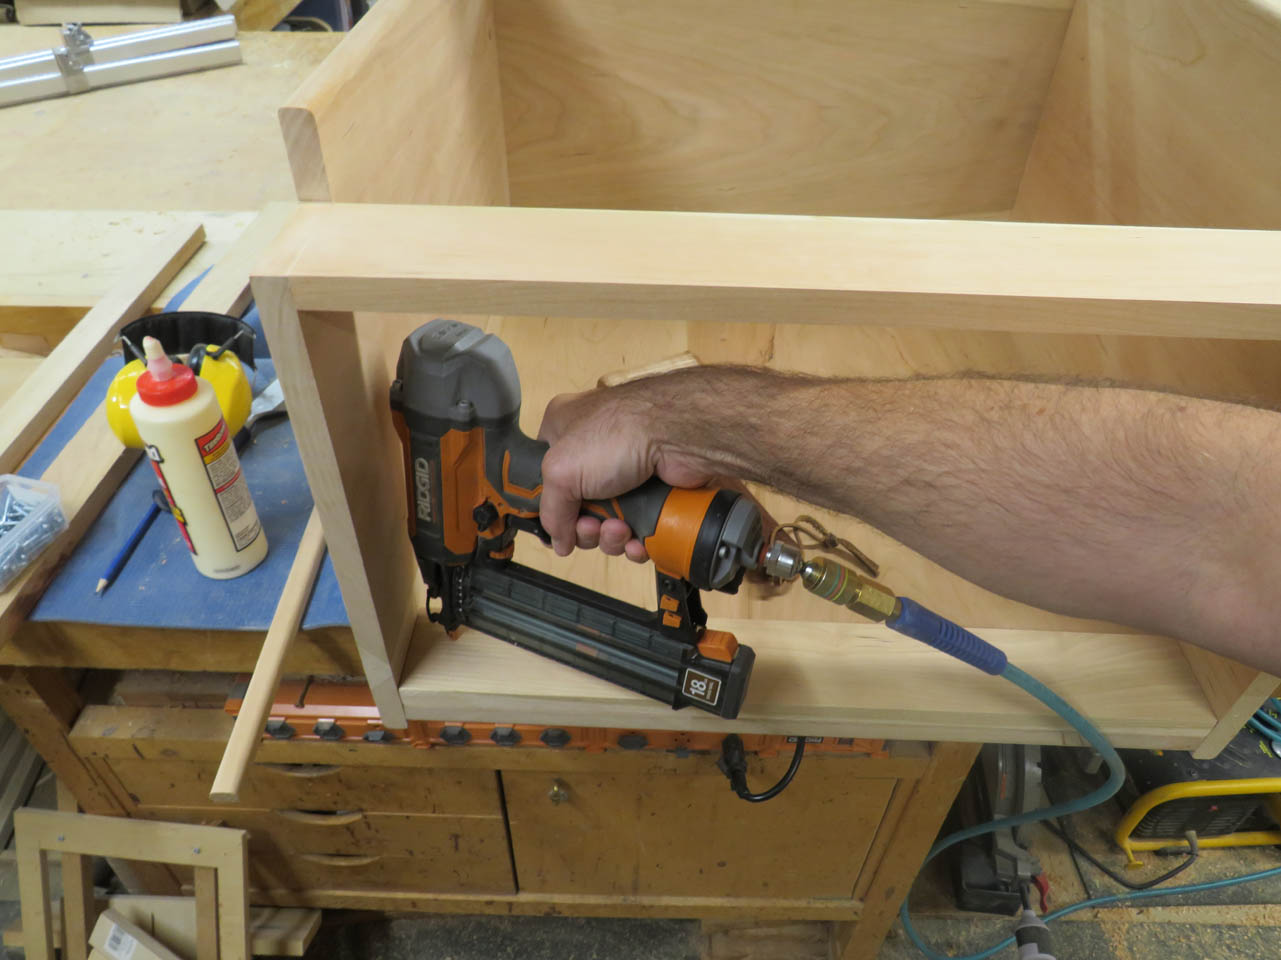
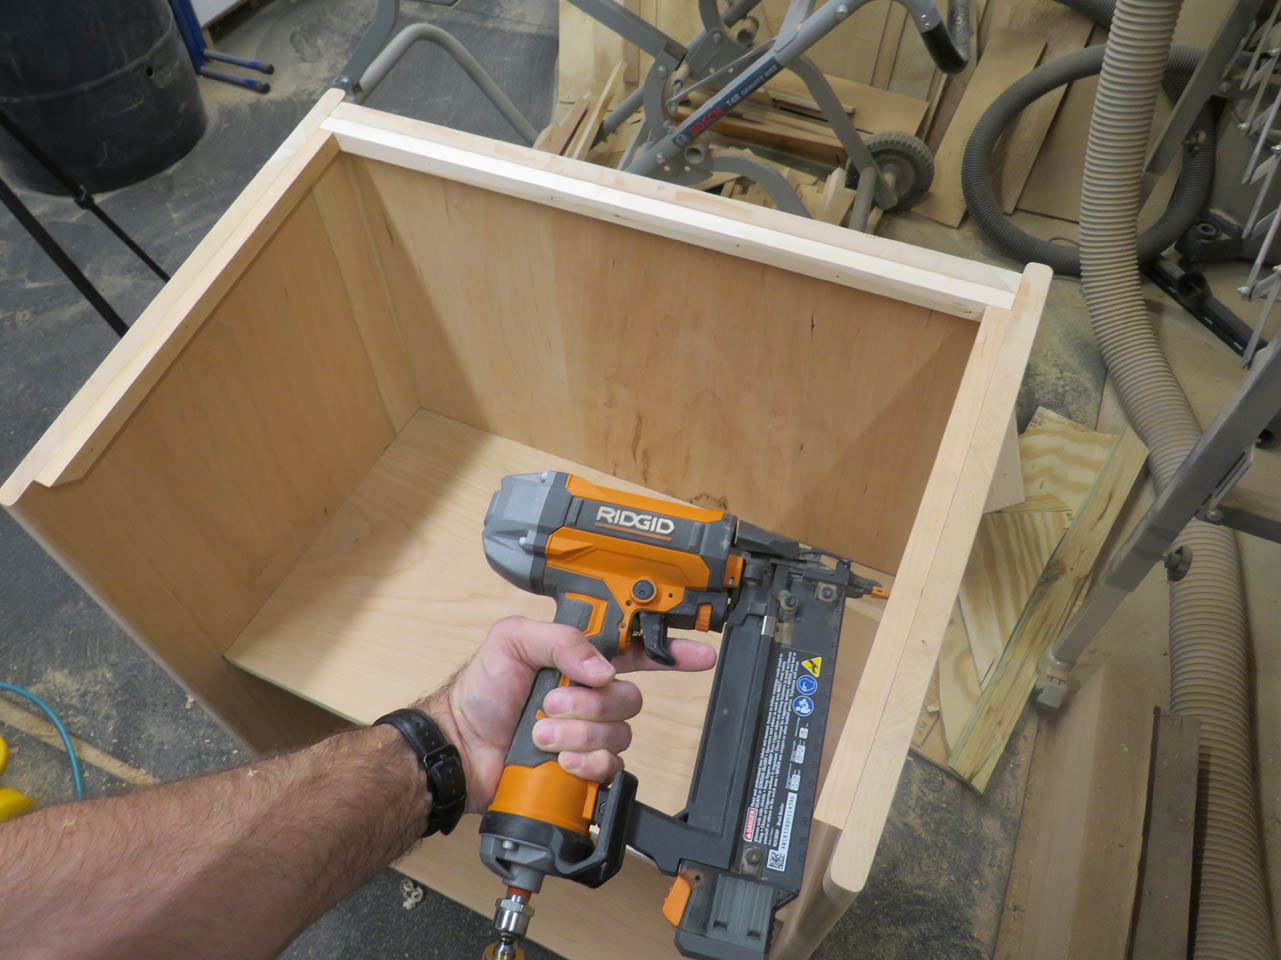
I also added a few strips of 3/4″ trim around the top so I have something to attach the top to. It gives me additional glue surfaces for the top attachment as well as a nailing flange. This could be a screw flange if I wanted the top to be removable.
I used spring clamps to center and locate the top.
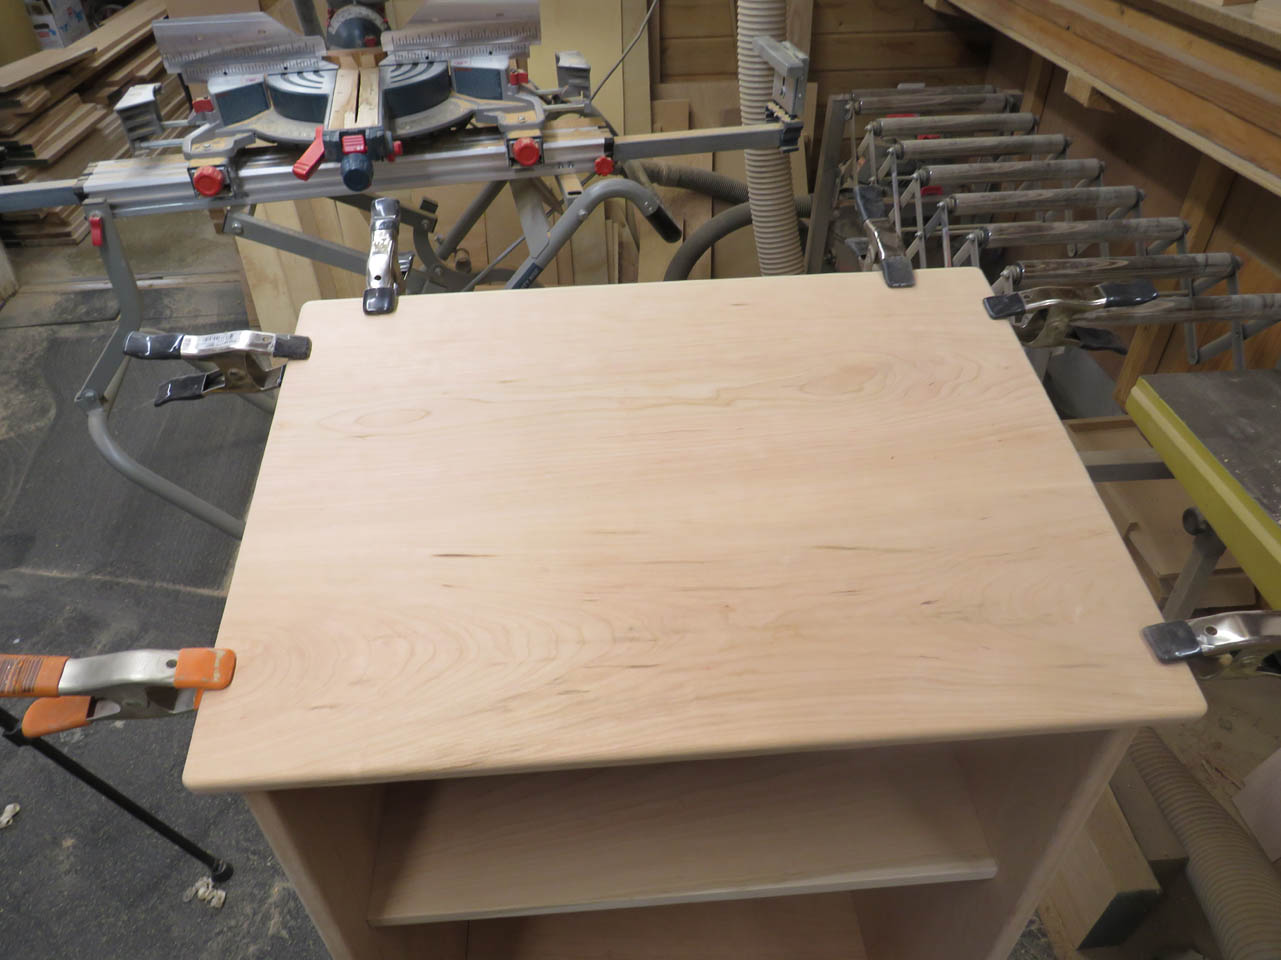
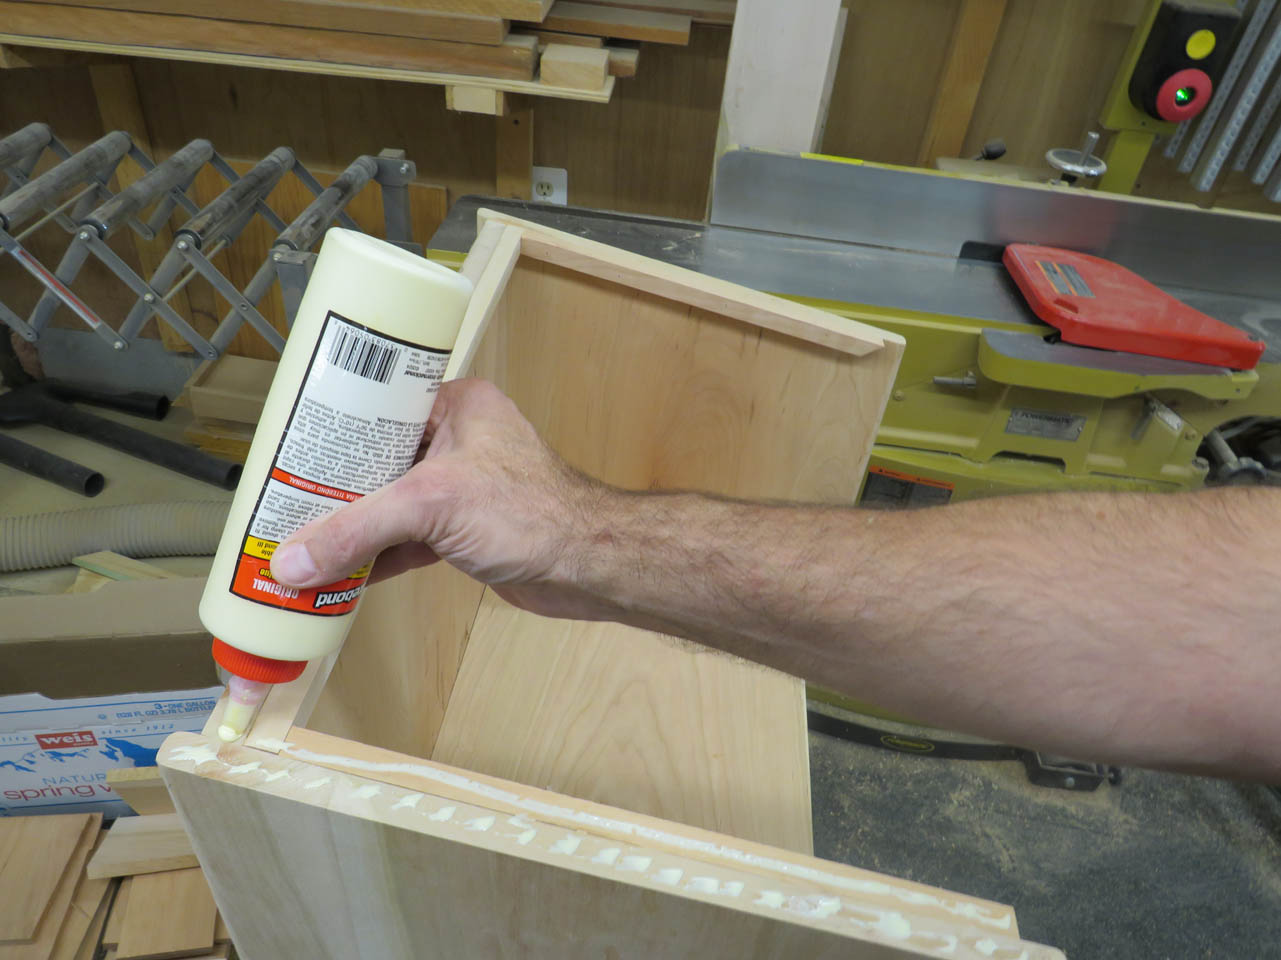
Then applied glue and replaced the top.
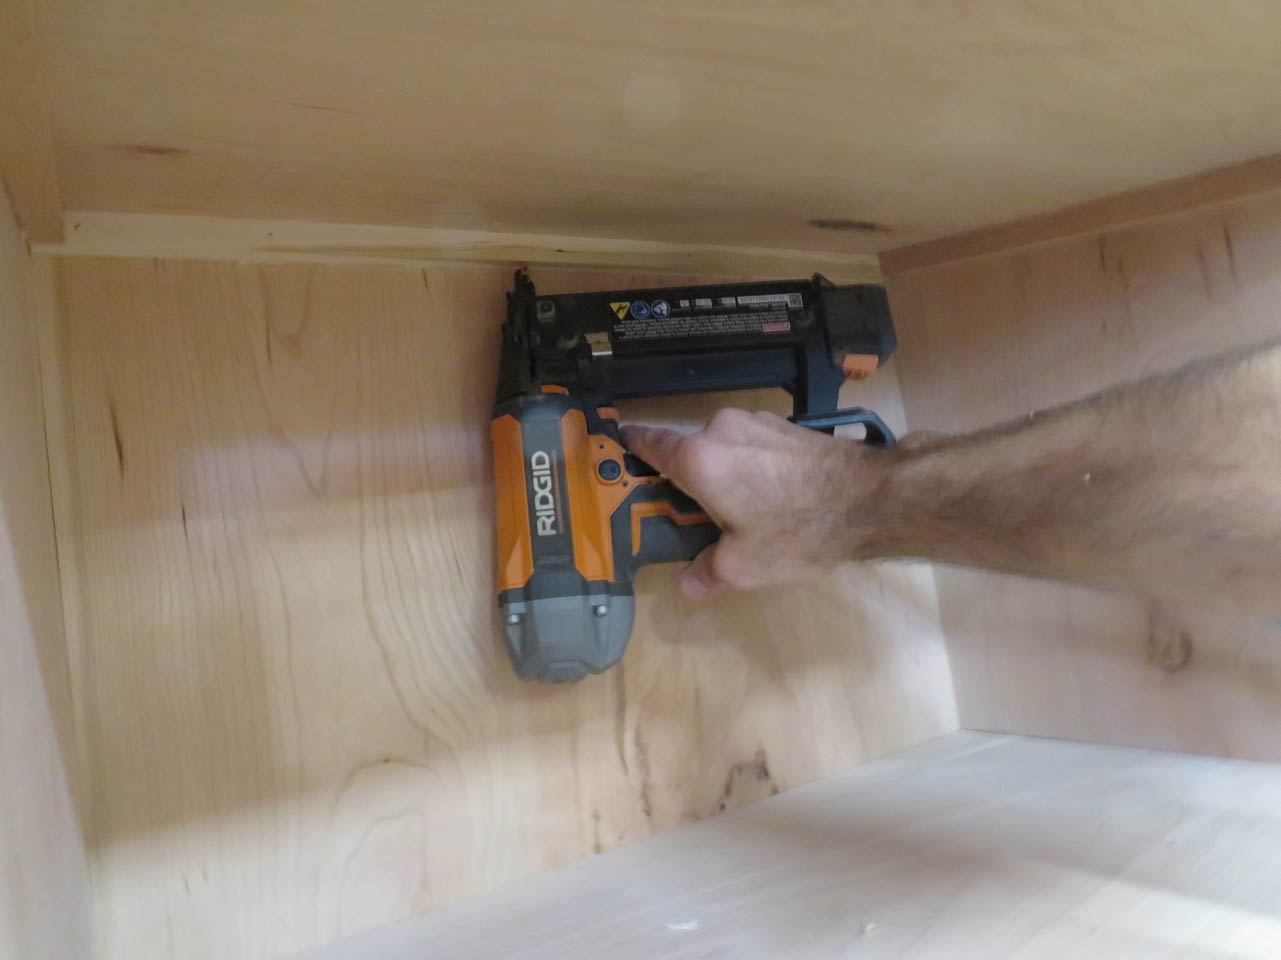
A few brad nails, from below, and the top is attached and drying.
I also added a 3/4″ strip along the bottom as a book lip.
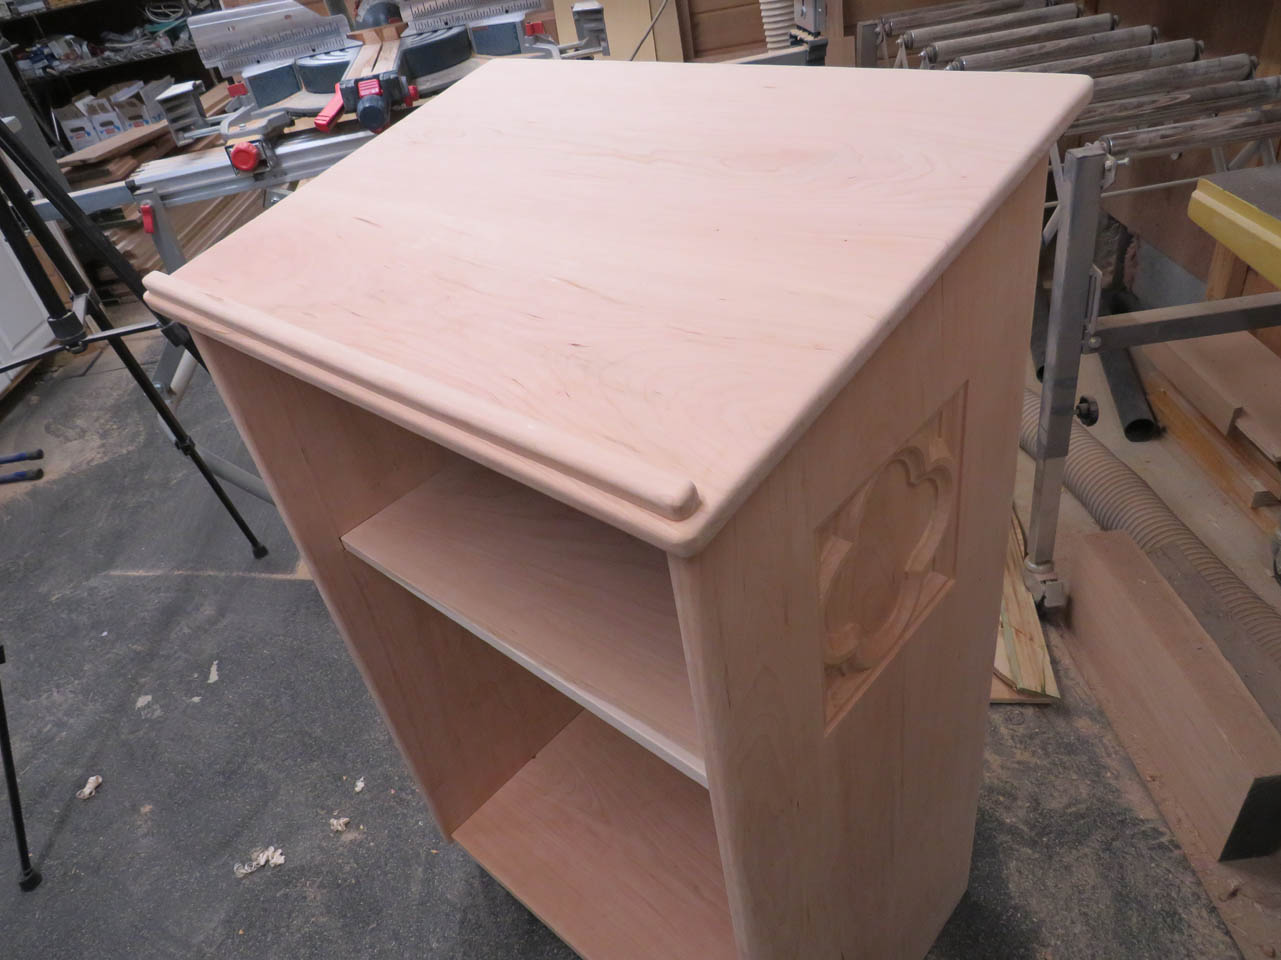
There is to be a trough at the top to hold pencils and such. My original plan was a simple box, mounted at an angle but I decided to play with it a bit.
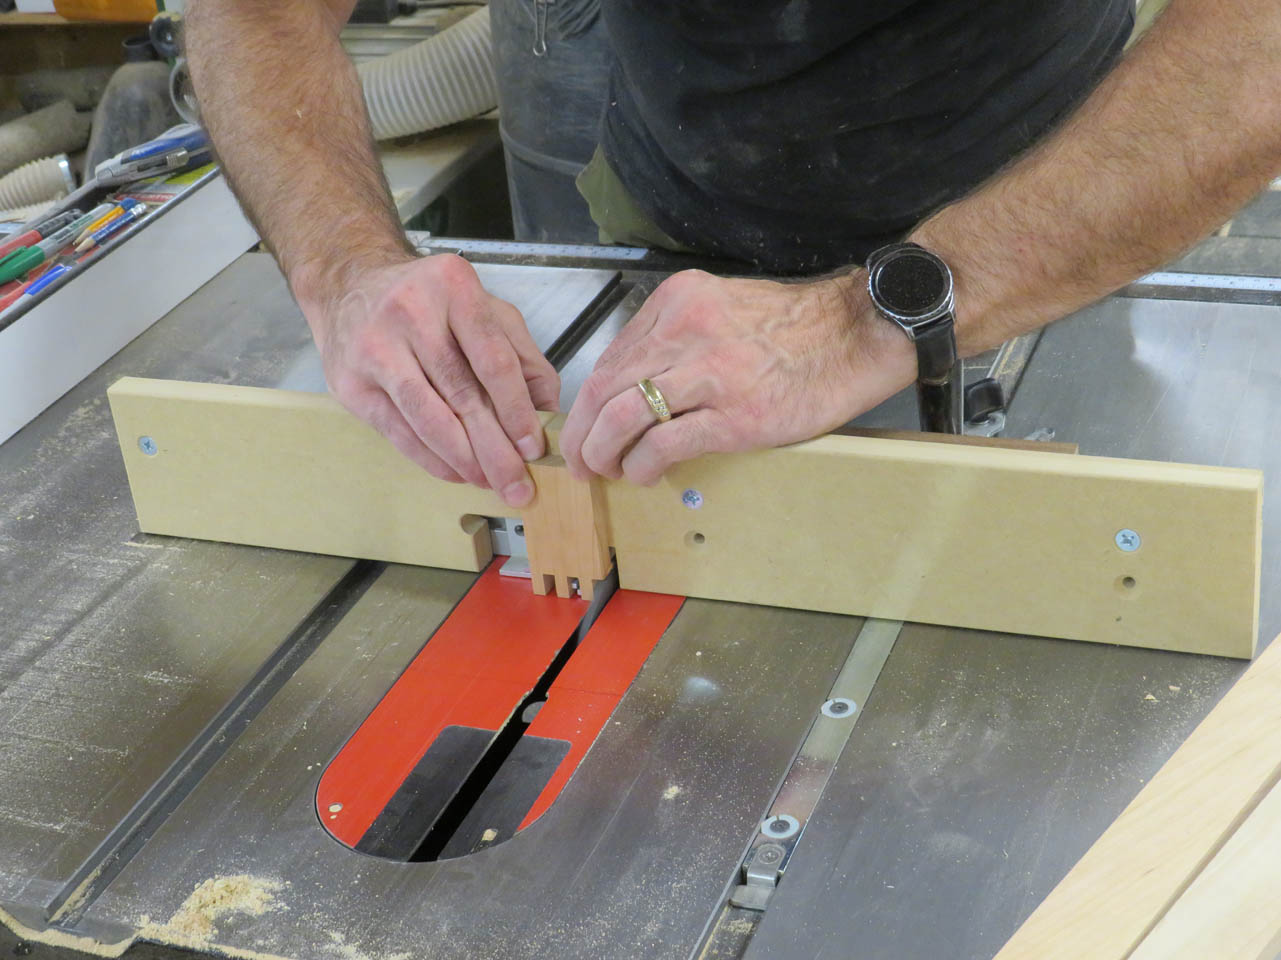
I made some 2″ wide strips and finger-jointed the ends.
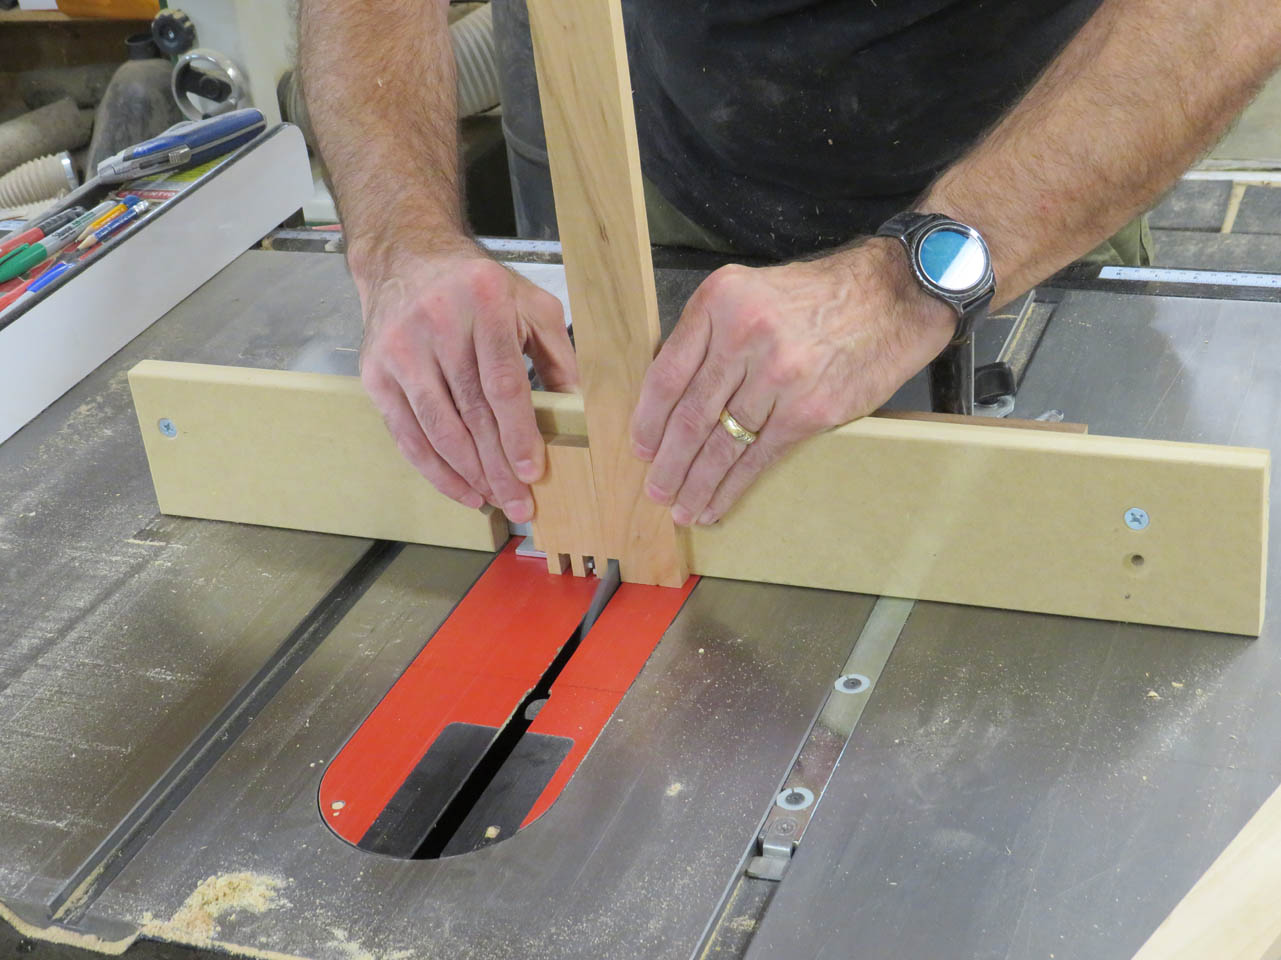
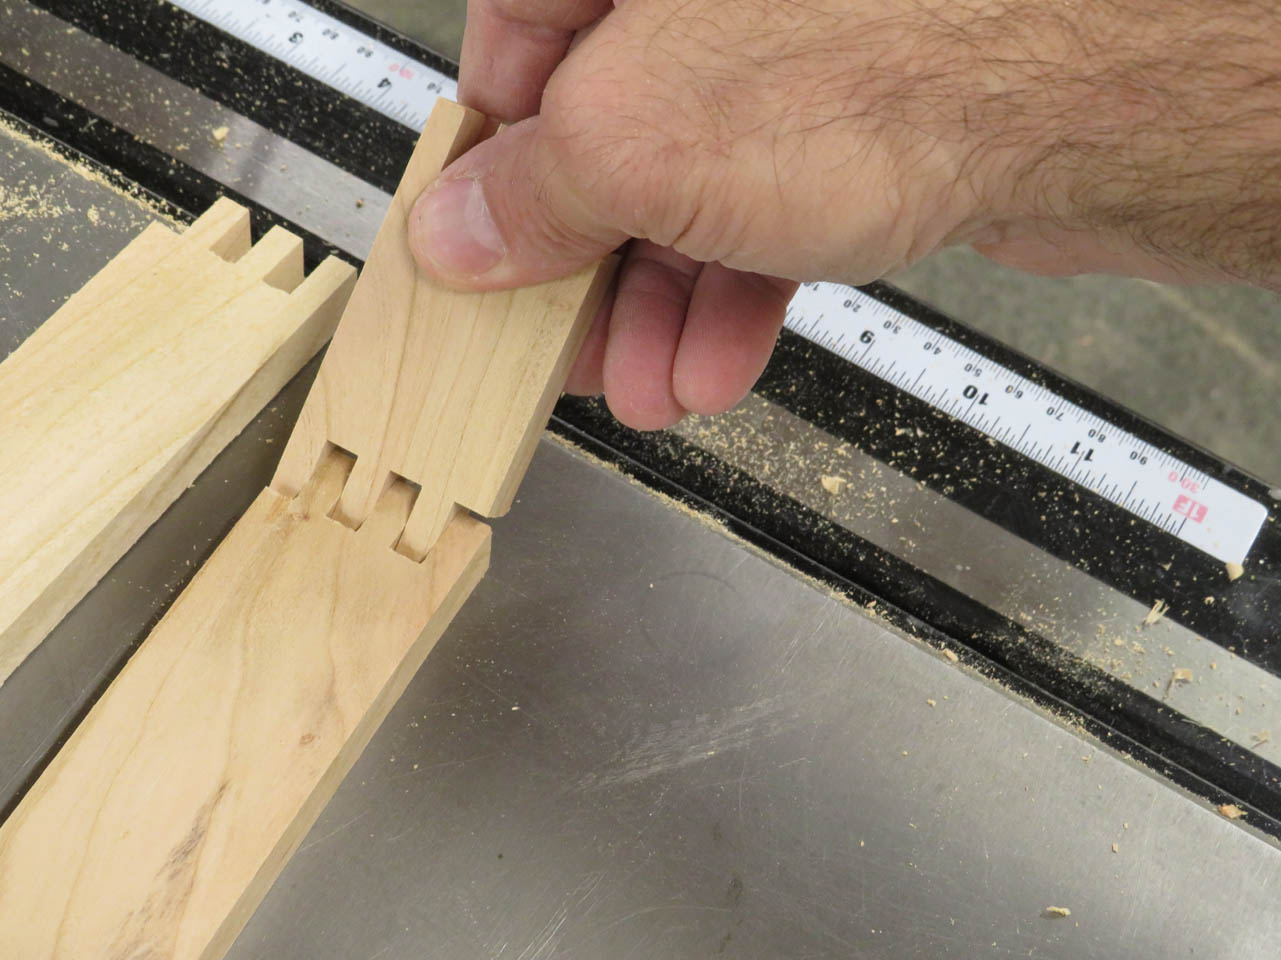
I did a dry-fit to make sure everything fit tightly.
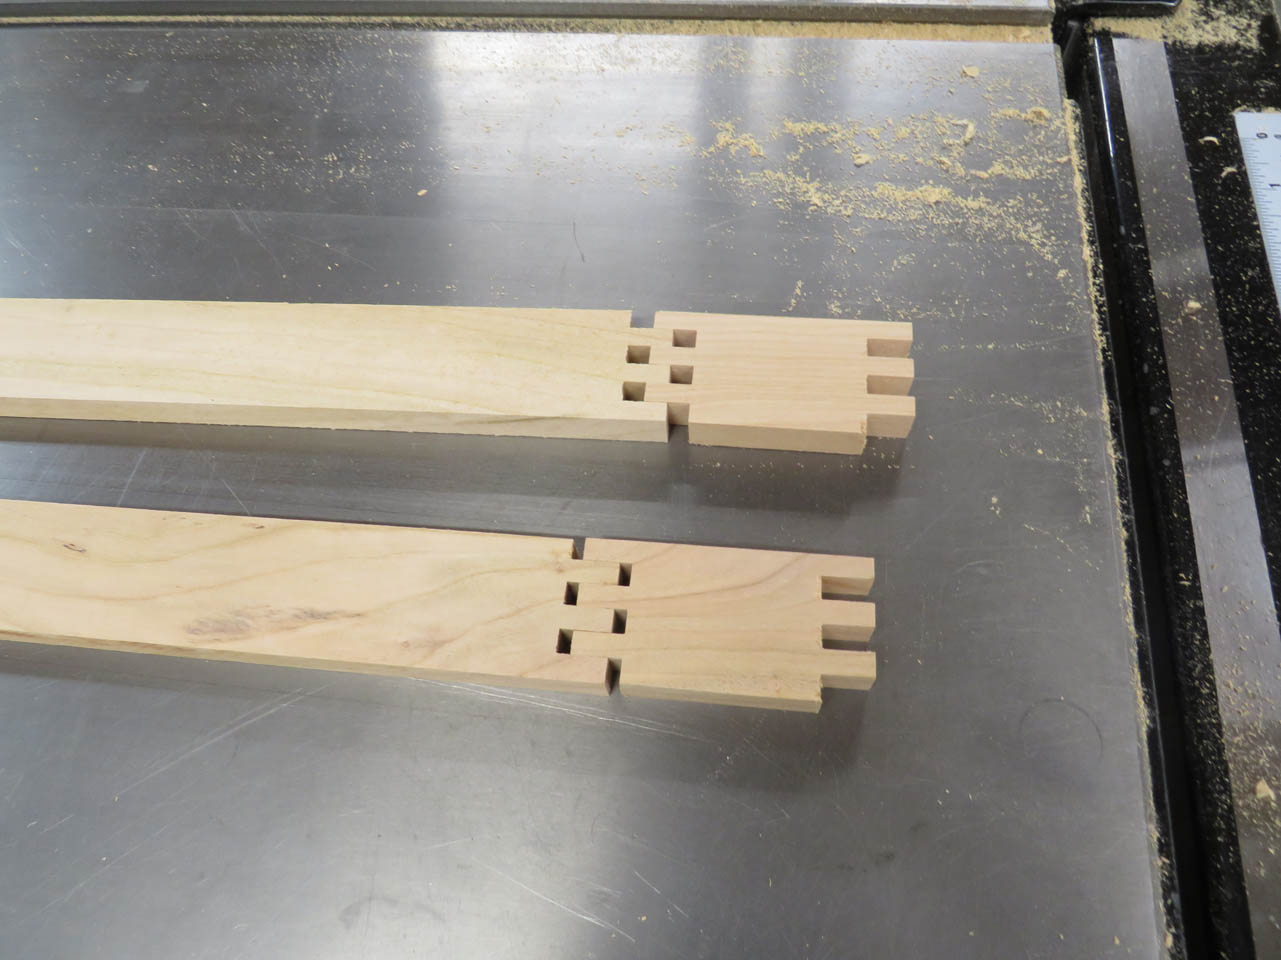
Then started applying glue to the fingers.
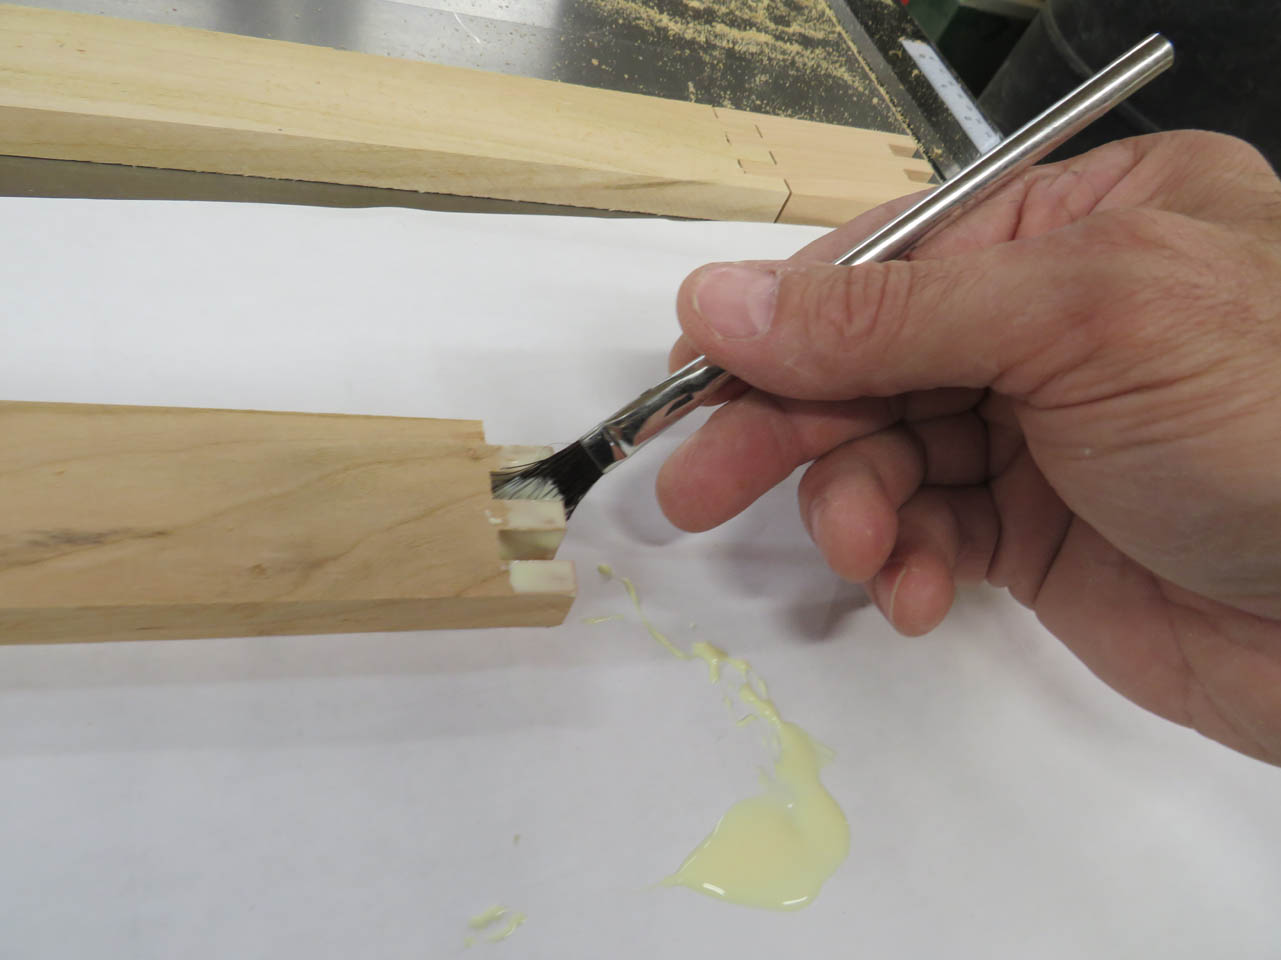

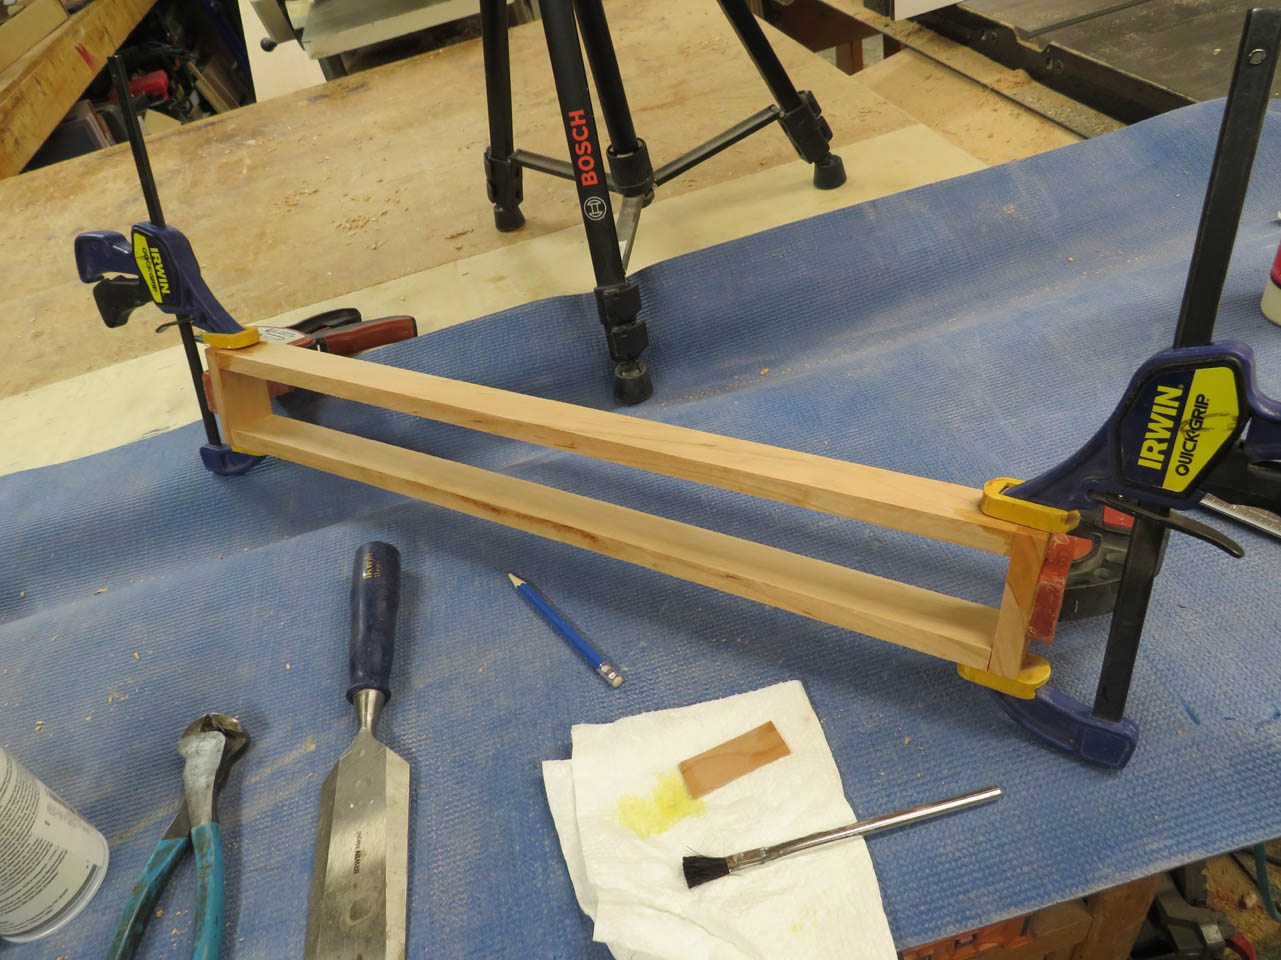
Once hammered together, I clamped it up to dry and wiped off any excess glue with a wet paper towel.
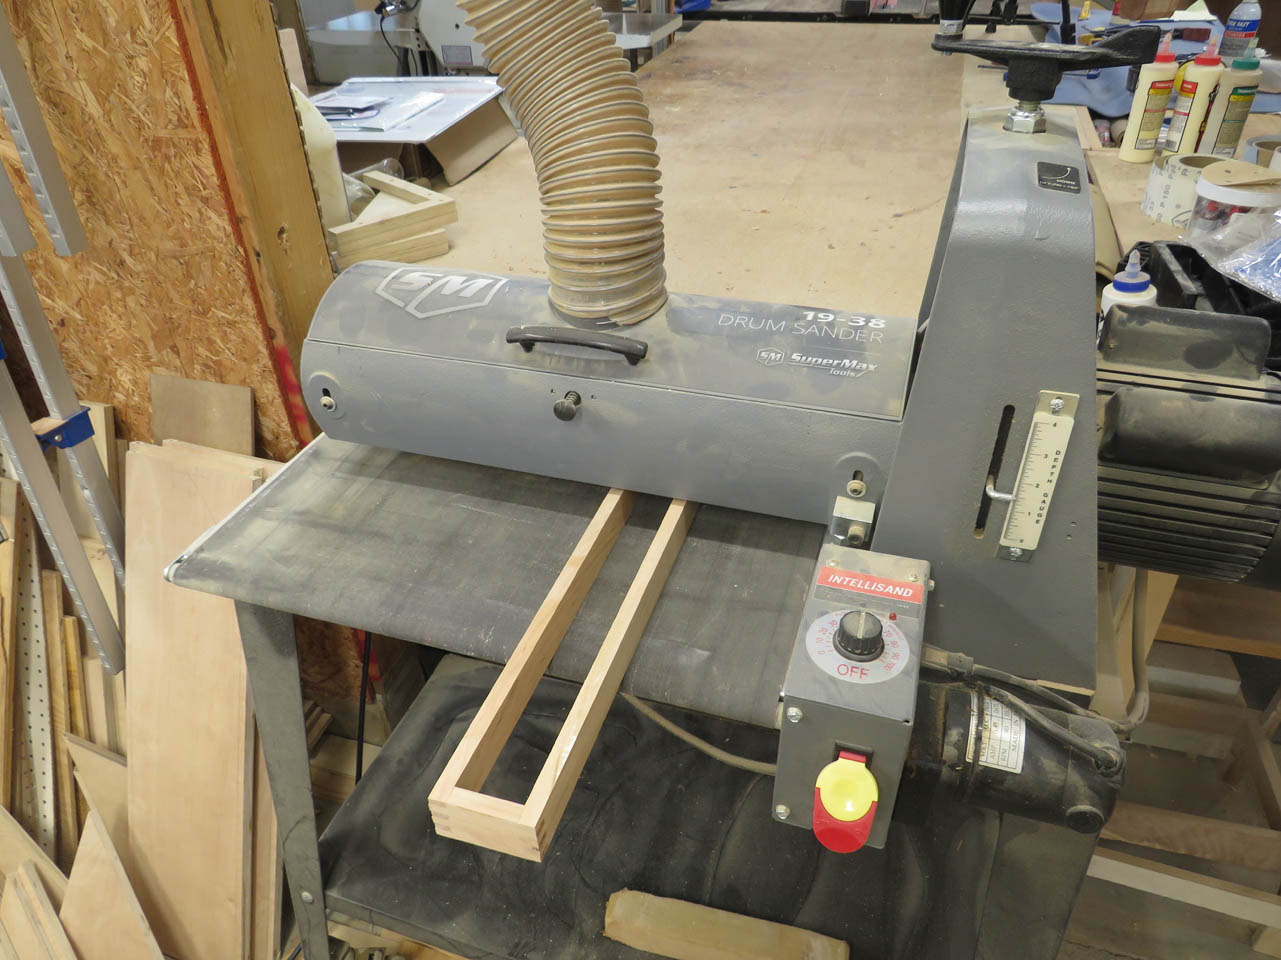
I ran both sides through the drum sander when dry, to clean up both faces.
Then I set the table saw blade to about 10° to match the top.
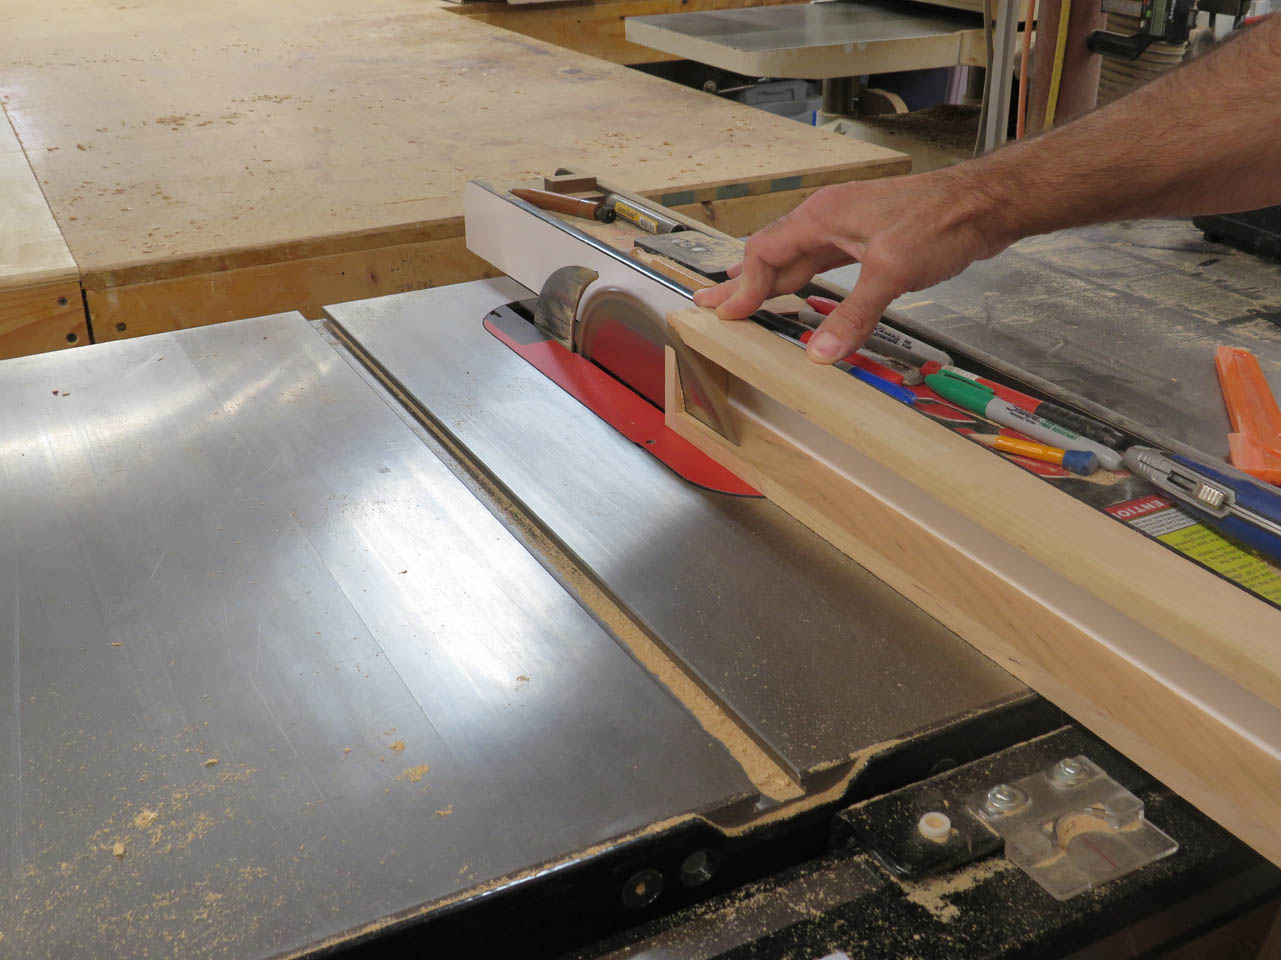
Now the trough will sit level on the angled top.
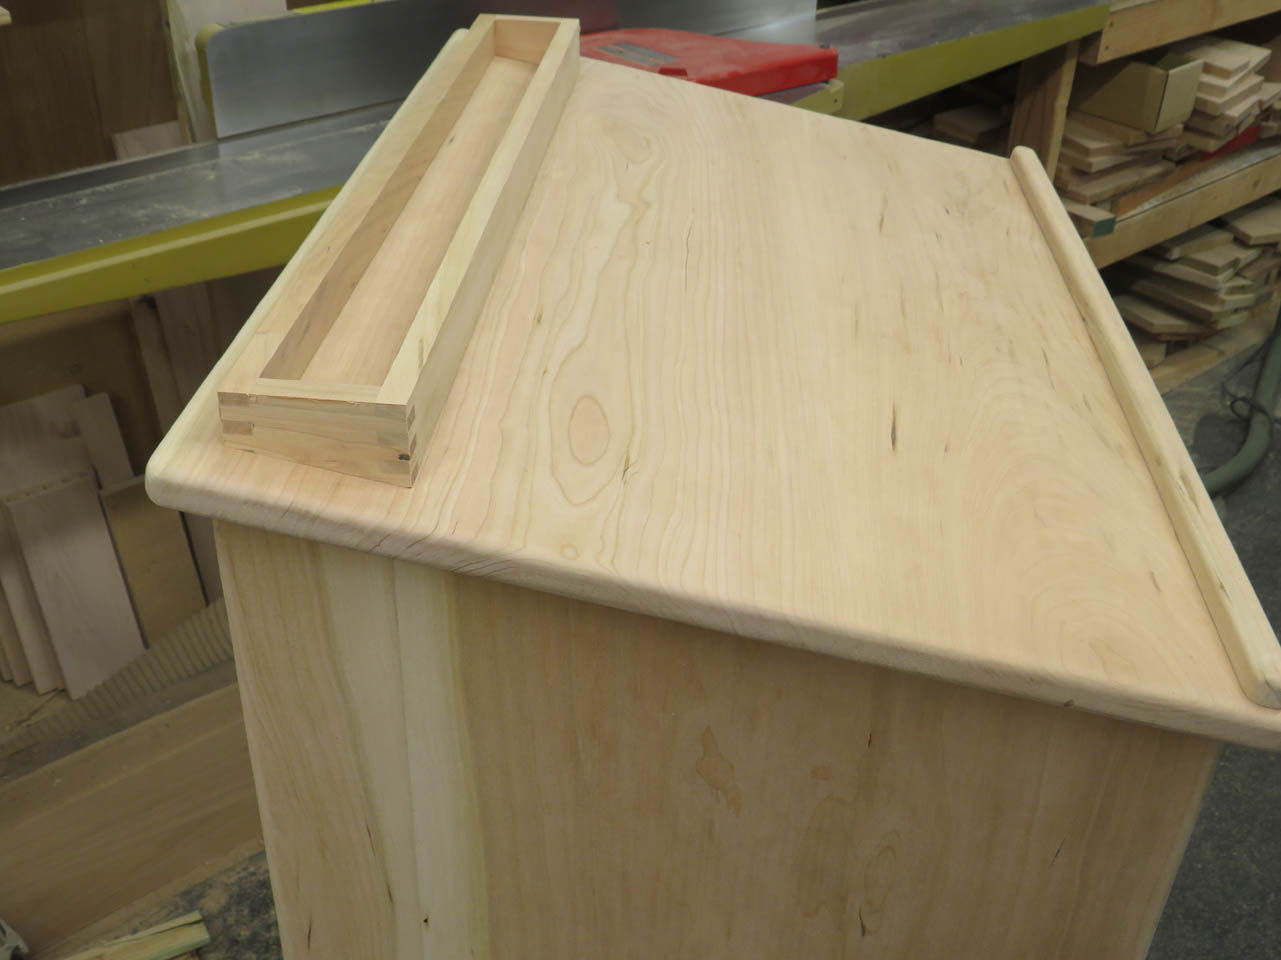
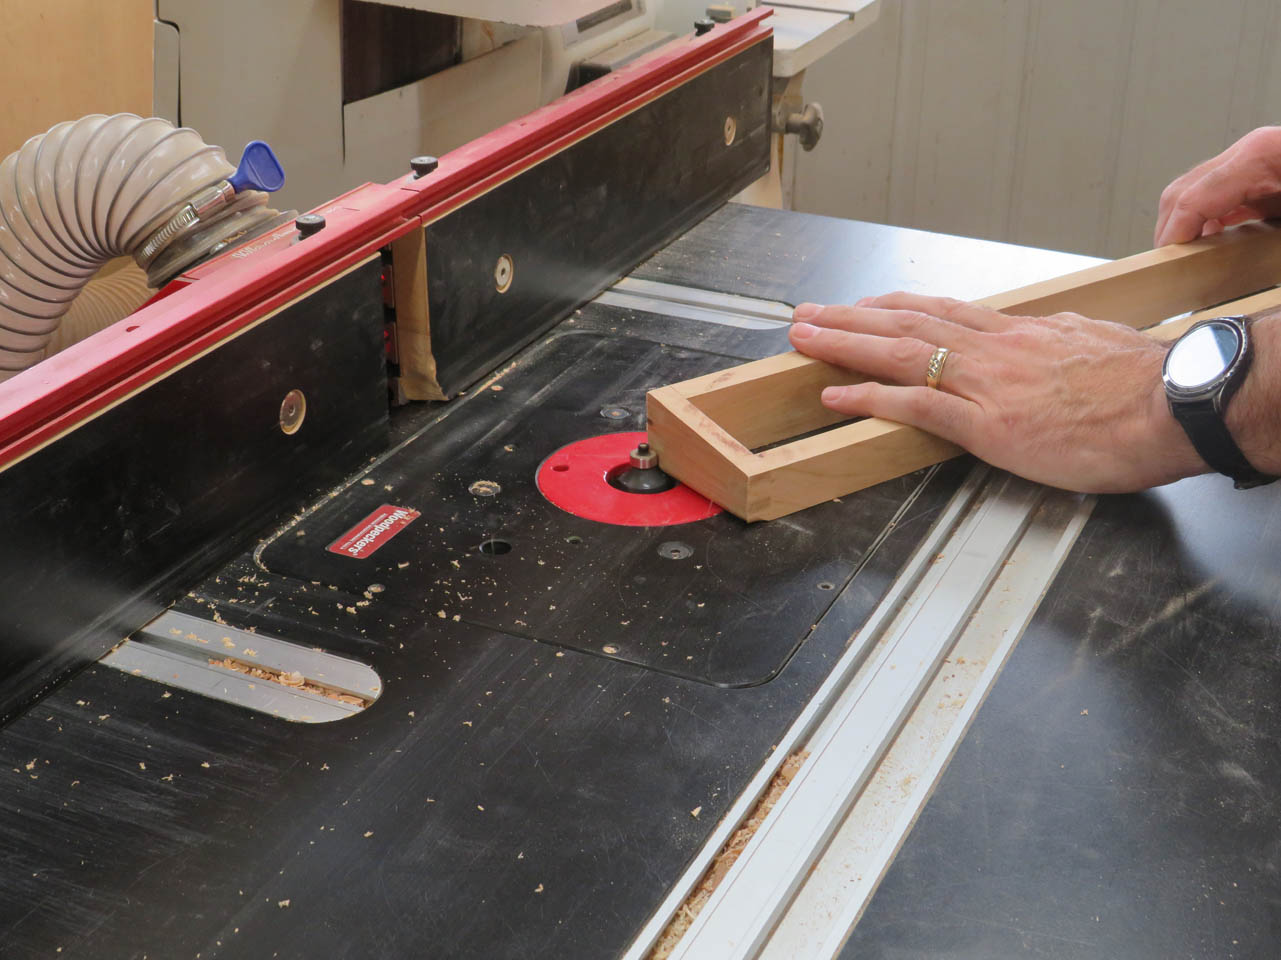
I placed a 1/4″ round-over on all of the exposed edges at the router table.
Then more sanding…

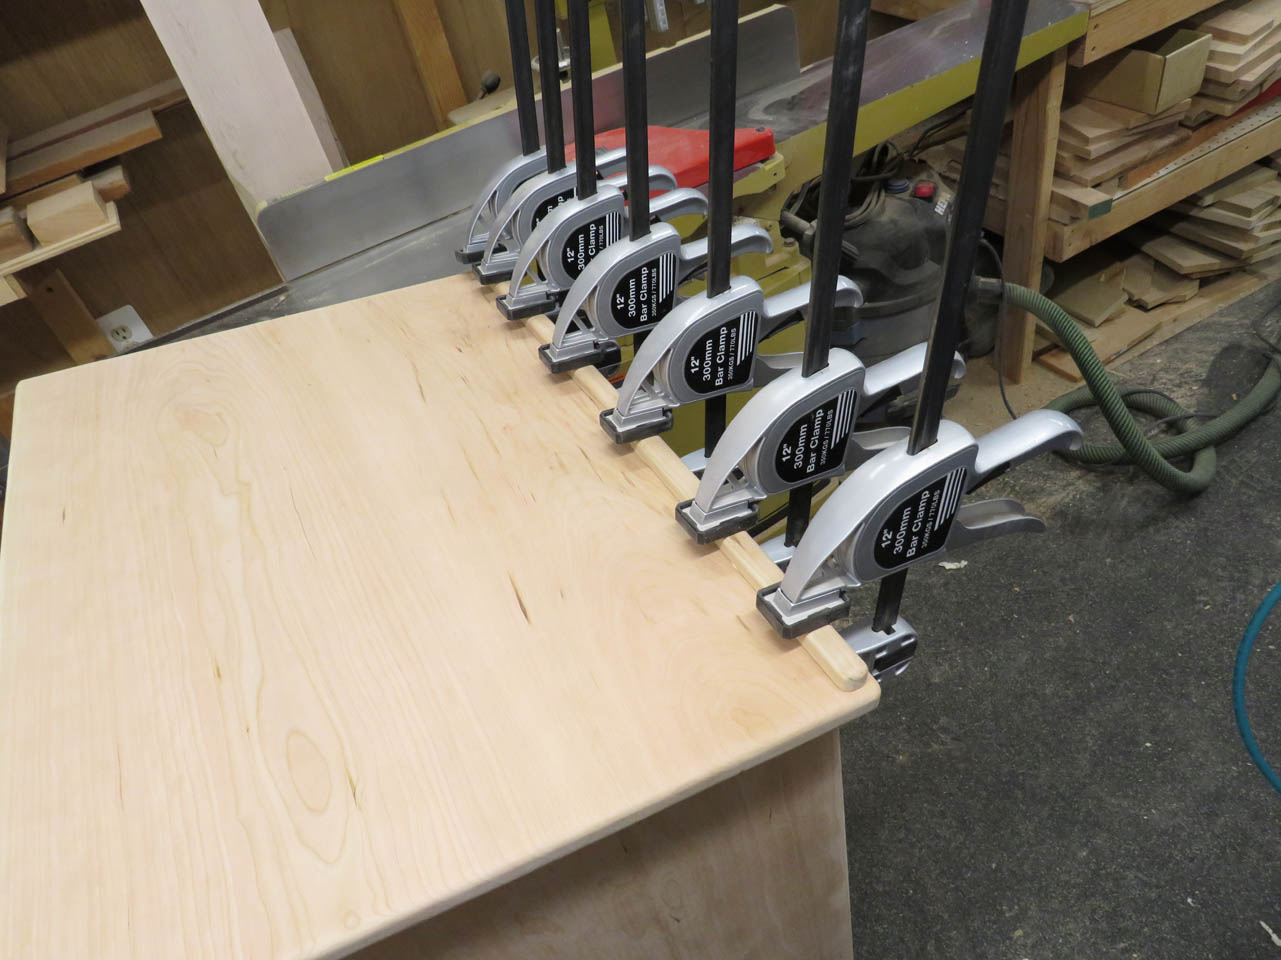
I had to get creative with the clamping when it was time to glue it down.
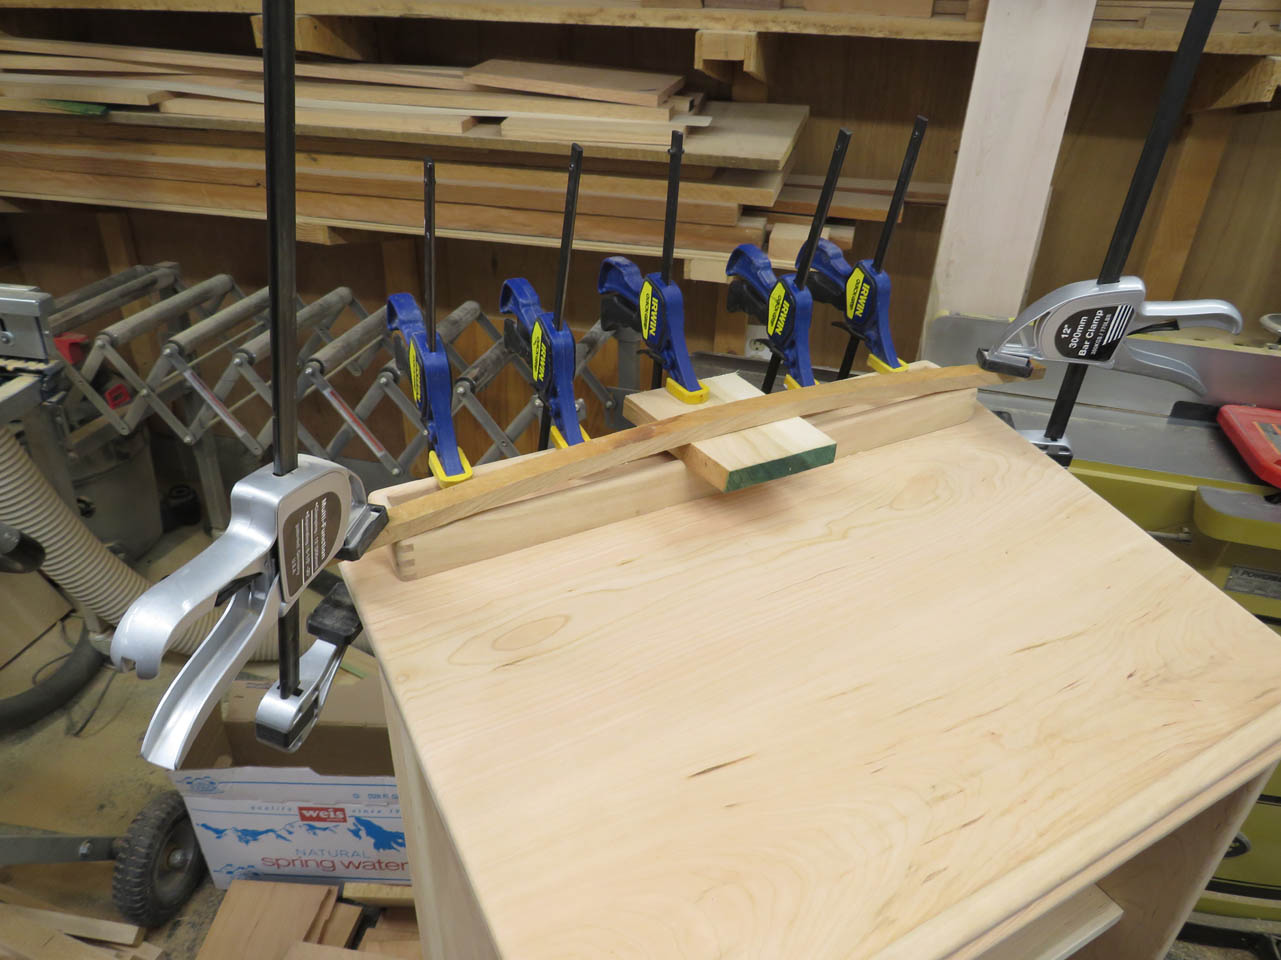
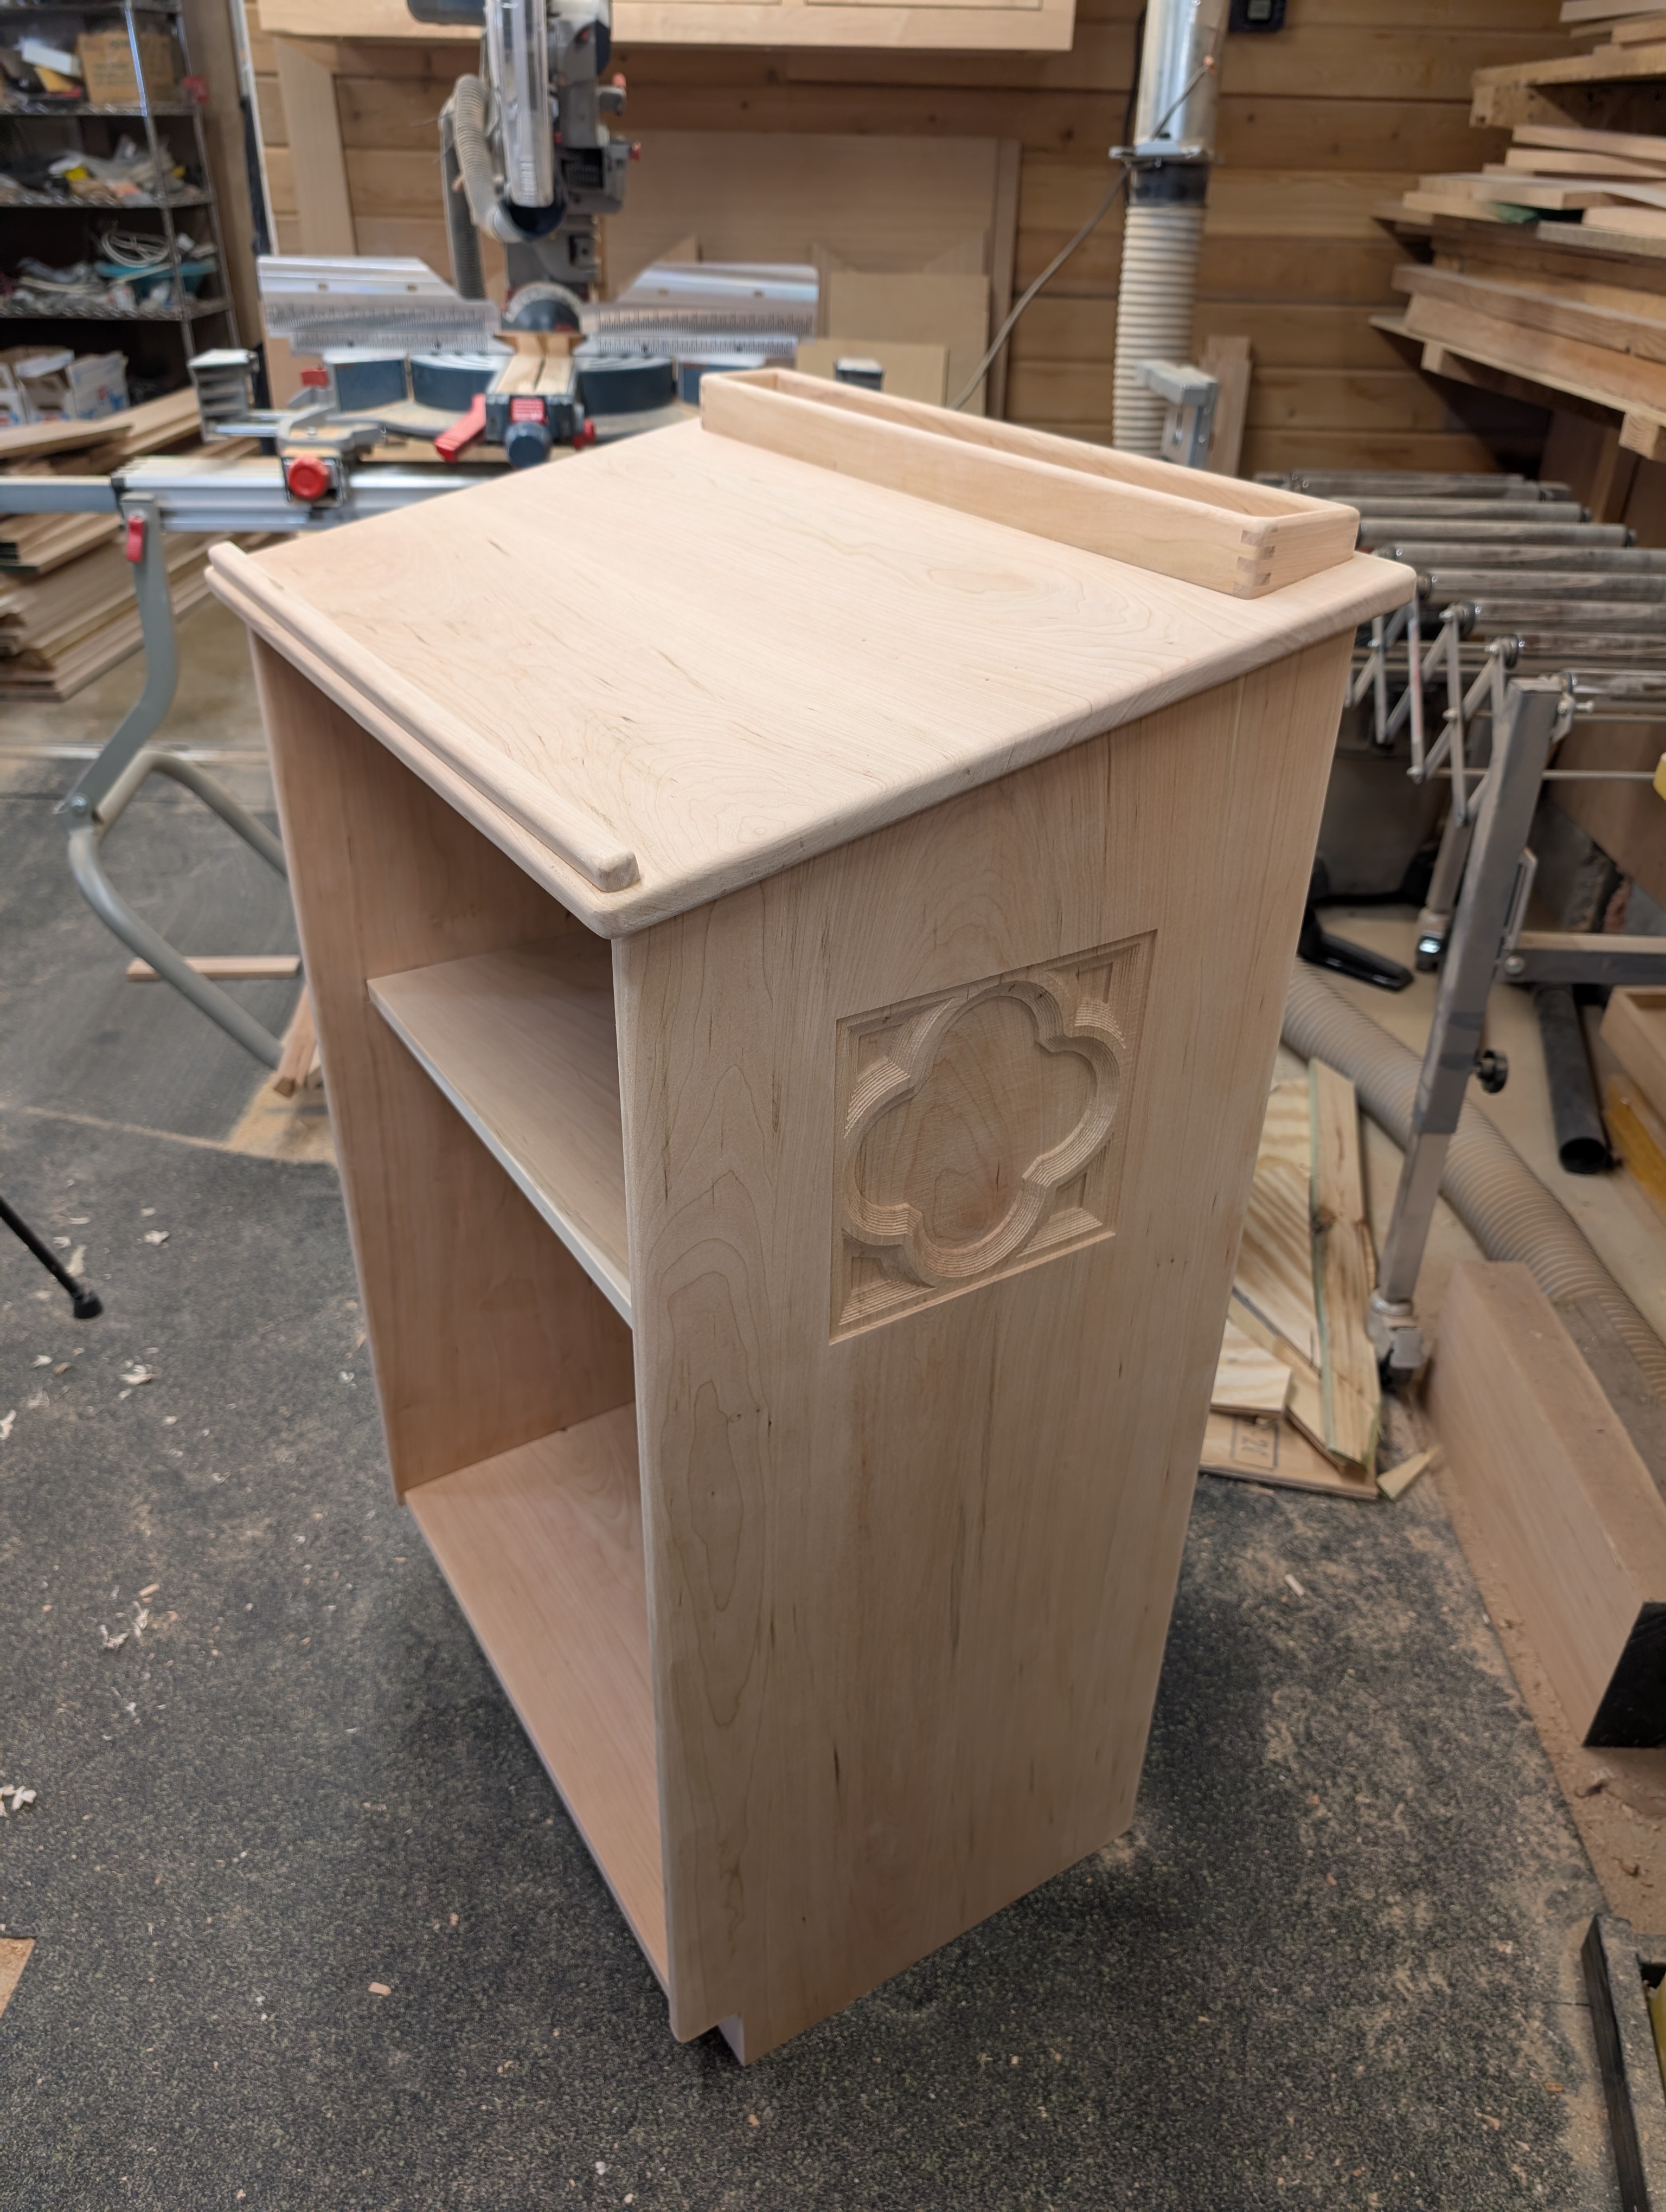
After nailing the bottom shelf in place as well, the stand was complete.
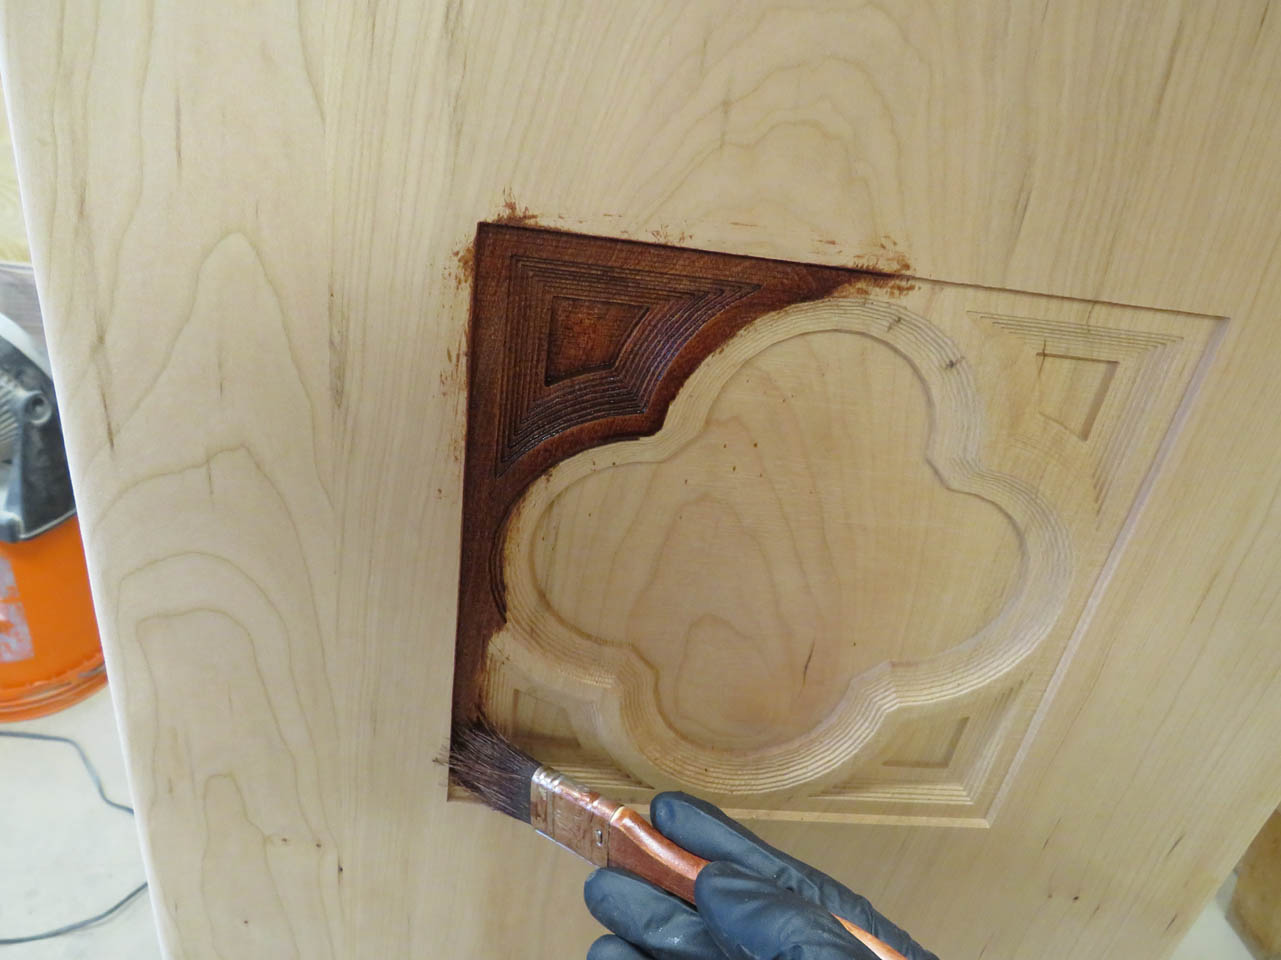
Time to start staining. I used a brush to apply stain in the hard to reach detail areas, then rubbed everything out evenly with a lint free cotton cloth (piece of an old tee-shirt). I like the way the stain highlights the roughness of the bottom of the carve. It mimics the hand-tooled surface of the marble version.
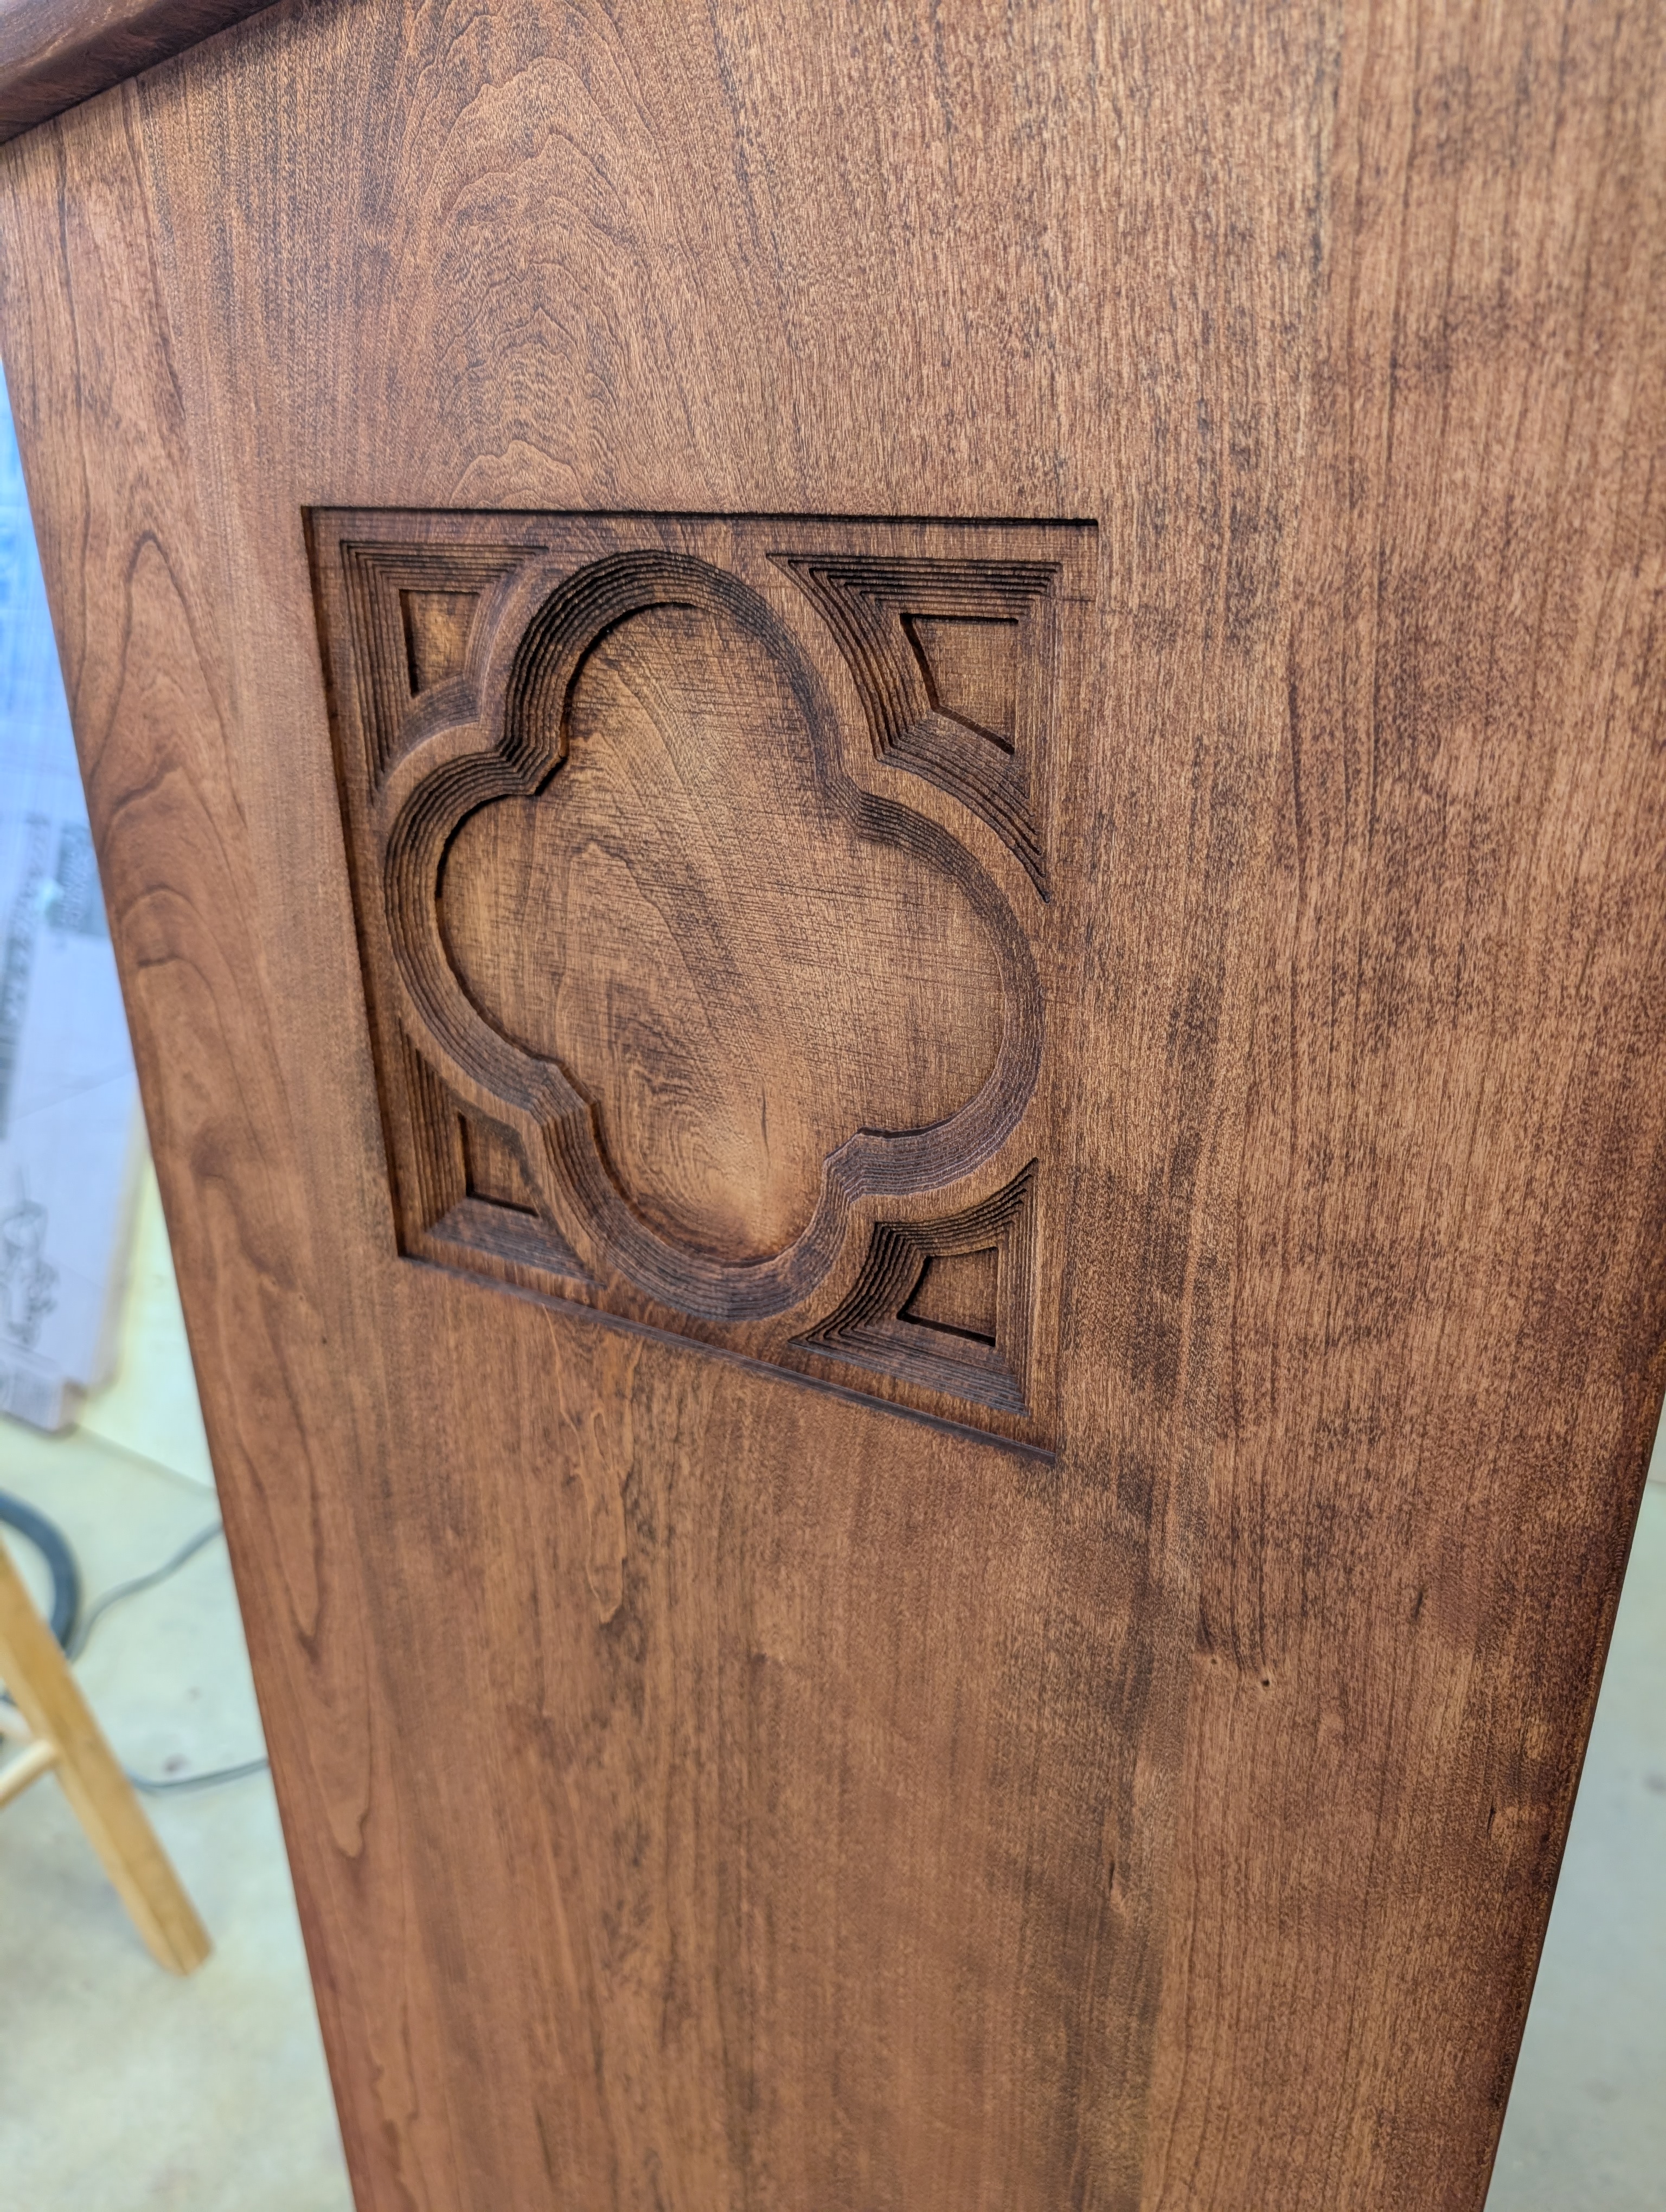
I took my time and worked my way all around.
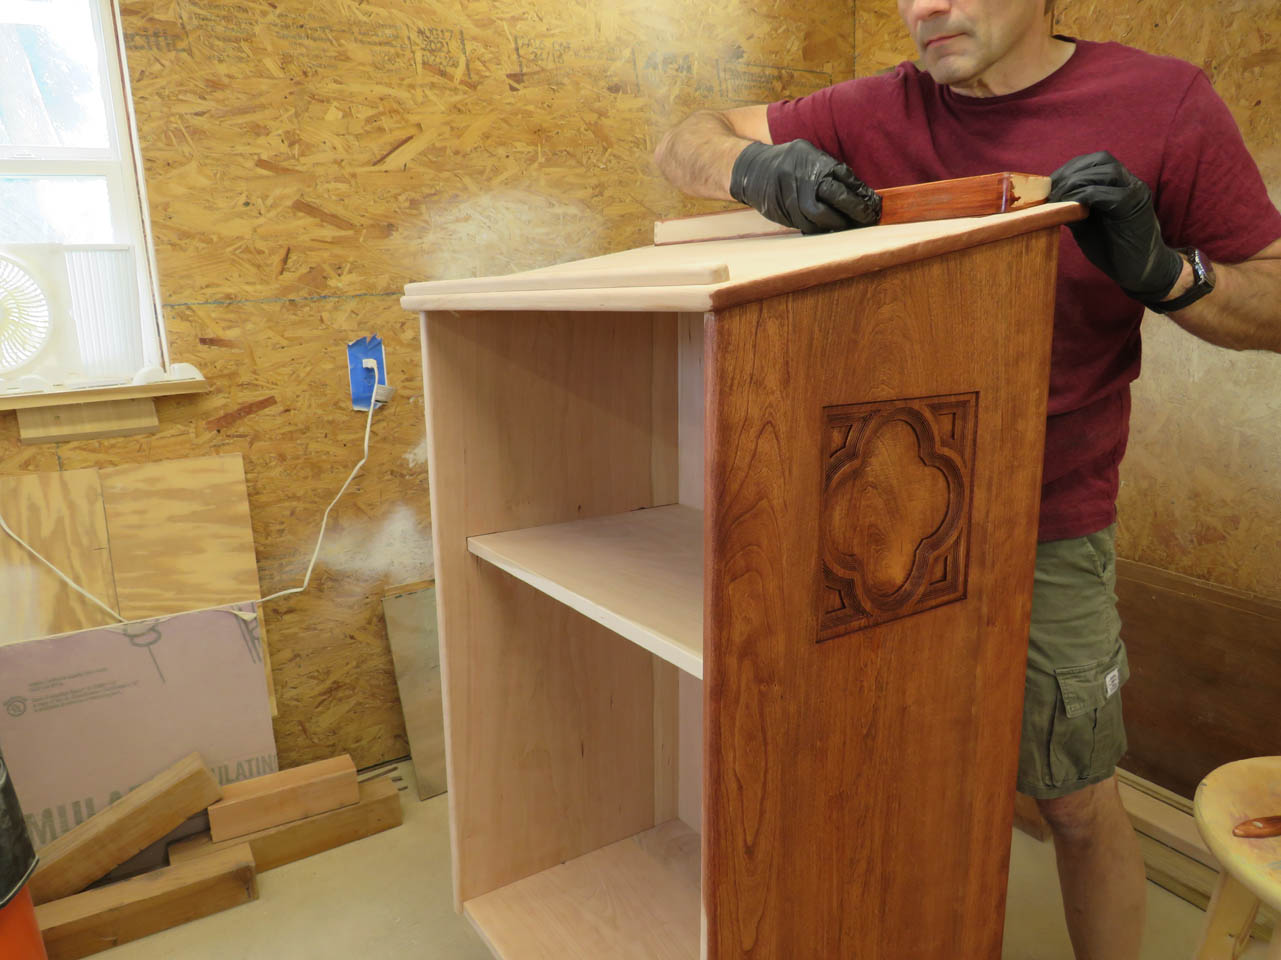
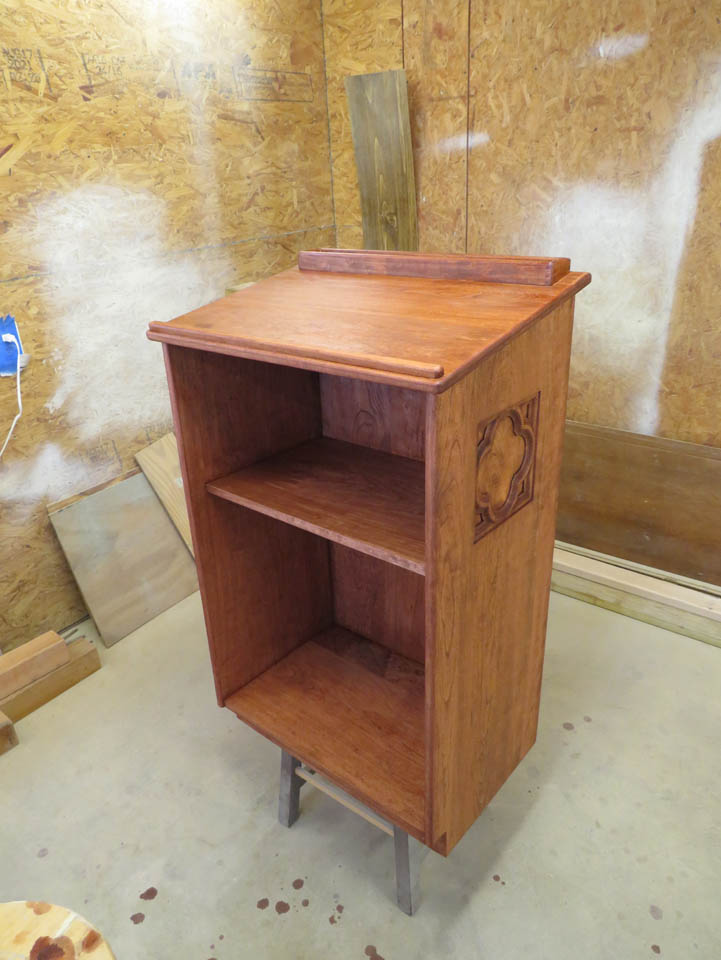
Looks pretty good.
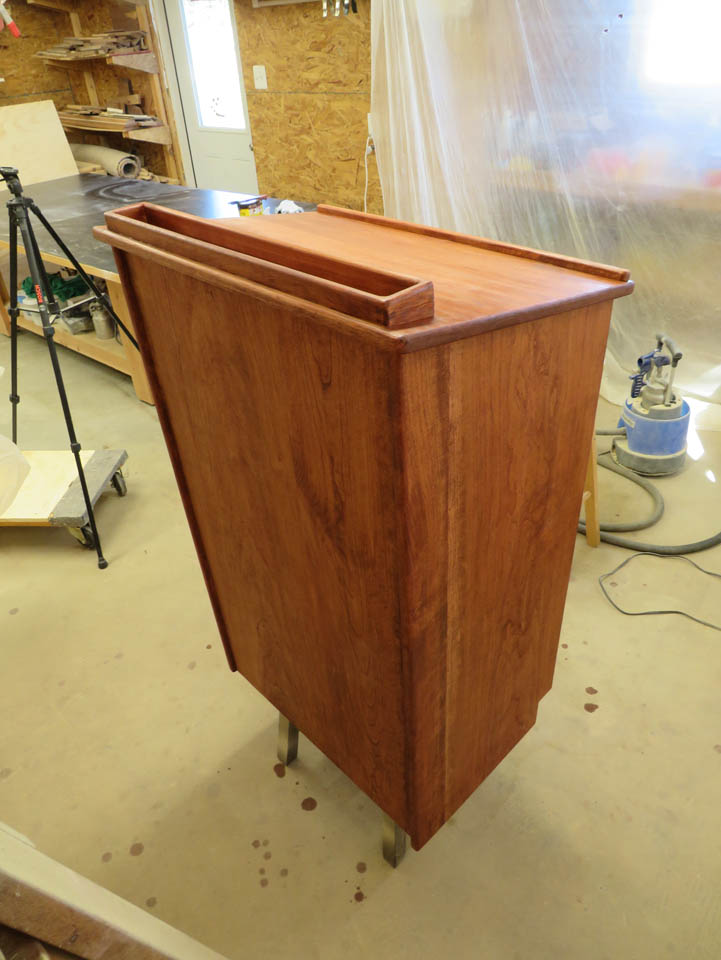
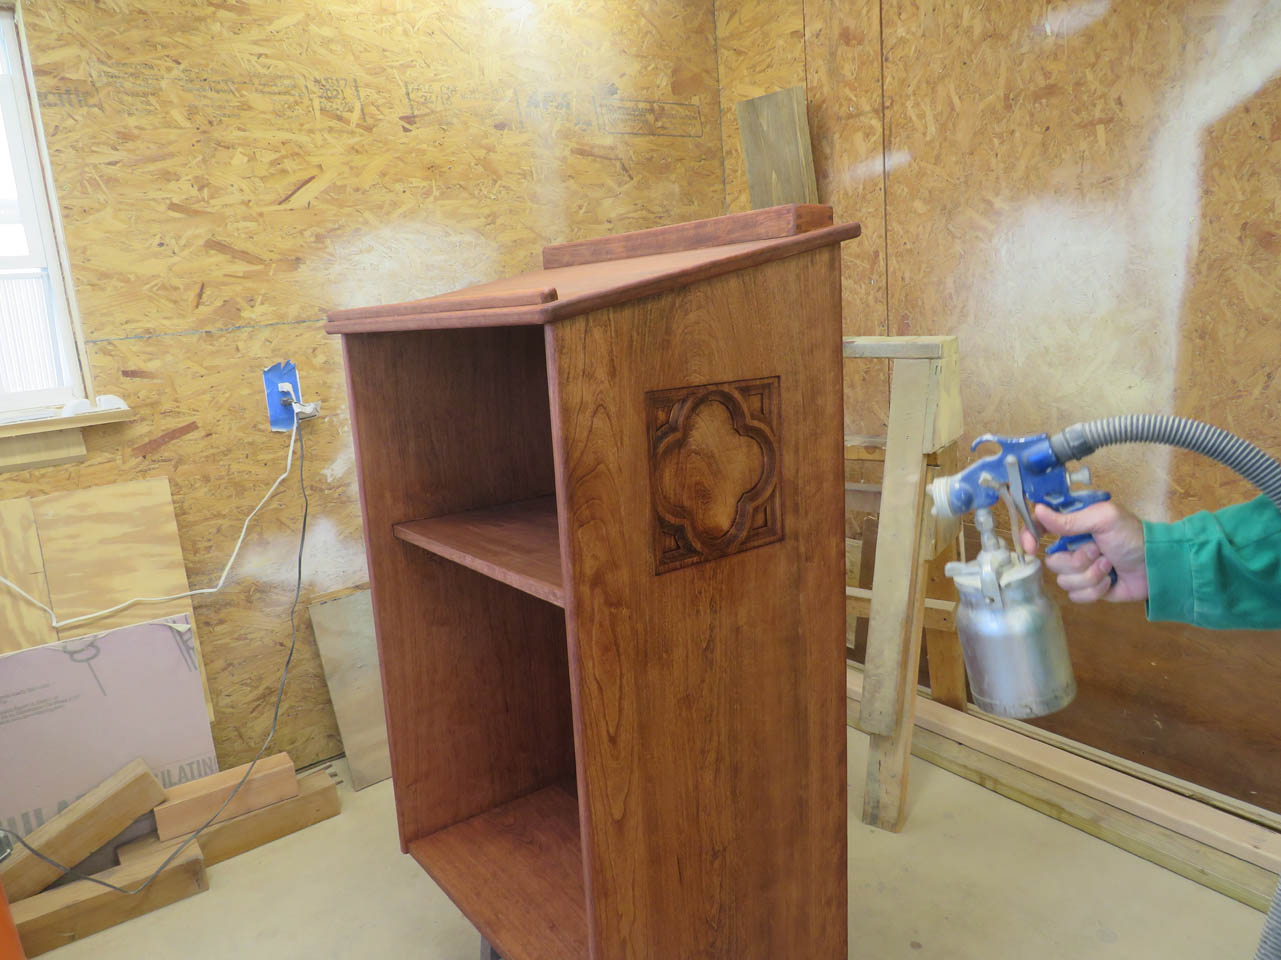
The next day, I started applying the first coat of polyurethane.
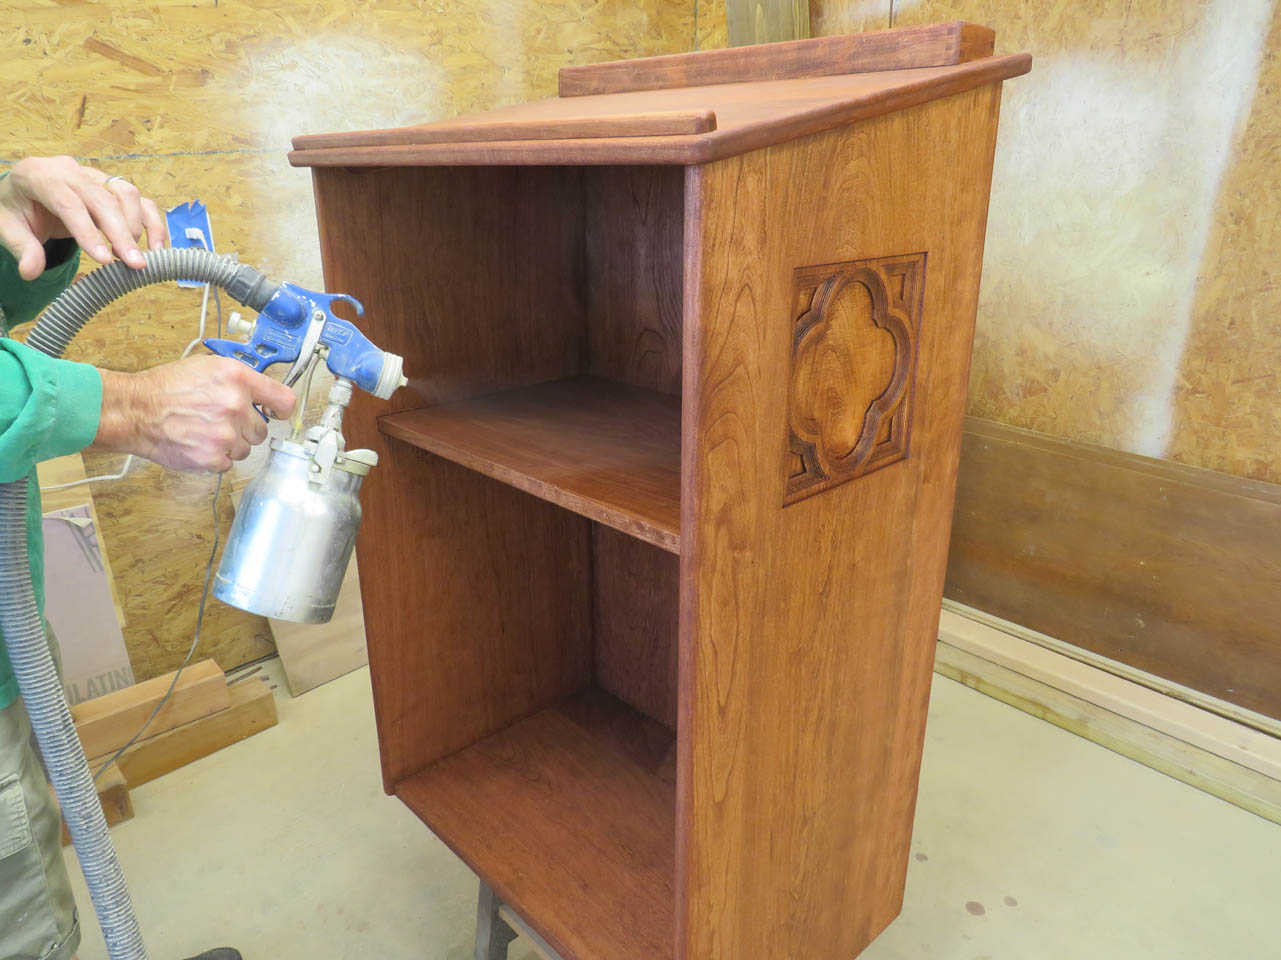
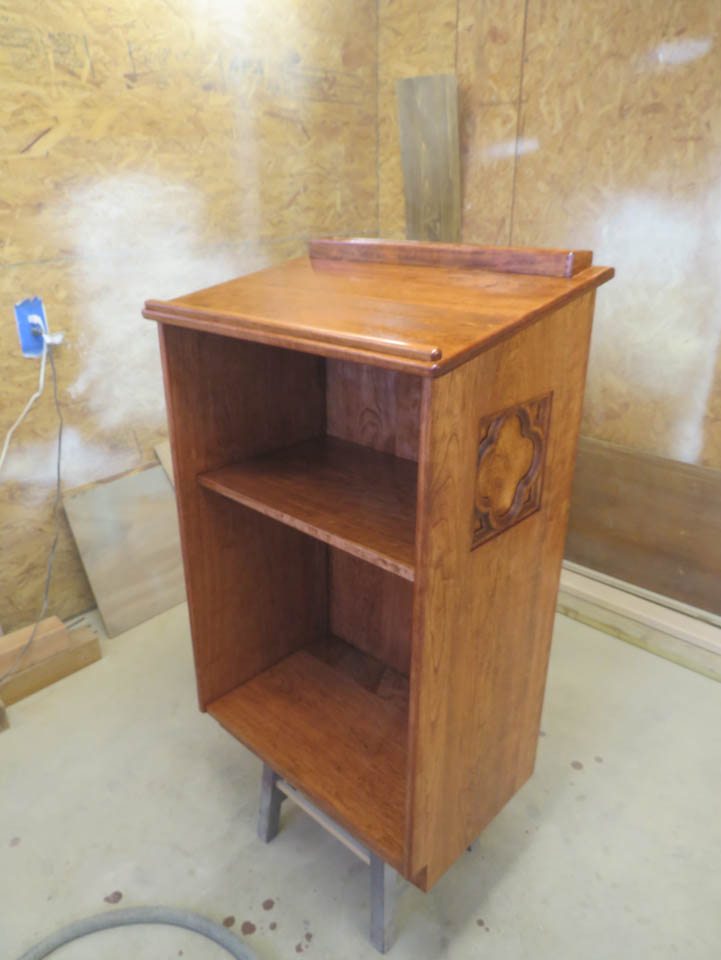
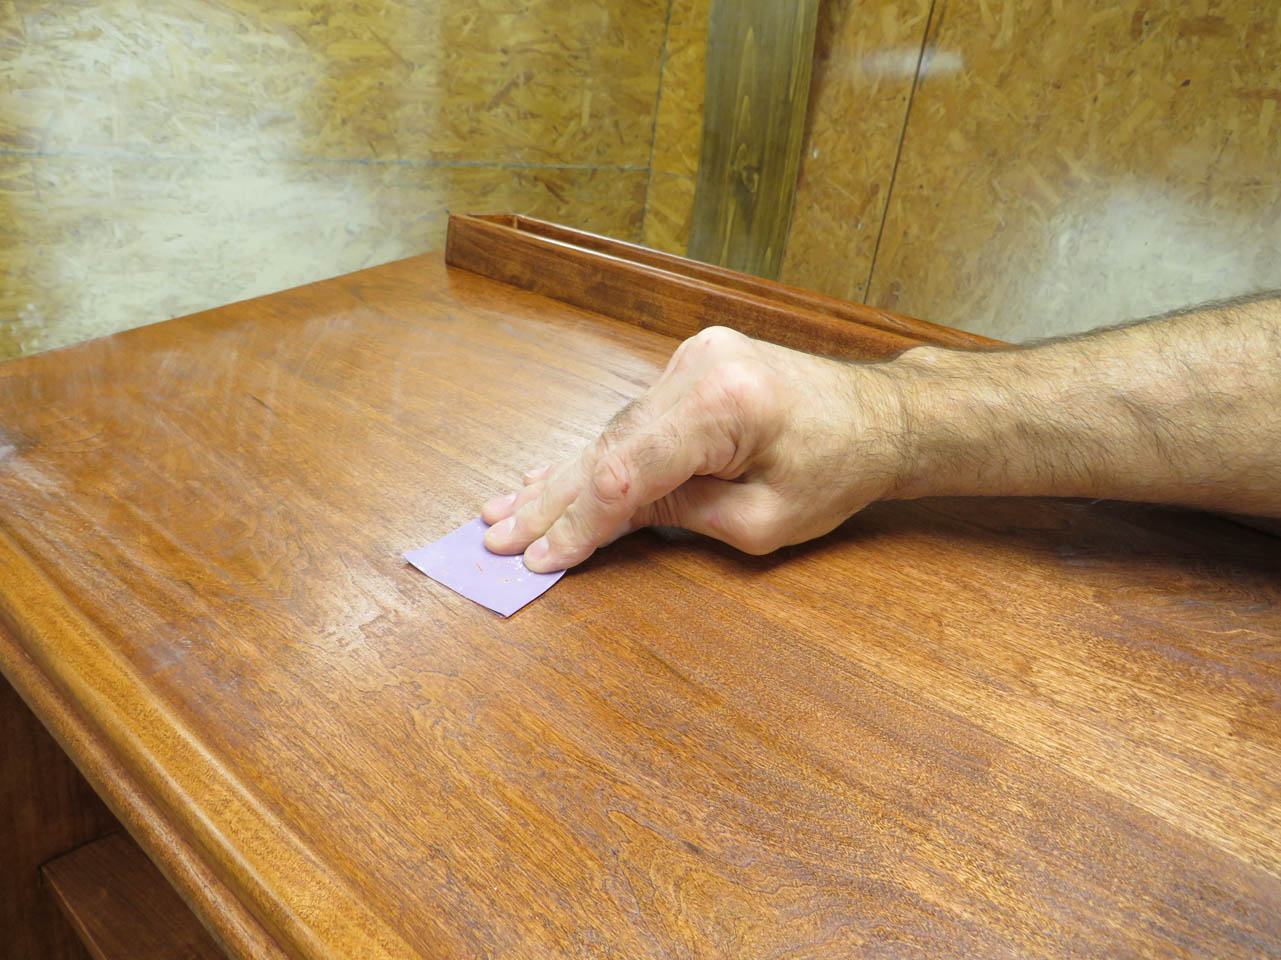
That afternoon, I sanded everything down with 400 grit paper and wiped and vacuumed the dust away.
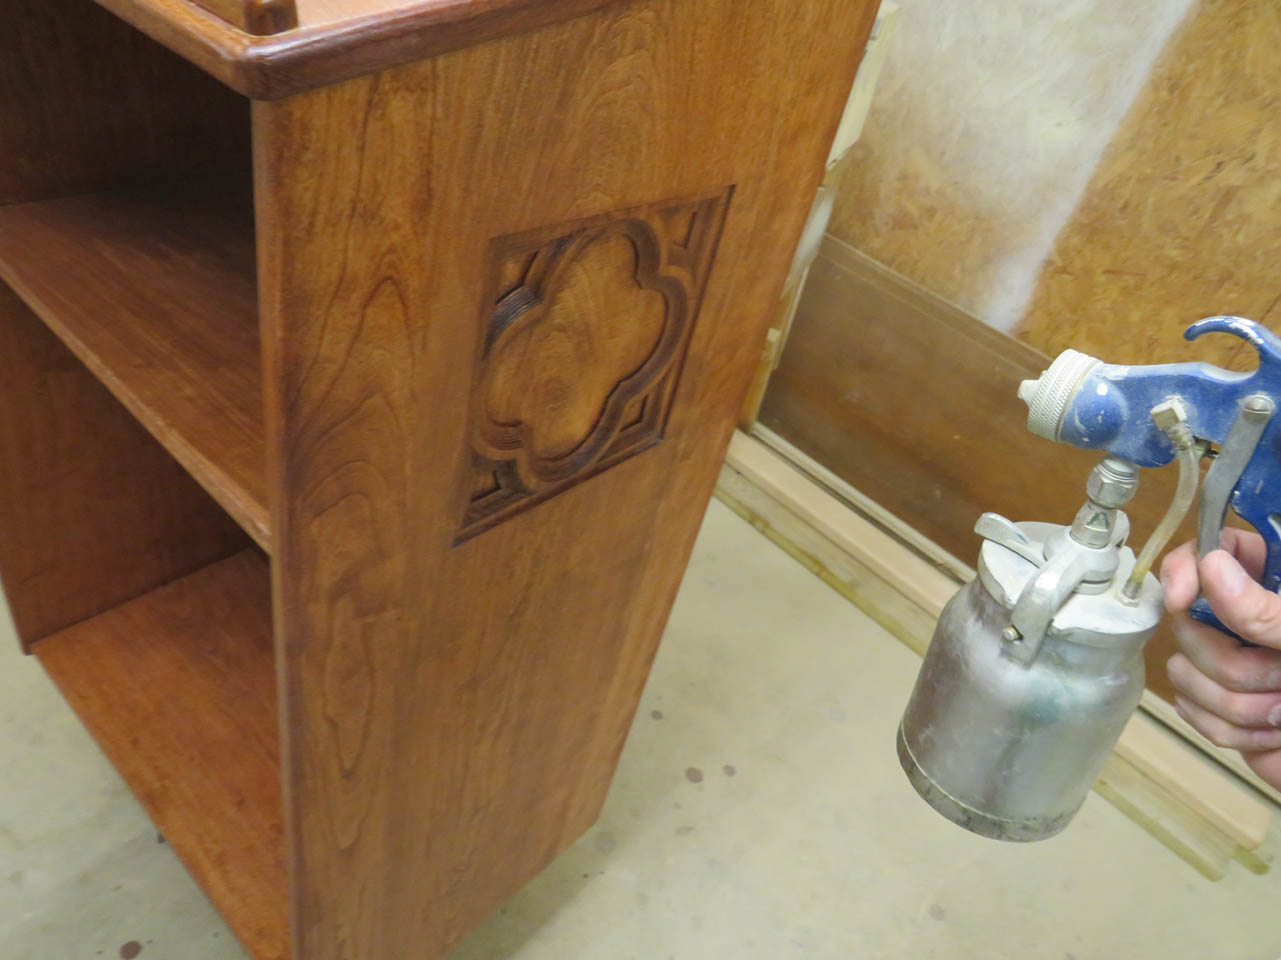
Then the second coat was applied.
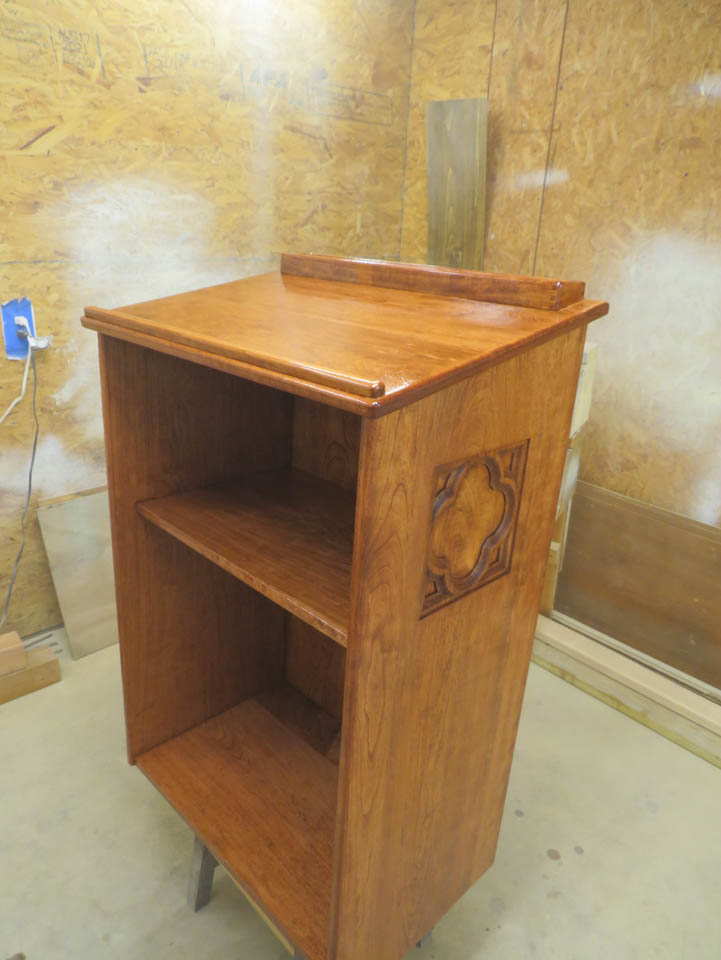
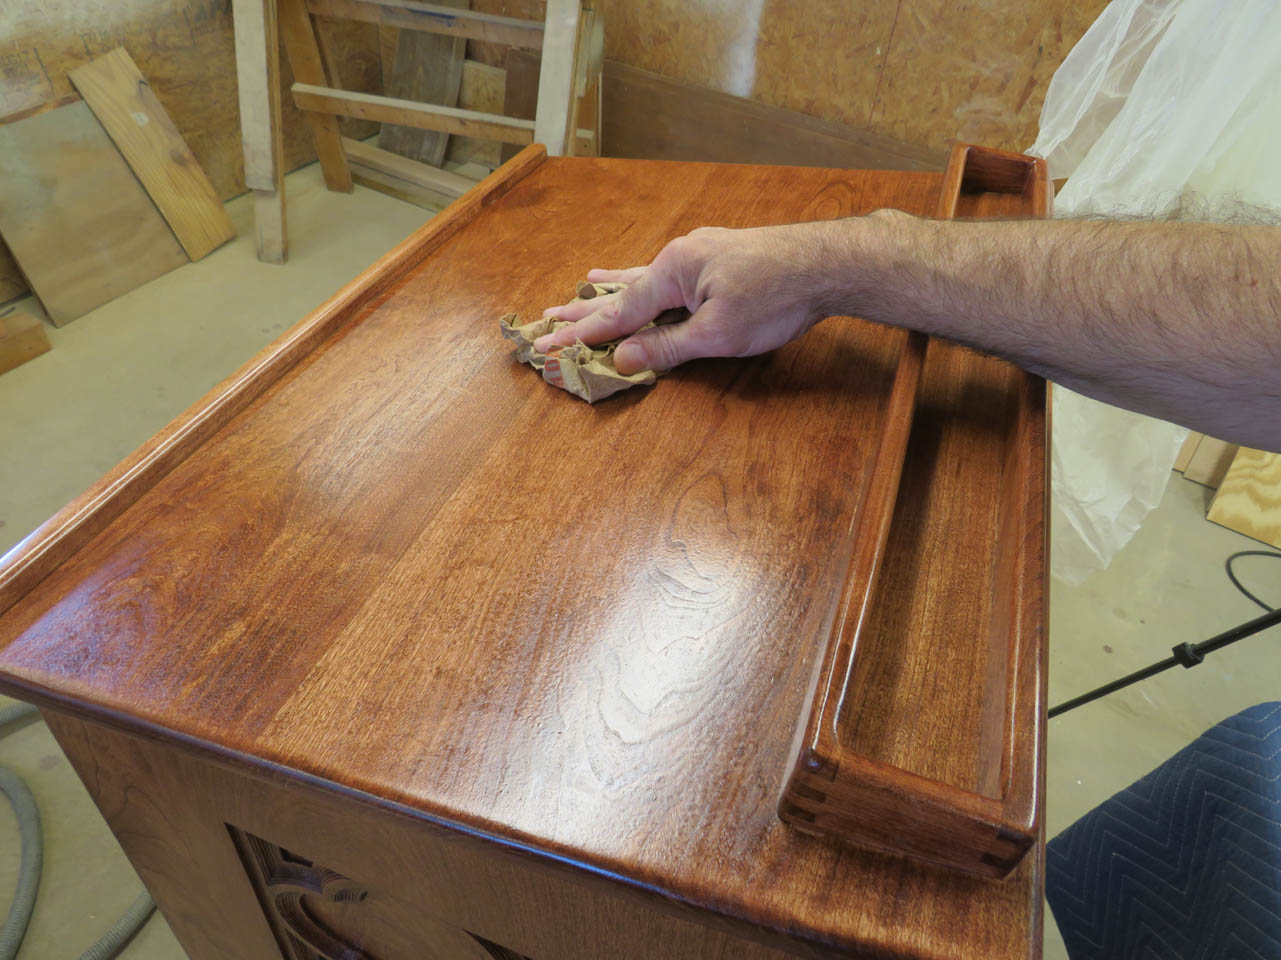
When it was dry the next day I rubbed down all the surfaces with some wadded up brown paper. This knocks down all of the dust nibs and polishes the finished surfaces.

The last thing I did was to apply a couple of coats of poly to the bottom to prevent moisture from being able to infiltrate from below.
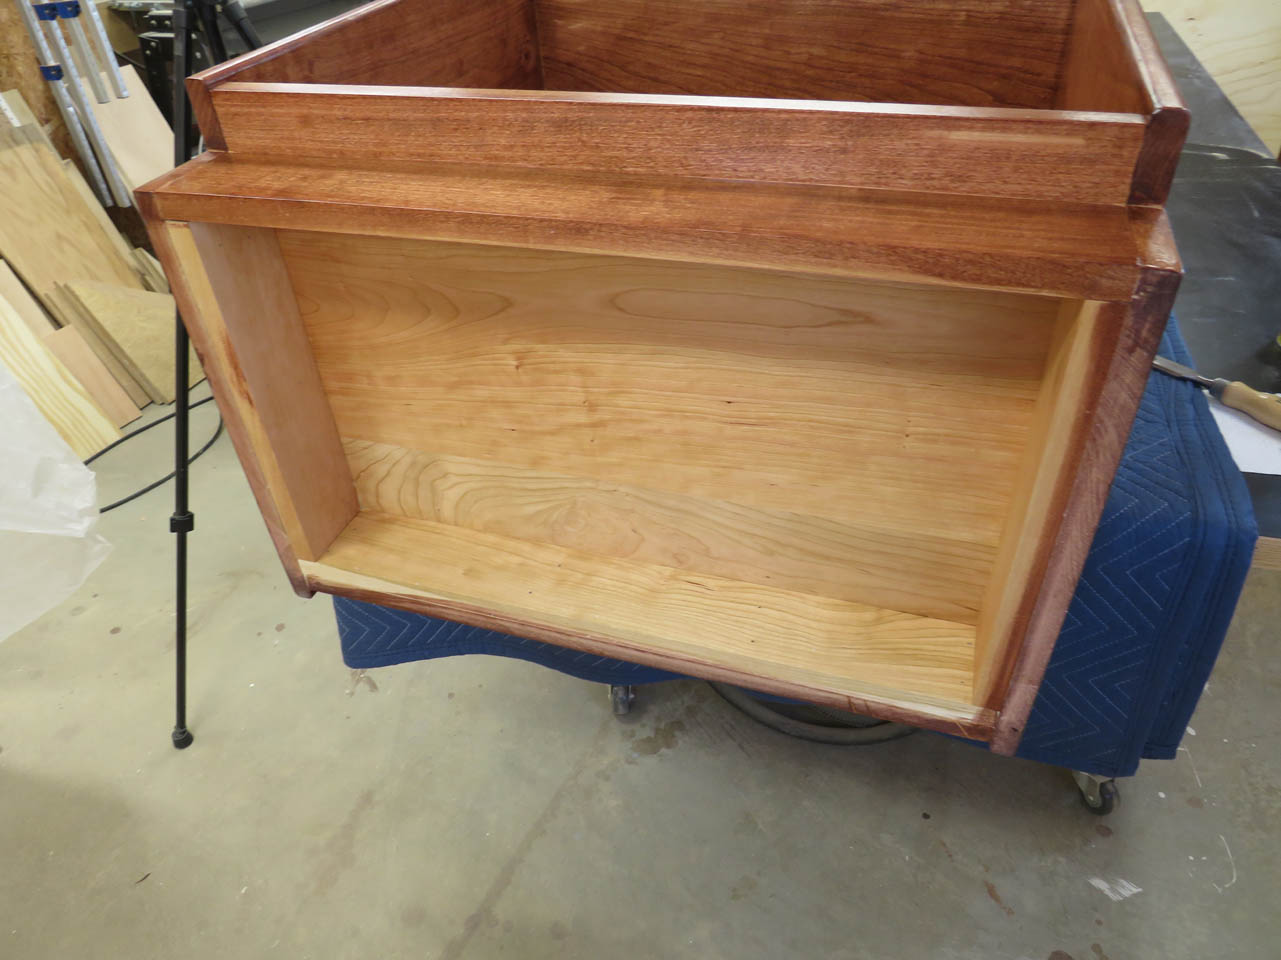
I made the delivery the next day. The top has a 3/4″ overhang all the way around so that the stand could be pushed right up to the wall without being affected by the base trim.
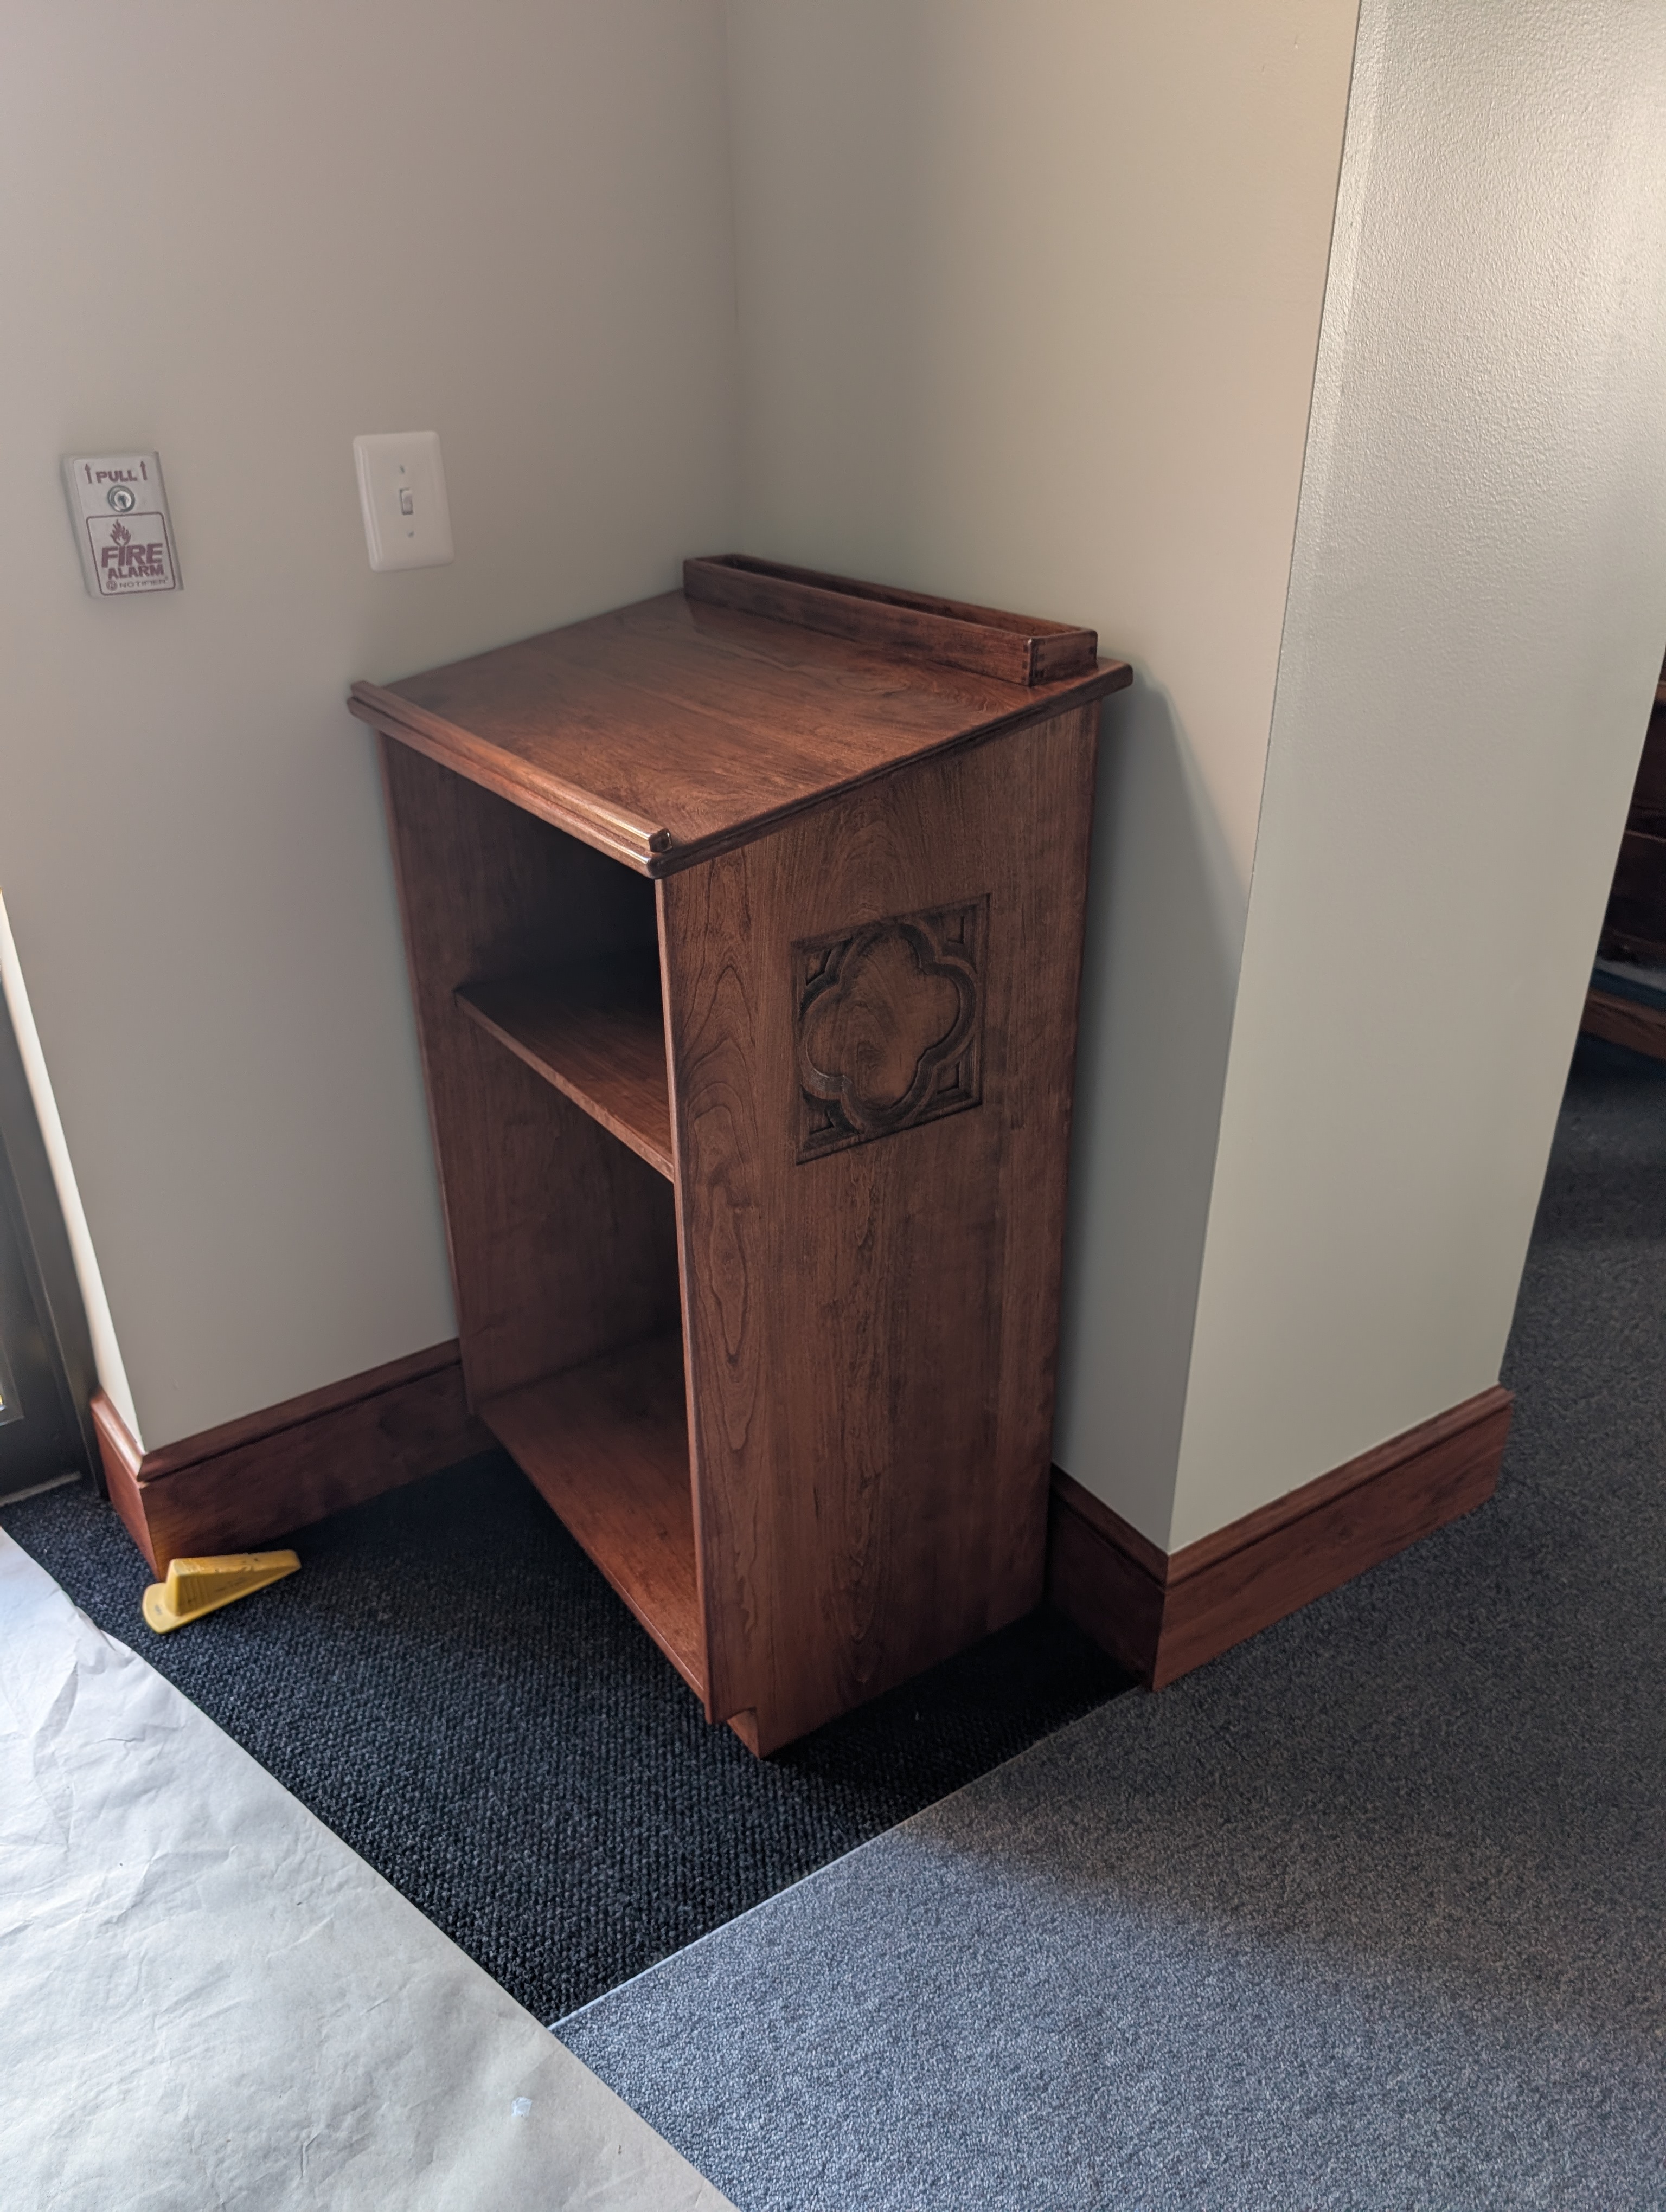
This was an interesting build with a few challenges but I think it turned out really nice.

