Dining room cabinets part 1
My wife and I have been using the same old particle board and white laminate microwave cart for the last 31 years. It is one of those pieces of furniture that you get, to fill a need (on a tight budget) then forget about because it keeps working… I have rebuilt nearly everything else in the house but that little white cart keeps hiding in the corner, ignored. Well, my youngest son is getting married and moving out in a couple of weeks and for some reason, he wants the old microwave cart. I wish it was a nicer piece of furniture to hand down, but at the very least, it is an excuse to replace the last piece of crappy furniture in my house with something custom built. I asked my wife what she wanted in a replacement and it is going to be two cabinets. One will be taller to hold mops, brooms, cleaning supplies, and such. The other will be shorter and wide enough for the microwave as well as the dehydrator. Inside the main cabinet will be a shelf on the right and three drawers on the left, concealed behind two quarter-sawn oak raised panel doors, that will match the cabinets on the opposite side of the dining room.
I created a design, then generated a parts layout so I can figure out if I can use what I have in the shop or if I have to buy anything. Here is my part plan: CABINET PARTS.pdf It looks like I will need to buy a single sheet of 3\4″ oak plywood. I have lots of 1/2″ plywood off-cuts from a previous job and plenty of solid oak in stock.

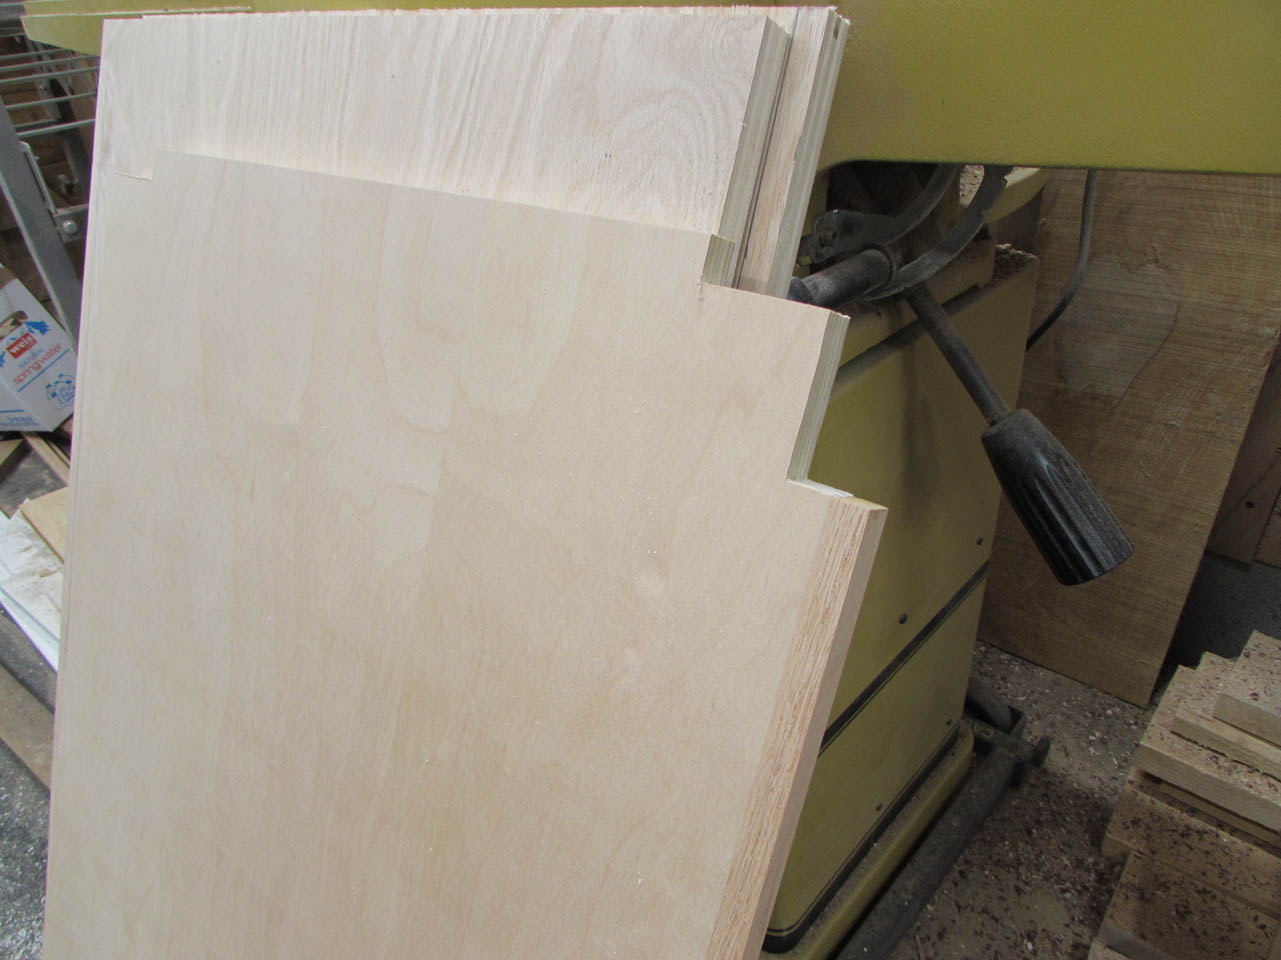
I used my track saw to break down all of the plywood.
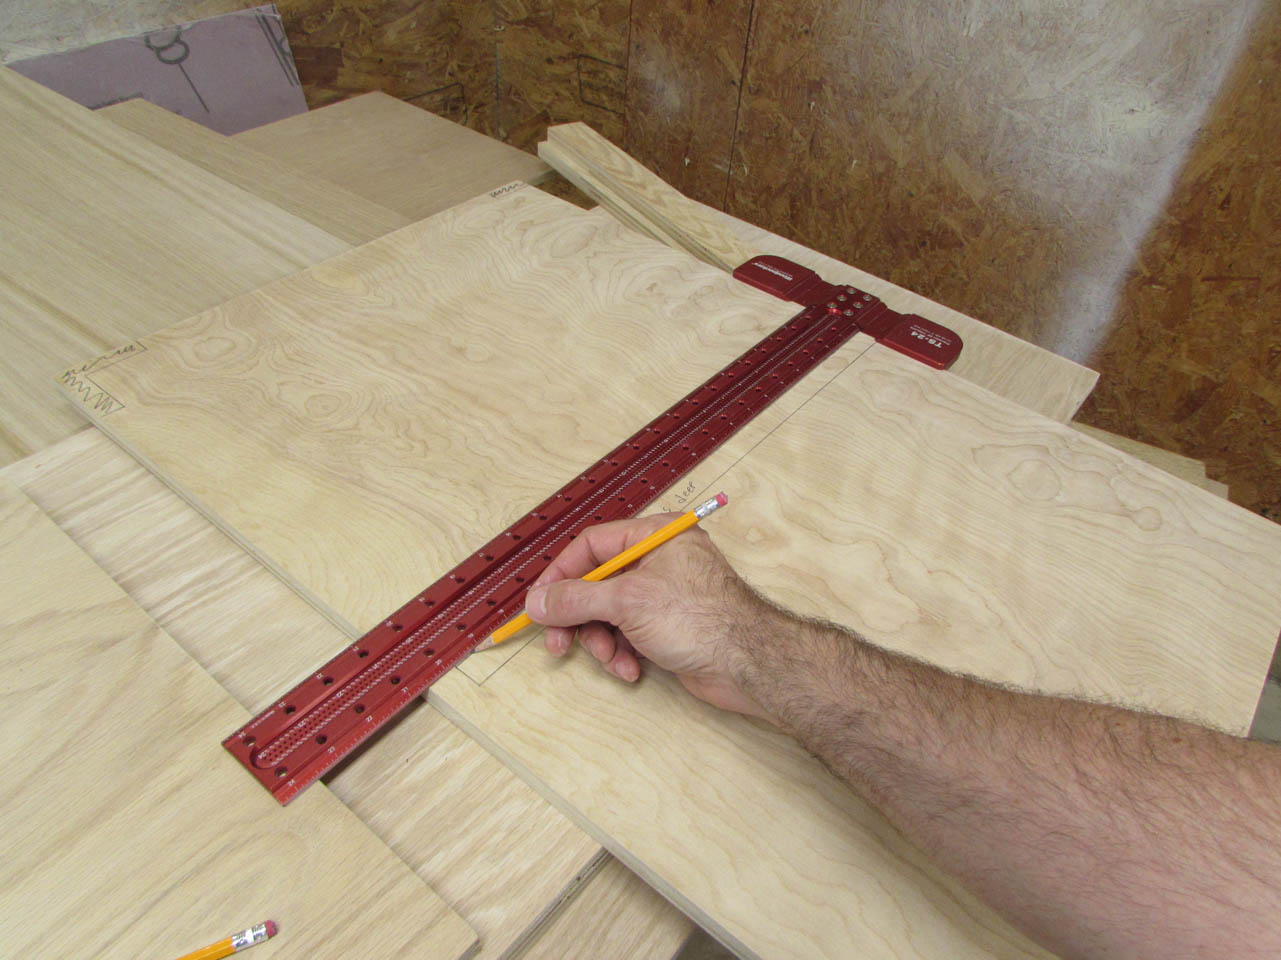
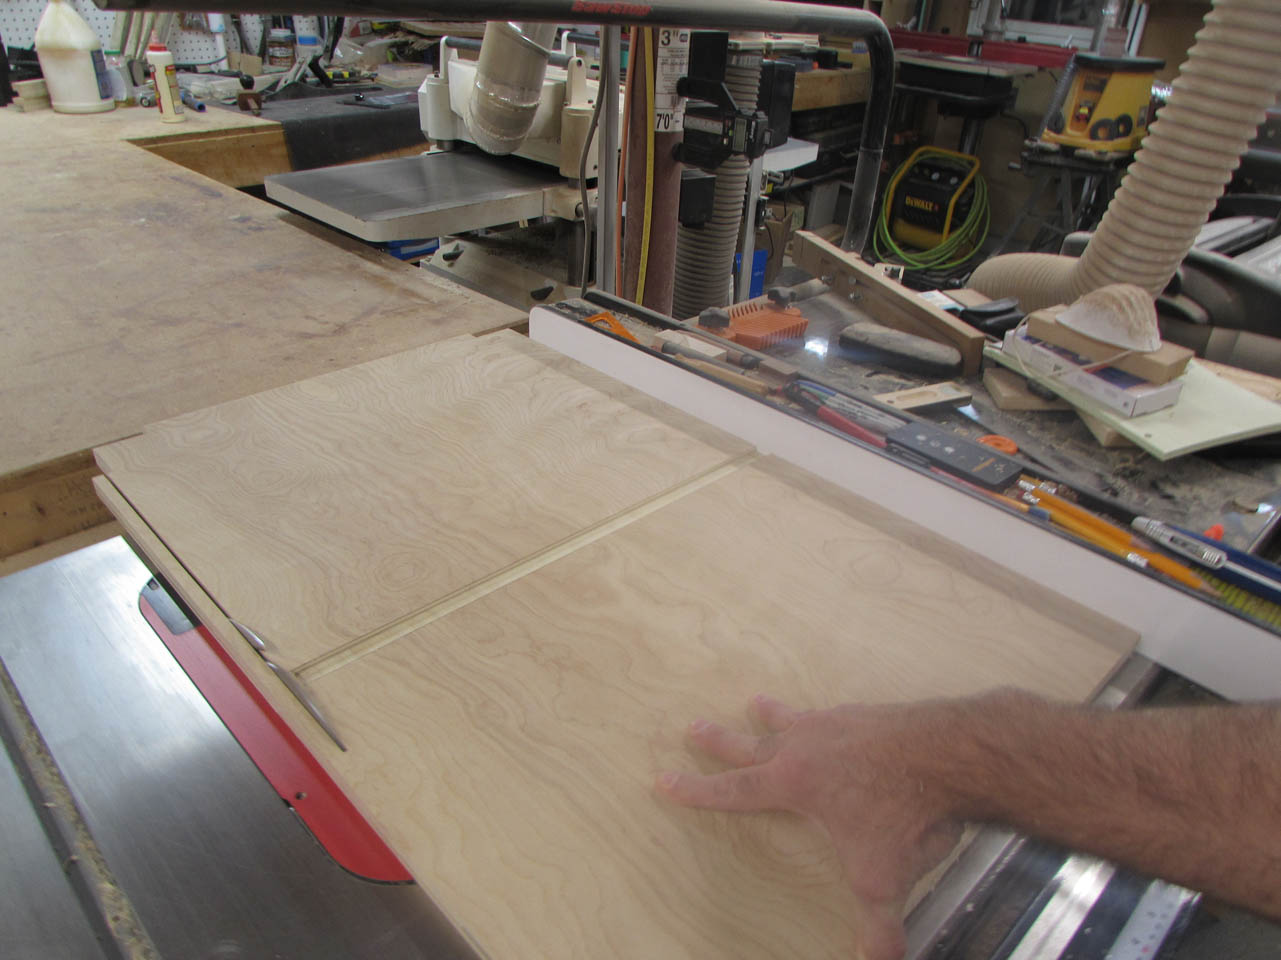
Once I had all of the sheet goods cut down to size and checked for square, I started laying out all of the grooves and sections that needed to be cut away.

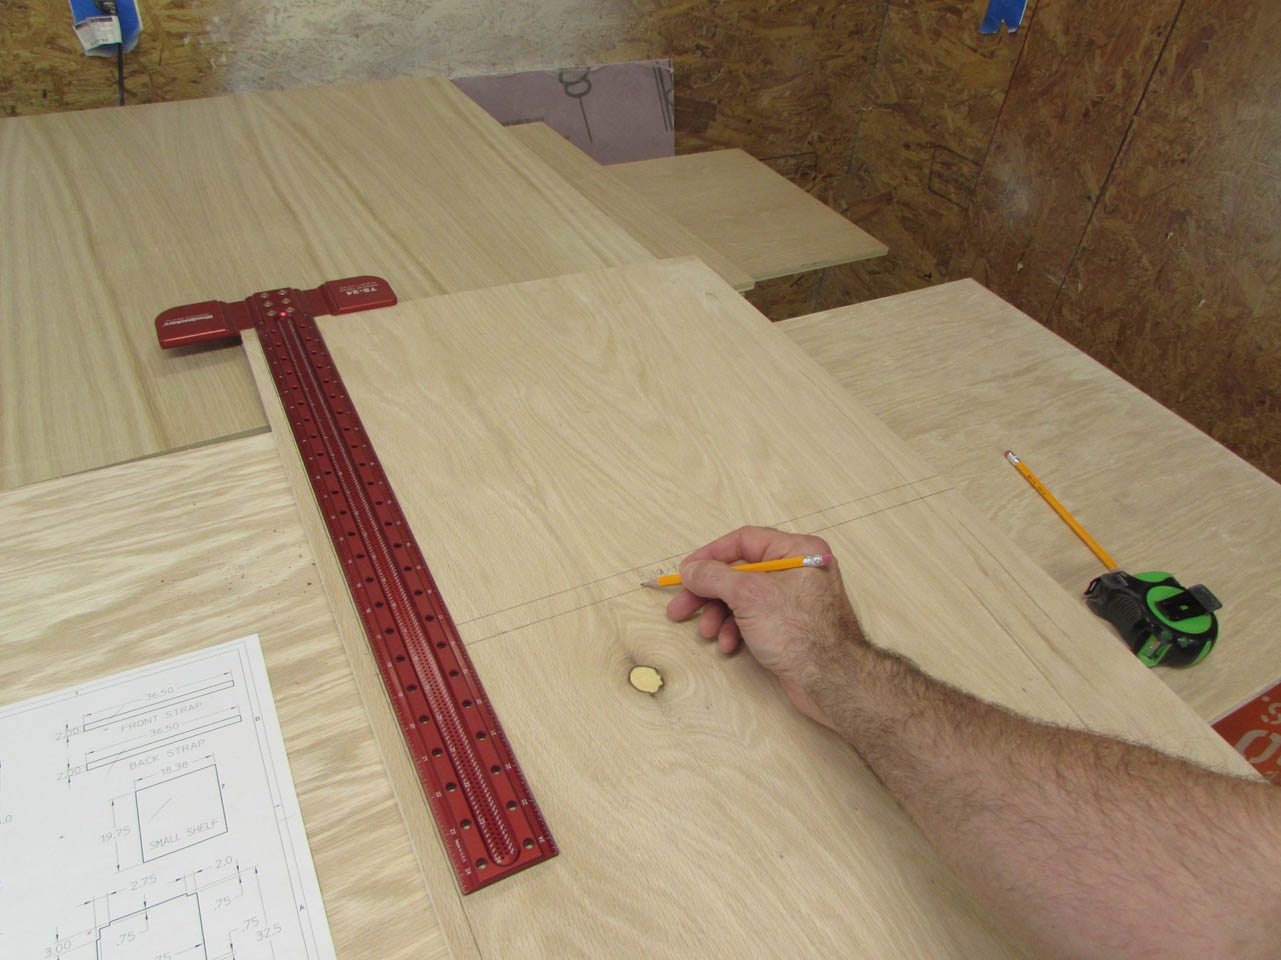
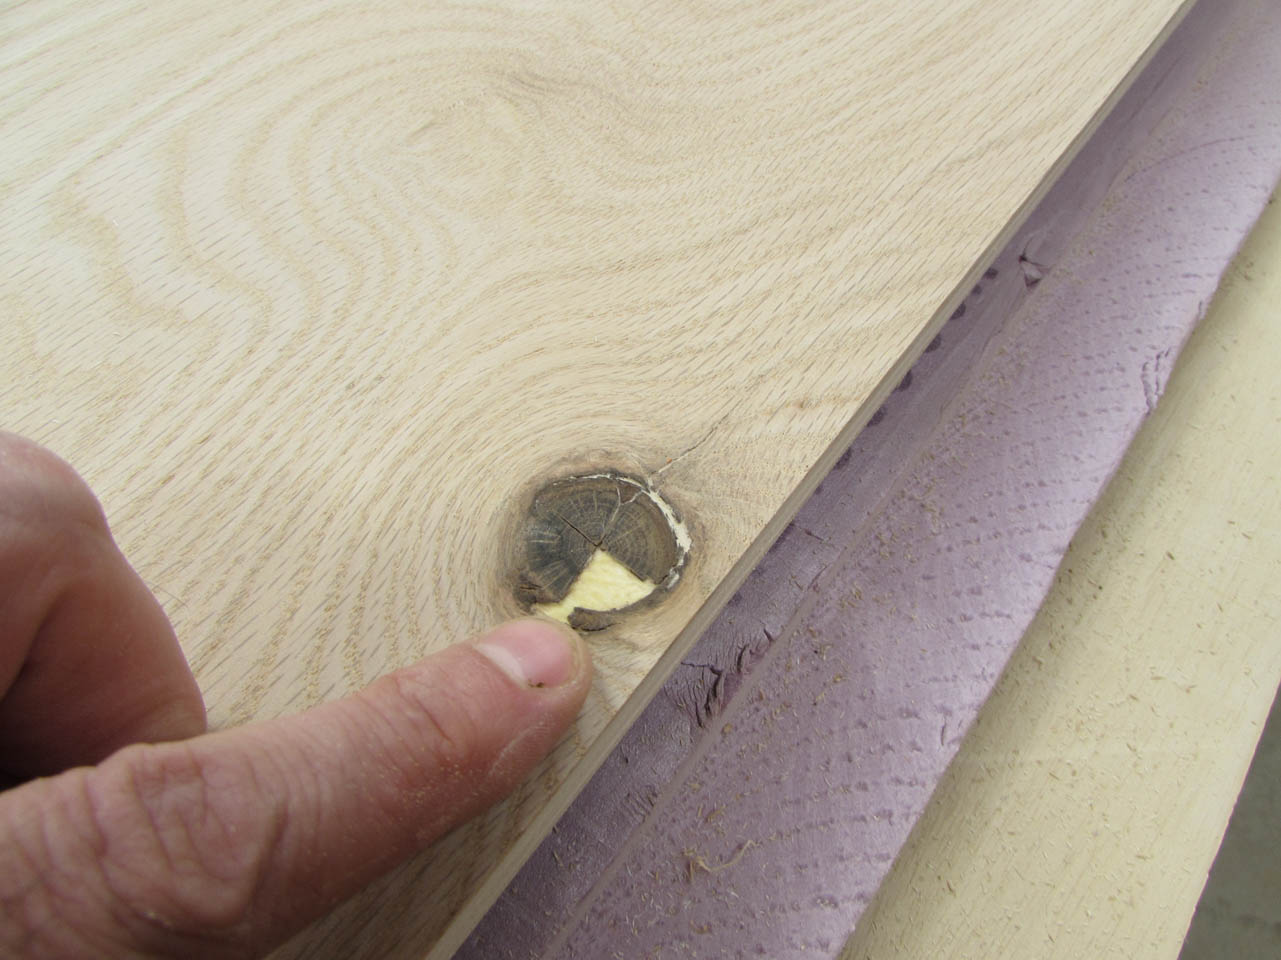
The quality of plywood available these days is pitiful. Usually there is only one good side, and it costs double what it did five years ago. I took great care to lay out the panels so that the least desirable sides would either face the walls or at least be inside the cabinets.
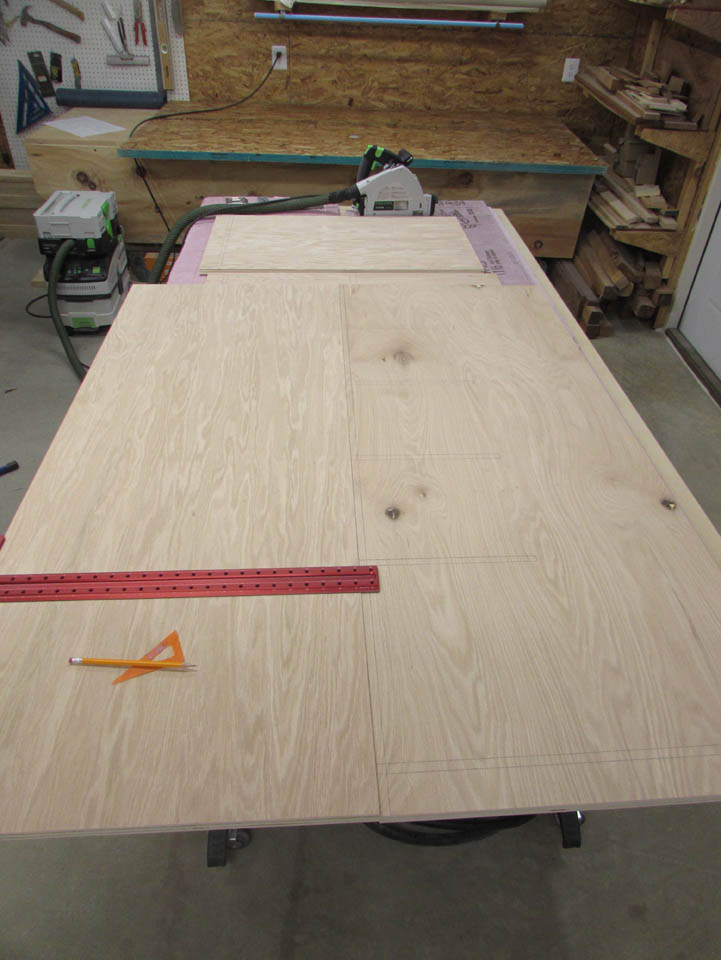
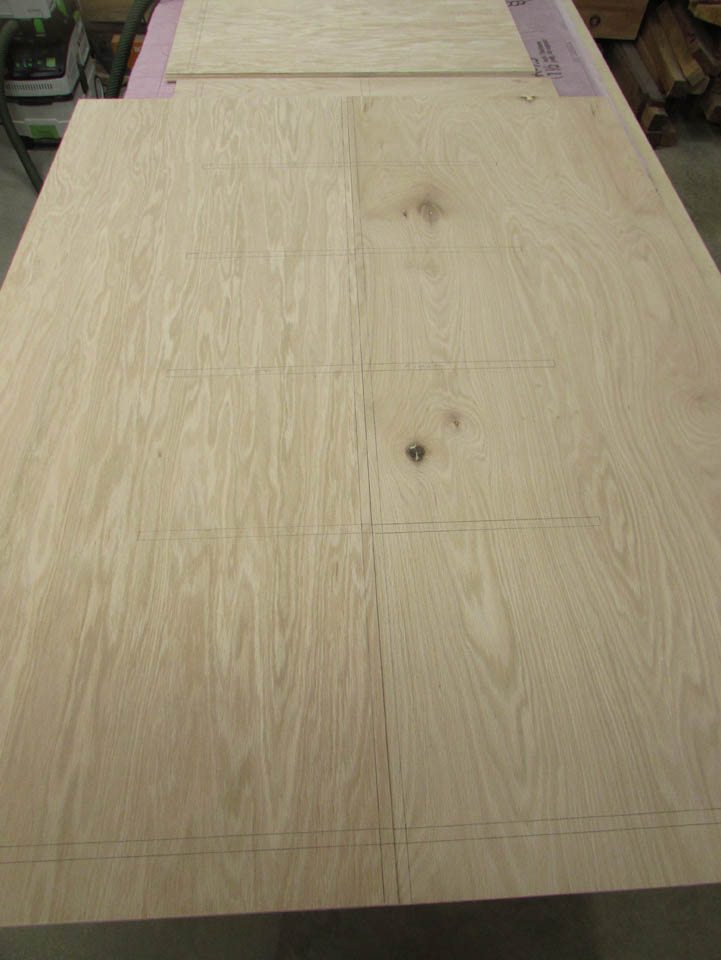
The shelves will be mainly be held within 1/4″ deep dados on the side panels. To make sure both sides align perfectly, I butt the two panels back-to-back and mark the lines across both at the same time.

I do not build cabinets that often, but every time I build one, I seem to build it different than the last time. I am not sure why, I just use whatever method seems to make the most sense at the time. This cabinet will mainly be assembled with all the parts glued into dados.
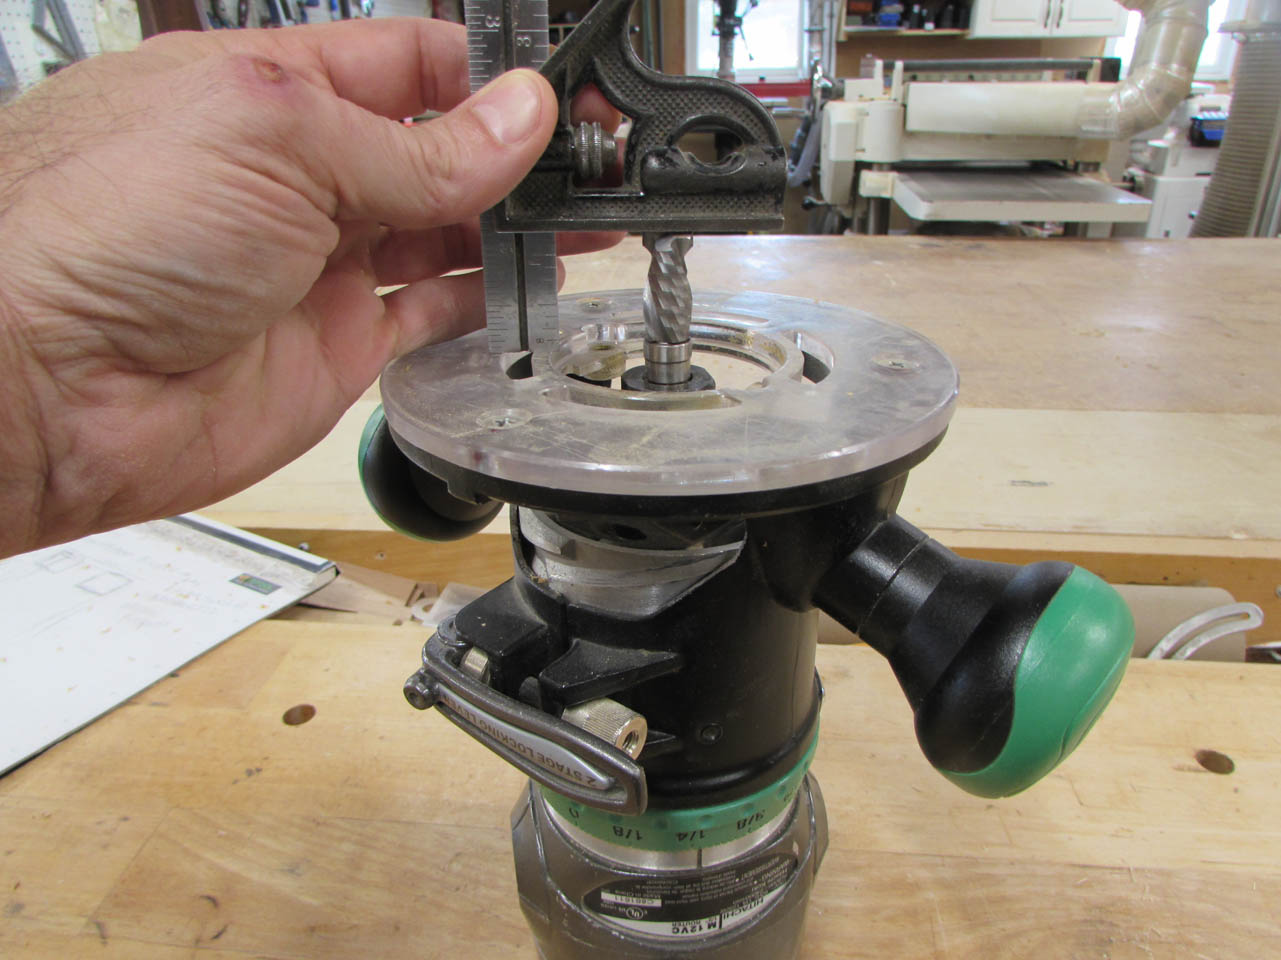
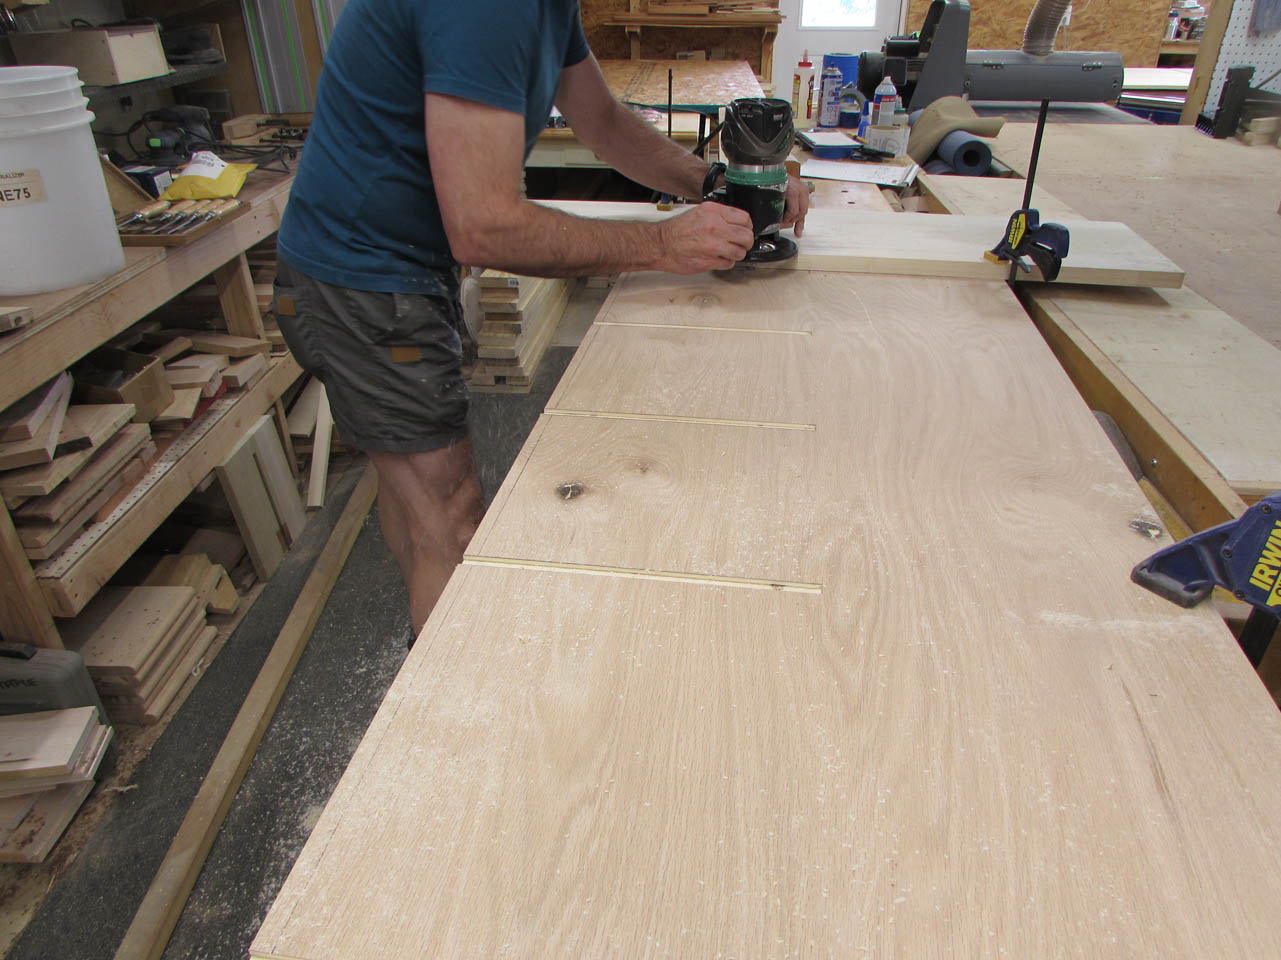
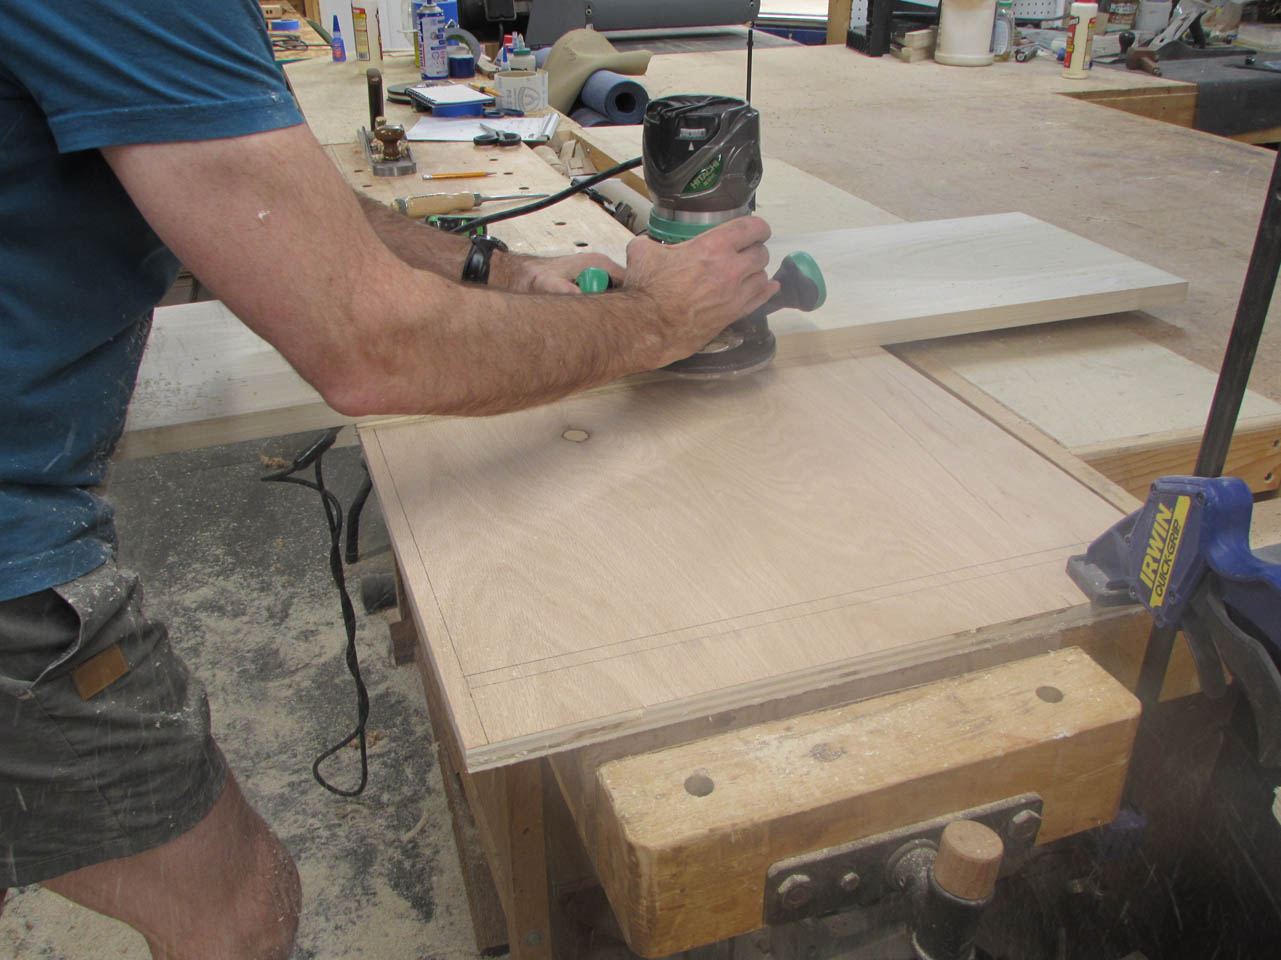
I have a new 1/2″ diameter compression bit that I want to try for cutting the dados. Compression bits have spiral cutting blades that run in two different directions. This is supposed to completely mitigate tear-out. The bearing is at the top of the bit so to make life easy, I set the bit depth to 1-1/4″ and I found a 1″ thick board to rest the router on and run the bearing along. This should result in a 1/4″ deep dado that is exactly 1/2″ wide.
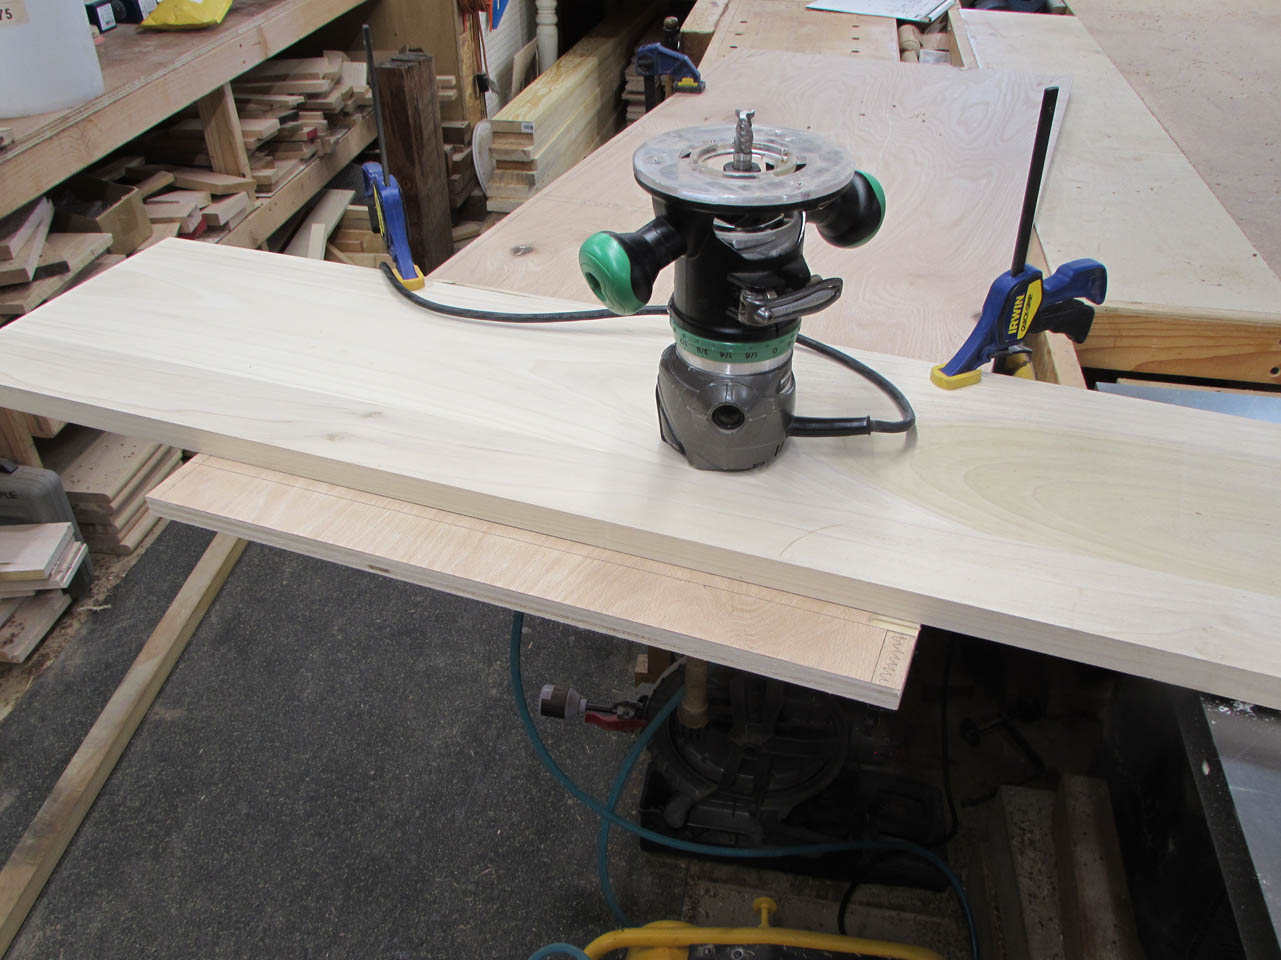
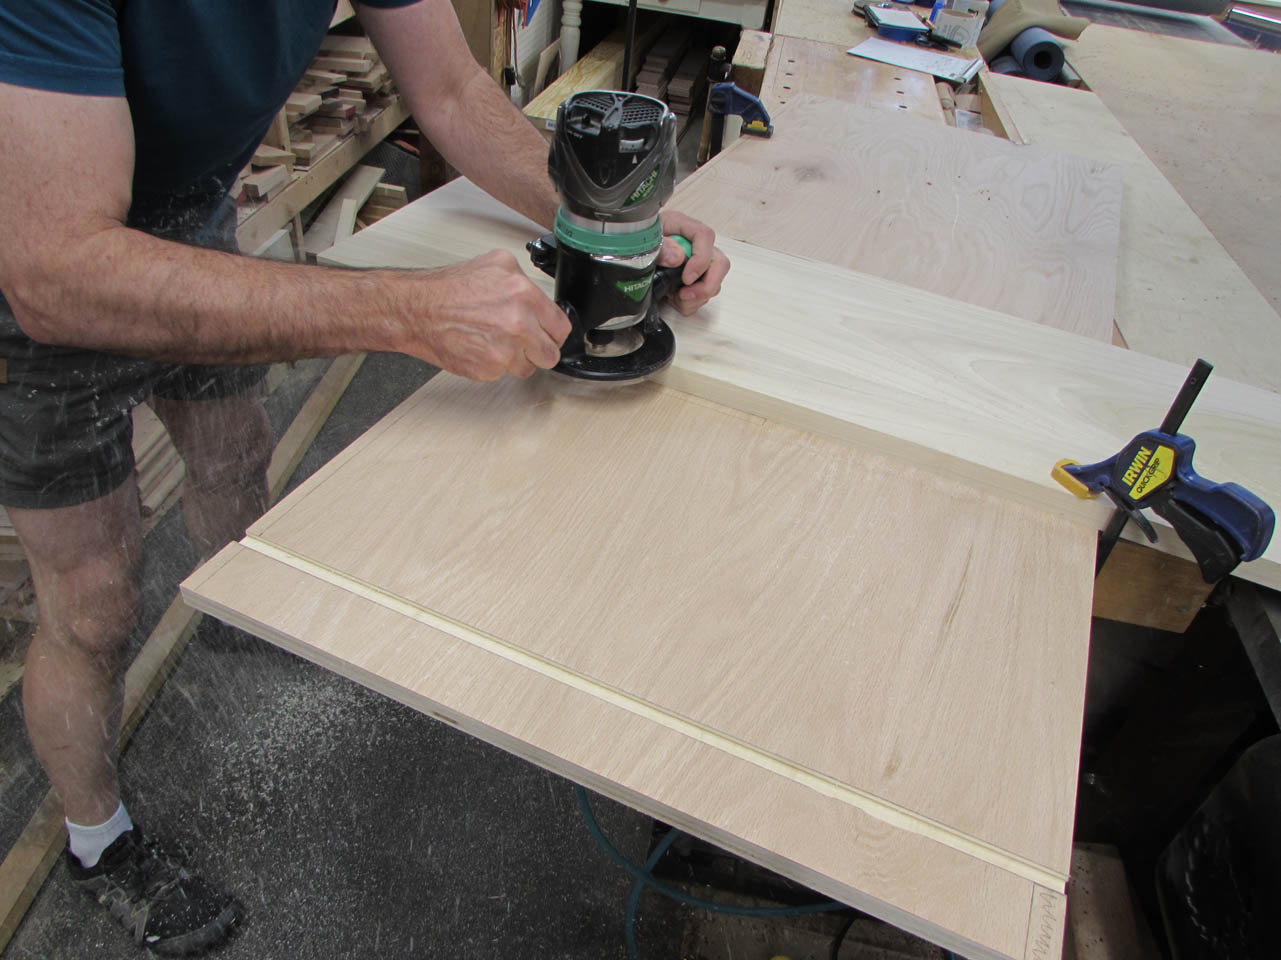
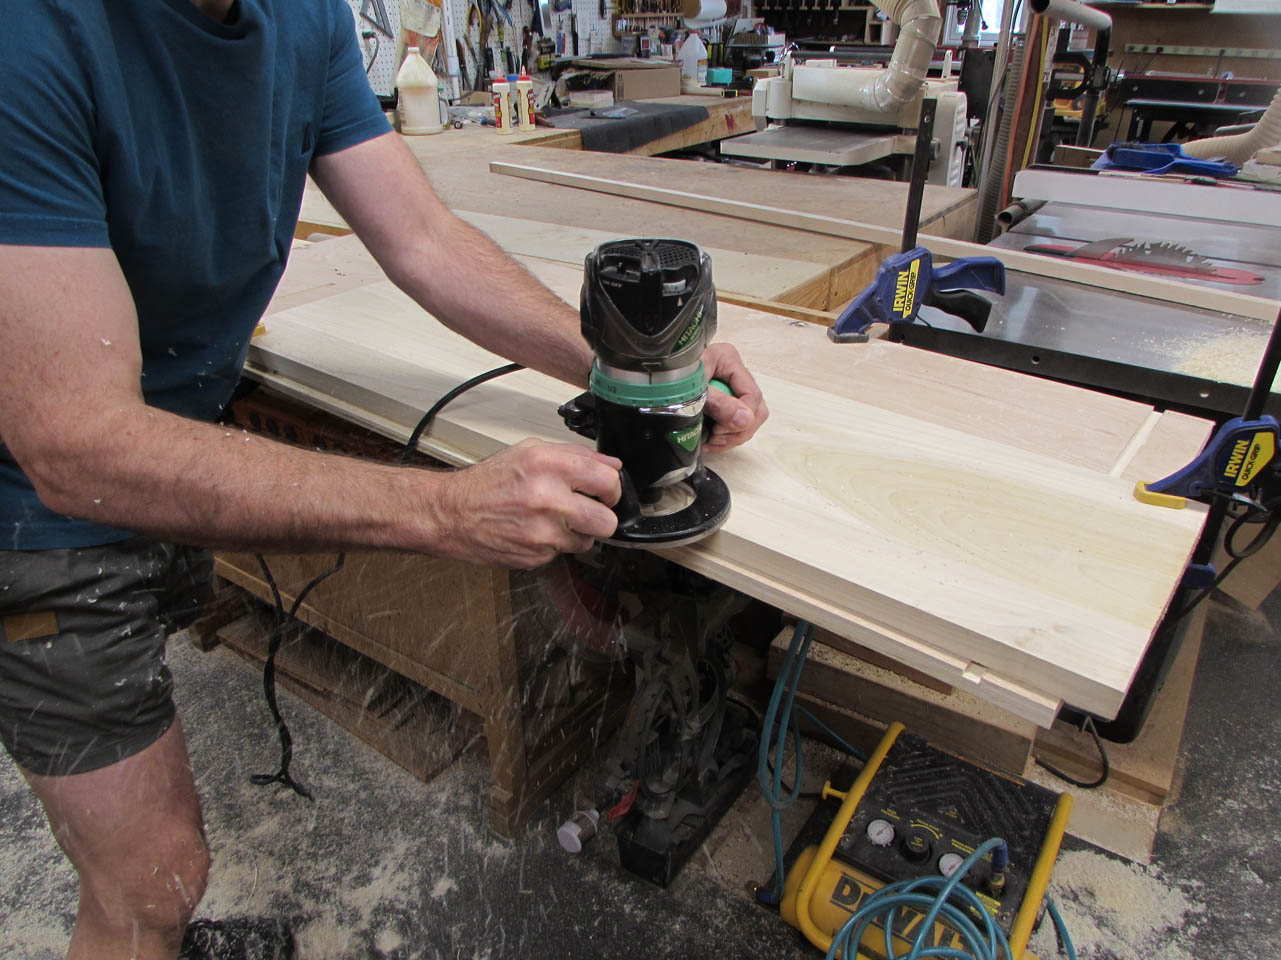
This makes it easy to cut straight lines, I just clamp the board to my line, then hold the bearing against the board as I move the router.
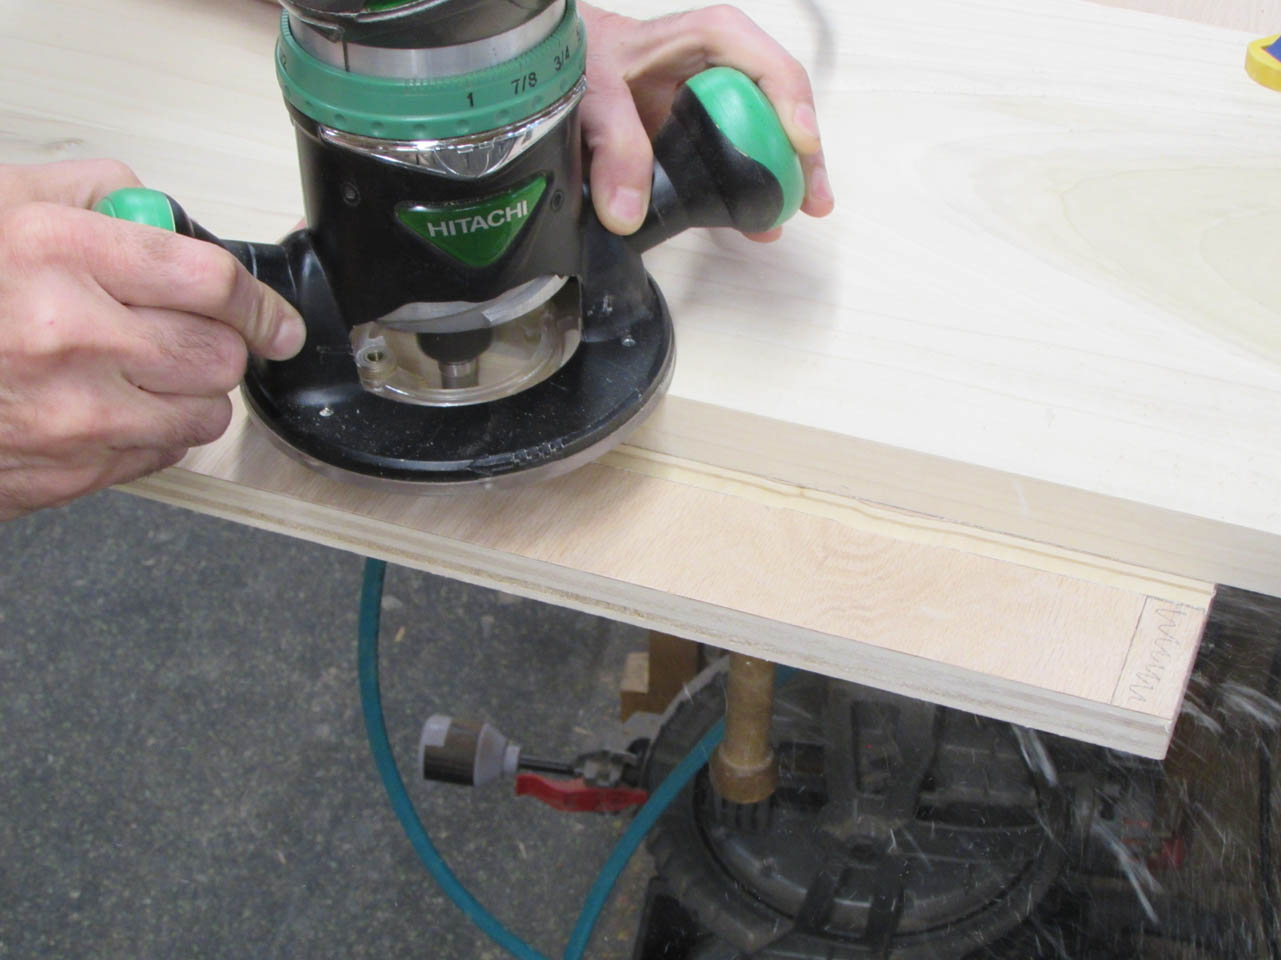
The new compression bit did a great job cutting the groove with no tear-out.
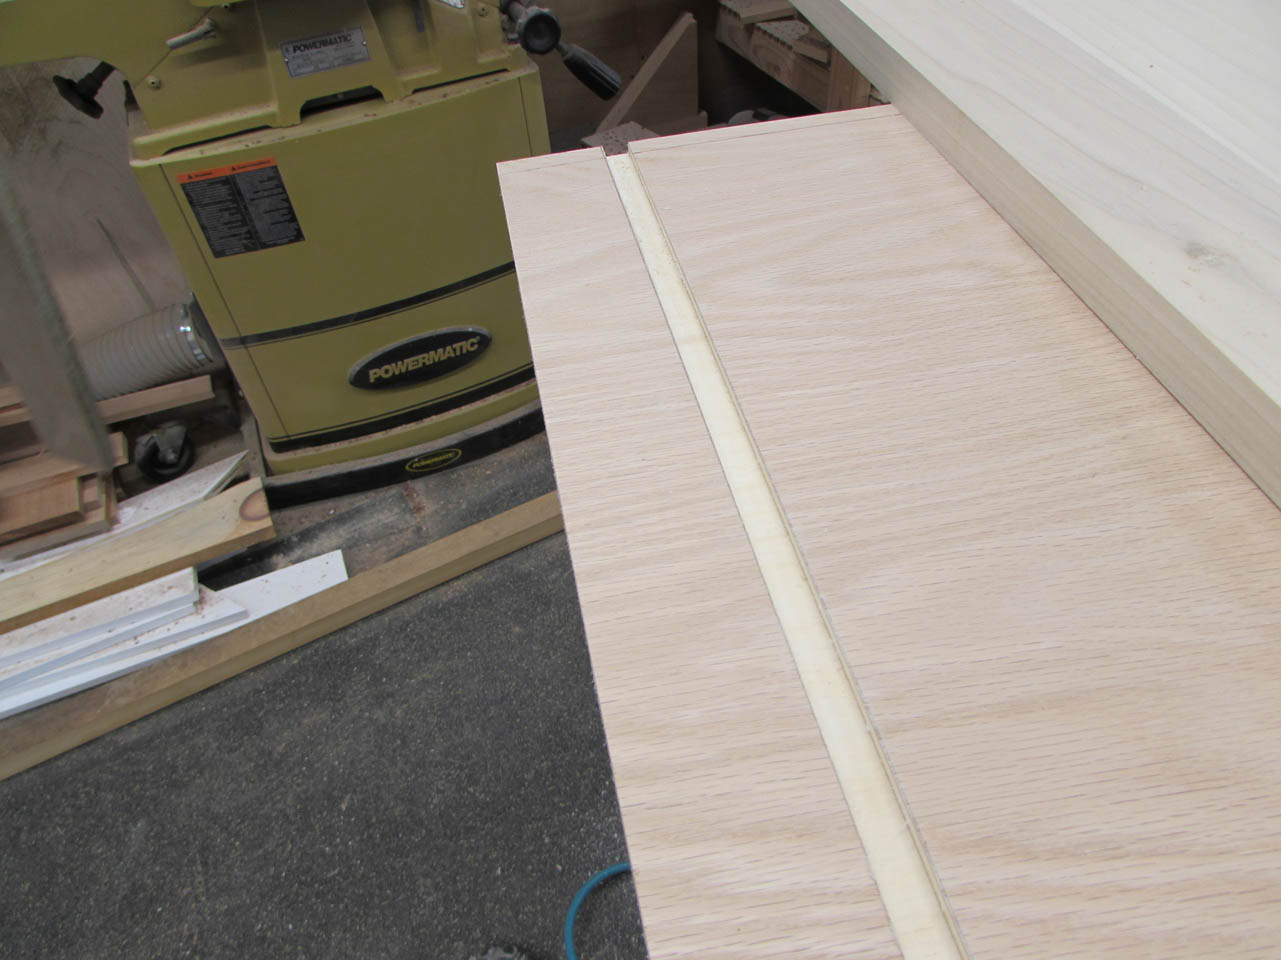
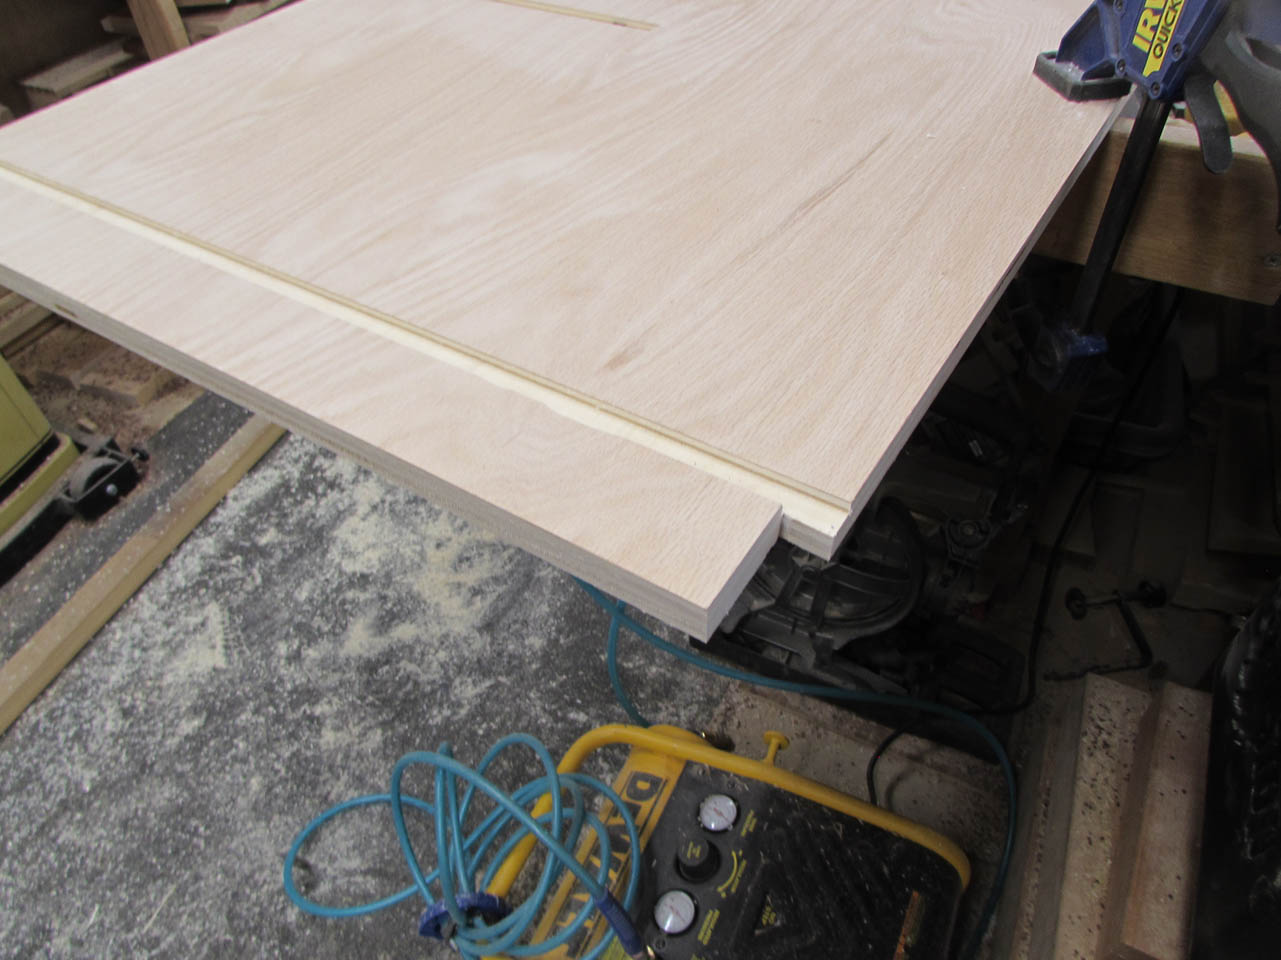
I did a test-fit of the plywood, then proceeded to cut the rest of the marked dados on that board.

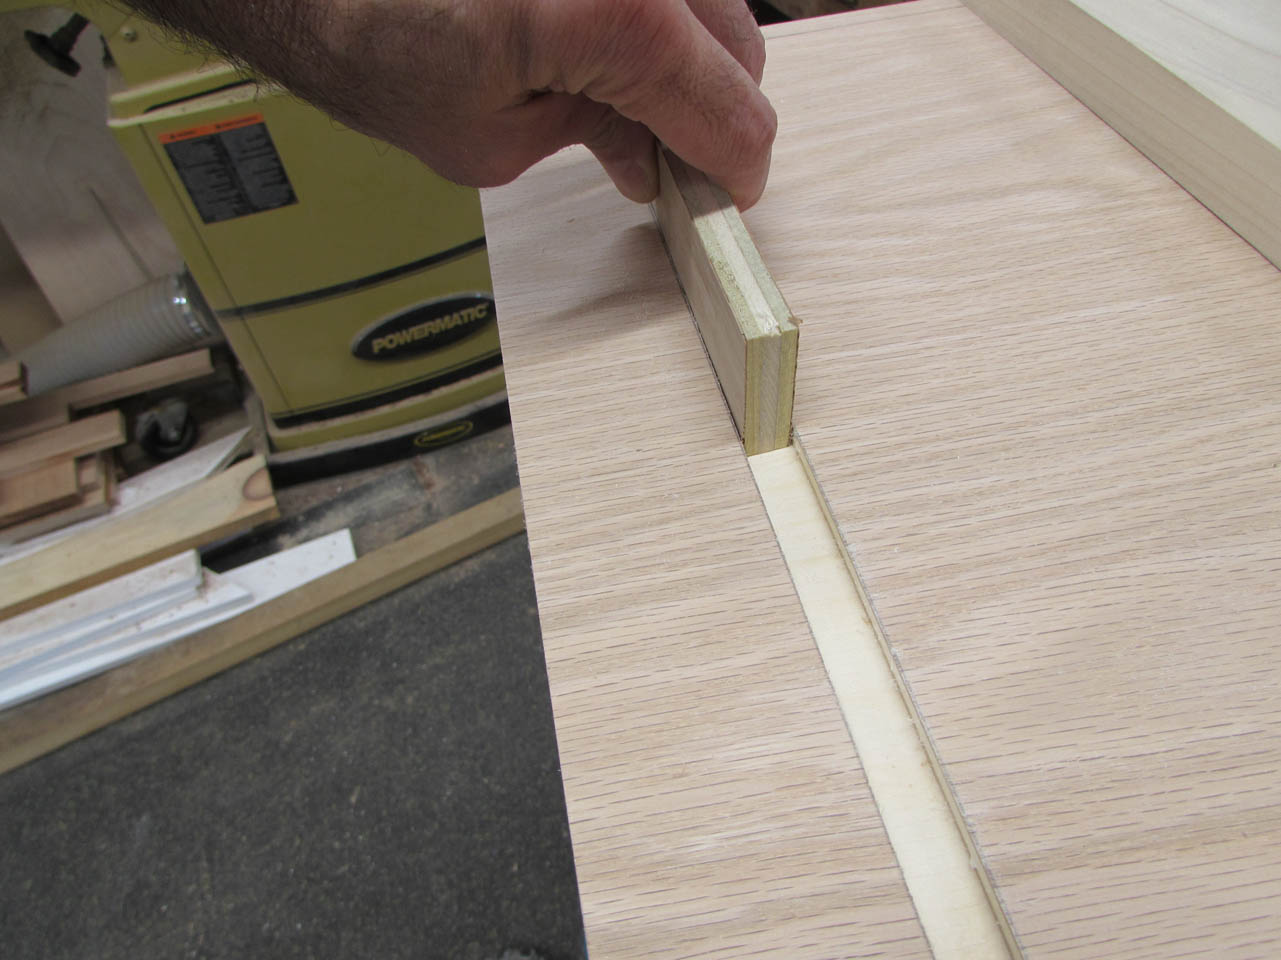
I stopped the cut just short of the mark on my shelves and squared off the end with a chisel.
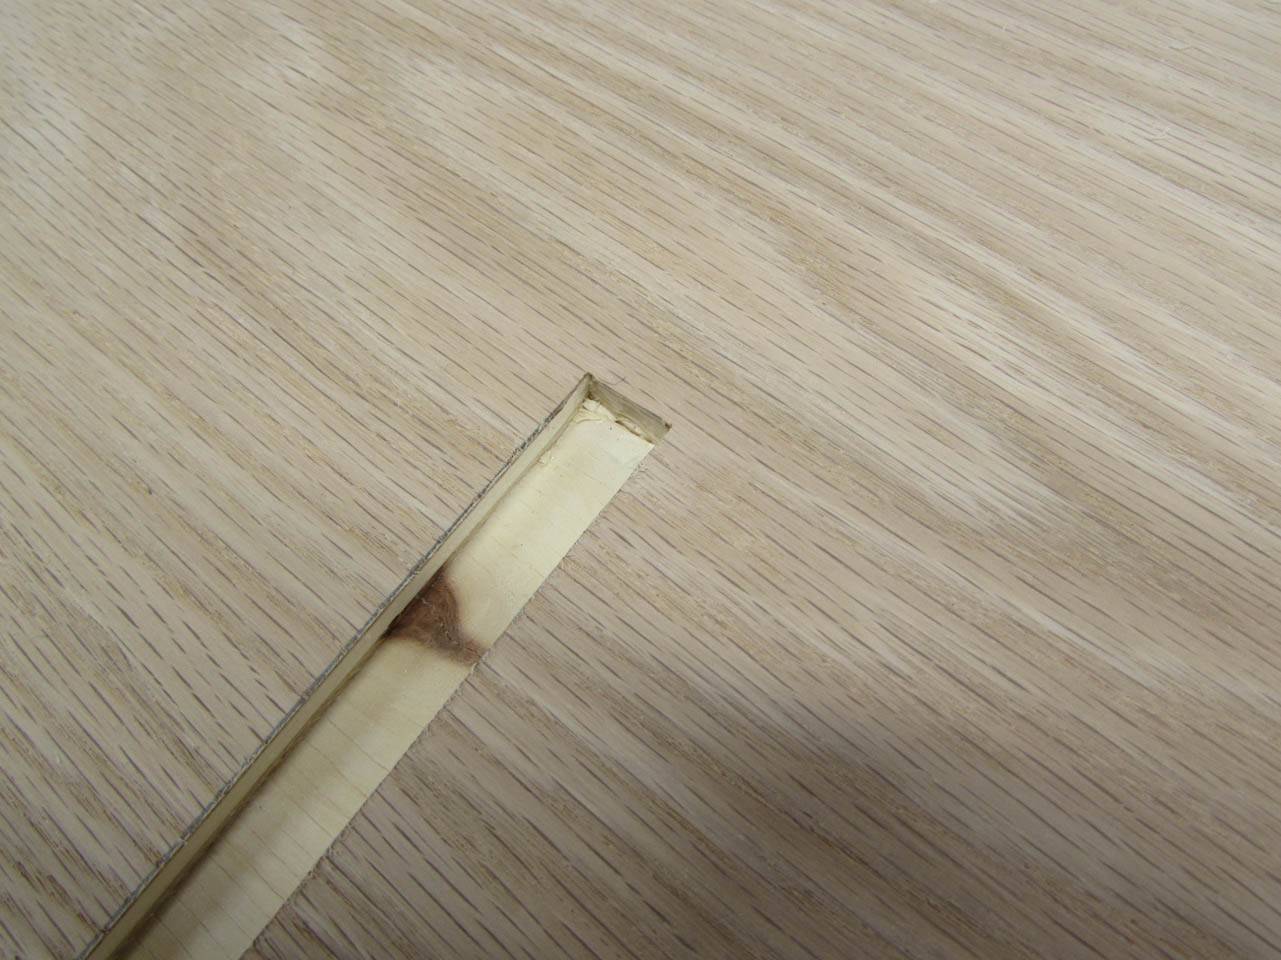
This will allow my shelf to butt right to the end when set in the groove.
I finished up cutting all the dados on the rest of the tall cabinet sides.
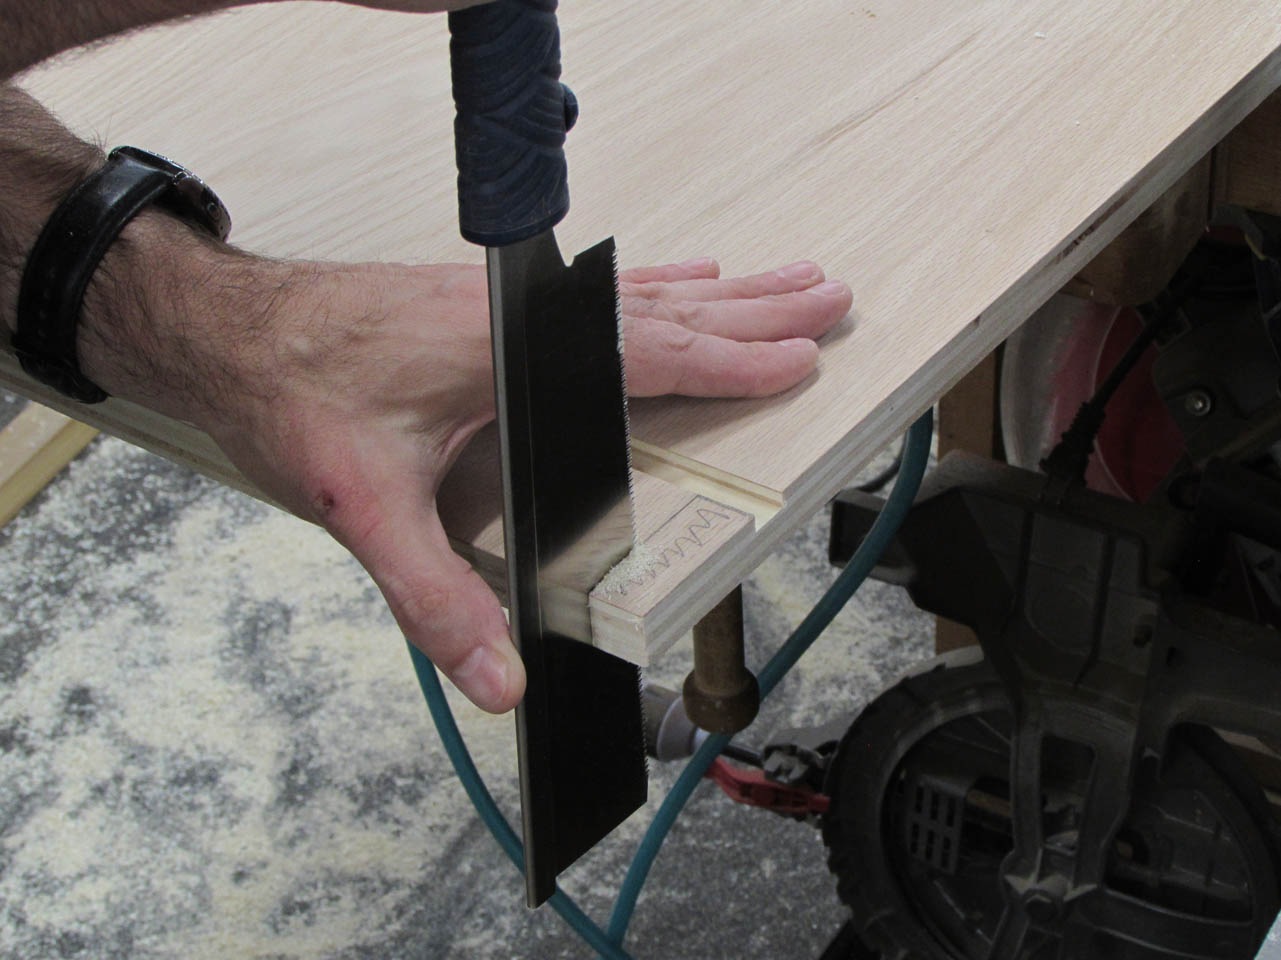
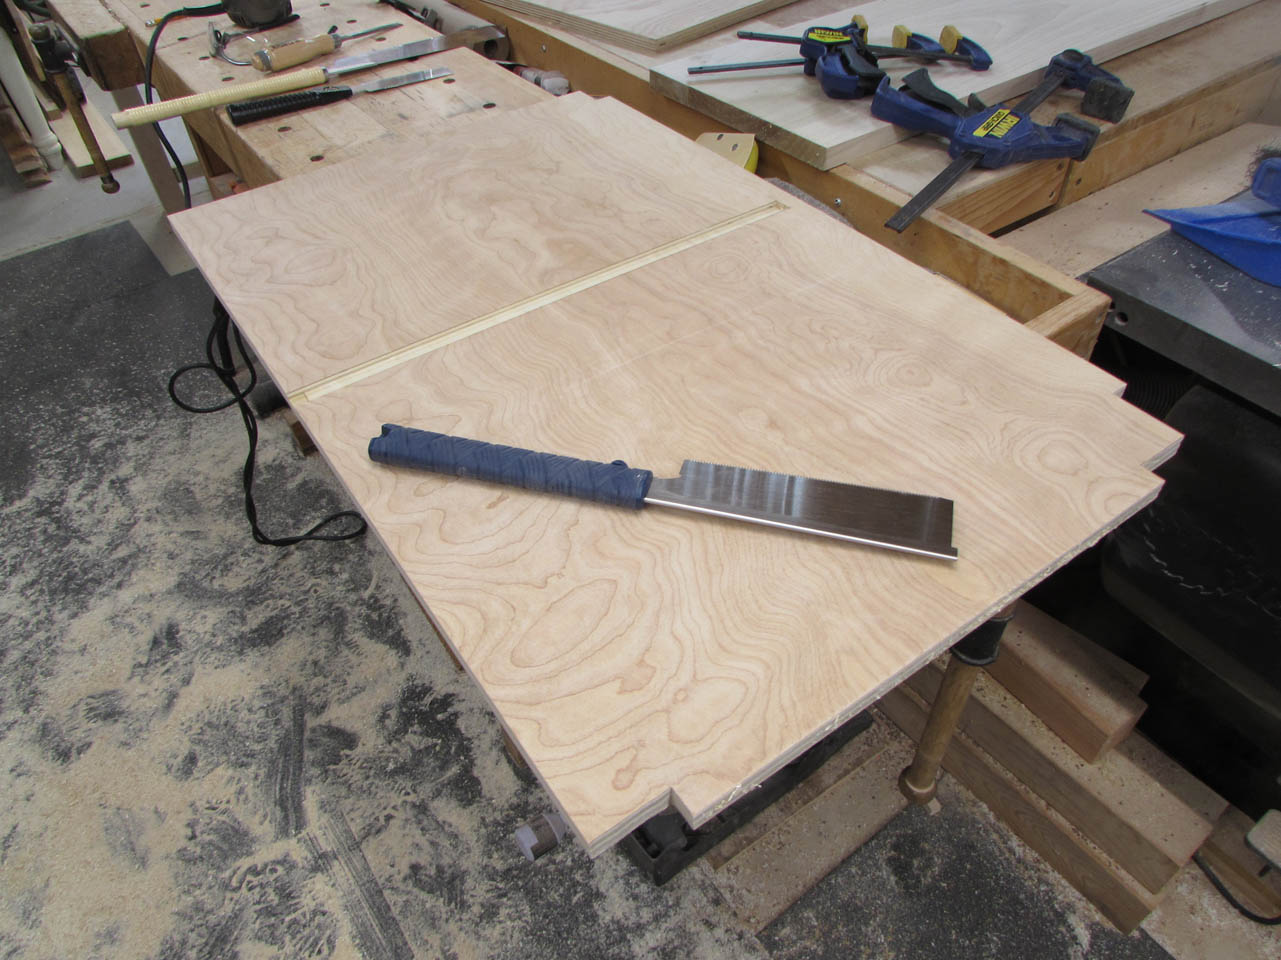
Then I used my pull saw to cut out the corners where I had them marked.
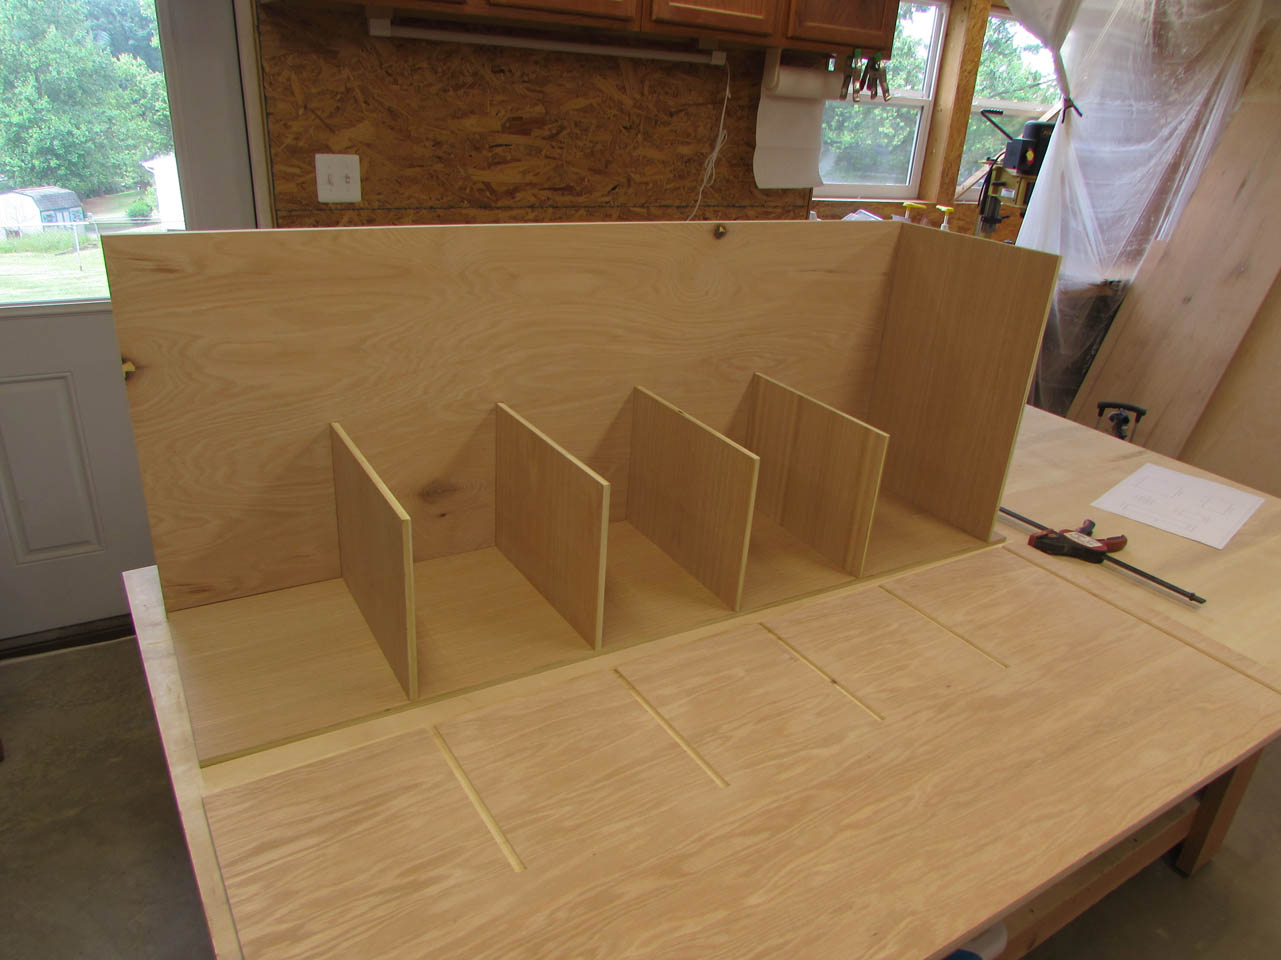
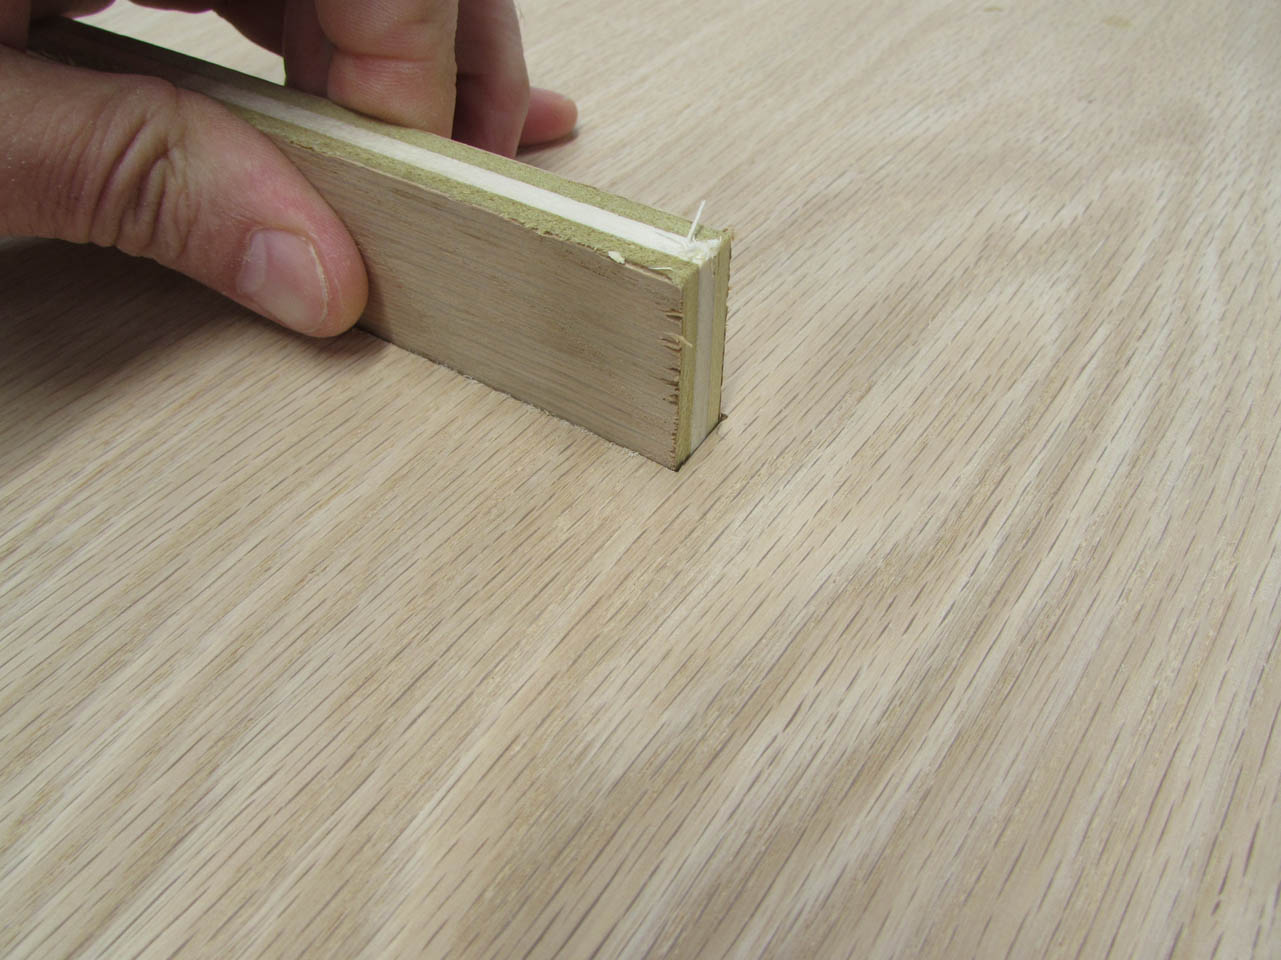
A quick dry-fit shows that everything assembled as it was expected to.
I did decide to cut an additional board for the top to hold the cabinet square for the glue-up.
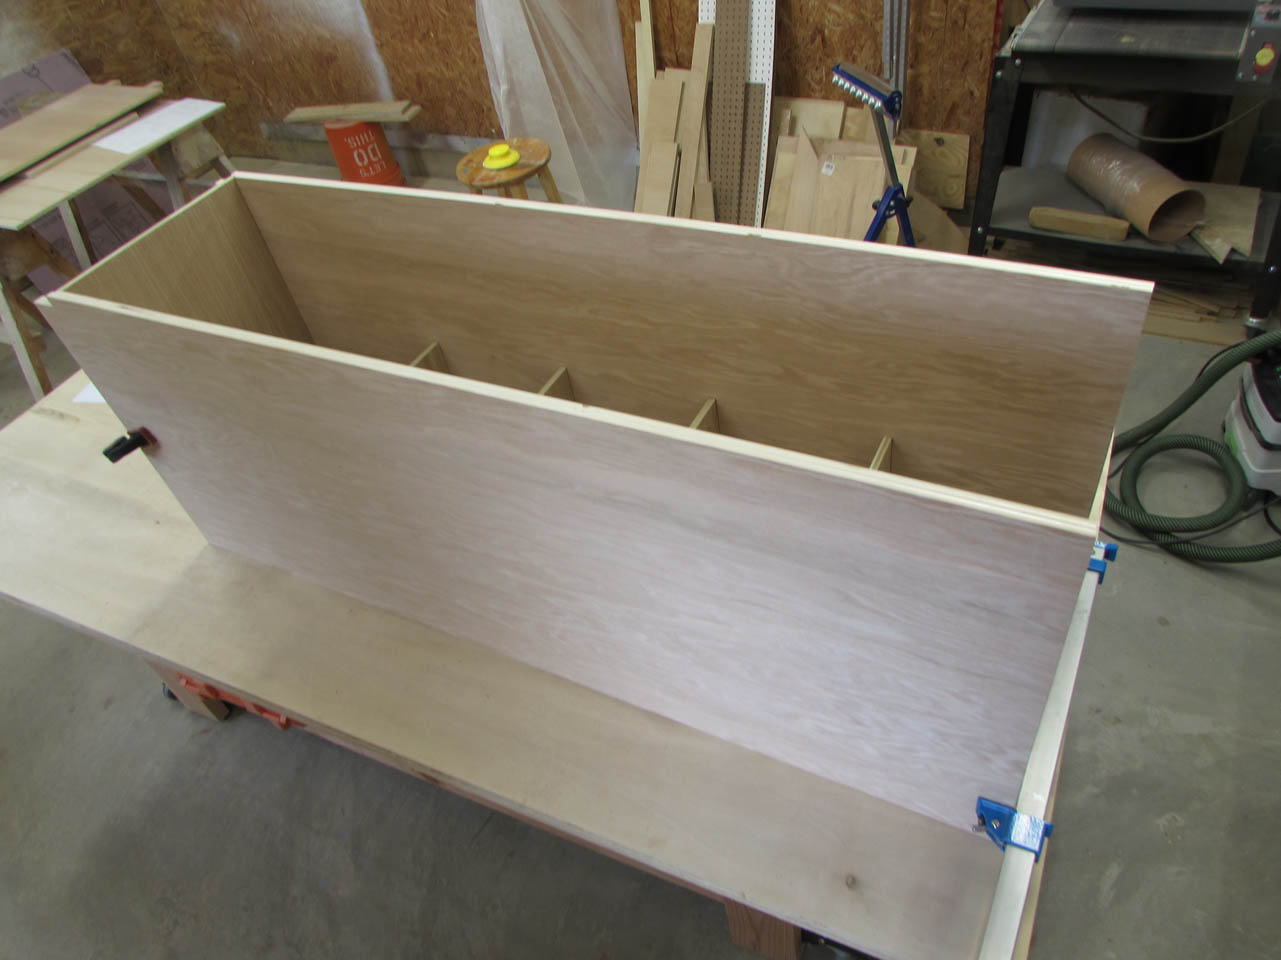
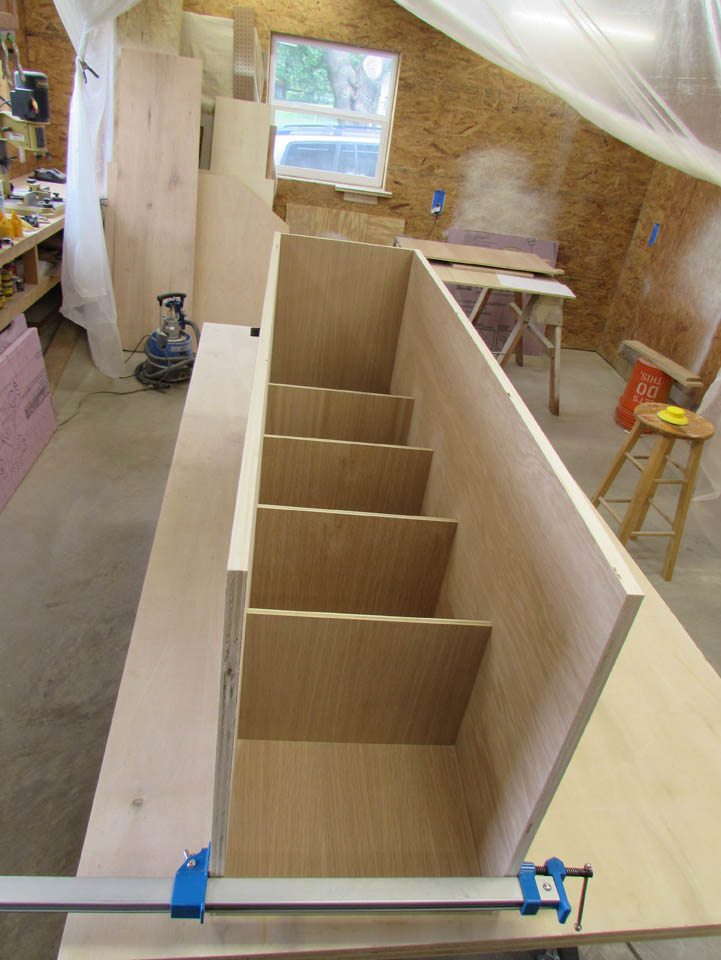
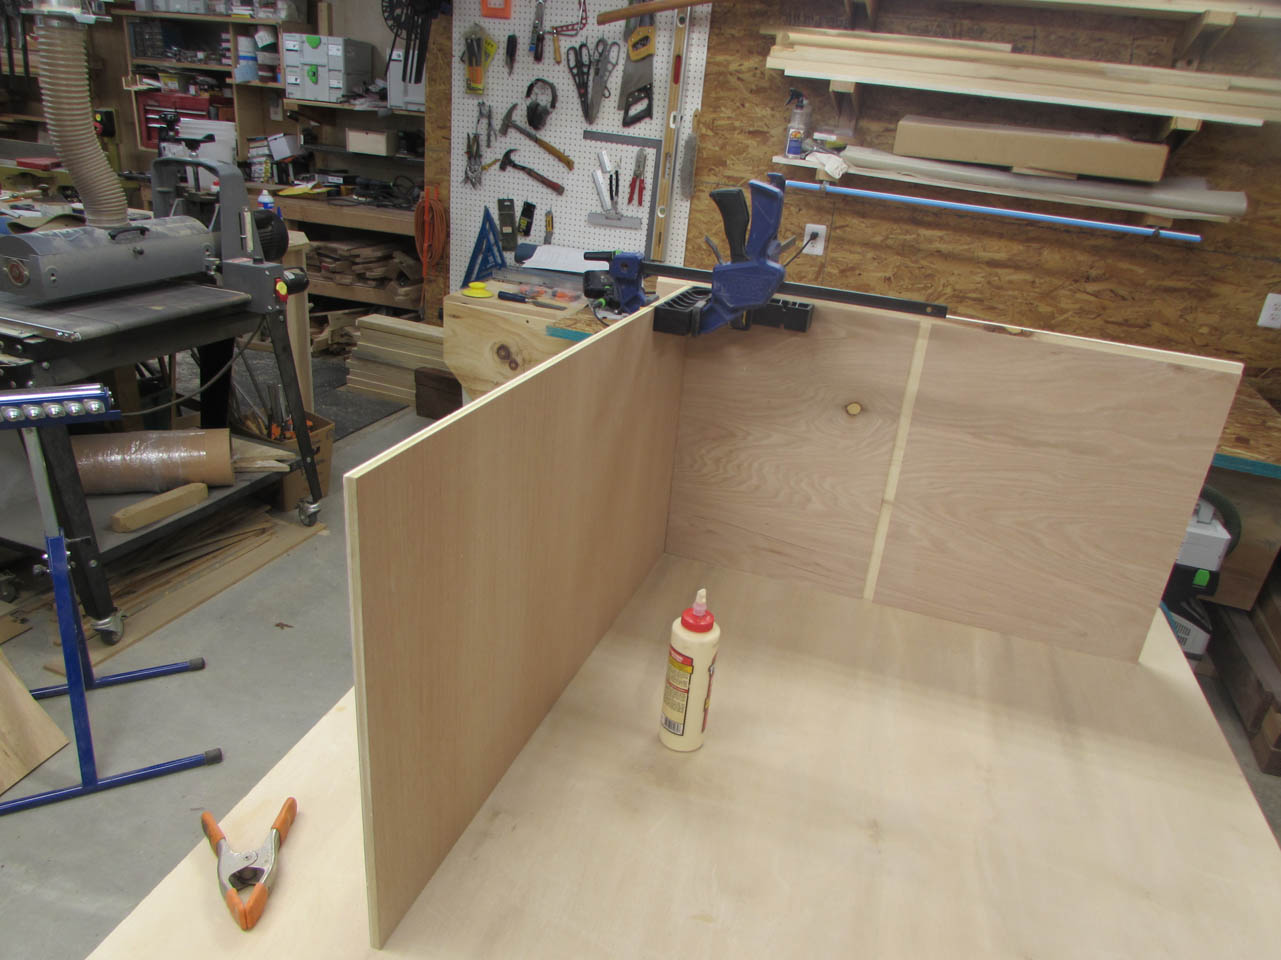
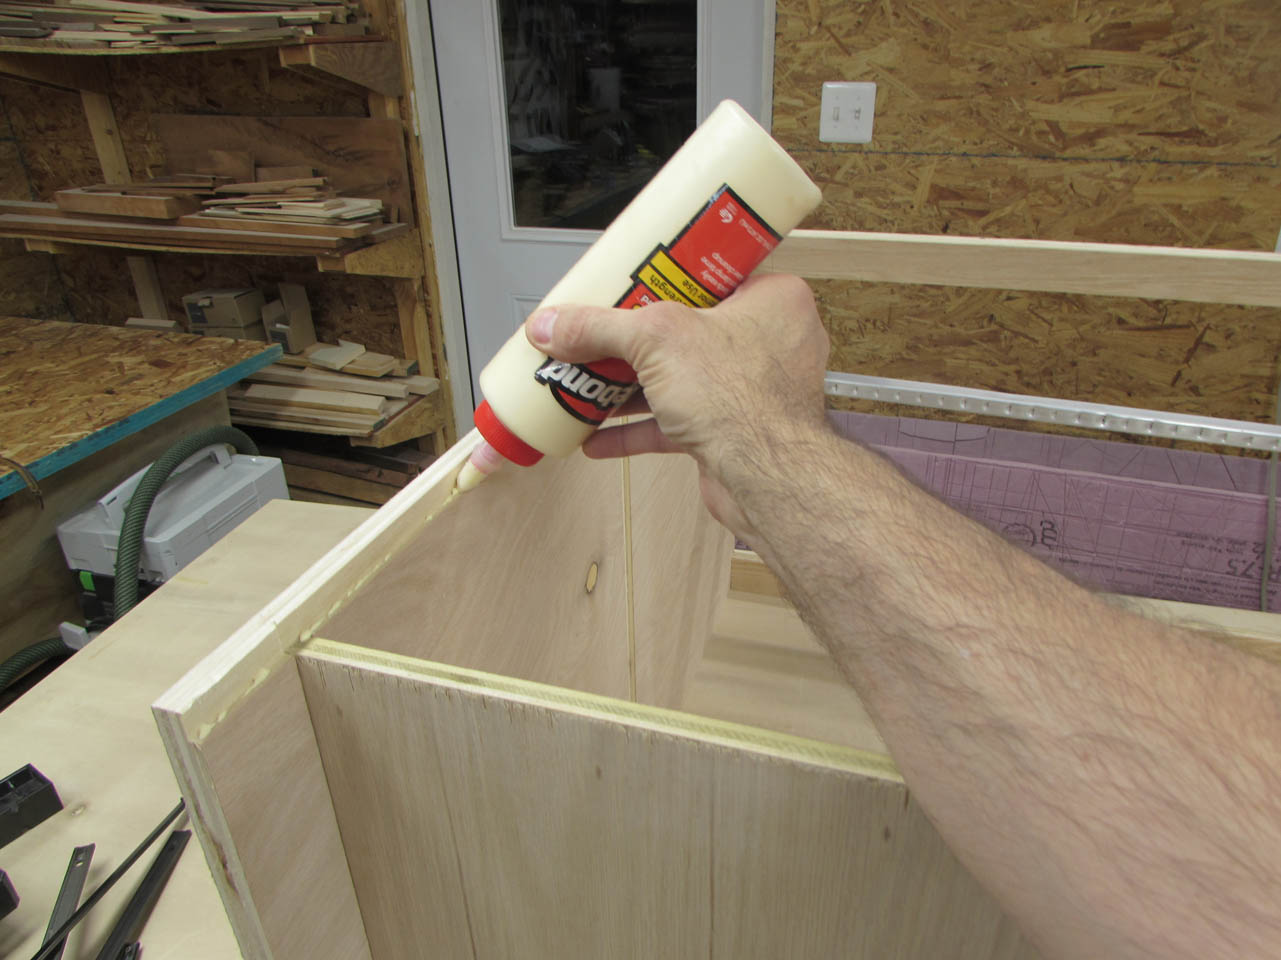
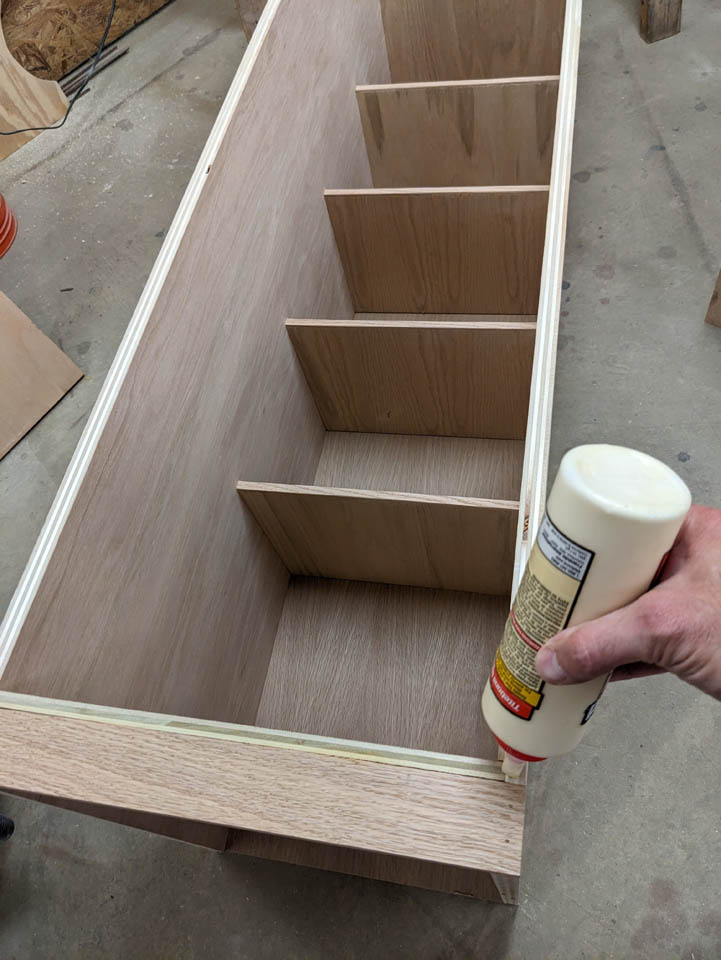
The glue-up was a bit complicated. I applied glue to one side, then inserted all the shelves. I added glue to the opposite side and attached it, then flipped the carcass onto it’s face to clamp it together and add the back.
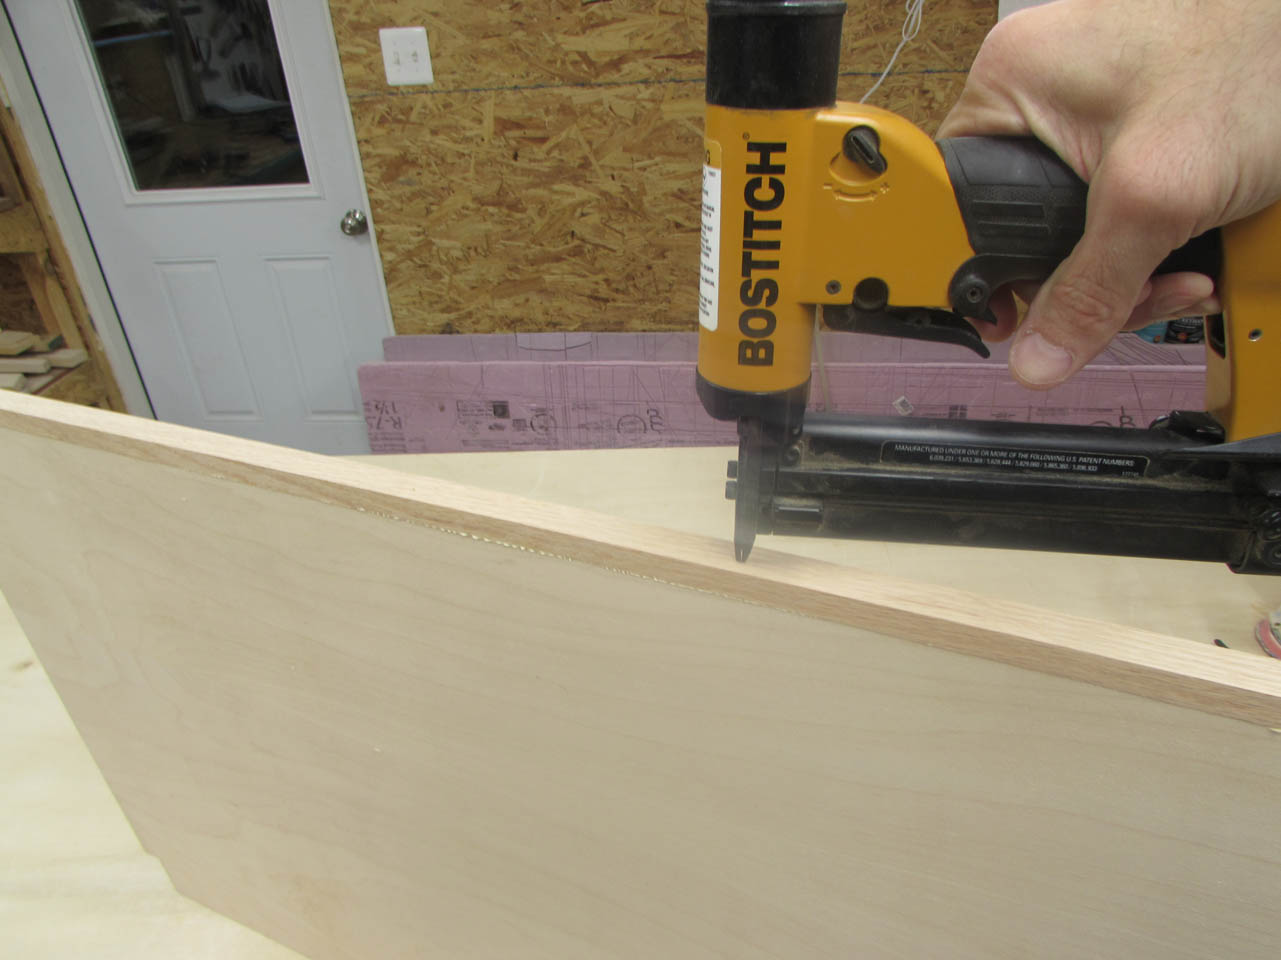
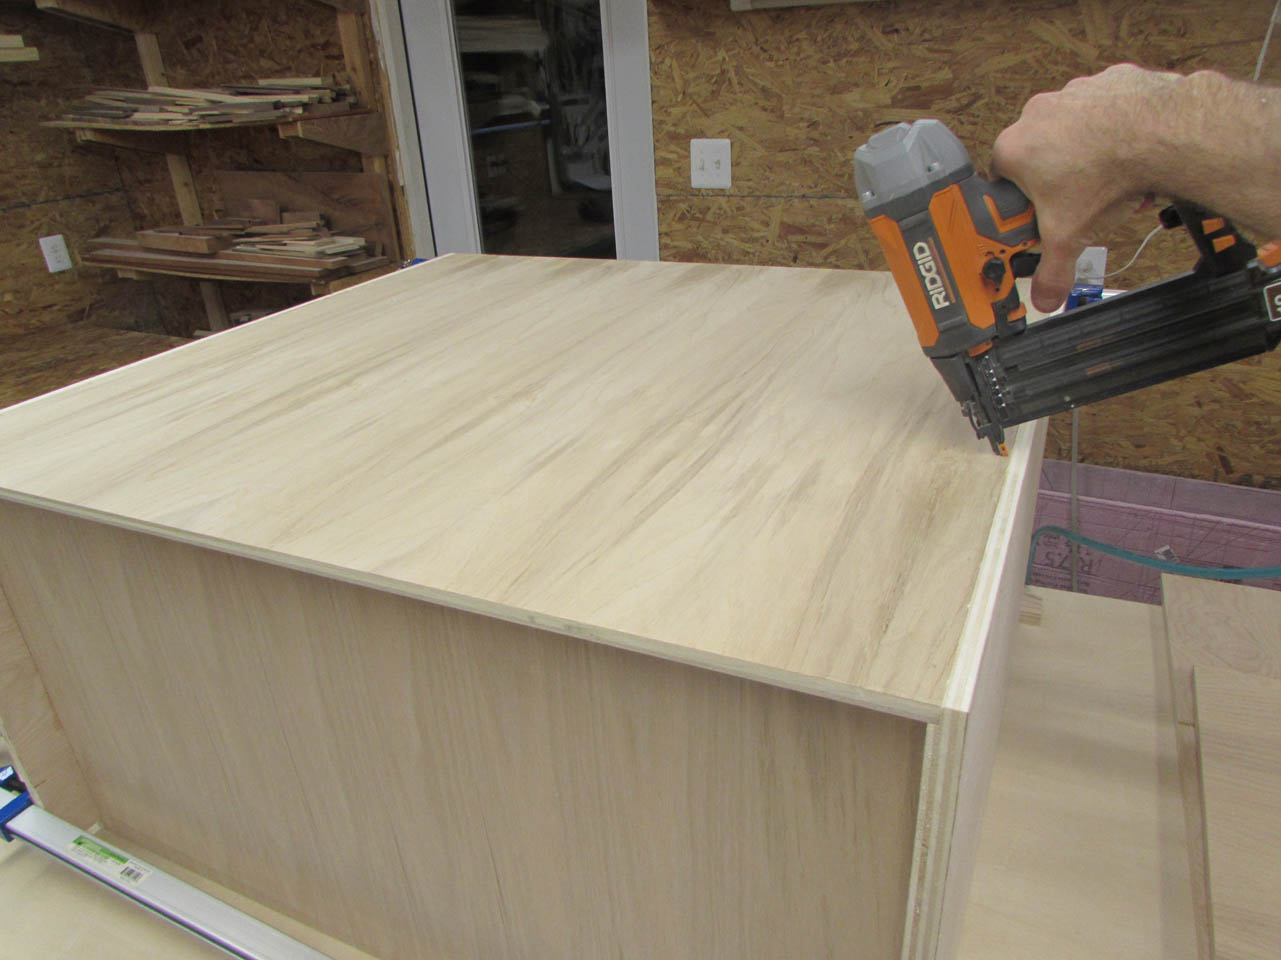
The back was held on with glue and brad nails.

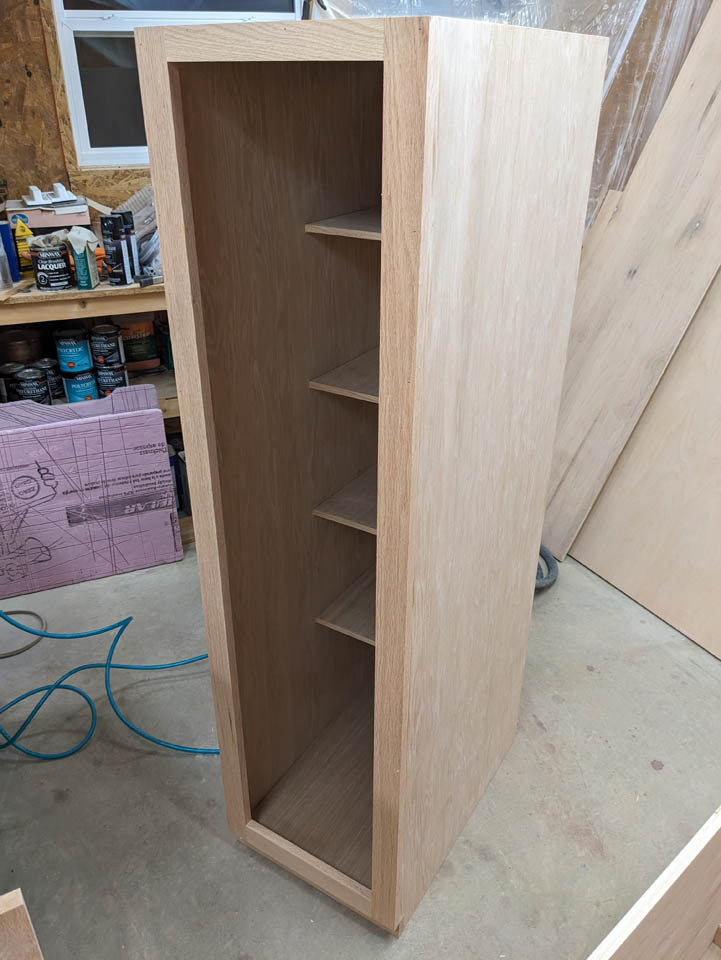
After it dried, I pulled the clamps and set it off to the side to begin the shorter cabinet.

I repeated all the same steps with this one, cutting the dados in and cutting out the marked corners.
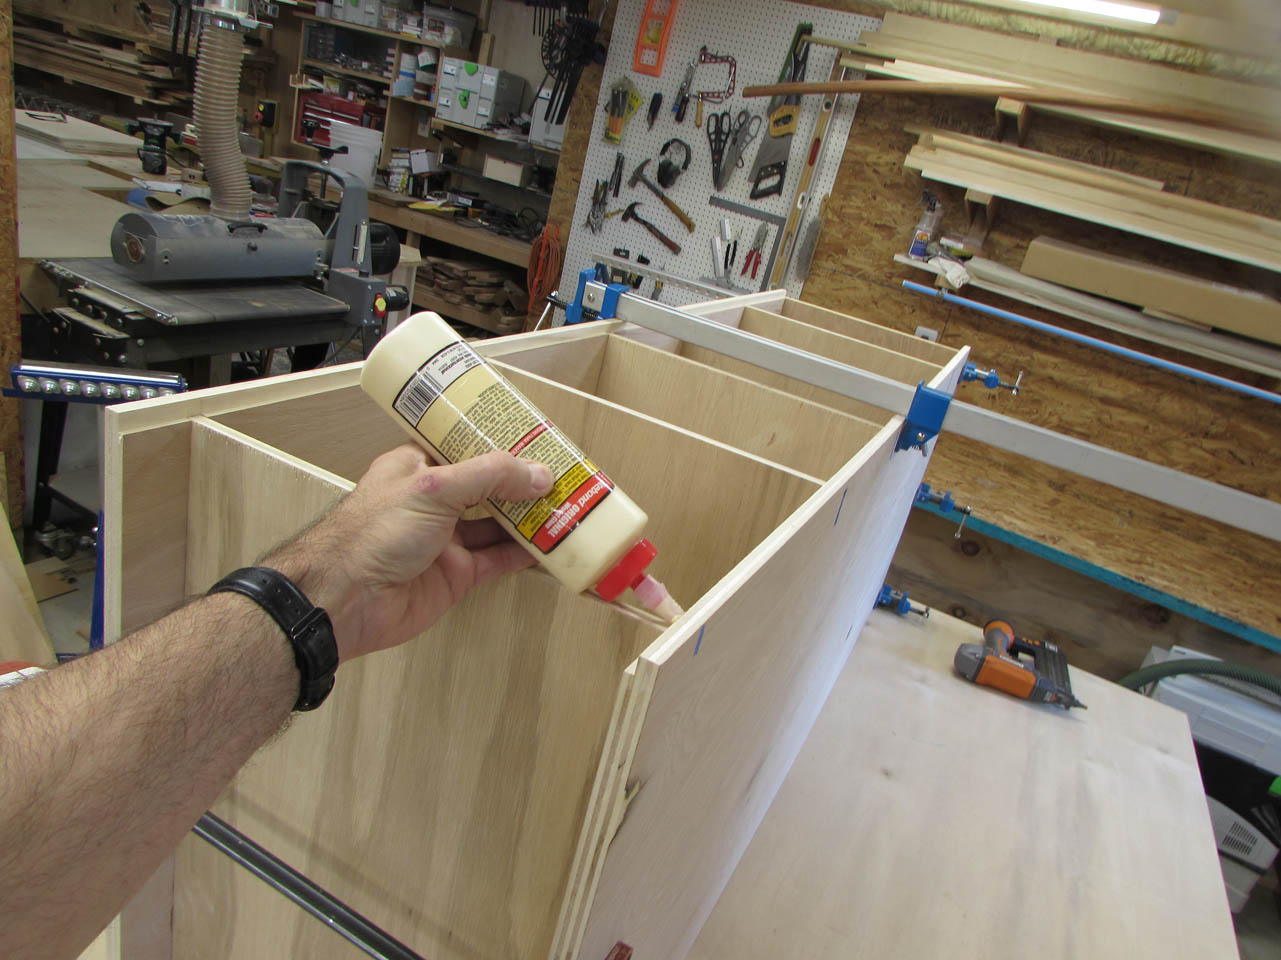
All of the internal shelves and dividers will have exposed plywood edges so I cut a few strips to veneer them.
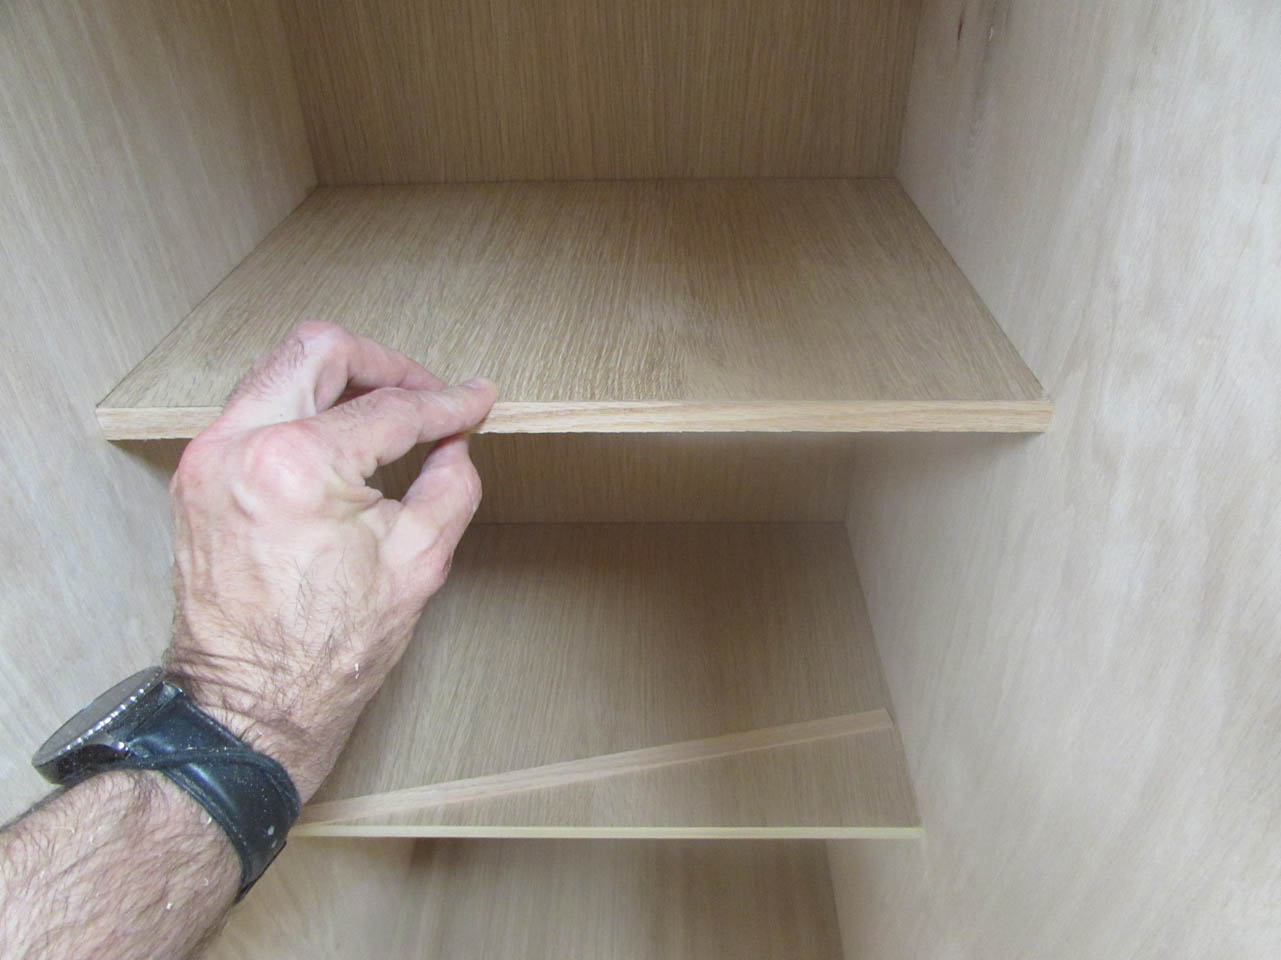
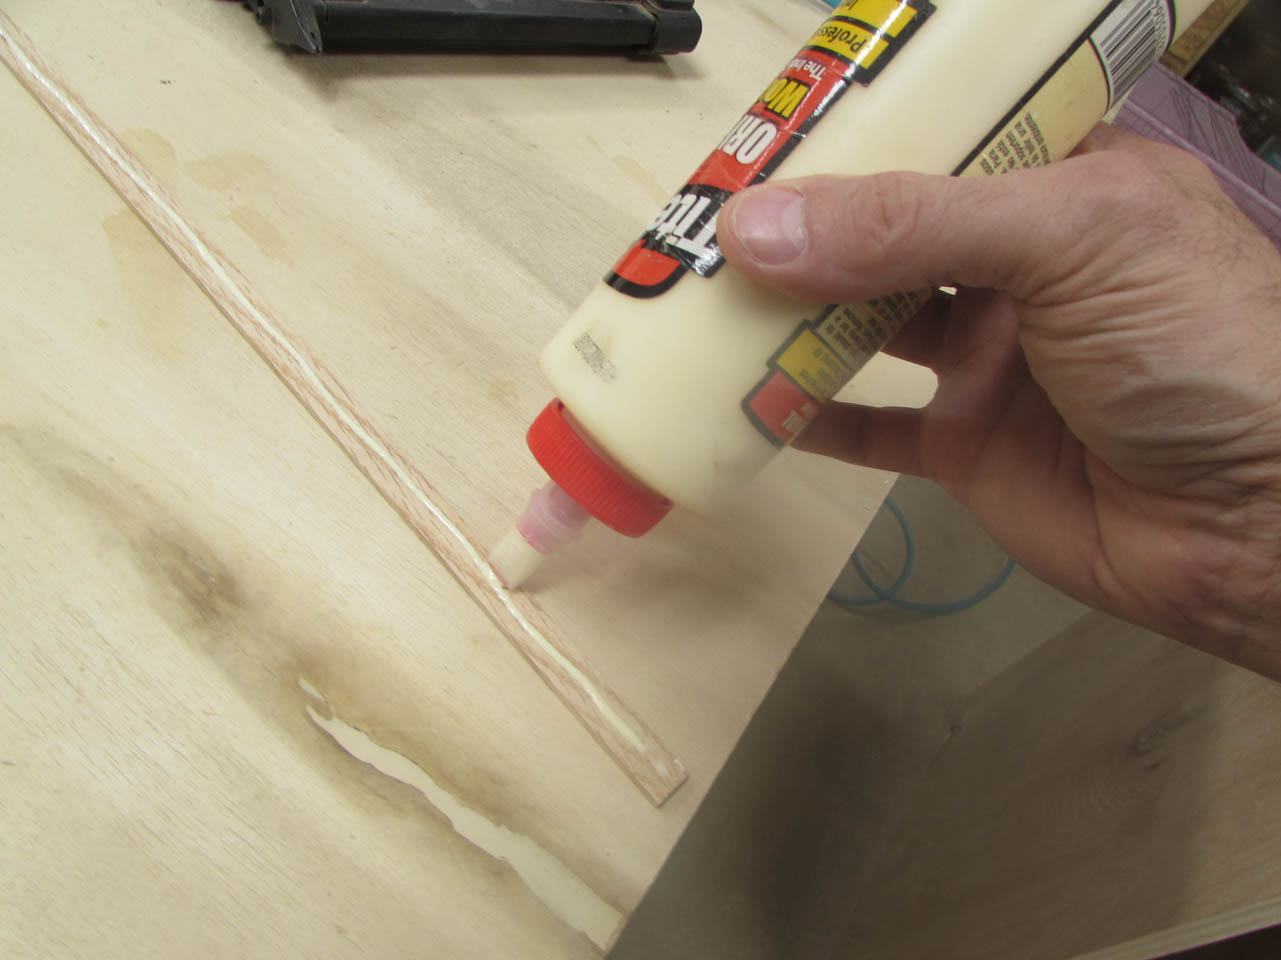
I used glue and pin nails to attach them.
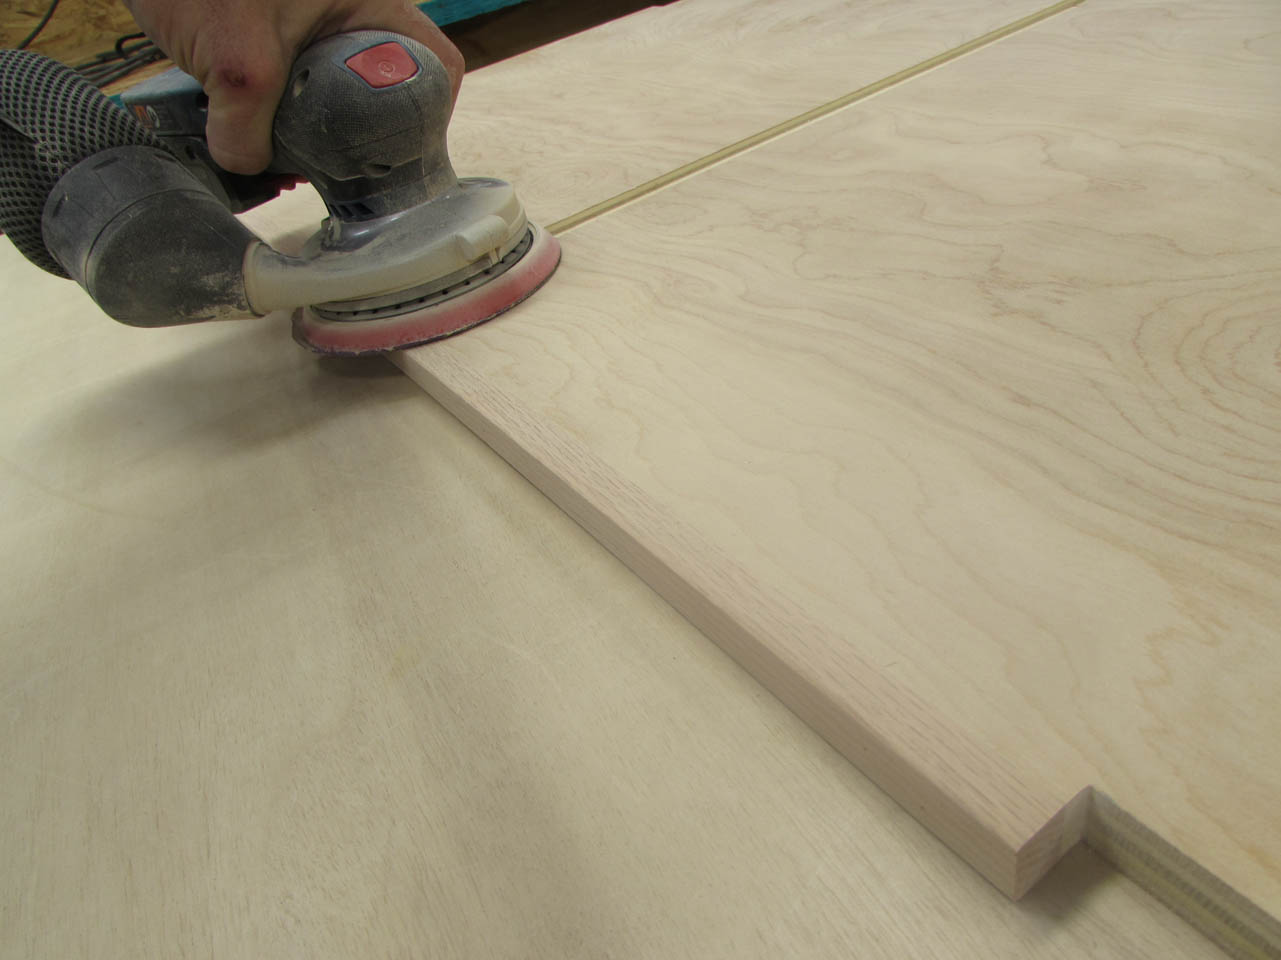
The veneer was cut slightly over-sized so that the edges could be sanded flush when the glue dried.
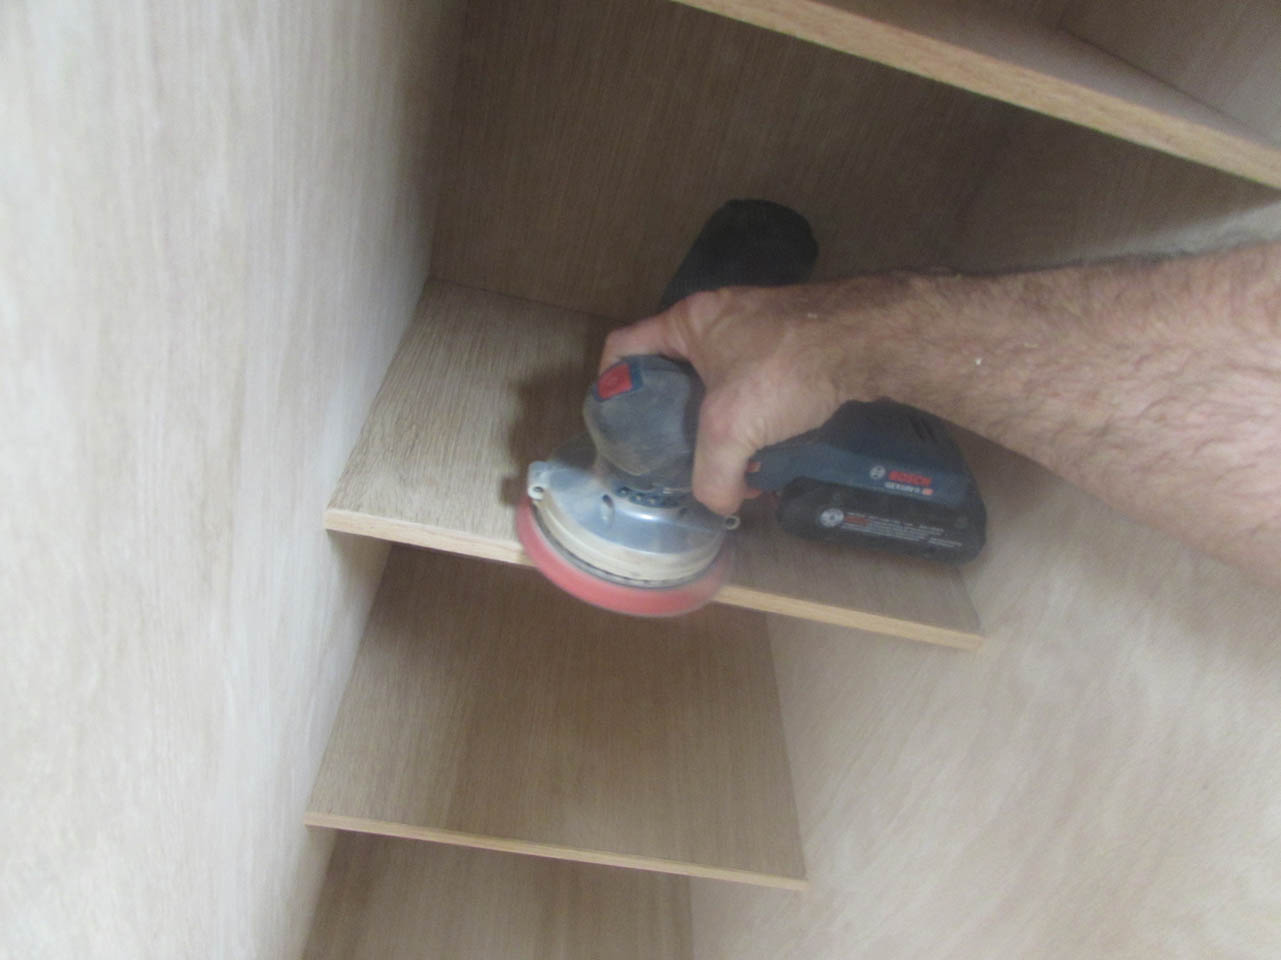
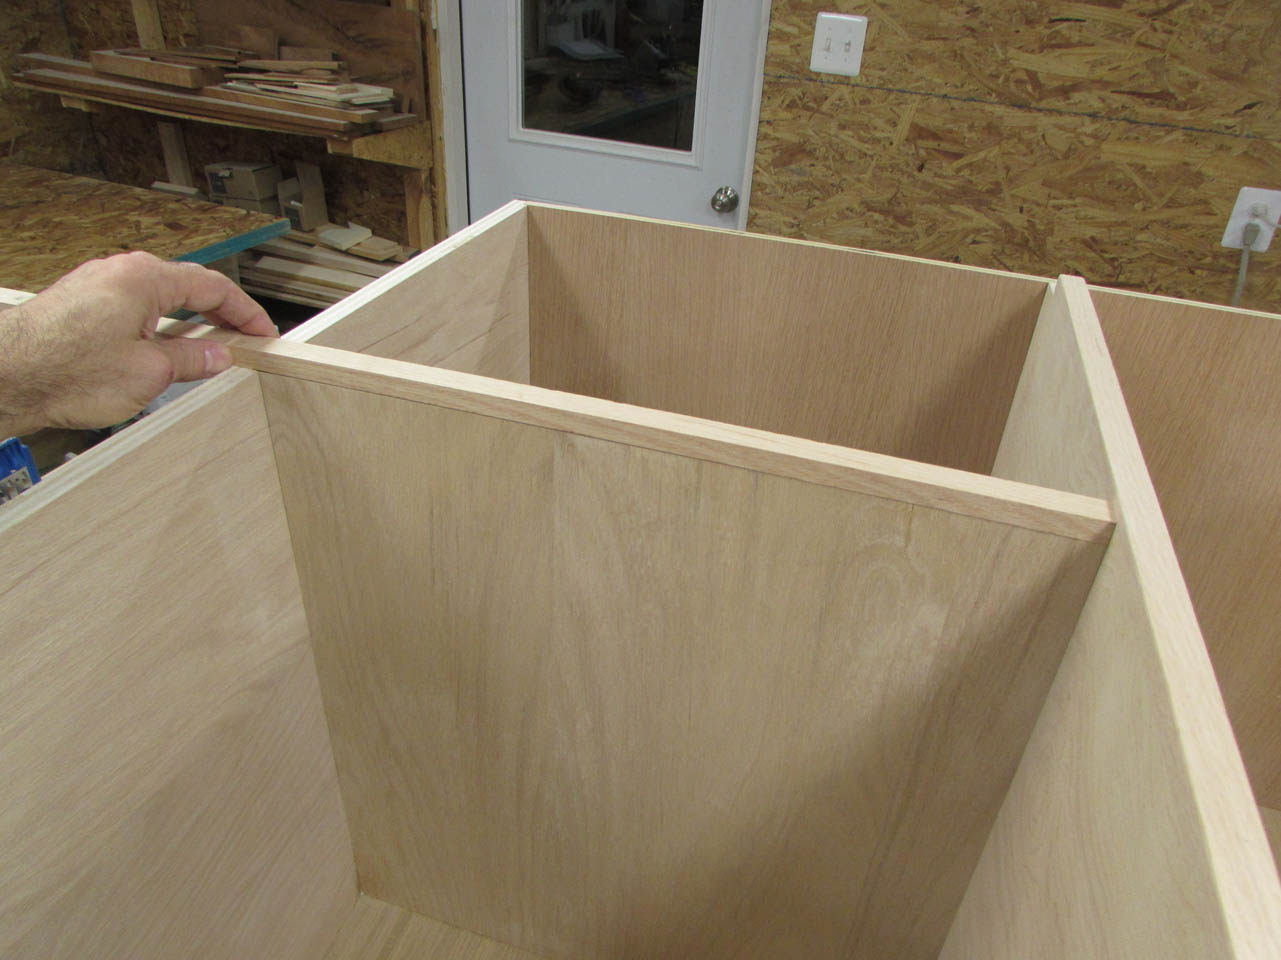
On the center divider, I decided to cut 1/2″ off the front and add a much thicker veneer for durability in a heavy use area.
This was also attached in the same way.
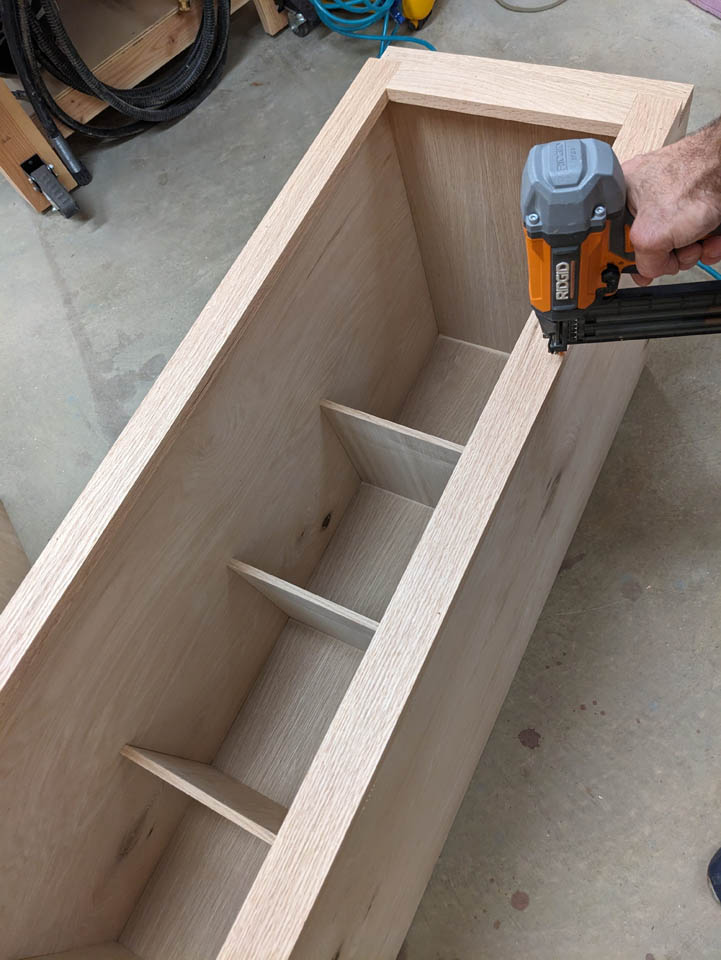
The shorter cabinet was assembled in a similar fashion to the taller one. I also used 90° blocks to help hold the corners square.
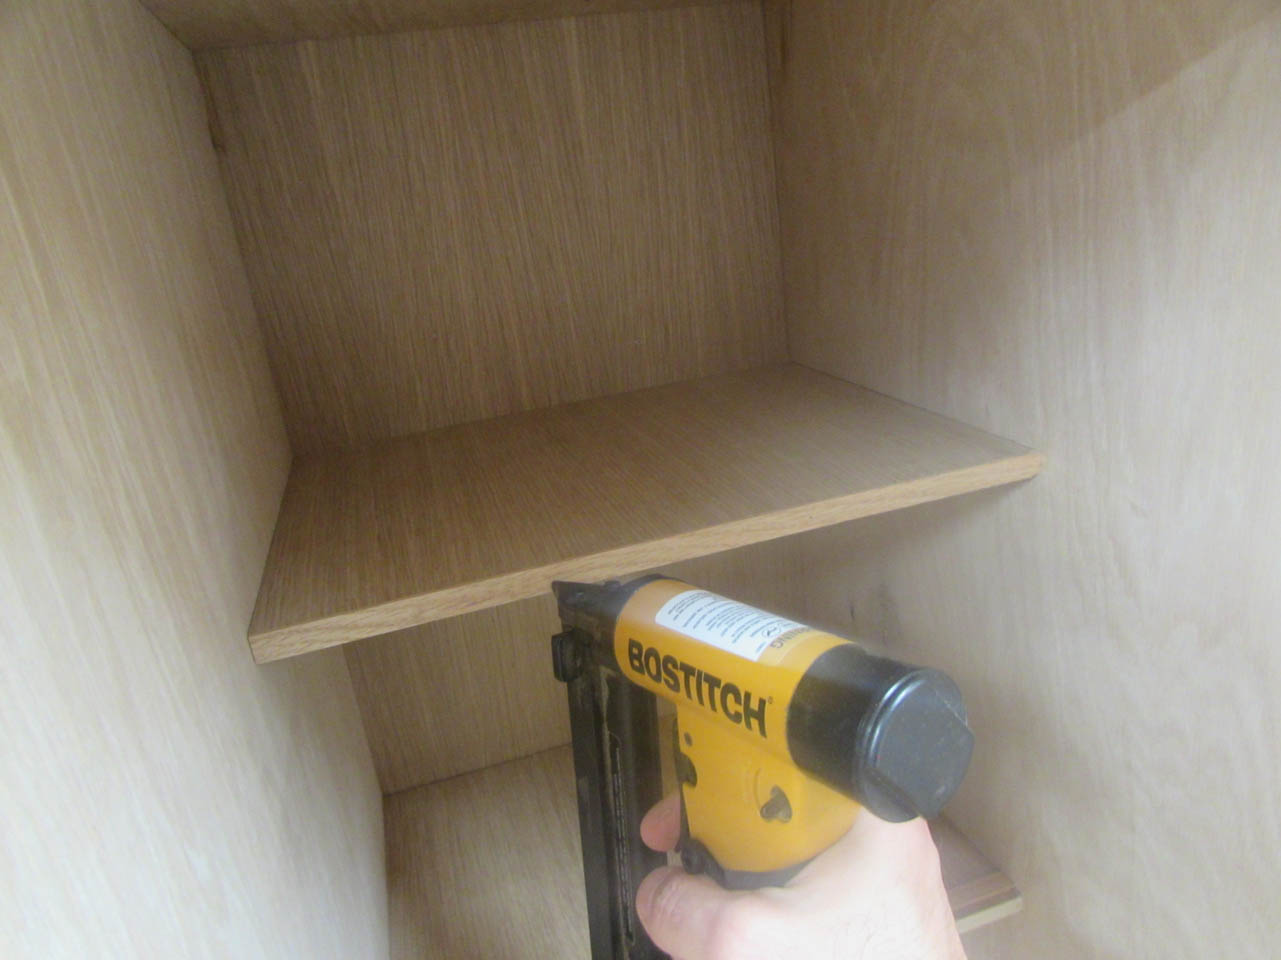
After the rear was attached, I added the central divider and the shelf.
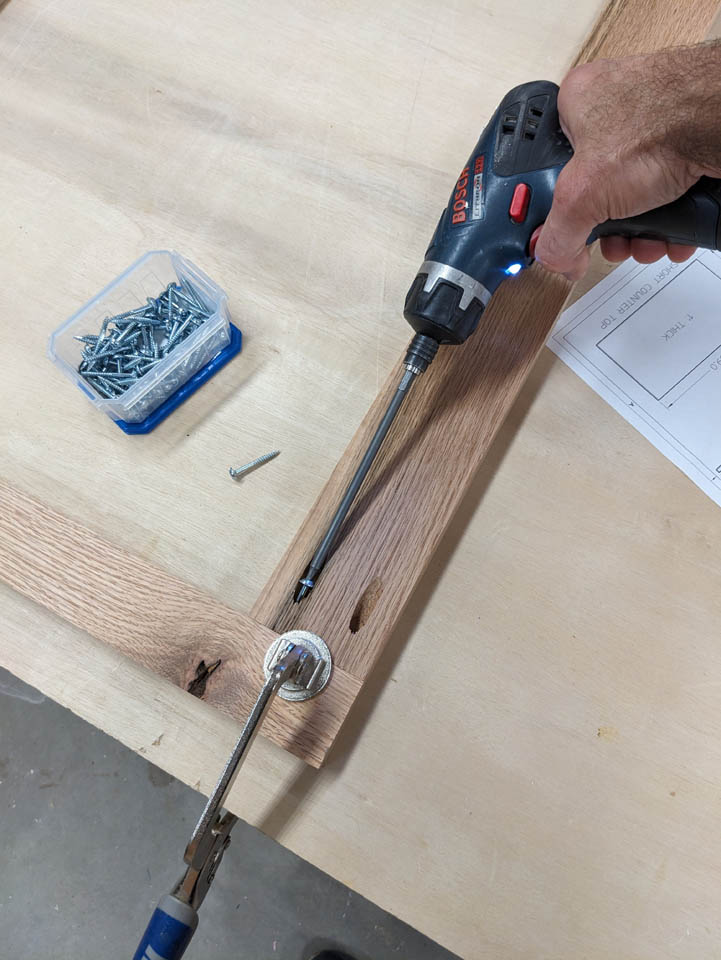
The top gets two 2″ wide strips that get held in place with pocket hole screws. These strips are for attaching the countertop later.
I cut a piece of veneer for the shelf as well but I won’t attach that until I have the face frame is installed.
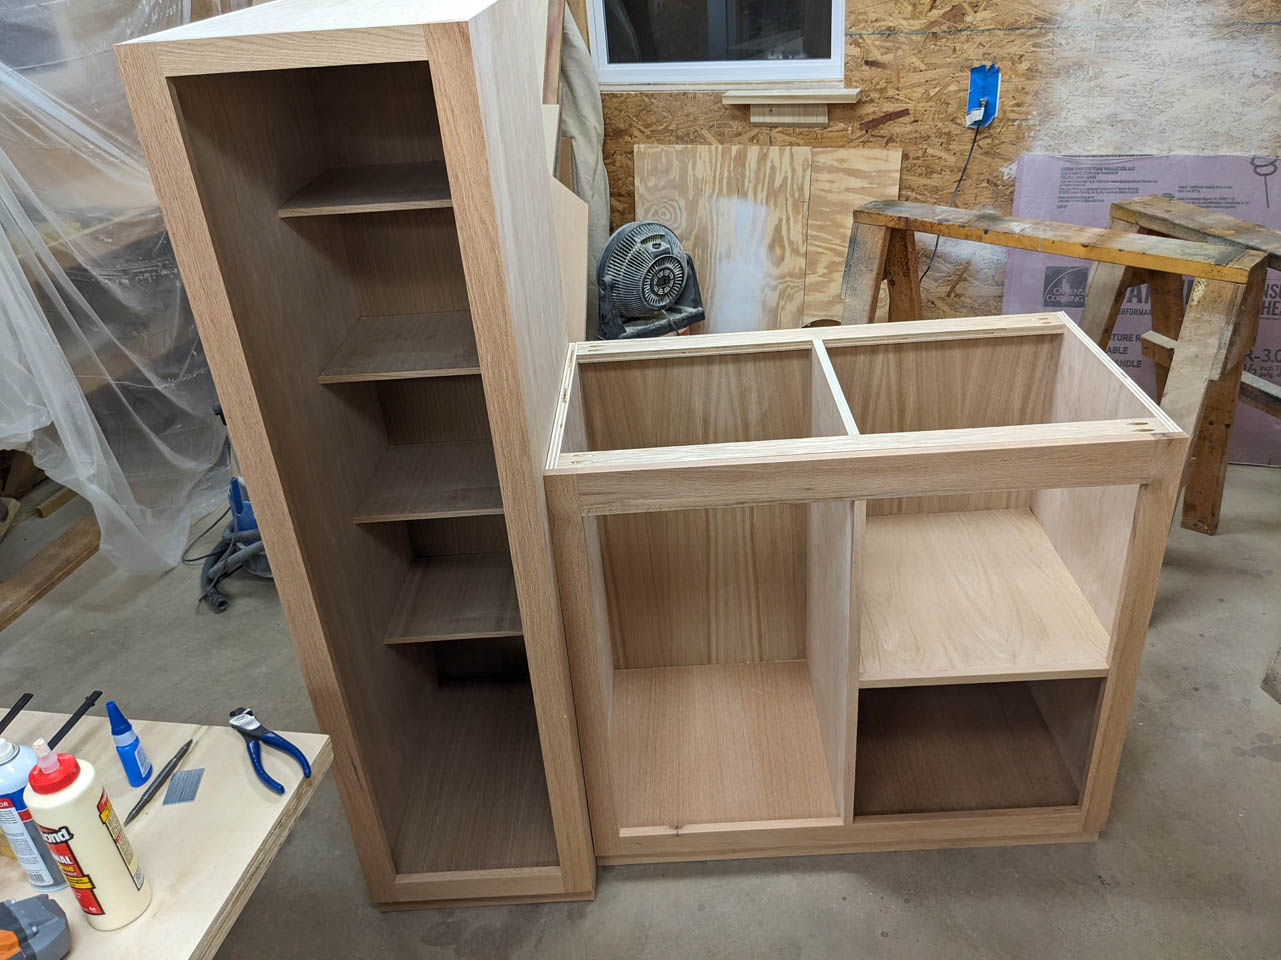
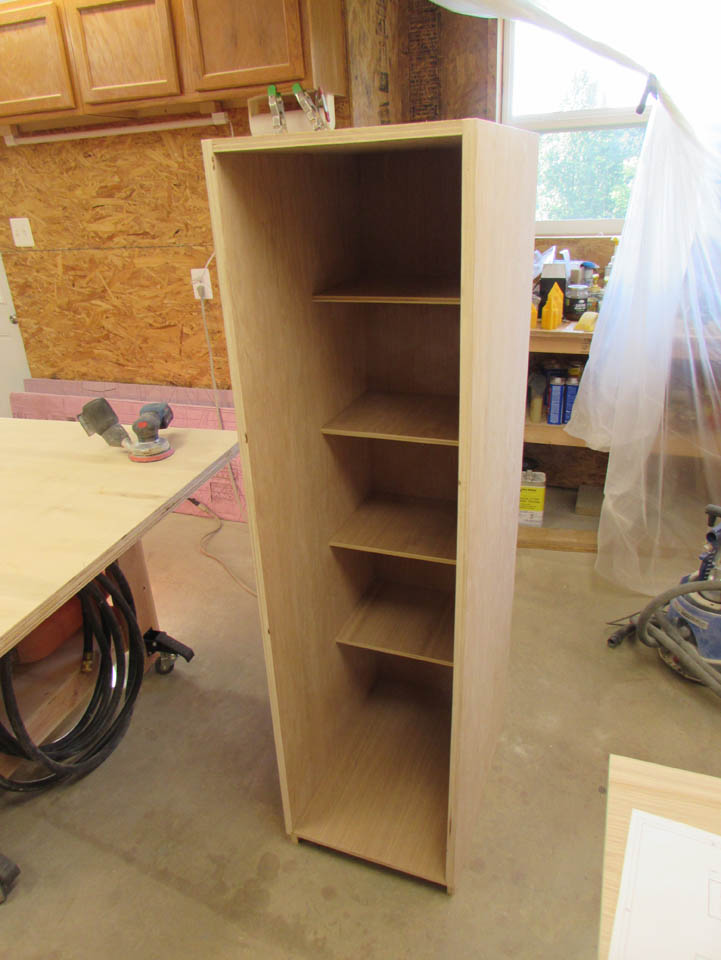
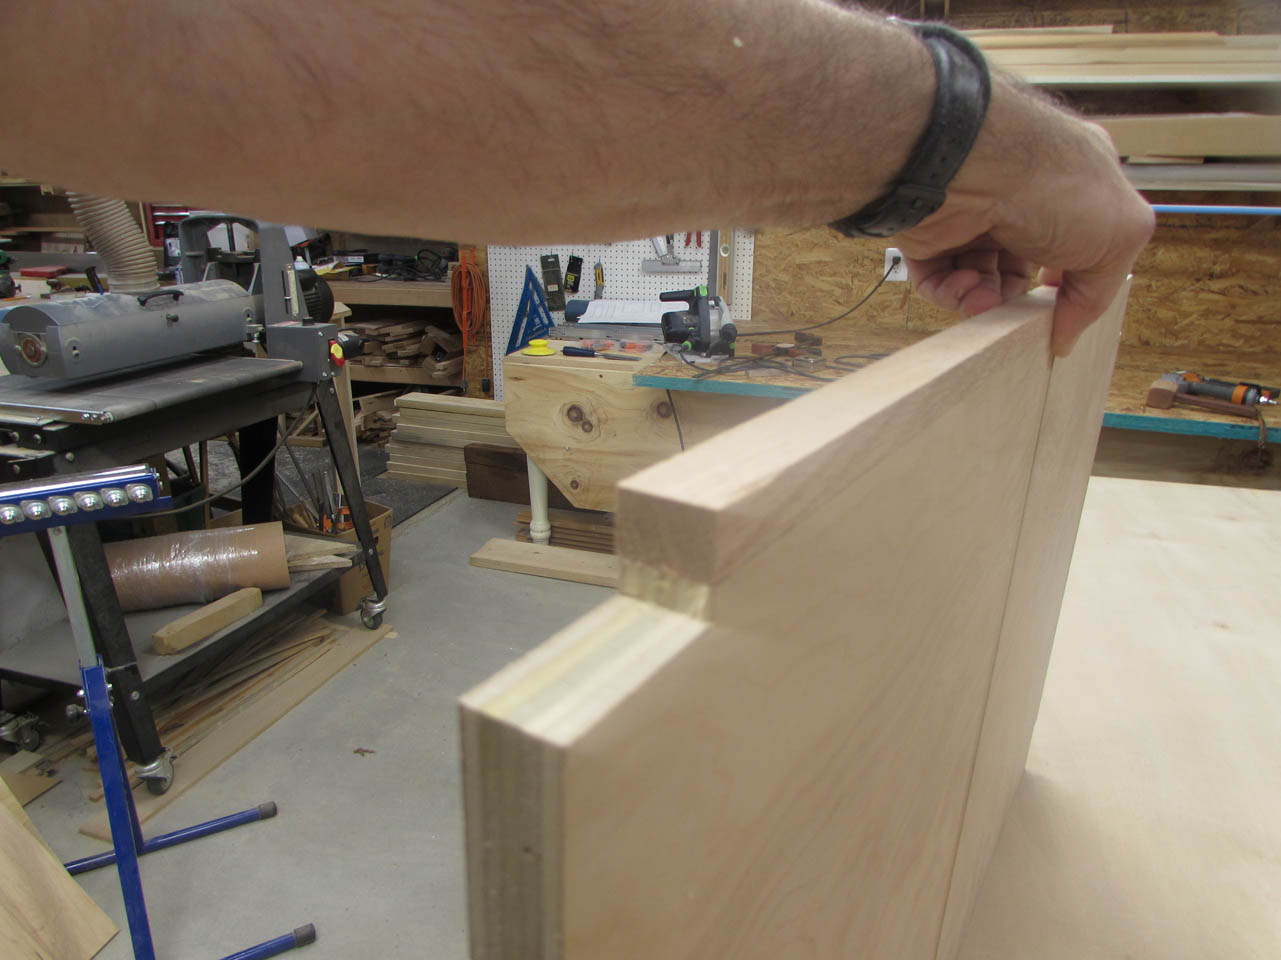
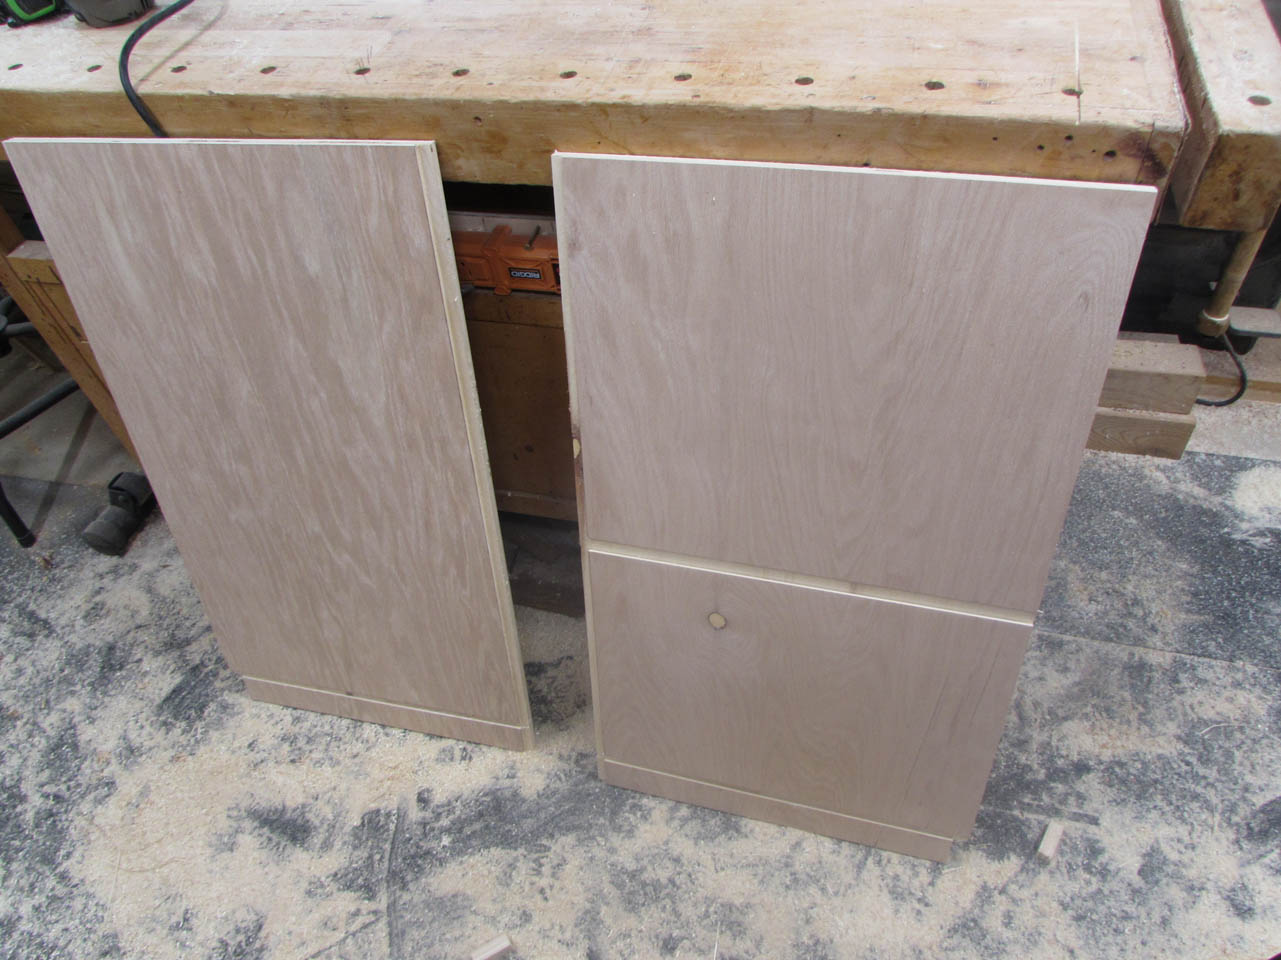
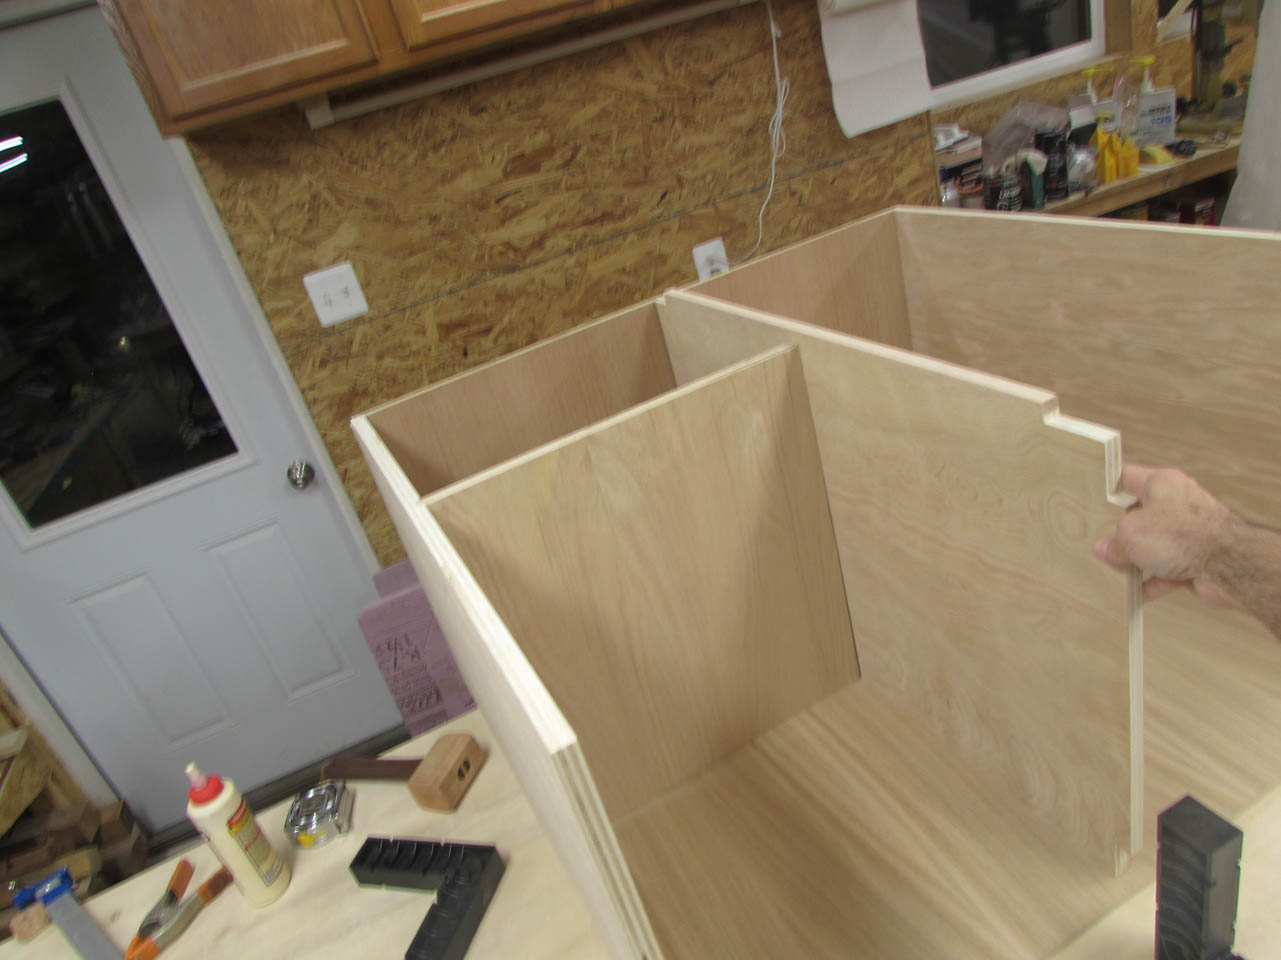
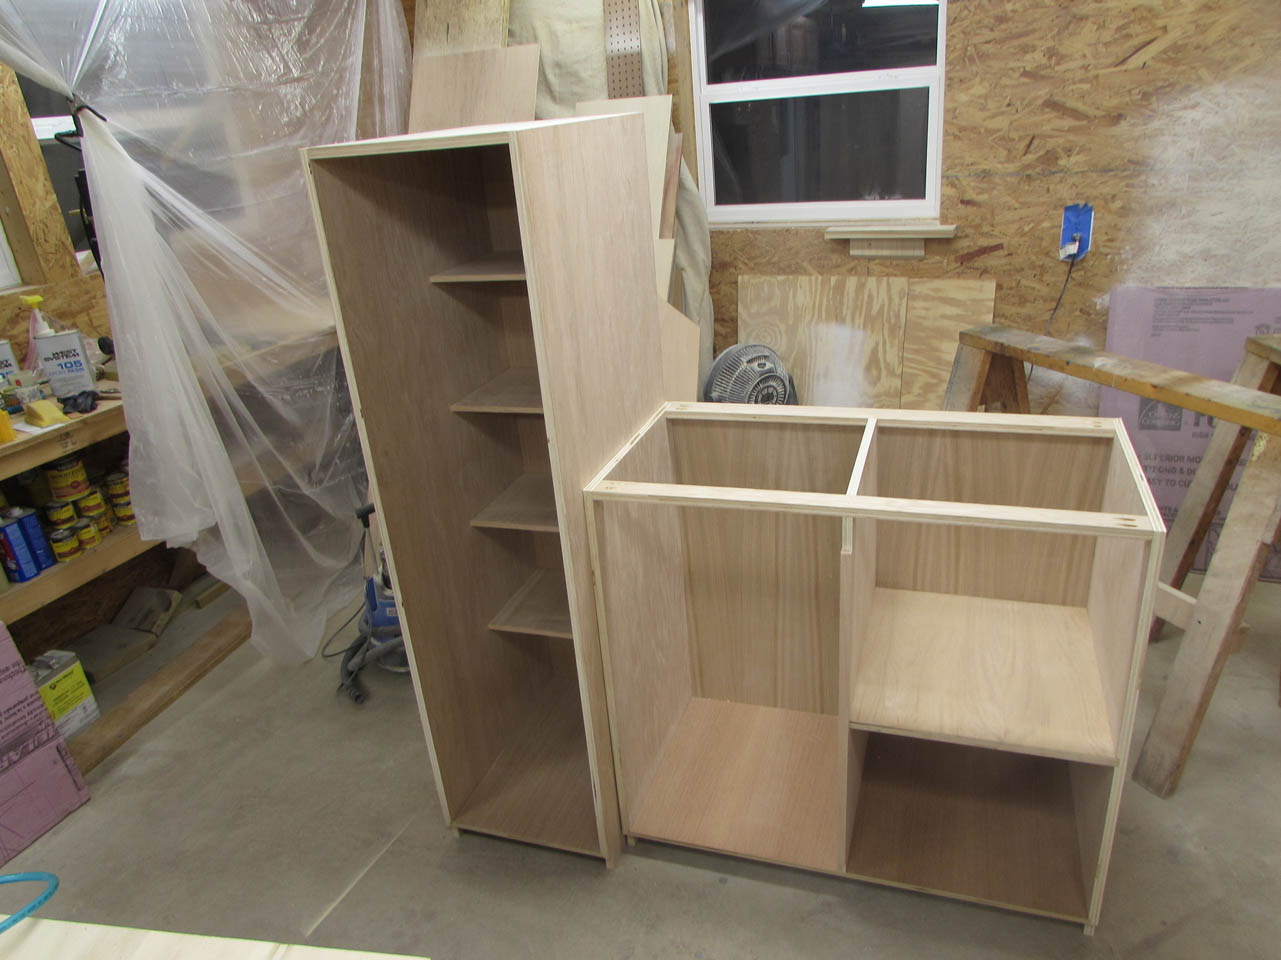
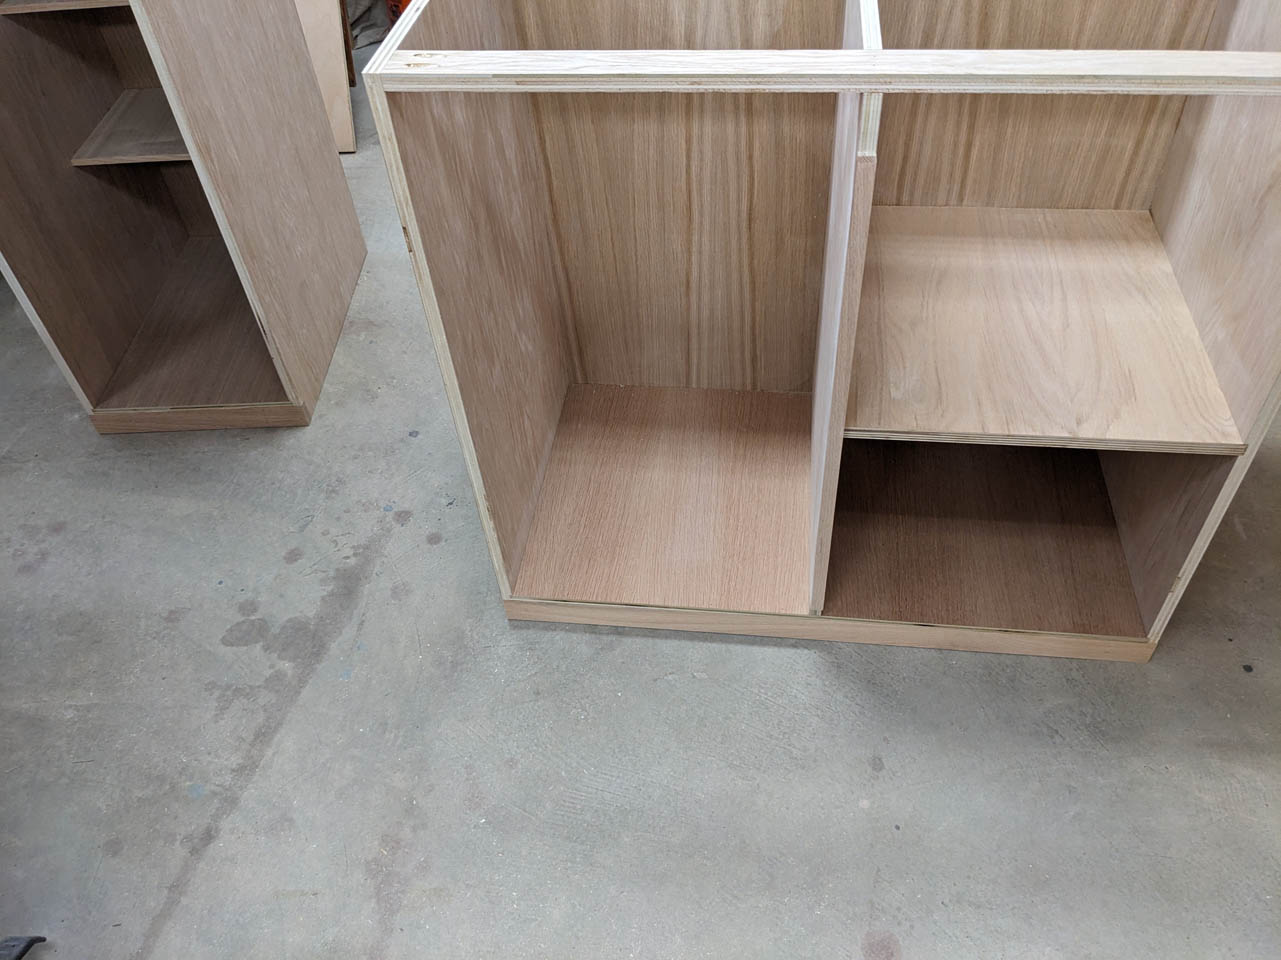
Here are the two cabinet carcasses, side by side.
Time to mill down a few pieces of lumber to make the face frames.
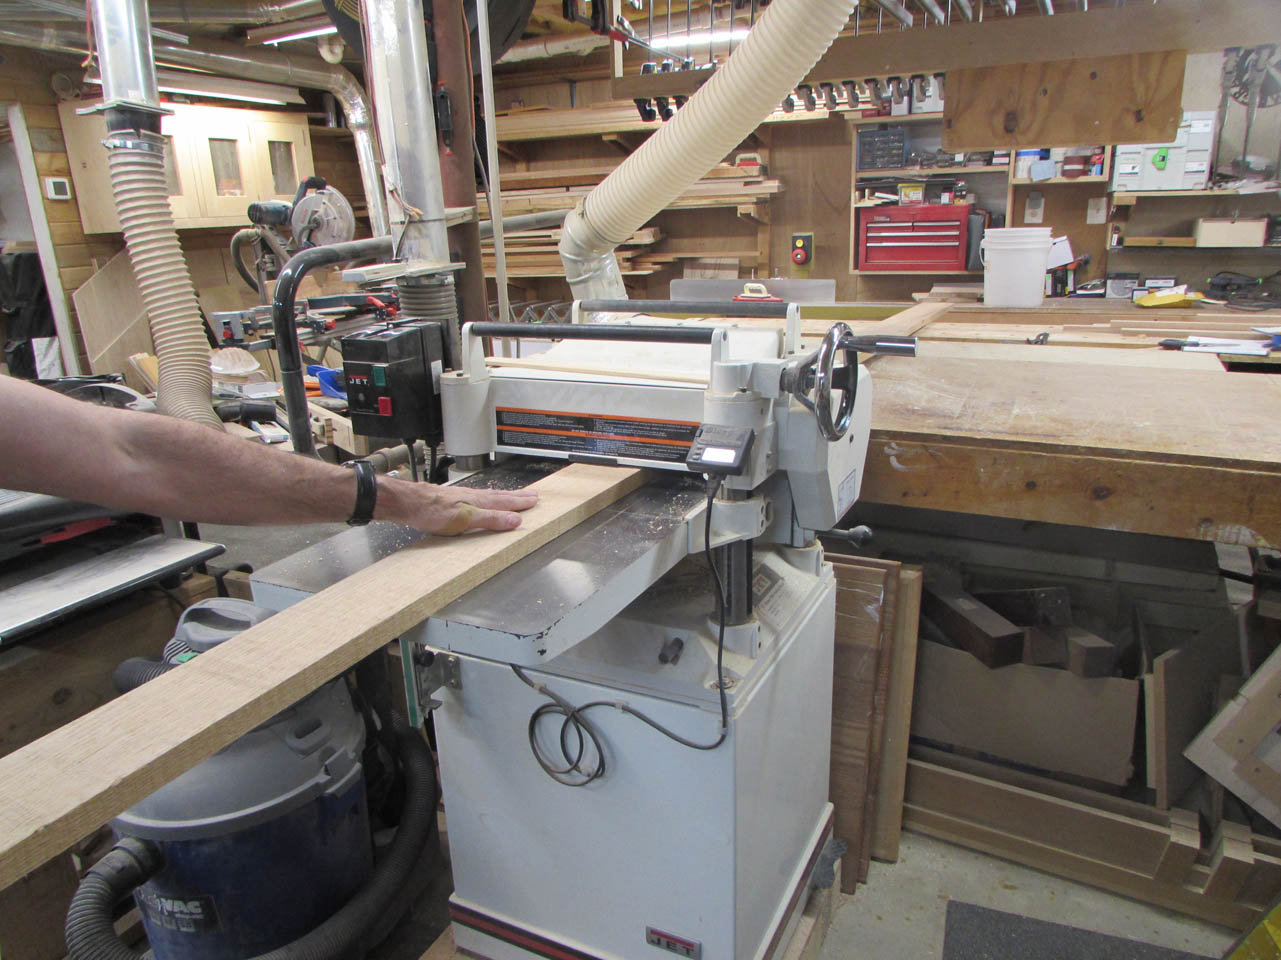
I mainly need 2″ and 3″ stock for the face frames so I planed down a couple of narrow pieces of oak to 3/4″ thick.
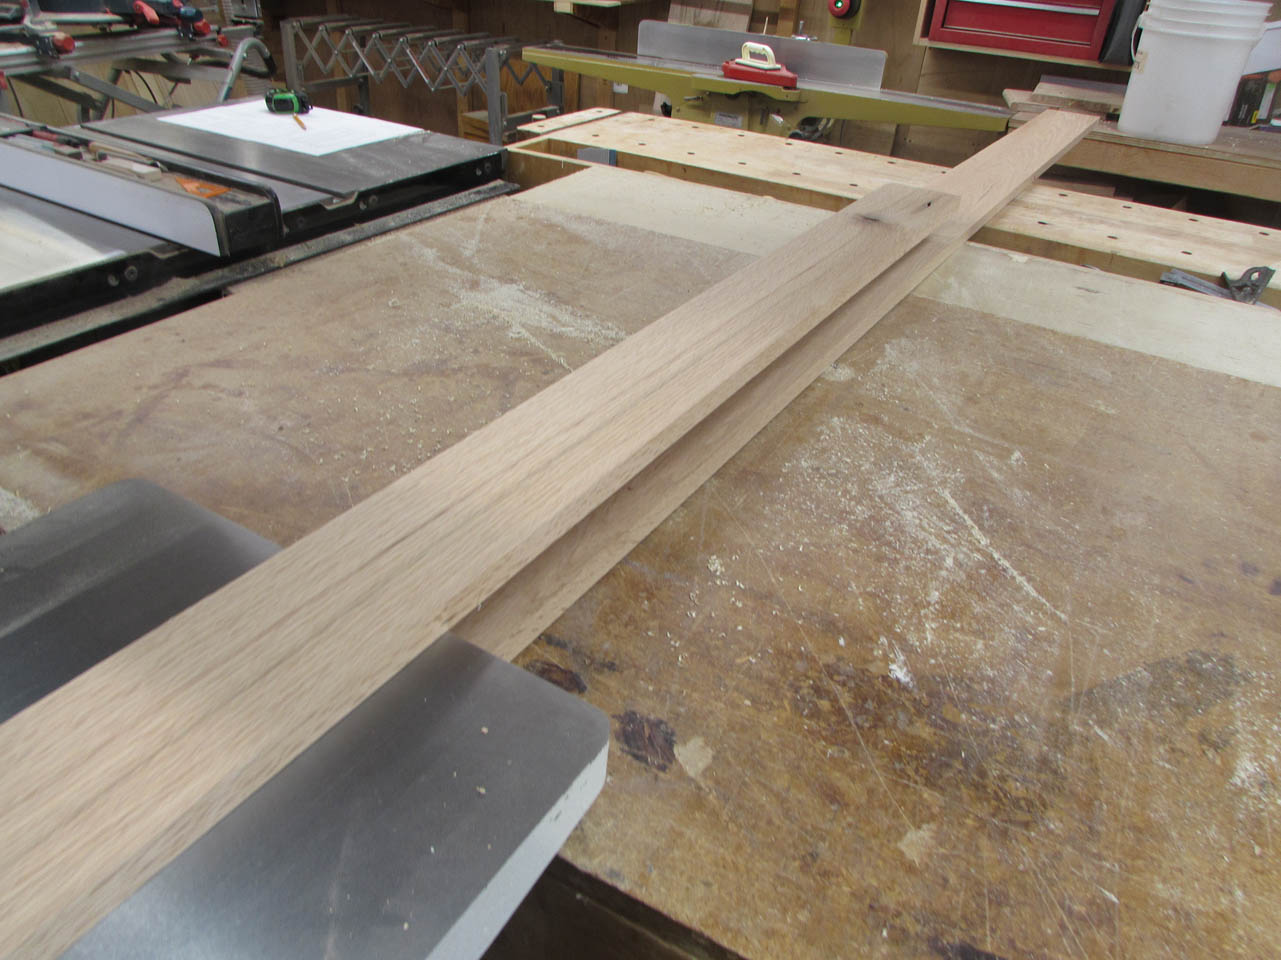
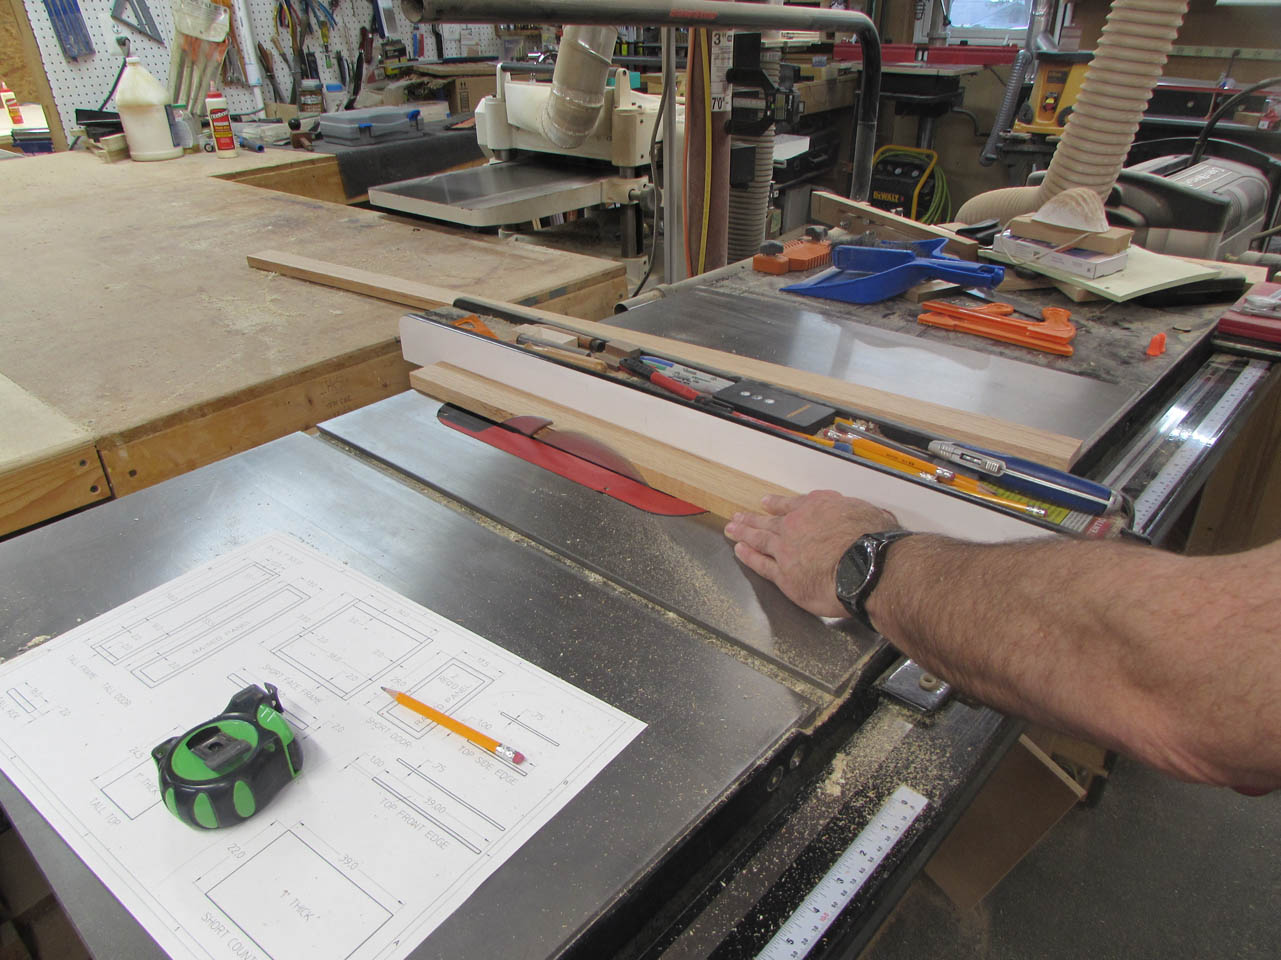
I cut them to length and ripped them to the proper width.

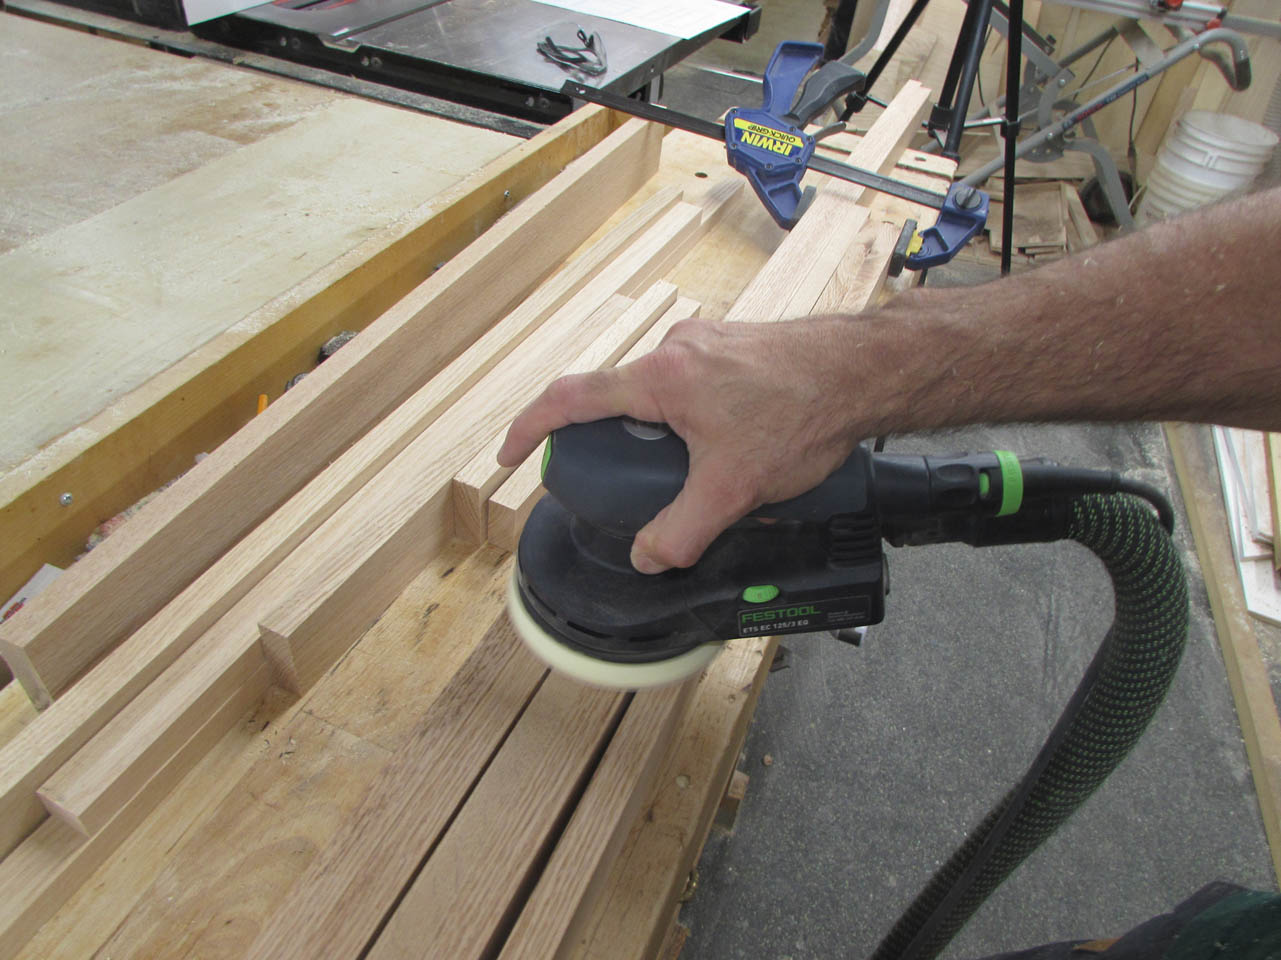
Then sanded the cut sides smooth.
I also cut two pieces that will make up the kick plate and attached them with glue and brad nails.

It was at this point that I dropped my trusty old Canon Powershot camera to the concrete floor for the last time. Rest in pieces… So the format will be slightly different on my pictures until my replacement camera arrives. 😦
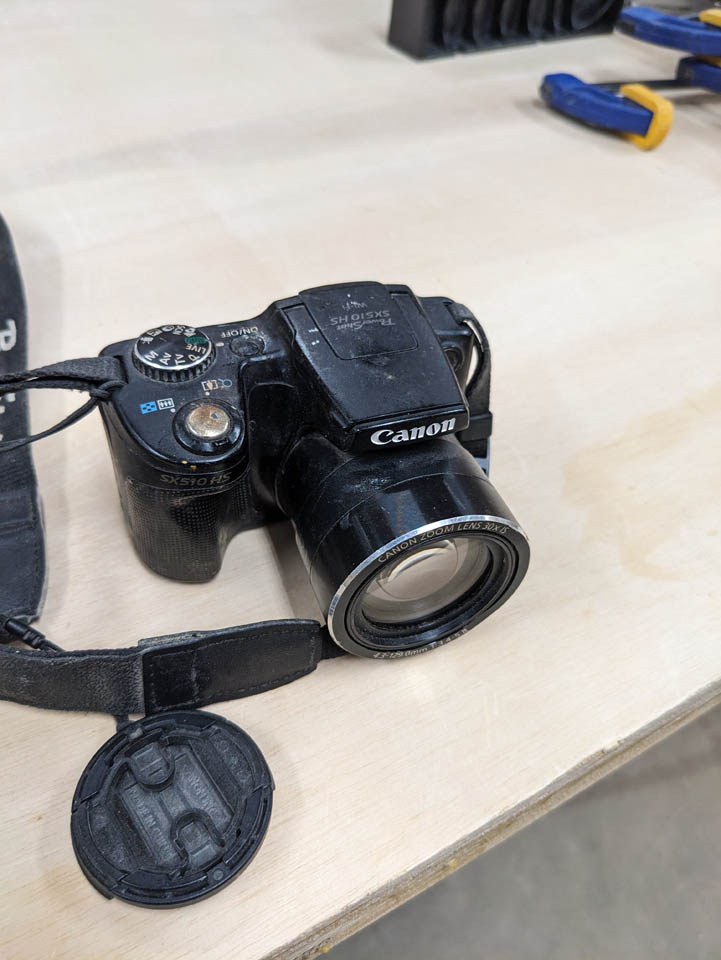
The annoying part is that everything works but the LCD screen that shows me what I am taking a picture of…
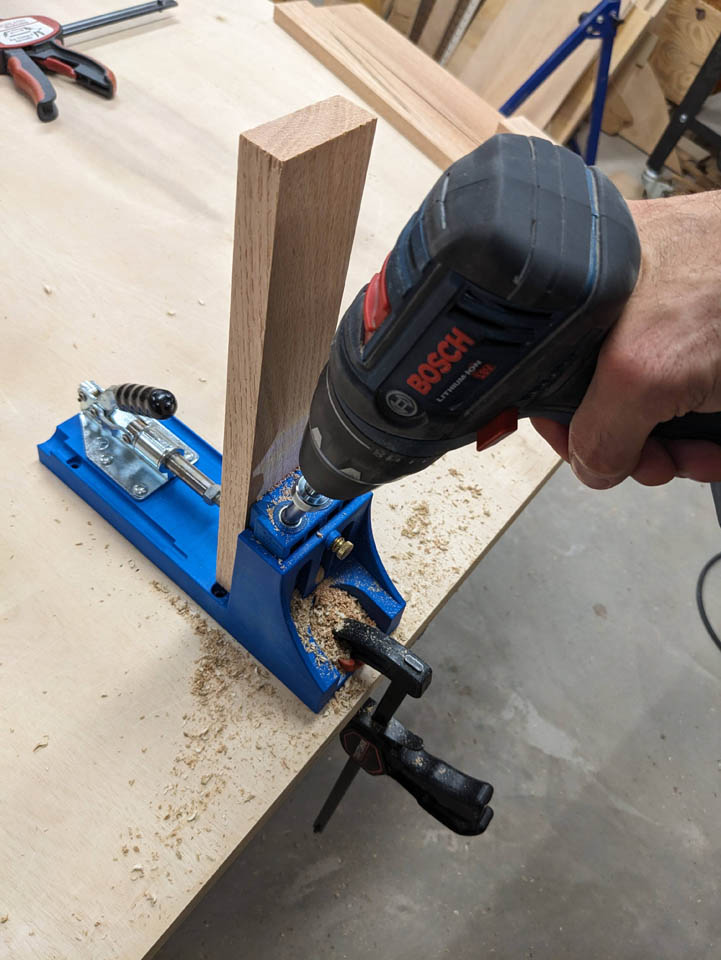
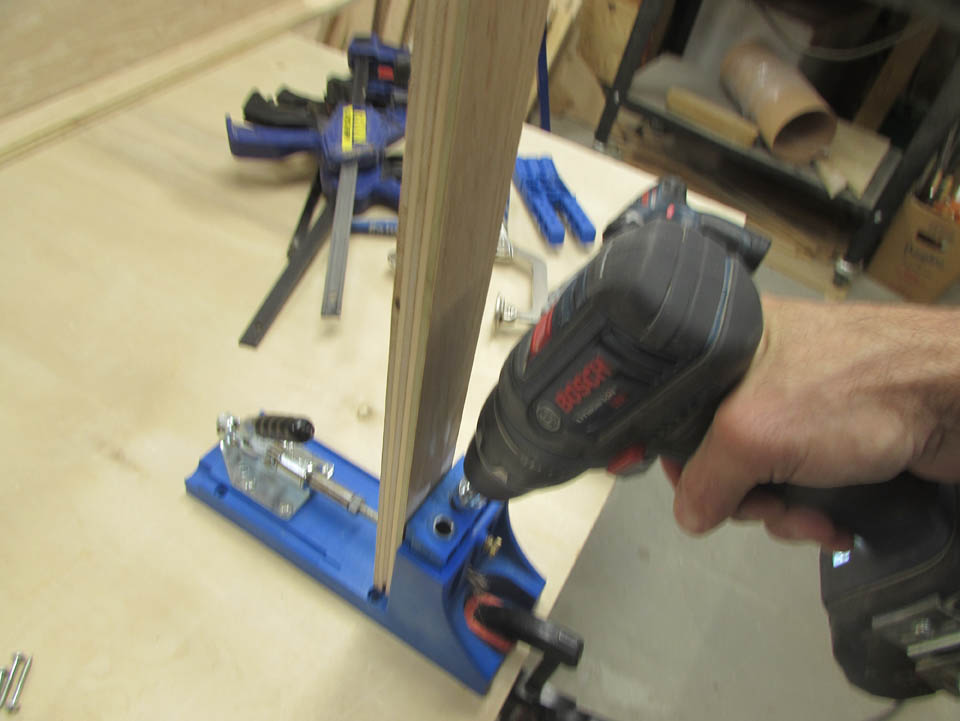
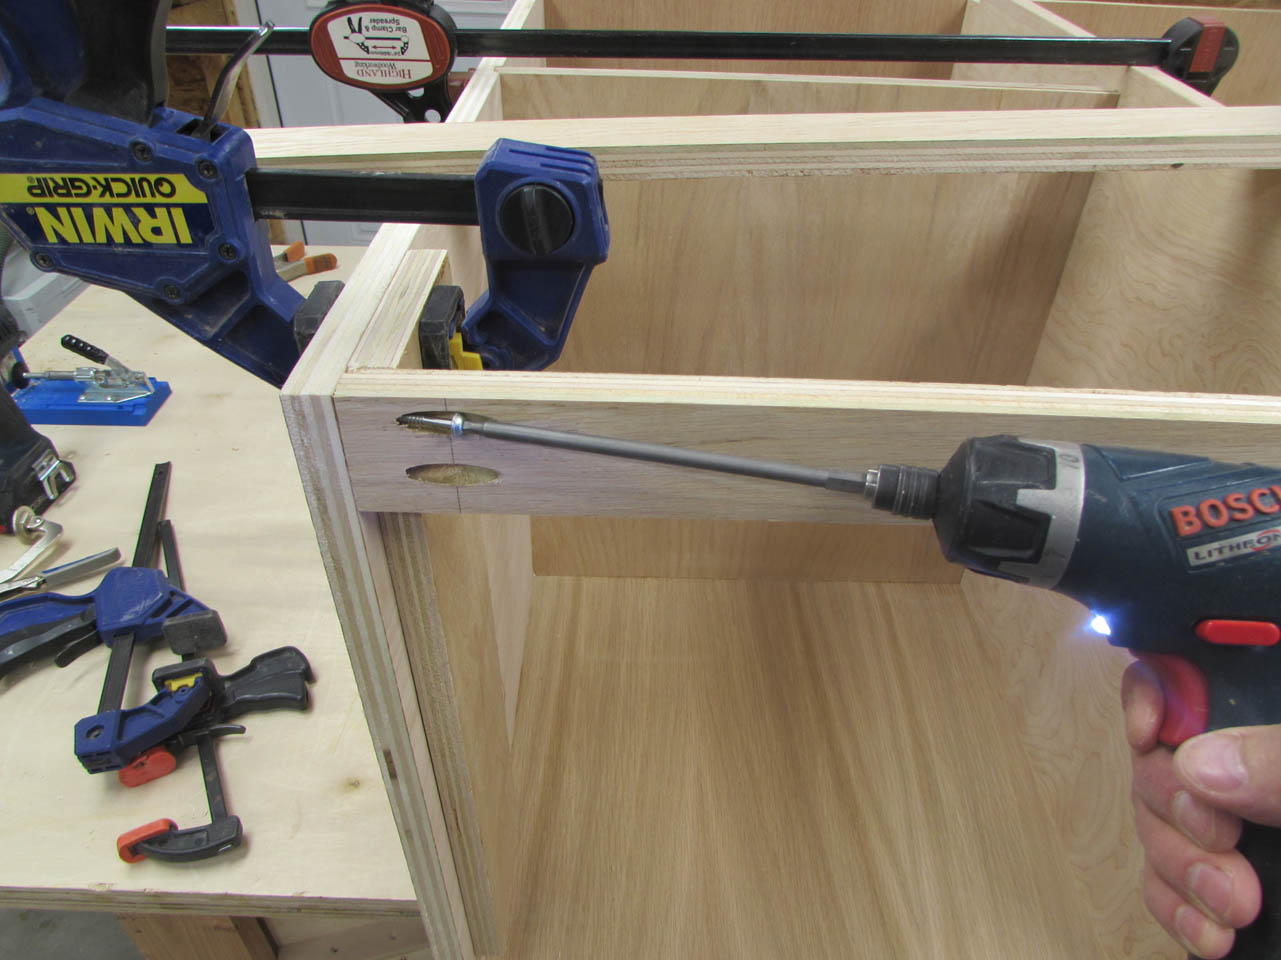
Since the rear of the face frame is not typically visible, I usually use pocket hole screws to assemble them. I like the pocket hole joinery here because it draws the joint up tight and square.
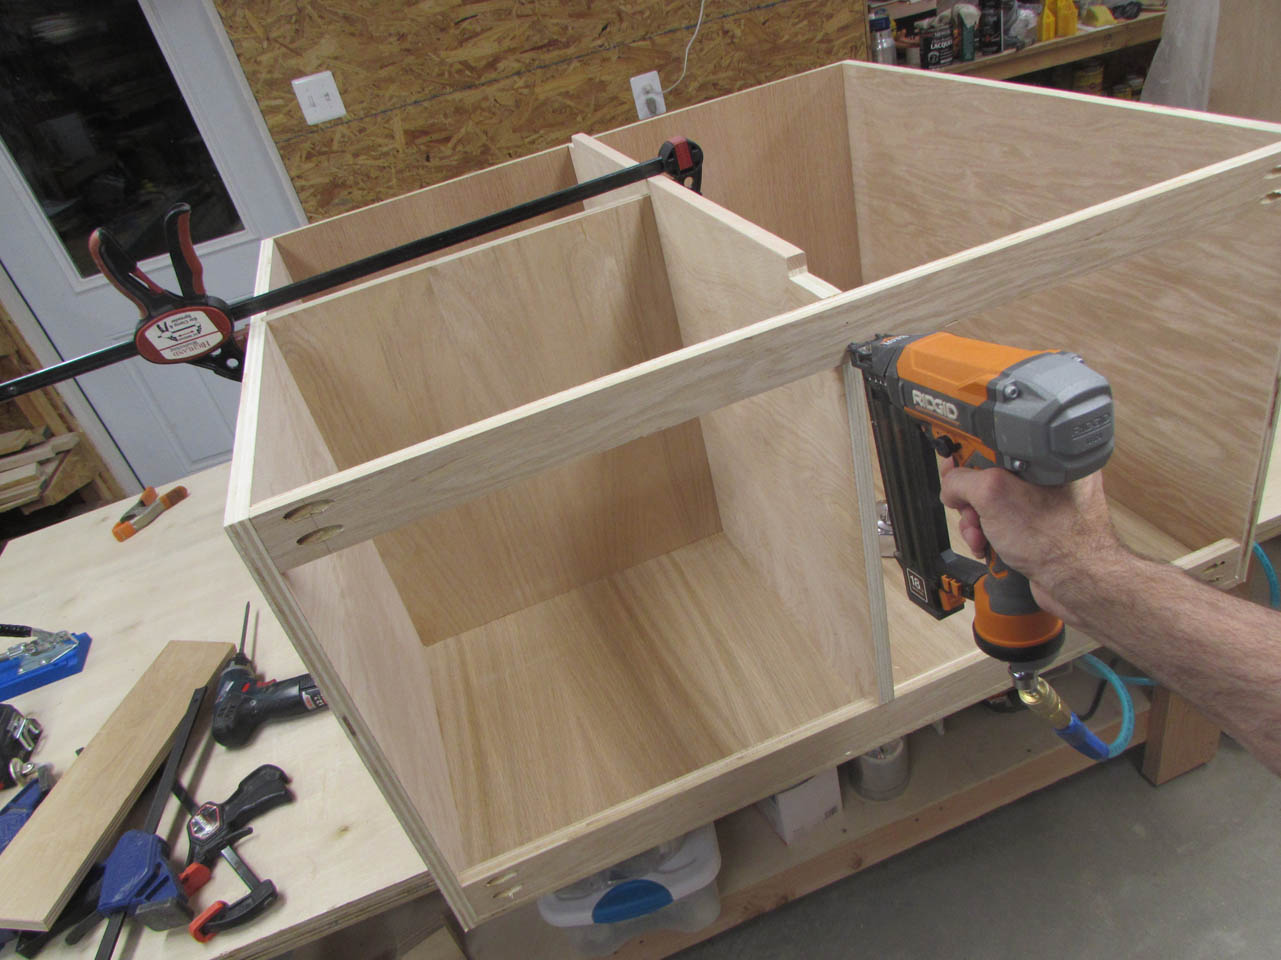
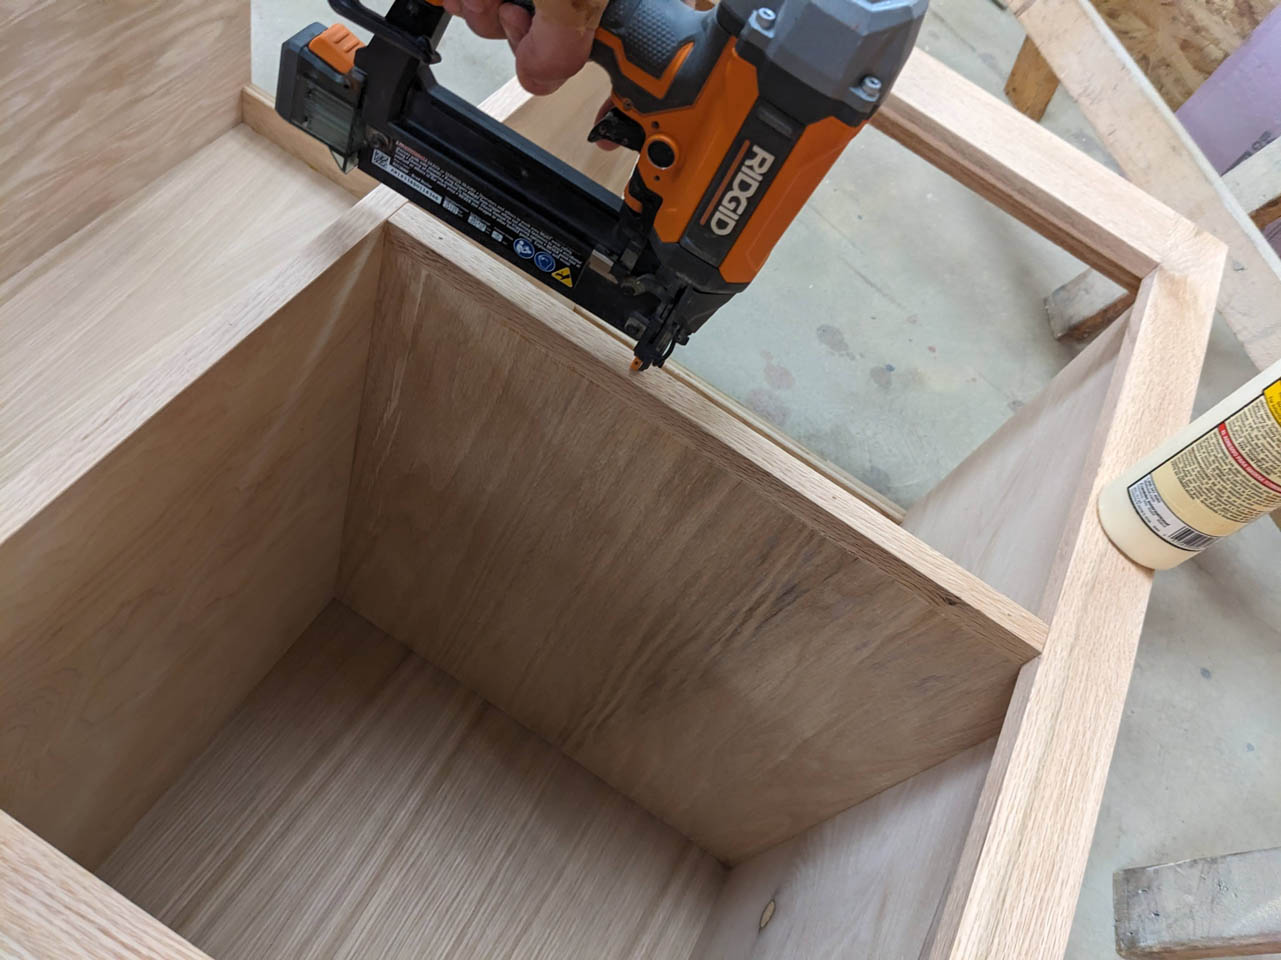
Next I add glue to the face of the carcass and brad nail the face frame in place.
I repeated the process on the shorter cabinet as well.
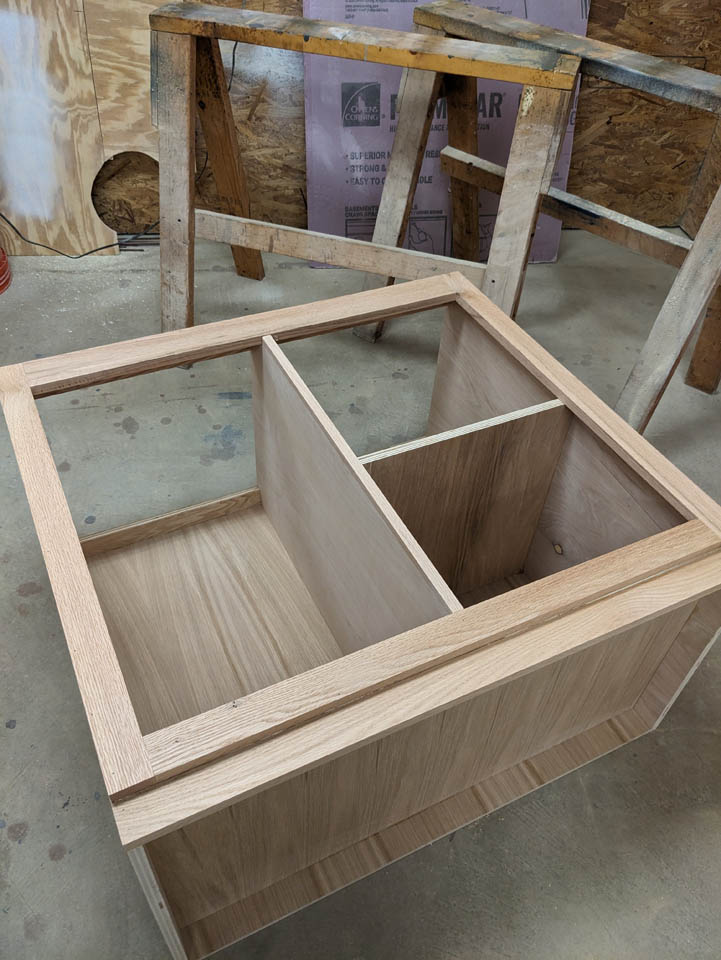
With the frame in place, I can cut my shelf veneer to length and attach it.
The main cabinet carcasses are complete. I still need to add some blocking for the drawer slides, but I want to build the drawers first to verify the dimensions. Next up will be the doors, drawers, and countertops.