
Vestry cabinets part 5
Time to start finishing

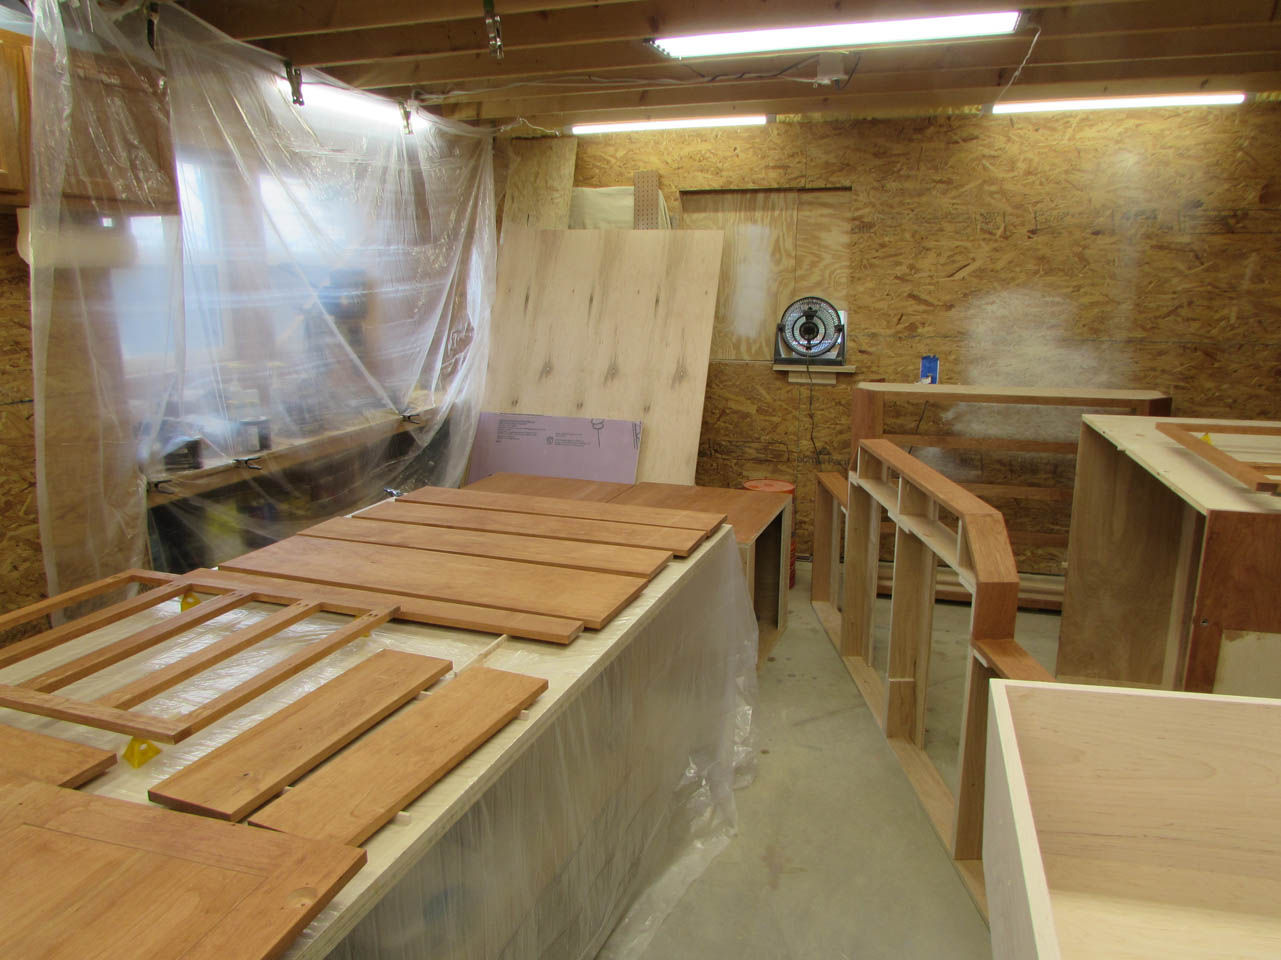
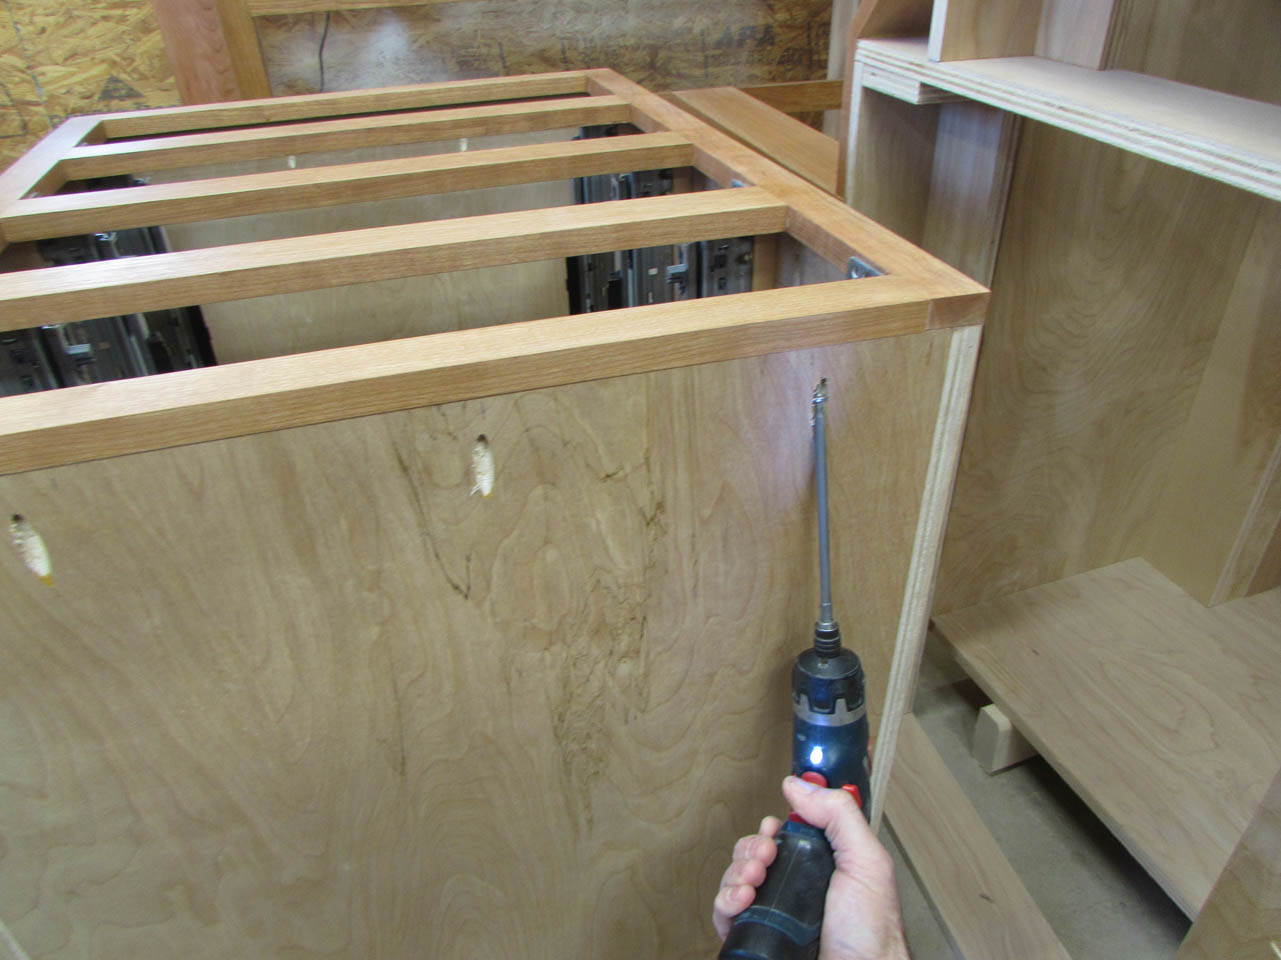
I started by disassembling everything.


First step is staining all of the cherry components. Basically everything on the face and sides of he cabinets.

For the face frames, door, and drawer fronts, I am staining both front and back sides.


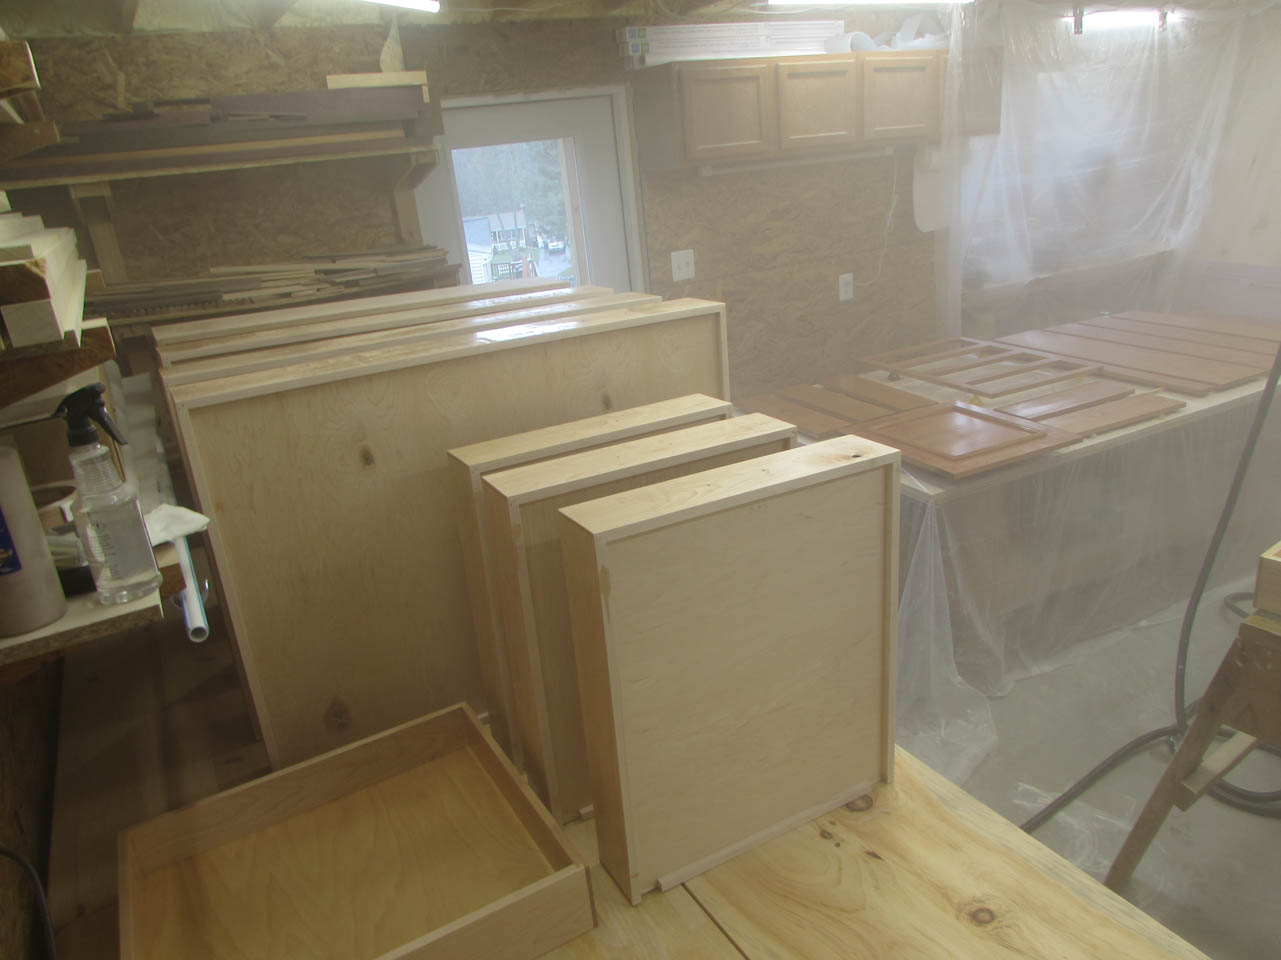
I had to utilize the entire back end of my shop to have enough room to finish everything at once.

After the stain cured for 24 hours, I spread everything out and started spraying satin polyurethane.

I did all of the cherry parts first.

Then fought my way through the fog to spray the drawers as well.
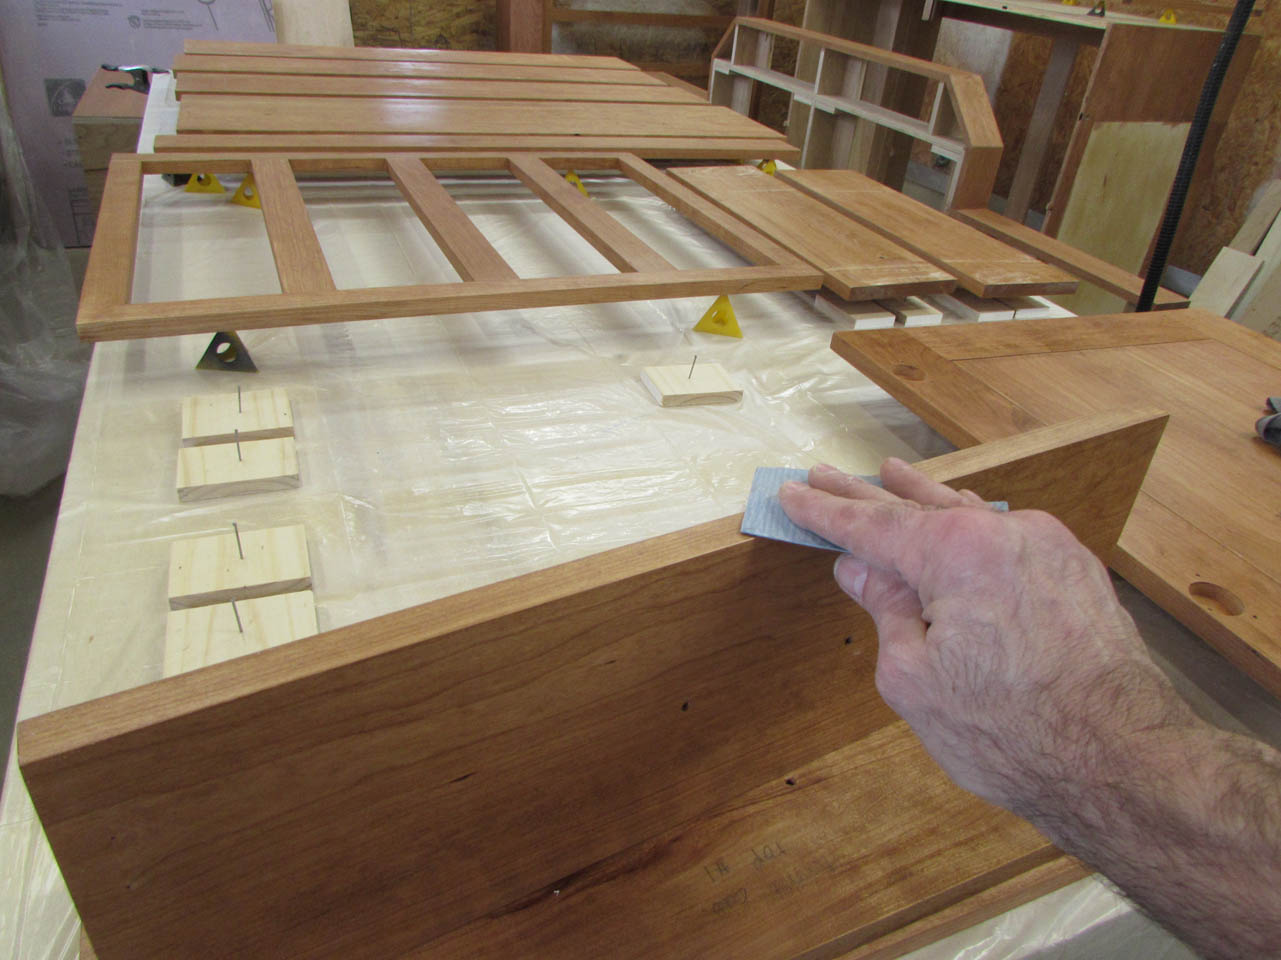
I am not too worried about the overspray on the first coat, I will have to sand it all back anyway.


I let those pieces dry overnight and came back the next morning to sand down all of the surfaces with 400 grit sandpaper.

I did not spray inside the cabinets, but I did finish the drawers, so they got sanded as well.

For the second coat, I put a fan in the window to draw out some of the overspray, and sprayed the cherry first.

I let the overspray clear out a bit, then came back to spray the drawers.

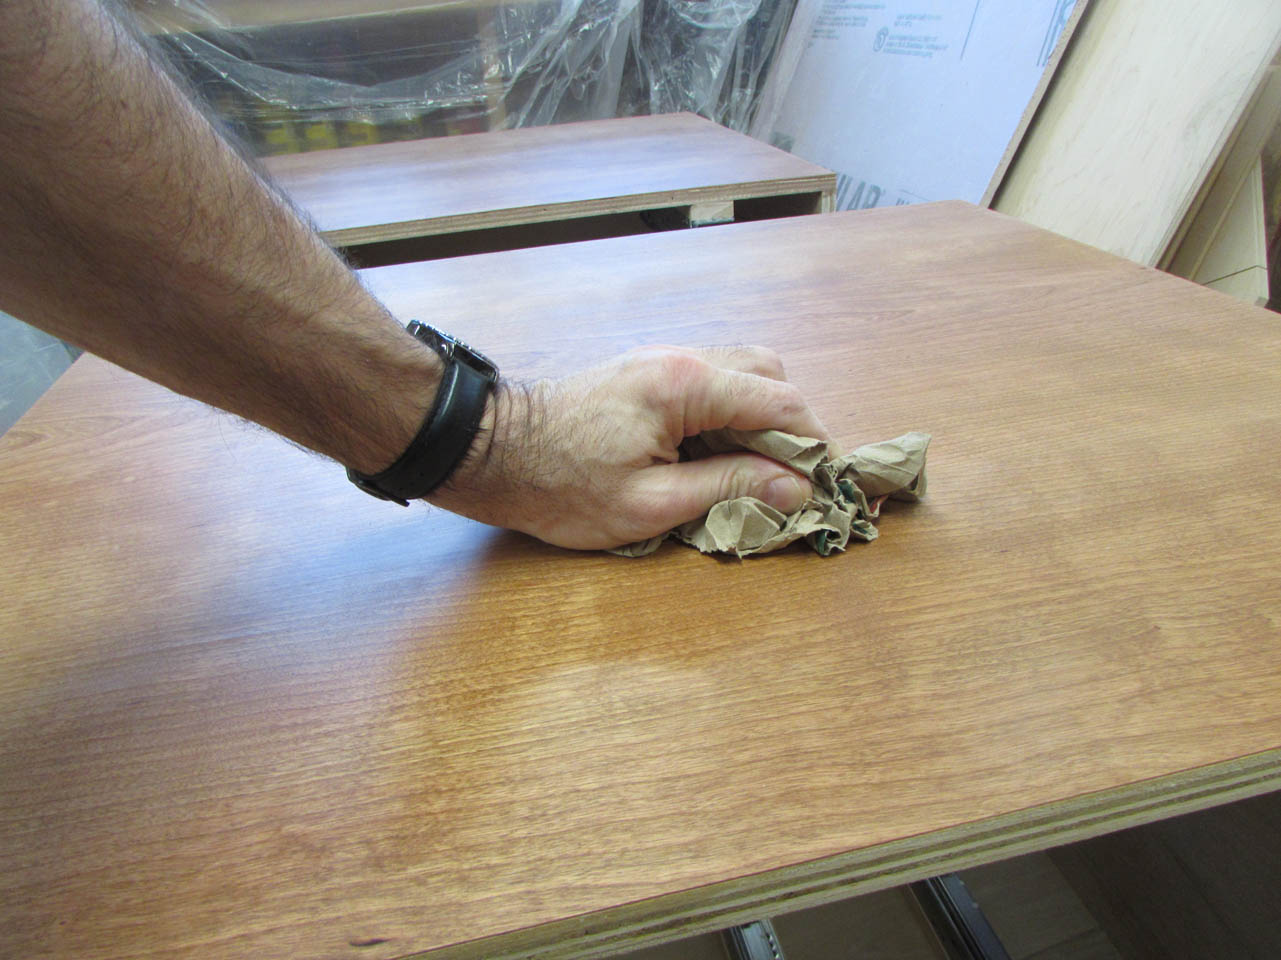
There was a lot less overspray to settle back on the furniture the second time. To knock down the roughness caused by the overspray settling, I buffed all the surfaces with some wadded up brown paper. This does a really good job of polishing up the finish without scratching the surfaces.
When everything was dry and cleaned up, it was time to reinstall all of the hardware.

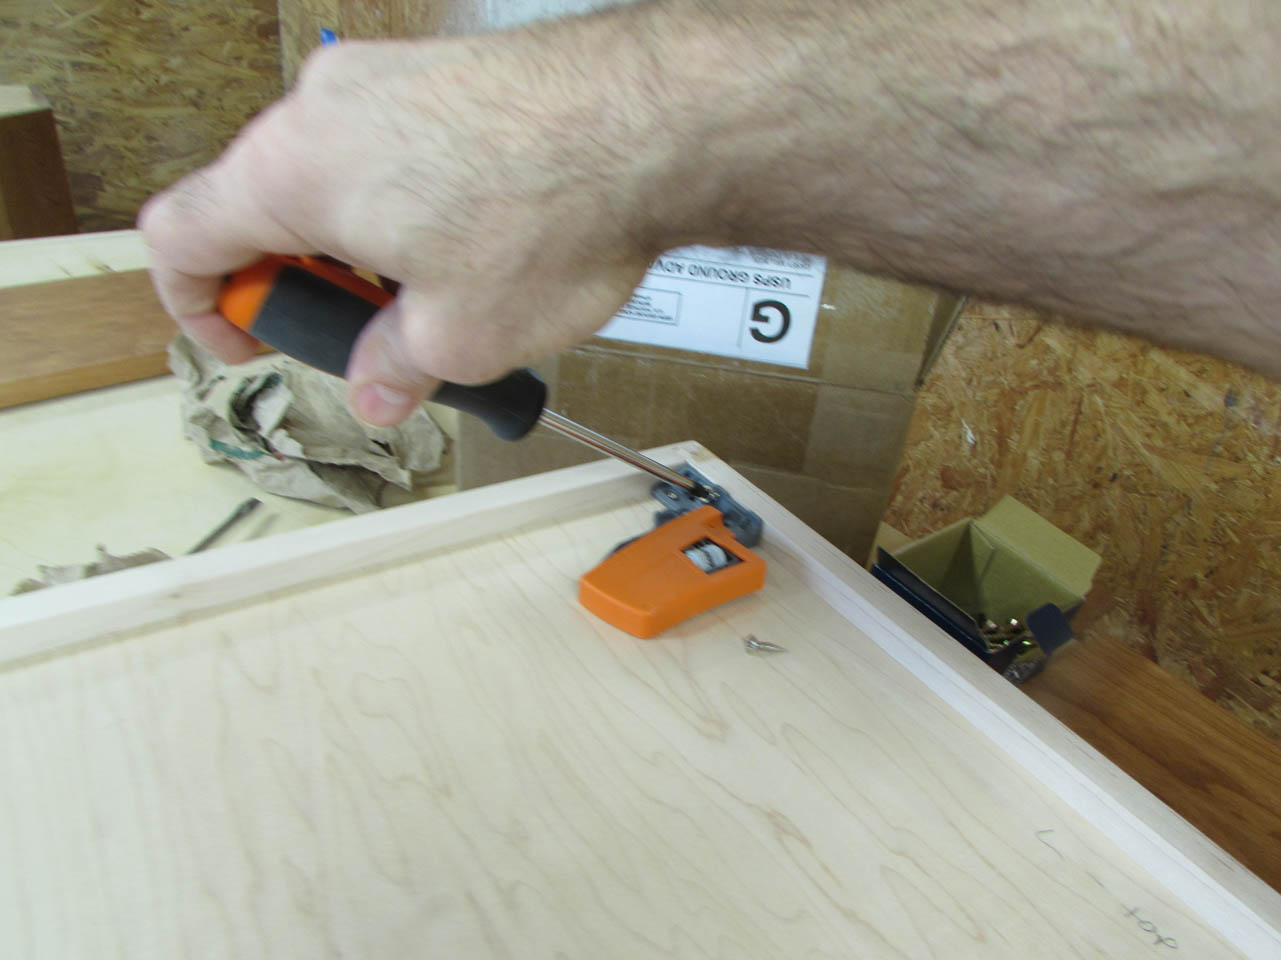

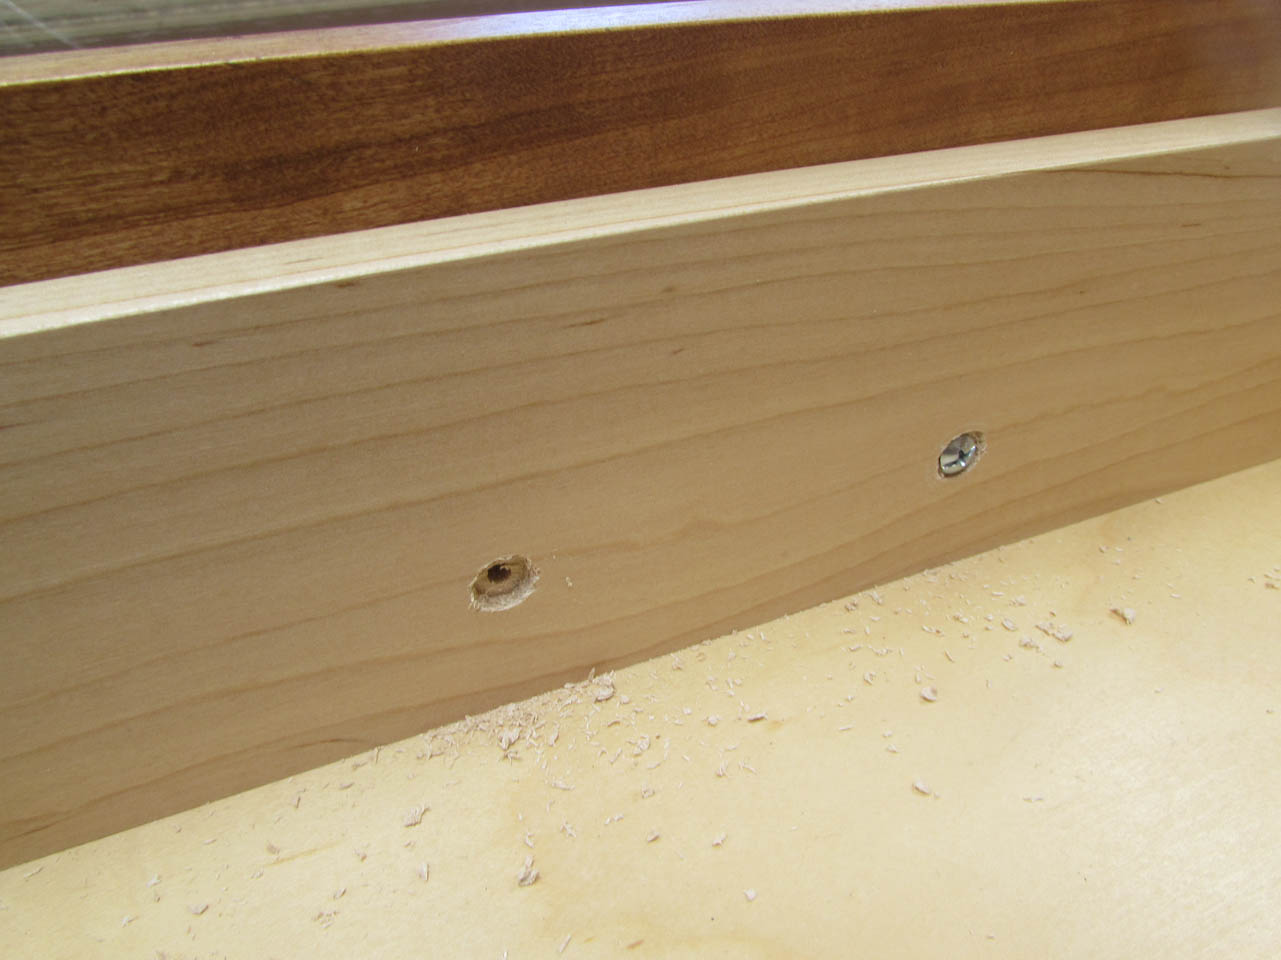
I reinstalled the drawer faces so that I could attach them properly.
With the two screws mounted through the holes for the drawer pull, I can attach the face from the inside with four cabinet screws.

Then I can remove the original two screws and install the pull hardware.
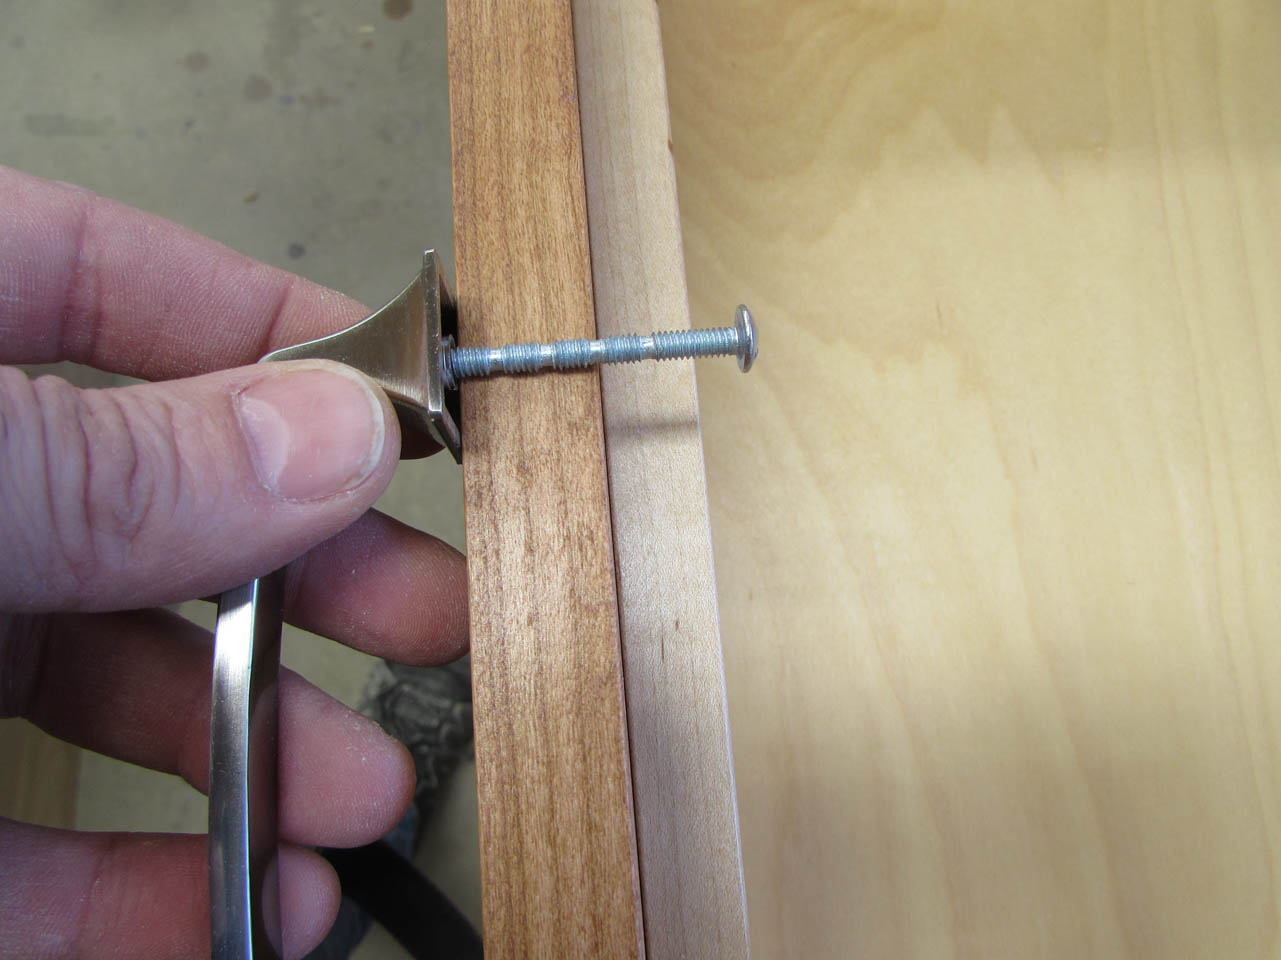
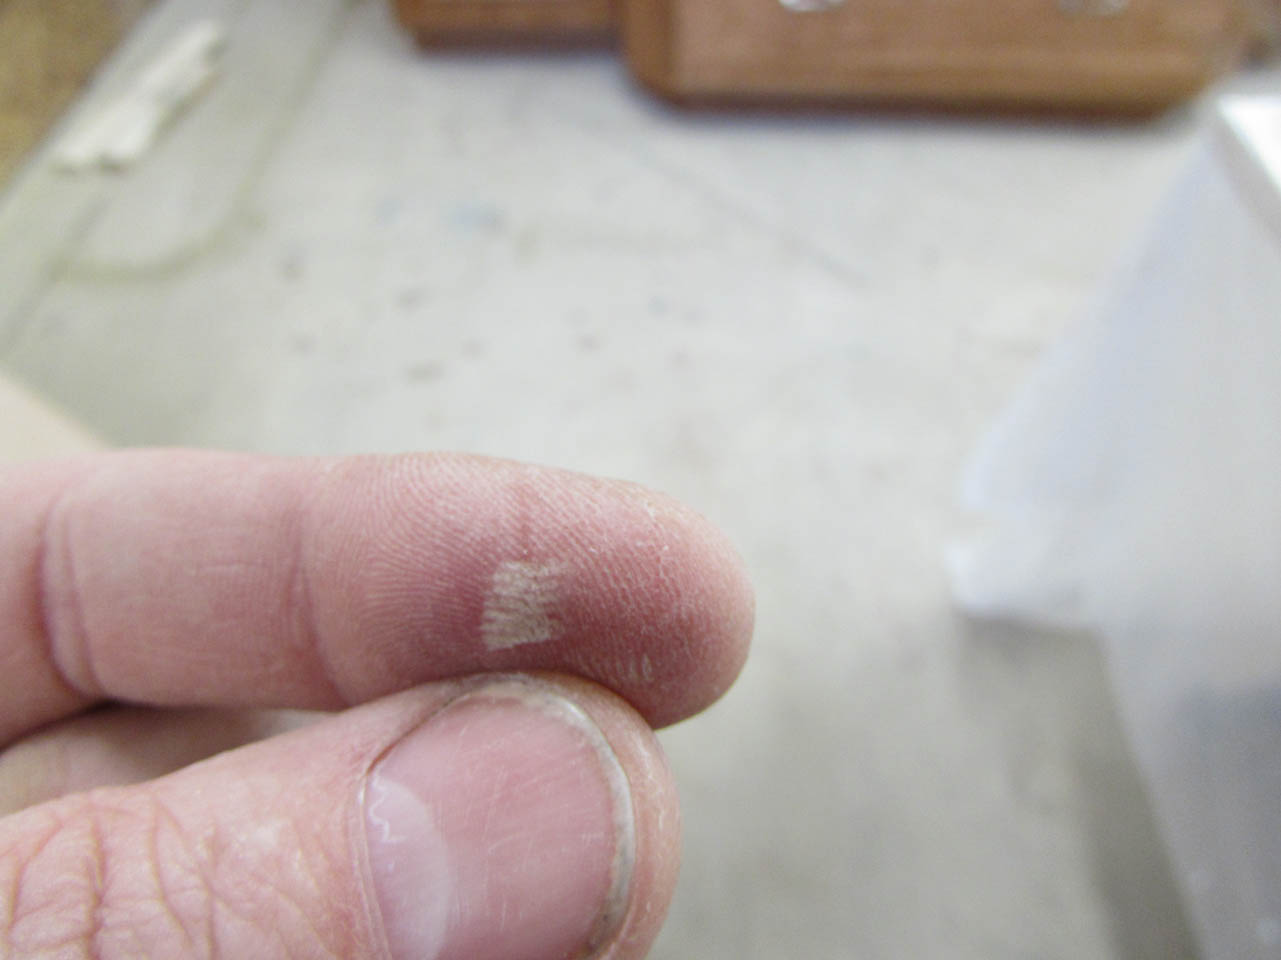
The pulls come with screws that can be cut down in 1/4″ increments. If my drawer boxes were 3/4″ thick, they would work perfectly. Unfortunately, mine are 5/8″ thick so I need to lose 1/8″. This would mess up the threads so I have to get creative.

I start by cutting 1/4″ off the screws with a cut-off wheel on my Dremel tool. And yes, if you grab the freshly cut end of the screw, it will melt a nice thread pattern into your fingers. Usually you only do this the first time…
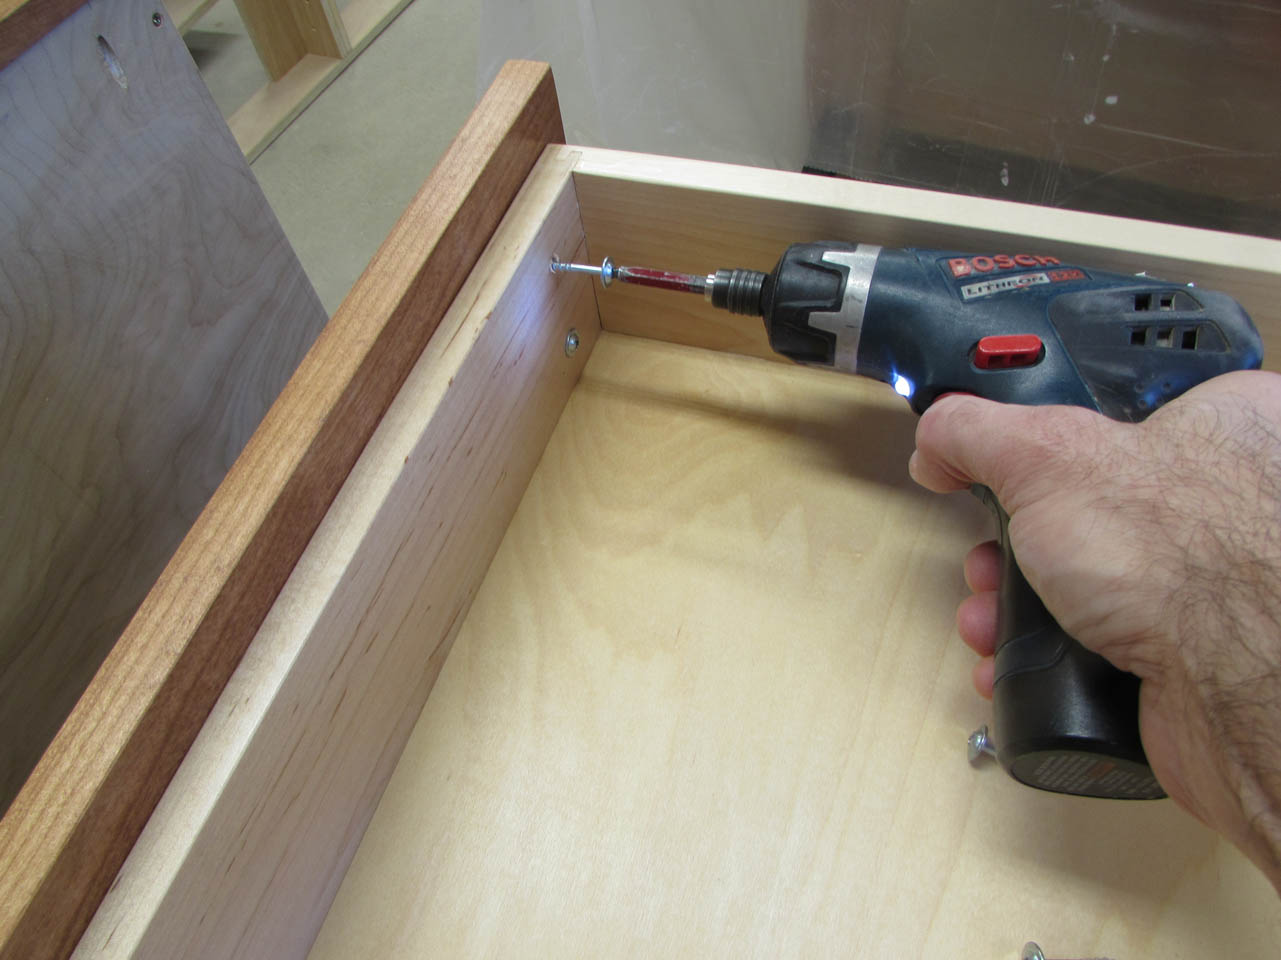
Next step is to drill a larger diameter clearance hole through the mounting holes in the face, through the drawer as well.
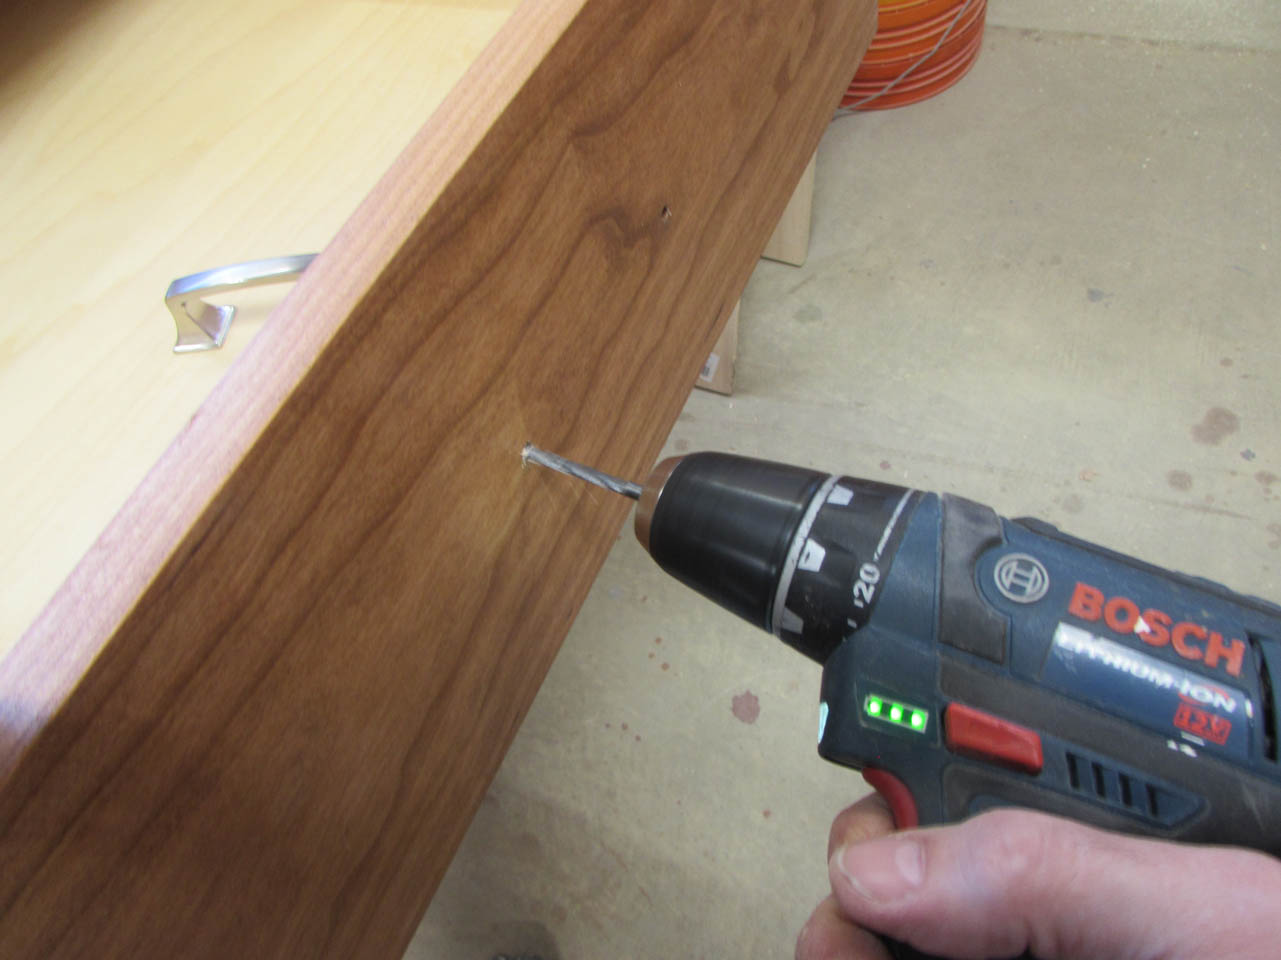
The threads are just barely long enough to reach now so I need to recess the screw heads about 1/8″ deeper to get a good, tight hold.

I found a brad point bit that is just larger than the head of my screws and set a stop collar on it at 1/8″. I aligned the brad point with the through hole that I just made and drilled out a counter-bore on the inside of the drawer.
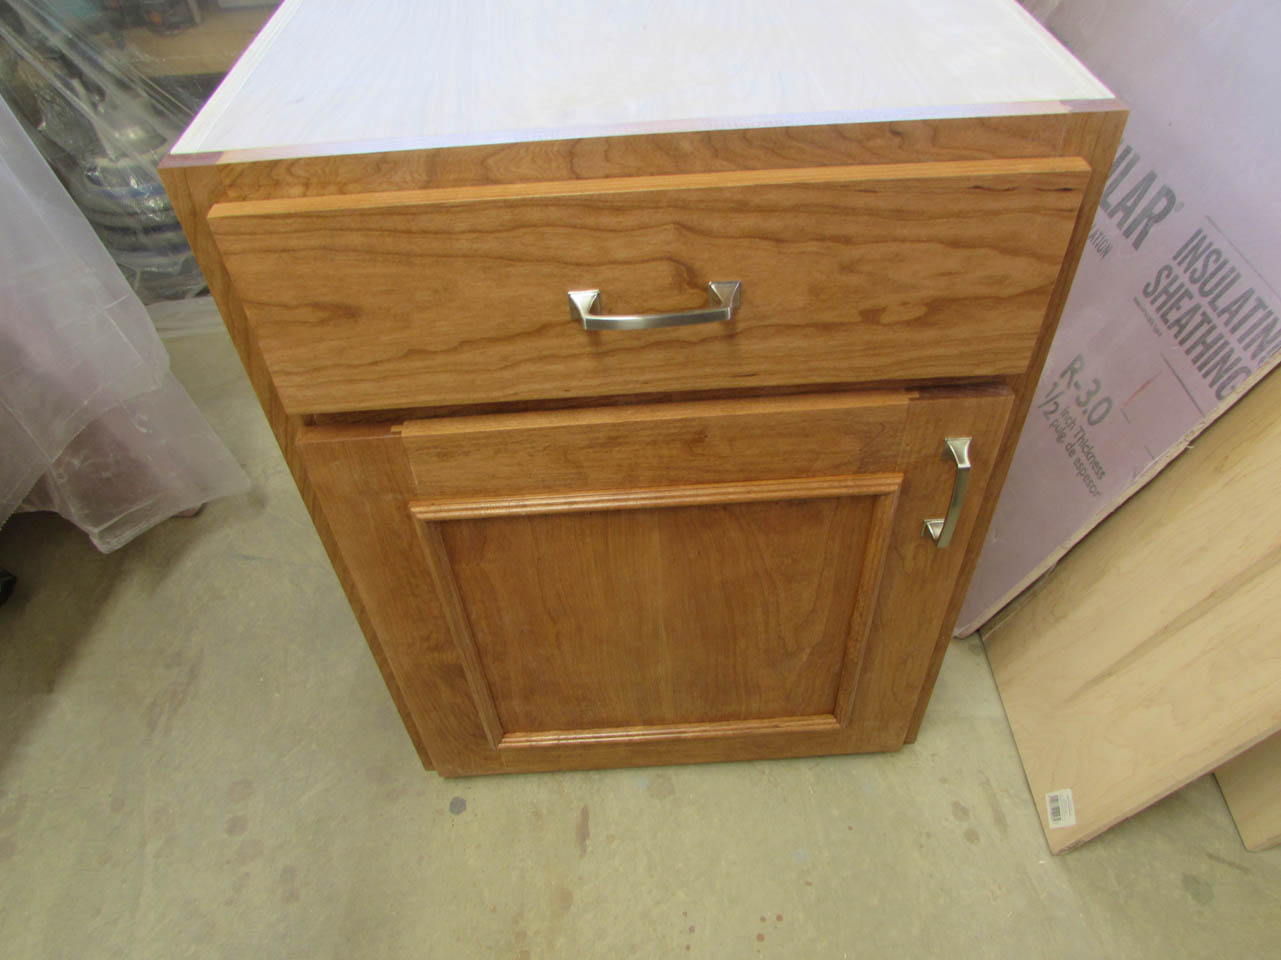
Now the screws fit perfectly. All the handles are installed and all the drawers are working perfectly. Time to tear it all apart again…


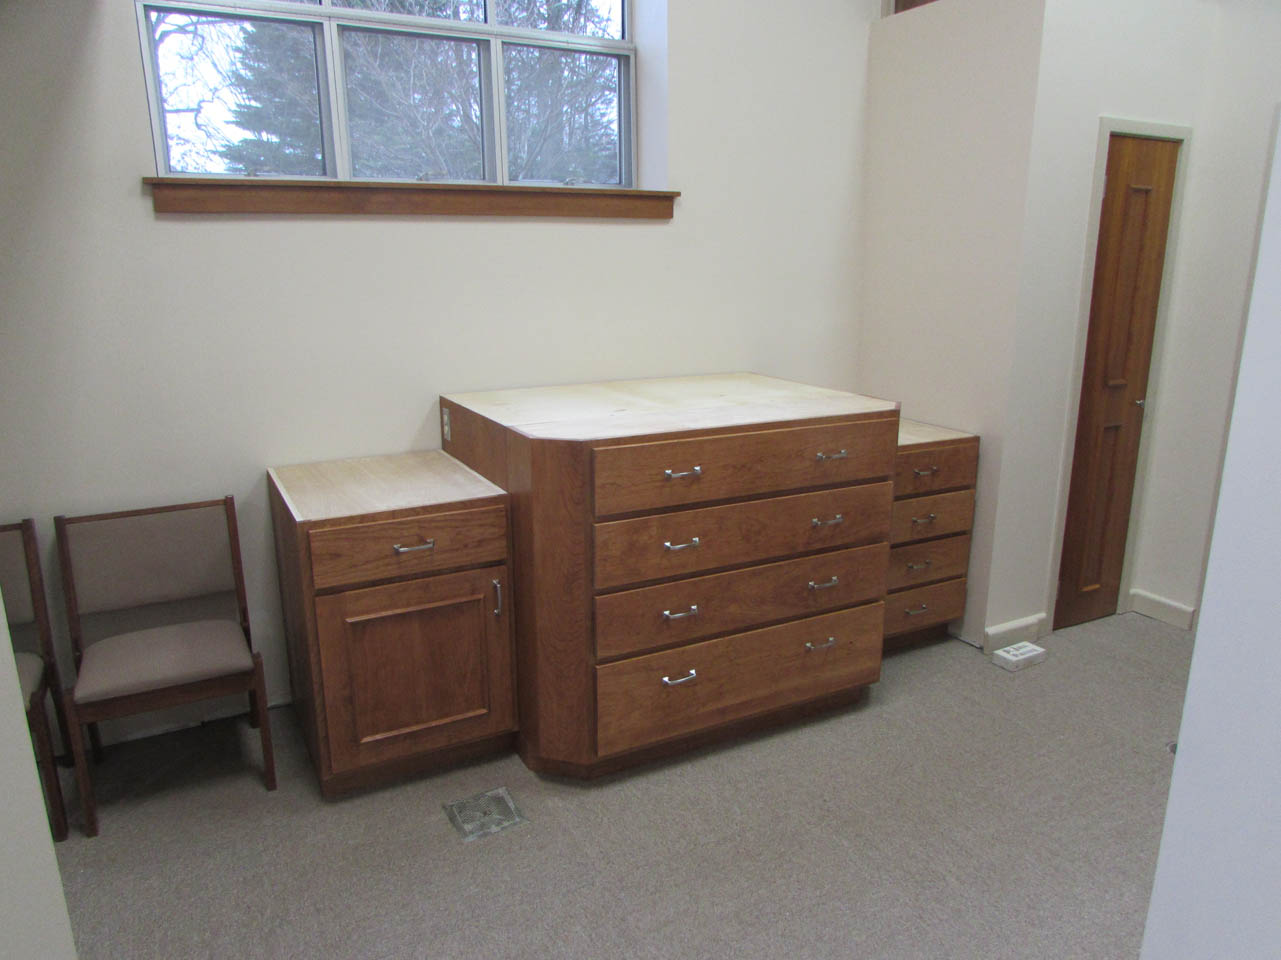
I delivered the cabinets to Saint Joseph’s and left them disassembled until the electrician came and routed an armored cable through the back of the cabinet as we planned. He left me enough slack to slide the cabinets back and fourth to assemble everything.

The cabinets are in place and working as planned.

The electrical outlet is installed and functional as well.

All that is left is to get the granite countertops installed. Once they are in, I can add any trim that needs to be installed to cover any gaps at the back because of the slightly out-of-square walls…
This was an interesting project. Designing a cabinet, full of drawers that had to be broken down to fit through a smaller doorway was challenging. The Blum undermount drawer slides worked perfectly in this situation. Side-mount slides would not have been as forgiving if the drawer slide panels reassembled slightly out of place. The undermounts have more wiggle room and adjustability built in. They also are invisible from the top or sides, leaving a much cleaner look.
