
Vestry cabinets part 4
With the drawers clamped up and drying, I can move on to making the drawer faces.

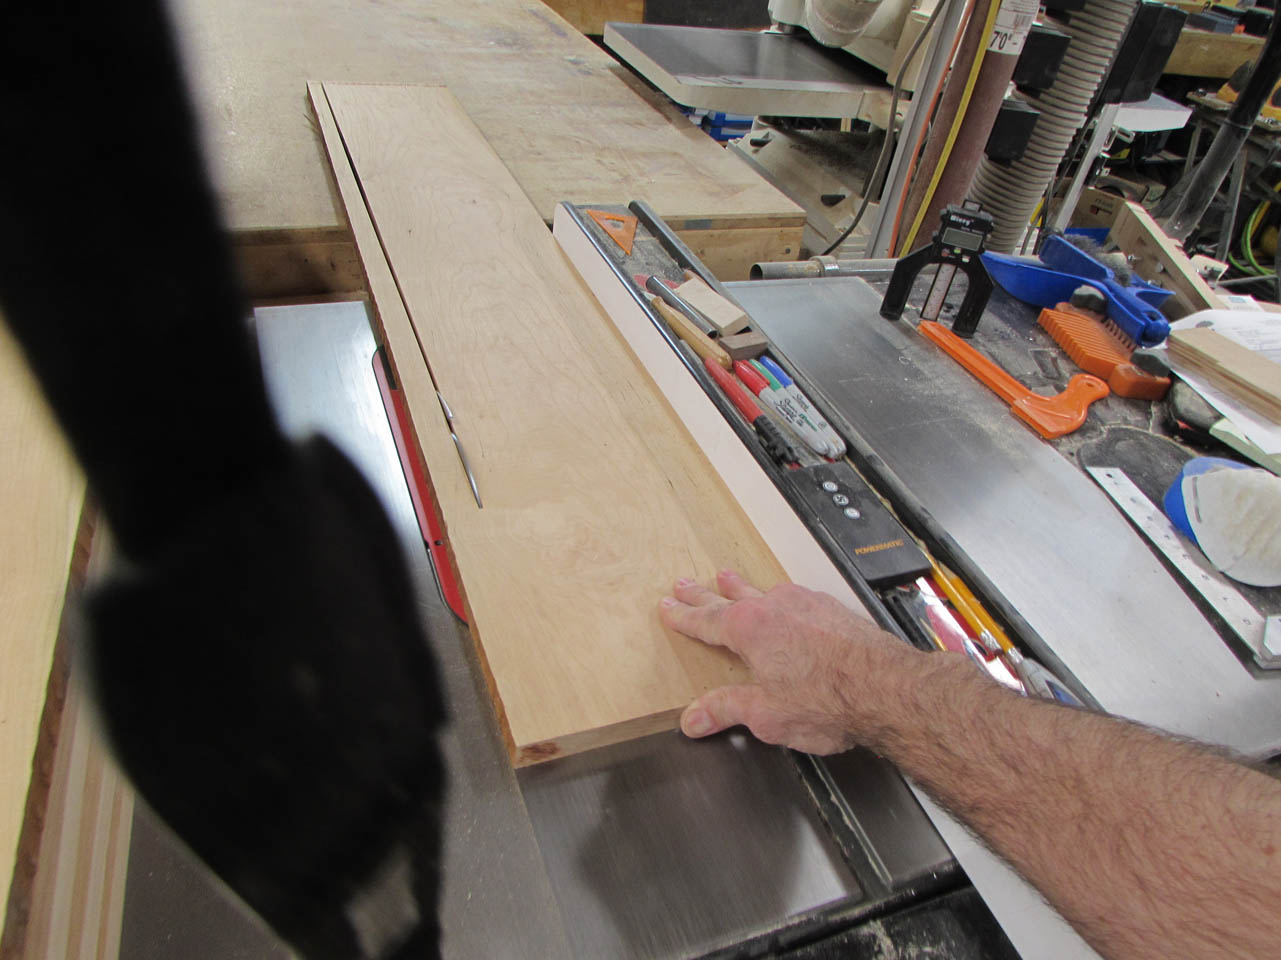
I have some nice wide cherry which I used to make all the drawer faces. Just two passes through the planer and each one was planed down to 3/4″ thick, but I need an 11-1/2″ piece for the bottom drawer so I need to rip a 2-1/2″ wide piece and join it to one of the wider boards.

I use wood glue and clamps and let it cure for about an hour.

After pulling the clamps, I made a pass through the planer on each side to take it down to 3/4″ thick.
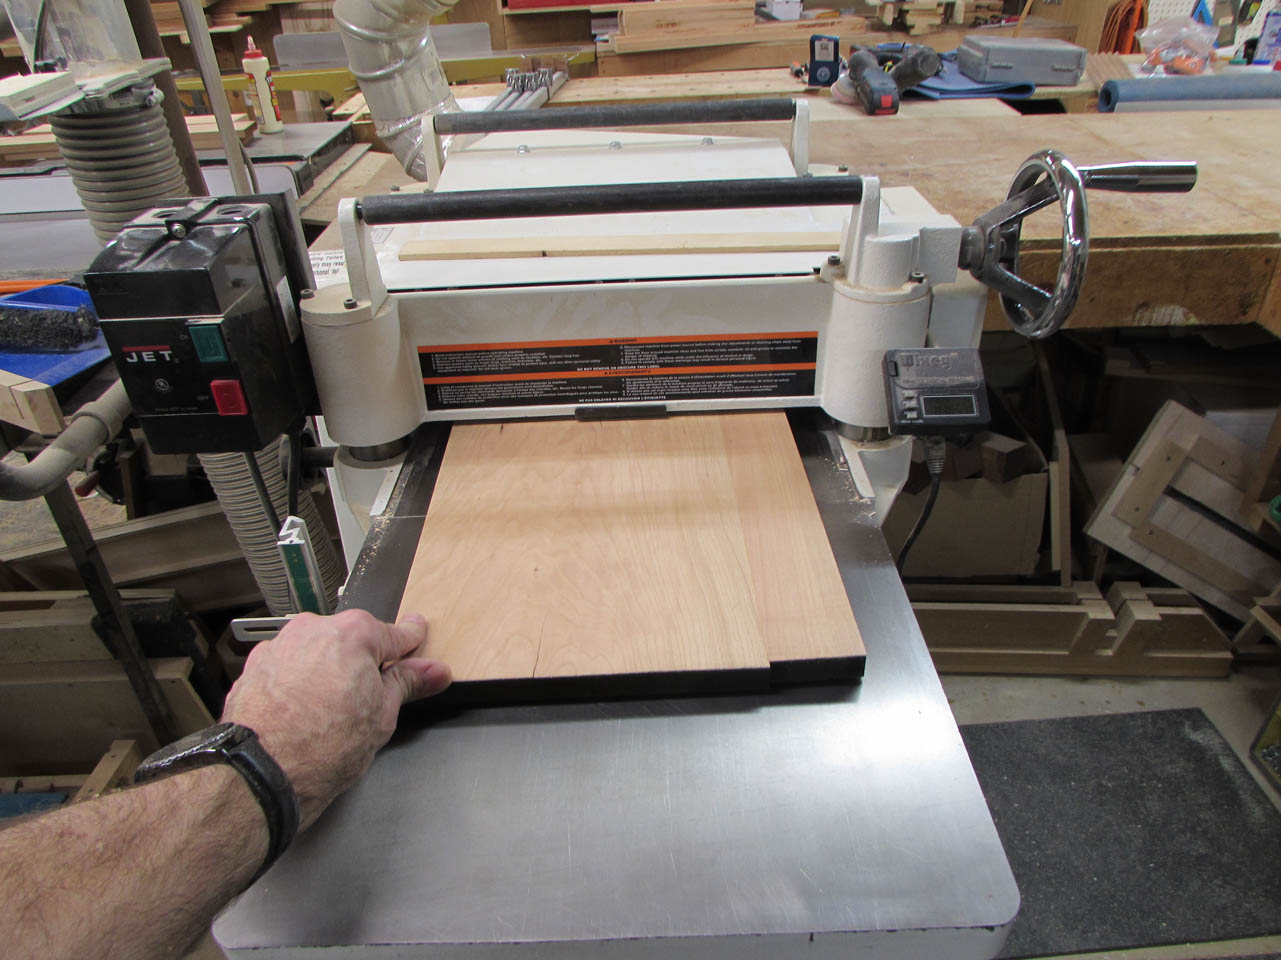
I also glued up a piece for the door panel but it was too wide for my planer so I ran it repeatedly through the drum sander until it was also 3/4″ thick.

To create the door frame, I used some 3-1/2″ wide stock , planed to 3/4″ thick, and cut a 1/4″ wide groove down the center of one side of each.
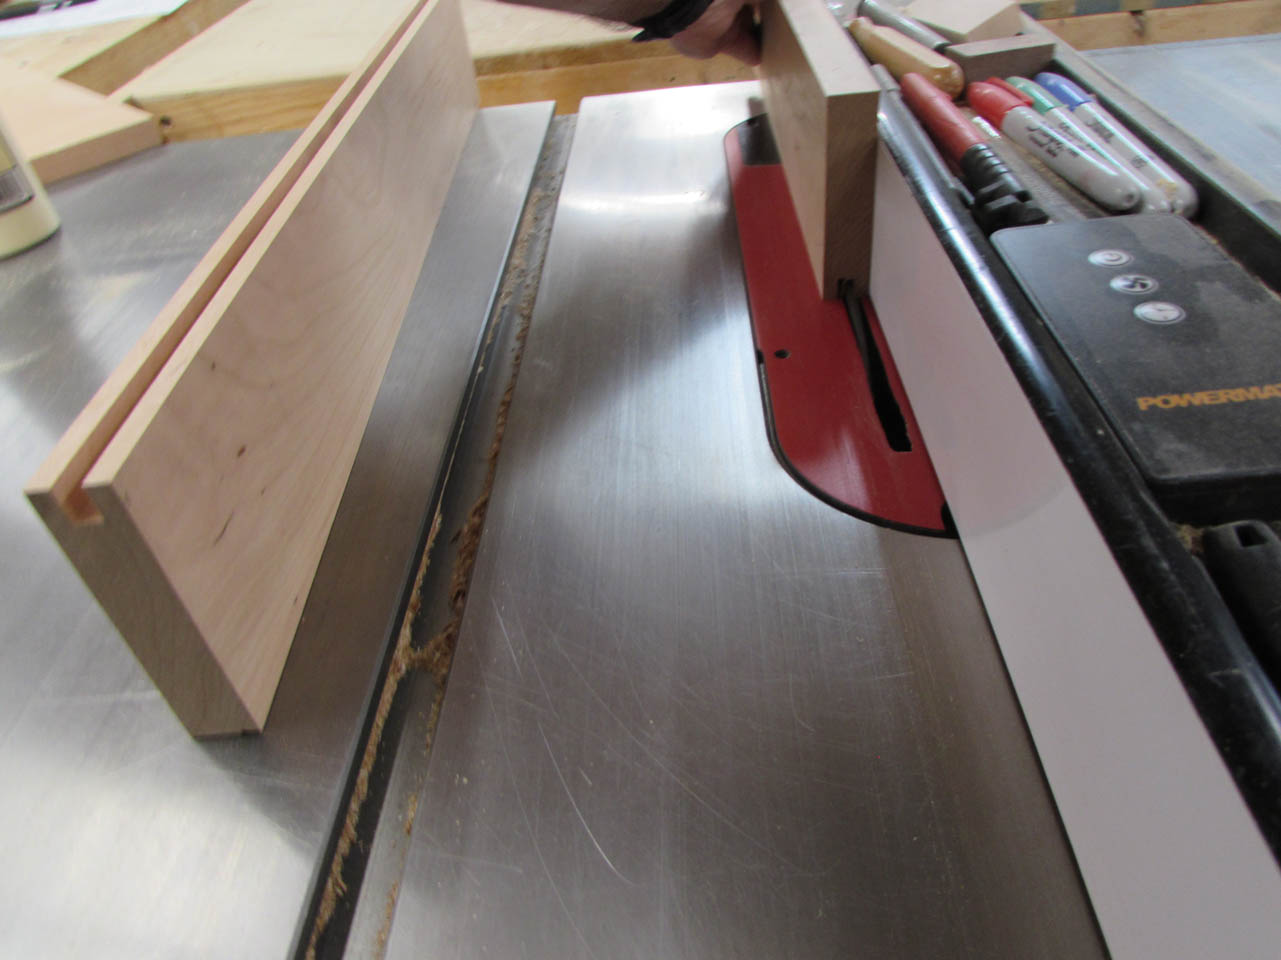
On the ends of the top and bottom pieces, I cut away the sides leaving a 1/4″ wide tongue.


These will fit together for a tight glue joint.

The center panel will also get a tongue cut all the way around the perimeter.


I made the tongue on the center panel 1/4″ deep and the groove it fits into 3/8″ deep.
This gives me 1/8″ all the way around for expansion.

To prevent the panel from rattling, I press a few pieces of 1/8″ thick, adhesive backed foam, into the groove.
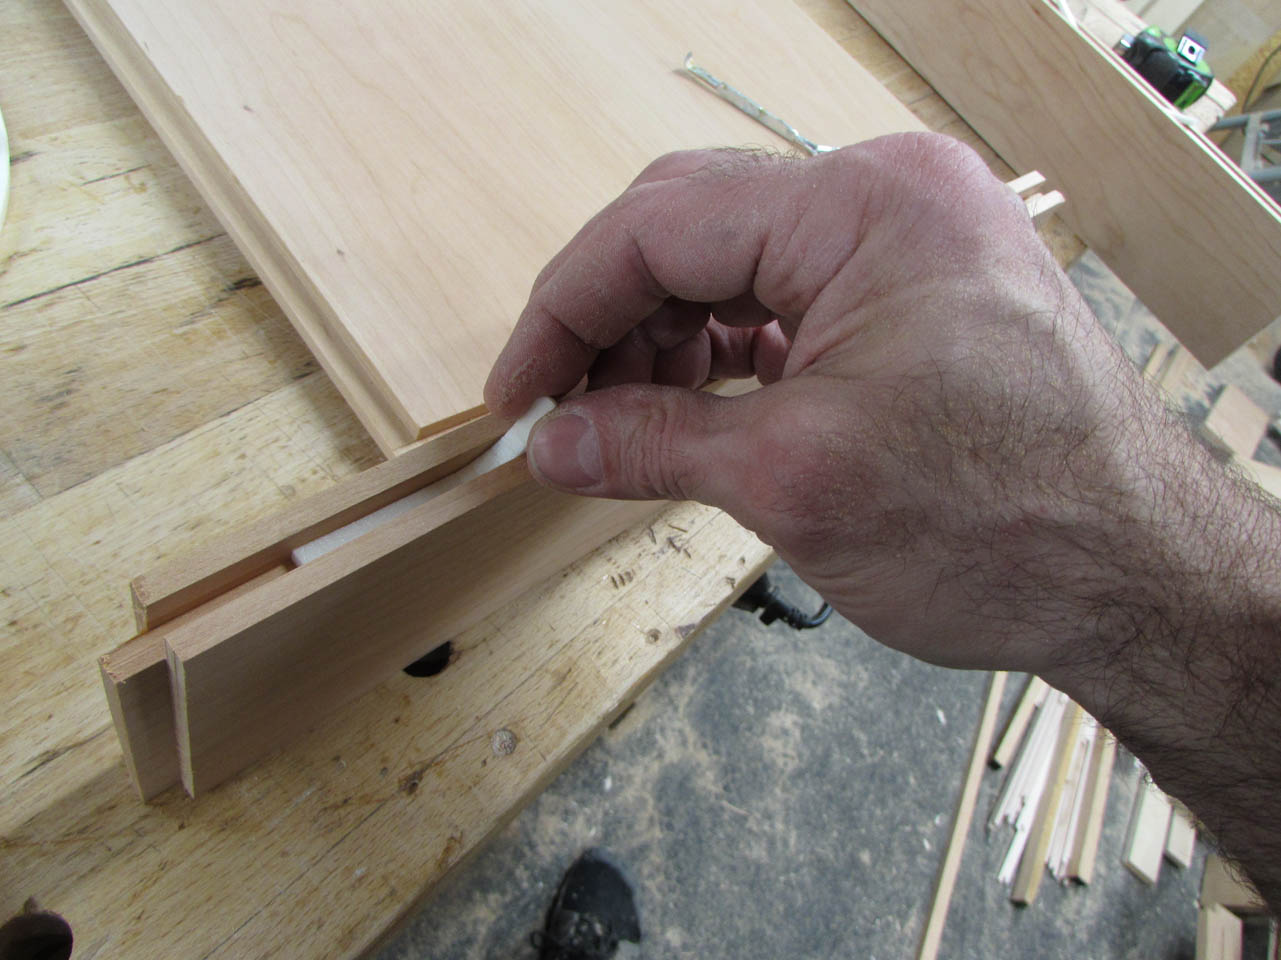
When assembled, the foam will squish if the panel expands.
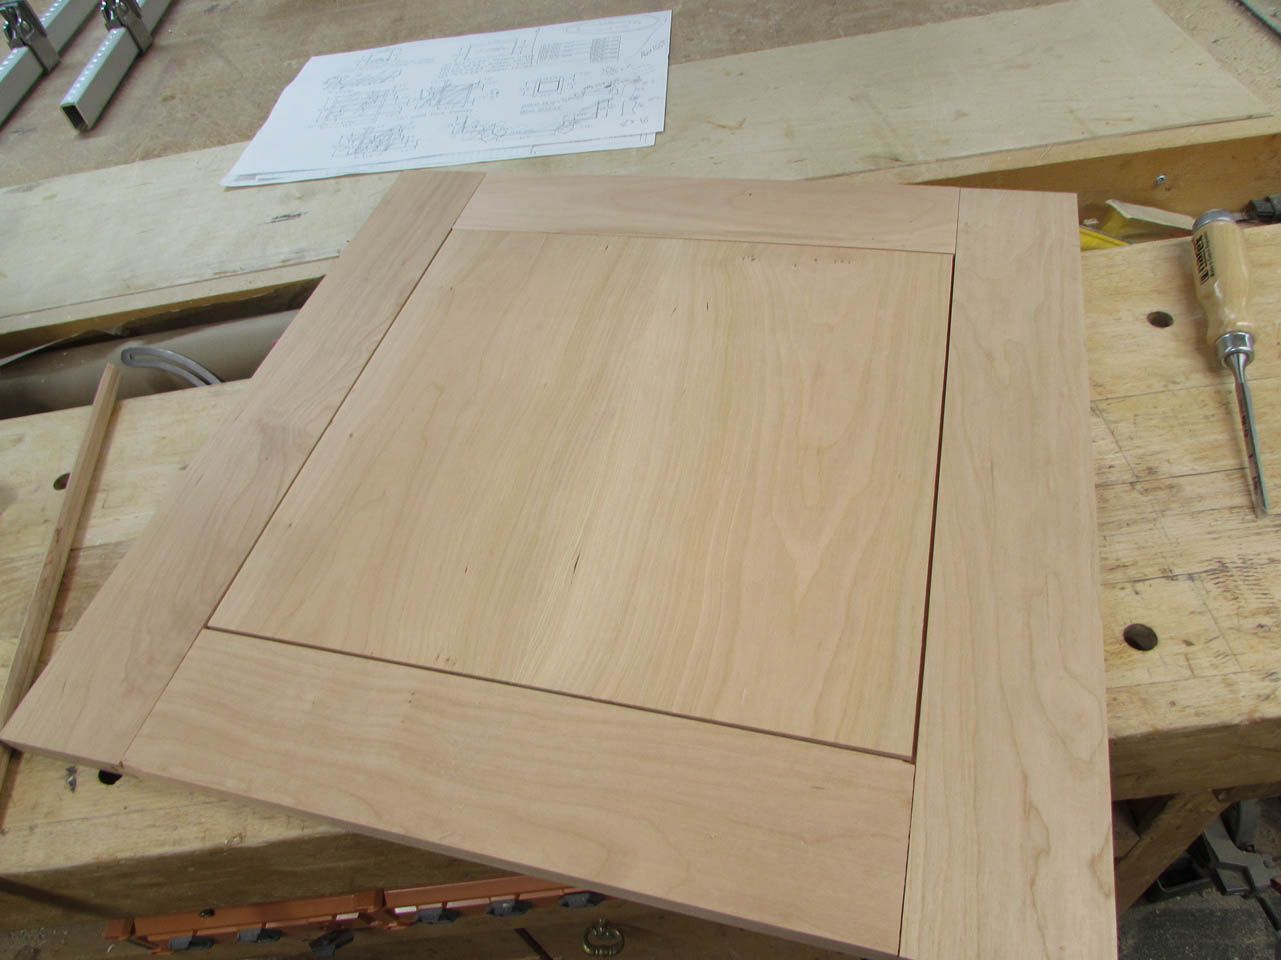
The frame of the panel was then glued at the ends and clamped together.

I will be making trim to hide the expansion gap on the front.

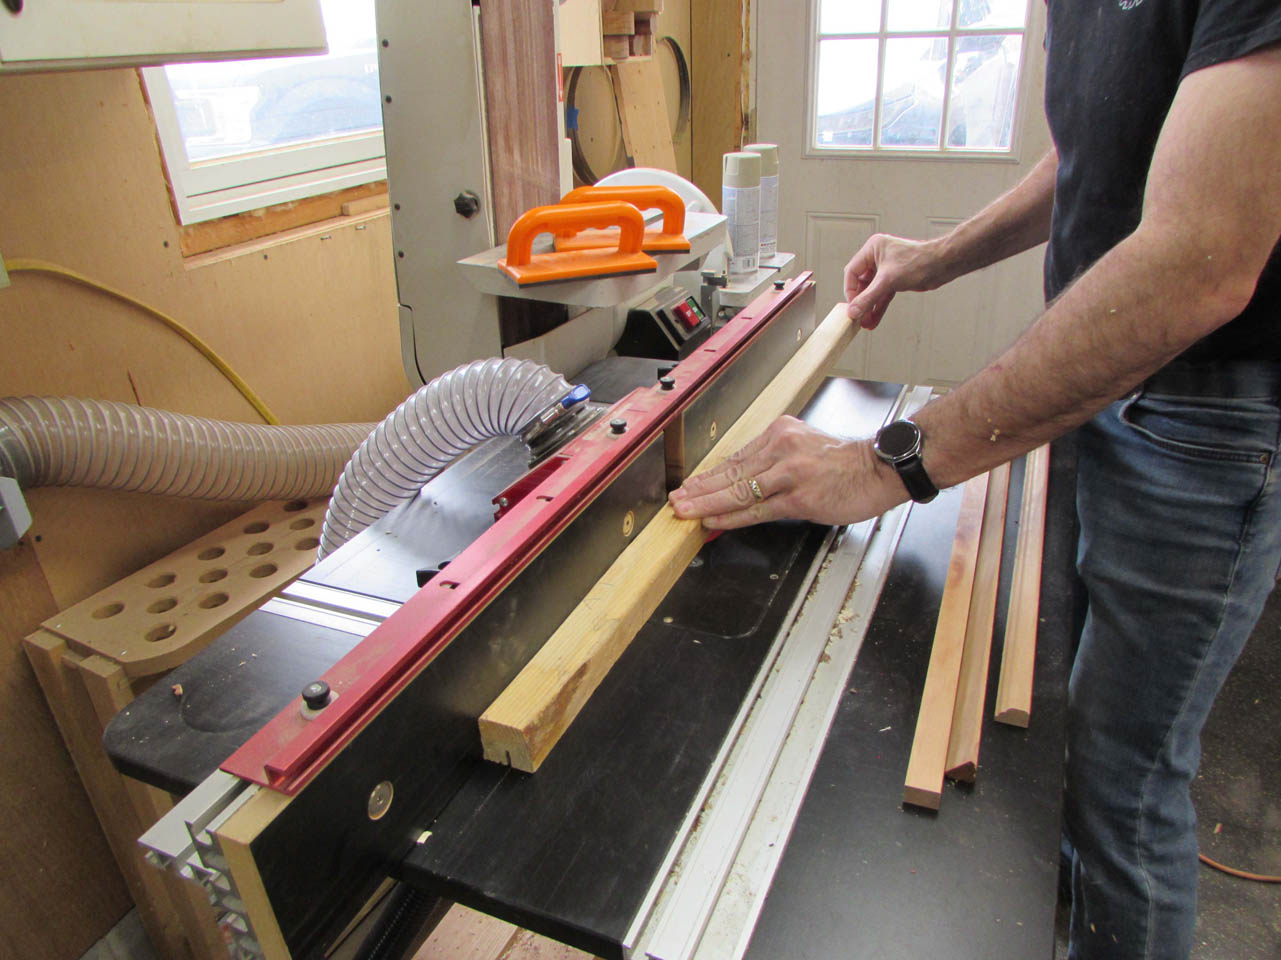
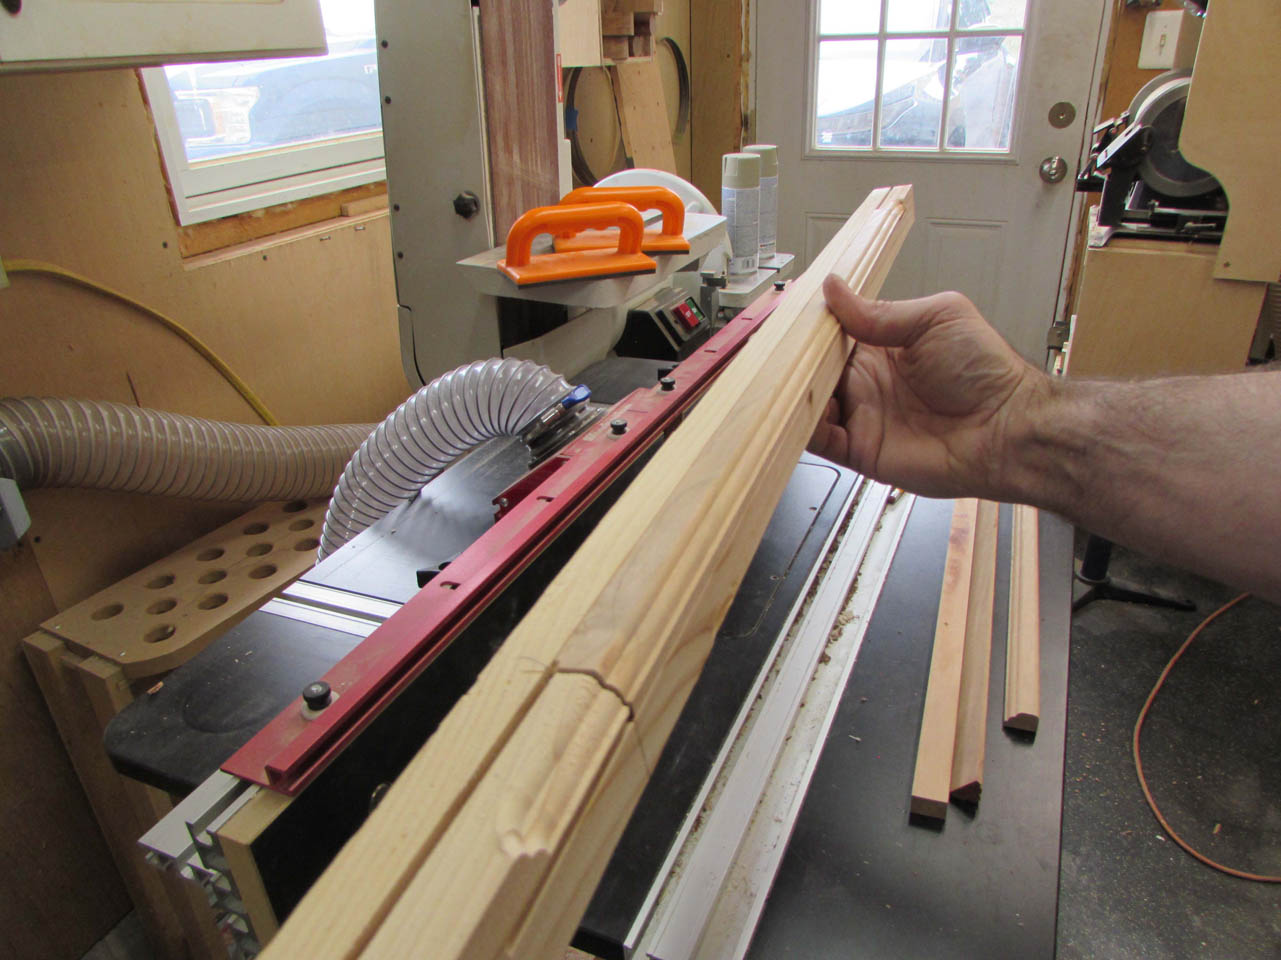
St Joseph’s has a specific shape of trim on the doors in the vestry. I could not find this particular shape on trim or any cutters to make my own. I have a bit that is close, but it is smaller than the original. It will be unsafe to hold the wood while cutting the profile so I made a jig to hold the wood while it runs across the router bit. I notched a 2″x2″ length of wood, leaving a start and stop point within the jig.

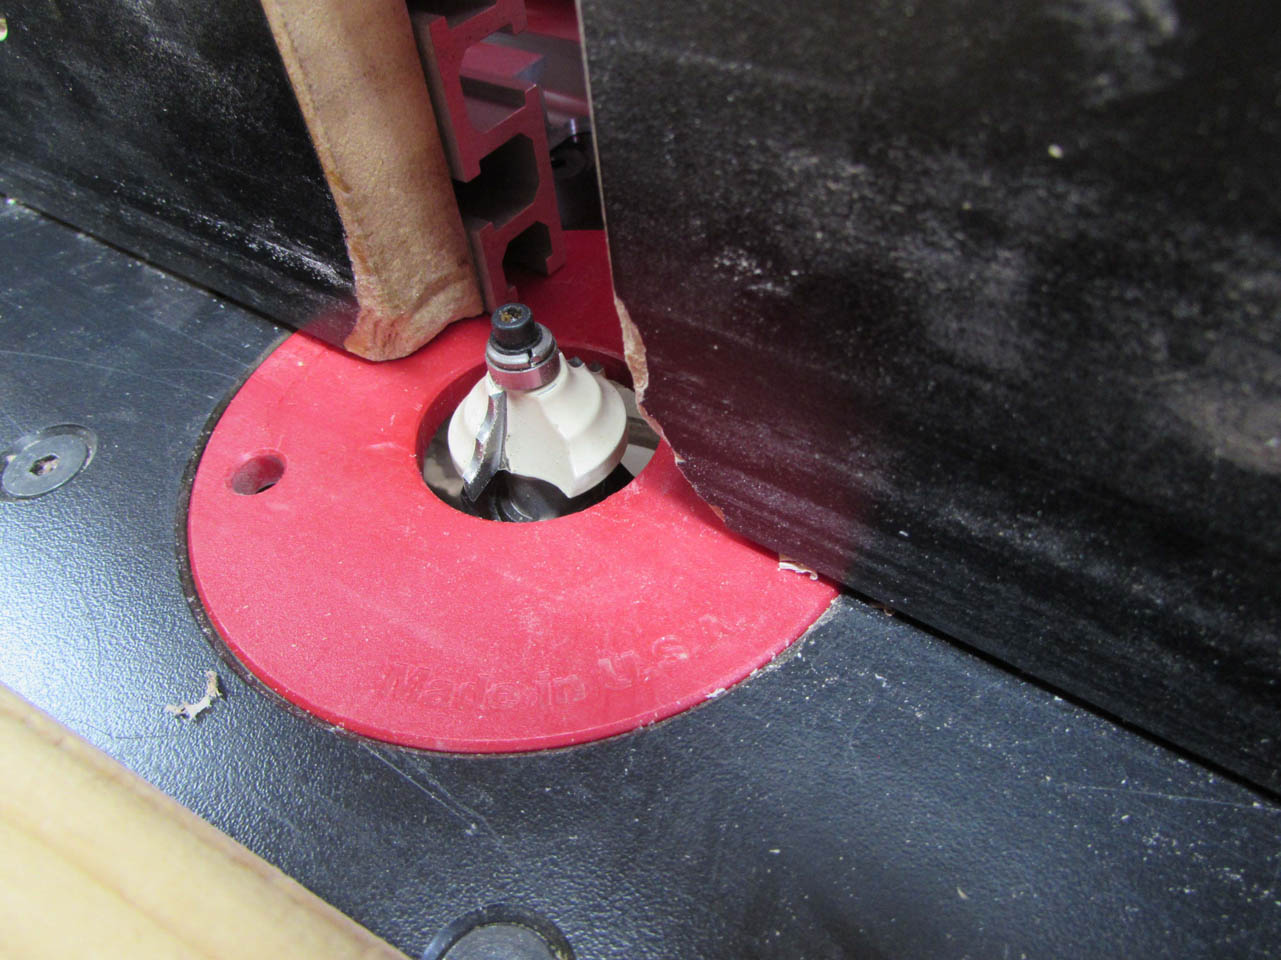
I pressed the trim into place and flipped the assembly over to make a pass along the bit.
This worked well but the hard part is the second pass because once the rest is cut away, the piece no longer has a flat surface left to sit on. I am hoping the jig will capture and hold the trim in place anyway.

I flipped the trim around and ran it again.

It looks pretty good. Just a little sanding is all that will be needed to finish shaping the curve on the top.
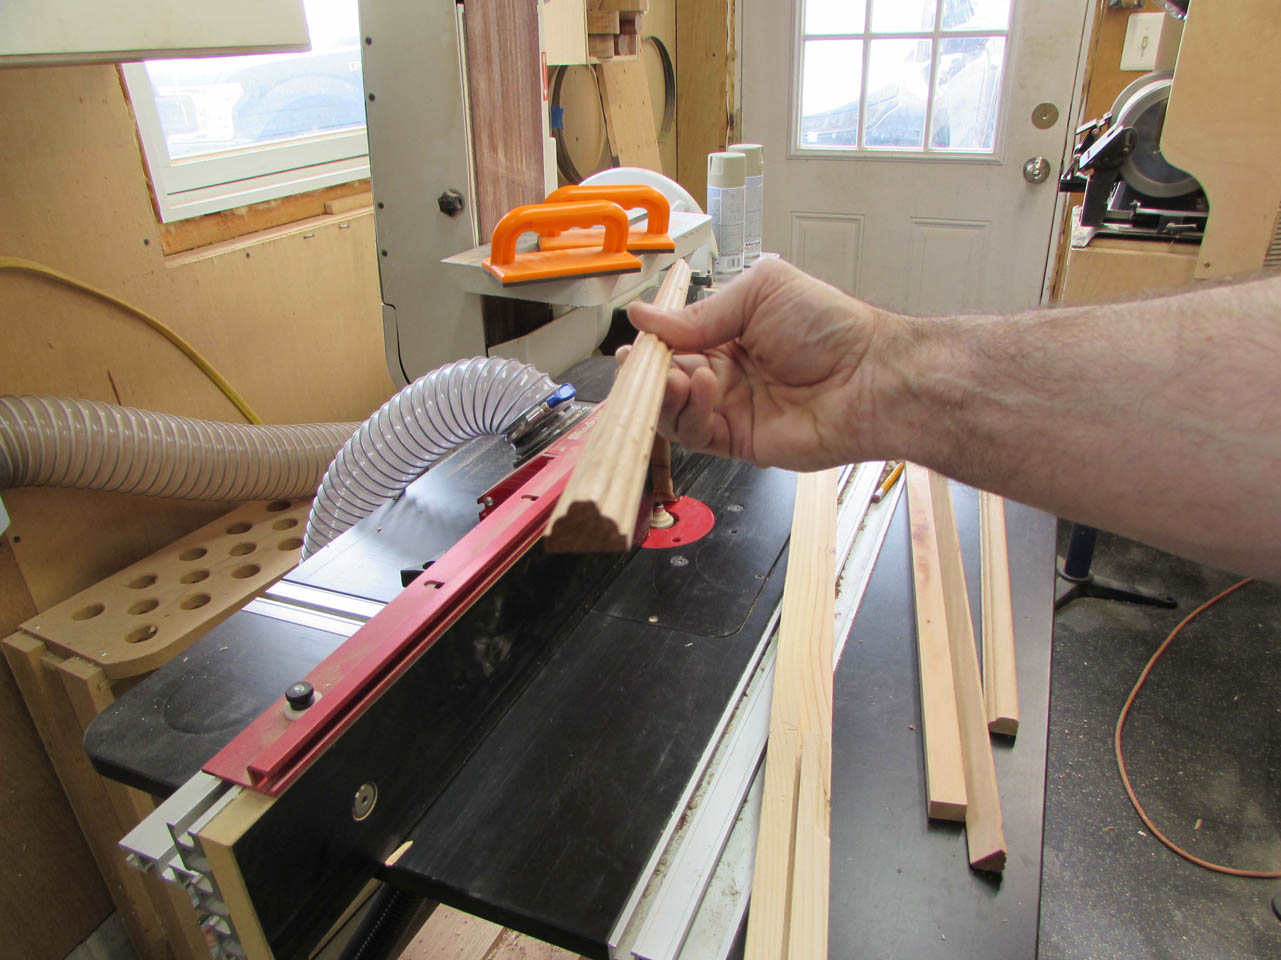
I only need four pieces but I ran six just to be sure I had enough. Some had defects and I wanted to pick the best four pieces.

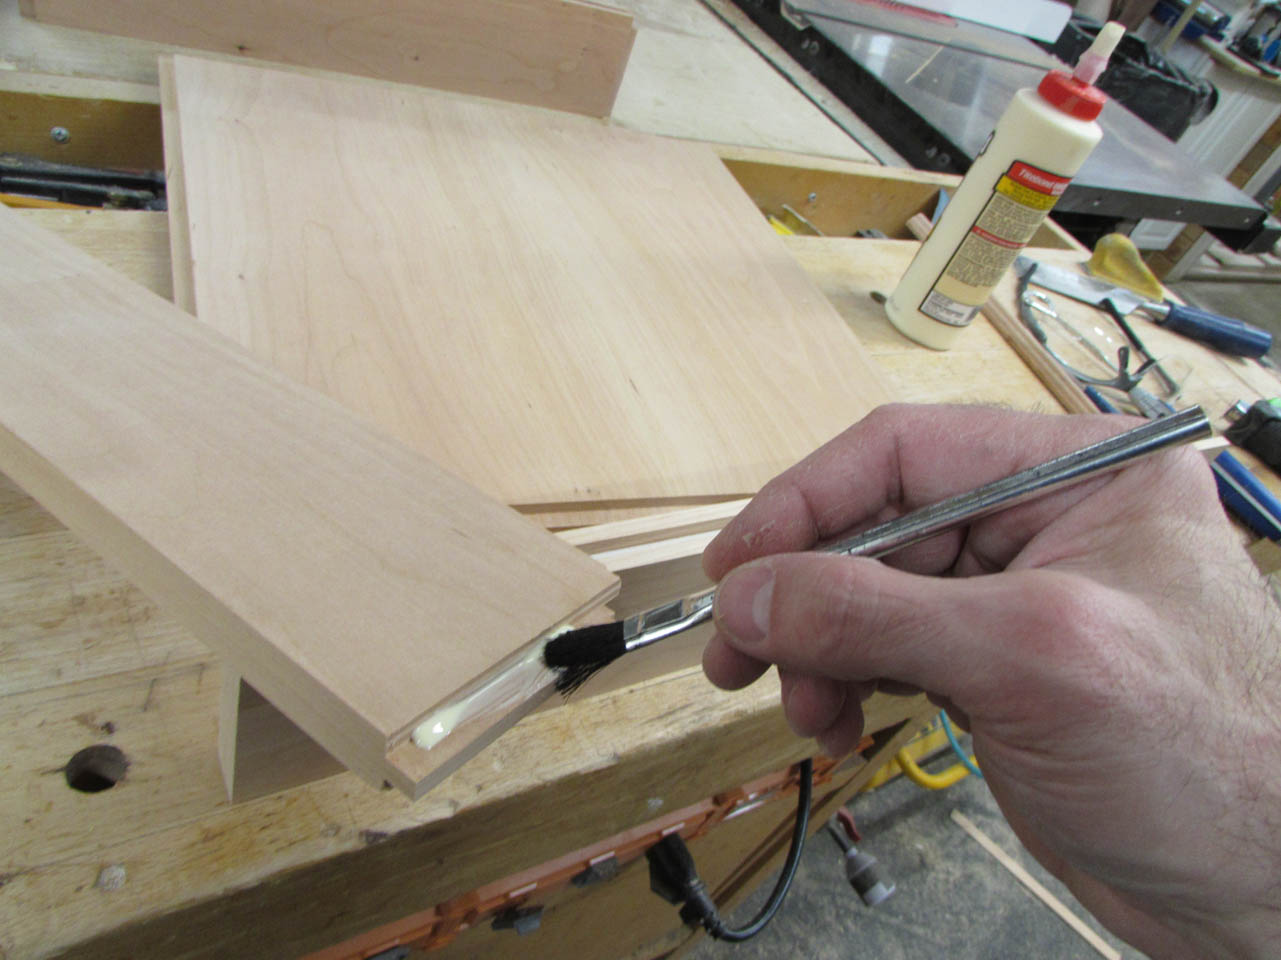
The trim will be glued and nailed to the center, floating panel only.

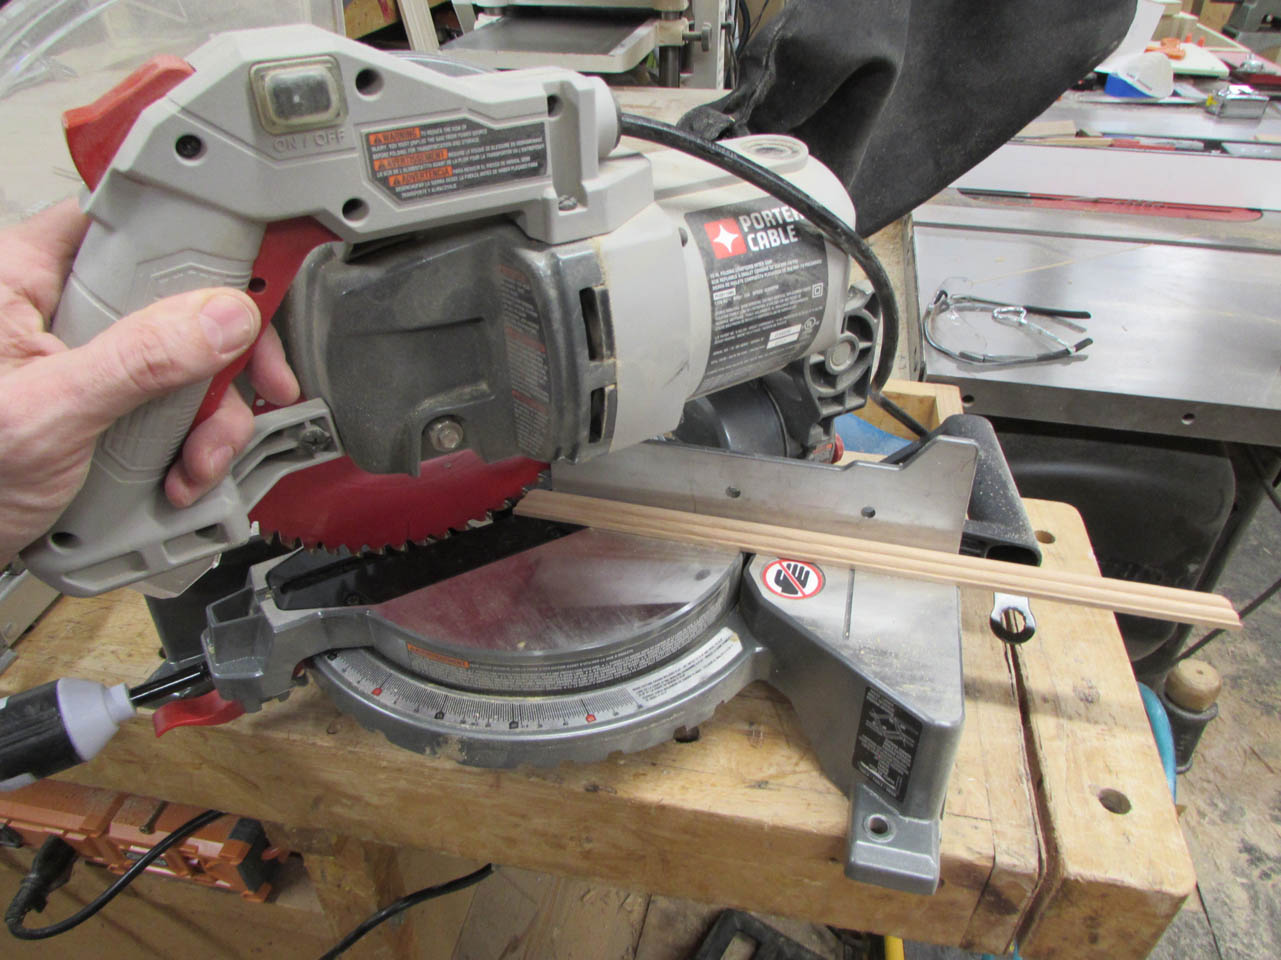
I cut the first piece to length on the miter saw, then applied the glue to the panel.

I set the first piece in place and used my pin nailer to hold it in place while the glue dried.
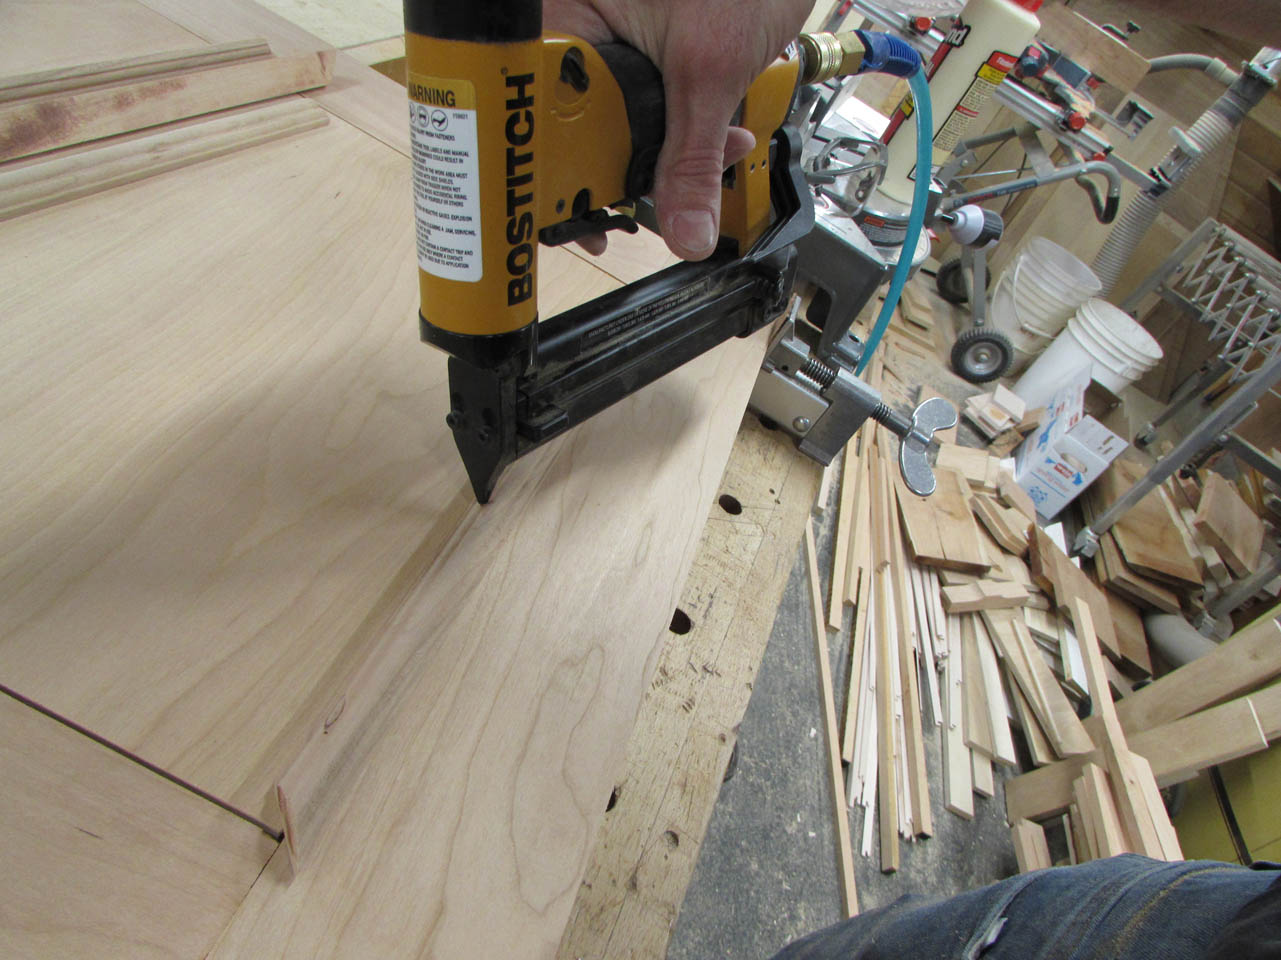
That one worked well so I took my time and added the other three pieces.


Now it was time to finish sand the drawers as well as the faces.


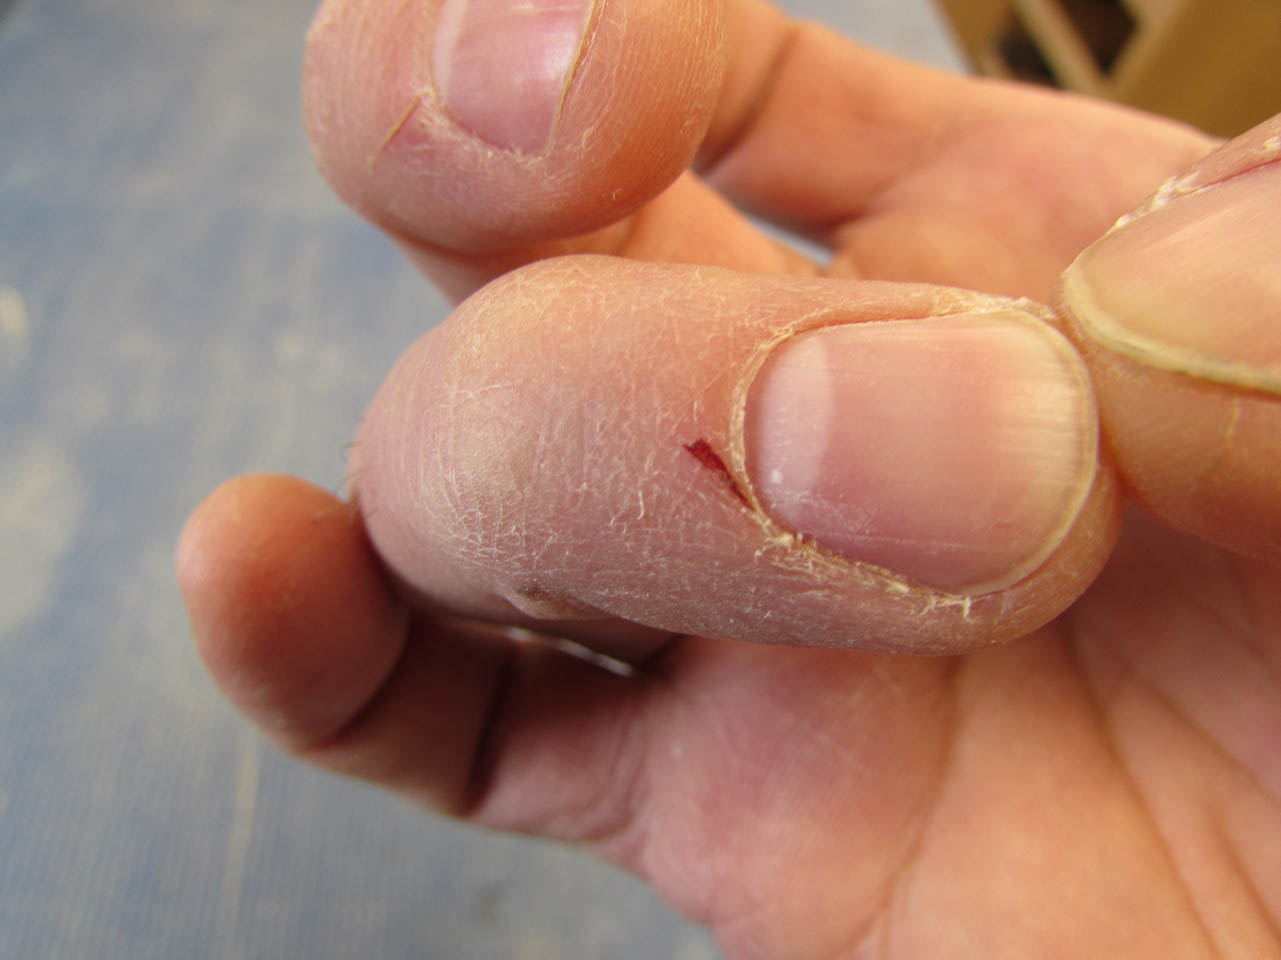
I always break the sharp edges by hand with a sanding block. I don’t like sending anything that sharp out the door. As you can see from the picture below, one slip and you can slice a finger.
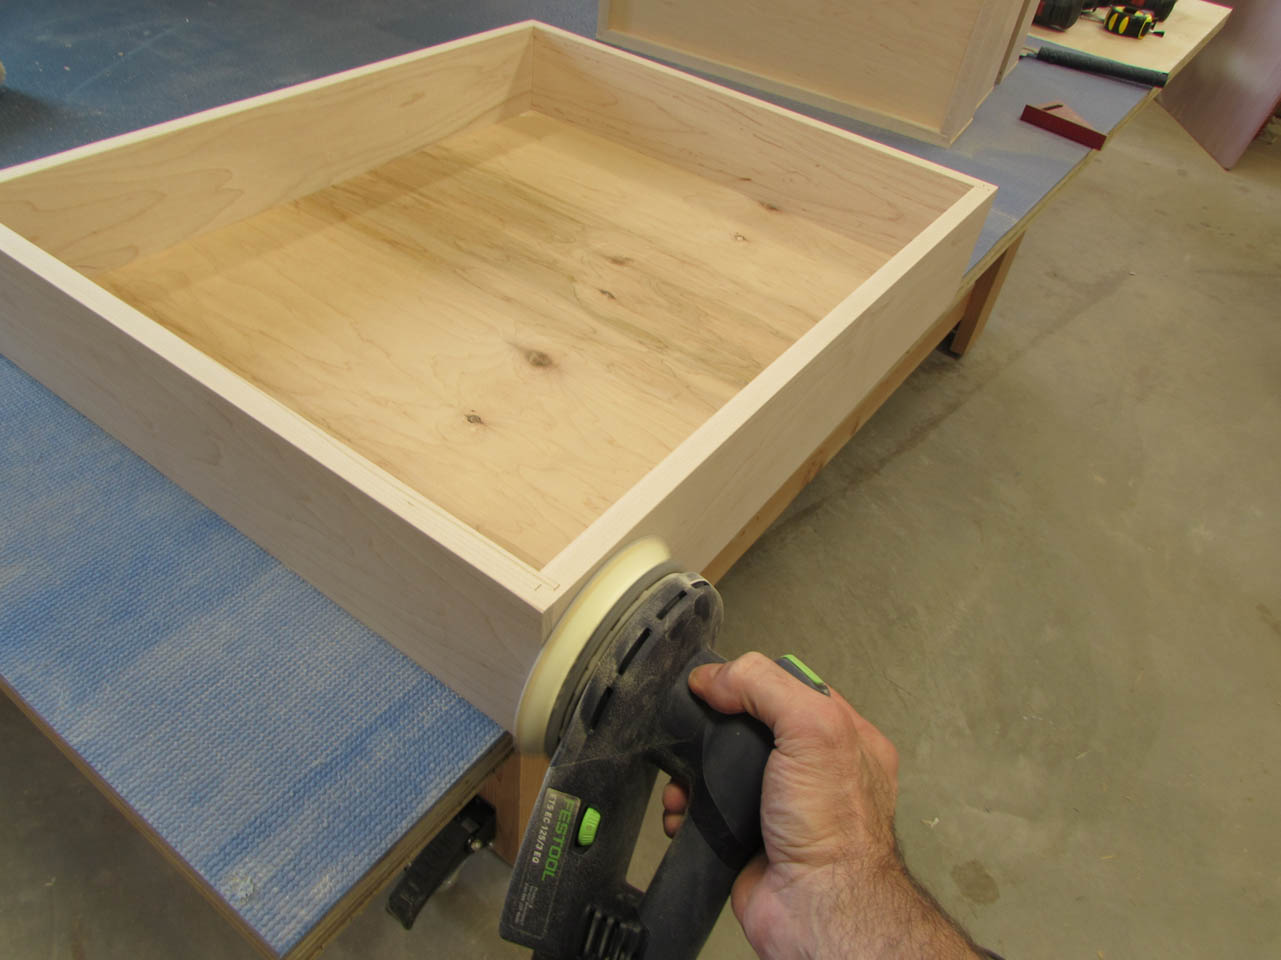
After all the sanding was done, I proceeded to prep the drawers for installing the undermount hardware.

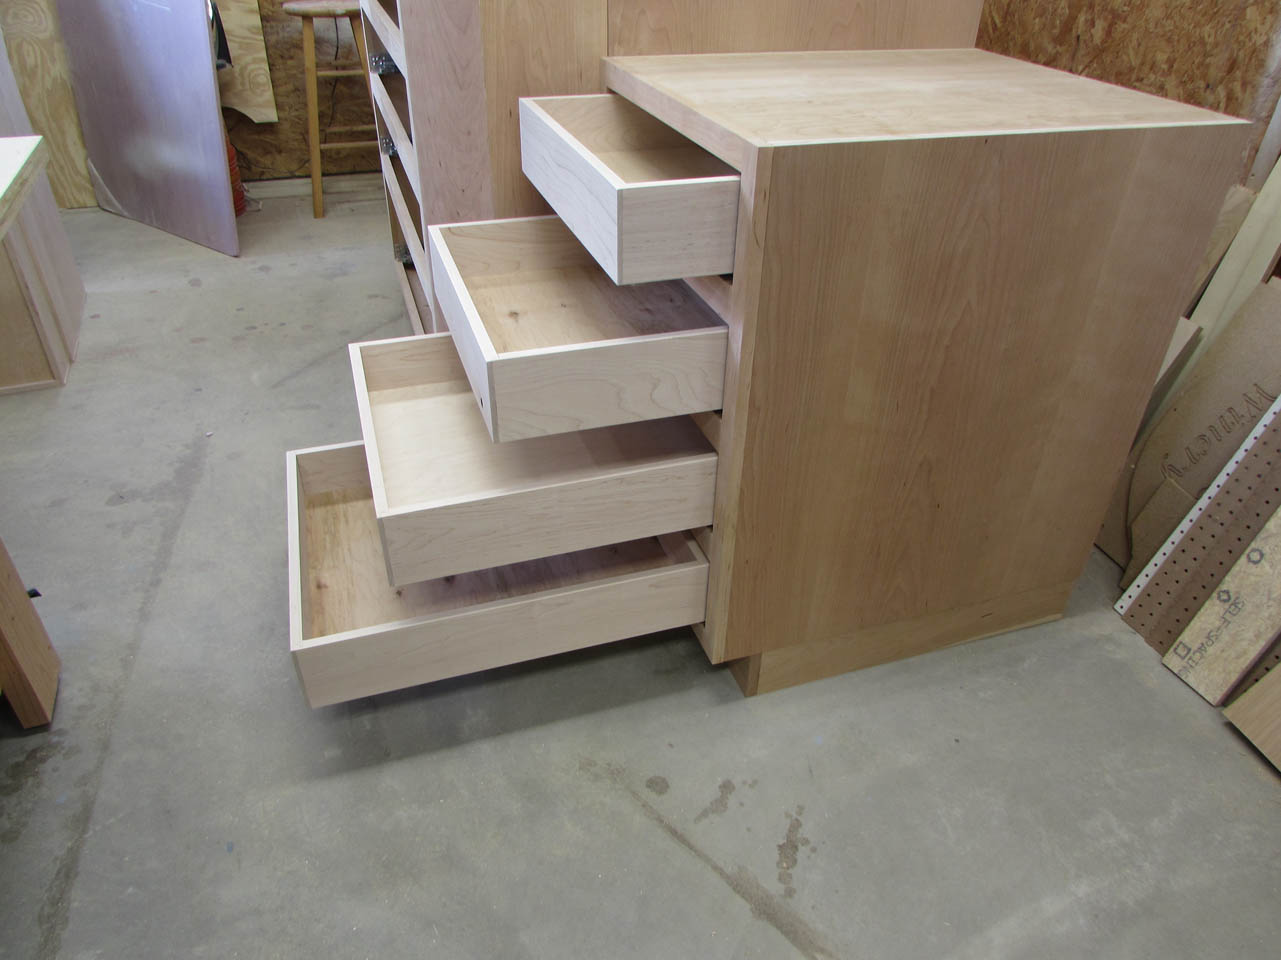
I installed the smaller drawers first and they worked great.

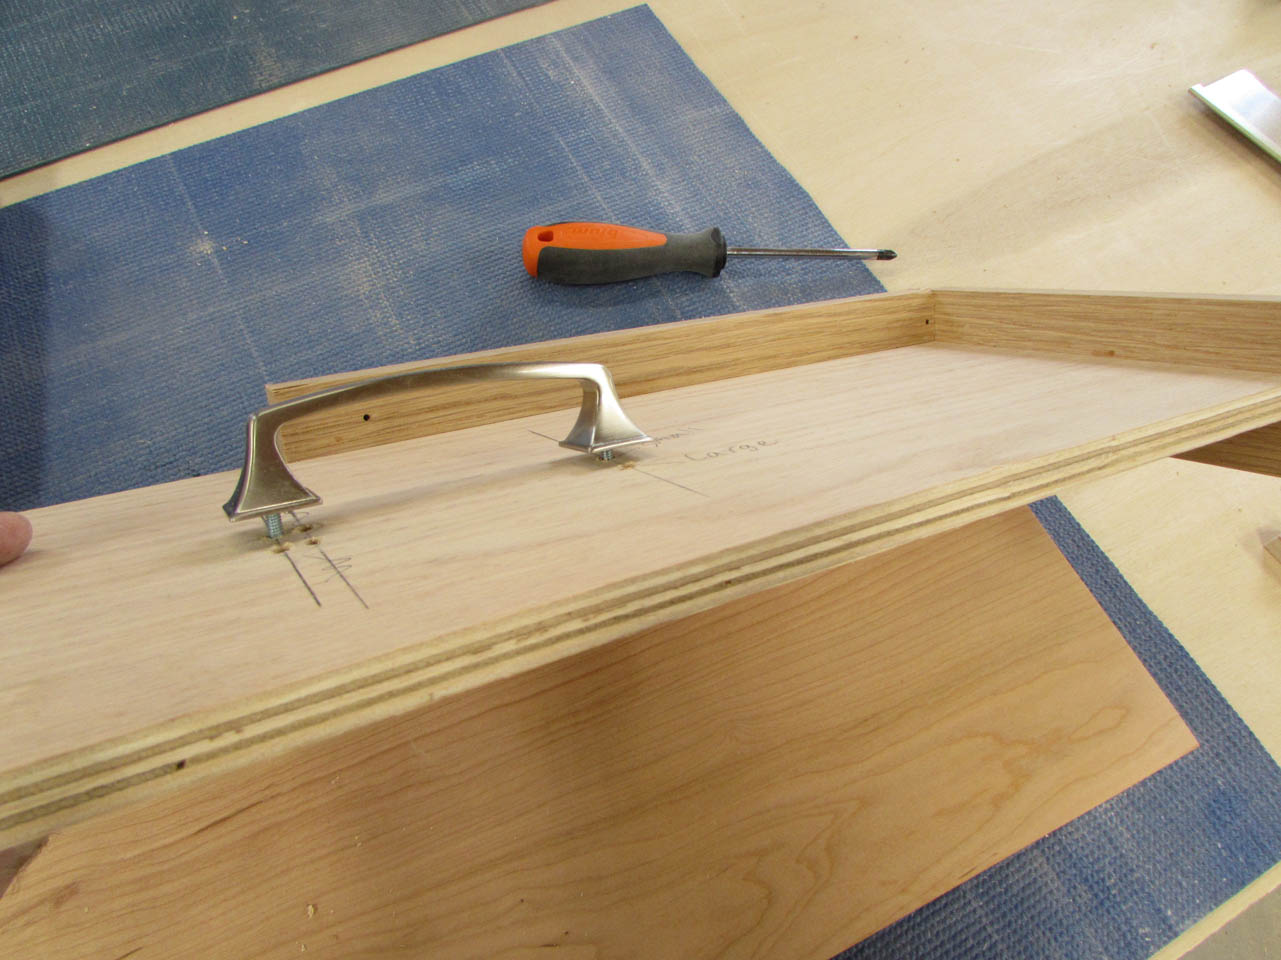
I like to install the drawer faces by holding them in place with screws through the holes where the pulls will eventually installed. This means I will have to predrill all the mounting holes for the pulls. I created a template that will allow me to drill the holes for the smaller drawers, centered on the panel. A different set of holes was added to drill the mounting holes on the larger drawers as well.
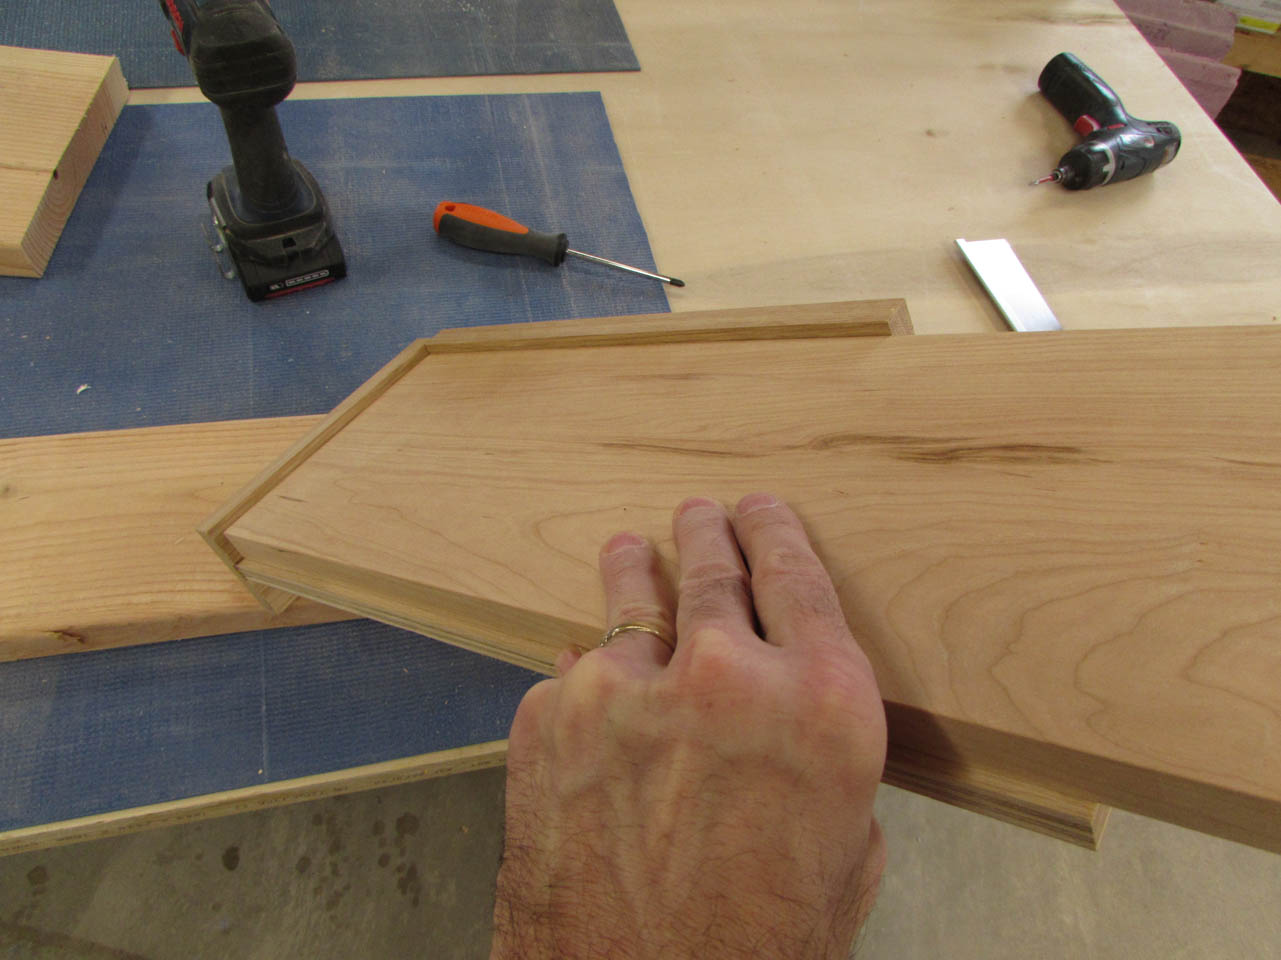
I just need to hook the top and side of the jig onto the drawer face and match-drill through the holes in the jig.
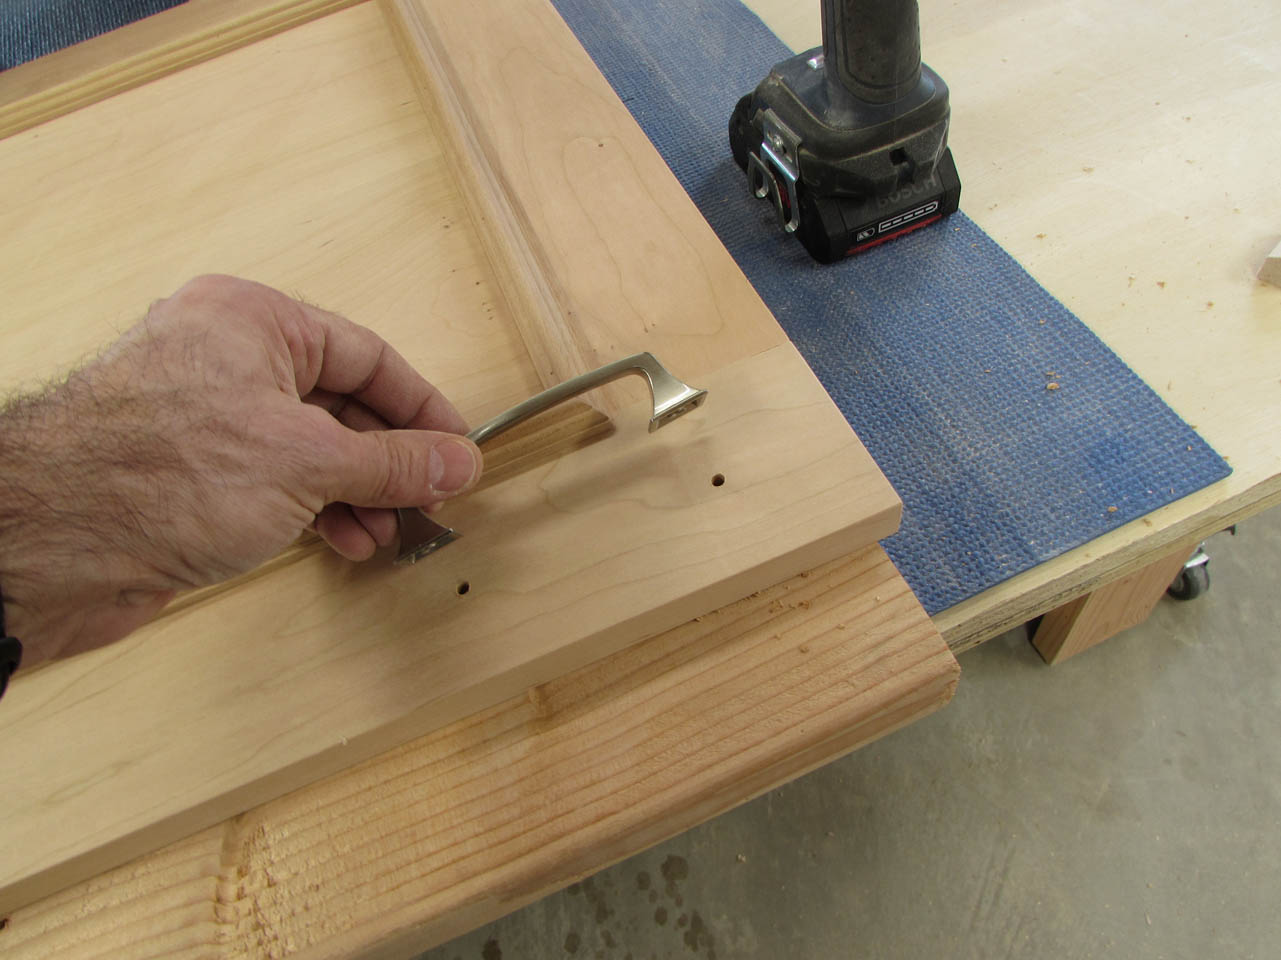
I test fit the drawer pull and it works perfectly.

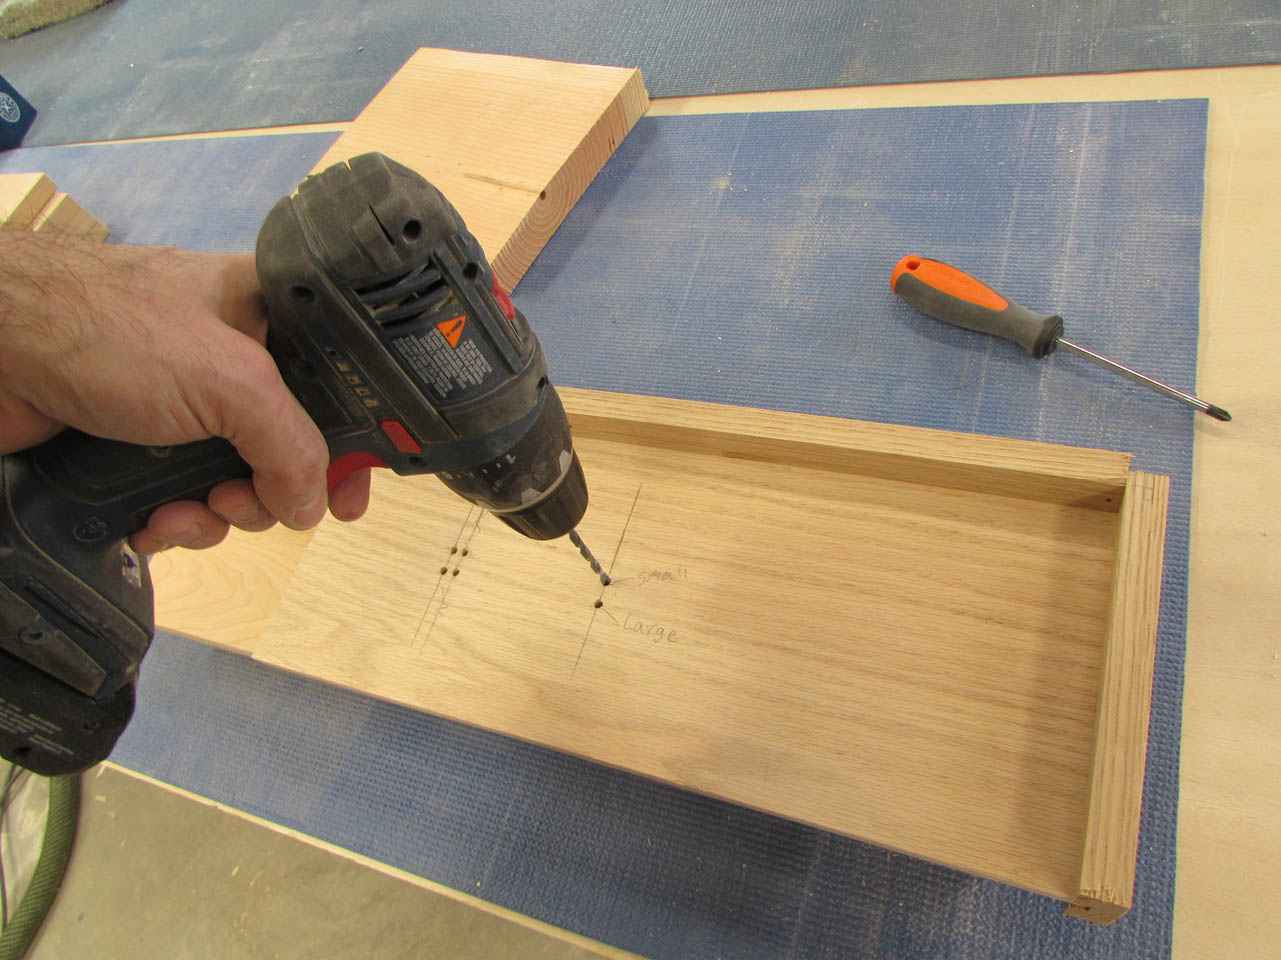
I use the same jig for the larger drawers, Just hook either end and drill out the bottom set of holes.

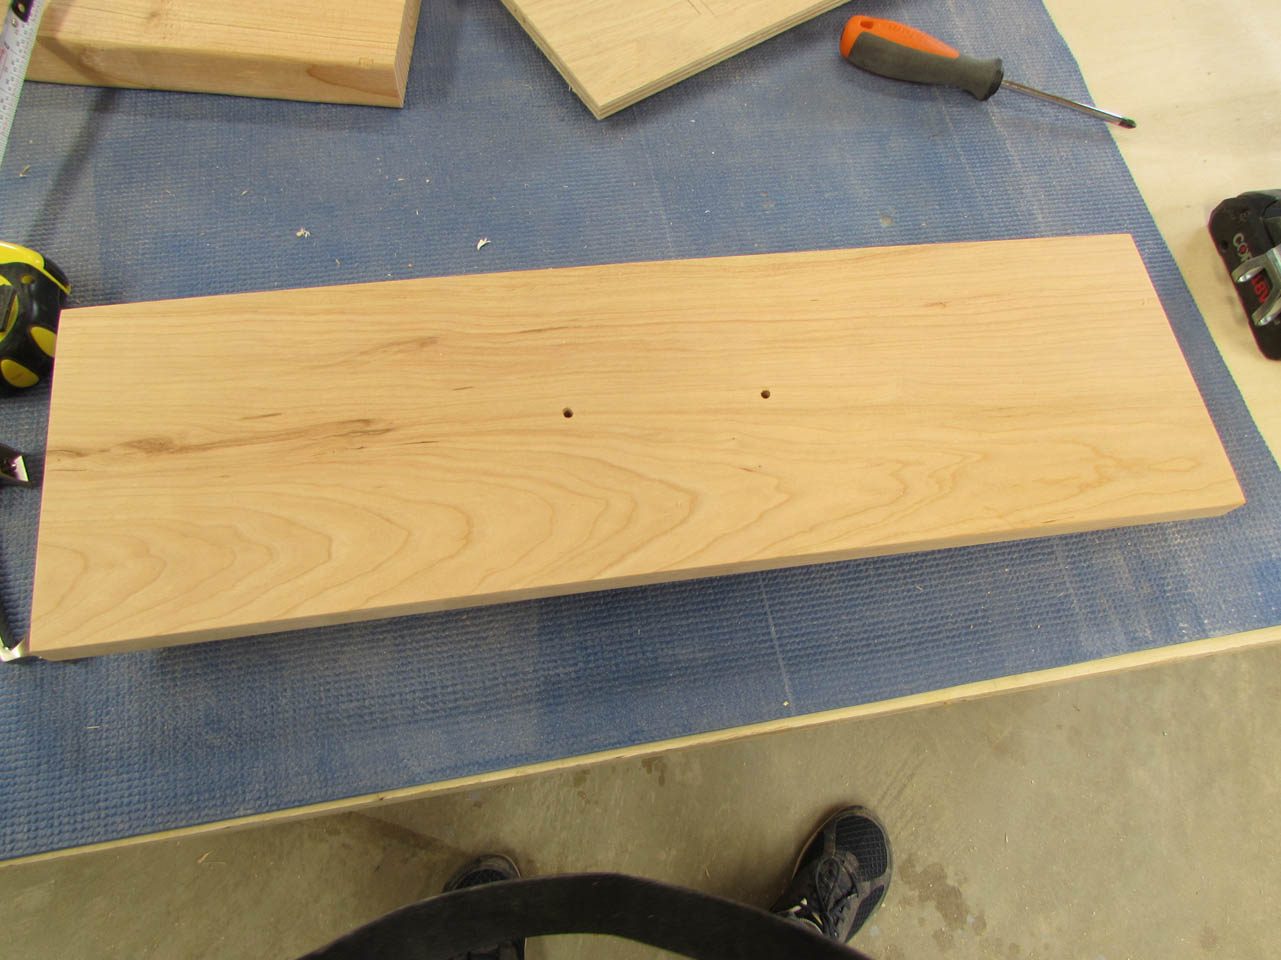
Finally, I drill two holes in the door panel as well for a pull.
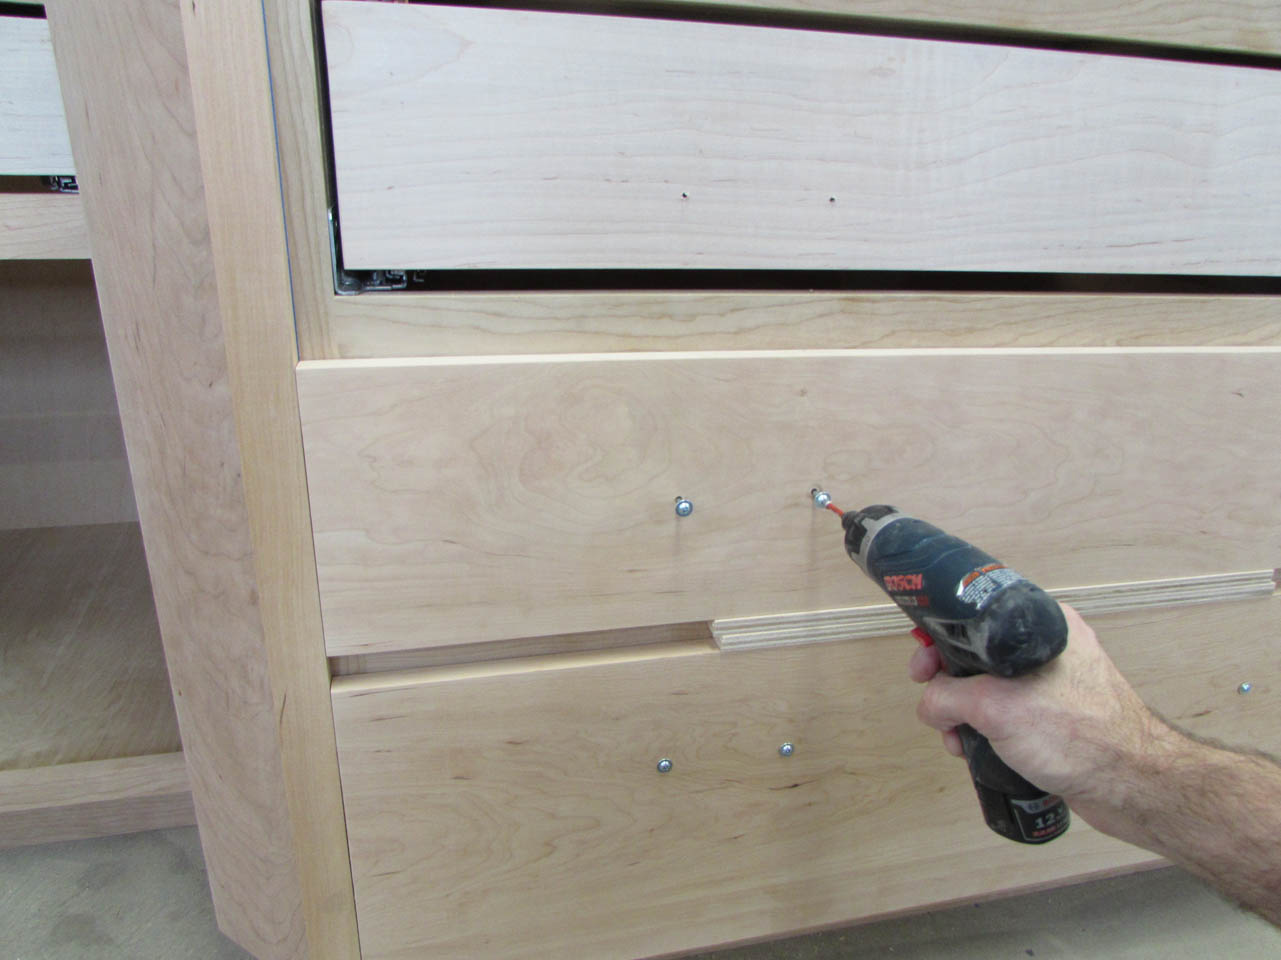
I used tape and spacer blocks to affix the first face to the center bottom.

Then I ran self-tapping pocket hole screws through the mounting holes.


This temporarily holds the bottom face in place, allowing me to install the next drawer up the same way. I just added 1″ of blocking on top of the drawer face below. I will eventually attach the faces from the inside, then remove the screws in the mounting holes. I can then drill out for the mounting bolts, through the same holes.

Repeat a few more times and the faces are attached.

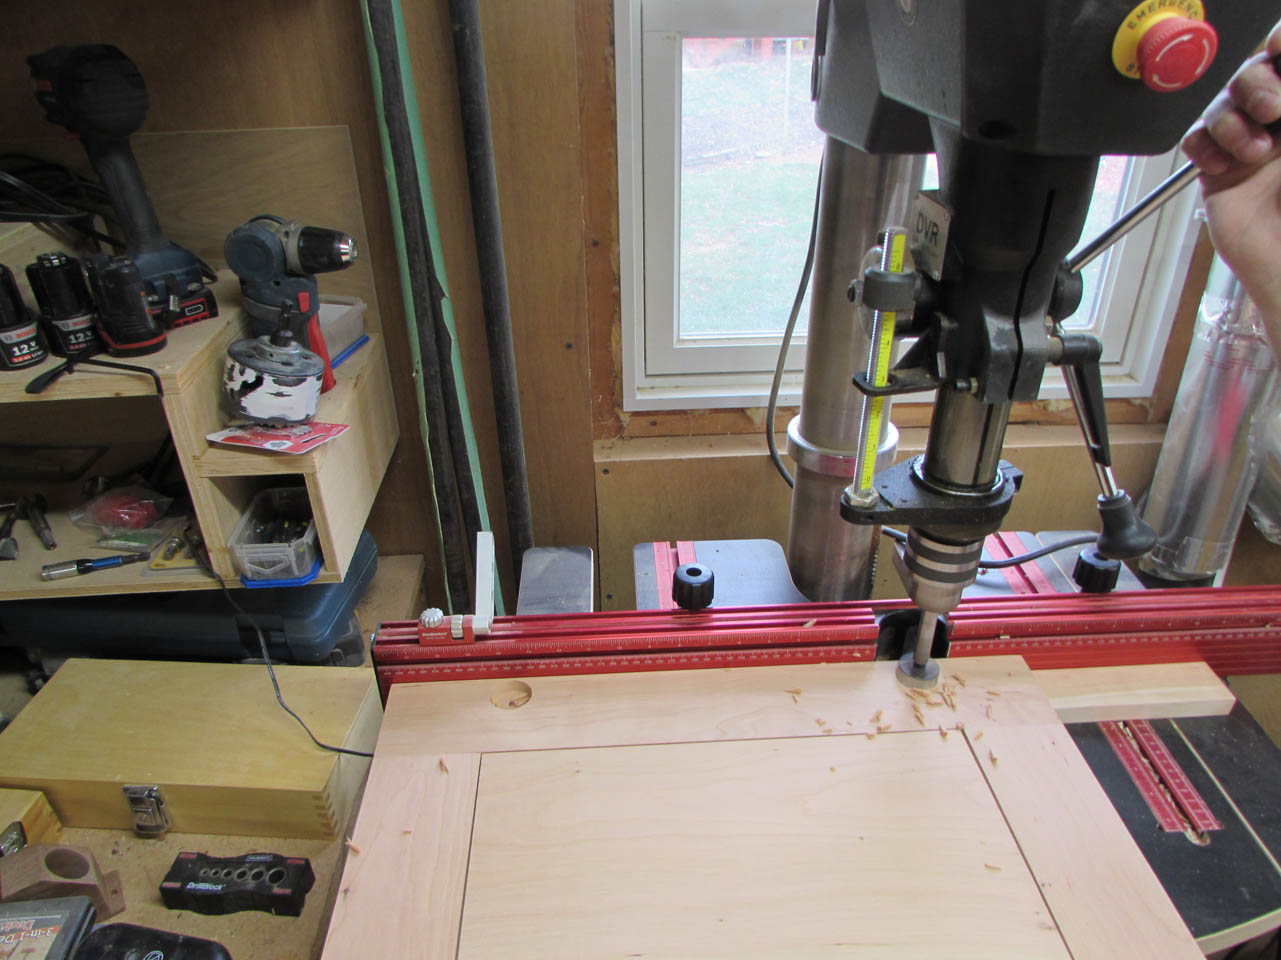
I also drilled out the 35mm holes to install the soft-closing European style door hinges as well.
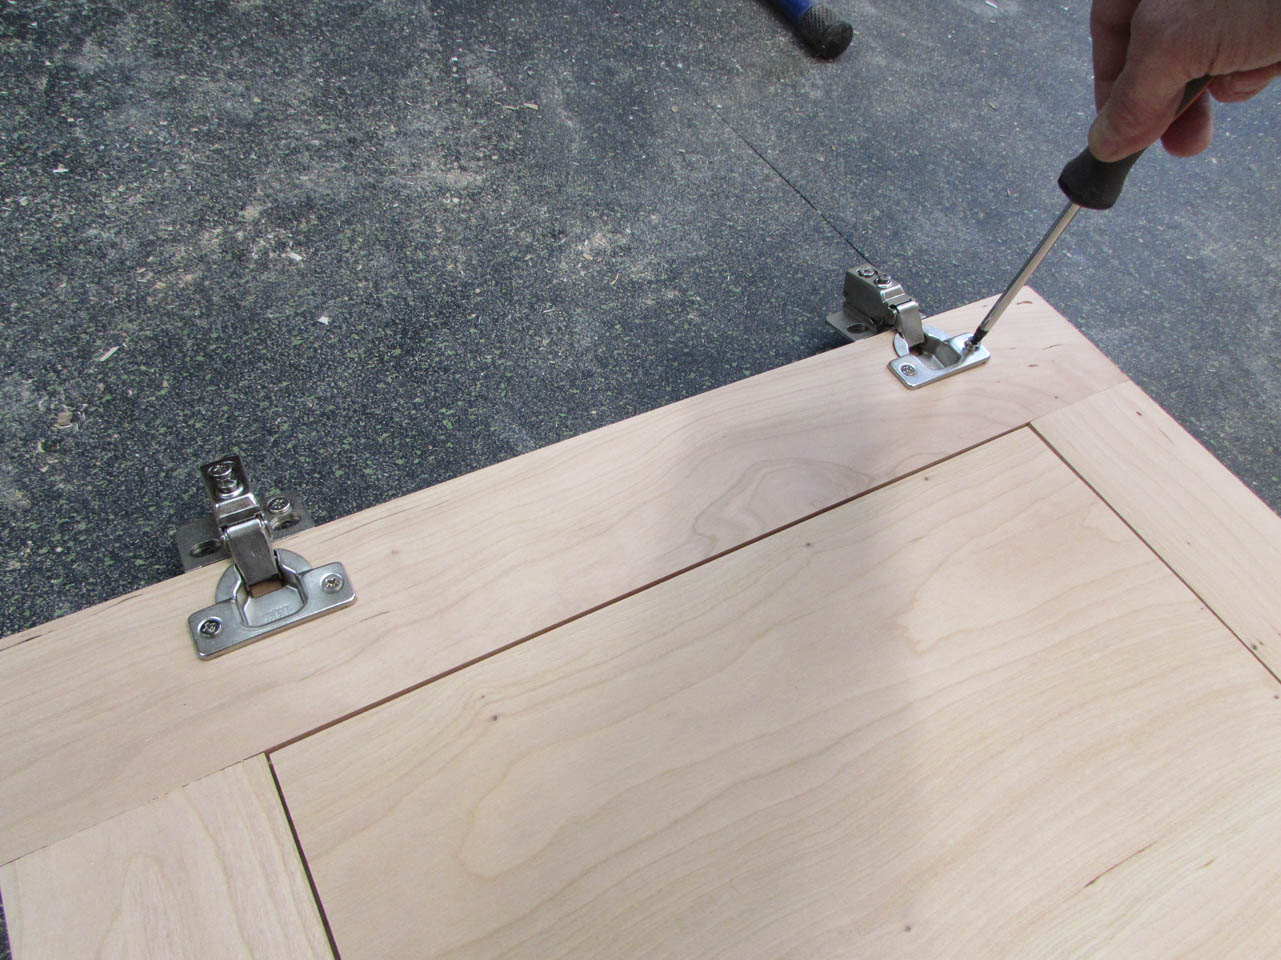
I used a block to space the door down off the drawer face.

And the faces are all installed. I am not bothering to install the rest of the hardware until all the wood is stained and finished. But that will be on the next post…

