Vestry cabinets part 3
Cabinet carcasses are done so it is time to start making the face frames for the two smaller cabinets.

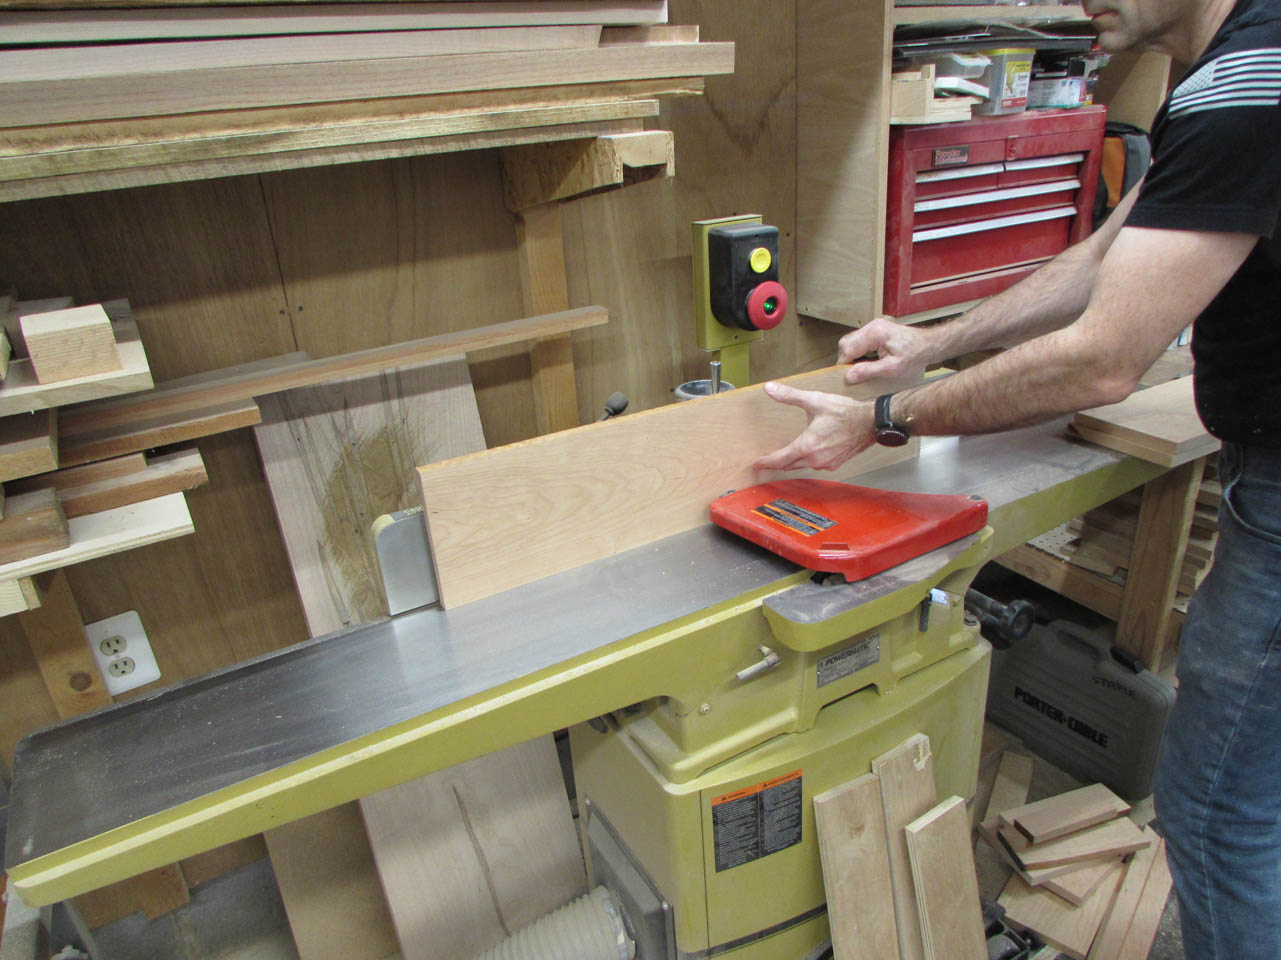
I start by milling and cutting the cherry down to manageable pieces.
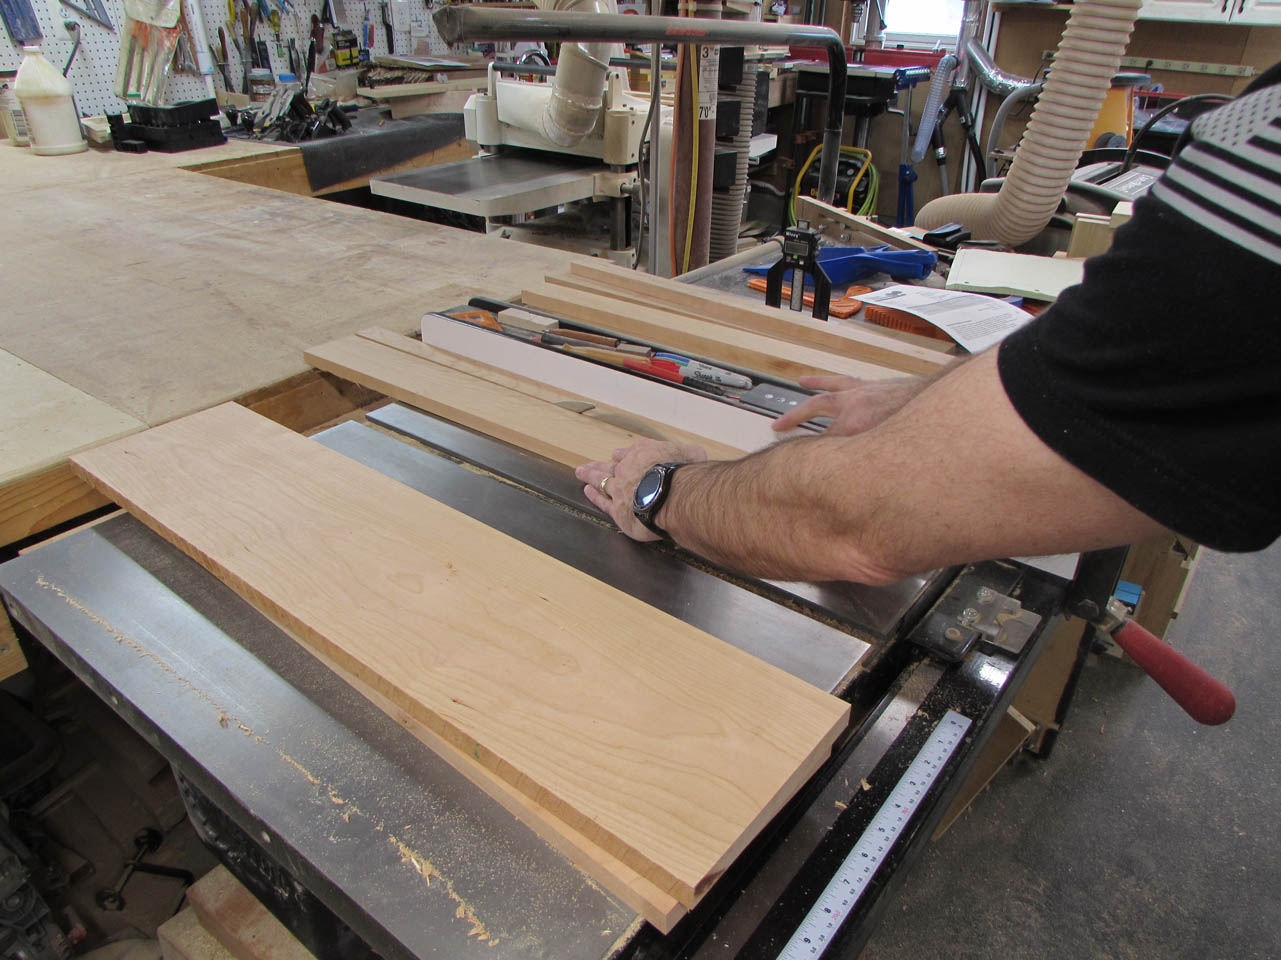
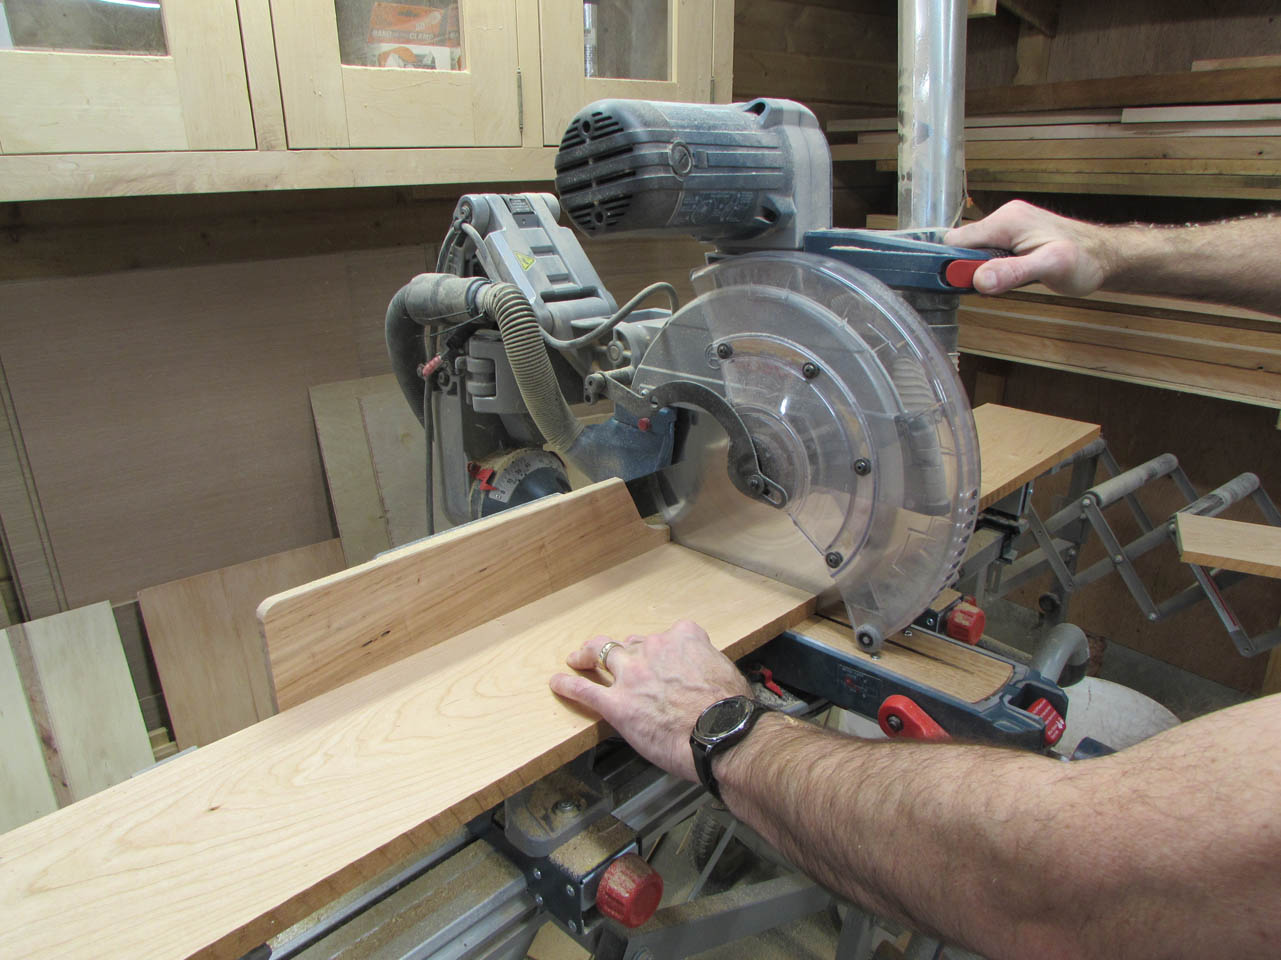
Next I rip the pieces to width, then stack them up and gang-cut them to length on the miter saw.

I clamped my old pocket hole jig to the bench and started drilling pocket holes in all the cross bars.
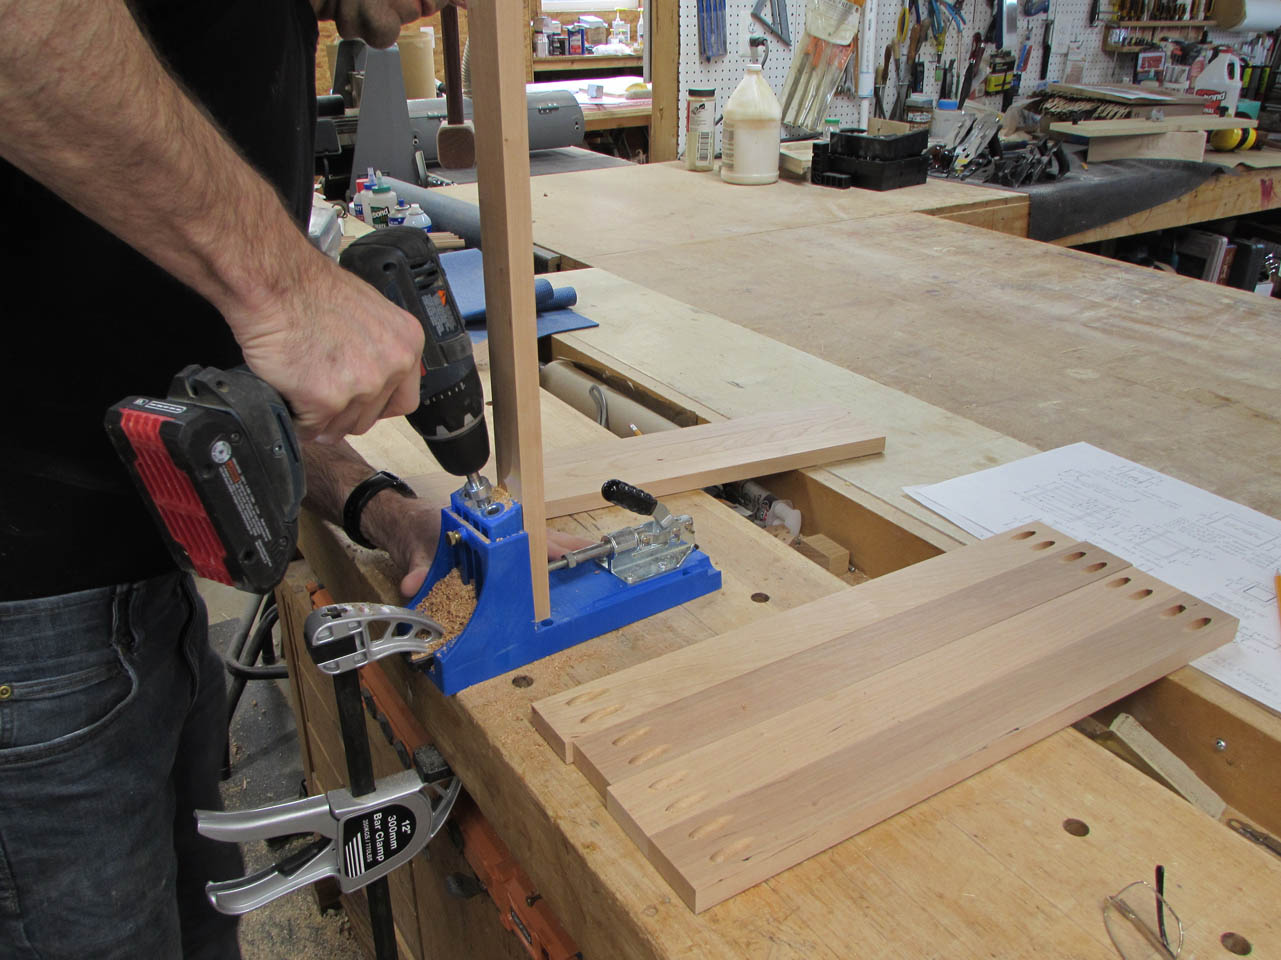
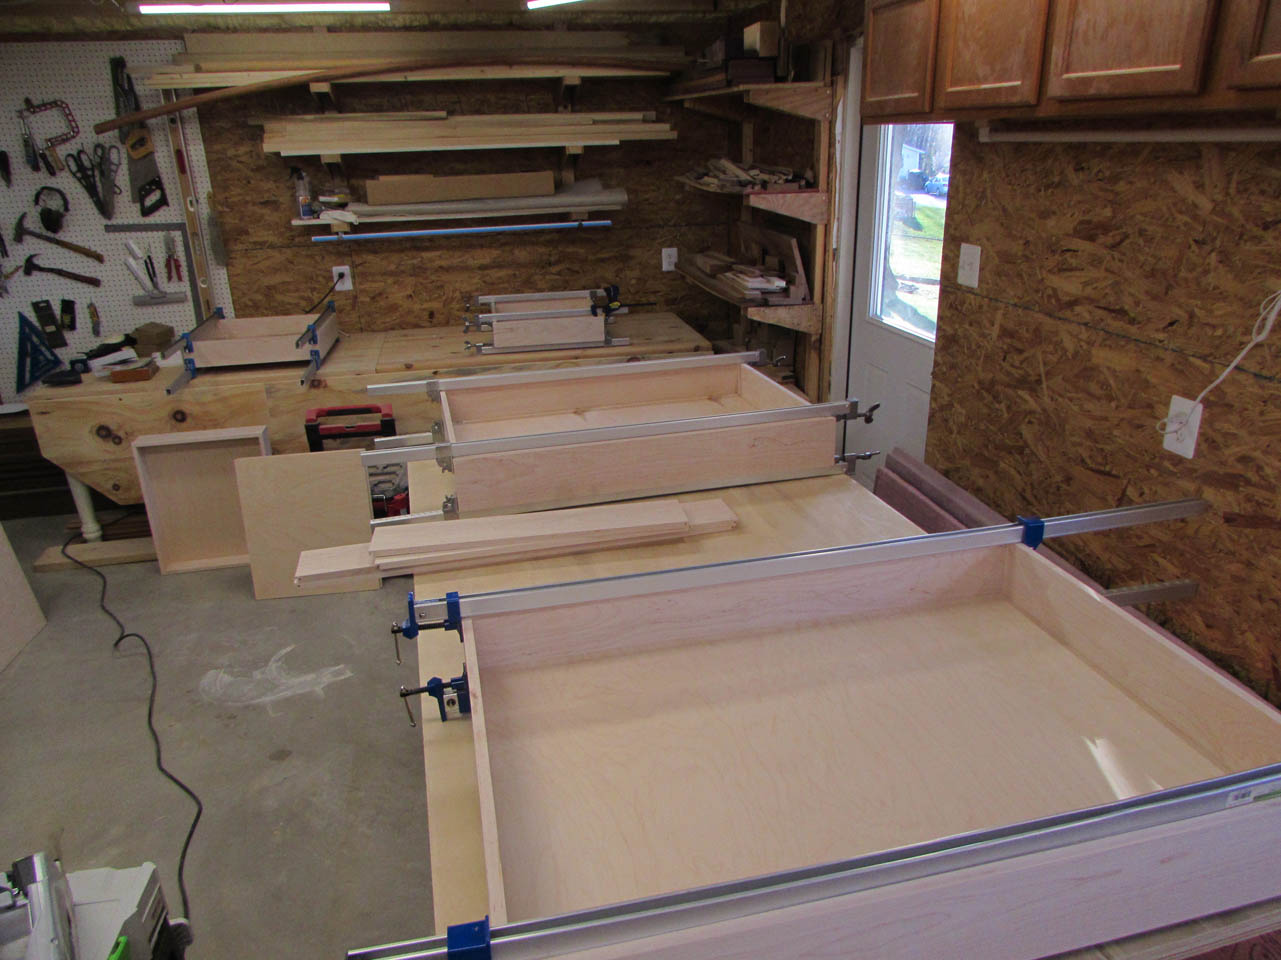
I left a very deep overhang on my new assembly table in order to have lots of clamping space. This makes face frame assembly a lot easier. You have to clamp the frames flat or they could shift when assembling them for the first time.


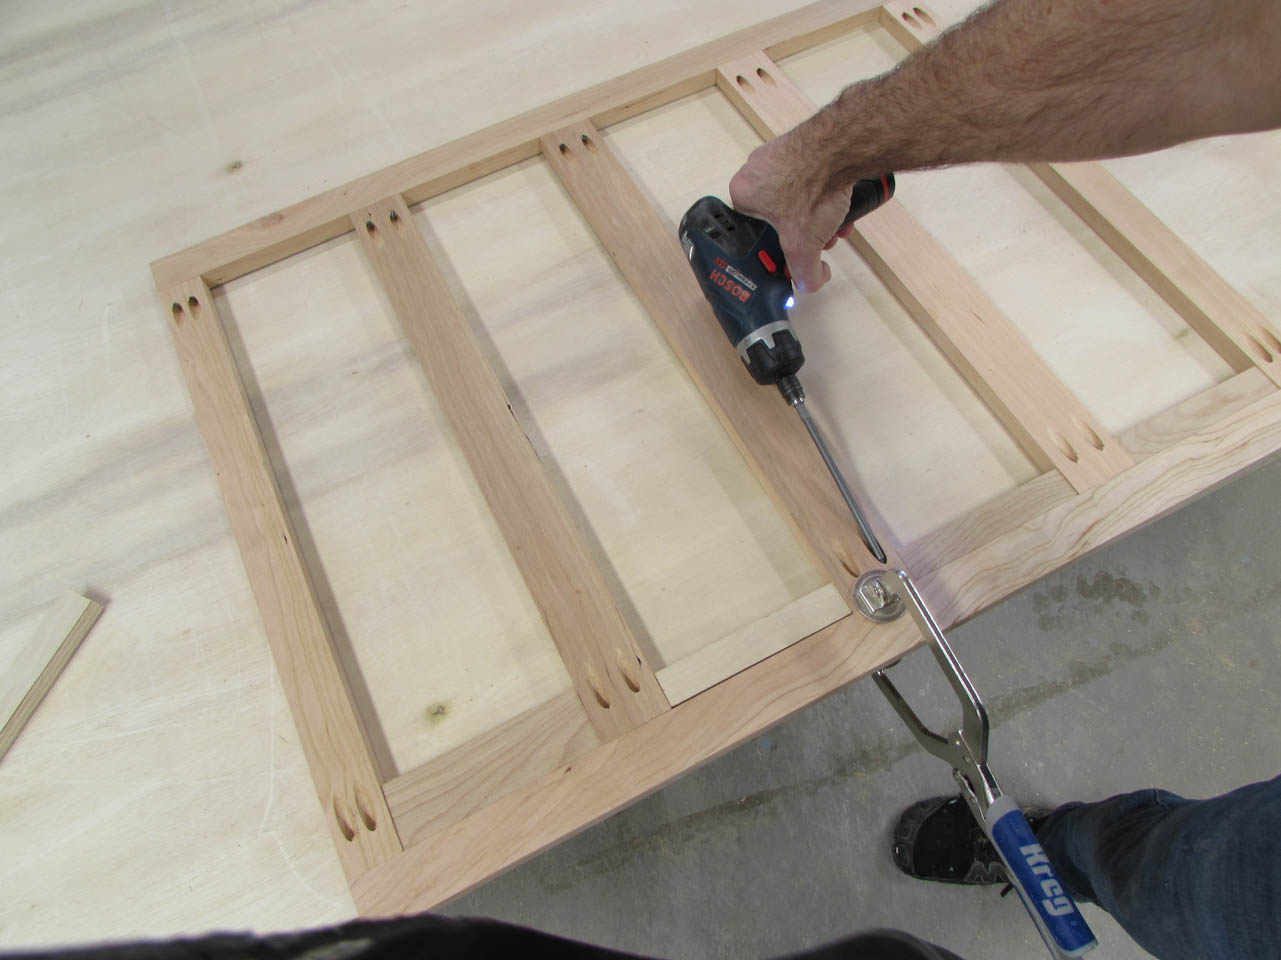
The left side frame is done, now time for the right.
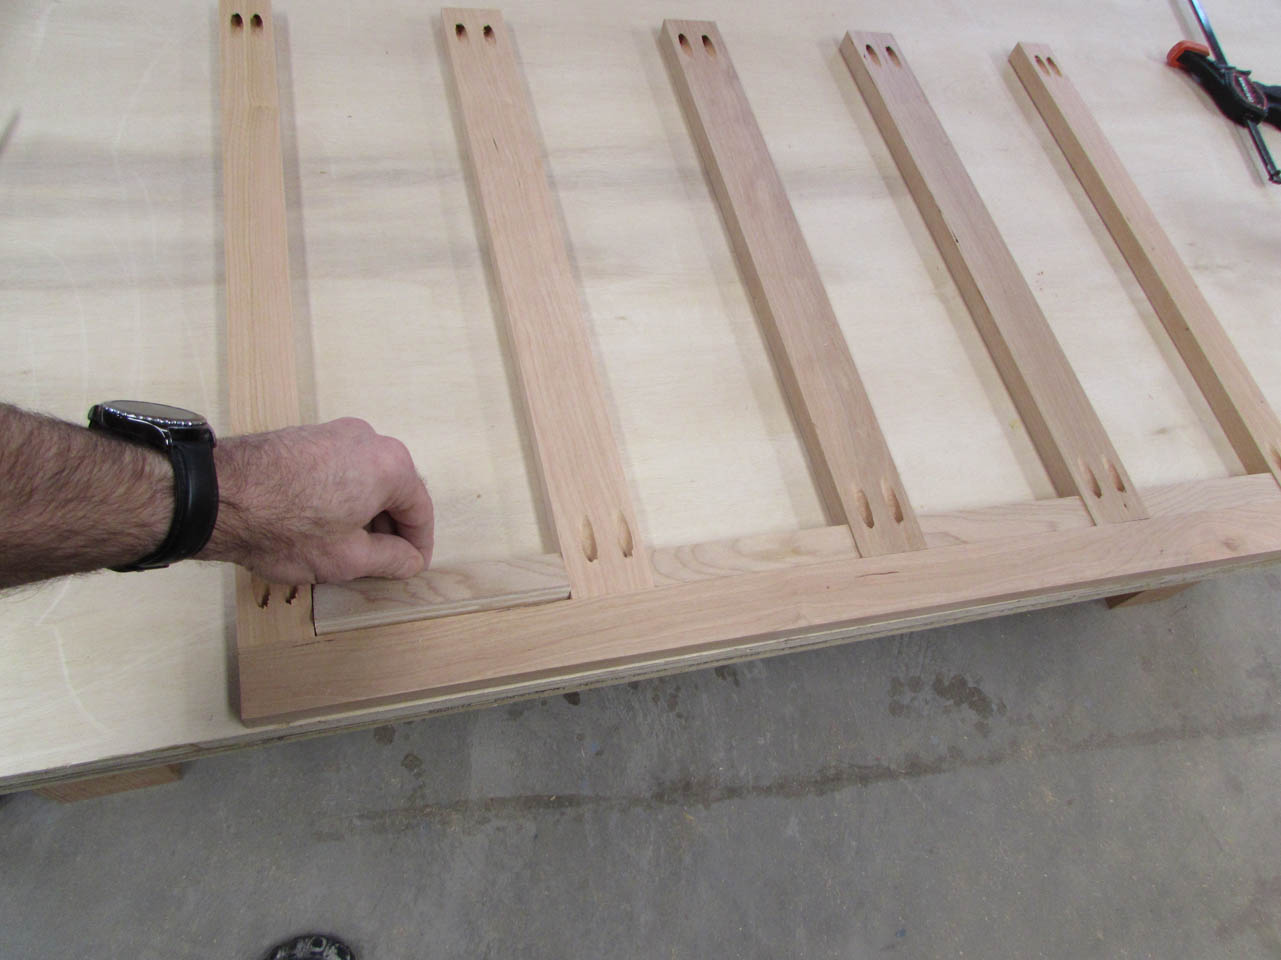
Since all the drawers are the same size, I cut blocks to use as spacers to insure the spaces were equal. I also added a bit of wood glue to the end of each crossbar before screwing them together.

With both faces assembled, I can lay them on their back and mark where I need to drill pocket holes to attach the face frames. Typically I will place the holes where they won’t be seen.


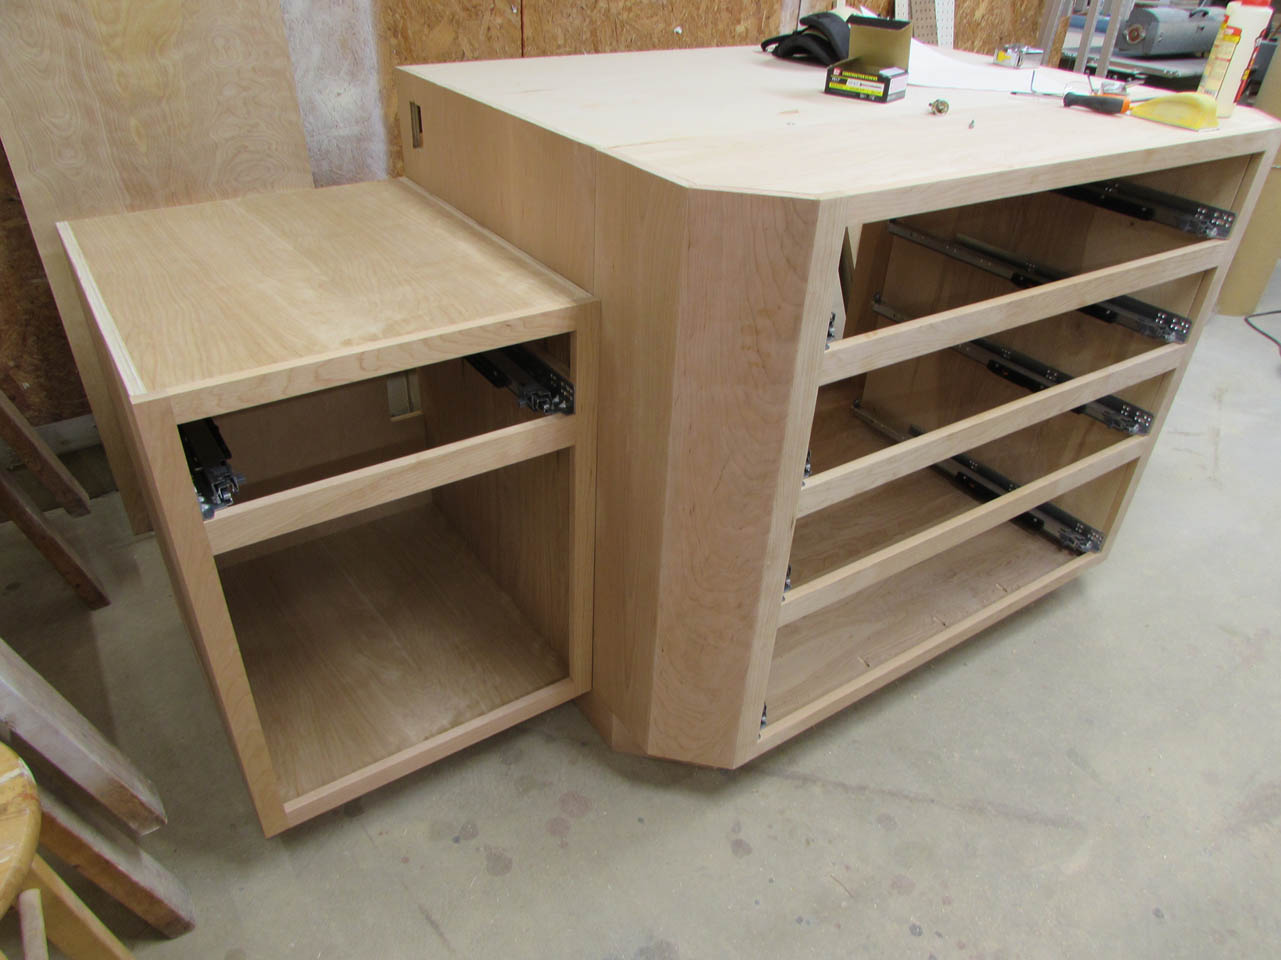
Once the pocket holes are drilled I can assemble the faces to the cabinets.

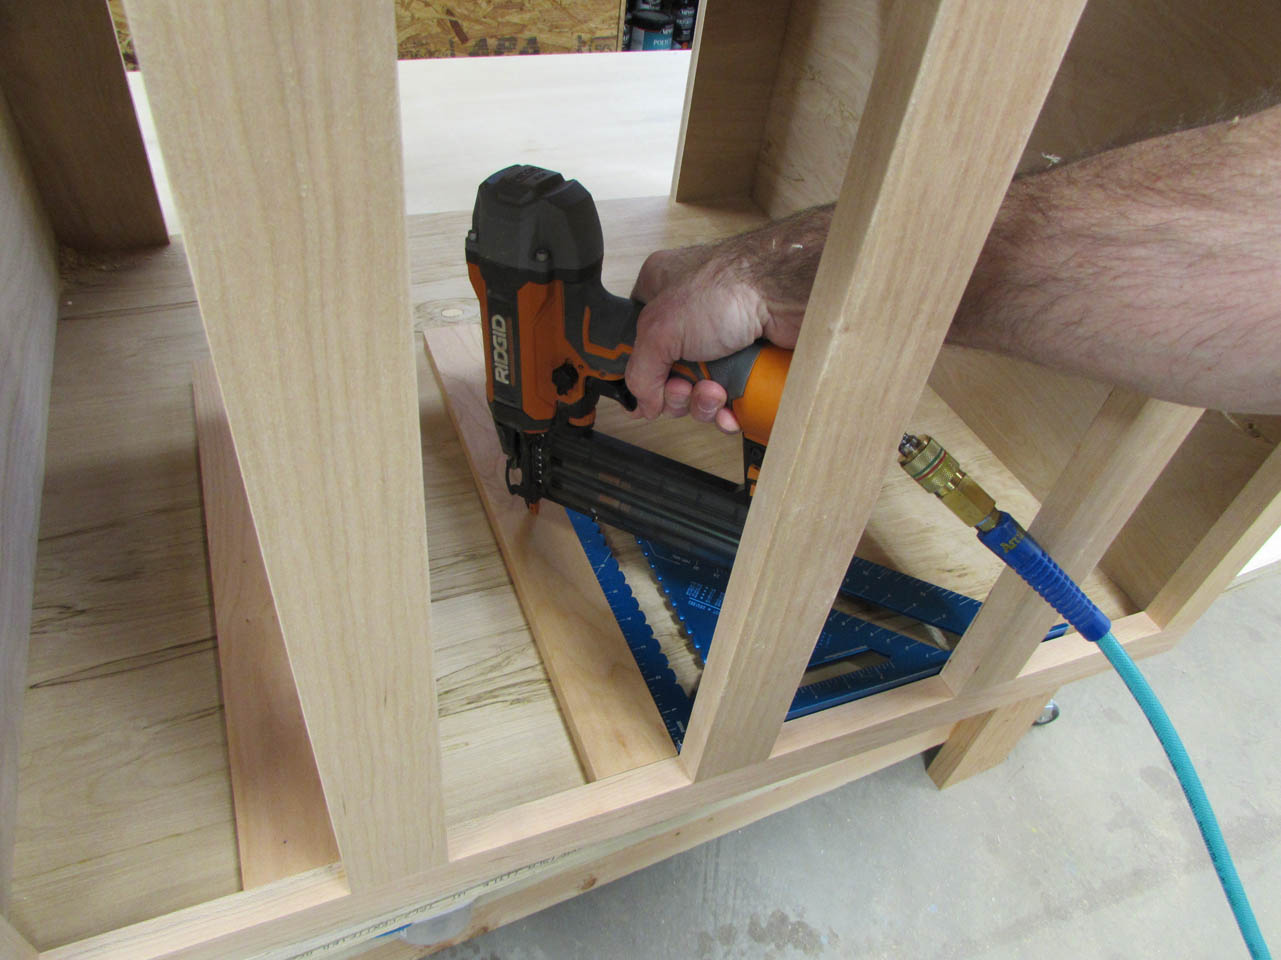
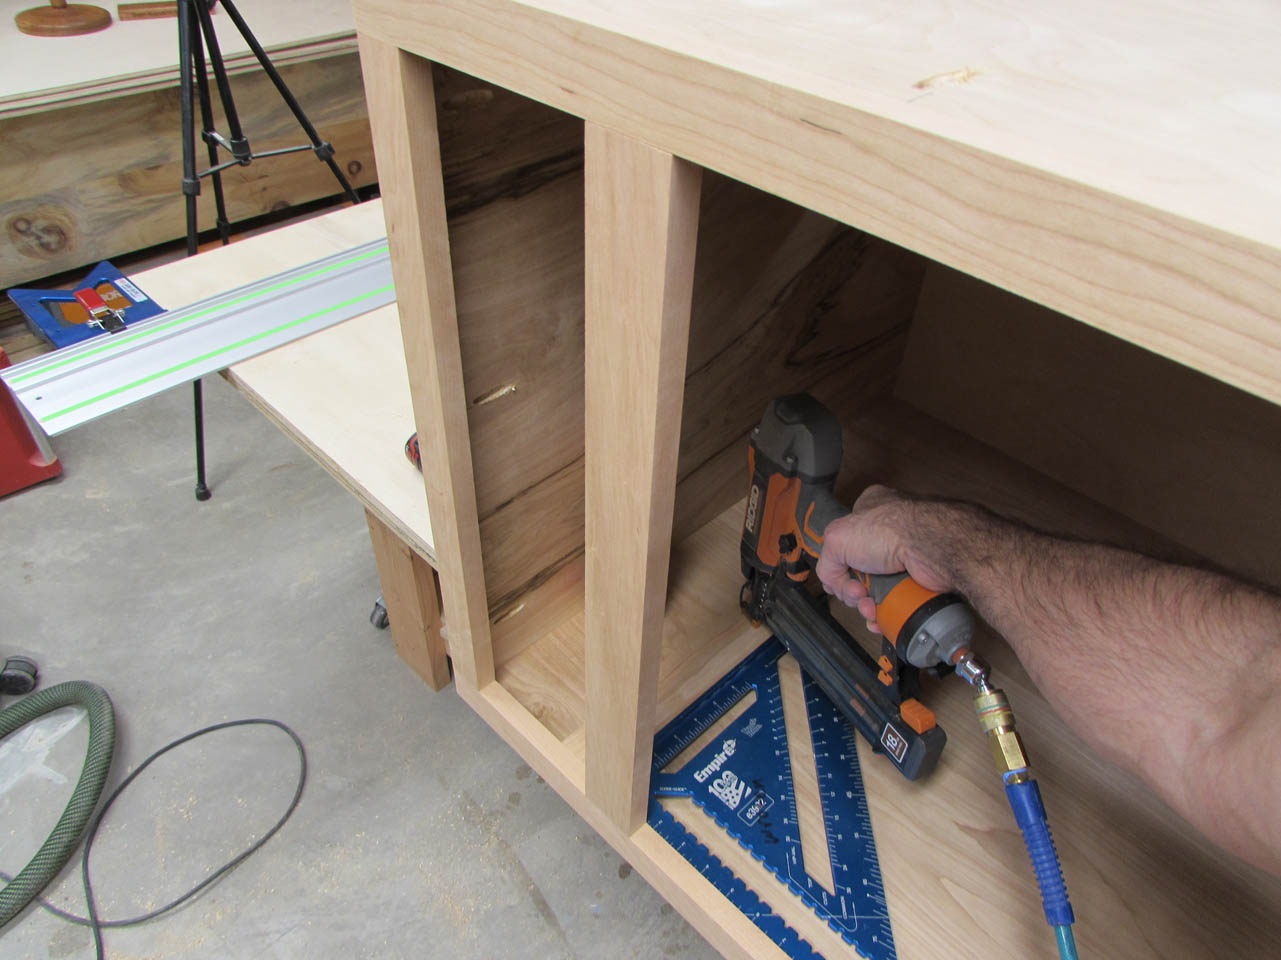
The smaller cabinets require spacer blocks for the drawer slides to mount to. I applied a bit of glue to the back of each spacer, then used a square to locate them.
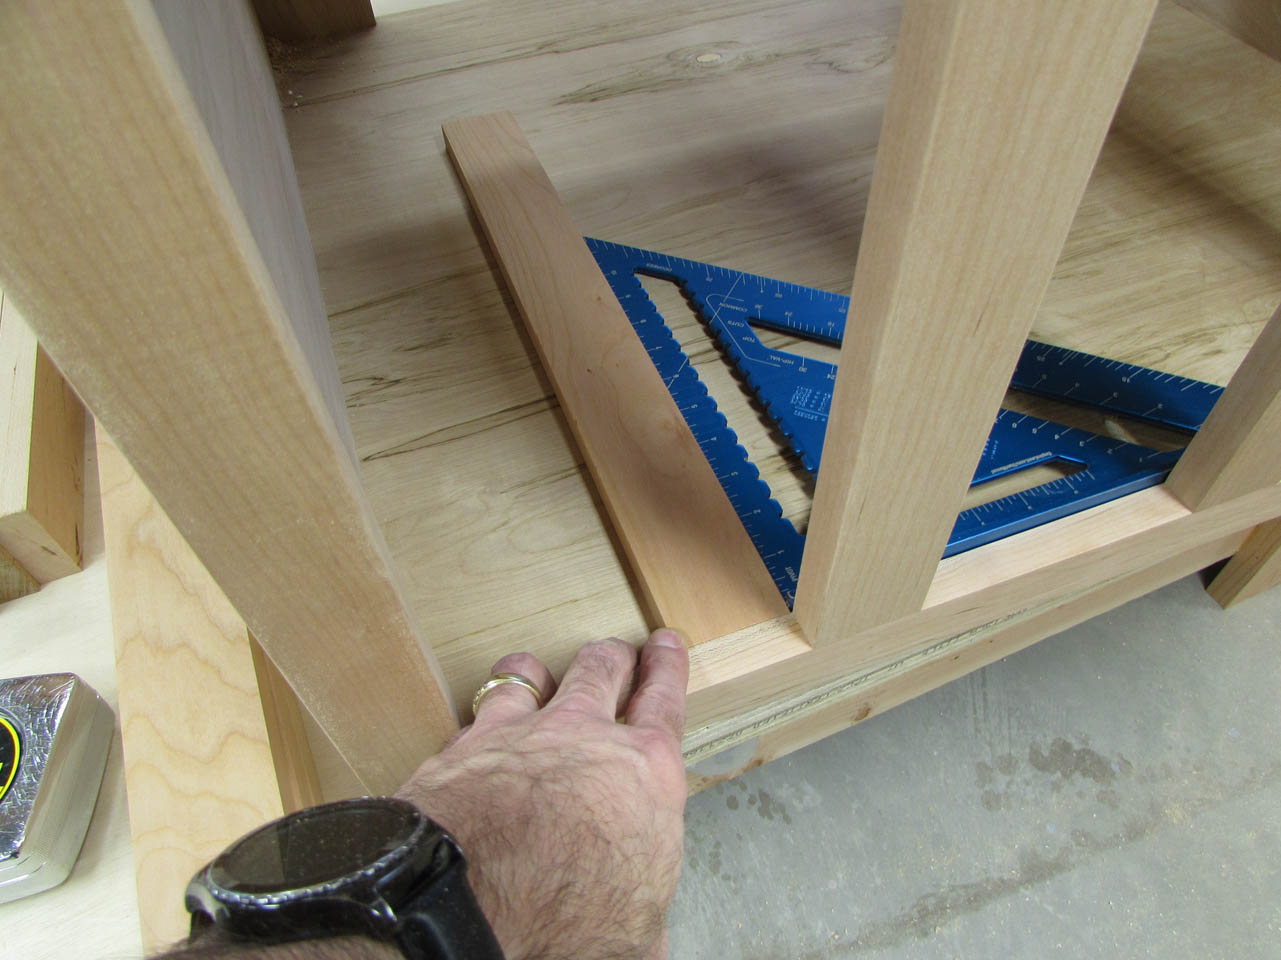
A couple of brad nails were used to hold them in place until the glue dries.
On the wider, central cabinet, the interior walls are located flush to the inside edge of the face frames so no additional spacers are needed.

I grabbed a few items to stack on the floor to match the level of the bottom face frame edge.

This gave me a platform to install the bottom drawer slide from.
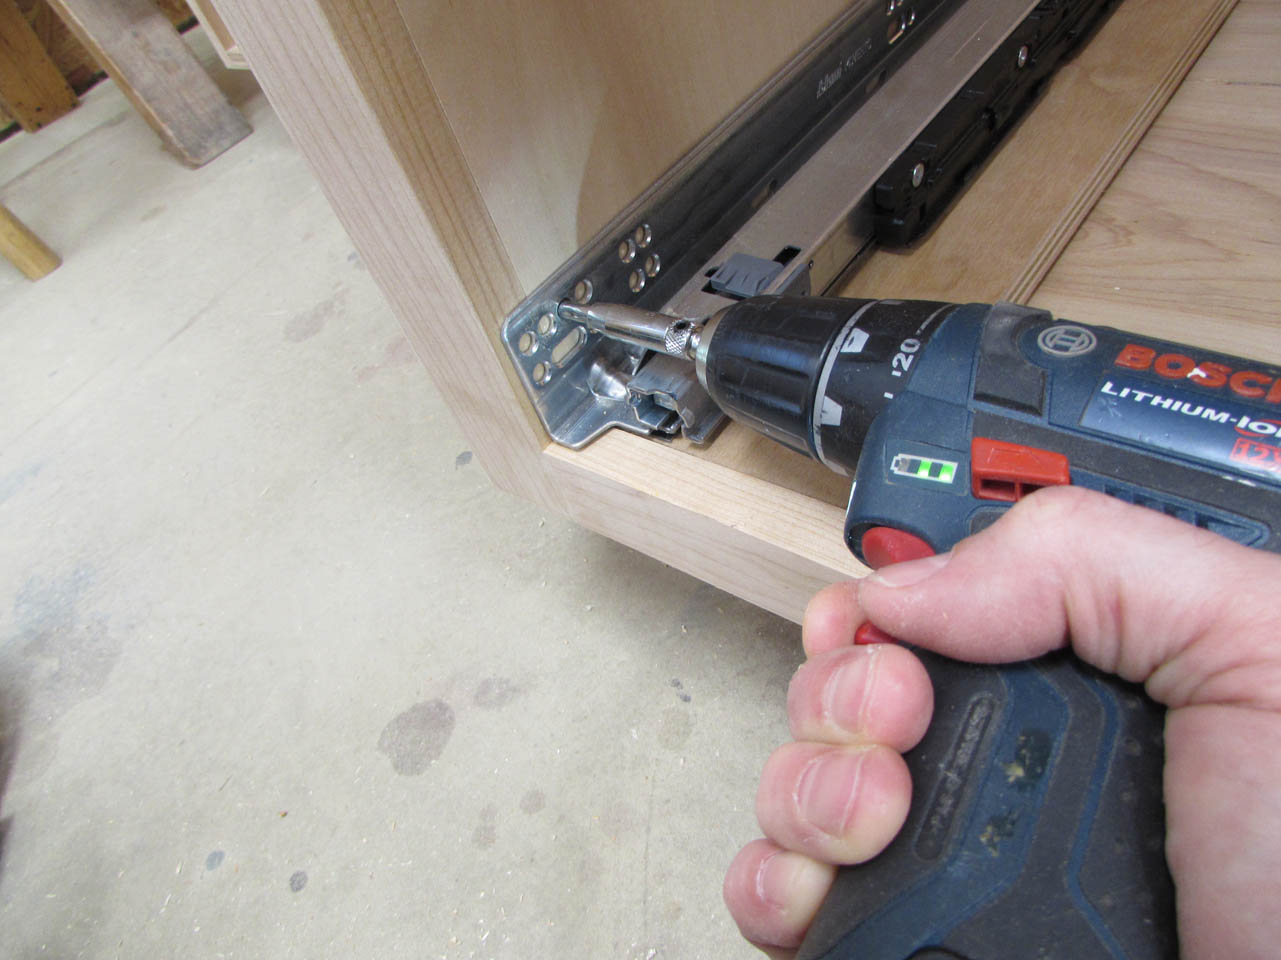
I pre-drilled and added four wood screws to each slide.

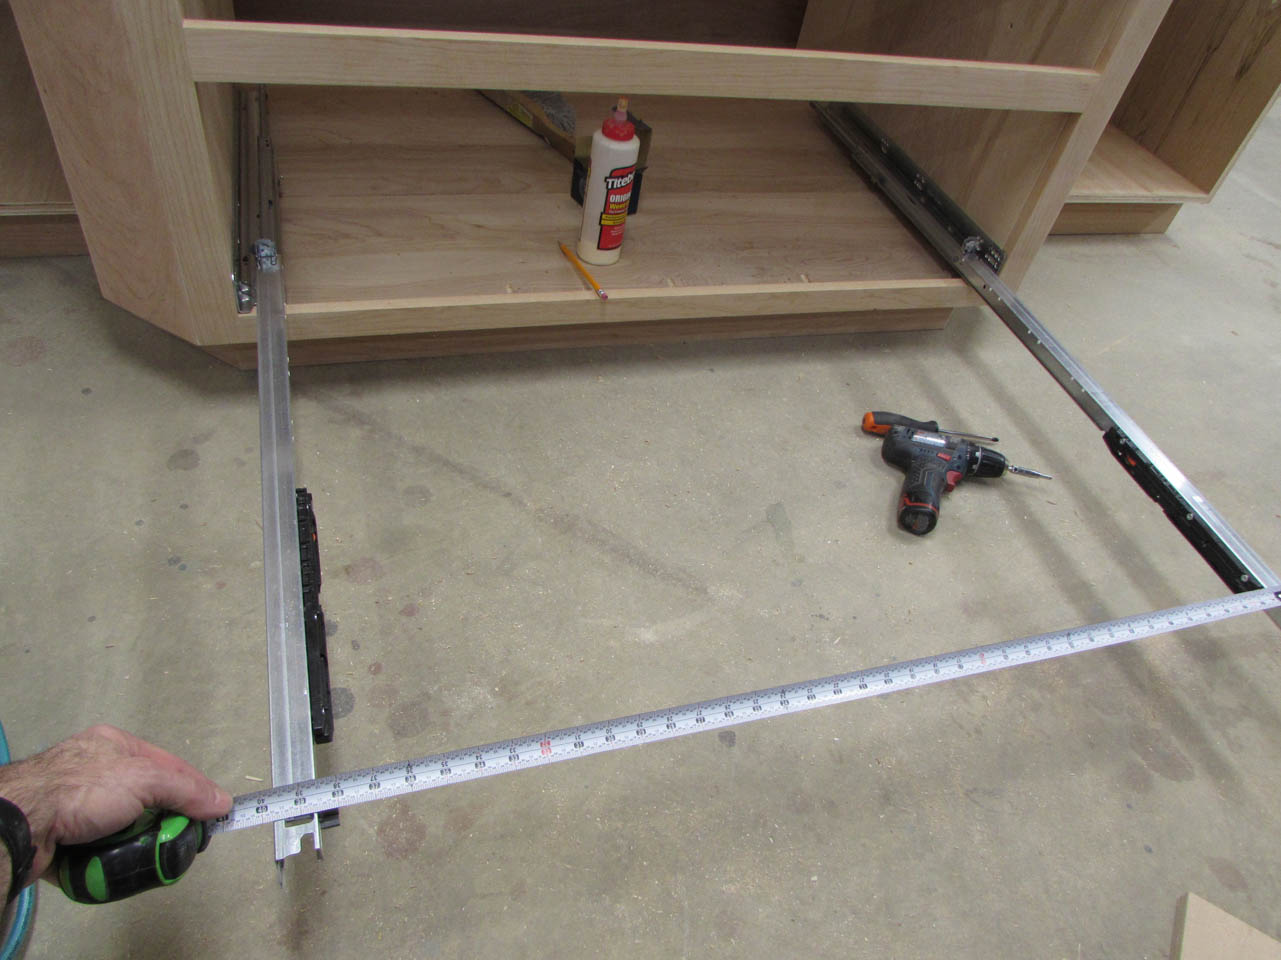
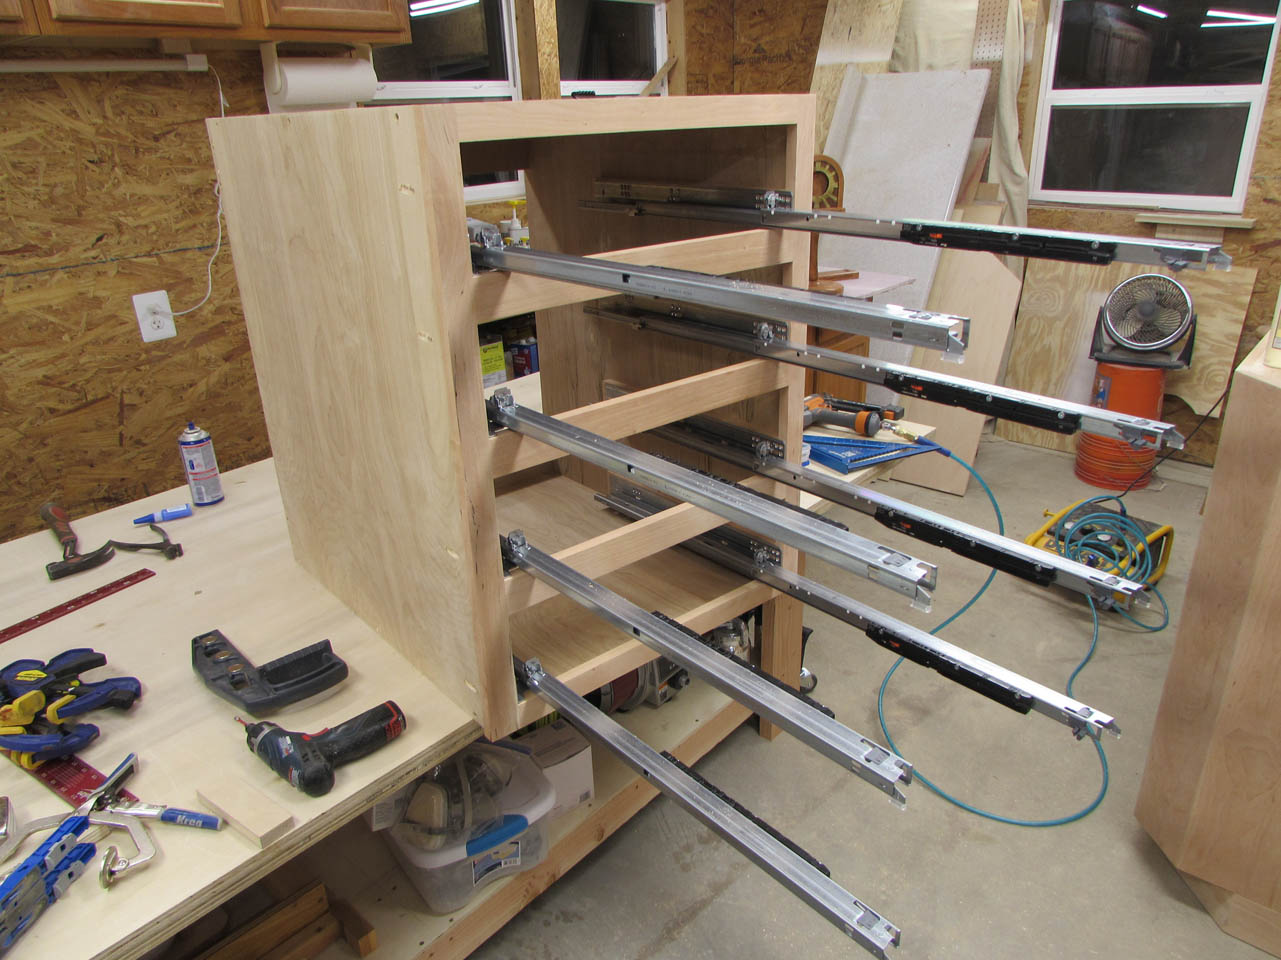
After repeating the process on the opposite side, I fully extended the slides to check that they were parallel. Surprisingly they were…

I measured the distance between the bottom crossbar and the next one up and cut a piece of plywood to that dimension. This gave me a block to use as a spacer for the next slide up.

For the third drawer level, I needed to cut a different spacer because the upper drawers are smaller. This spacer block worked for the rest of the slides.

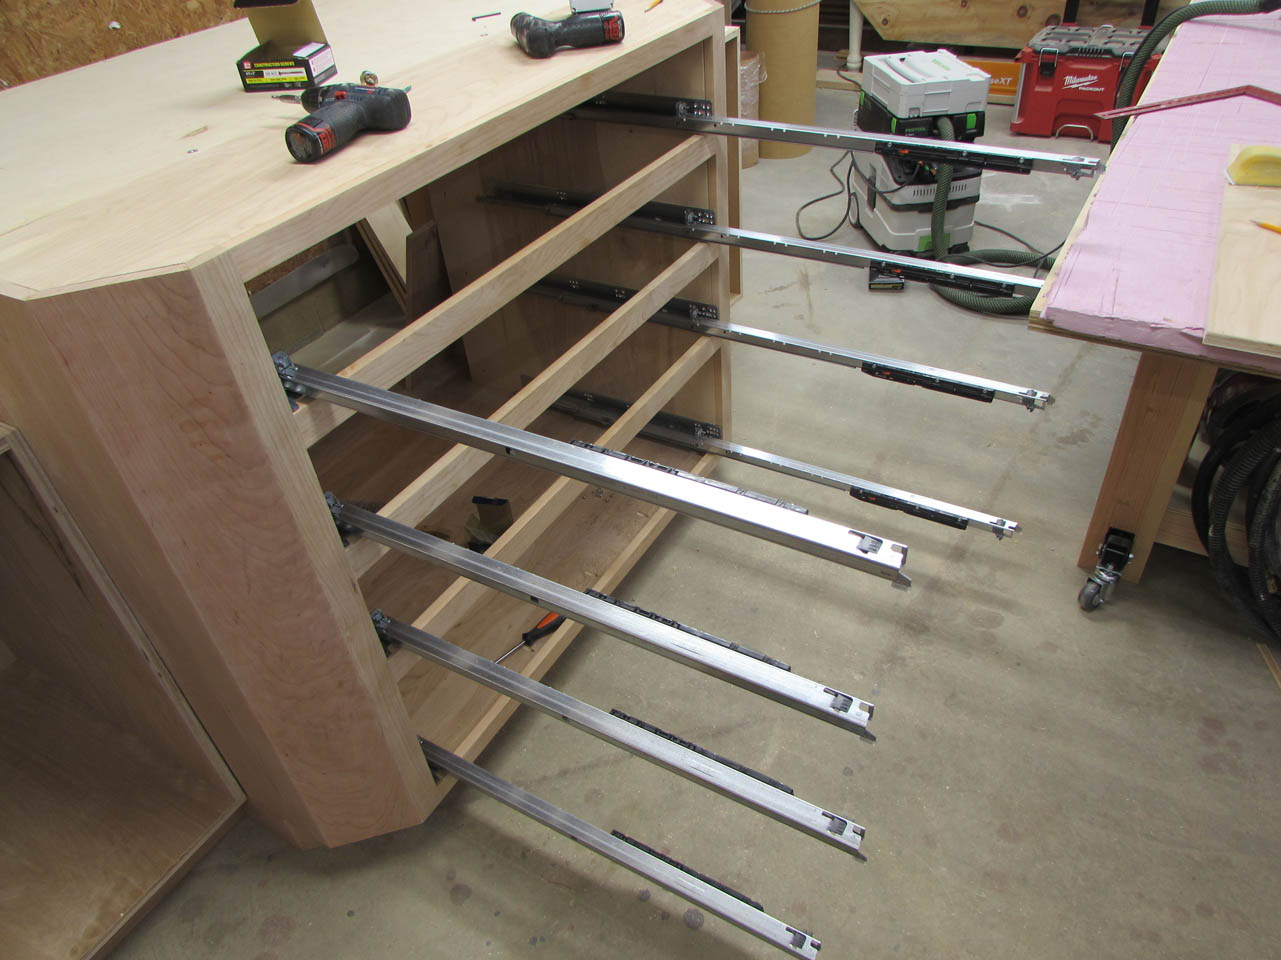
All the central cabinet drawer slides are installed and are aligned perfectly.
For the smaller cabinets, I can use this magnetic jig that I bought. The 30″ slides were too heavy in the center cabinets but it should work for the shorter drawers.

I can clamp the jig to the face frame and it should hold the slide perfectly in place so that I can predrill and attach the slides.


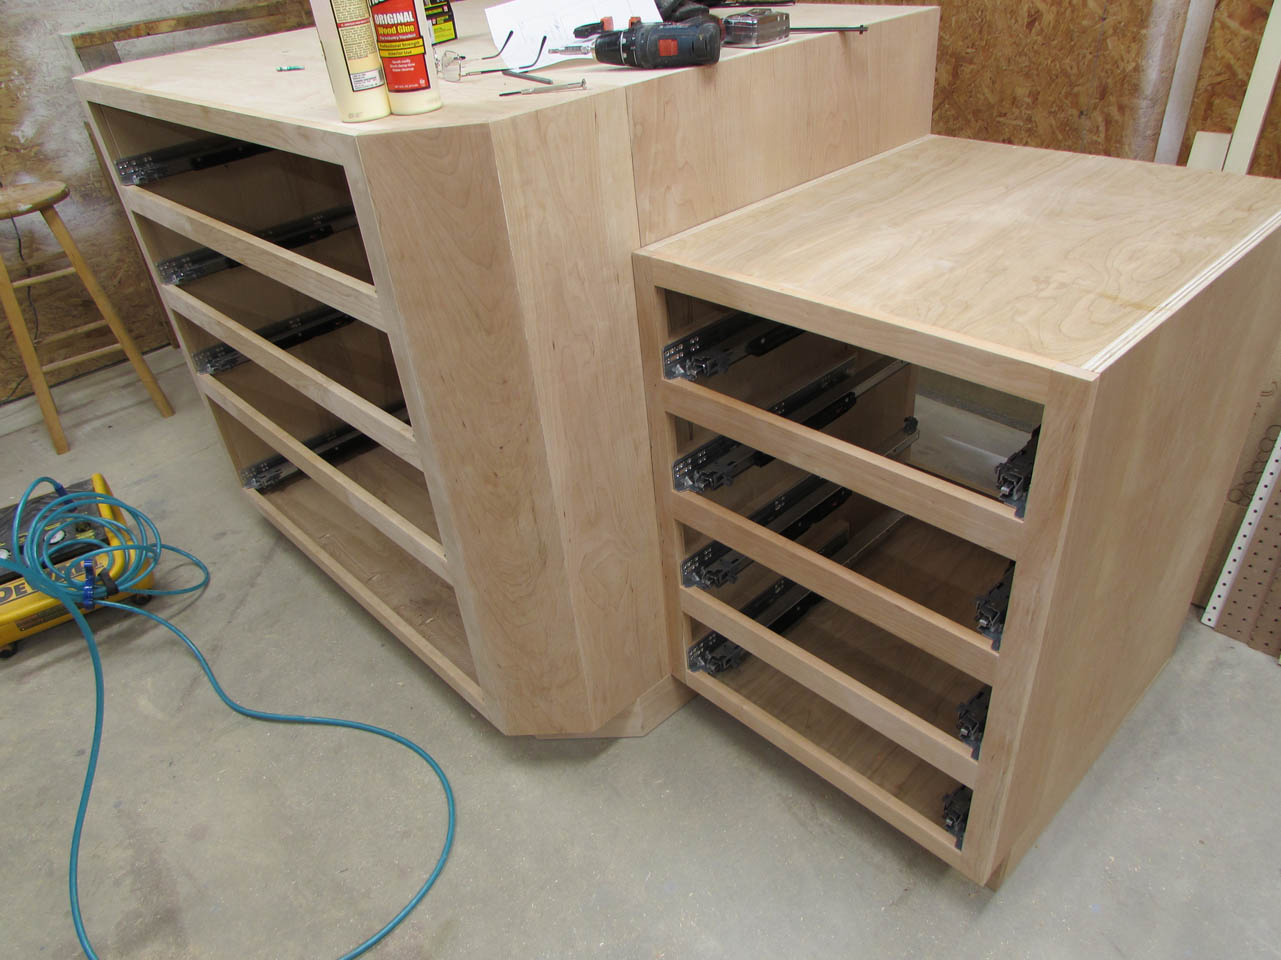
These also worked well and seem to all be aligned perfectly.
There is just one drawer left to do.
I decided to try a third method for installing them and I just laid the cabinet on it’s side and installed the spacer and slide. I used the jig, but I could have just aligned the slide with the spacer and screwed it on.


All the slides are installed. Now I need to make the drawers.

I picked up some soft maple for the task.

I think I am going to have to cut them down first. 10′ exceeds the limit of space in my shop.

I waste a little less material by milling the piece long then cutting it down but I bought enough, I am just going to precut the rest oversize and have an easier time milling them to size.

I am making just one drawer first to test the construction method and figure out the drawer slide attachment.
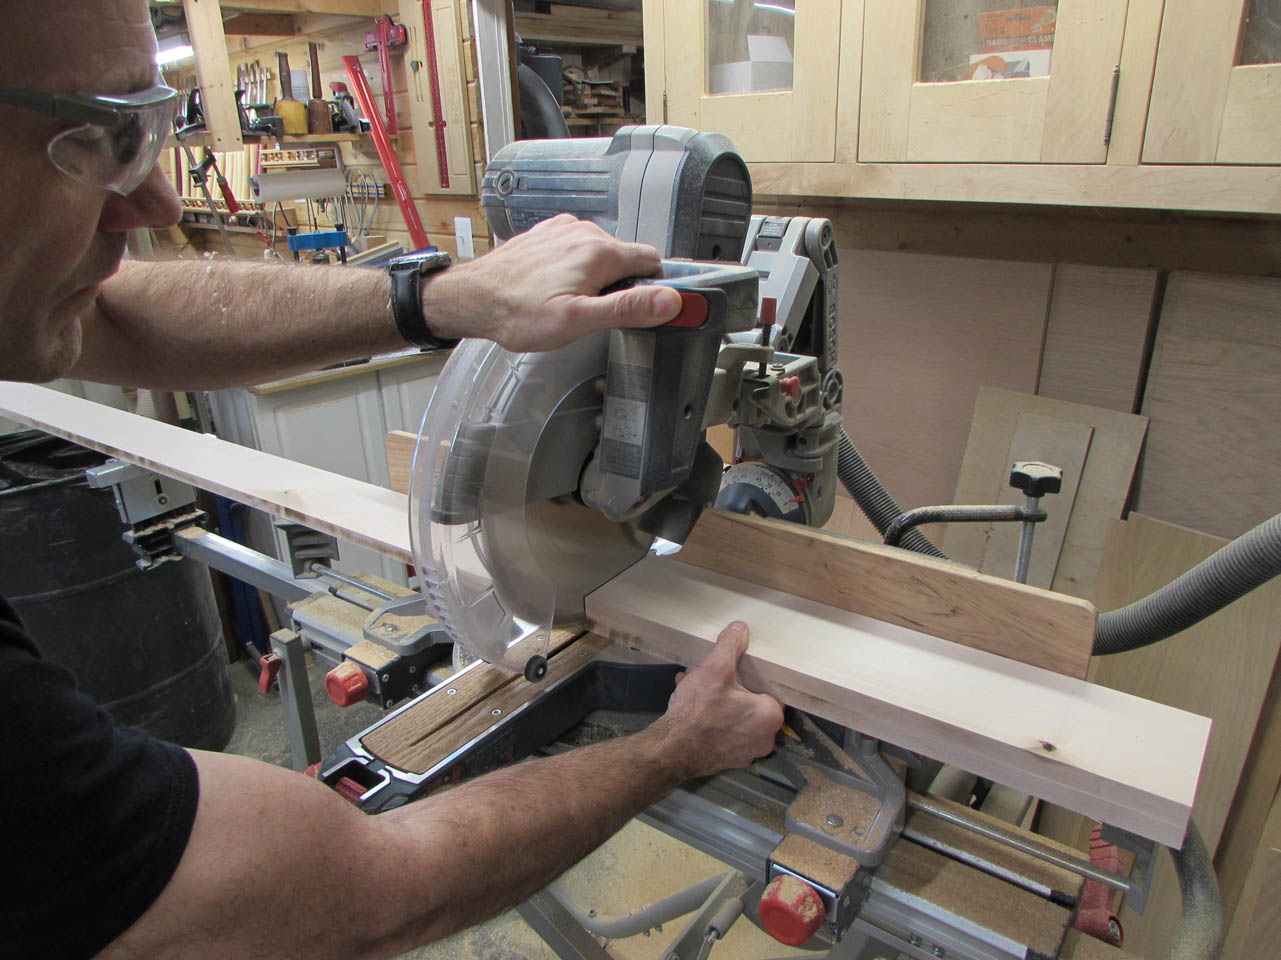
I gang-cut the pieces to ensure they are equal lengths.
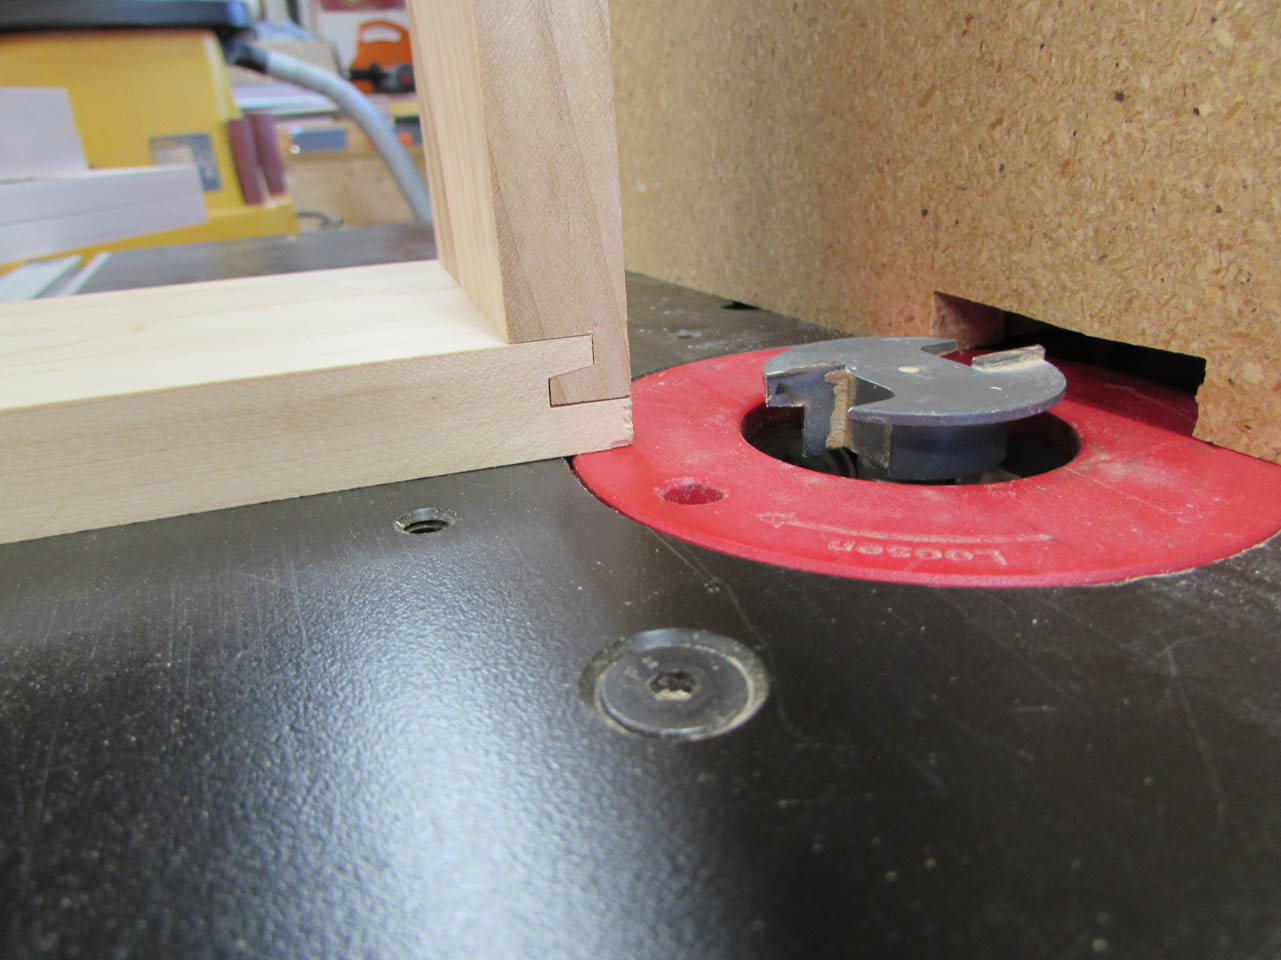
I decided to use a drawer lip bit to create the glue joints for the corners. I set up a sacrificial fence, cut out for the bit and made some test cuts.
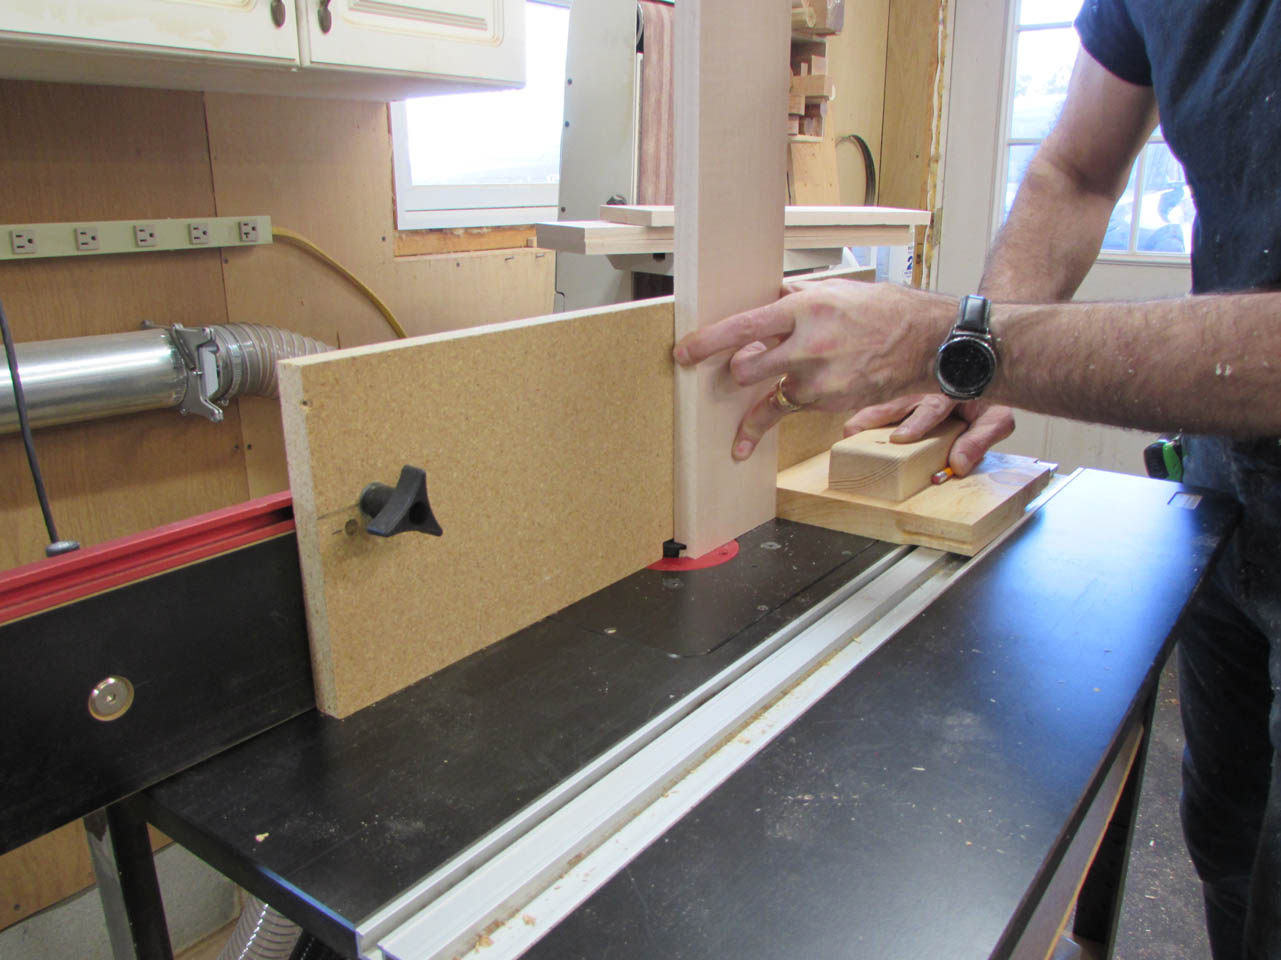
Two boards need the ends cut vertical.
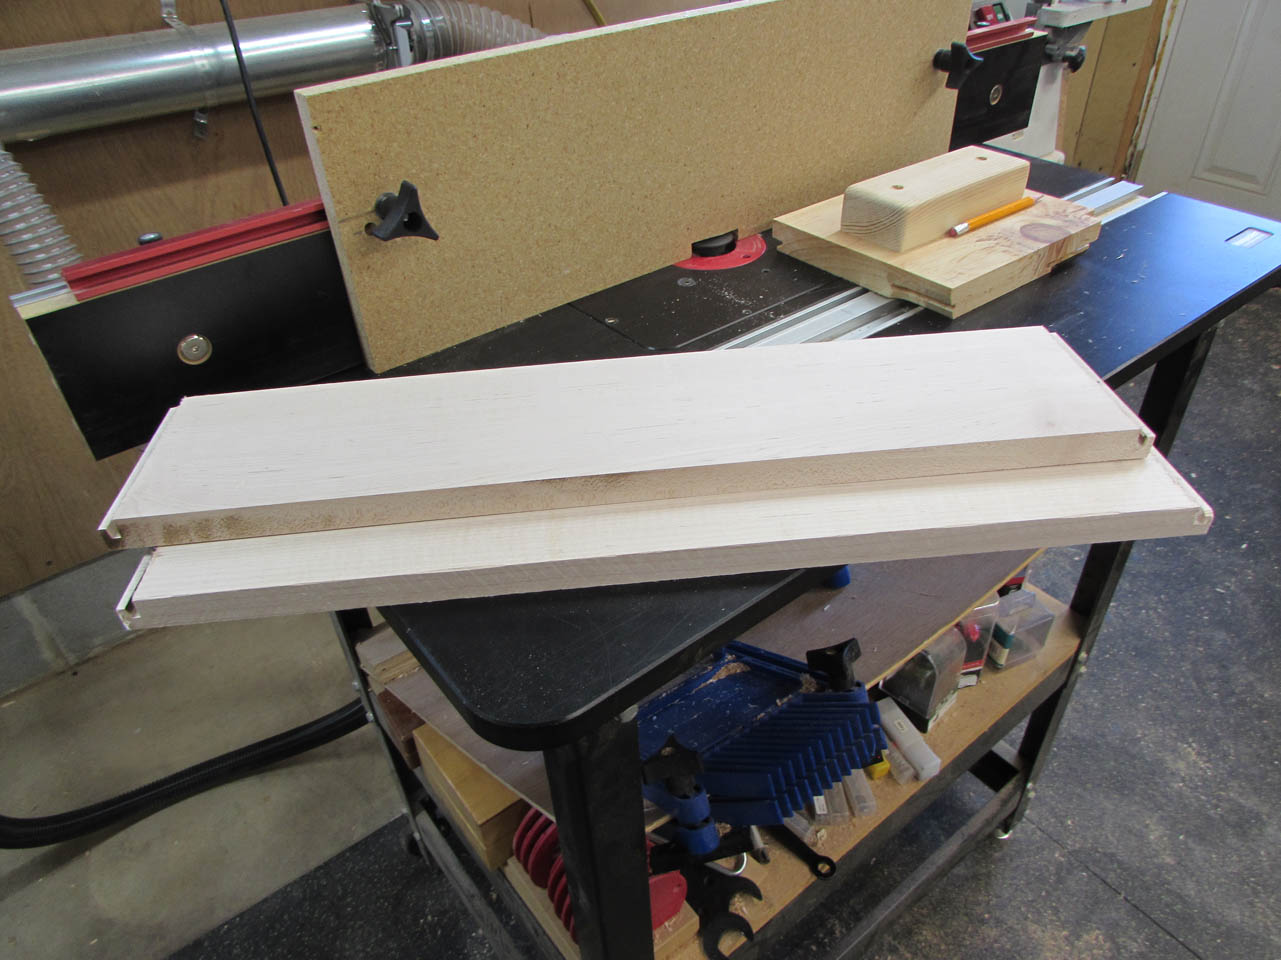
The other two boards are cut laying flat. I use a push block to help prevent tear-out as well as hold the board square to the fence.

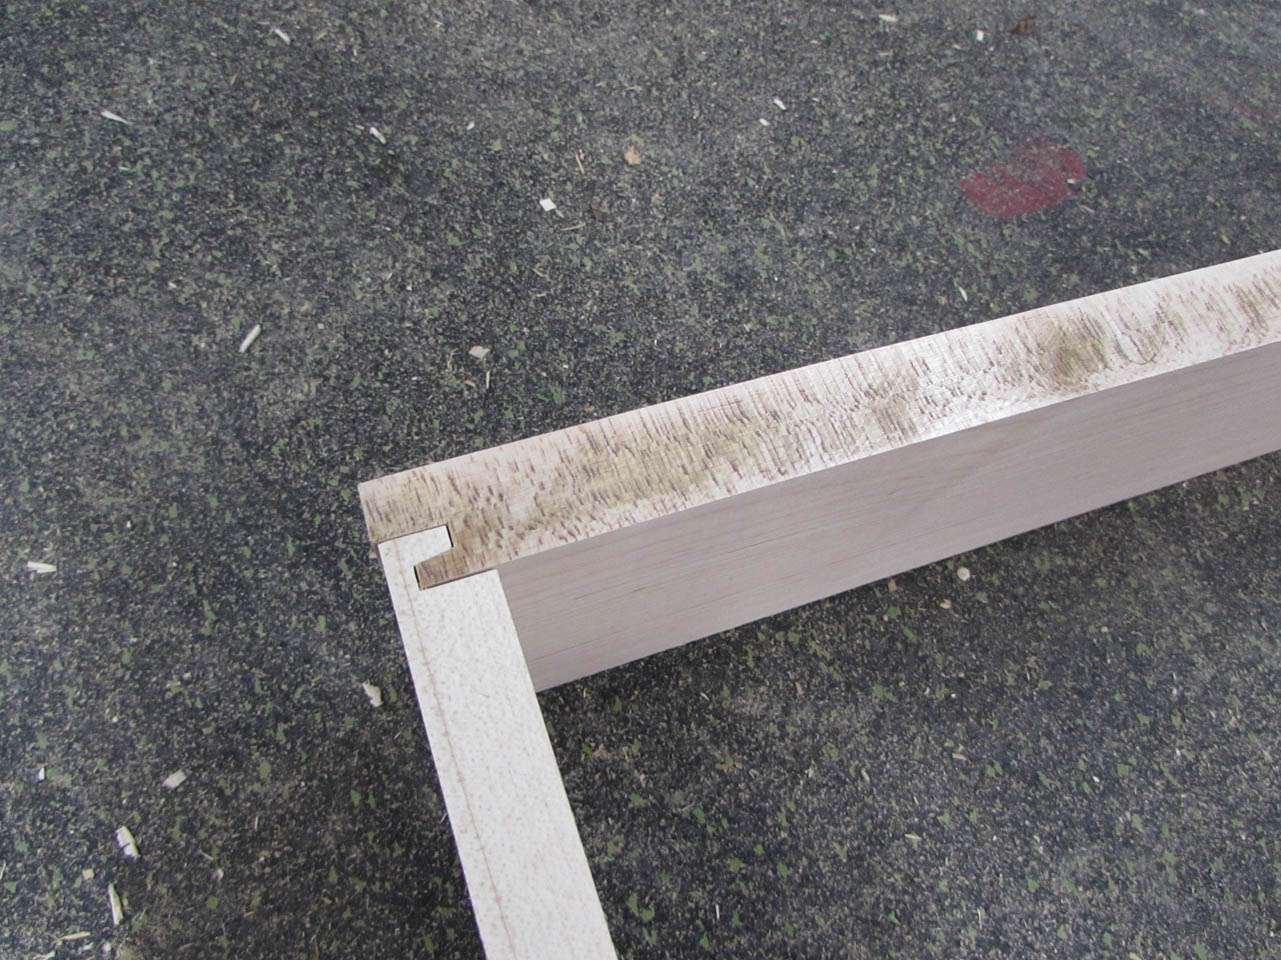
After tweaking the settings, I got a really good fit.


Next I cut a piece of 1/2″ plywood for the bottom panel and I cut some 1/2″ dados 1/2″ up from the bottom of the drawers. The 1/2″ on the bottom is needed for the undermount drawer slides.

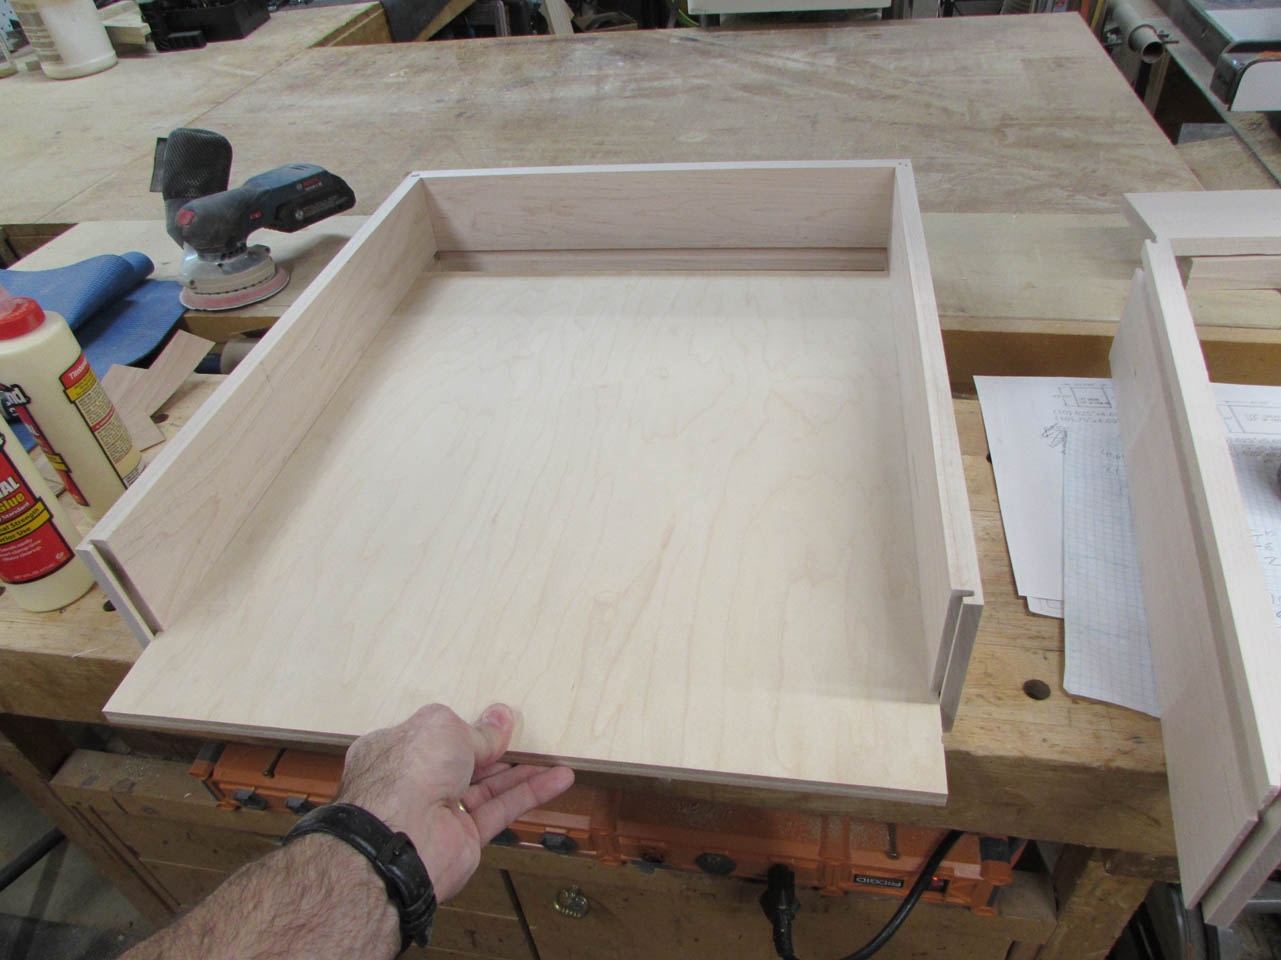
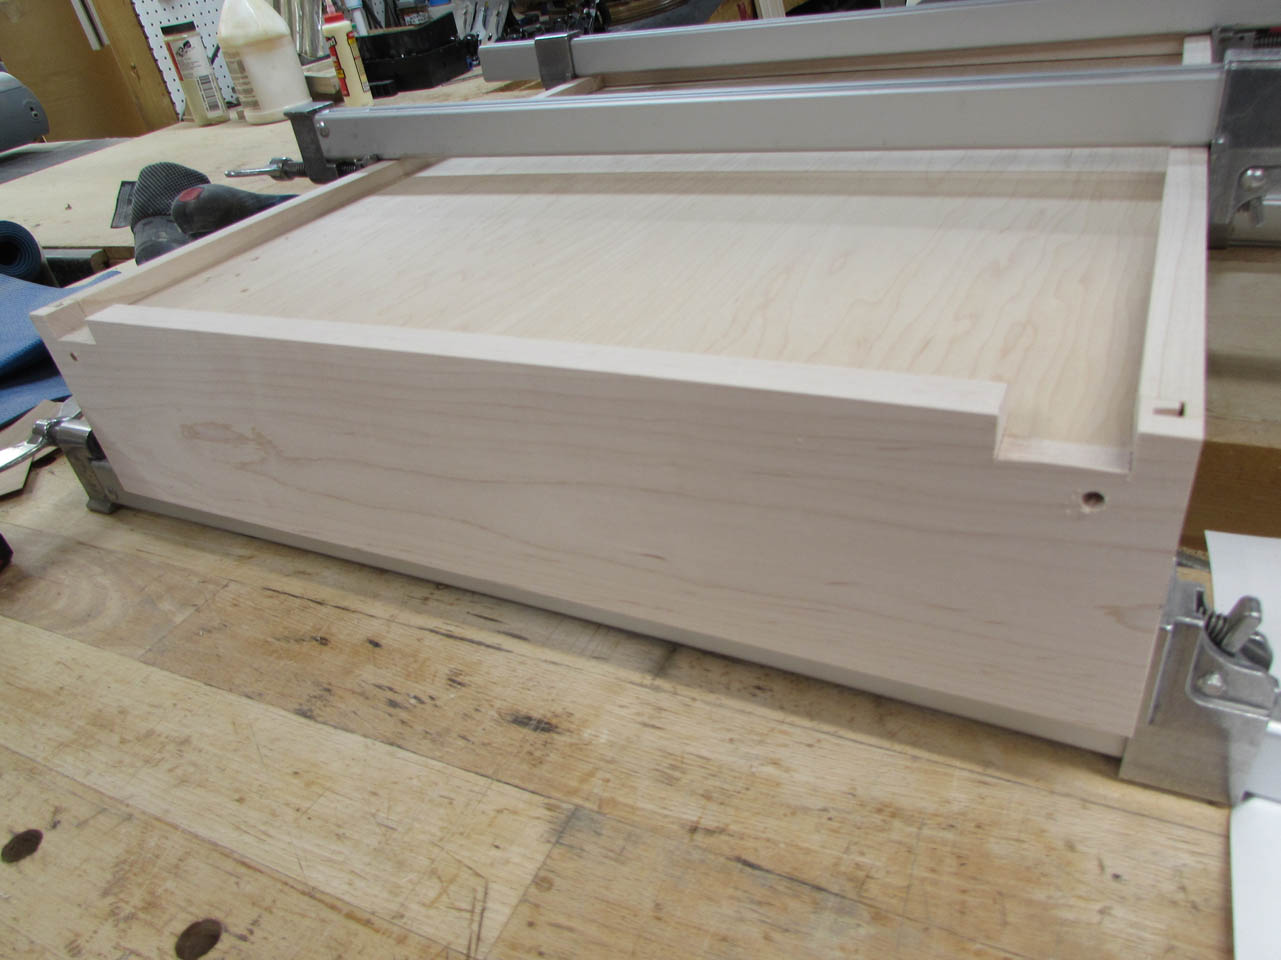
A quick dry-fit and the drawer looks good.
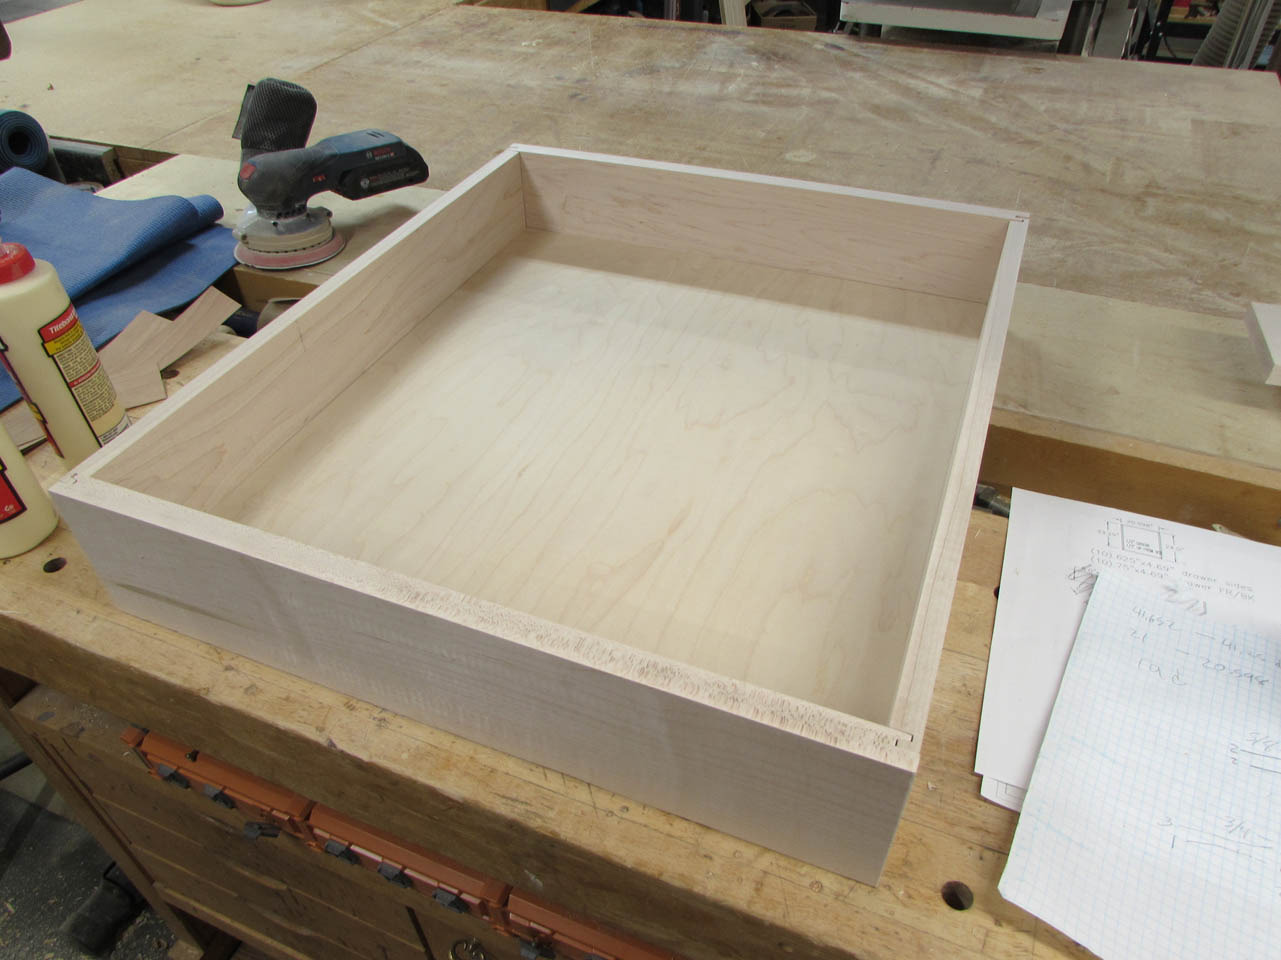

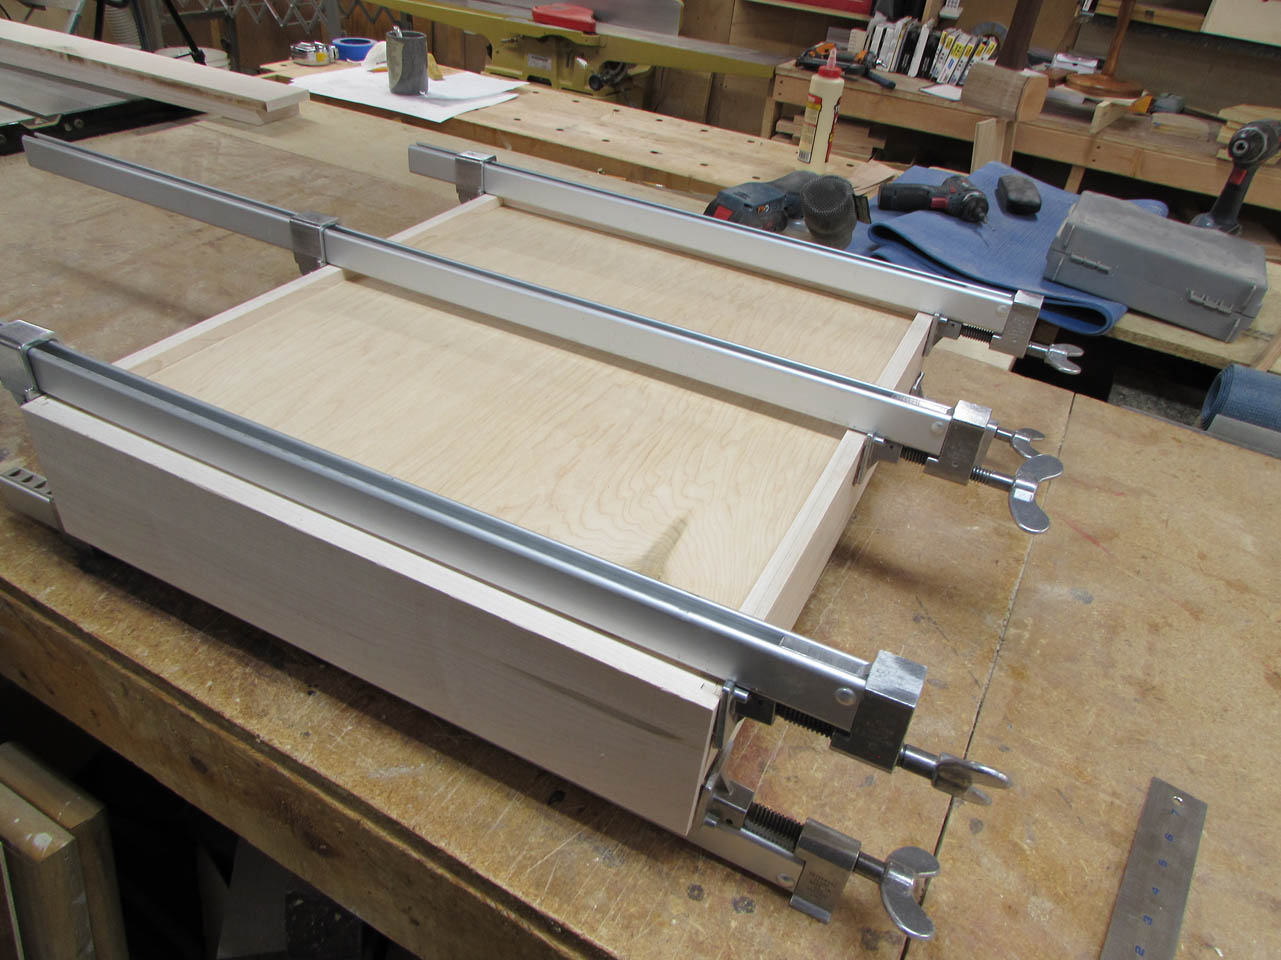
I used an acid brush to apply glue to the drawer lip joint and reassembled the drawer and clamped it to dry.
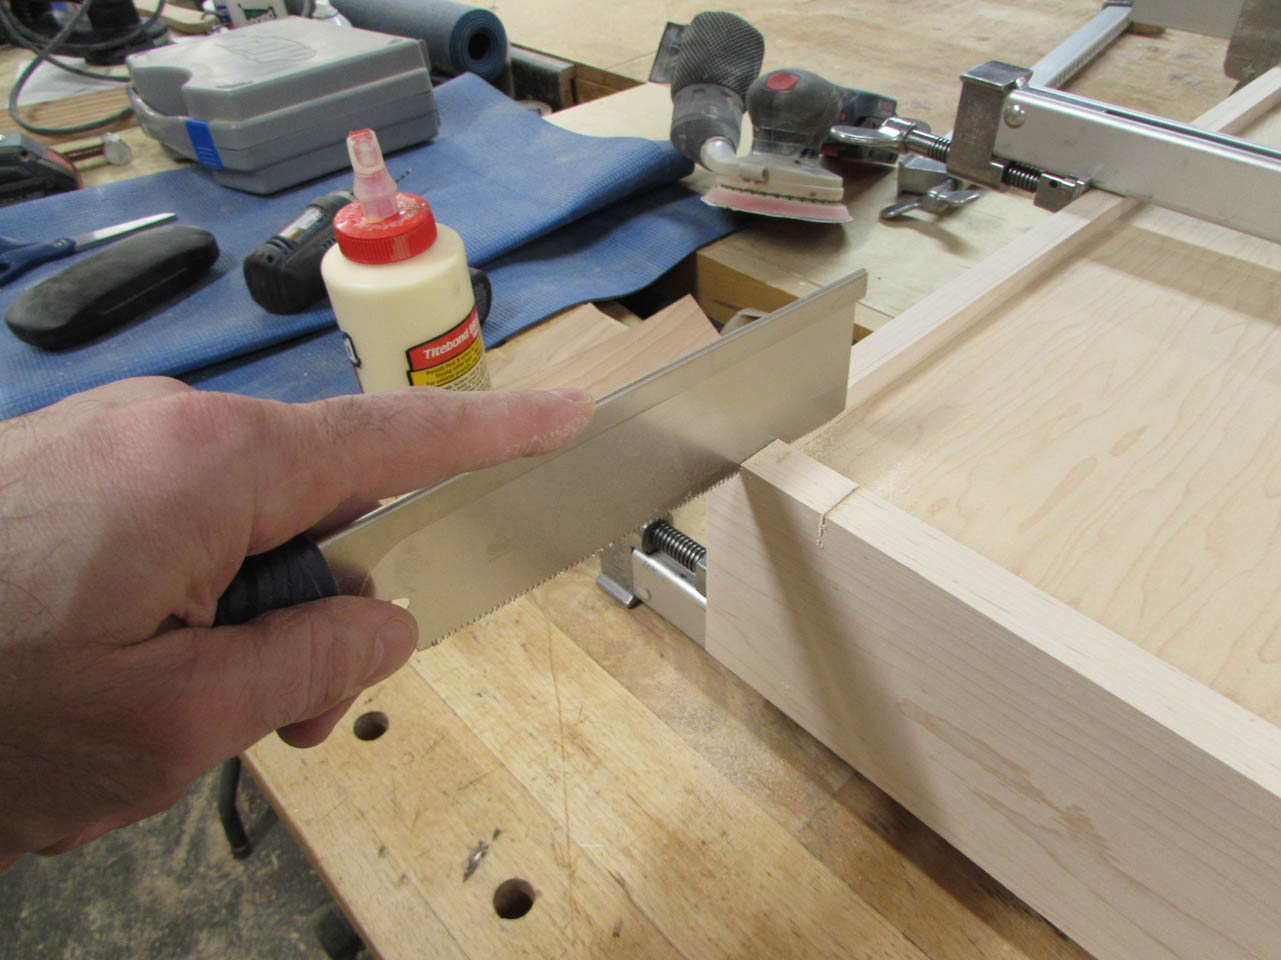
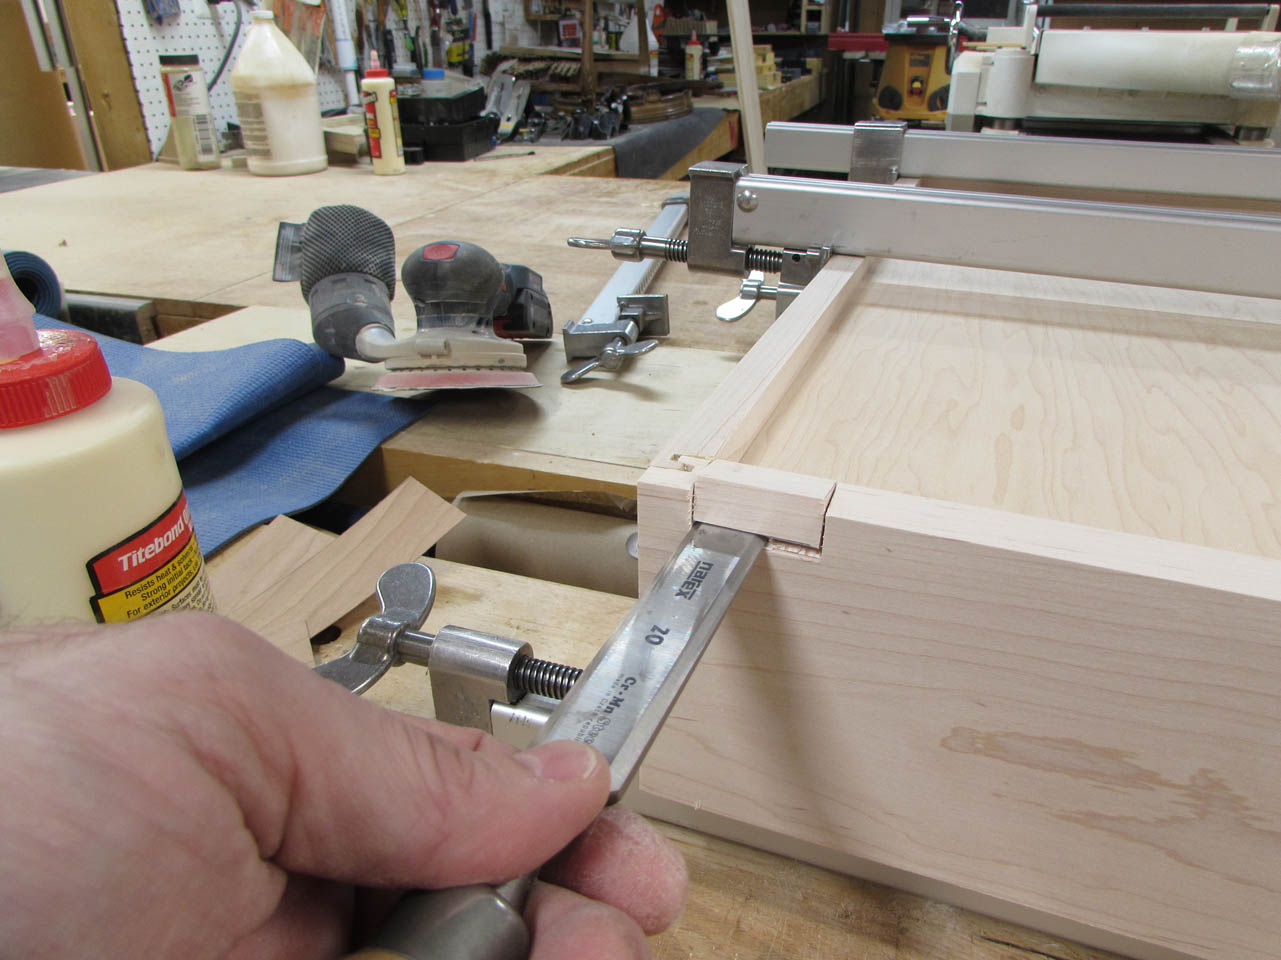
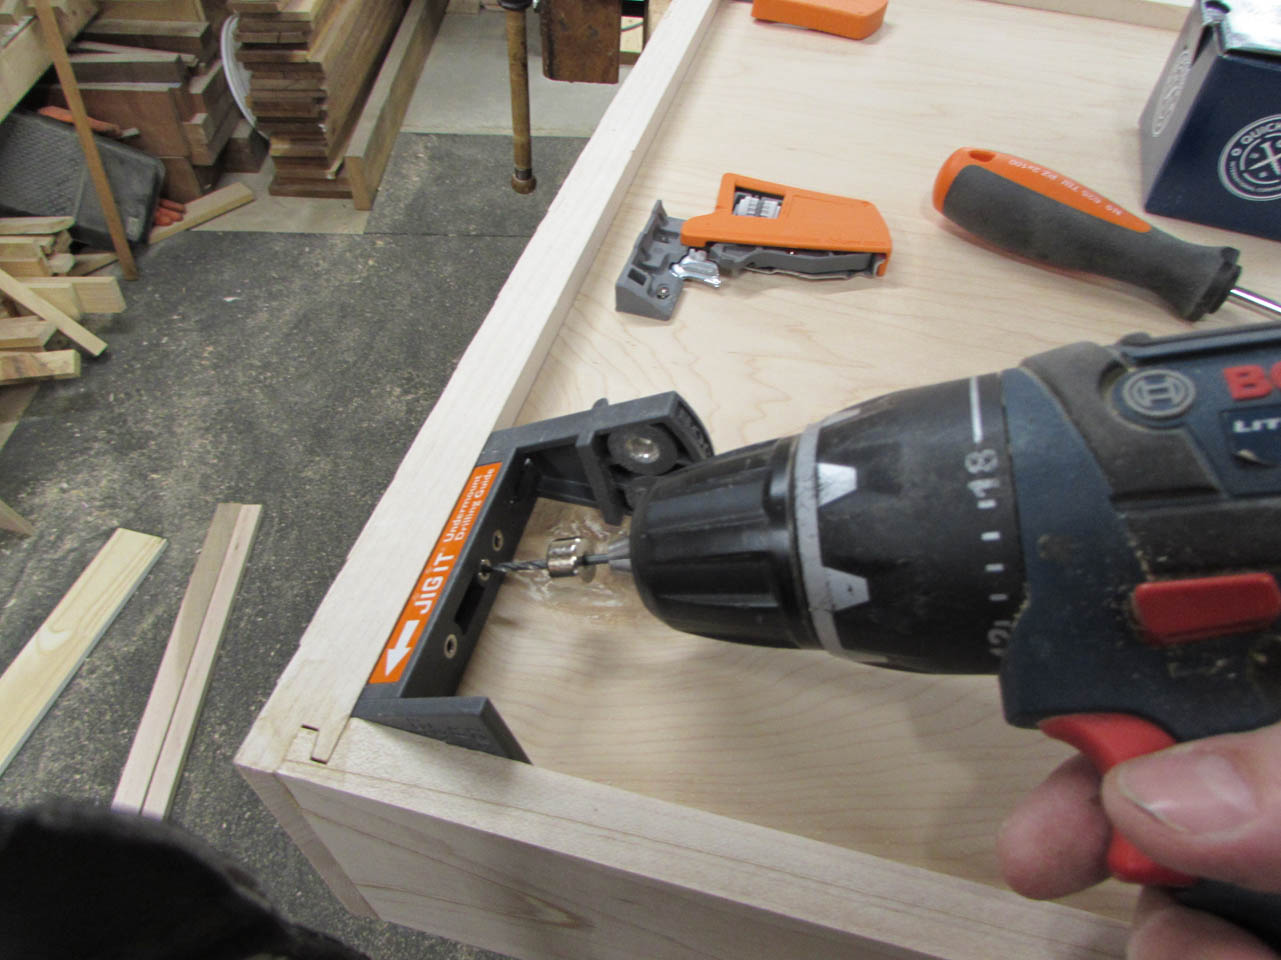
The undermount drawer slides require a notch be cut in the bottom back of the drawer. I could have done this with a router but I decided to hand cut and chisel it out.

Once you have the notch, you need to drill a hole for the rear adjustment on the slides. I bought a jig that allows you to easily locate and drill this hole.
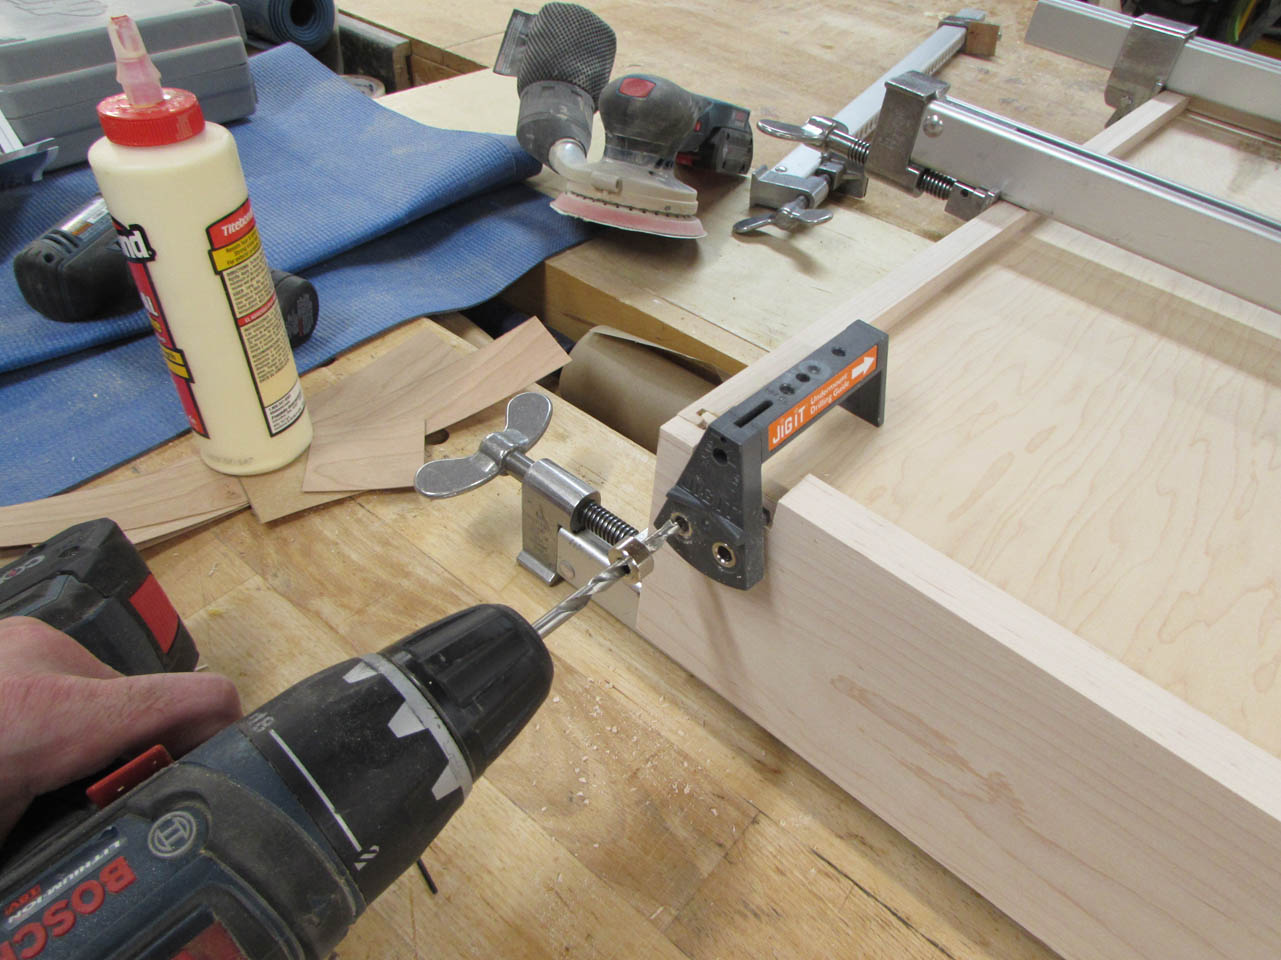
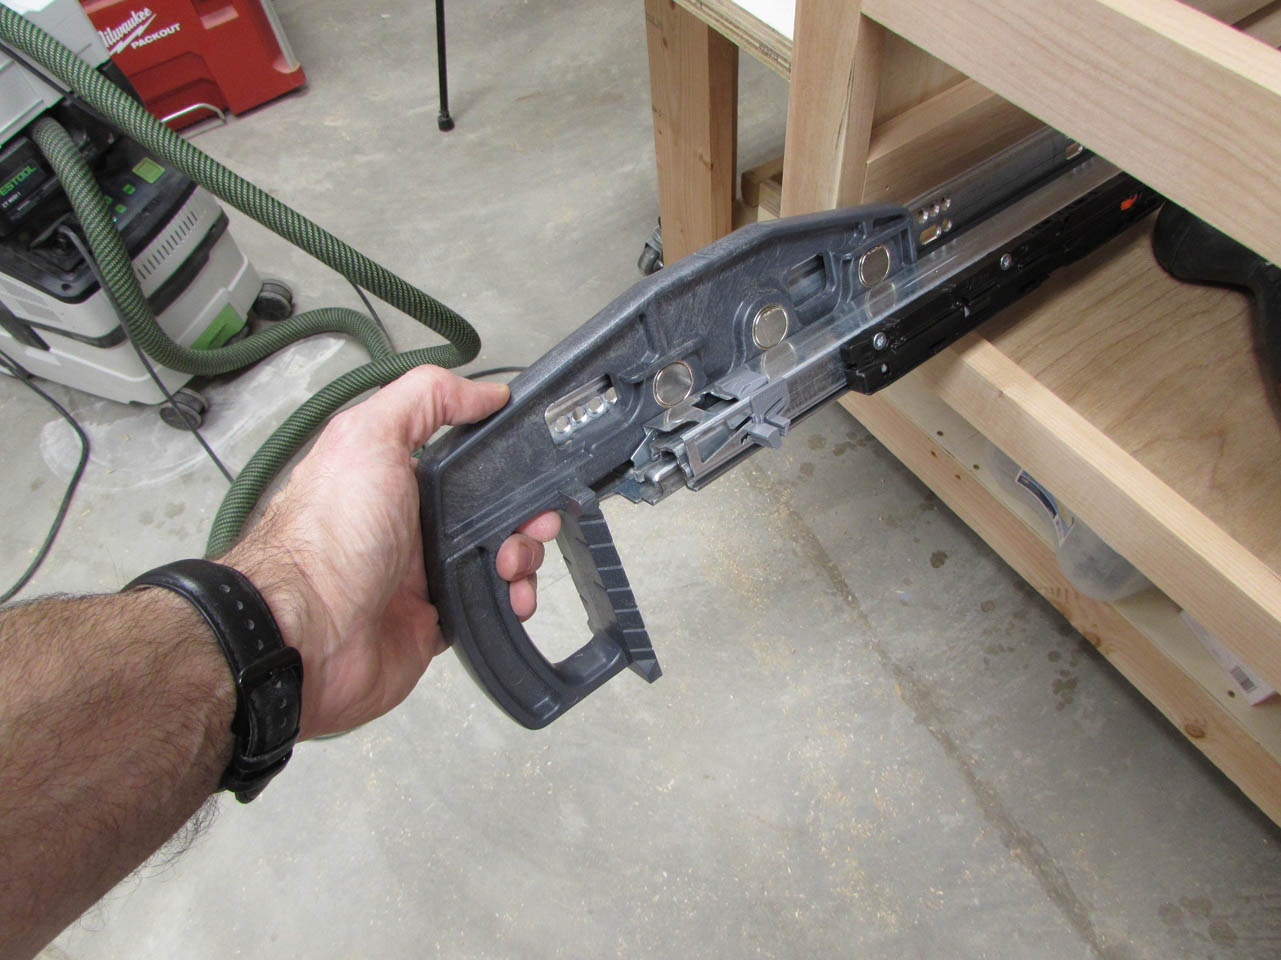
Flip the jig sideways and you can drill the mounting holes for the little orange catches for the slides.
These catch the slide and hold them to the drawer. When you squeeze the orange handle, it releases the drawer for easy removal.


Then you just drop the drawer in place and close it to attach it. Everything worked well and it has soft close.
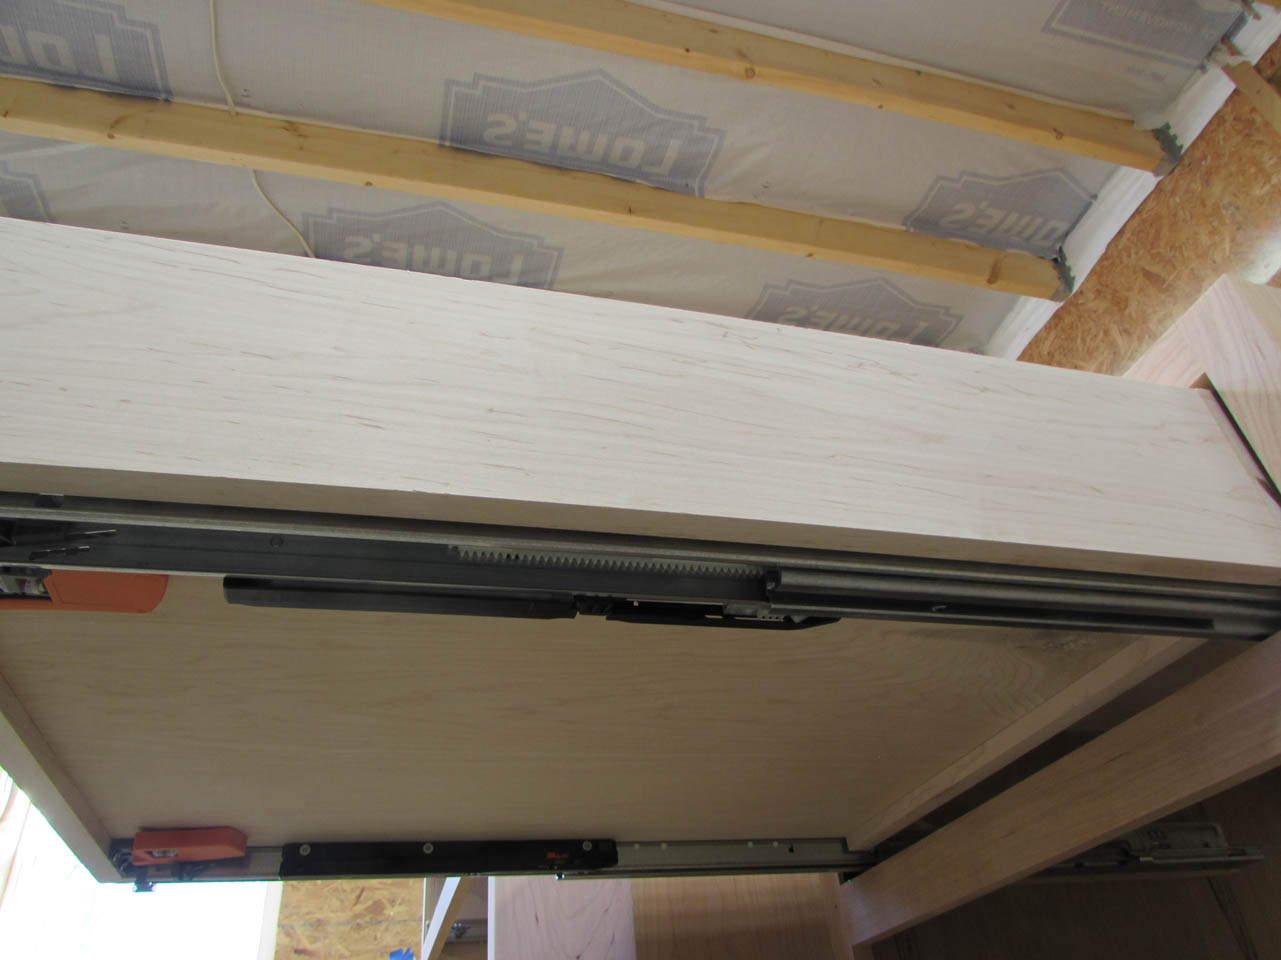

I pulled the drawer out then swapped it around. It fit all the other slots perfectly.

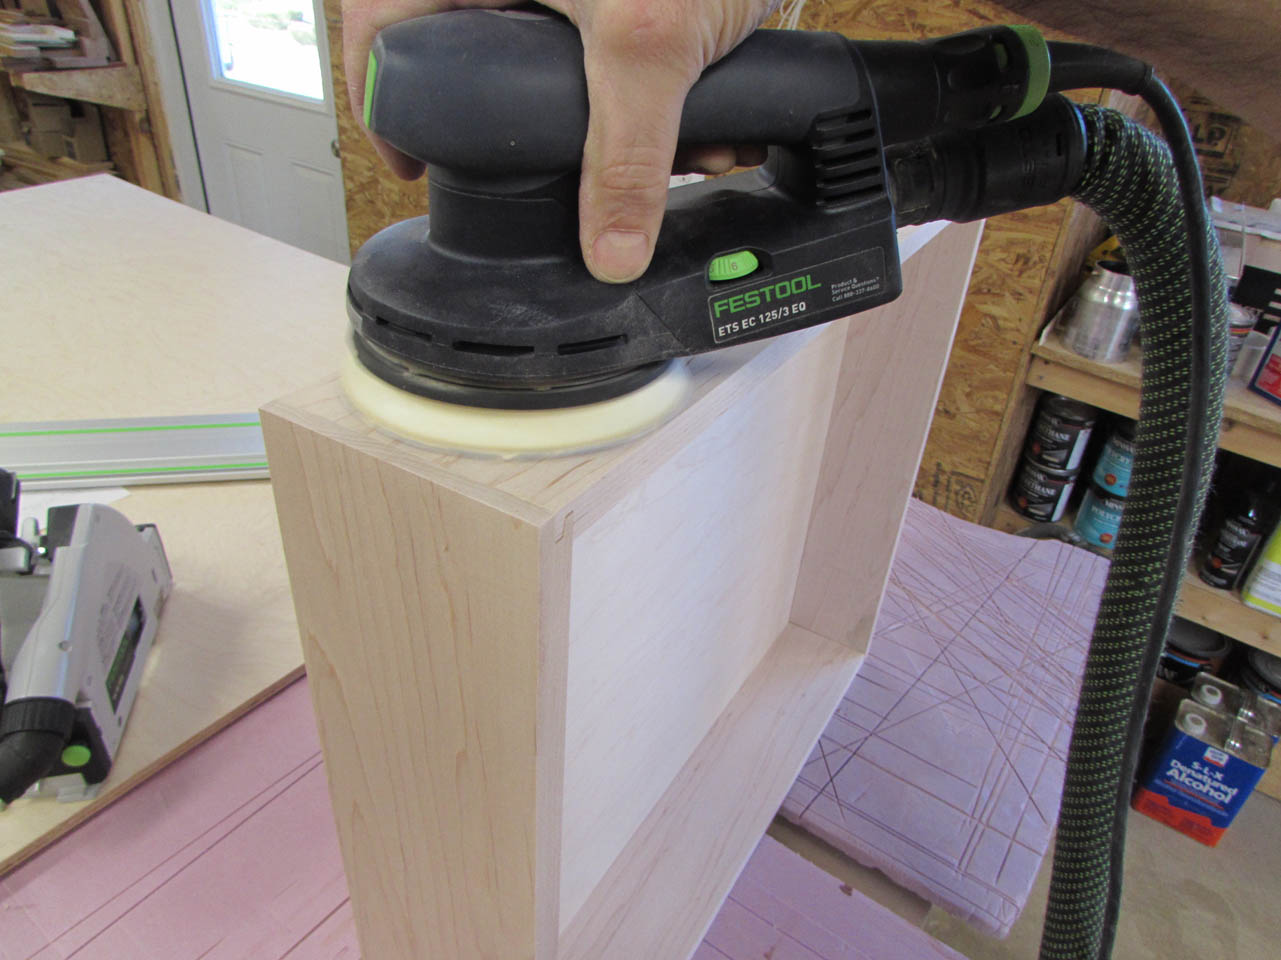
Time to finish sand this one and make some more.

After several more hours of milling I have a pile of drawer parts.

I ran out of room to glue up drawers so I had to do about four at a time. The larger drawers were a bit more awkward but they seem to go together just as nicely as the smaller ones.