
Vestry cabinets part 2
There is an electrical outlet located on the wall where this cabinet will sit. The client asked for an electrical box to be located in the cabinet so that it could be connected to the existing outlet.

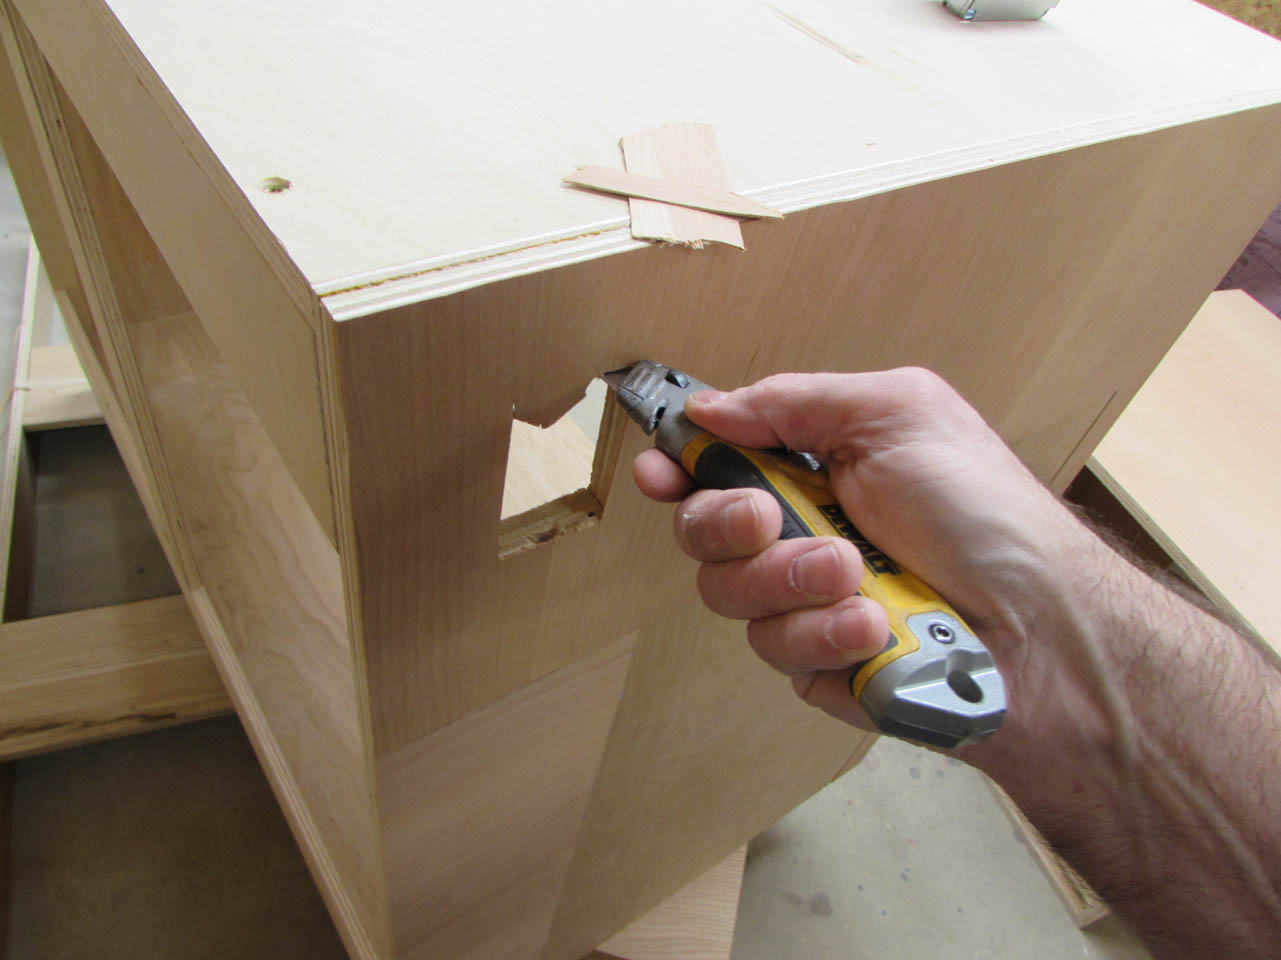
I am using a multi-tool to cut out a rectangle that I located on the side of the center cabinet.
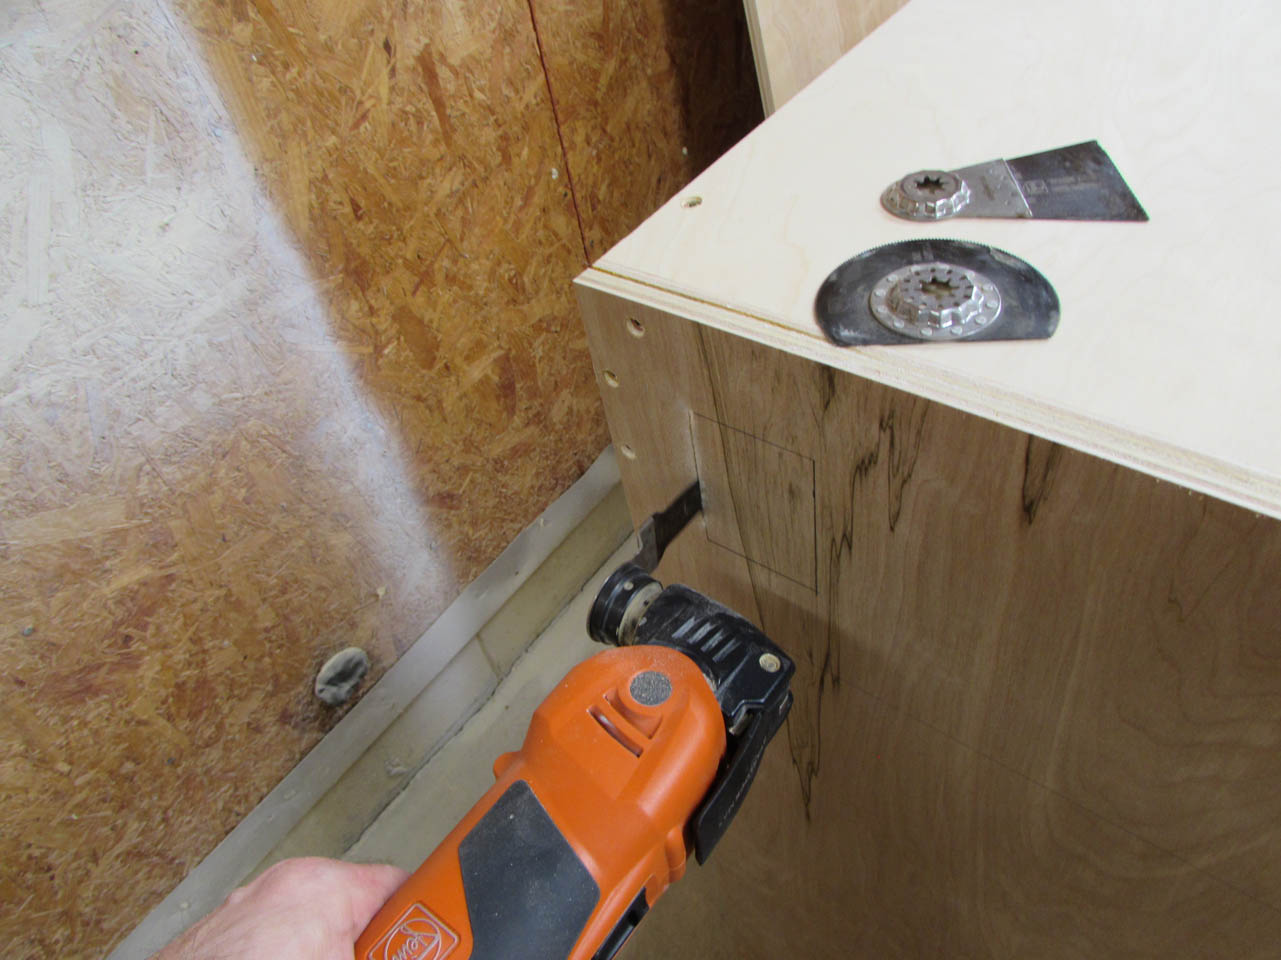
I used a small pull saw to cut into the corners to free the waste material.


I will cut additional holes for running the wiring later after the cabinets are assembled.

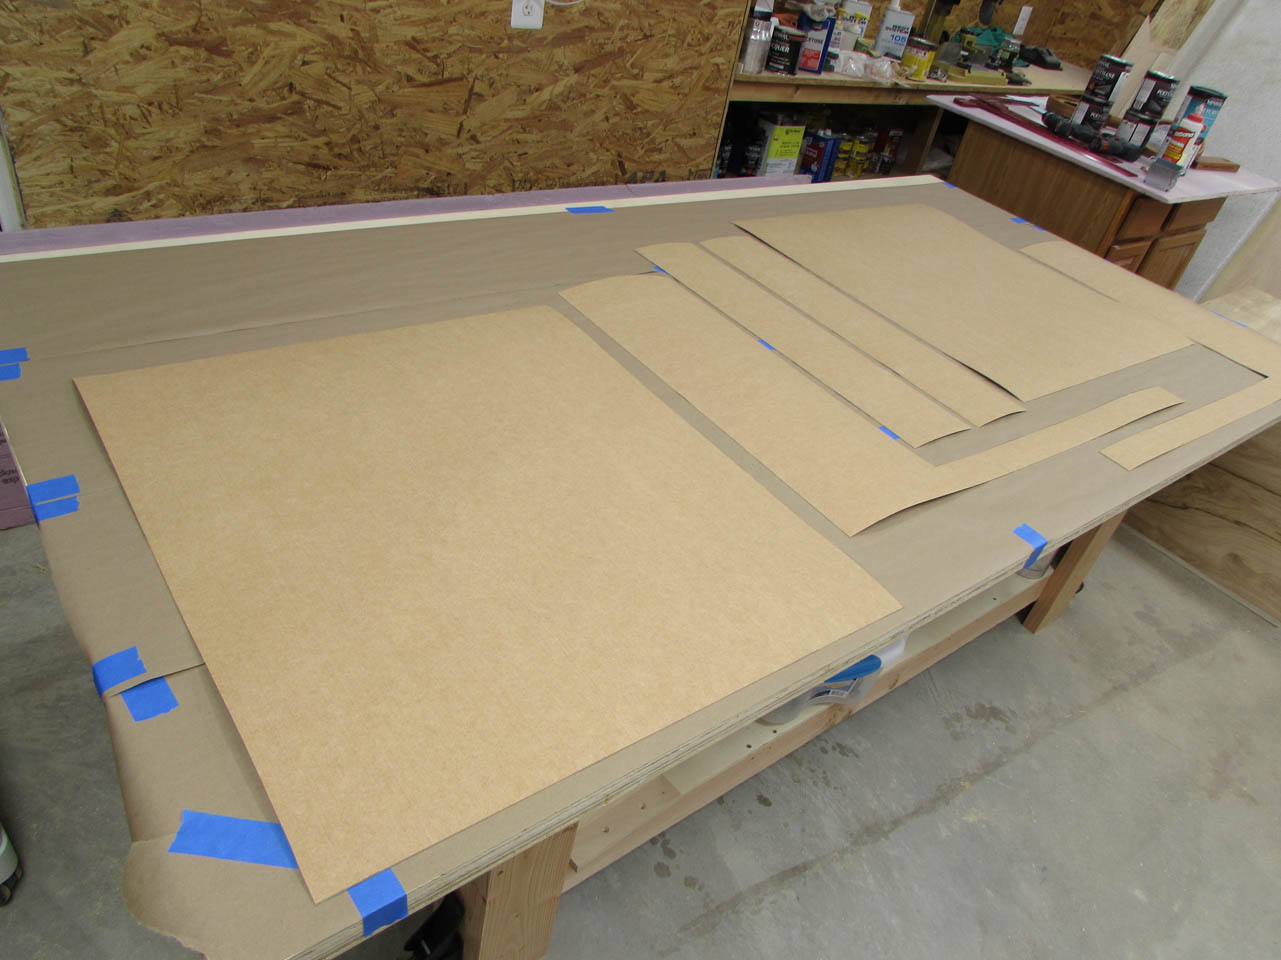
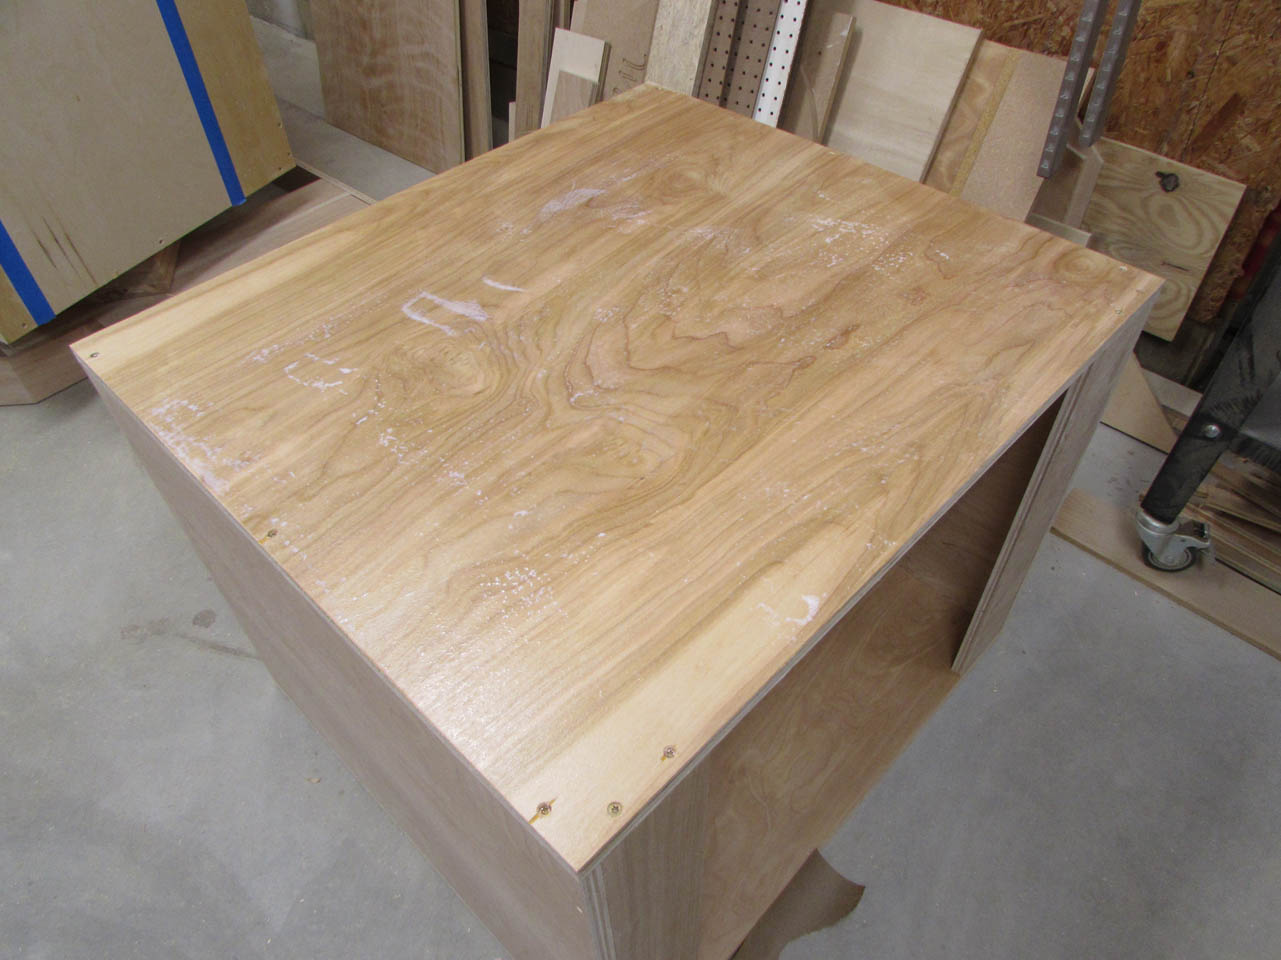
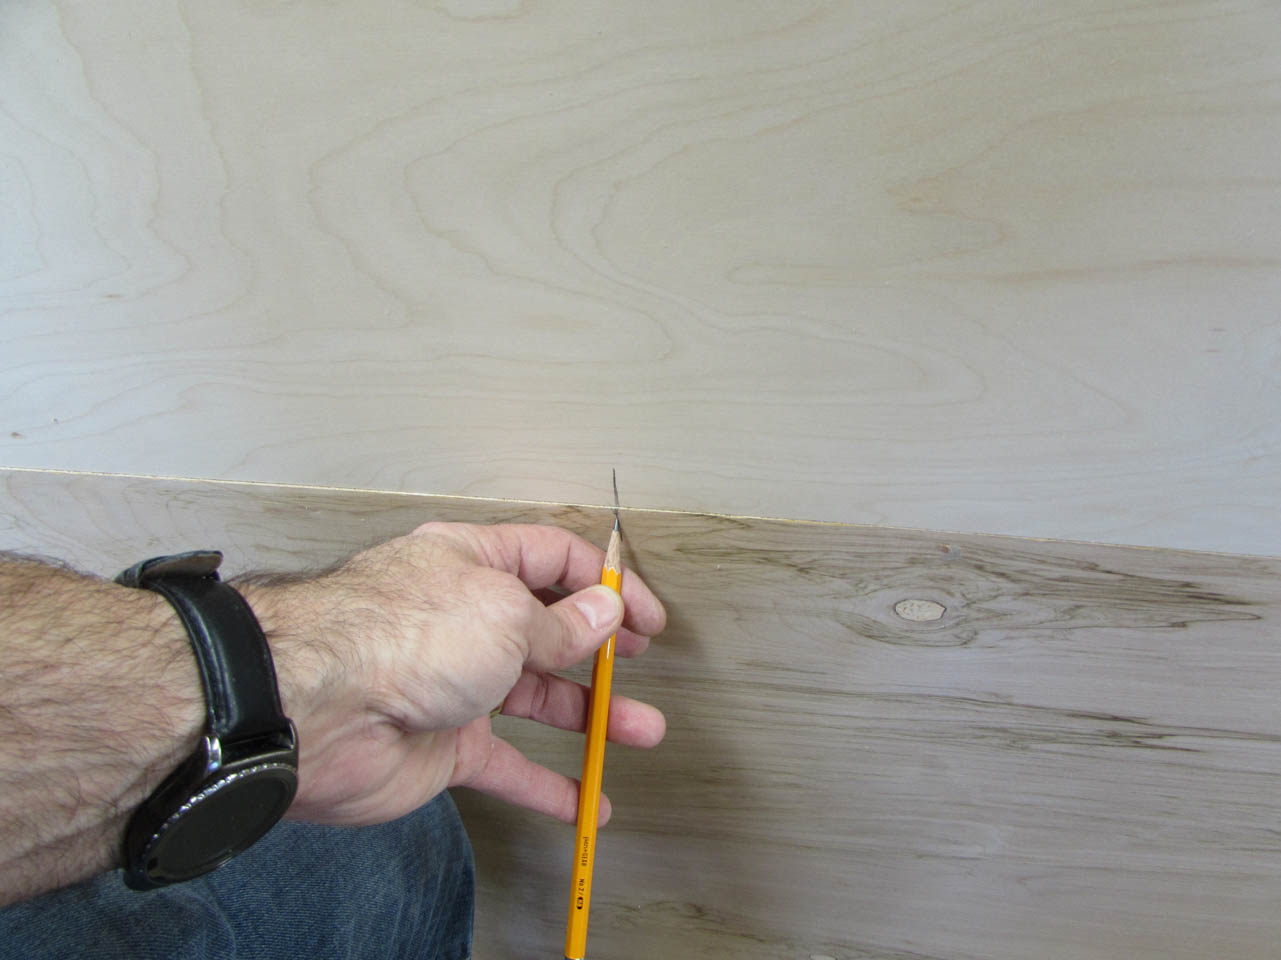
Time to prep the veneer for installation.

I used my framing square and a pencil to lay out the pieces on the veneer. I will be applying paper-backed, cherry veneer to all of the exposed surfaces.

After all of my lines are laid out, I can cut them out with scissors. I have tried using a knife before and found the scissors to be far easier.


All of my pieces are about 1/2″ oversized in case they are applied slightly crooked…

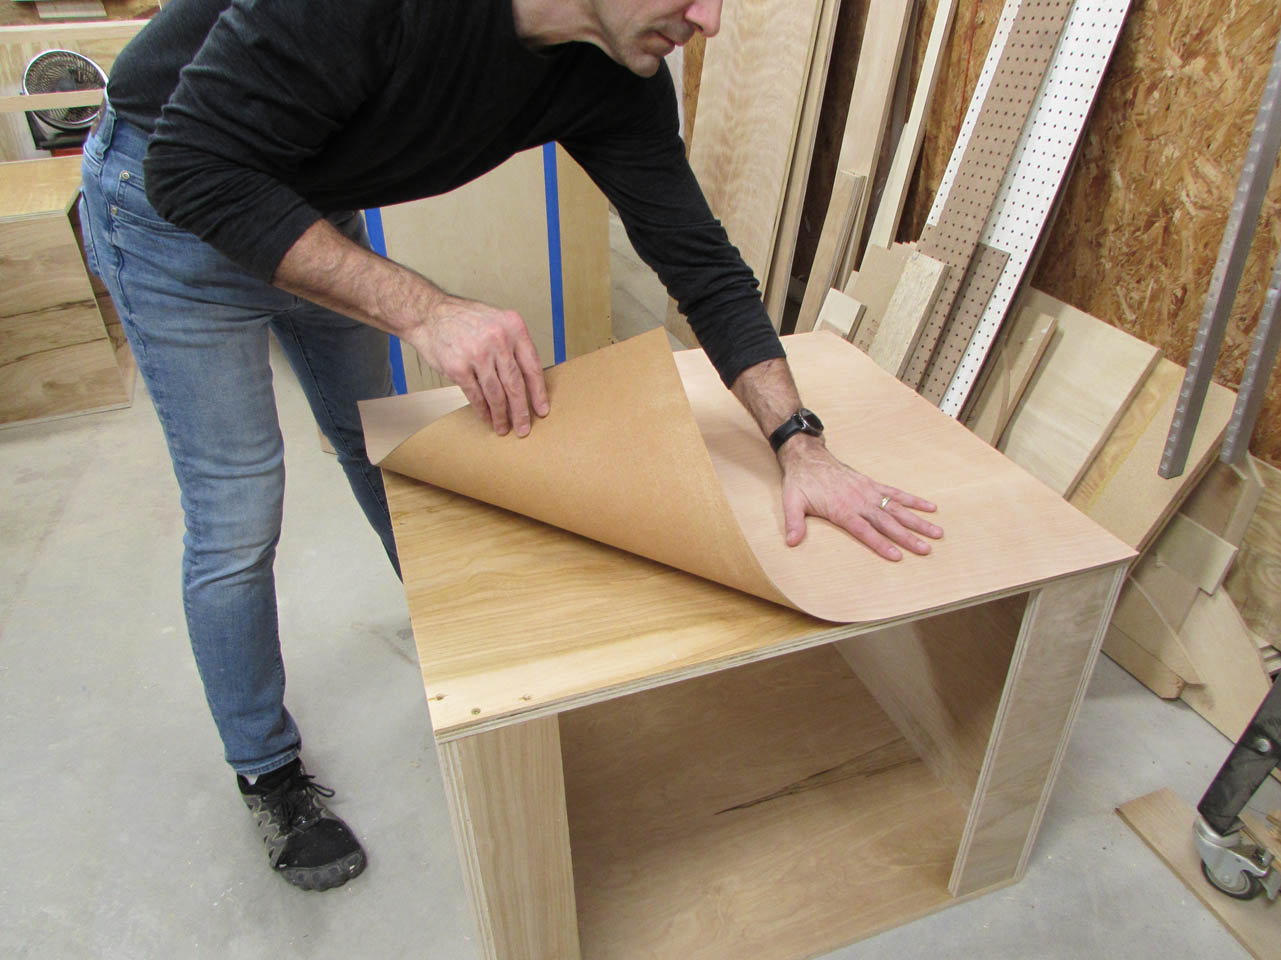
I test fit all of my pieces just to make sure they fit.

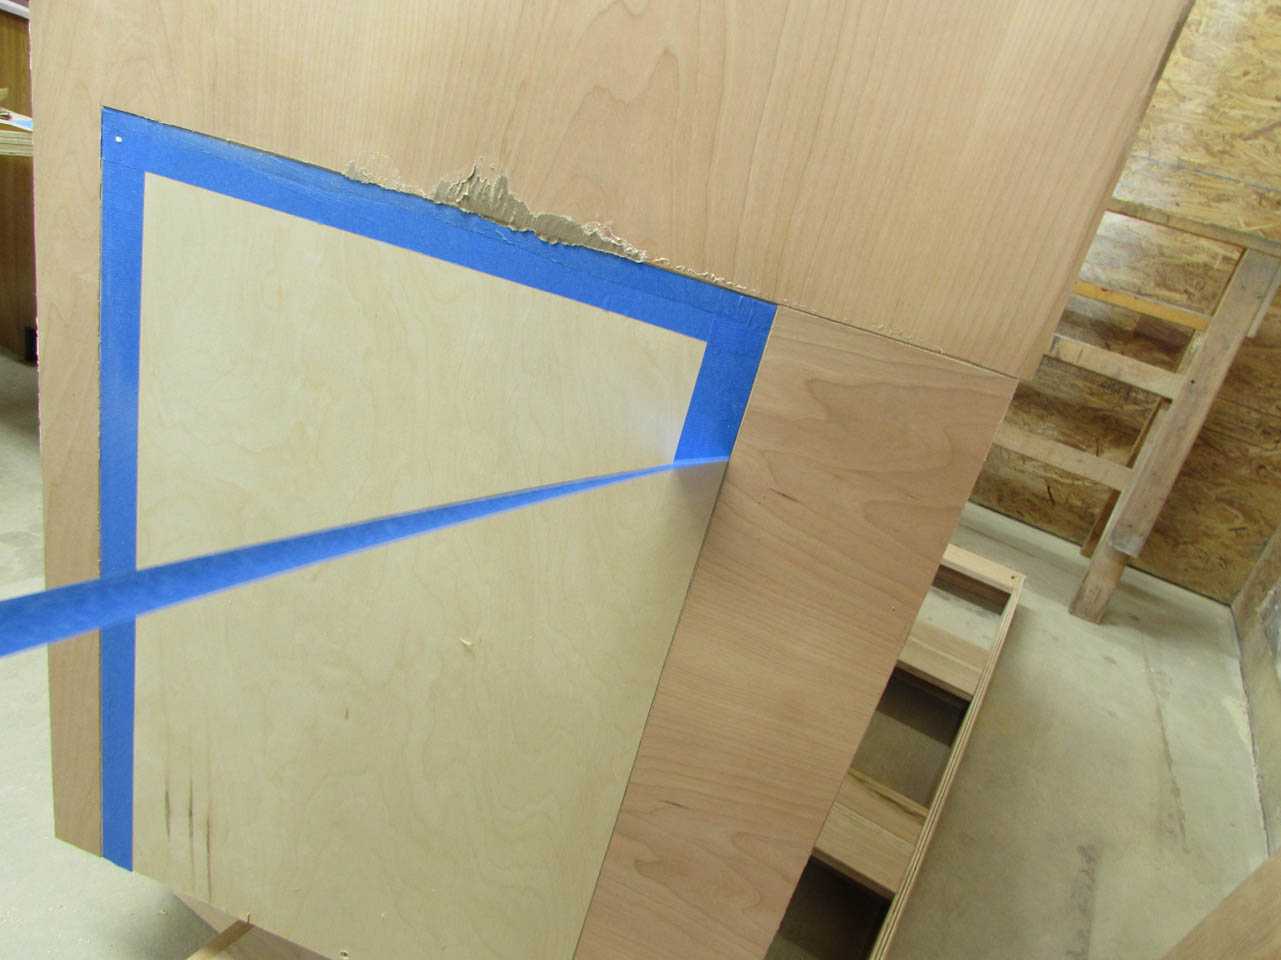
You will only be able to see the top 8″ of either side of the center cabinet but I ran a strip down the front and back so the smaller cabinet will have something to sit against. The paper-backed veneer gets attached with contact adhesive so I masked off the unveneered area to avoid getting glue in places I would not want it.


Before applying glue to the veneer, I covered my assembly table with masking paper to keep glue off of it.

The instructions on the glue tell you to scuff up the surface of the wood as well as the paper side of the veneer with 80 grit sandpaper.


The glue I am using is a water-based contact adhesive.
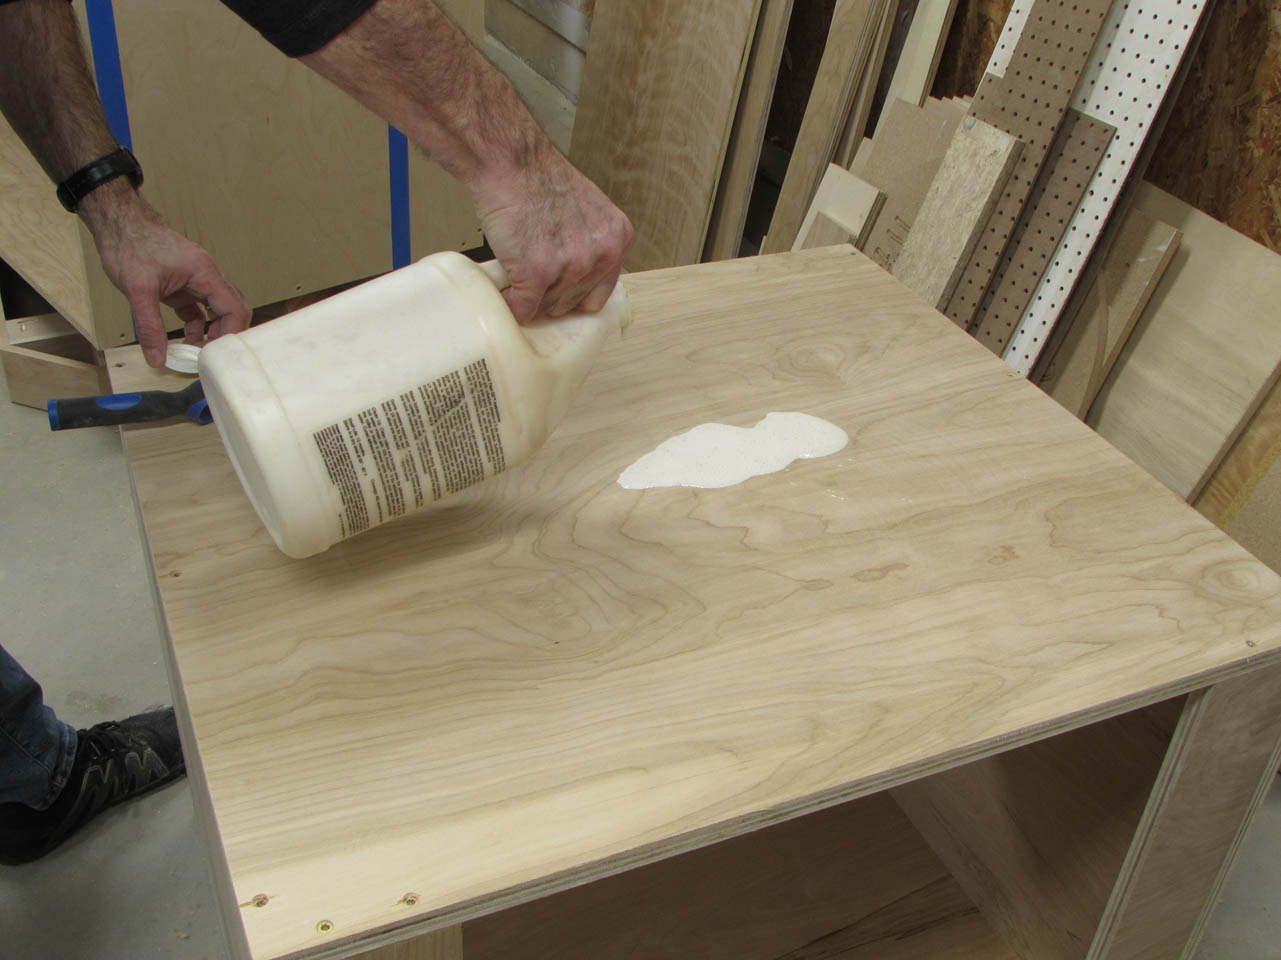
You just pour it out and roll it onto both surfaces in thin, even coats.


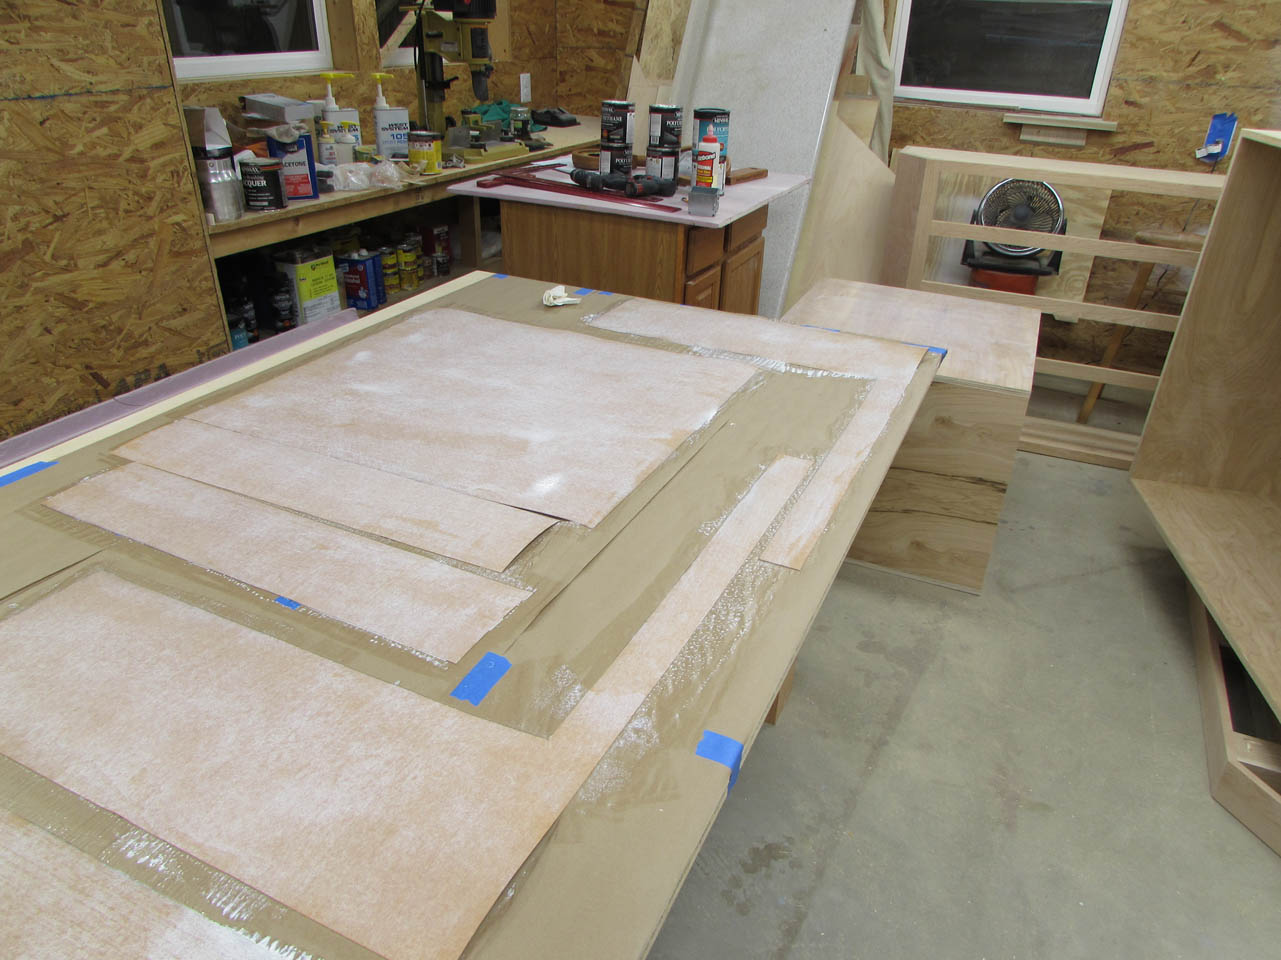
After the glue is applied you wait about 30 minutes until both surfaces are dry to the touch.
Then you very carefully apply the veneer. It bonds on contact so you have to get it right the first time. Once applied, you have to press the veneer into place with a veneer scraper. Apparently a roller would not apply enough pressure.


Some of my glue got under the veneer and glued the masking paper to the veneer. Luckily that area will not be visible. I will scrape off the glue and sand that area back smooth anyway.

Then I can remove the masking tape.


I tried a veneer trimmer to trim off the excess, but I decided that I liked using the utility knife better.


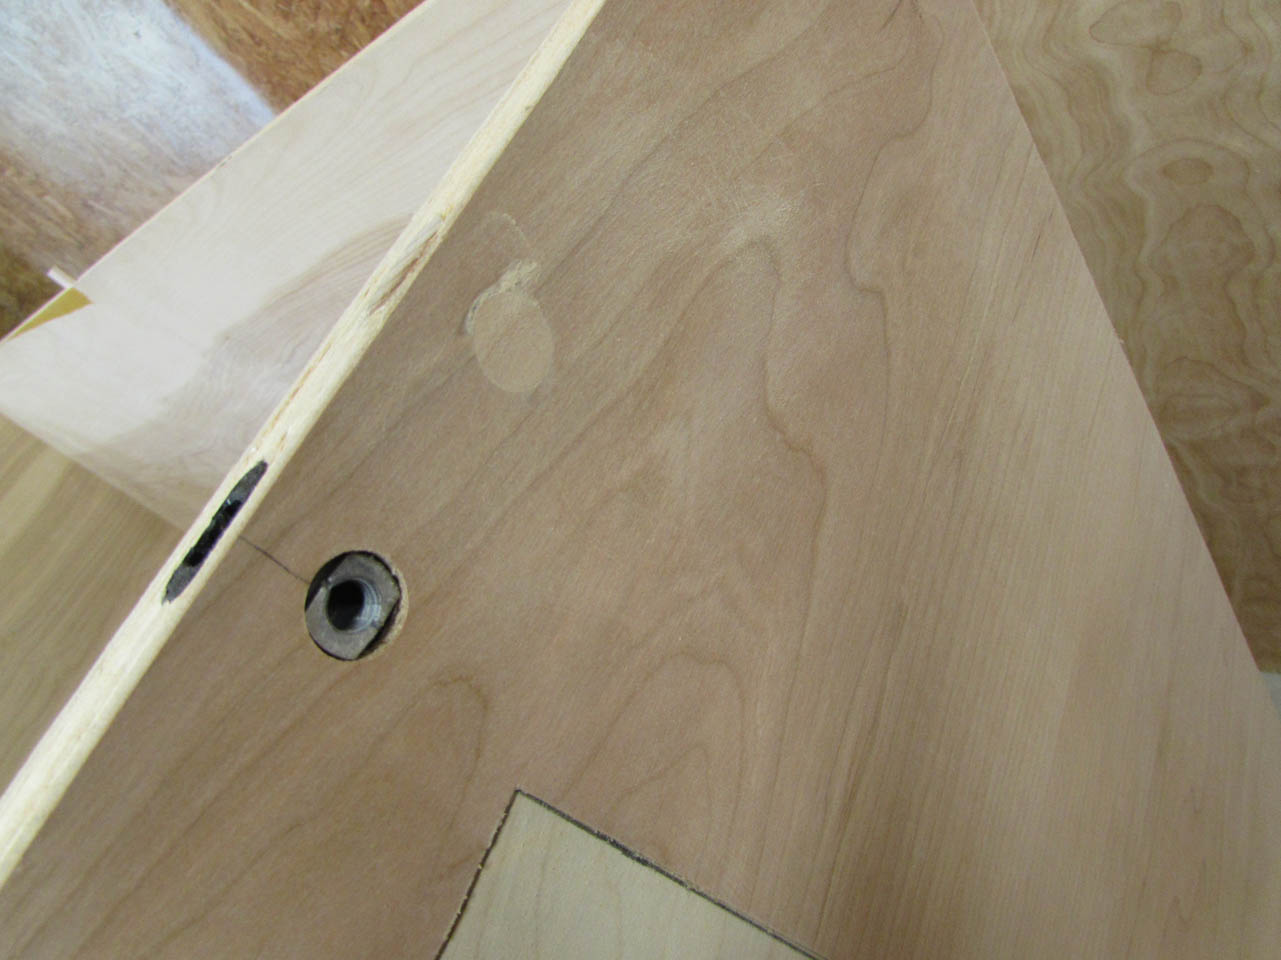
The veneer has been successfully applied. Now I can trim out the hole for the electrical box with a knife.


And here are the cherry panels.

I think they turned out pretty nicely.
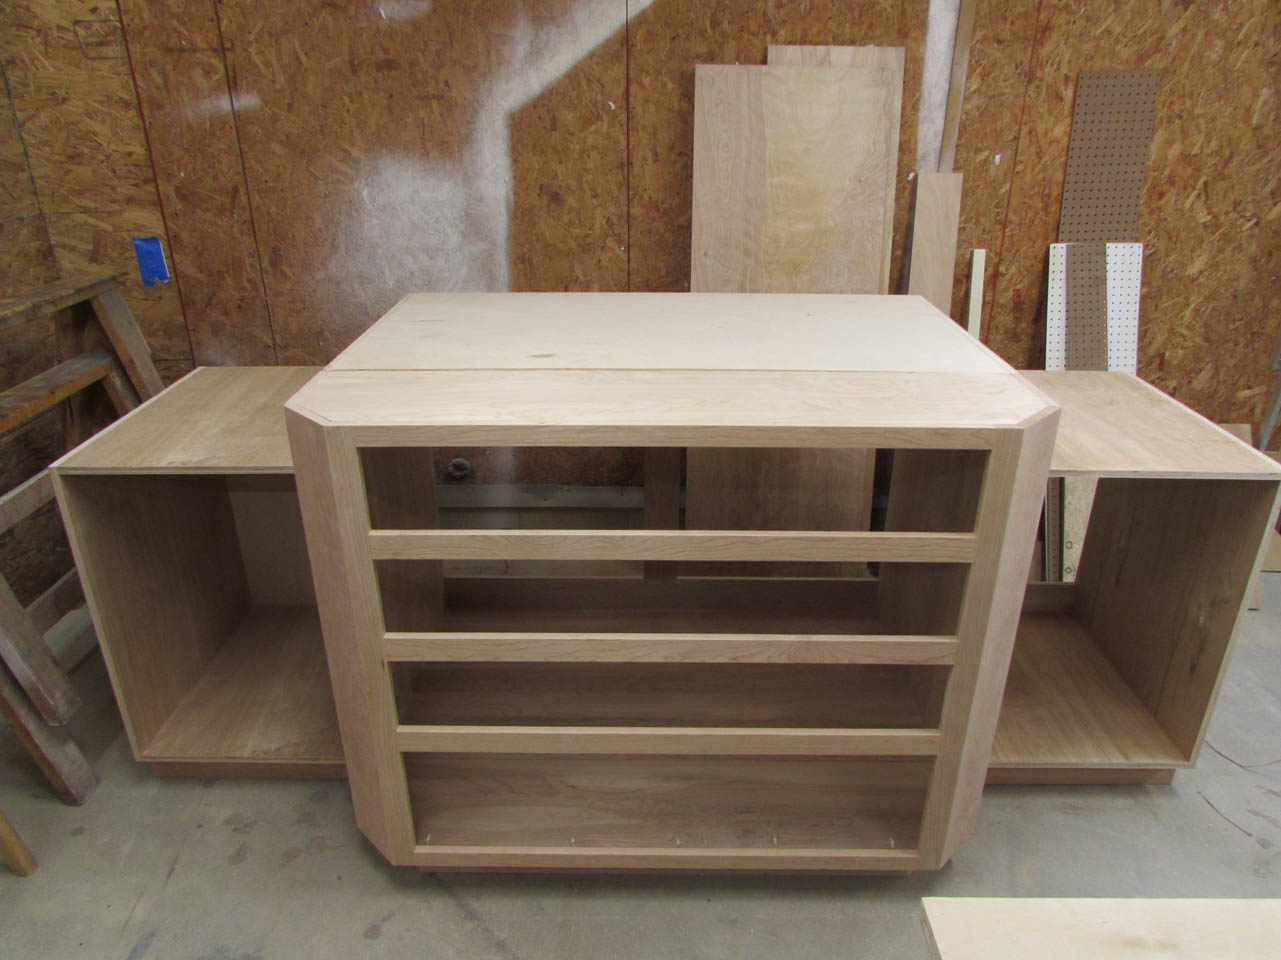
The front and rear of the center cabinet have to be separate pieces to fit in the door to the vestry, but they will need to be attached to each other in place and look like a solid cherry cabinet.

I am going to try something new to me, to connect these boxes together at installation. I bought some of the Festool Domino connectors and a couple of tools to install them.


I am starting with the sides so they can be perfectly aligned before I attempt to line up the top and bottom. I marked three locations on each of the sides.

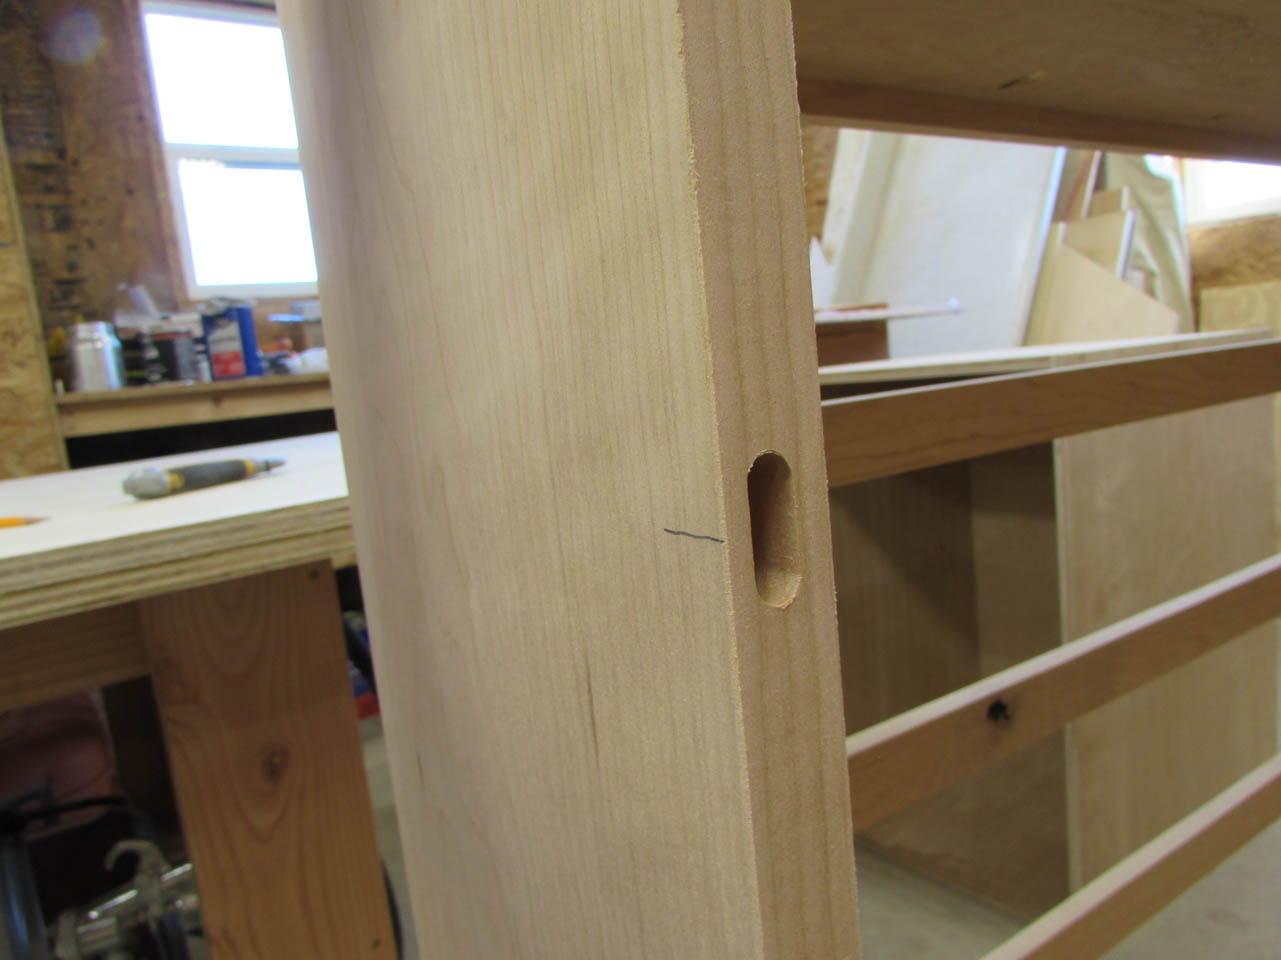
Then I set up my Domino joinery tool.


Once the bit is set to the correct depth, I can make a cut on my marks. The cutter creates a mortise that will receive a floating tenon or the connector hardware.
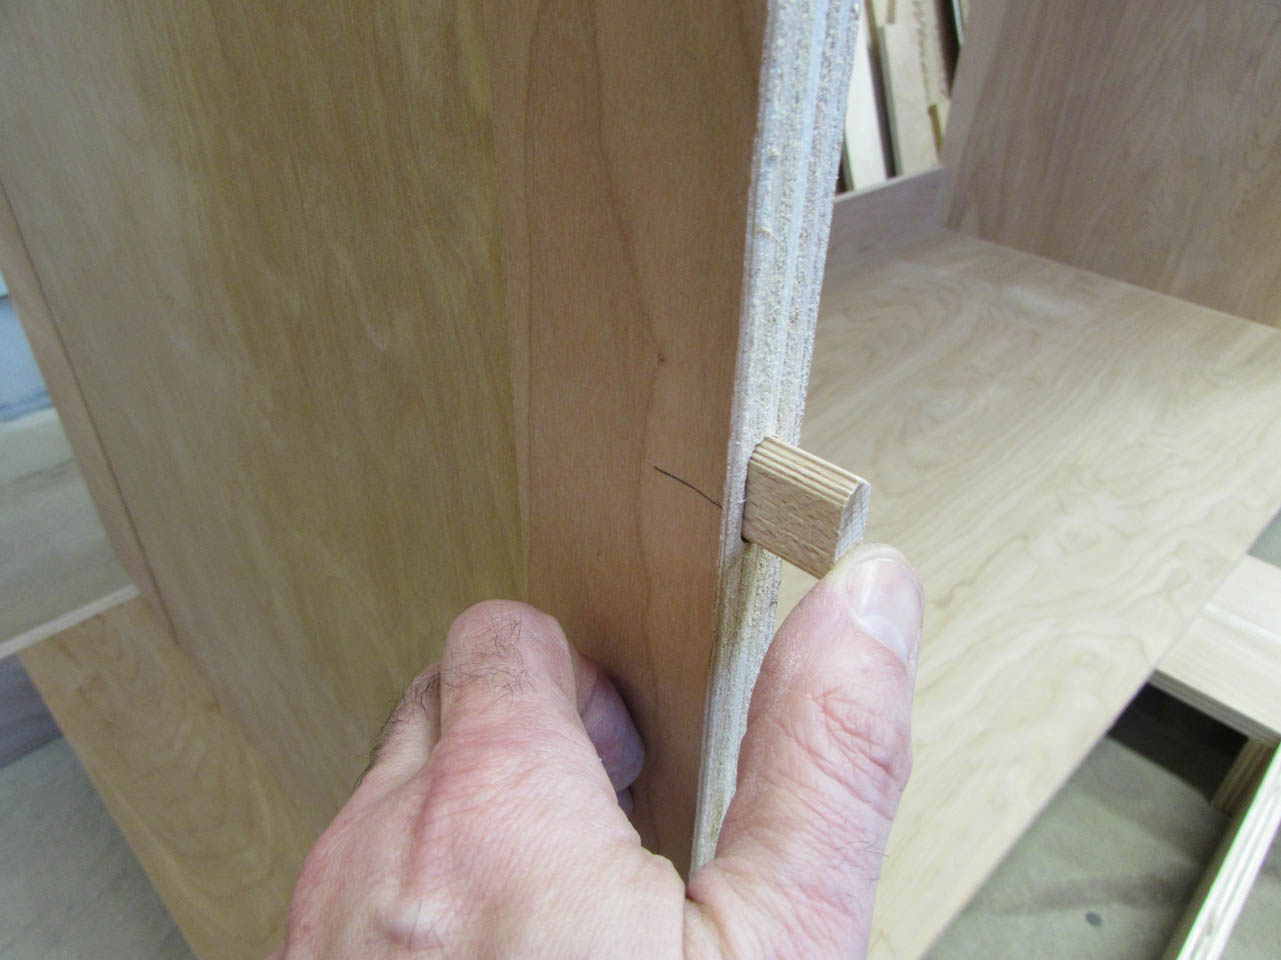
I place a tenon in the center location and set up the drill guide in the remaining slots.

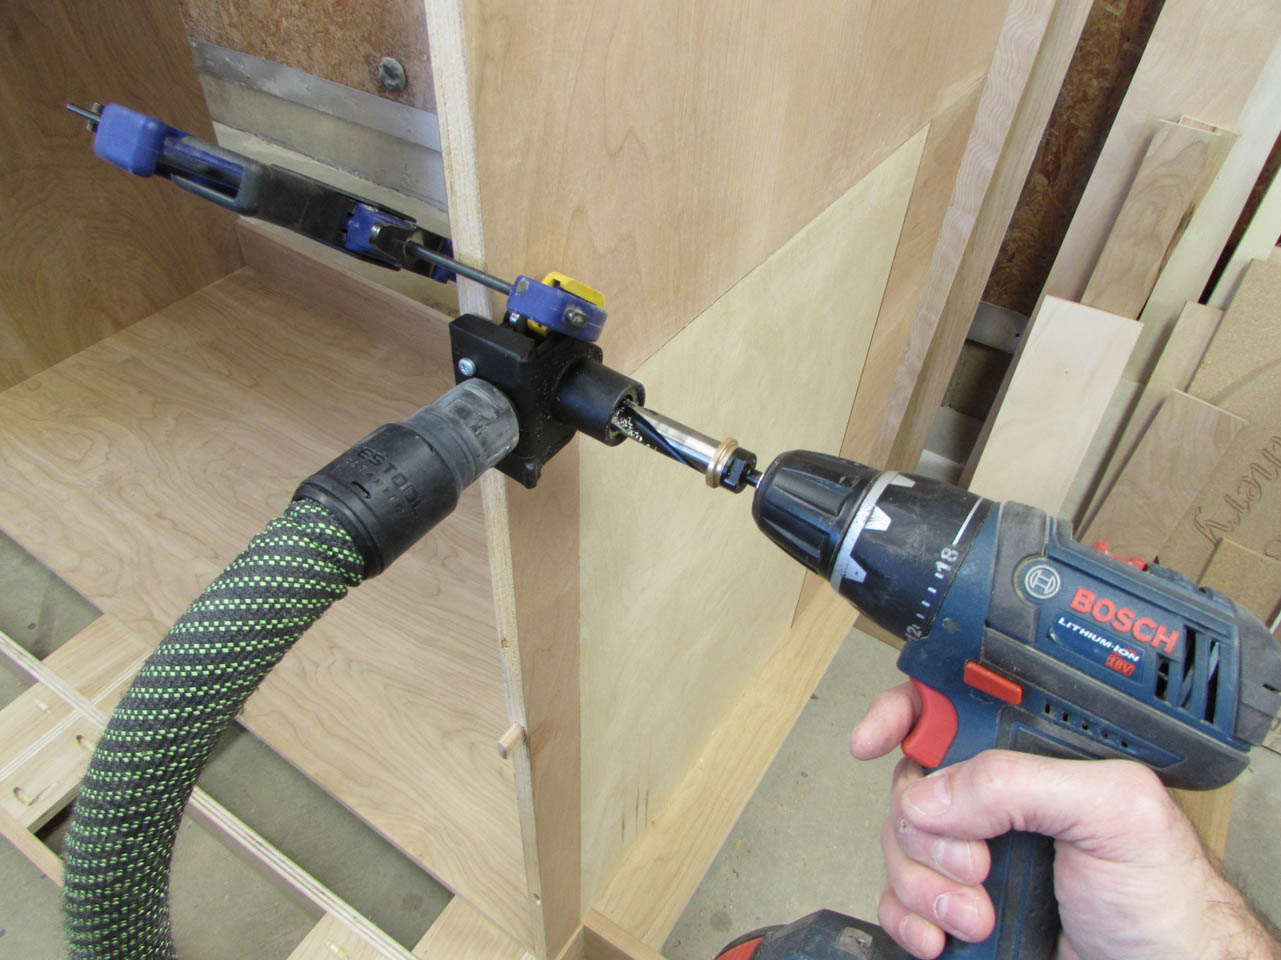
I can hook the vacuum to the drill guide and keep the guide clean while I drill down to the stop.

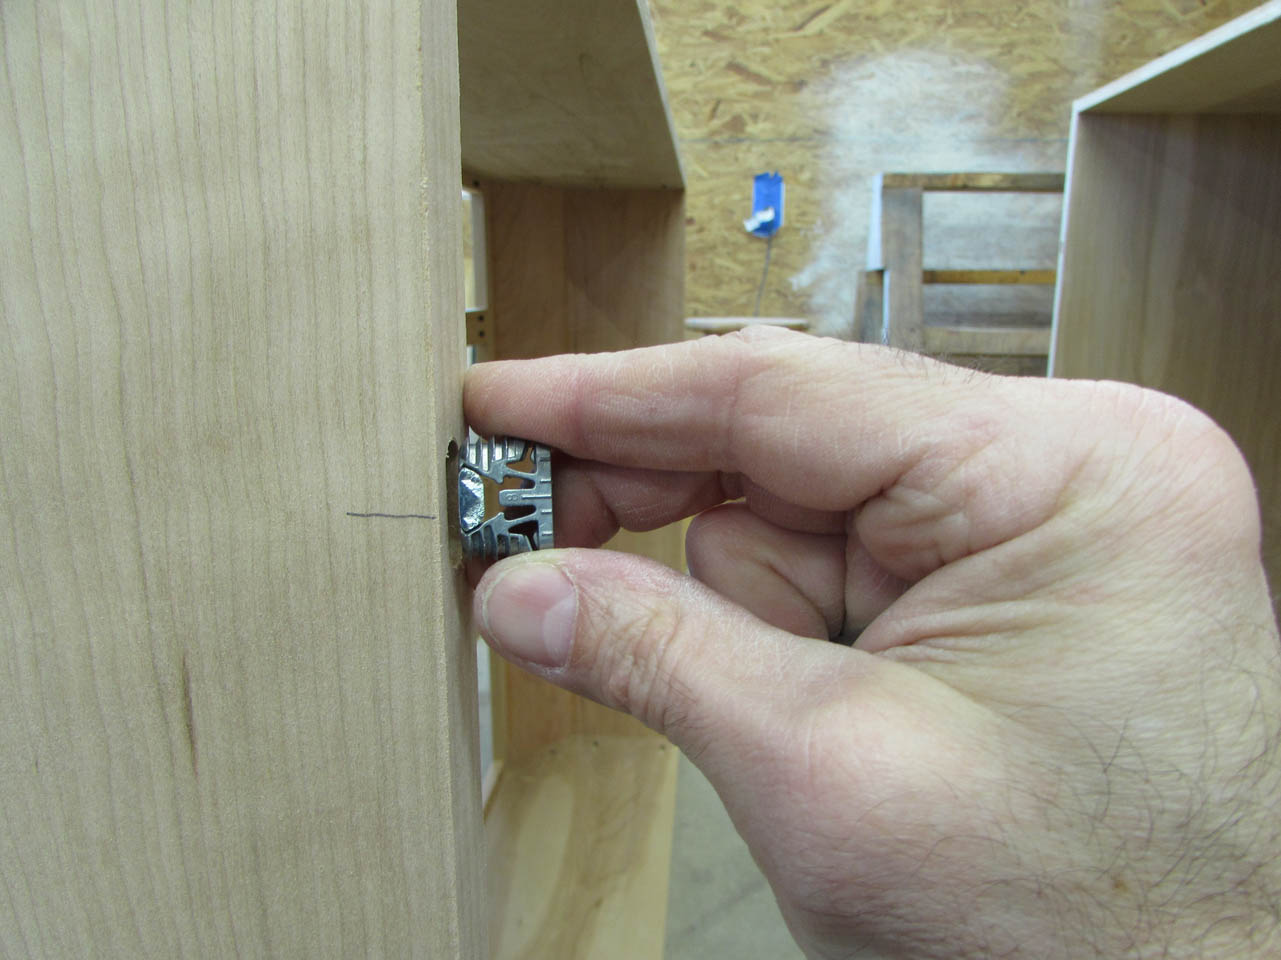
With those holes cut, I can set up the hardware.


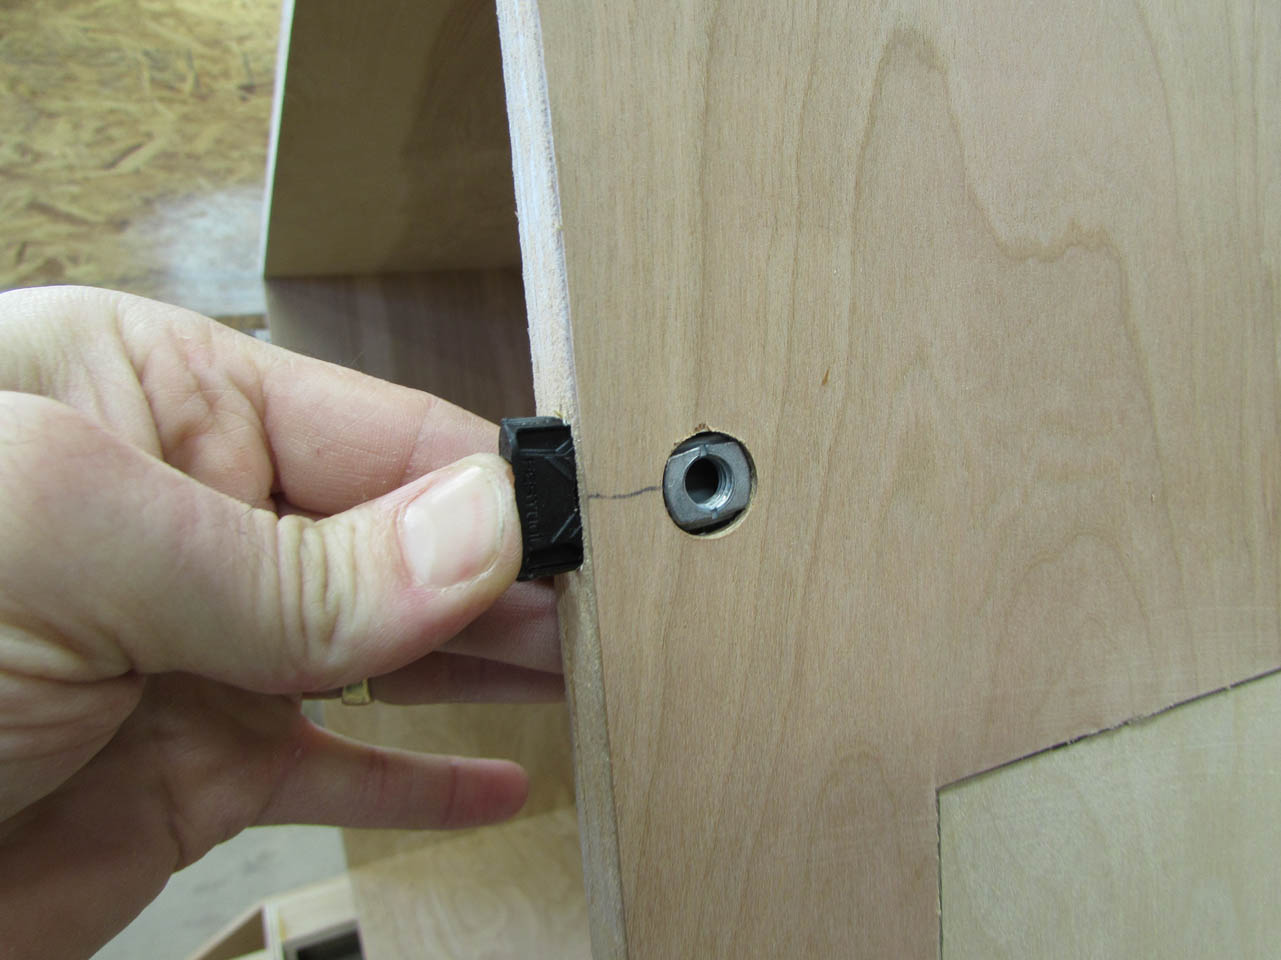
Once all the pieces are pressed in place, I can attach the front of the cabinet.
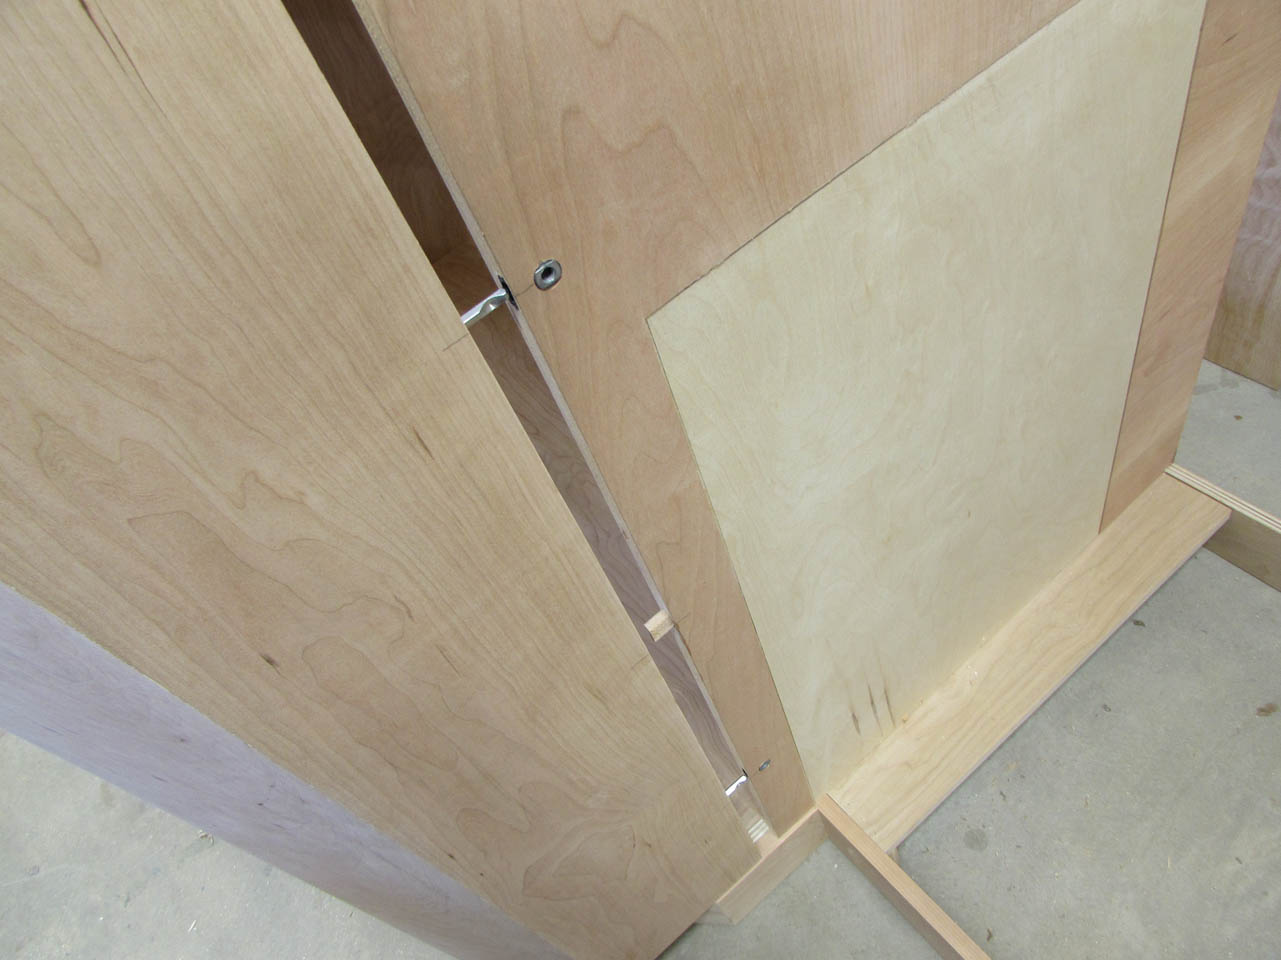
I can draw it all tightly together with a 3mm hex wrench.

Then I can mark the top and bottom to repeat the process.


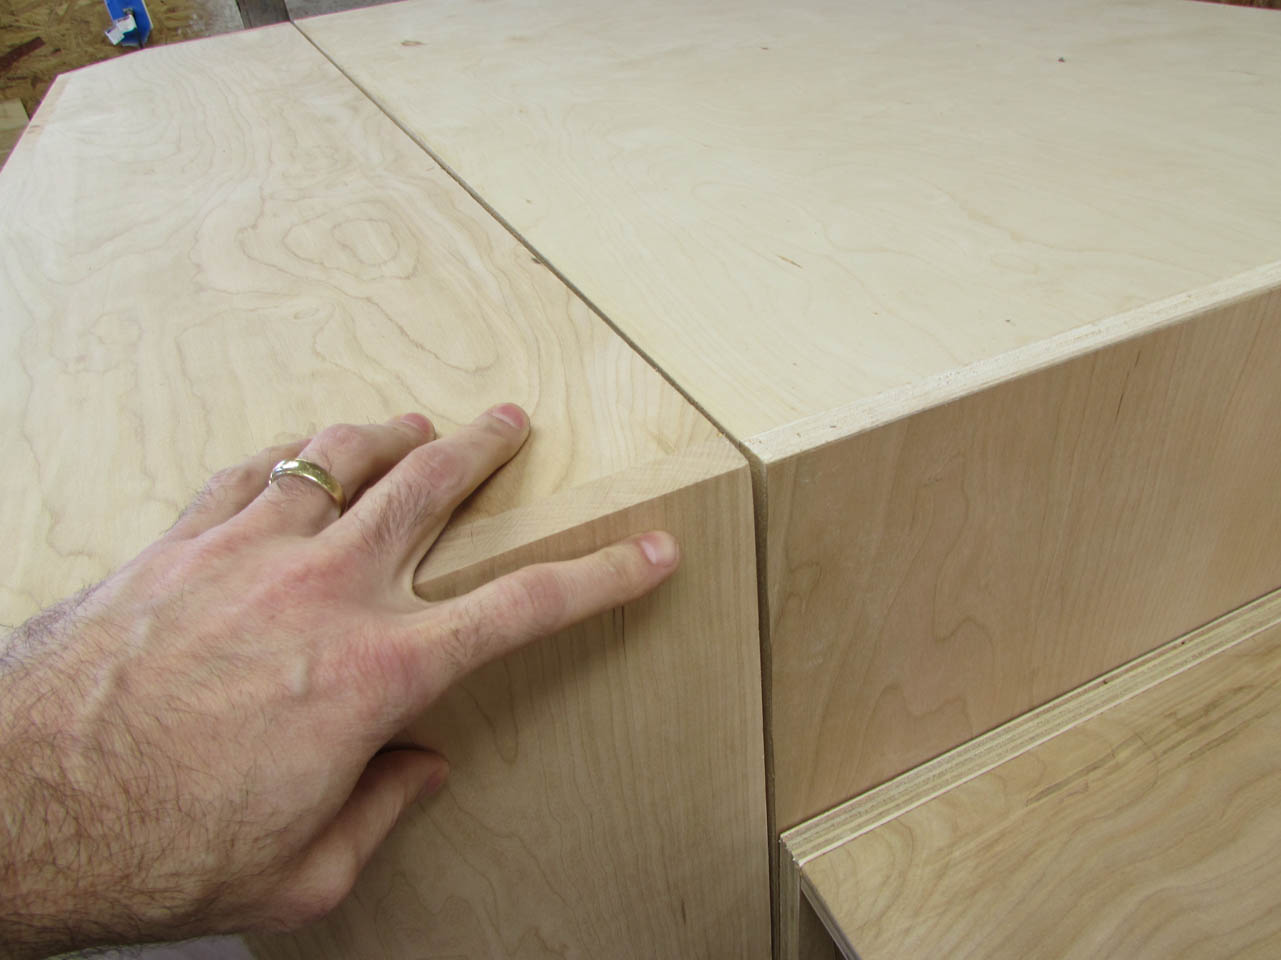
Anywhere the planes don’t line up perfectly I can sand down the solid cherry to smooth it out.

When I was all done, I realized that I set one of the connectors above the side cabinet. It is only half an inch and the counter tops will cover it, but I wanted to try plugging it and moving the connector down an inch or two.


I plugged the Domino hole with a Domino and I created a small cherry plug to fill the hole on the side.


After applying glue and pressing the plug into place, I used a block plane and a sander to smooth out the area.
The color of the plug is slightly different but I am staining all the cherry so it will blend in.

And it will also be covered by the counter top eventually.

The next step is to cut down my third piece of 3/4″ plywood to create the inner structure that will hold the drawer hardware.

I decided to change my design a bit to make it easier to remove and reinstall some of the inner structure.
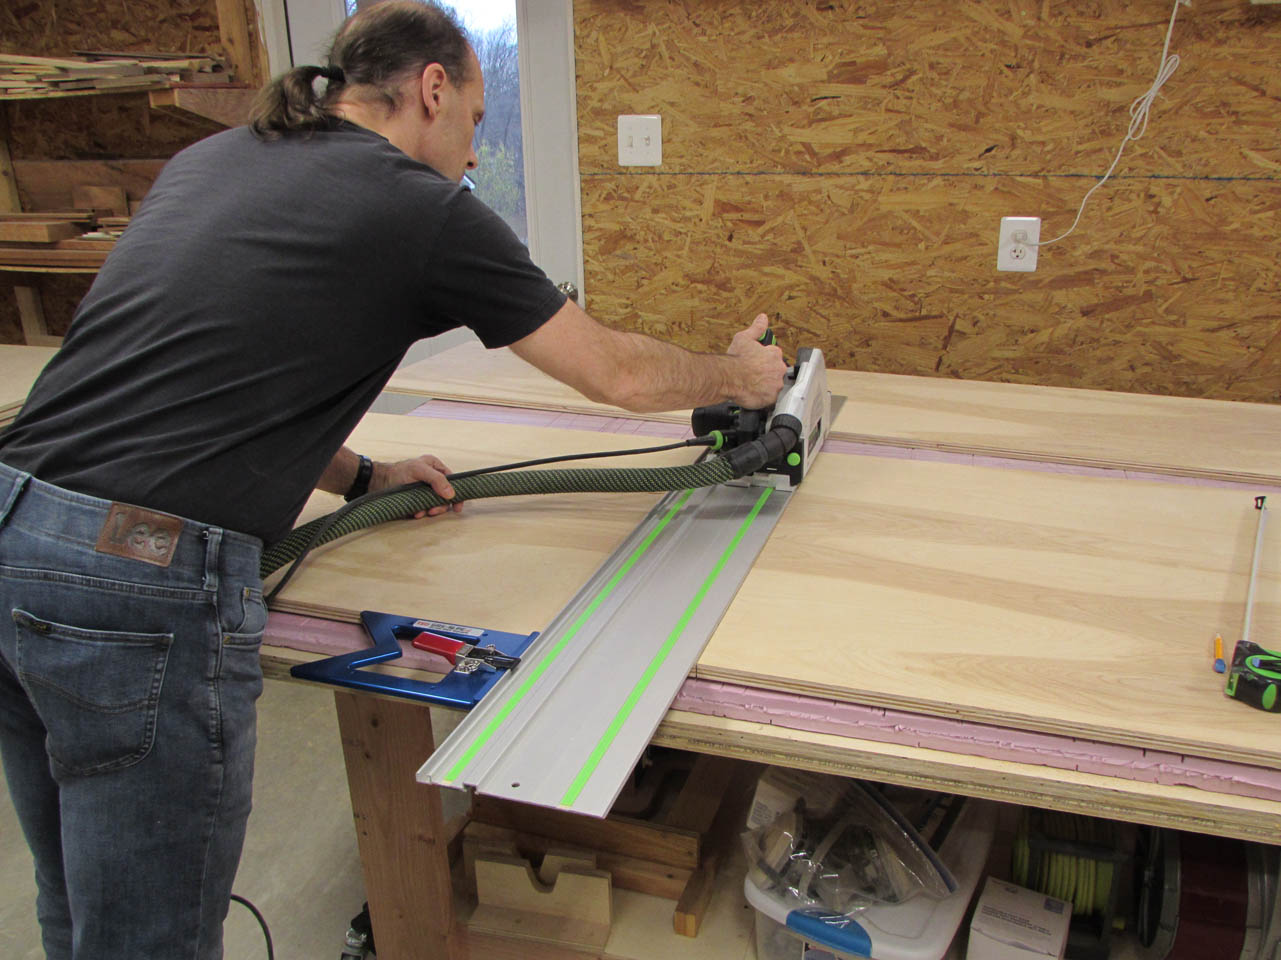

After cutting out the two large panels, I brought the off-cuts over to the table saw so that I could rip 4-5/8″ wide pieces and 3″ pieces to build four columns to to attach the larger panels to.

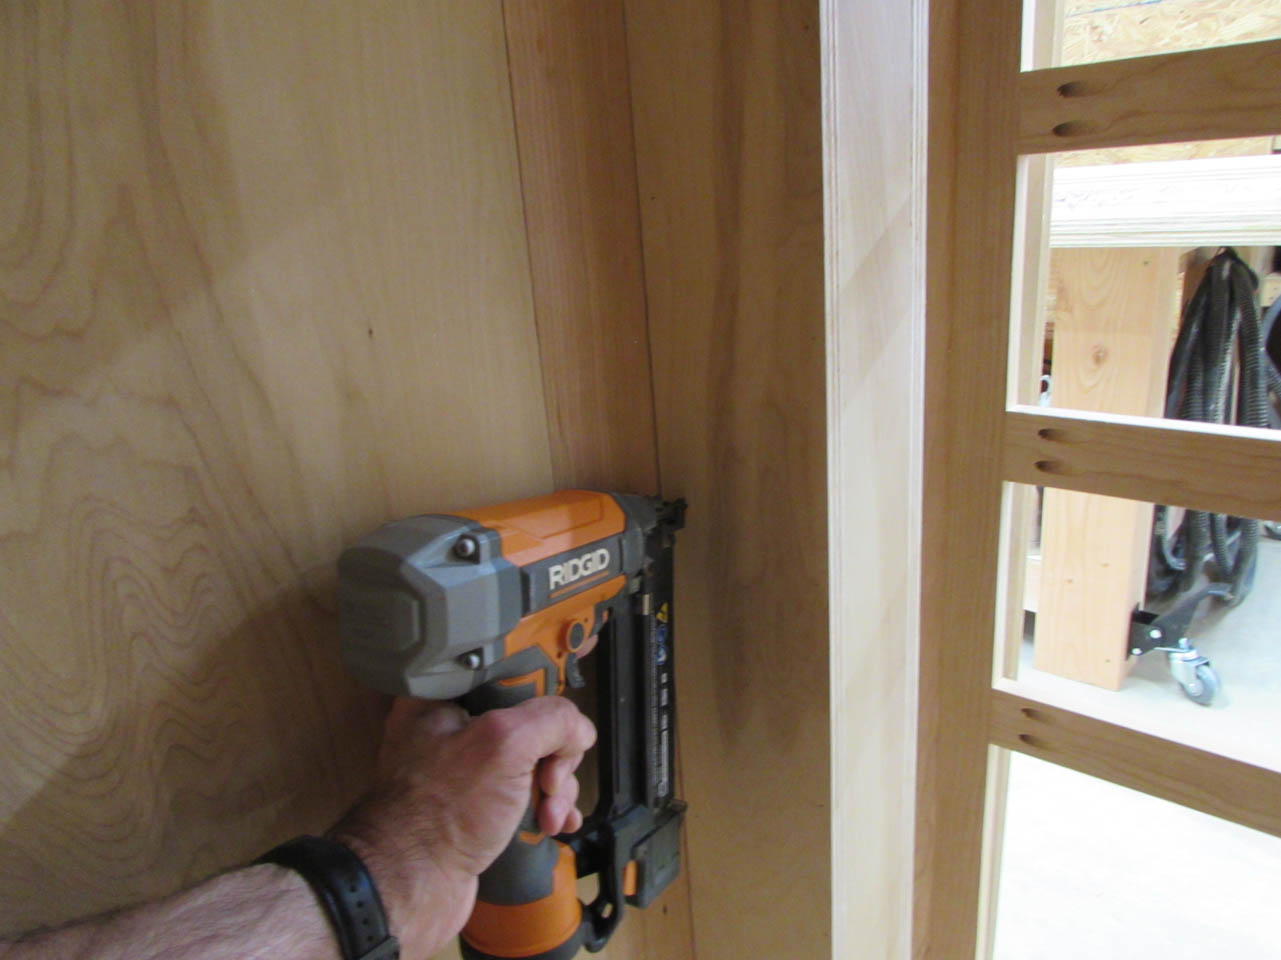
I used glue and brad nails to assemble the columns but I left each split in two pieces.

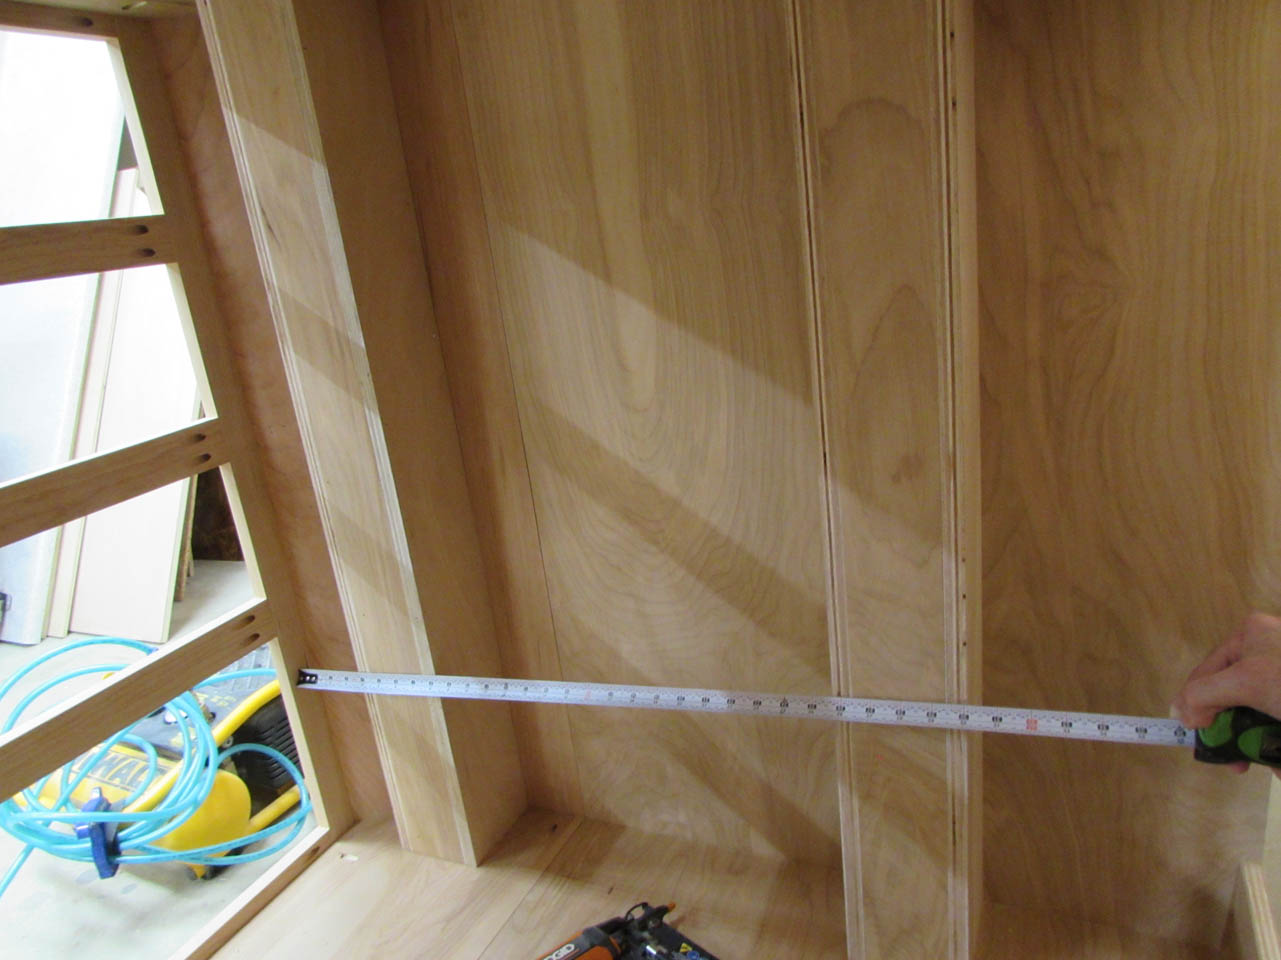
I set half the first column in place and used a scrap of plywood to make sure it was at the correct depth.
I glued and screwed the first piece in place in the front, cherry section,

Then used glue and brad nails to attach the other half of the column.
I repeated this process in the back section as well. These give me wide areas to screw the panels to.
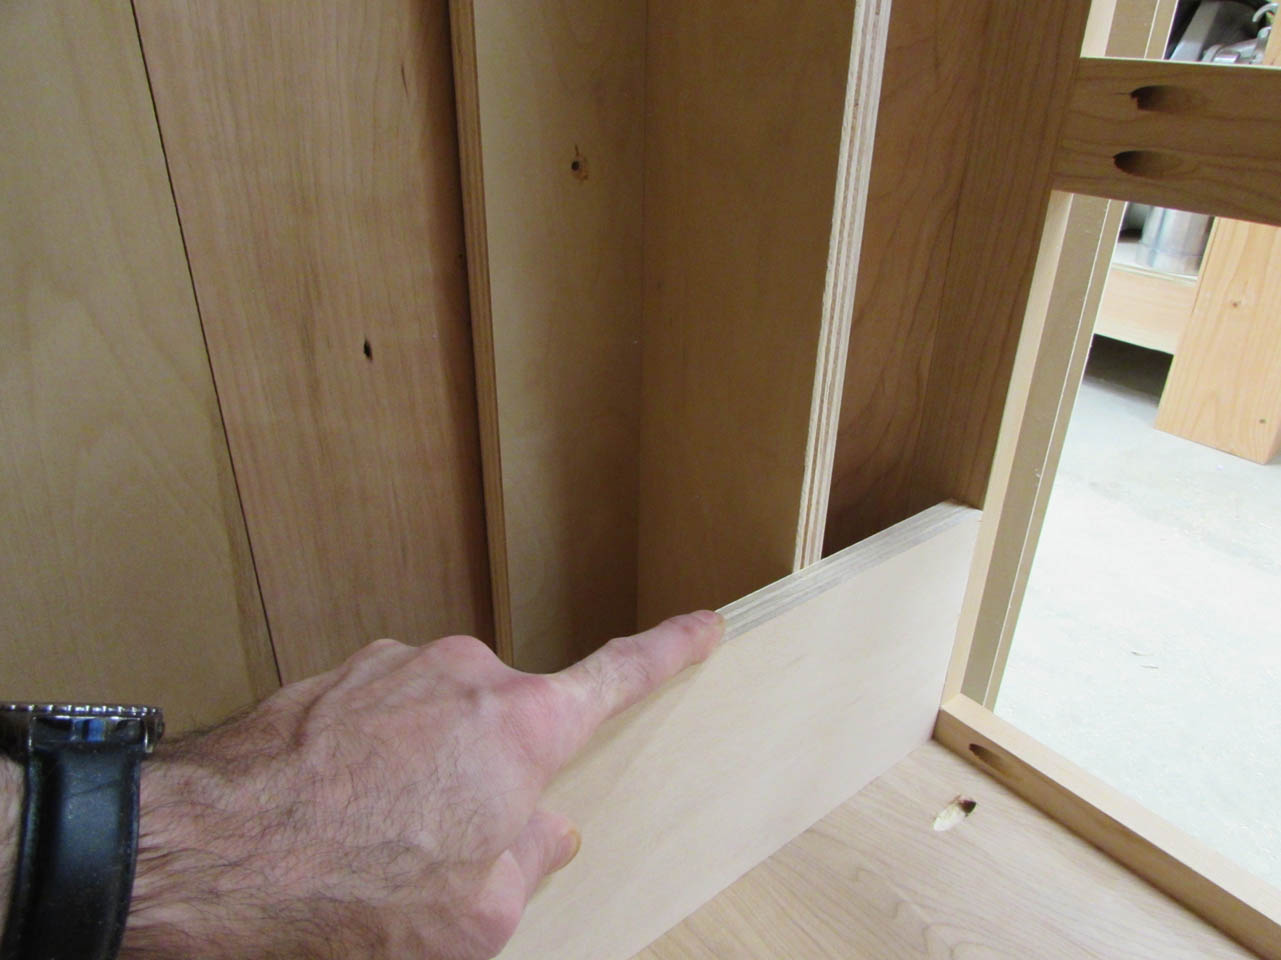
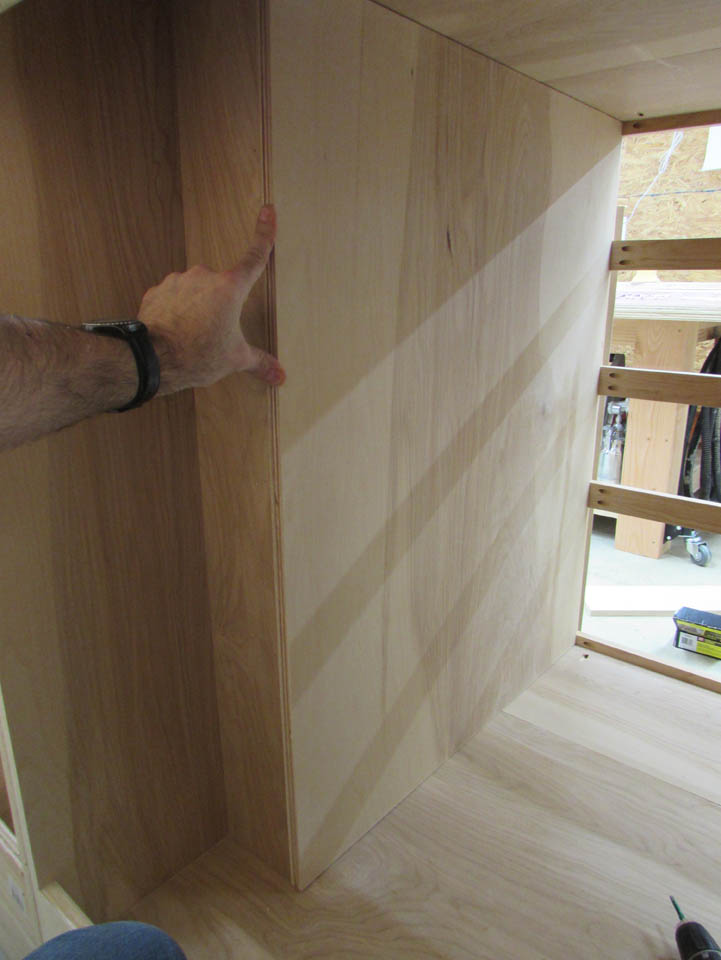
Then I test fit the panel inside.
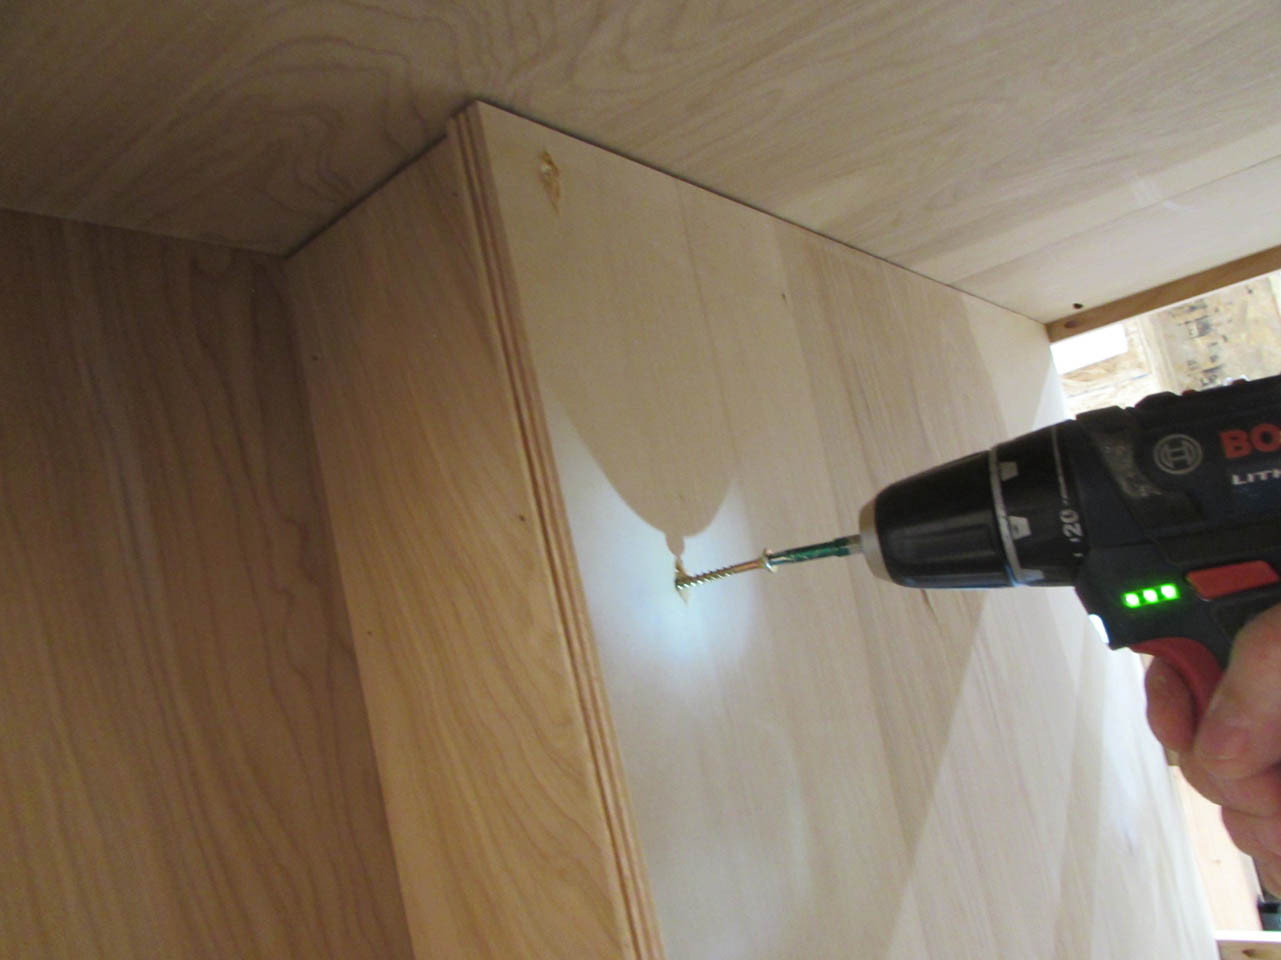
This gets held in place with screws since it has to be removable.

The inner sides line up with the inside of the drawer openings. Now I have a very large area to install the undermount drawer hardware.
