
Vestry cabinets part 1
I have another interesting church furniture project to work on this month. Saint Joseph’s church wants some custom vestry cabinets. The big challenge will be the center cabinet that is 48″ wide and 40″ deep. It will contain 40″ wide drawers and have to fit through a 34″ wide doorway. That means it will have to be made in multiple pieces that will be reassembled on site. I will be using undermount slides for the drawers, which will be a first for me. They will be able to support the over 150 pounds per drawer and extend out 30″. These are the plans I came up with to start, but they will evolve as necessary…
Before starting this project, I took a day to build a mobile assembly table. The top is (2) sheets of 3/4″ plywood, giving me a dead flat 4’x8′ work surface that is 30″ tall. It is low enough to comfortably work when breaking down plywood or assembling cabinets.

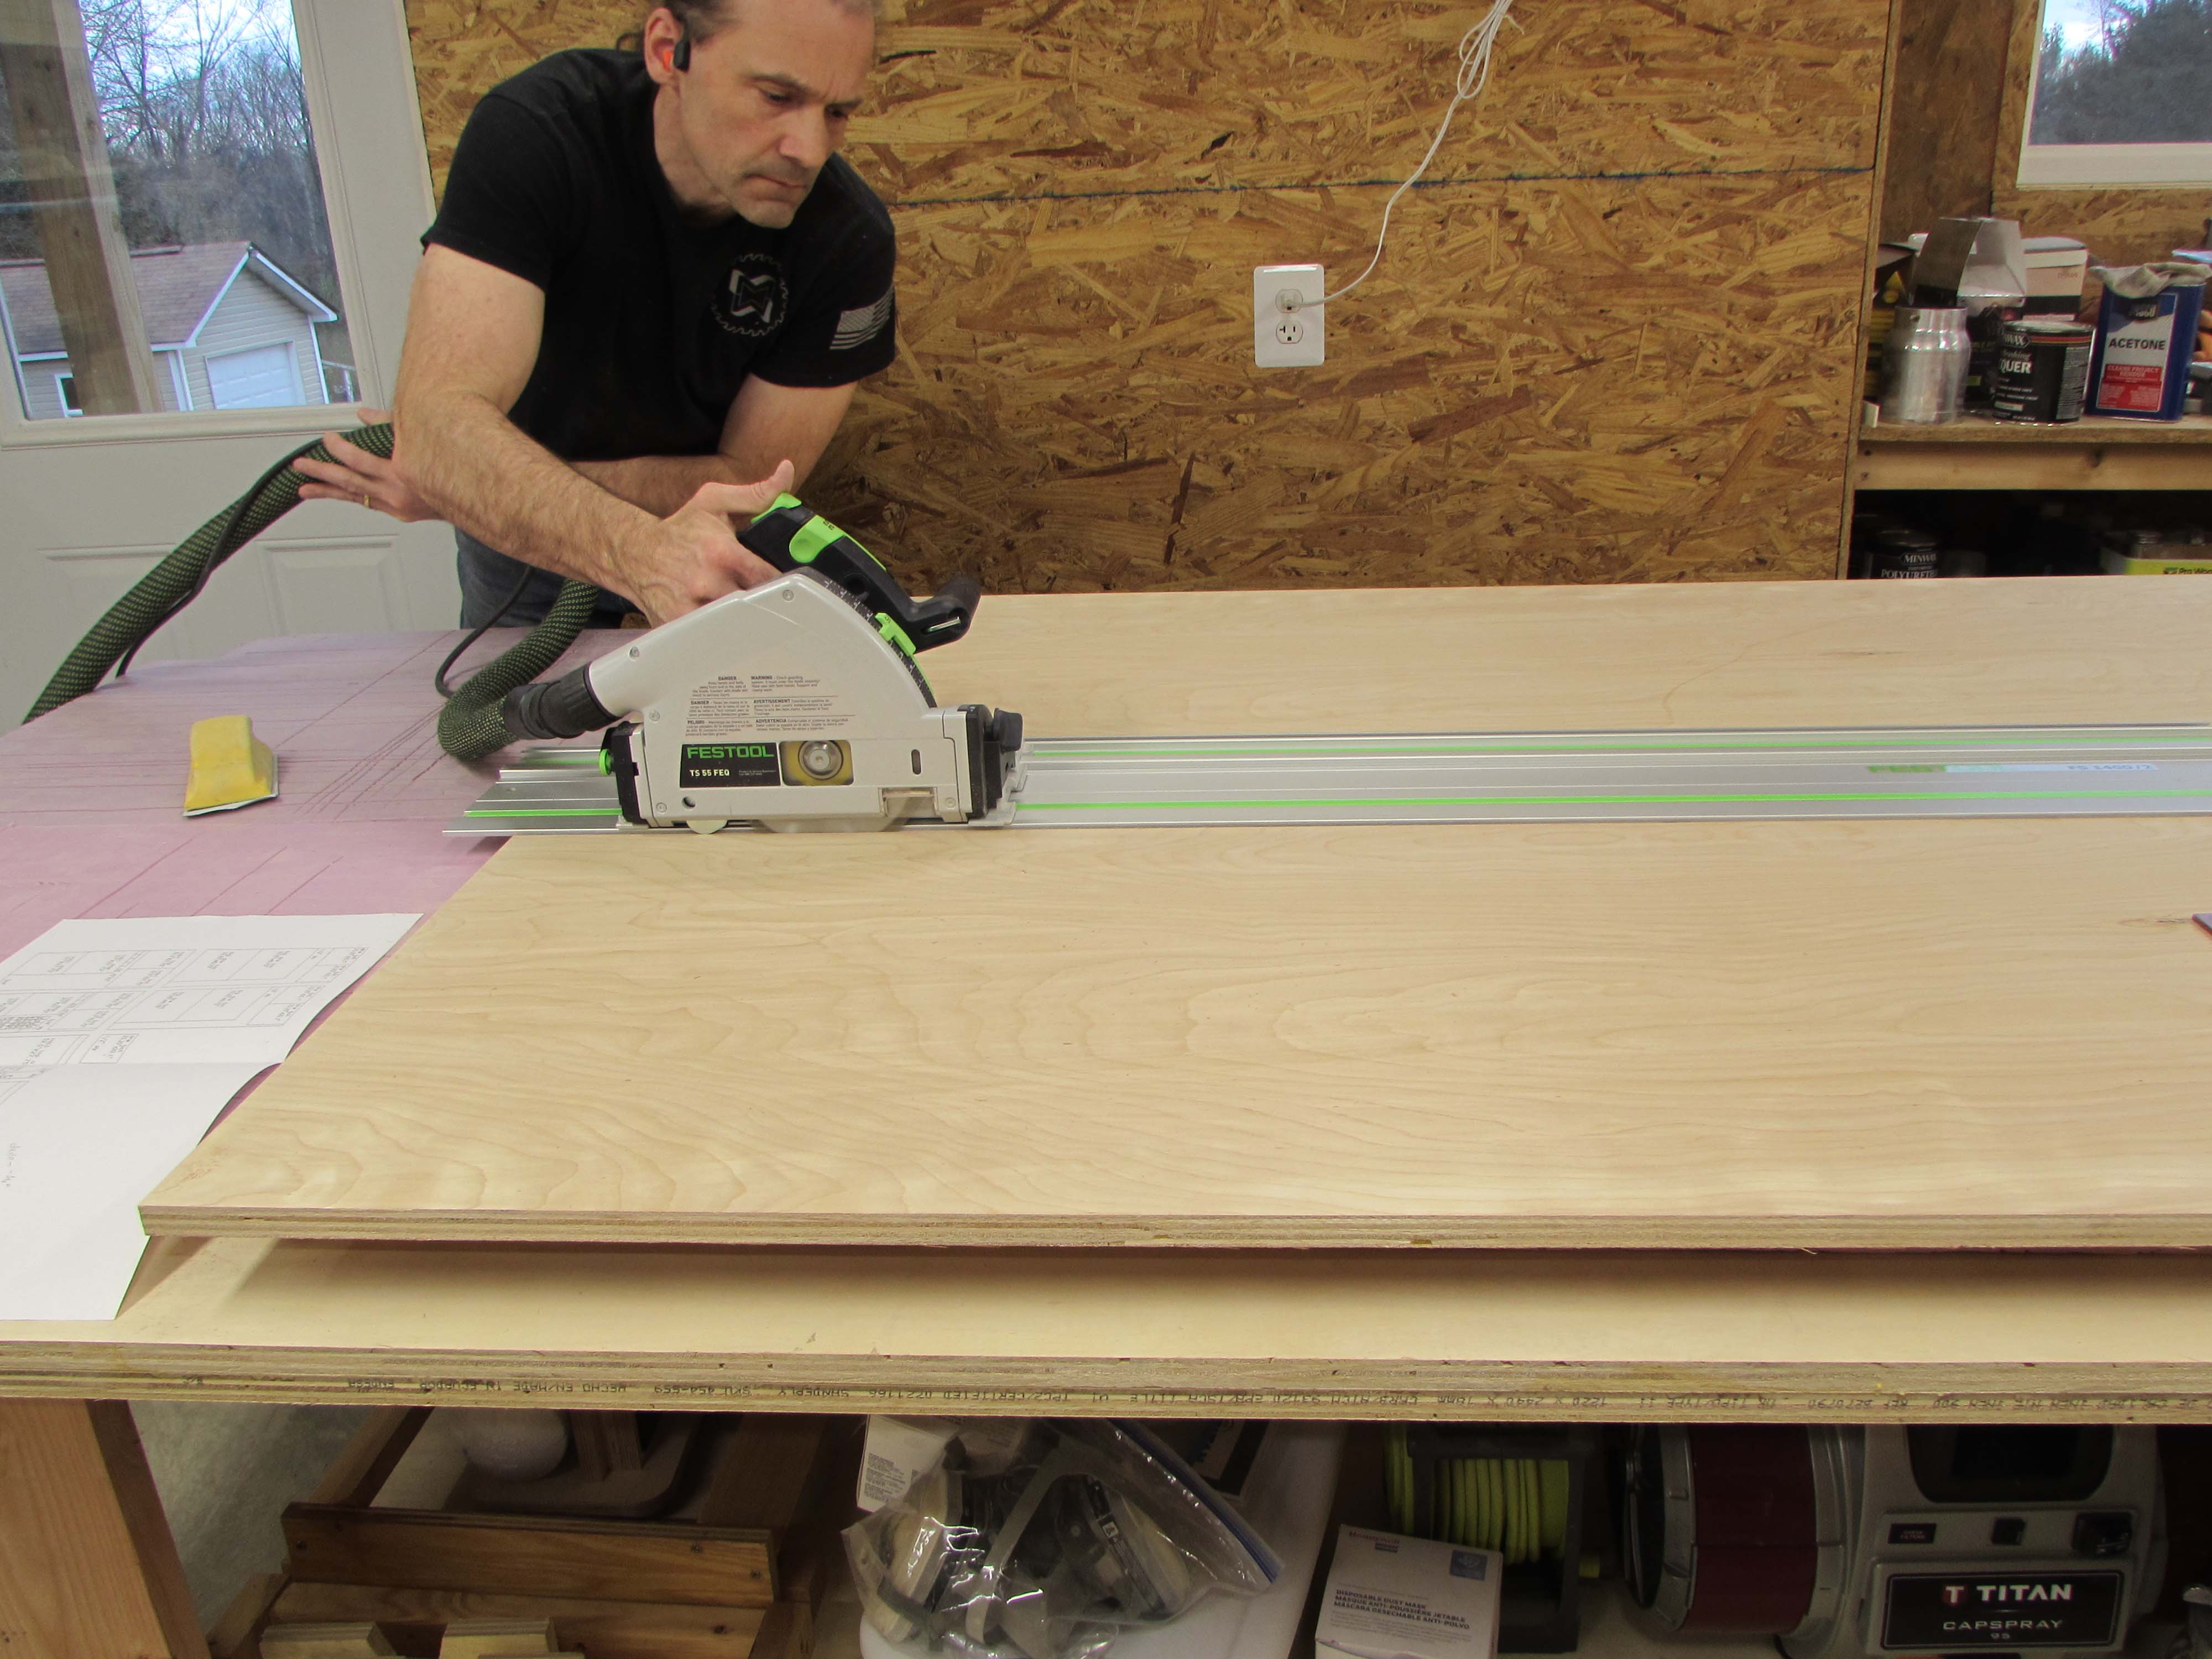
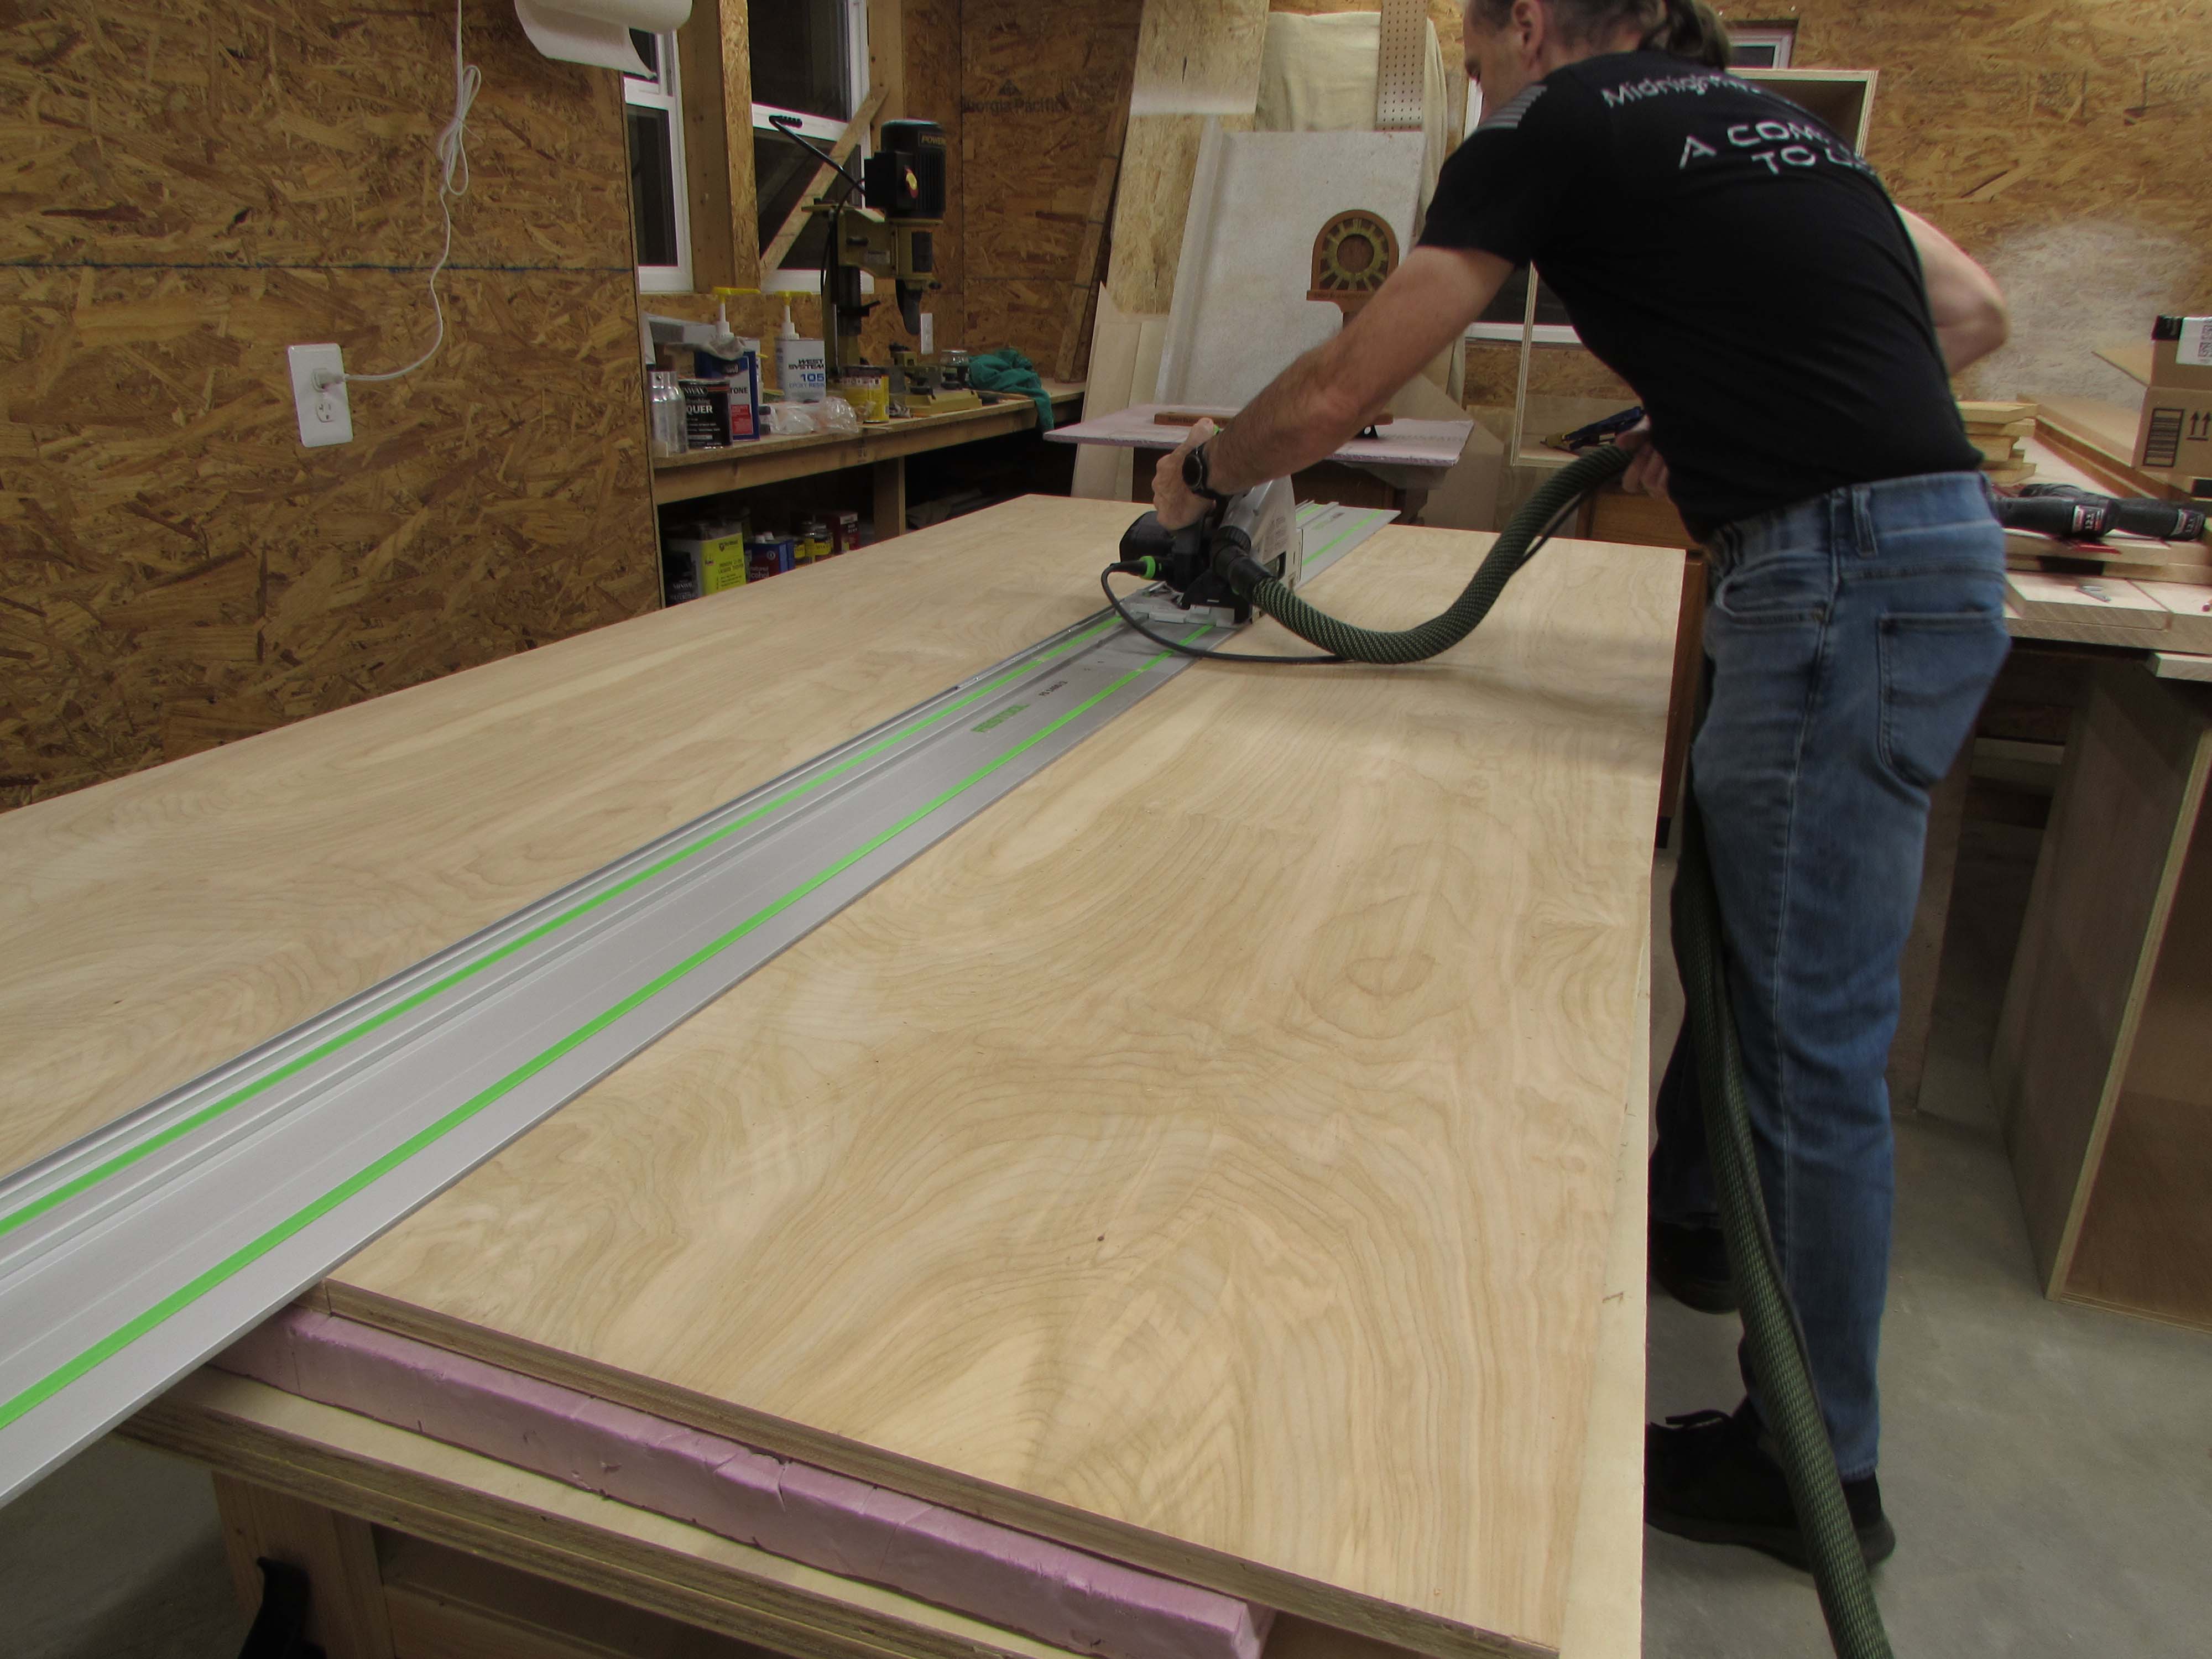
I am starting the project by breaking down a few sheets of 3/4″ plywood with my track saw. I laid 2″ thick foam board on the assembly table so that when I cut through the plywood, it cuts into the foam and not my new table. I cut down the first two sheets to get the parts for the two smaller cabinet boxes.
The larger sections of the boxes were set aside and I used the rest of the material to cut the 4″ wide strips for the rear supports and supports for the base.

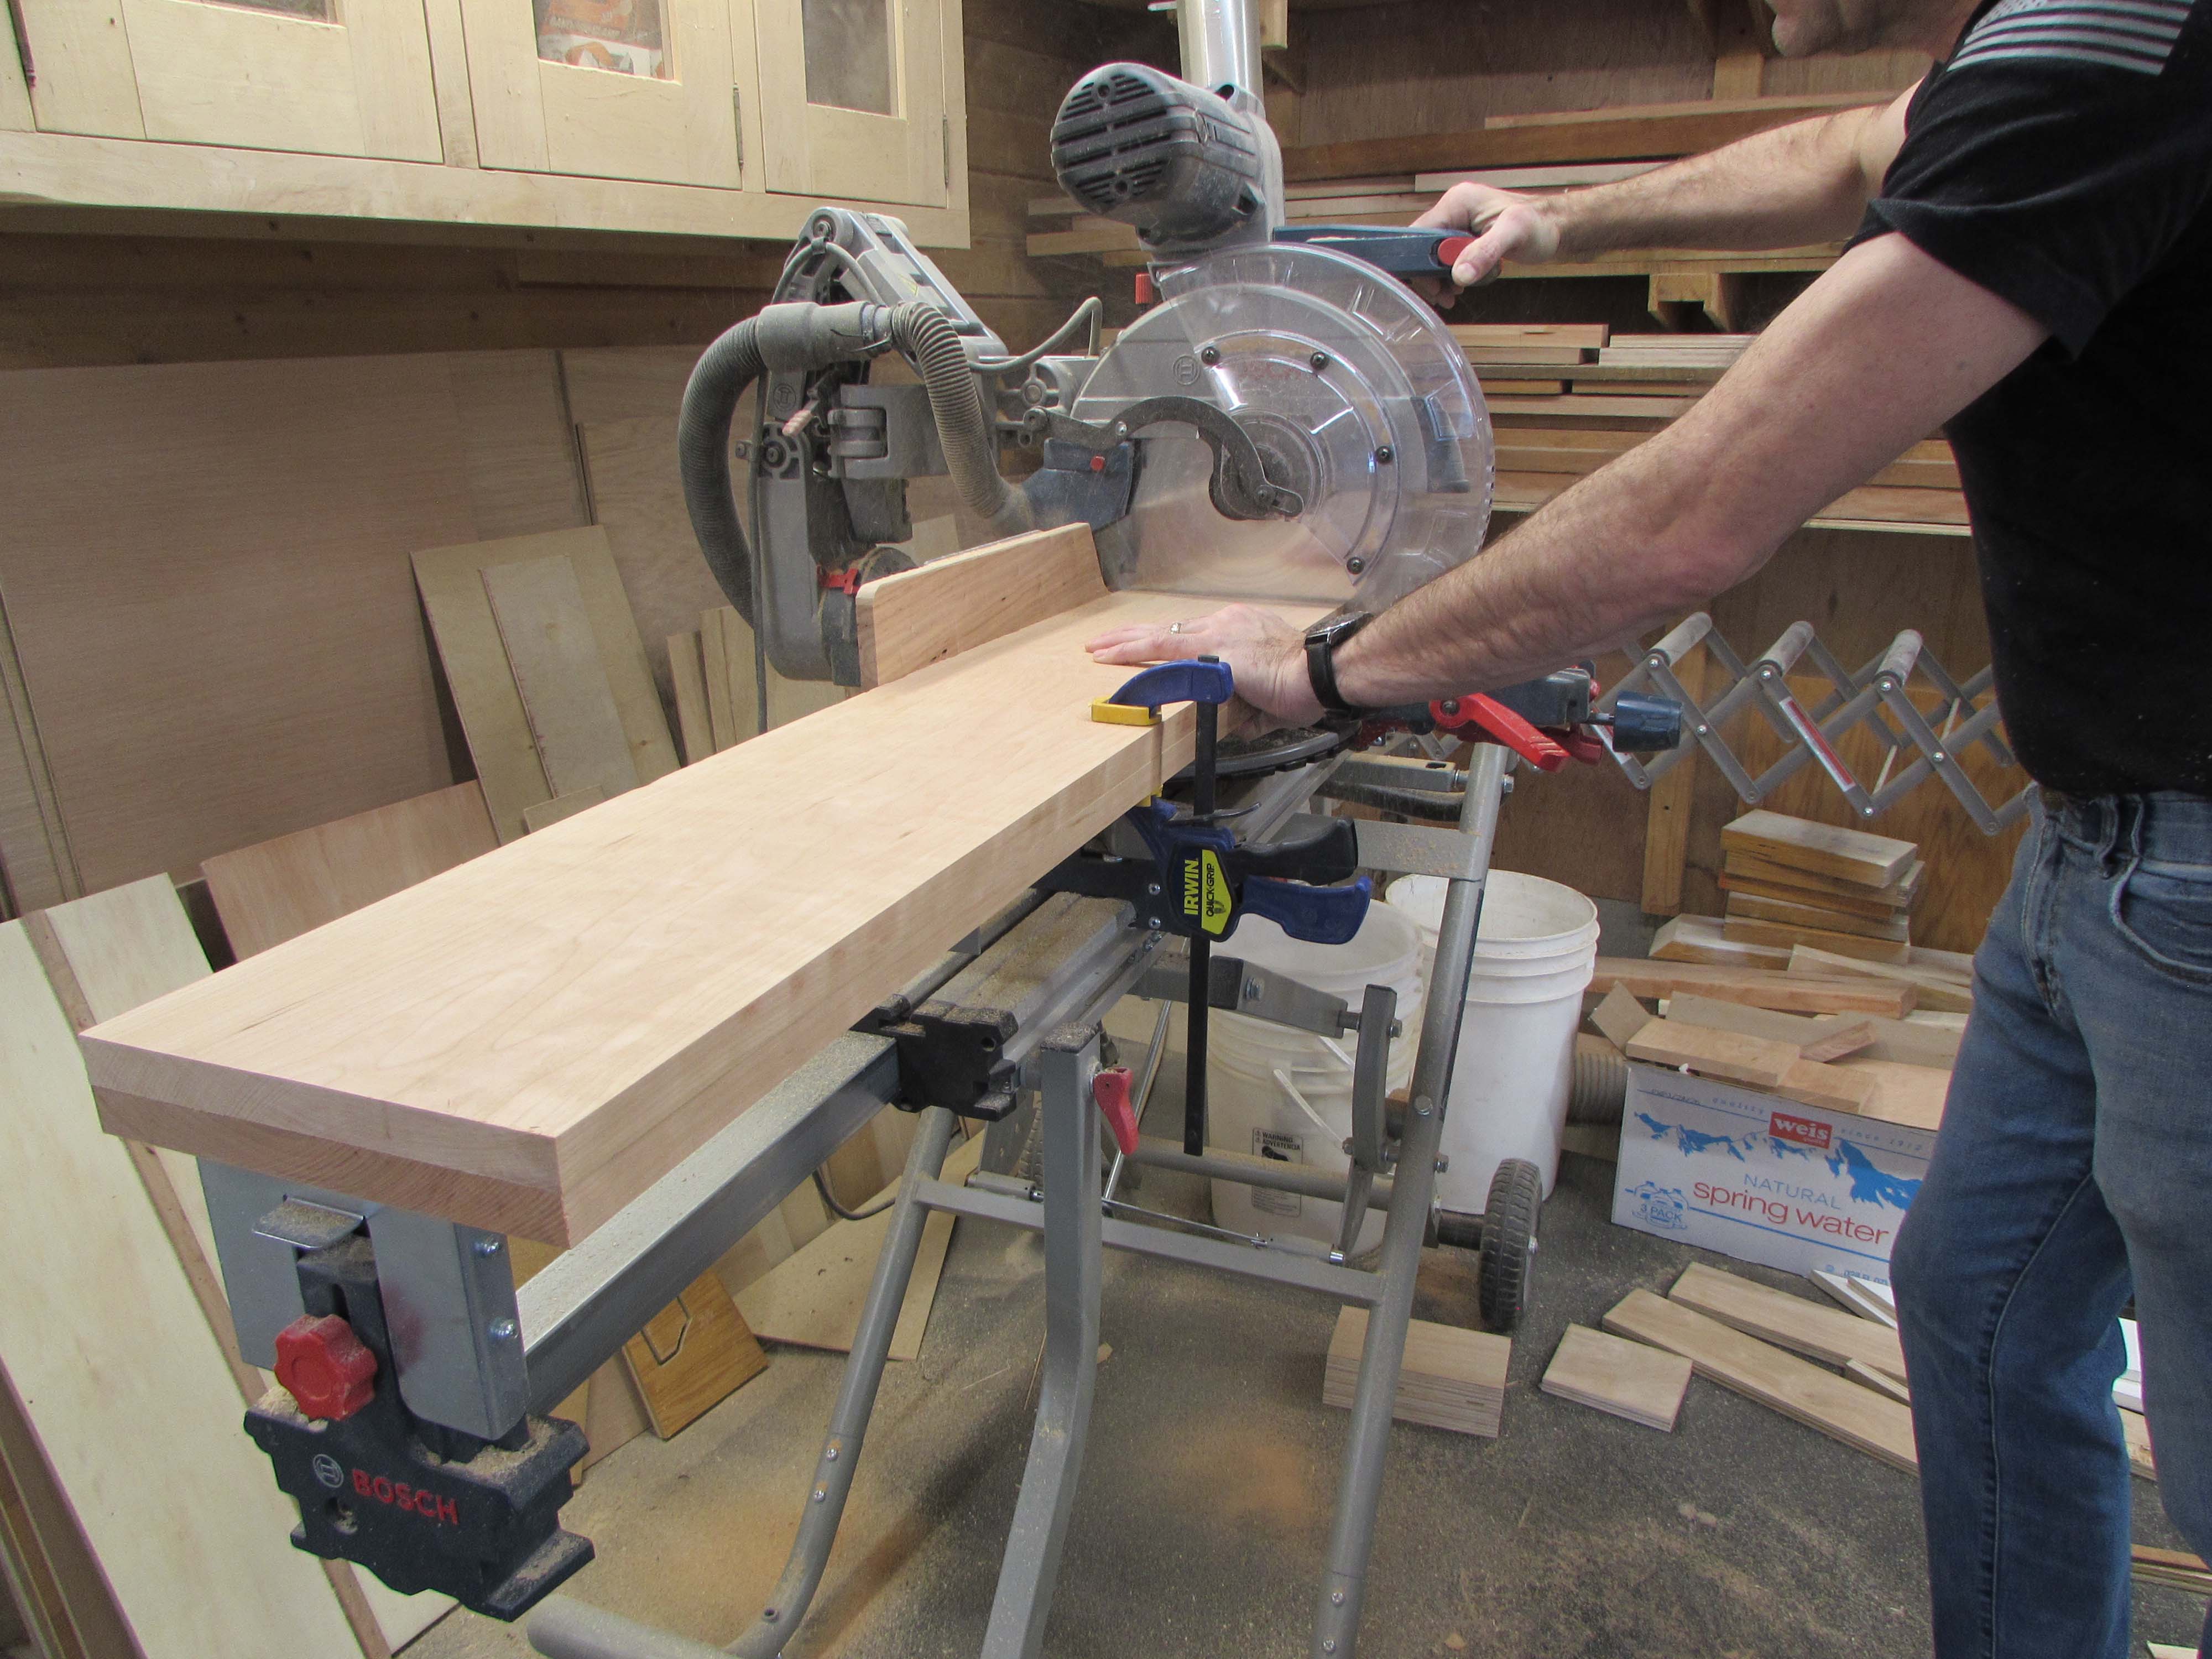
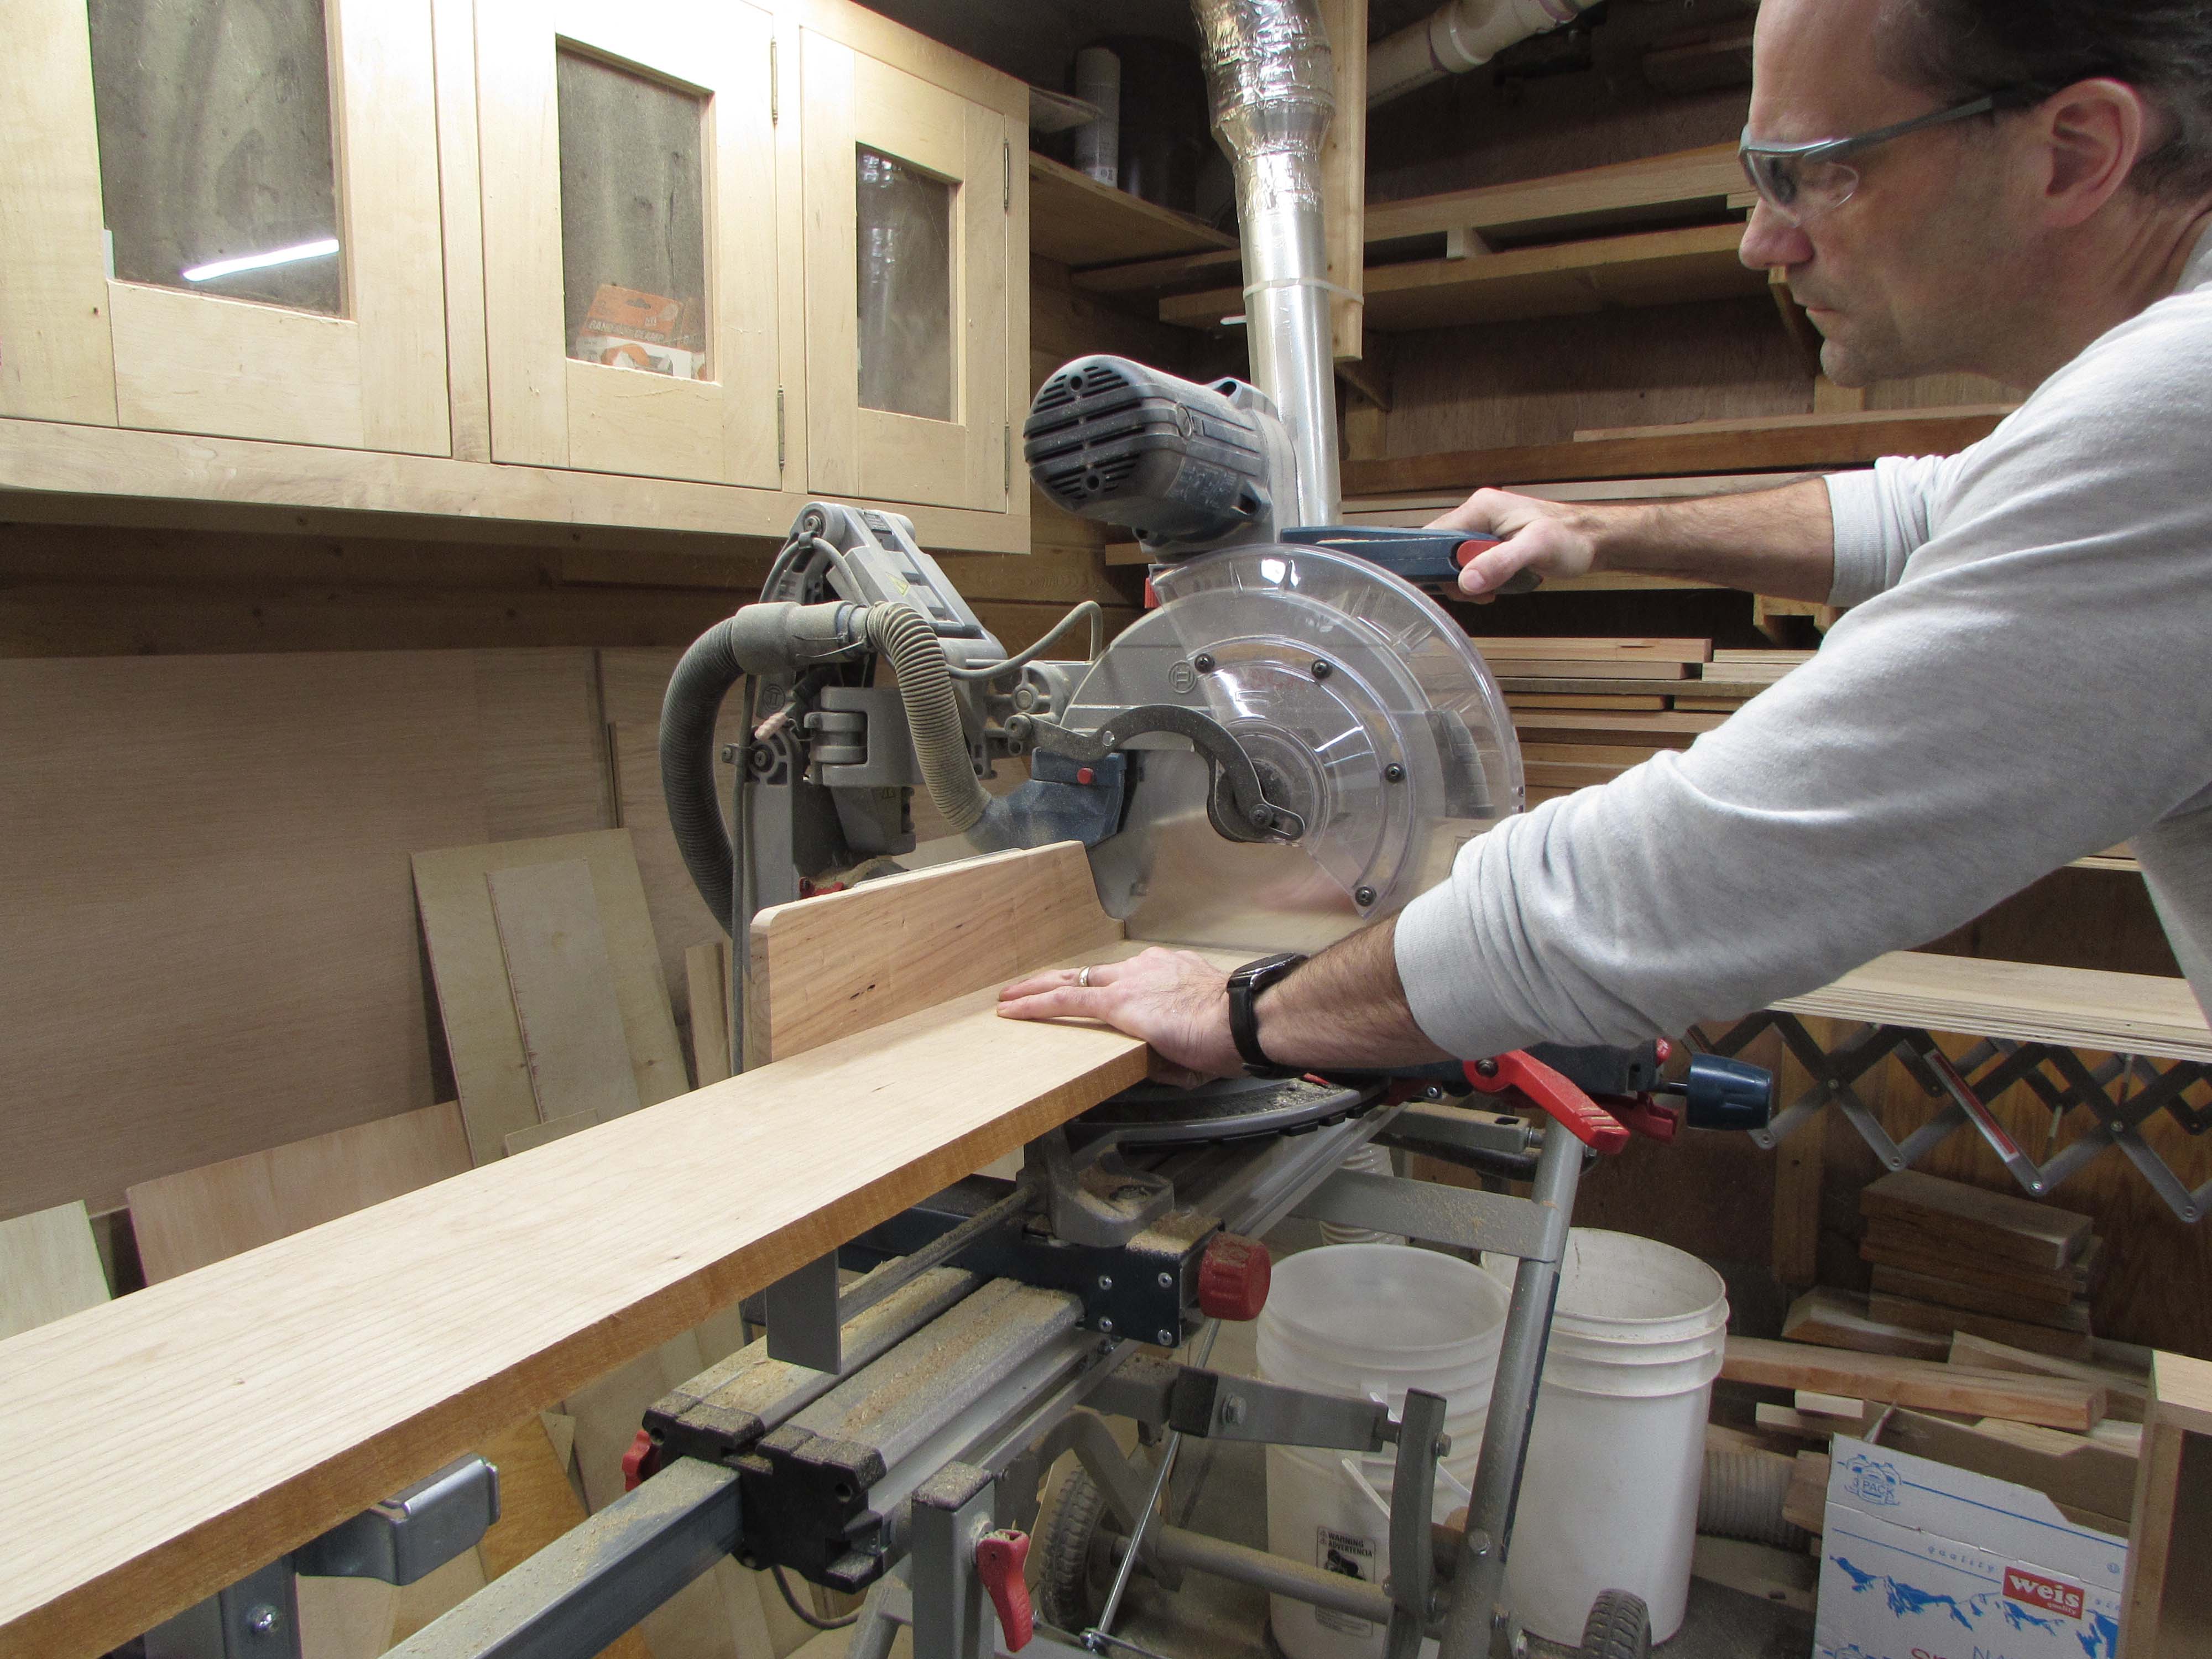
To keep it all the same length, I ganged several boards together to cut all at the same time.


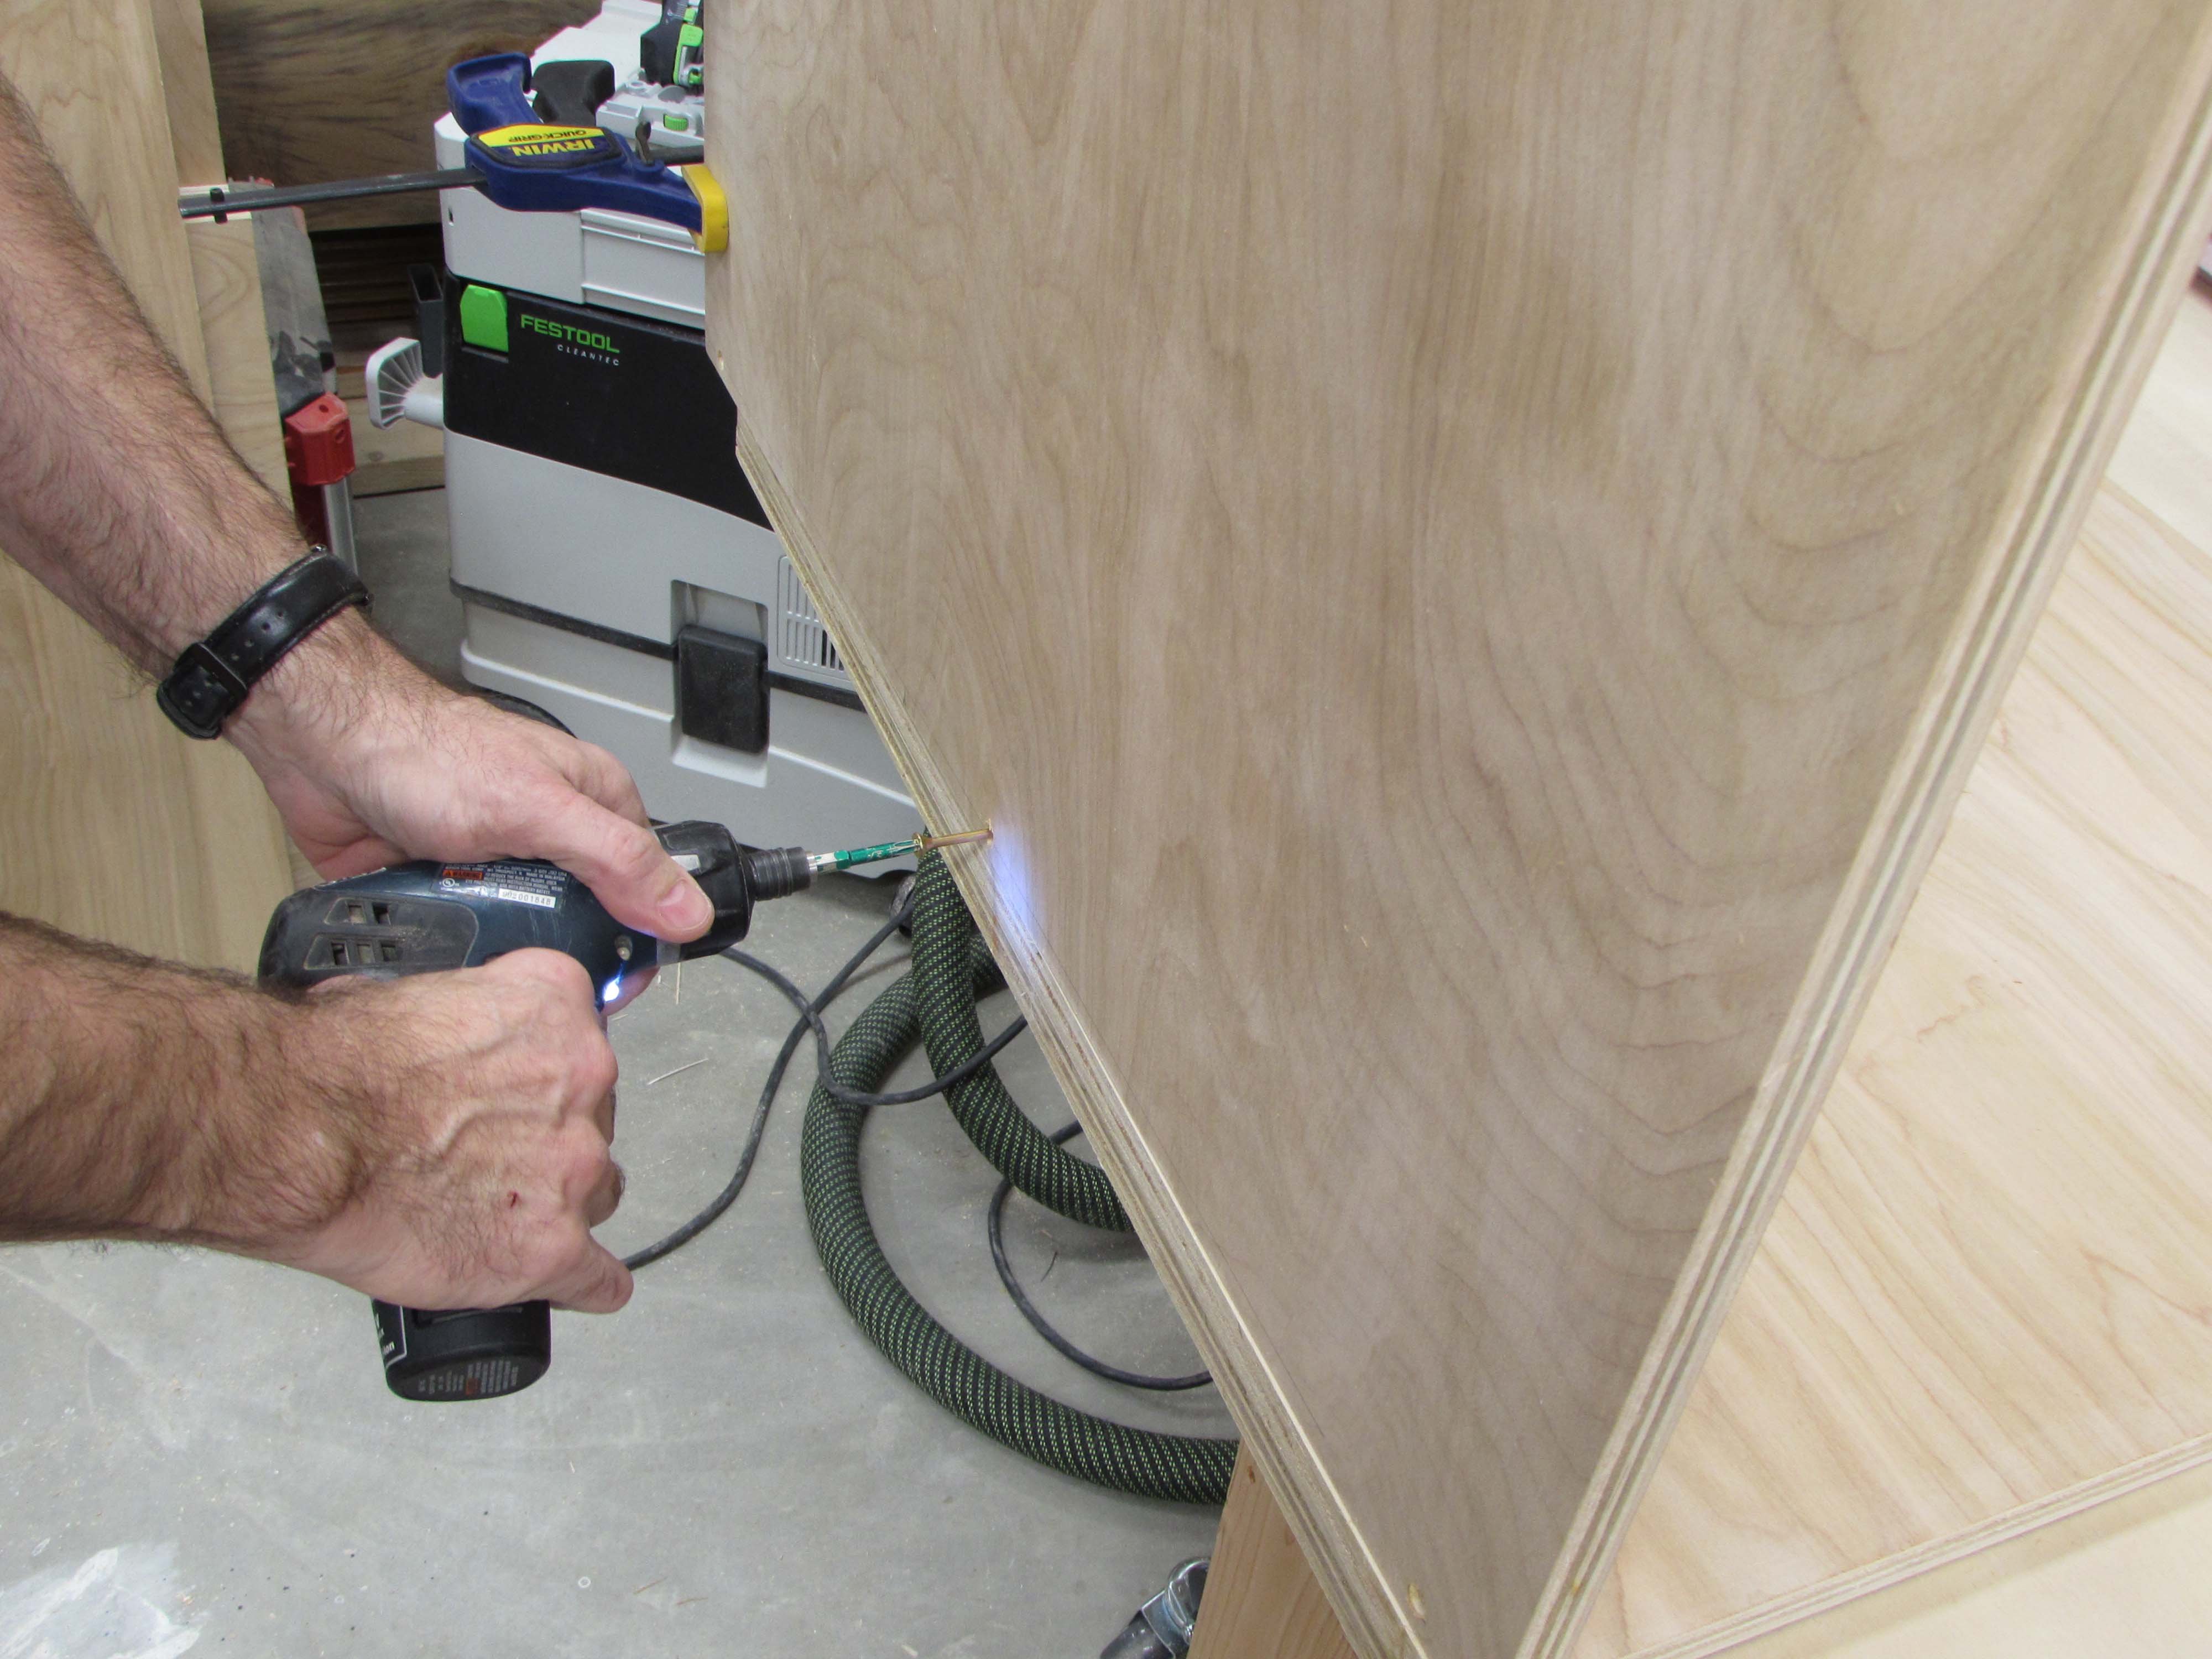
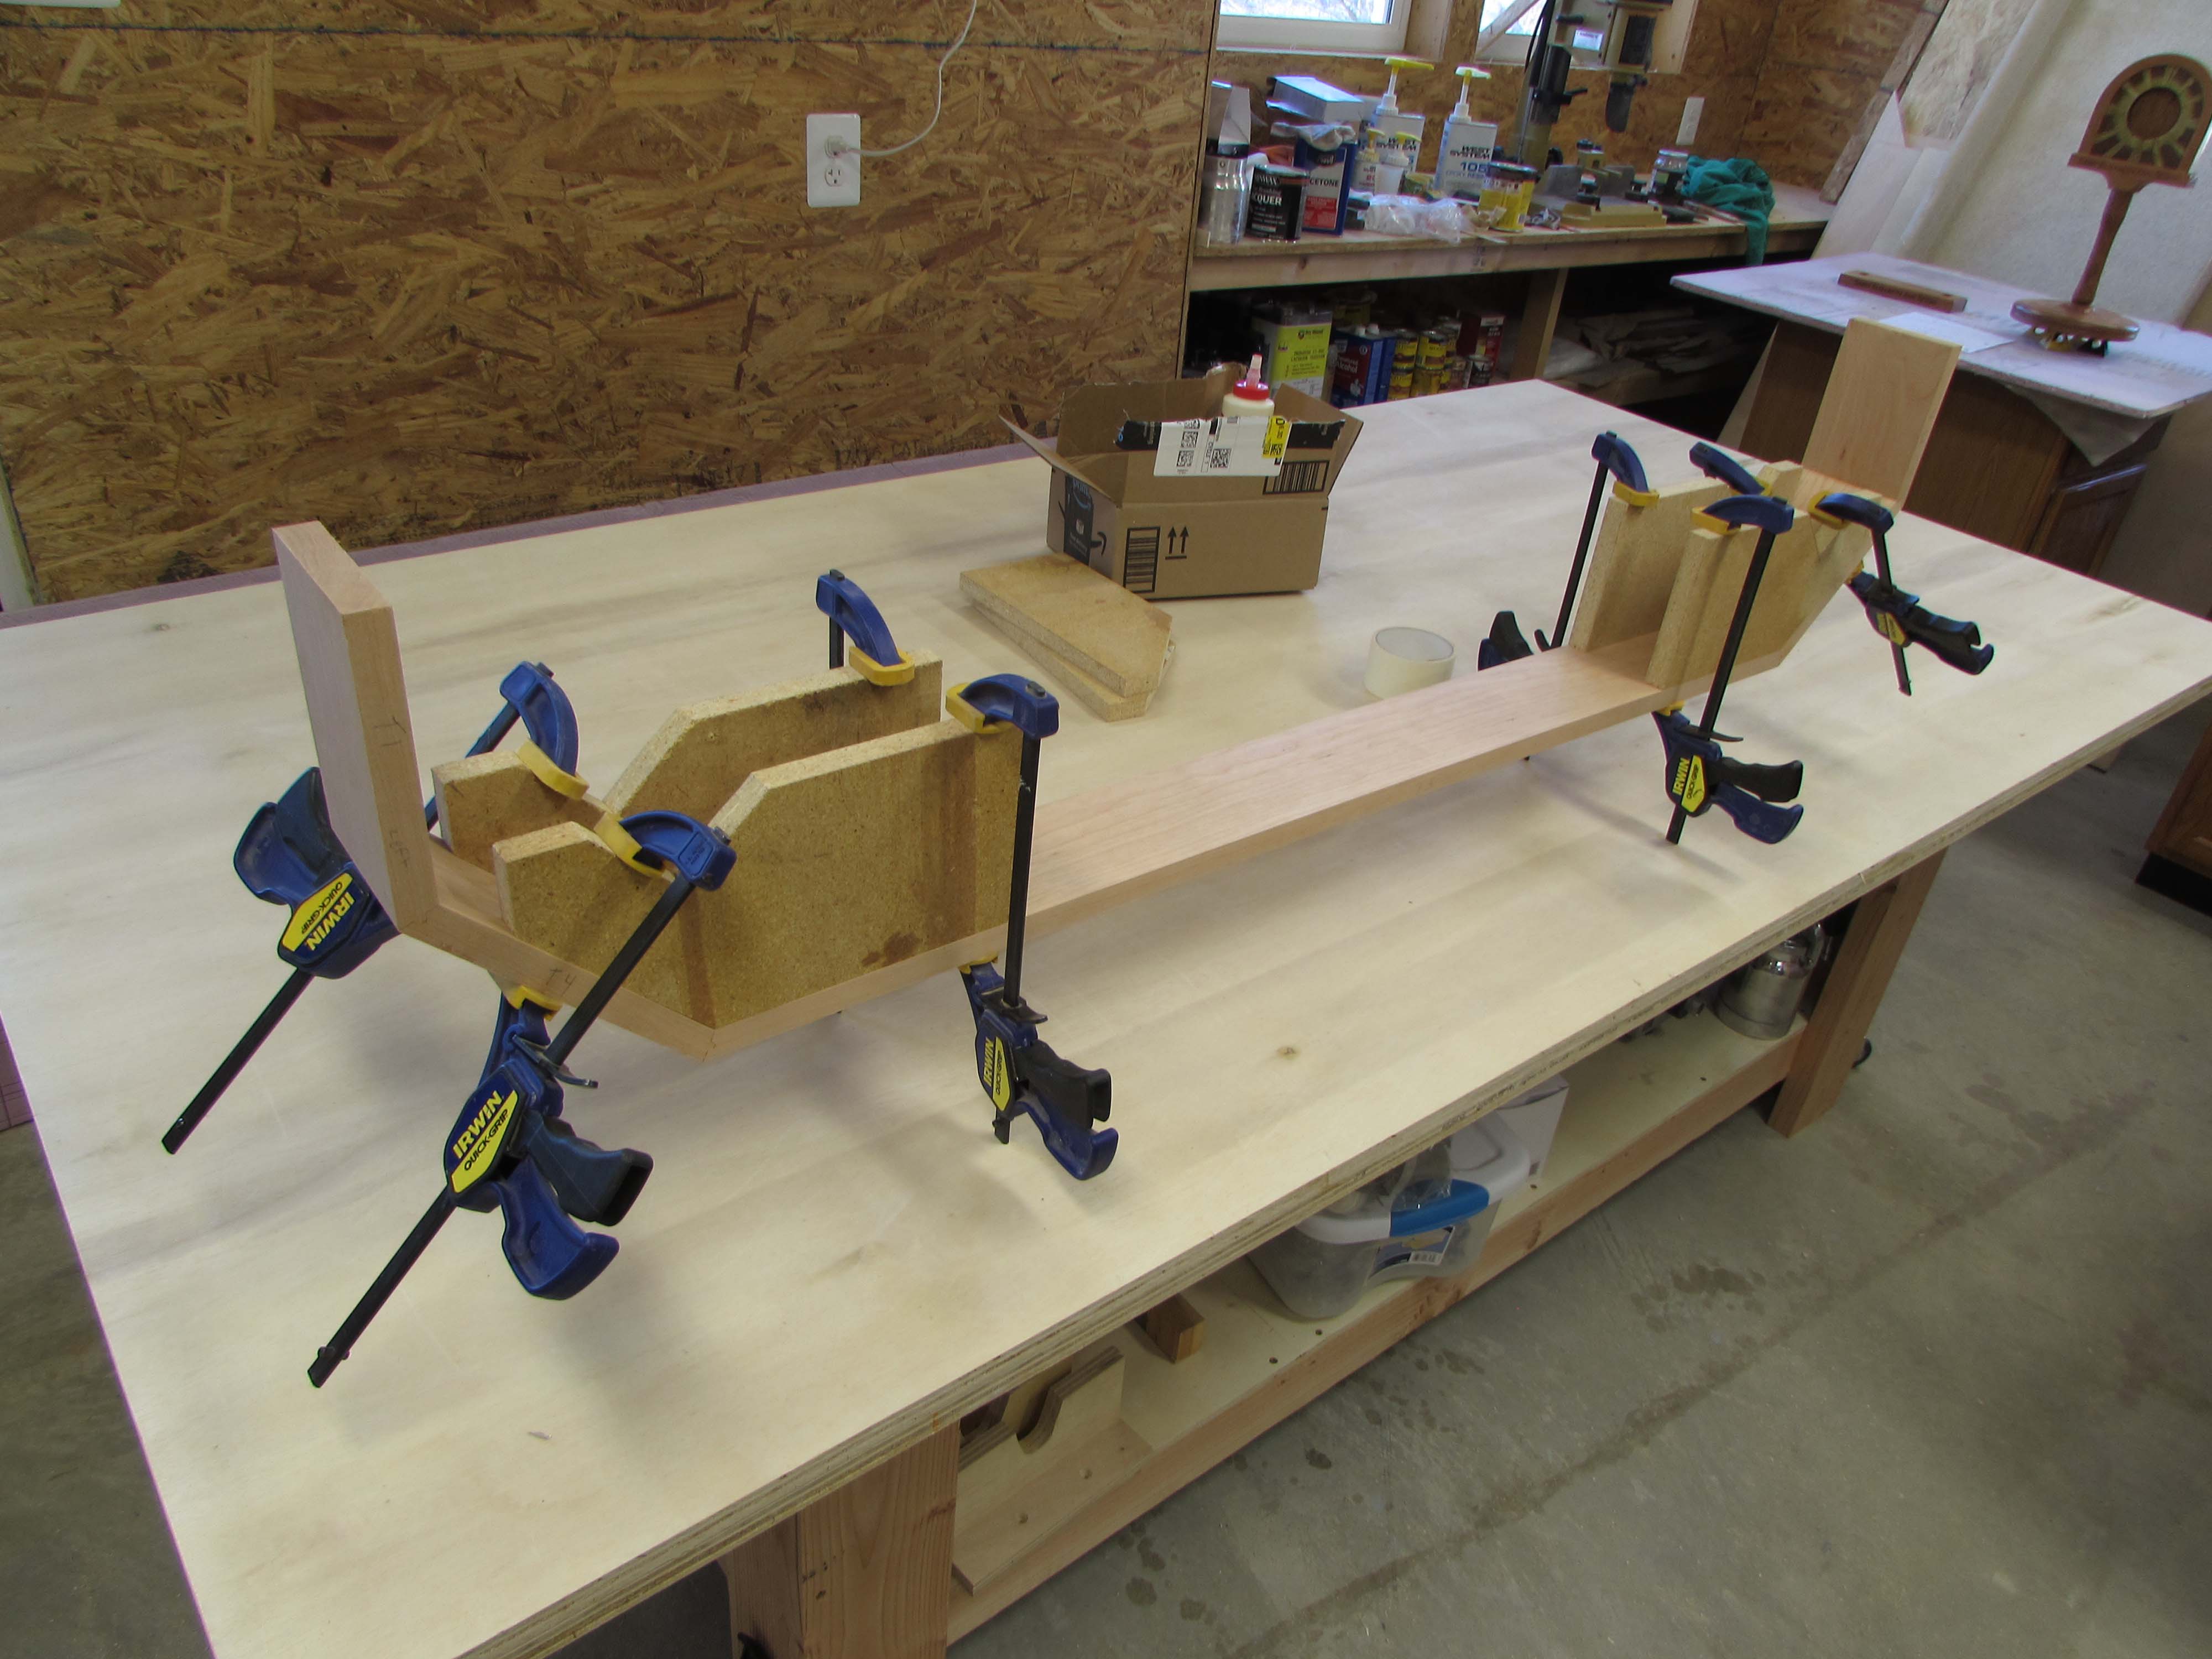
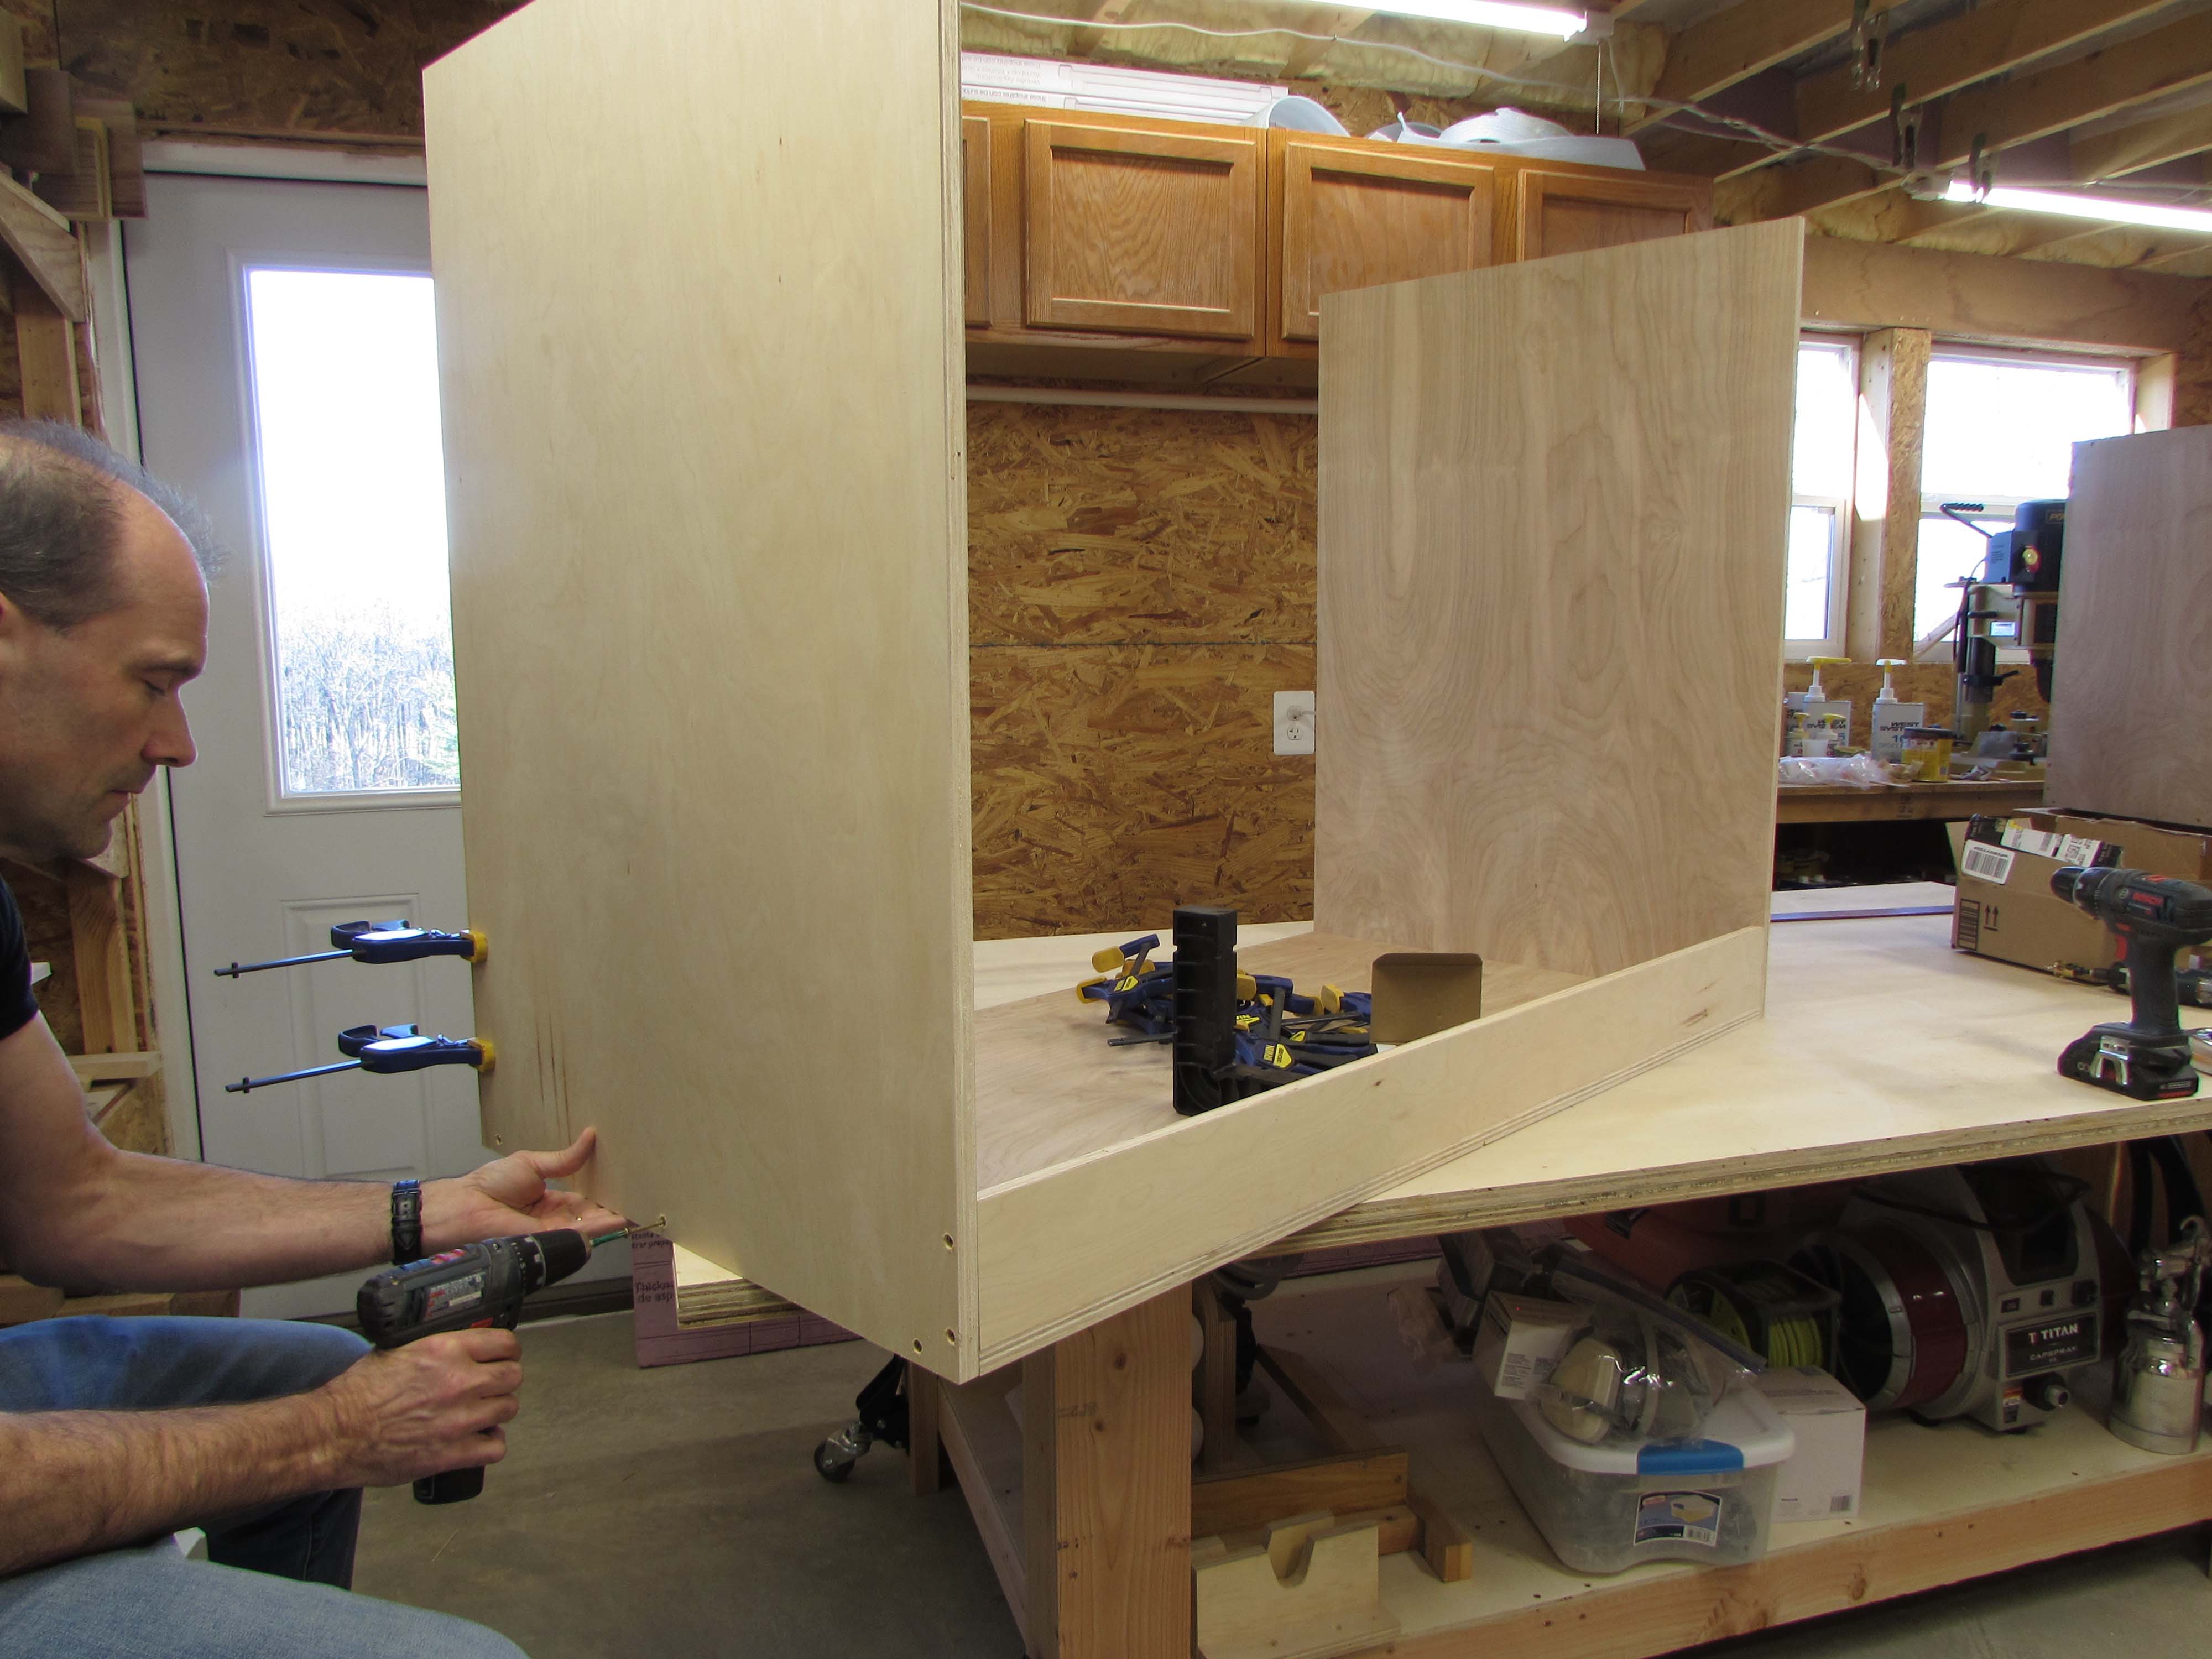
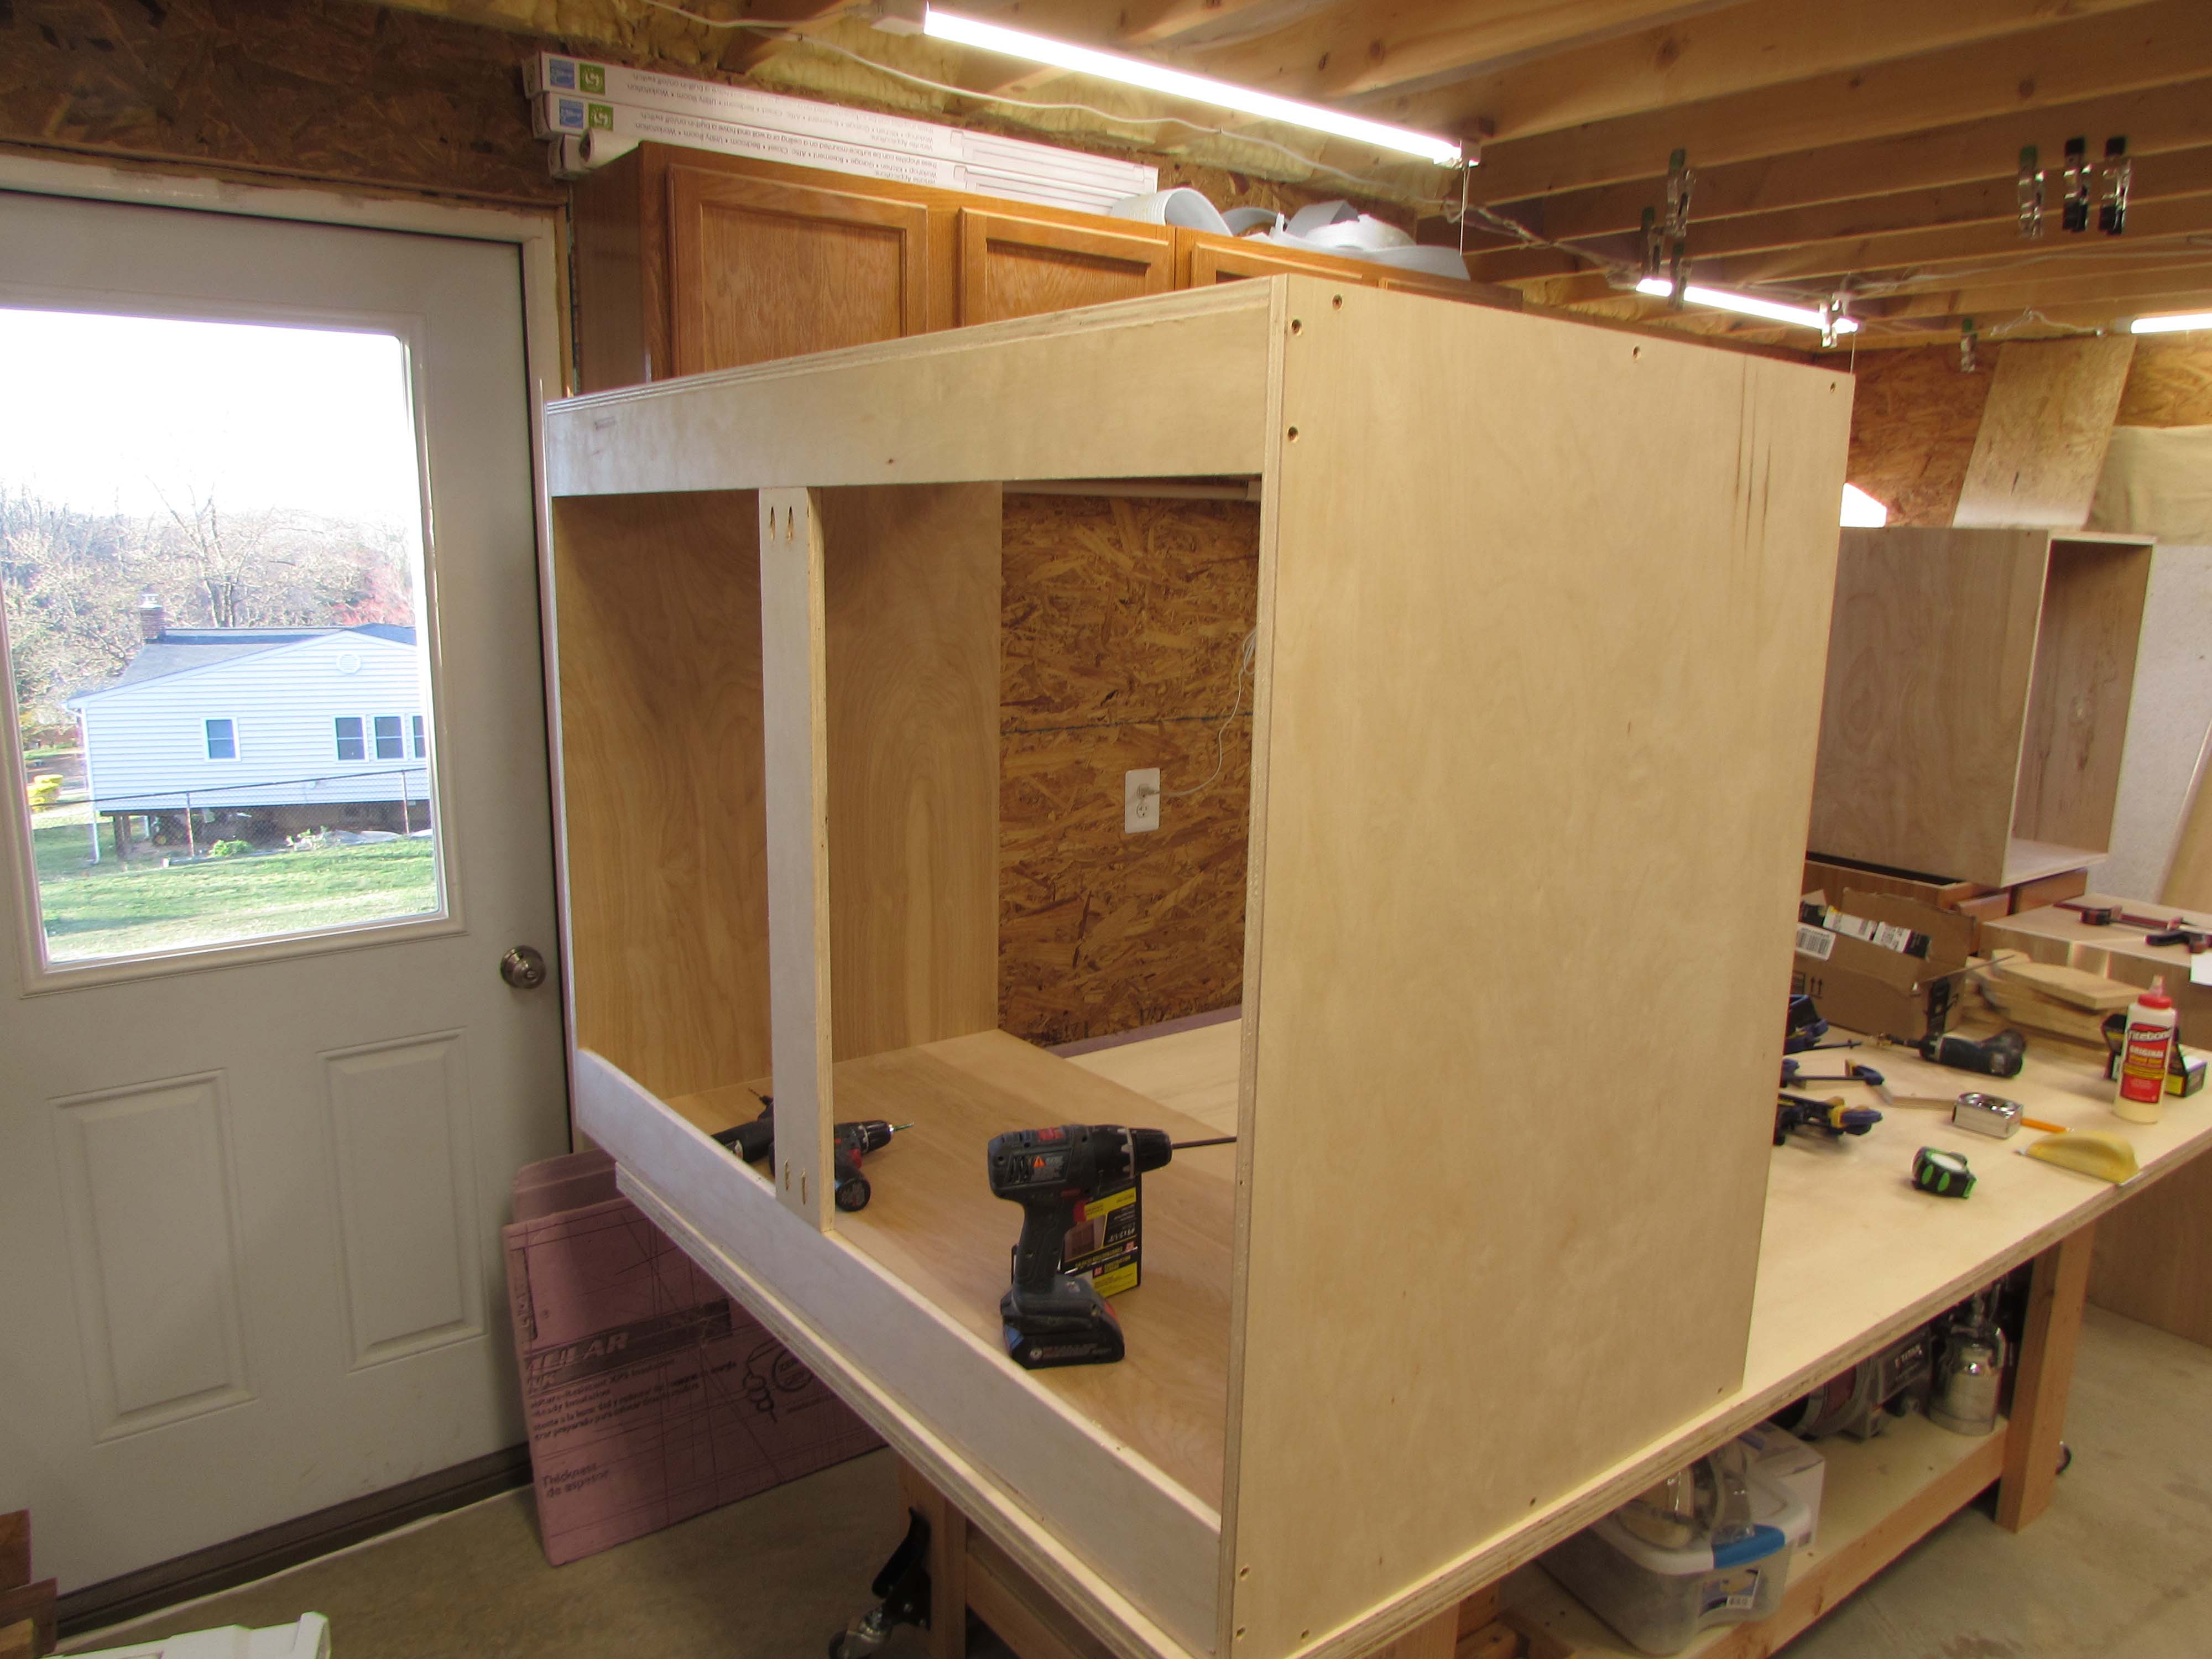
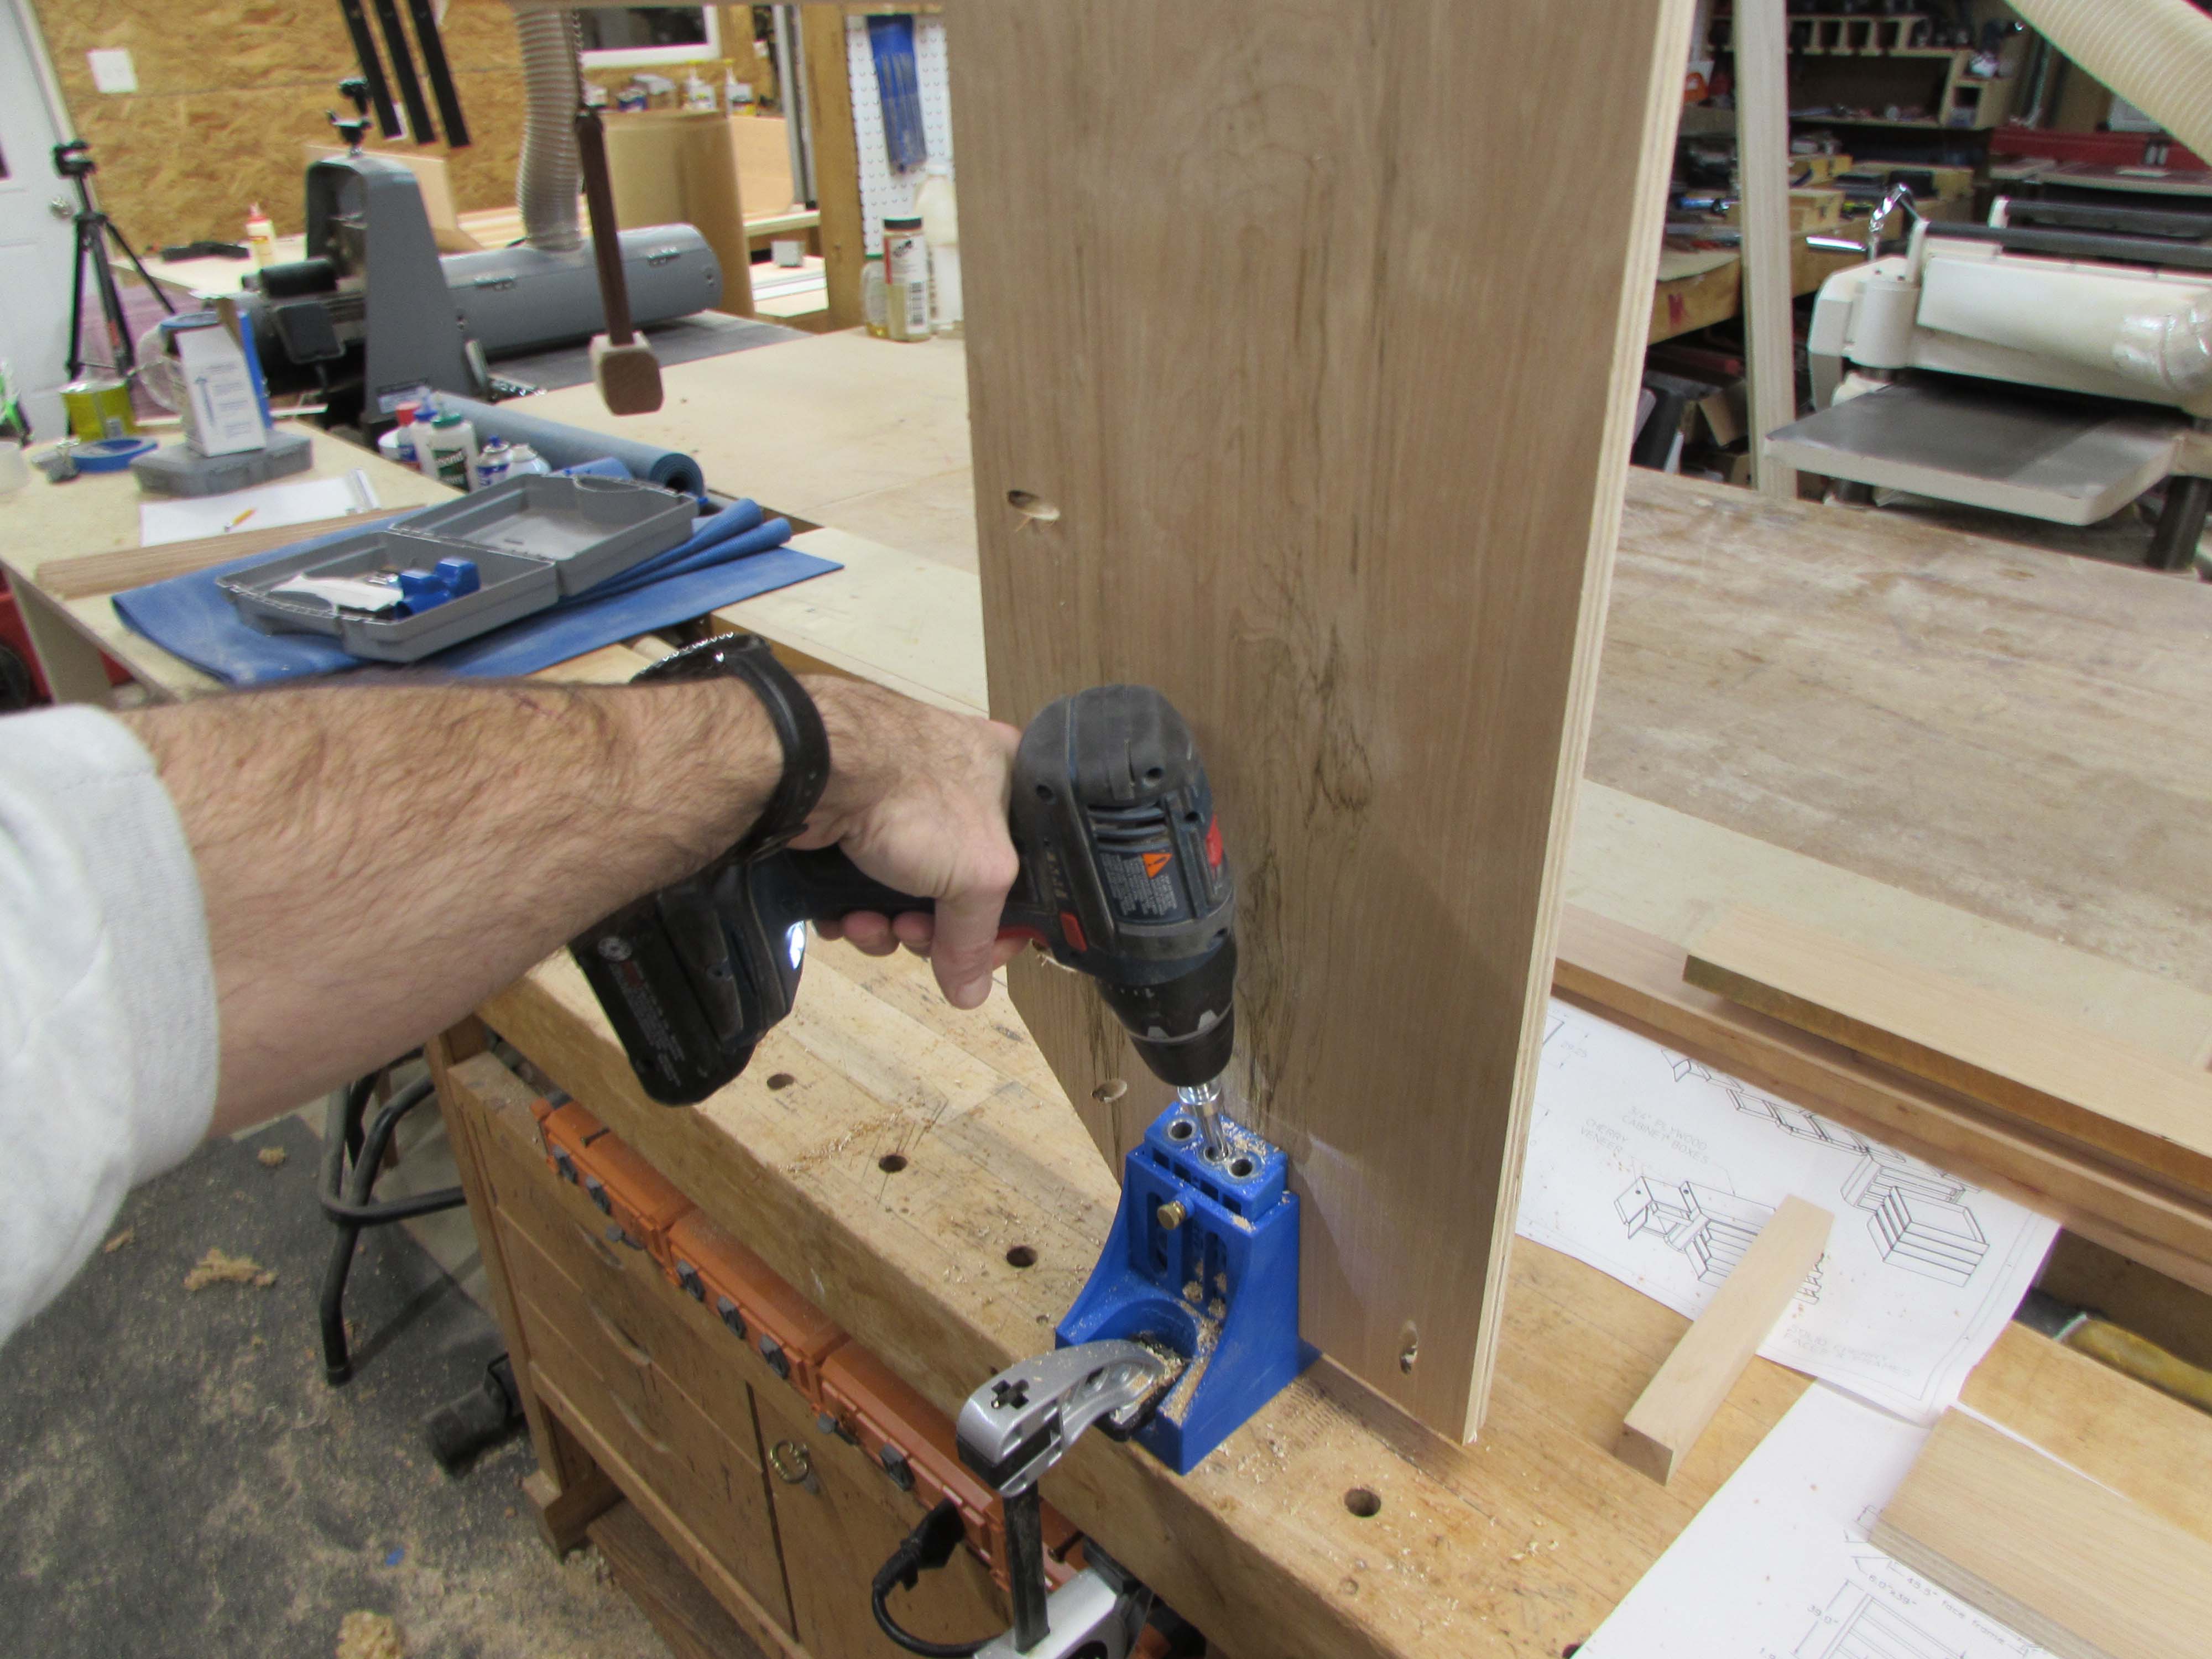
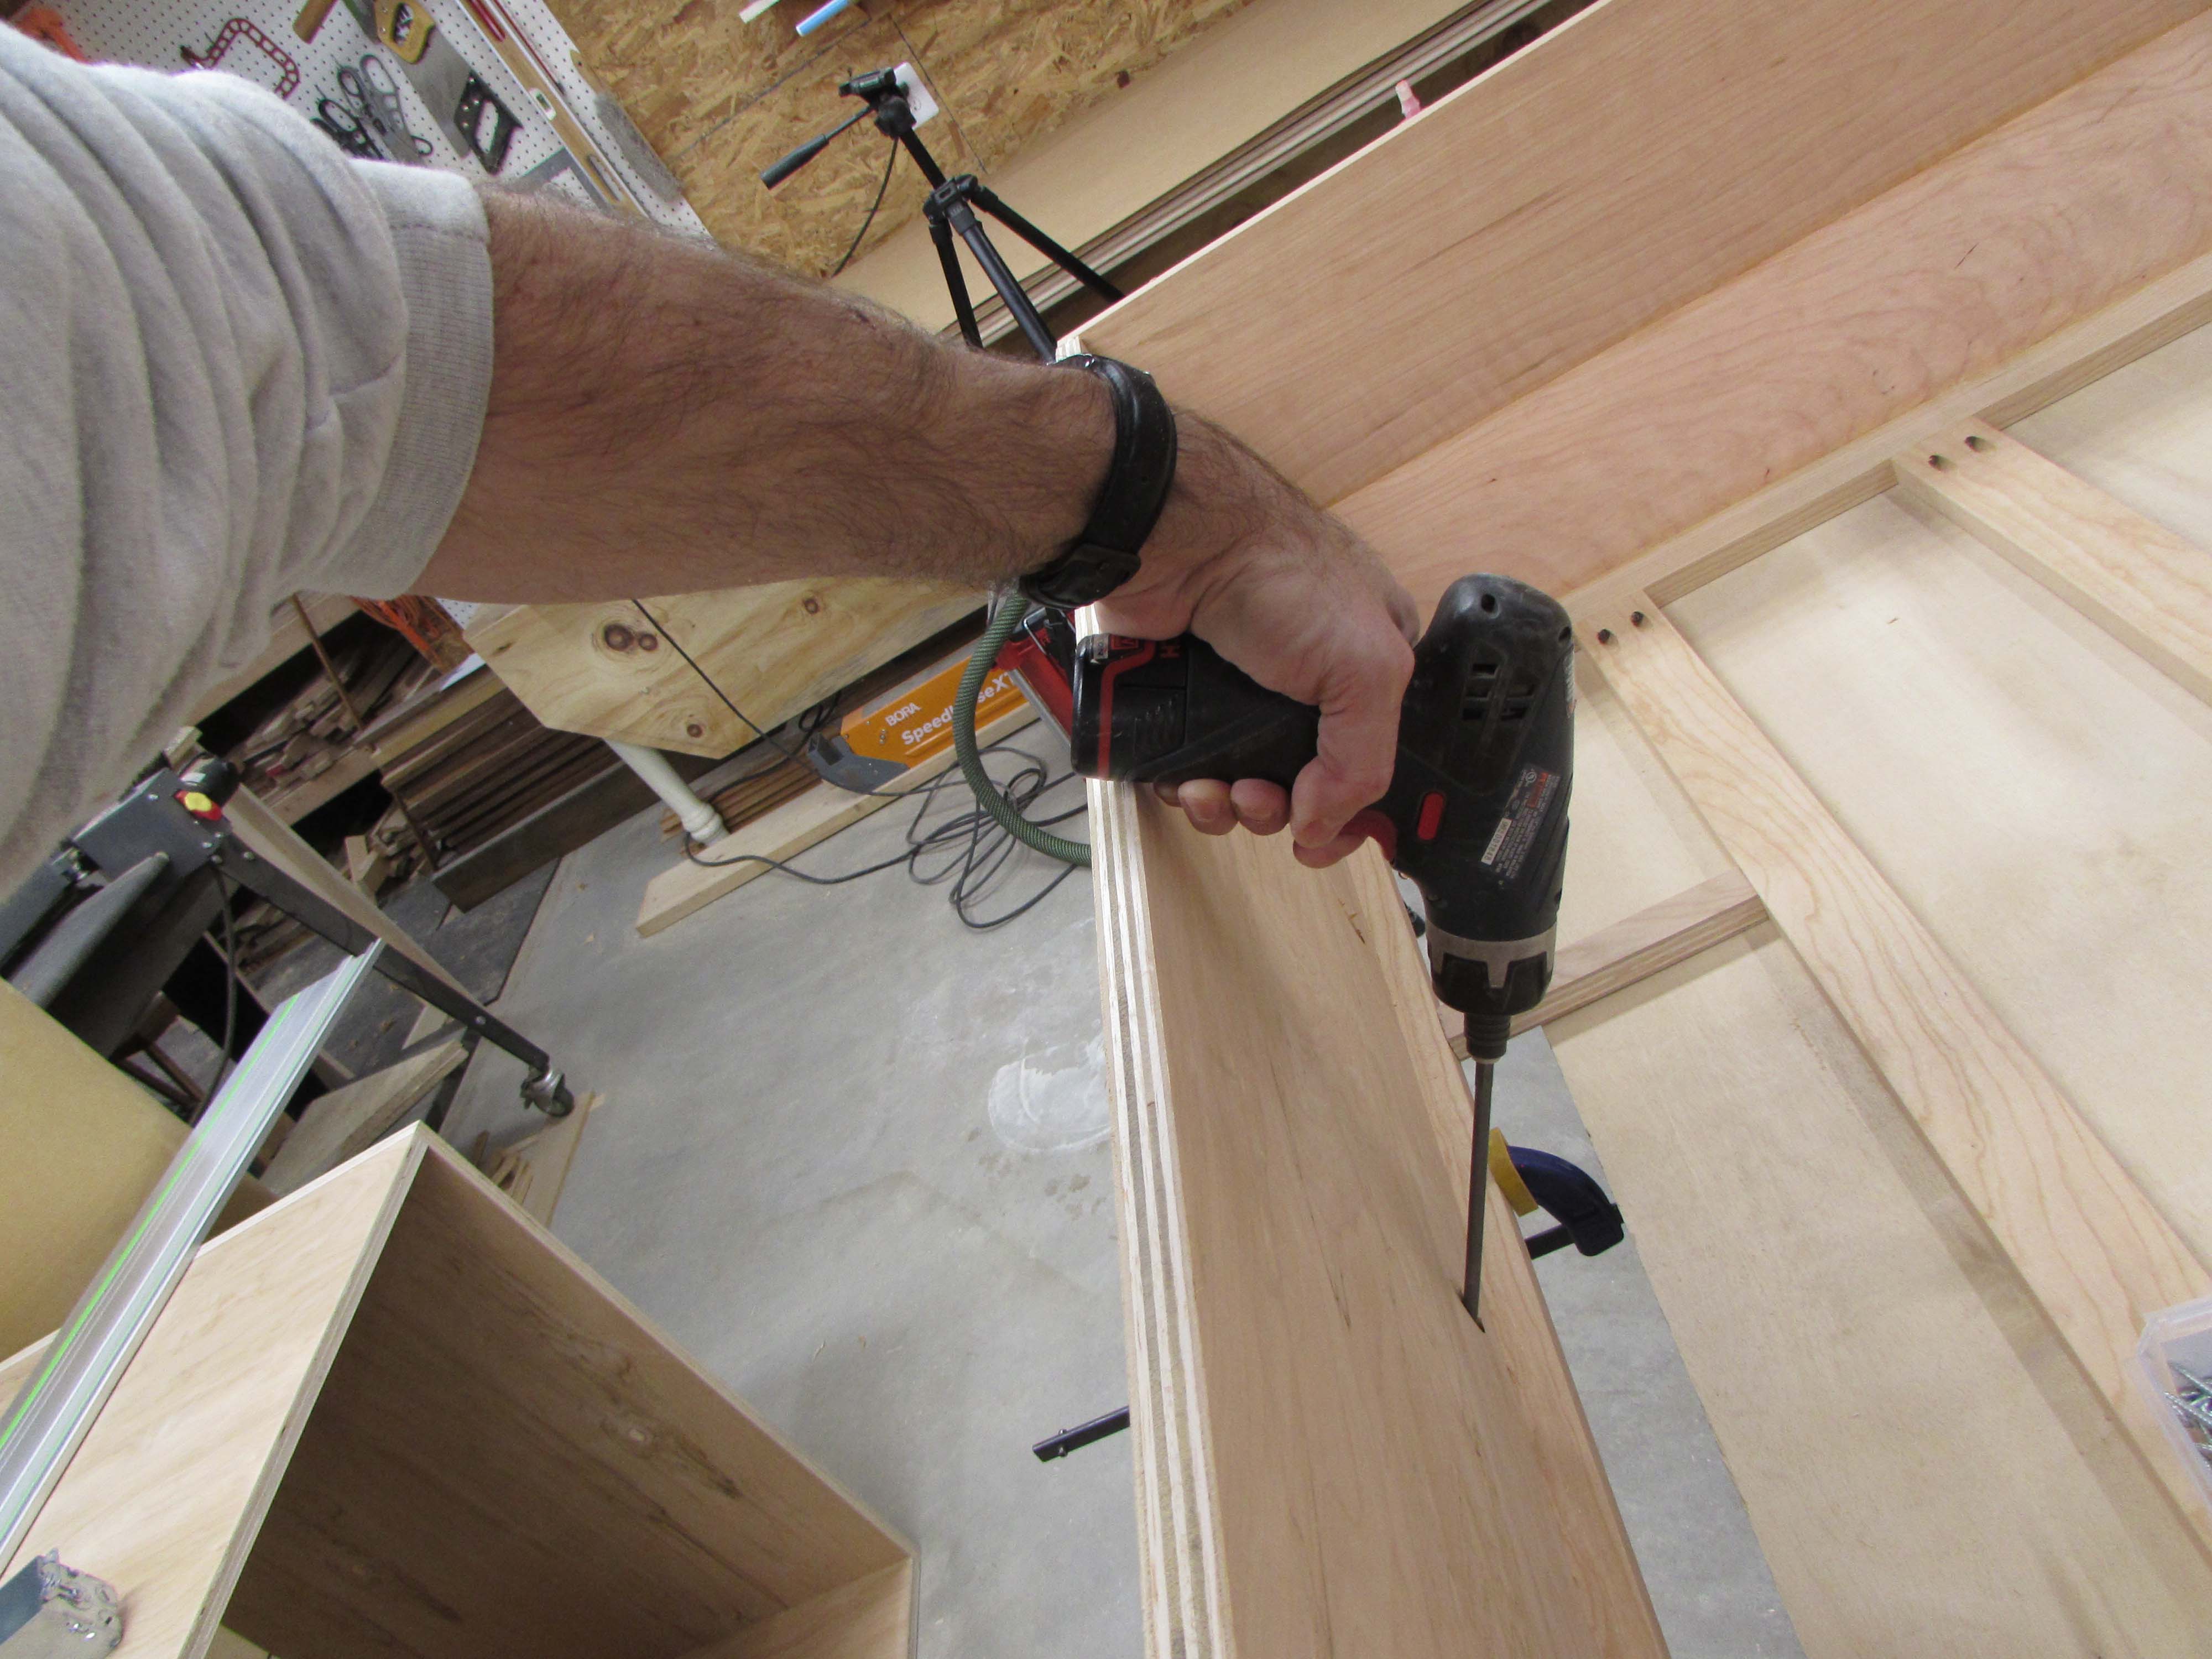
Box assembly is straight forward. I am clamping the corners square and pre-drilling, then screwing the plywood sheets together.

Once the box is assembled, I add in the rear supports to hold it square.

These are attached from the sides as well as the top and bottom.

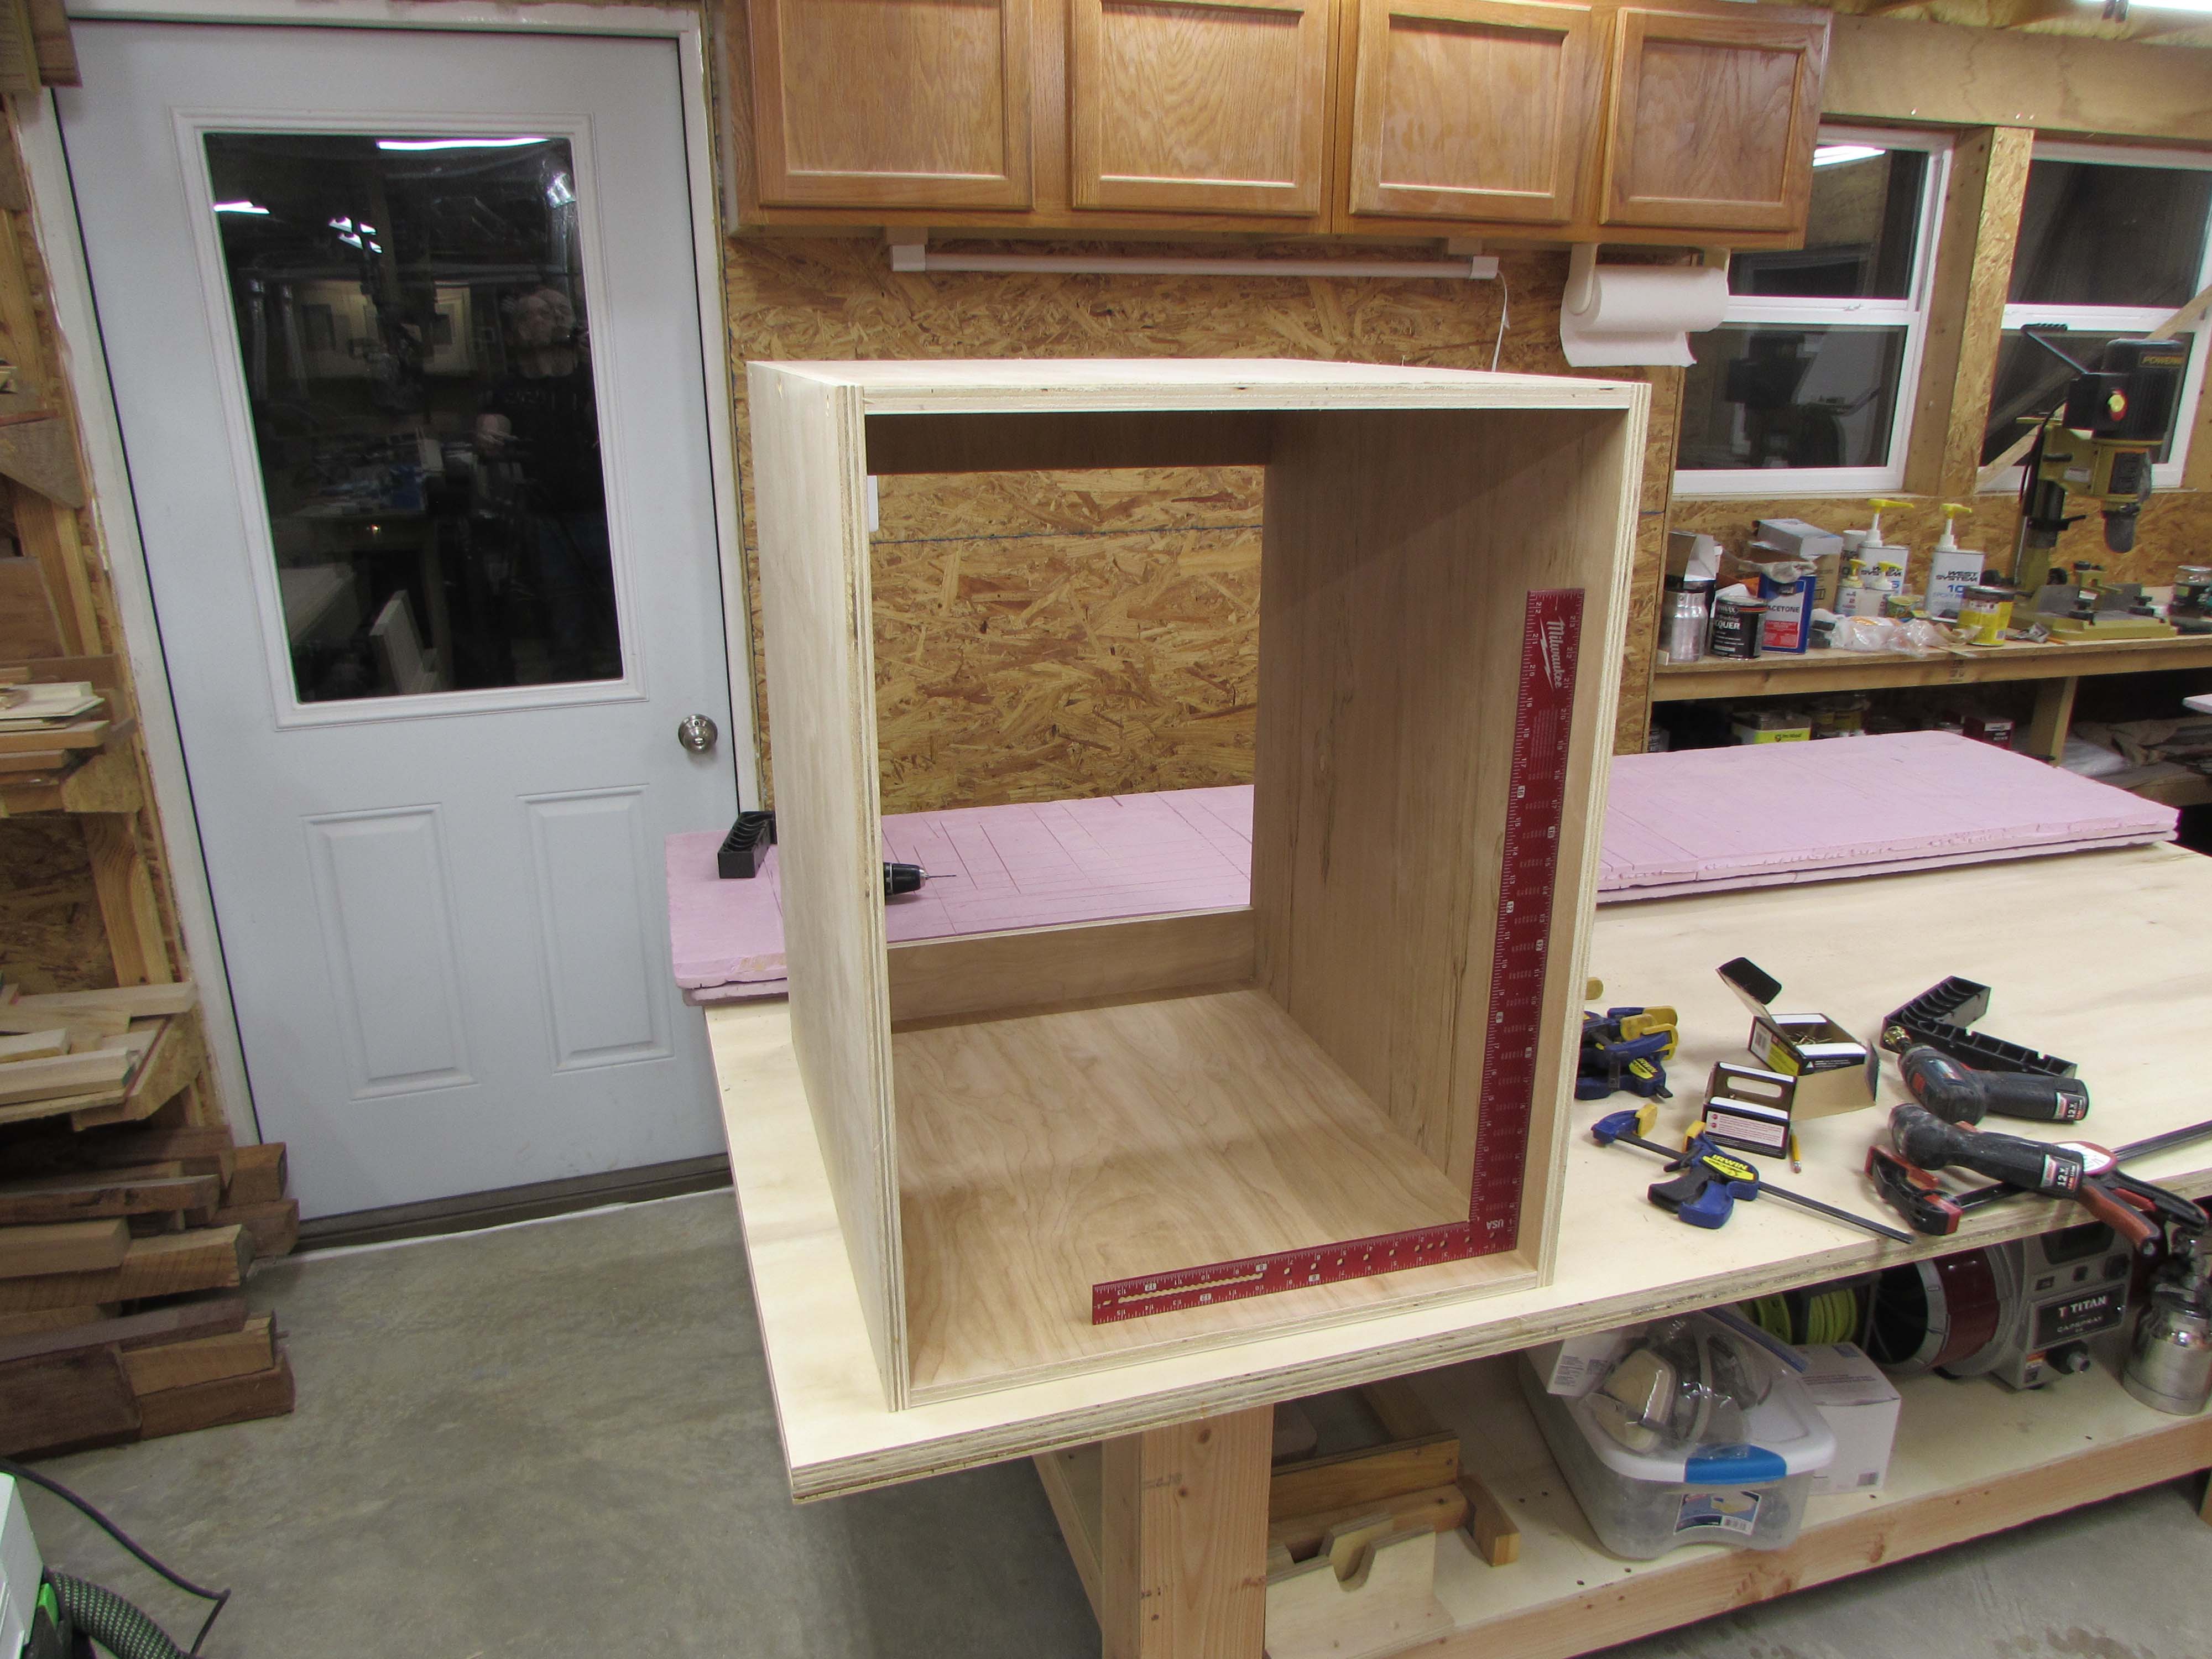
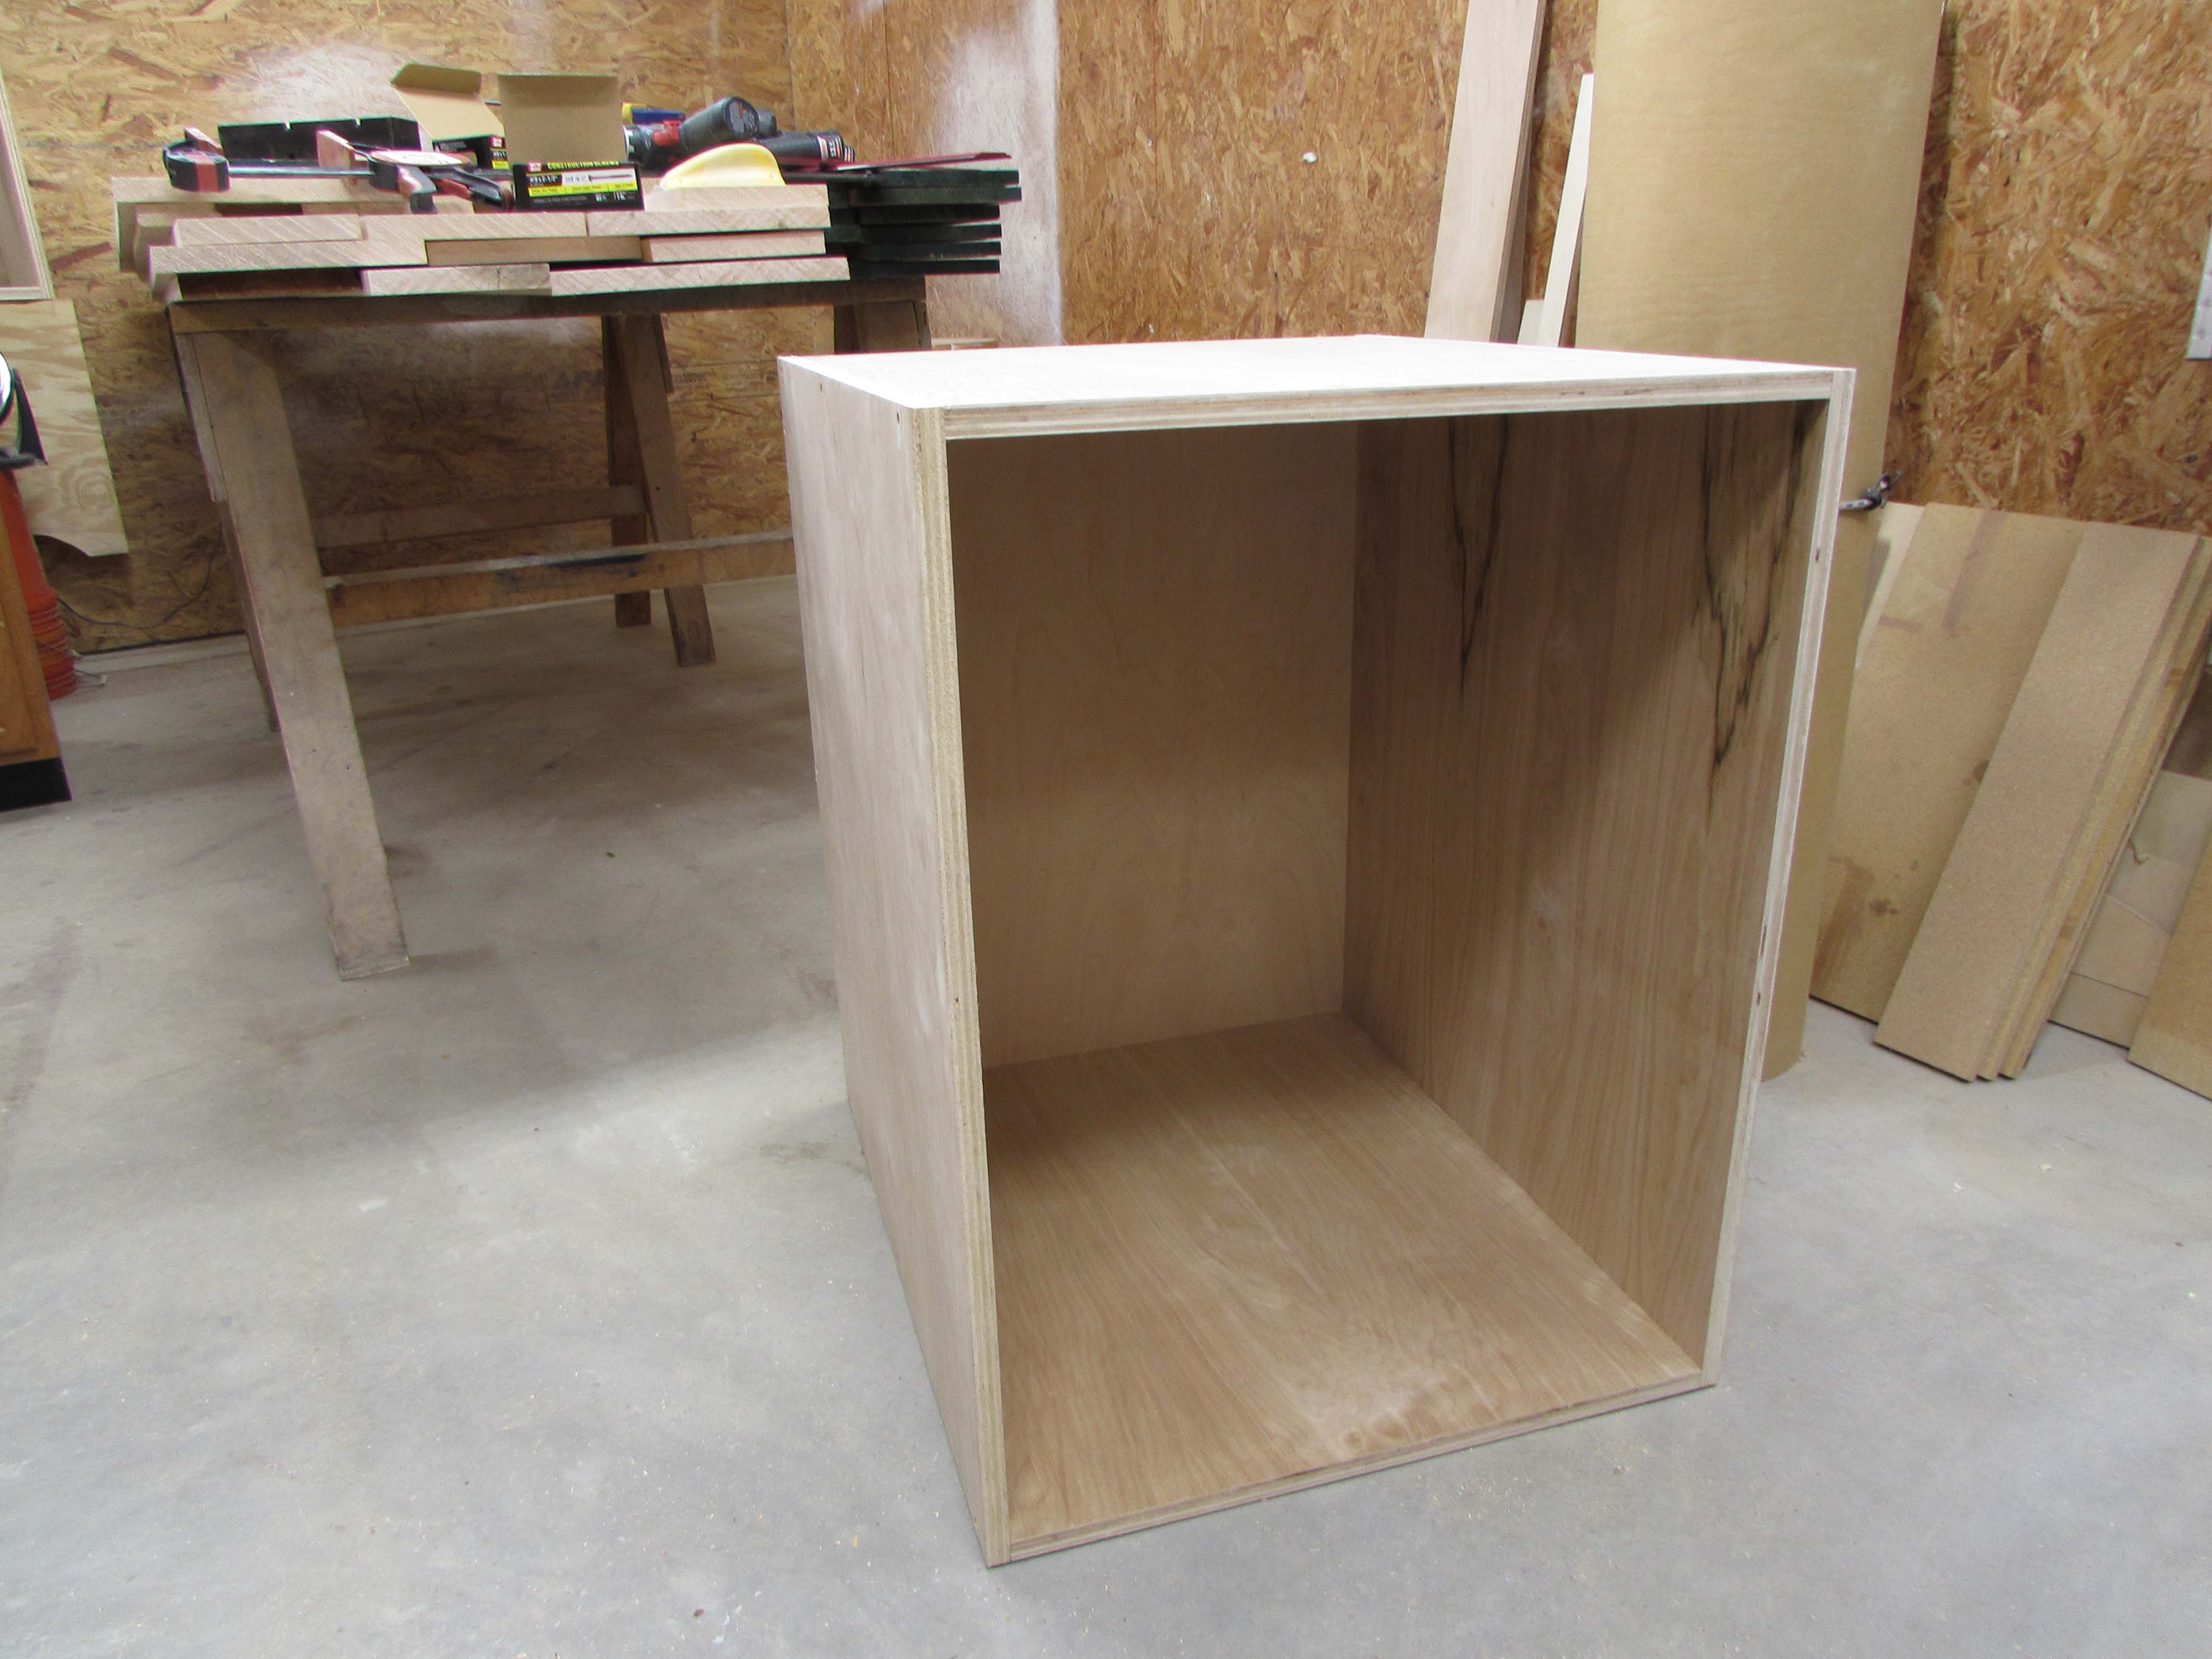
The first box will contain drawers, the second will have one drawer and storage below so I decided to attach a full back piece to that one.
After the first two boxes were started, I decided to build the base next. All the exposed sides of this cabinet will be cherry so the front and sides of the base will be solid cherry while the internal supports will be plywood.
I roughly cut the cherry down to a few inches longer than needed so that I could plane and joint the boards more easily.
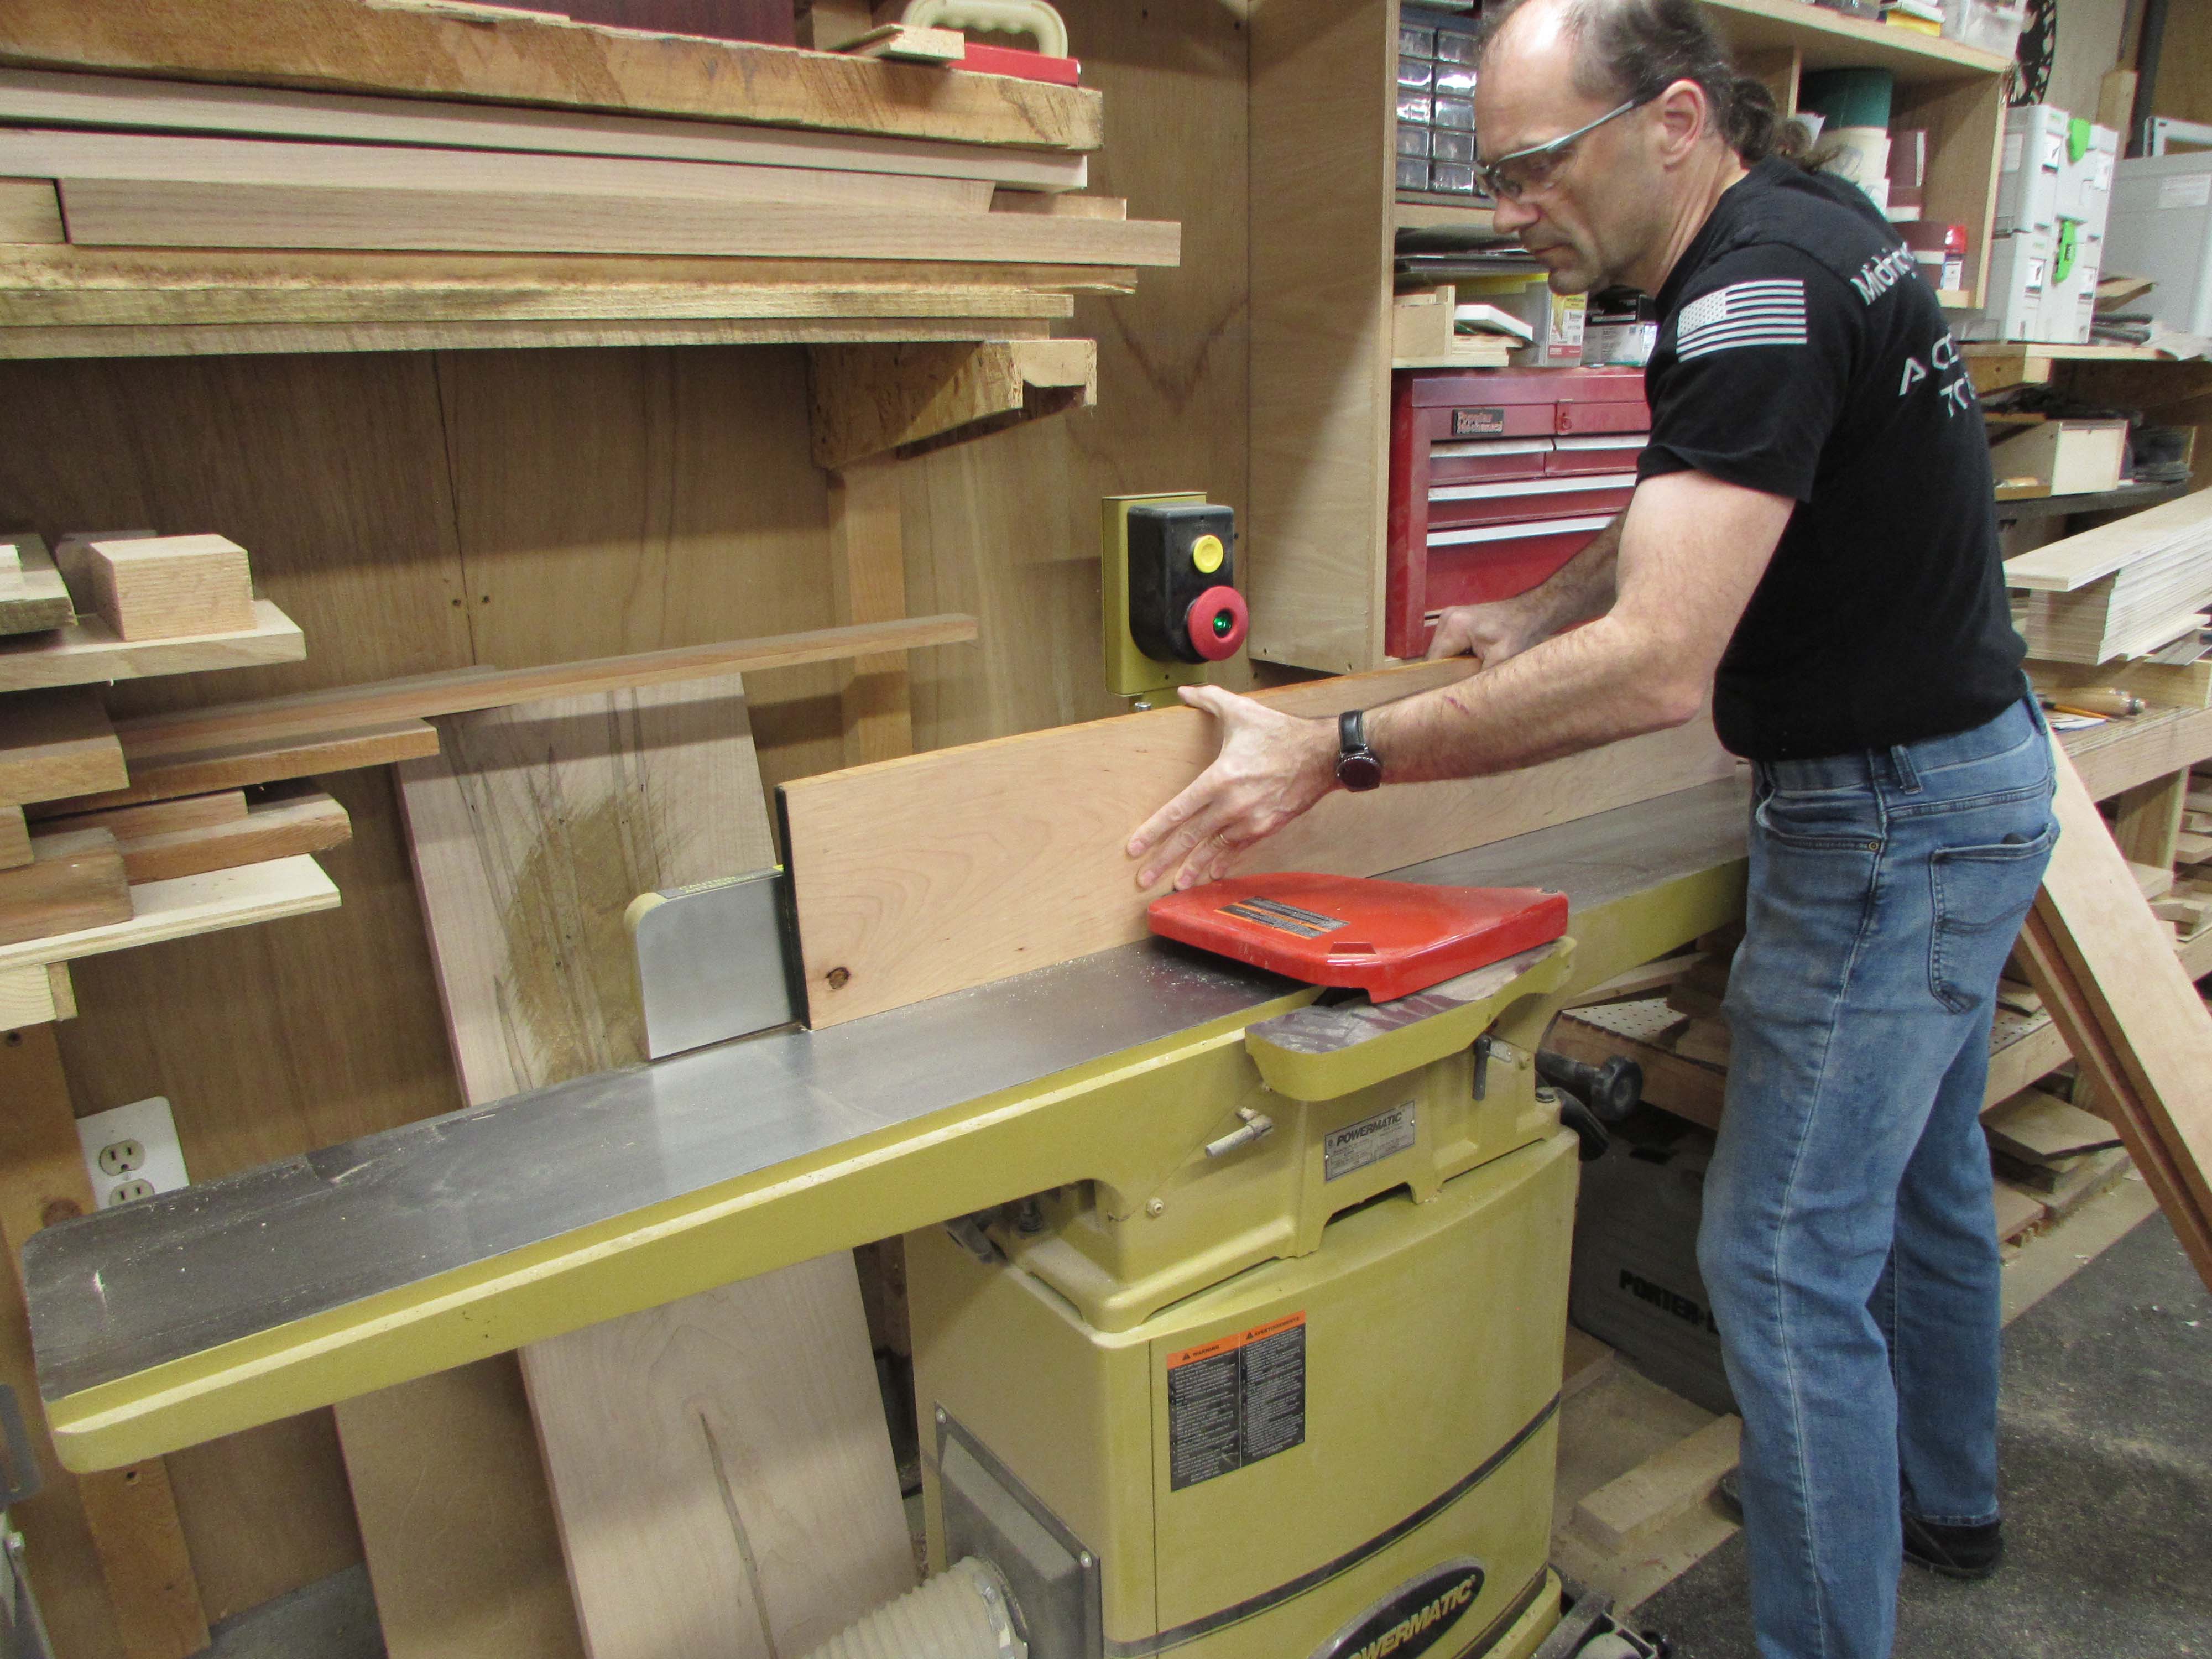
I had the lumber mill plane the rough-sawn boards down to about 1/16″ thicker than I needed so that I could plane it down to my final 3/4″ dimension. Having them pre-mill most of the wood saves me from disposing of hundreds of gallons of sawdust and it saves me a lot of time as well.

After planing the boards down and jointing one side flat, I cut the base boards down to their final 4″ width.

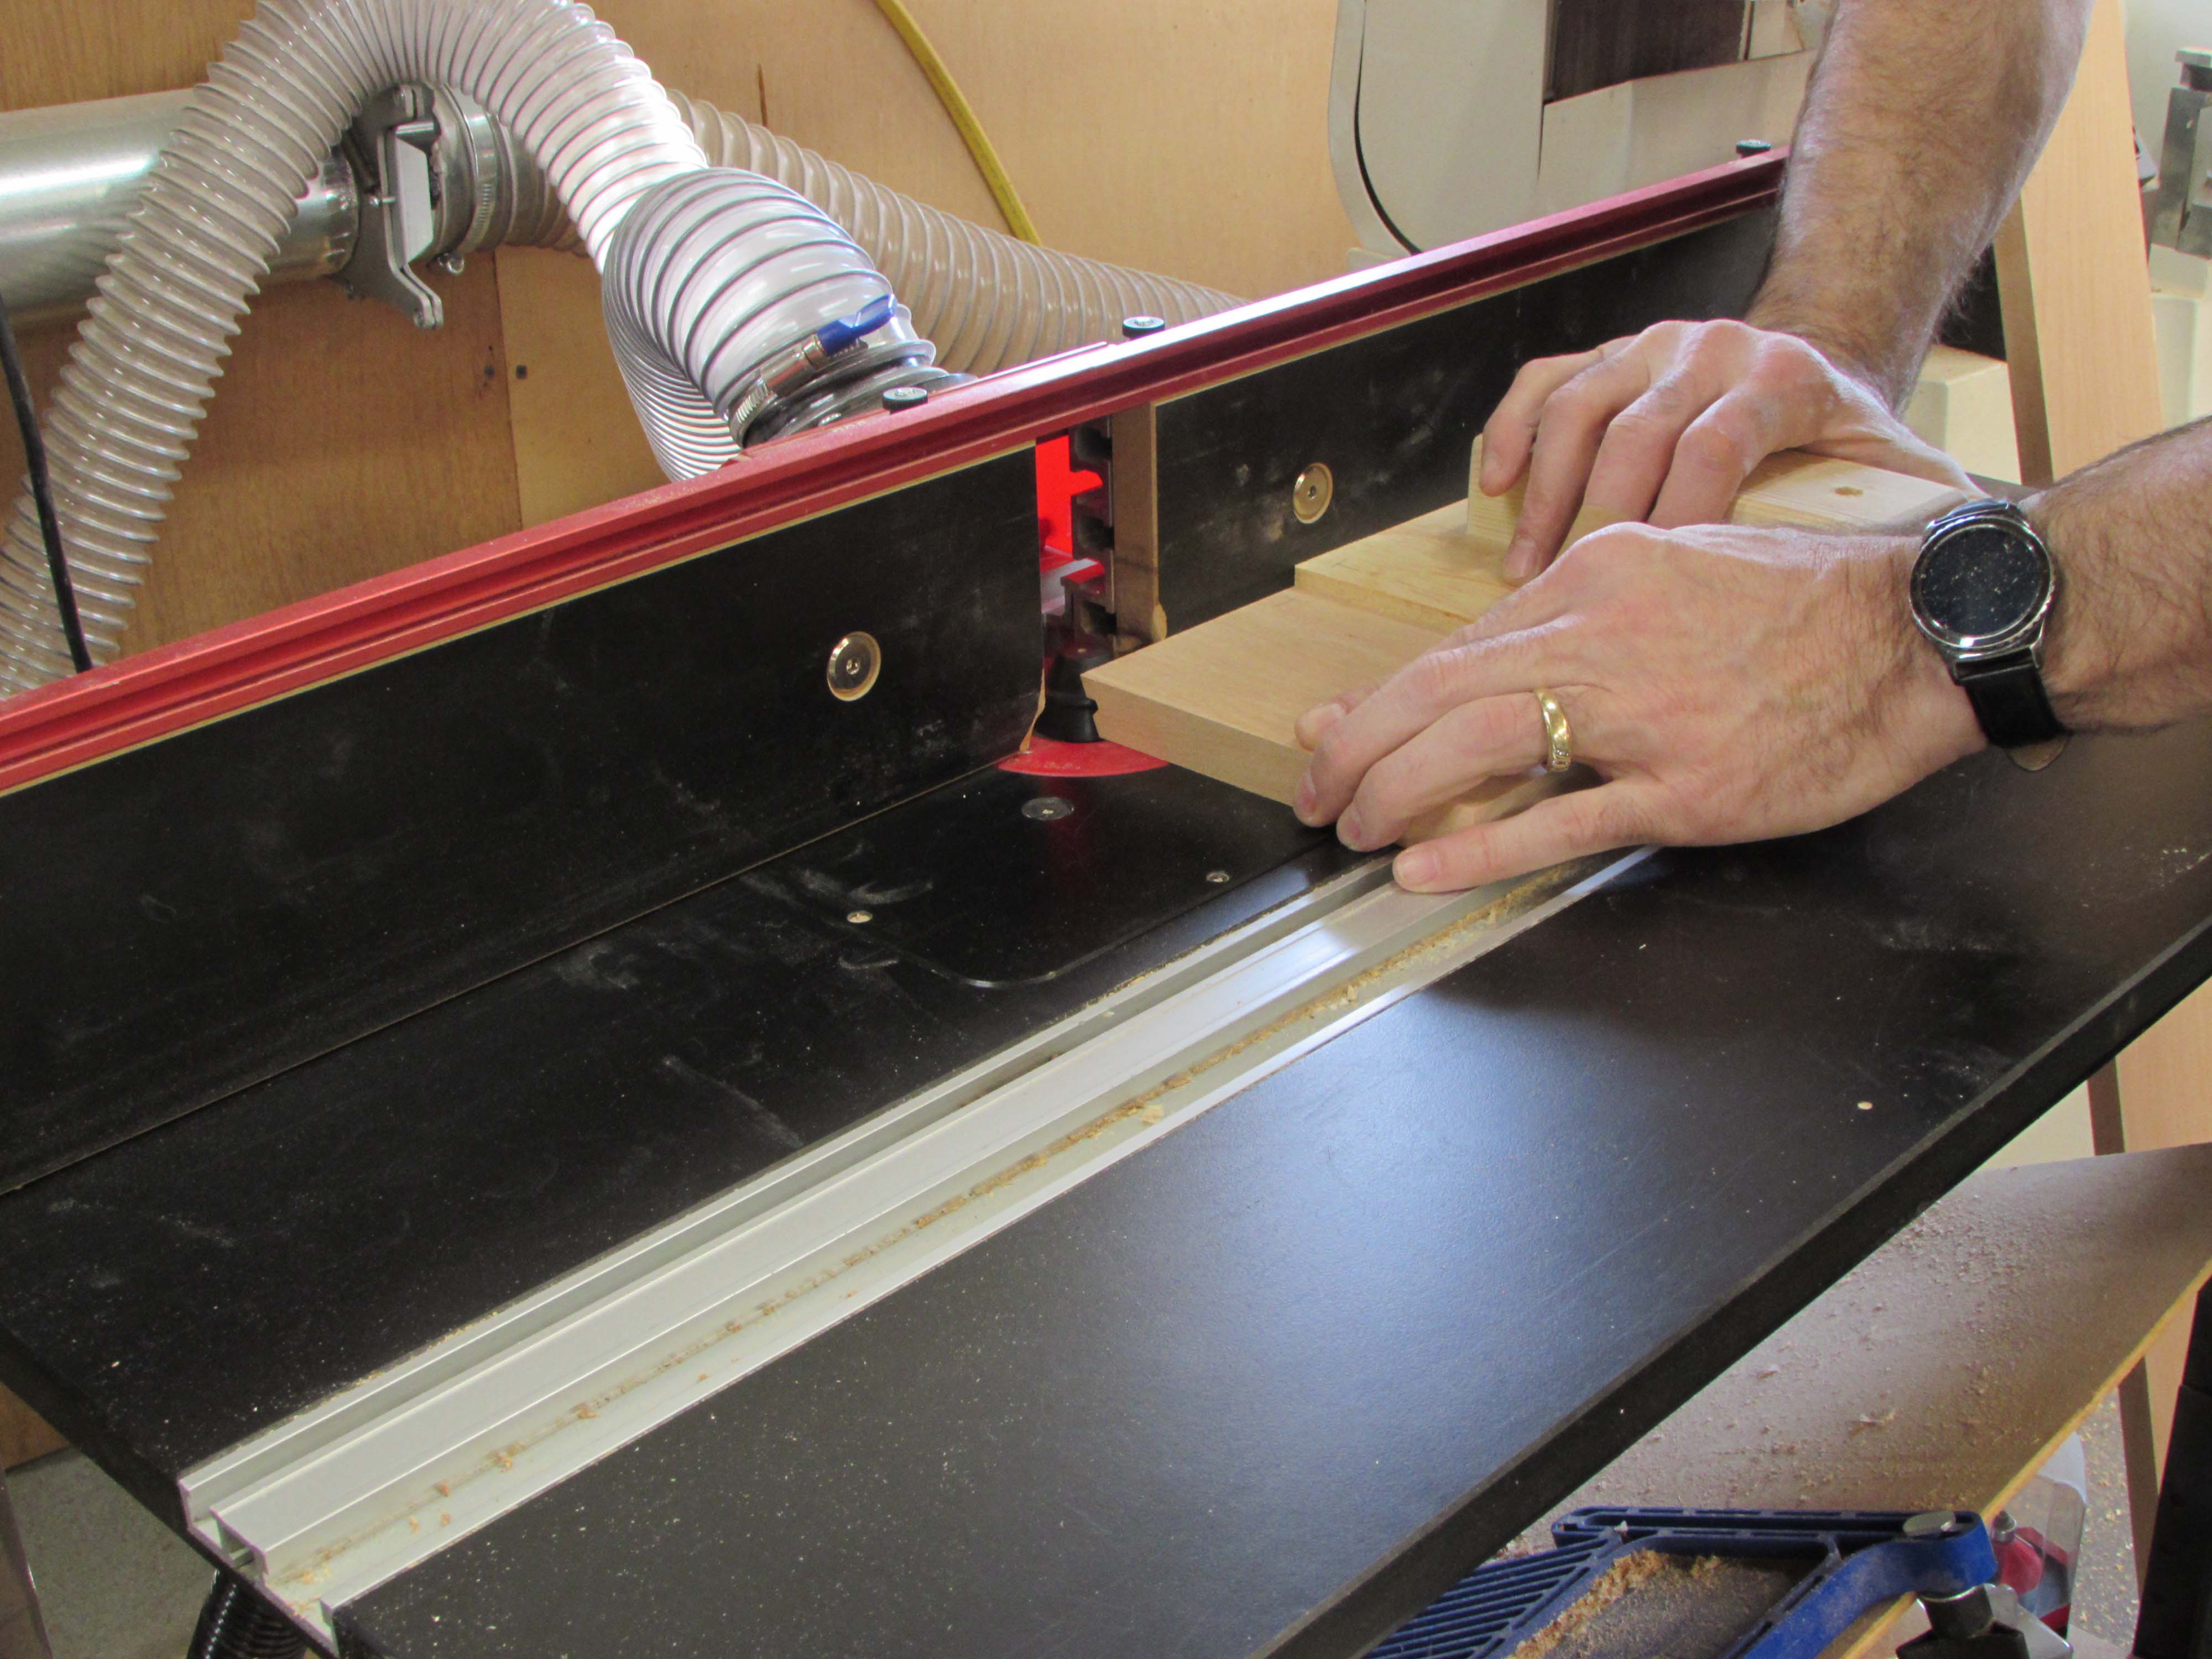
Since the center cabinet will have a 45° corners, I will have to miter the joints. To get a good glue bond, I am setting up my lock-miter bits in the router table. This will lock the boards together and give me more gluing surface.
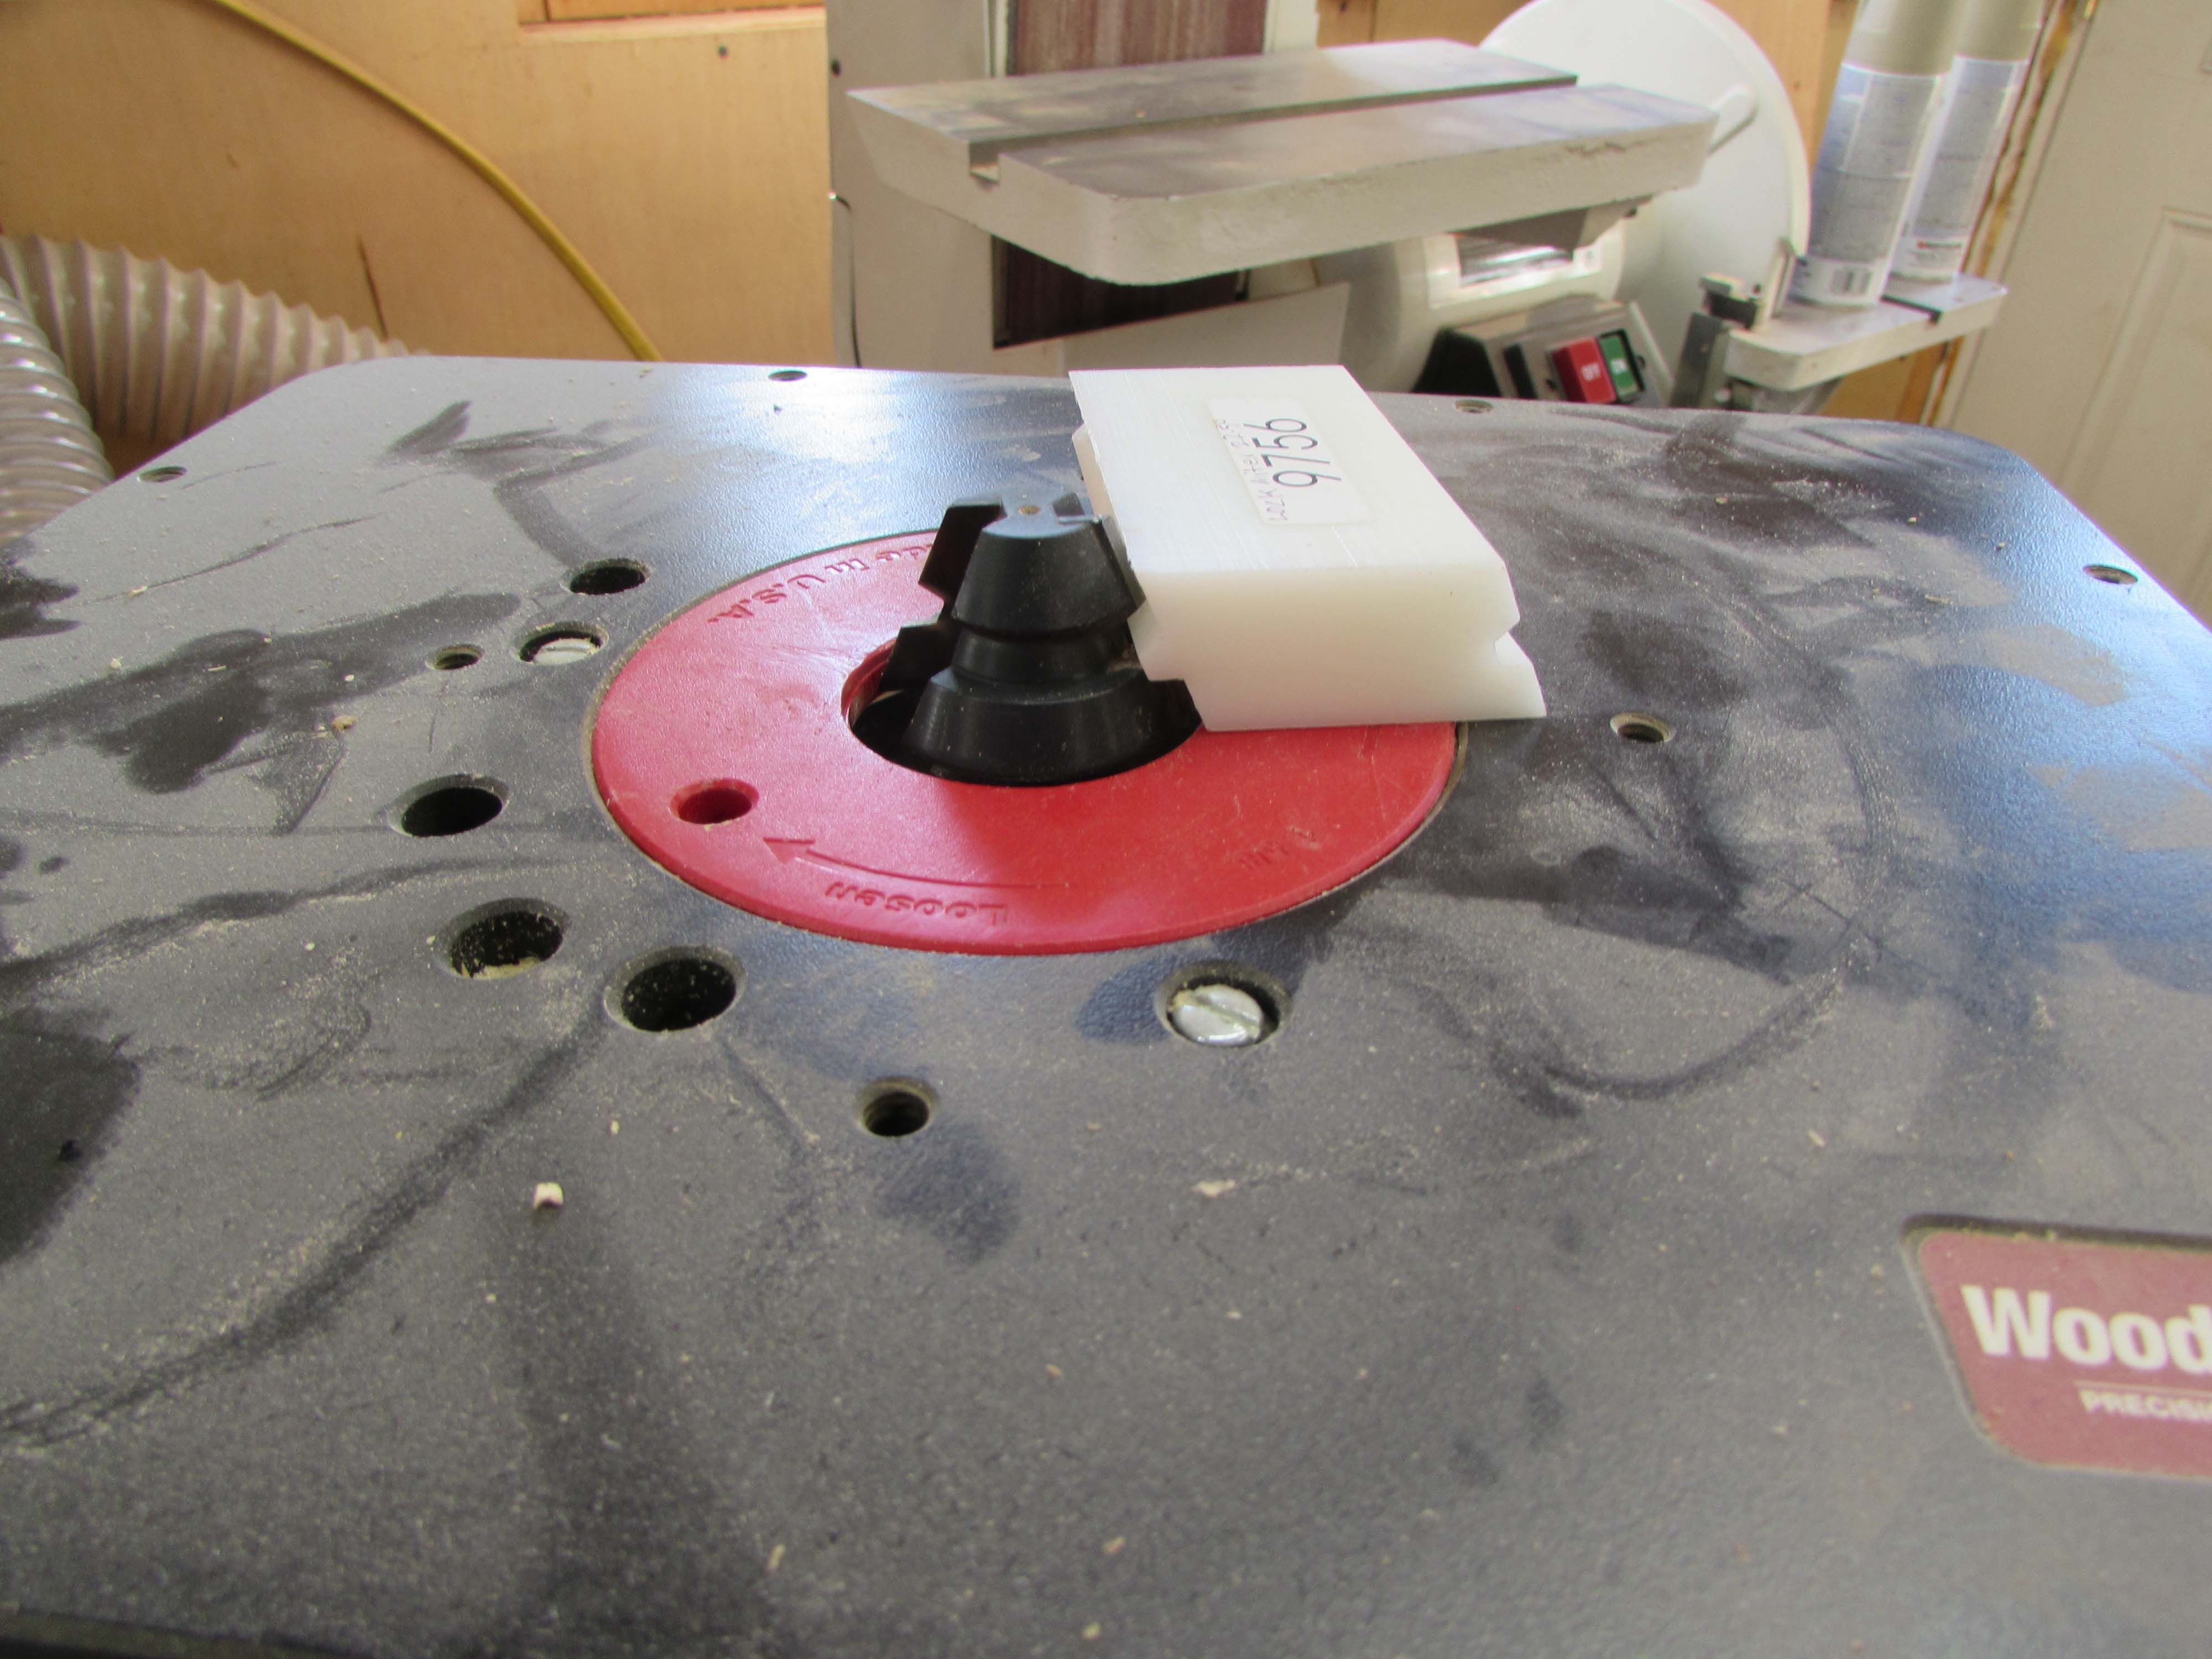
Each side of the joint will be a 22.5° angle. This requires two opposing bits, each makes a mirror opposite cut. I use a setup block to get each bit set in two different routers.

Once the setup is right, I can just swap routers back and forth without having to keep swapping the bits and losing my settings.

I made a push block to help prevent tear-out as the bit exits the wood.

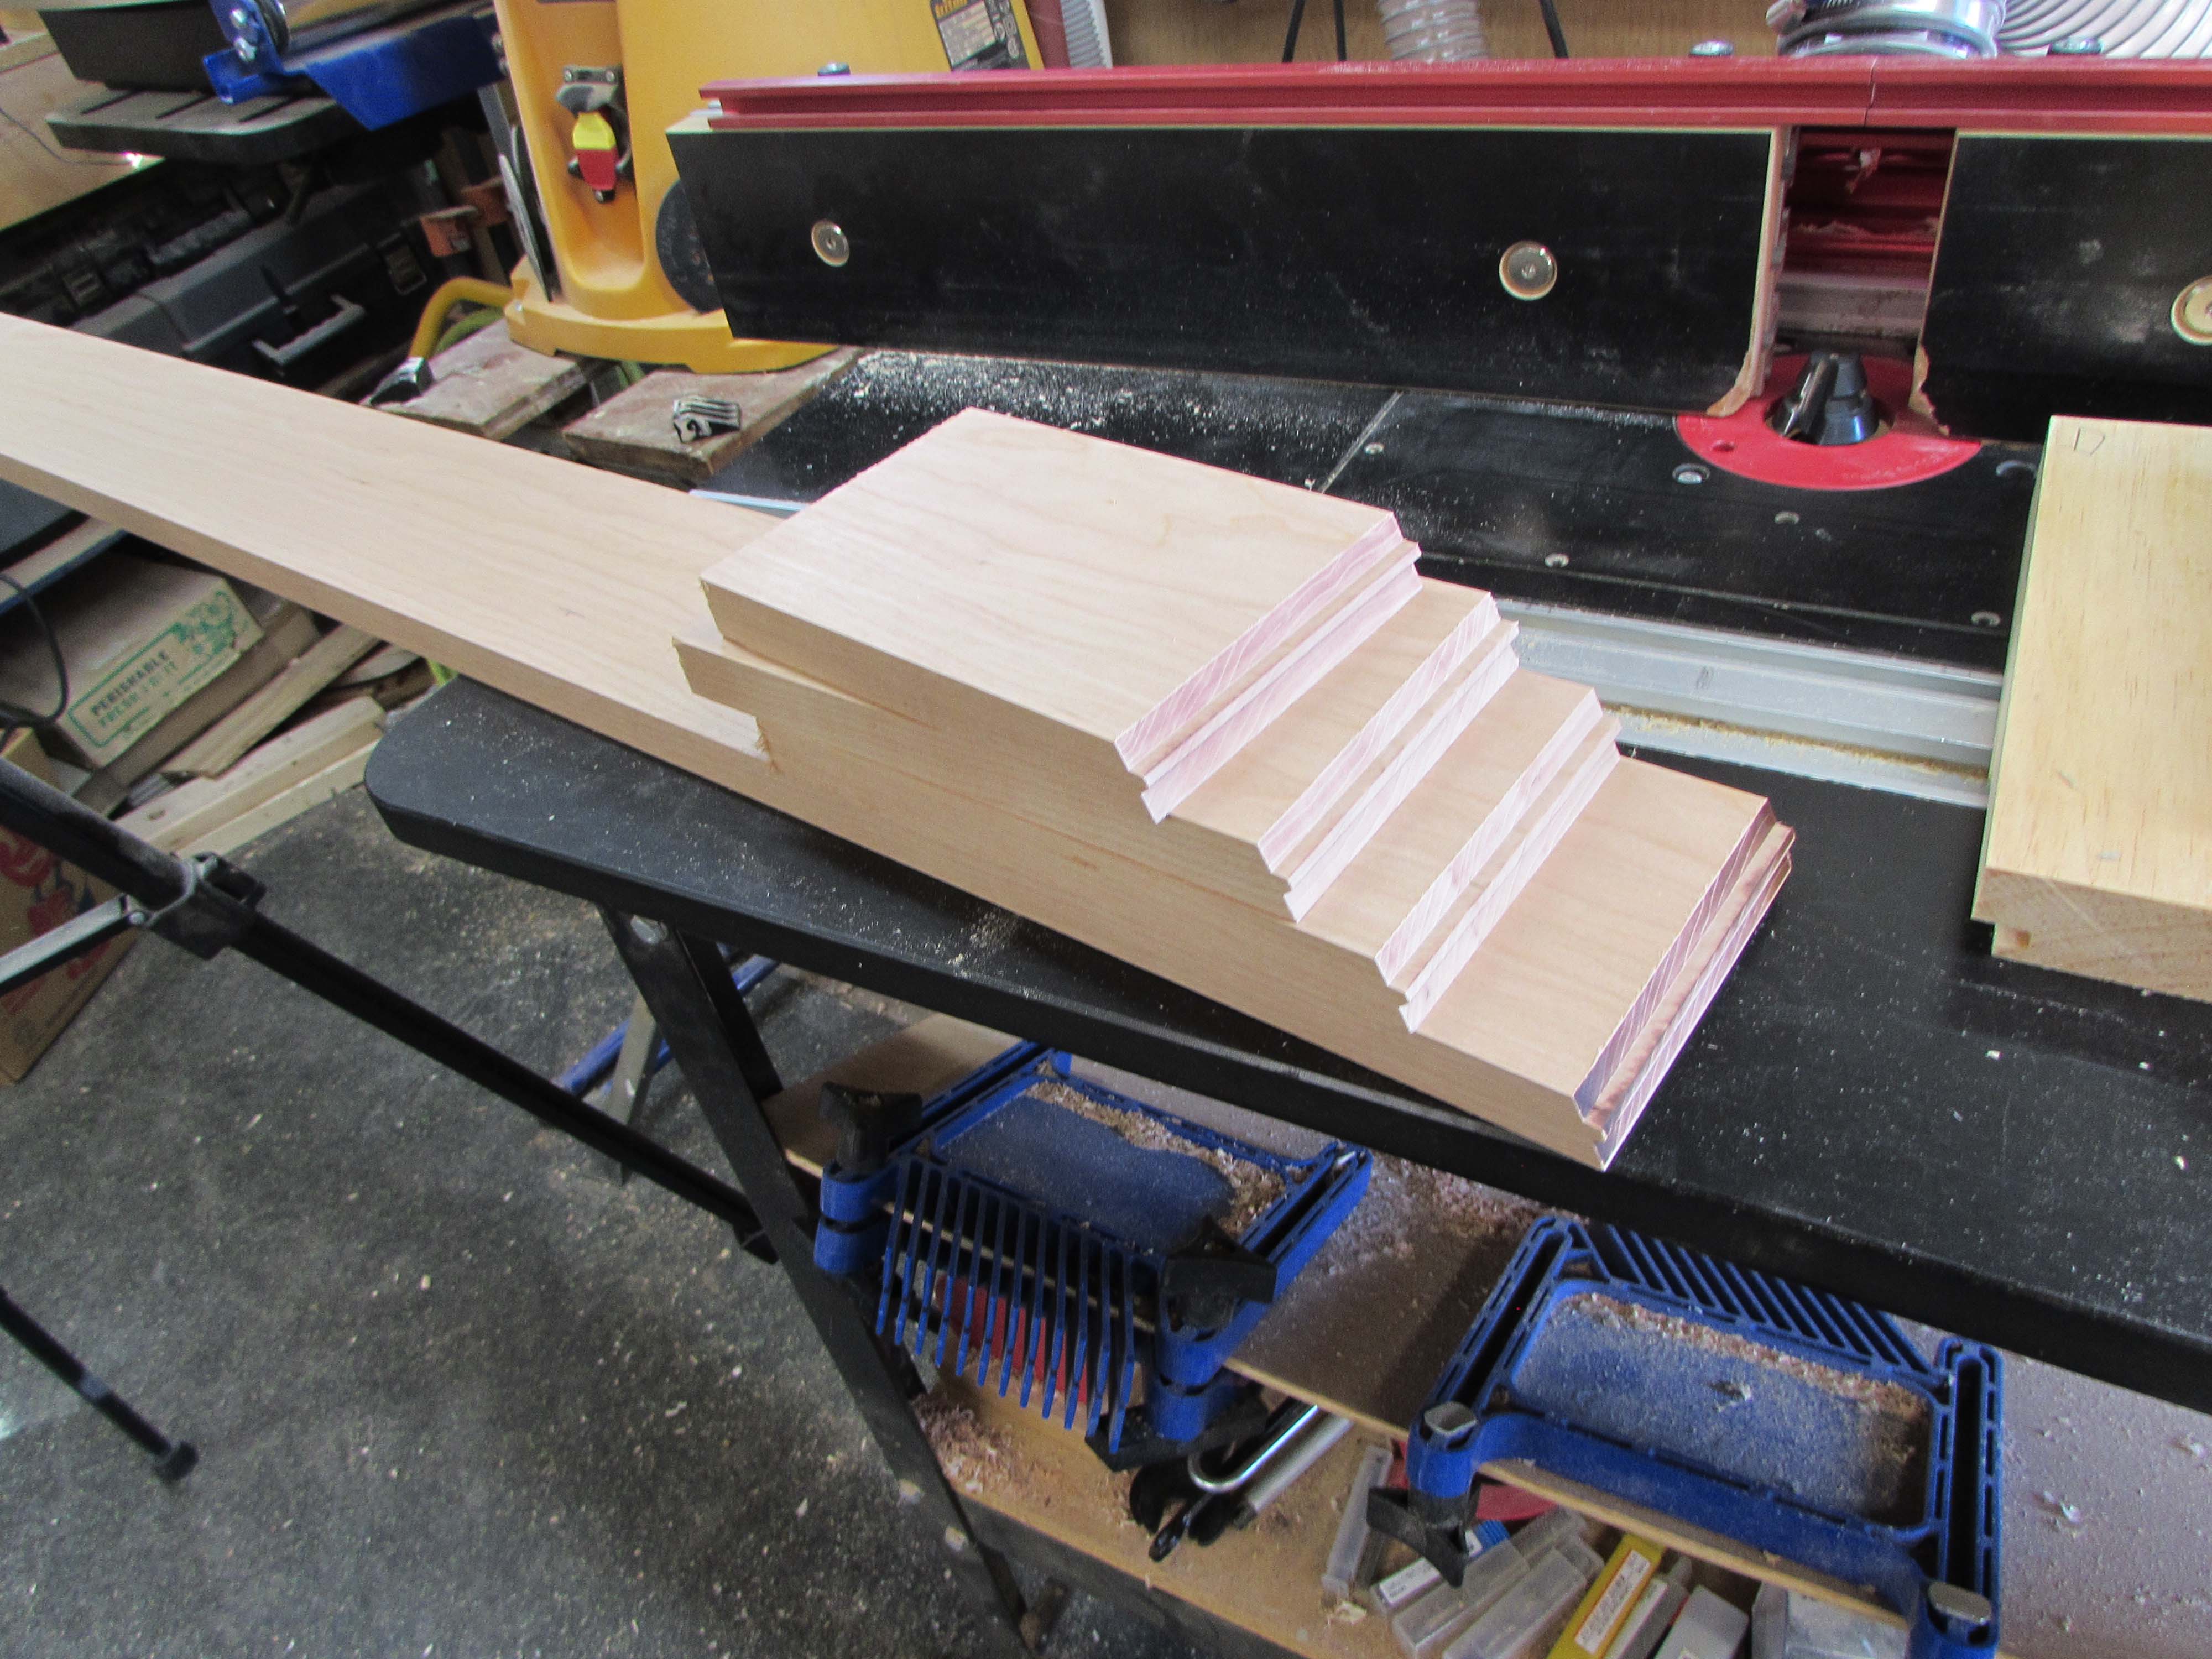
Then I do some test cuts on a couple of scraps. I will need to do the same miter joints on the cherry verticals for the center cabinet as well so I did end cuts as well as test cuts up the sides.

I mark the test pieces so that I know which router makes which cuts.

I carefully mark which router to use for each opposing cut, on each of the base boards.


I made all the cuts on router number one.
Then swapped out the routers and made the rest of the cuts.

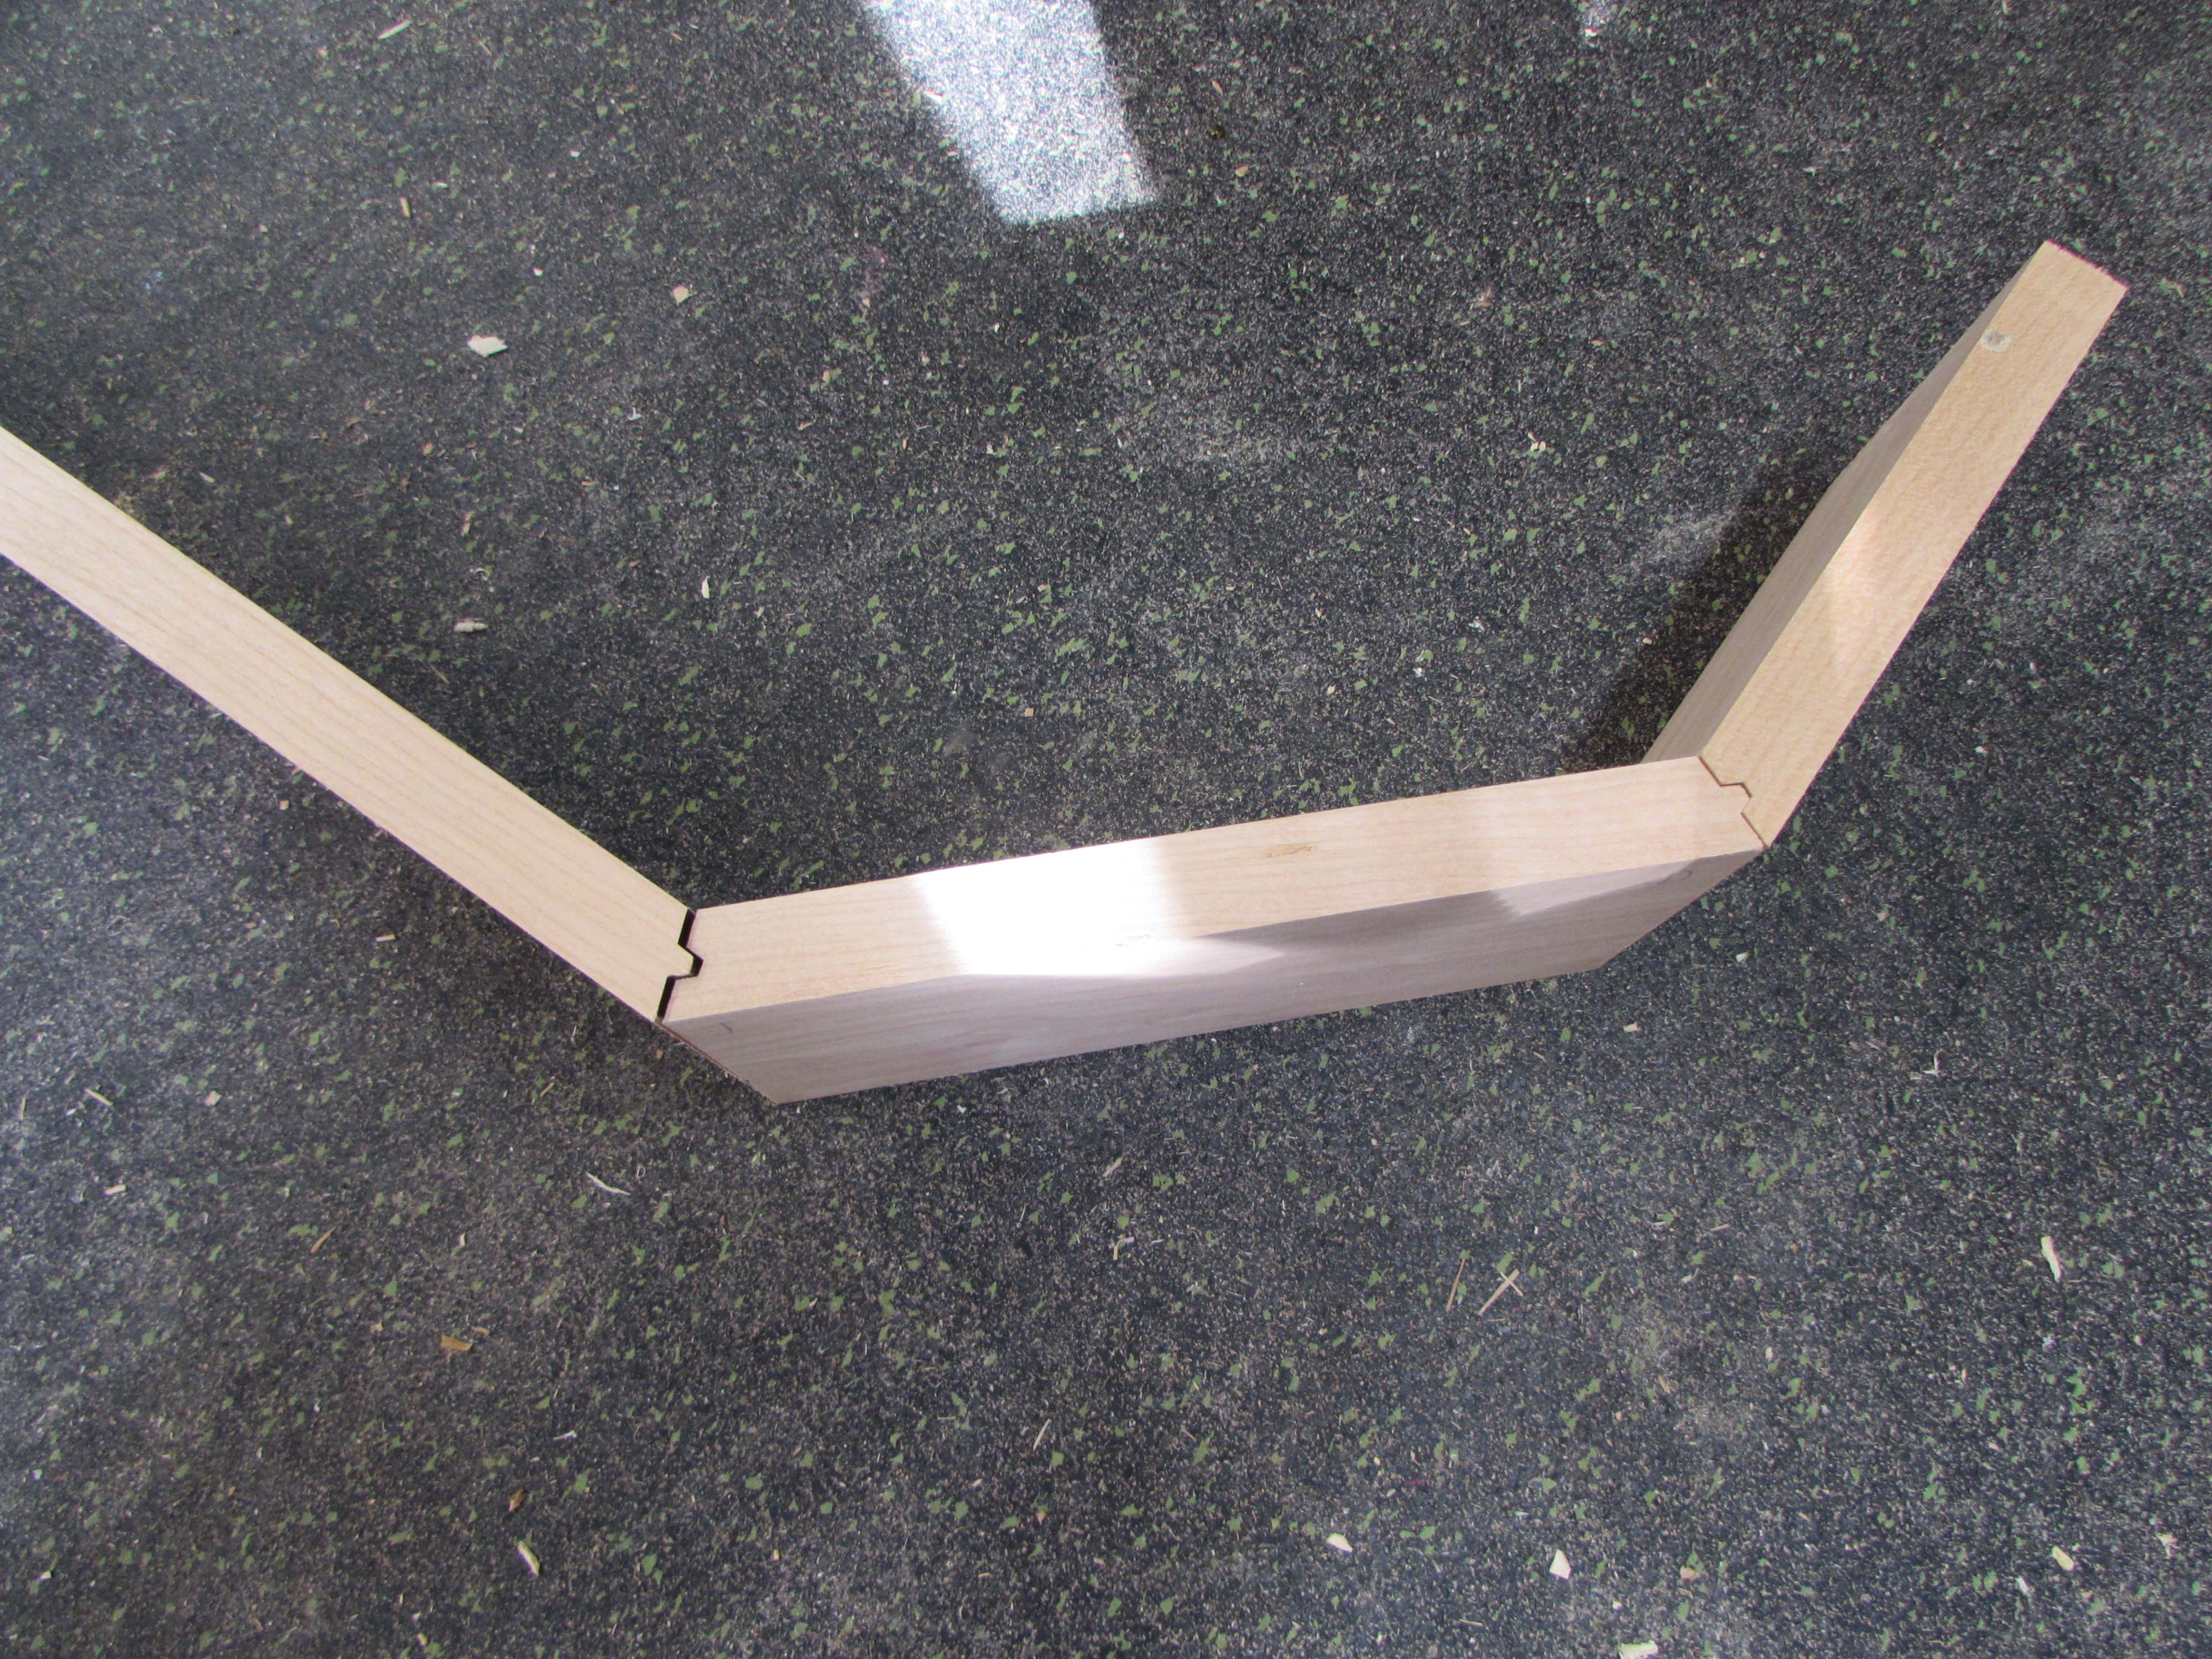
A quick dry-fit looks good.
I need to cut a few more boards that will have standard 90° corners, then I can start gluing it up.

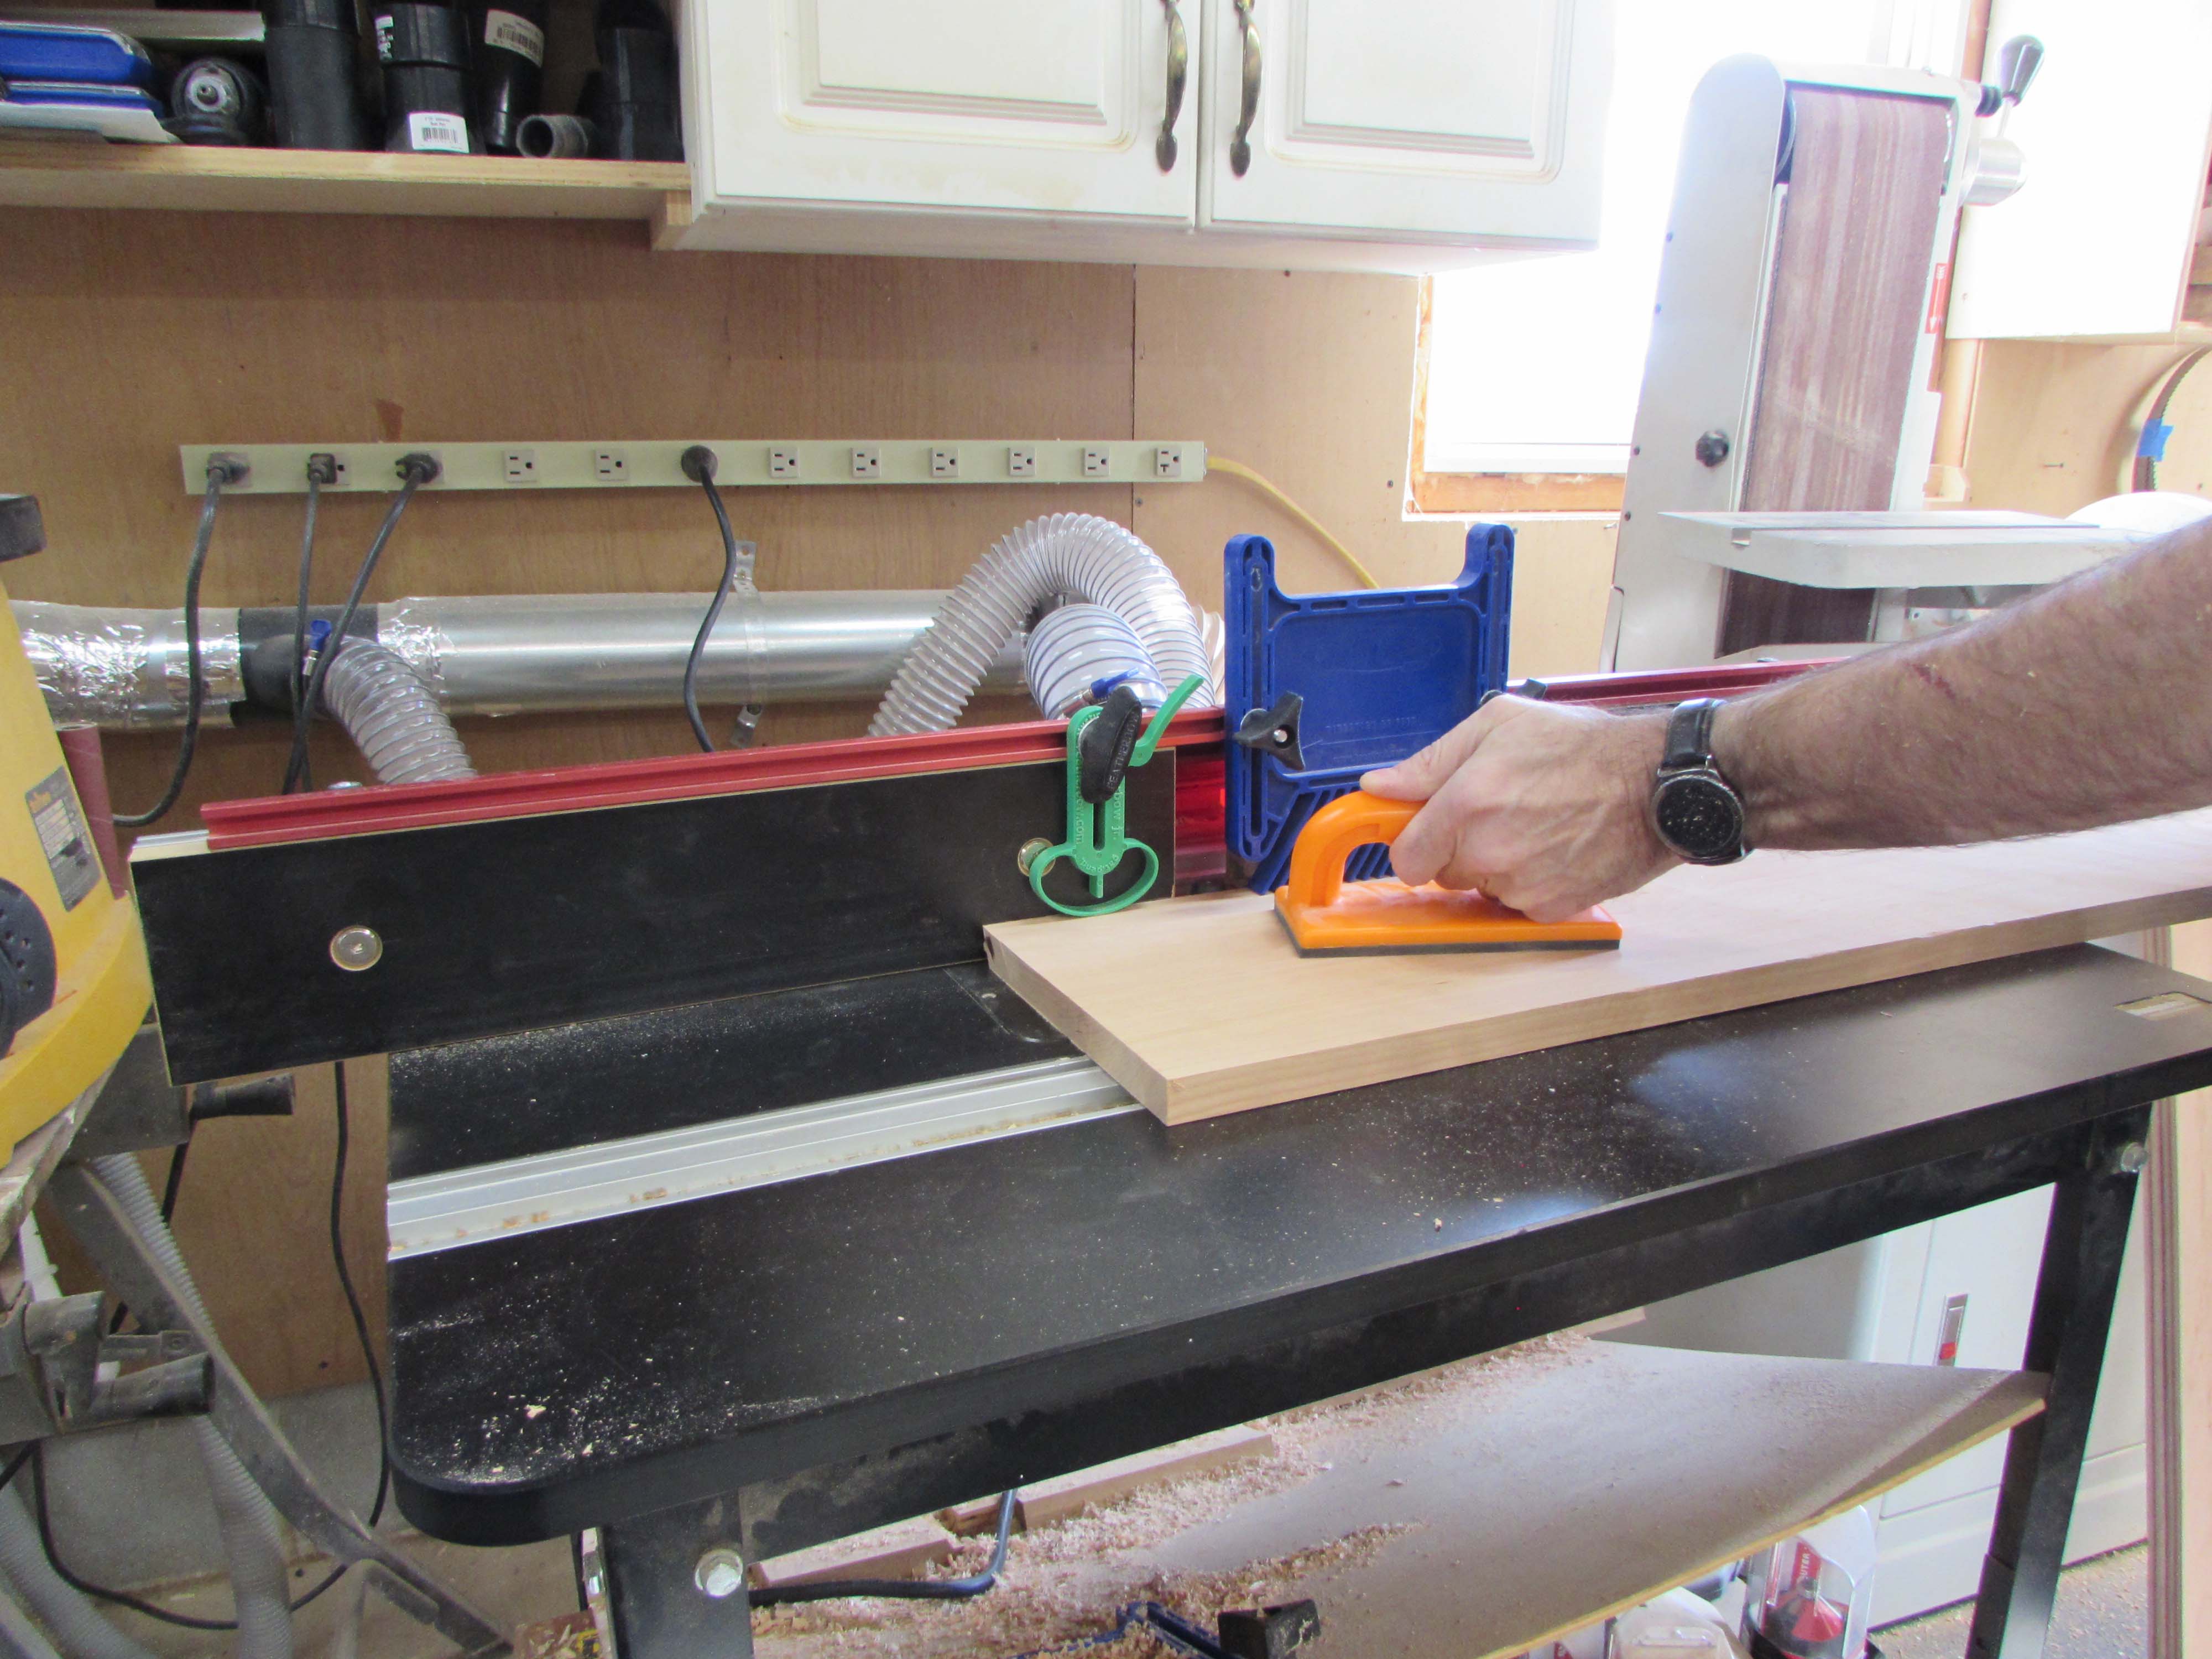
Since the router is set up, I also cut and planed the boards for the face of the cabinet.
I marked which router for each cut, then attached a feather board to the router fence to help keep the boards flat when I ran them through.

Looks like they are cutting well so I ran all the boards through.

After swapping the routers again, I had all my angle cuts done. Dry fit looked good on them as well.
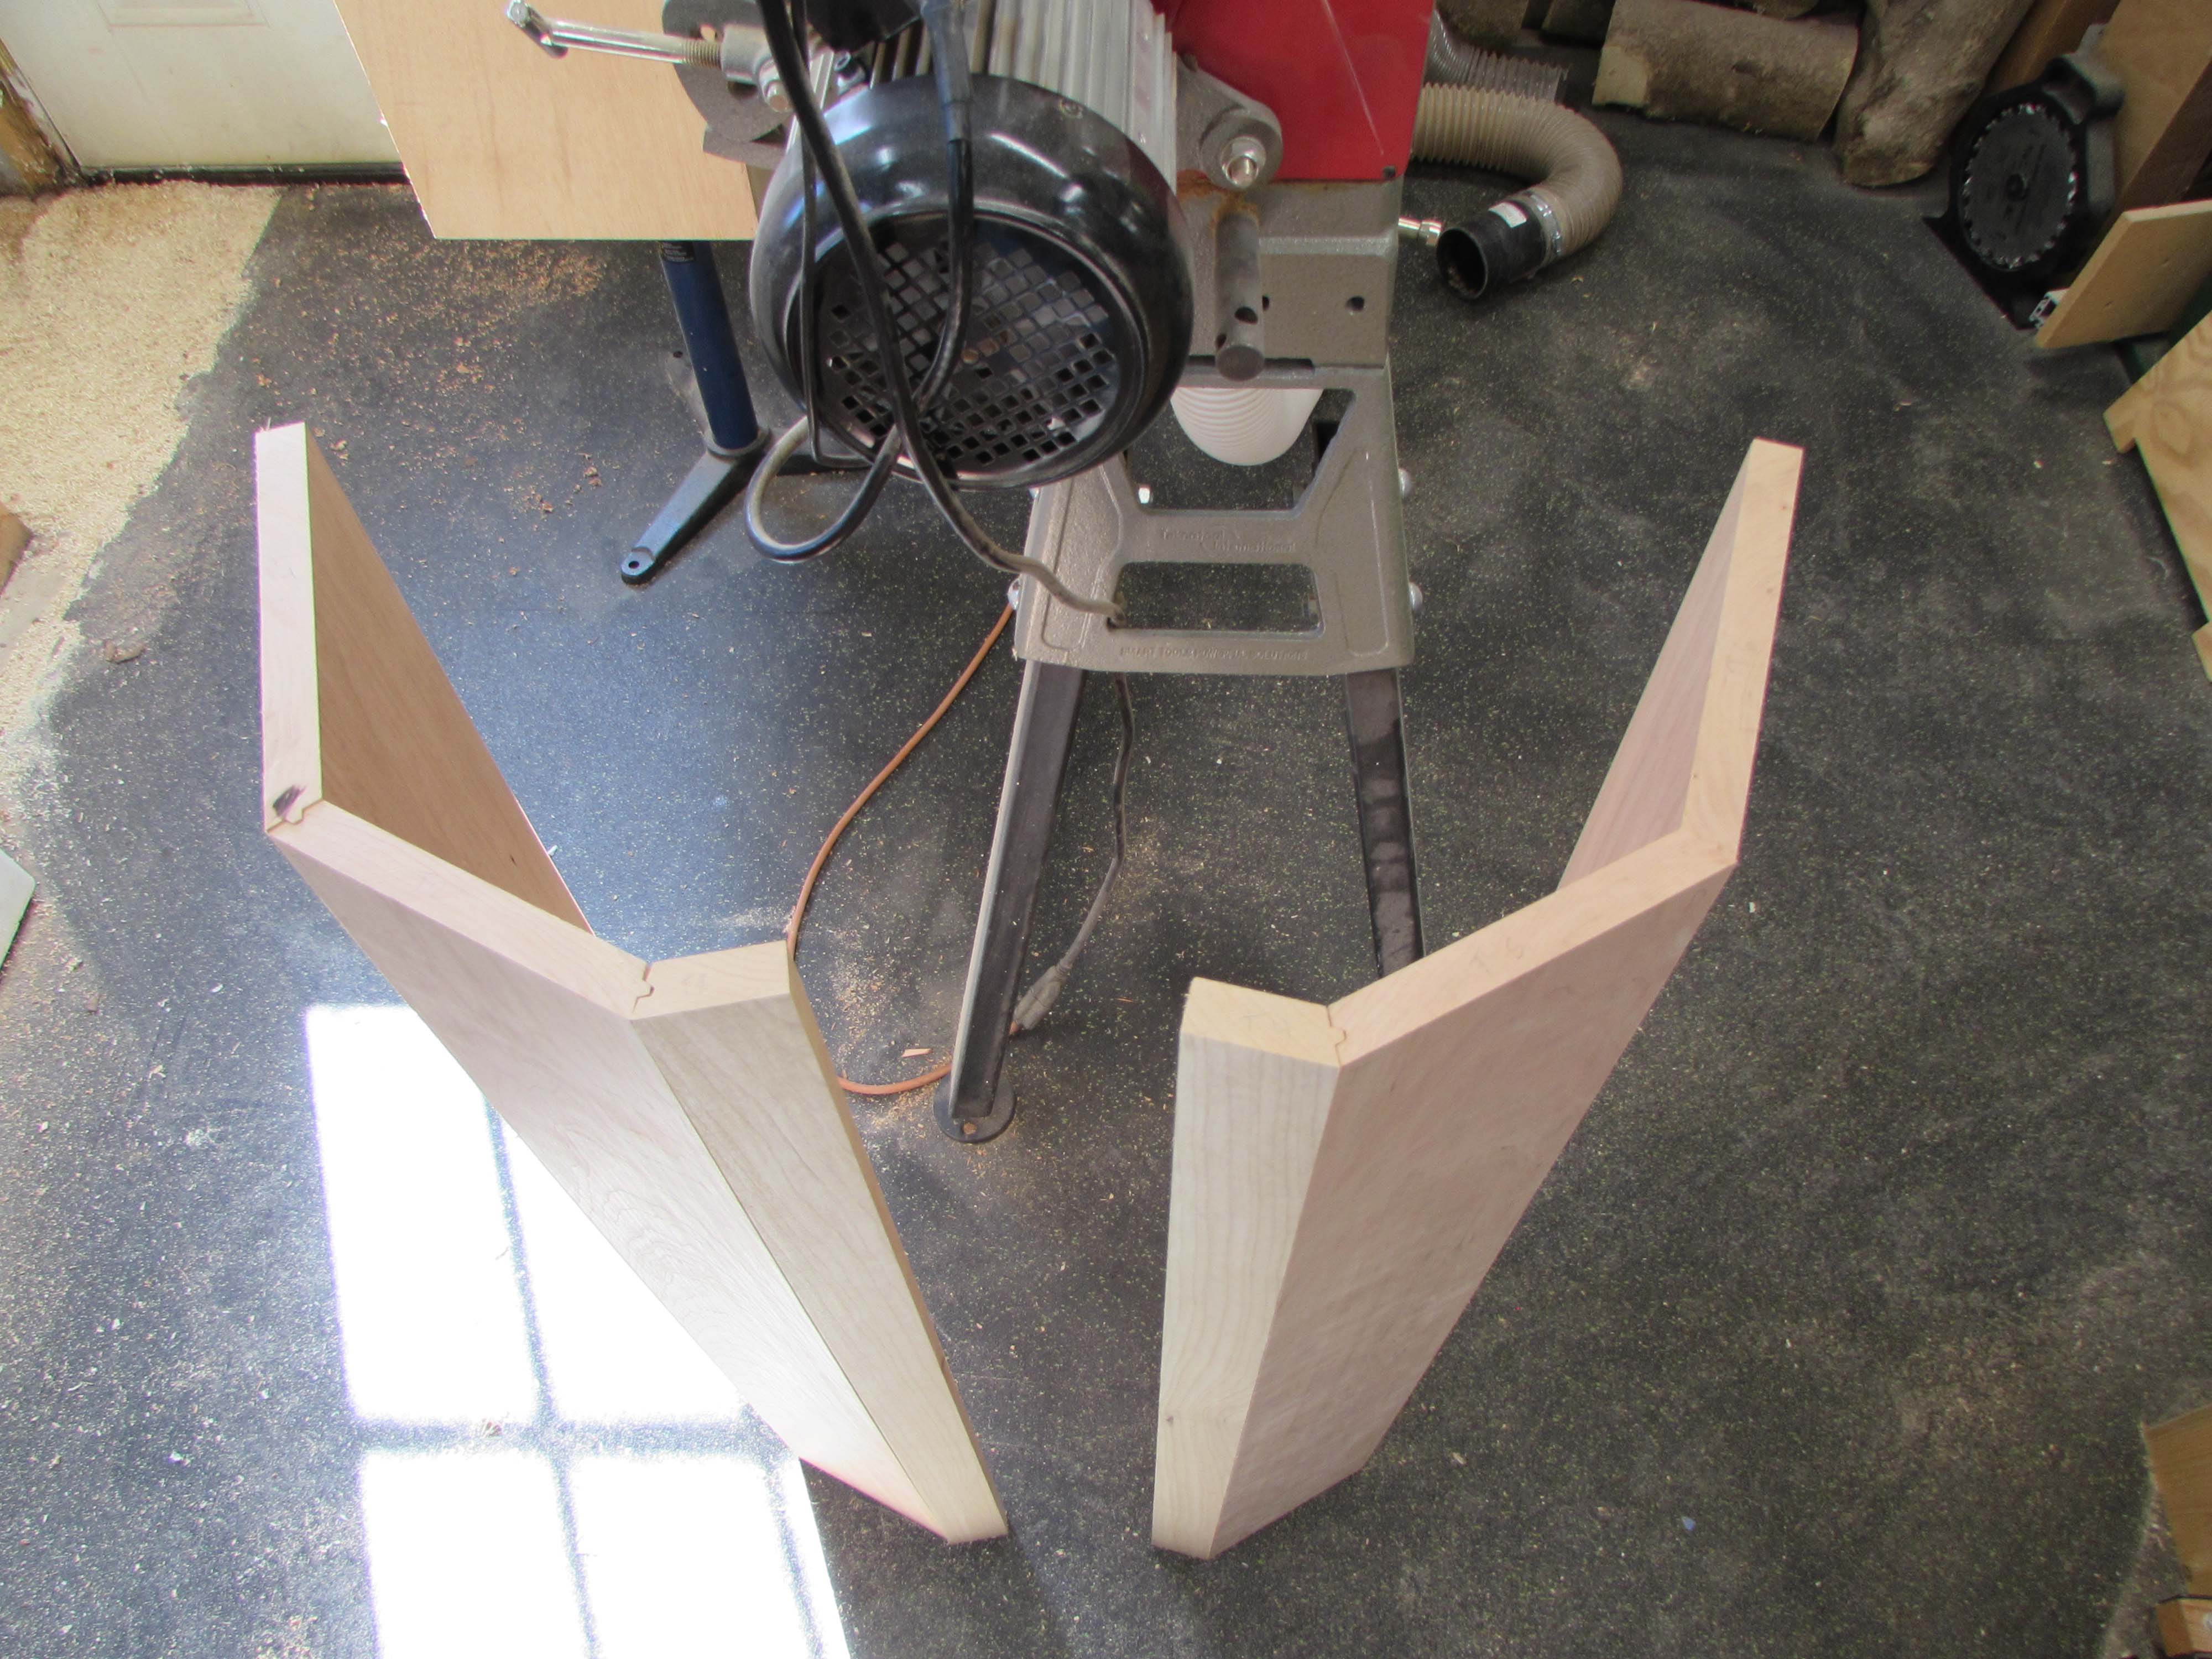
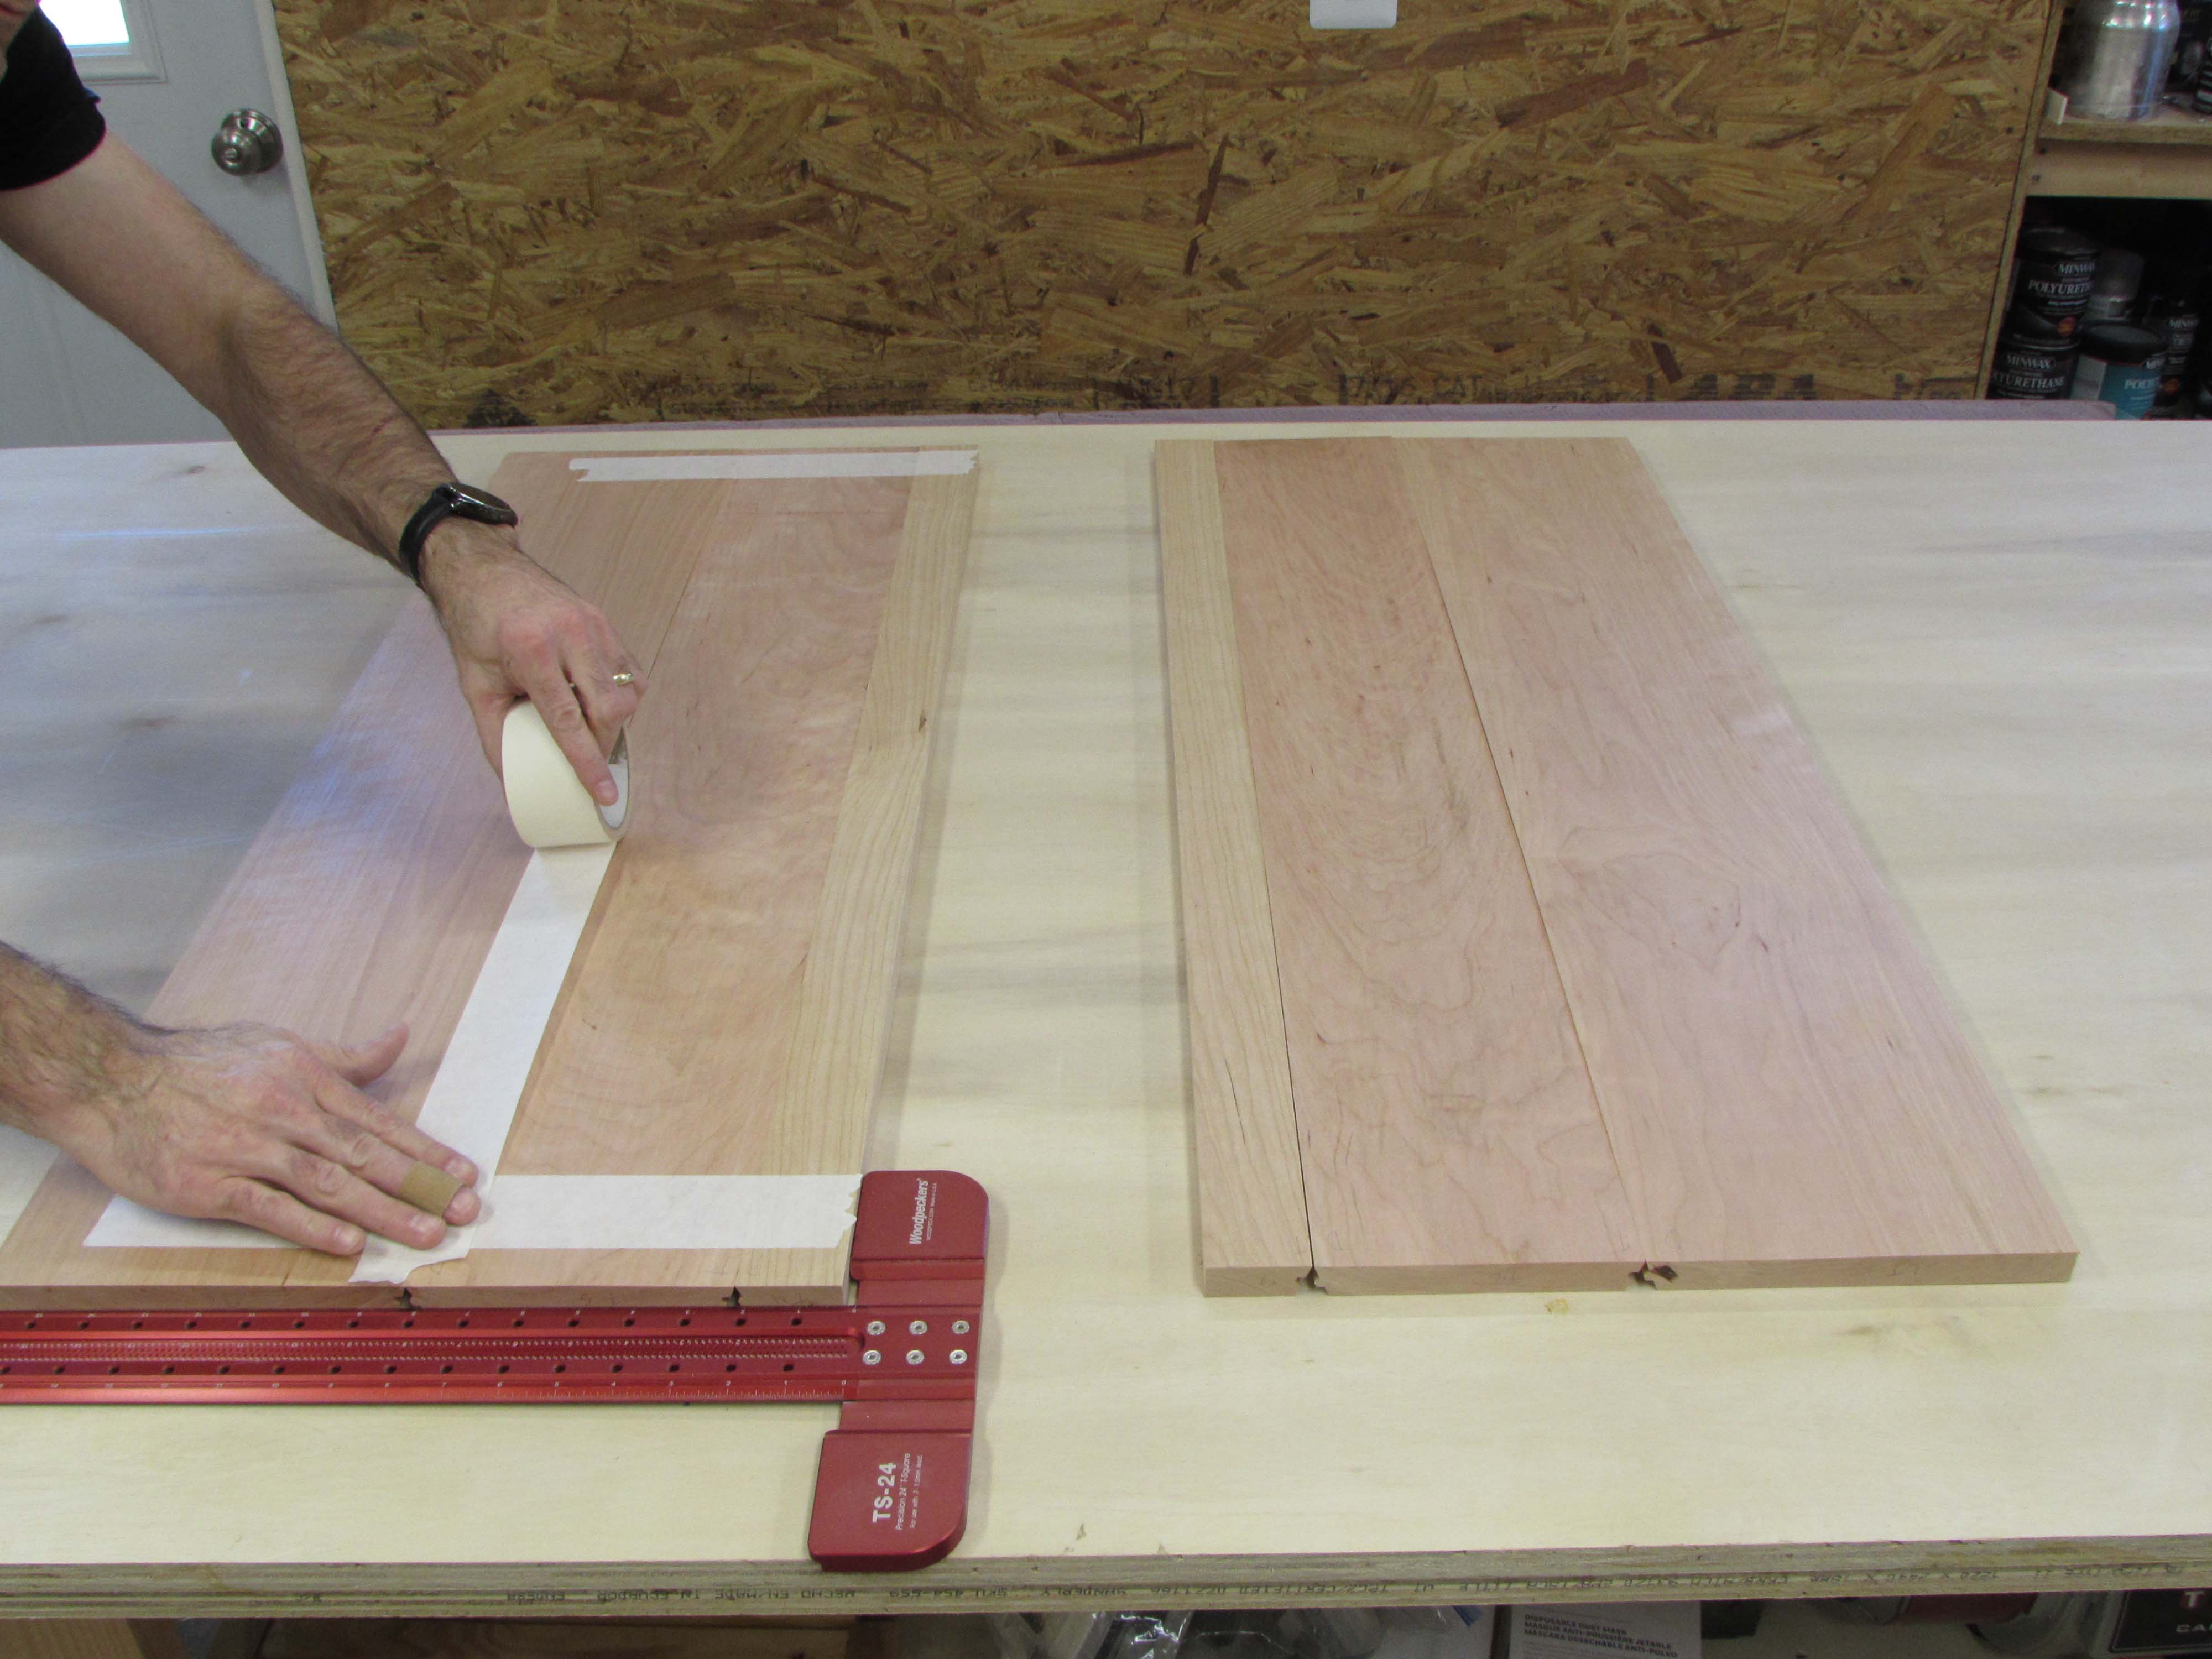
Gluing these is an interesting challenge. I lay the boards face up and butt them together, lining up the edges. Next I tape all the seams to create a hinge.

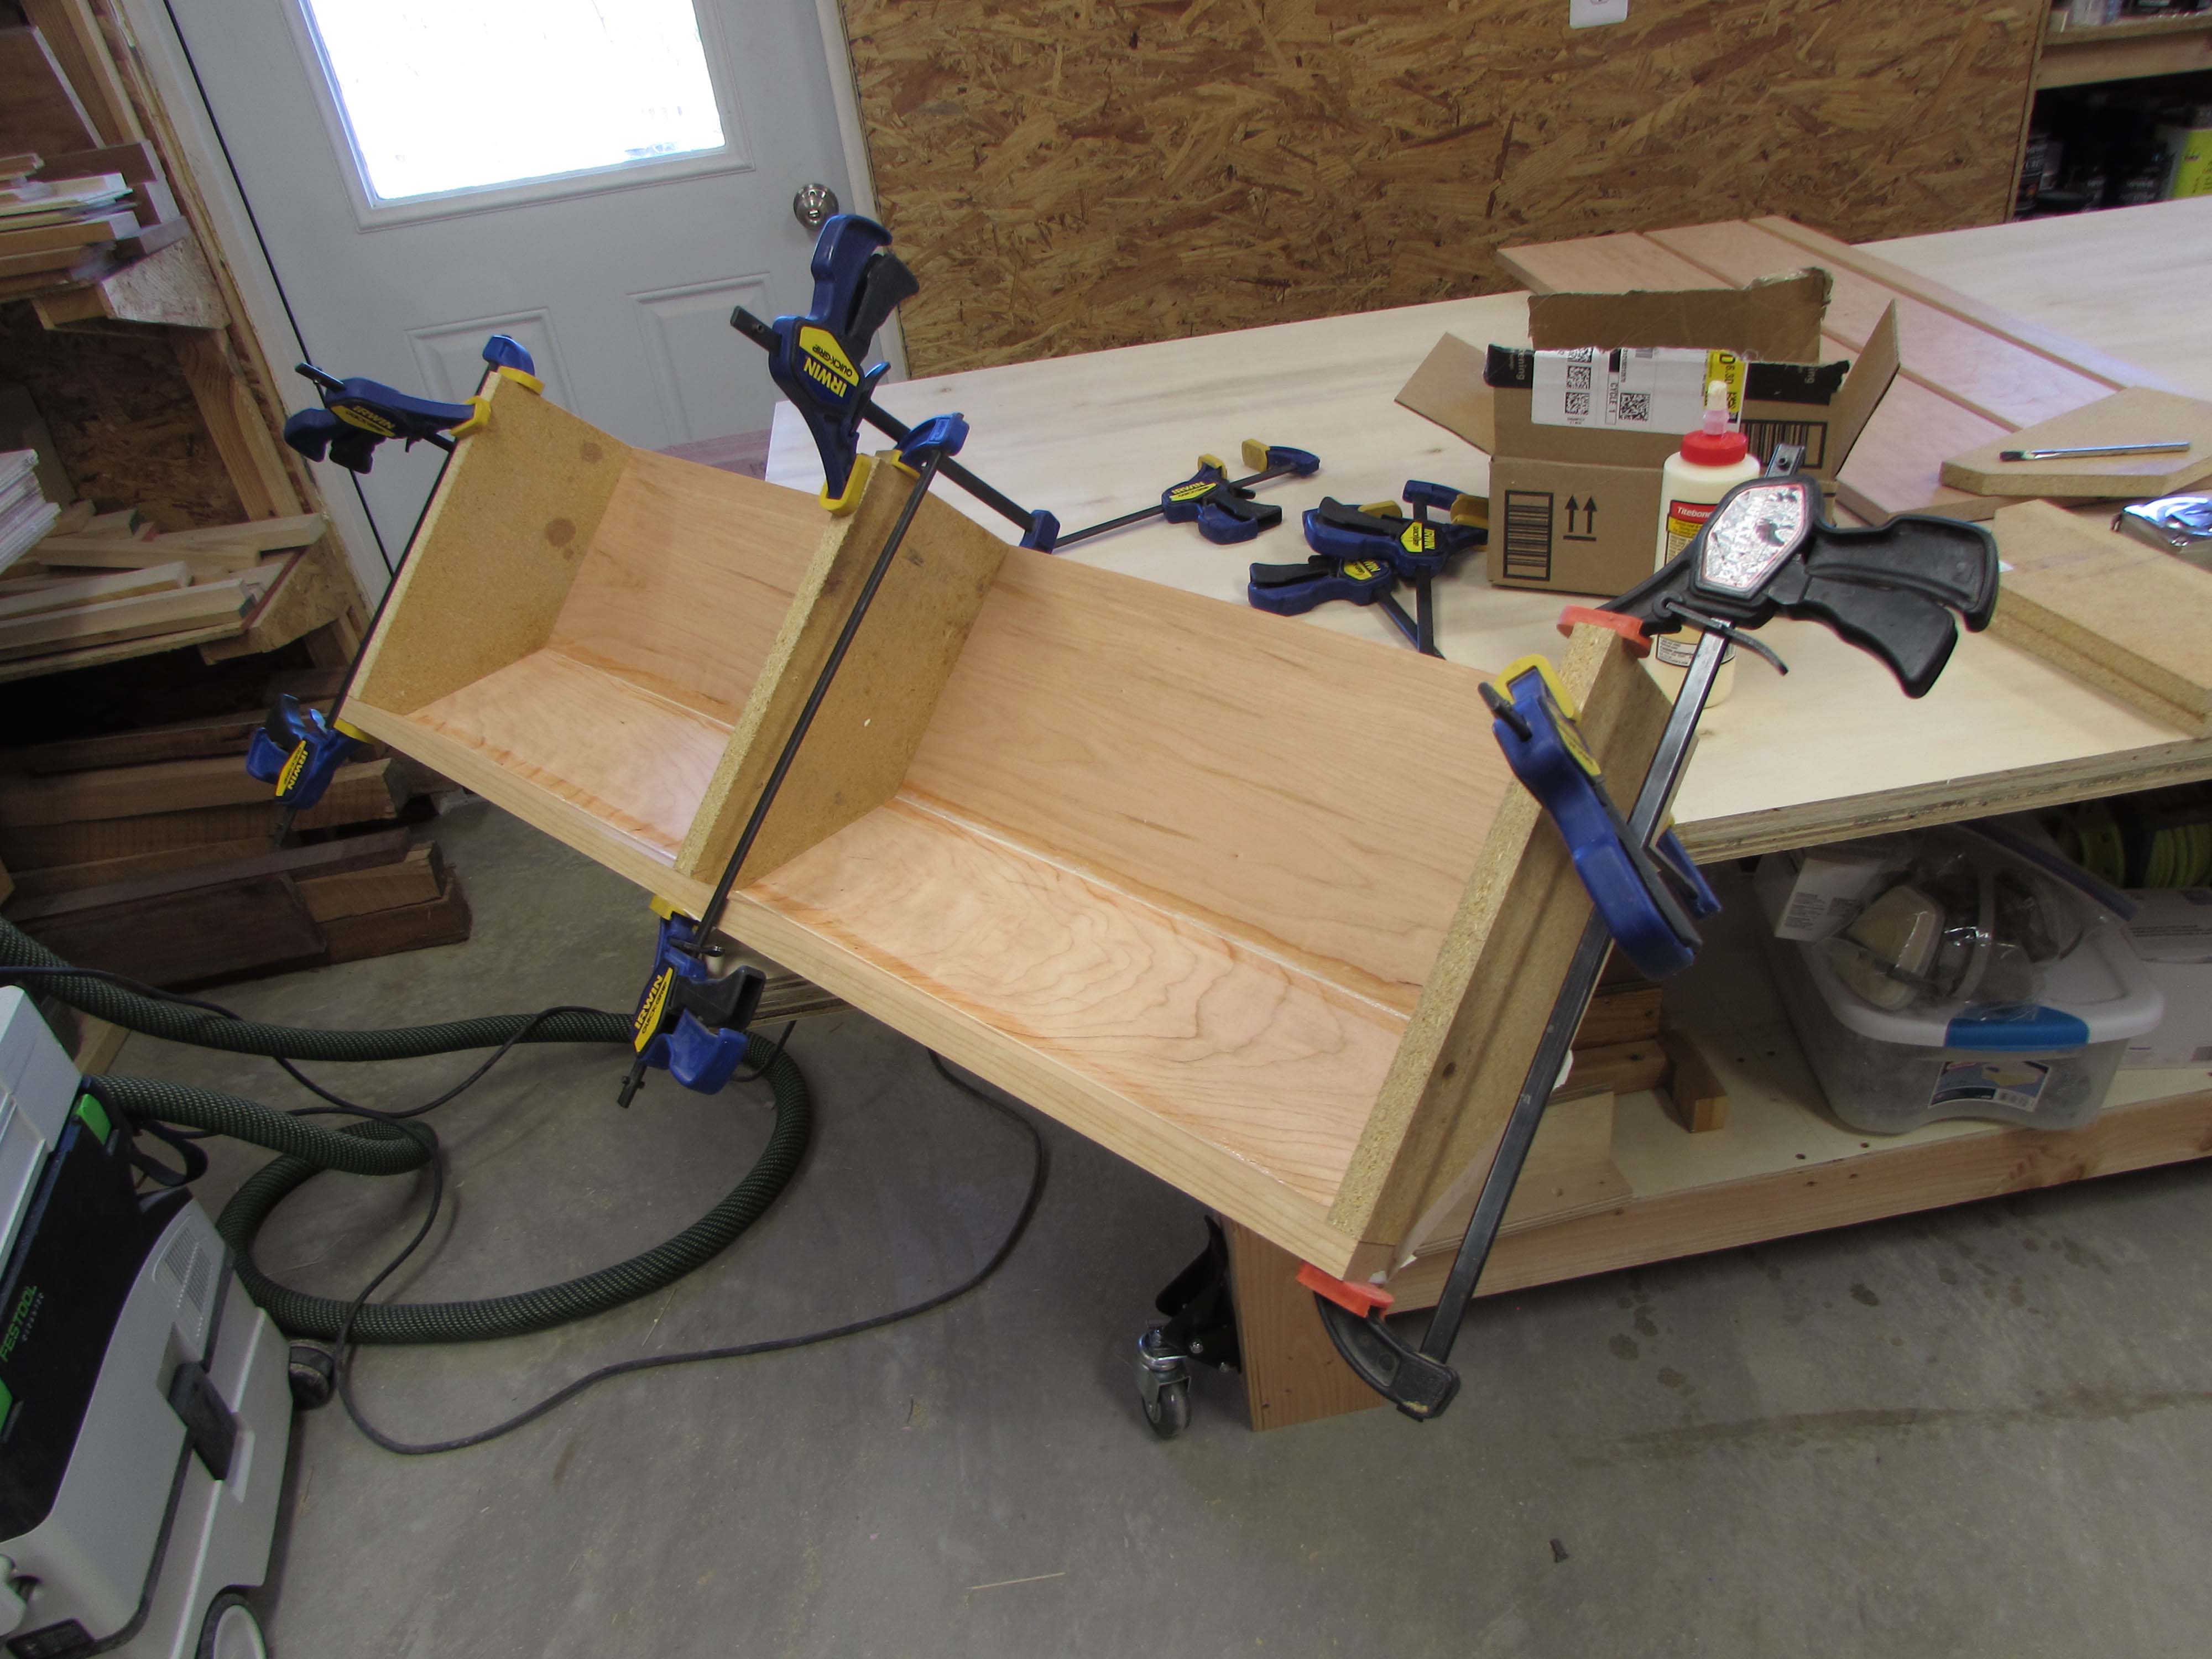
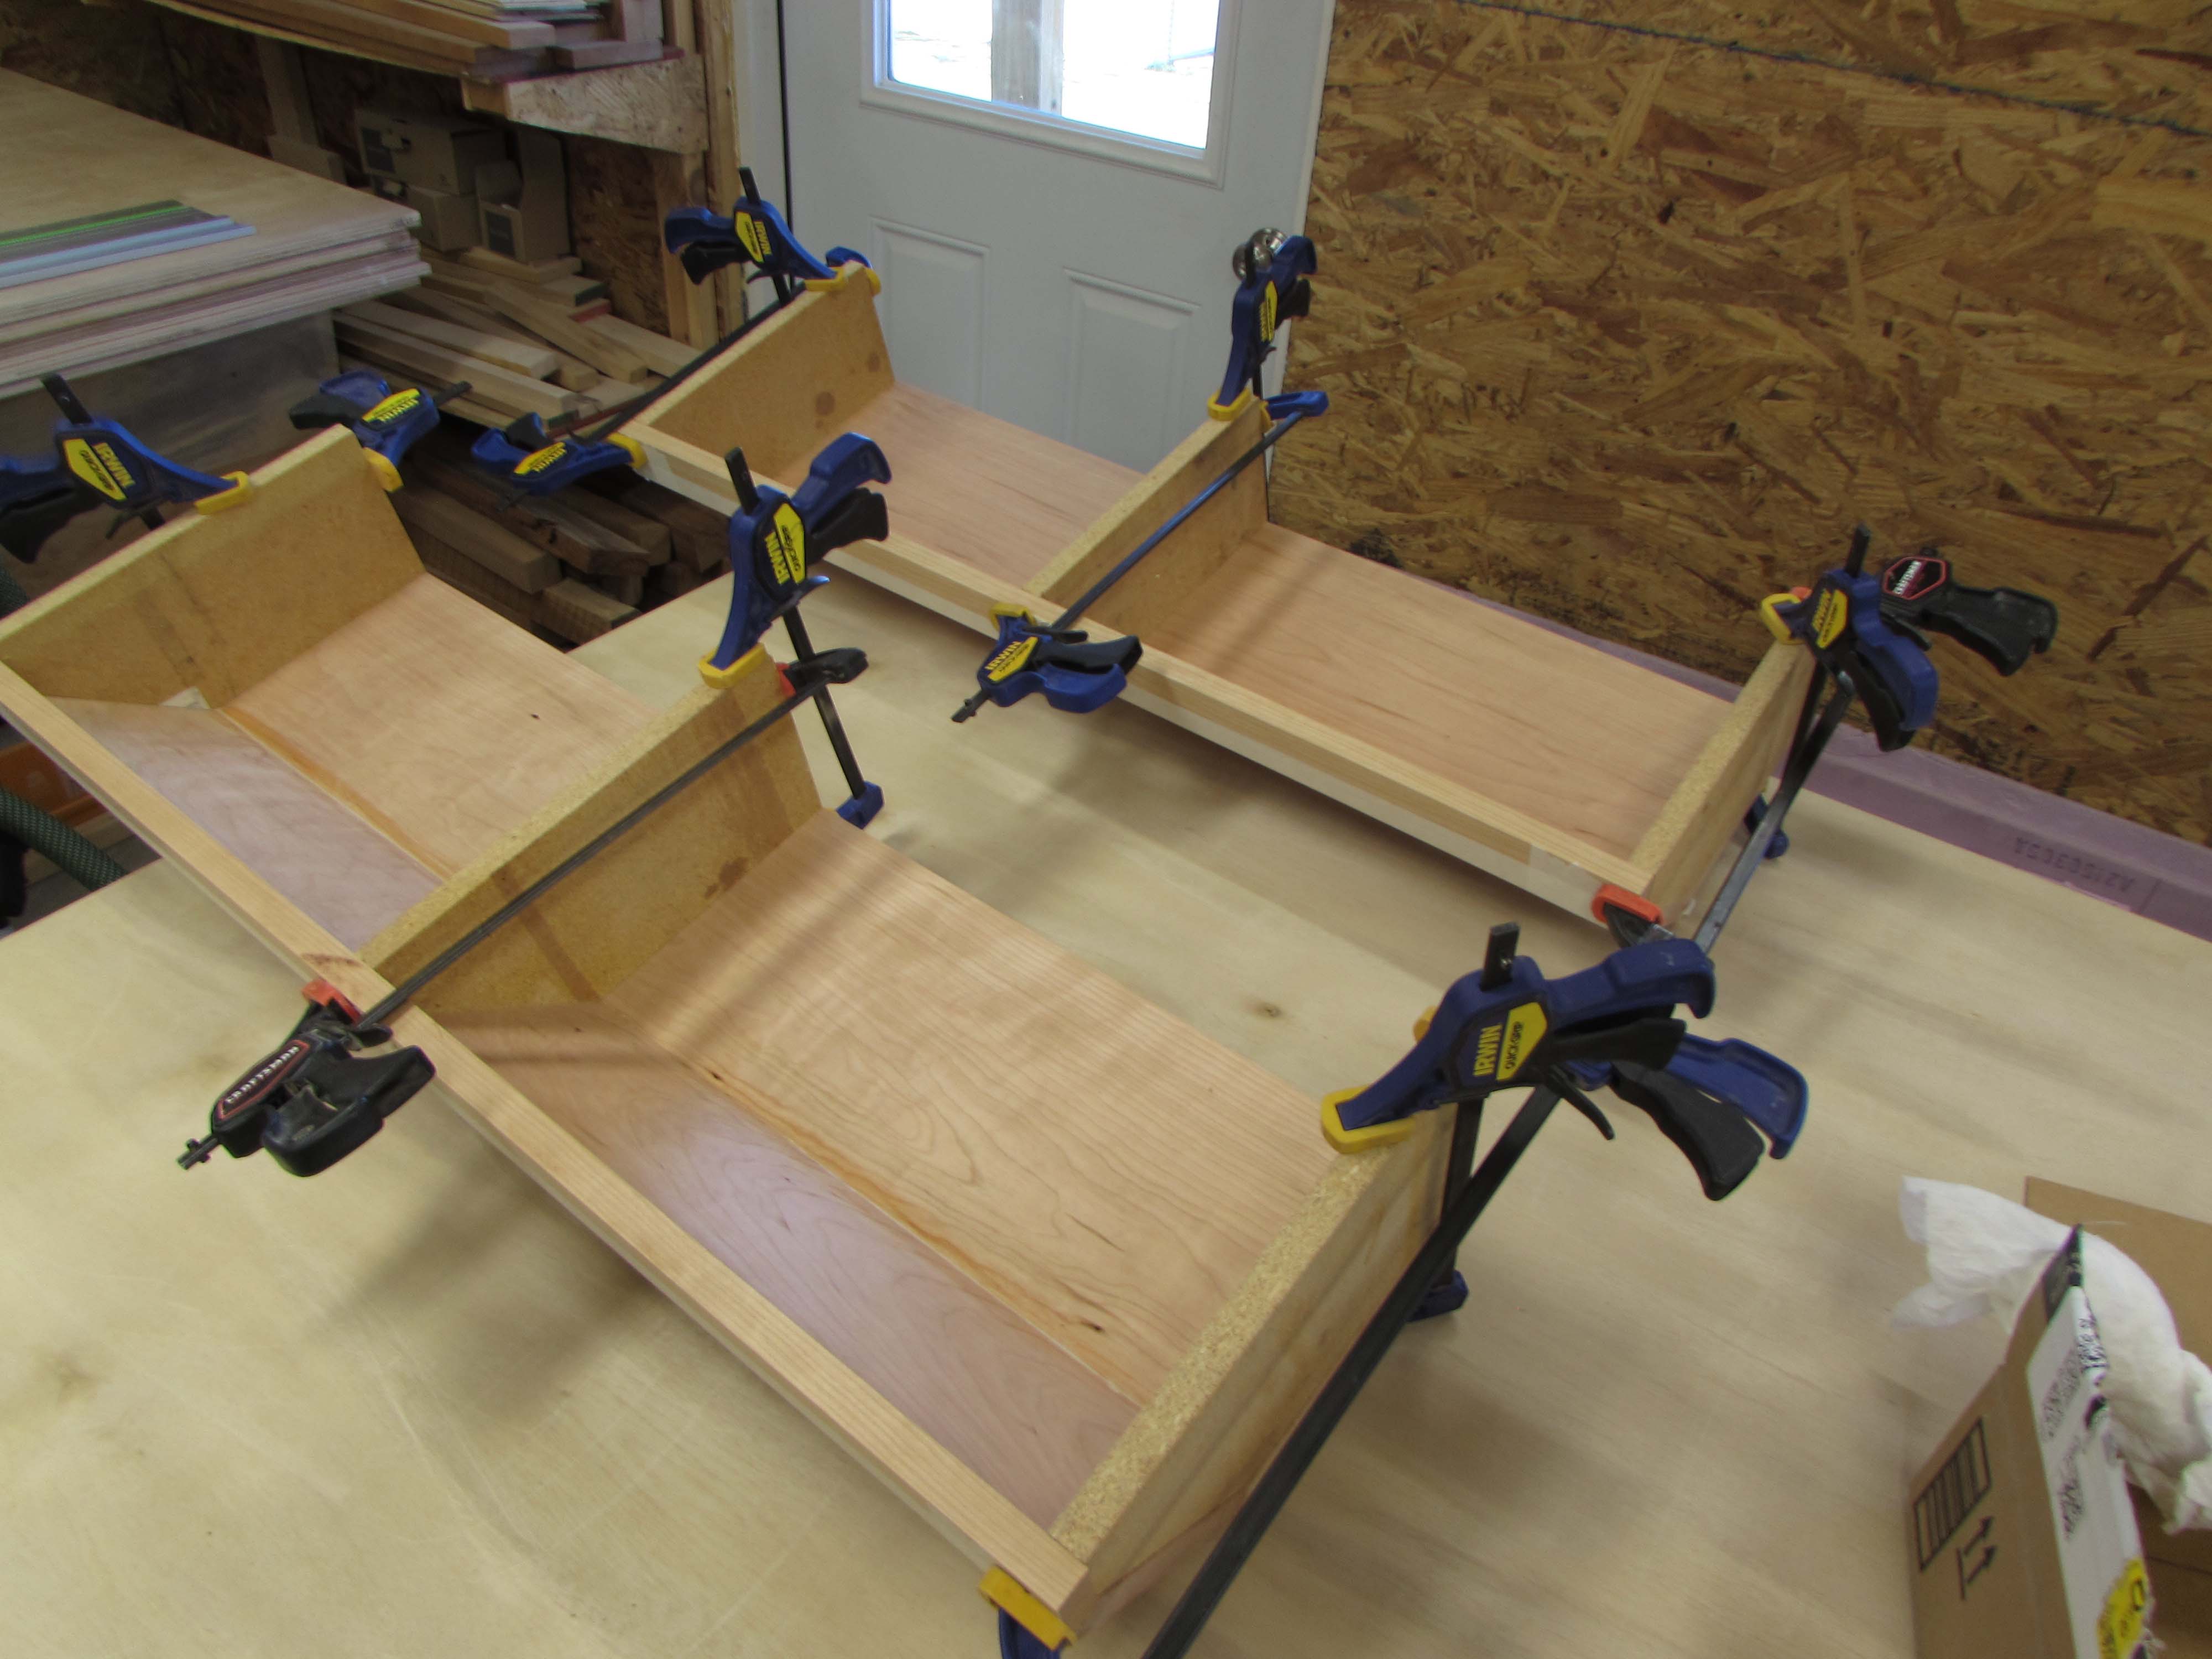
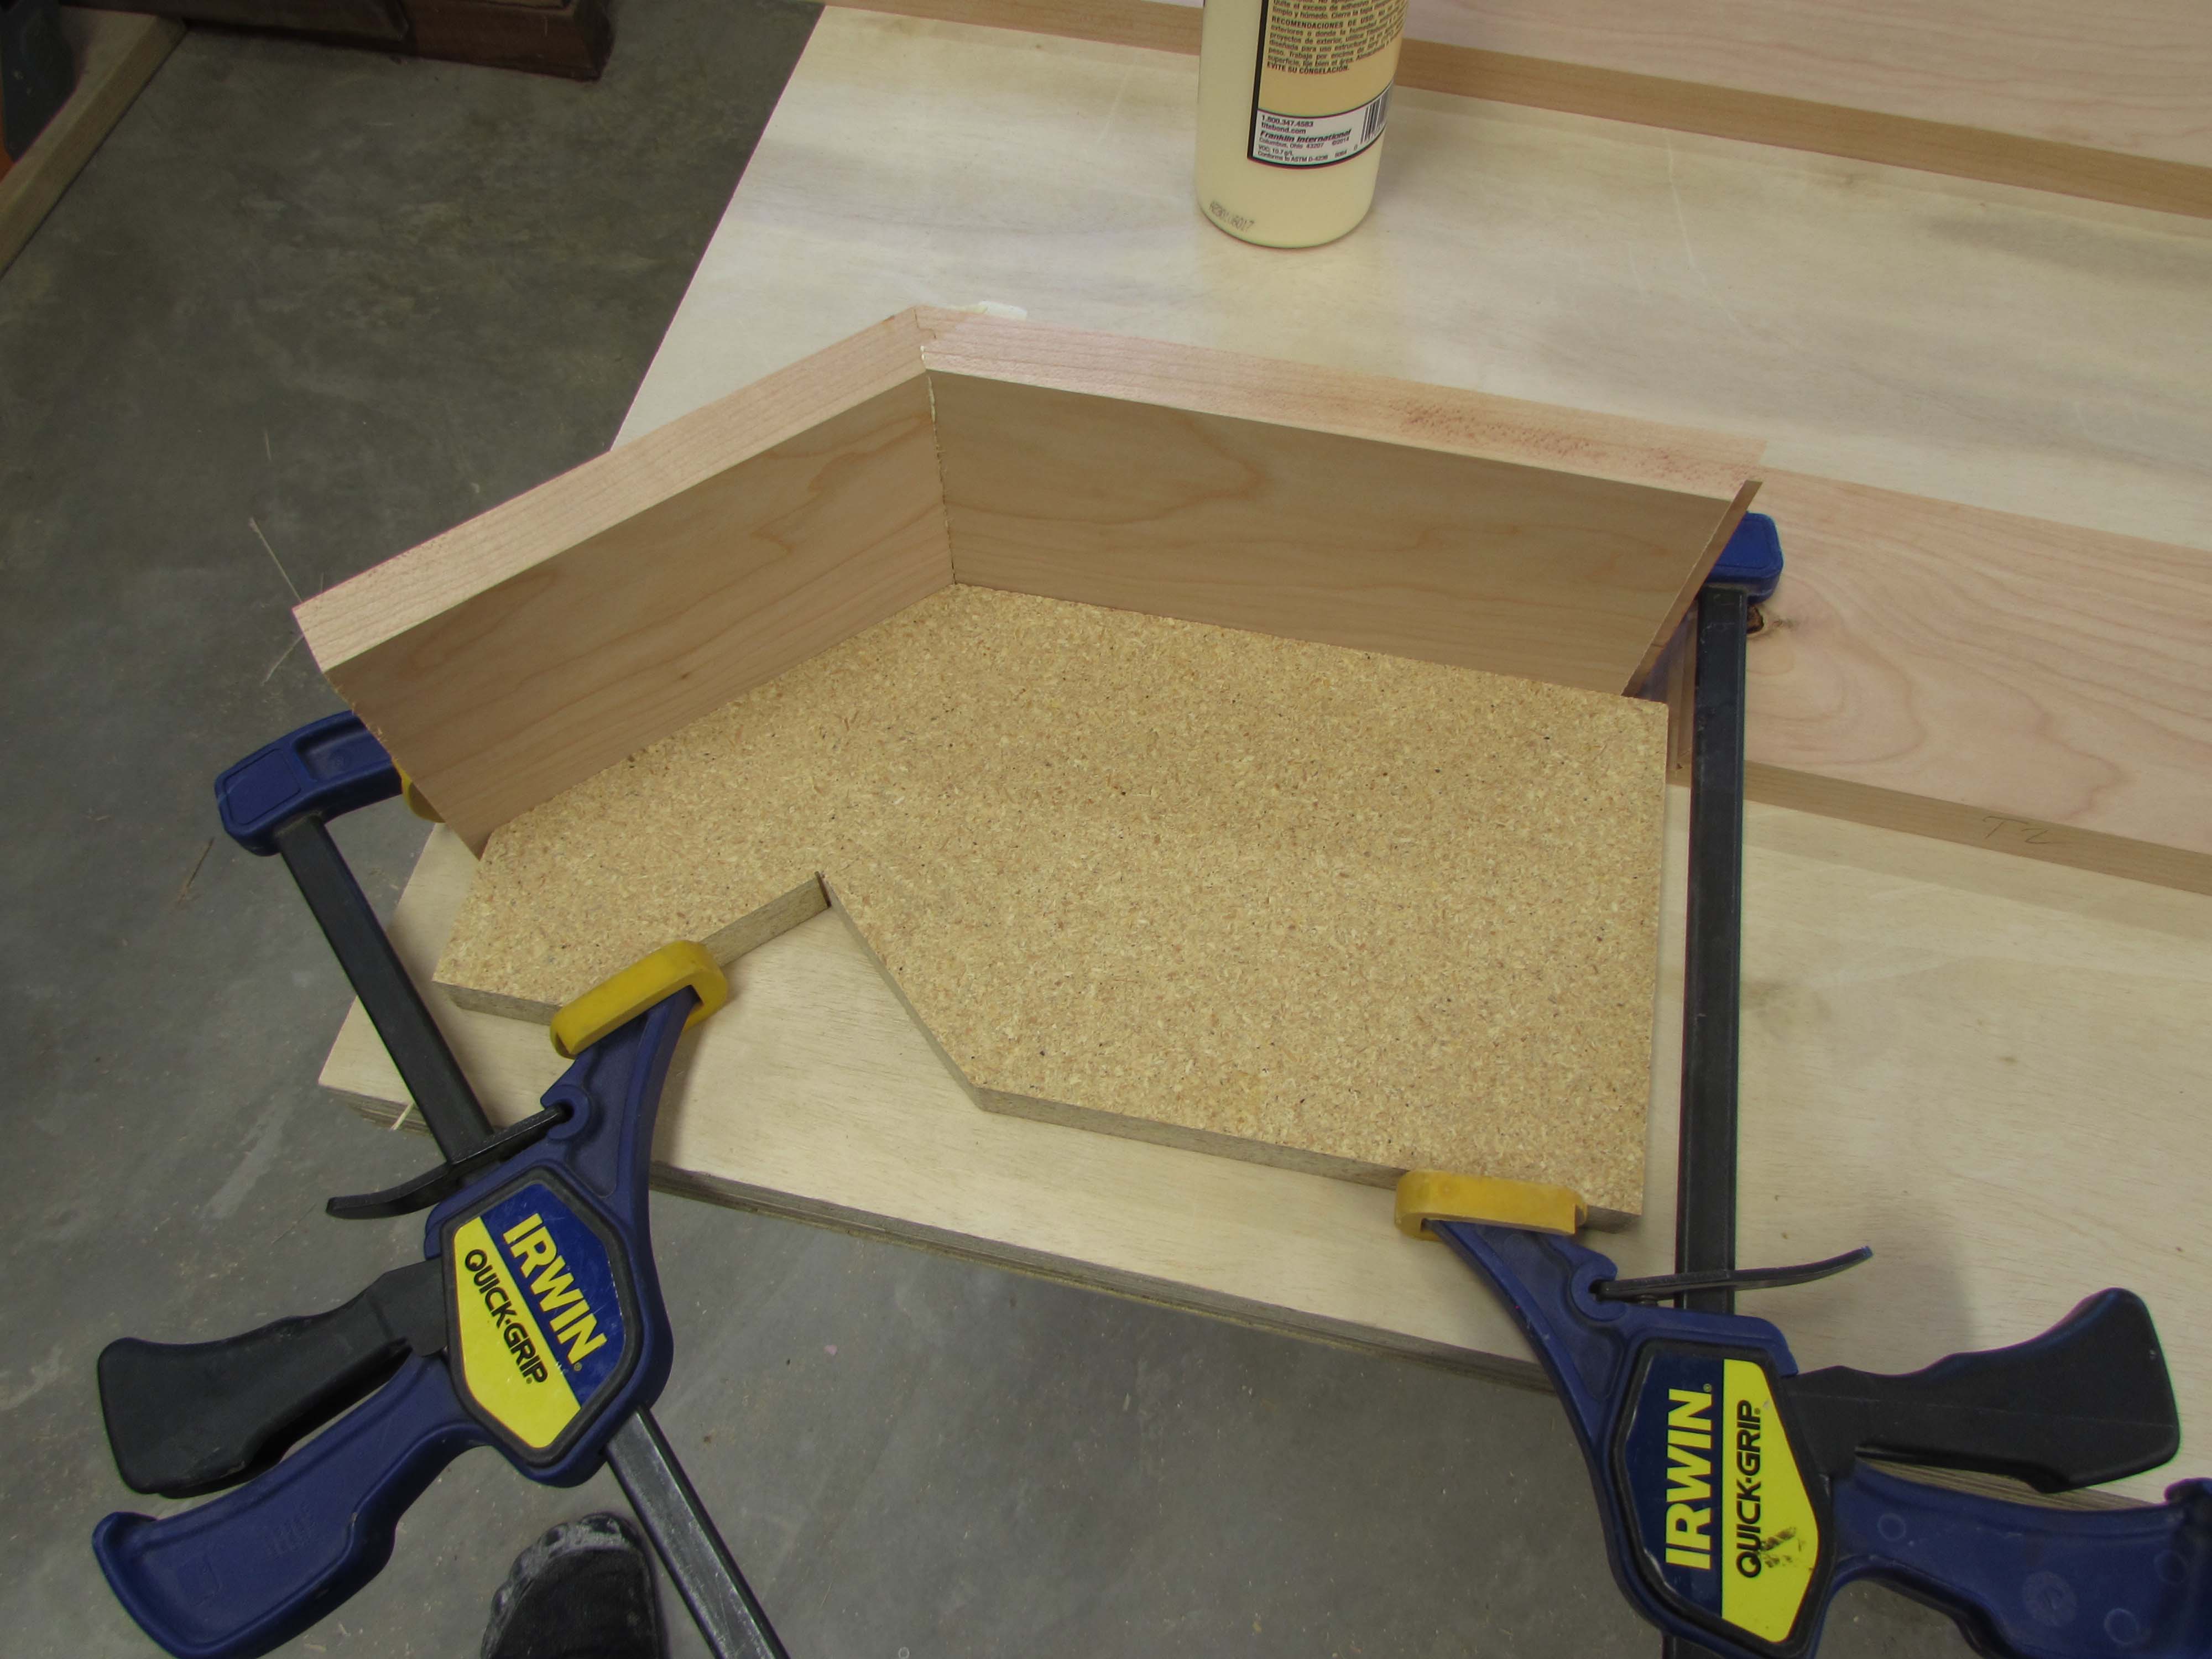
Then I cut a few clamping forms to make sure the two sides wind up at a 90° angle.


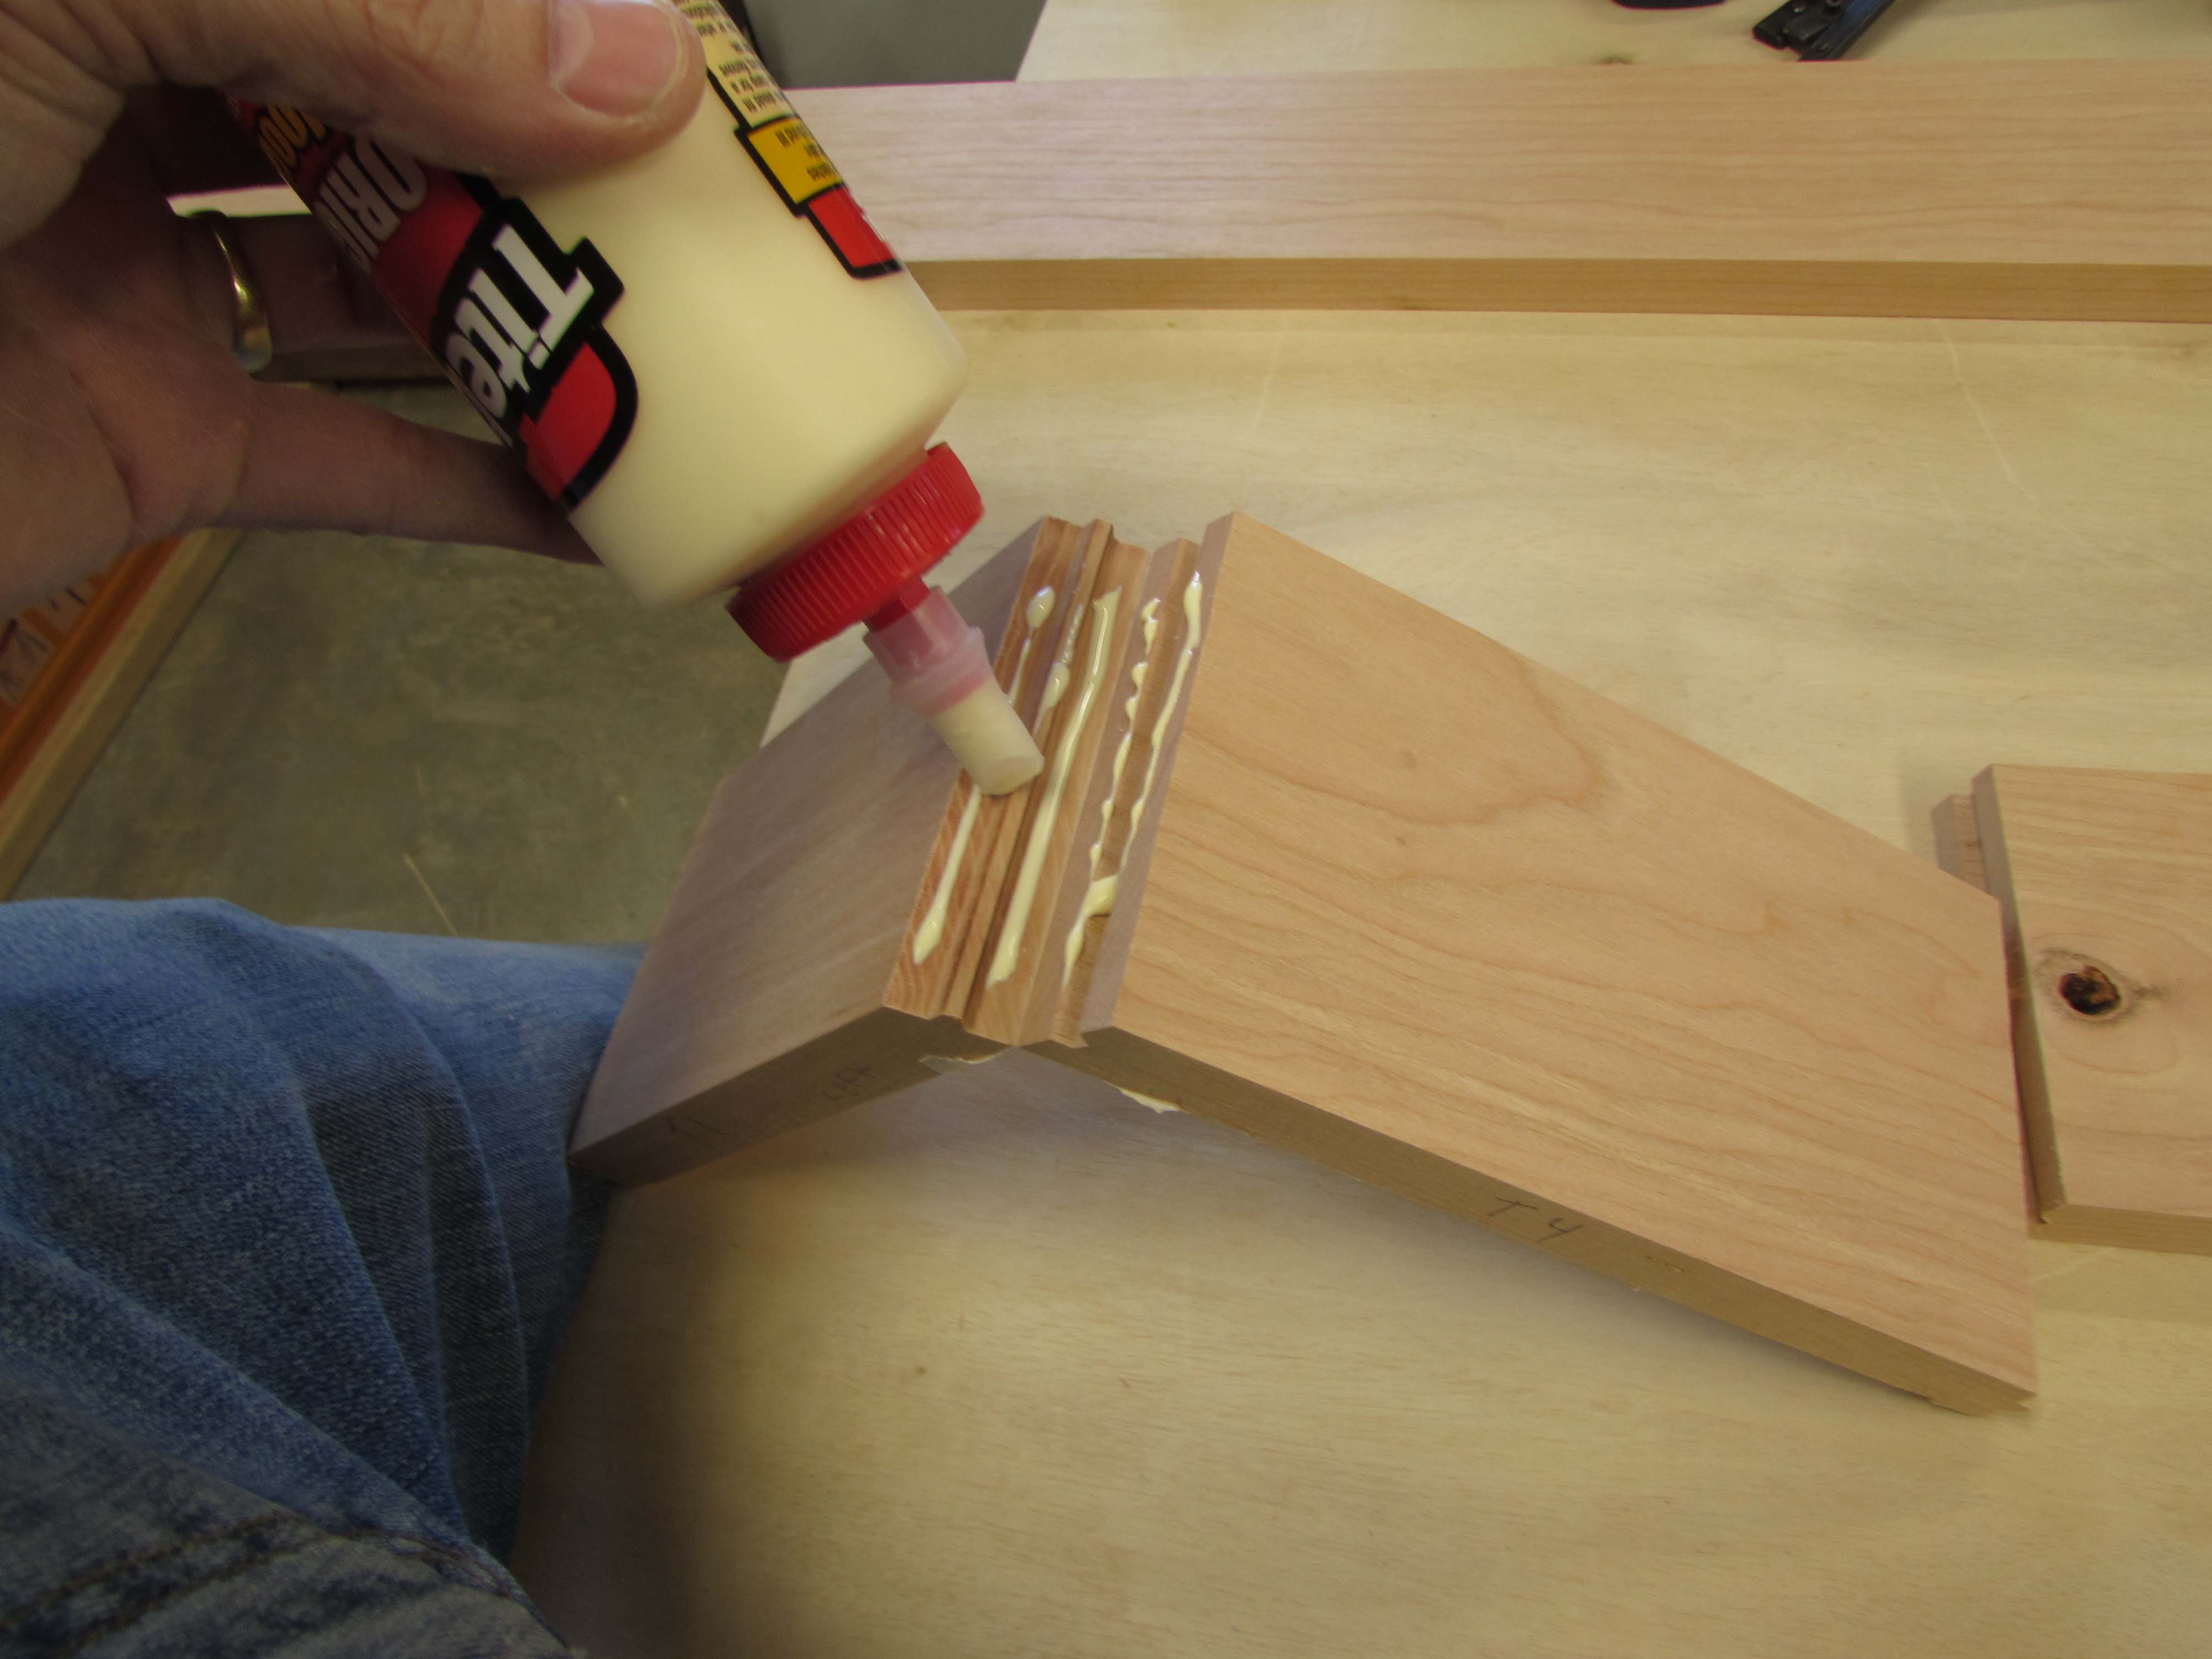
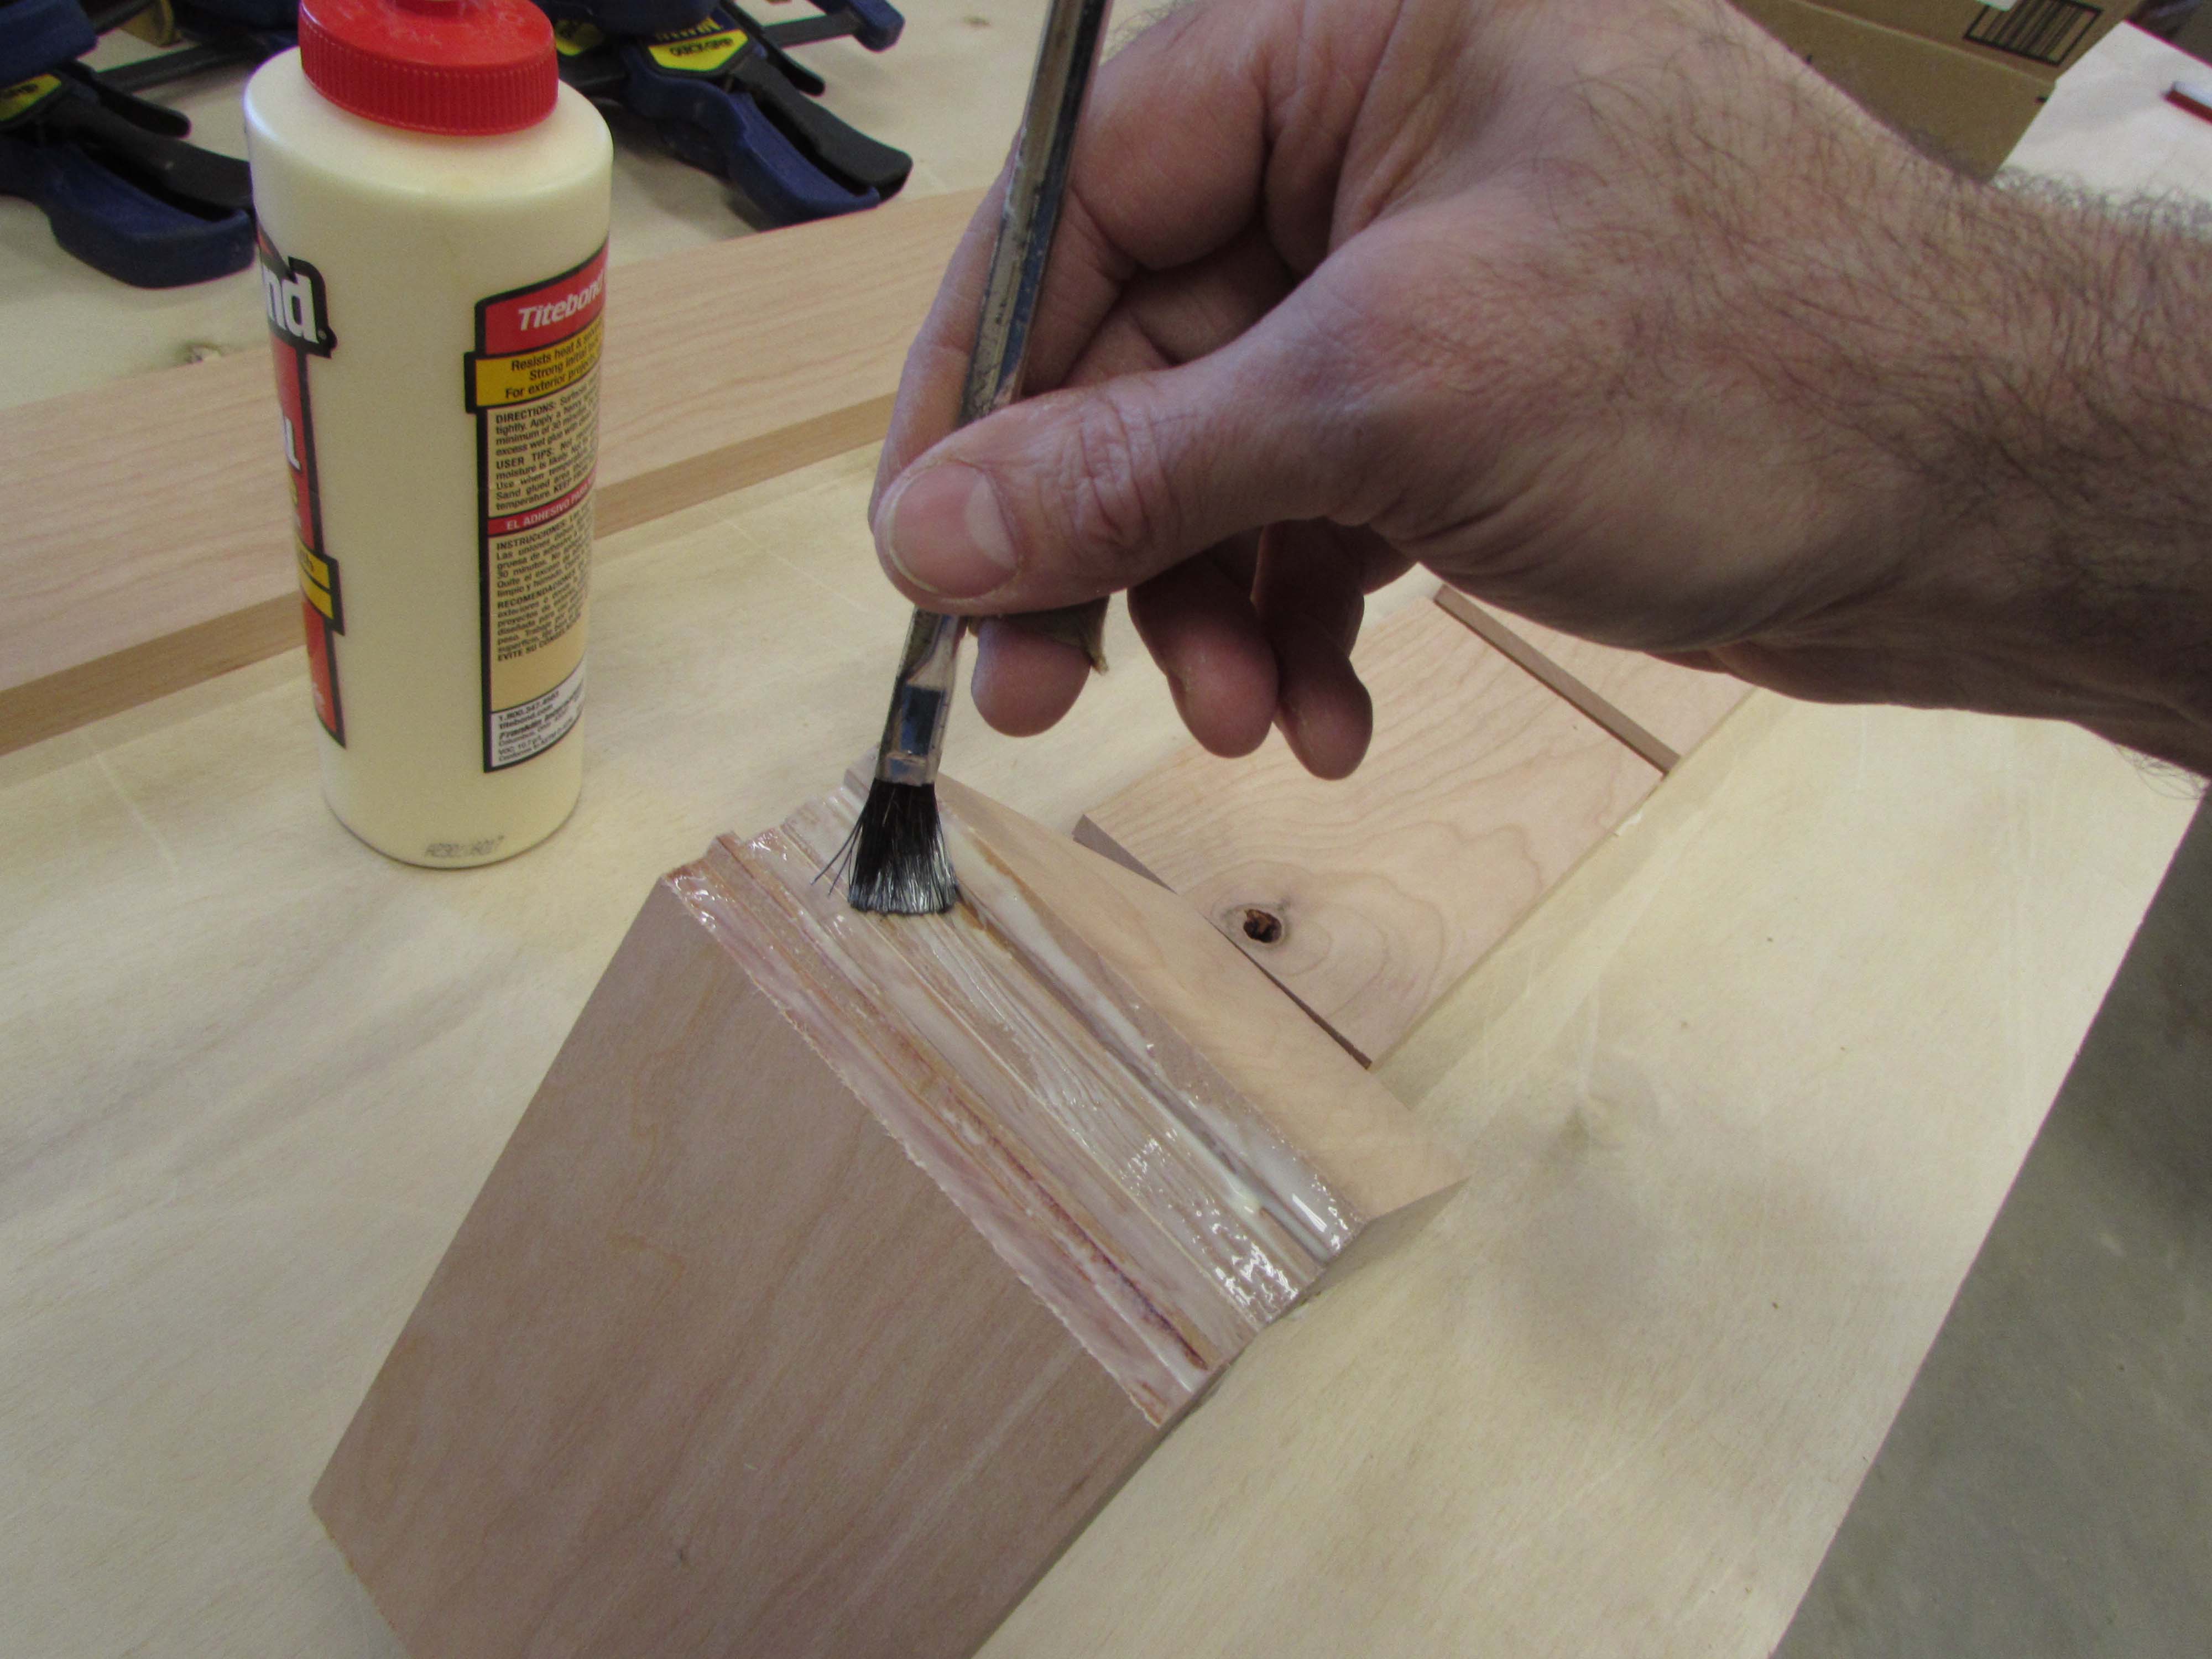
I used an acid brush to get wood glue down into the lock miter grooves, and rolled the sides up and clamped them to the forms.
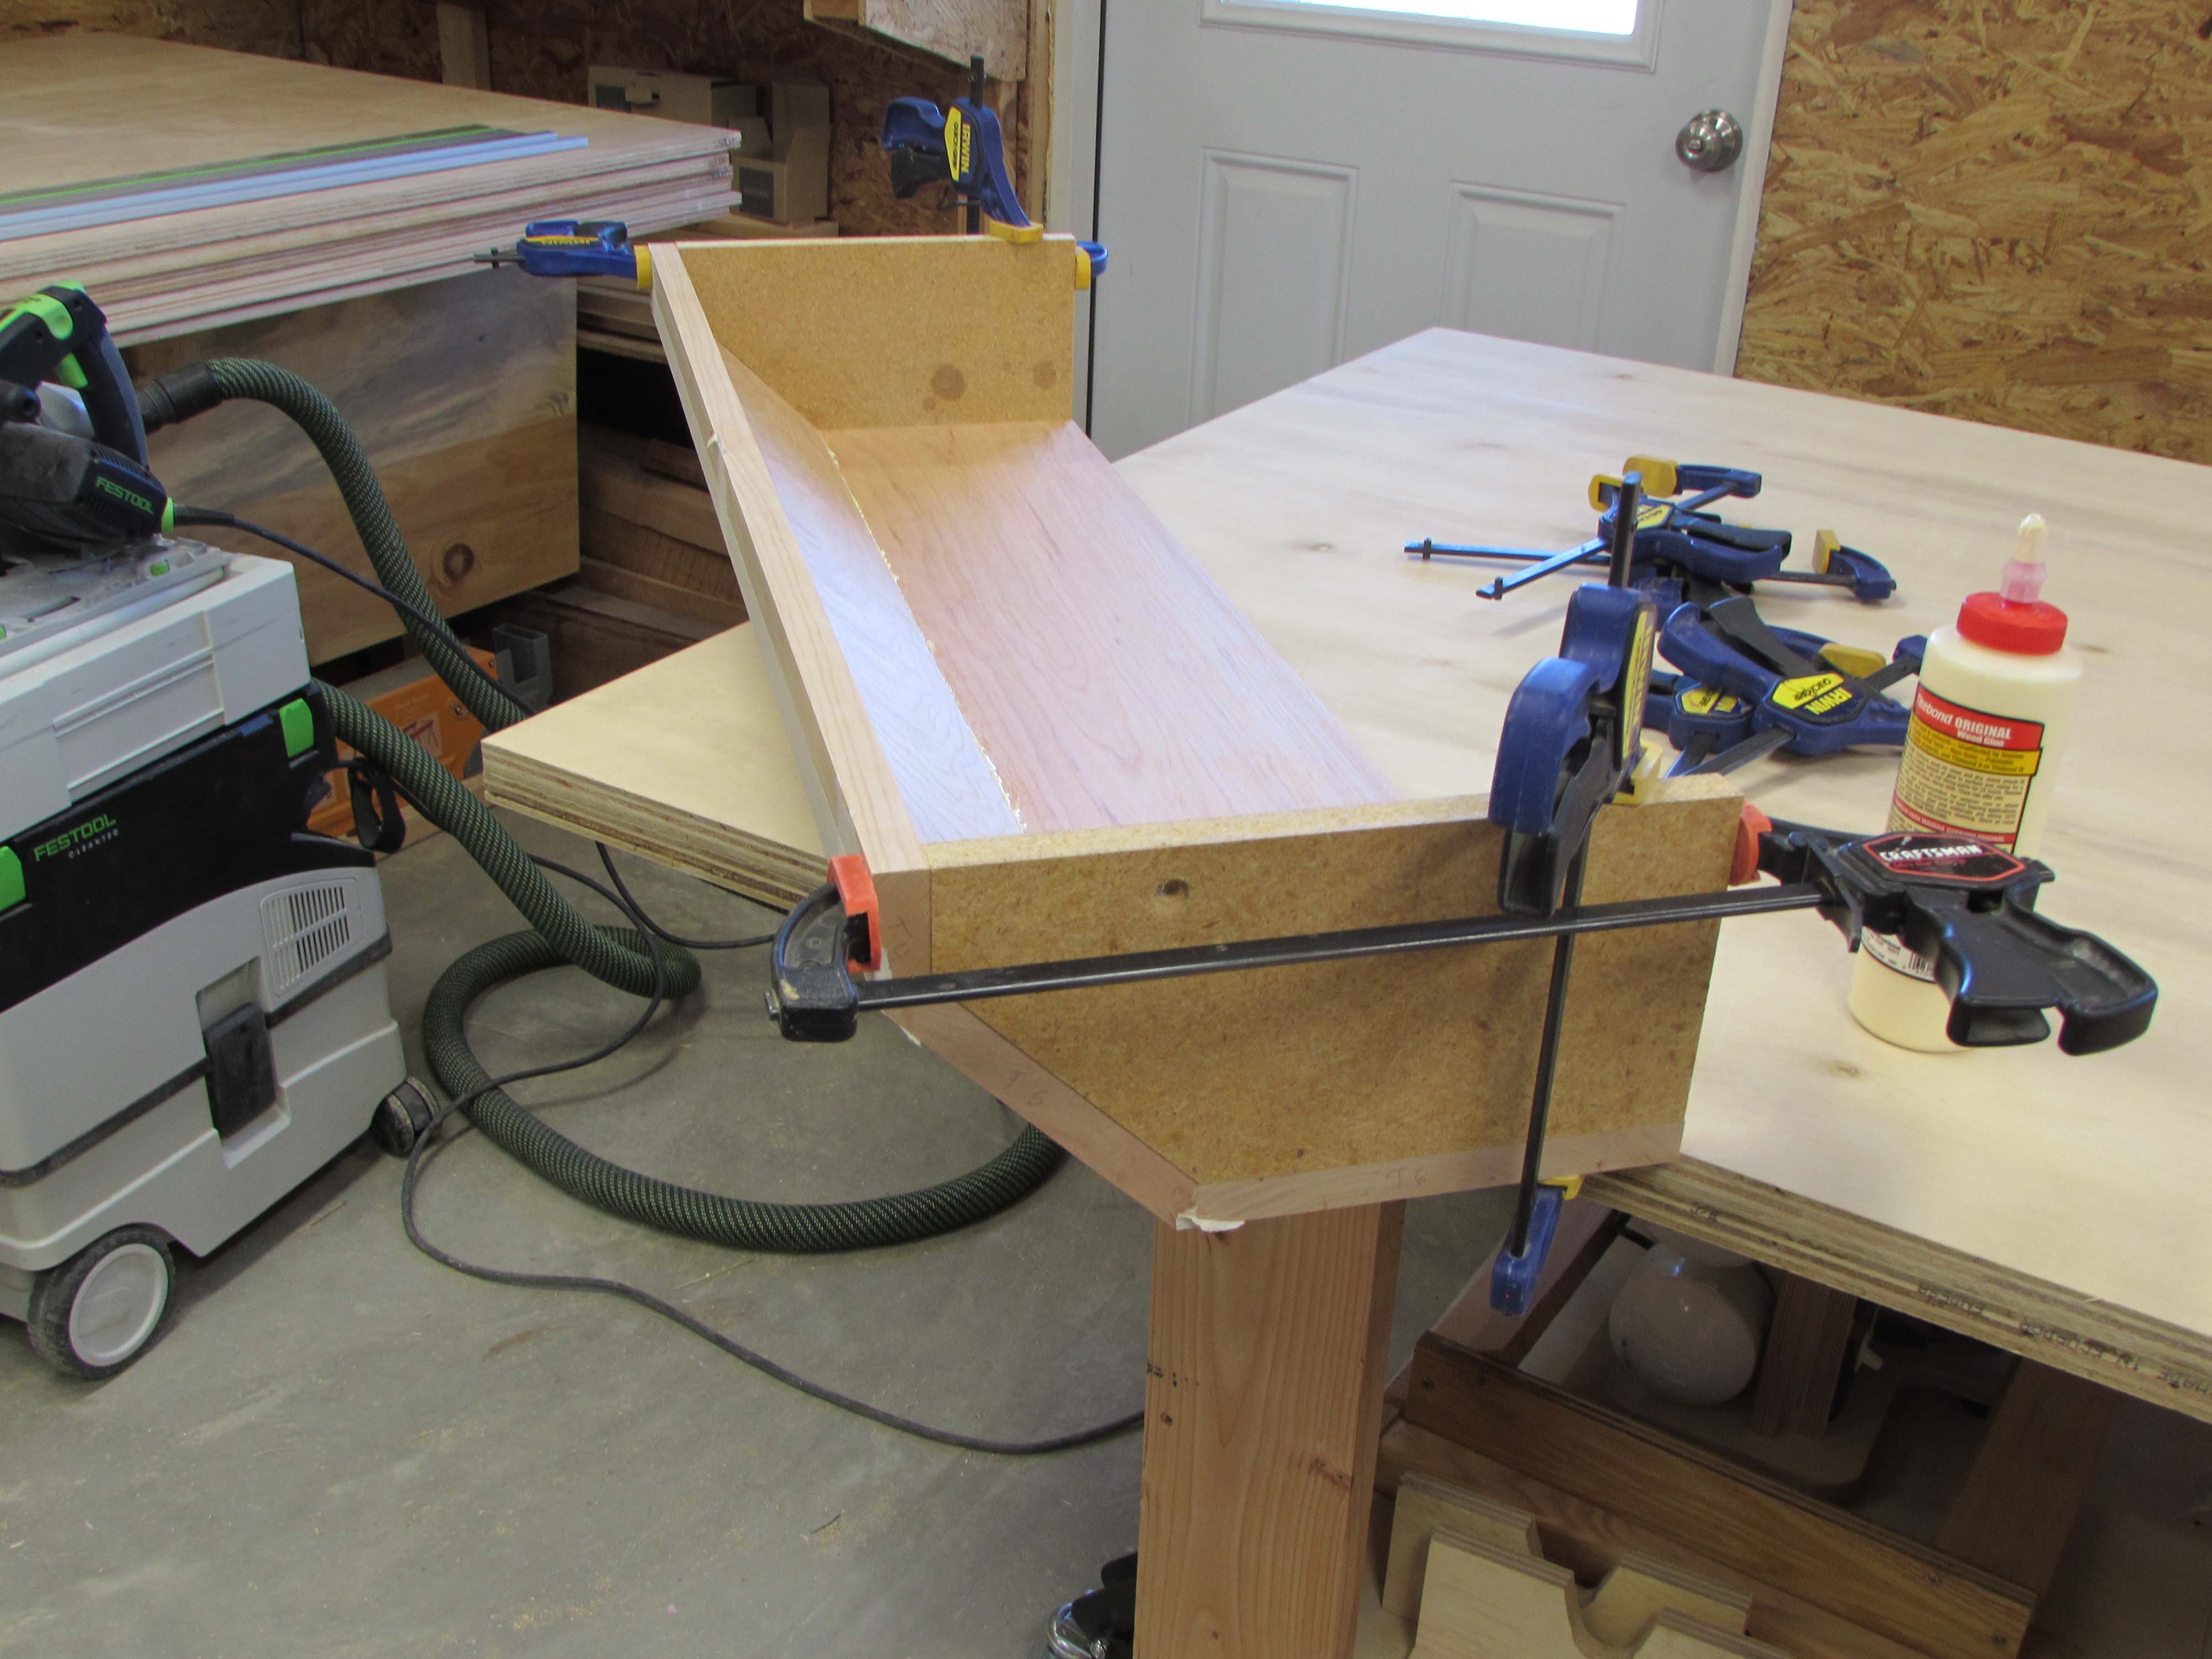
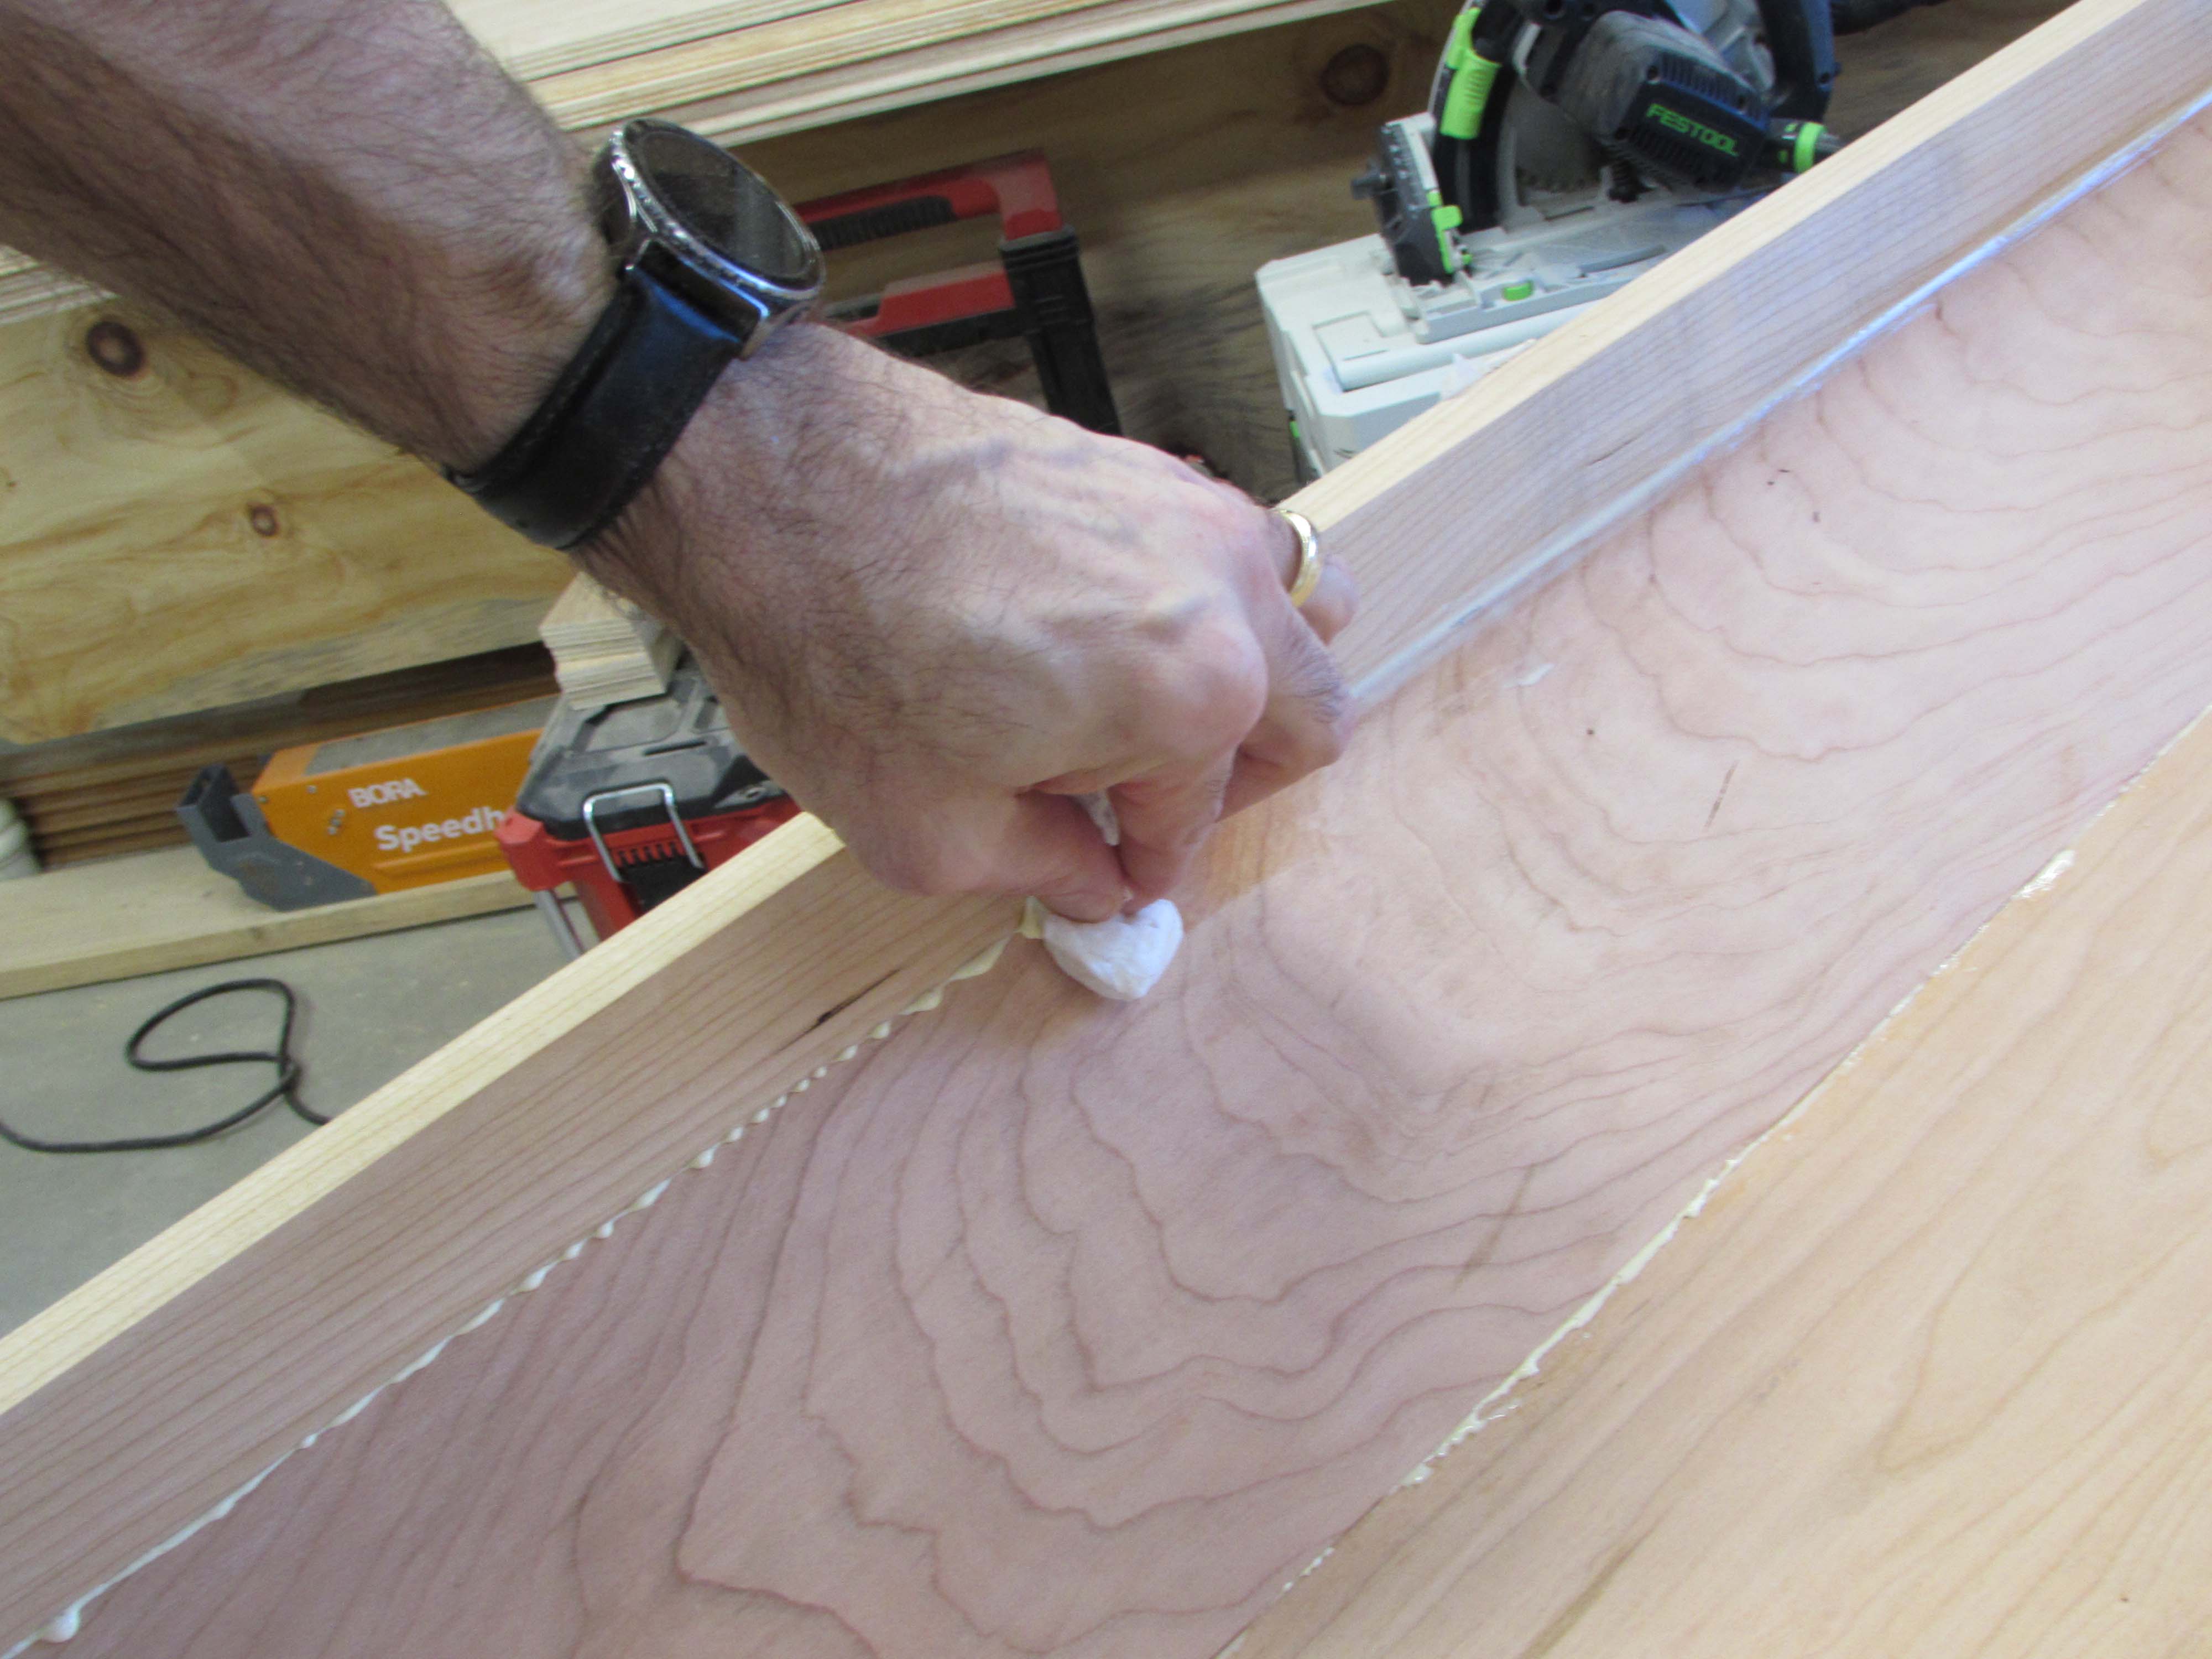
I used a wet paper towel to clean up the squeeze-out, then left the corners to dry.
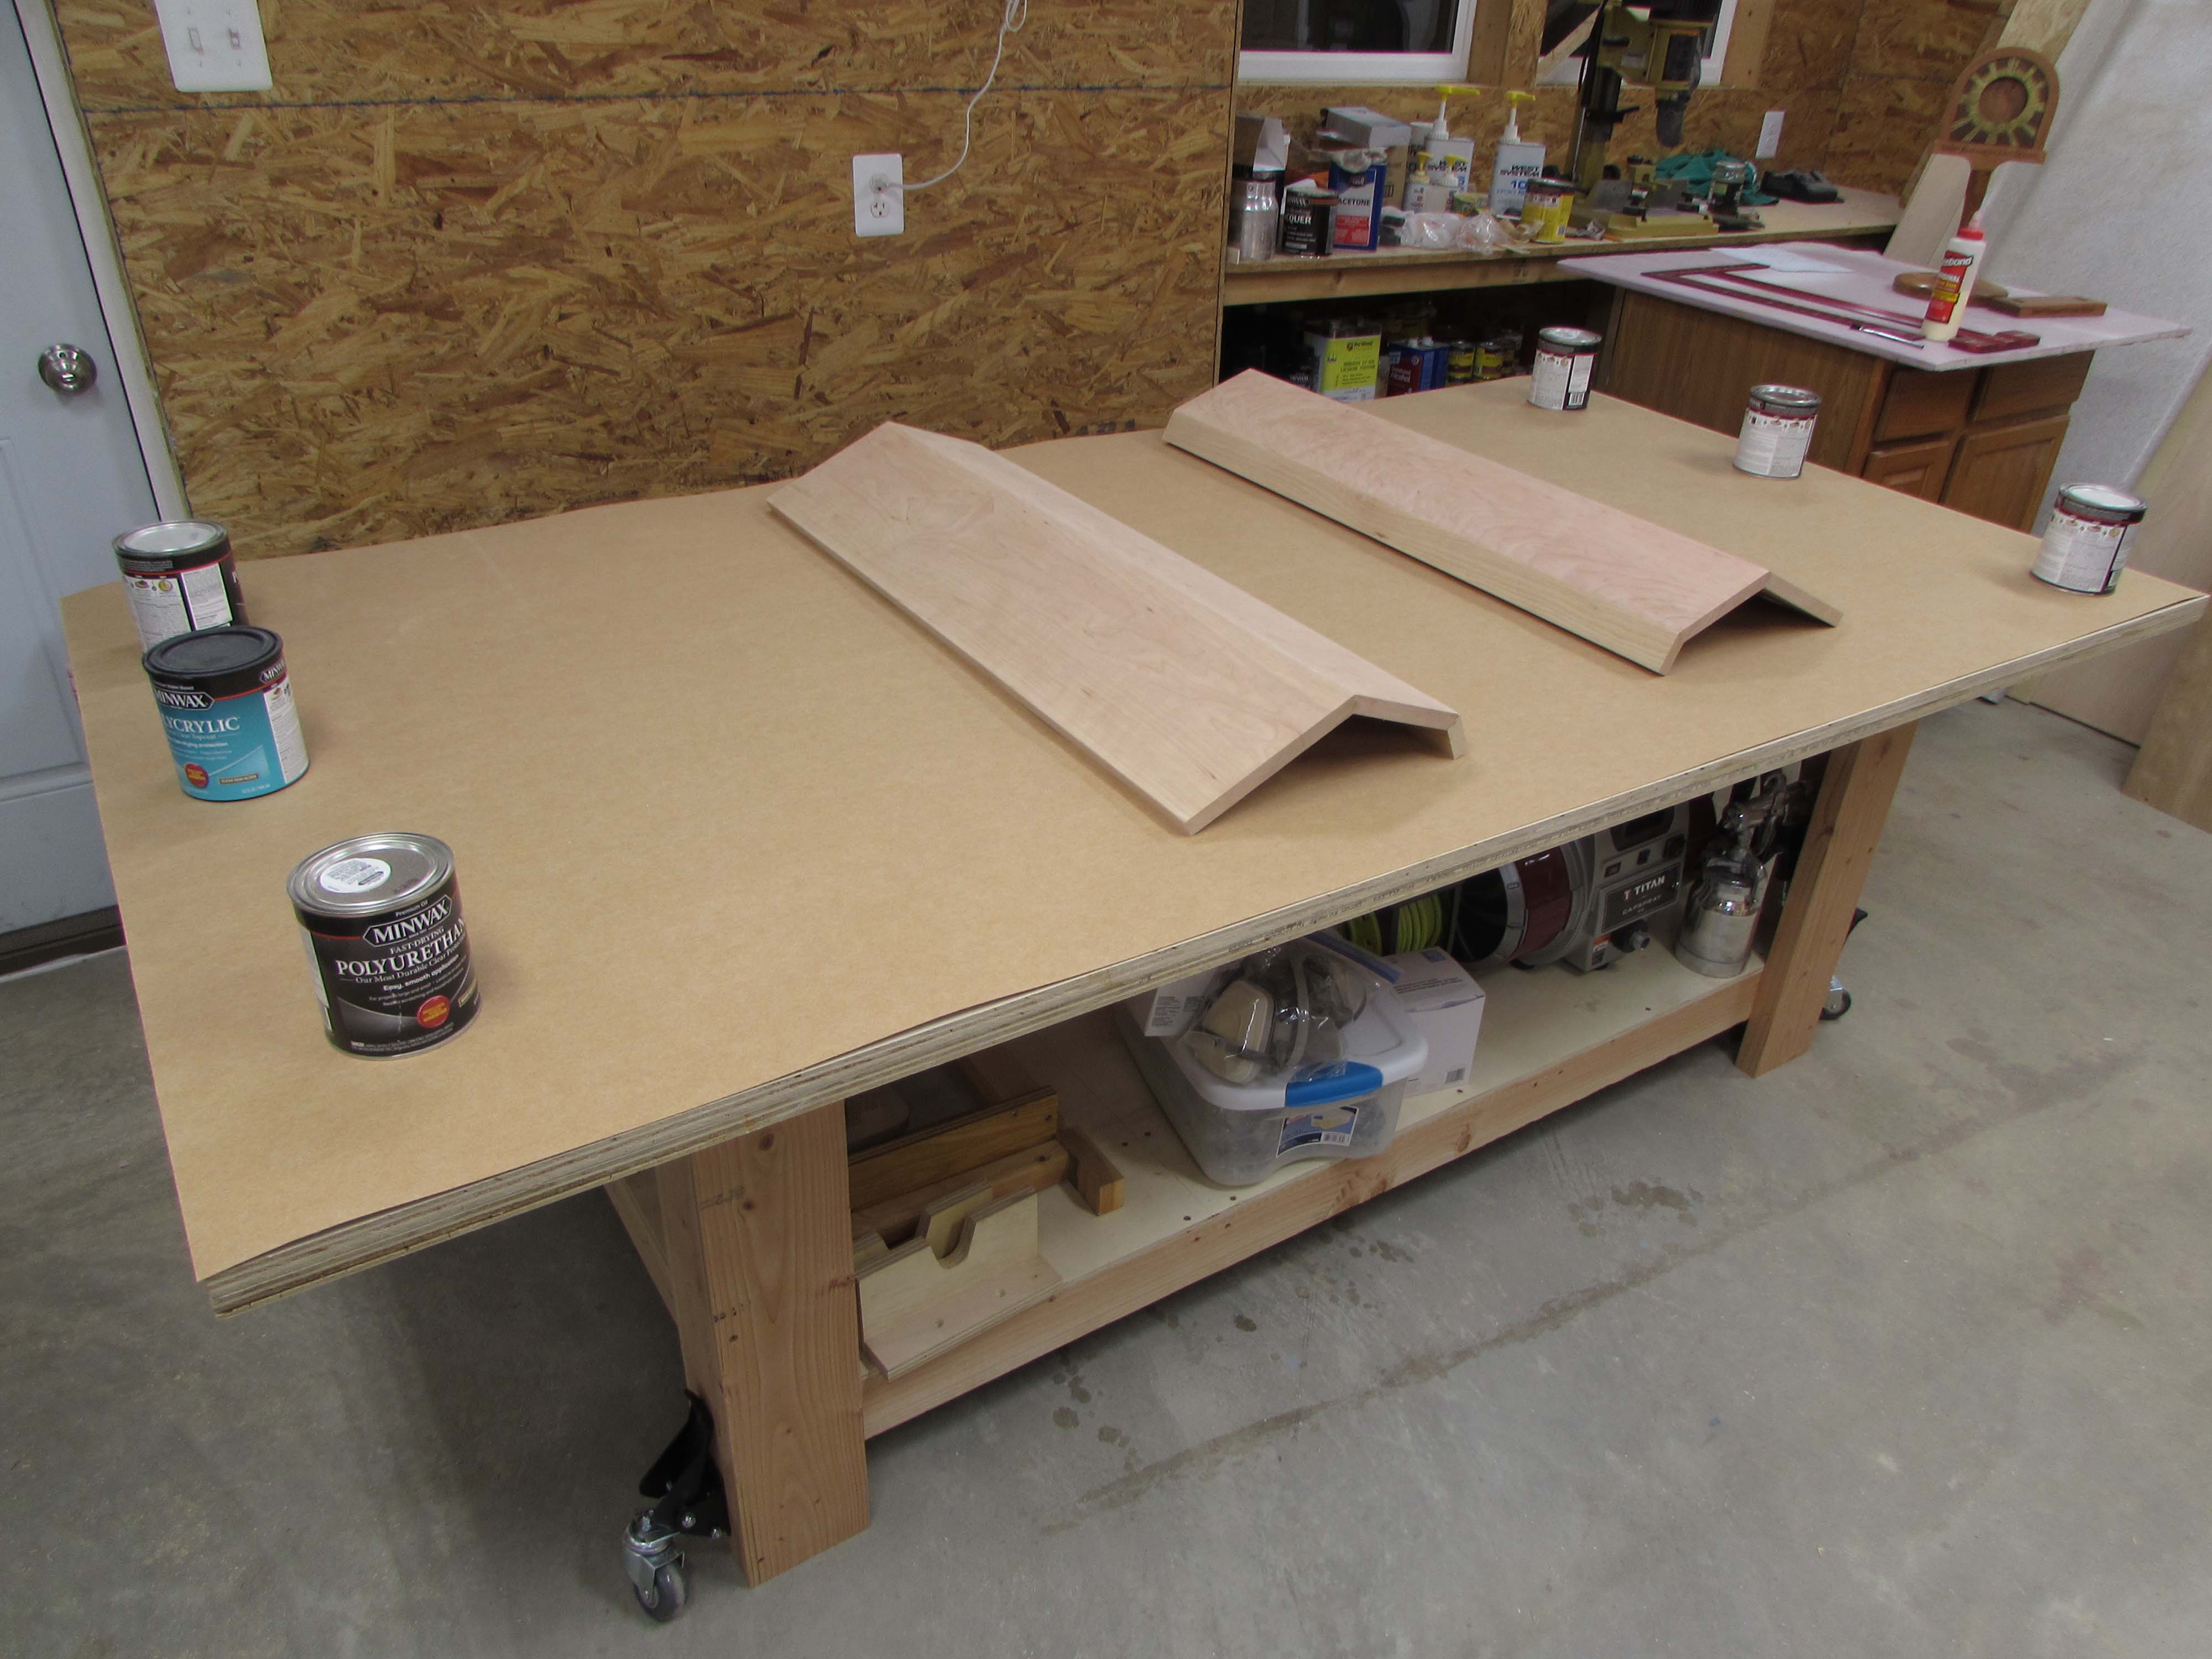
The tape usually prevents squeeze-out on the outer corners so when it is dry. I peel the tape off and there is usually a nice clean joint left behind.
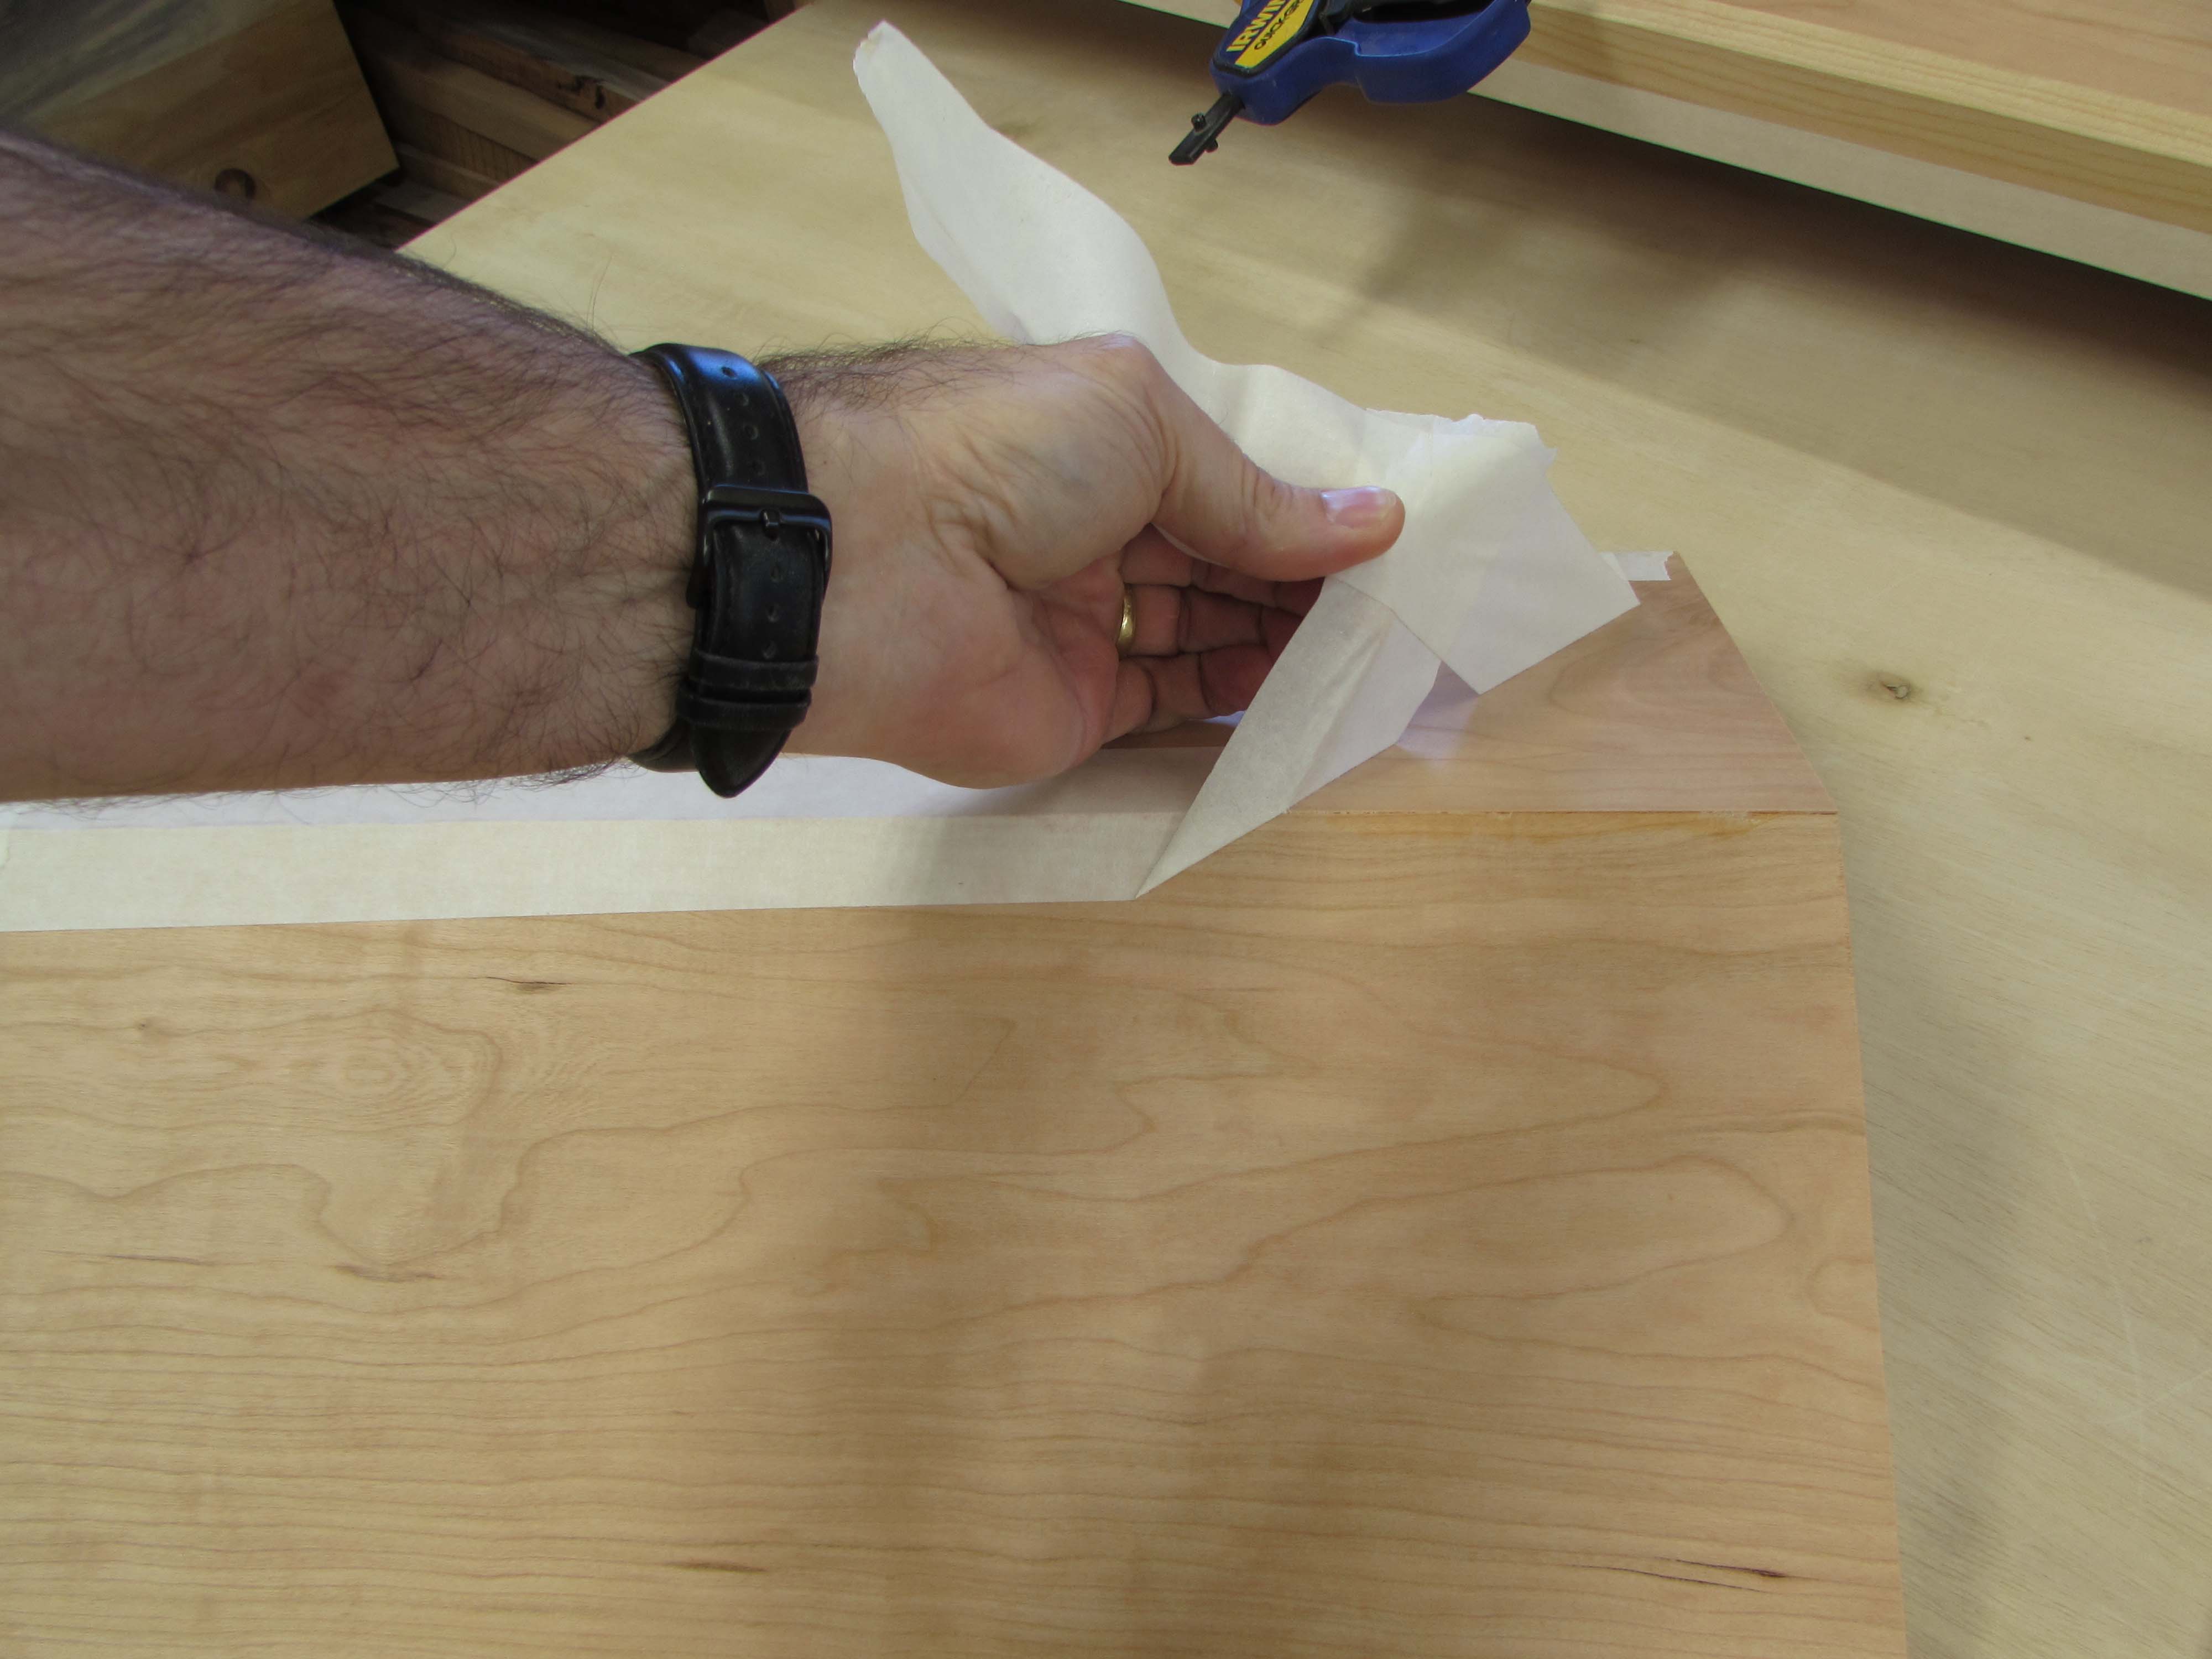
They turned out really nice, Just a little sanding to clean up the sharp corners and I can set them aside and move on the the base.


The base pieces will get glued up in a similar fashion.
I cut an additional notch in the clamping form so I could hold both faces of this two-piece glue-up.
I did both outer corners first and let them dry.


Then I flipped the forms around and attached the center section to the recently glued up corners.

While the front section of the base was drying, I started assembling the structure for the rest of the base.
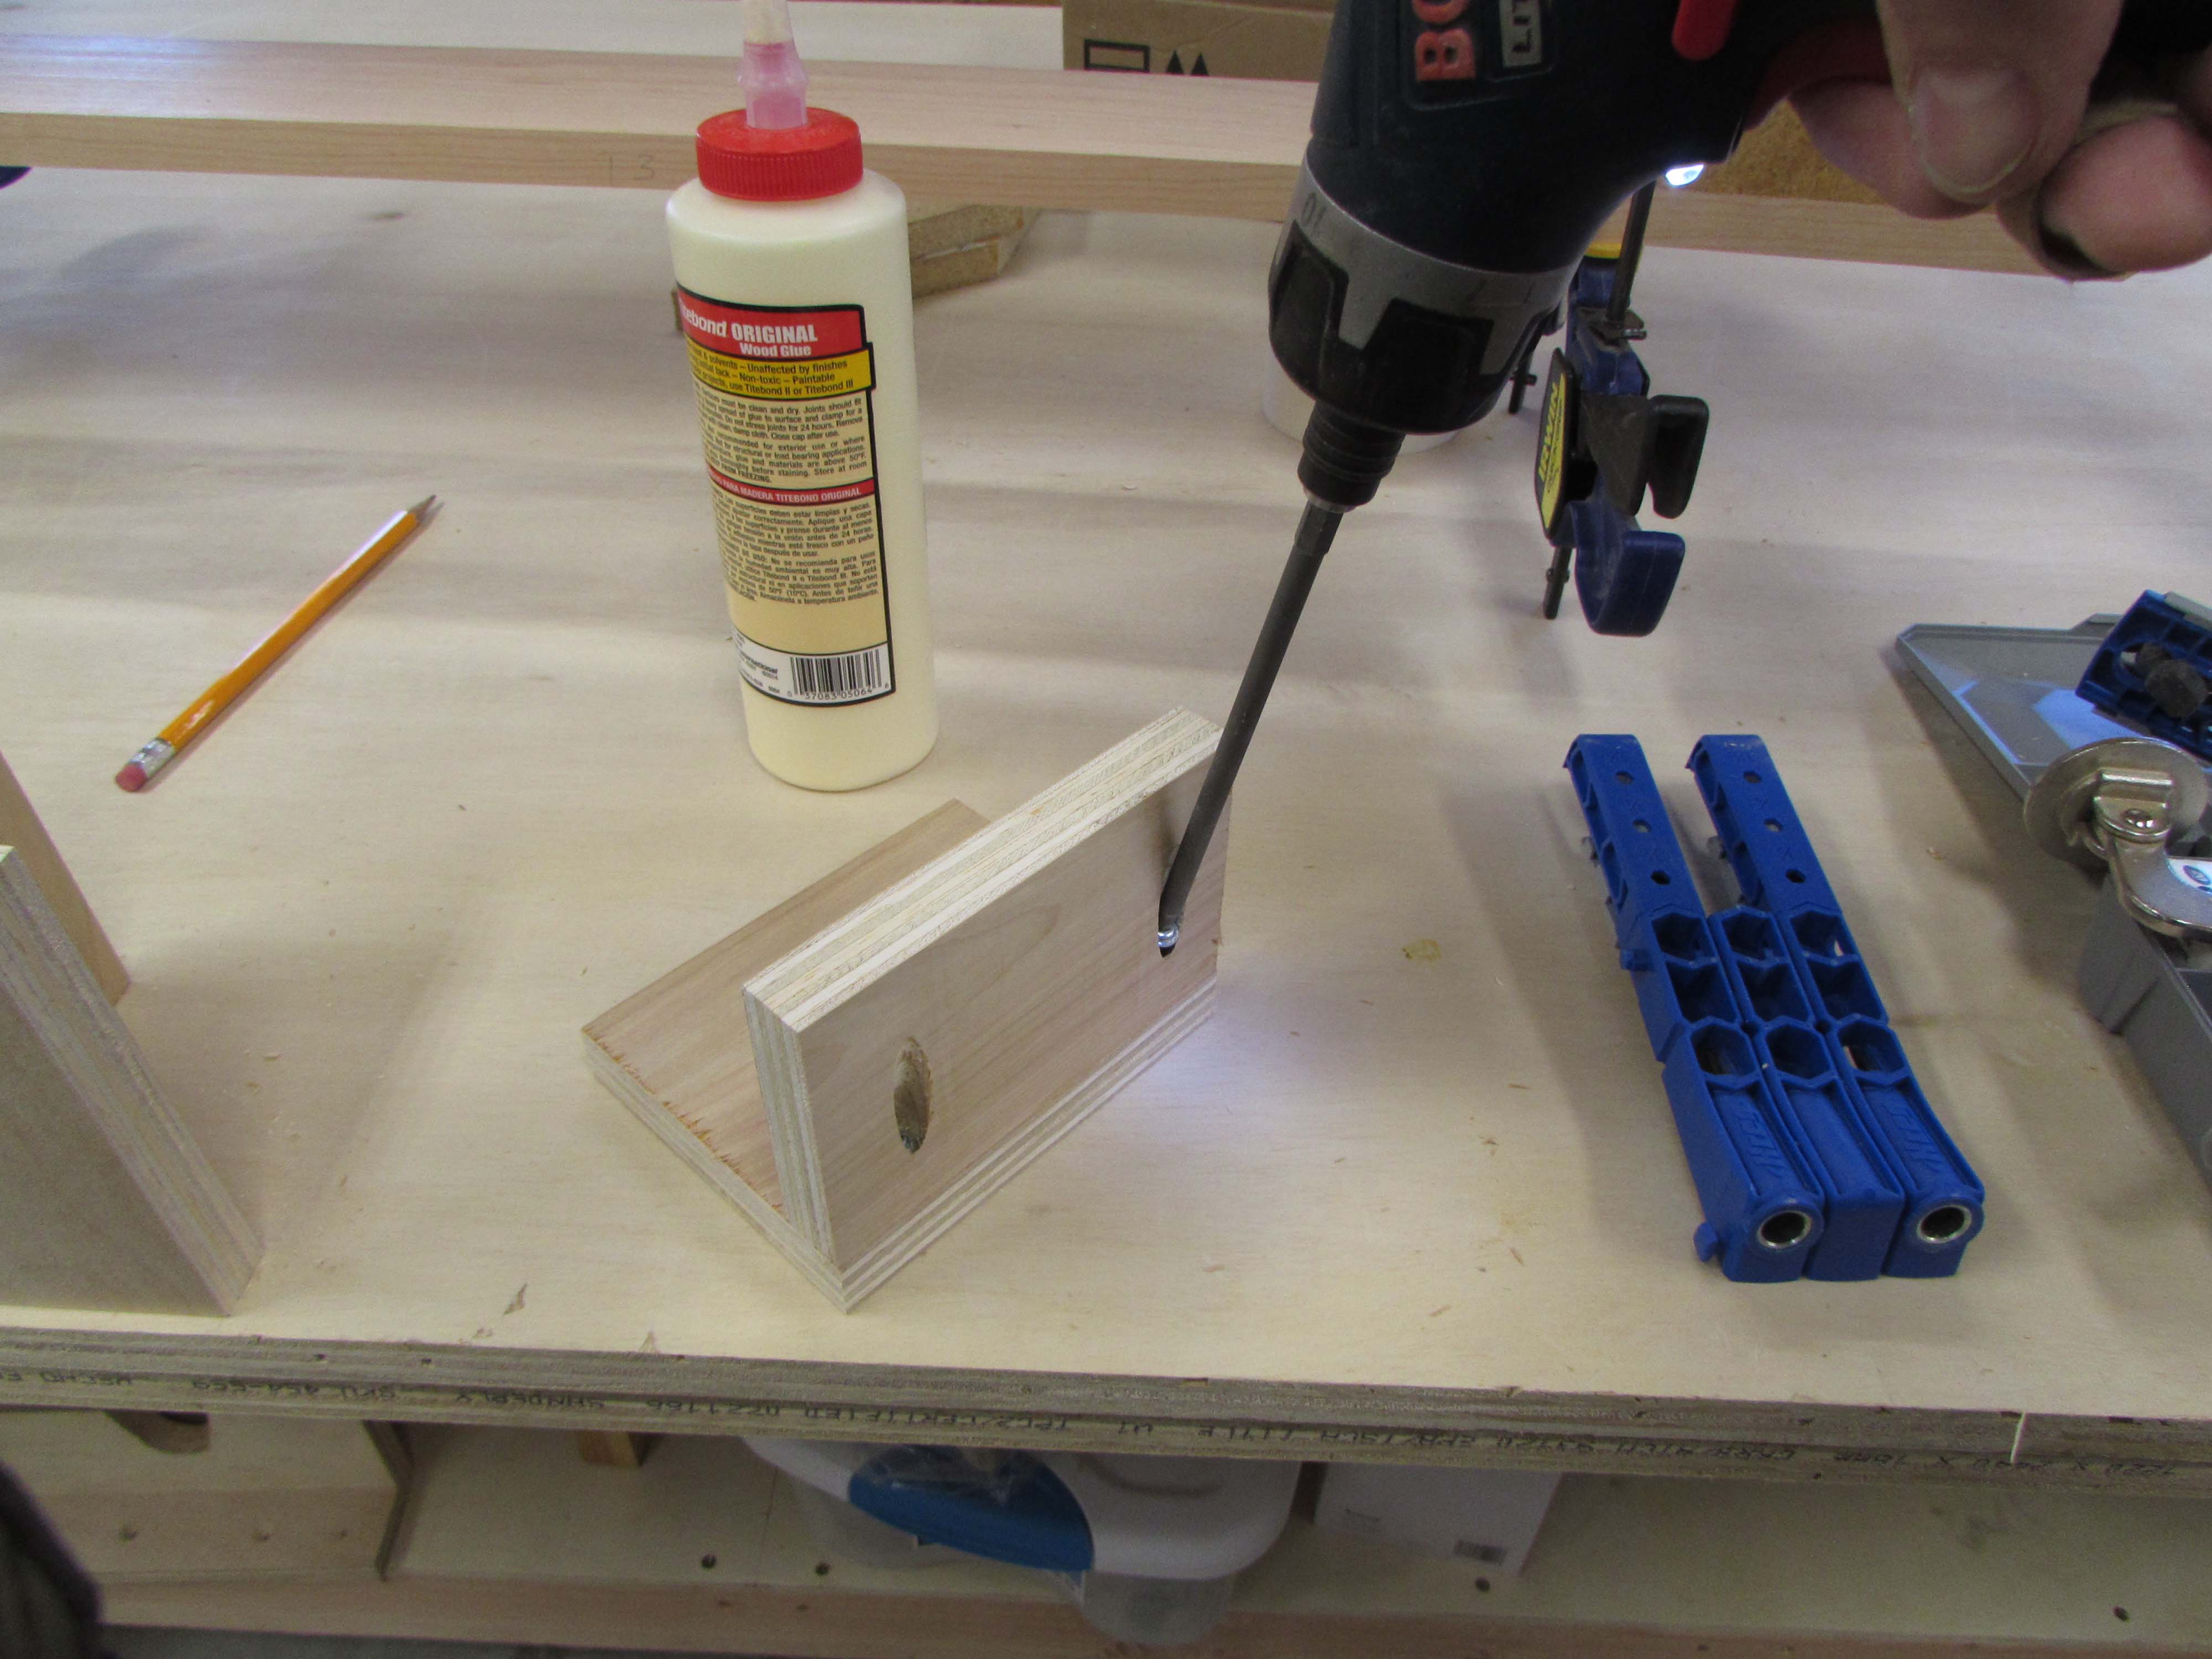
I used pocket hole screws and glue for some of the joinery.

This enabled me to attach to the cherry from the back so that I did not have any brad nails going through the cherry face that would need to be filled later.

I finished the small front section of the base and set it aside to dry while I continued cutting the rest of the plywood for the base.


The rest of the base structure was assembled with a combination of glue and brad nails or glue and pocket hole screws depending on how it needed to be attached.

Once all the pieces were dry-fit, I could finish assembling the base.


When the base is installed, it can be leveled up with shims if the floor is uneven, then the cabinets can be installed on a flat, level base and be screwed down to it.

I cut up the next sheet of 3/4″ plywood and started assembling the rear section of the center cabinet. It has to be multiple pieces to fit through the door.
Parts of the cabinet will be visible after assembly. These sections will get a cherry veneer attached. It arrives in a roll, so I have to unroll it and weight it down to flatten it out. I am not using it yet, but I want it to acclimate to the shop so that it doesn’t want to shrink or expand later.

This project has so many pieces that I am bouncing back and forth a lot. Bear with me because I am working out the sequence as I go…
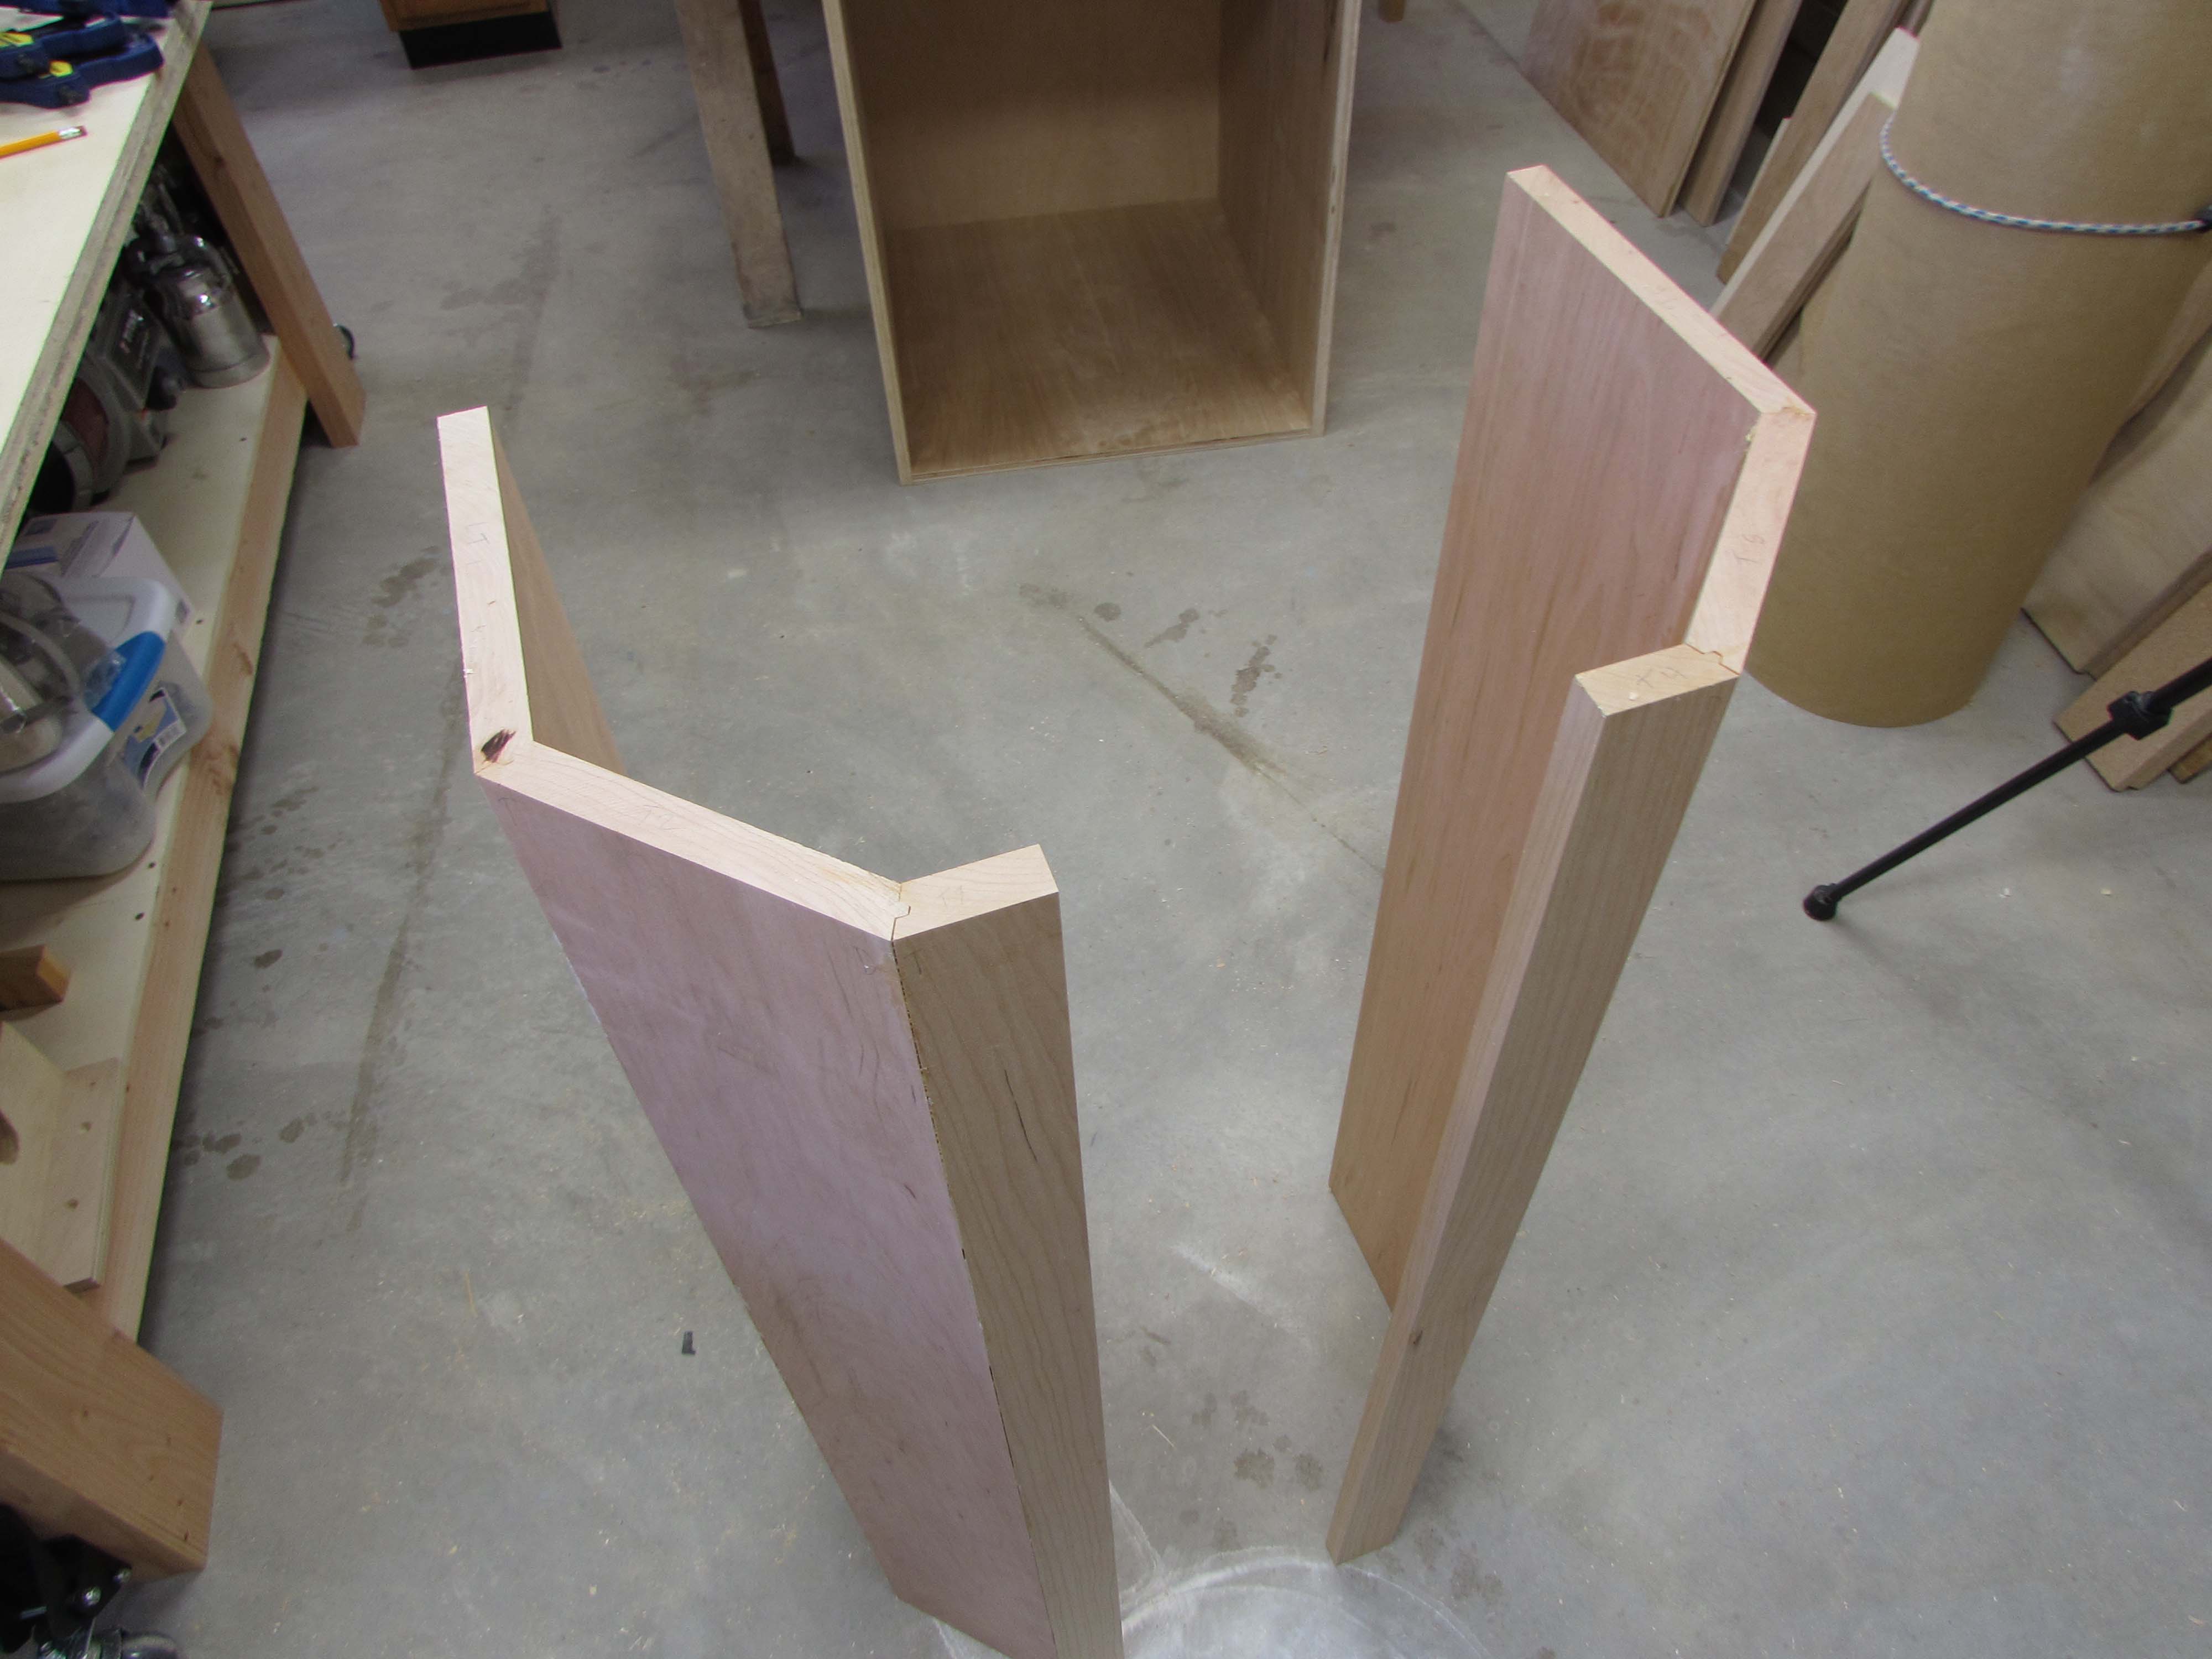
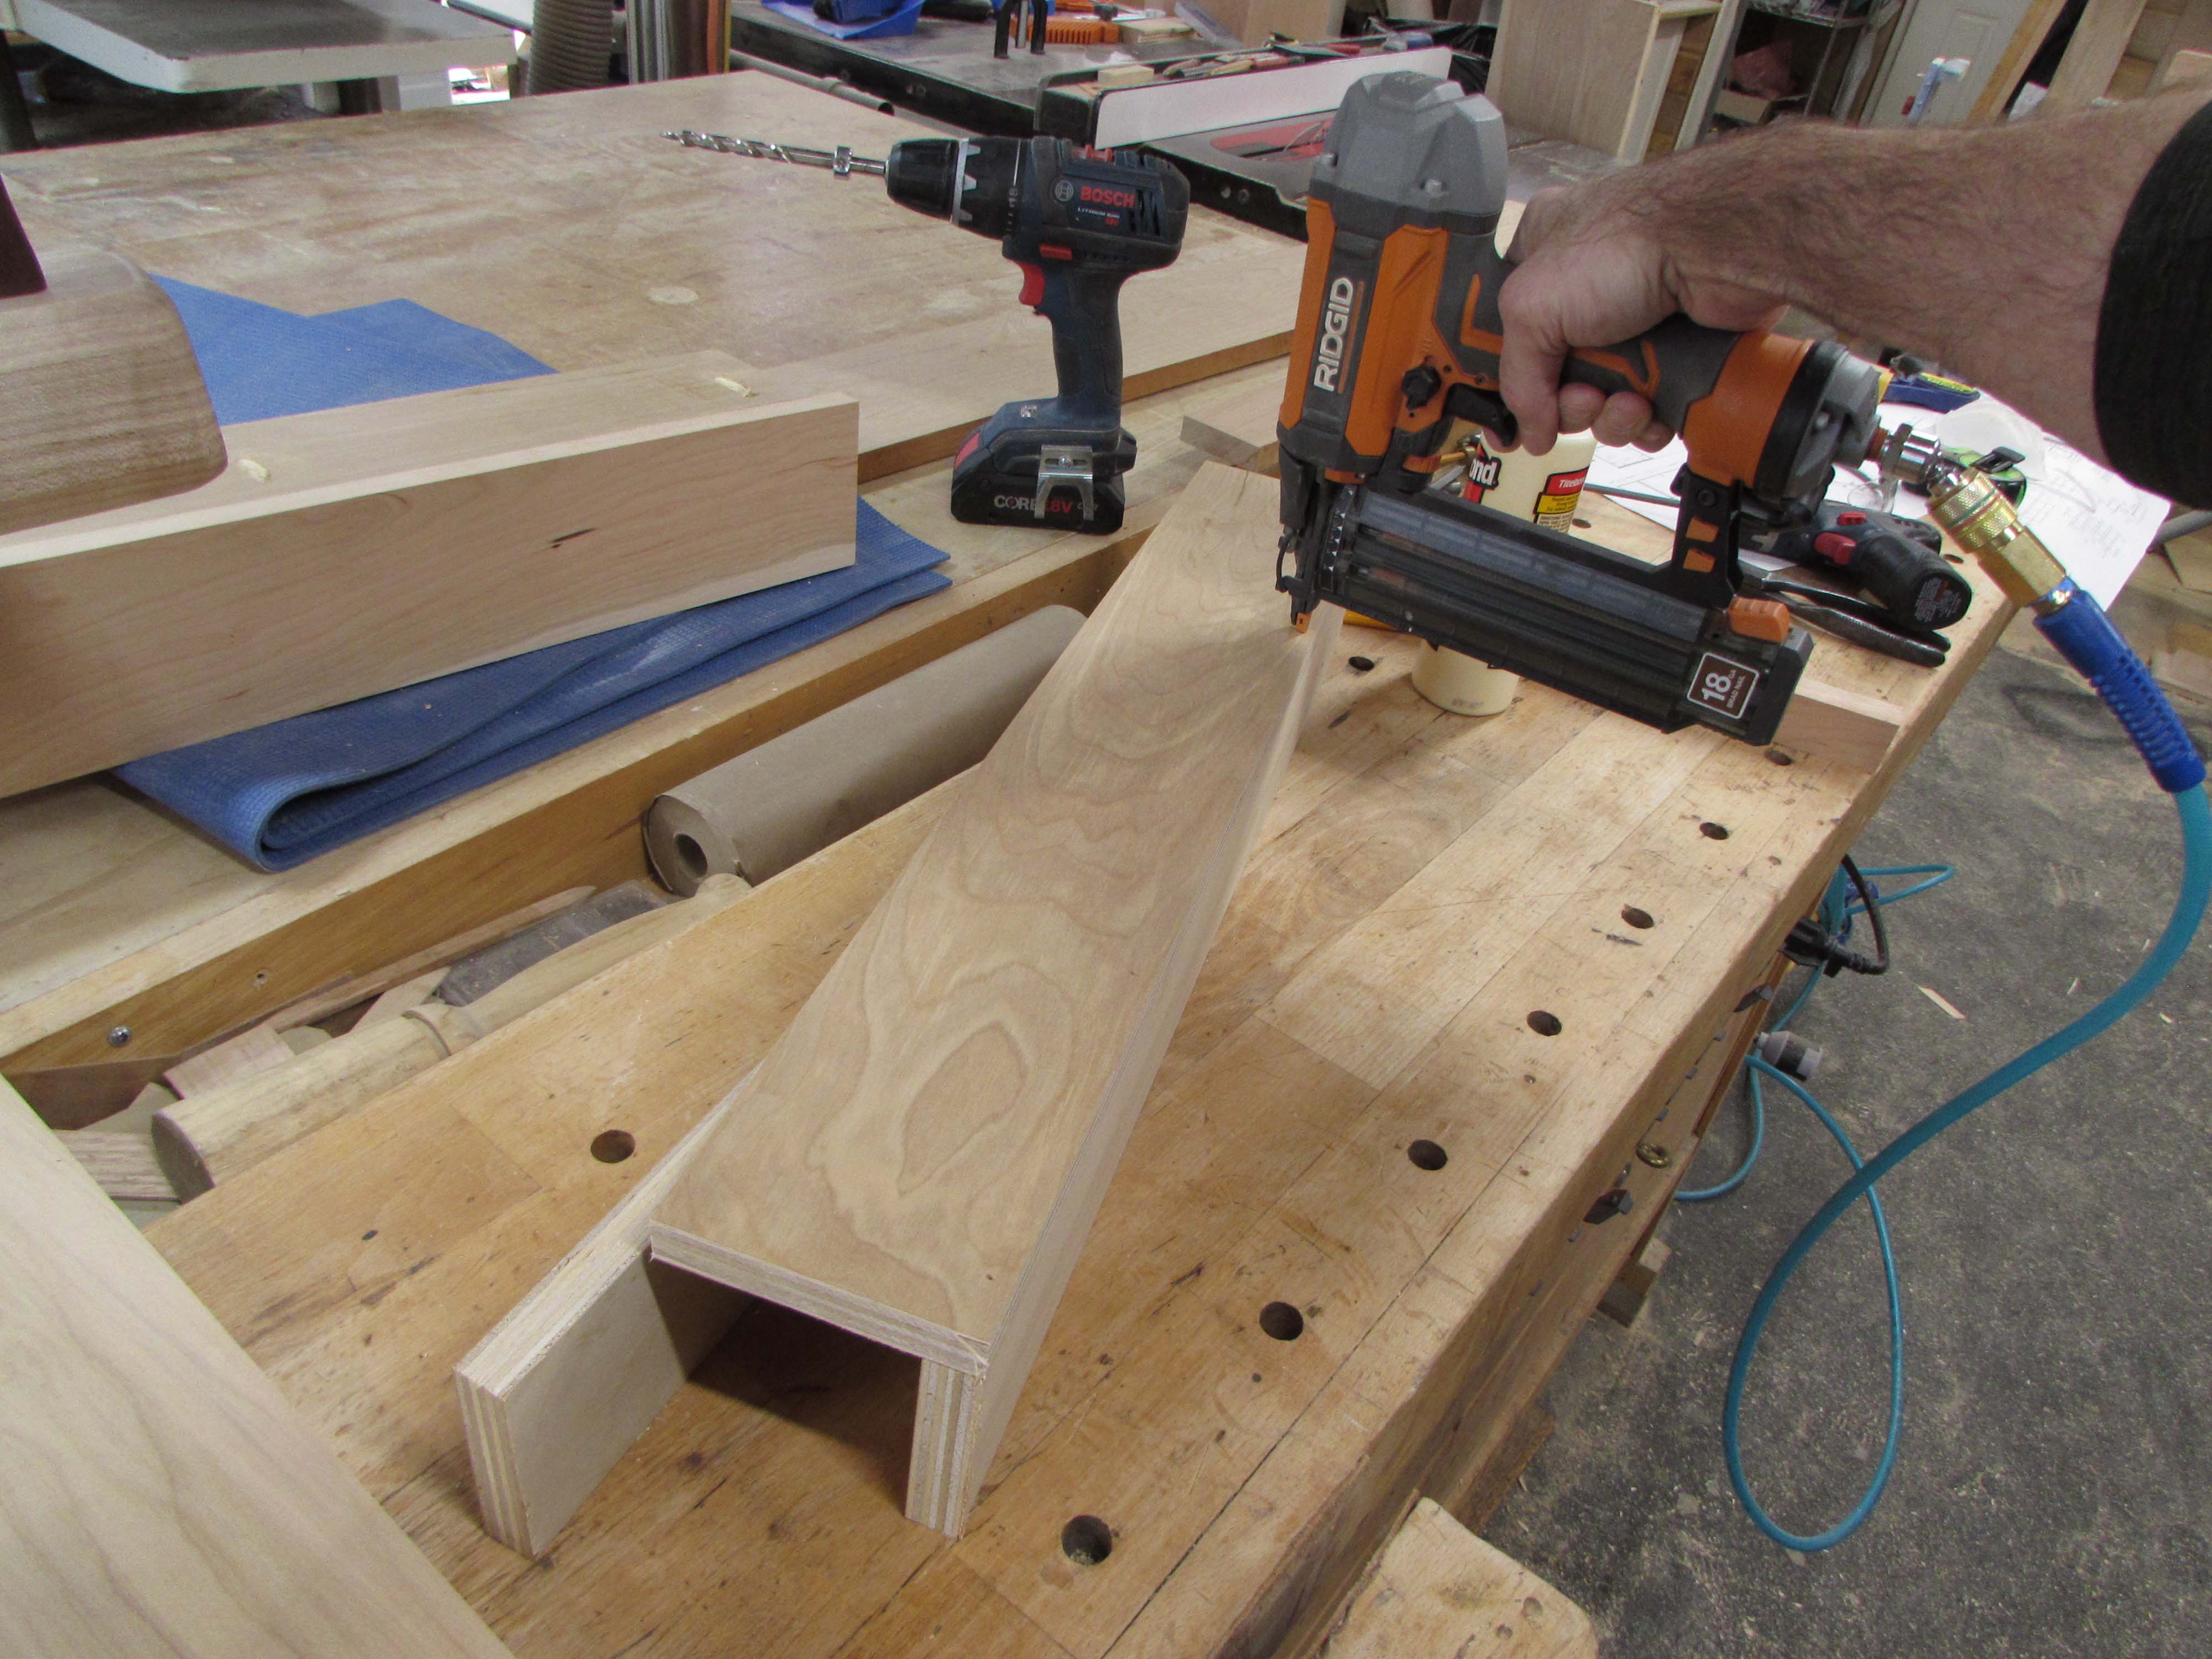
Next up, I am going to cut the cherry rails that will go between the drawers on the front, of the center cabinet. These will be attached between the tall angled sections that I just glued up along with the base.

The top and bottom were ripped down to 1-1/2″ while the middle strips were 2″ wide.

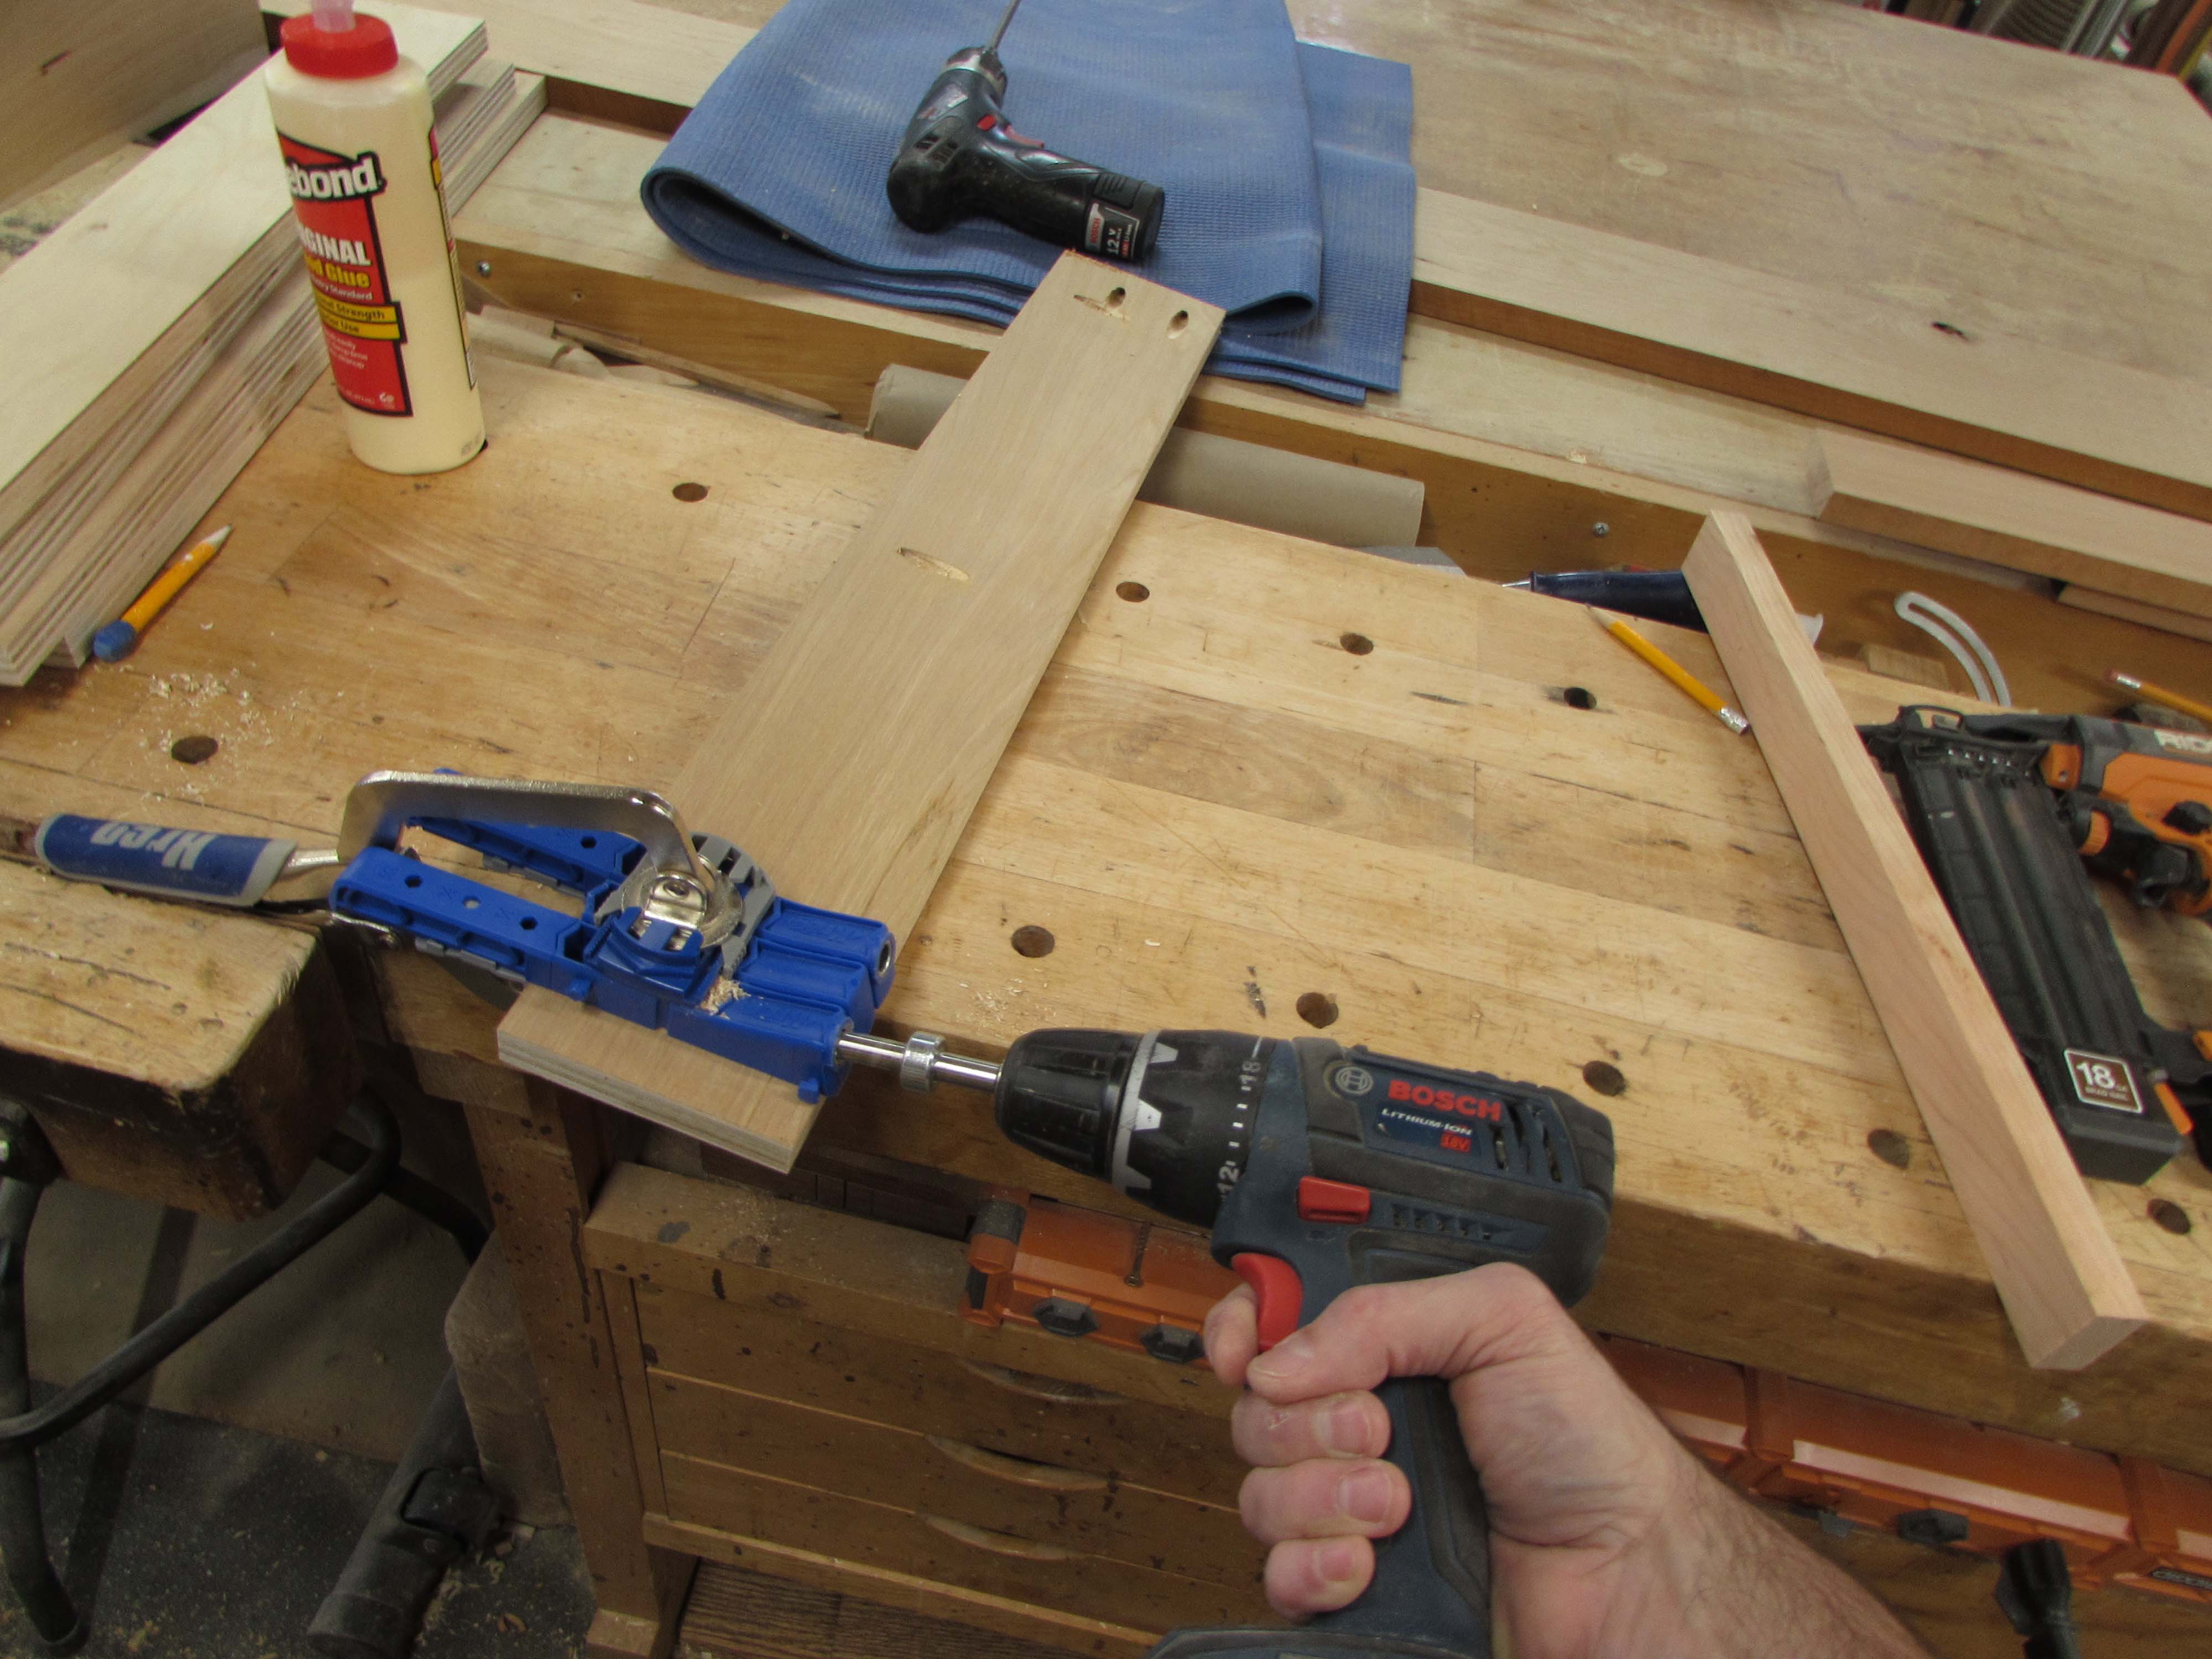
These will be attached with glue and pocket hole screws from the back.

I used a different pocket hole jig to create these holes than I used on the base. That one could be easily moved around from piece to piece, this one stays clamped to the bench.


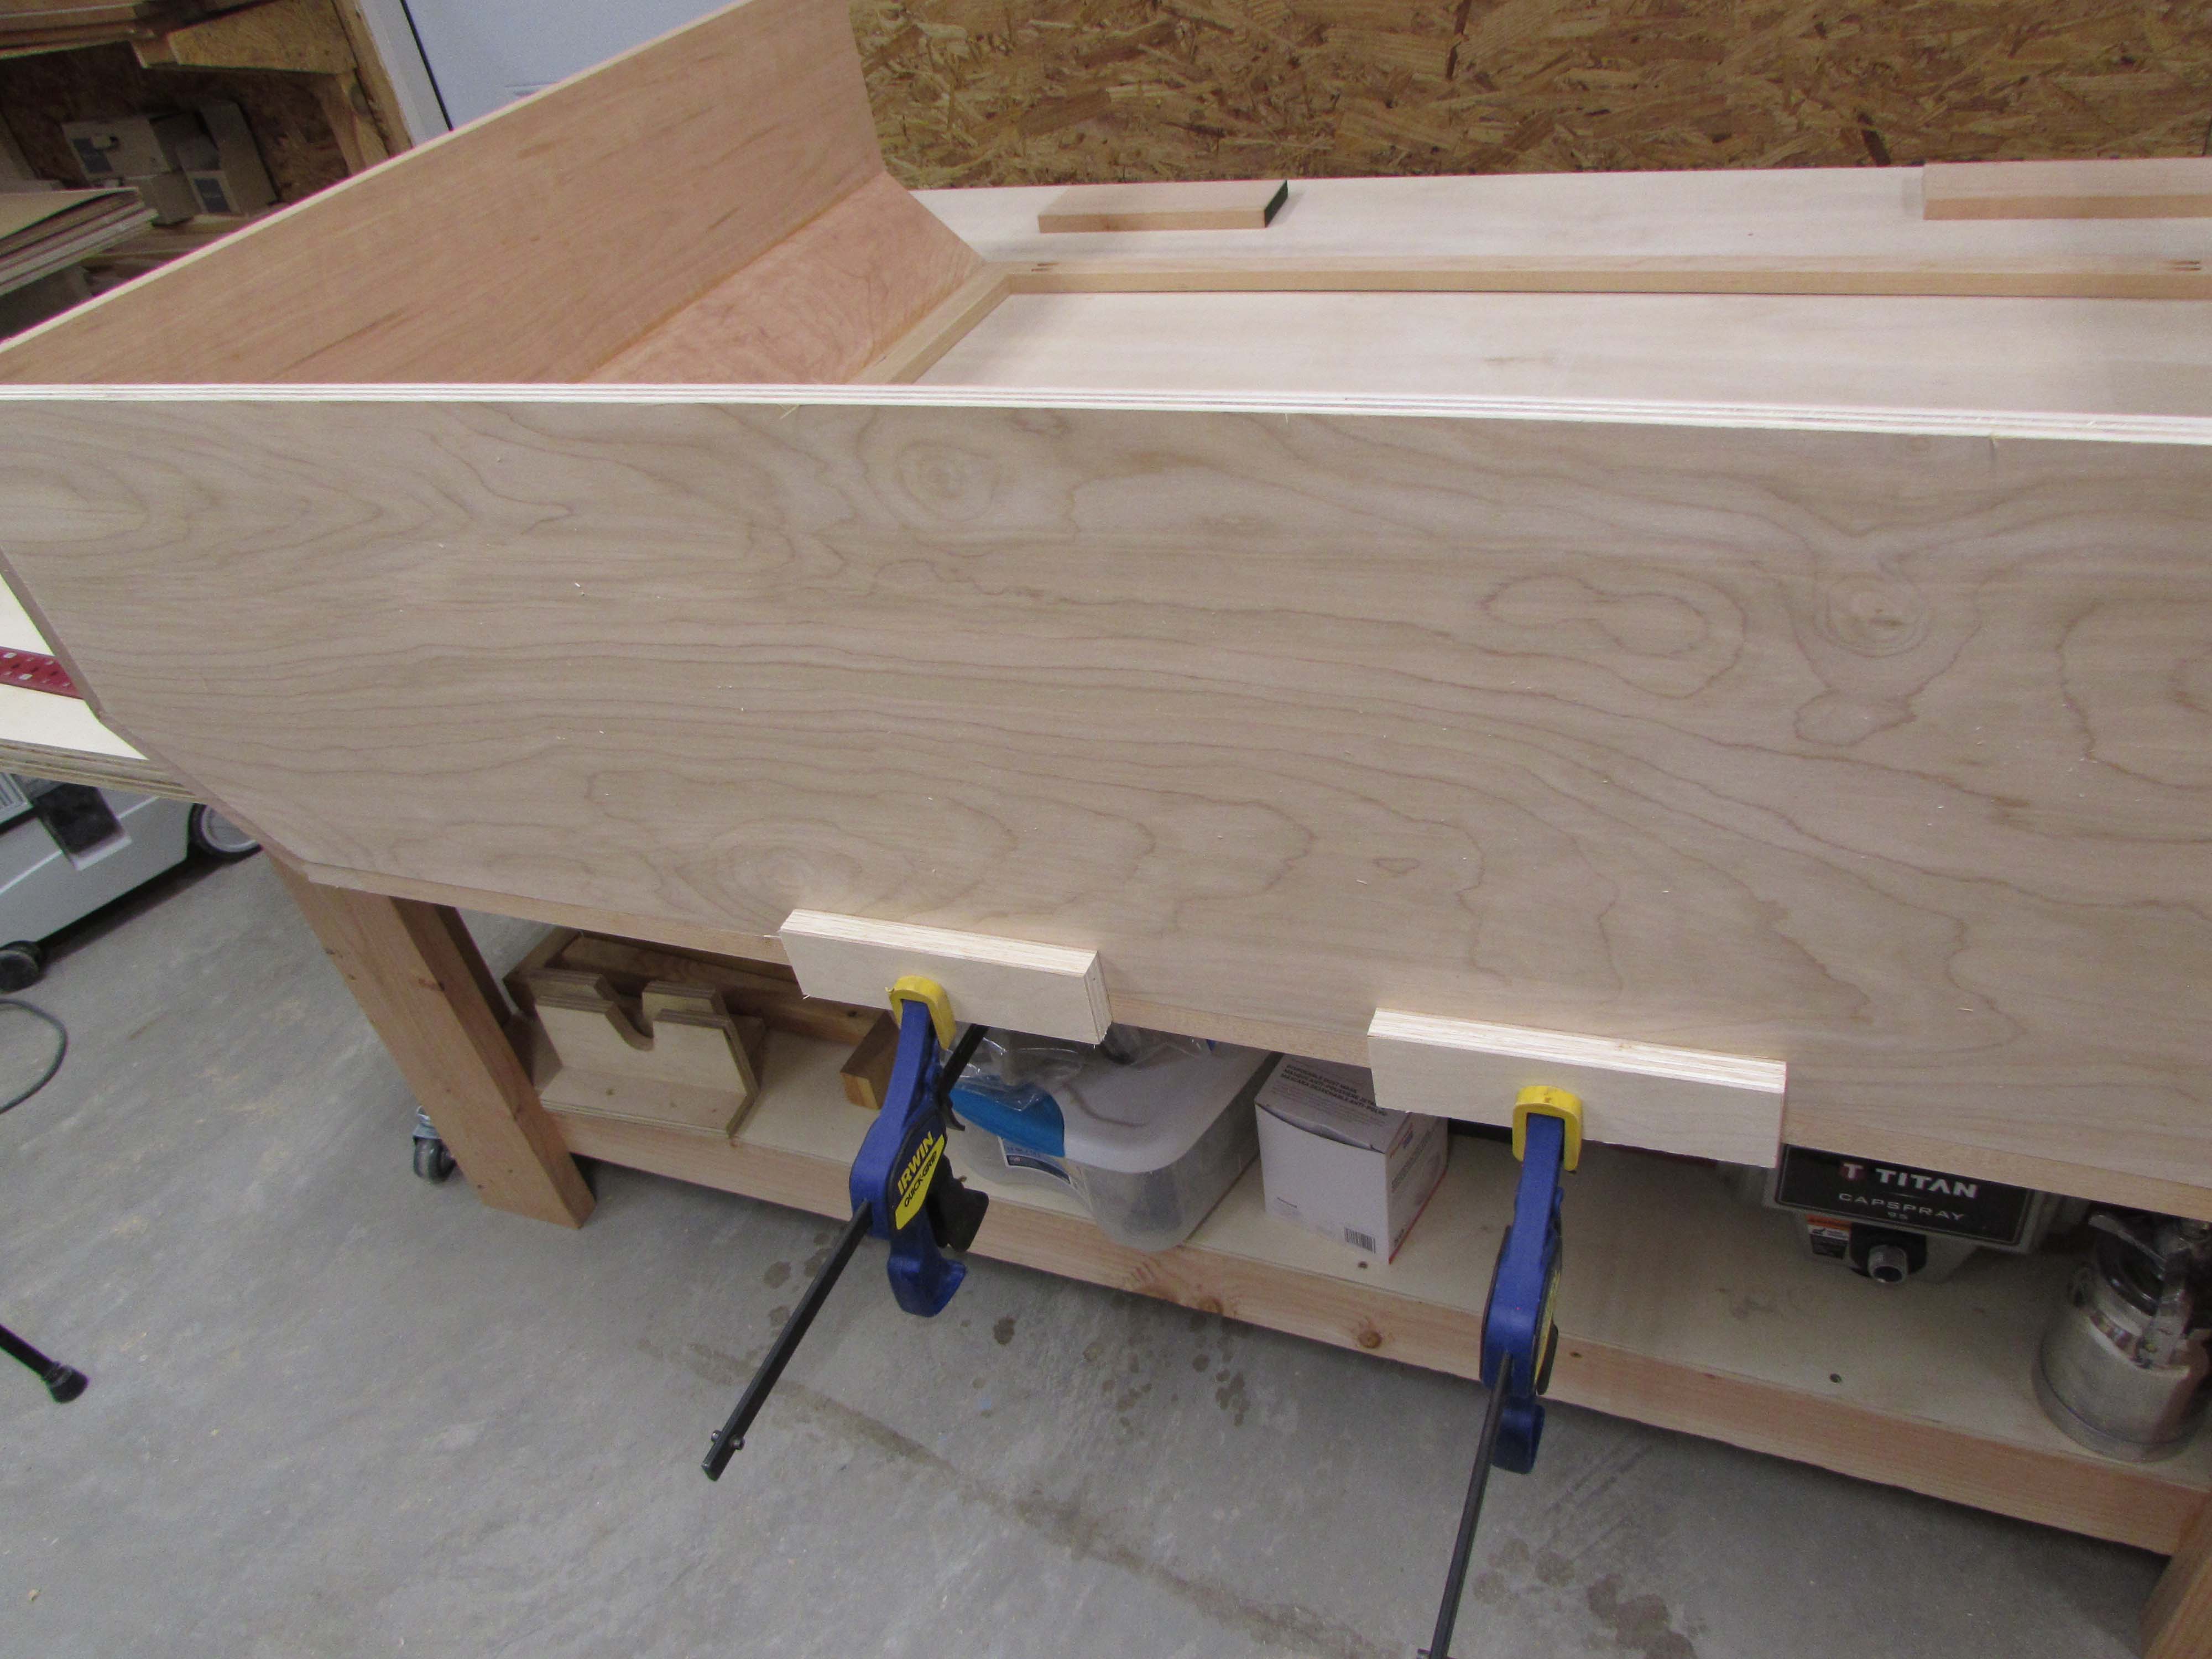
To attach them, I used some 90° clamping blocks to hold the corners upright, then clamped the side and strip down flat to the assembly table before screwing it together.

I attached the top and bottom first, then infilled the middle strips using spacer blocks to hold the 6-1/2″ spacing I needed.


Everything attached as planned leaving me a larger 10-1/2″ opening at the bottom for the larger drawer.
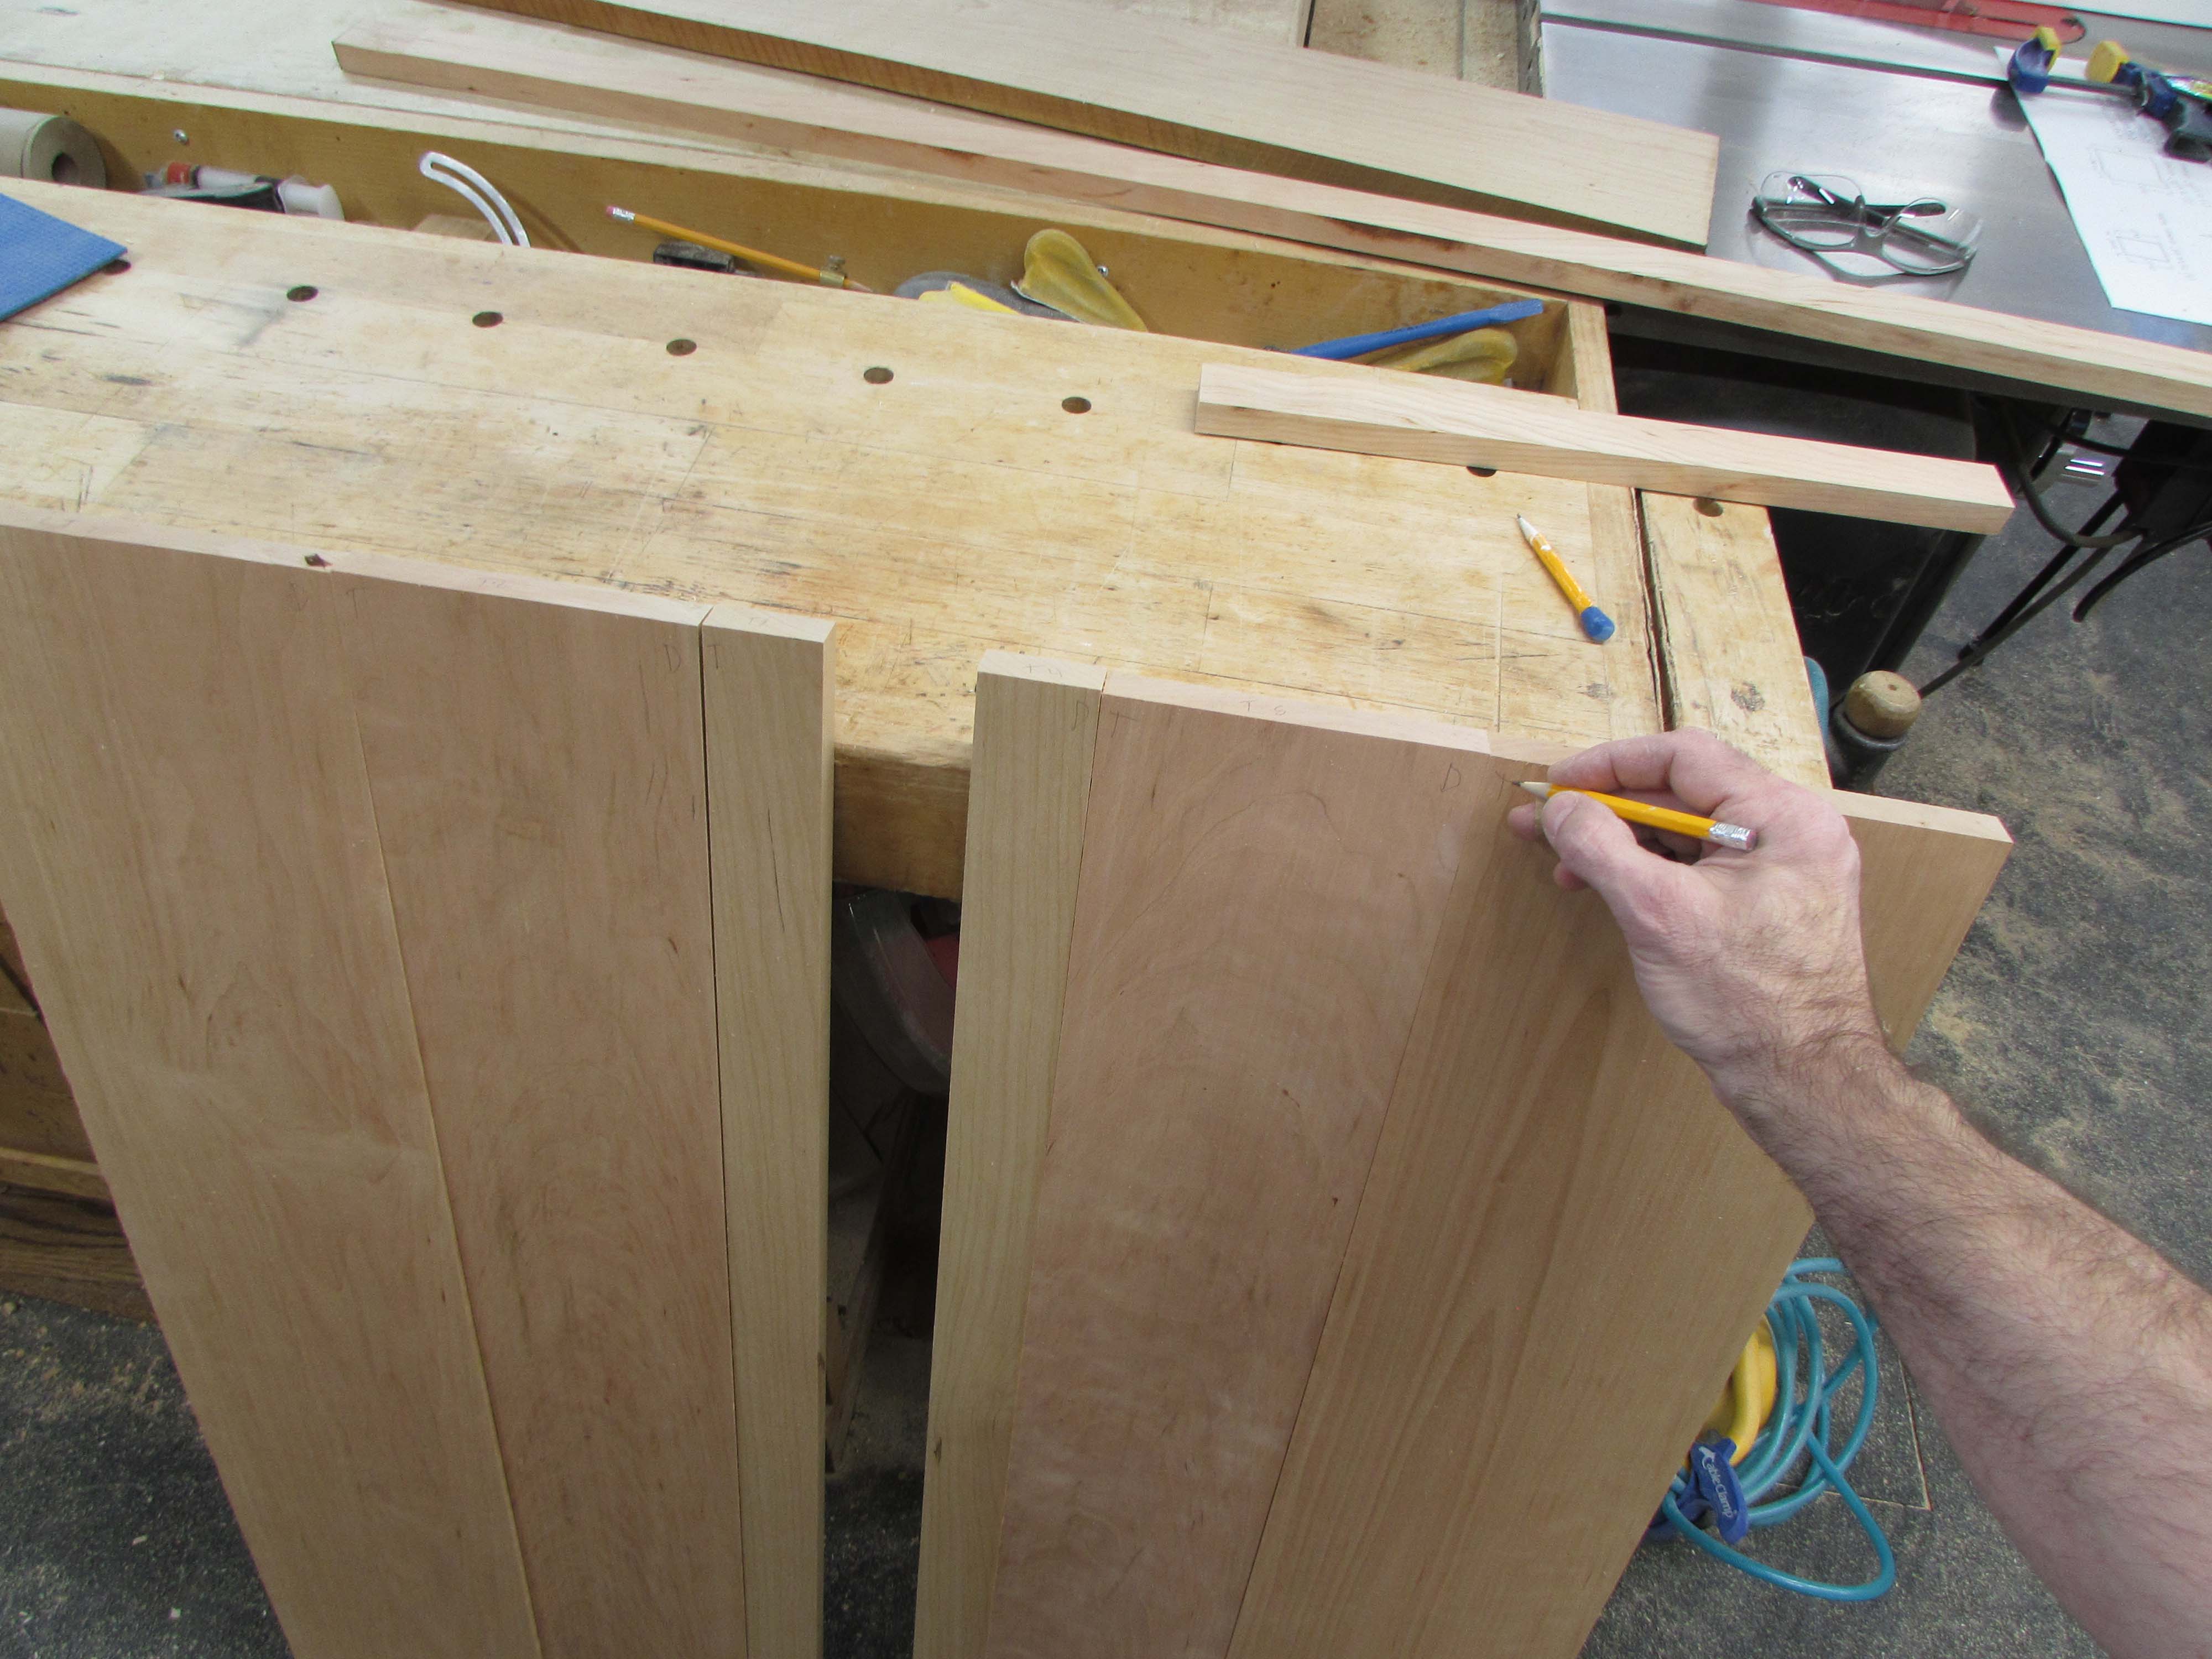
I placed my top and bottom pieces of plywood against the assembly and marked the corners that still had to be cut.


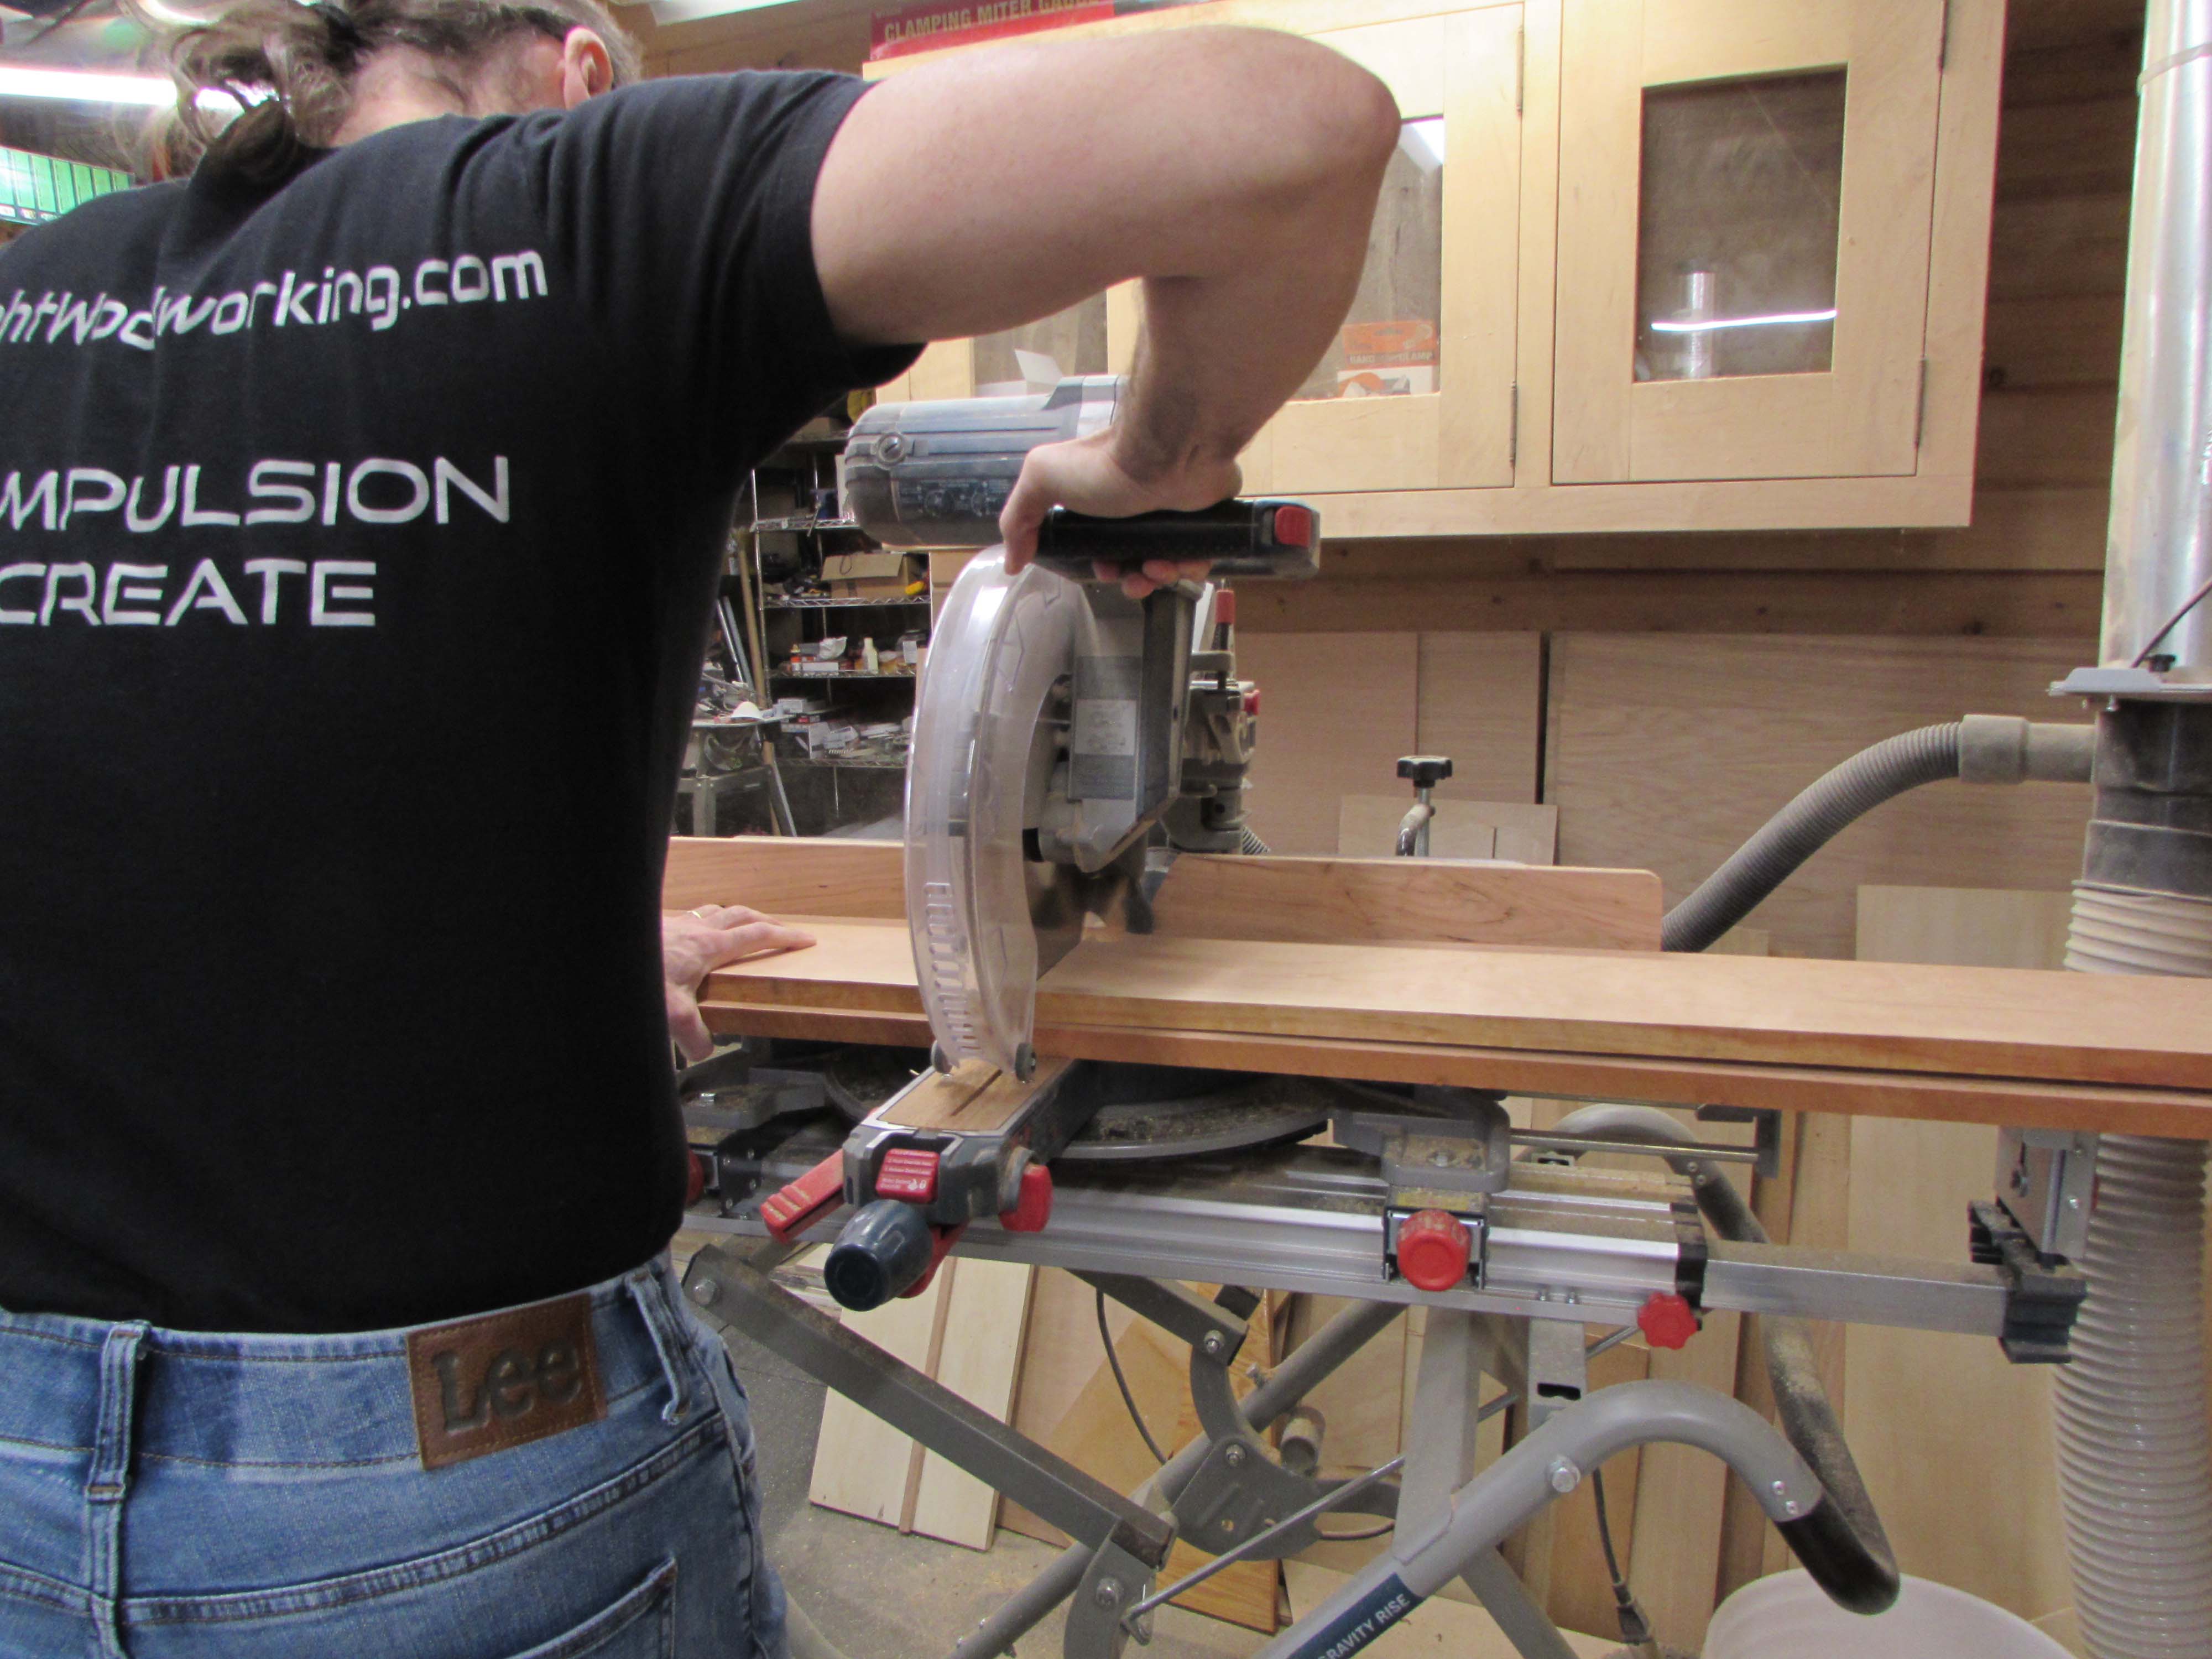
These were cut off on the miter saw, then test fit in place.

I drilled a series of pocket holes around the outer edges for attachment from inside the cabinet.
I used some temporarily clamped blocks to keep the plywood flush to the top or bottom when screwing the panel on.
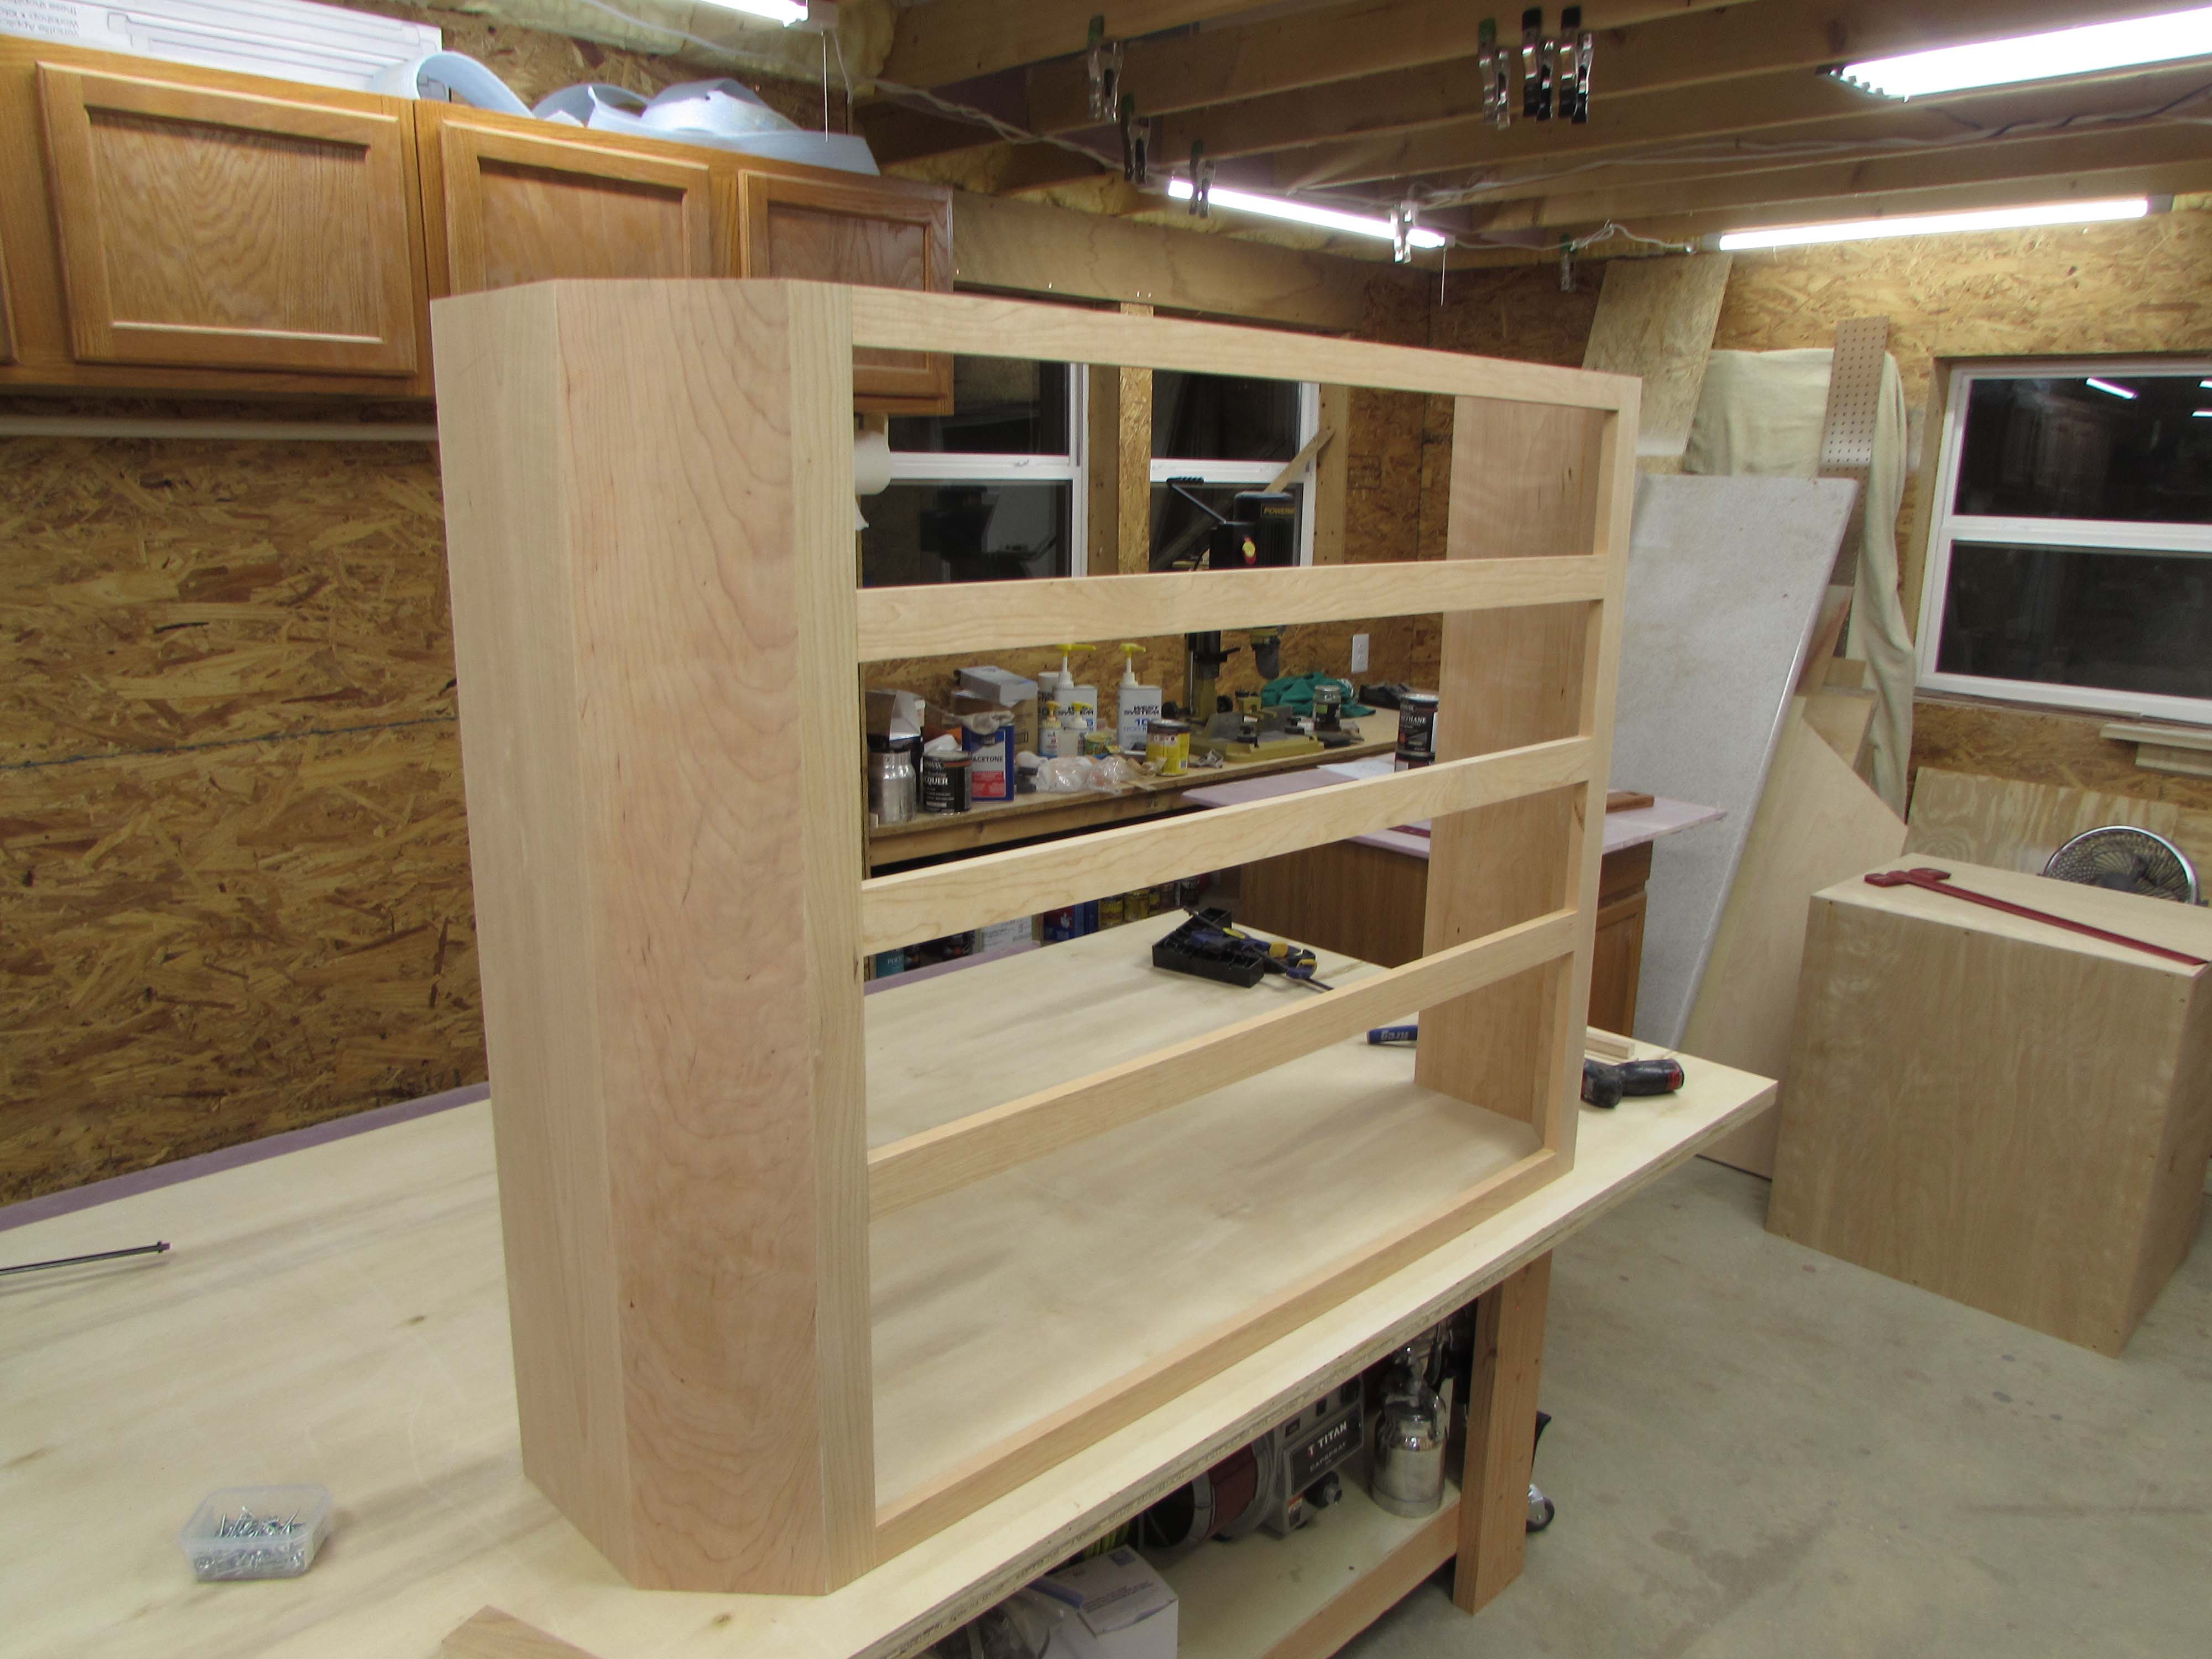
Then I had the front of the cabinet complete so I could dry-fit it against the back section.

The next step will probably be to attach the veneer so that I can align the front half to the back and find a way to remove and reattach…
