Jim’s memory box
I lost a good friend last week. My friend, Jim, was an engineer and a woodworker. I worked with him for a few years then saw him almost weekly for lunch after he retired. He has been following my blog for over a decade and I will miss him. He loved to discuss projects and their design. He also loved to find great deals on wood, tools, and pretty much anything else… He is to be interred at Arlington national cemetery and his wife asked me to make the memory box for his ashes.
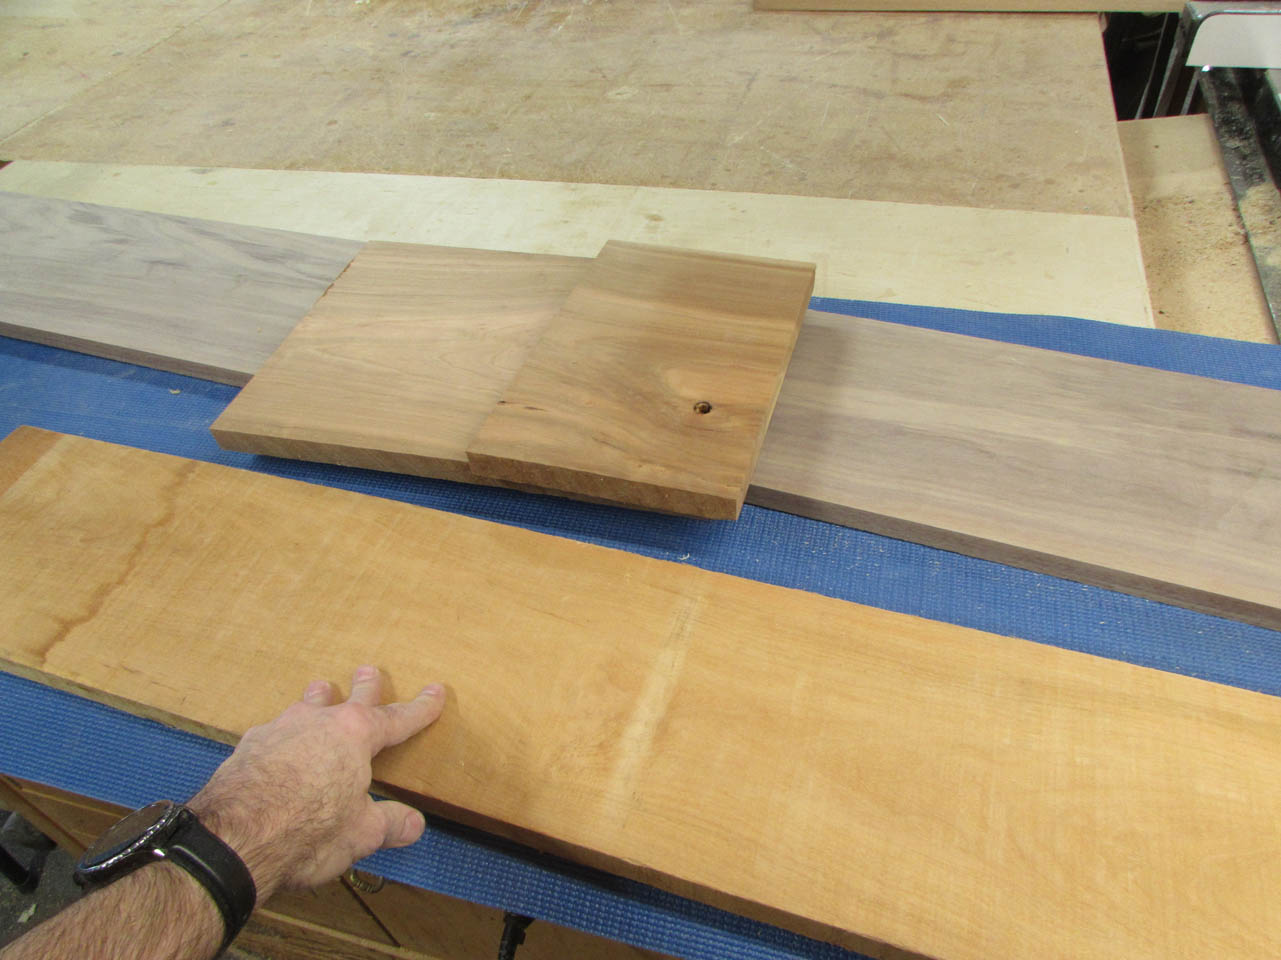
It is an honor to do this small thing for his family. I asked his wife what types of wood Jim would like and she suggested cherry and walnut. So I looked through my shop to find wood that would be suitable. I didn’t want anything too boring since Jim had a lot of character. For the main body of the box, I chose a piece of cherry that I bought at a Mennonite saw mill. Jim loved getting deals and this has been the best place I can find for getting good deals on wood. The top will be walnut. I have a piece of walnut that was cut down many years ago by a friend’s grandfather and stored in a barn for decades. I got this piece in trade for doing a project for a friend. Another deal that Jim would respect. The final piece is a piece of cherry, that will go on the bottom, it is some of the last leftover from the cherry I used to carve the Papal seal for the Pope’s chair when Pope Francis came to DC in 2015. This piece was important to me and I want Jim to have it.
The only design constraints that I have for this is a maximum dimension of 9″x9″x9″. Those are the maximum dimensions provided by Arlington national cemetery. I will keep the shape simple but throw in a little complex joinery just to have some fun.

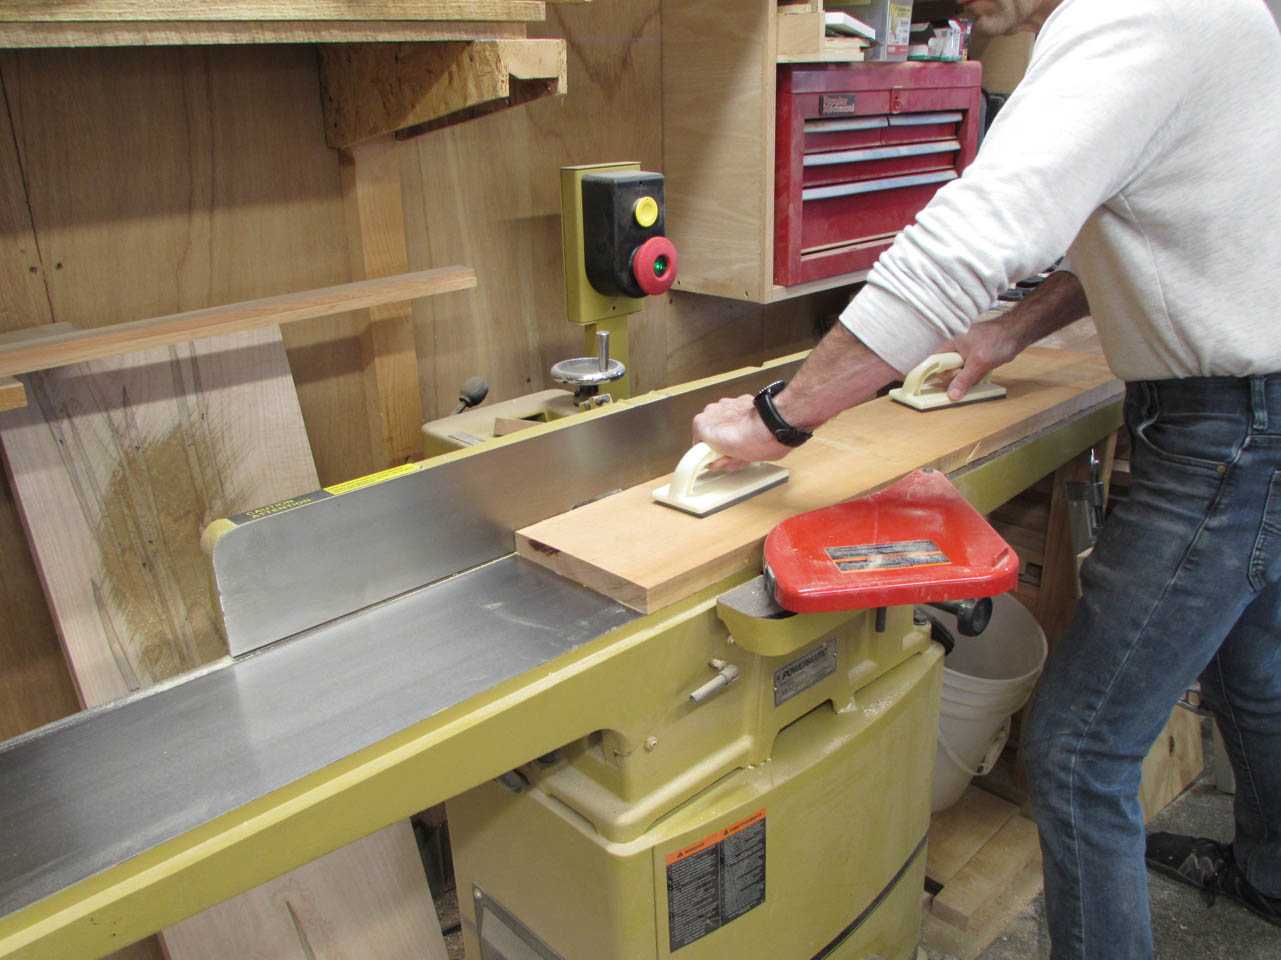
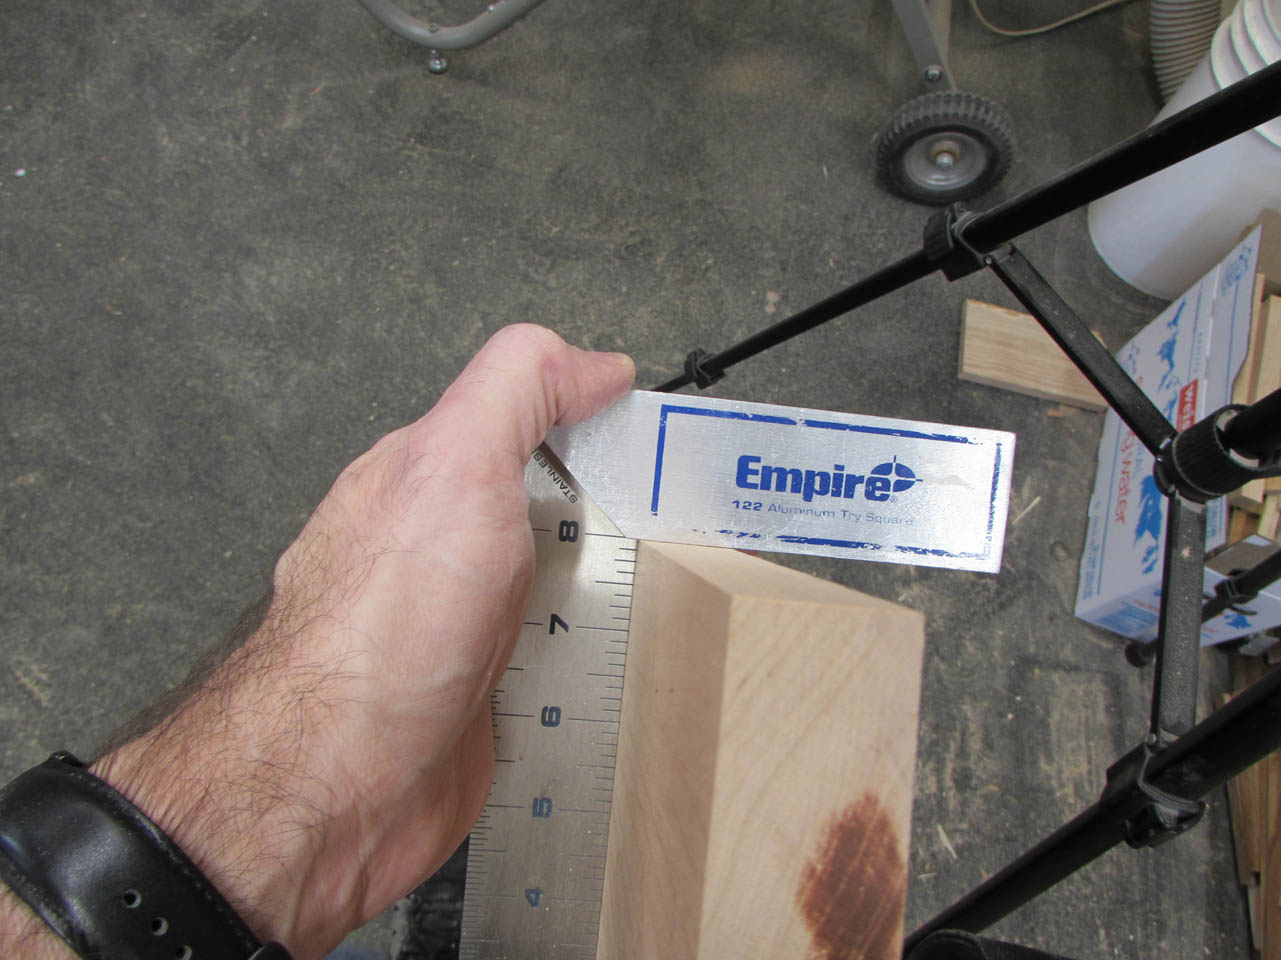
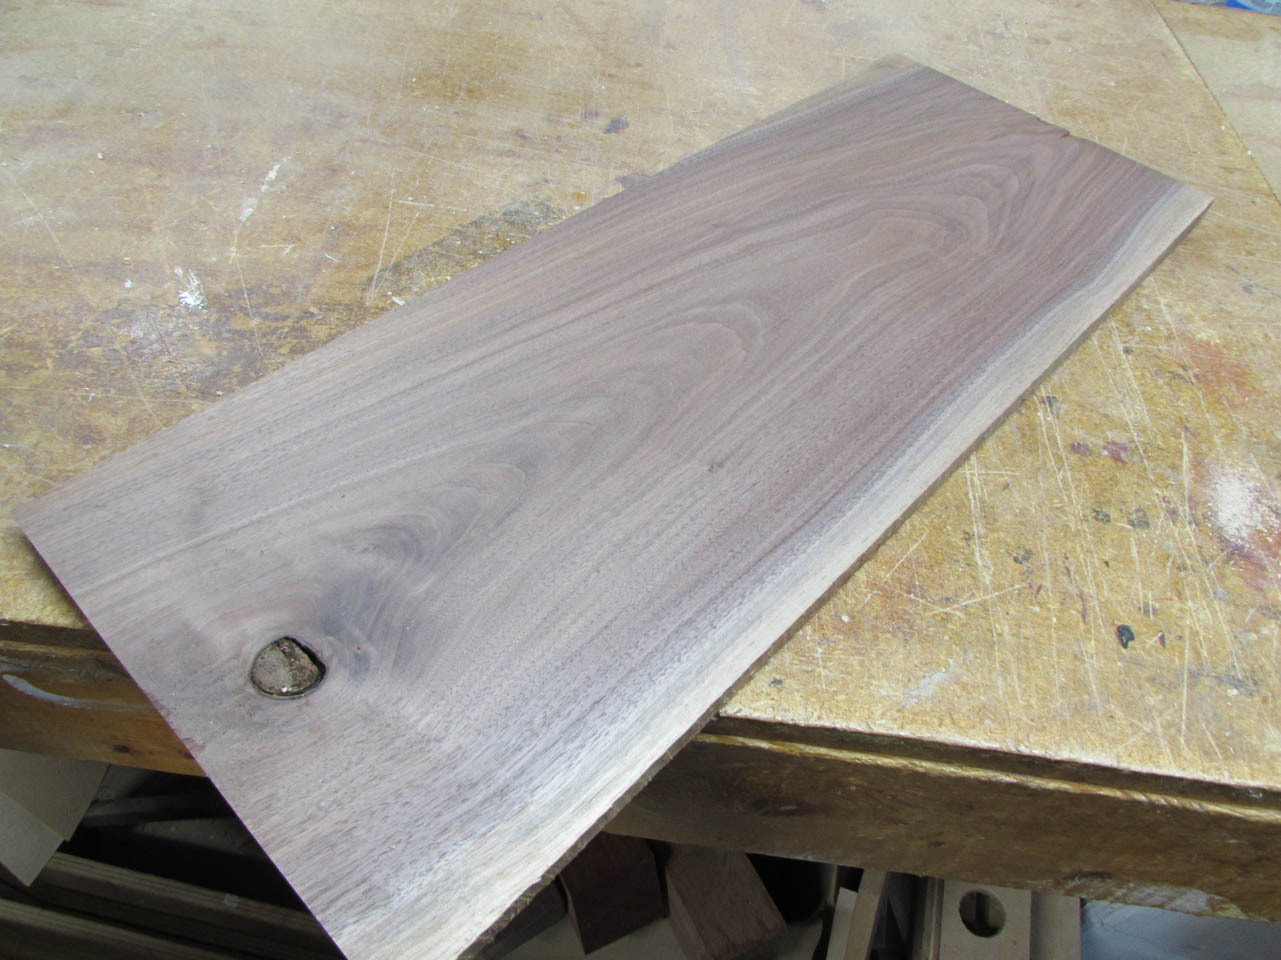
I started by planing and jointing the cherry for the main box.

This flattens and squares up two adjacent faces. It also reveals some nice sapwood, giving the box a bit of character. If I wrap the grain around the sides you will be able to follow the sapwood all the way around.
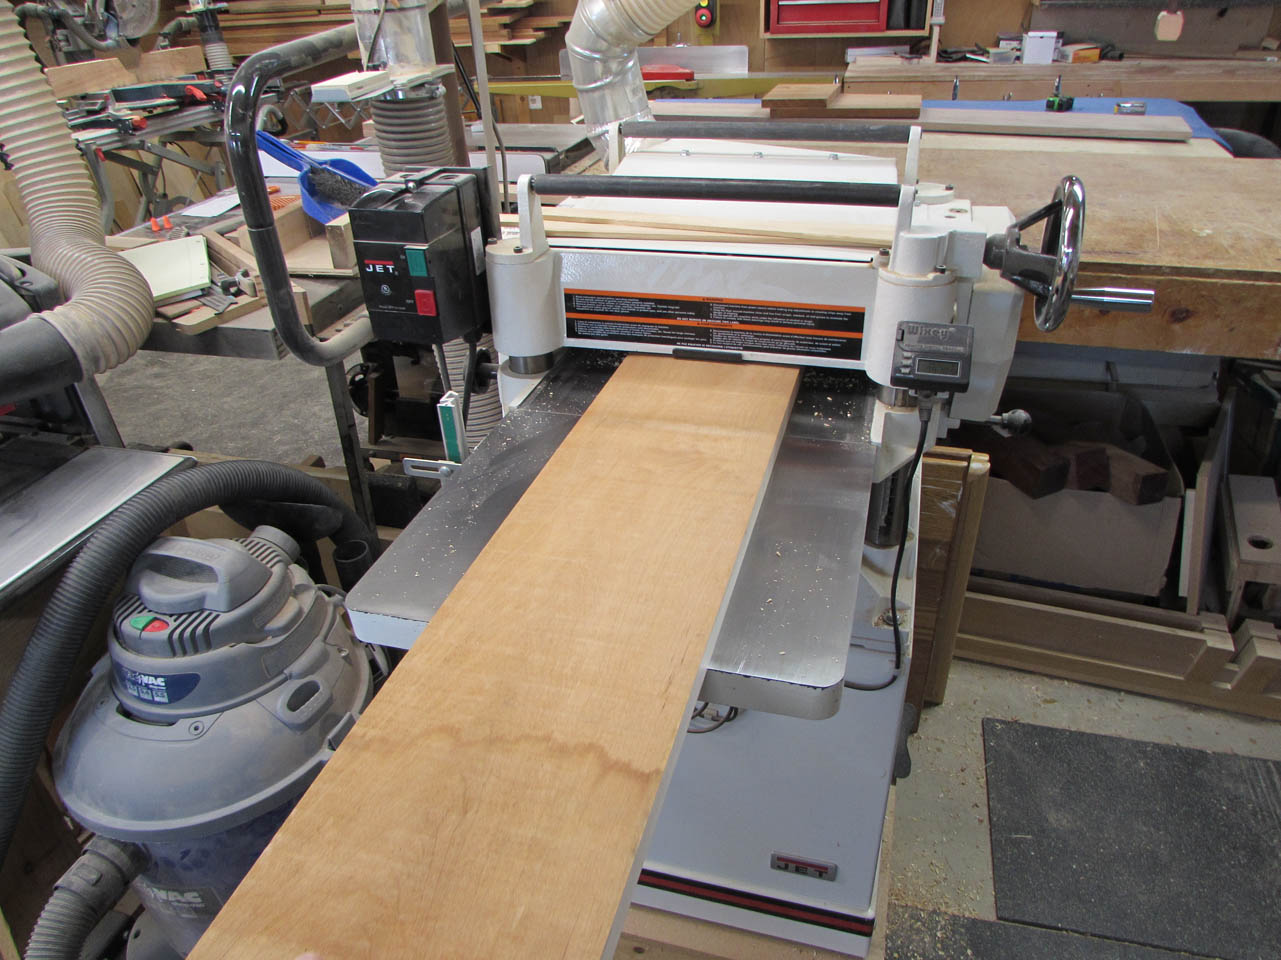
I planed the opposite face and trimmed the final edge on the table saw, leaving the board about 8″ wide.

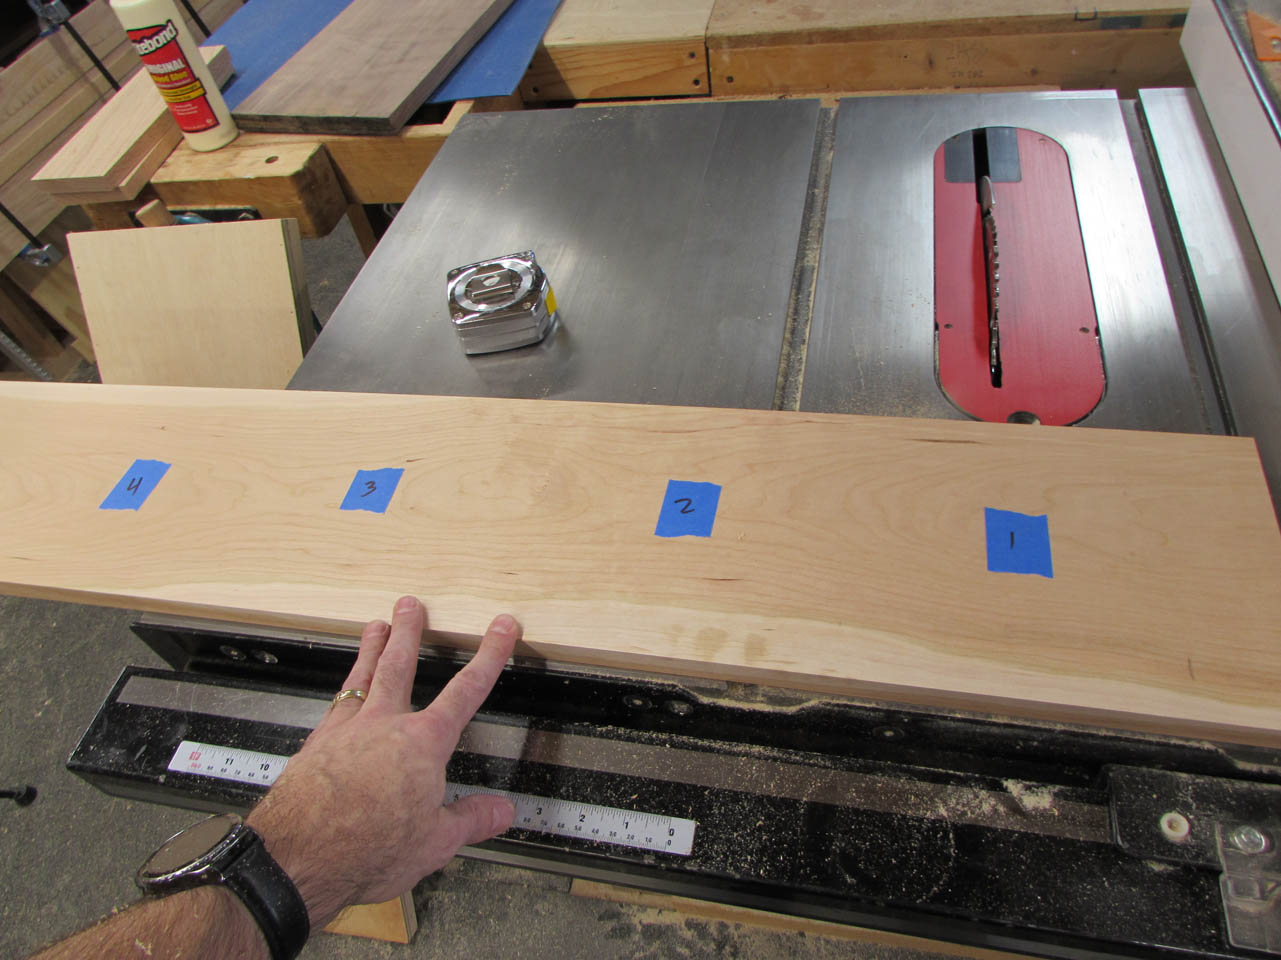
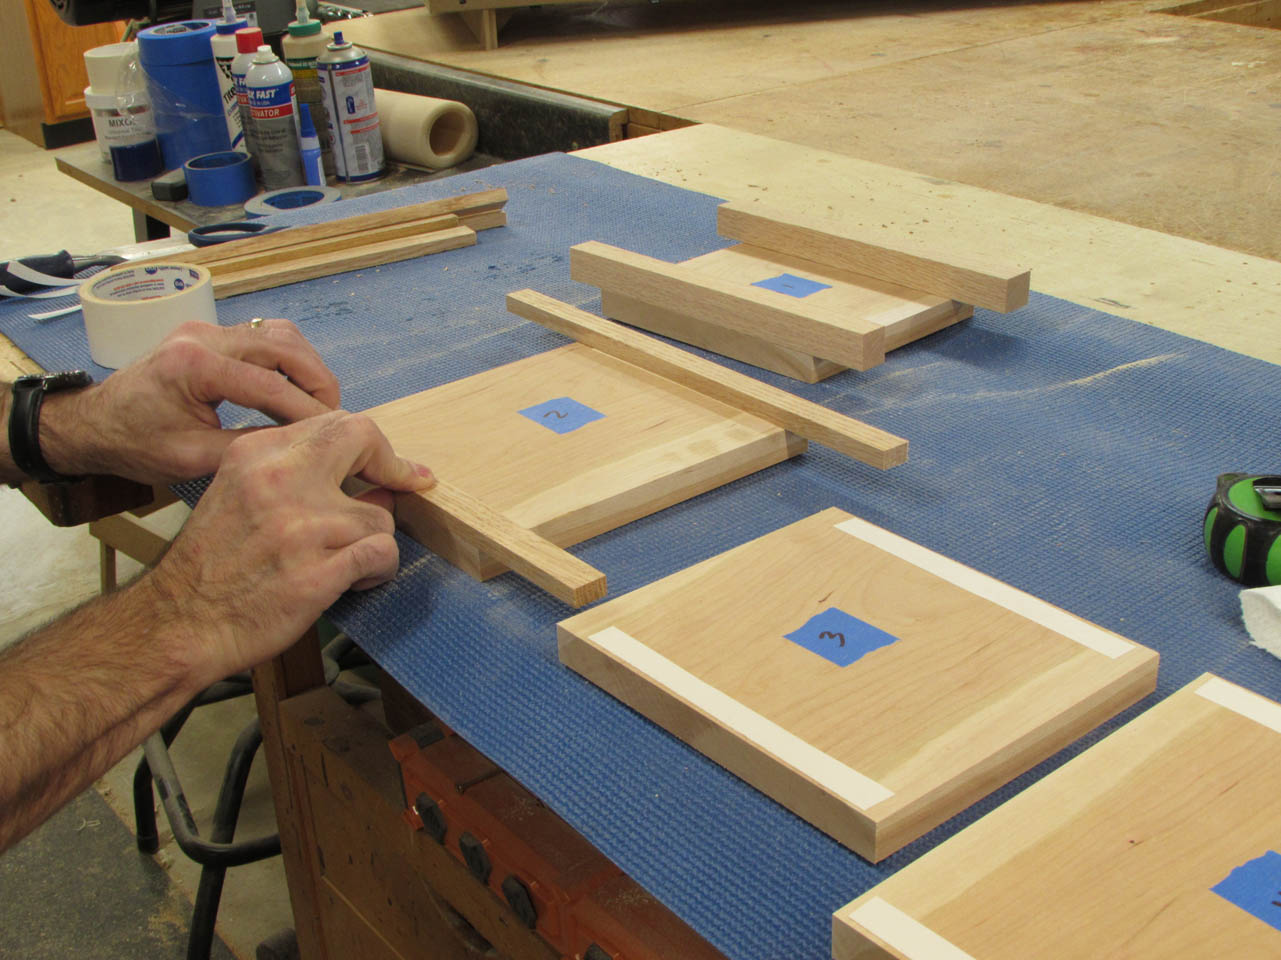
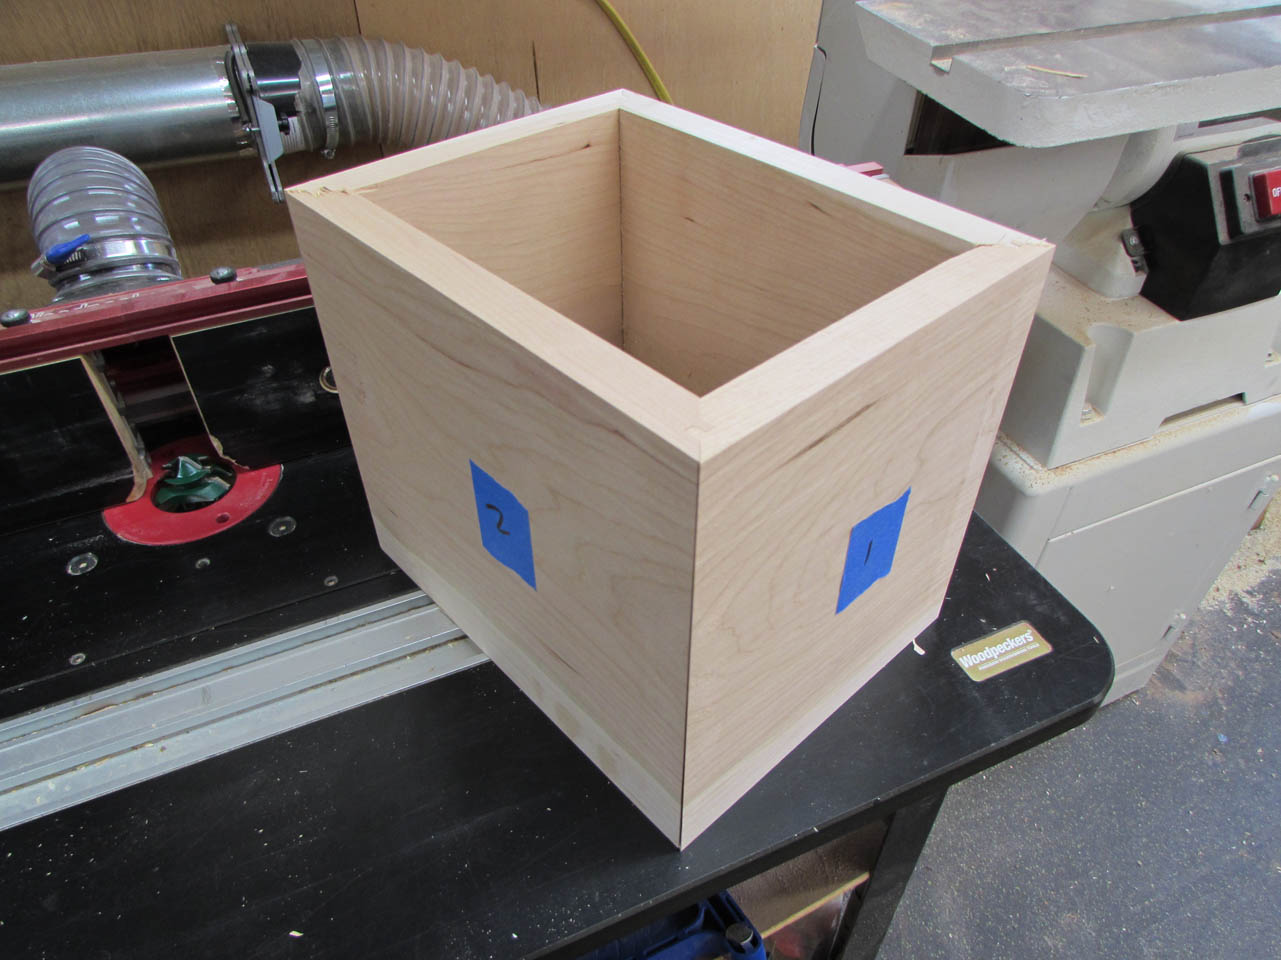
To maintain the continuous grain I marked each side so that it will be easy to keep track of the location and orientation.

I cut the board in half on my cross-cut sled, then stacked the two pieces to cut the individual sides to equal lengths.


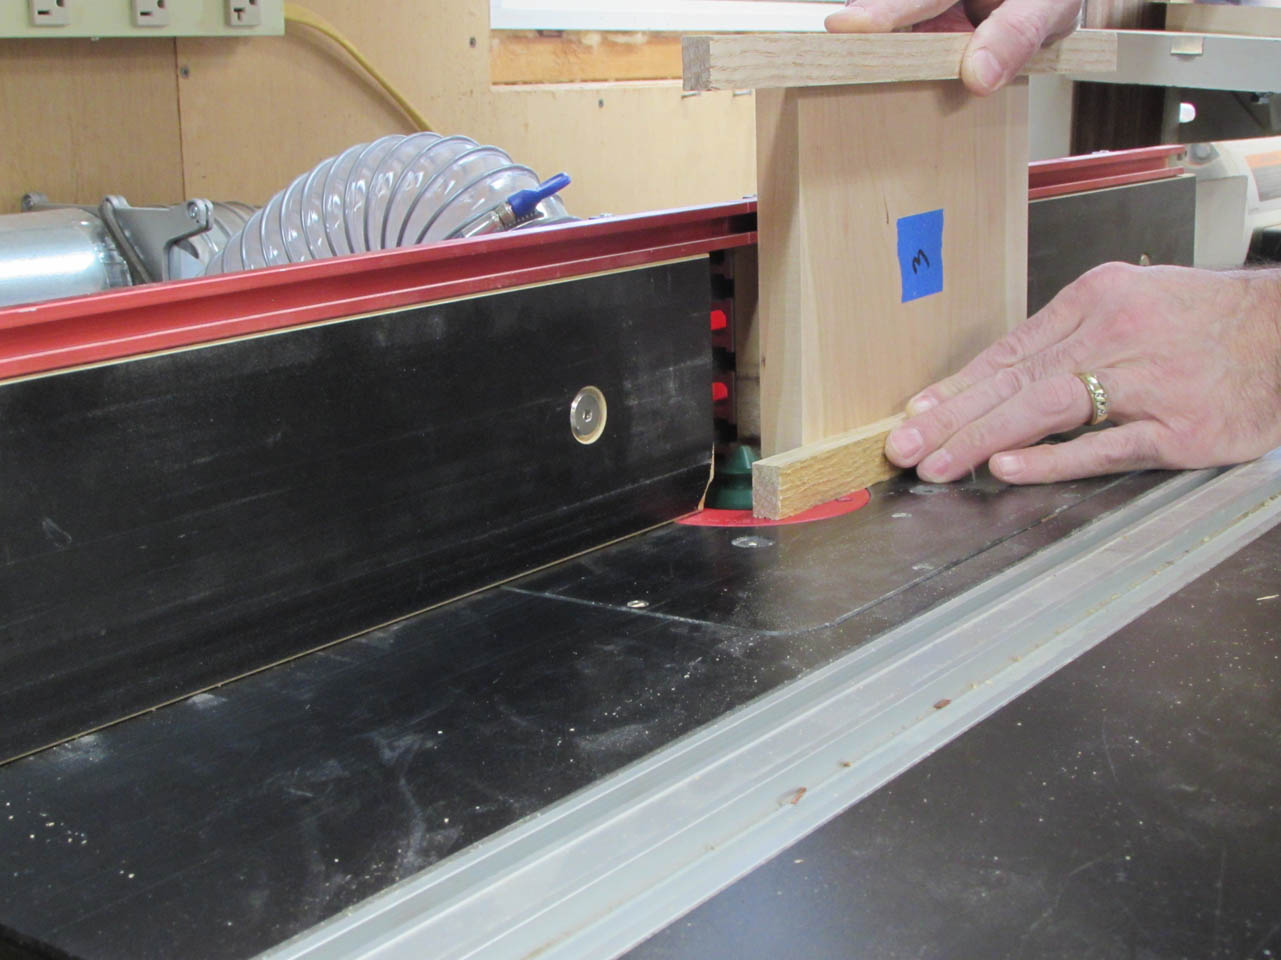
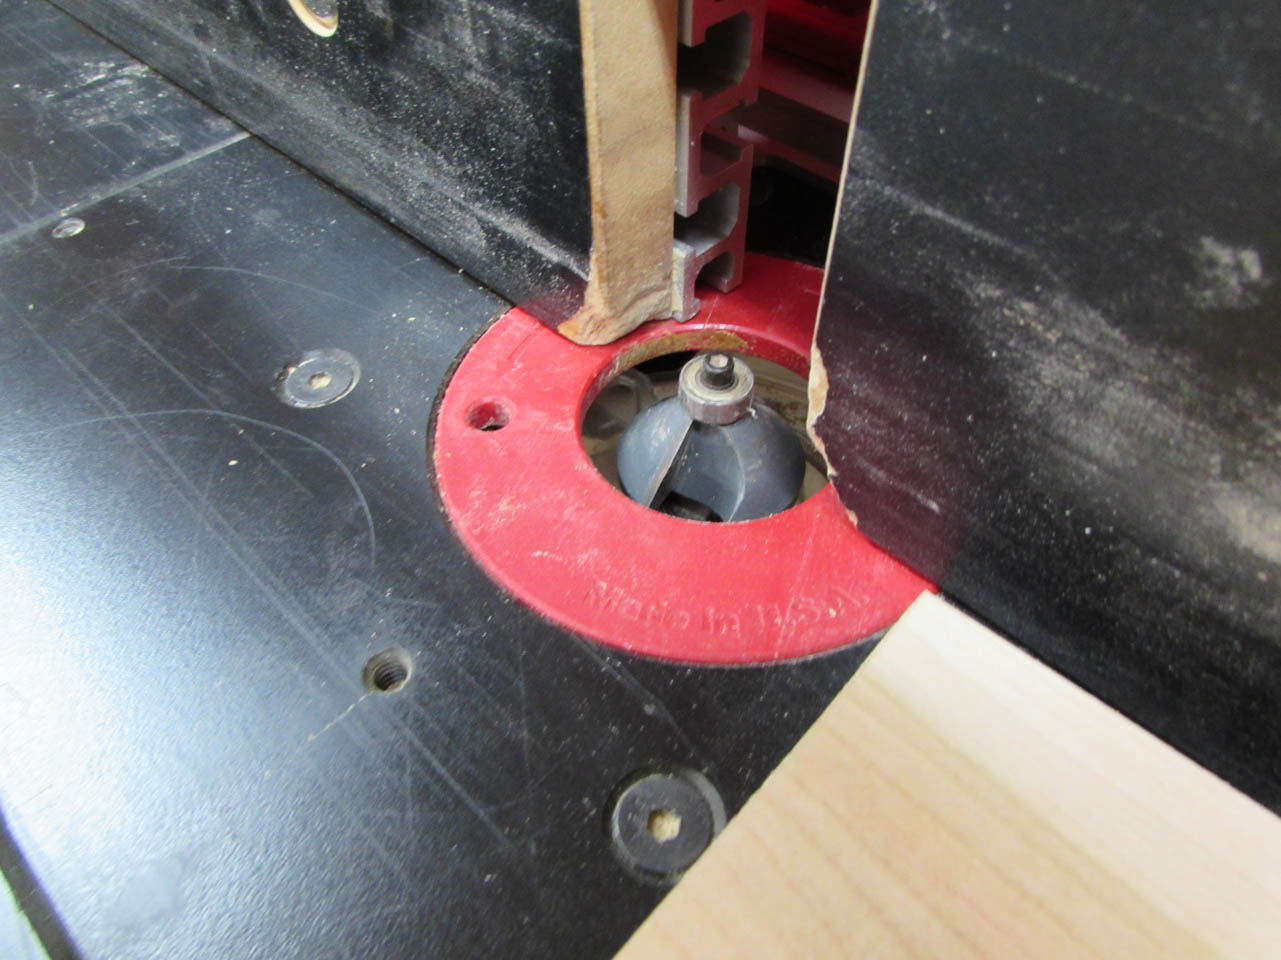
To get tight miters on the corners and keep the box perfectly square, I am going to use lock miters. Since the sides are already cut to final size, I am attaching outriggers to each edge with double-sided tape to help guide the boards along the router table fence.
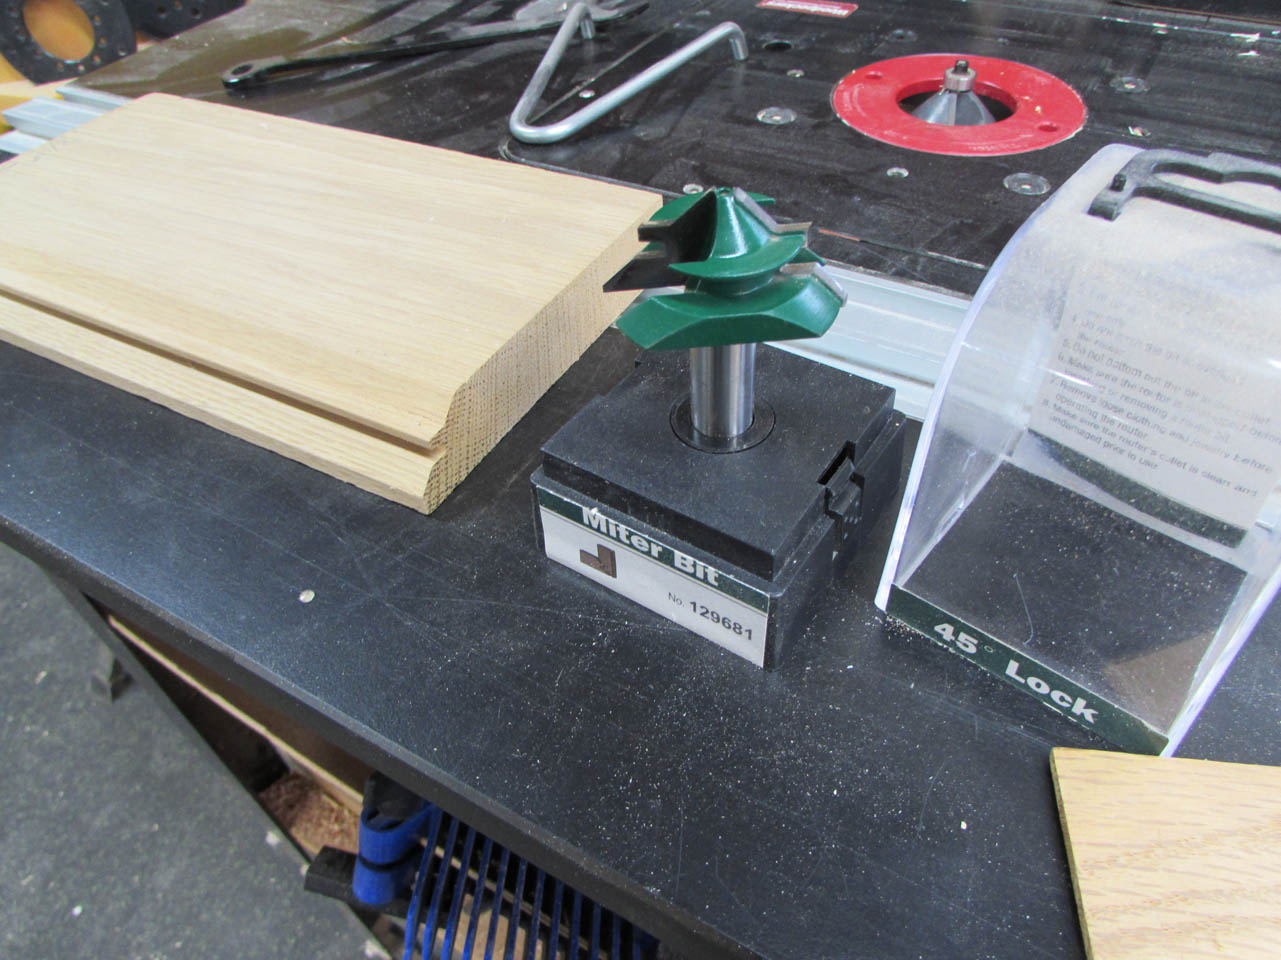
The lock miter bit will cut a complex miter onto each adjoining edge leaving lots of surface for glue.

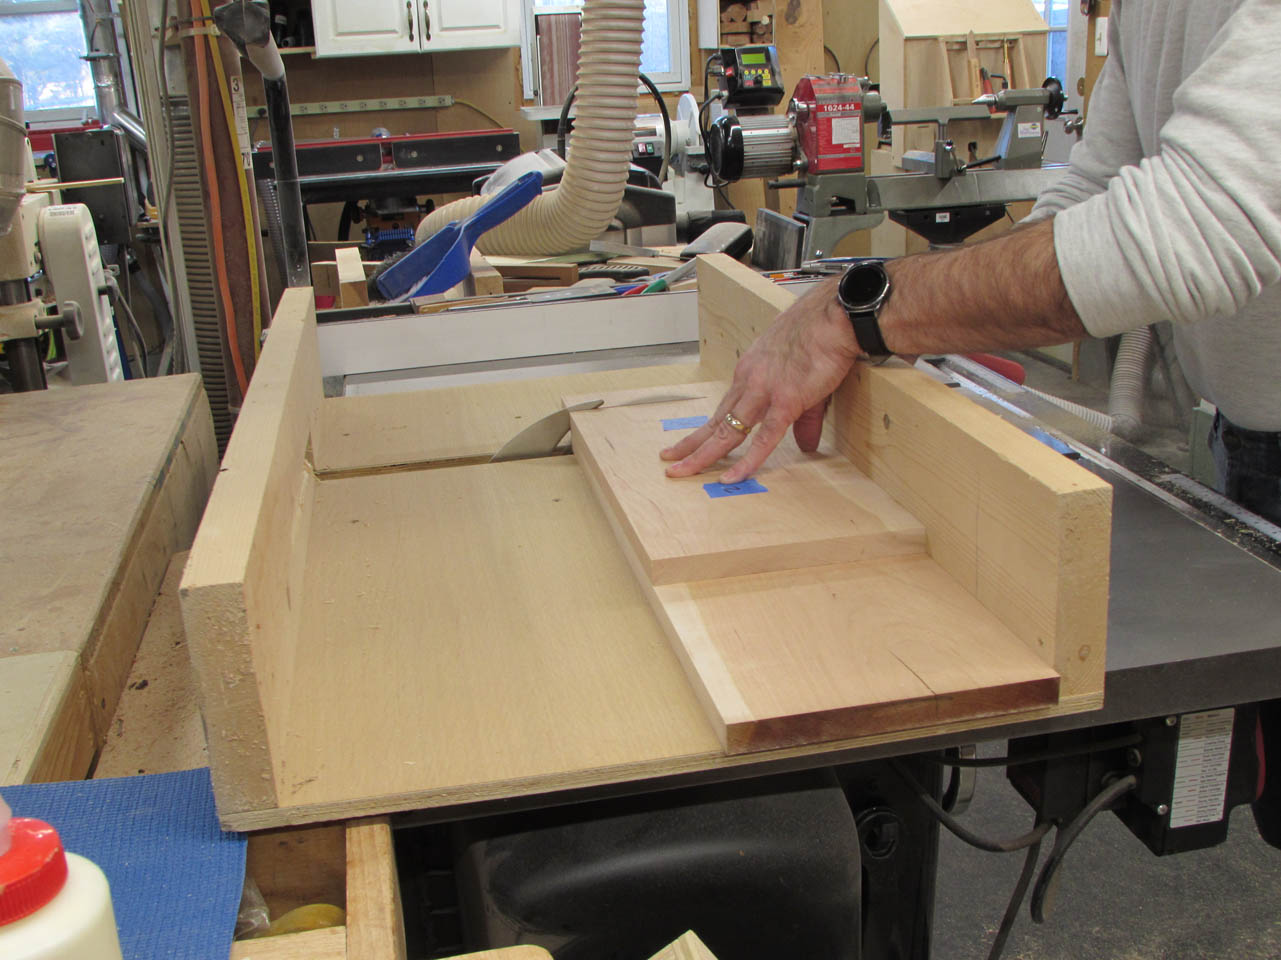
I use a setup block to set the initial depth and fence location to cut two test pieces first.

One piece is cut vertical against the fence and the other is cut laying flat.
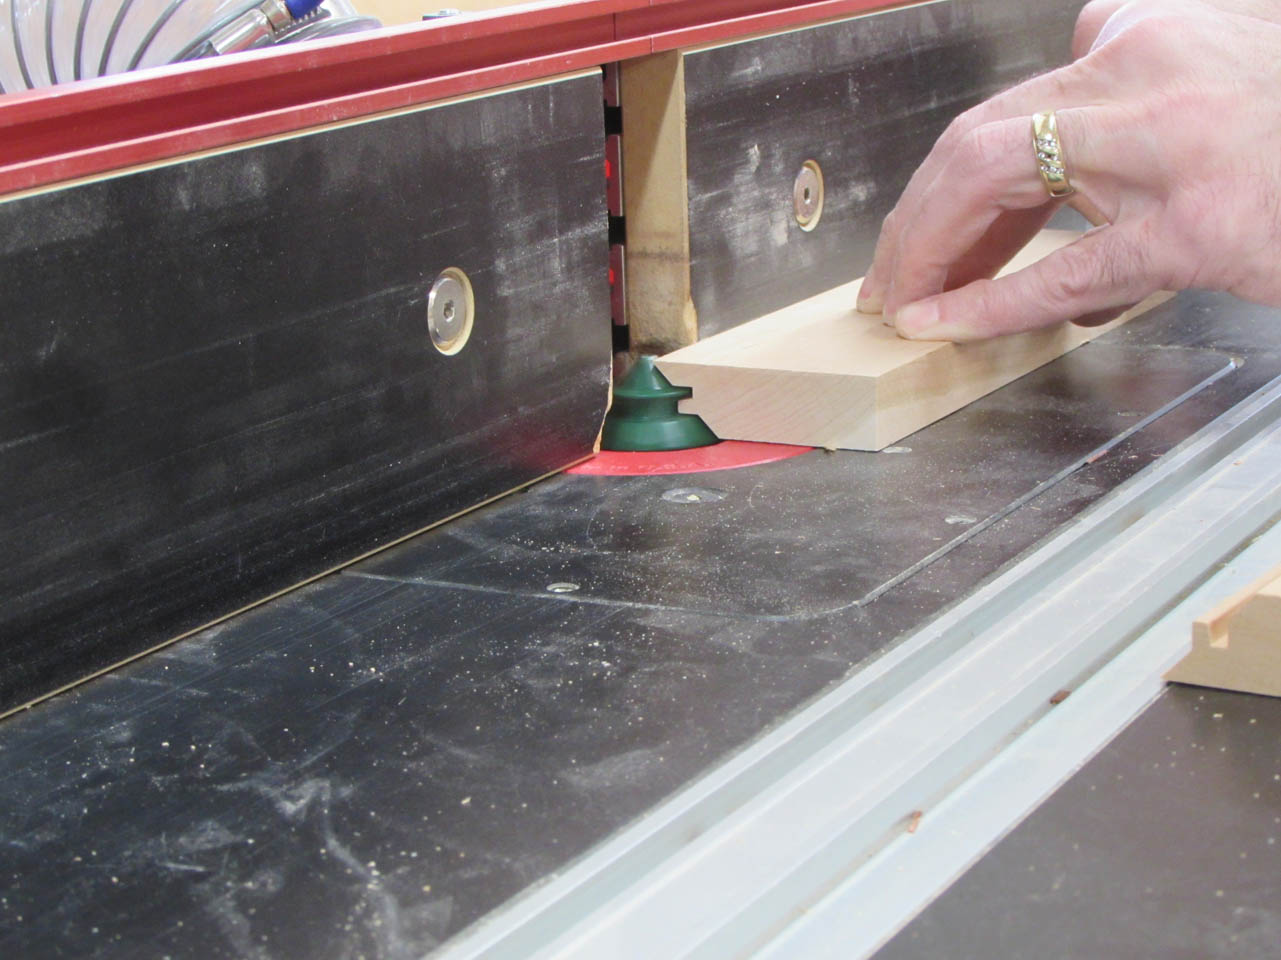
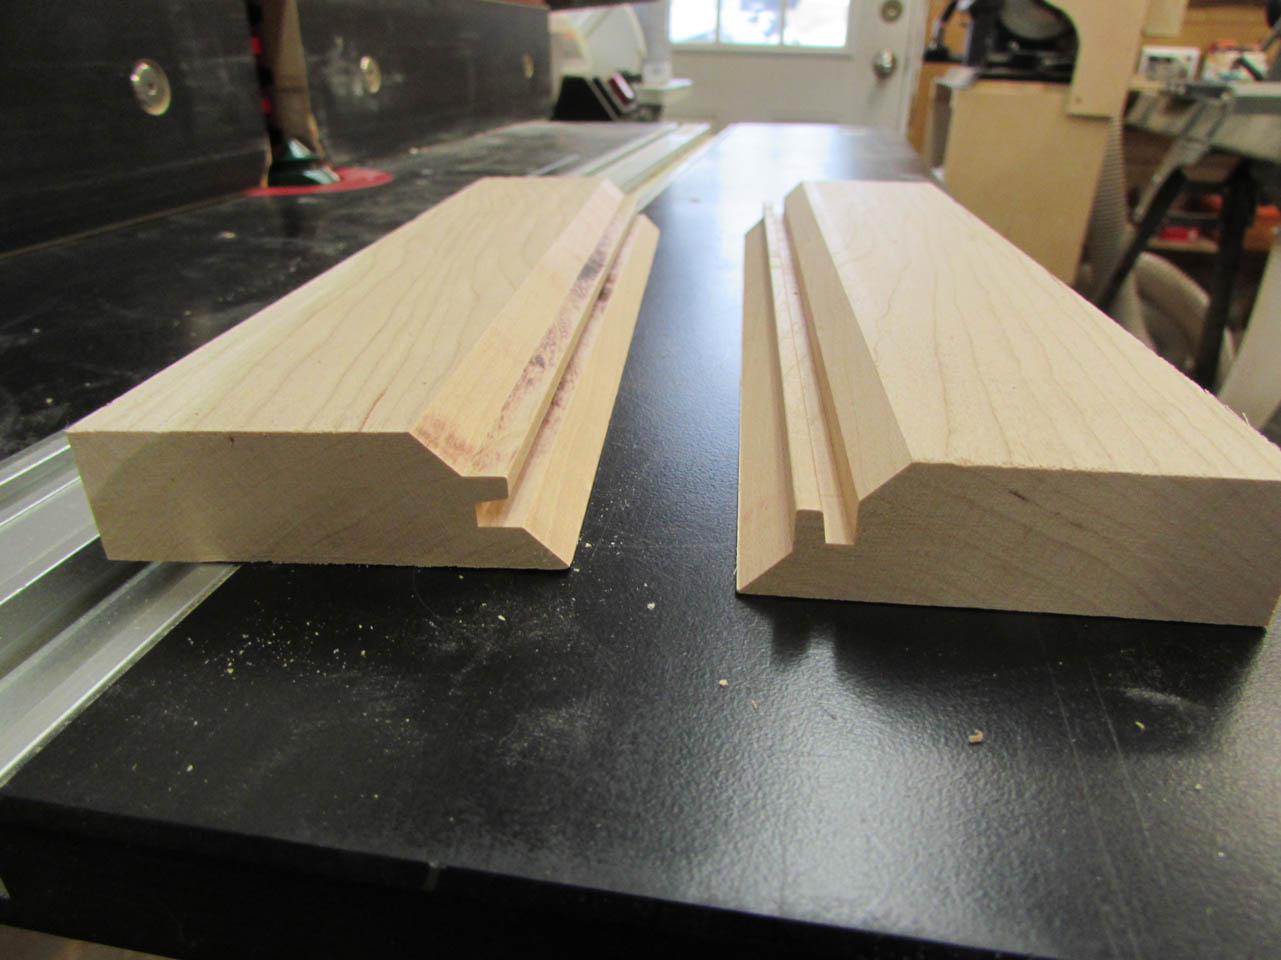
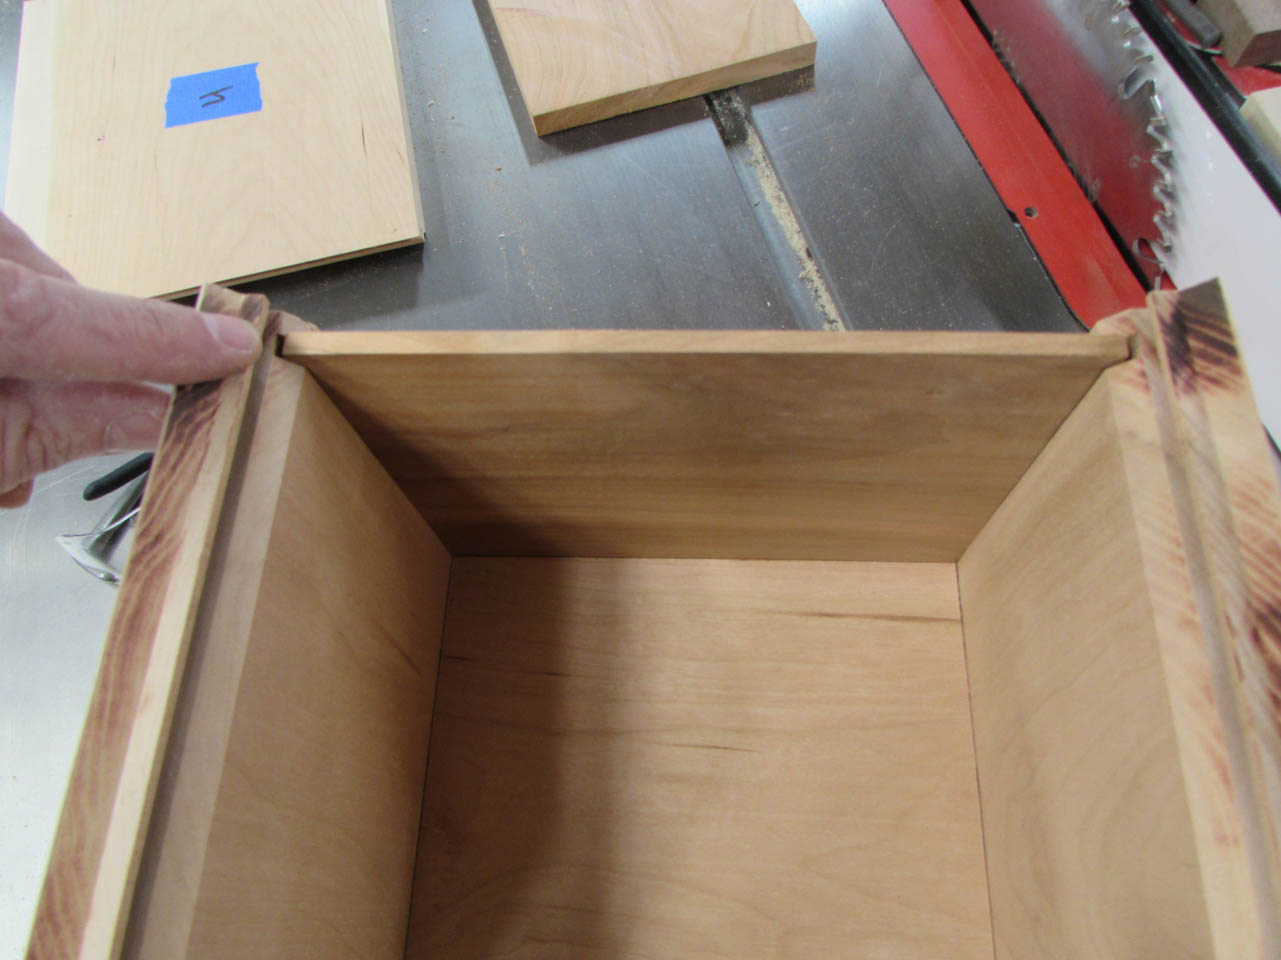
This gives me two pieces that will hook together at a perfect 90°.
With my test pieces successful, I can proceed to cut the four sides.
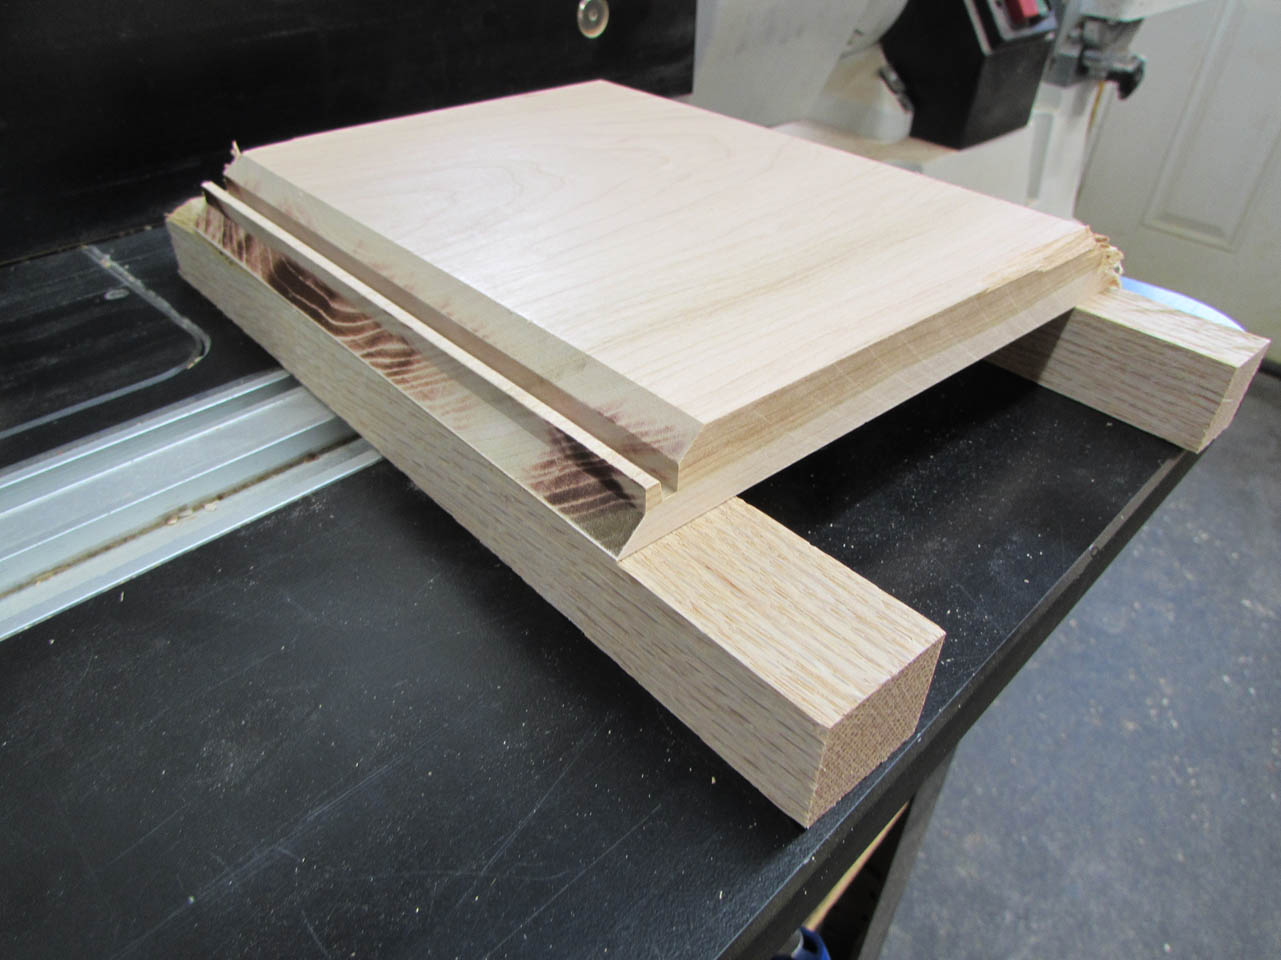
After they are cut, I can remove the outriggers and the tape.

Test fit worked well and the grain flows perfectly around the corners.

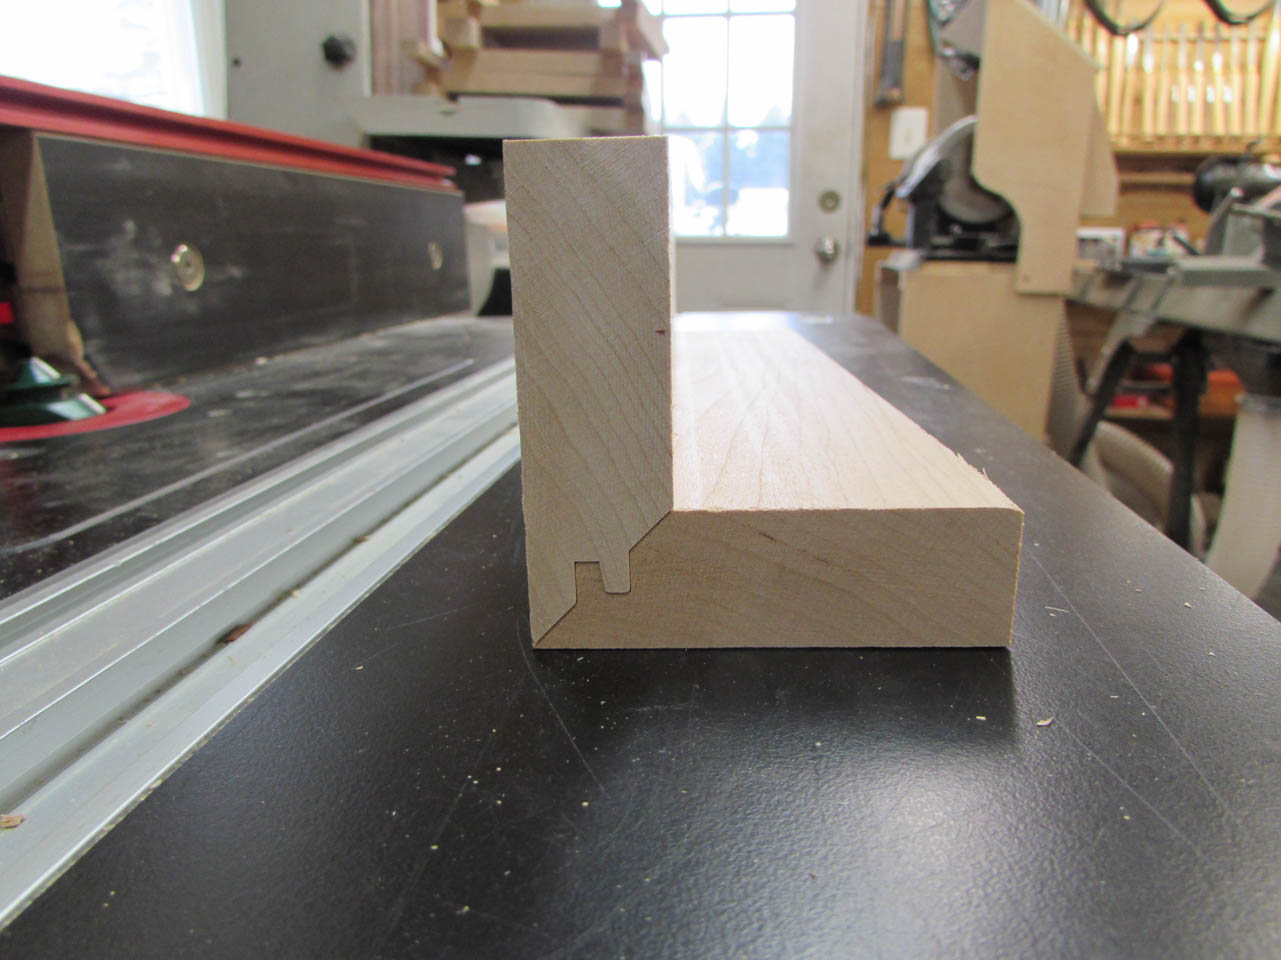
To hold in the bottom, I need to cut a 1/4″ dado along the bottom of the box.


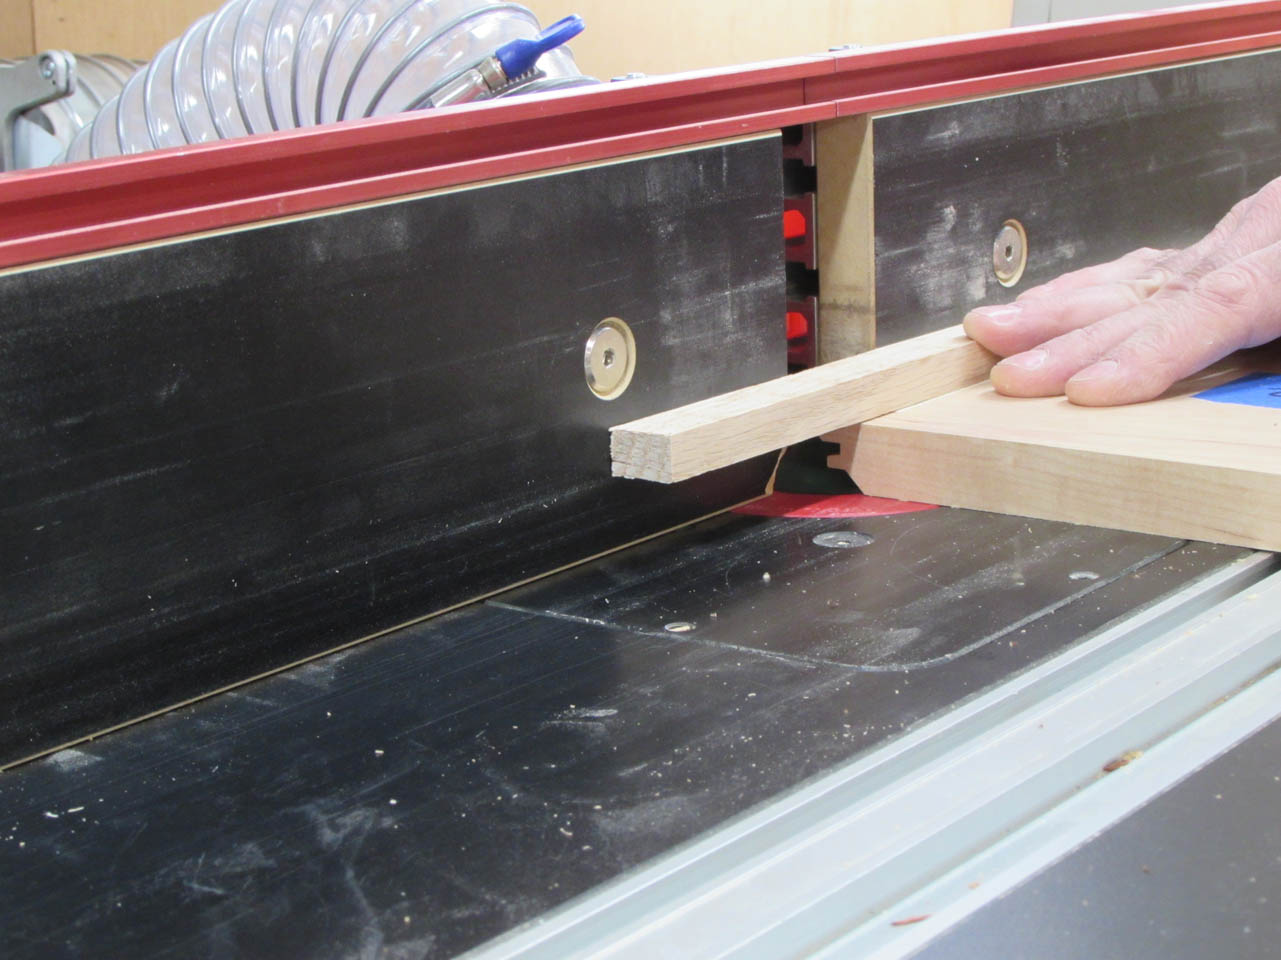
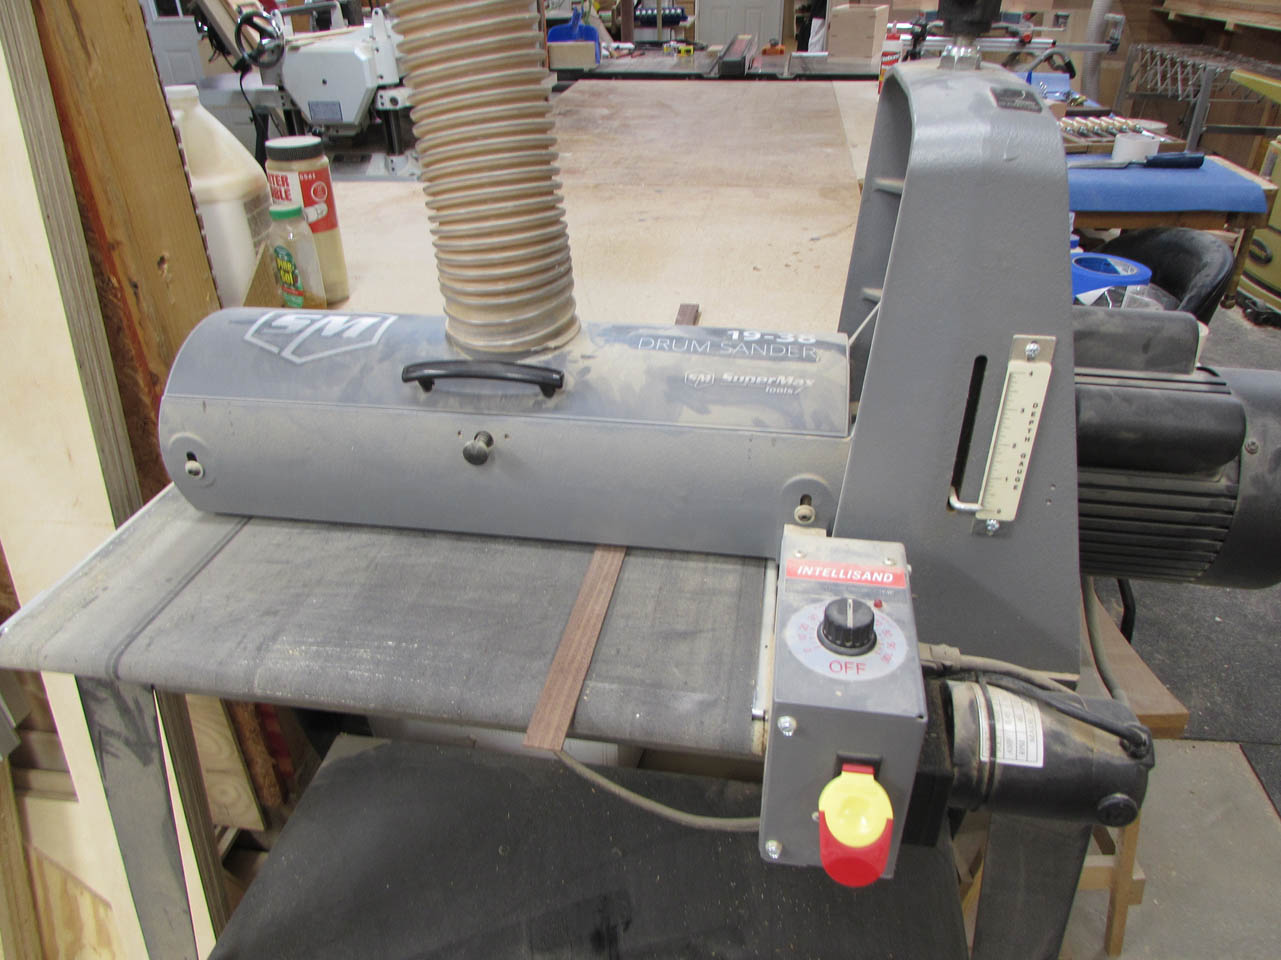
To create the bottom piece, I cut the cherry down to the proper size, then resaw it on the table saw to just over 1/4″ thick.


I take it down to the final thickness on the jointer. This cleans up any burn marks on the face as well.

I cut it to have a little wiggle room for expansion and contraction.

To keep it from rattling around, I add a bit of foam to each groove.

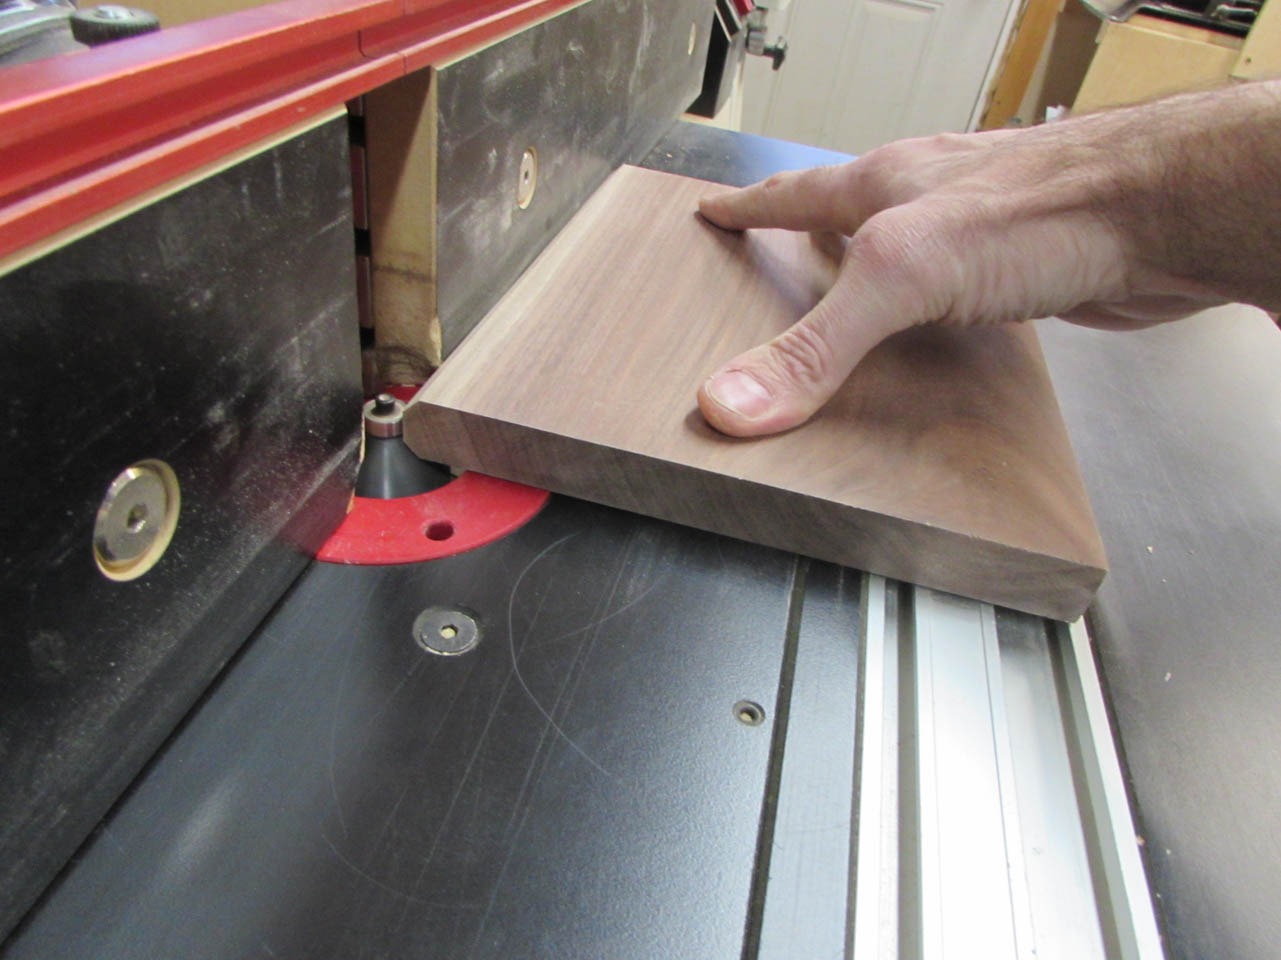
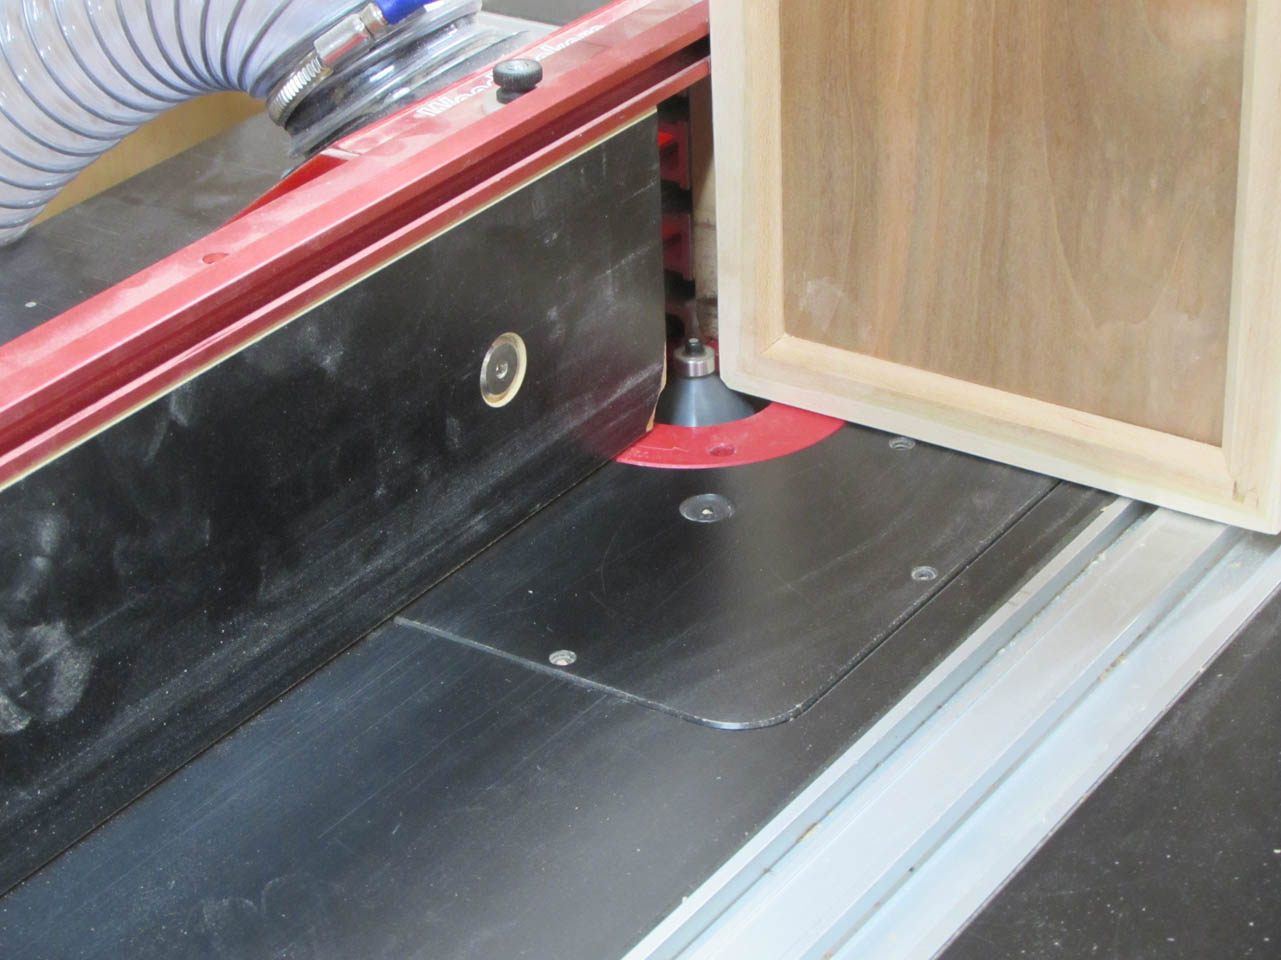
Before gluing it all together, I route a small chamfer along the bottom, inside .


This leaves a gentle incline along the bottom so there are no sharp edges.

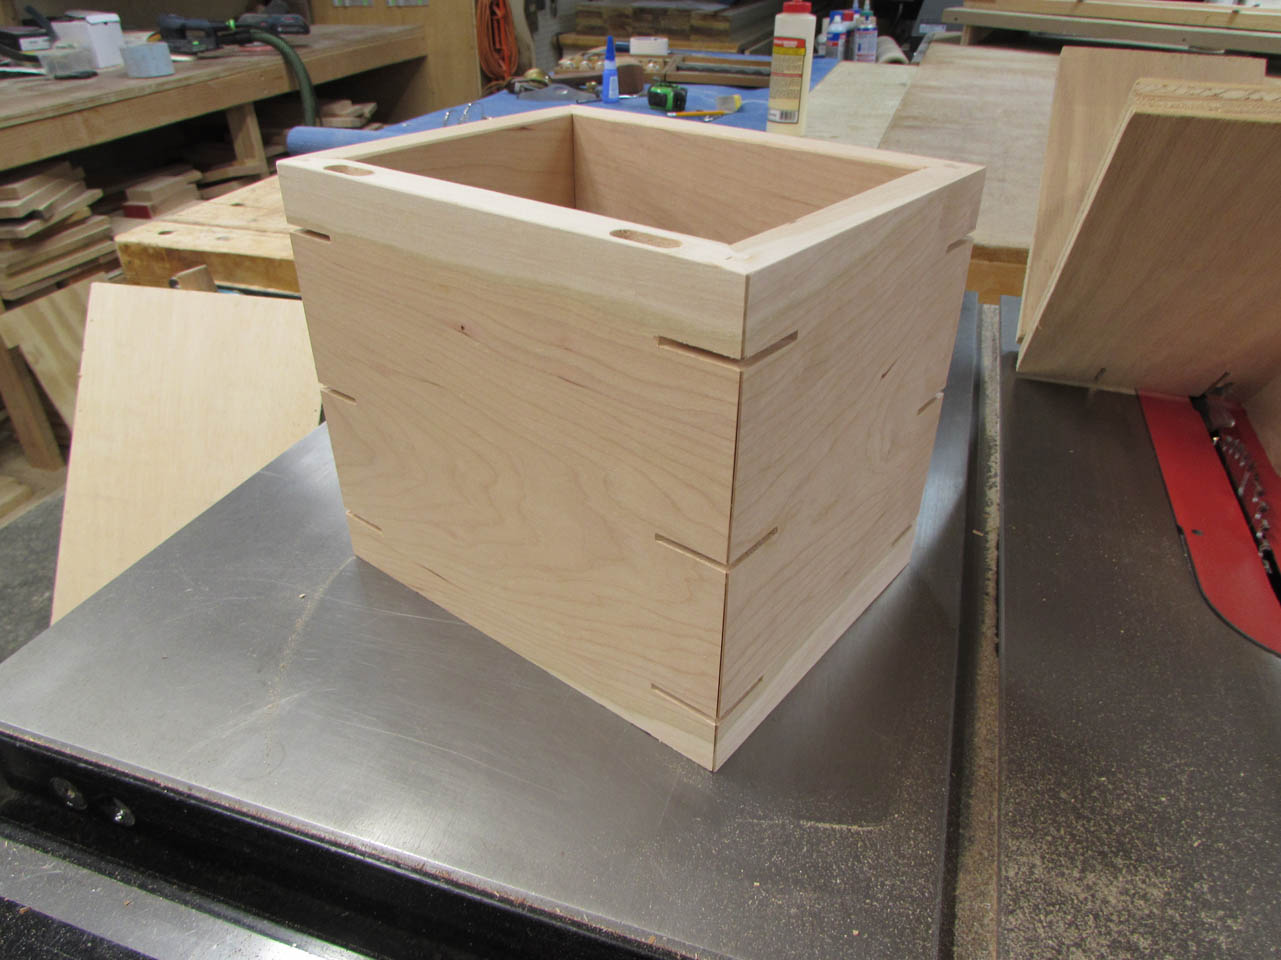
Then I apply a thin layer of glue along the lock miters and clamp it all together.


While that is drying I can get the lid started. I plane down the walnut to 3/4″ thick.
Then rip it to the proper length and width, trying to get as much grain character and sap wood as possible into the little piece.


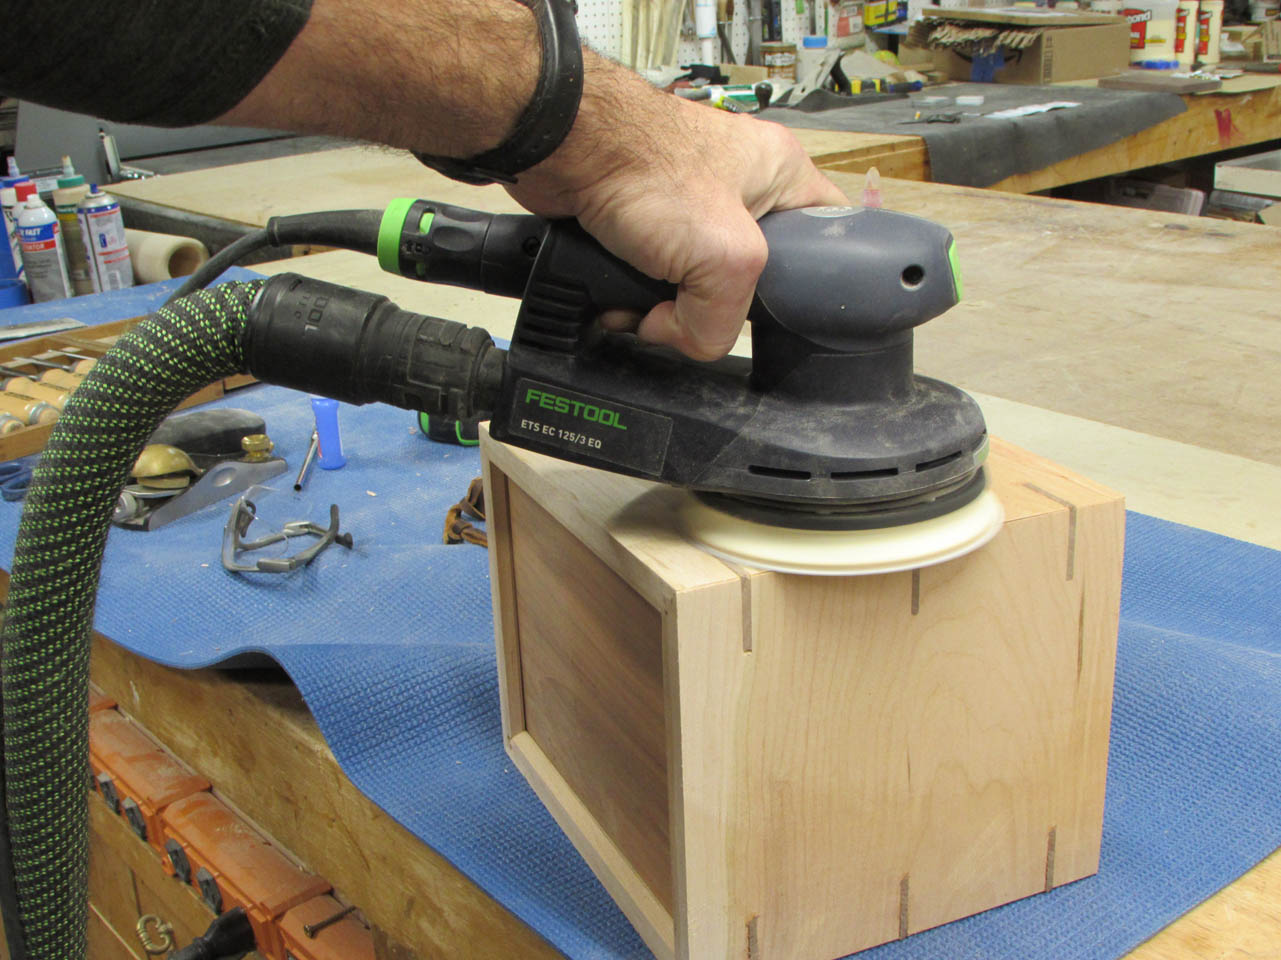
I sanded all the faces and edges, then chamfered the overhanging front edge.
Looks like a good fit.


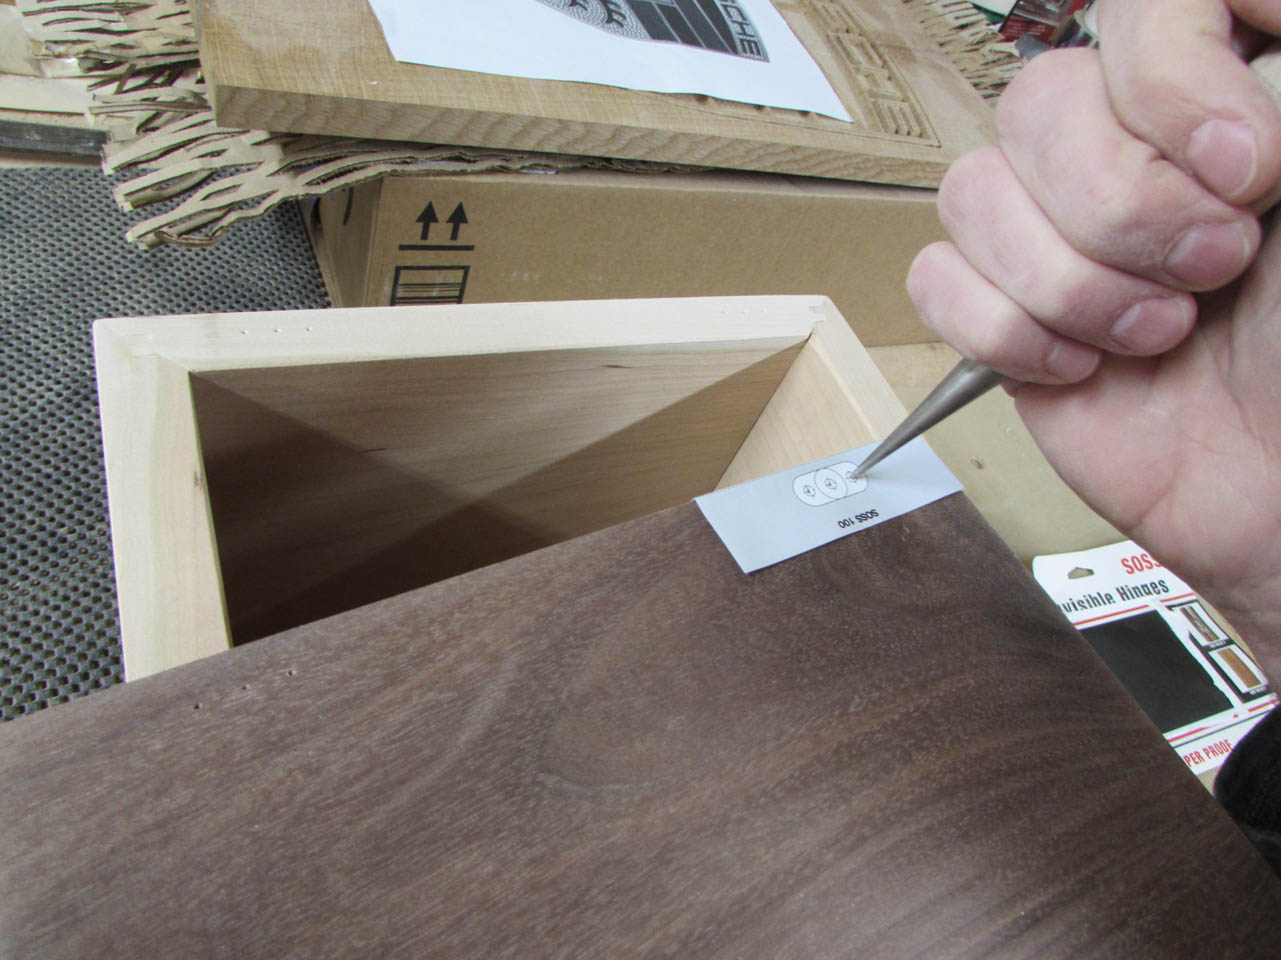
I have some hidden hinges to install along the back, so I cut out the template and lay it in place to mark the hole locations for drilling.

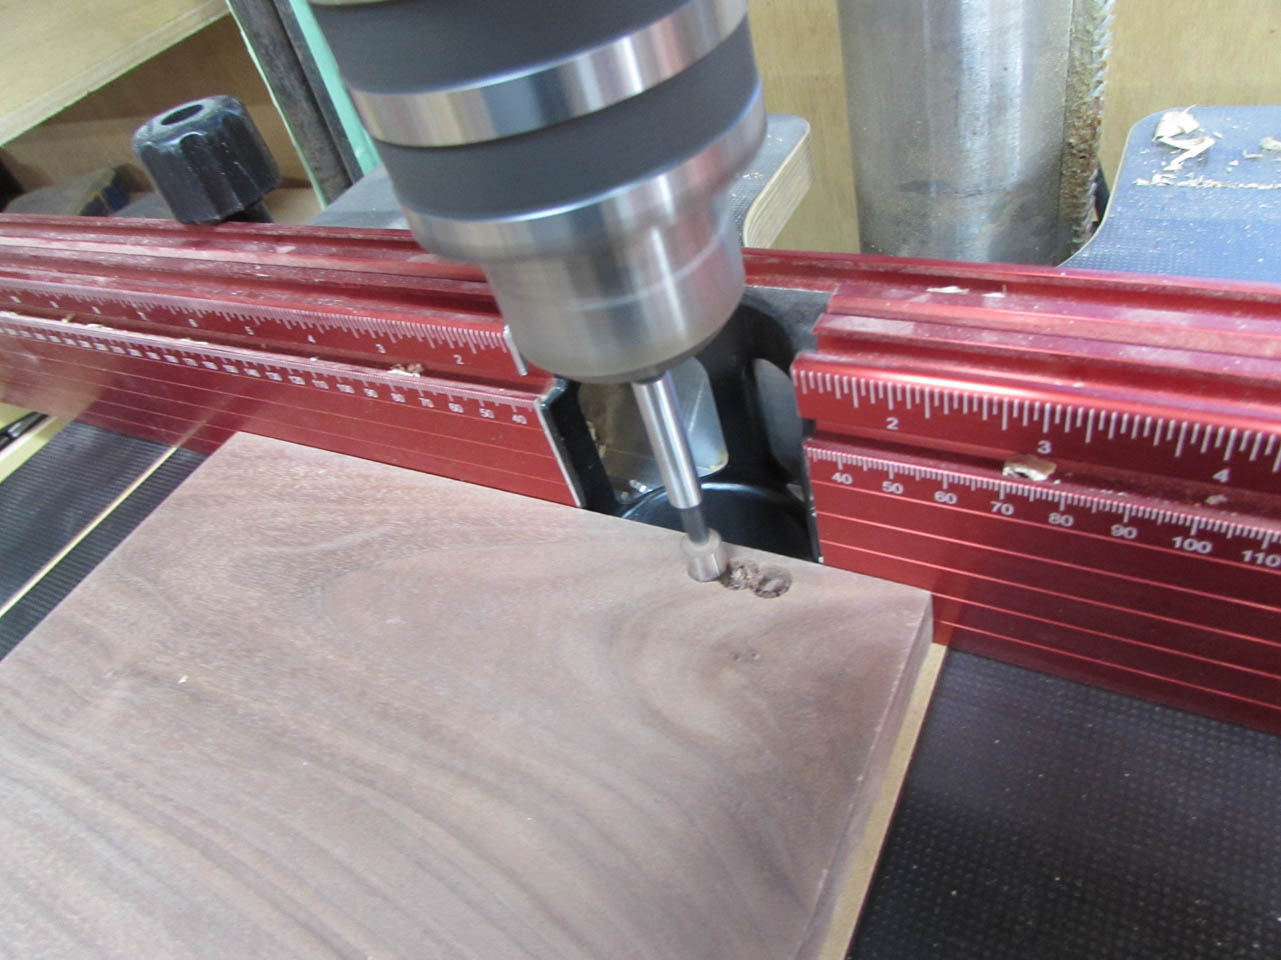
After marking, I can drill the required holes on the drill press and use a chisel to clean out the rest.
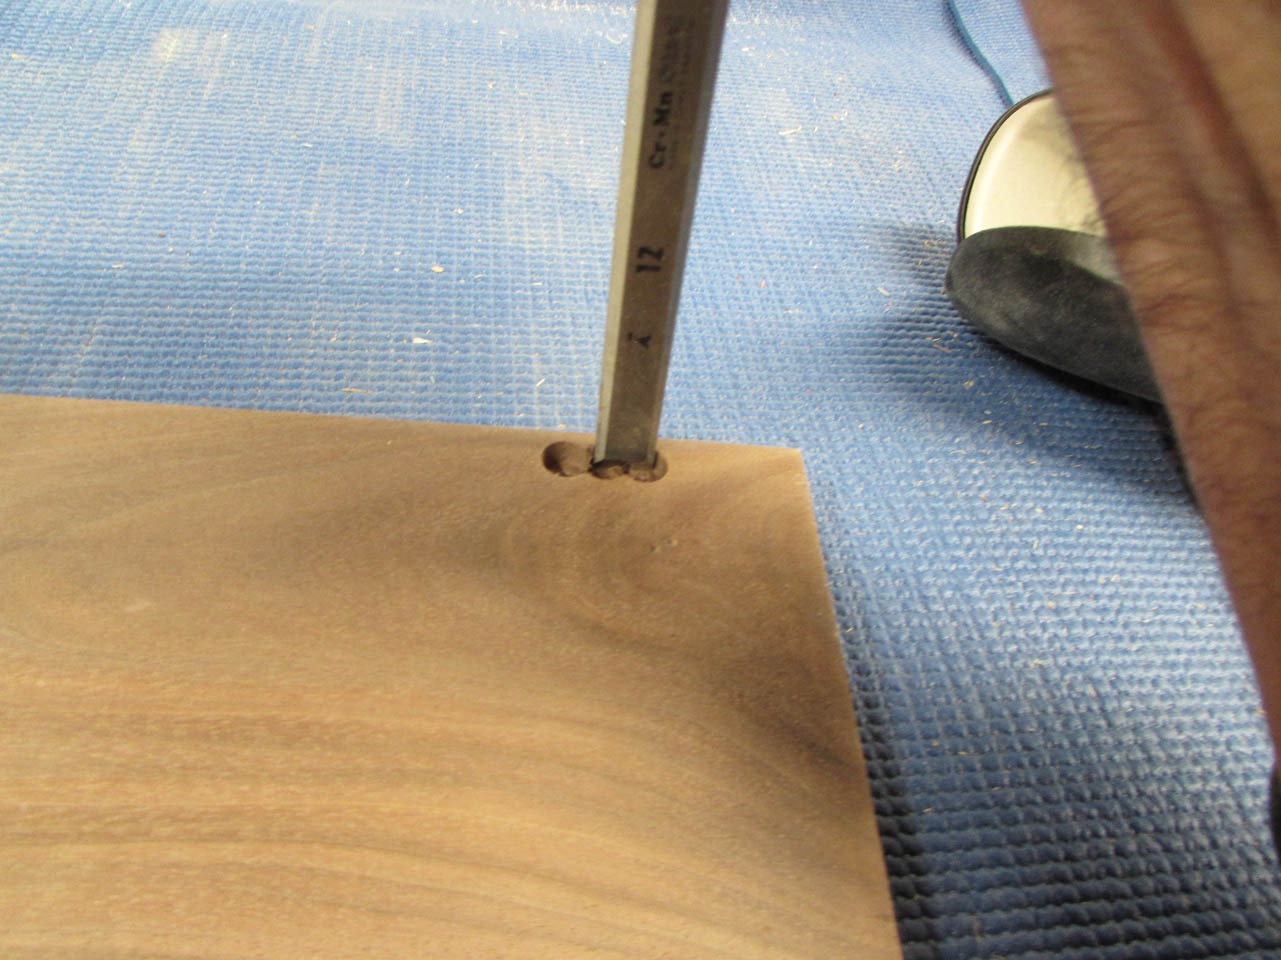

The hinges press fit perfectly into place.


Before I finish, I want to add one more detail.

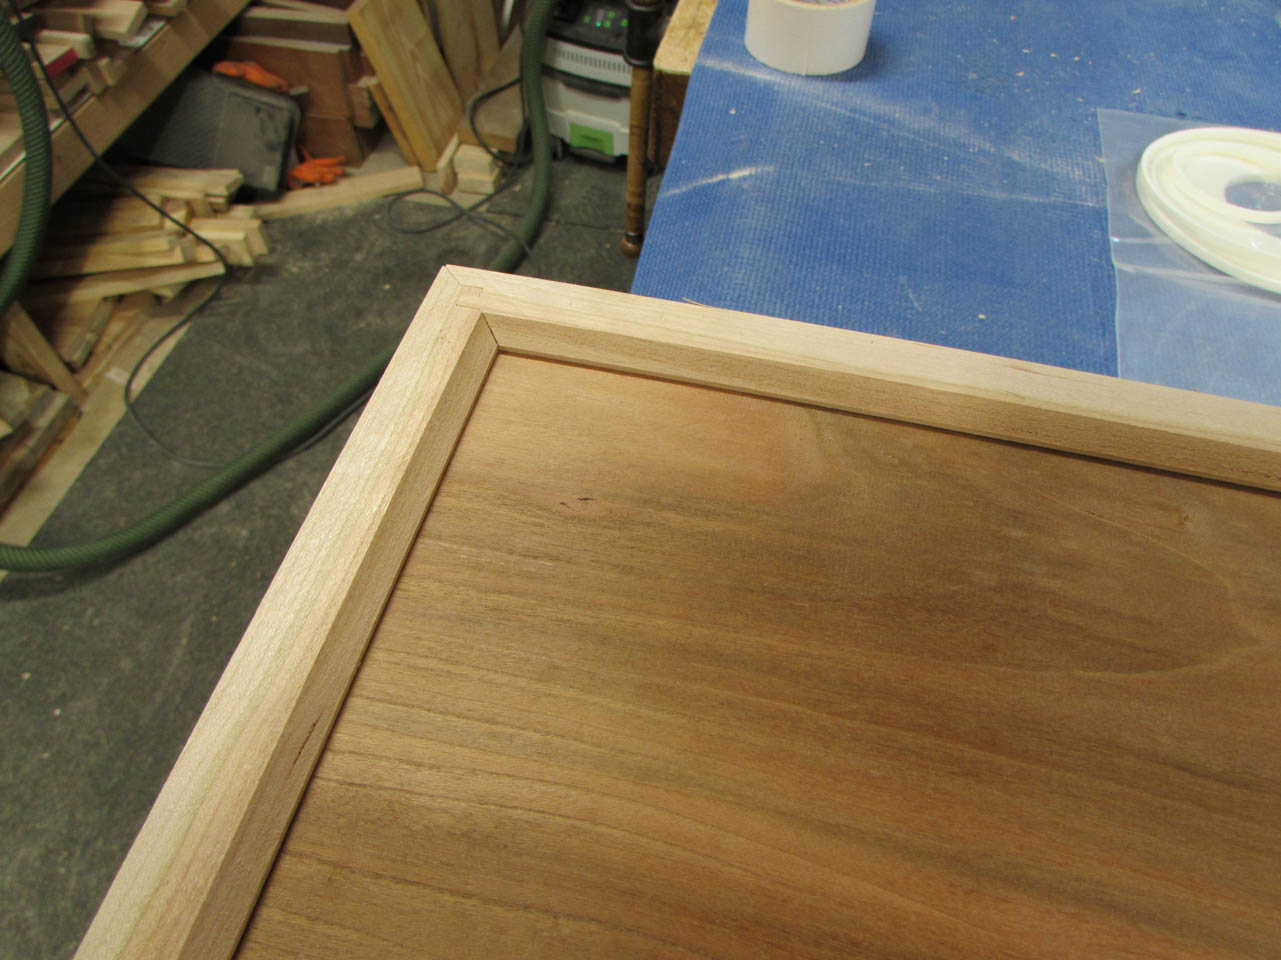
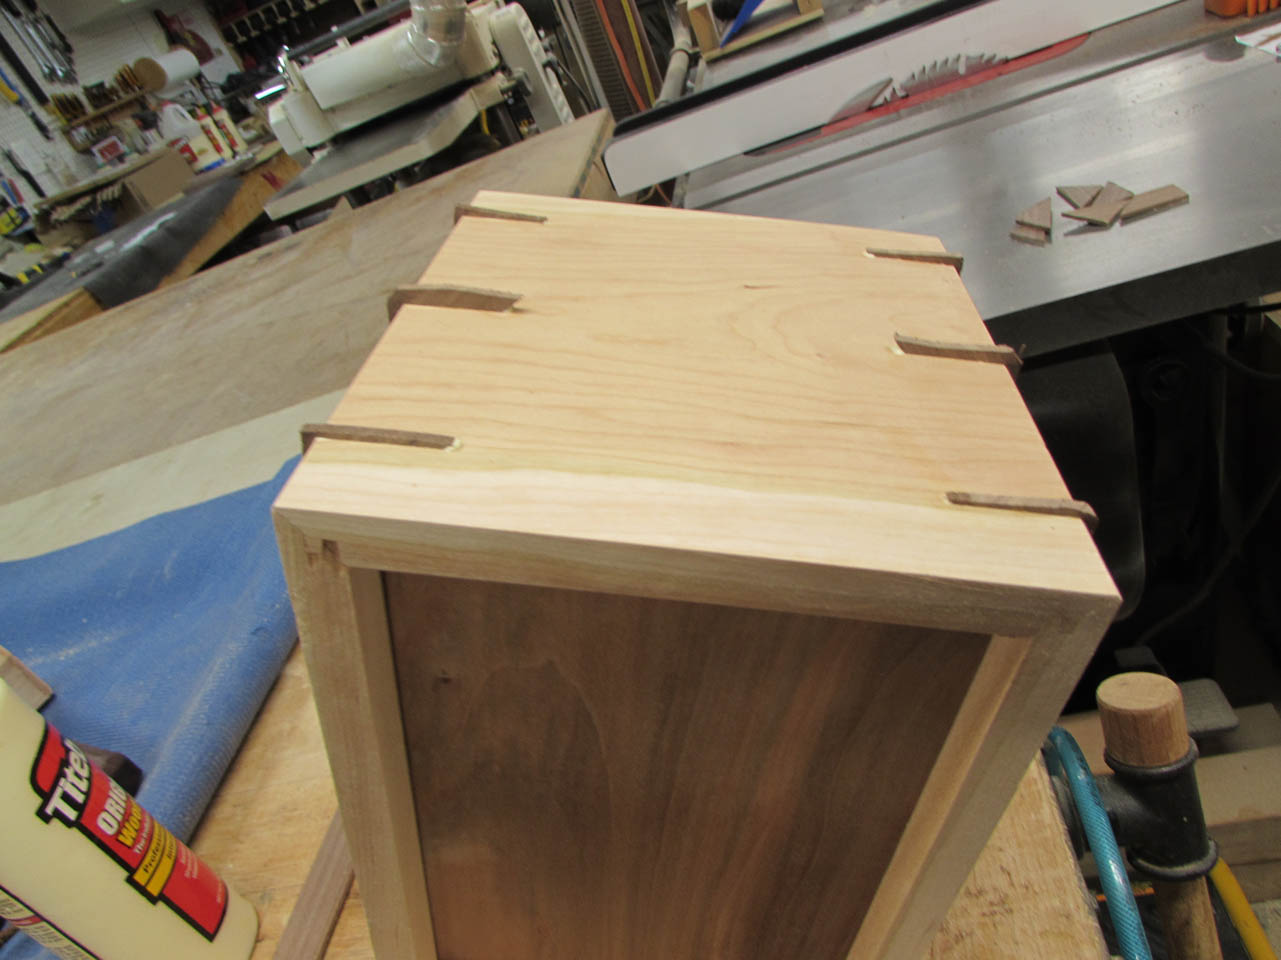
I setup my spline cutting jig, on the table saw fence and made three cuts into each corner.

Then I cut a strip of walnut to fill the cuts.

I final sanded the strip until it was a tight fit.

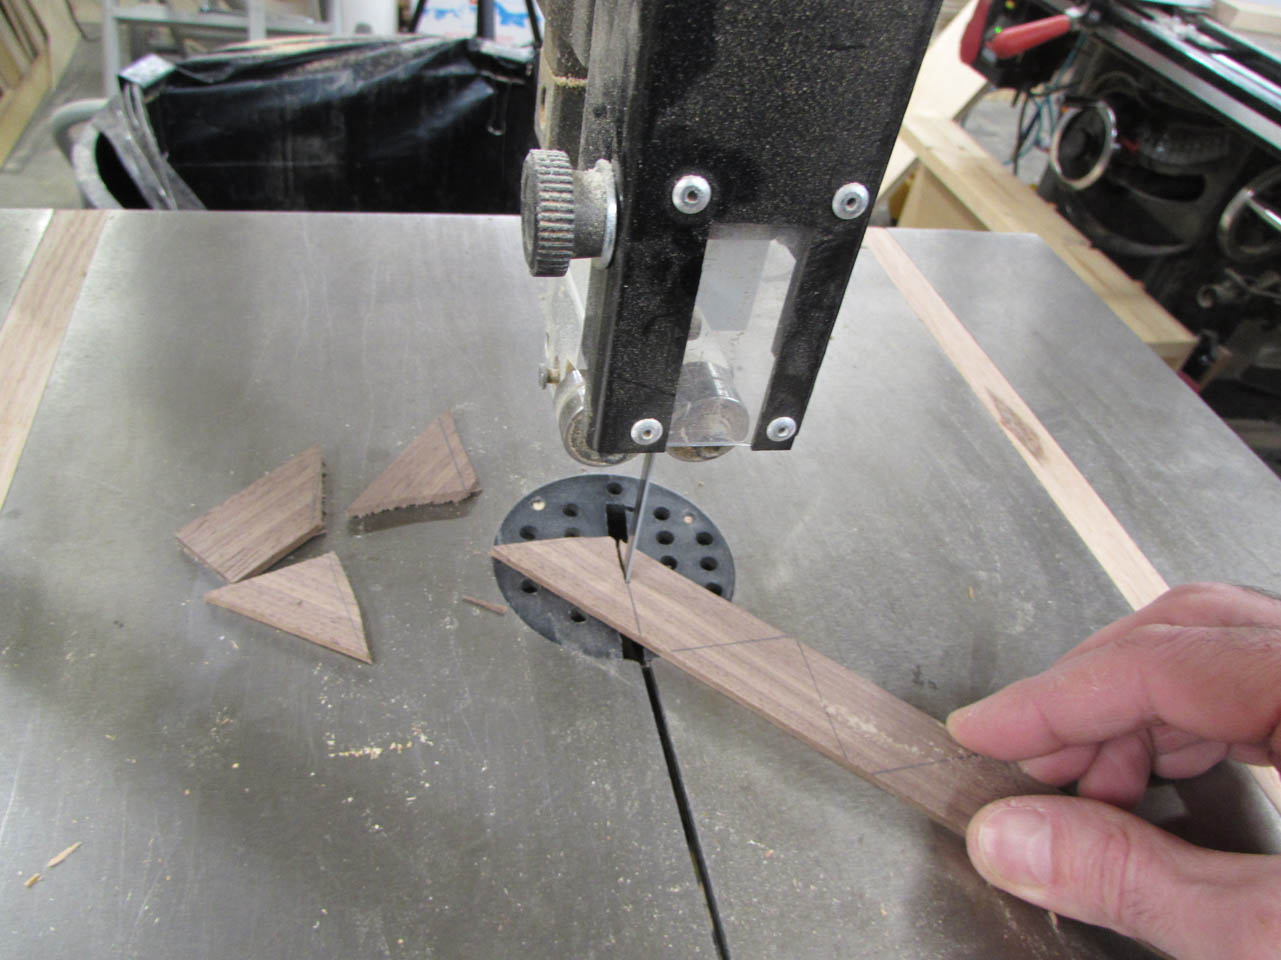
After marking the approximate size of each spline, I rough cut them out on the band saw.

I carefully applied glue to each joint then pressed a spline into place.

When the glue dried, I used a razor saw to cut them flush to the box.

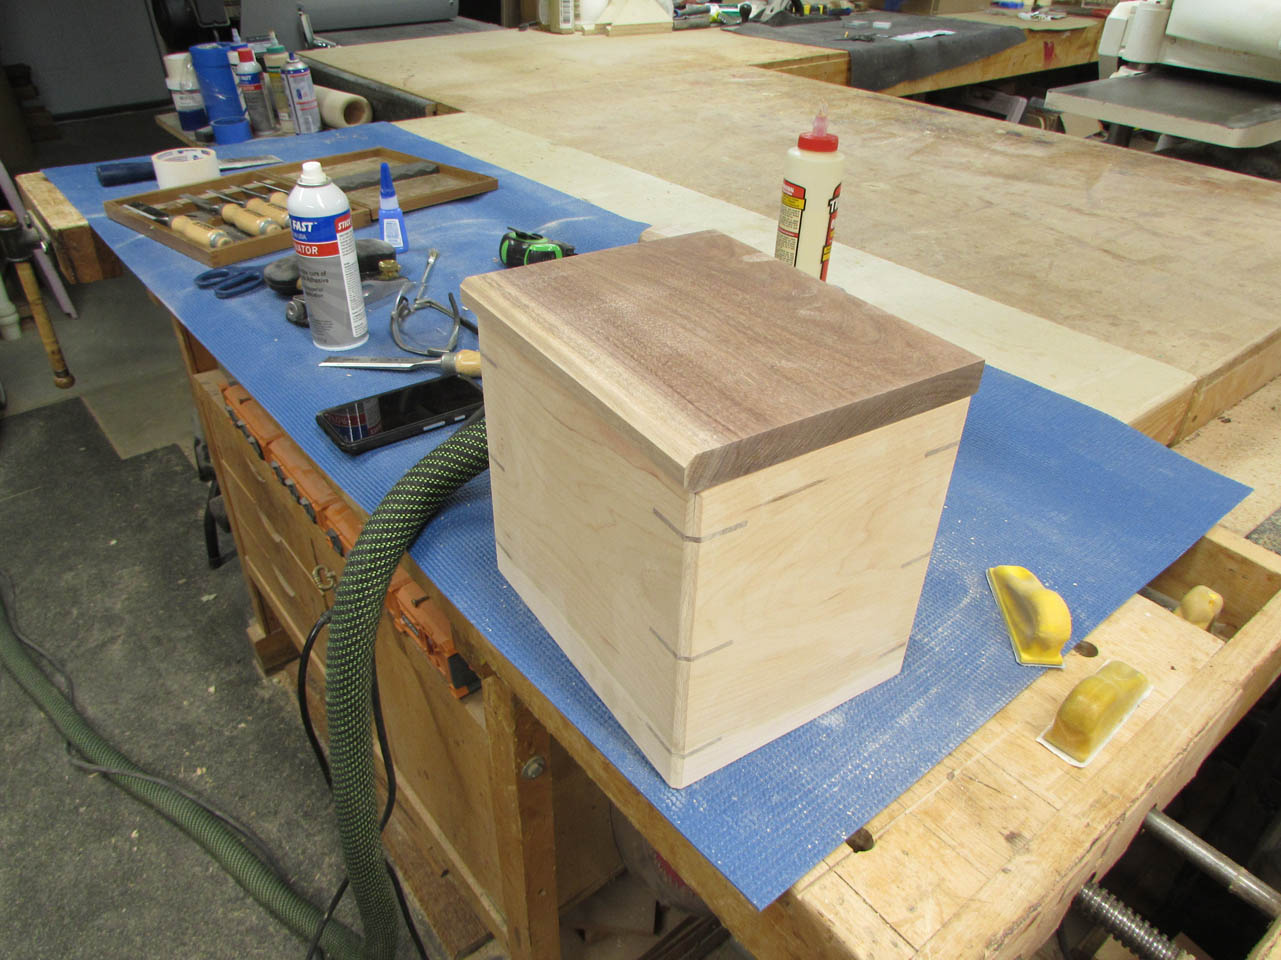
I sanded all the splines flush then cut a chamfer along each edge to match the one on the bottom as well as the lid of the box.

With a little sanding, I am almost done.
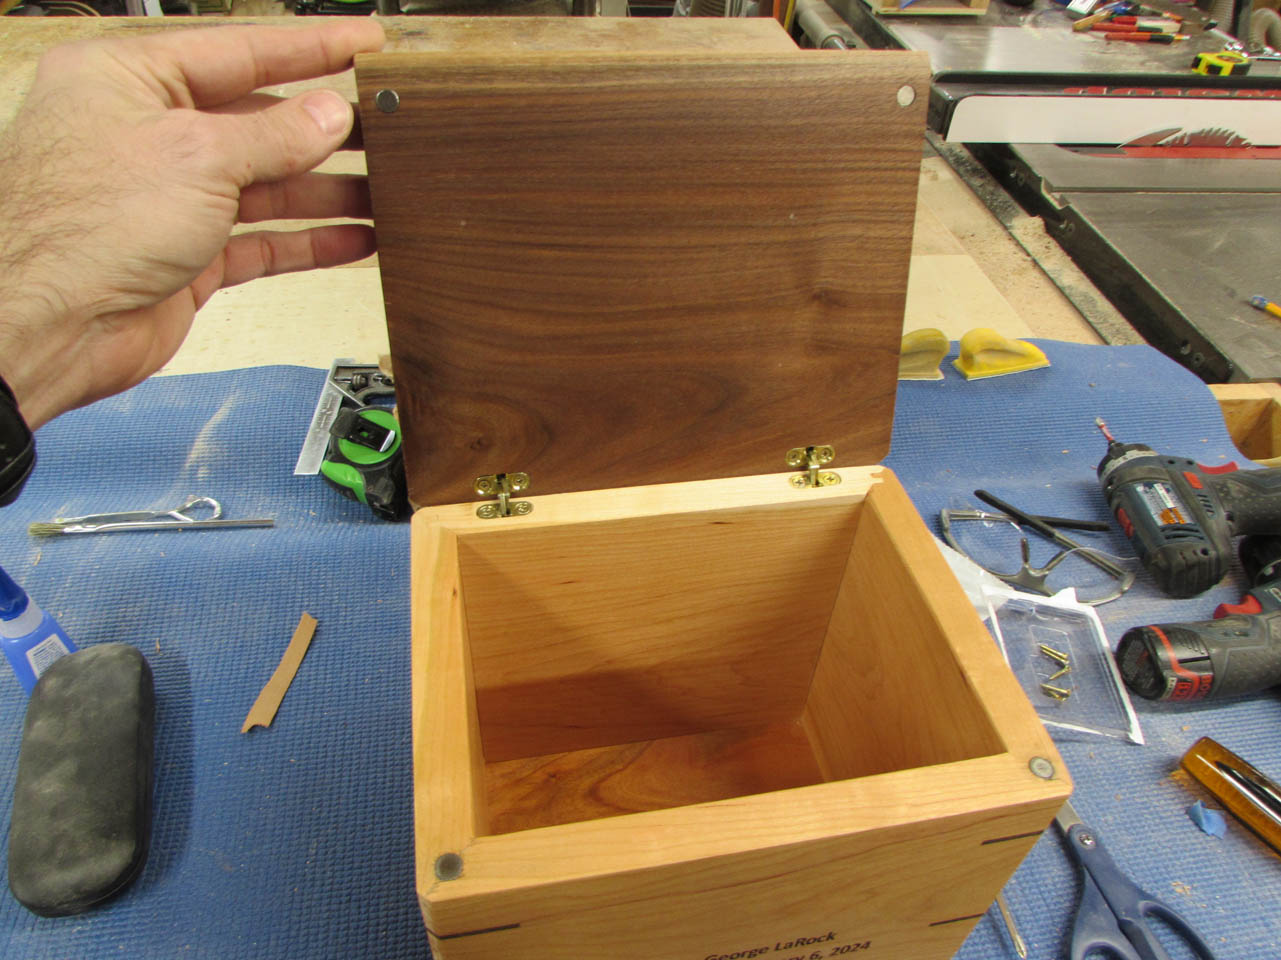
The last thing I want to add is a couple of magnets to hold the lid shut.

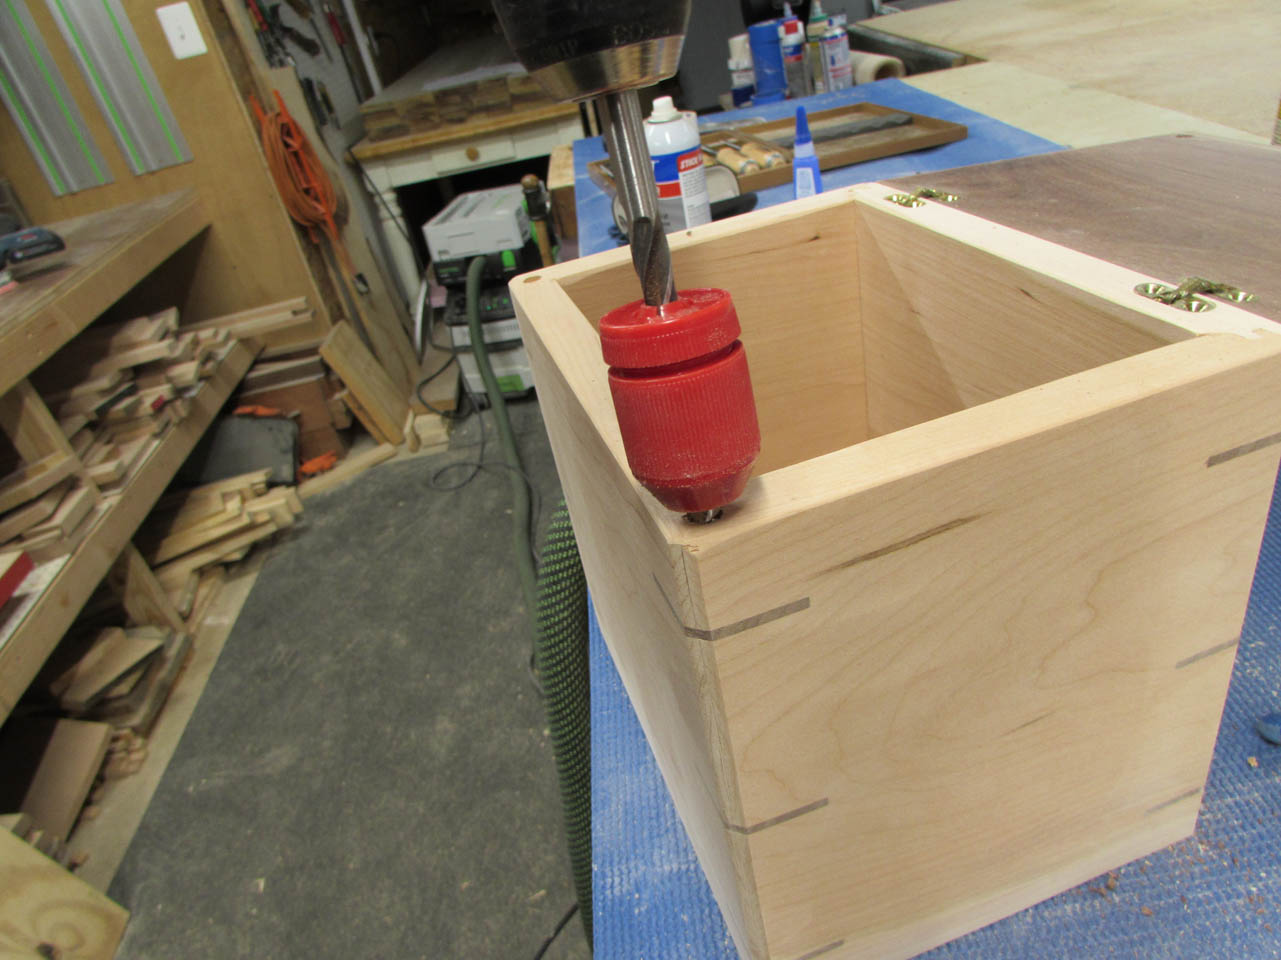
I drill four shallow holes to recess the magnets flush.
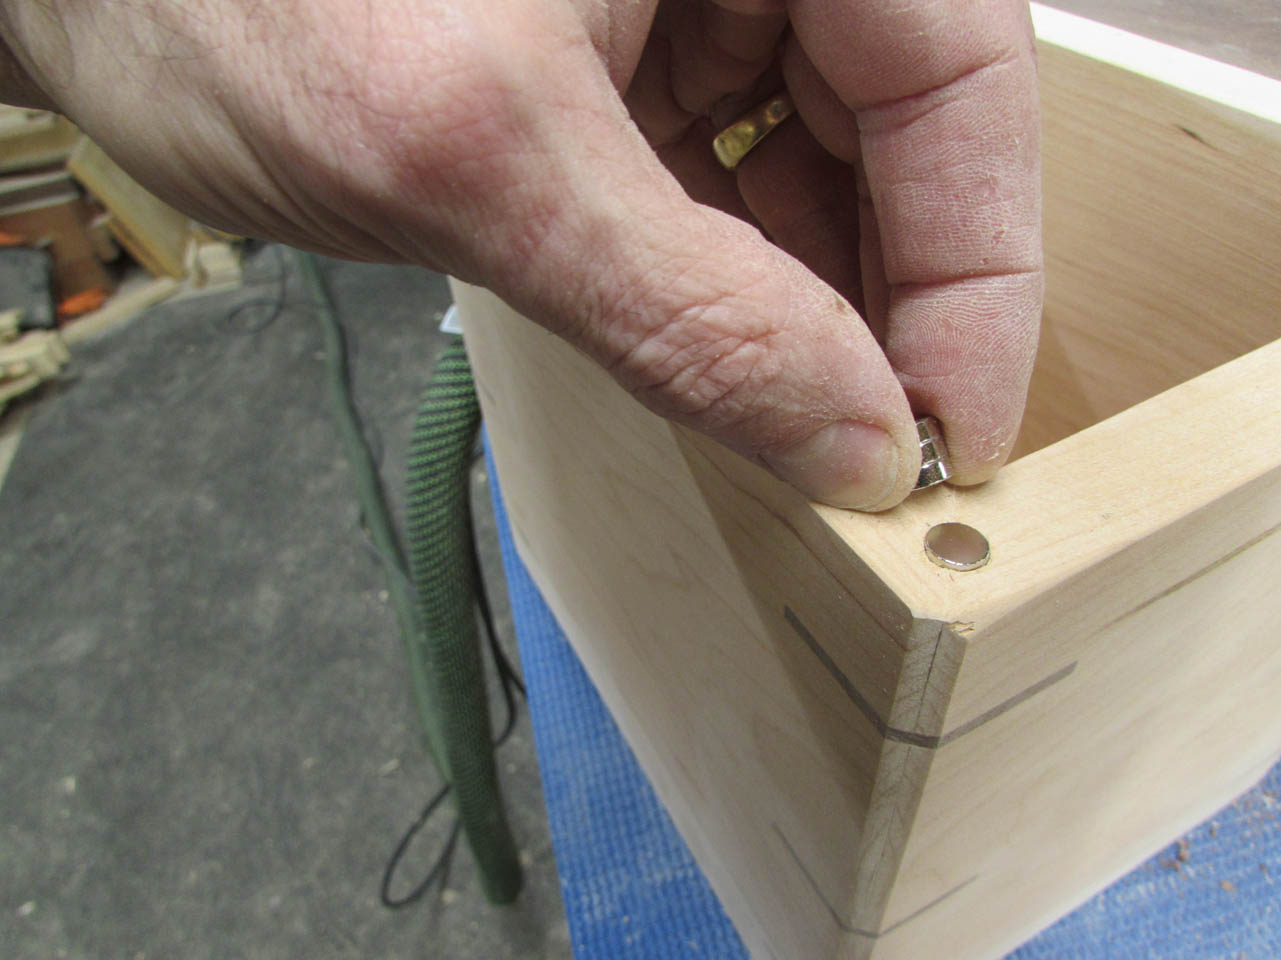

Then I mixed up some two-part epoxy to hold them in place.


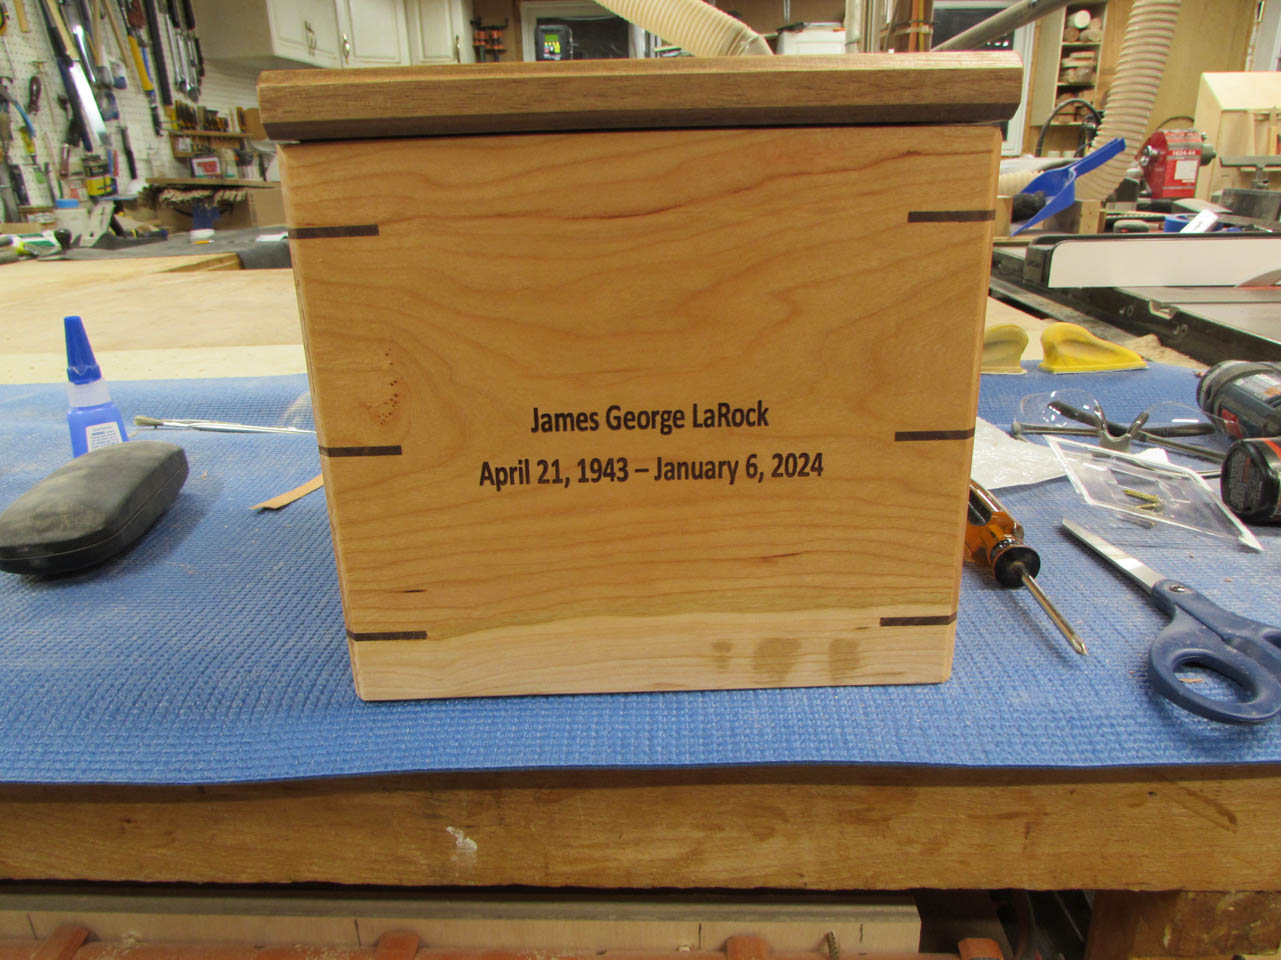
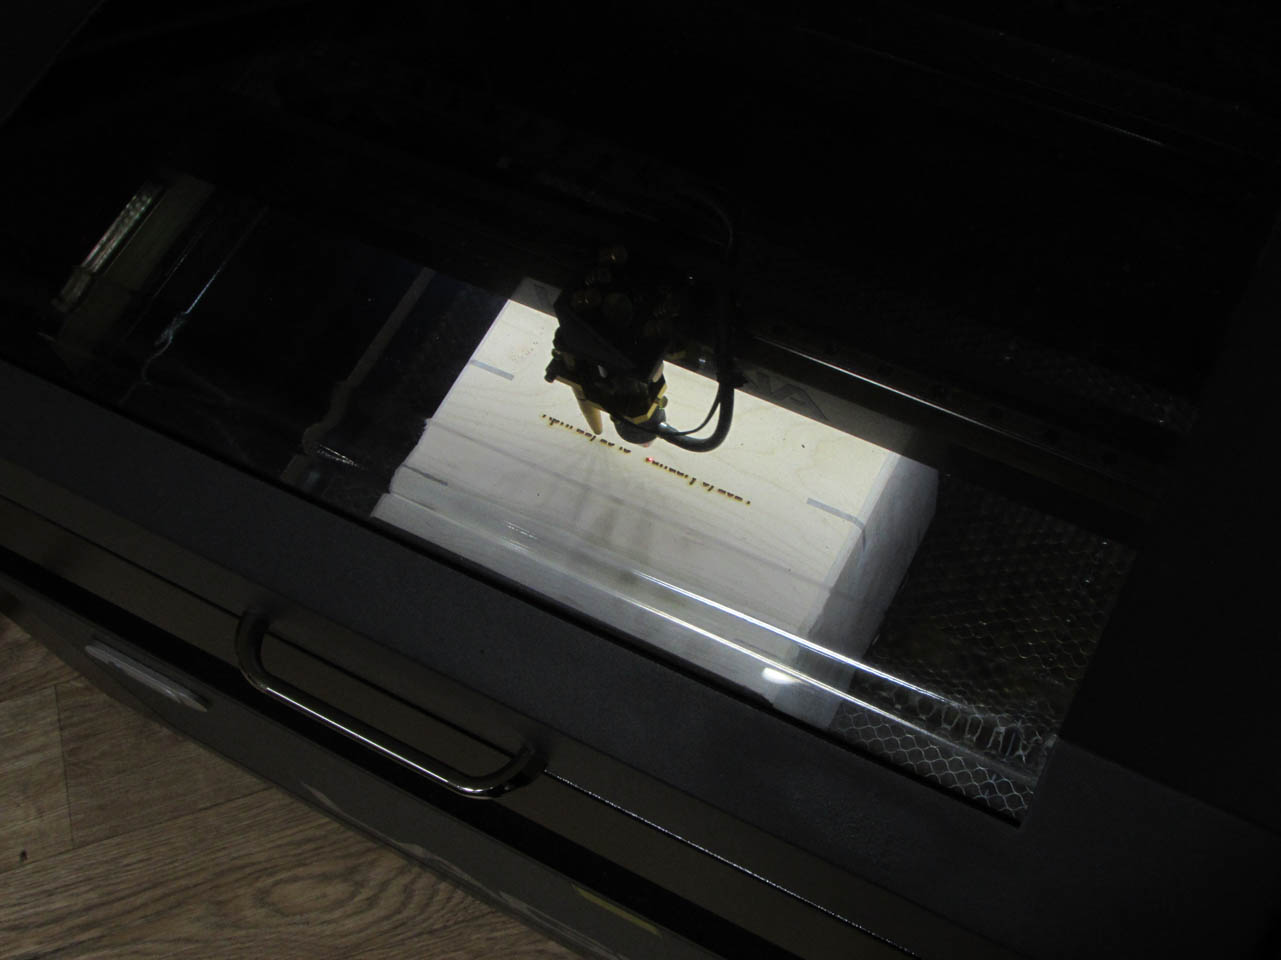
While the epoxy was setting up, I put a scrap piece of cherry into my laser engraver and made a test cut of the name plate.

Happy with the size a depth of the engraving, I loaded the box into the laser and lowered the table.
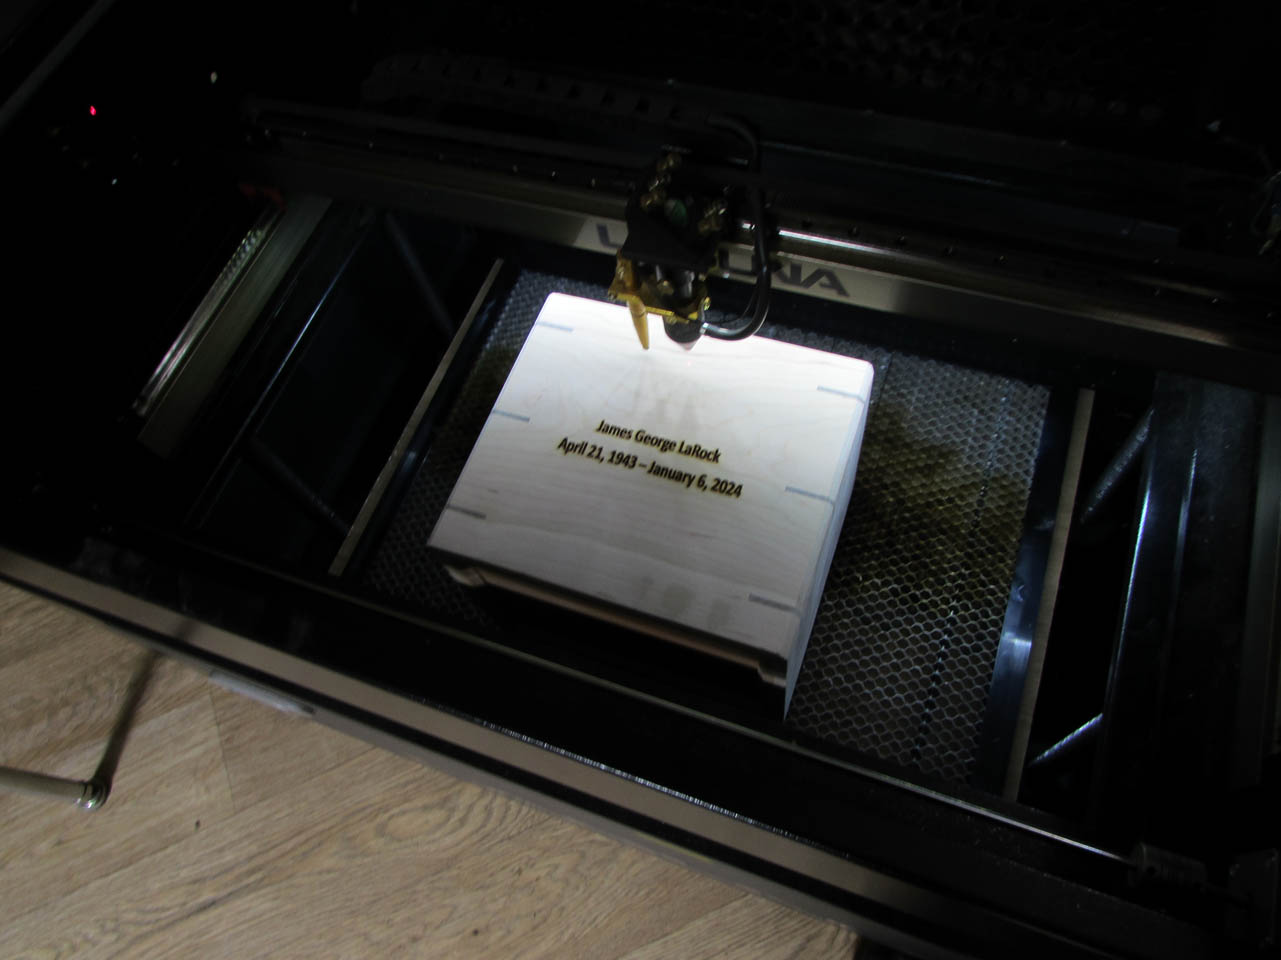
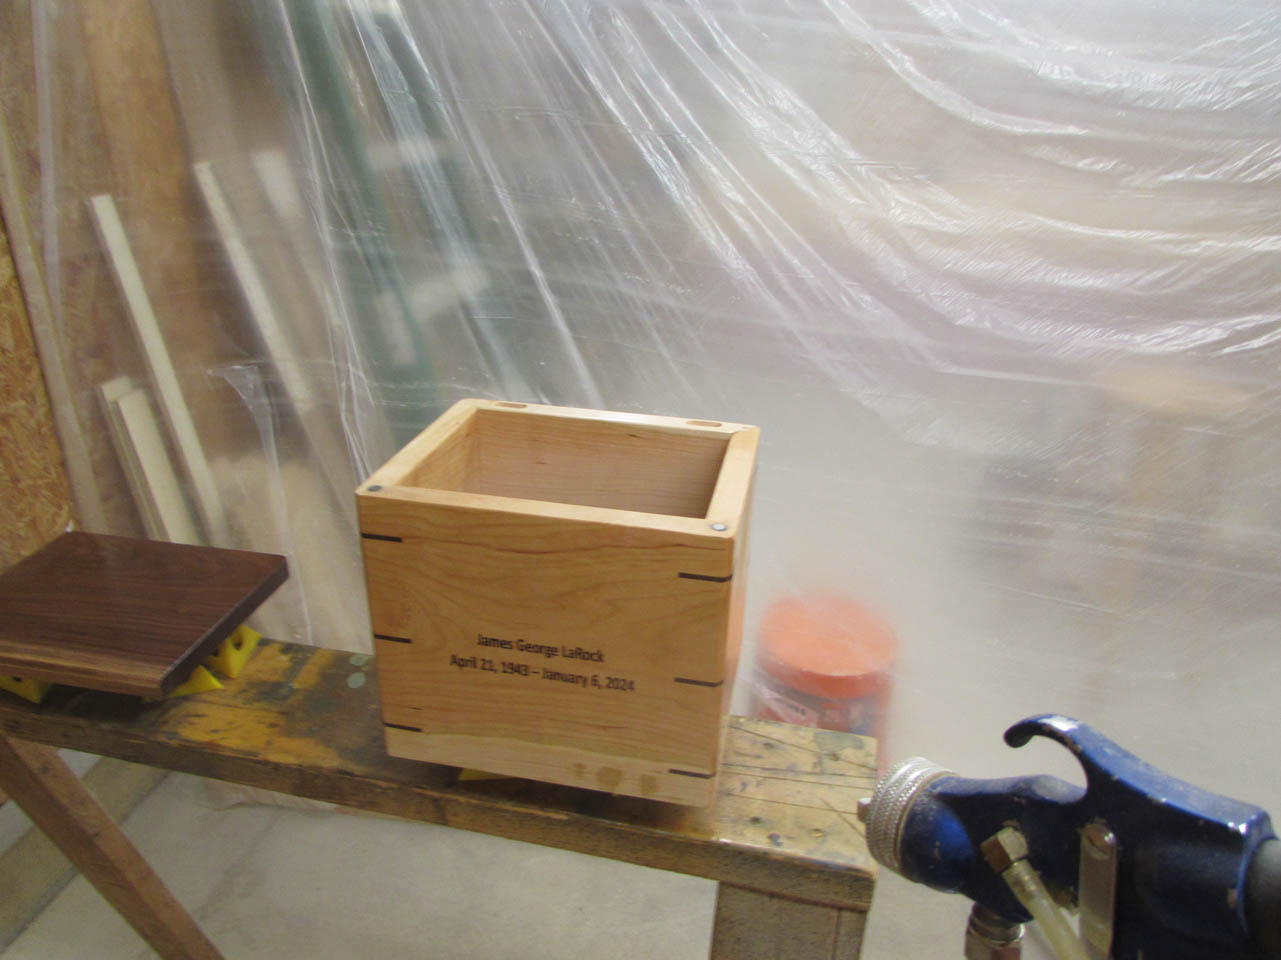
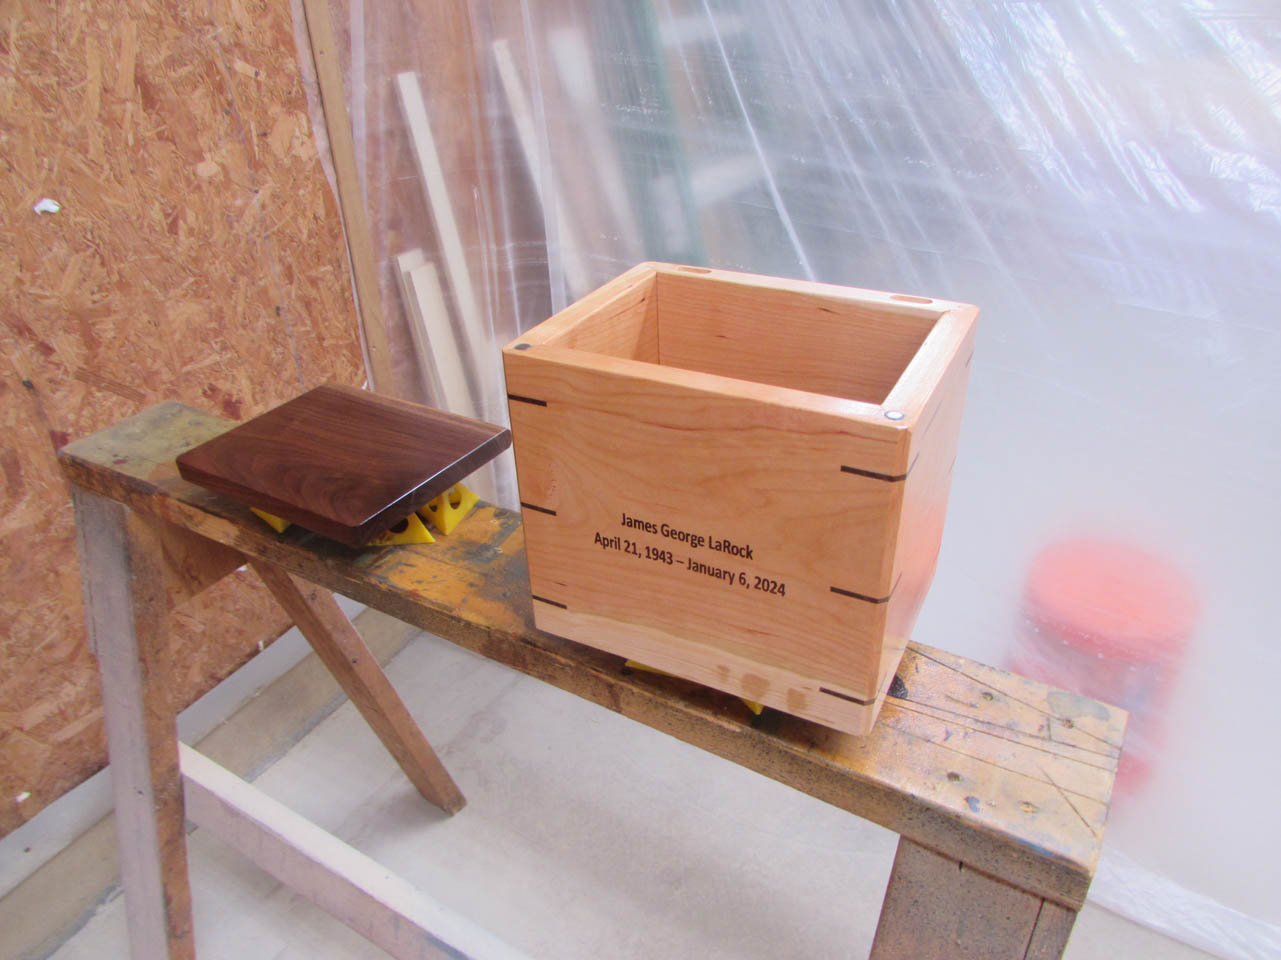
Jim’s name and dates were engraved onto the front of the box.

Then I did one more test fit of the hardware to make sure the magnets attached properly.


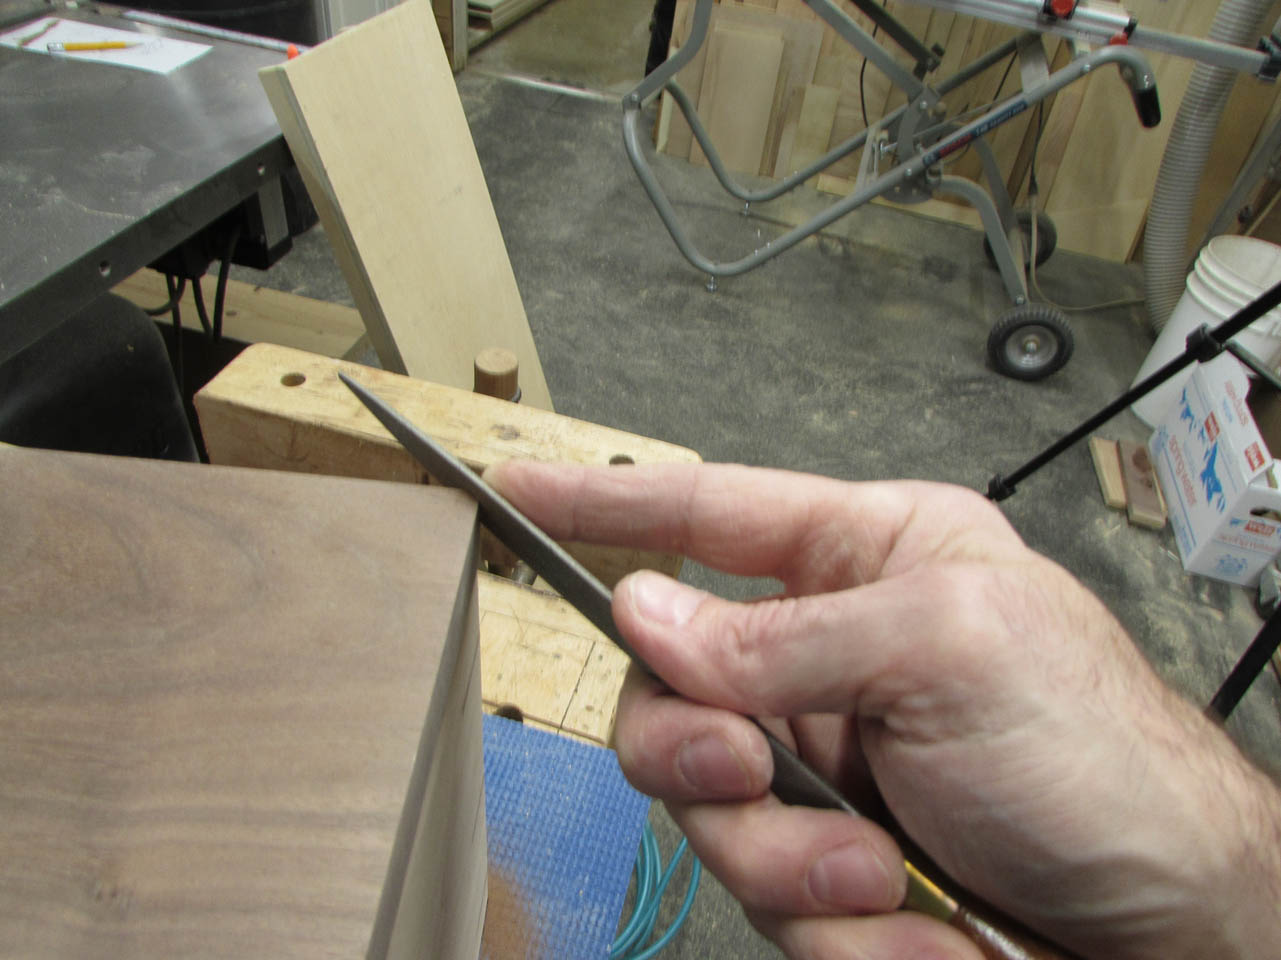
The last little detail is the chamfer on the back of the lid which needs to match the back of the box. I used a hand rasp and some sand paper to match it to the box.
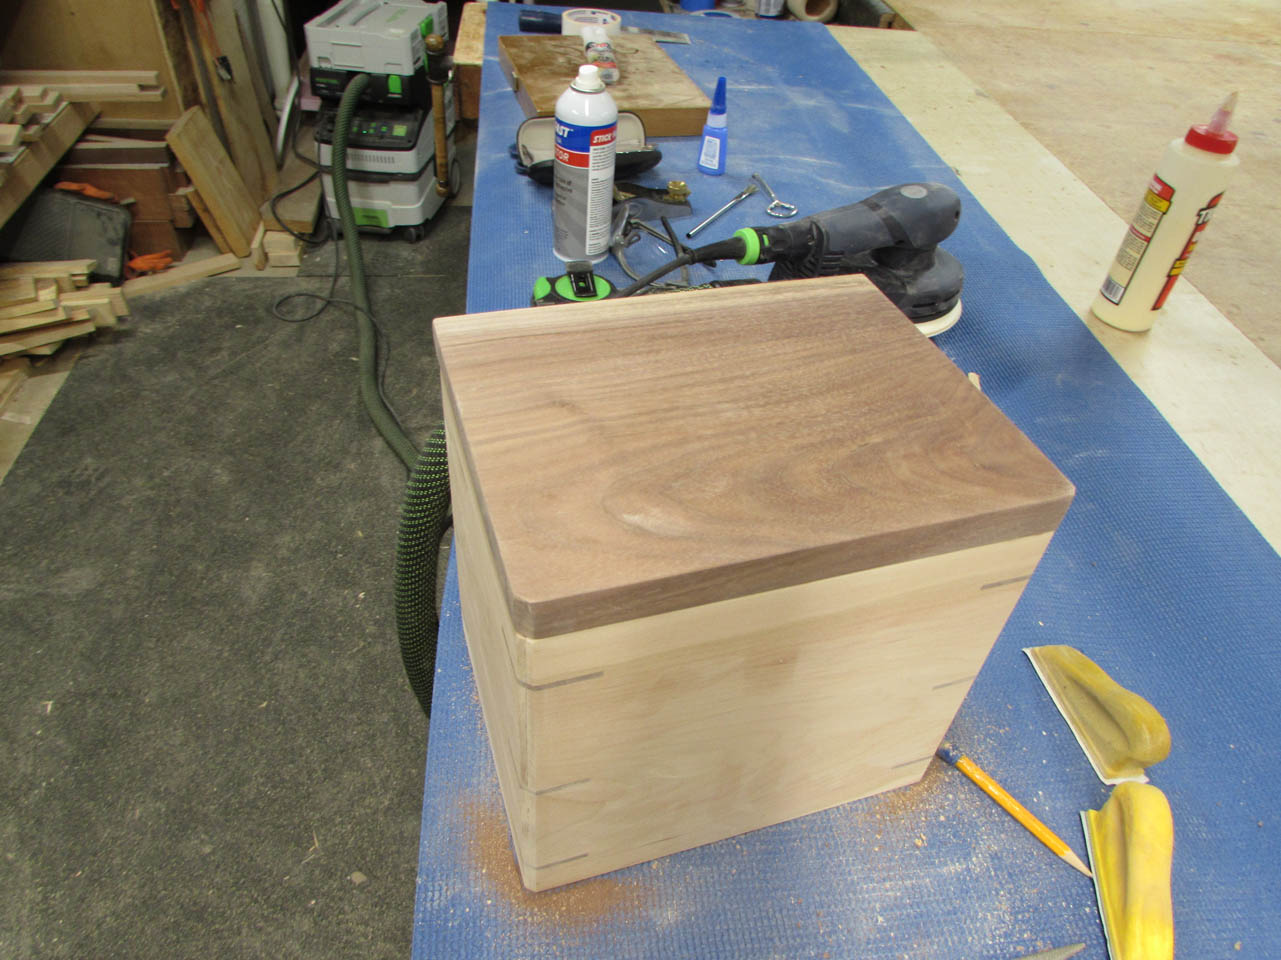
After that, all I needed to do was a final sanding.


Then it was time to disassemble and get a coat of polyurethane applied.
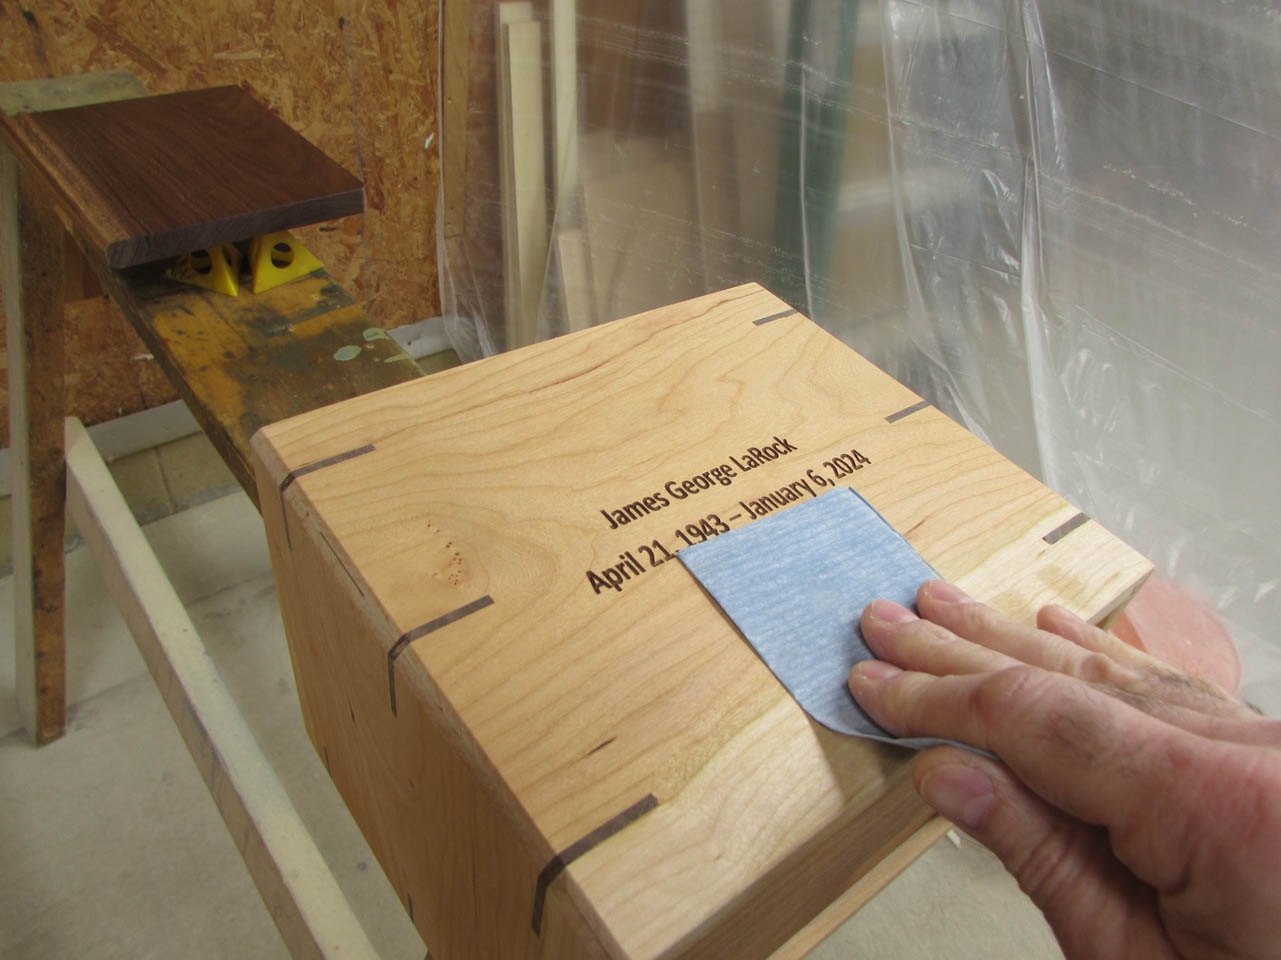
After that dried, I sanded the entire box with 400 grit paper and sprayed it with a second coat.


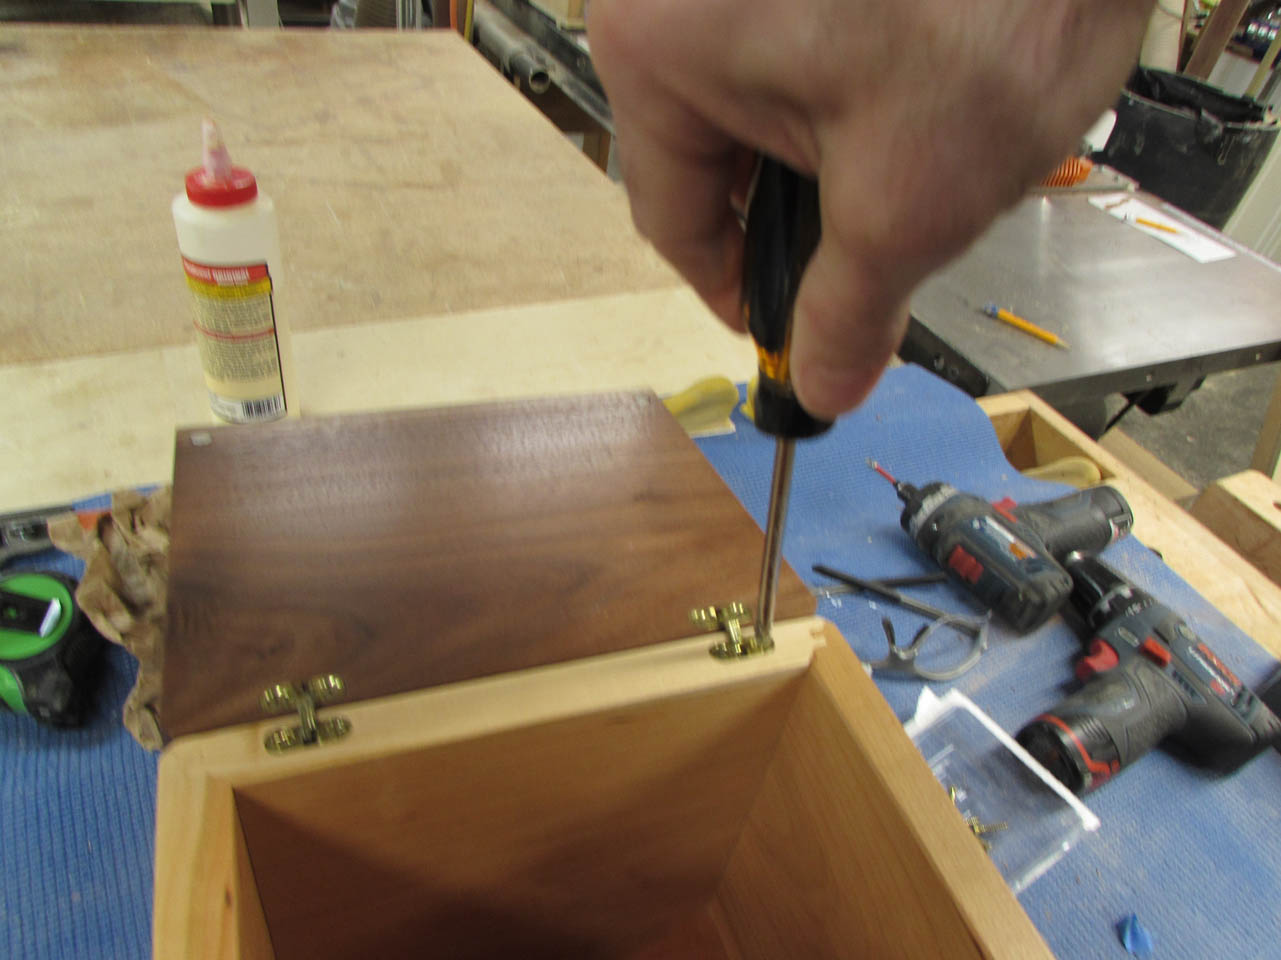
For the final assembly, I needed to add screws to the hinges.
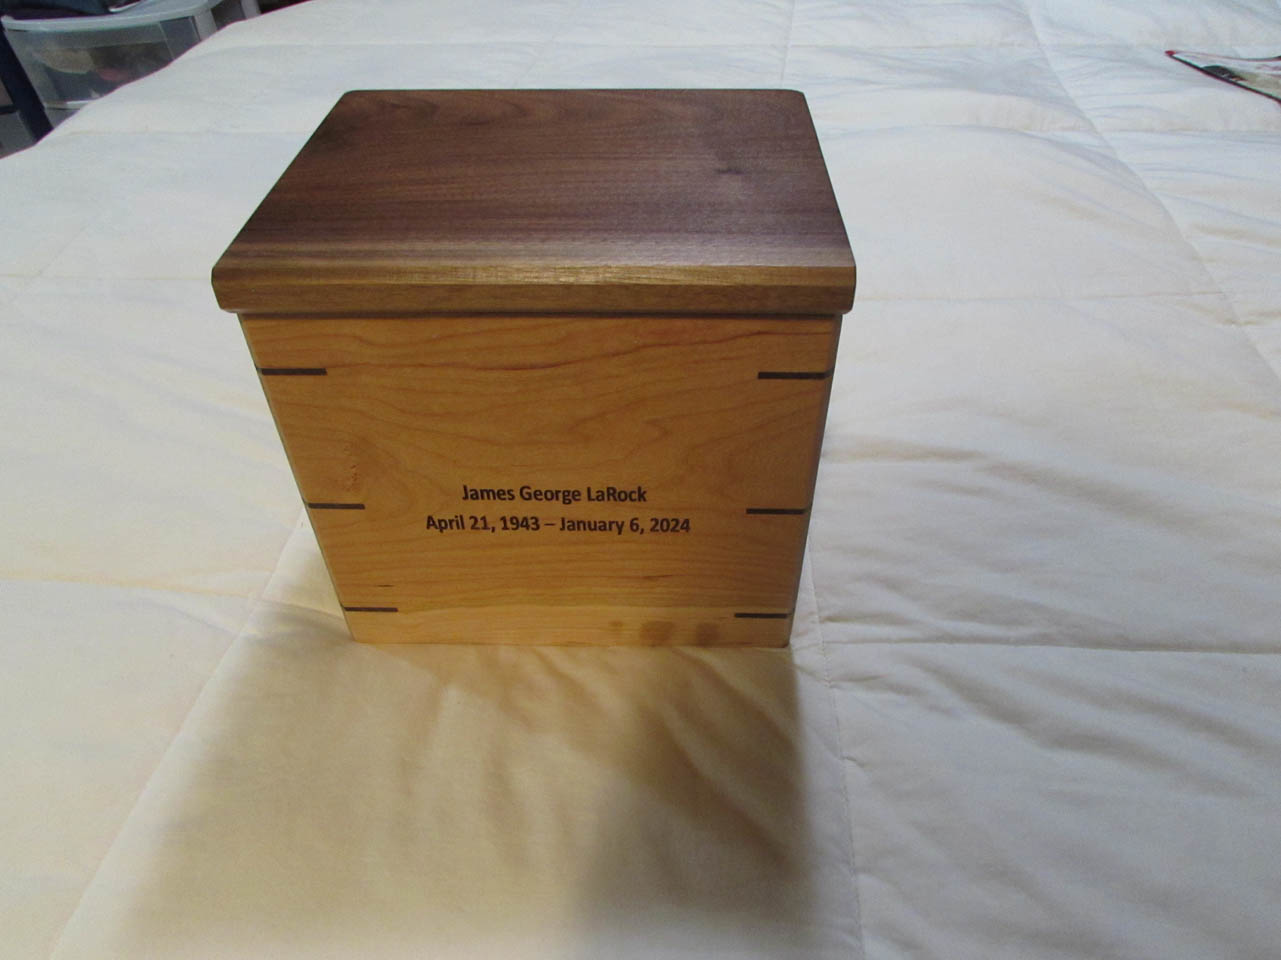
Jim’s memory box is finished. It was an honor to build this for you Jim.