
Cherry mantel and fireplace surround
A friend on mine wanted a fireplace surround and mantel as a Christmas gift to his wife. Originally he wanted to design and build it himself, but between work and family, the time just wasn’t there. He came up with a design that they thought would look really nice. He wanted it to be made from cherry to match the floor and the cabinets in the kitchen.
He sent me the 3d model and I made a set of plans so that I could buy enough lumber and know what to cut. MANTEL.pdf
I took a trip out to the lumber yard and bought a pile of cherry, then got started milling it all down to size.


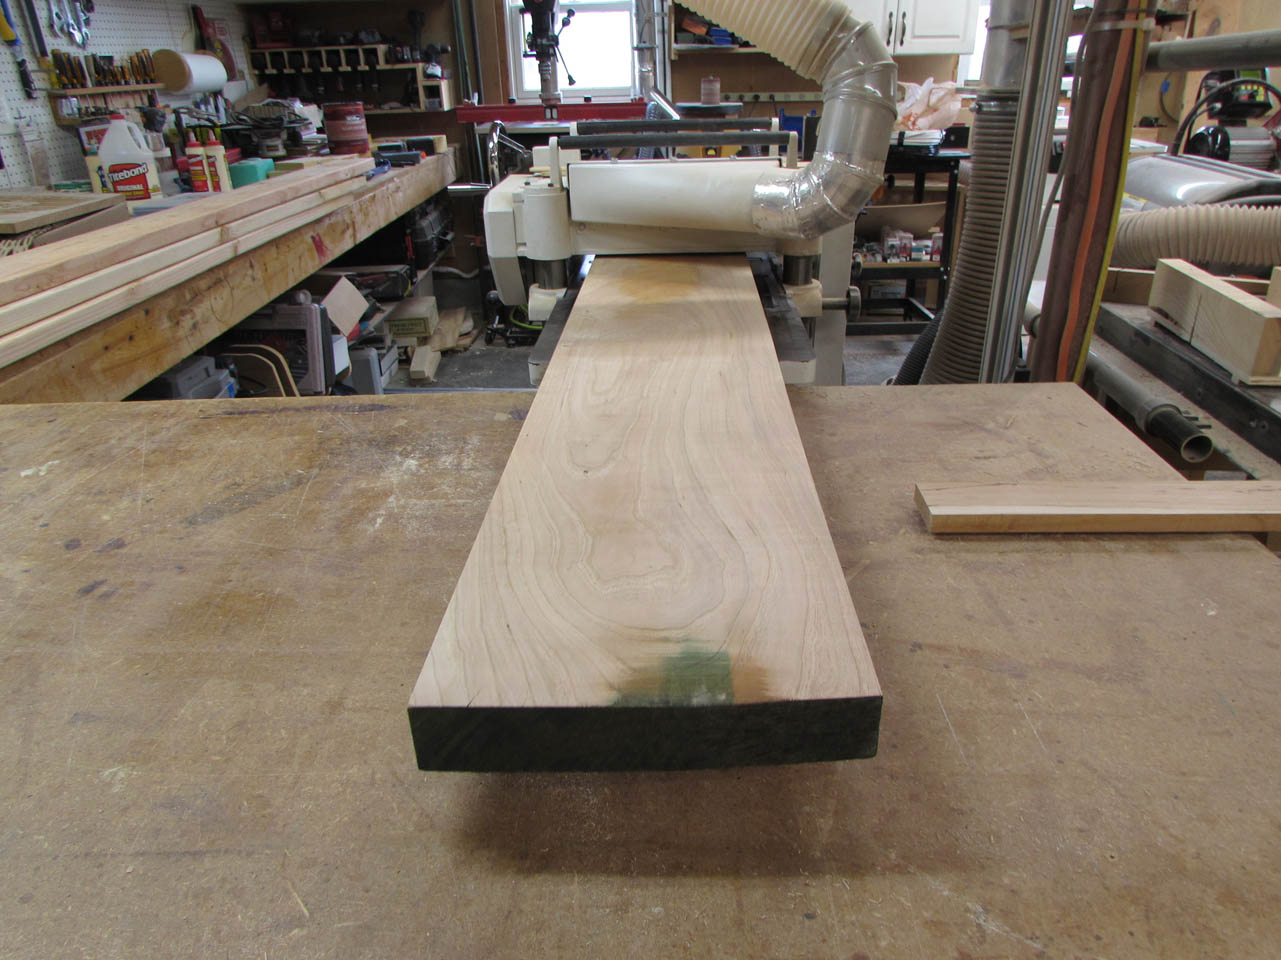
All the wood I am using is rough-sawn and kiln dried. I started by cutting pieces to rough length, then planing it down to the correct thickness.

After just a few passes through the planer, you can start to see the beautiful grain.


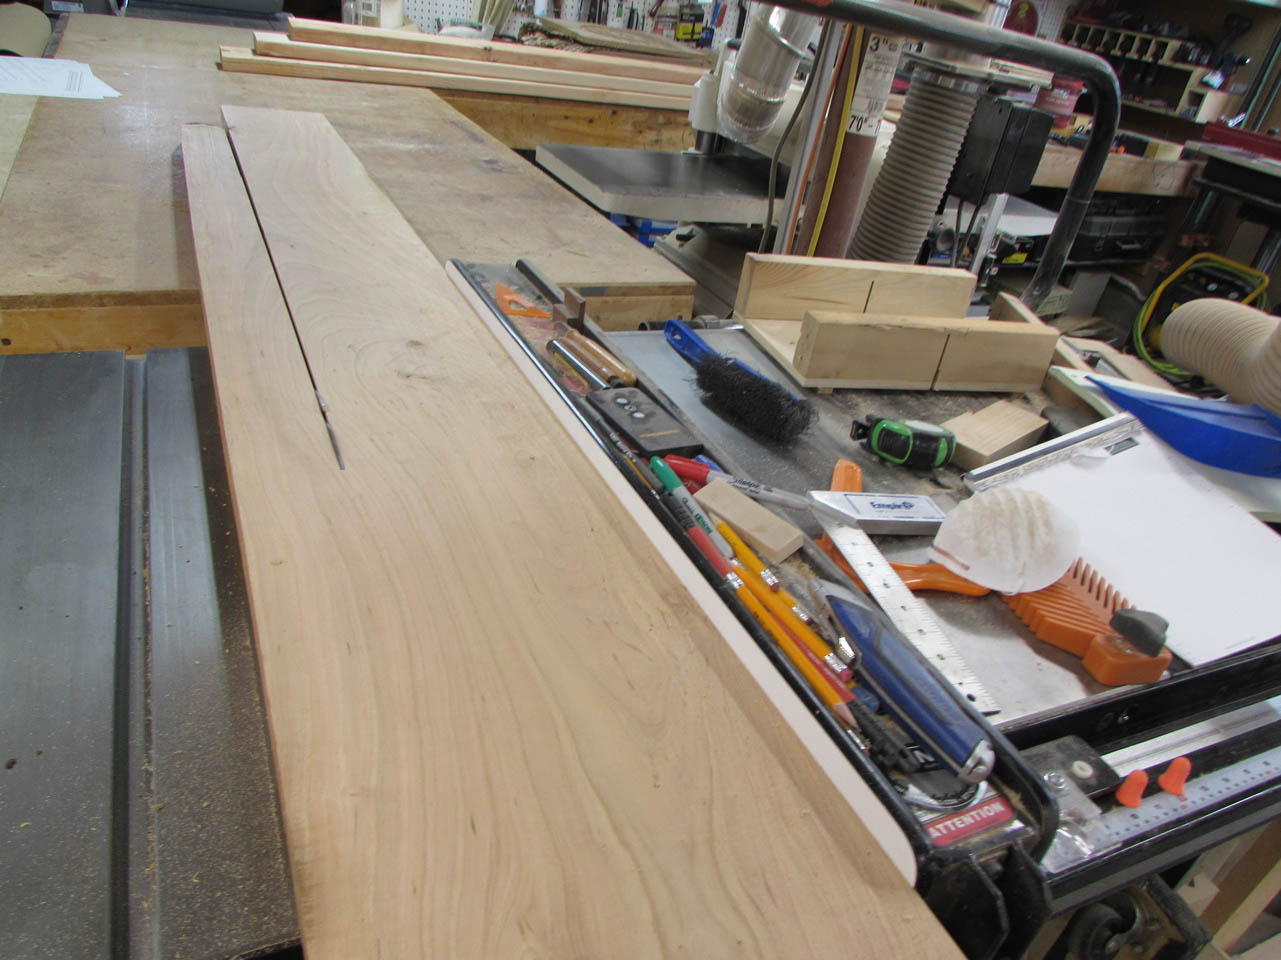
Once I had a pile planed, I jointed one edge flat.

Then I used the flat edge against the fence of my table saw and started cutting pieces down to the proper width.
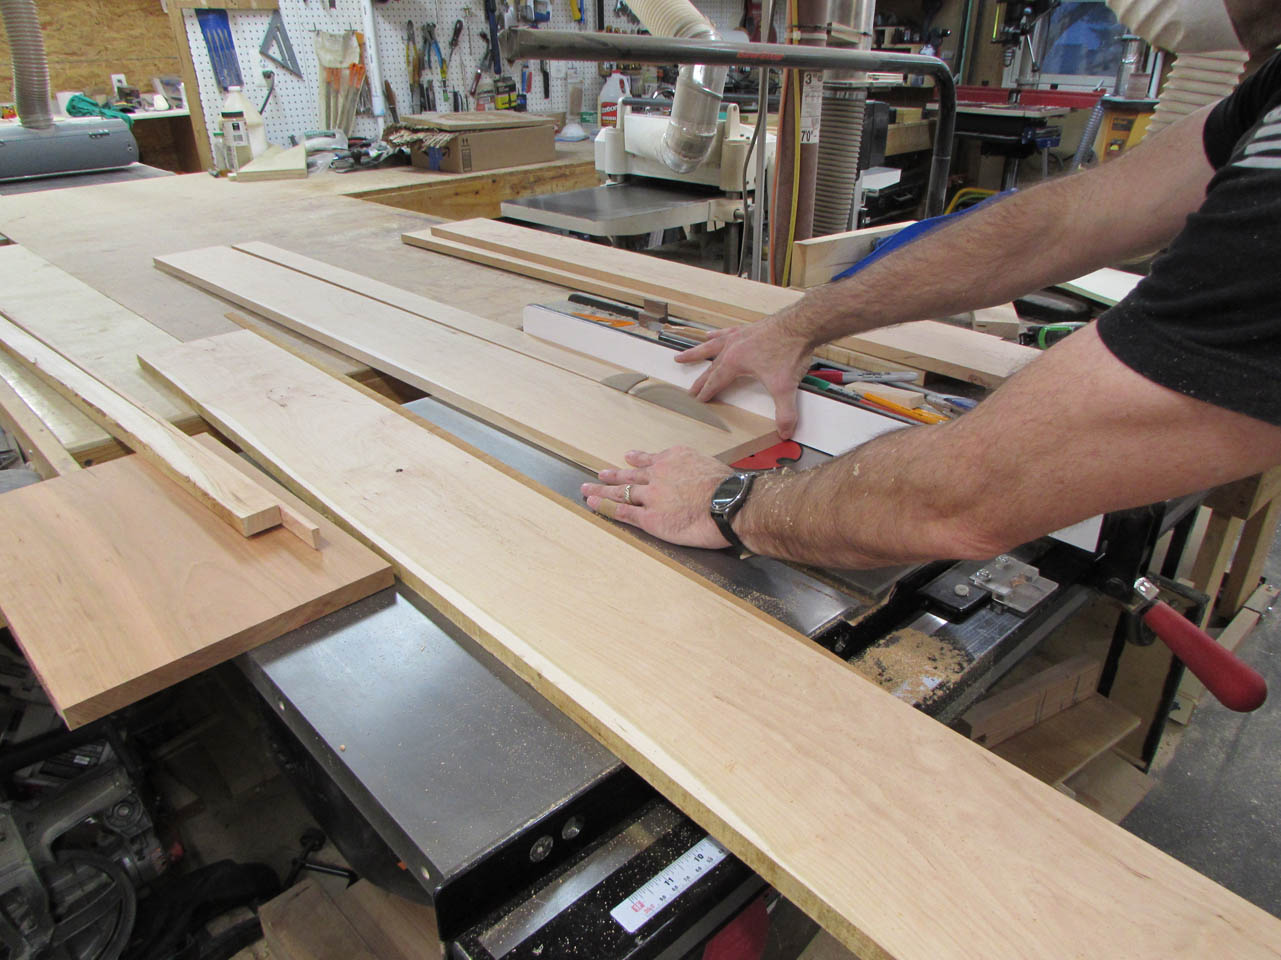
I am making the pieces for the legs first, so I also cut the smaller blocks that detail the face as well.


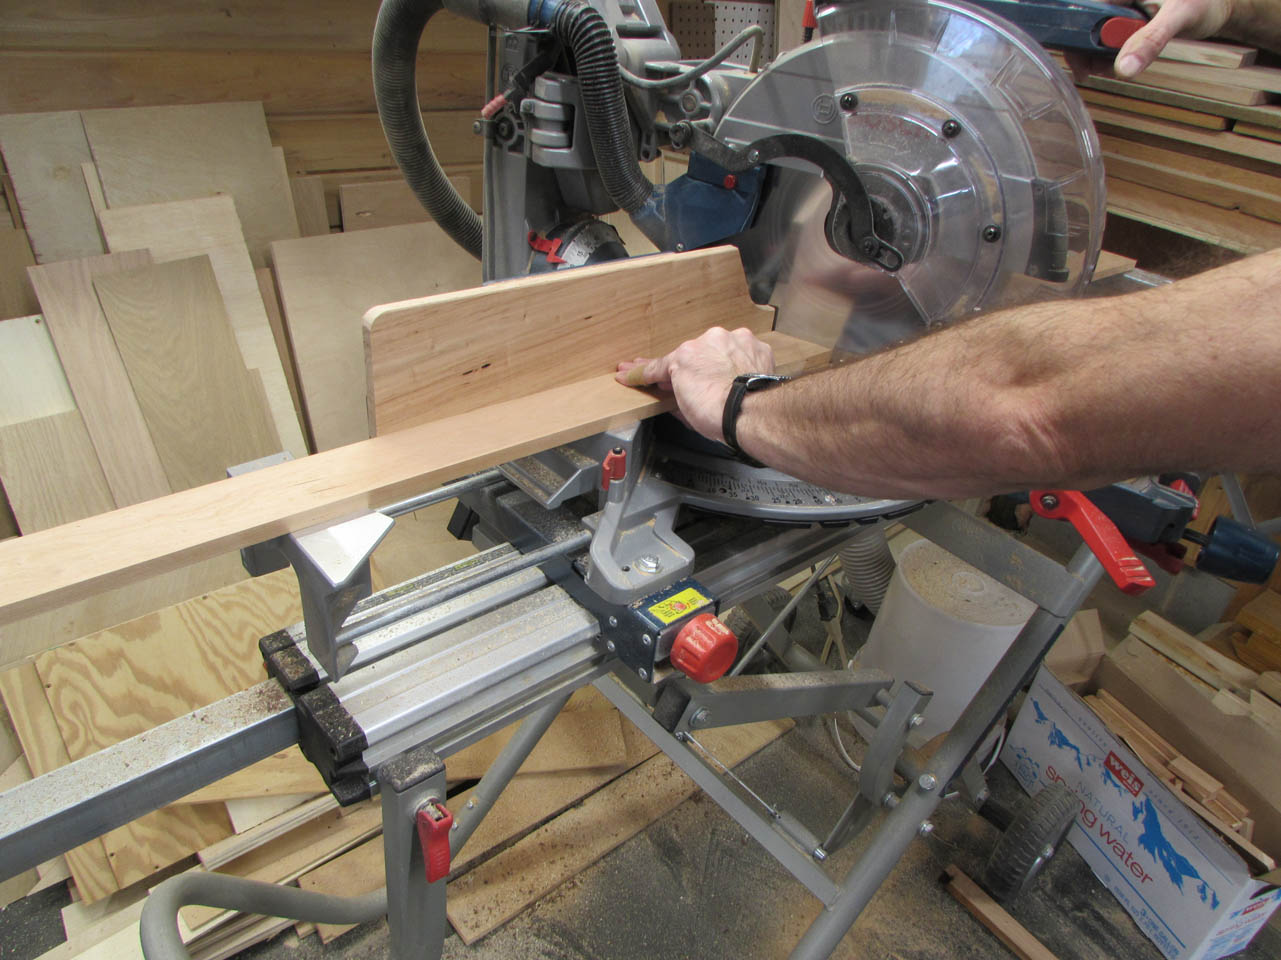
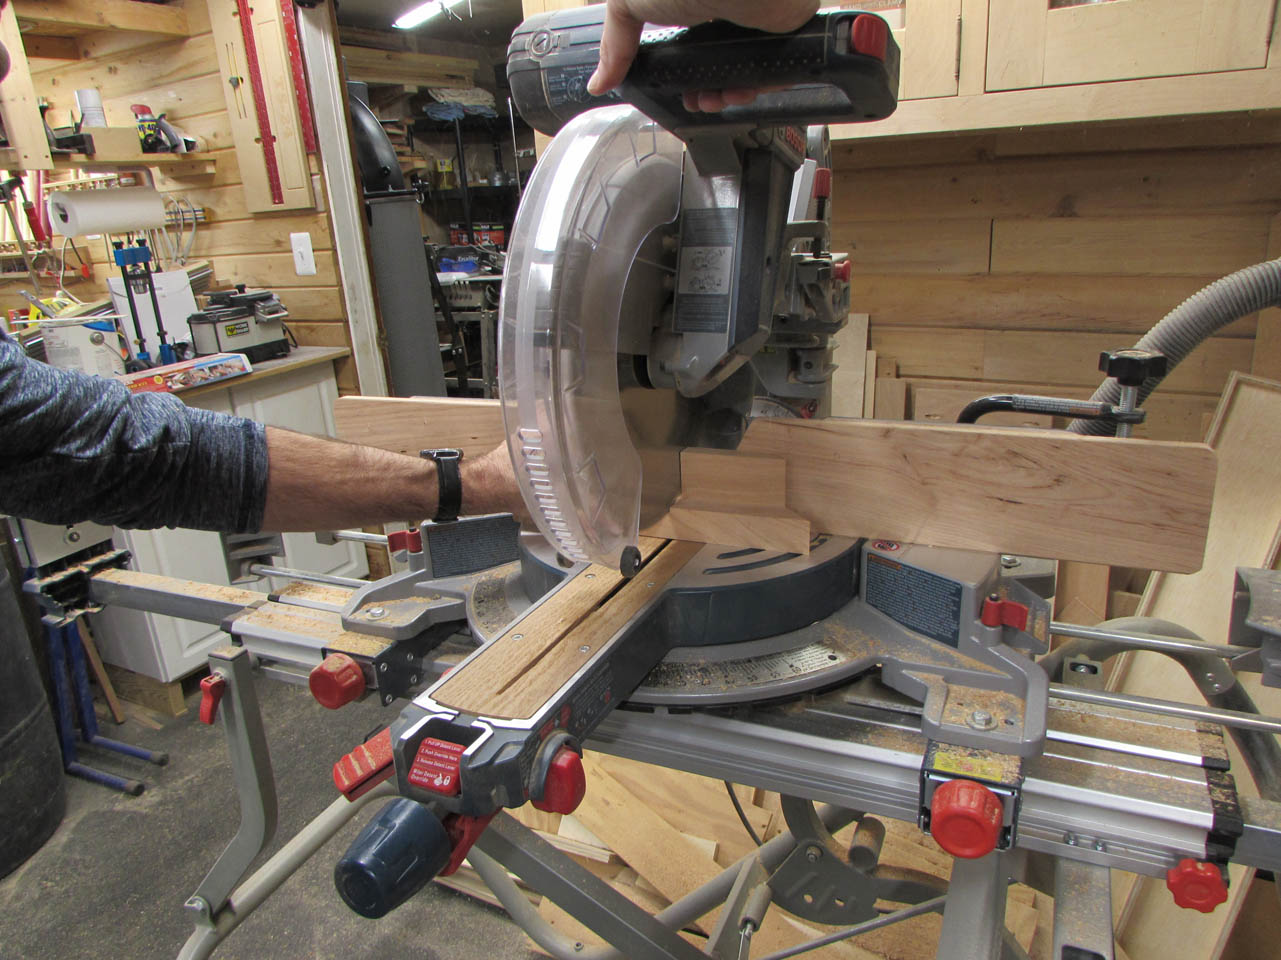
After cutting the leg pieces, I started on the center section that had several pieces with angled cuts. I set my miter saw to 15° and cut the center keystone and the trim pieces that met up with it.

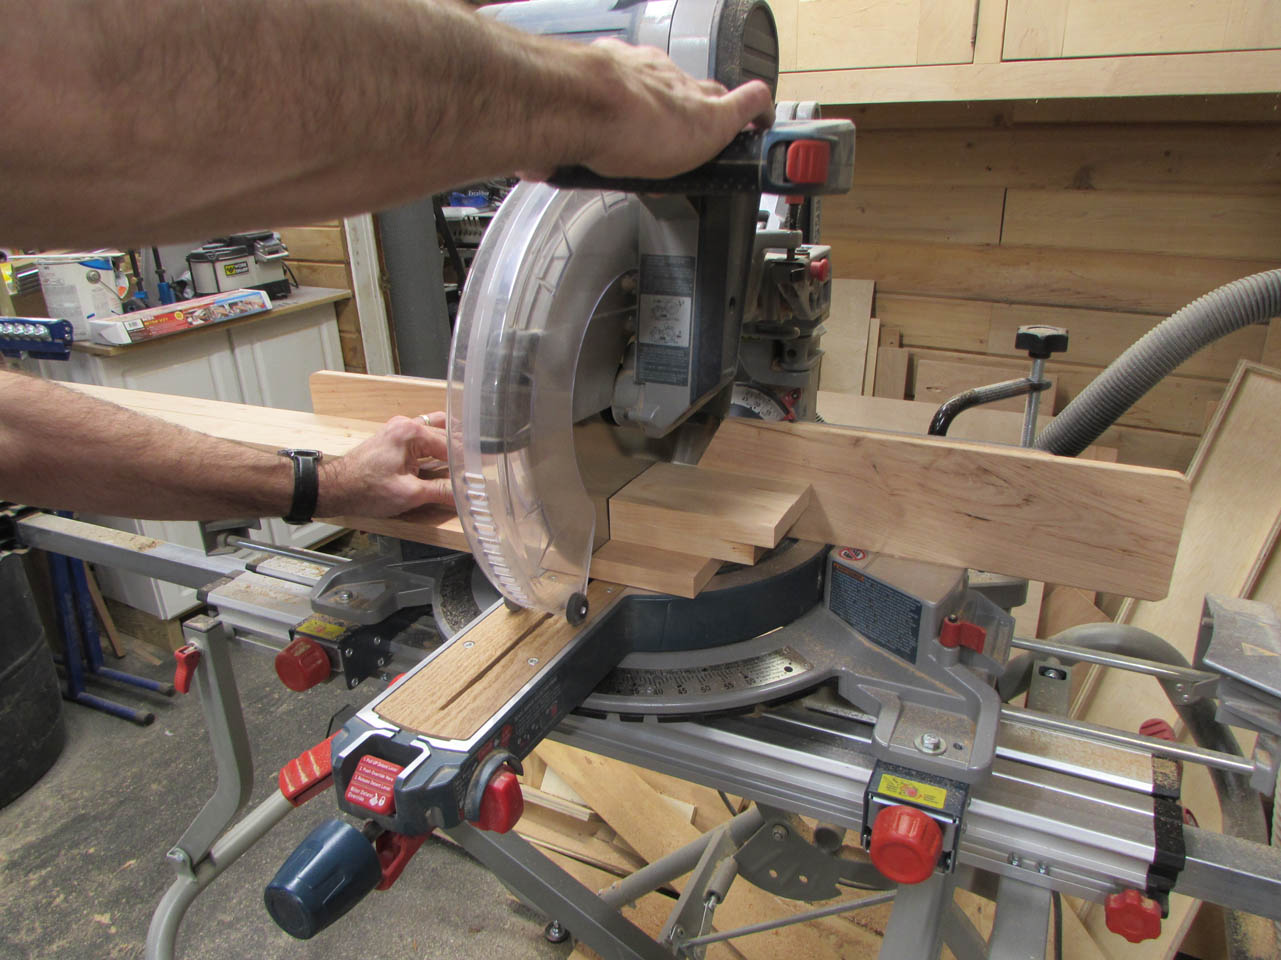
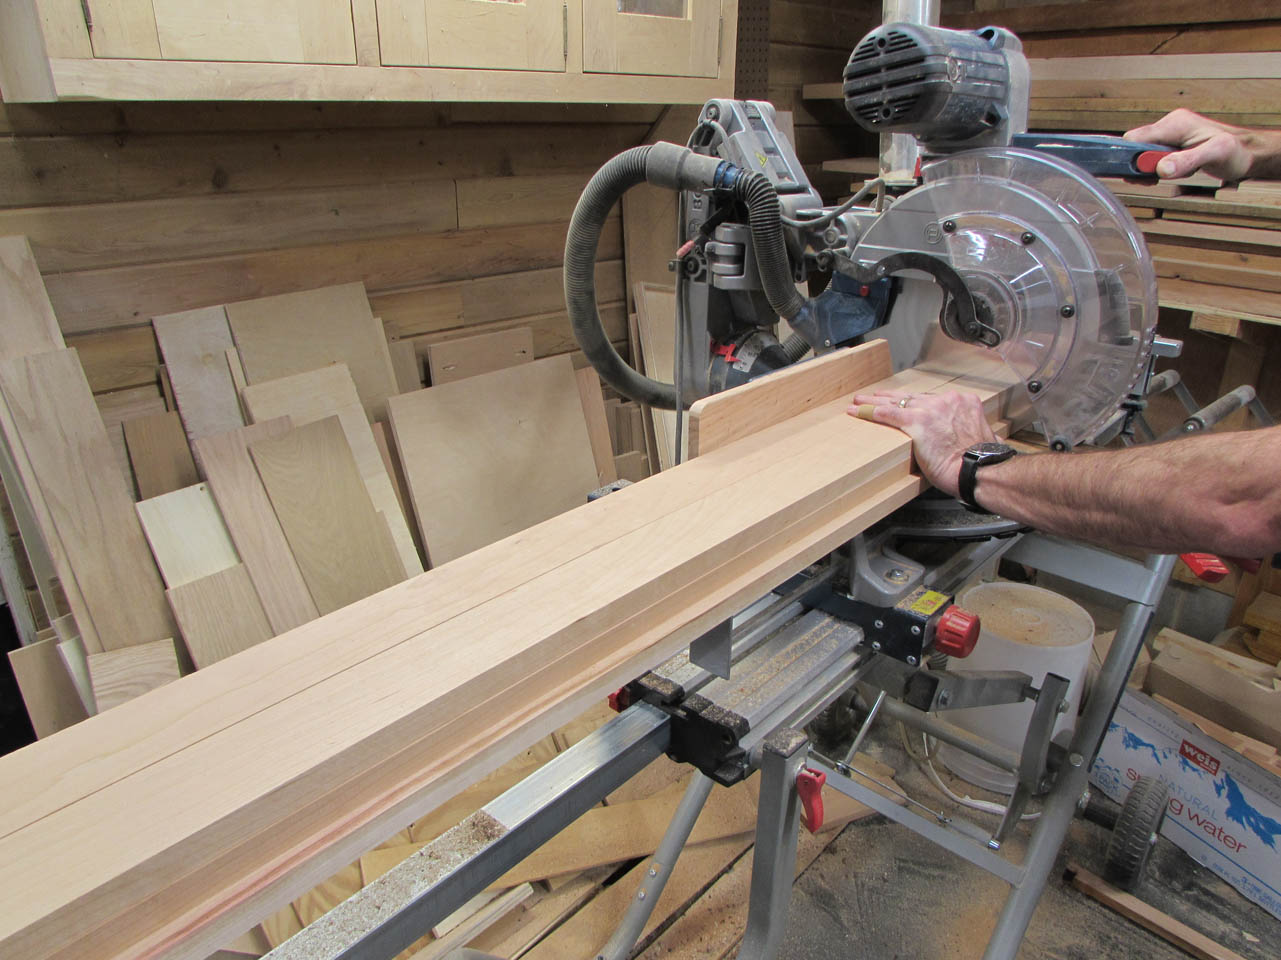
After setting the blade back to 90°, I gang-cut the leg pieces to matching lengths.
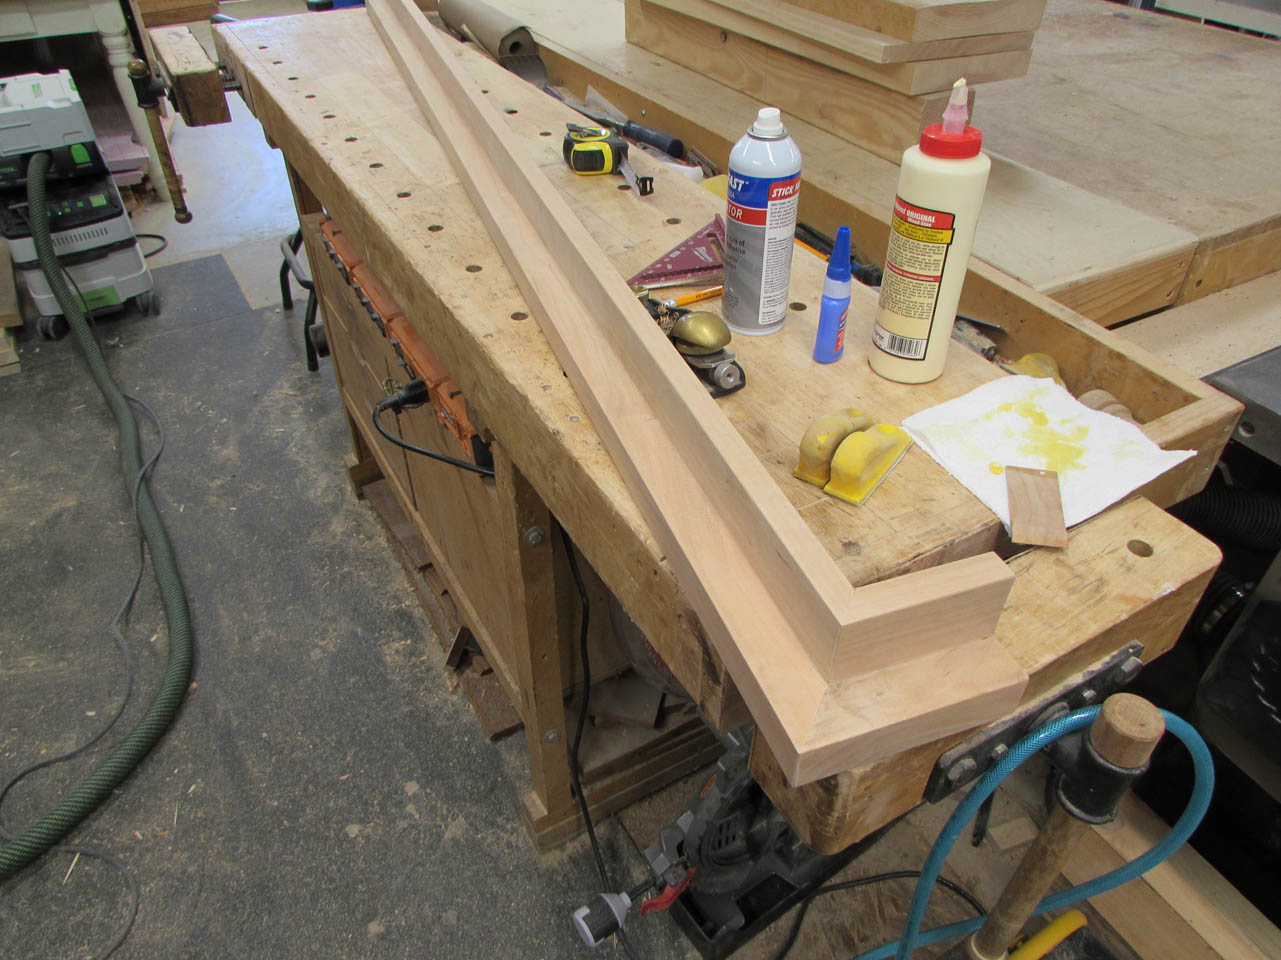
Then it was time to start assembling.
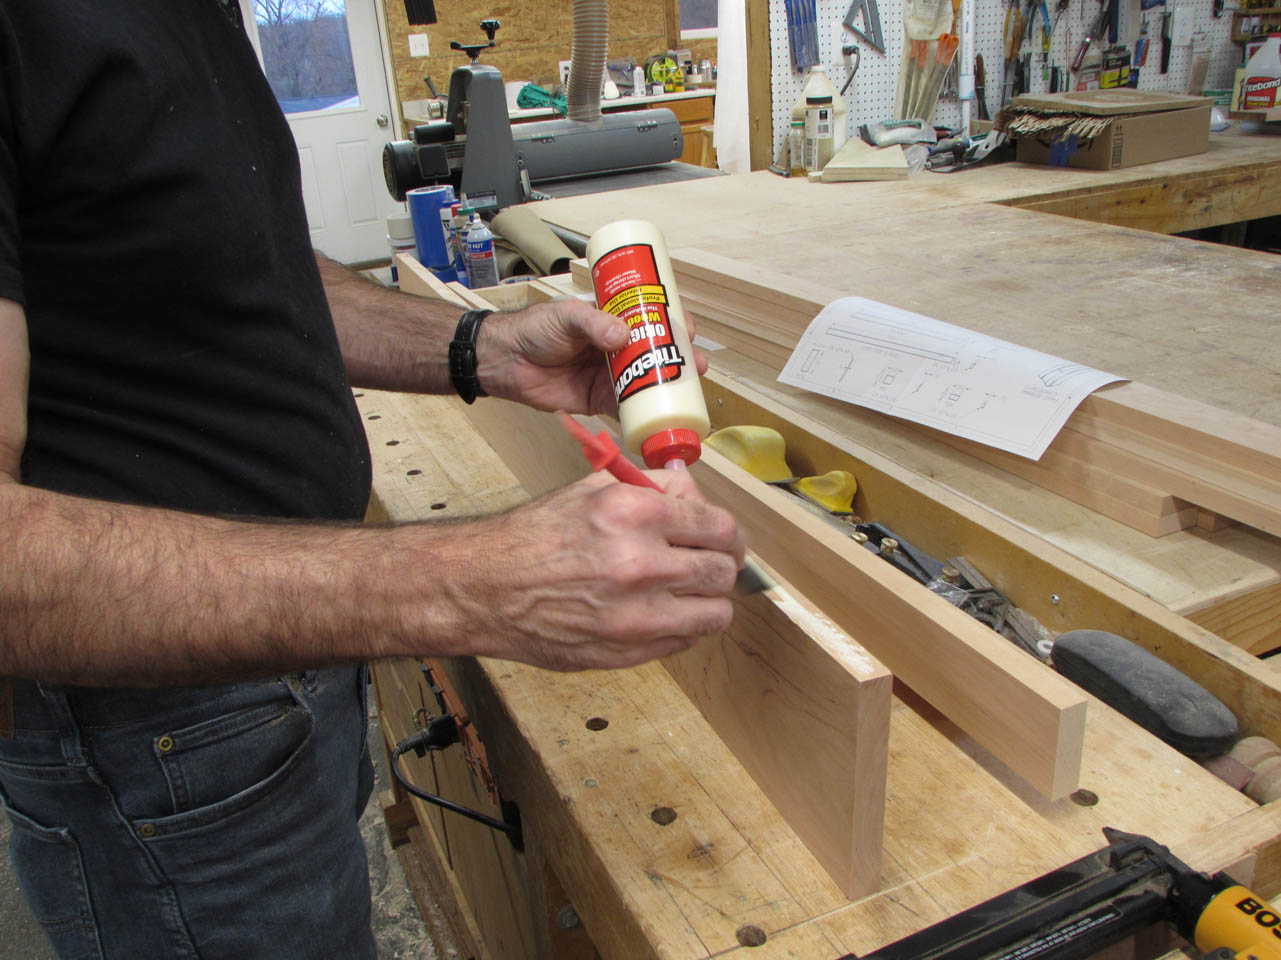
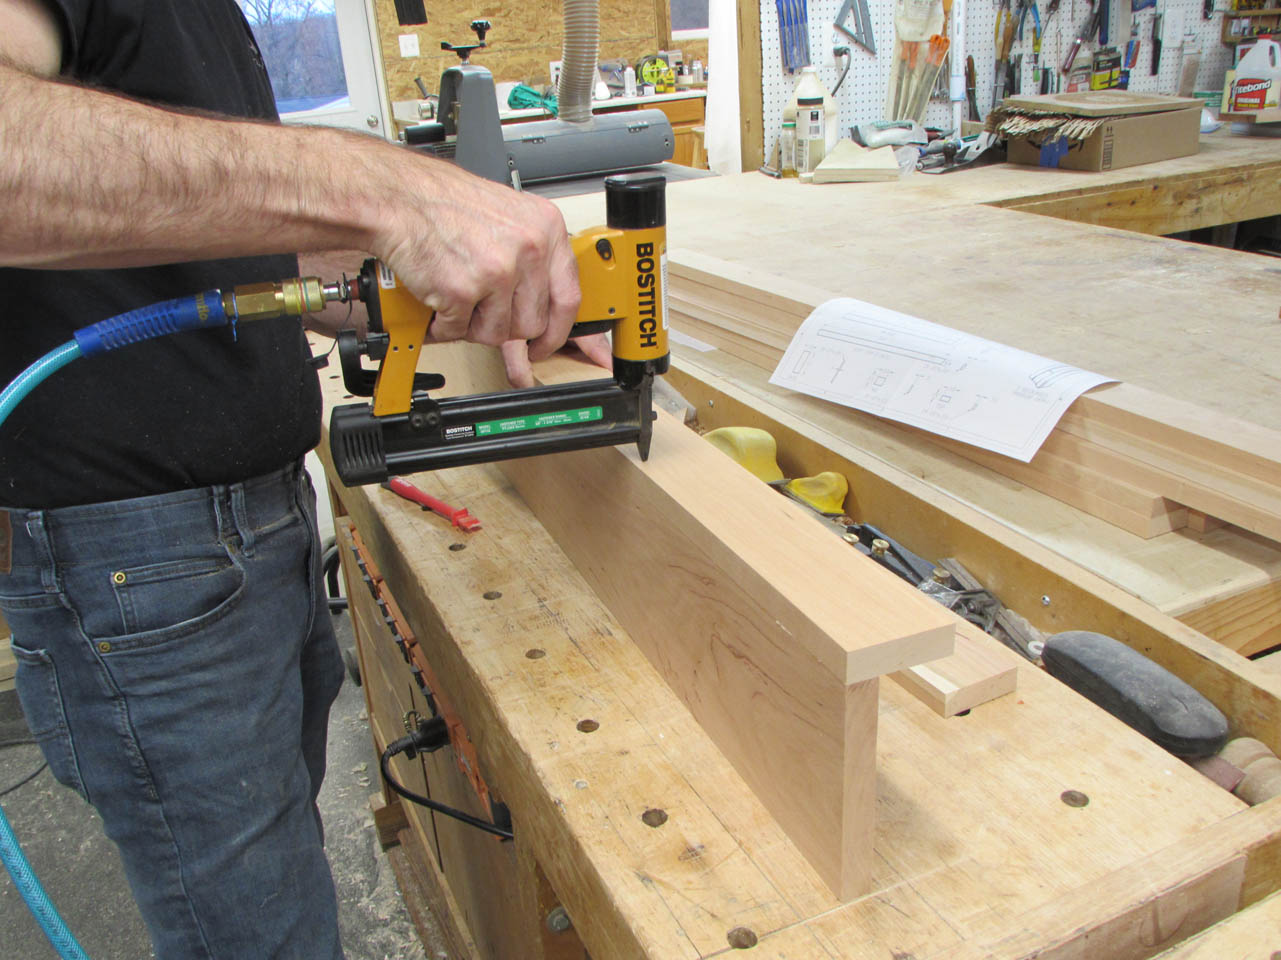
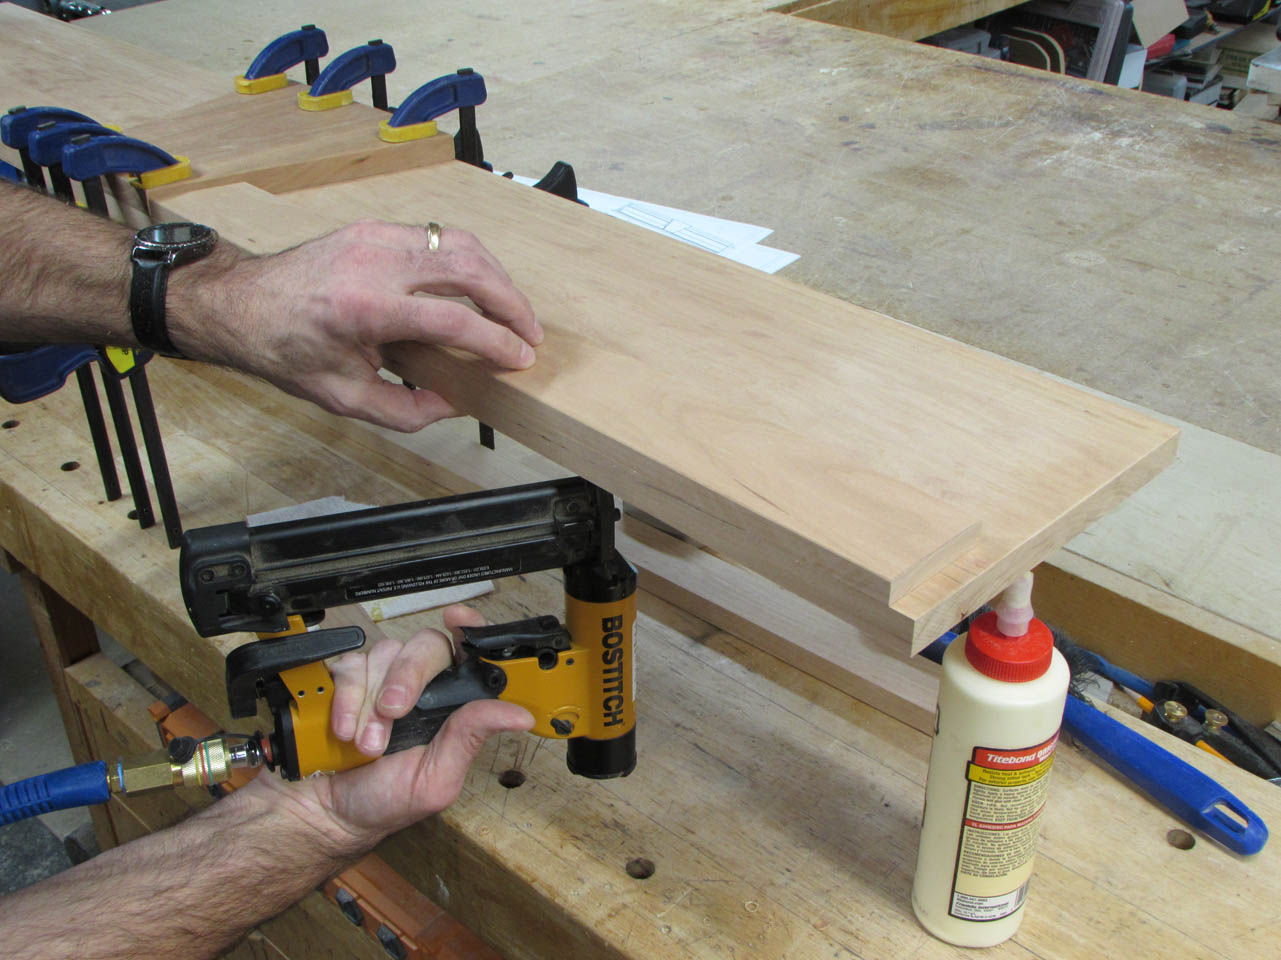
I used wood glue to join the wood faces together, but I added a few pin nails to prevent slipping when clamped.
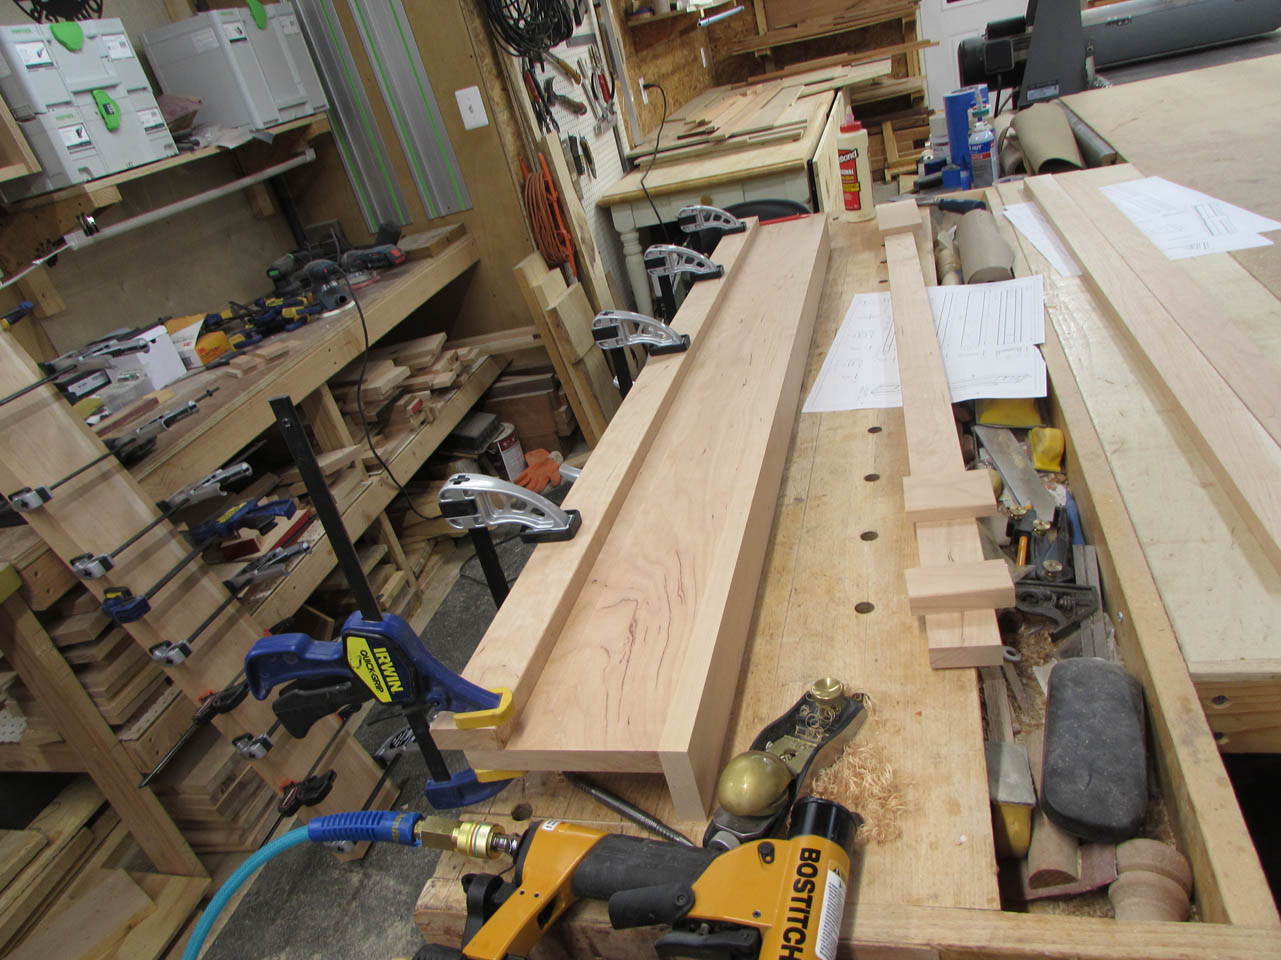
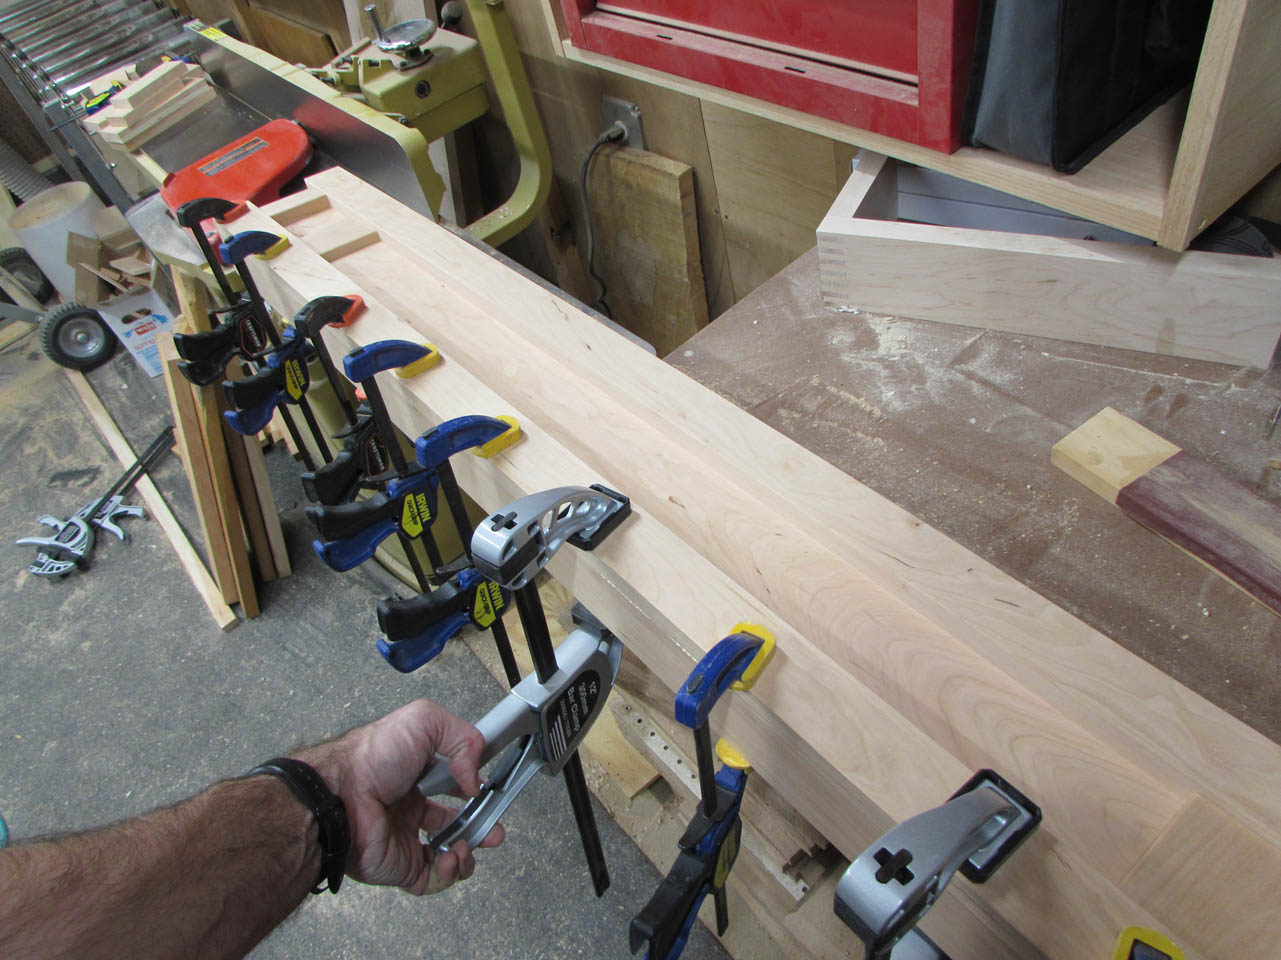
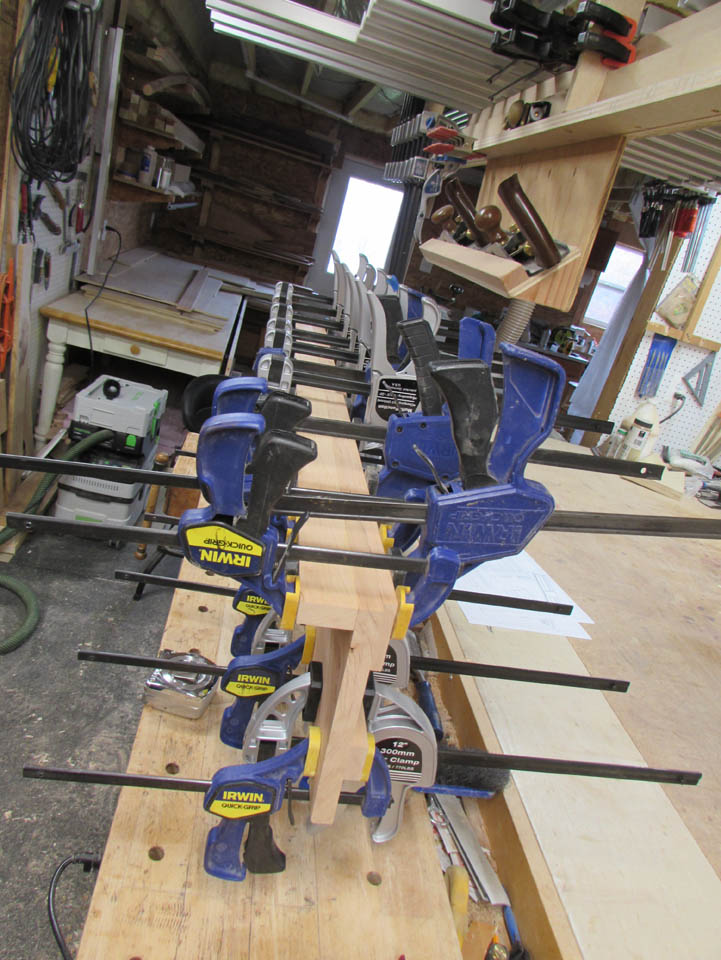
I clamped the leg sides on first.

After they dried, I sanded the faces smooth to ensure a good bond when the face trim got attached.

Next, I dry-fit the face pieces.


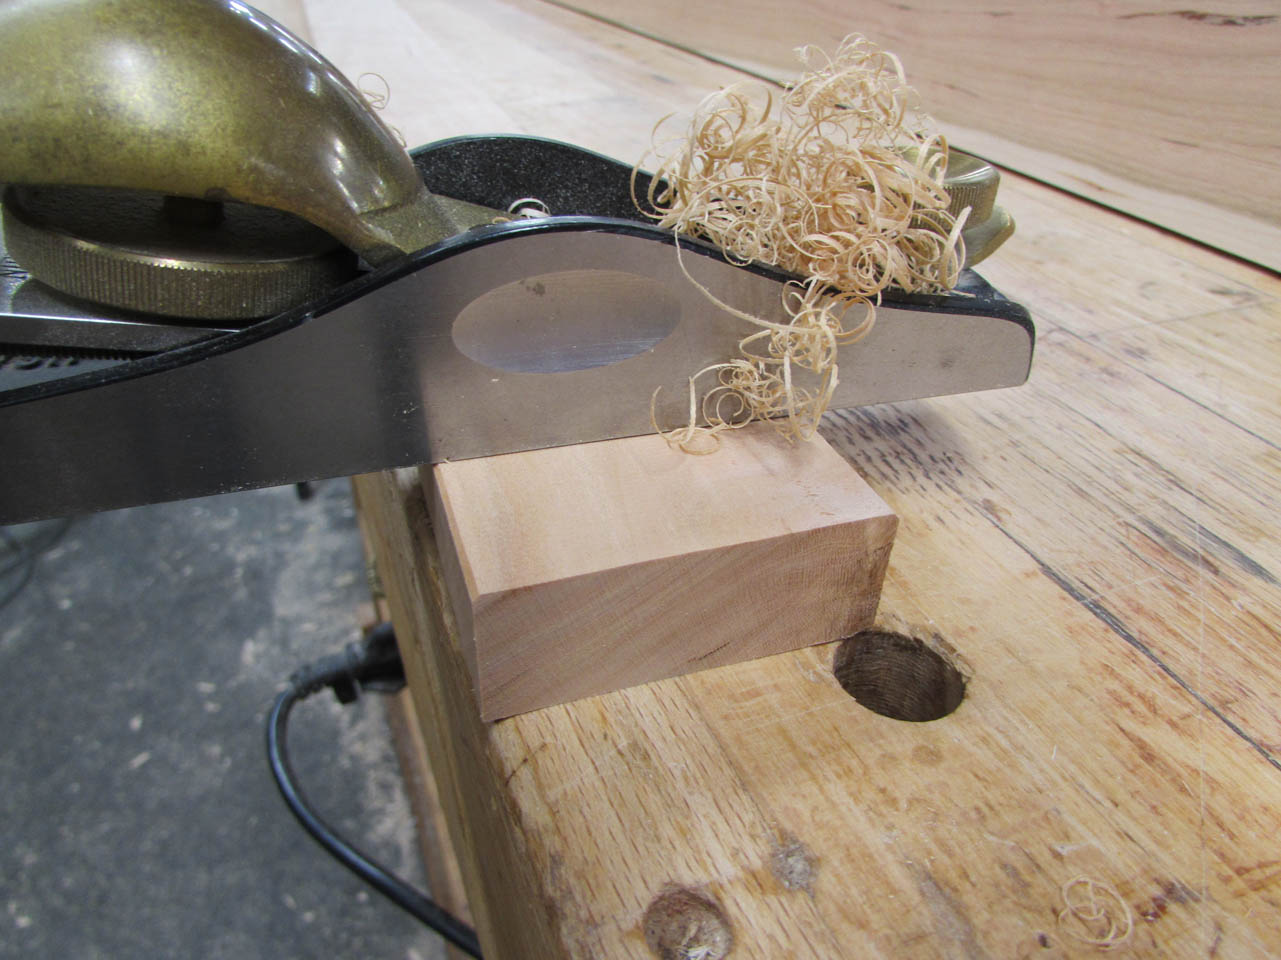
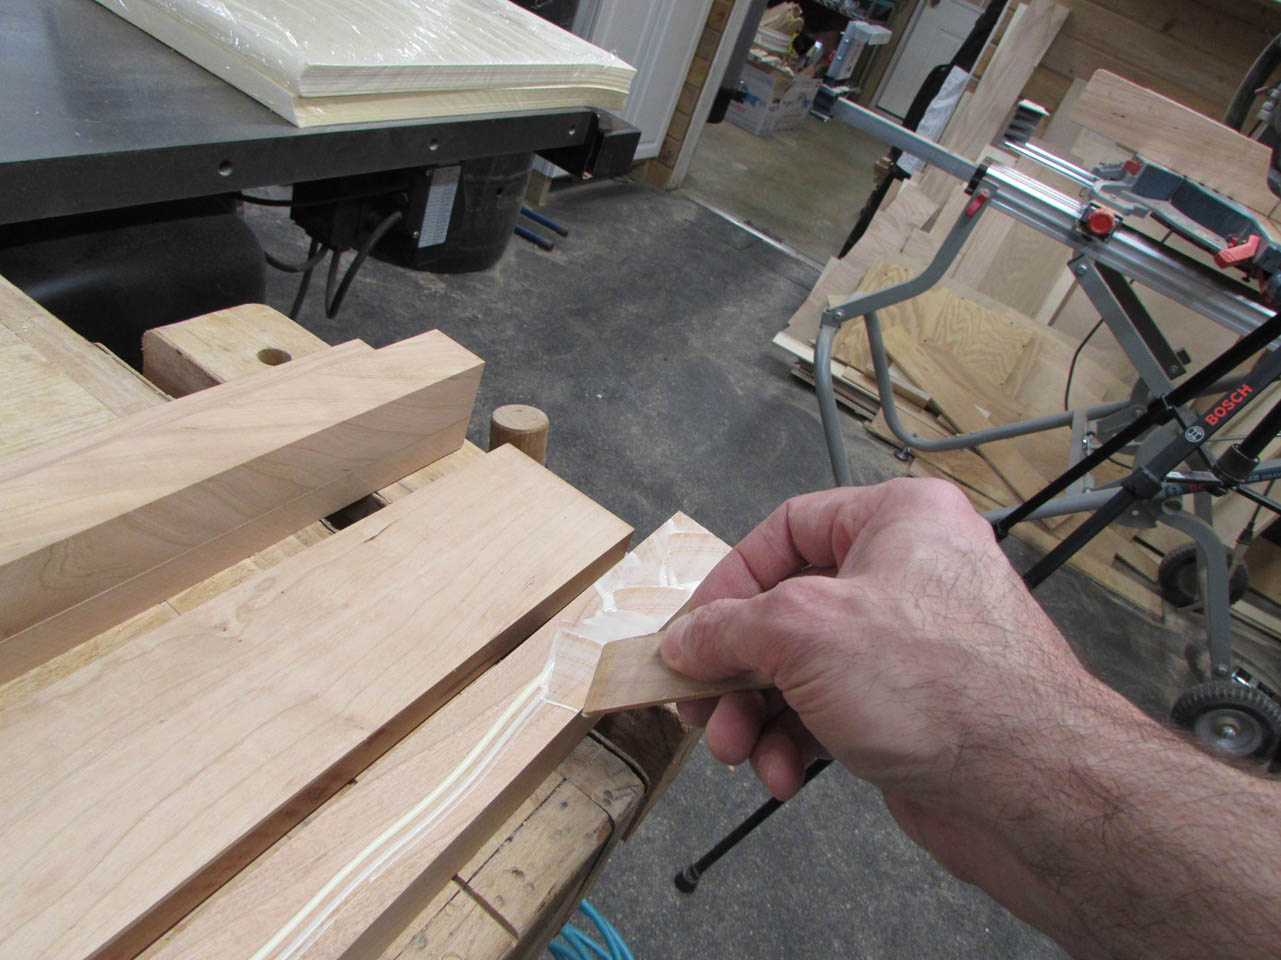
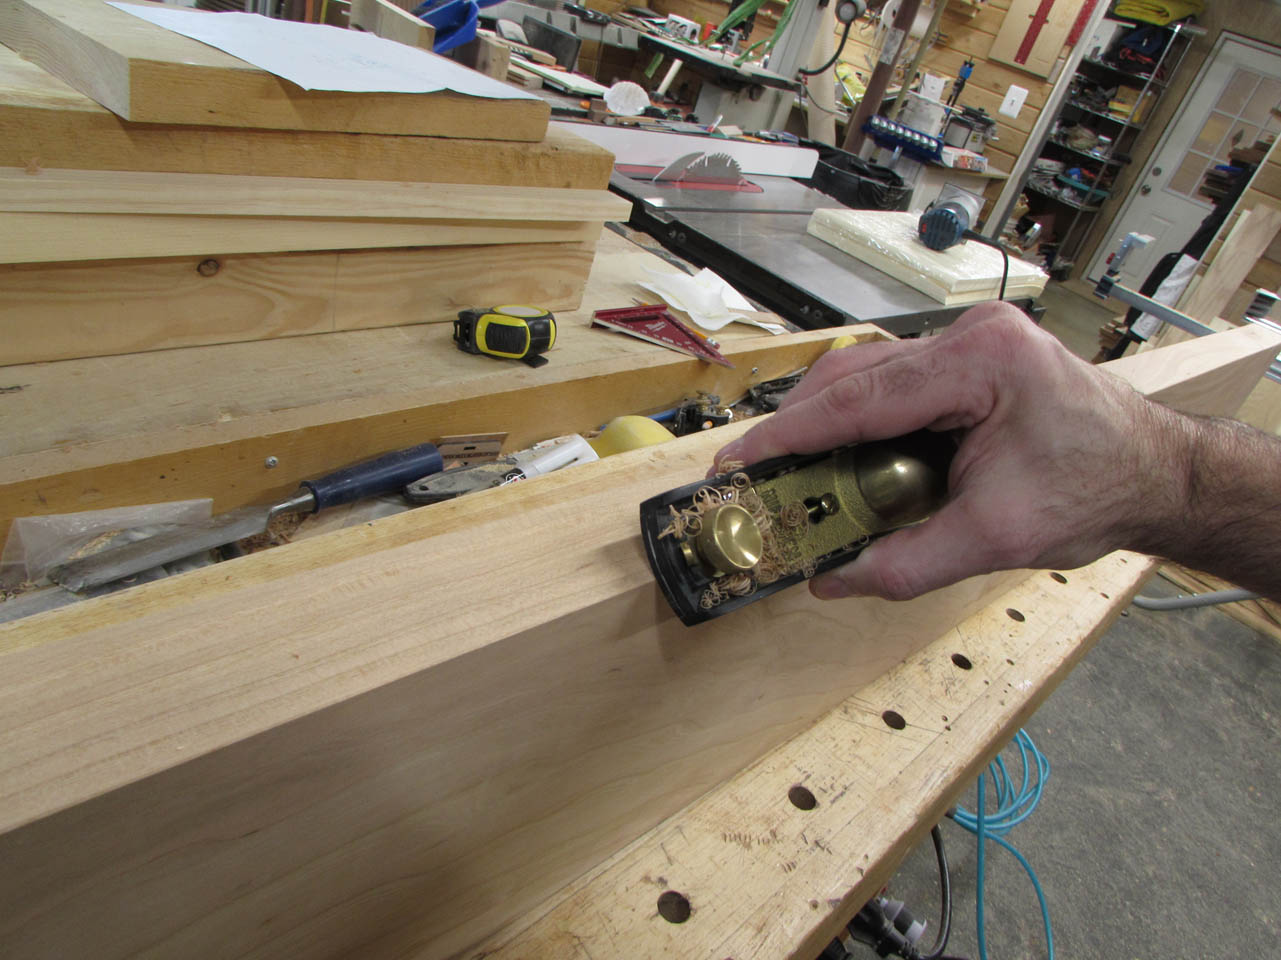
When I was happy with the fit, I used a block plane to break all the sharp corners with three passes on each with the plane held at 45°.

I clamped on one face piece first.
While the glue was still wet, I used a damp cloth to wipe away any squeeze-out.

Then I glued in place all the small blocks of face trim.
Finally I attached the other side piece after they were dry.

I had to glue these up in stages. It would have been very difficult to do all at once because the pieces like to slide around and I didn’t want to pin nail any visible faces.
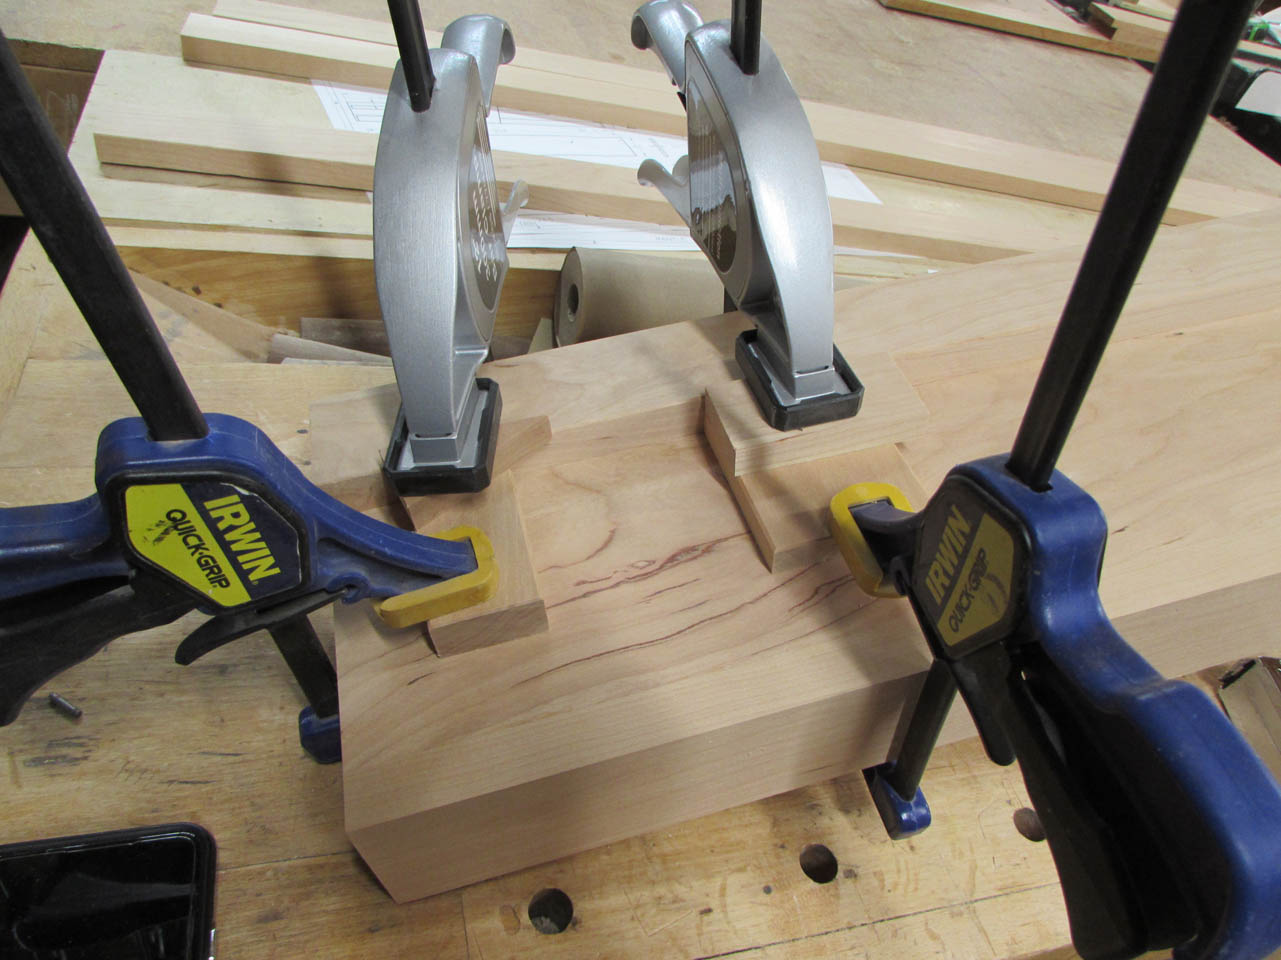
Moving on to the center piece, I applied glue and clamps to the keyway.

When that was dry, I measured and cut to length the top and bottom trim that butted up to it.

Making sure to break all the edges with the same 45° bevel.

I could attach the trim with a few pins from the back to hold it still for clamping.

This allowed me to attach all four trim pieces at once.

After that dried, It got a good sanding.

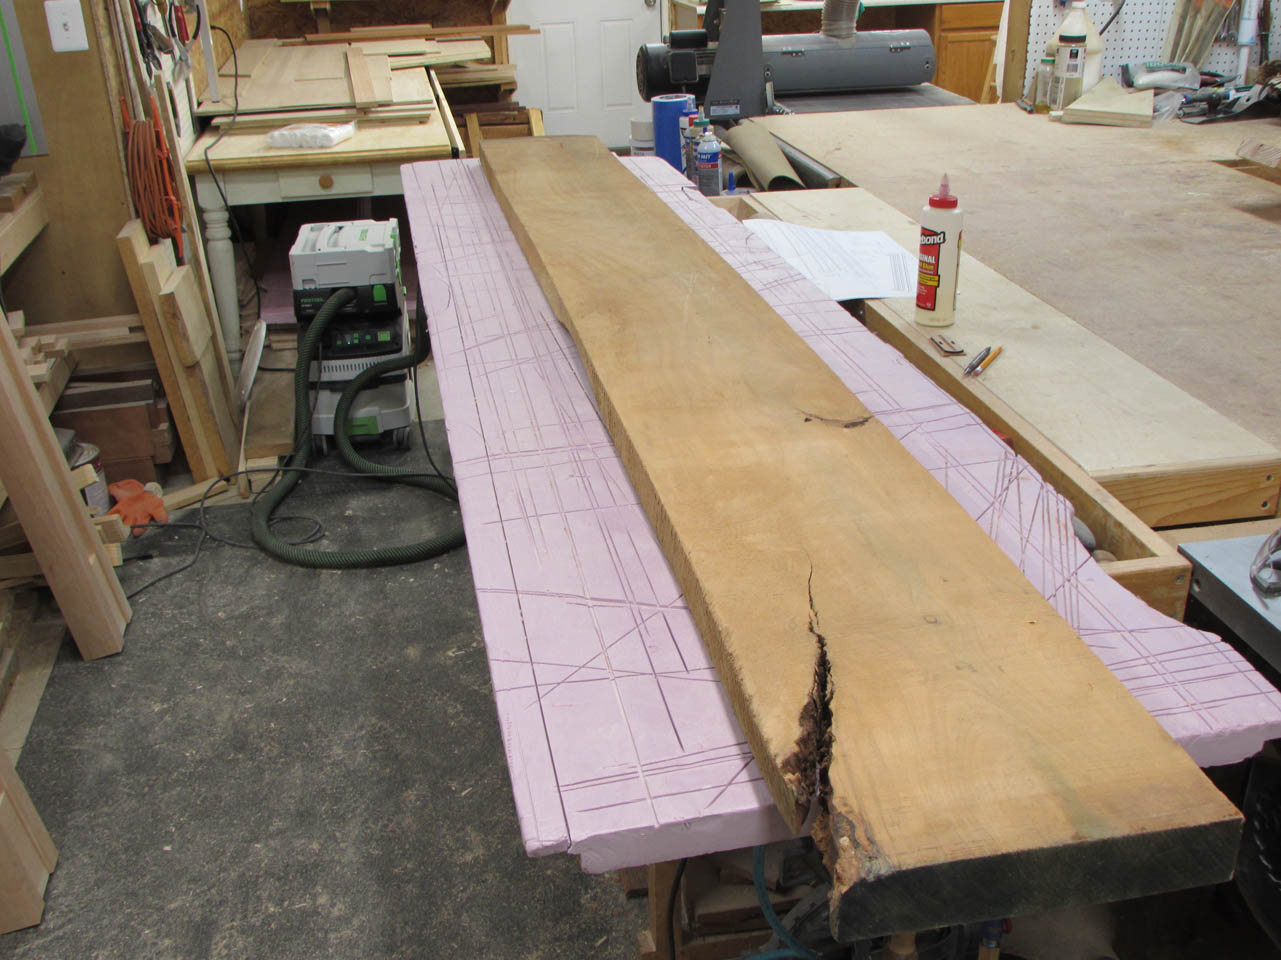
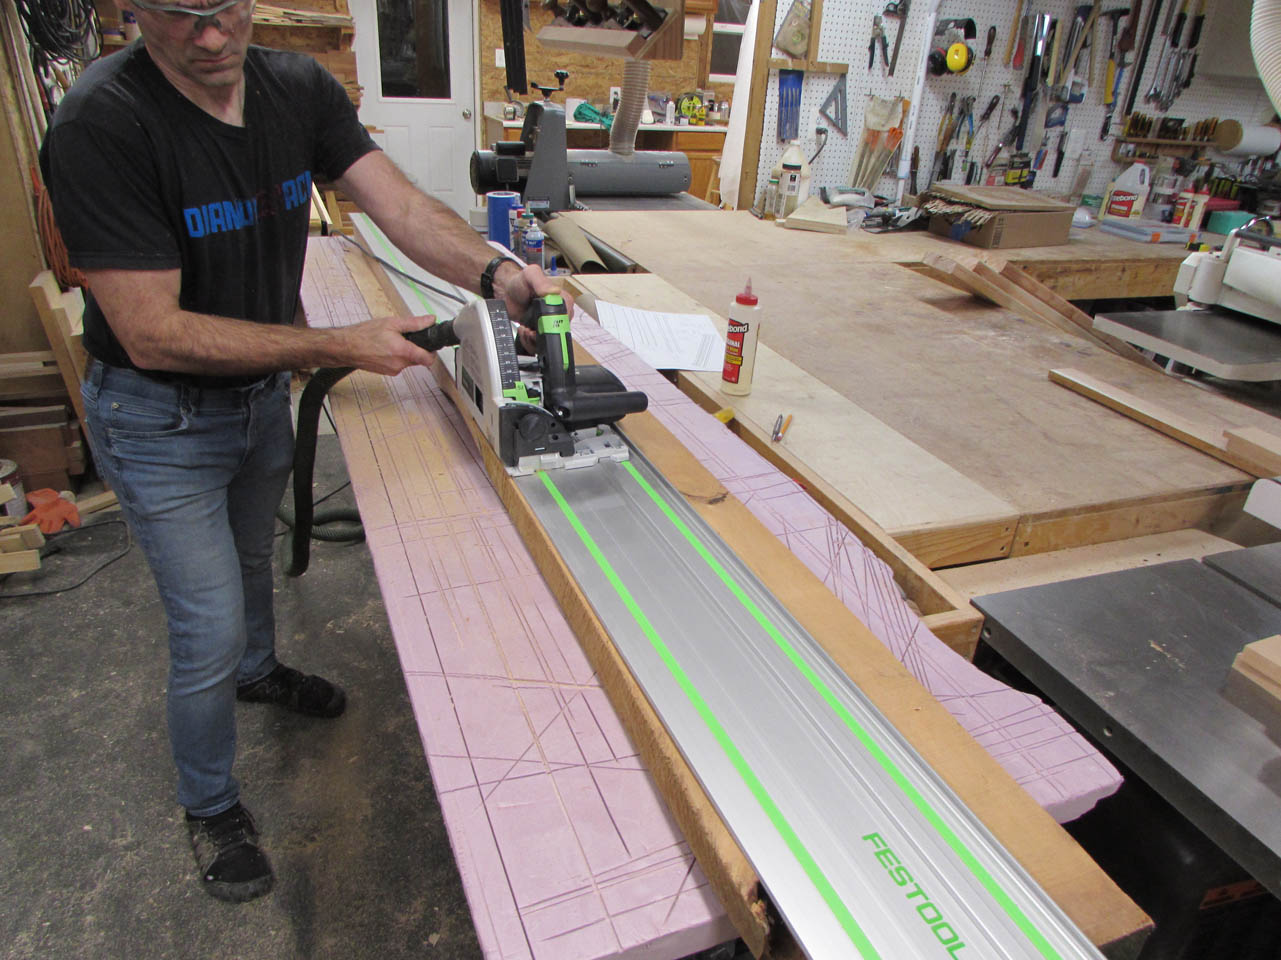
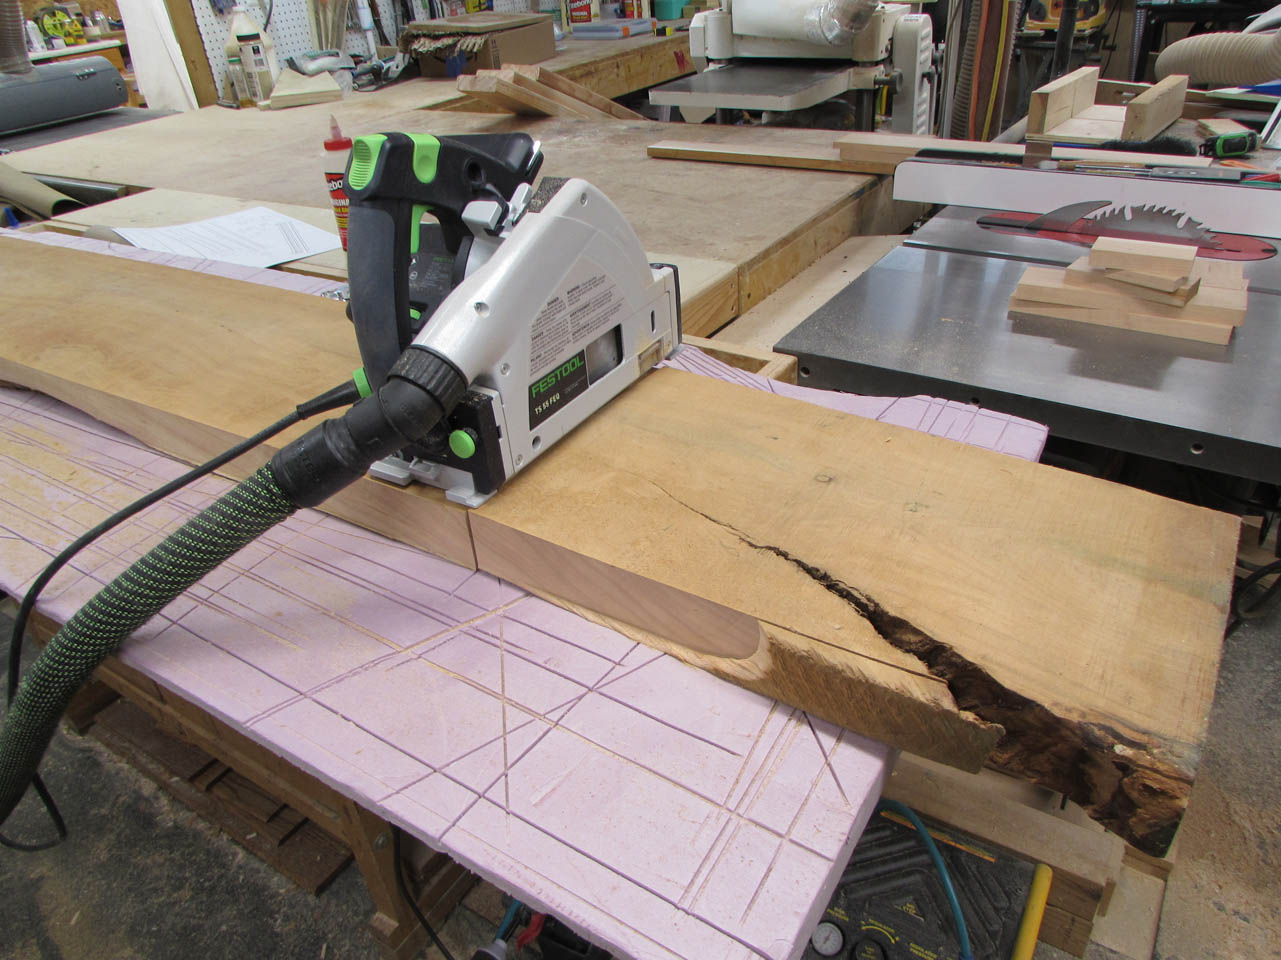
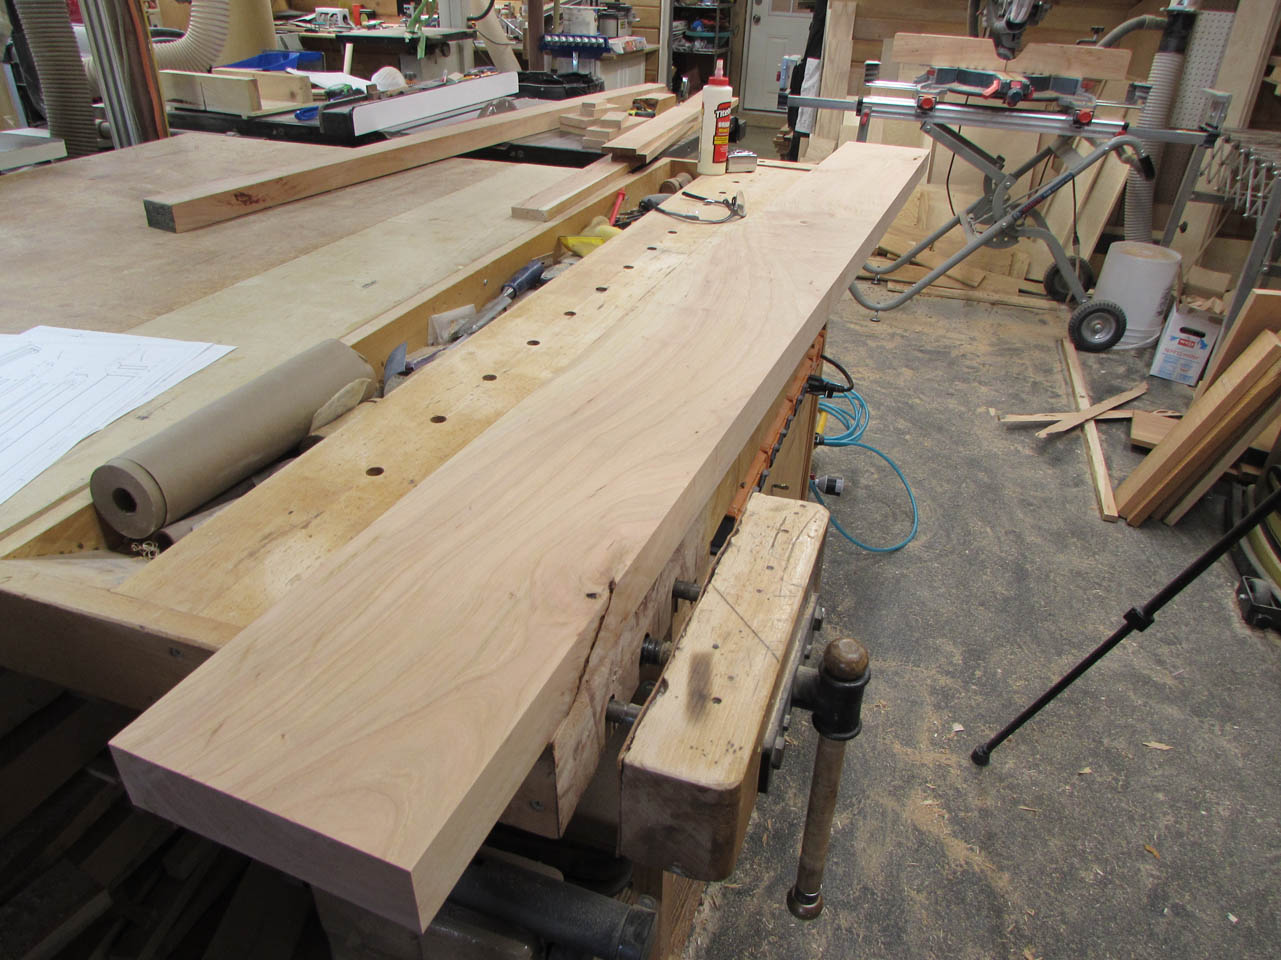
Time to tackle the mantel. Luckily the board is long enough that I can cut off the large crack on the end but I need a good straight edge to start with so I got out my track saw.
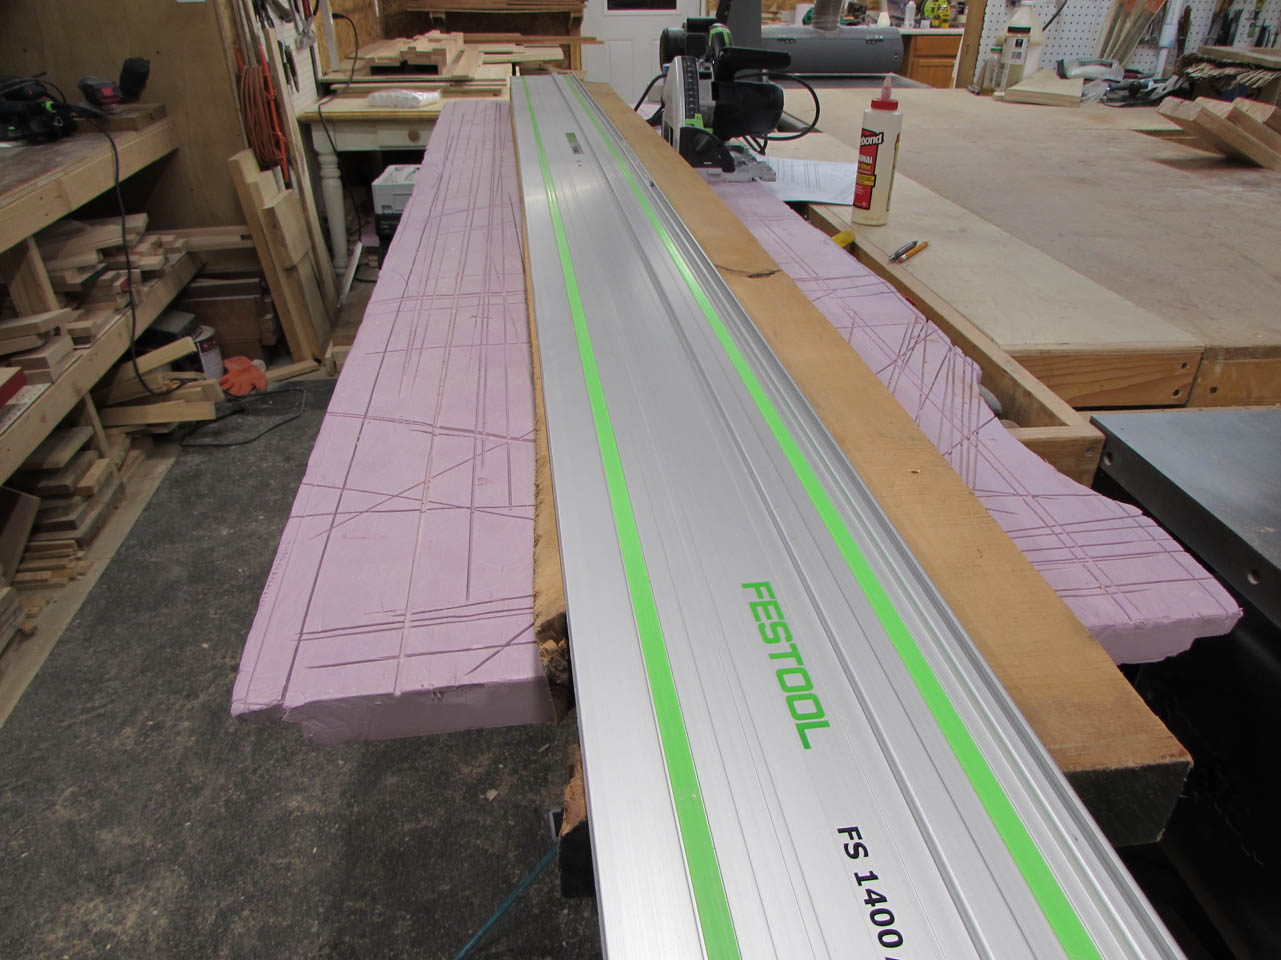
I cut one face straight, then cut off the cracked end.
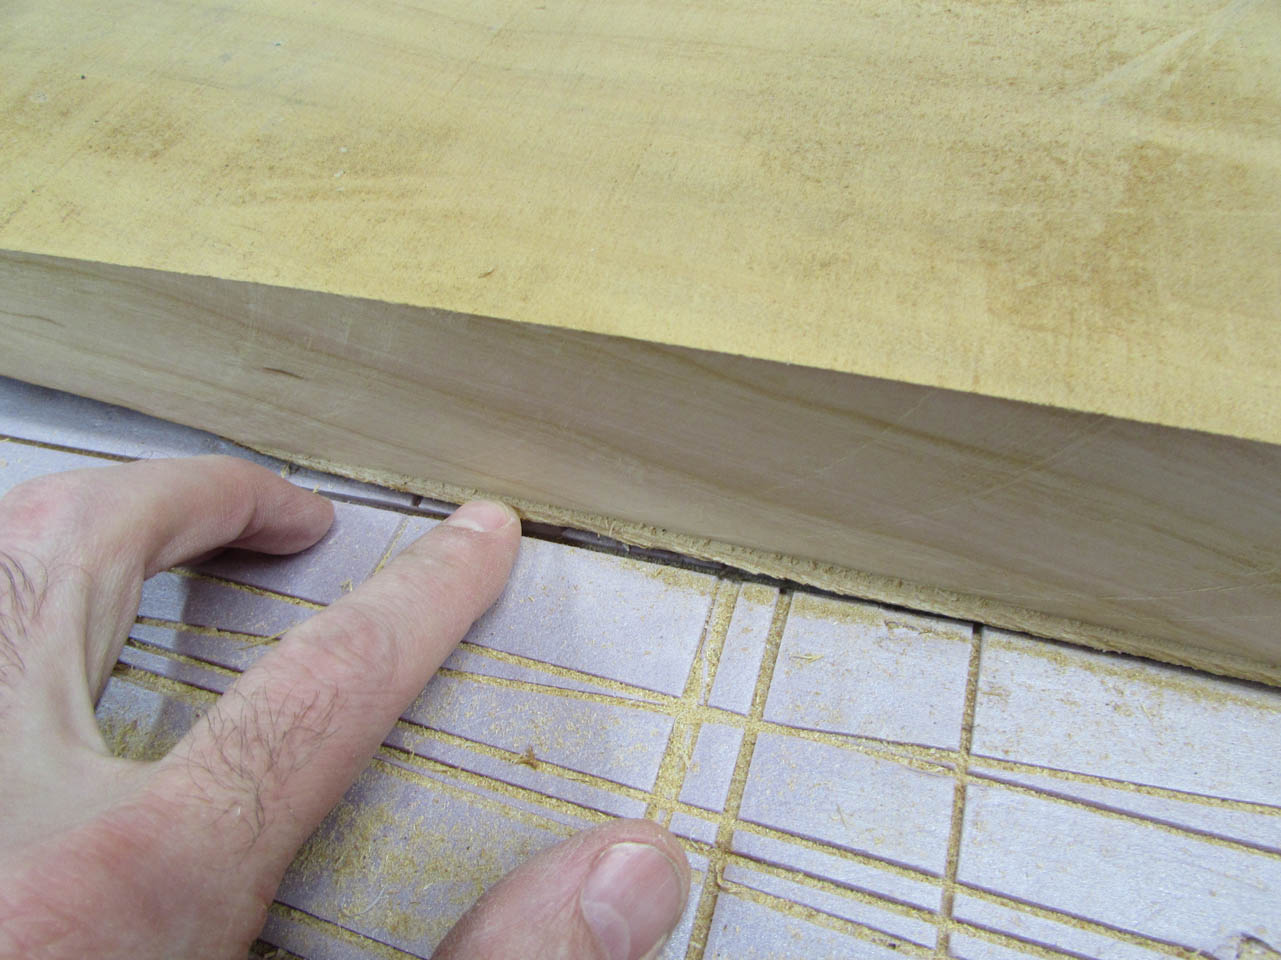
The blade doesn’t quite go deep enough so I had to clean up the remaining edge with my block plane.

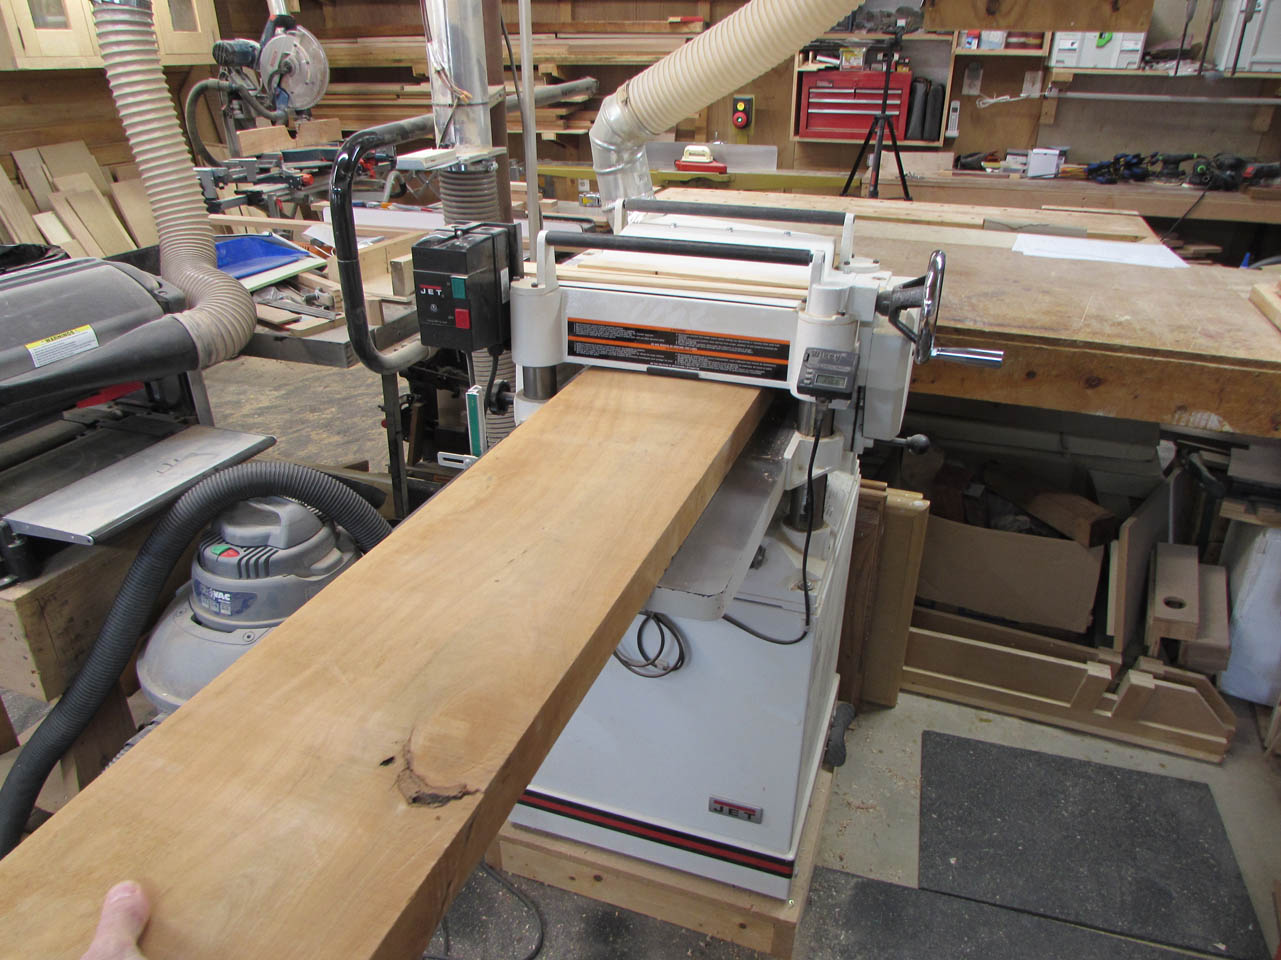
Then I ran the faces through the planer until I got two smooth faces, just under 2″ thick.

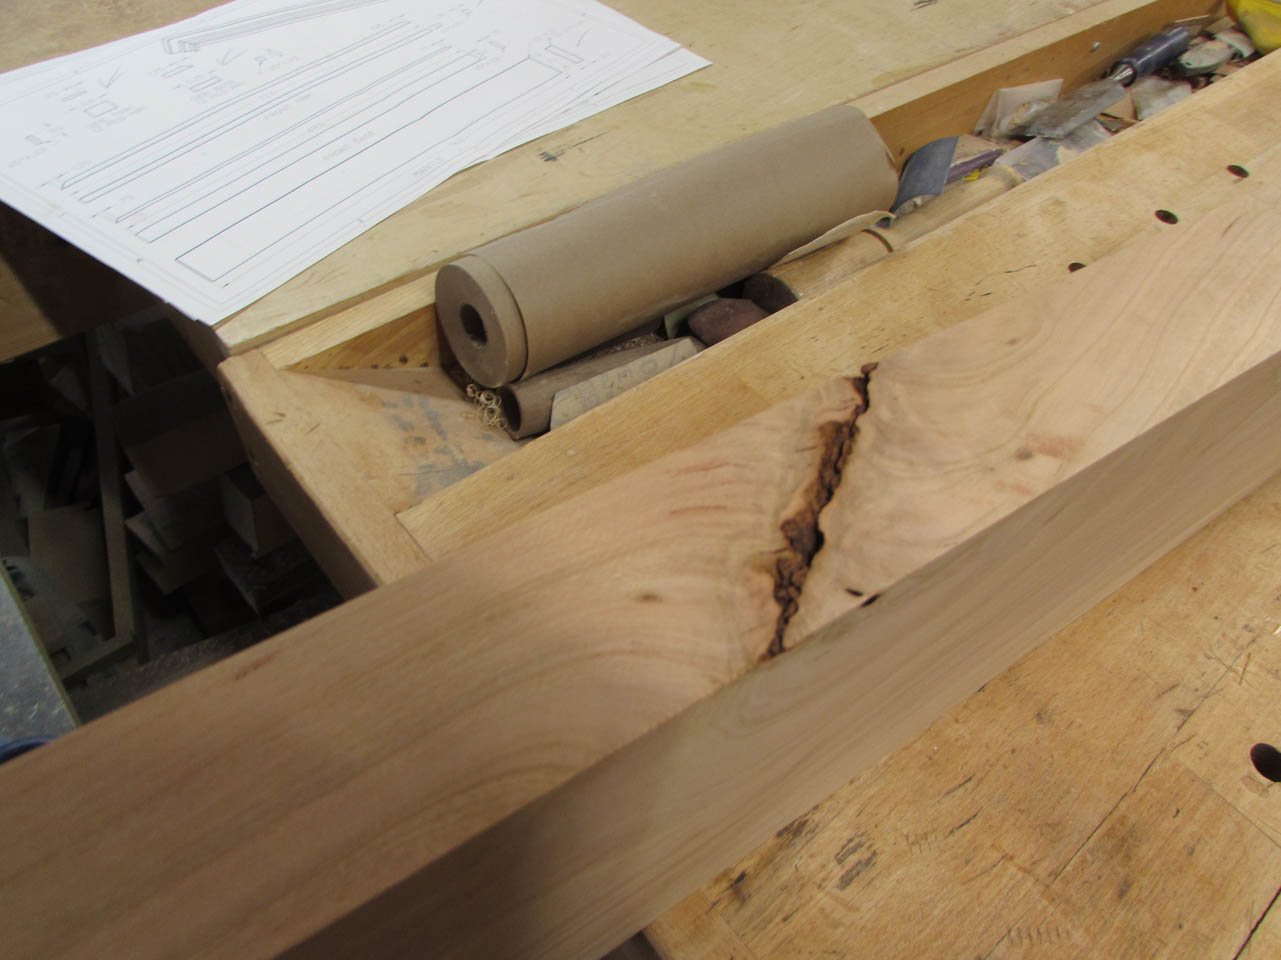
I ripped the board down to its final width. My off-cut had a small bark inclusion that turned out to be bigger than I thought. I am using this piece for the skirt under the mantel. I think it will be just long enough if I cut around the bark inclusion just right.
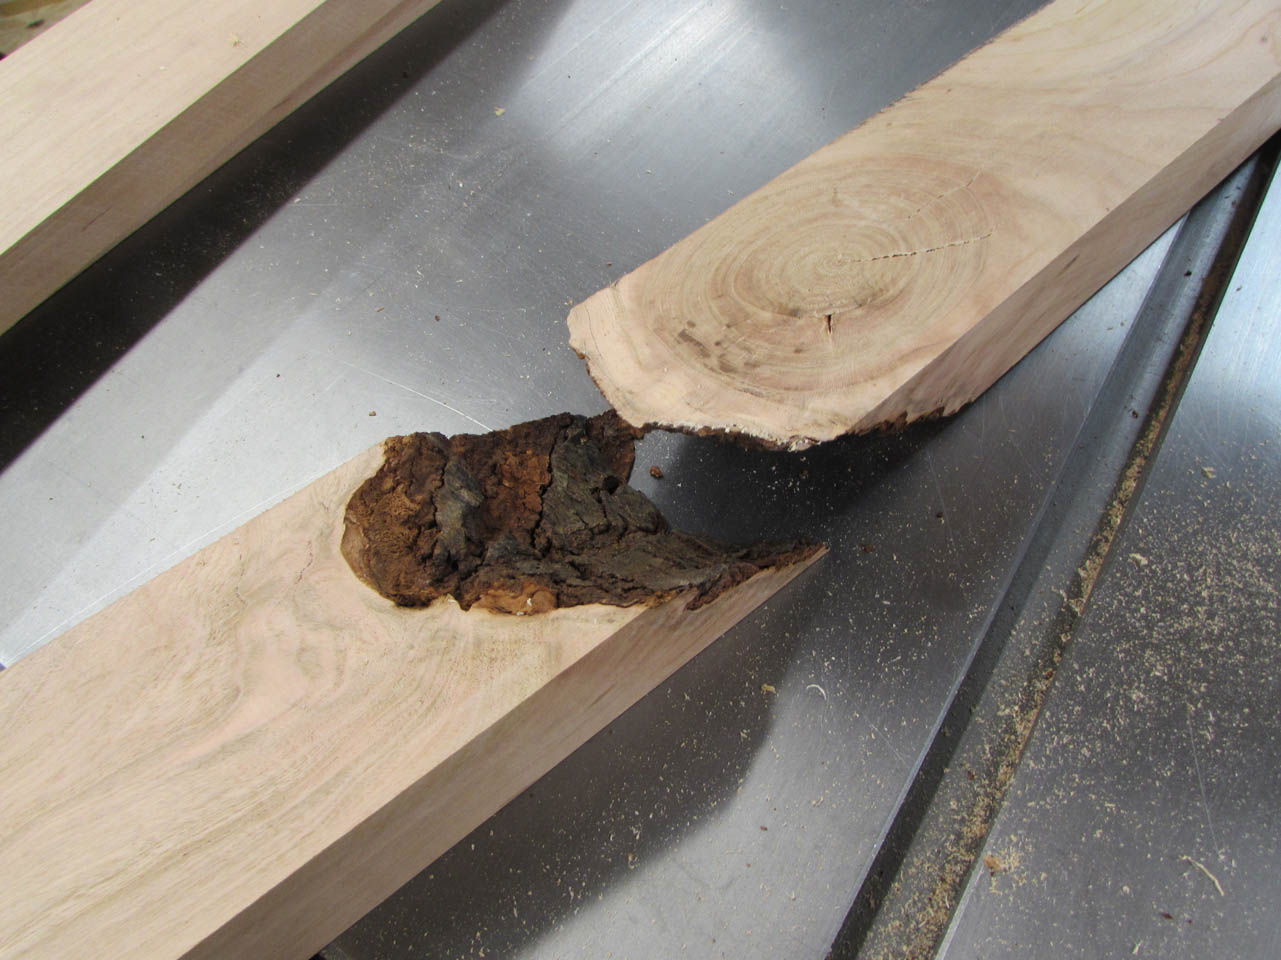
What was left of that bark inclusion will give some nice character to the face of the mantel.
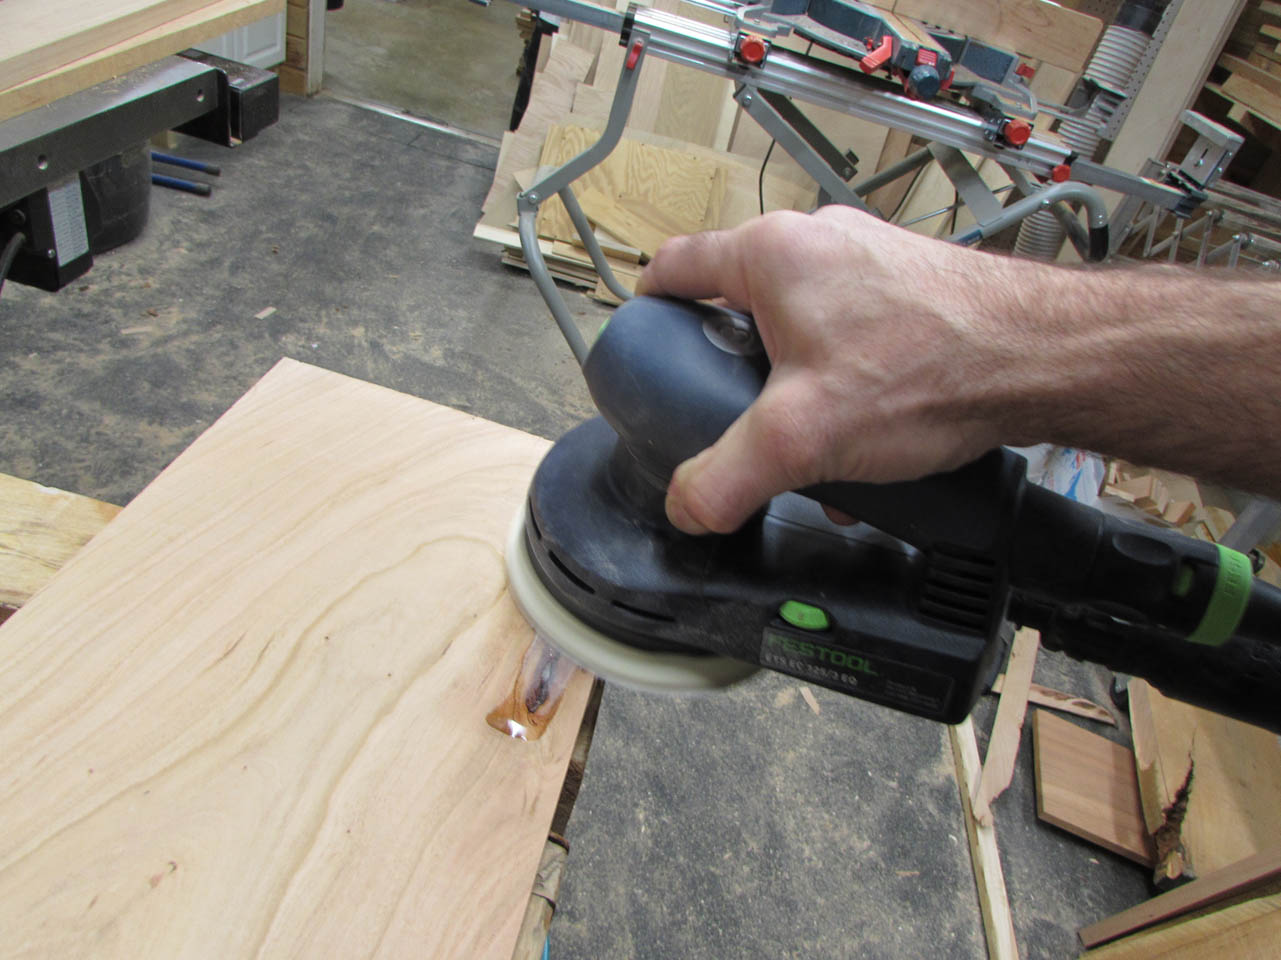
Time for more sanding…

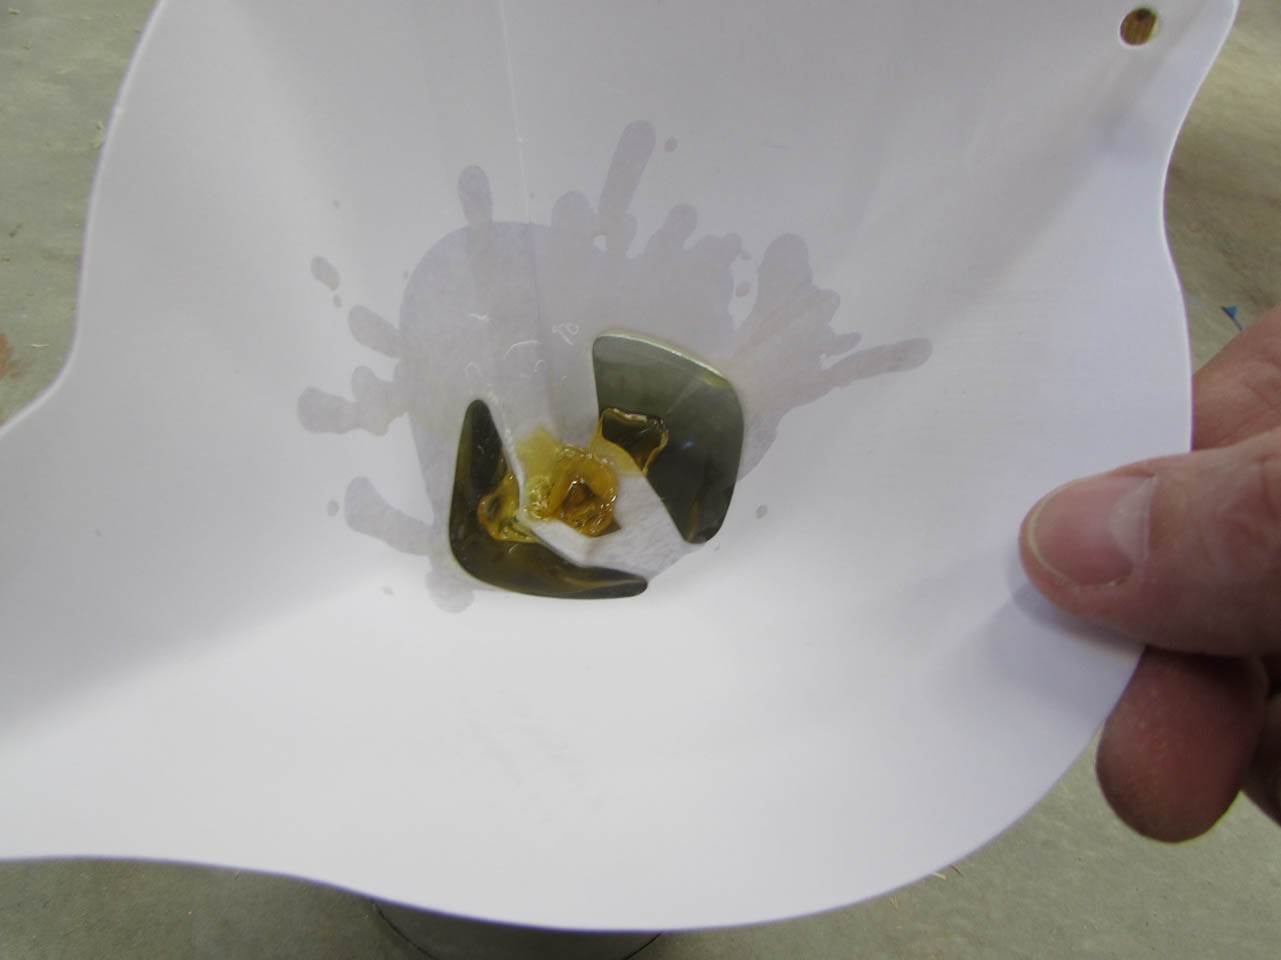
The cracks and bark inclusions are pretty but could snag things and have sharp or brittle edges. To keep their appearance but strengthen the cracks, I will be filling them with clear epoxy.
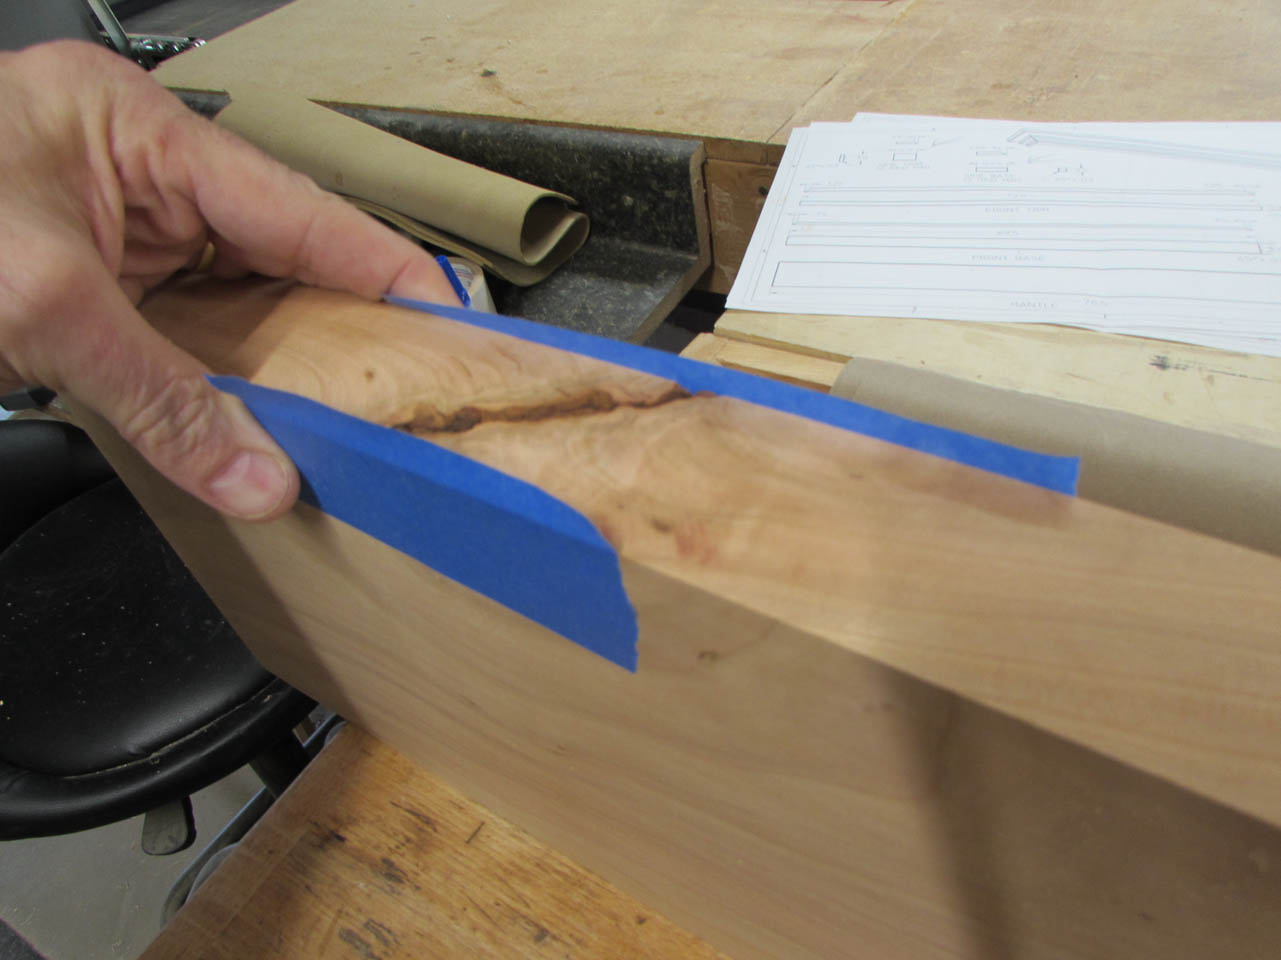
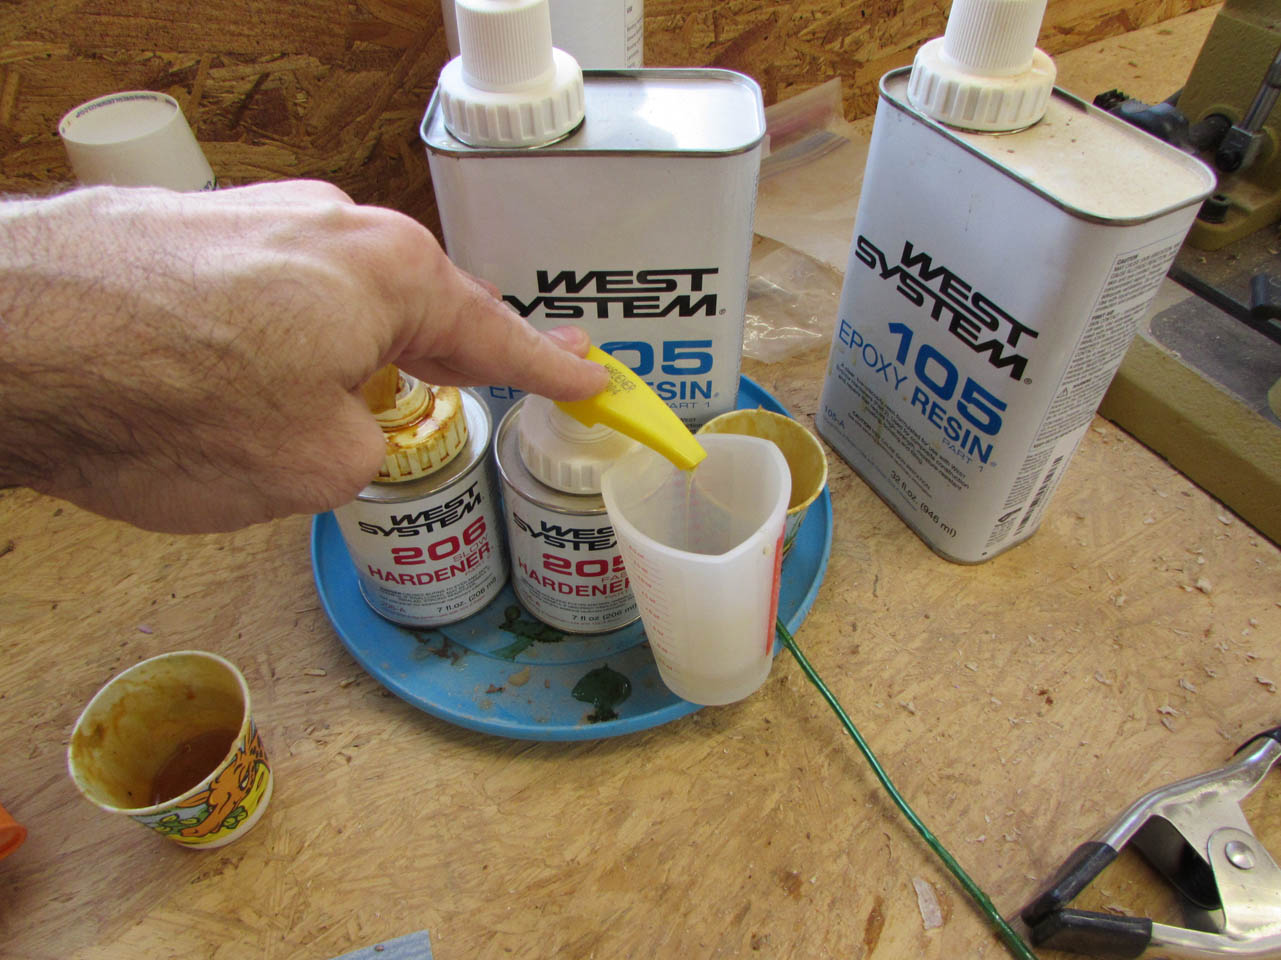
I apply painter’s tape to dam the sides of the crack, then mix up some 2-part epoxy.

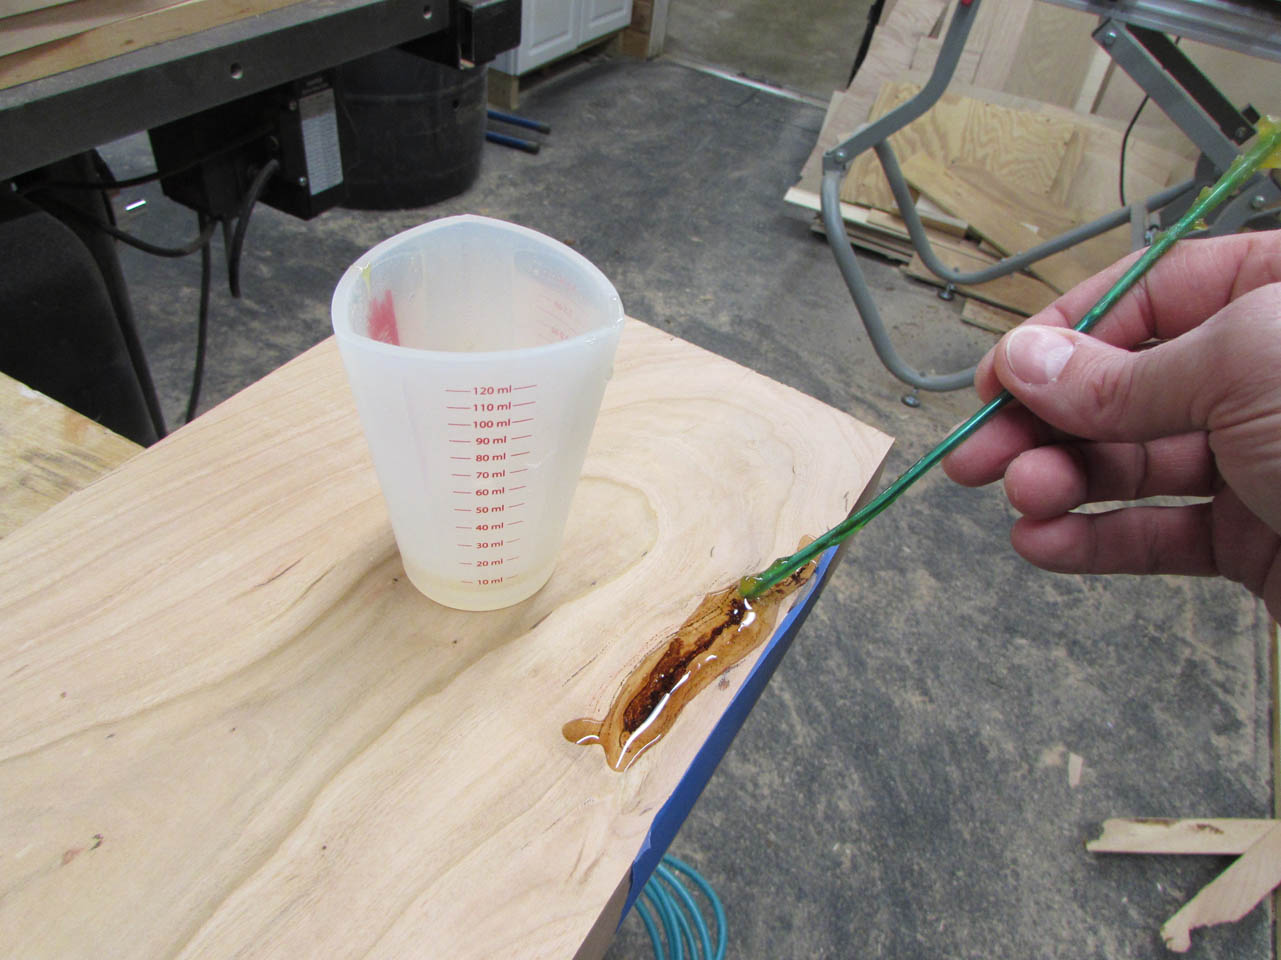
The epoxy gets poured into the inclusions and allowed to dry for about 8 hours.

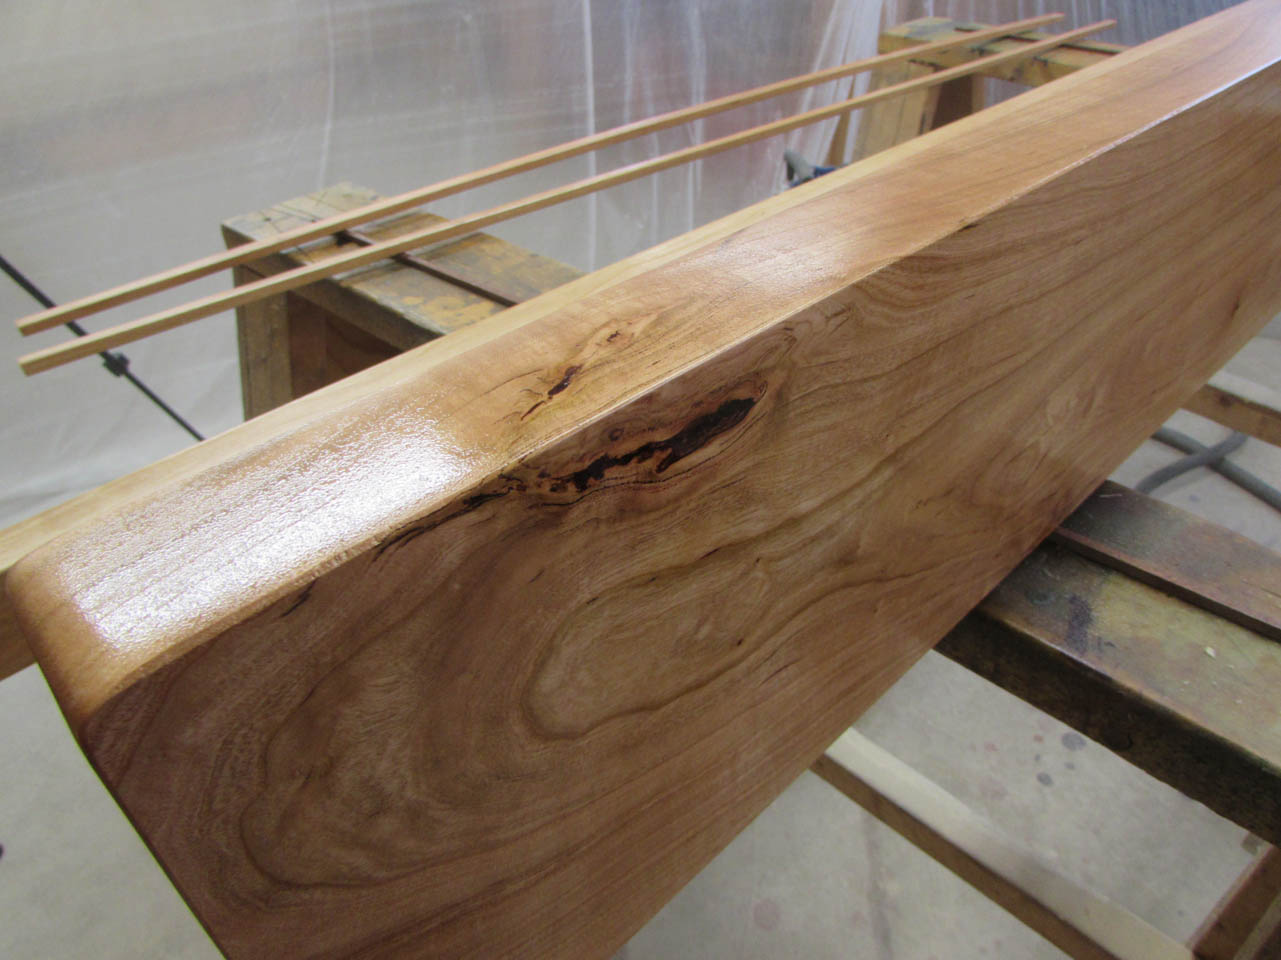
Then I lay the board down and apply epoxy to the top face to fill any holes or cracks on that side as well.
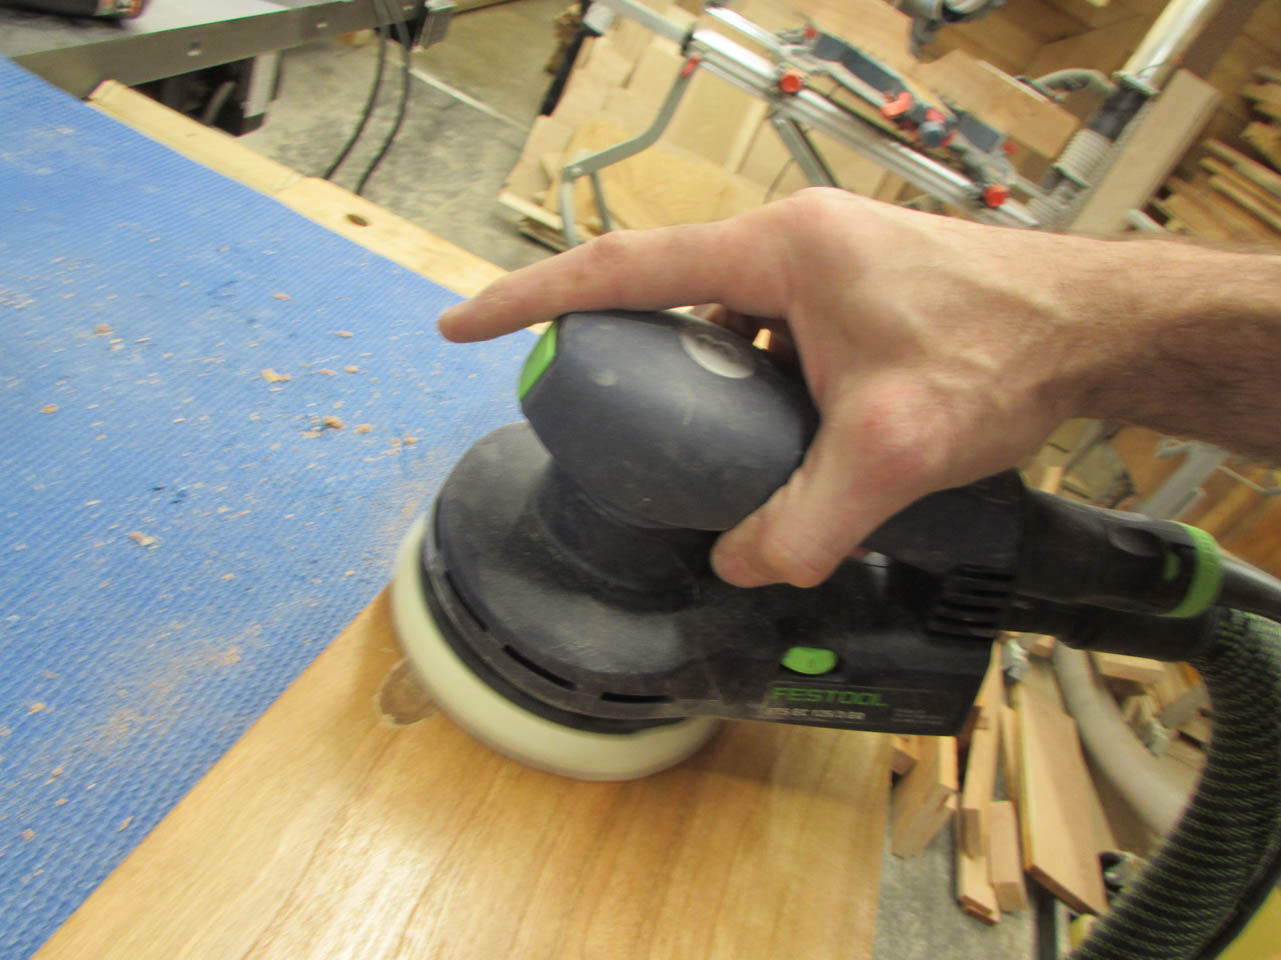
When it is all dry, I can sand the epoxy flush and work my way up the grits to about 400 grit.
When it is smooth enough it will appear completely transparent when finish is applied.

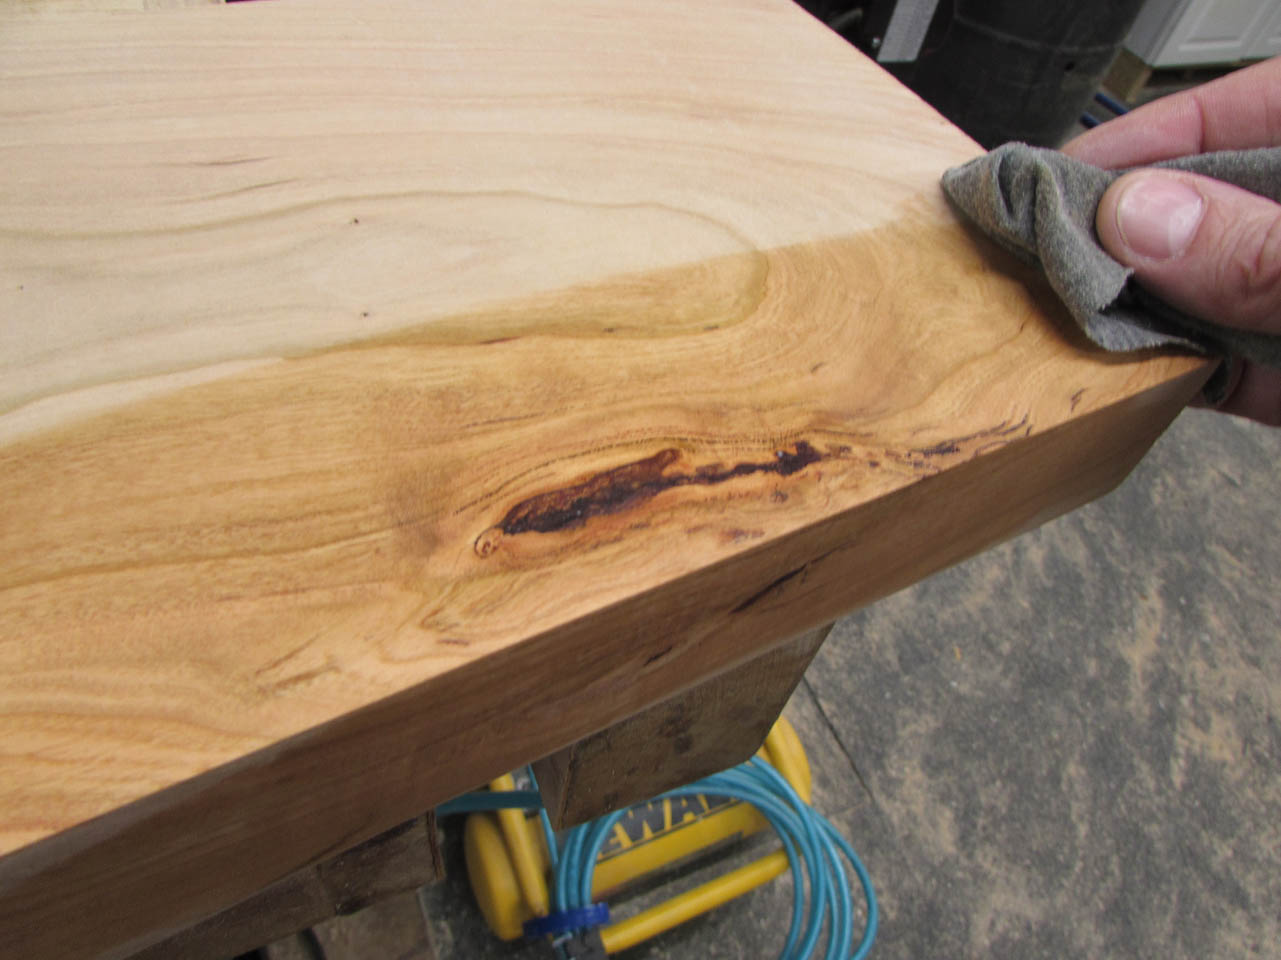
Then a bit more sanding…


I also need to create a 2″x6″ mounting frame to attach to the wall.
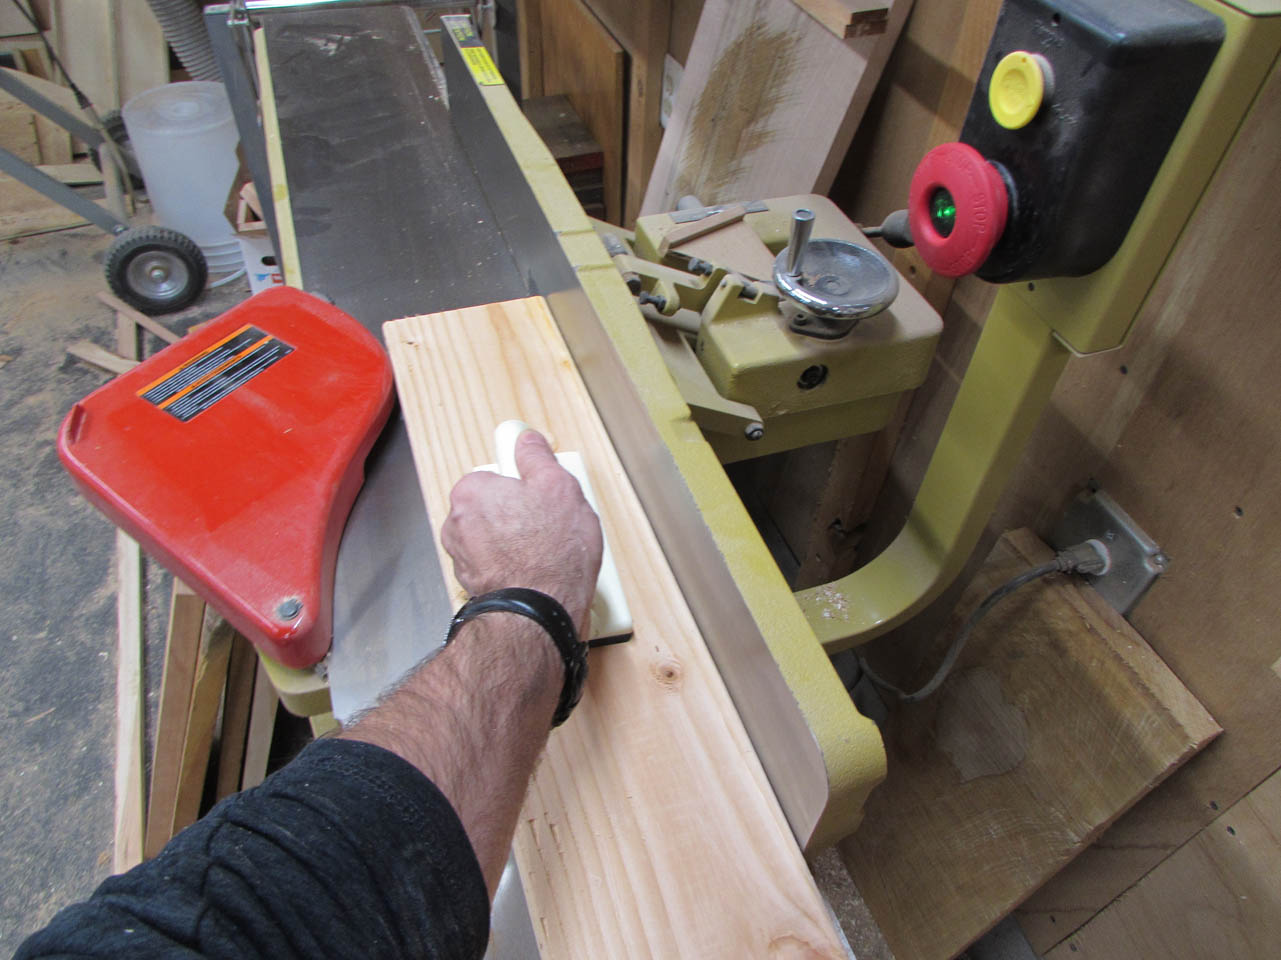
I use my jointer to clean up the faces and remove any curvature from the boards.


I use pocket hole joinery to attach the legs to the top piece. This will allow me to adjust the width in the field if the install requires it.

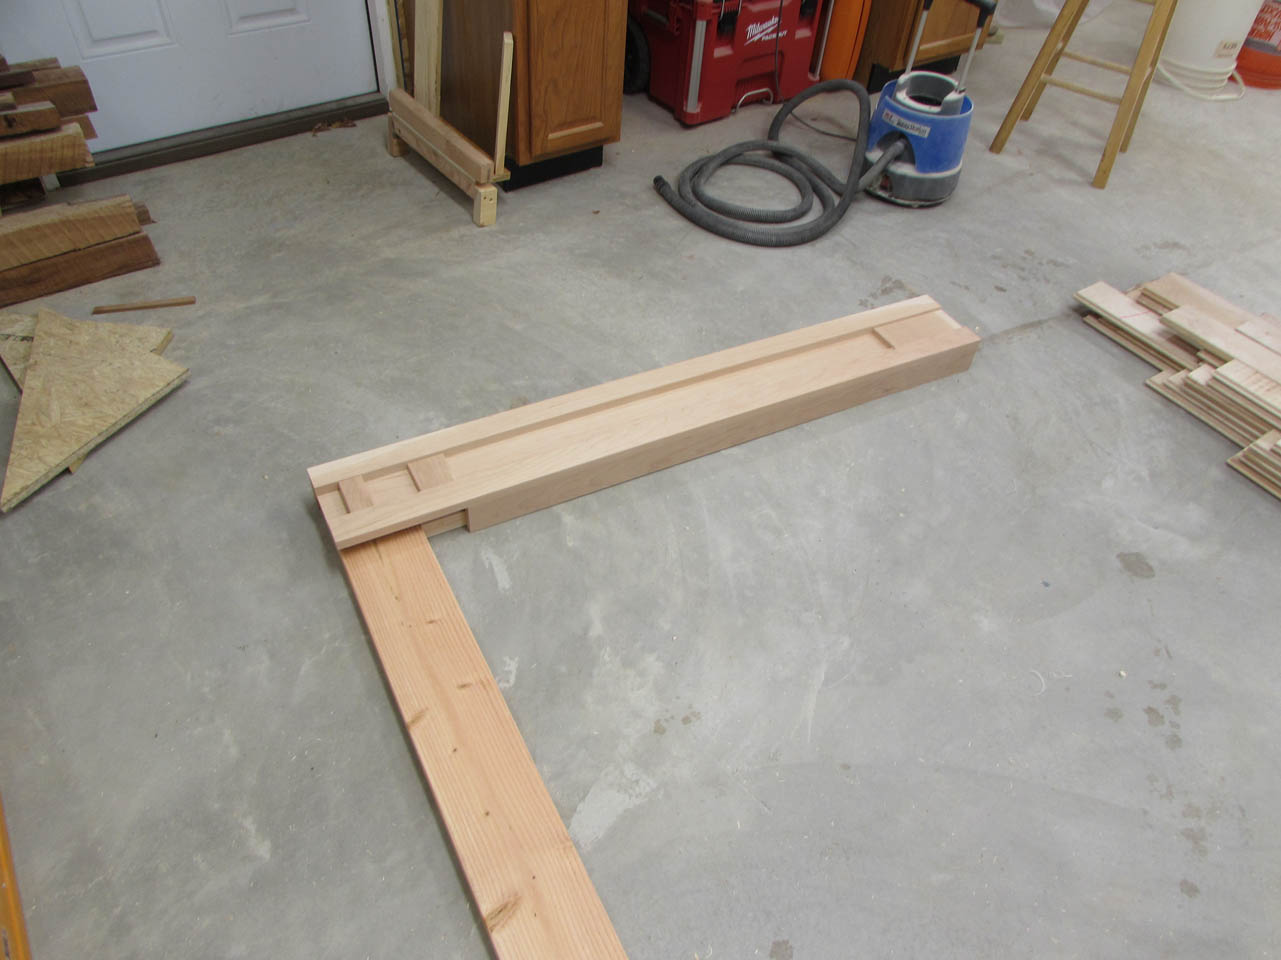
The frame will be attached to the wall first with construction screws, then the surround will slip over it and only require a few brad nails to hold it in place.

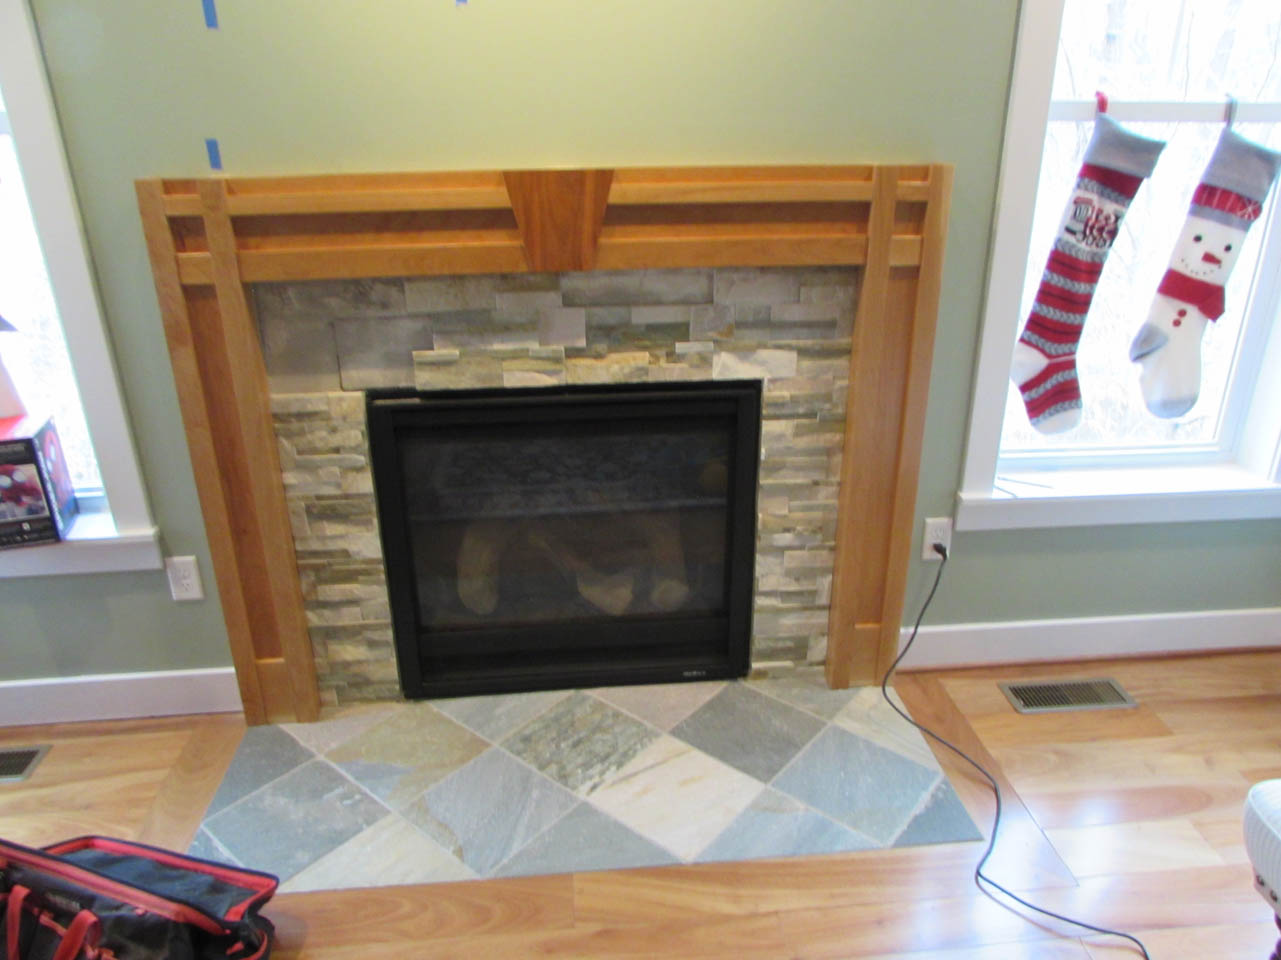
At this point I took a trip to do a test fit. After cutting the base trim and fitting the surround in place we determined that it would work well if a few of the stones were trimmed back slightly.
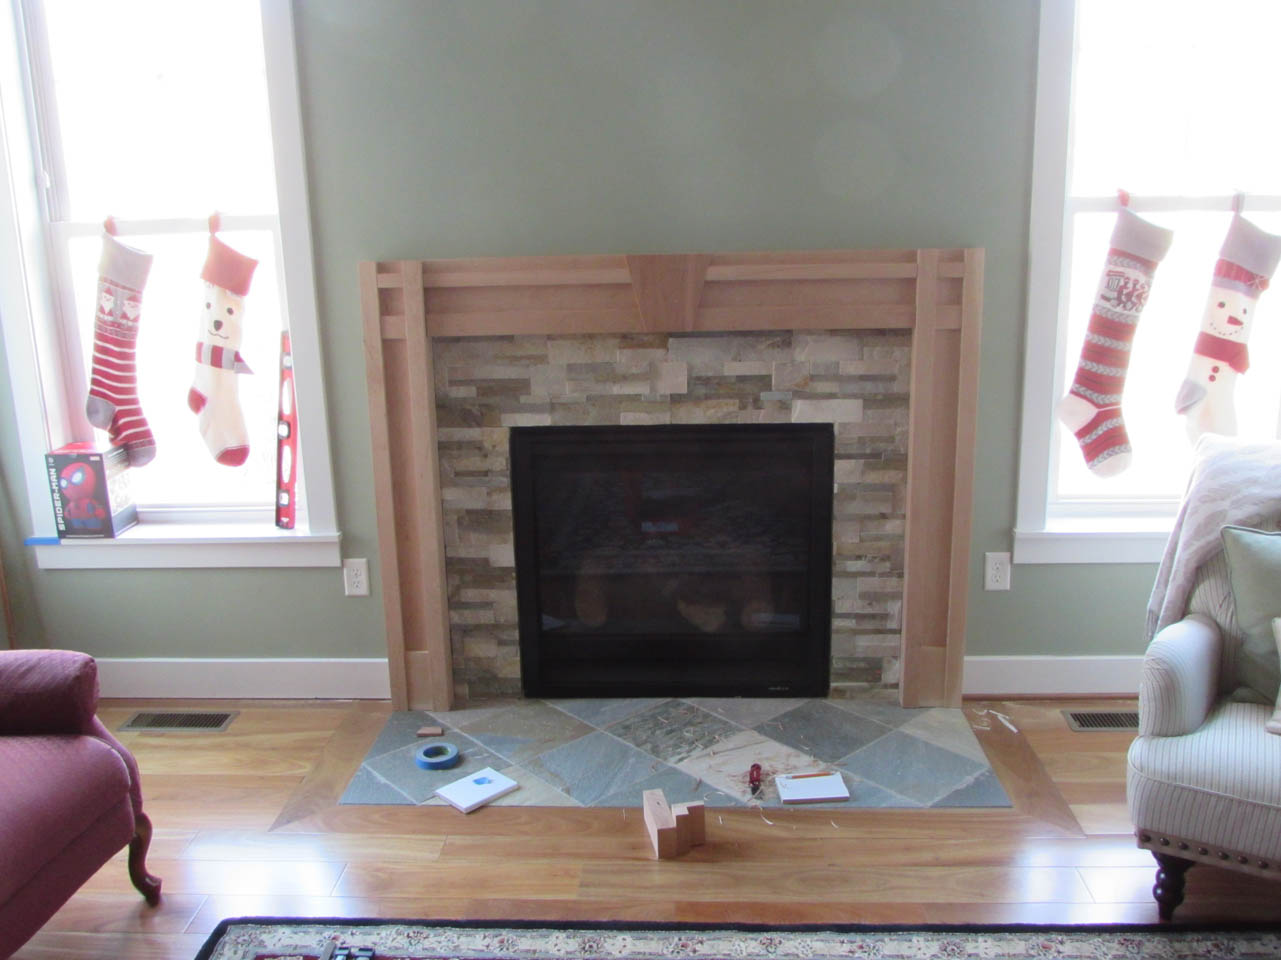
I left the stone work to My friend Hans as his homework while I got back to the rest of the build.
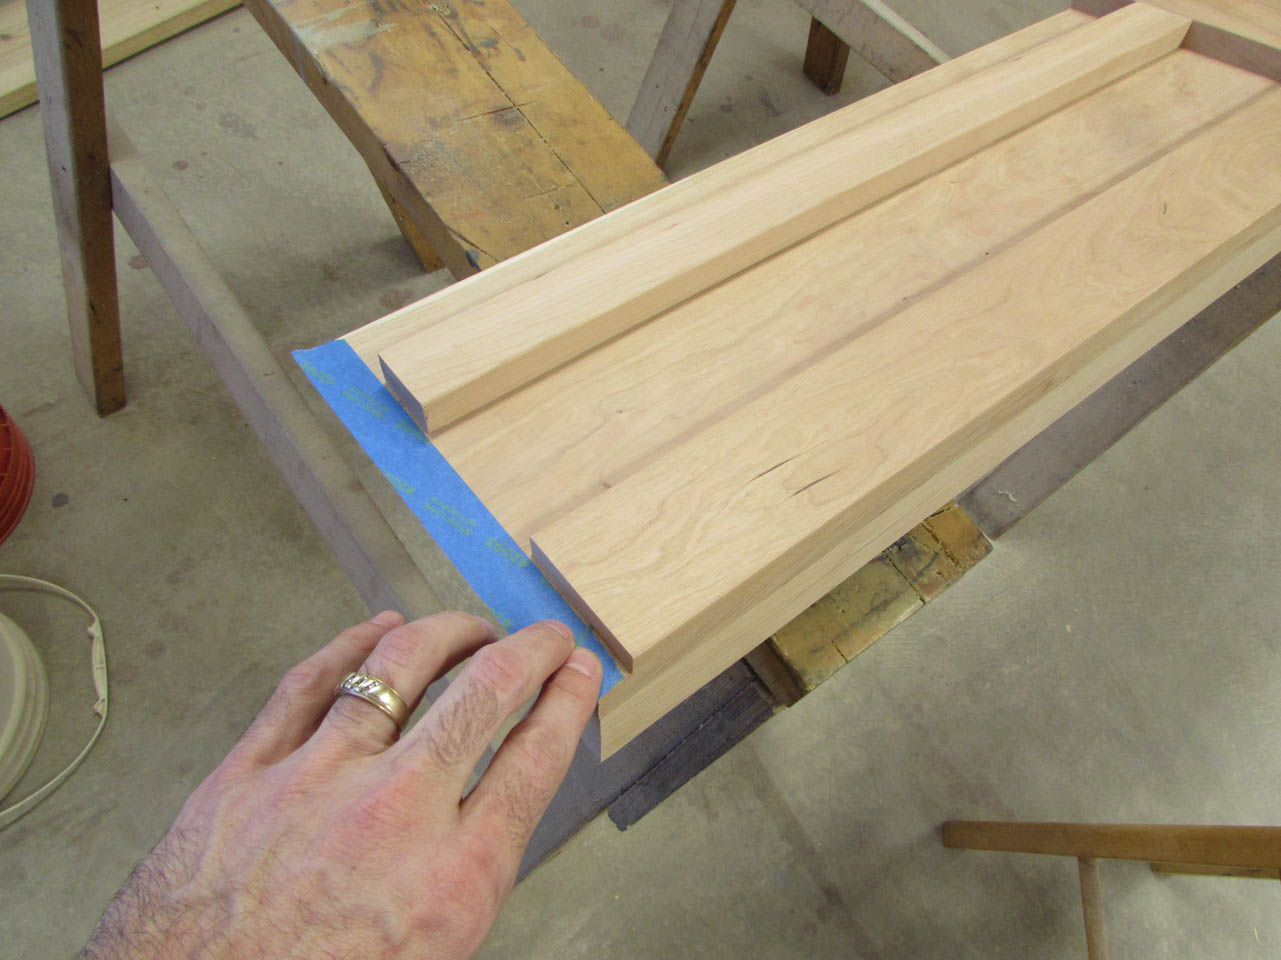
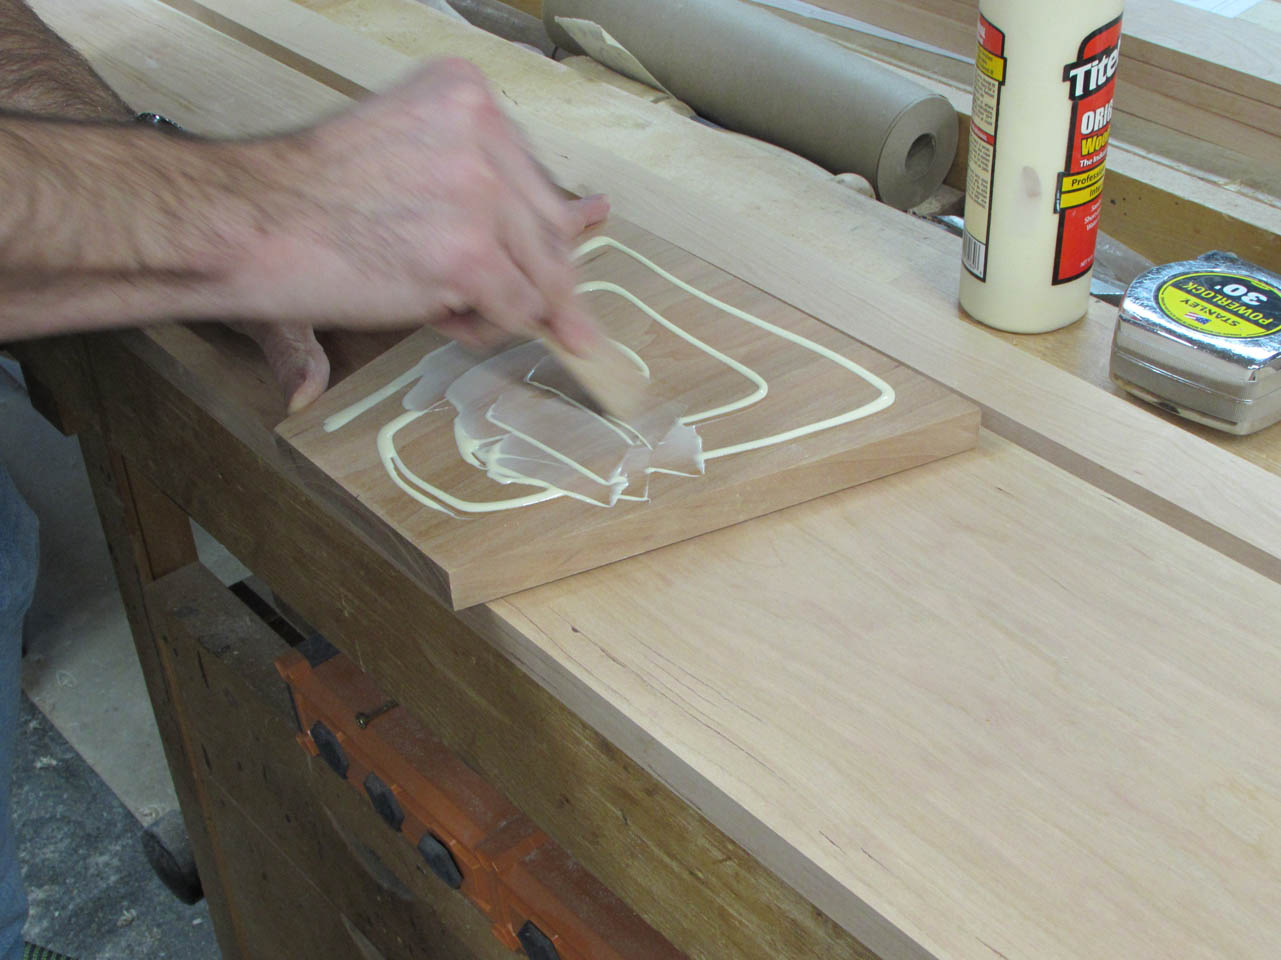
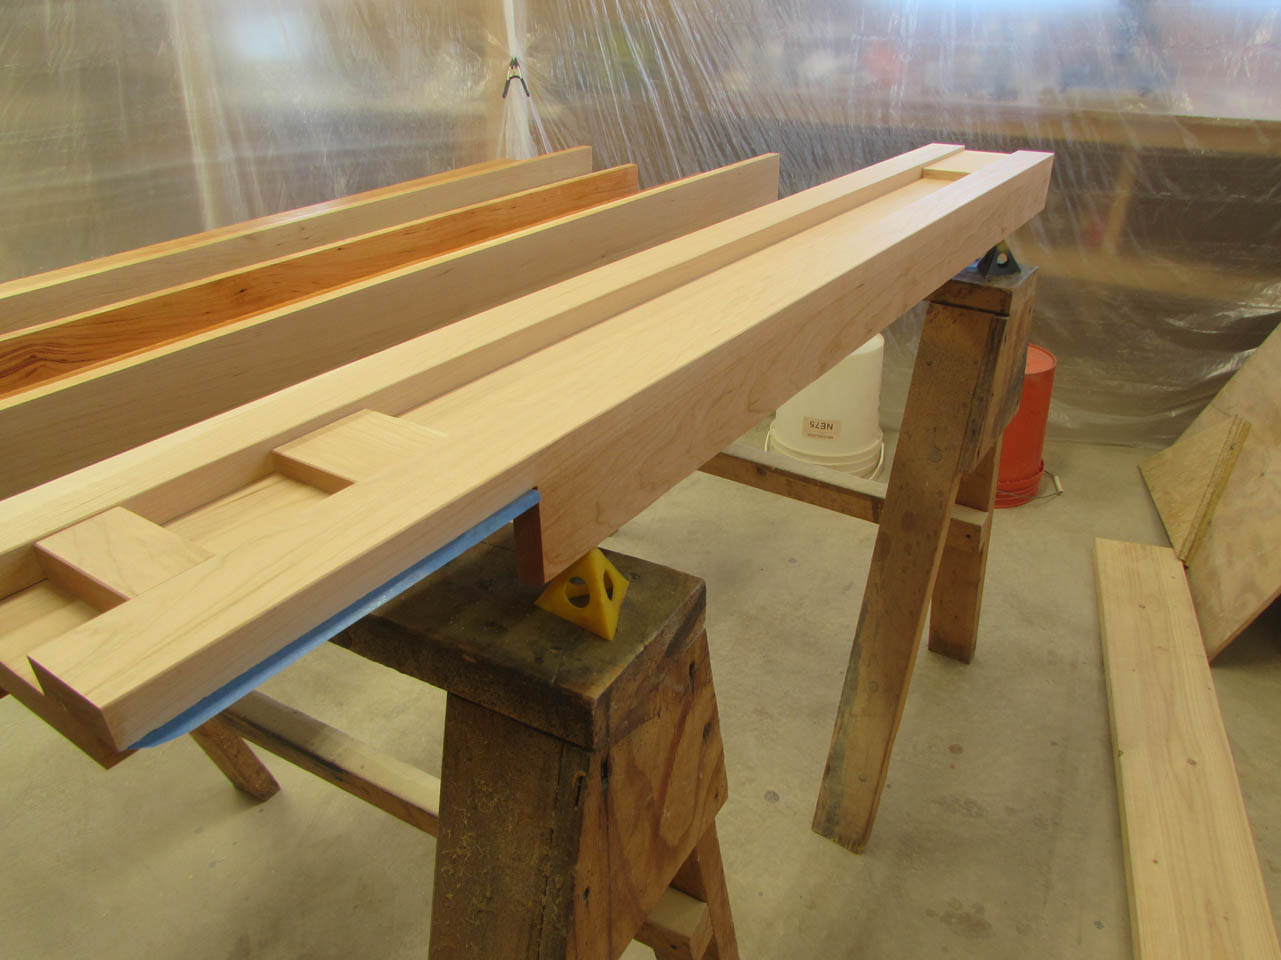
I decided to start pre-finishing the pieces I had completed. I will eventually glue the legs to the center so I masked off an area for gluing in the future.

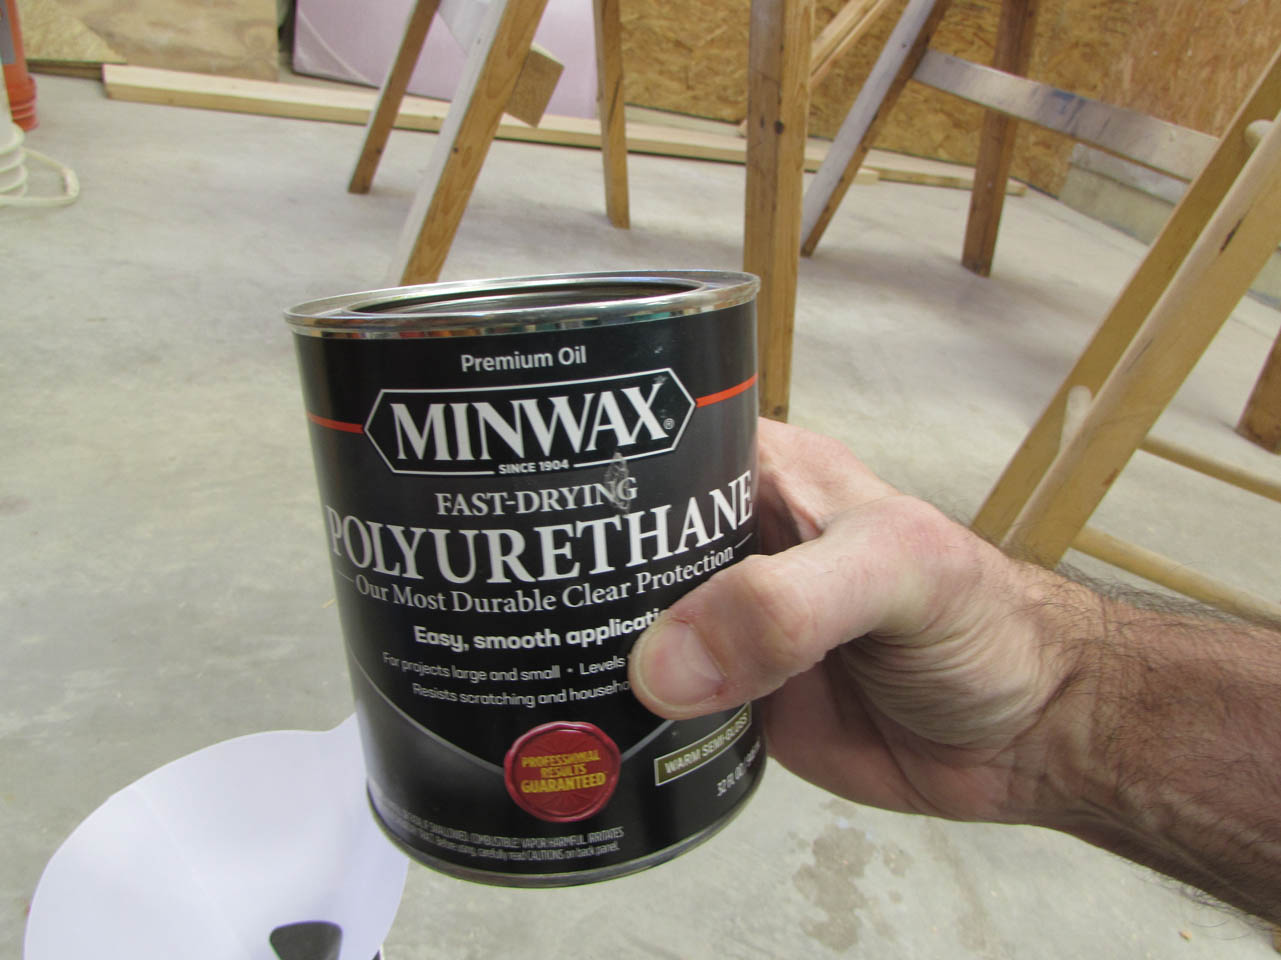
I will be using an oil-based polyurethane for this project. I have found recently (post-pandemic) that stores have been selling older stock that sat on the shelves for a year or two longer than usual and I have had to start filtering out some lumps.

These lumps can thoroughly clog up my gun in the middle of spraying and can sometimes take a couple of hours to clean out, which really derails the finish process…
Once the clumps are removed though, I typically have no problems spraying.

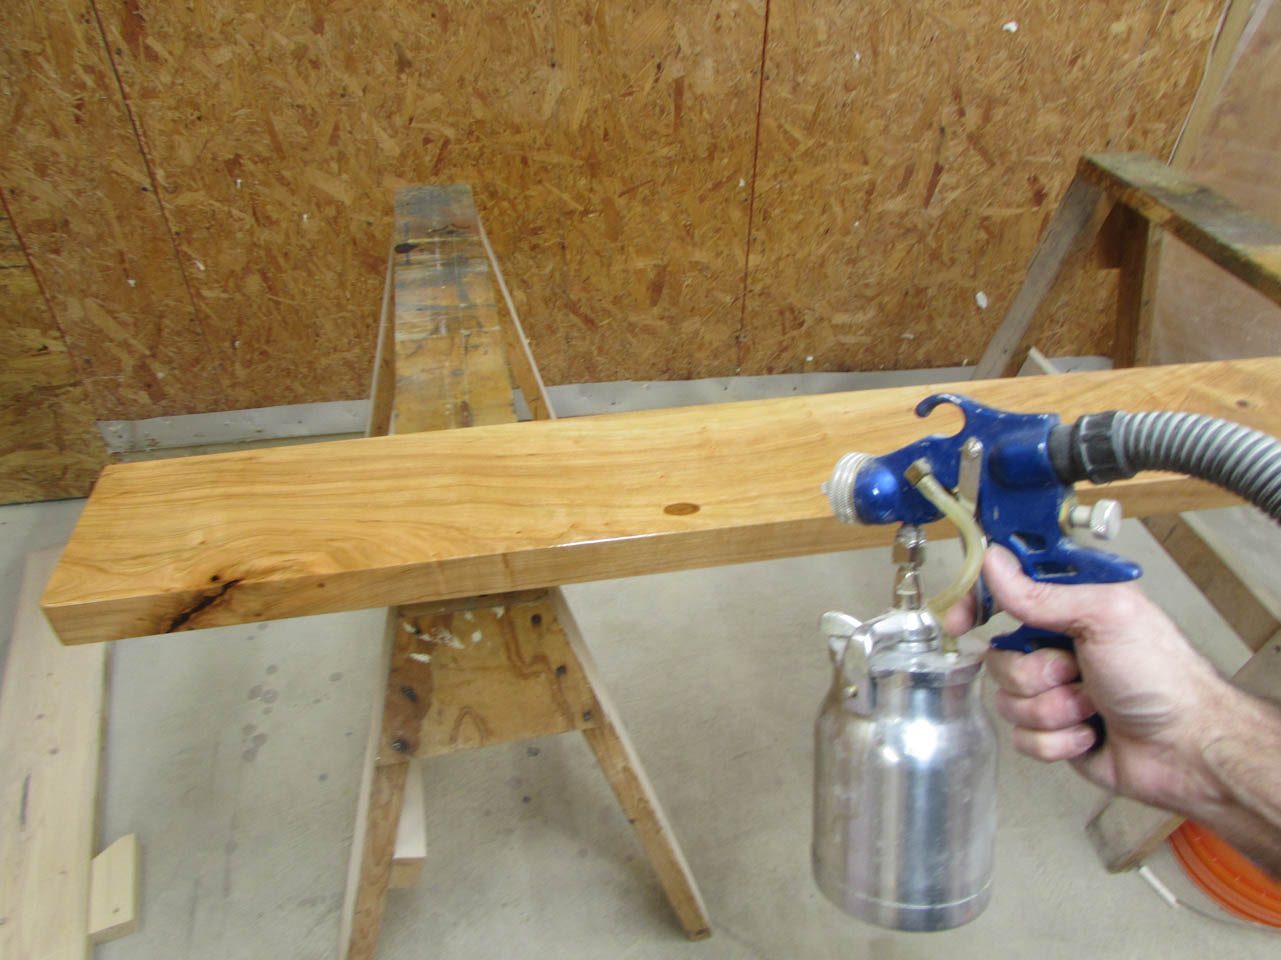
I spray the back sides first, then flip the pieces over onto painter’s pyramids.
Then I can apply a coat to the faces as well and both sides can dry at the same time.
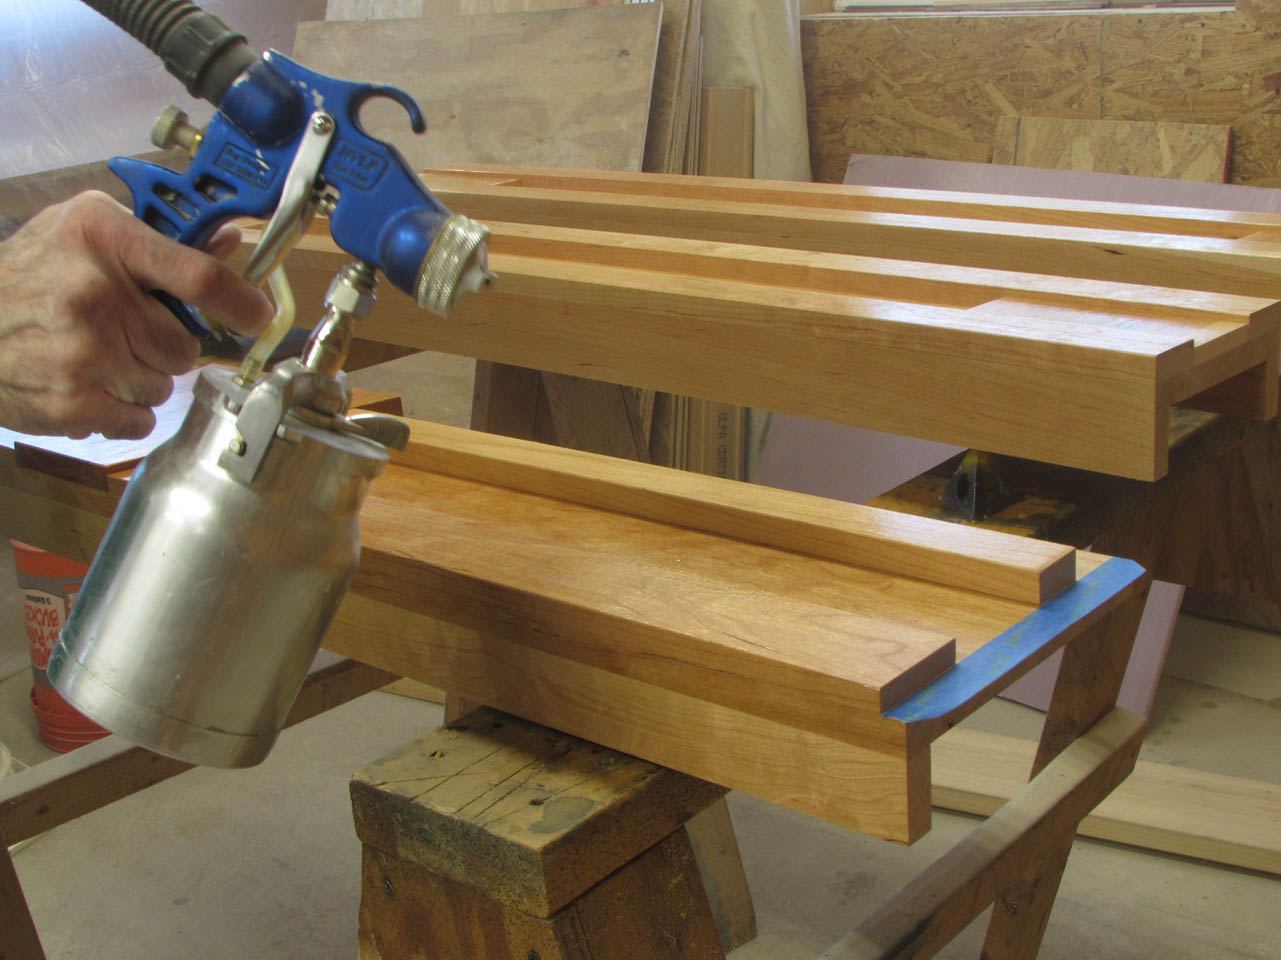
The oil-based poly really brings out the grain and color of the cherry.
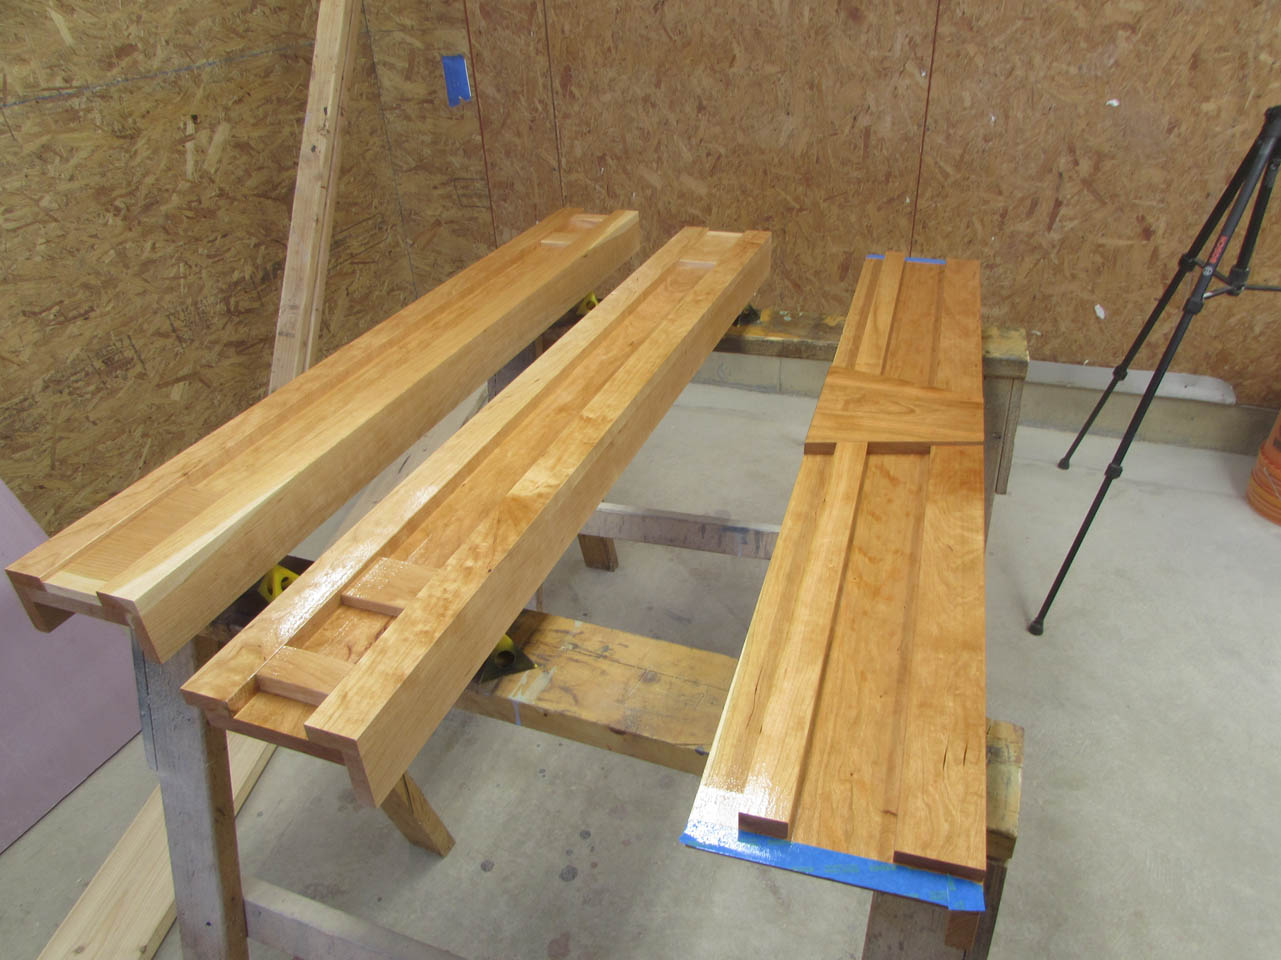

Between coats, I sand the surface down with 400 grit sandpaper.


Then wipe away all the surface dust and spray on a second coat.

While that is drying, I can start making the skirt.

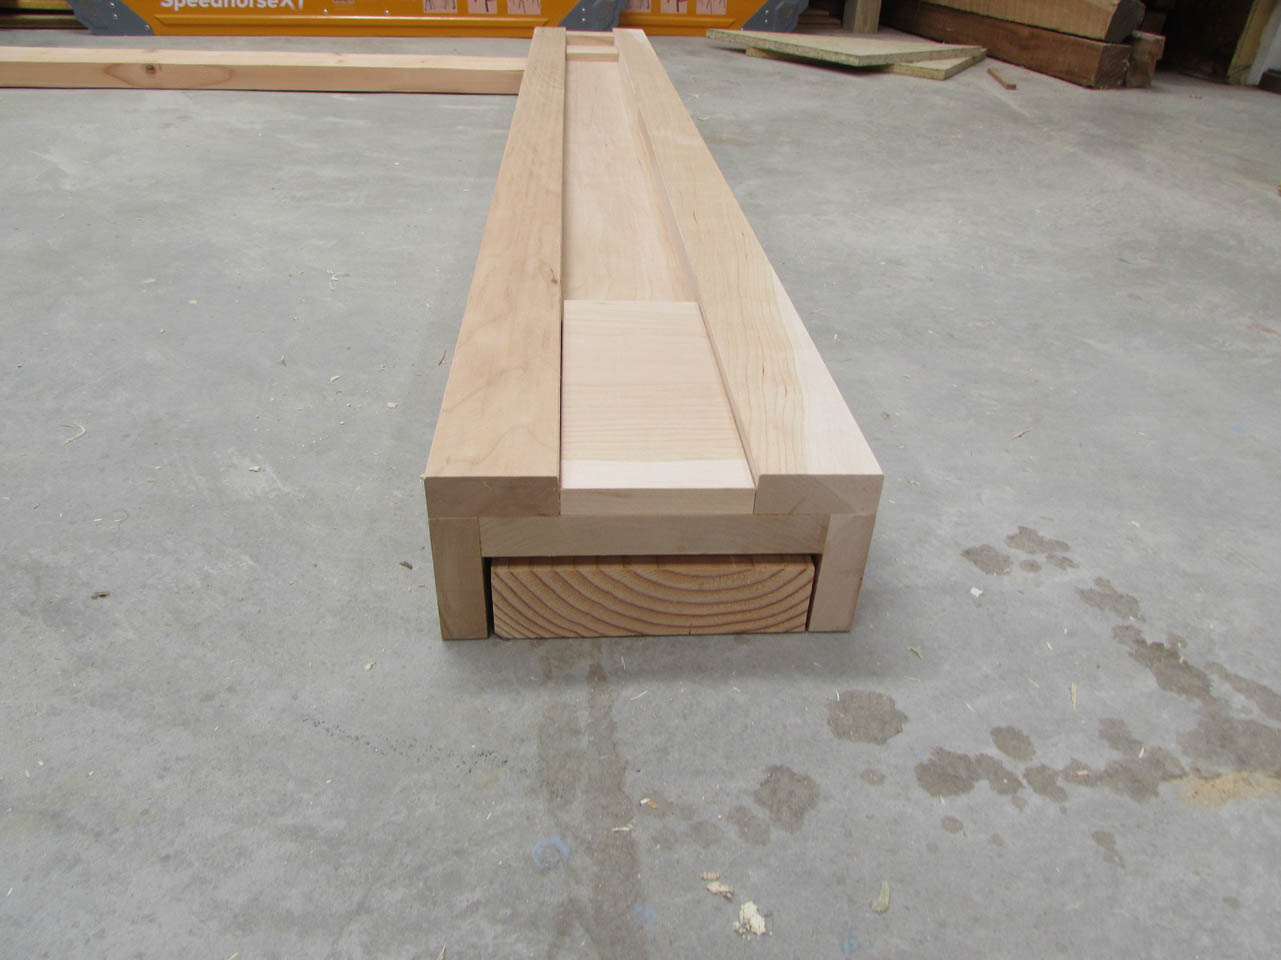
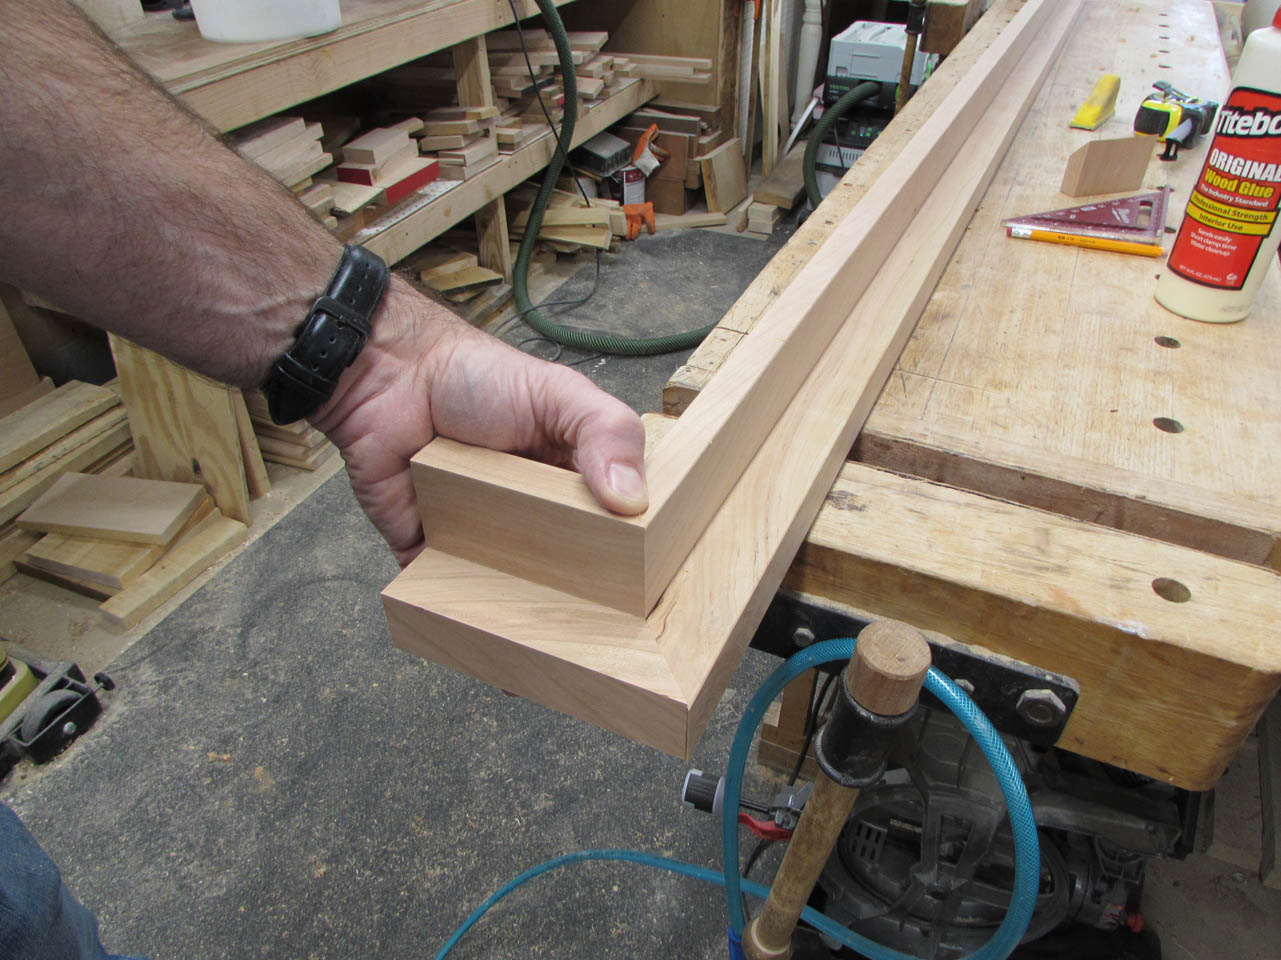
Now that I know what the exact final width will be, I can create the skirt piece that will go under the mantel. I plane and joint my 2″ off-cut as well as a 1″ thick piece. The two will be mitered and joined to make up the skirt.

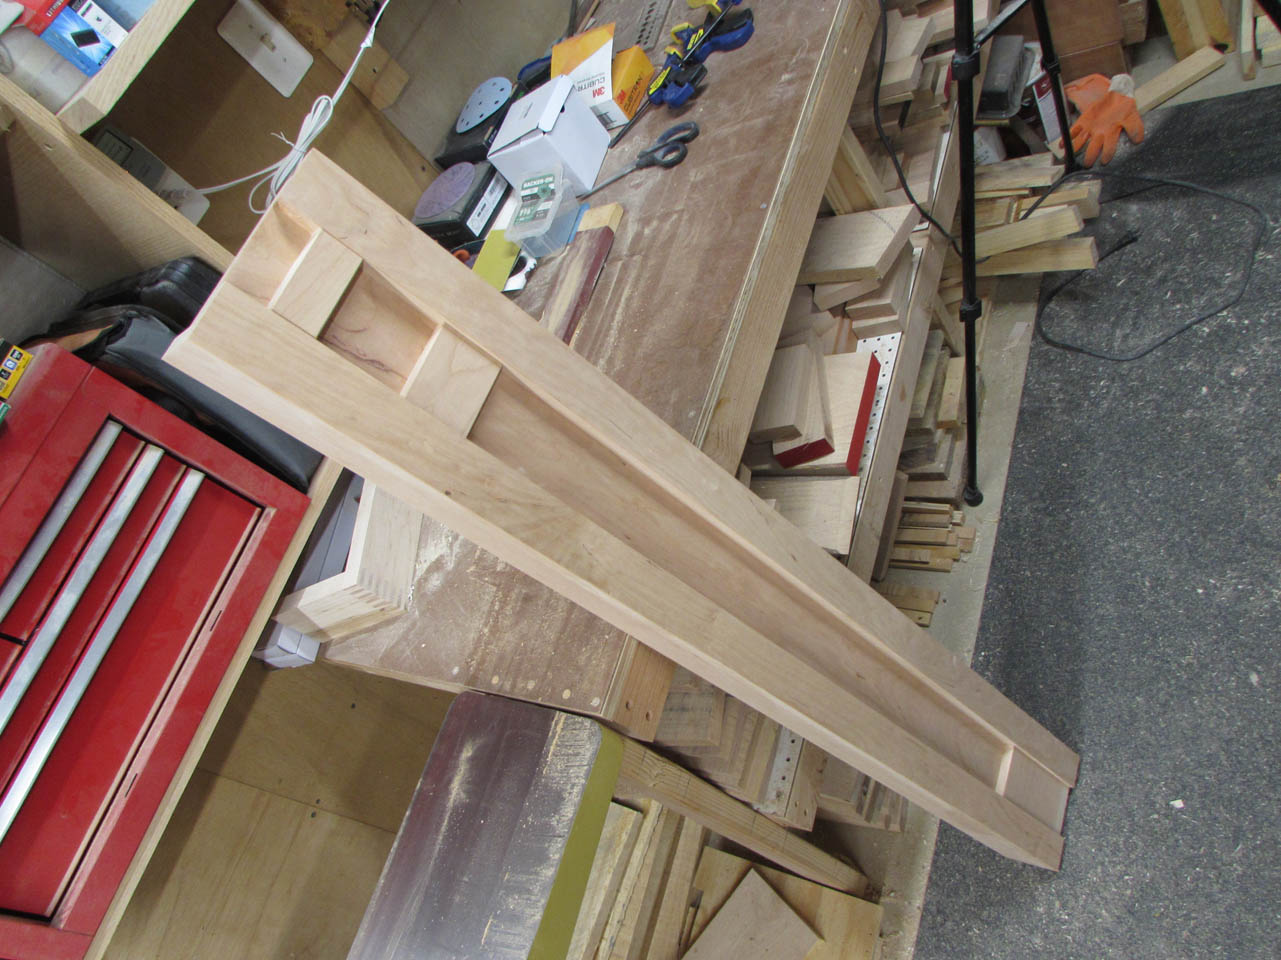
When joined they make up a chunky ledge that will marry the mantel to the surround.

I apply wood glue and some brad nails from behind to hold it still for clamping.


After that dries, more sanding…


I break all the edges with the typical bevel and then cut the miters for the ends.

I made up a second, shorter piece to cut the returns from.

I used wood glue on the miters and held them in place with CA glue and activator while the wood glue dried.
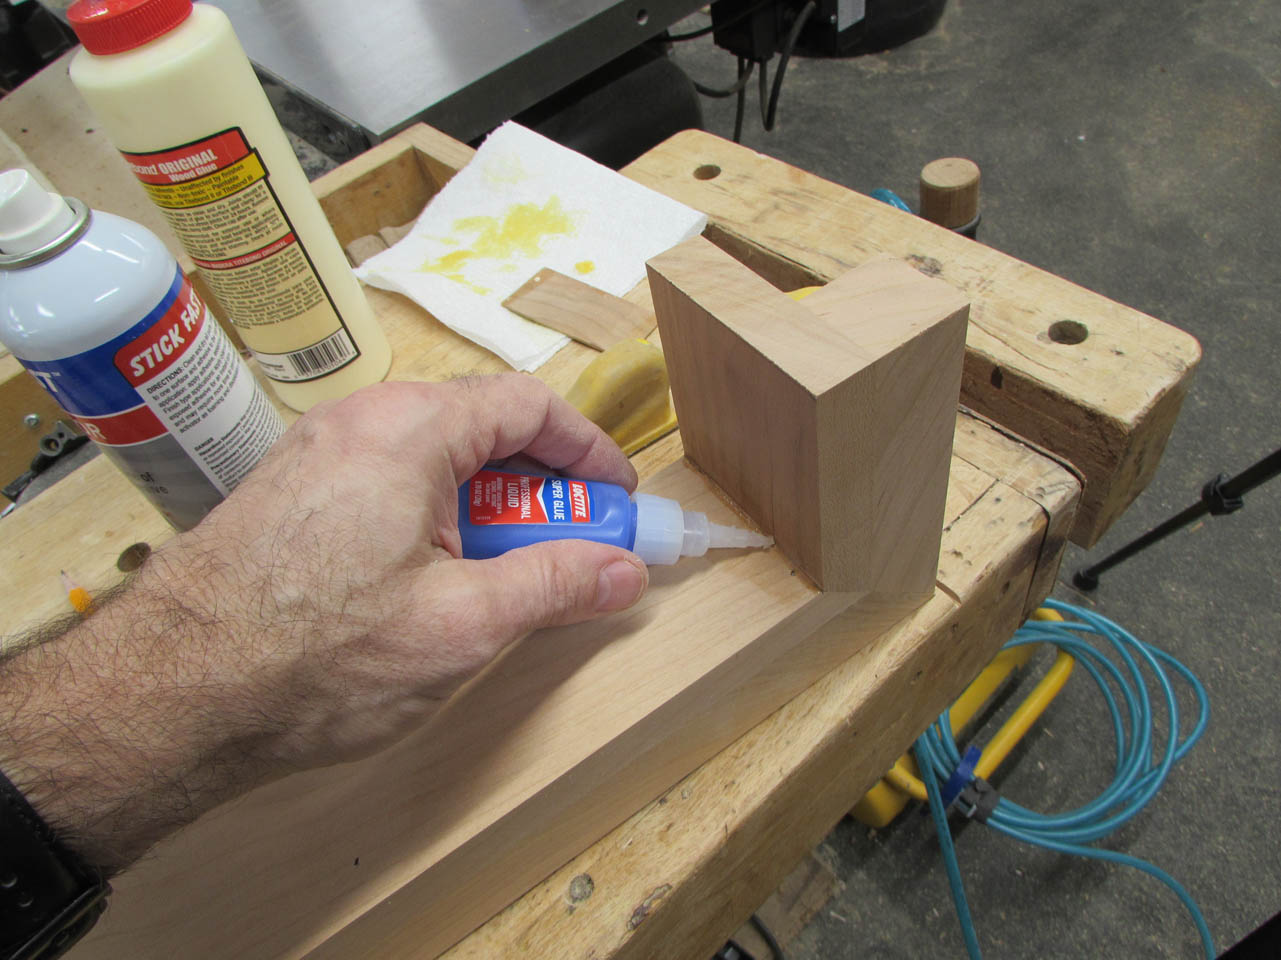
This worked well since I couldn’t clamp them.
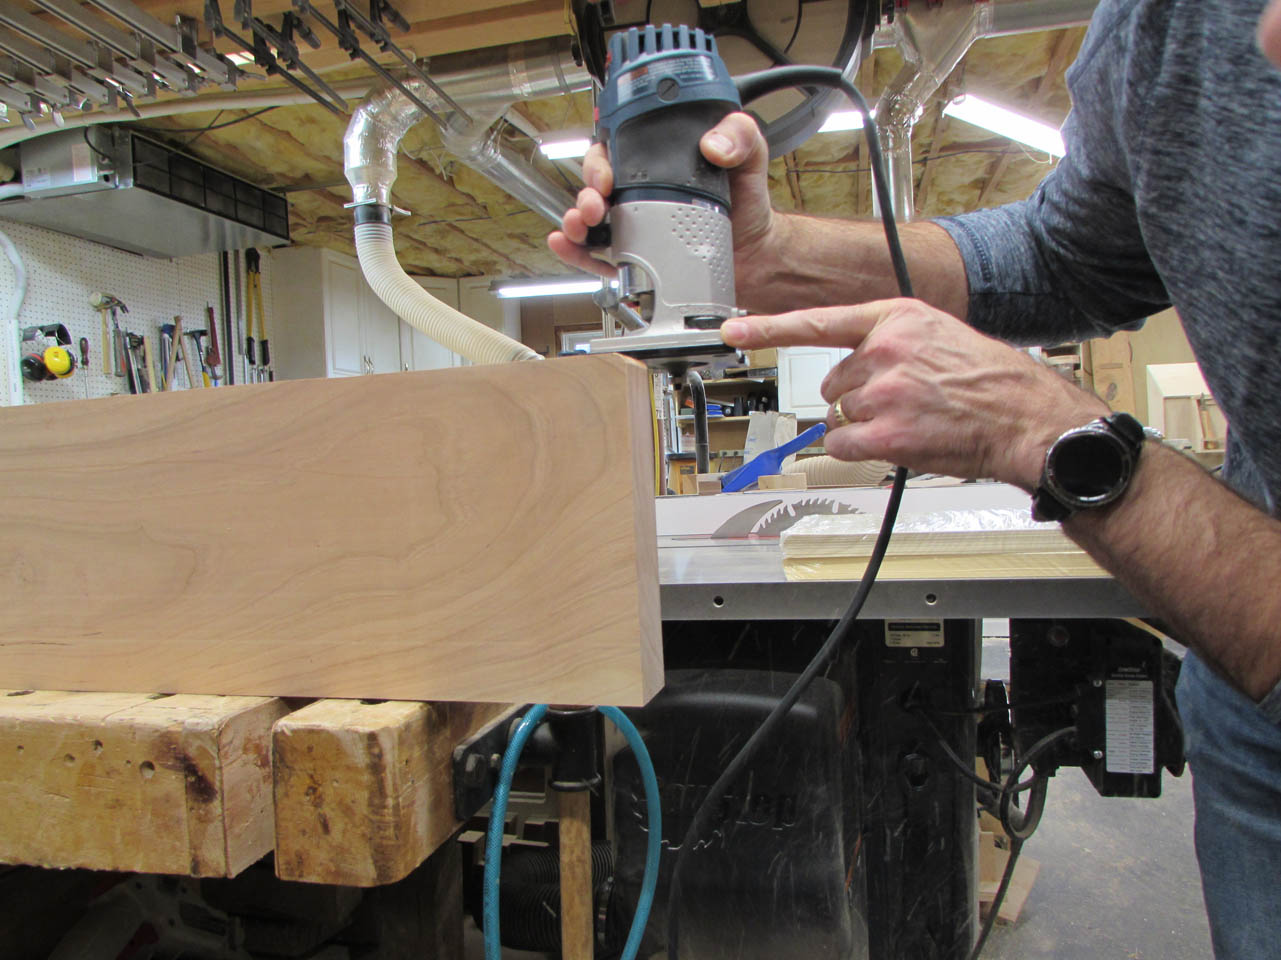
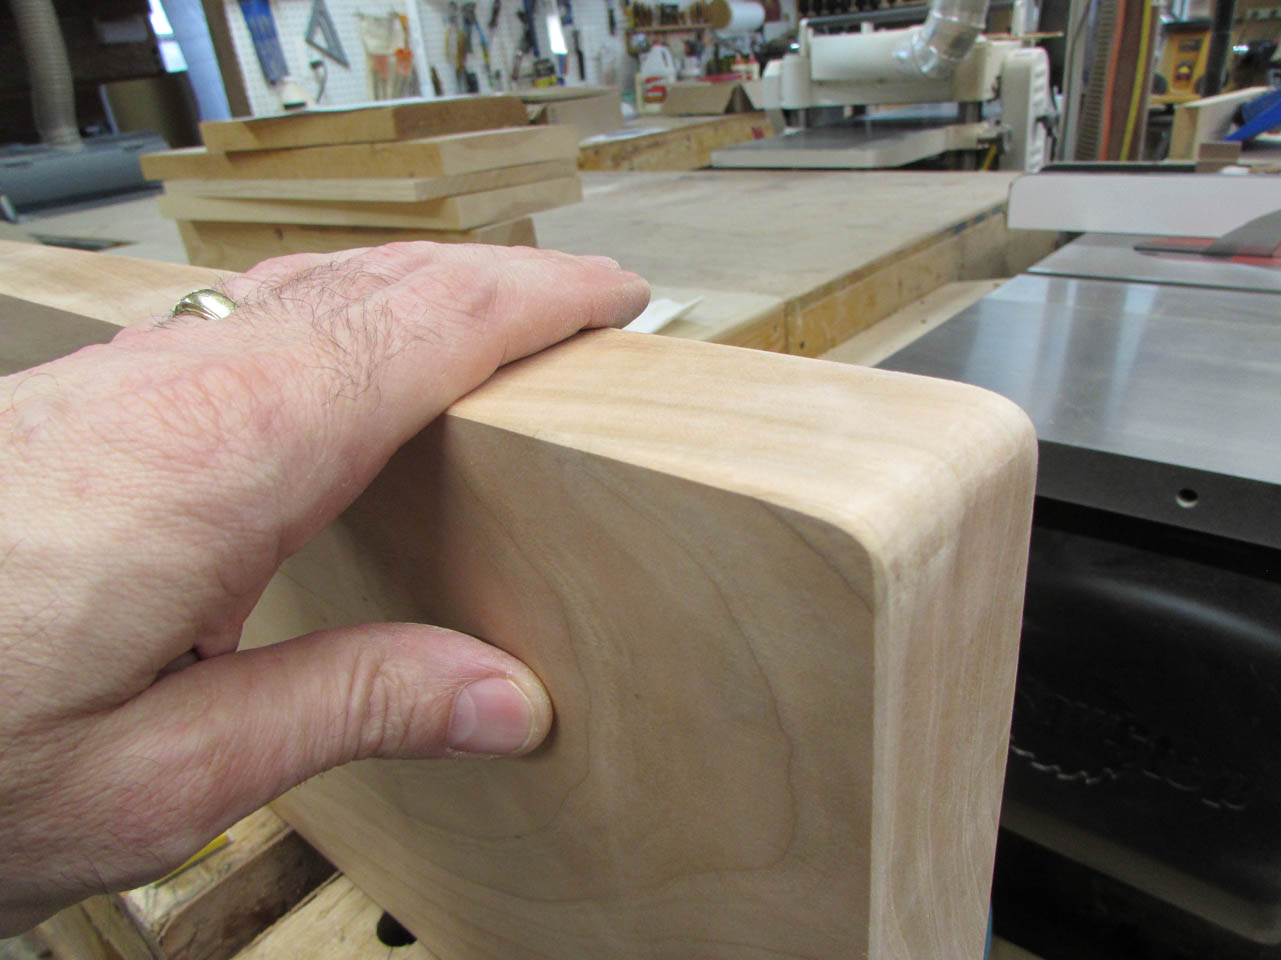
The mantel itself gets a 1/4″ radius applied to each front corner so that nobody hurts themselves running into them.

I also used the block plane to apply the small bevel to all the visible edges.

With the mantel and skirt done, I can apply finish to them as well.

The epoxied inclusions really look nice with finish applied.


These also get a second coat.

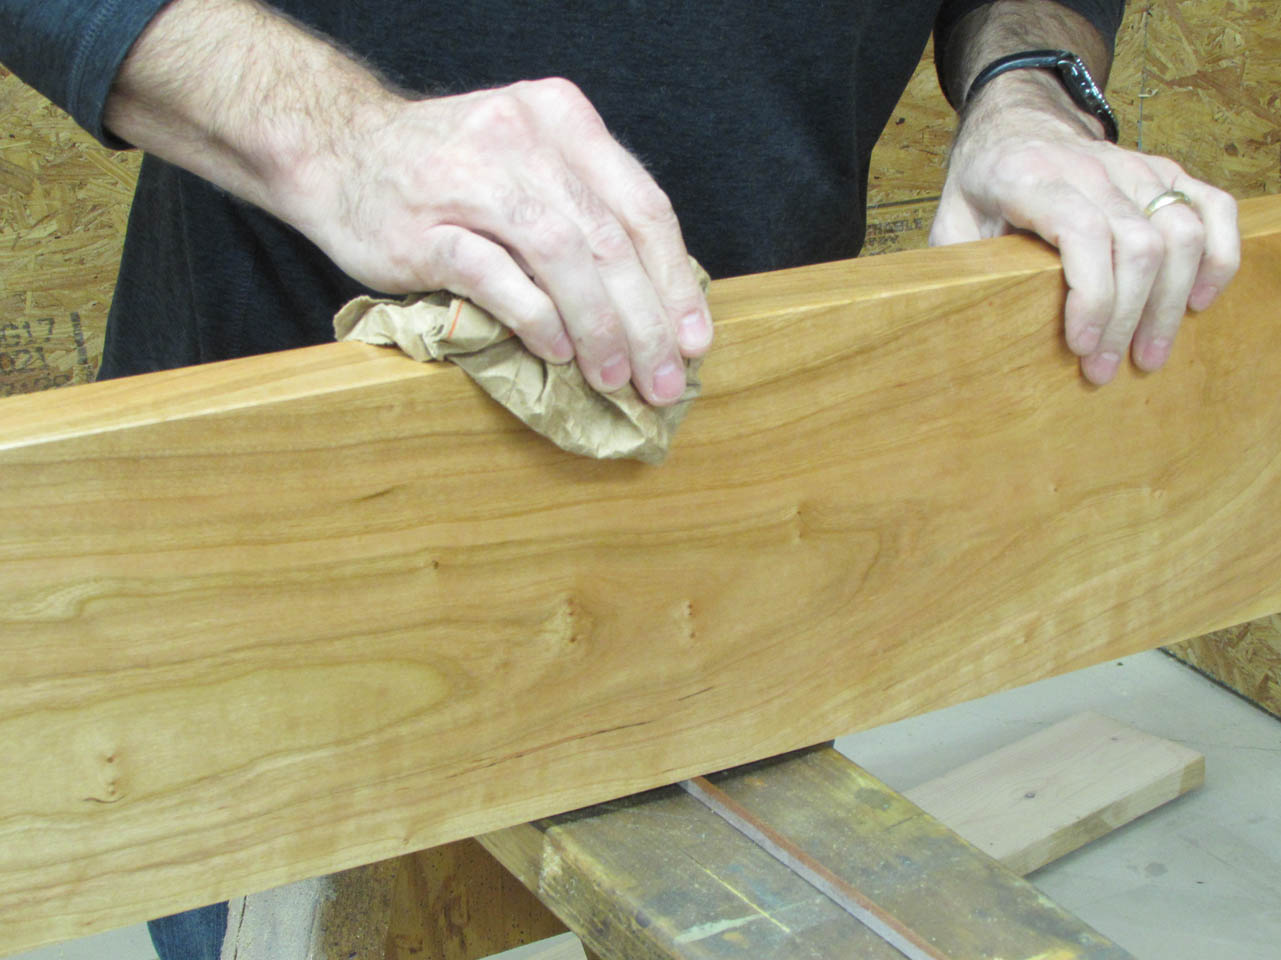
All of the finished wood gets rubbed down with a thoroughly crumpled piece of brown paper to remove any remaining dust nibs and smooth the surface.
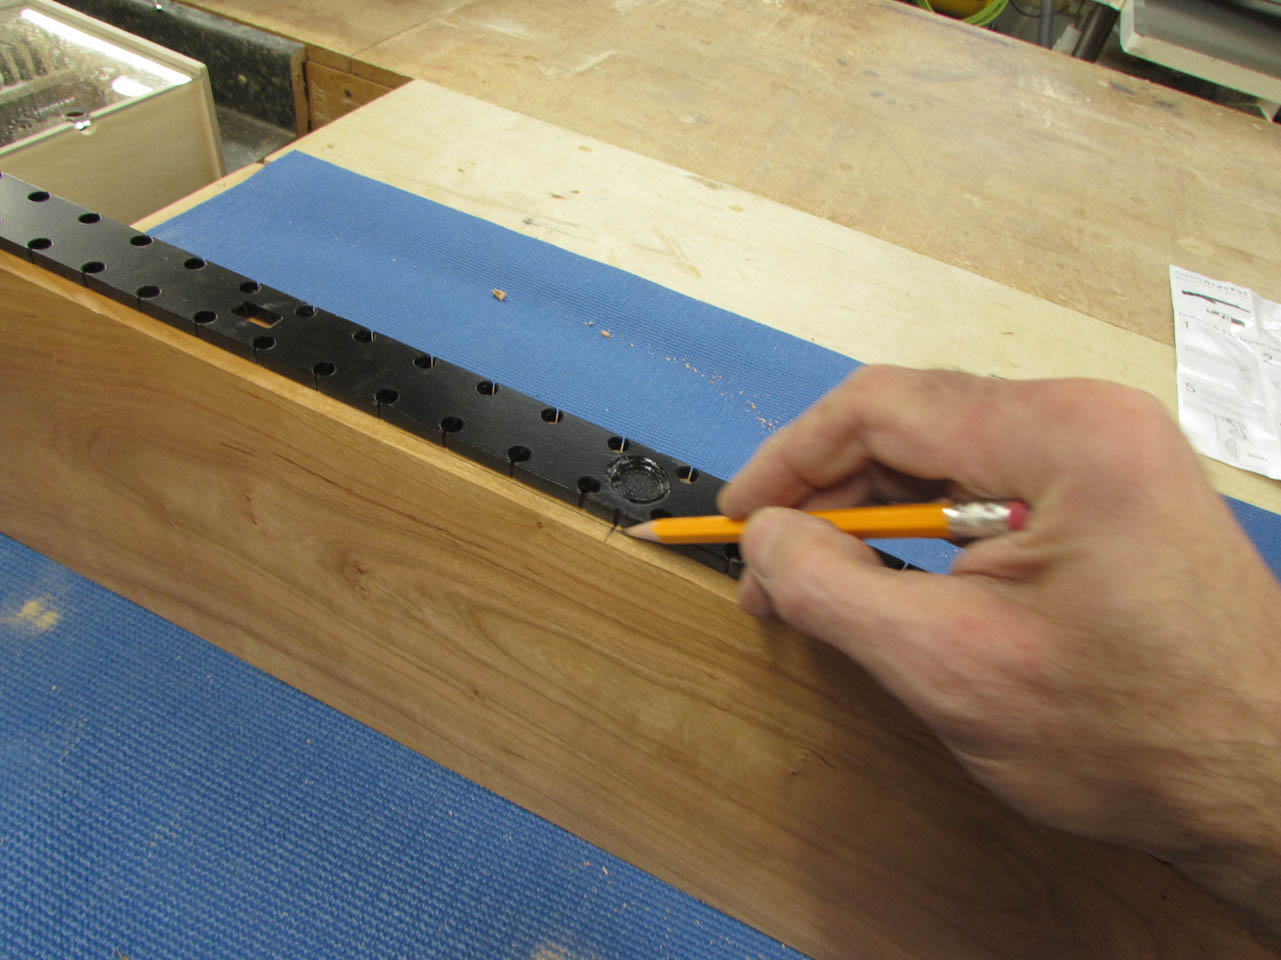
The mantel will be mounted to the wall above the surround. We got a heavy duty bracket from UltraShelf to do this. We also got the bit and drill jig to help install it.

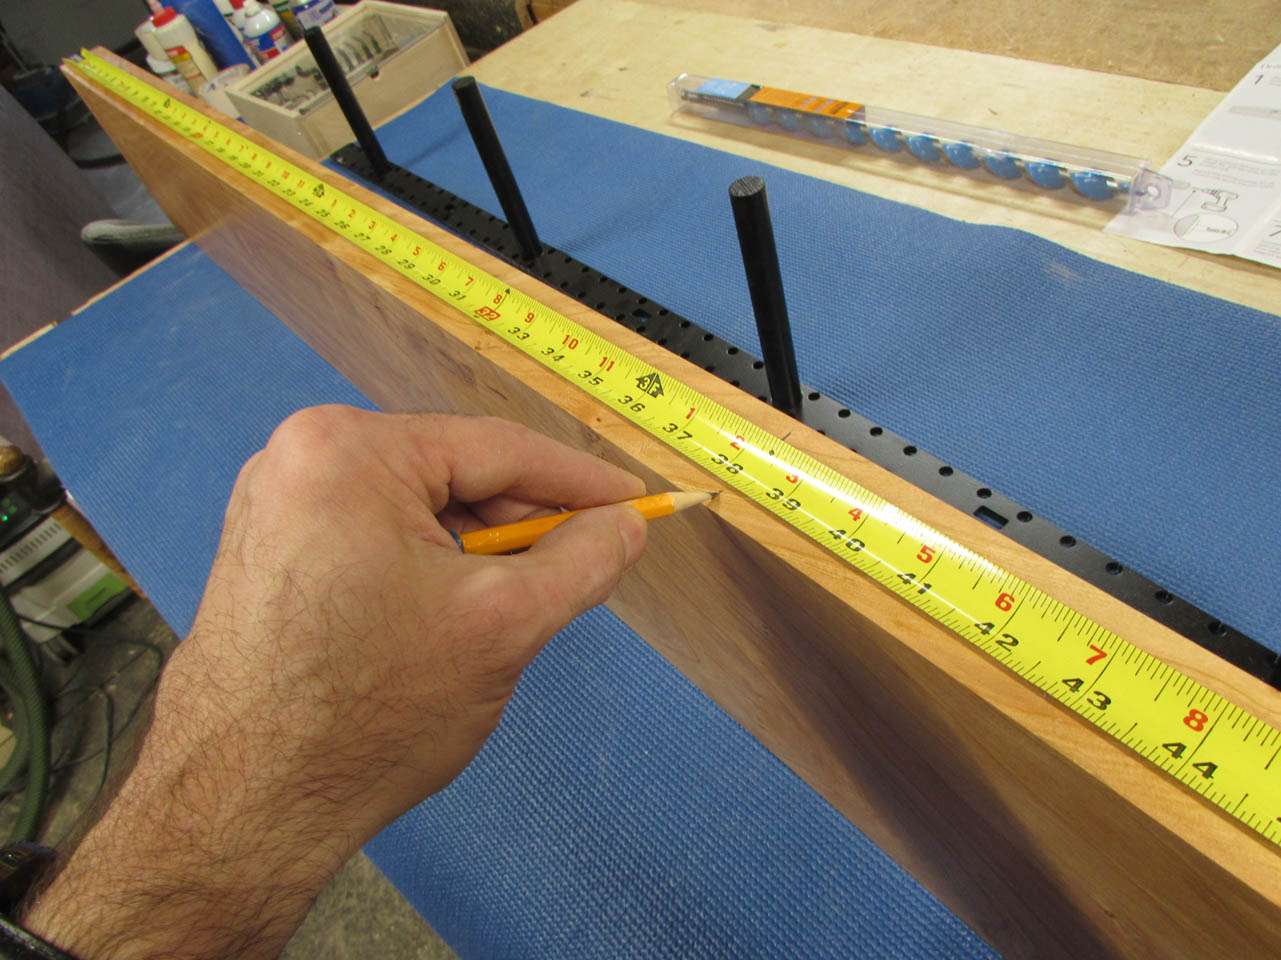
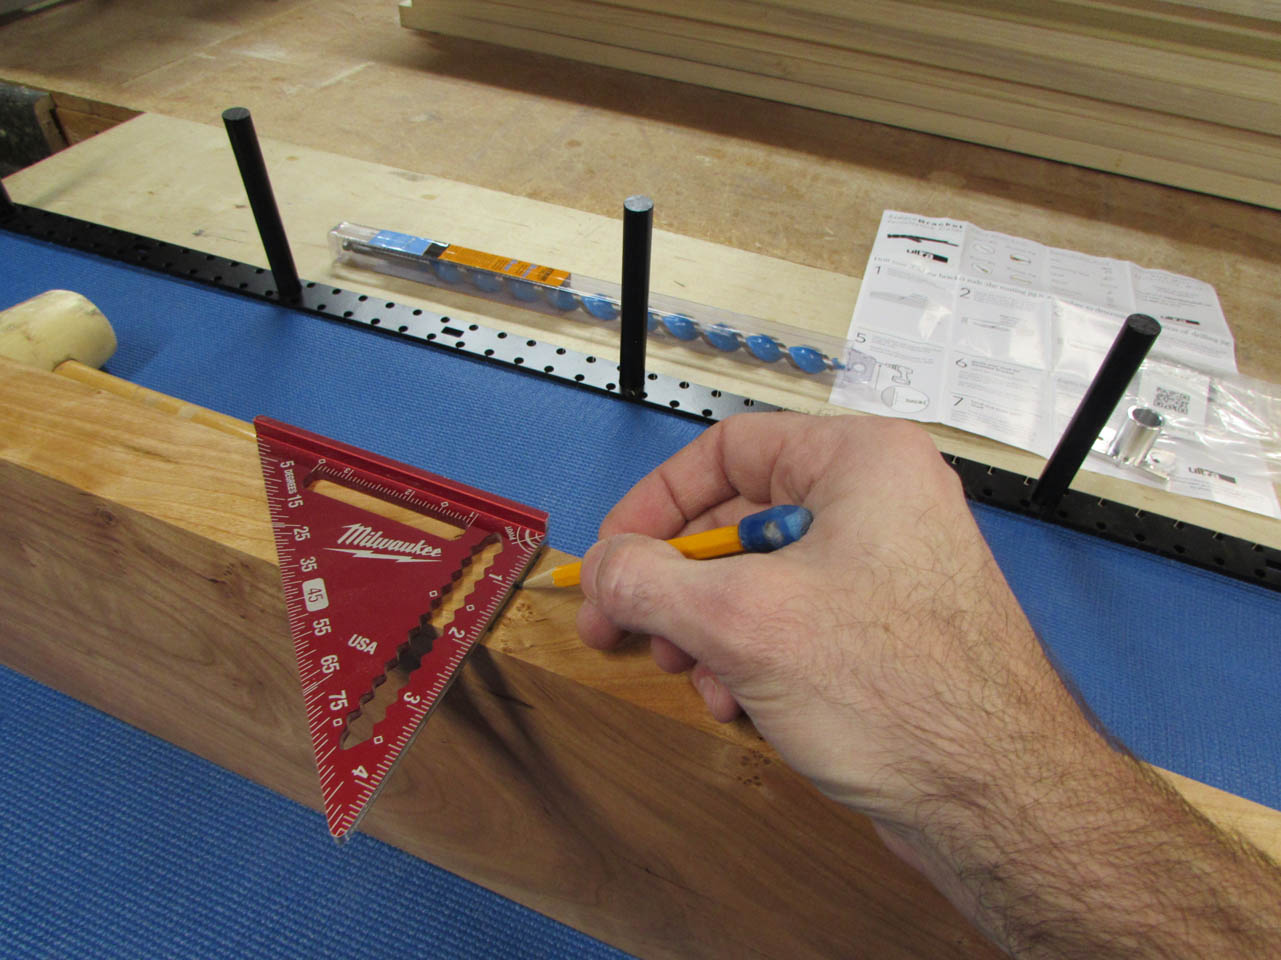
I measured and marked the center of each post, then drew a large cross for locating the drill jig.


The bit is massive and I am not convinced that the drill jig is tall enough to act as a guide.

I calculated the depth needed and marked the bit with a black marker.

Drilling with this bit was a bit of a nightmare. It did not want to stay perpendicular and would bind up and get stuck. On the fifth hole, it actually blew out the top of the mantel.


The only way I can think to re-drill it correctly was to fill the hole and start over.

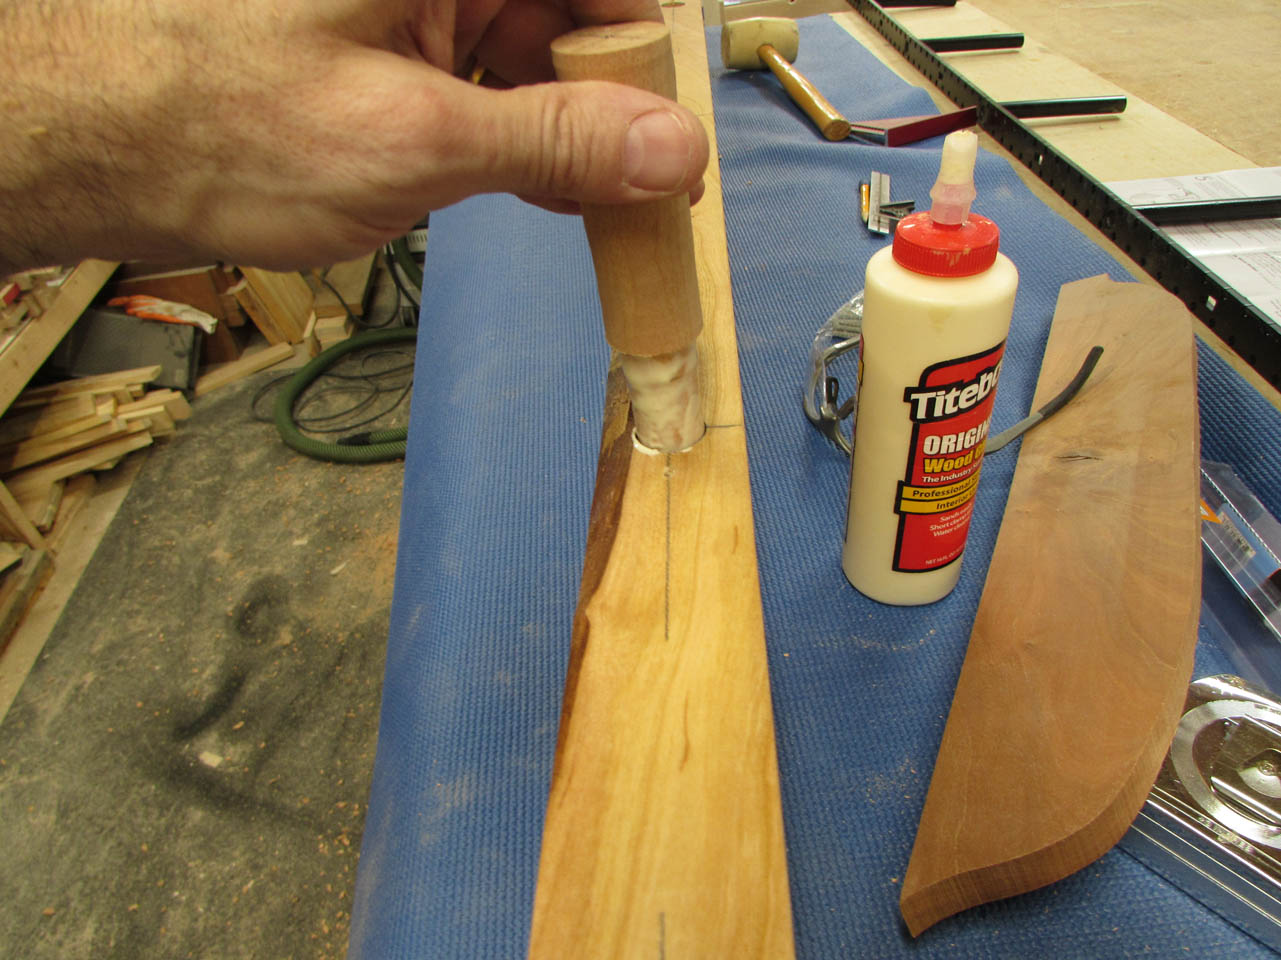
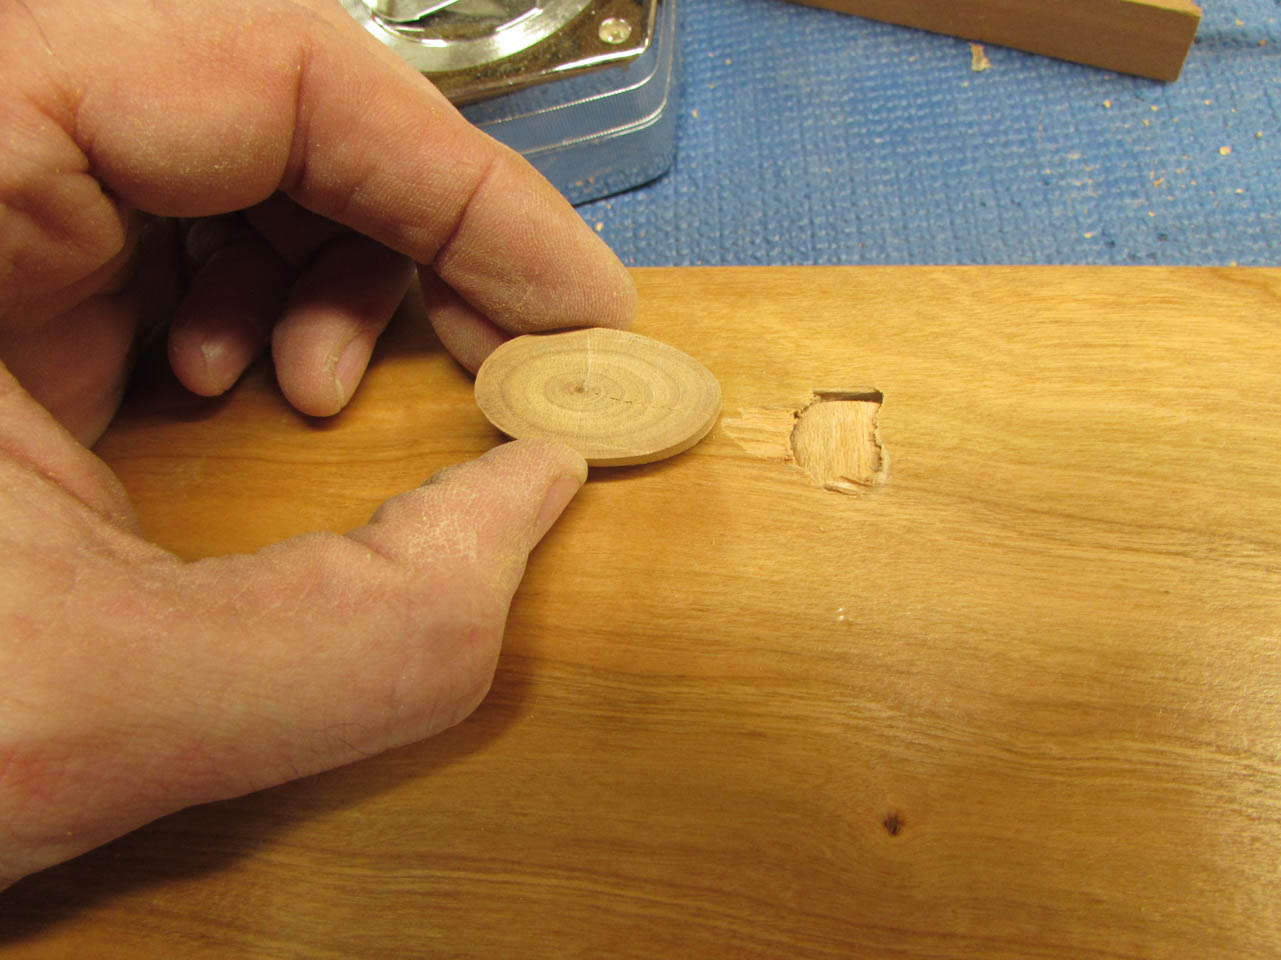
I turned a cherry dowel at the exact same diameter and length of the hole.
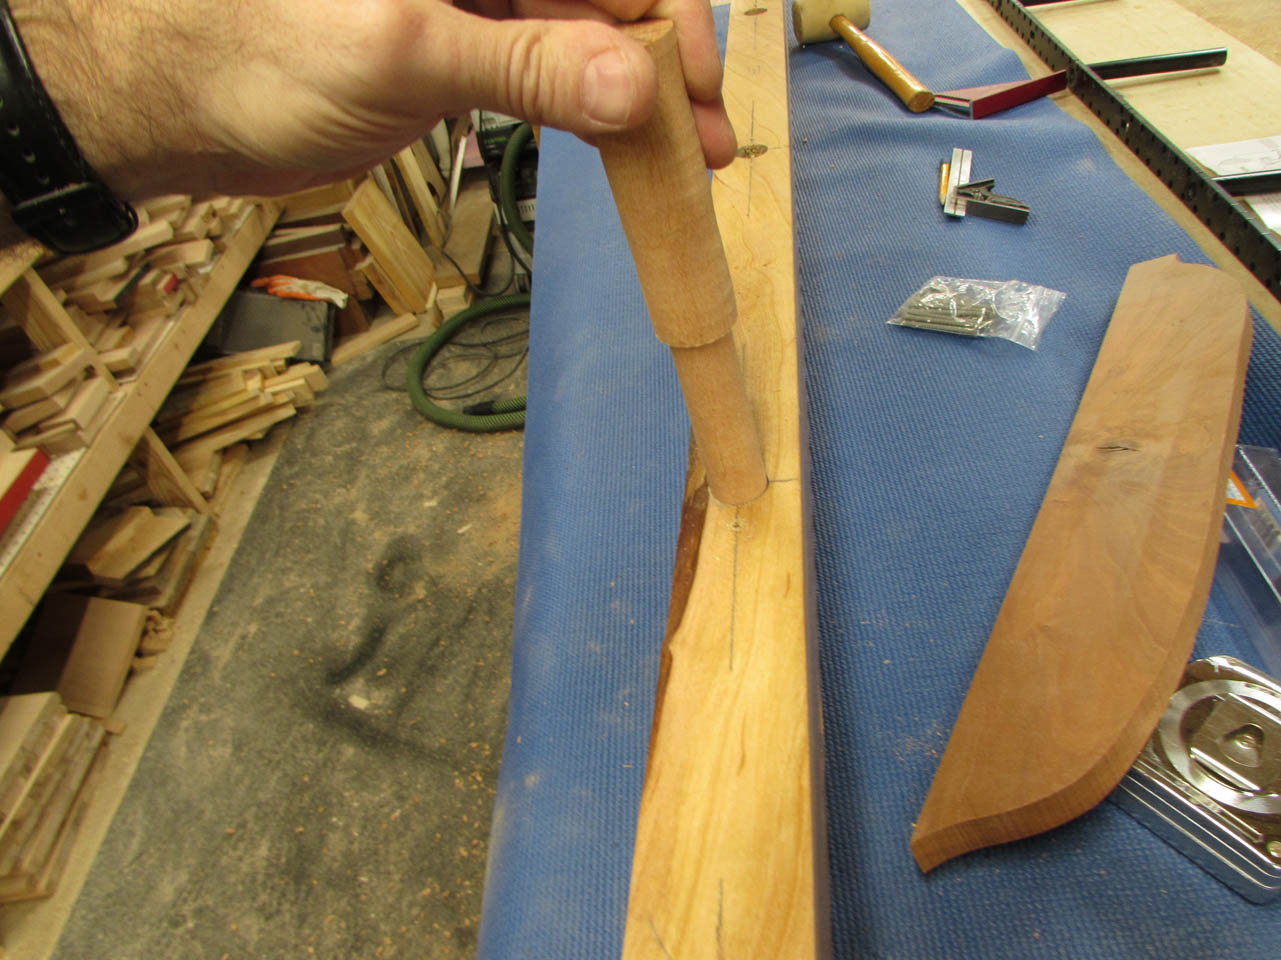
I coated it with wood glue and drove it all the way in.

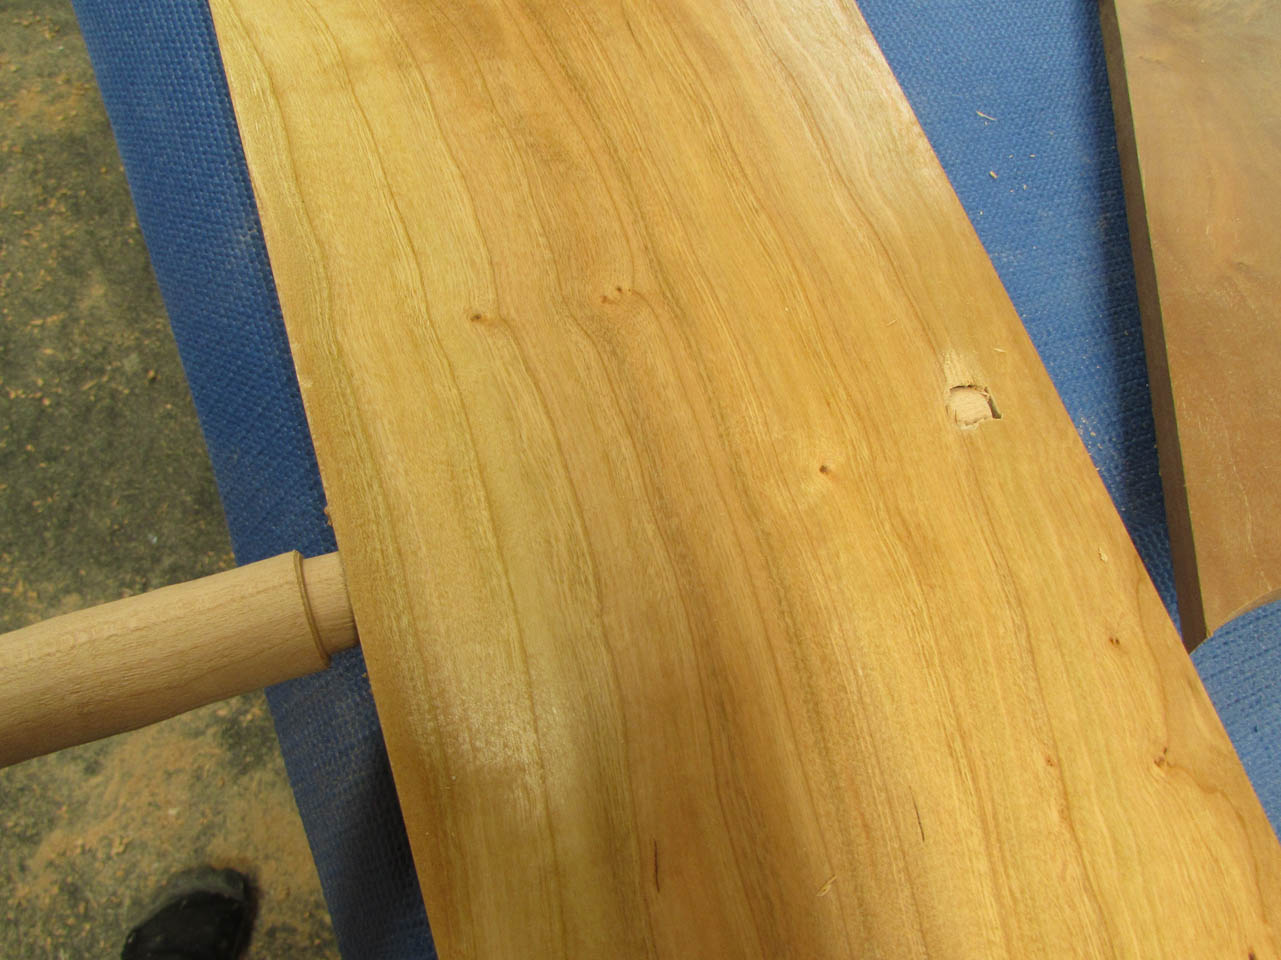
I used a pull saw to cut the dowel flush with the surface and prepped to drill it again.


The second attempt was more successful so I proceeded to drill the last hole as well.

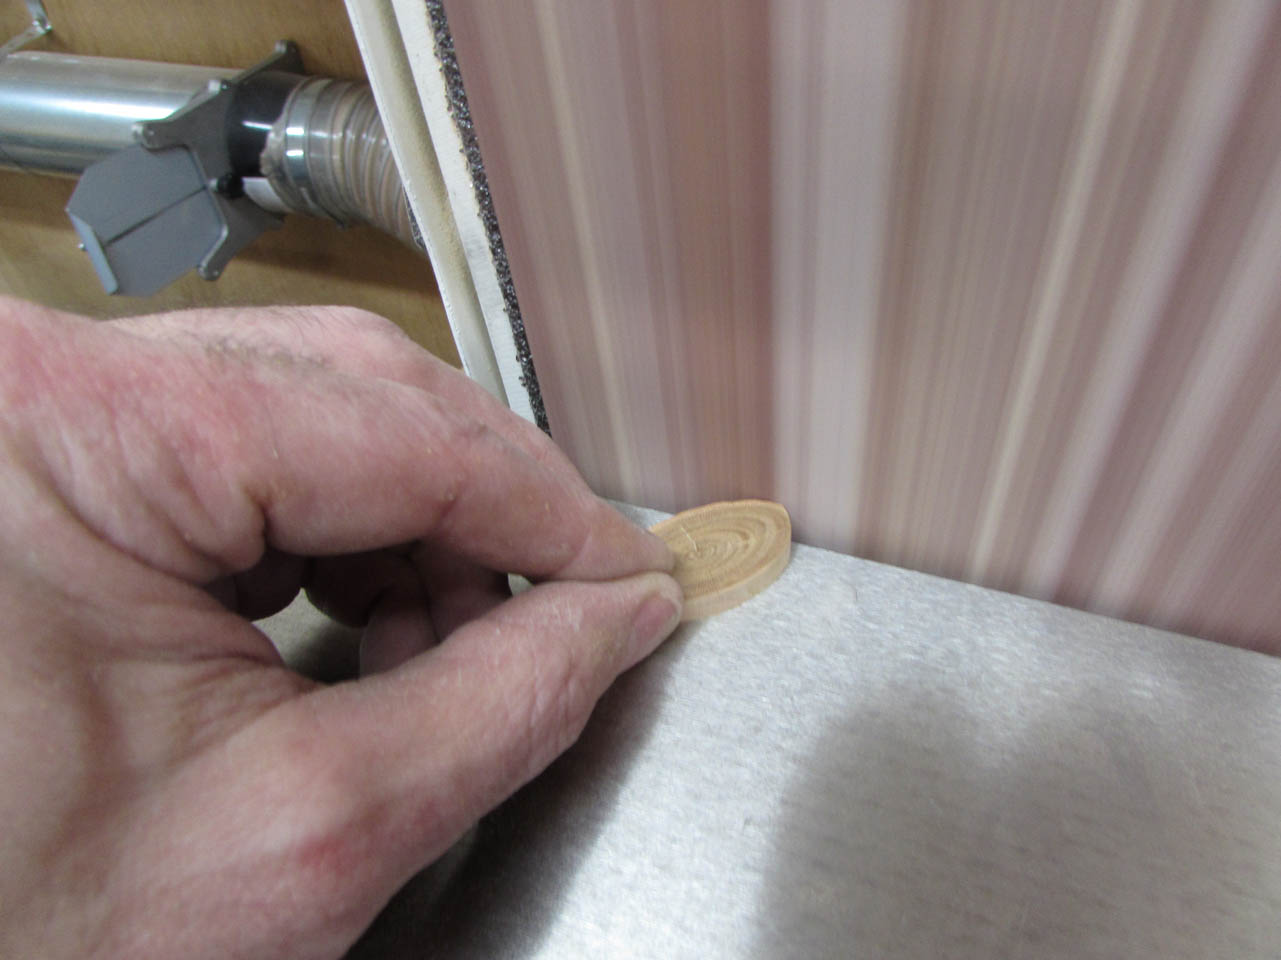
Now I have to find a way to fix the blowout. I searched through my cherry supply until I found a knot that was about the same size as the damaged area. There is no way to plug it and match the grain so I decided on a knot to contrast it but hopefully still look natural.


I cut out and sanded the knot to the edge of the dark swirls around it.
I located the knot above the damaged area and traced it.


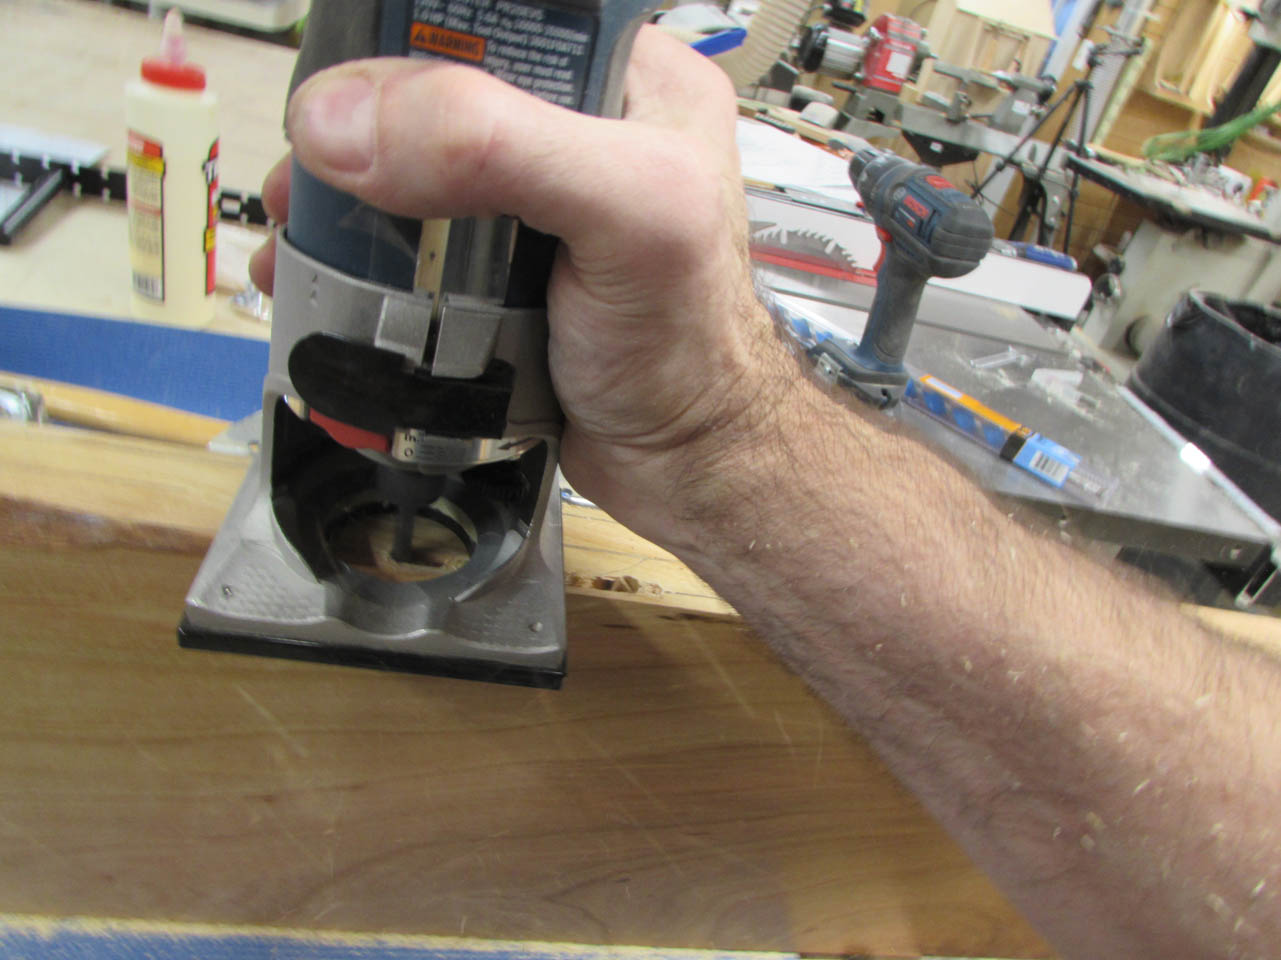
Then I used a trim router and a 1/4″ spiral bit to carefully route out the oval area.


A little additional sanding here and there and I had a perfect press-fit.


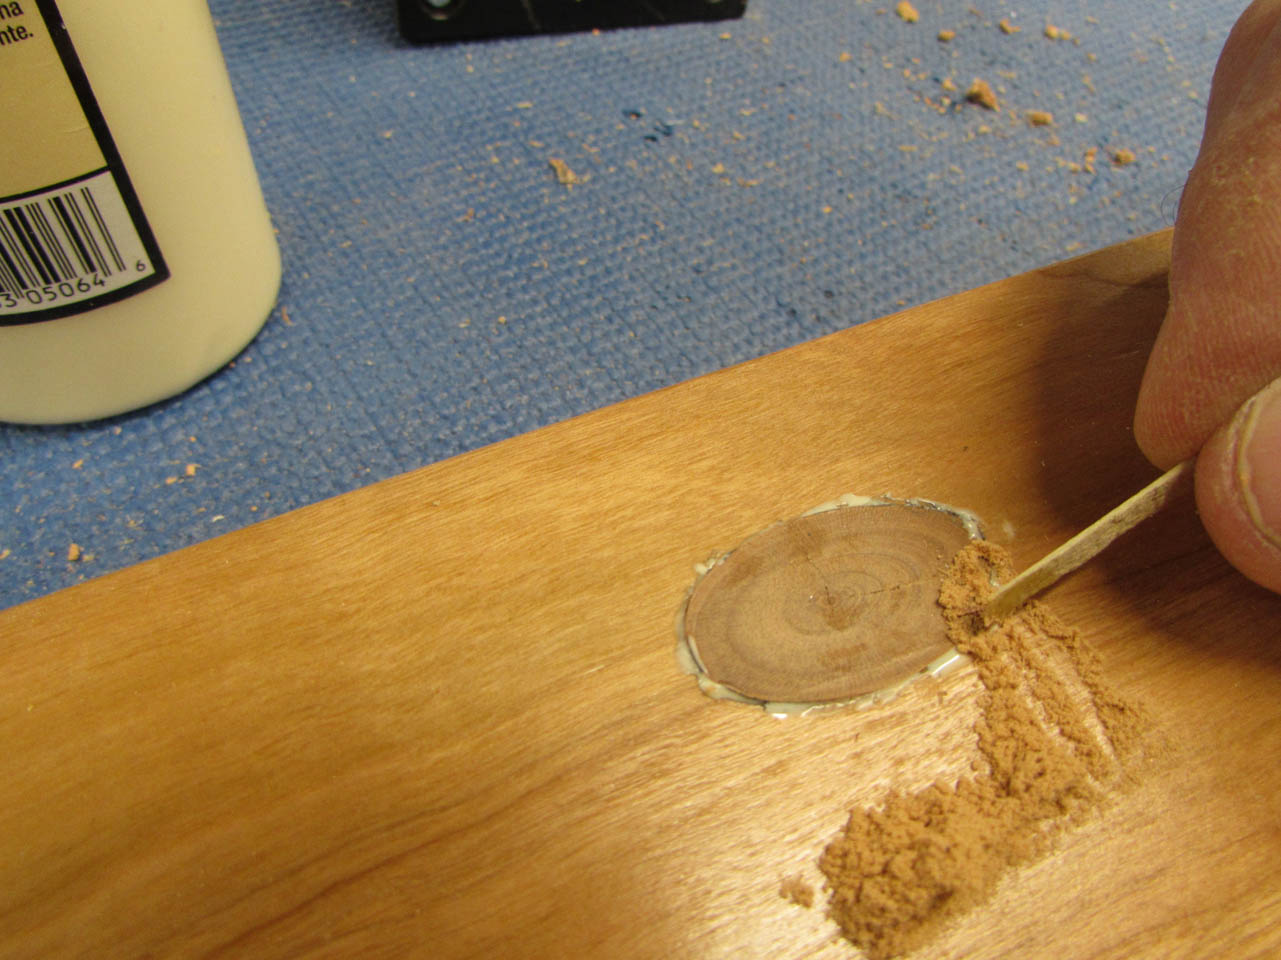
I lined the hole with wood glue and pressed the knot in. I packed the glued edge with additional cherry sawdust to fill any voids.
Then a bit more sanding…

That will finish up nicely so I moved on to routing out the back for the mounting bracket.
I pressed the bracket into place and traced it.
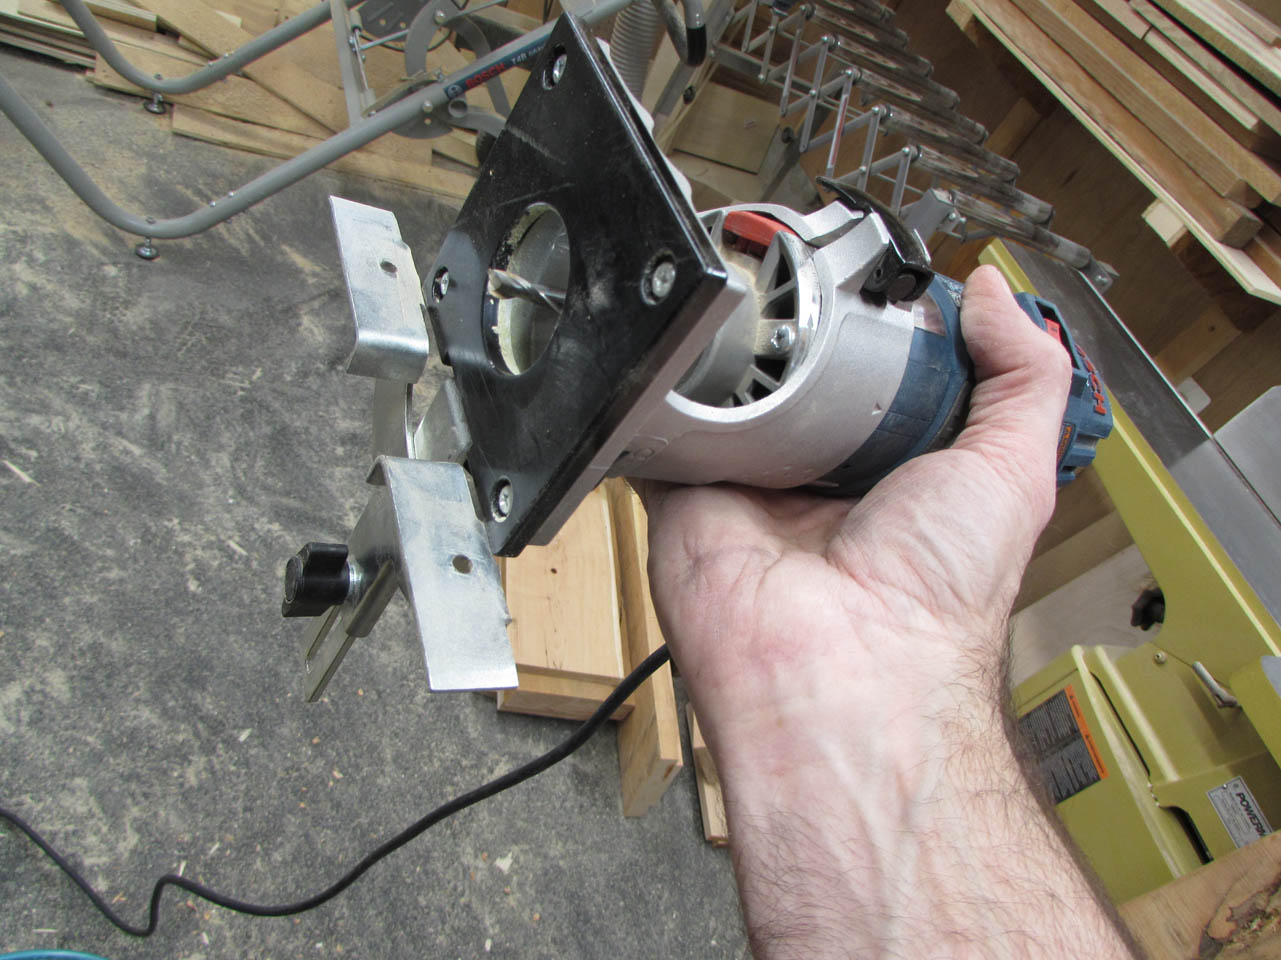
Next I attached a guide to the router and set the depth of the bit and started routing.
I took my time and made a very large mess but I finally have the channel for the bracket to recess into.

I applied two more coats of poly to the mantel and I was ready to deliver.
Step one was to locate the studs and install the mounting frame.

Once I verified everything would fit as planned, I glued and nailed the three pieces of the surround together.

The assembly was slid over the mounting frame and attached with a few brad nails.


The top was rigid but we added some shims just to be sure there was no deflection if someone leaned on the face. The shims were then trimmed flush to the top.

Surround looked good, time to install the bracket.

It took some finesse and a few shims to get it right but we got it level.

Then we slid the skirt into place and attached it with a few more brad nails.

Hans will reattach the stones that he trimmed down, now that everything is installed. He wanted as tight a fit as possible for the stone so it was better to wait till the surround was in place.
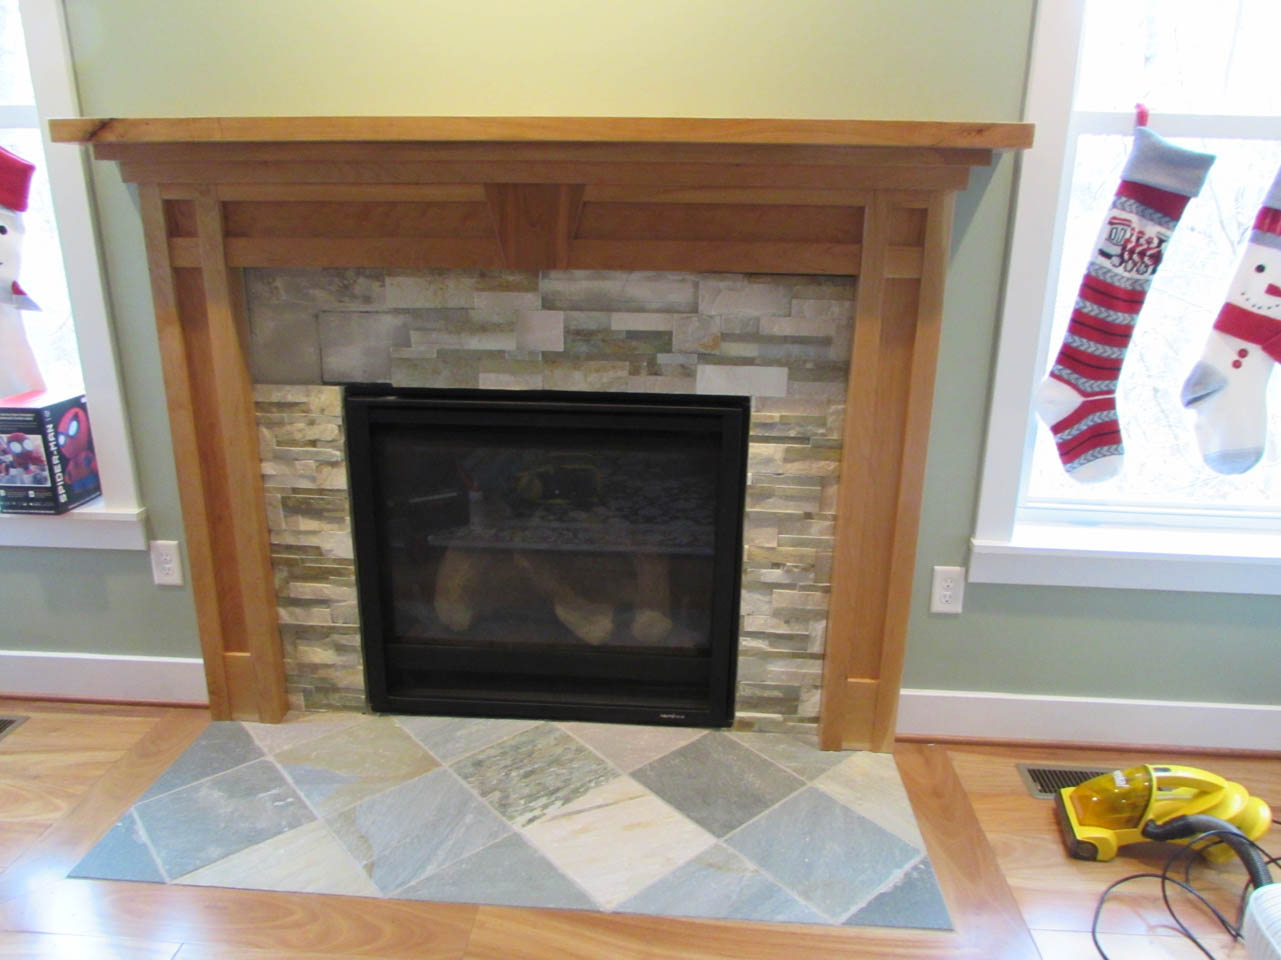
Hans’ wife was very happy with the final product so mission accomplished.
