
Stall bars
I have a new project to work on that is a little different from what I normally do. This is a project for me. I am building a set of stall bars for stretching and strengthening exercises. I have some back problems that I am hoping to alleviate with exercise. Lots of optional add-ons can be used with these bars, I am building the base set of bars and will make or buy additional items as needed. But I have to start somewhere. I looked at a lot of different ones online and decided to come up with a design of my own that would match the maple in my office and require me to buy a few new tools. Here is a quick snapshot of my design with the optional dip bar attached. I won’t be building that yet, but I went ahead and designed it for later.

A lot of the wood bars that I see online are CNC cut out of plywood. I wanted to use solid maple for mine so I decided to use box joints and half lap joinery for attaching the main brackets to the wall. These are the plans I came up with:
STALL bars.pdf
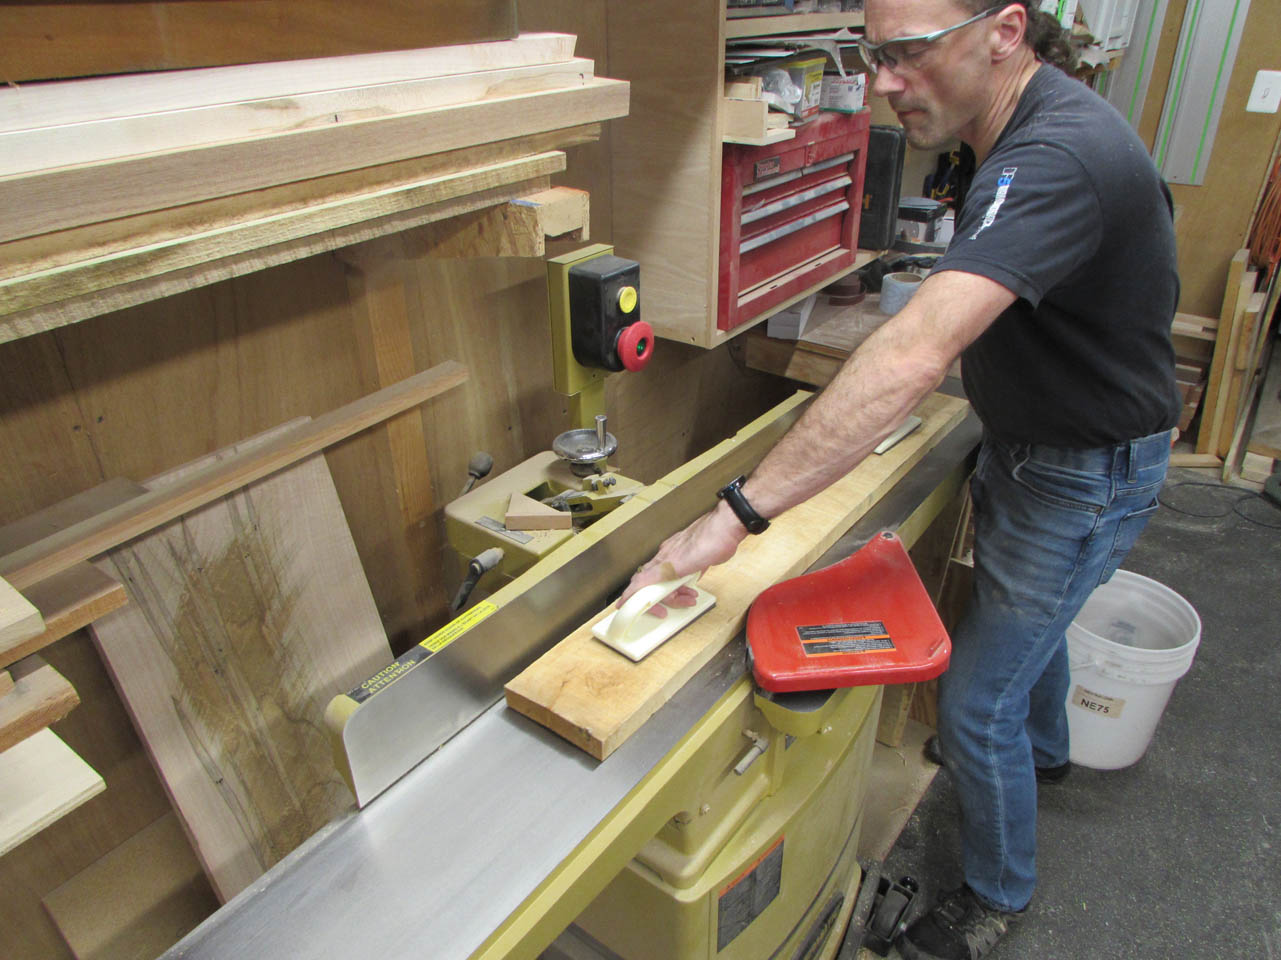
As with most of my projects, I start by planing and jointing two flat, perpendicular faces on all of my hard maple boards.
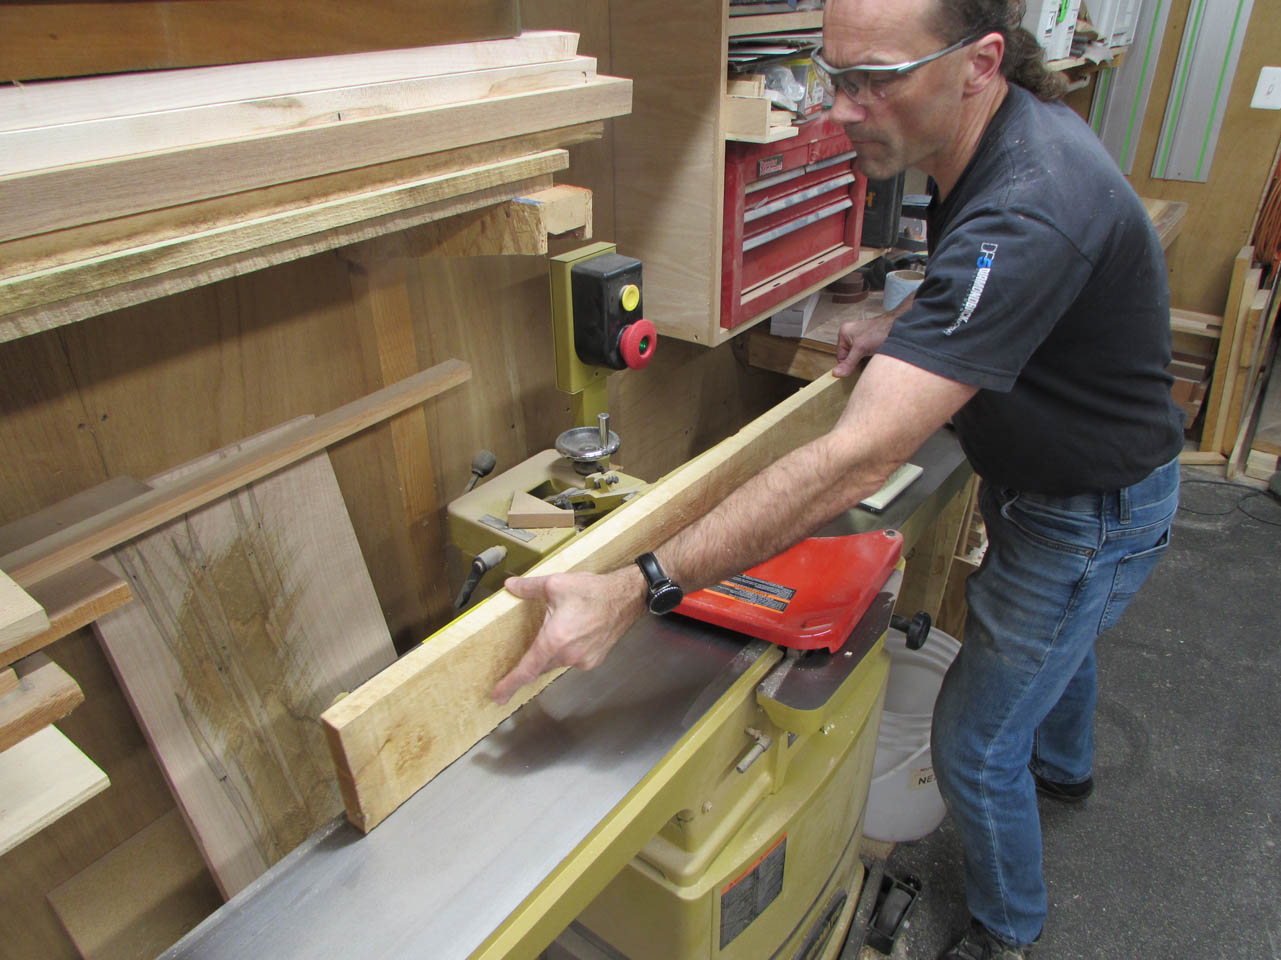
You could start with pre-surfaced wood from the big box store, but I wanted 1″ thick material when surfaced so I bought rough-sawn 5/4 boards.
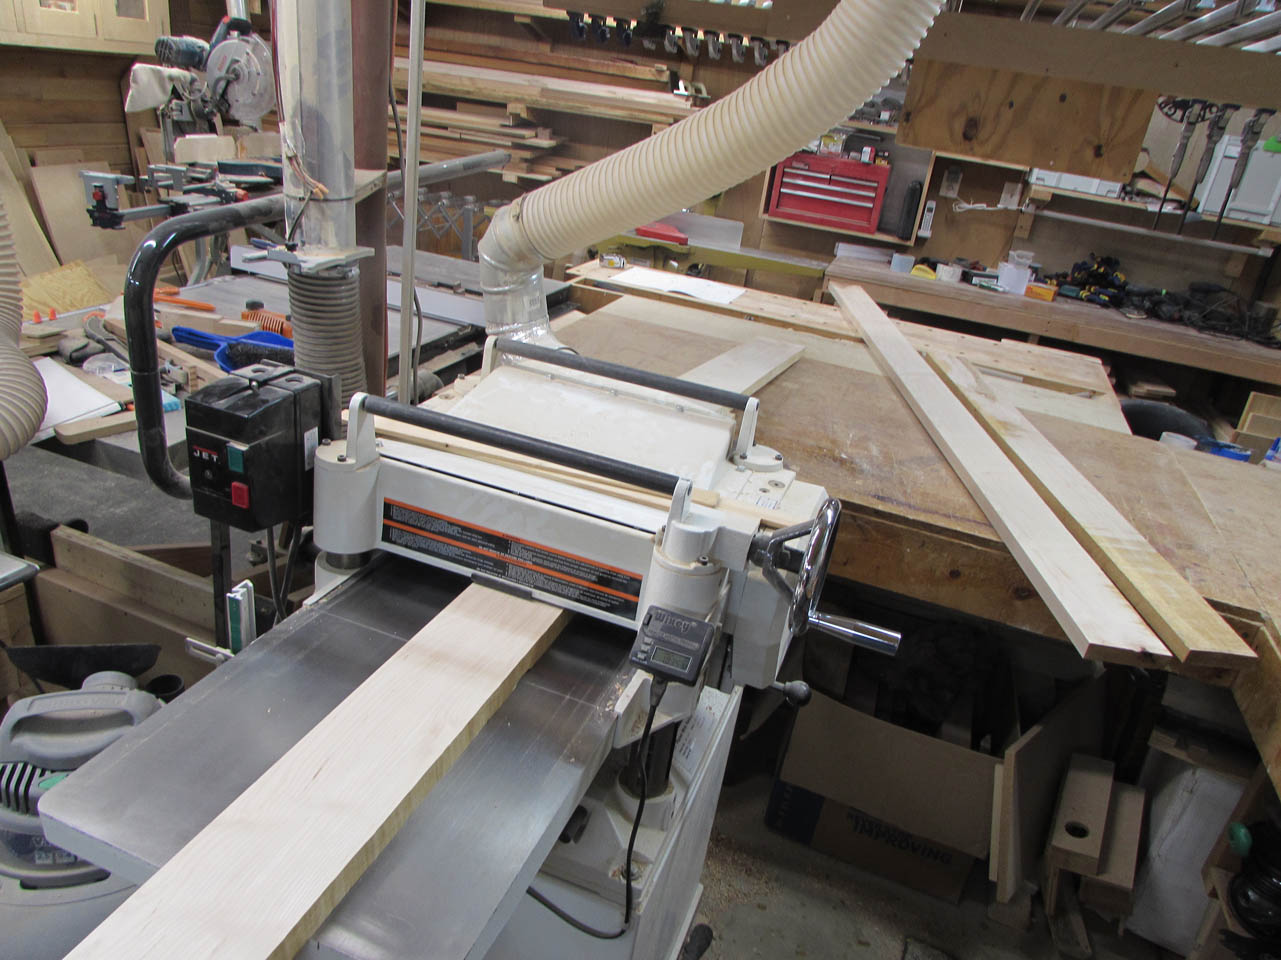
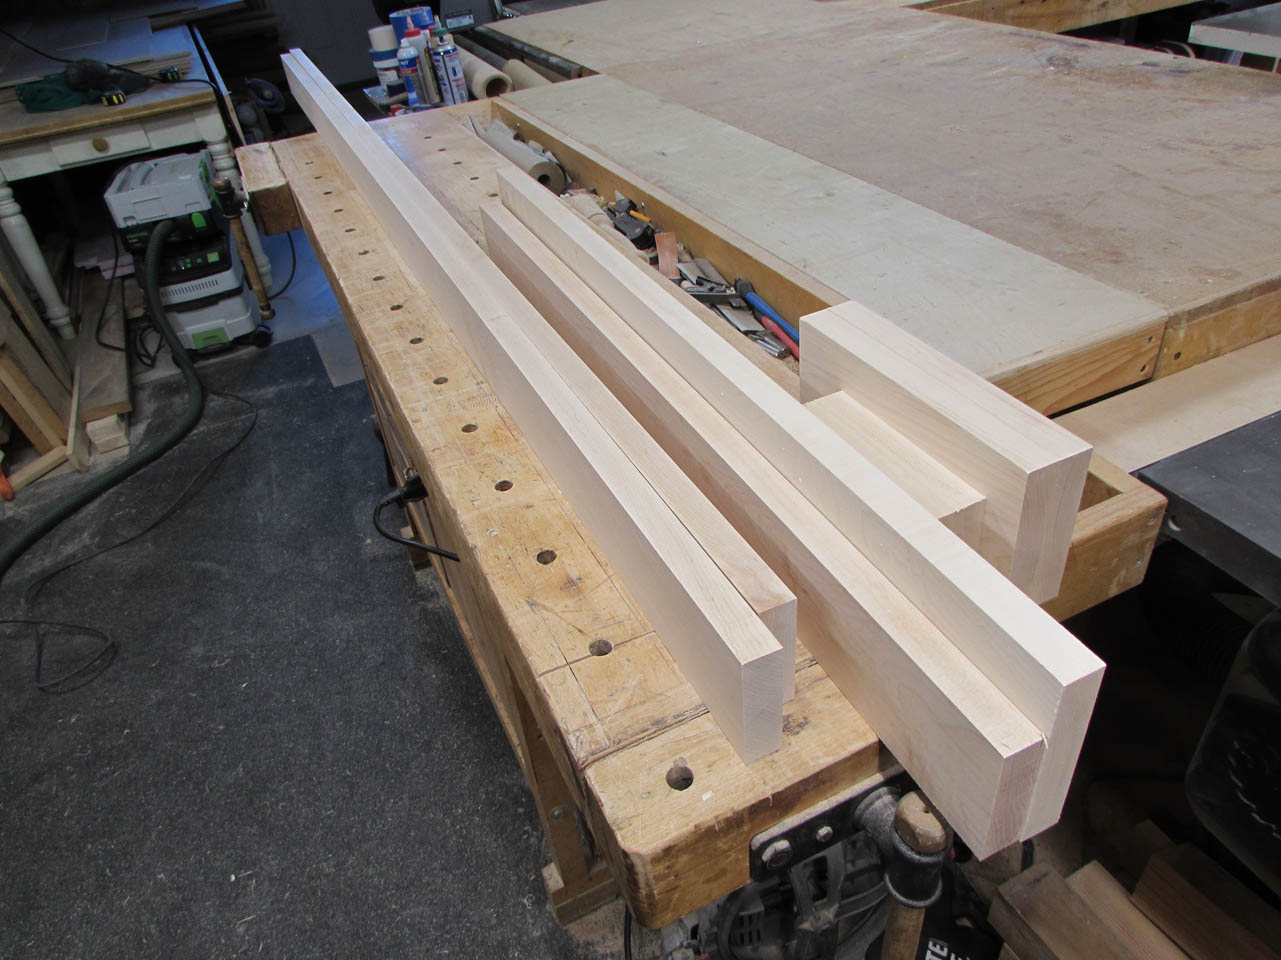
I ran them all through the planer and cut them to final width on the table saw.

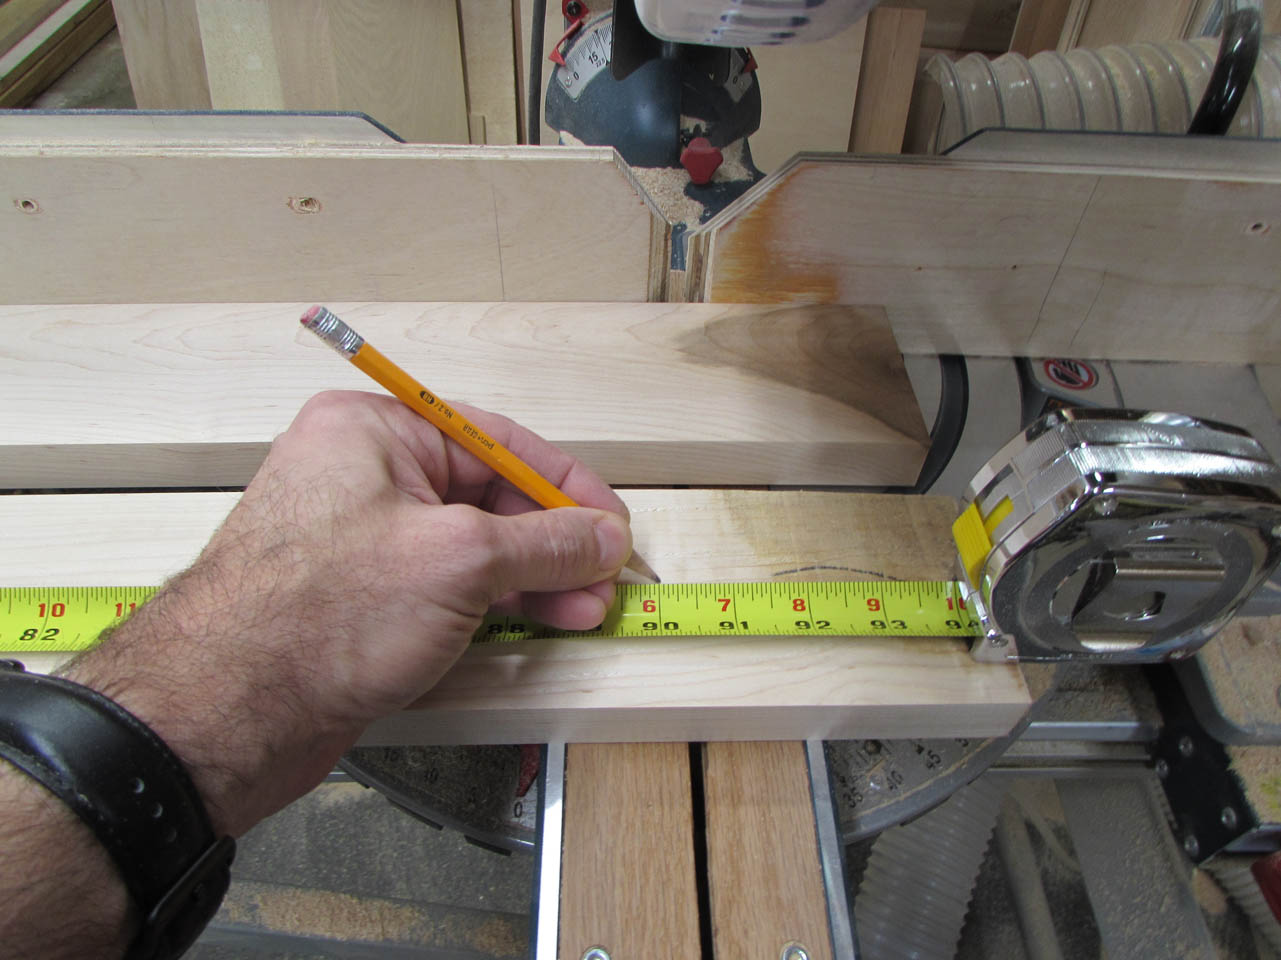
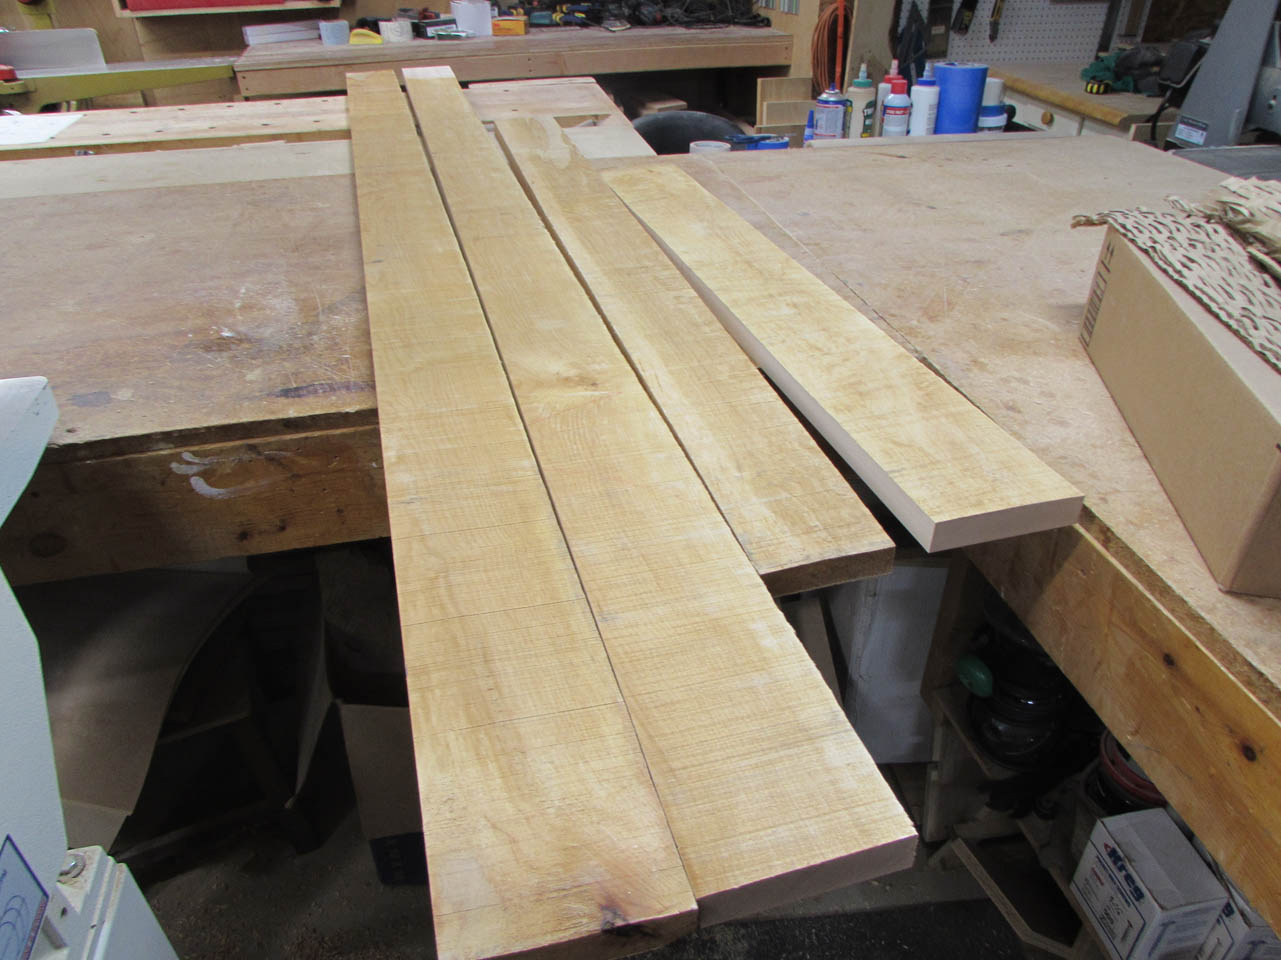
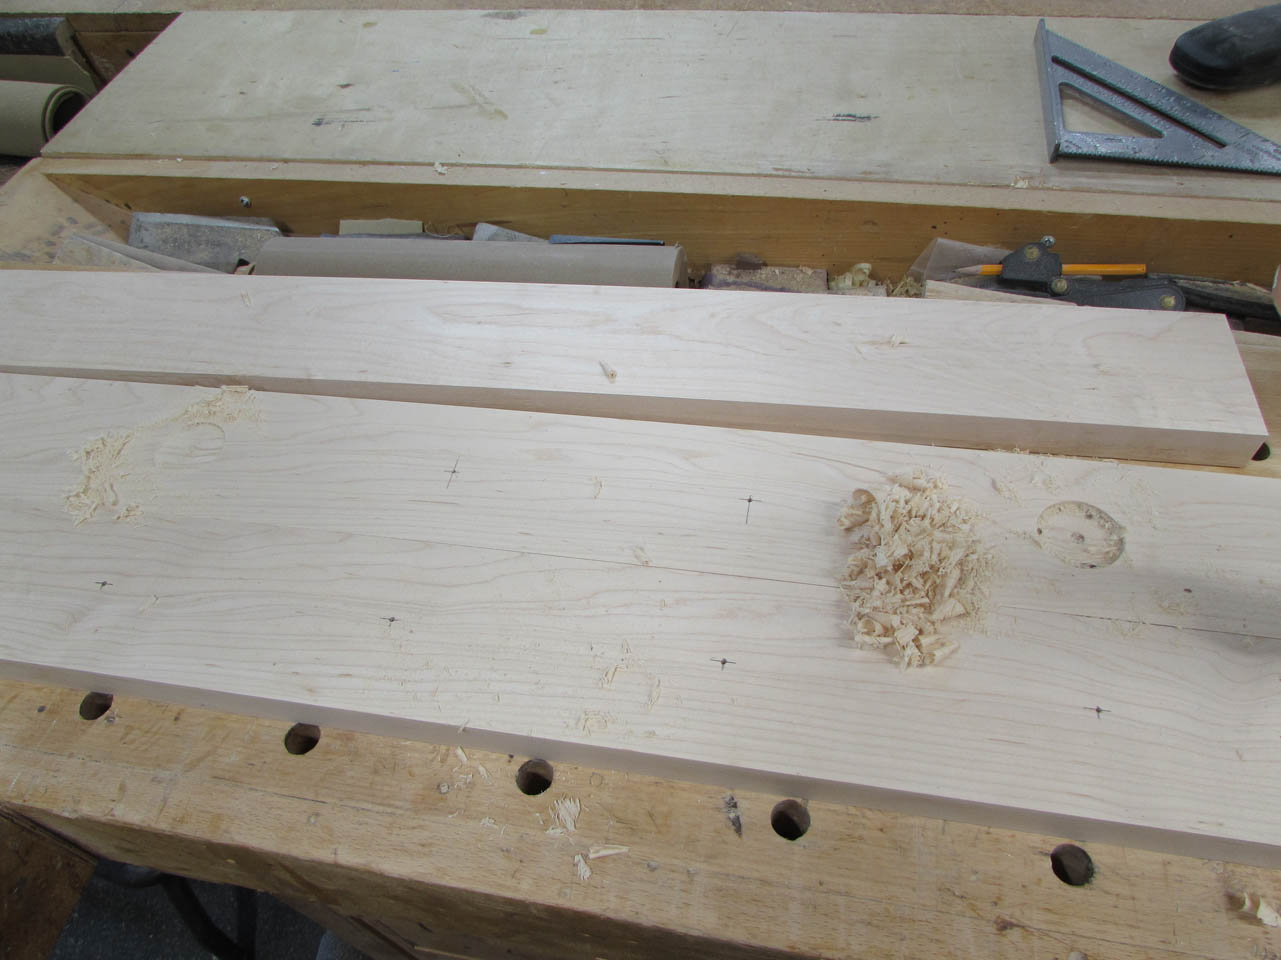
Then I marked and cut them all to length. I tried to mainly use the white wood so I cut off the ends with darker spots.

With all my main components cut to overall size, I start marking hole locations.
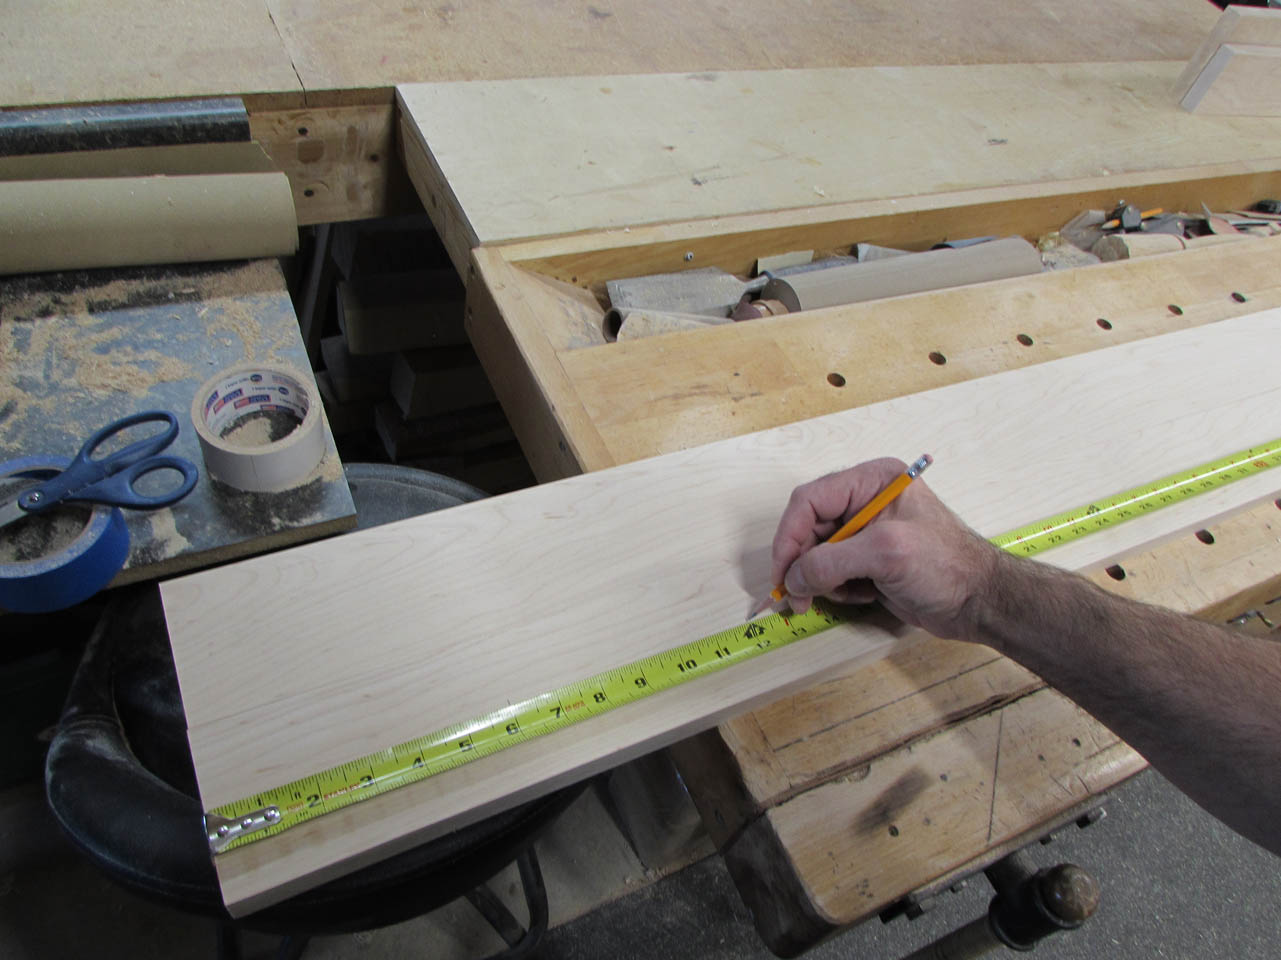

A stall bar is basically built like a ladder with 1-1/2″ diameter rungs. I made my sides 1″ thick with the intention of drilling 1-1/2″ diameter holes 1/2″ deep to hold the rungs.


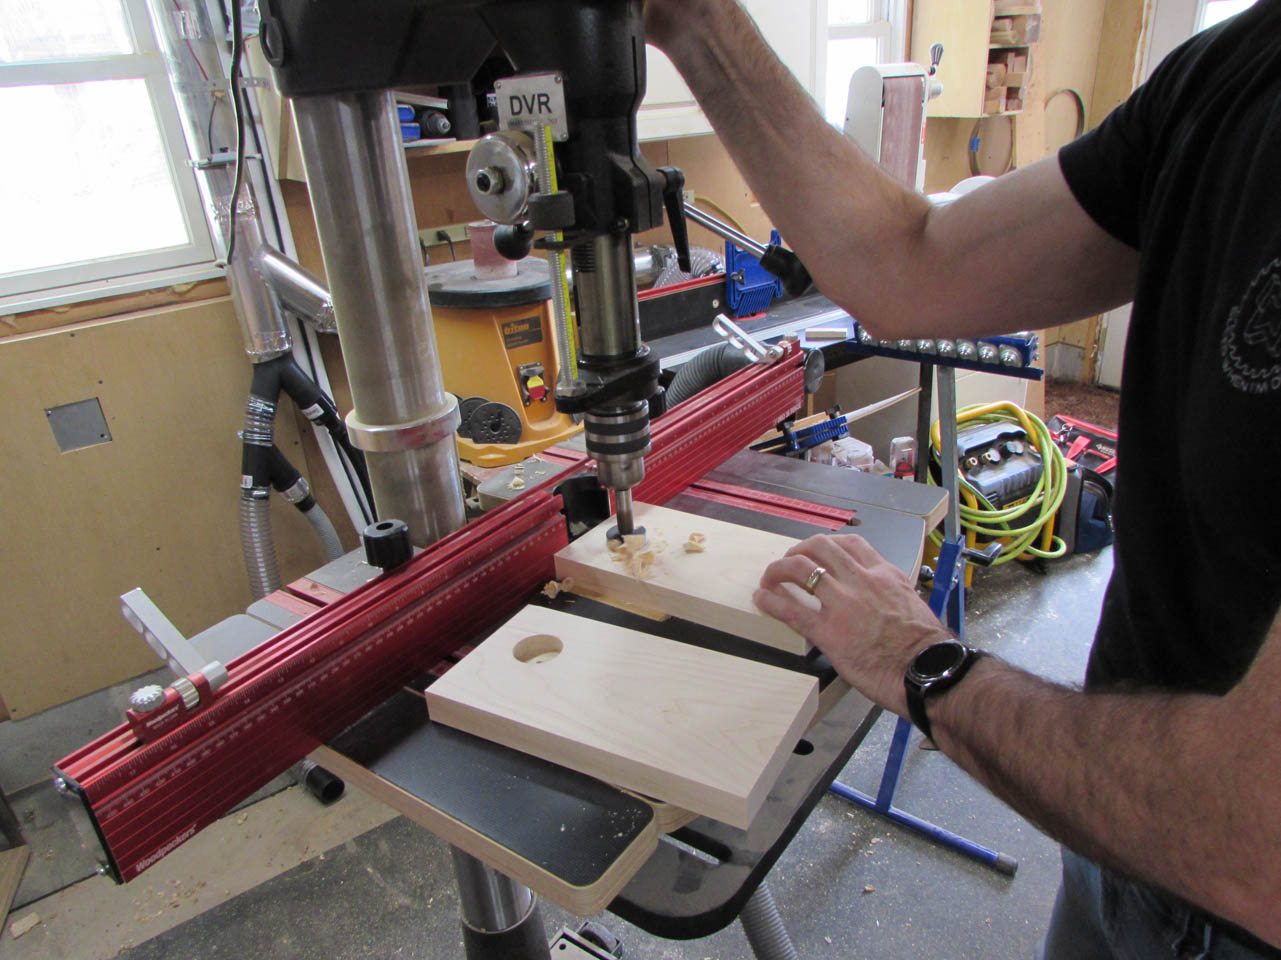
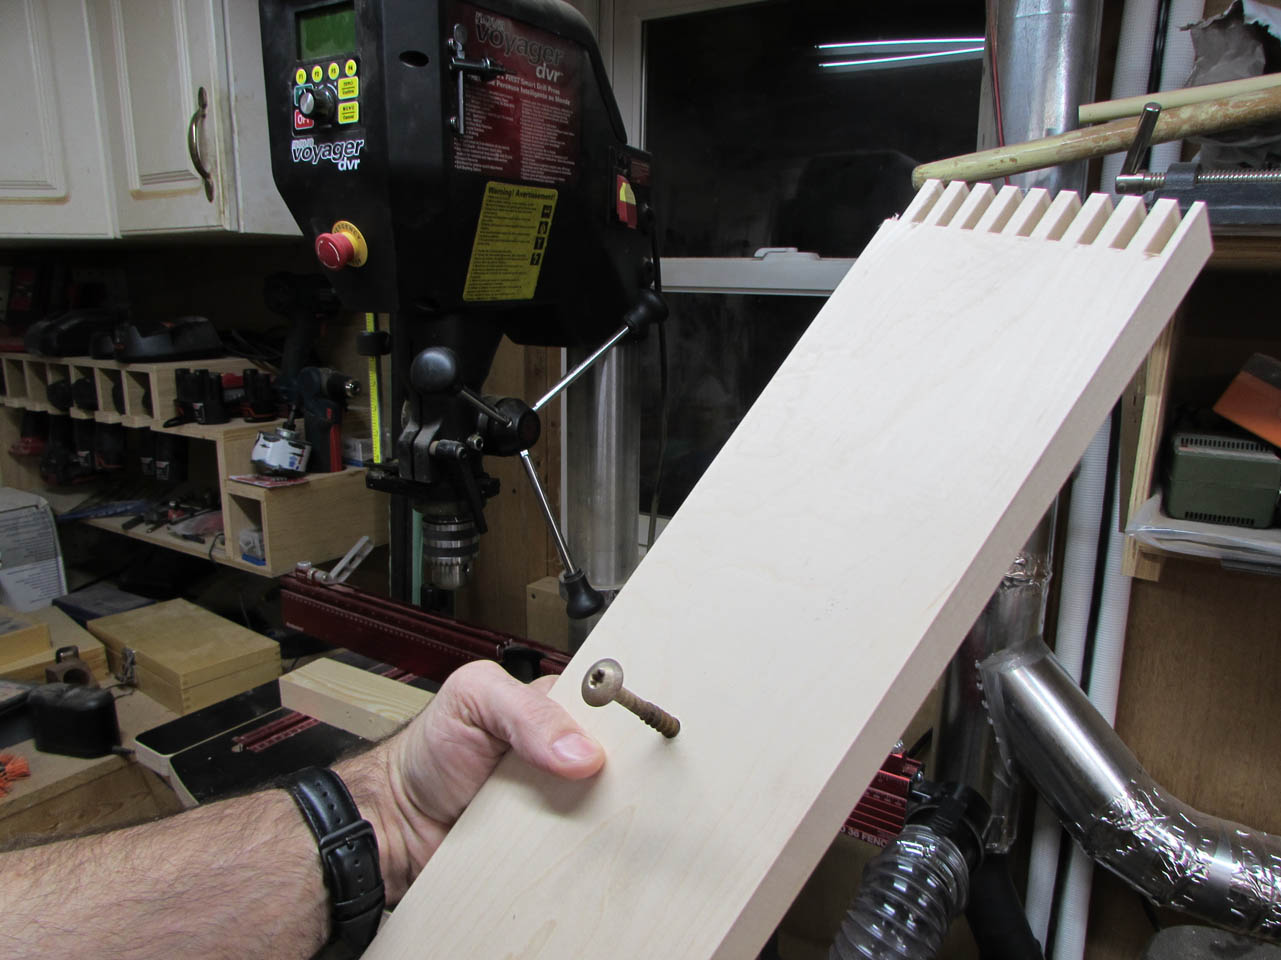
I just purchased this portable drill guide for another purpose but I thought it might save me from having to pull the drill press out to accommodate the 90″ long boards.
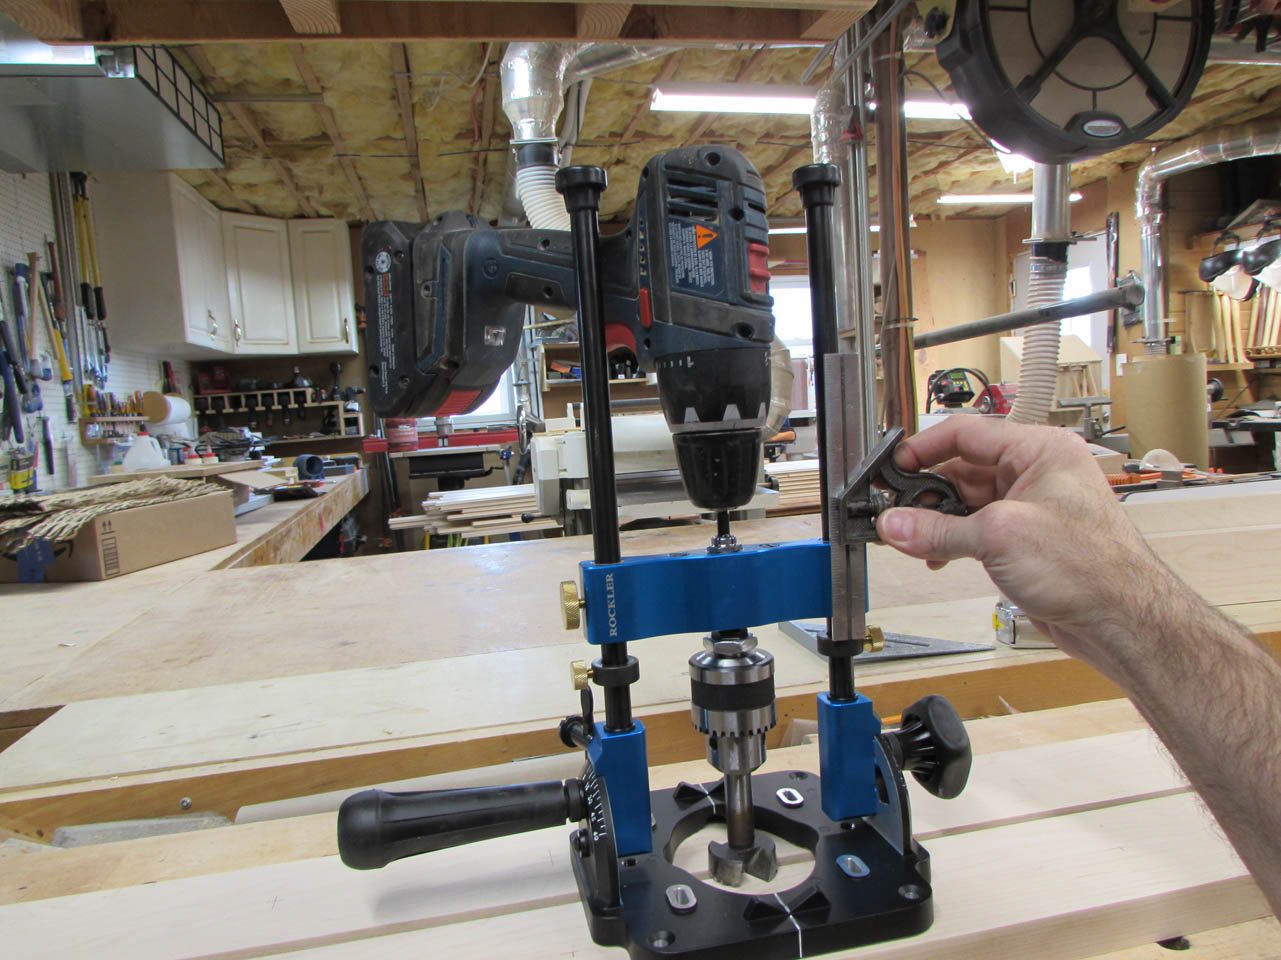
I set it up with one of my drills and a 1-1/2″ Forstner bit, then used my awl to mark the center point of each hole to make it easier to align the bit.

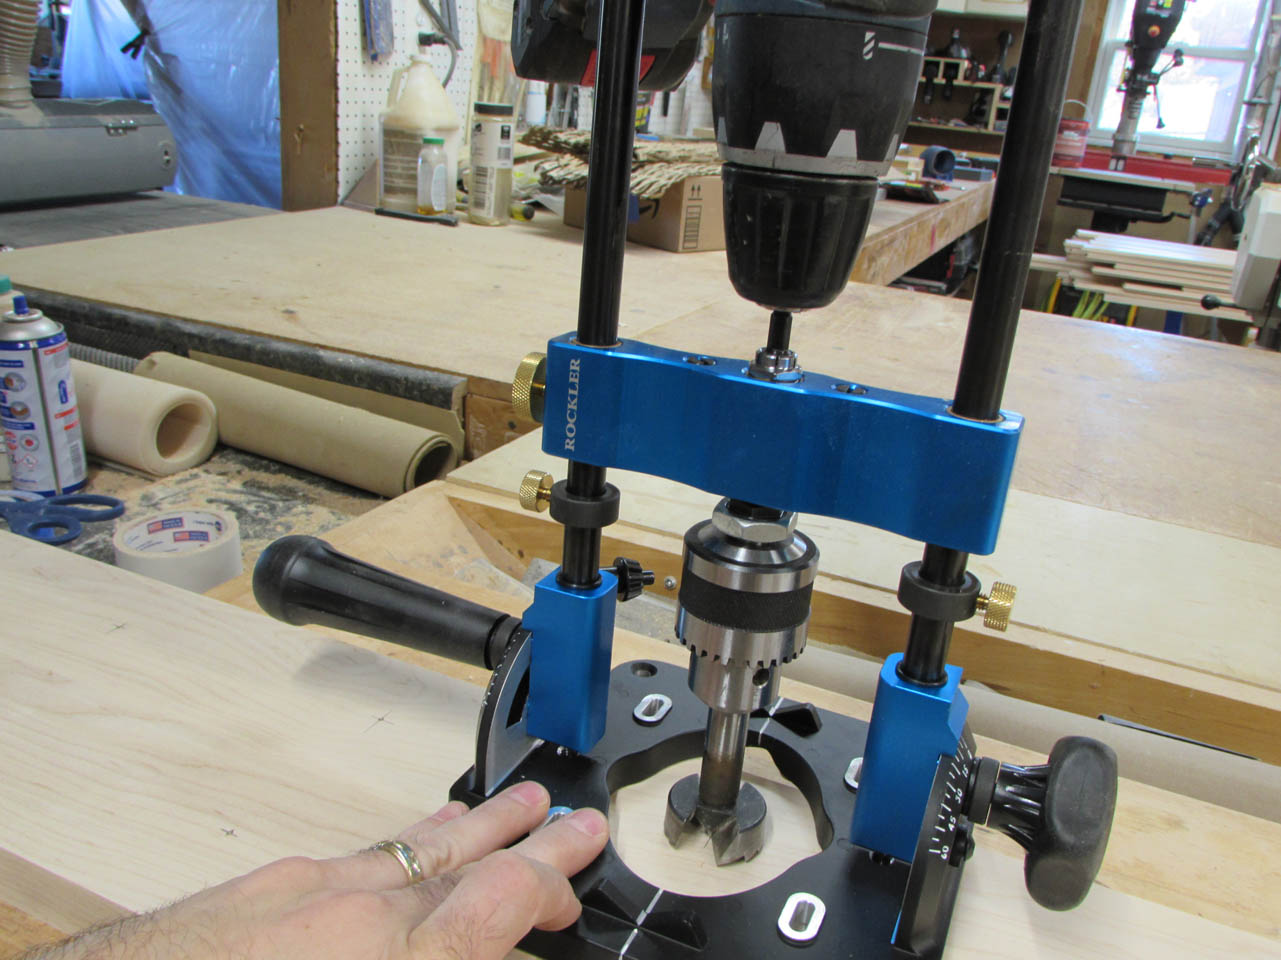
Then I fired up the drill and started making holes.

Well, that was the intent but I did not get very far because I just couldn’t put enough force down on the drill. I am trying to force a large bit into very hard maple. Perhaps smaller holes on softer wood will work better…
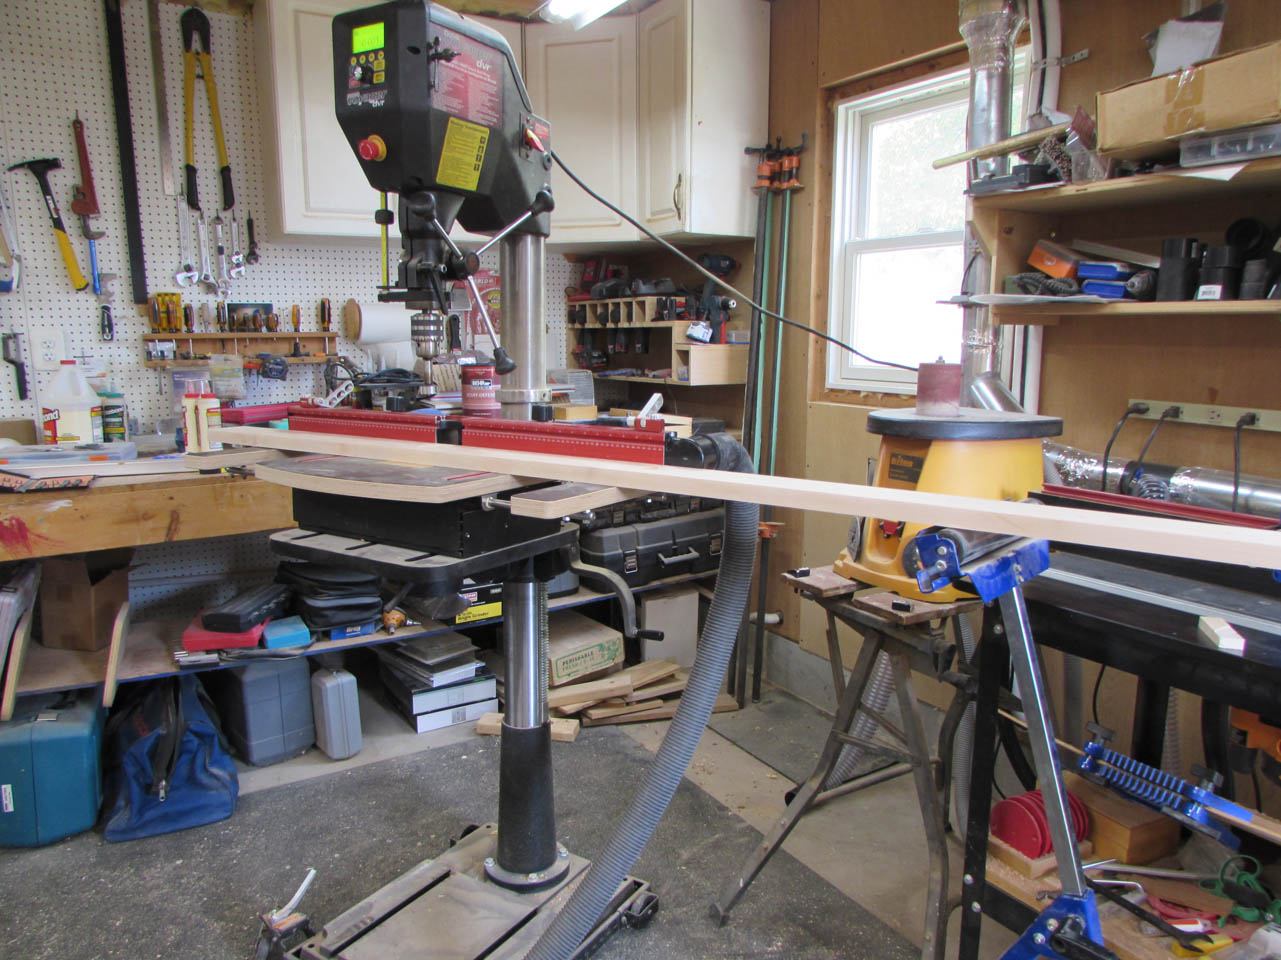
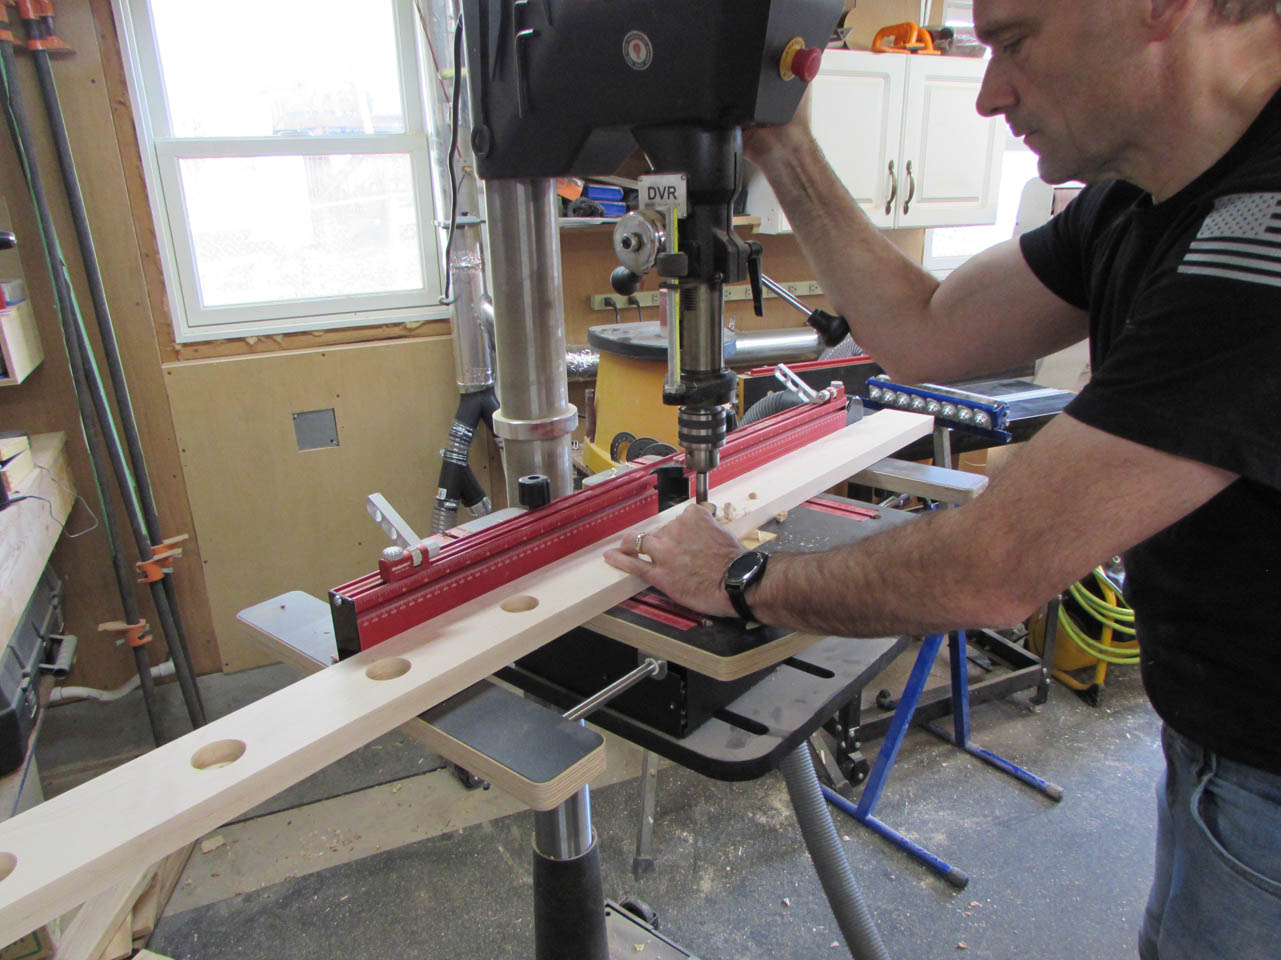
That doesn’t help me now though so I pulled out the drill press and found an angle that would accommodate the length and started drilling.
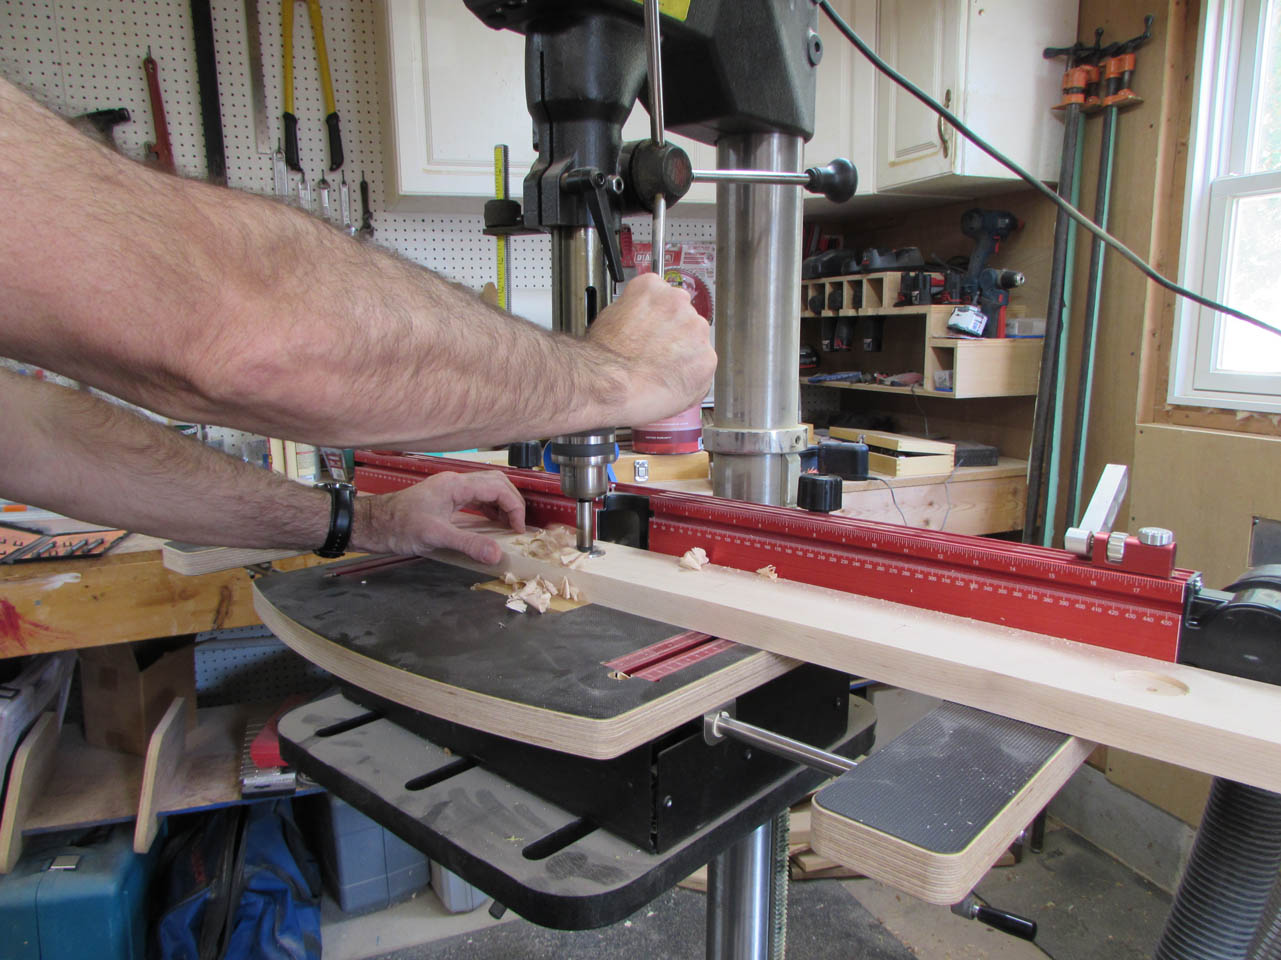

I set the stop for 1/2″ deep and drilled the rest.
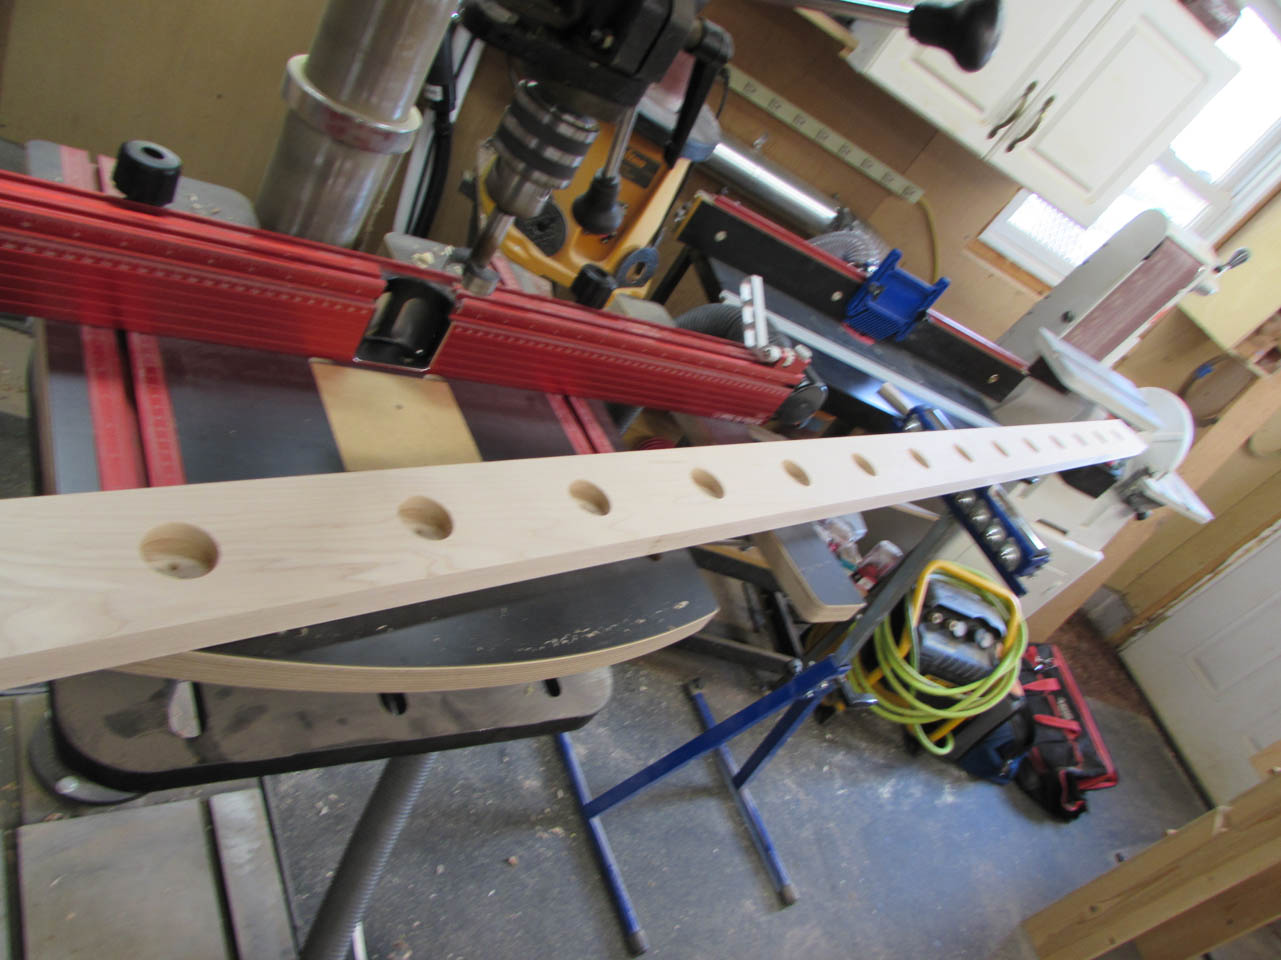
Thirty holes later, I was done.
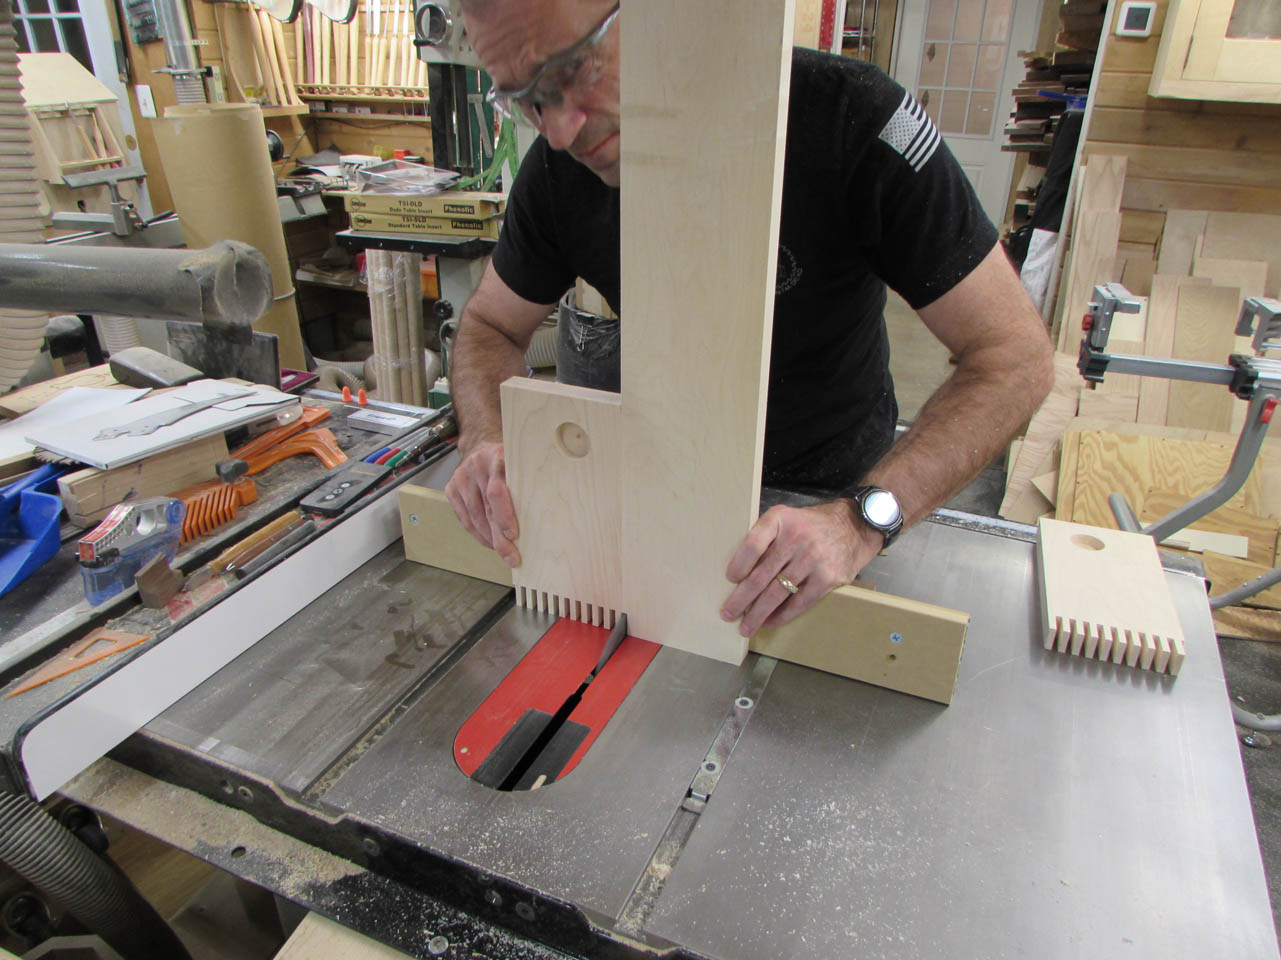
I used this project as an excuse to buy a box joint jig from Infinity tools, along with a 1/4″ wide dado blade.

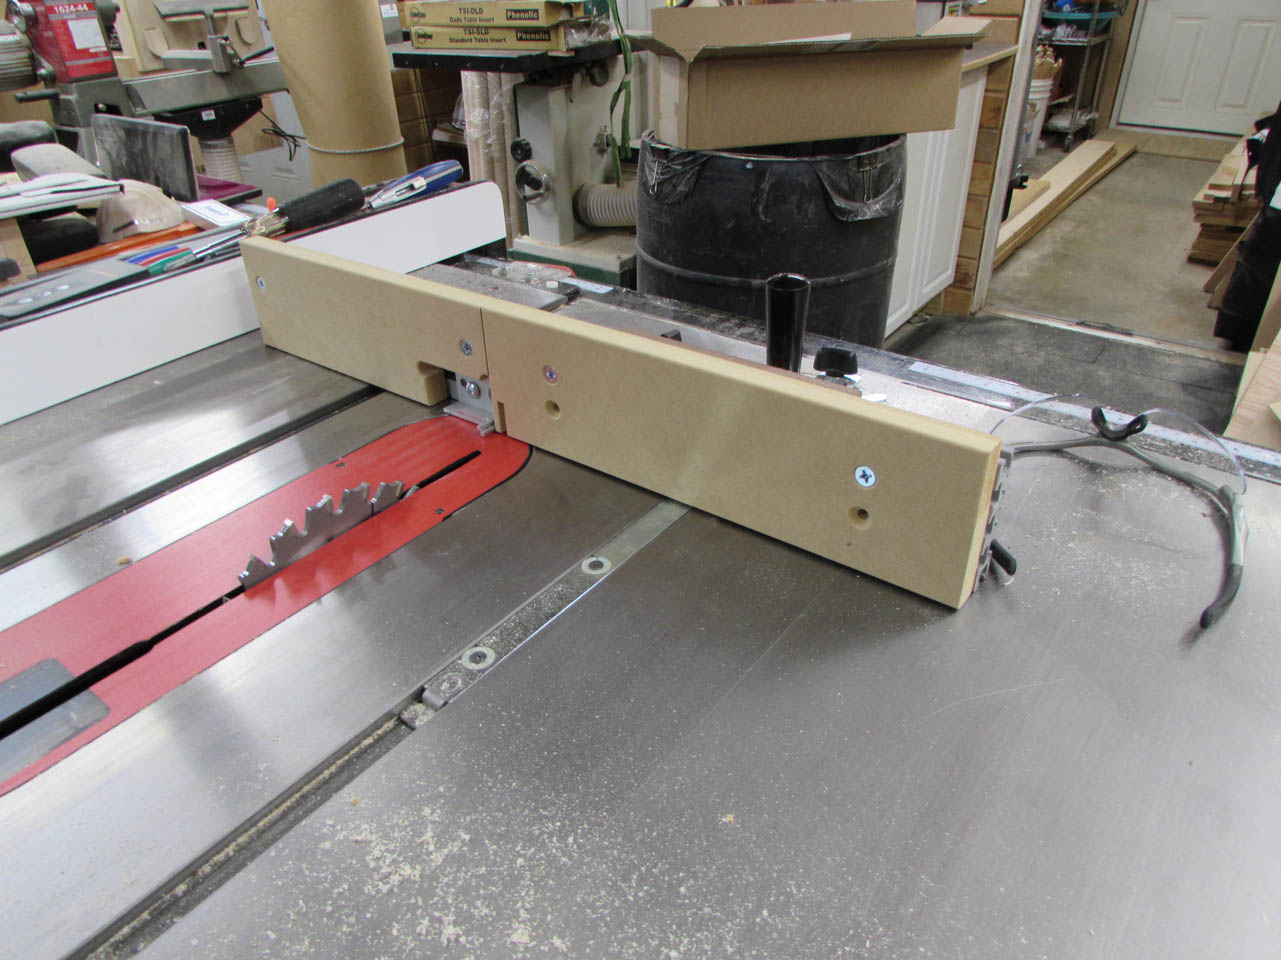
It did not take much effort to set it all up.

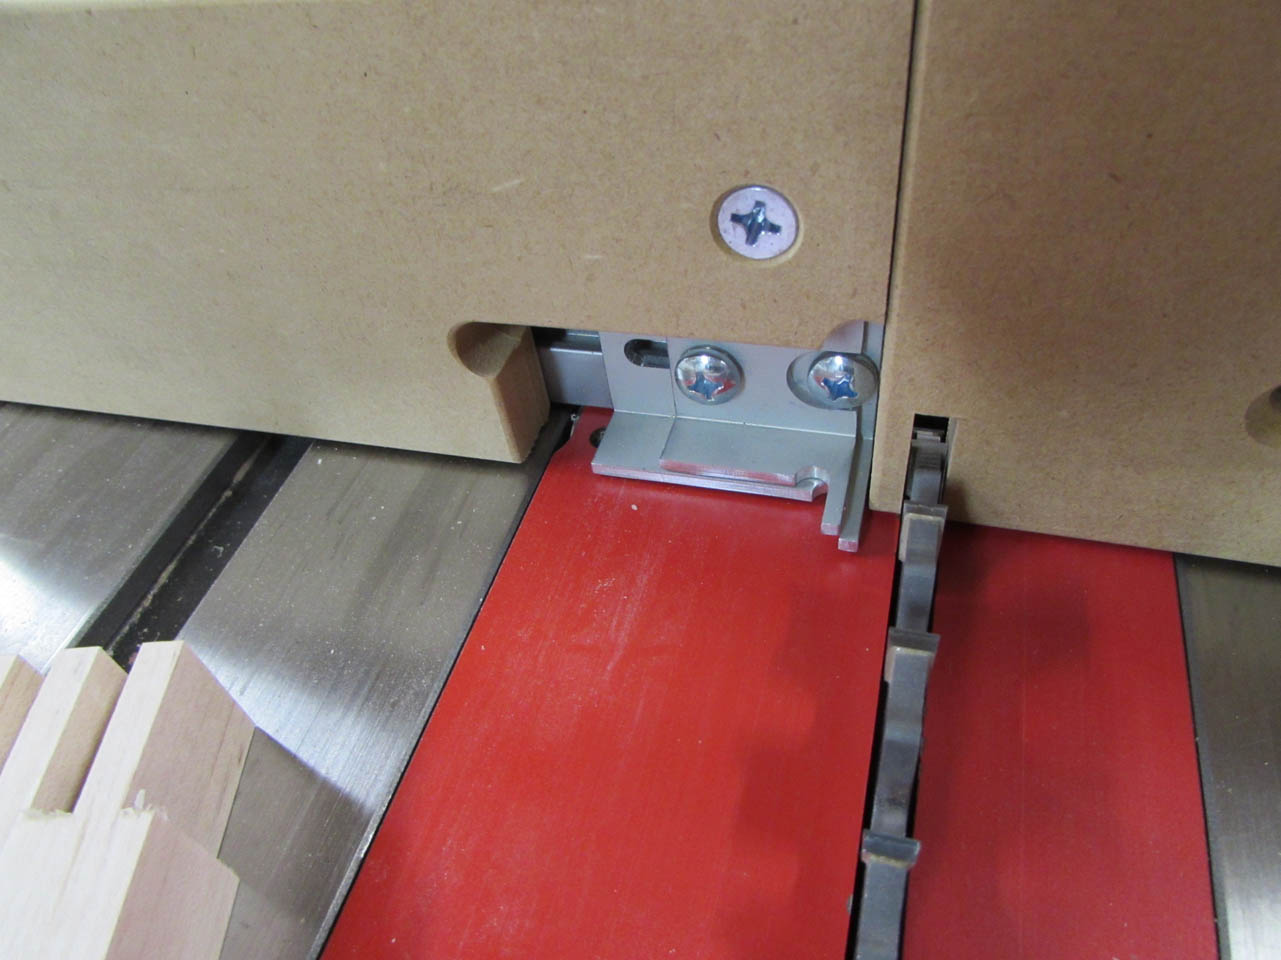
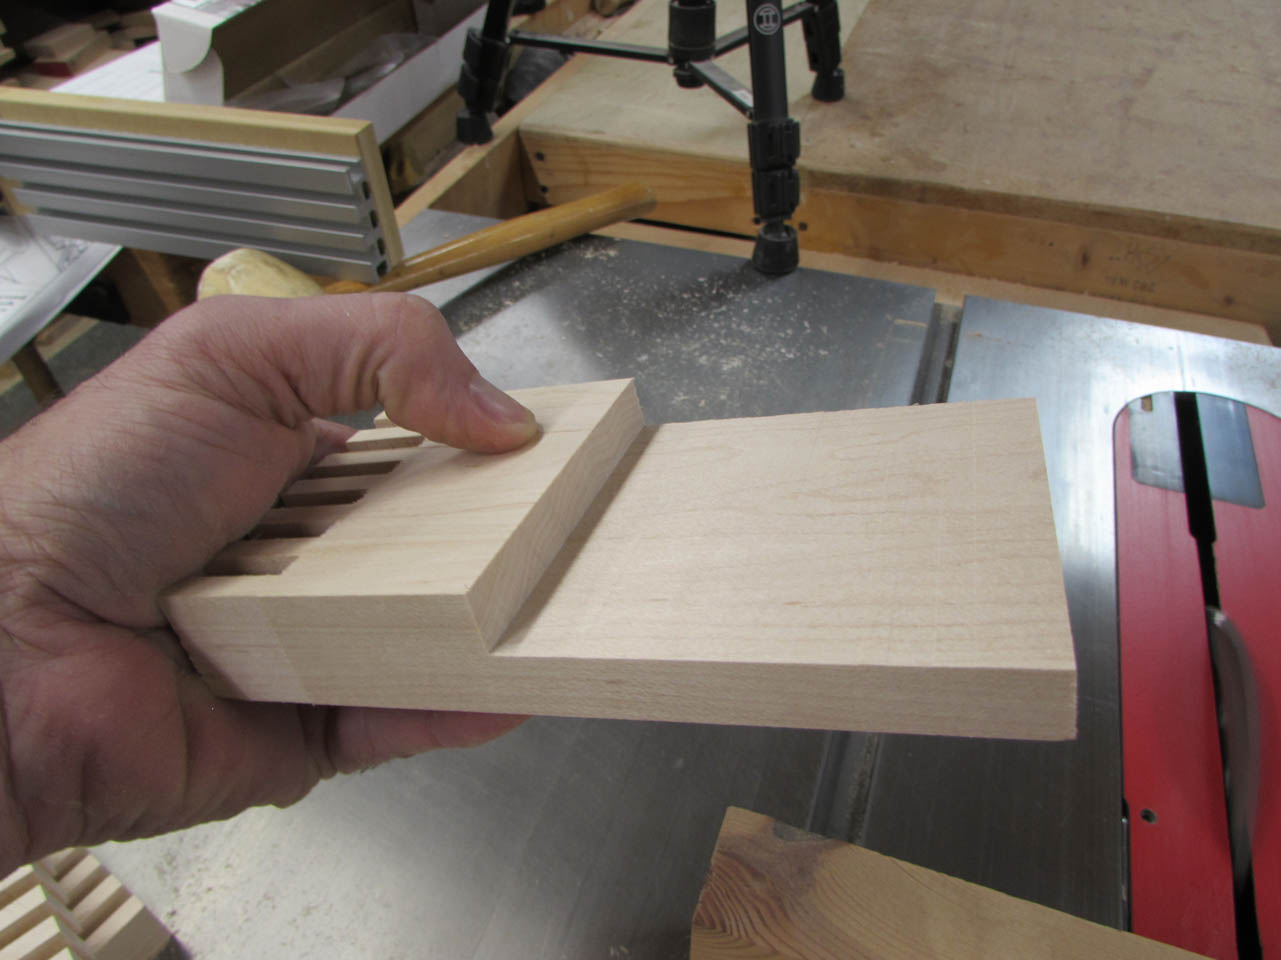
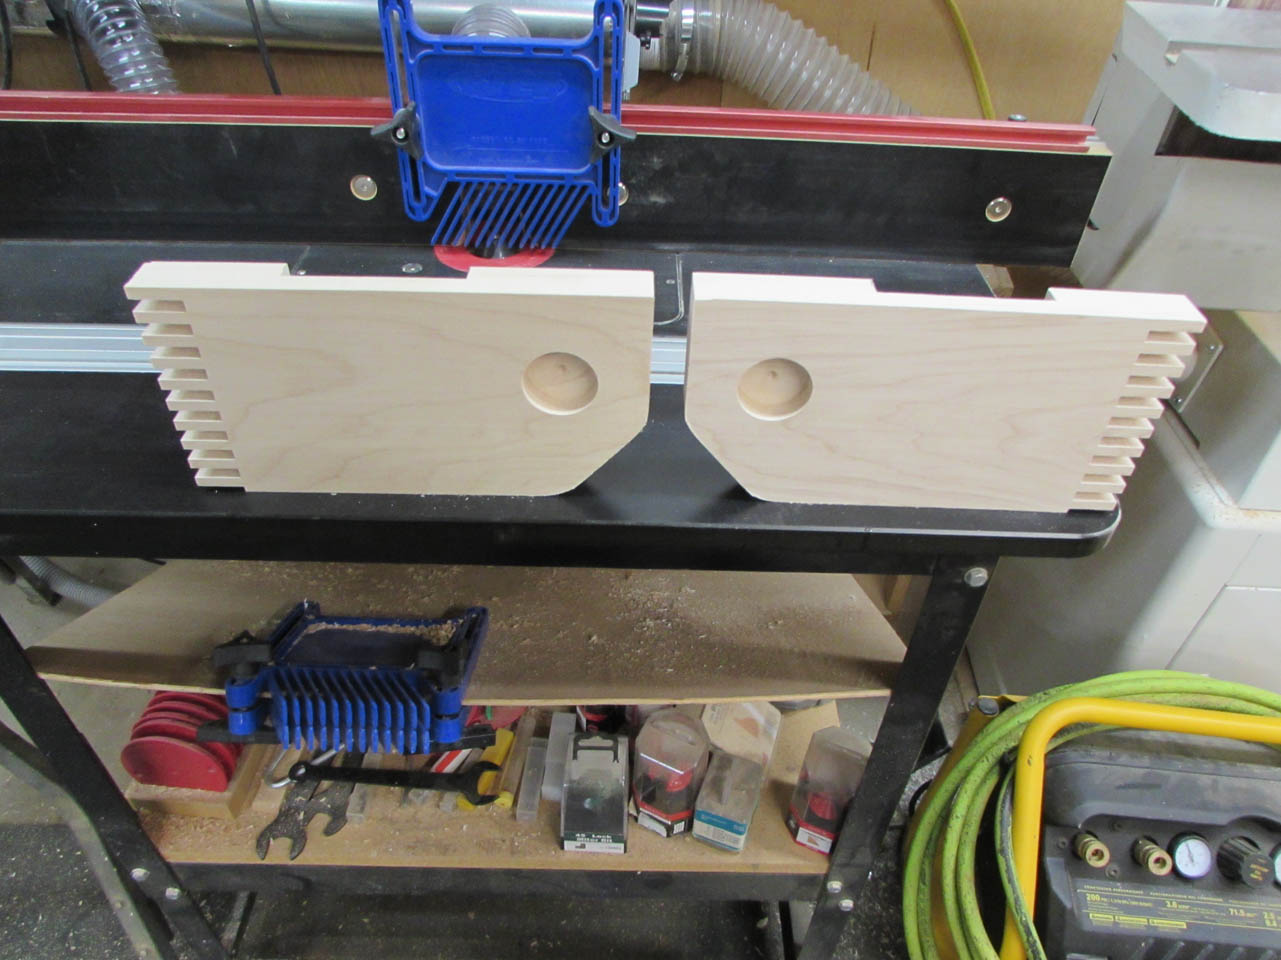
I made the first cut through the fence and set the pins, then made my first box joints on some off-cuts.

It worked perfectly the first time and it is a tight joint. It needs to be assembled and disassembled with a rubber mallet.

Happy with the test piece I got started on the rest of my parts.
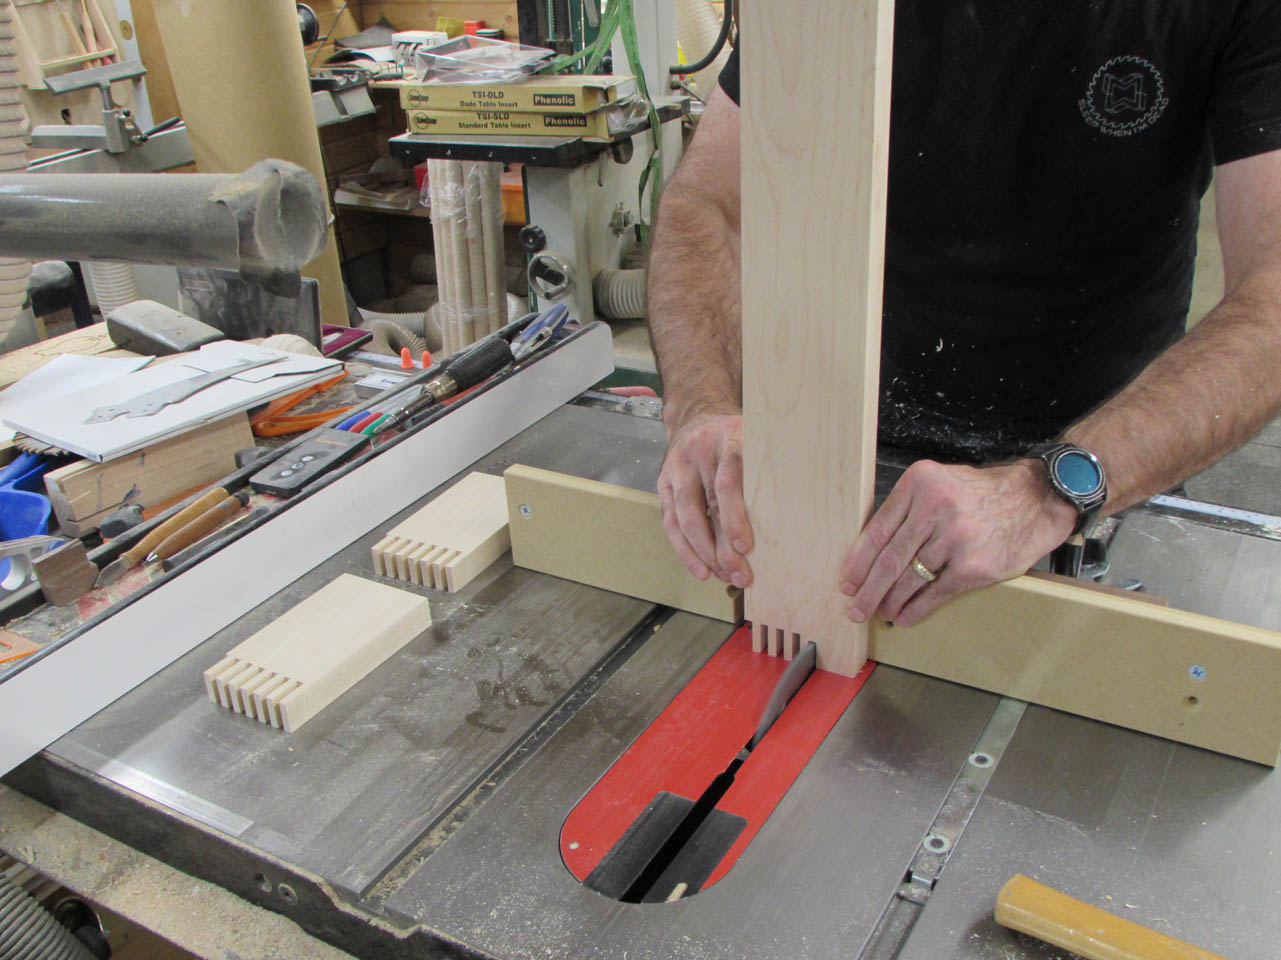
I cut all the short, sides first.
Then I used one of them to start the longer back pieces. Leaving the previous piece on the pins sets the new block in the right position to set up the alternate pattern on the back piece.
After the first cut, I can then use that to line up on the pins, then step through the rest.


They worked great.

I repeated the process on the lower section as well.

With the joints and holes cut, I marked the locations of the half-lap joints.

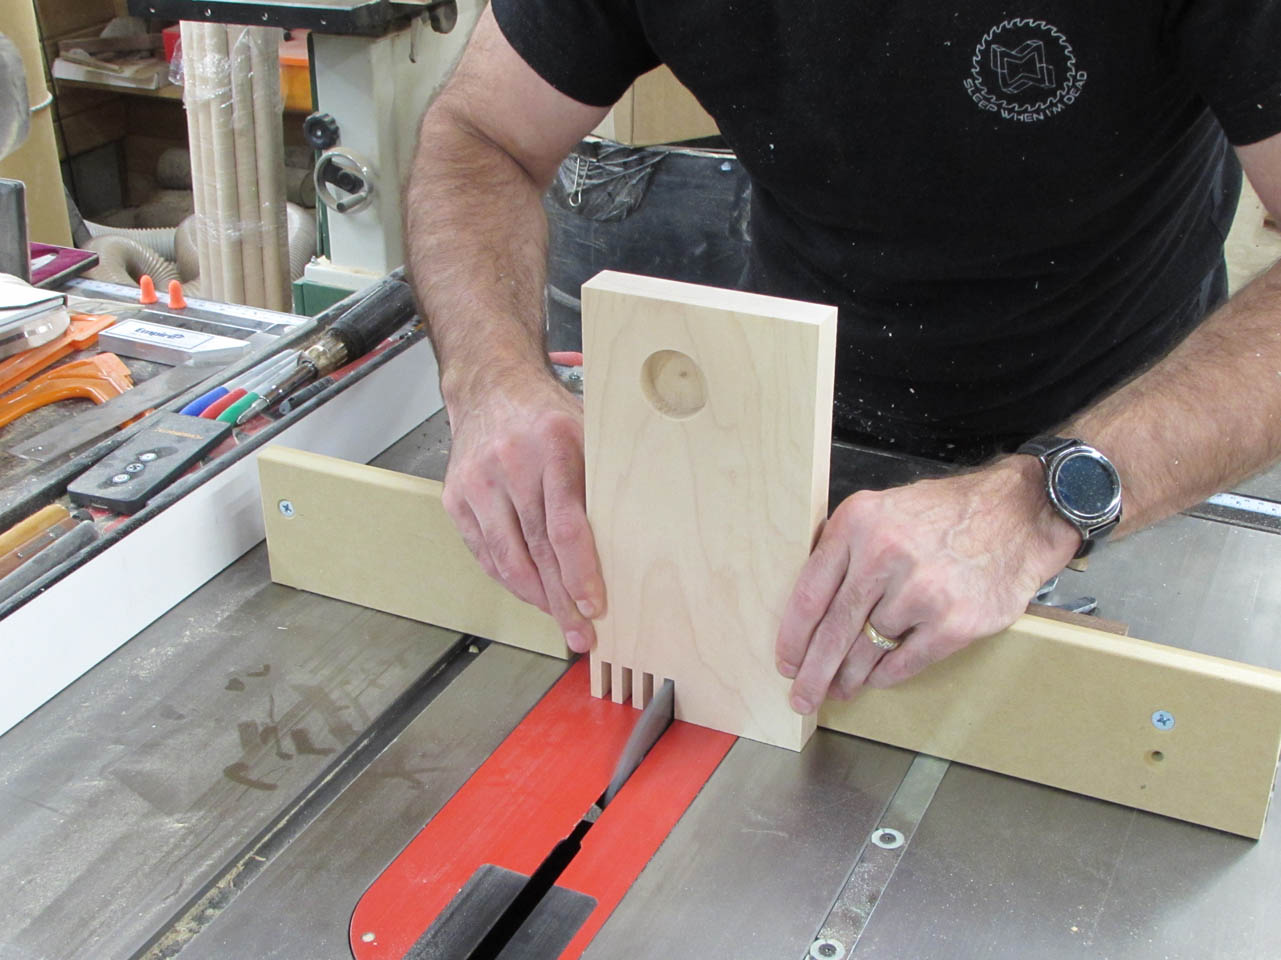
I decided to try cutting my half lap joints with the new 1/4″ wide dado blade.
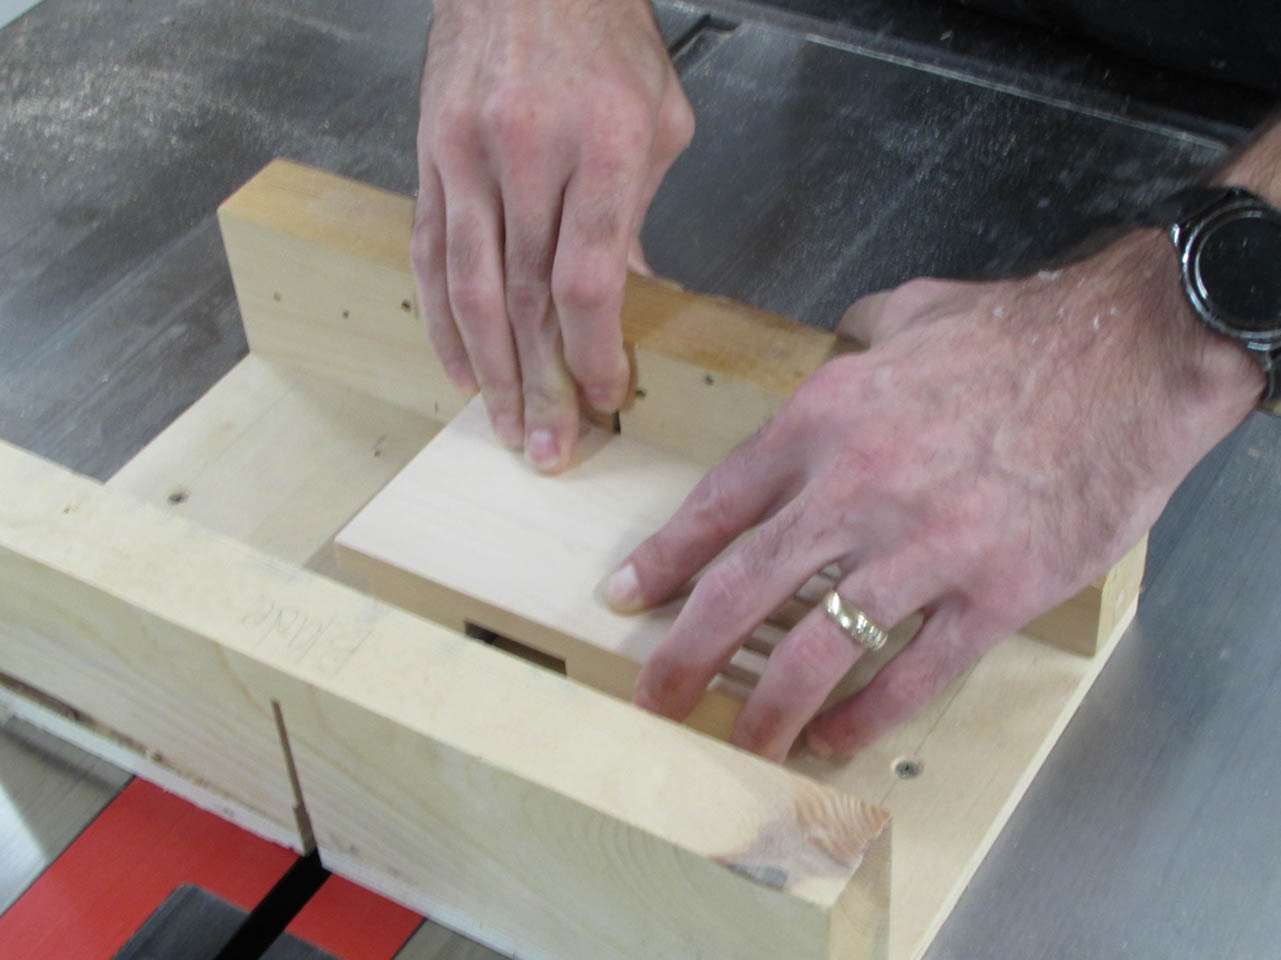
To keep the pieces square, I used my small cross-cut sled.
I cut a few passes on the inside first, then cut a few passes along the outside.

I didn’t want the board to dip down so I cut a 1/2″ thick block and used it to support the piece for the last cut.
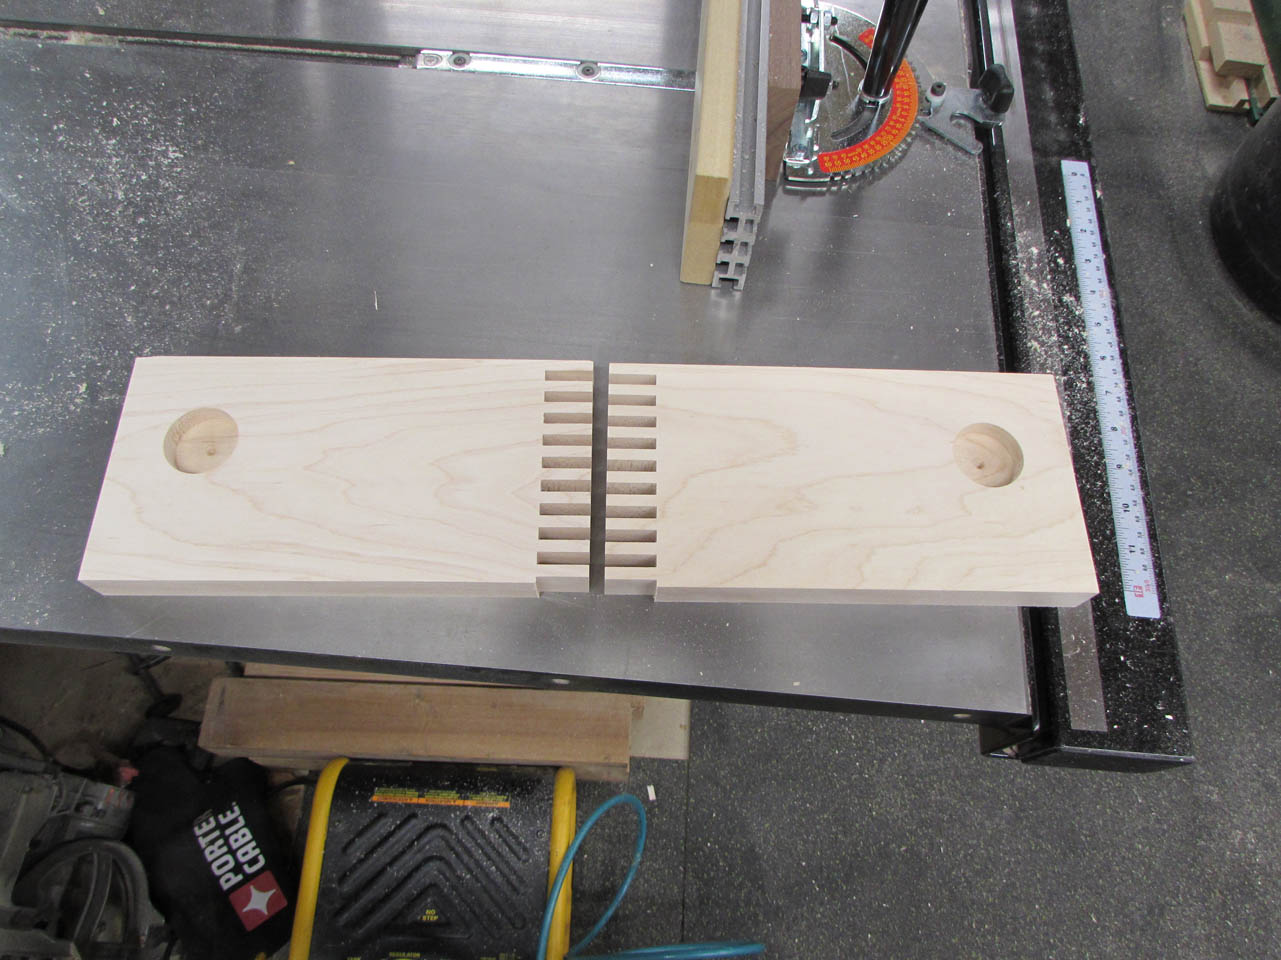
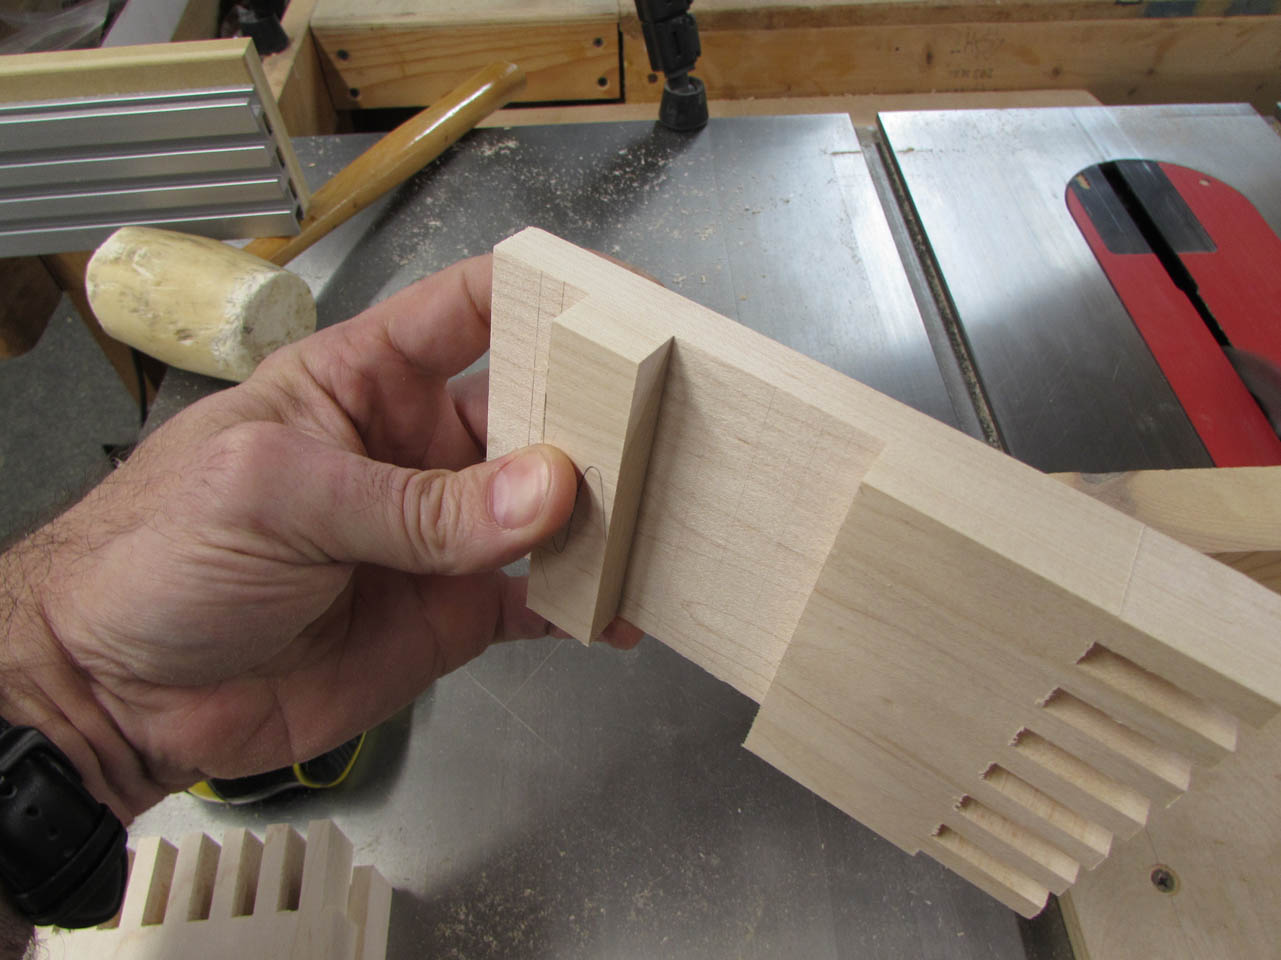
It turned out way better than I expected. The surface was almost perfectly flat and at the exact depth. It will make a very good glue surface.


I finished cutting the half lap in all the little pieces, then marked the longer sides.

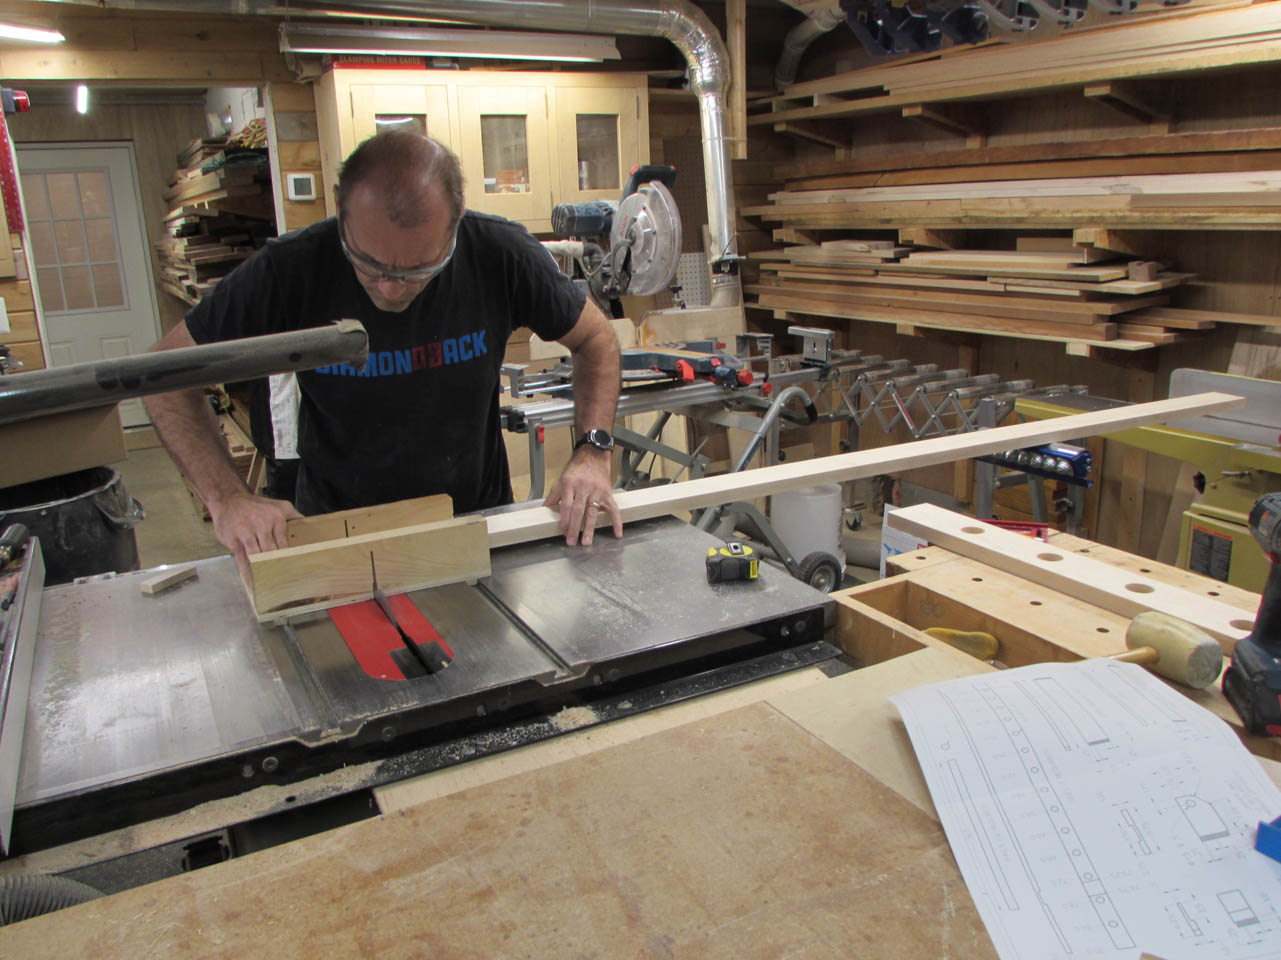
These will be tricky because the board is 90″ long and my sled is only about 12″ wide. I set up a support on the far end and held the board tightly to the sled to make the first cut.

Once the first cut was accurately made, I was less worried about getting a little wiggle in the rest of the joint.
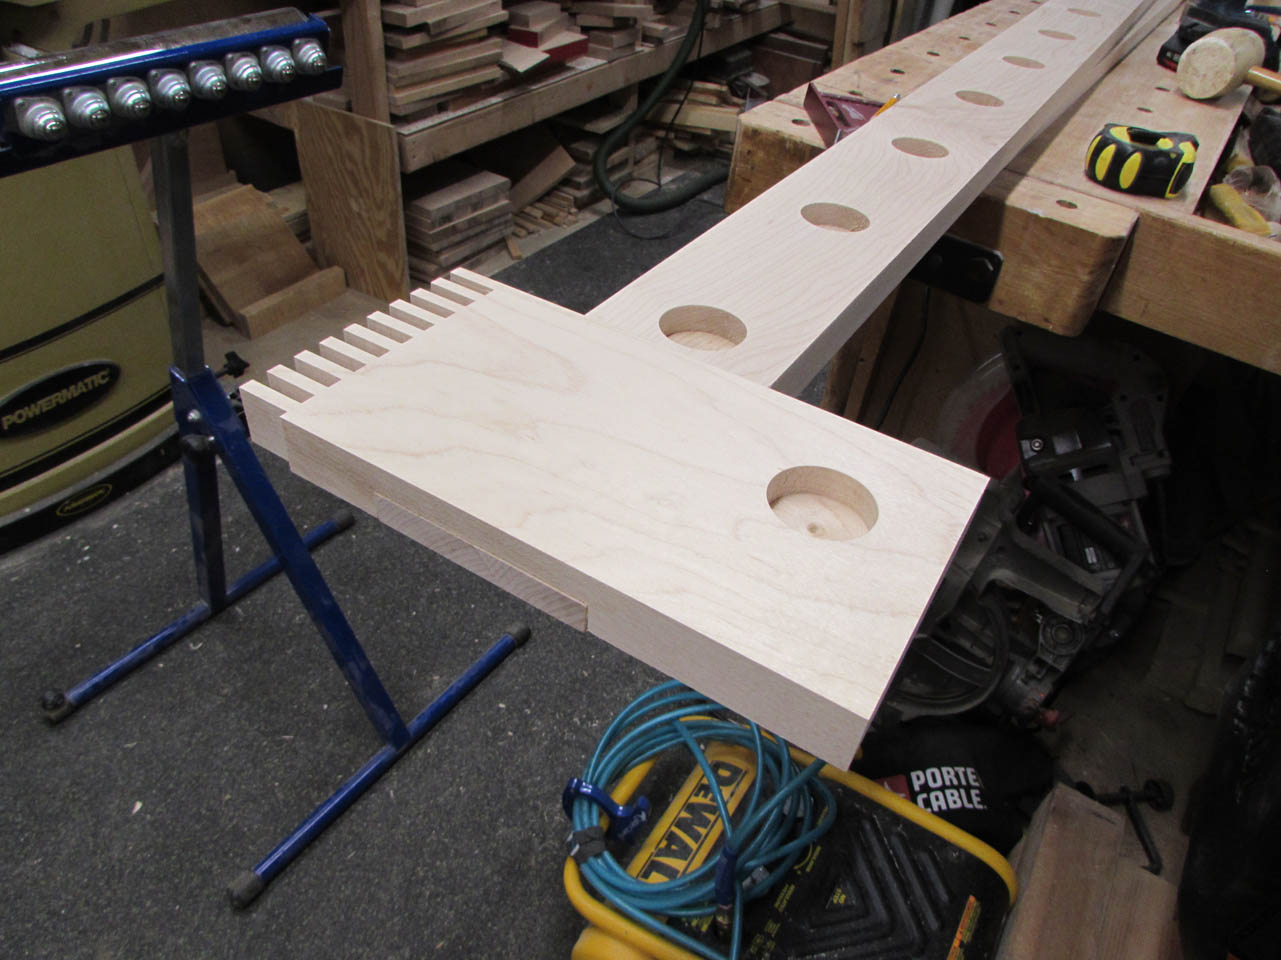
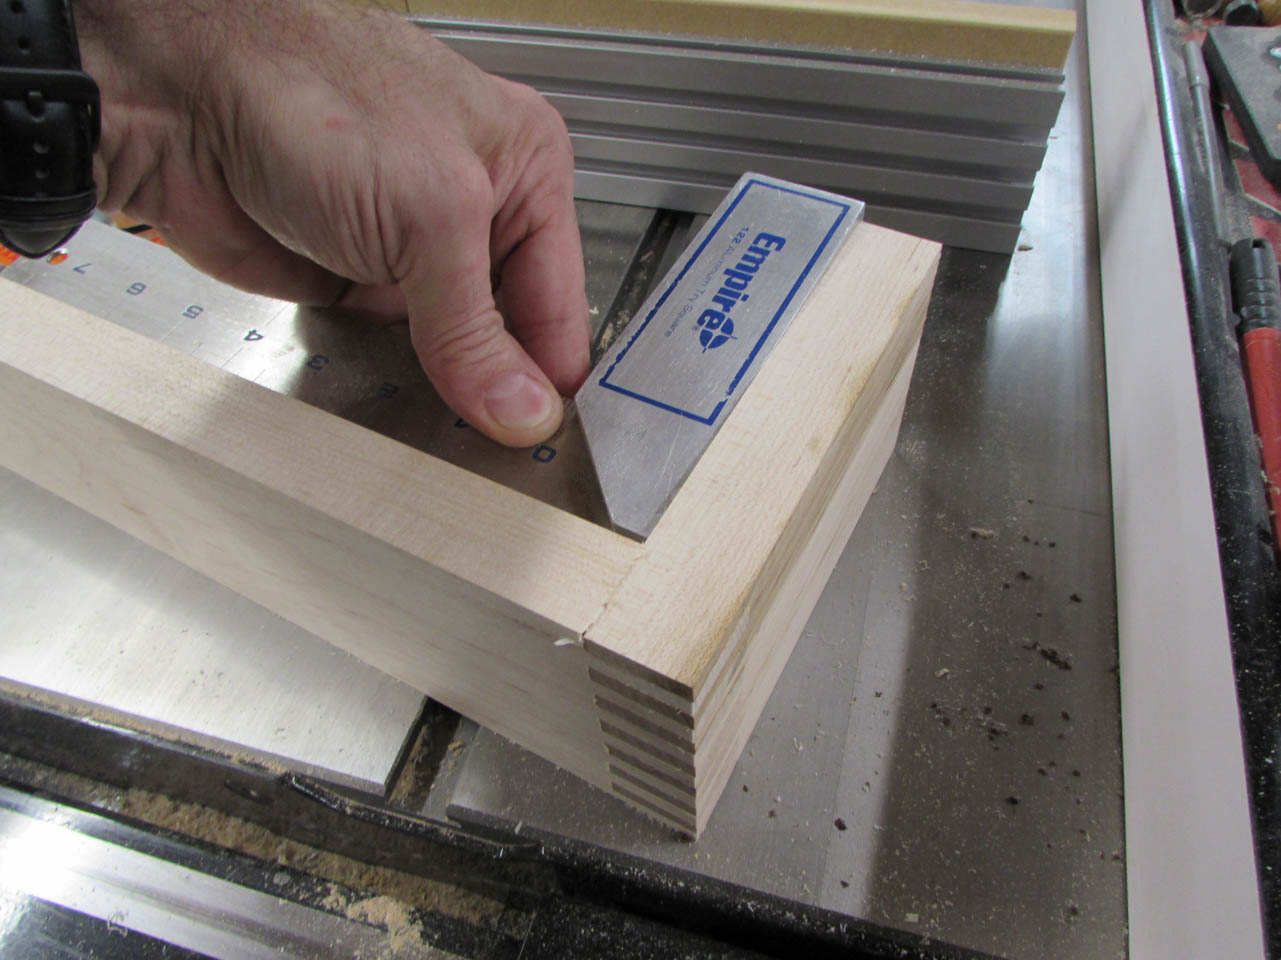
When the cuts were done, I dry-fit everything. It all fit great.


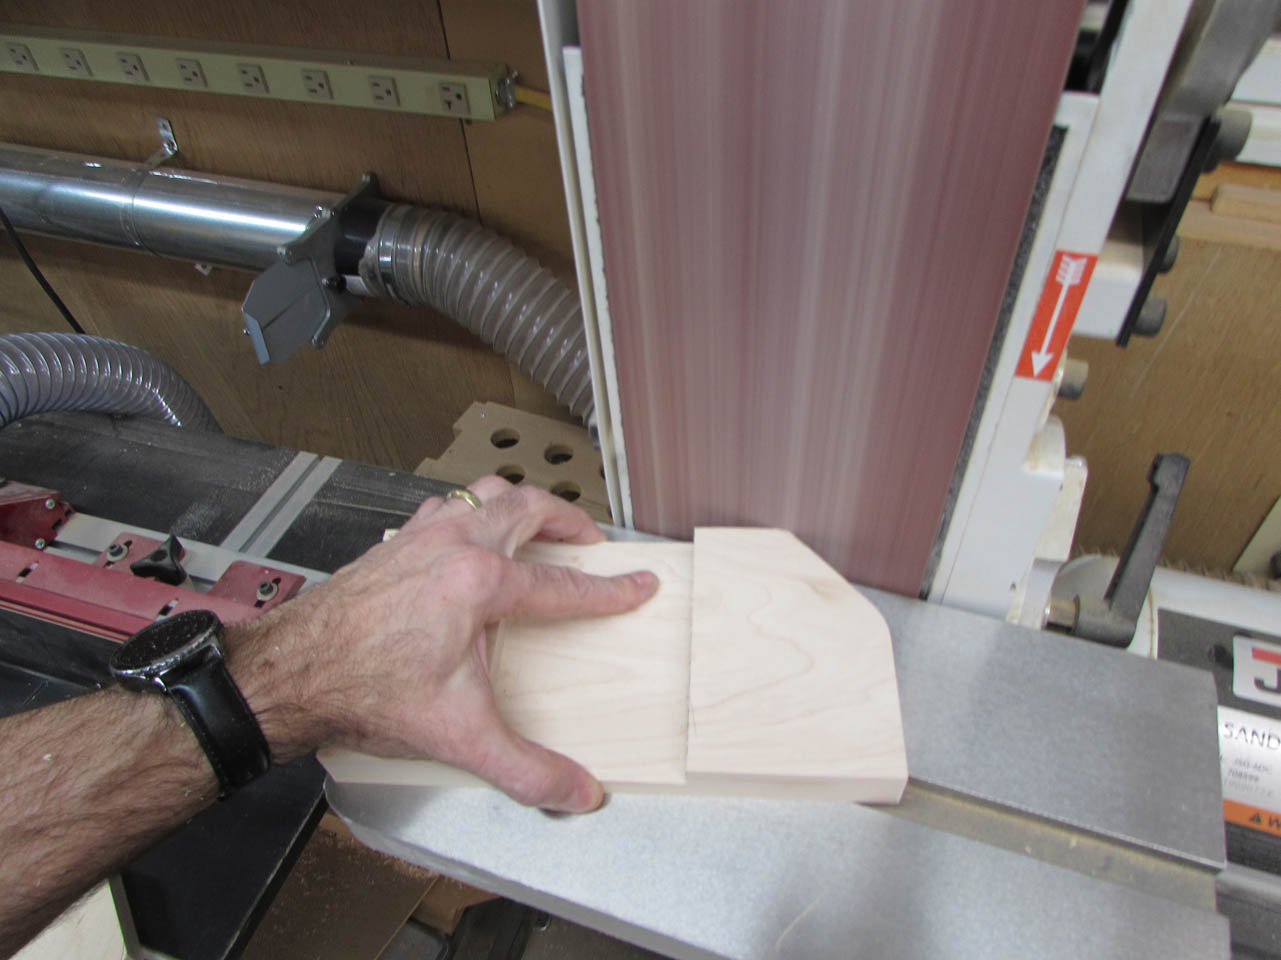
The two sides on the top mount still need a bit of shaping but I left them square to make it easier to cut the joints. Now that they are cut, I can cut the 41° angle on the miter saw and use the belt sander to round the corners.
The last thing I want to do before assembly is drill some mounting holes. I located the studs in the wall and determined where the bars would be located and marked the holes.

I will be attaching these bars with 4″ long lag bolts so I made the holes just large enough for the bolts to pass through.
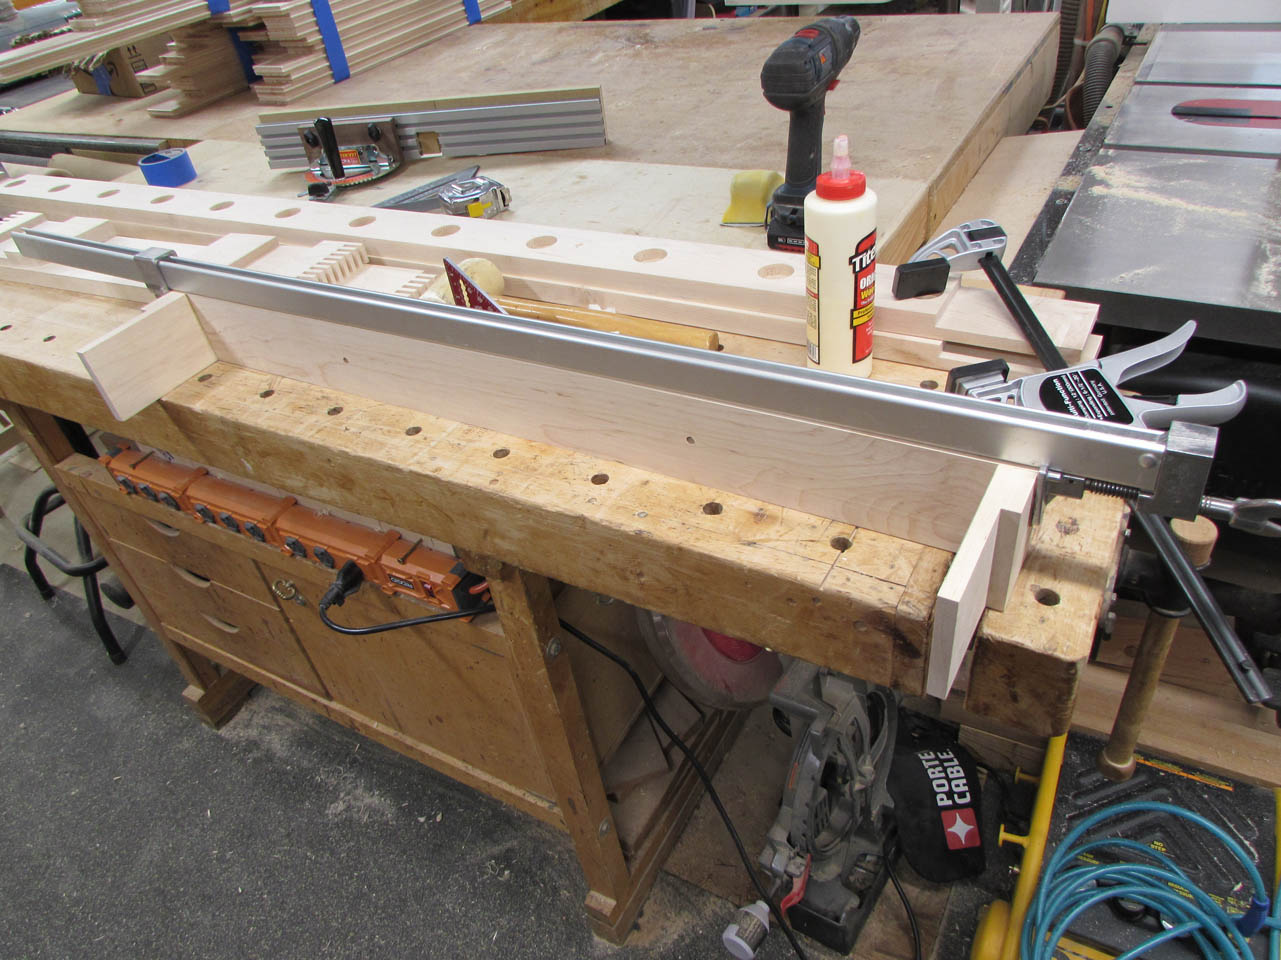
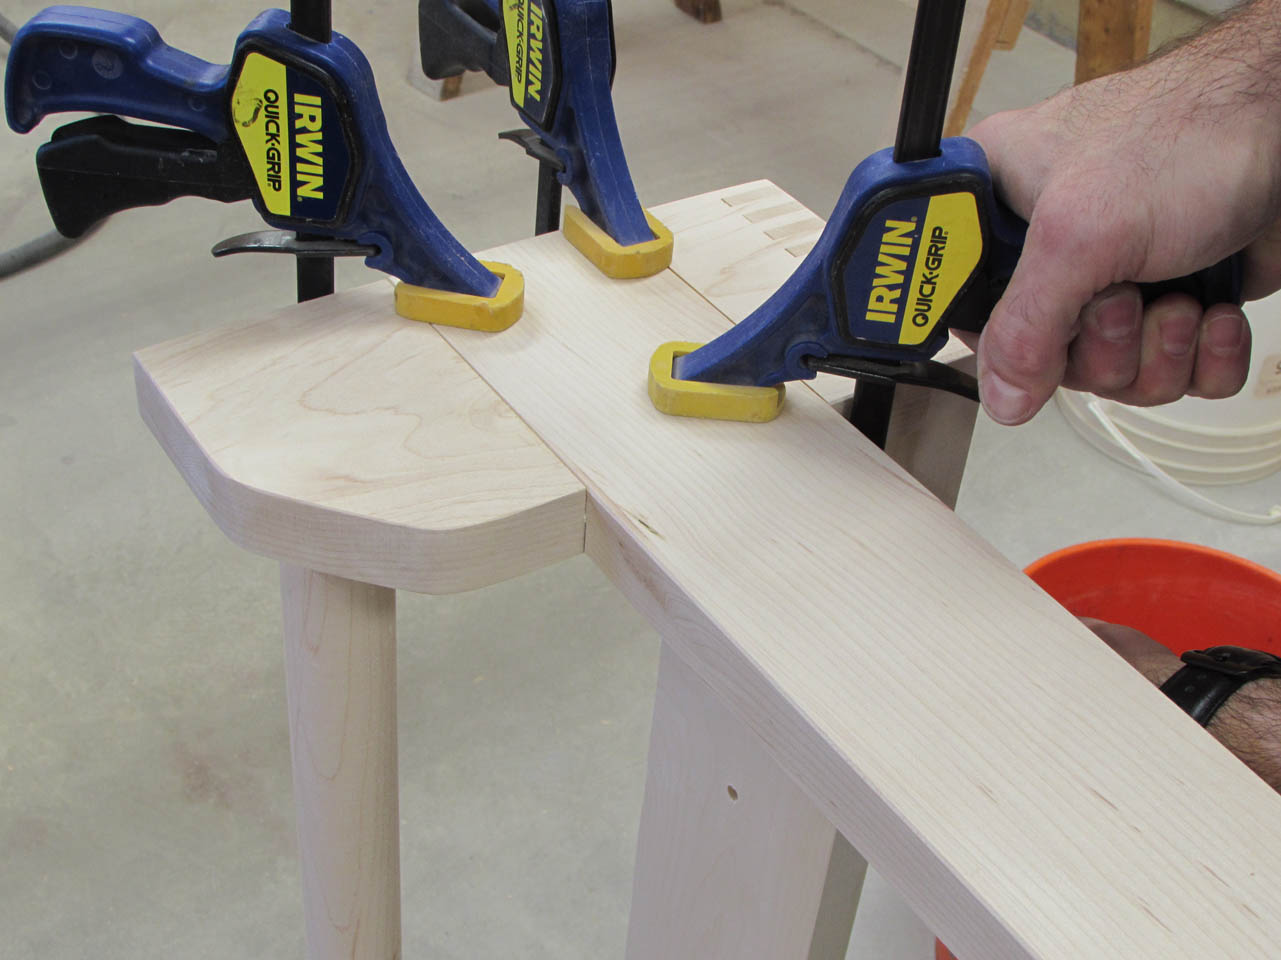
Then it was time to start gluing up some sub-assemblies.

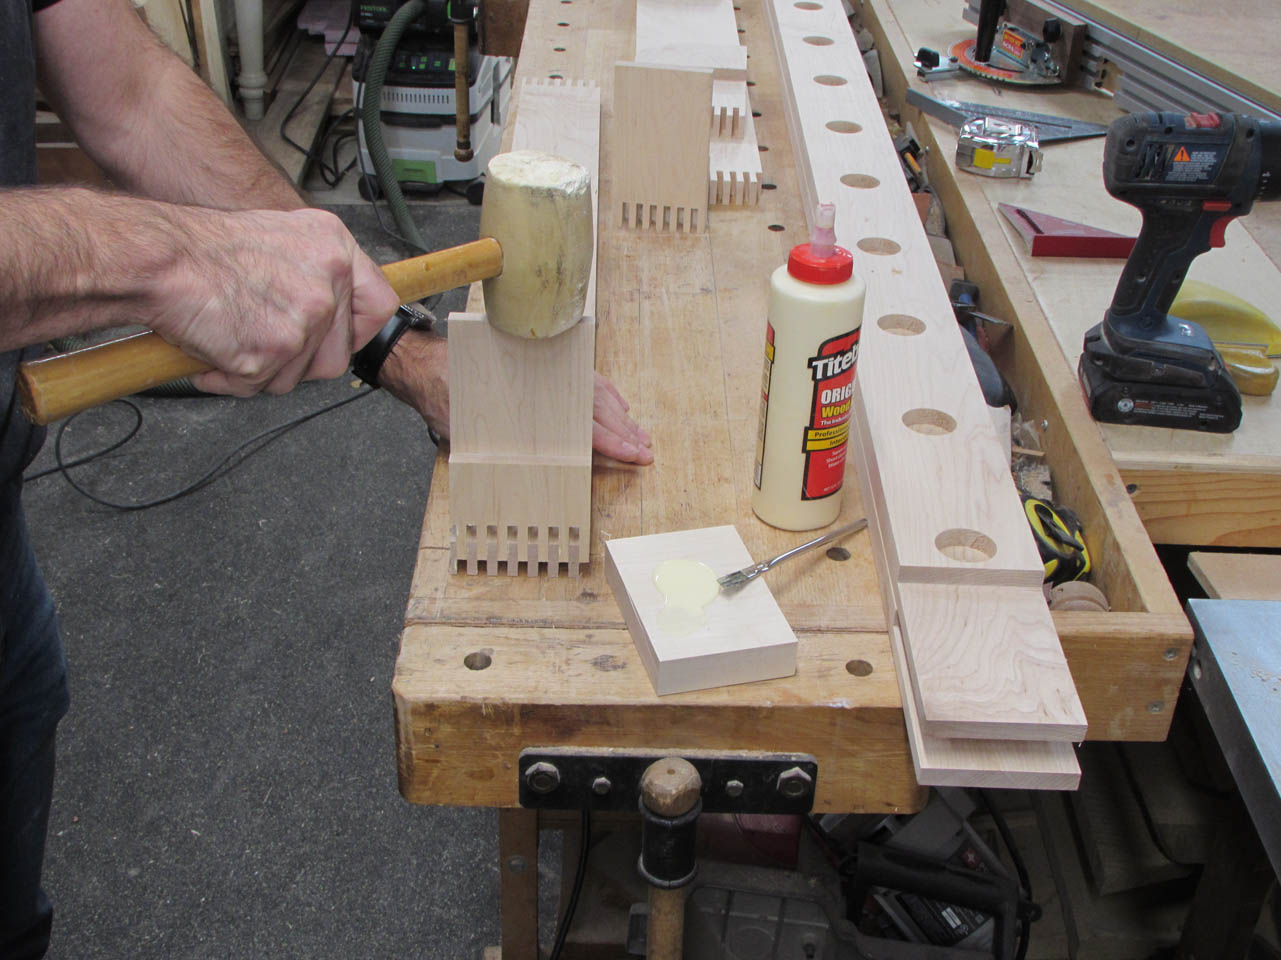
After applying a thin layer of glue between all the teeth, I pounded it together with the mallet before the glue could start swelling the wood.

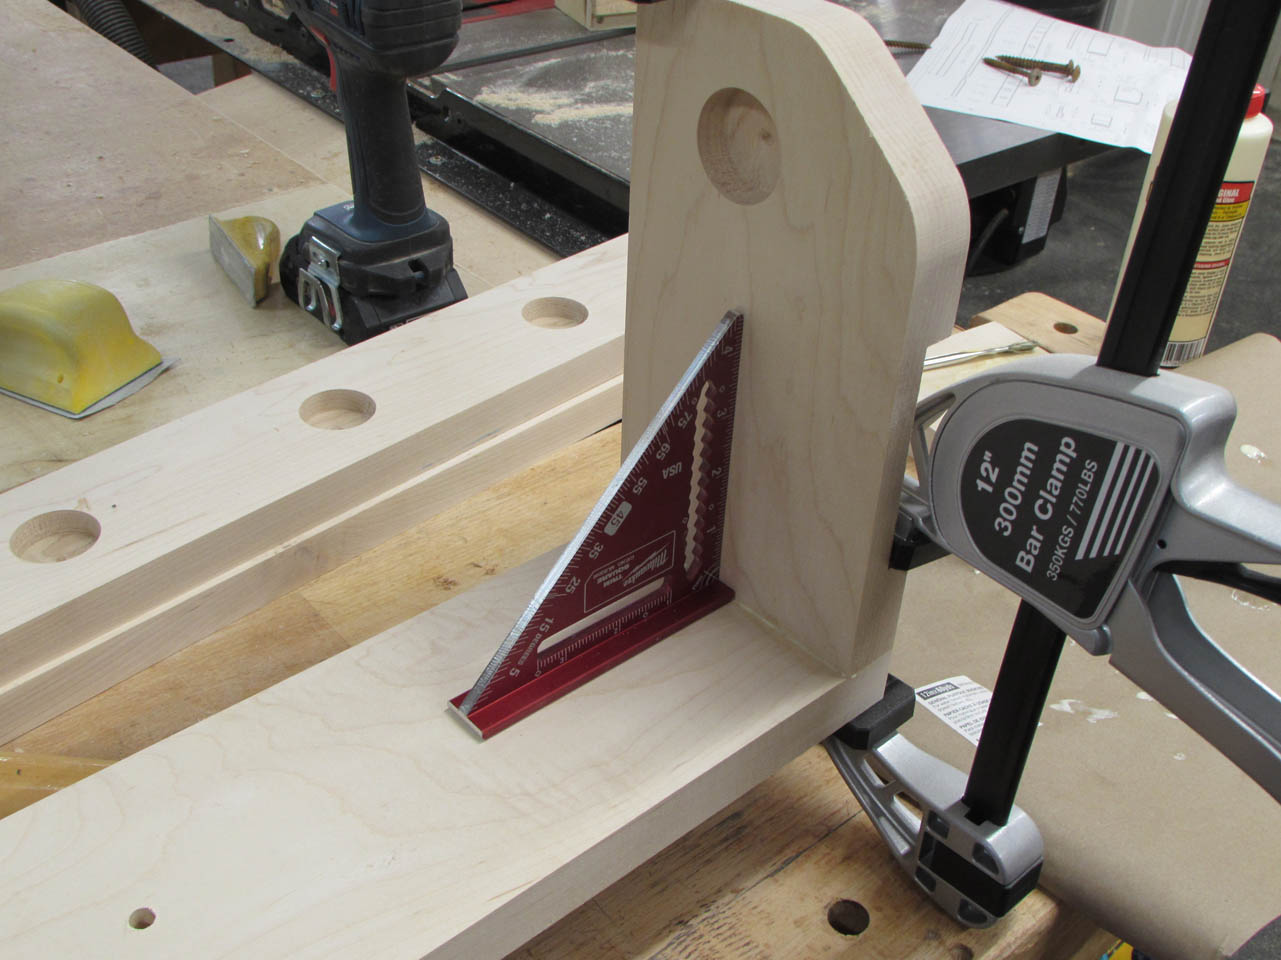
I made sure it was all square before and after clamping it all together.
I need to add a dowel to the top assembly before I can glue it up.

I ordered a bunch of dowels from Bell Forrest products so I opened the package to see what I had.

The dowels arrived a little rougher than I like for this application so I have to sand them down further.

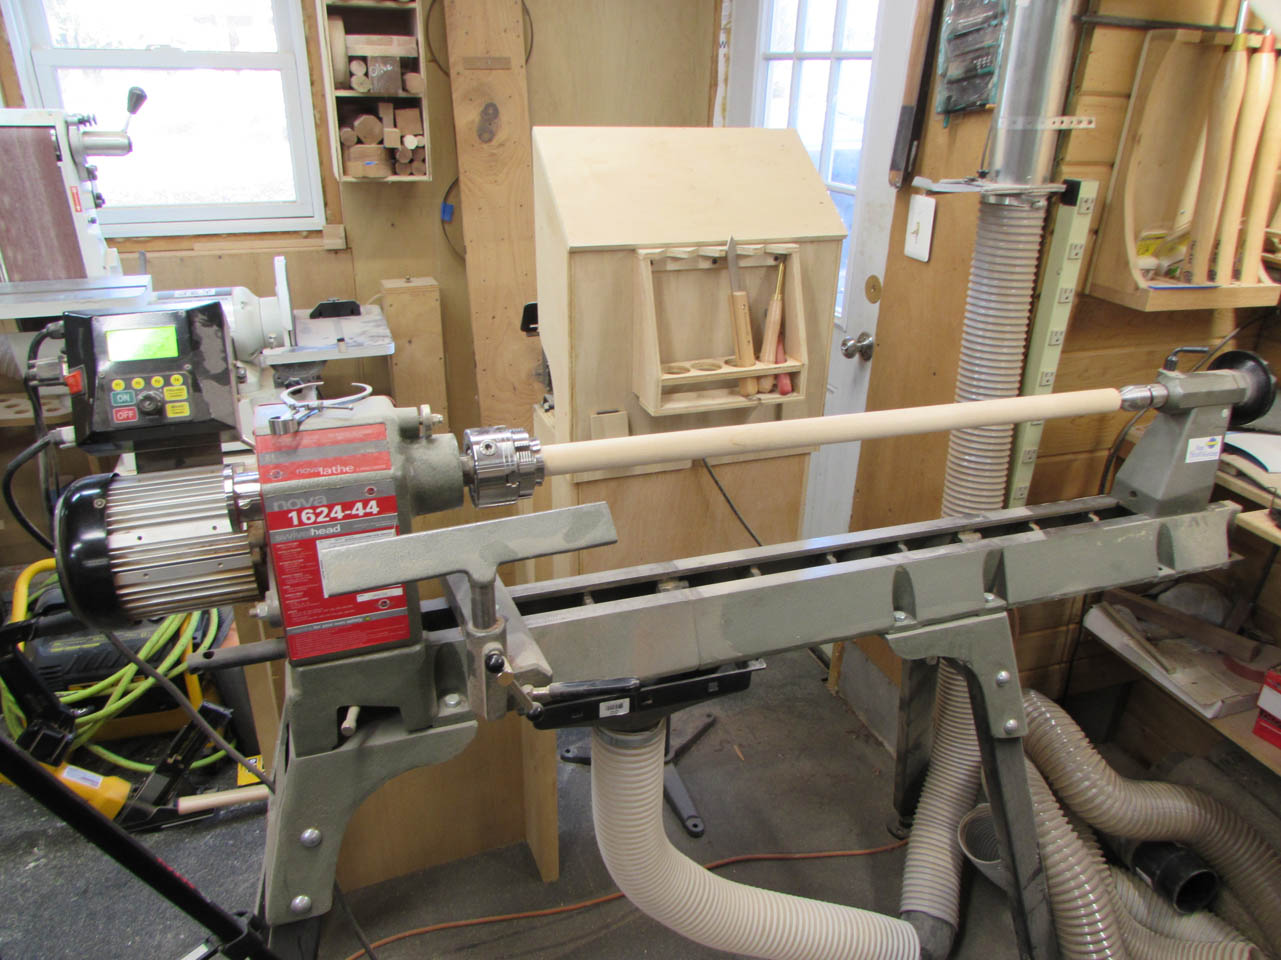
I chucked the dowels up in my lathe. This seemed like the most efficient method to sand down all 15 dowels.

I stepped through three different grits, 120, 180, & 320.
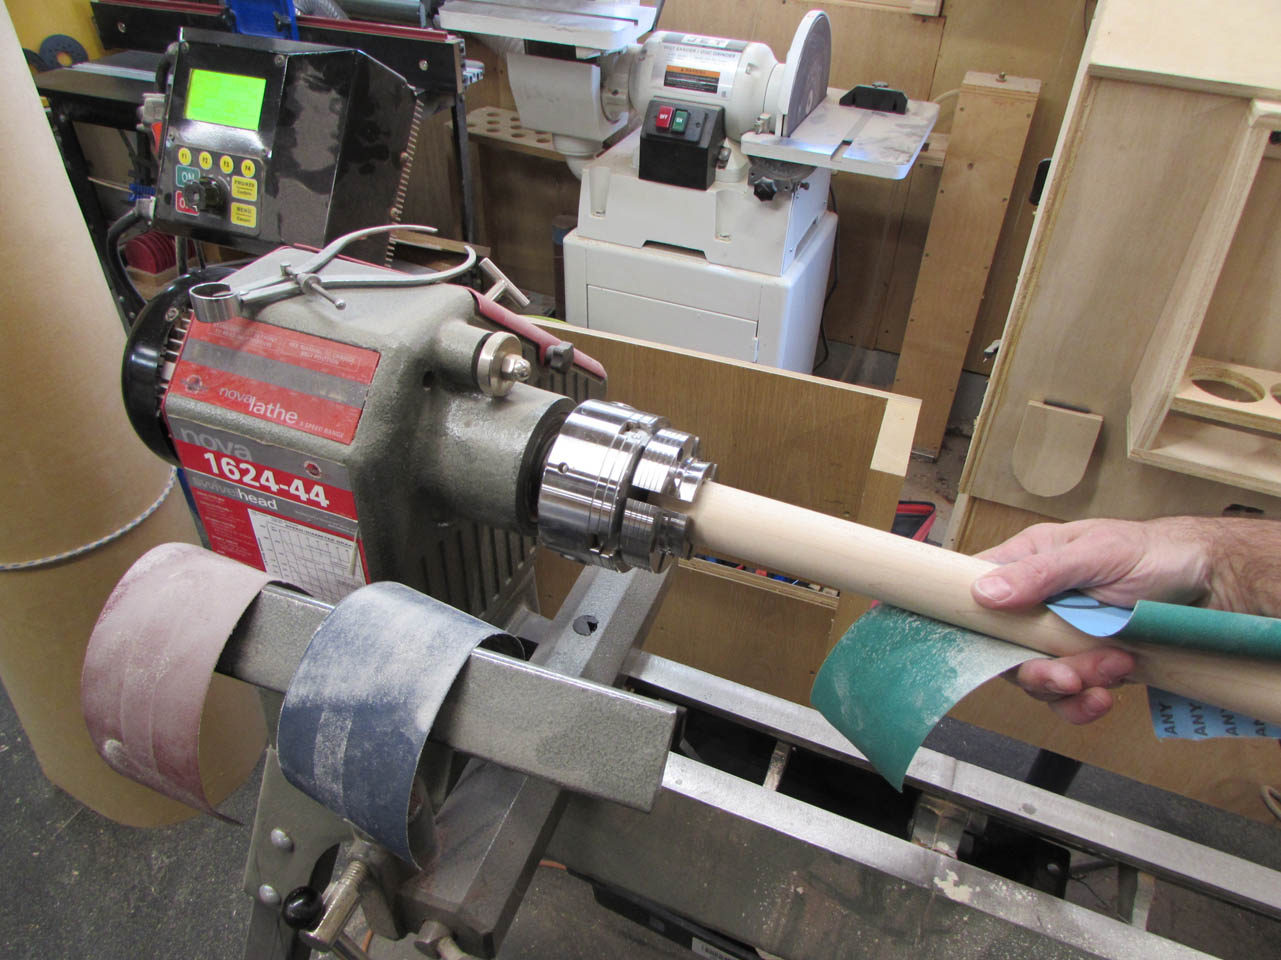
That made it smooth enough for me.
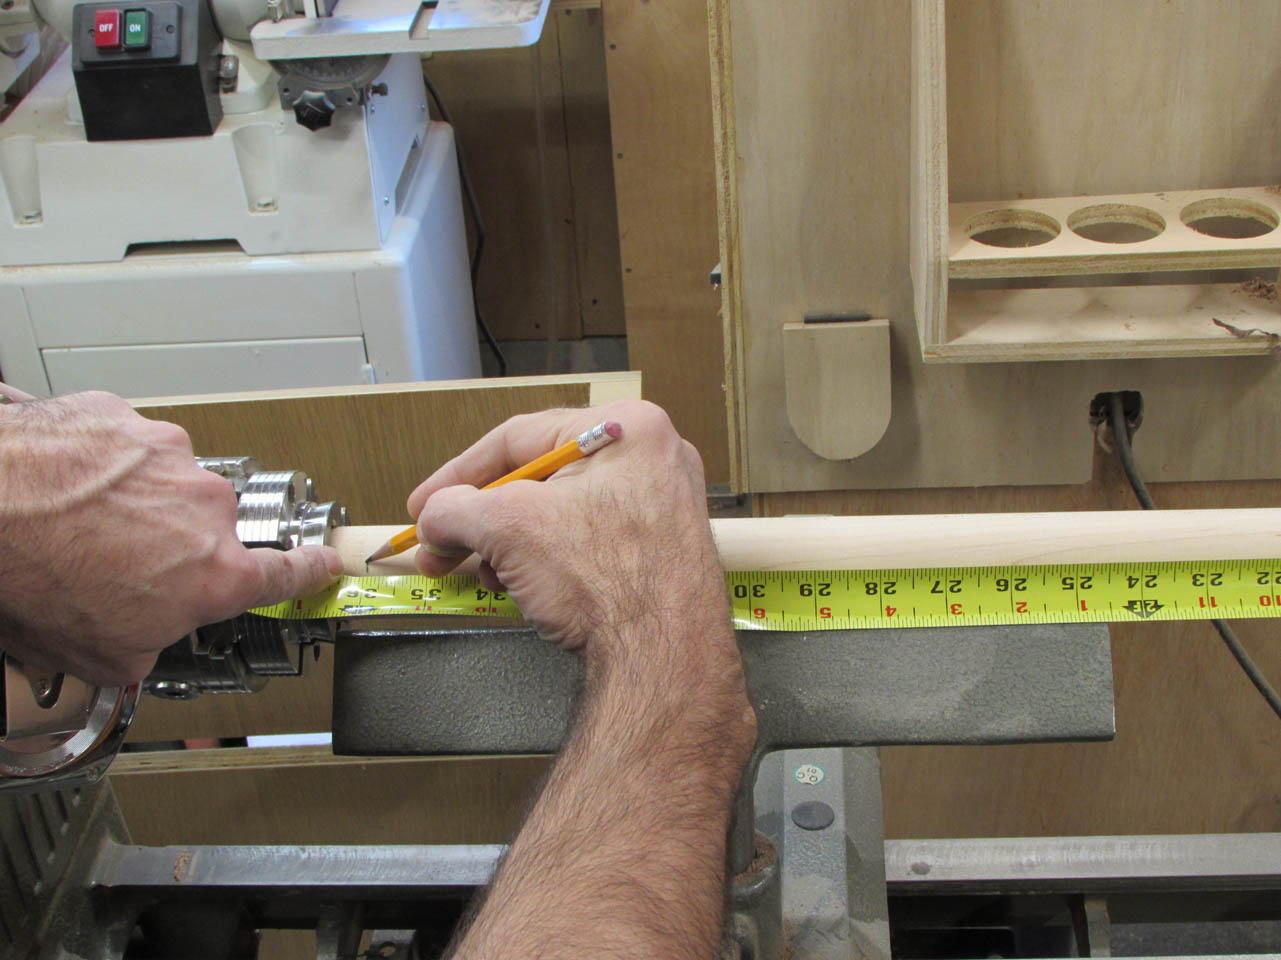
All the dowels were around 37-1/4″ long so I marked 36″ from the right and used my parting tool to cut a groove at the mark.

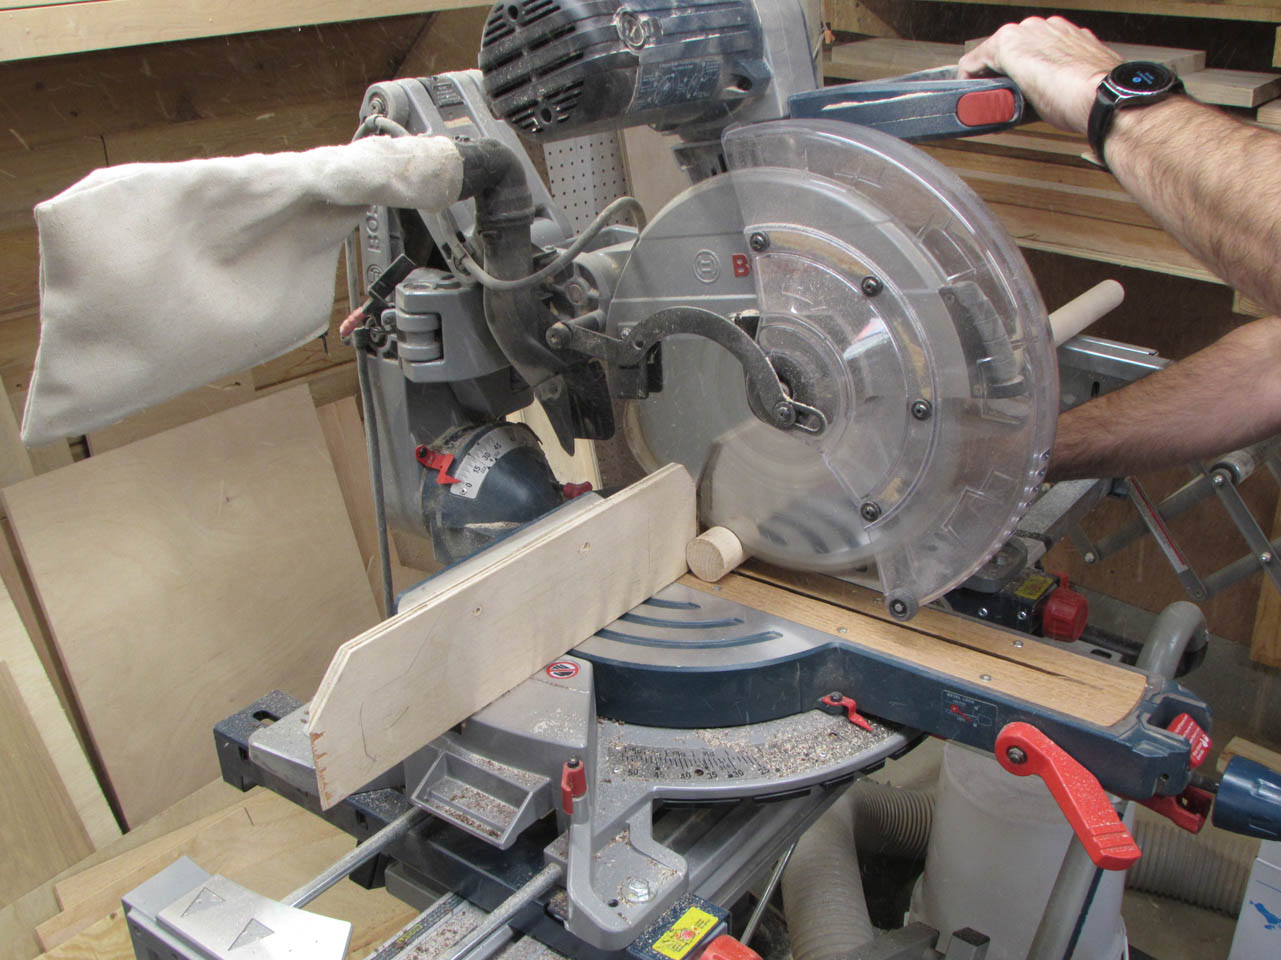
Then I set the dowel in the miter saw and set the blade against the shoulder I just cut and chopped it to length.

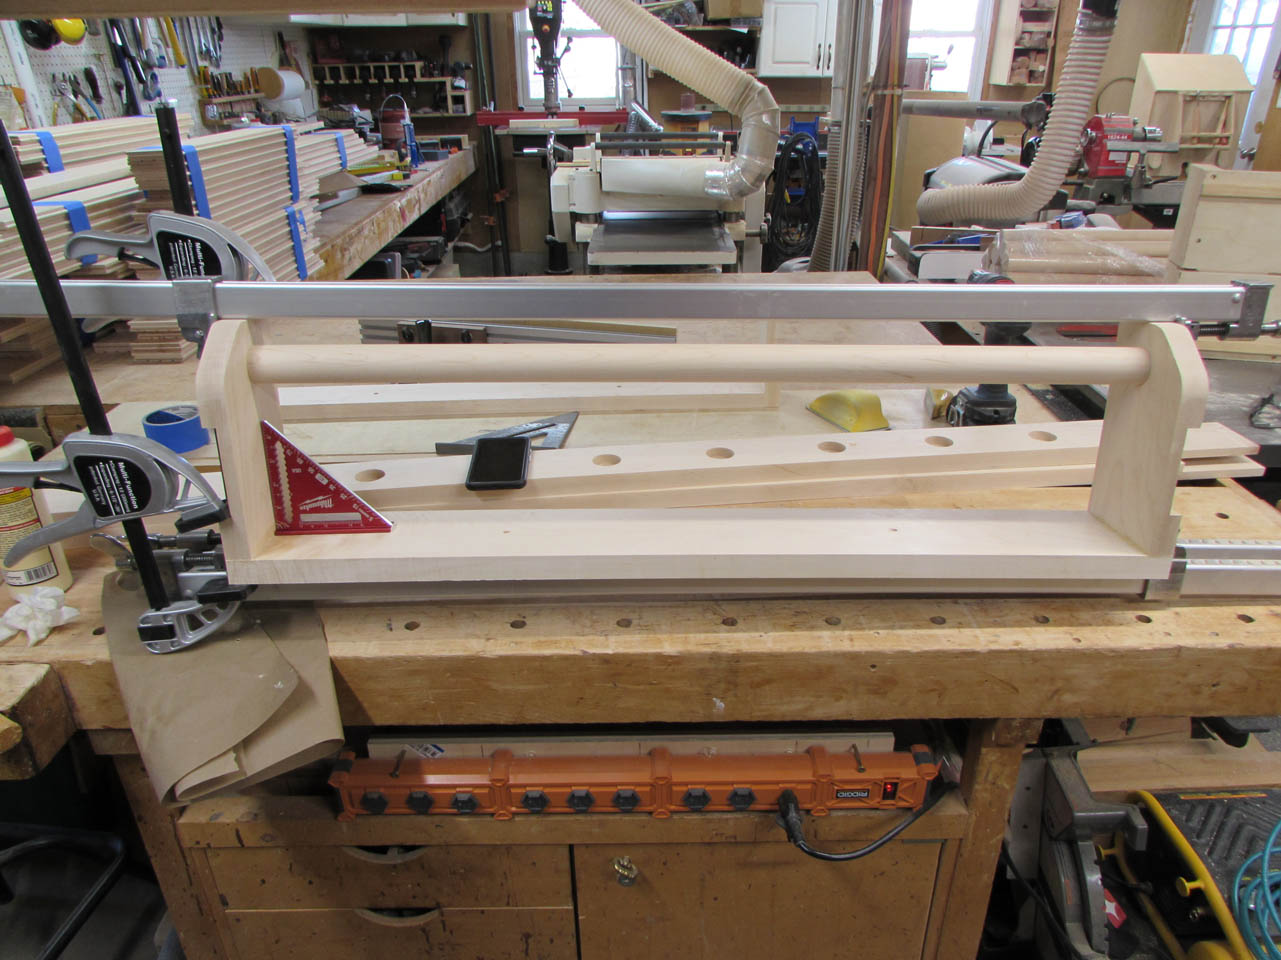
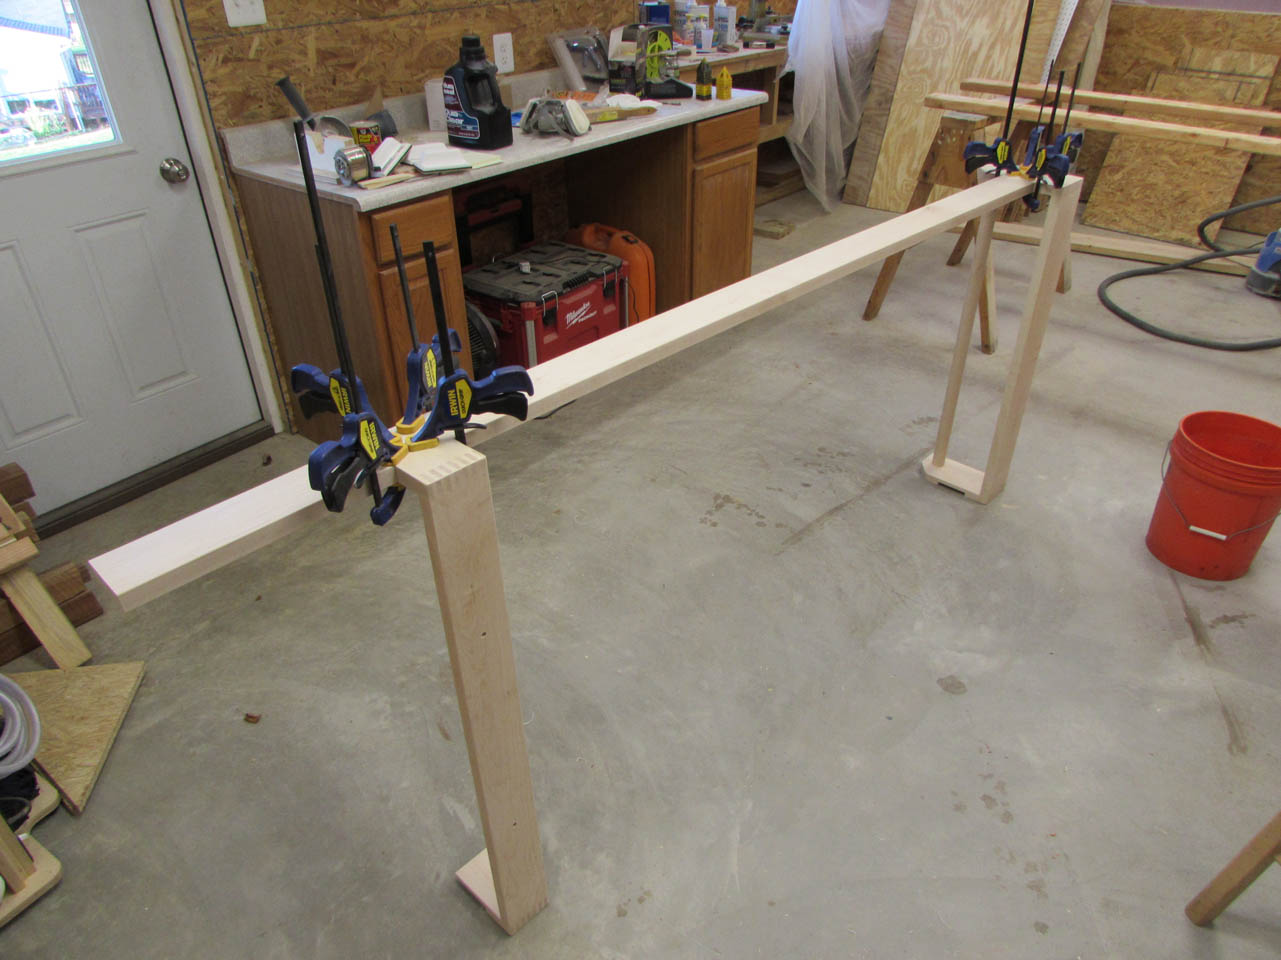
Now I can glue up the top assembly. This one was wider than the last and I needed clamps to pull the tight joint together.

I added the dowel and clamped it all up.

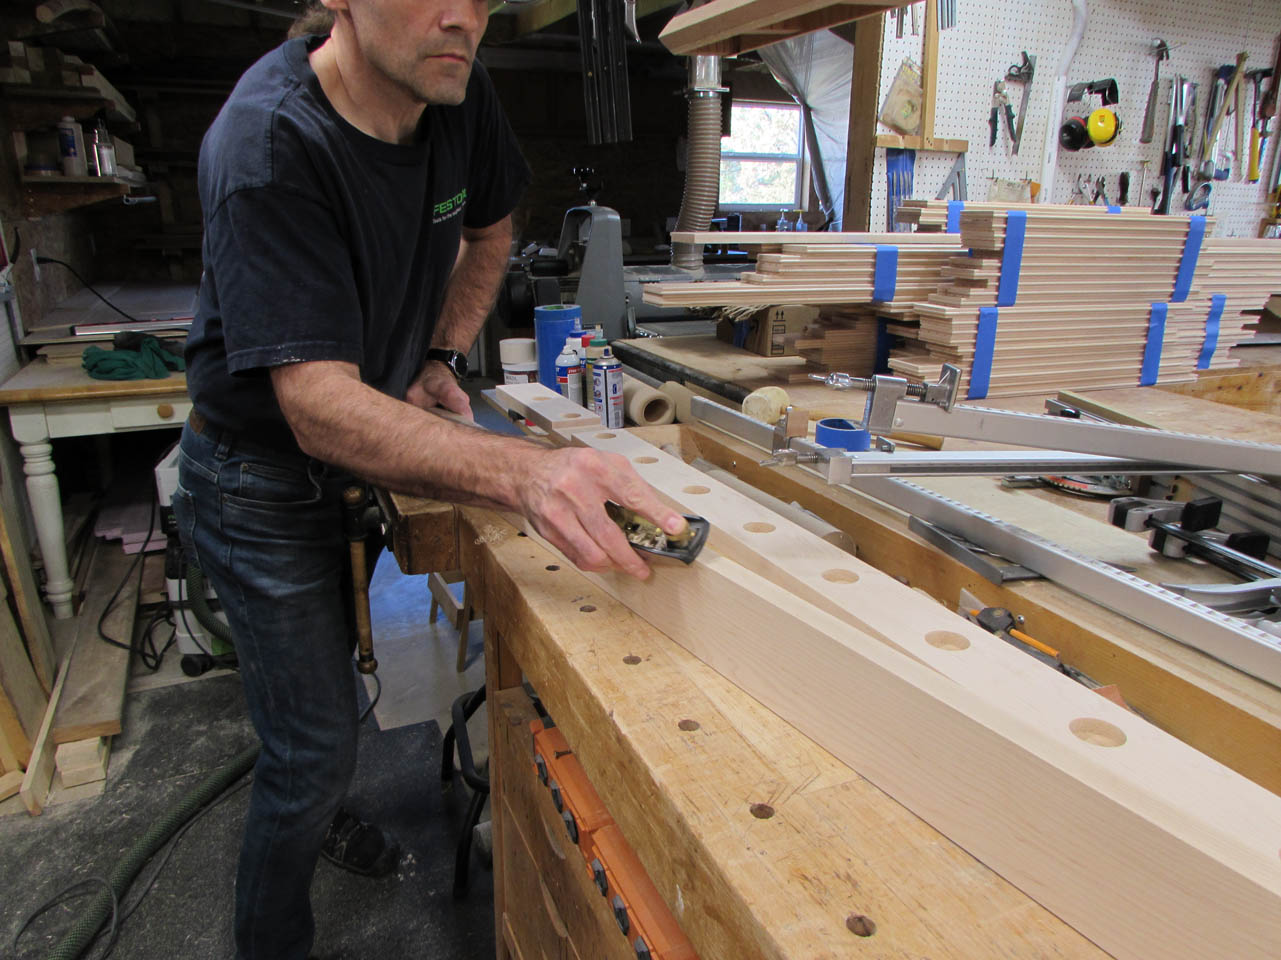
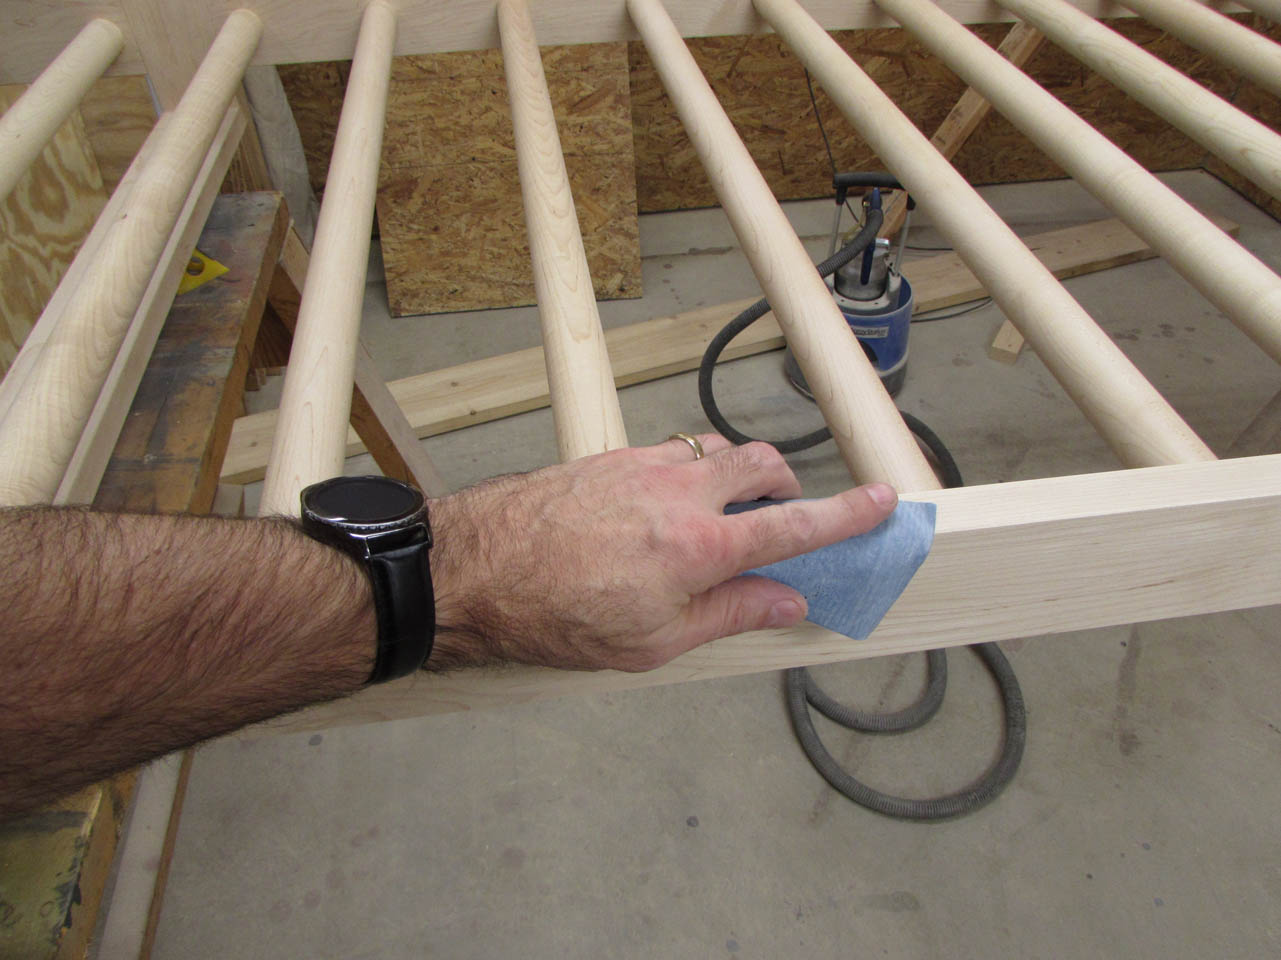
When dry, I sanded smooth all the box joints.

I also removed any sharp edges with the block plane and the sander.

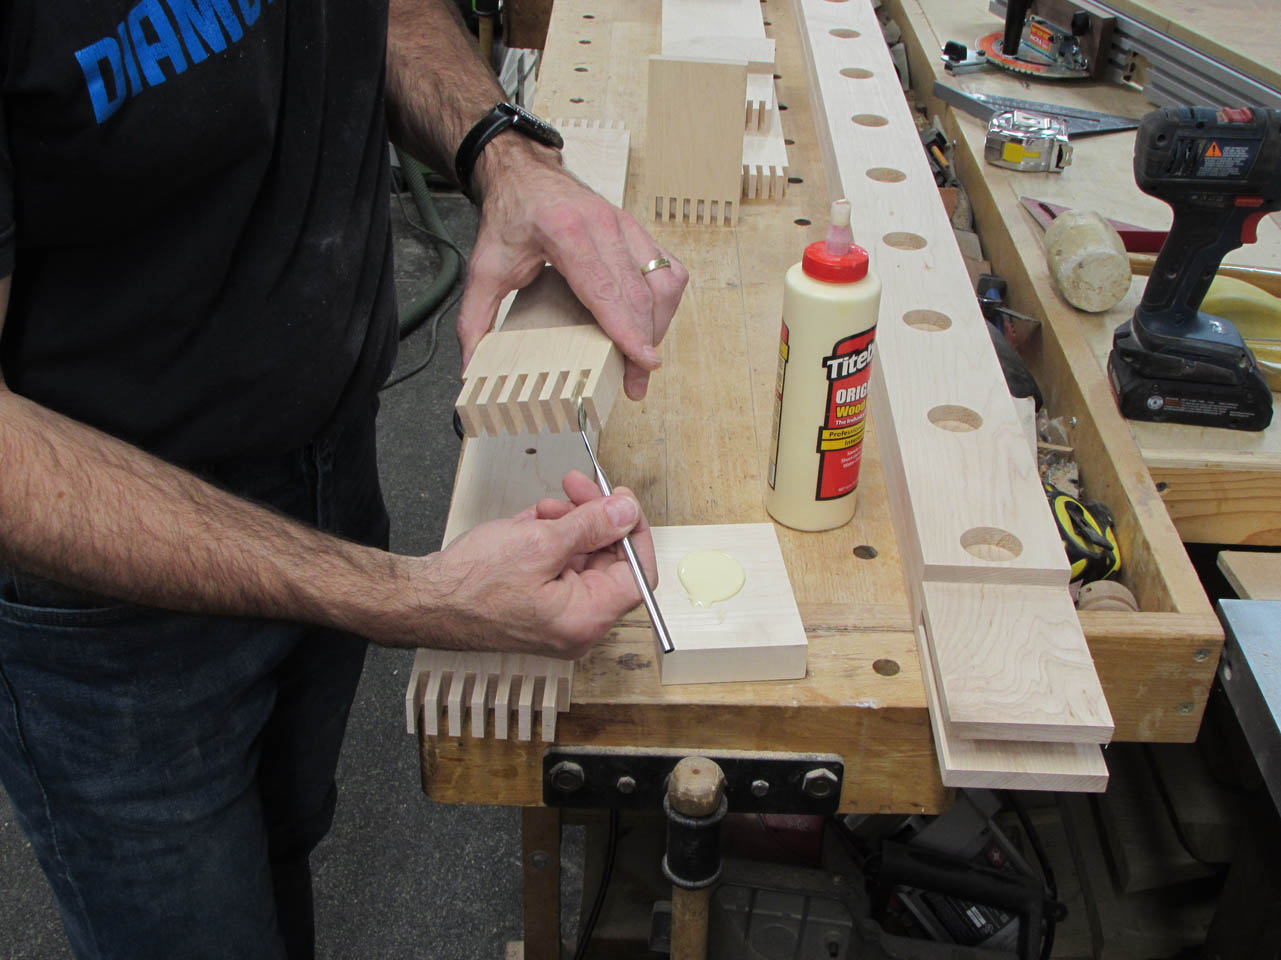
I painted the half lap joints with glue and glued the mounting assemblies to one of the sides.
While that was drying, I sanded and cut down the other 14 dowels.


Time for final assembly. I painted all the holes along one side and added the dowels.

Then I painted glue into the holes on the opposite side as well as the half lap joints.

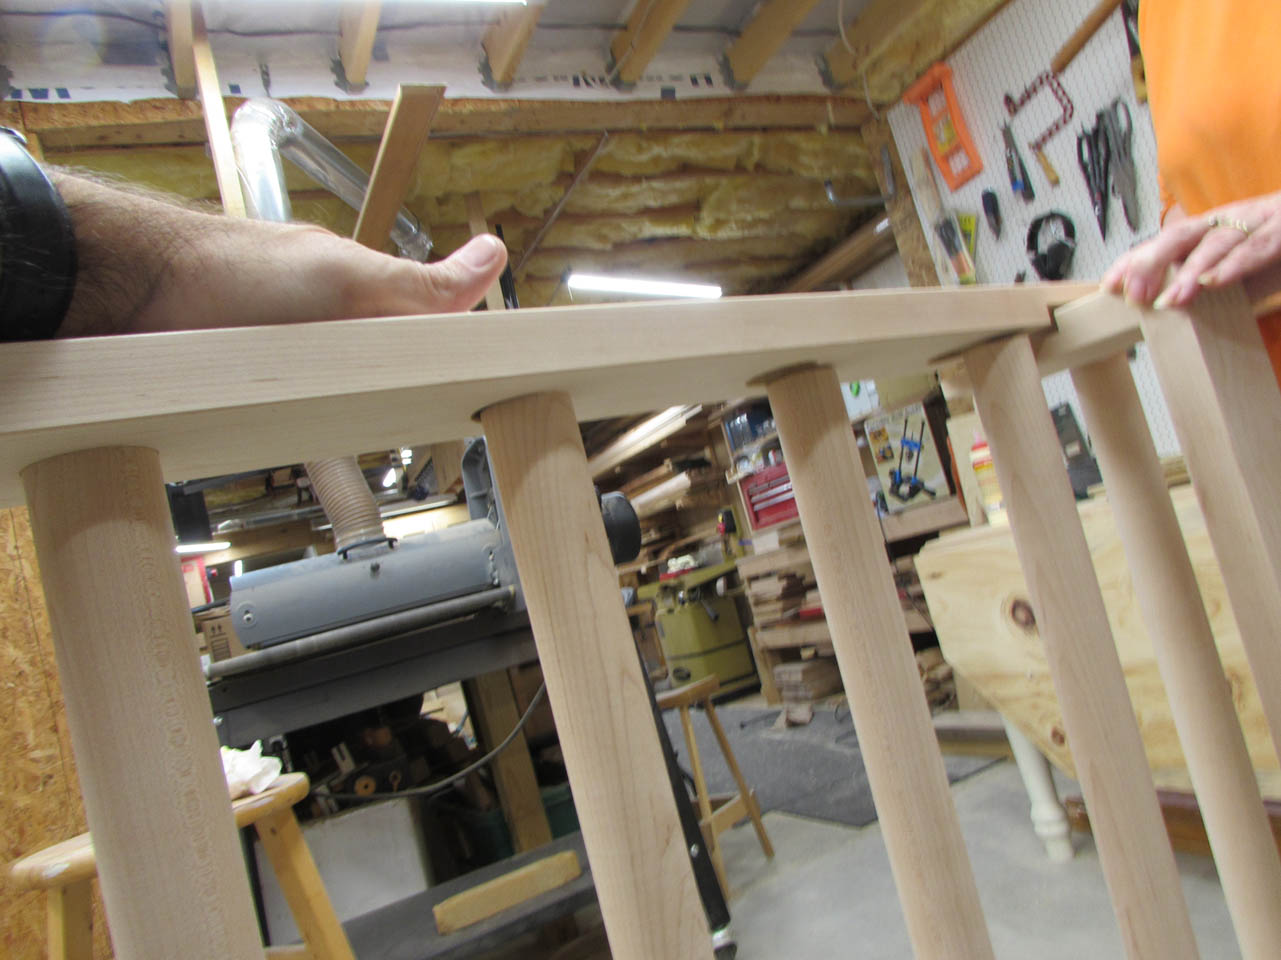
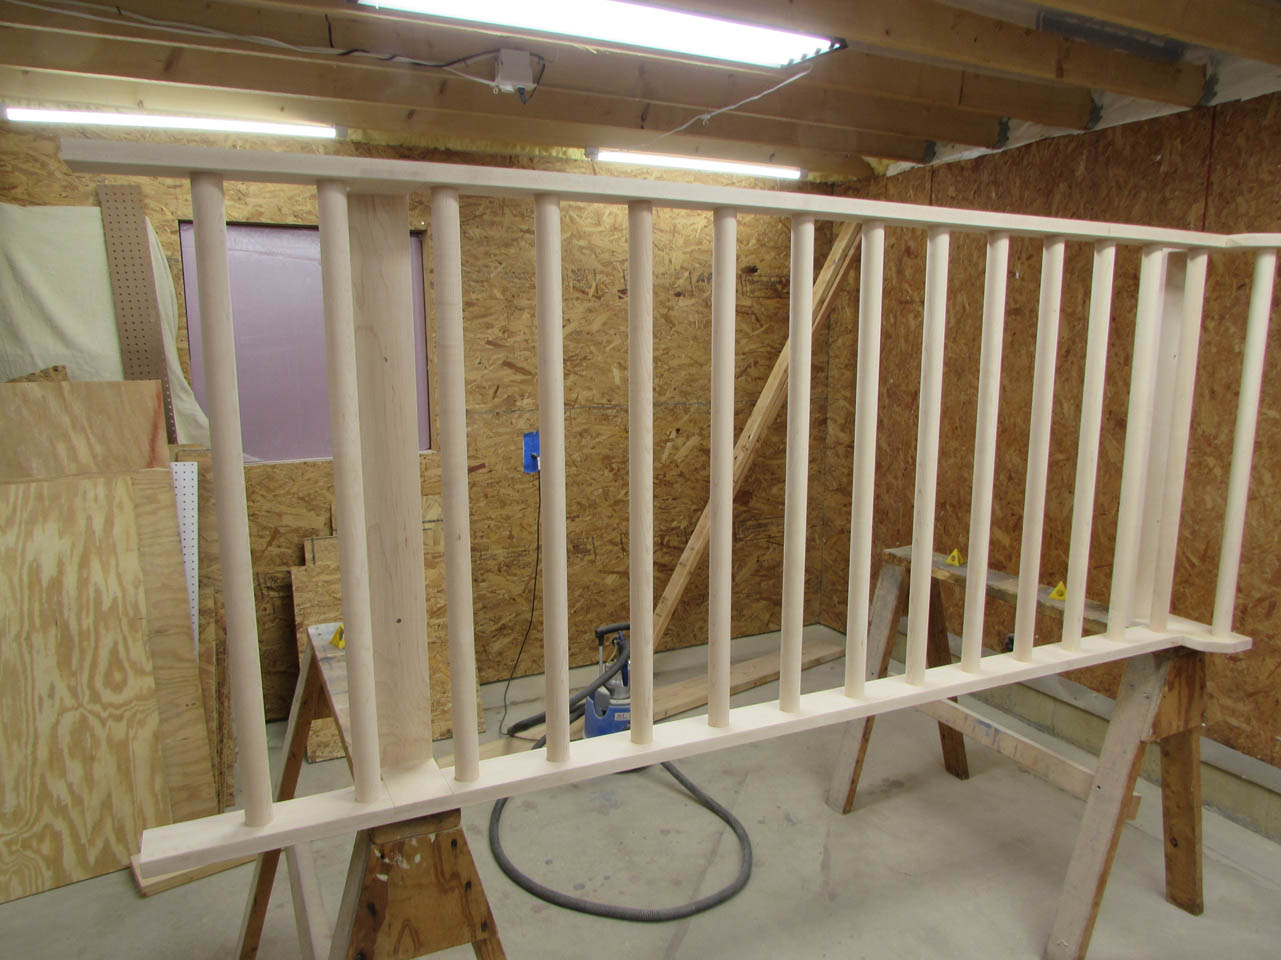
And quickly clamped it all together, starting at one end, and nudging each spindle in place with a rubber mallet as I worked my way down.

When assembled, I threw some longer clamps along the top and bottom of the sides to keep the pressure even.
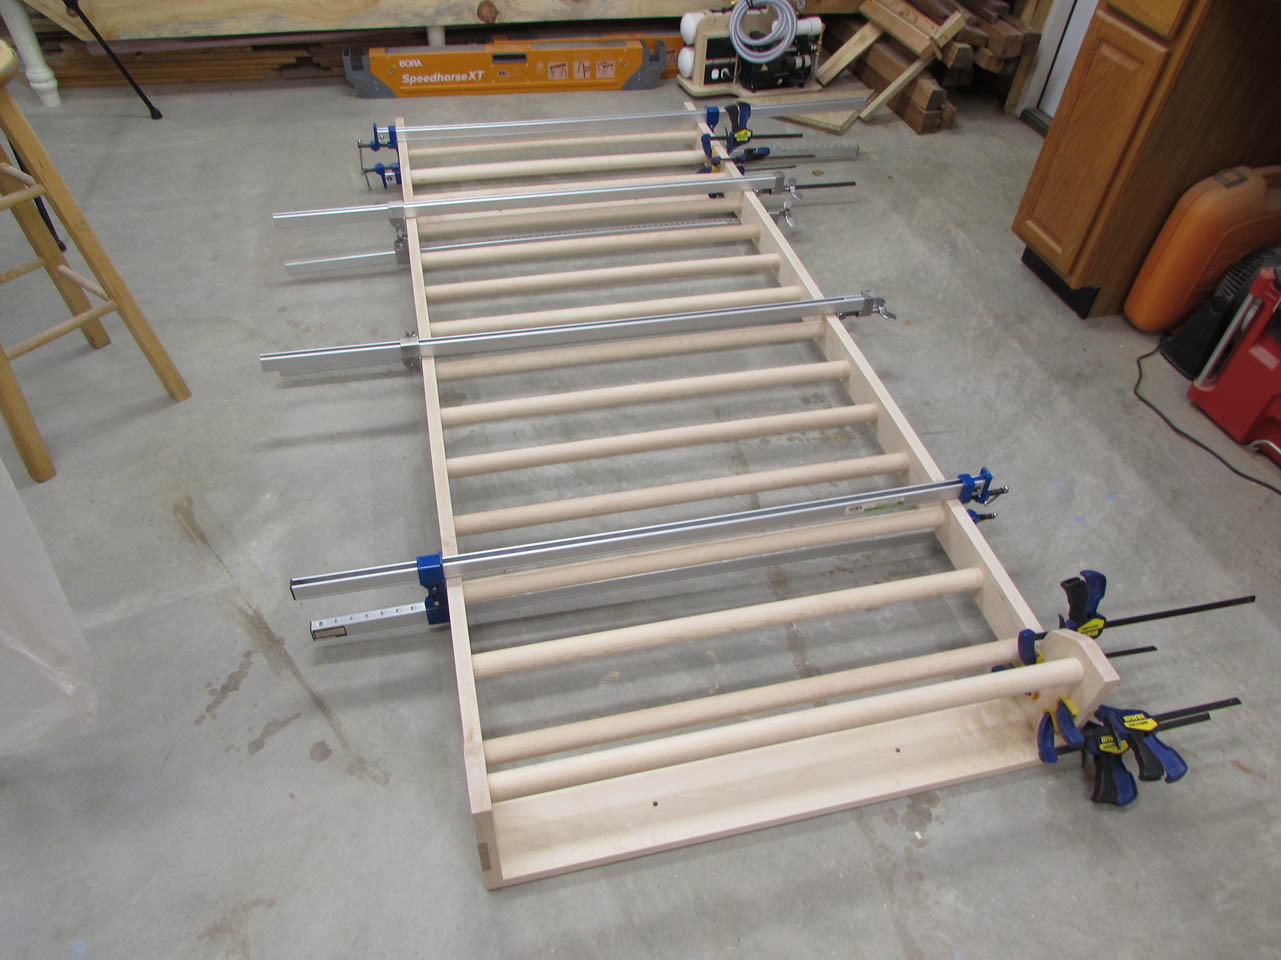
When dry, I sanded all the joints smooth.

Then it was time for finishing. I started with the frame on it’s side.

Then laid it back on painter’s pyramids to paint the sides.

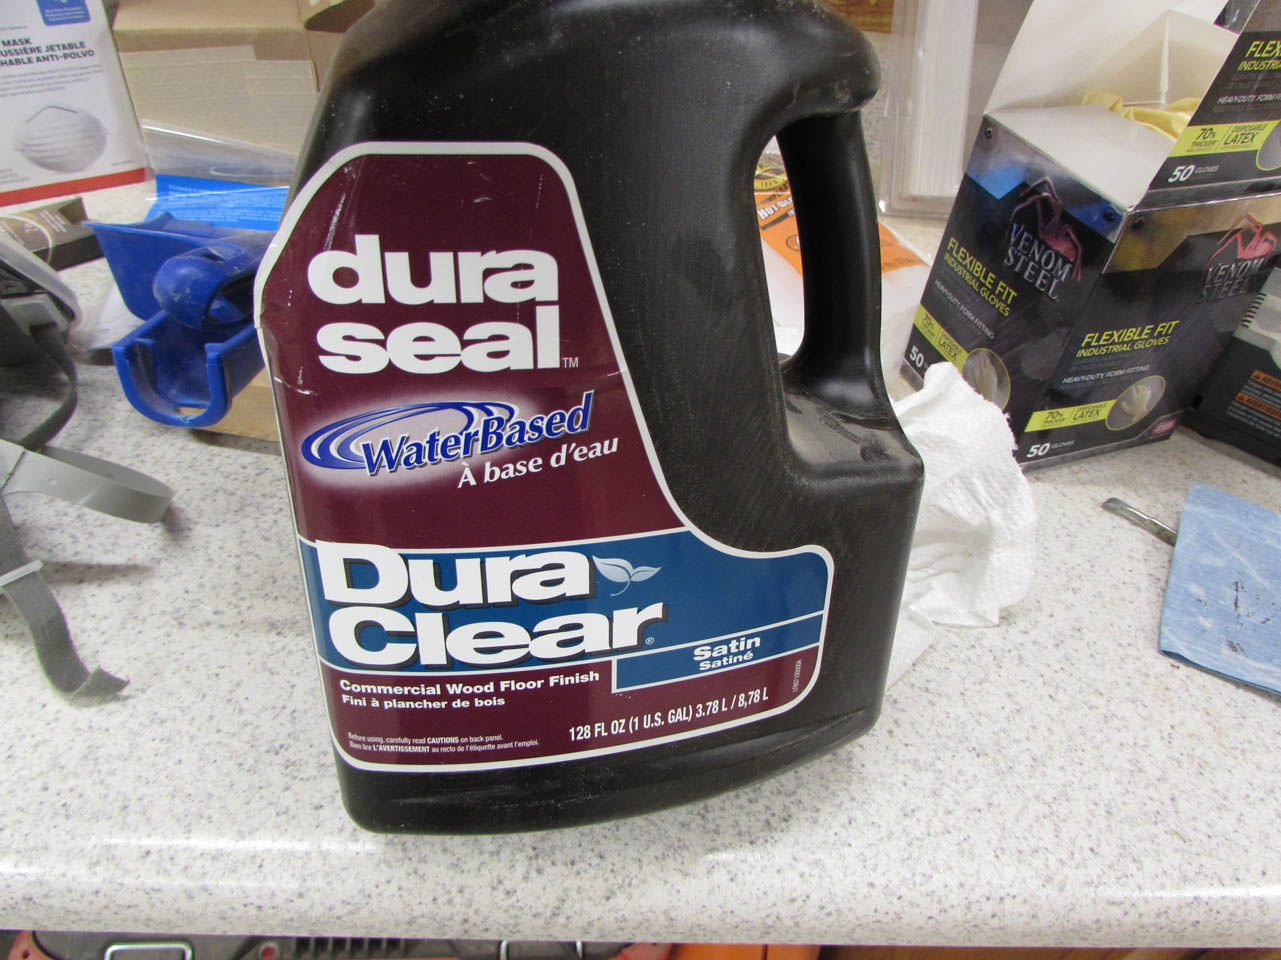
I am using the same water-based floor poly I used on the cathedral floor. It seems pretty durable and should be good for exercise equipment.
After the first coat dried, I sanded everything with 400 grit paper and sprayed it again. I actually want the surface to have a bit of texture so I didn’t sand the second coat to remove any over-spray. I actually left it at two coats because it left the bars grippy for exercising.

The last thing I did was stick some non-skid material on the bottom of the side rails. This will prevent it from rubbing on the floor.

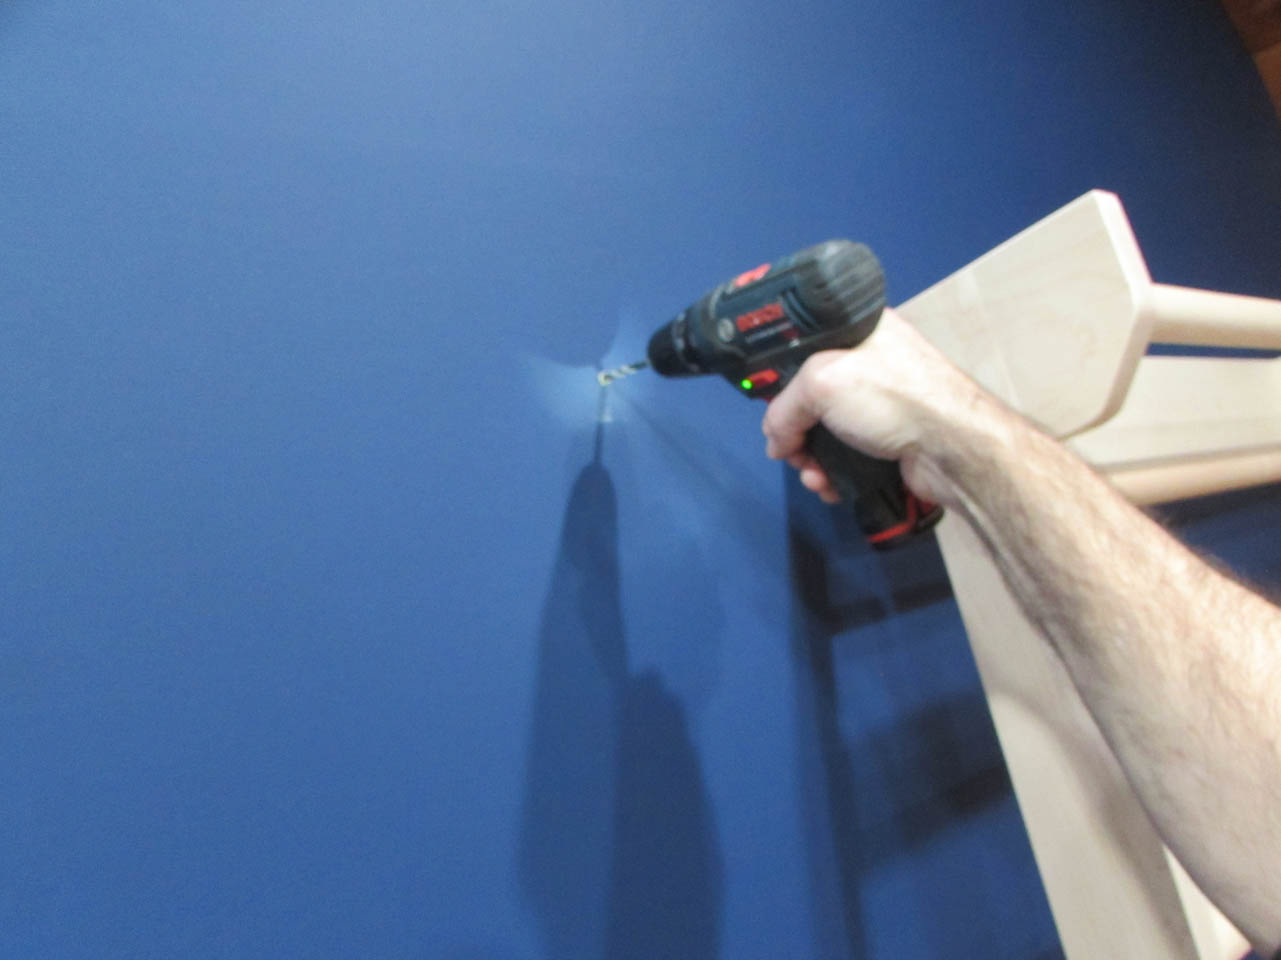
I marked and pre-drilled the holes for the lags and started bolting the frame to the wall.

I intentionally mounted the lower bracket between bars to make installation easy.
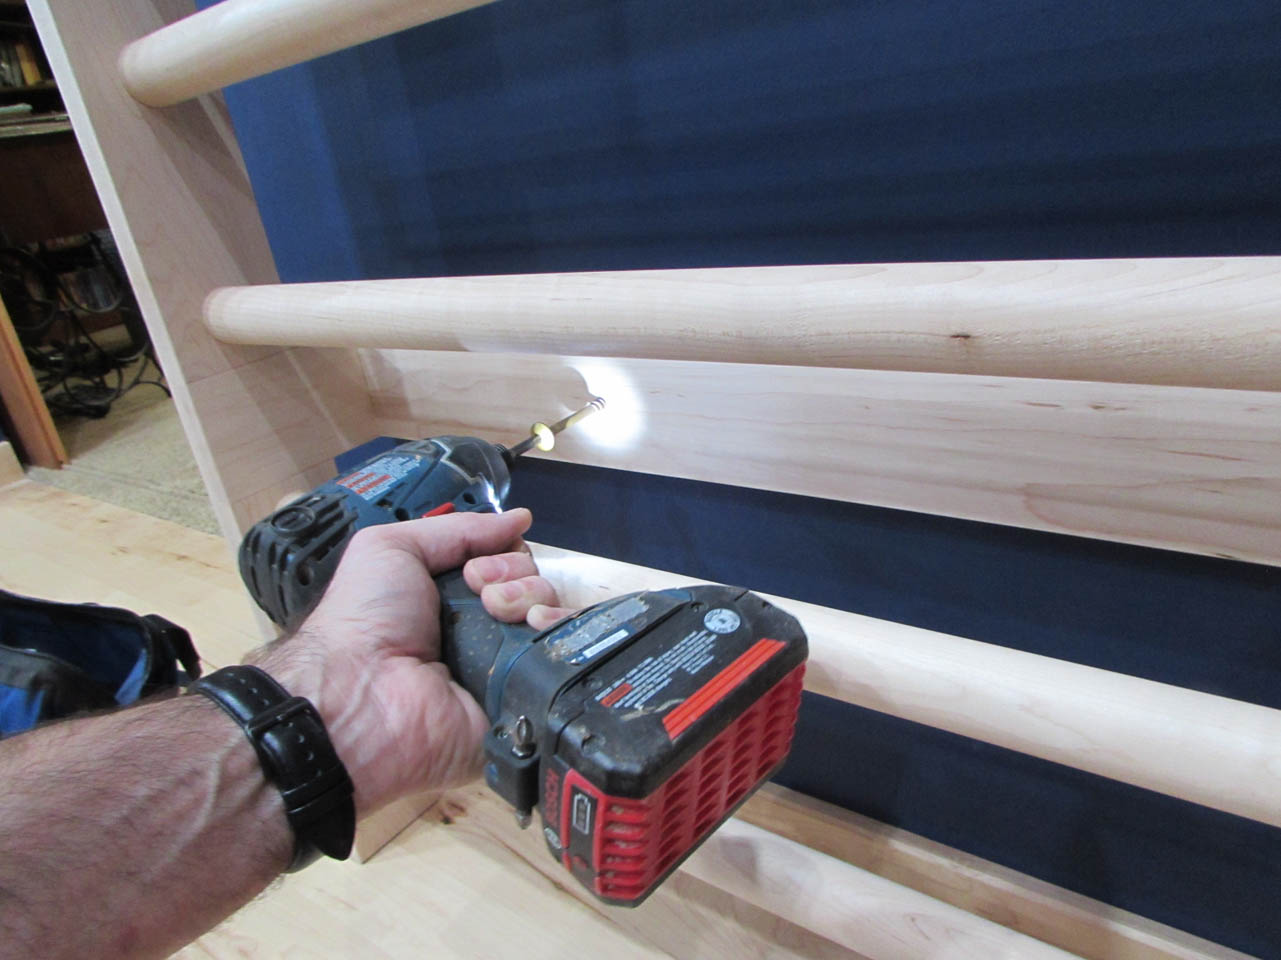
I forgot about this fact when I drilled the holes centered on the top bracket. They actually fell right behind the top bar. I should have lowered them a bit.

Oh well, I have a few extensions and they just managed to angle into place.

The four mounting screws are installed.
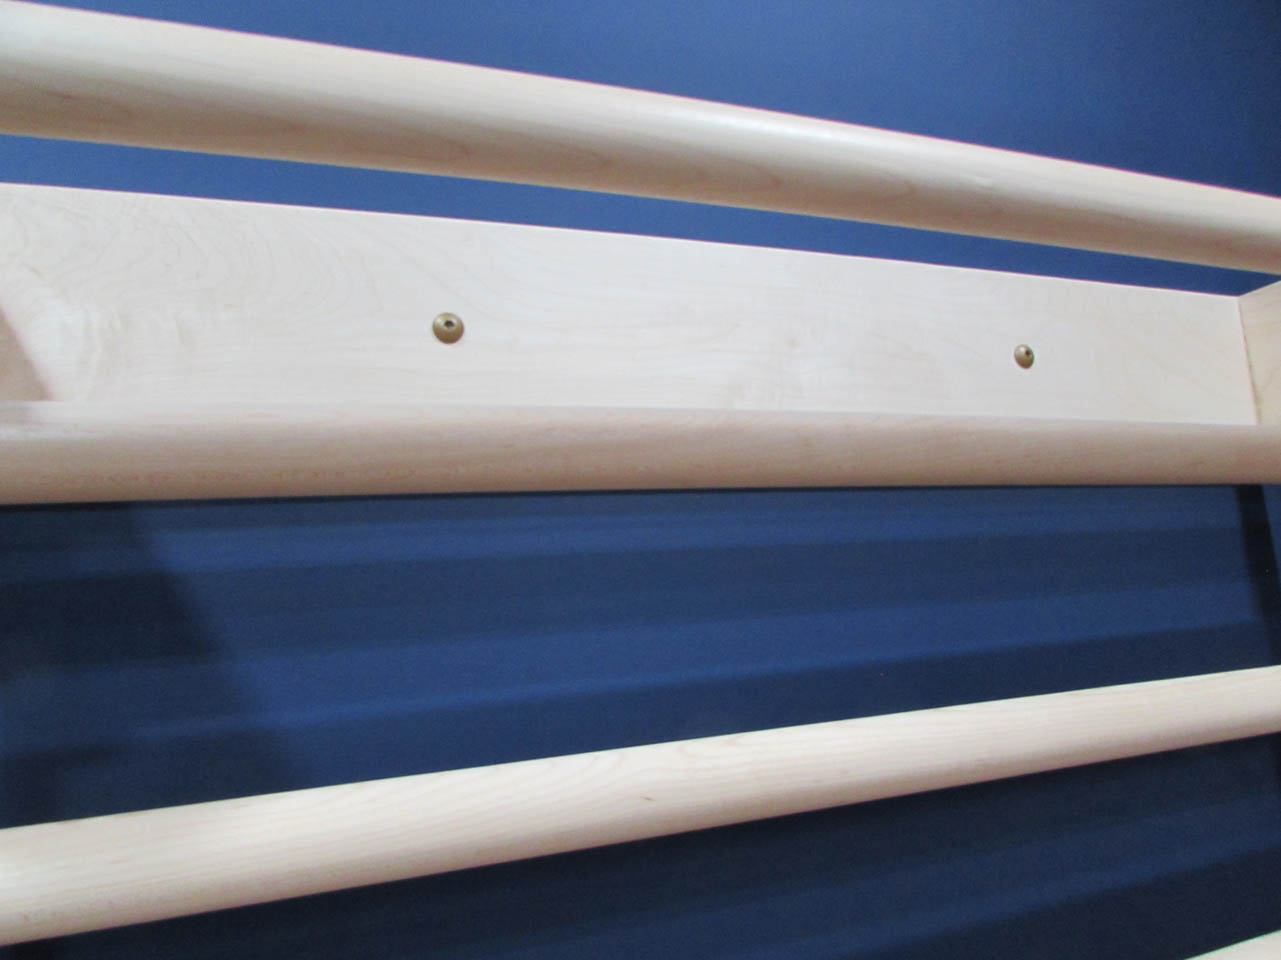
And the bars are ready for use. Now I have to do a bit of research and find a few exercises to test them out.

I chose to build these bars instead of buying them mainly because I wanted maple. Having to buy the wood as well as the new tools cost me about the same in the end. To me, that is a win because I now have the additional tools to use on future projects. The new dado blade and the box joint jig will be a great addition to my shop for future projects.

Pingback: Dip bar attachment | Midnight Woodworking
Thank you for sharing this! I also need to strengthen my body as I age and have been looking at stall bars. I’ll be using red oak for the sides and probably 1 1/4’ ash for the rails. My hands are smaller so the 1 1/2’ rails are too wide for my grip. I don’t have the woodworking experience nor tools for box joint tools but that’s ok. Mine will not have any of those joints. How are your exercises going? Anything you would do differently if you were to build it again?