
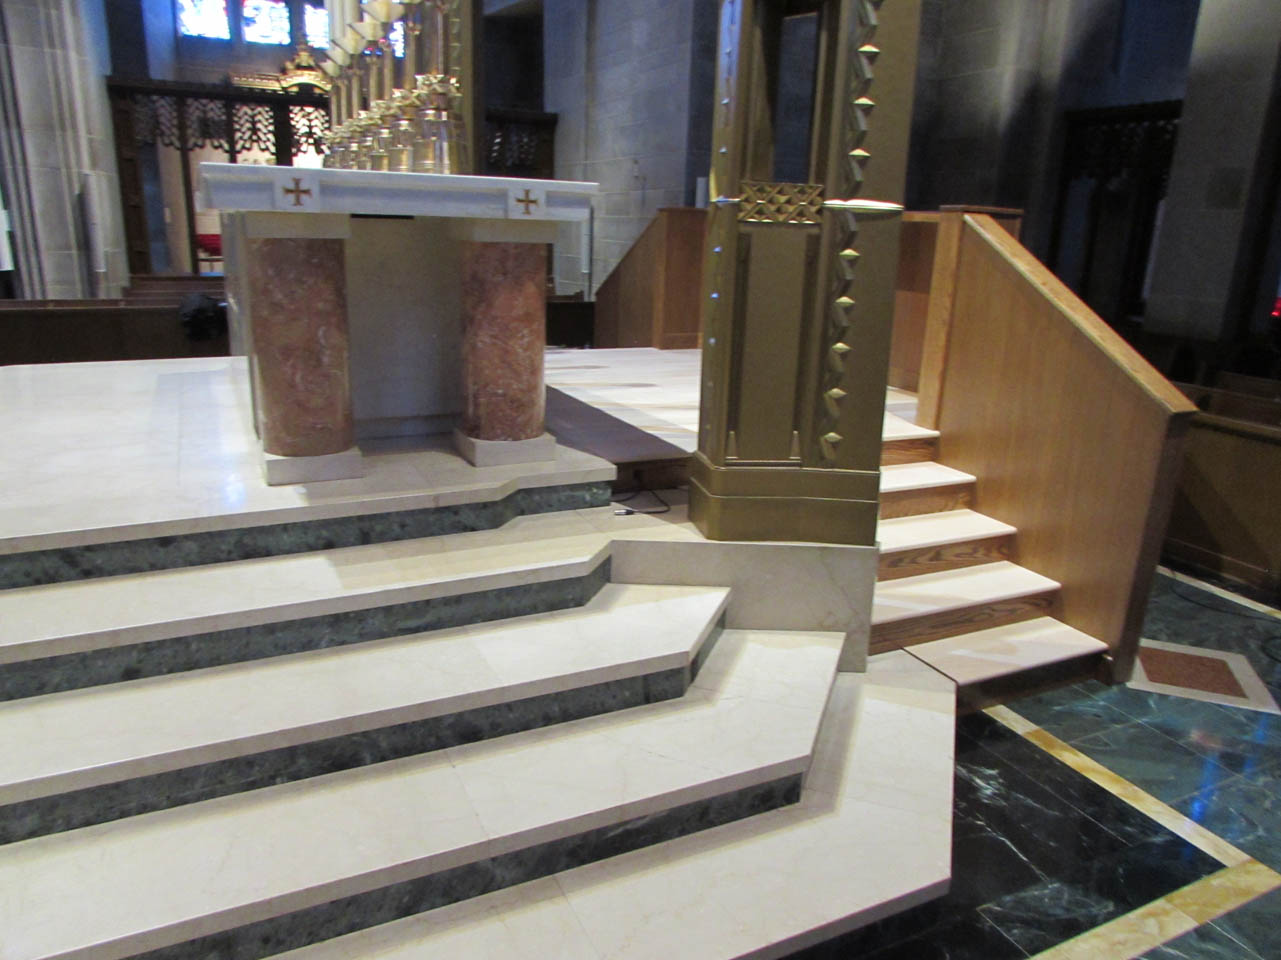
Altar platform part 7
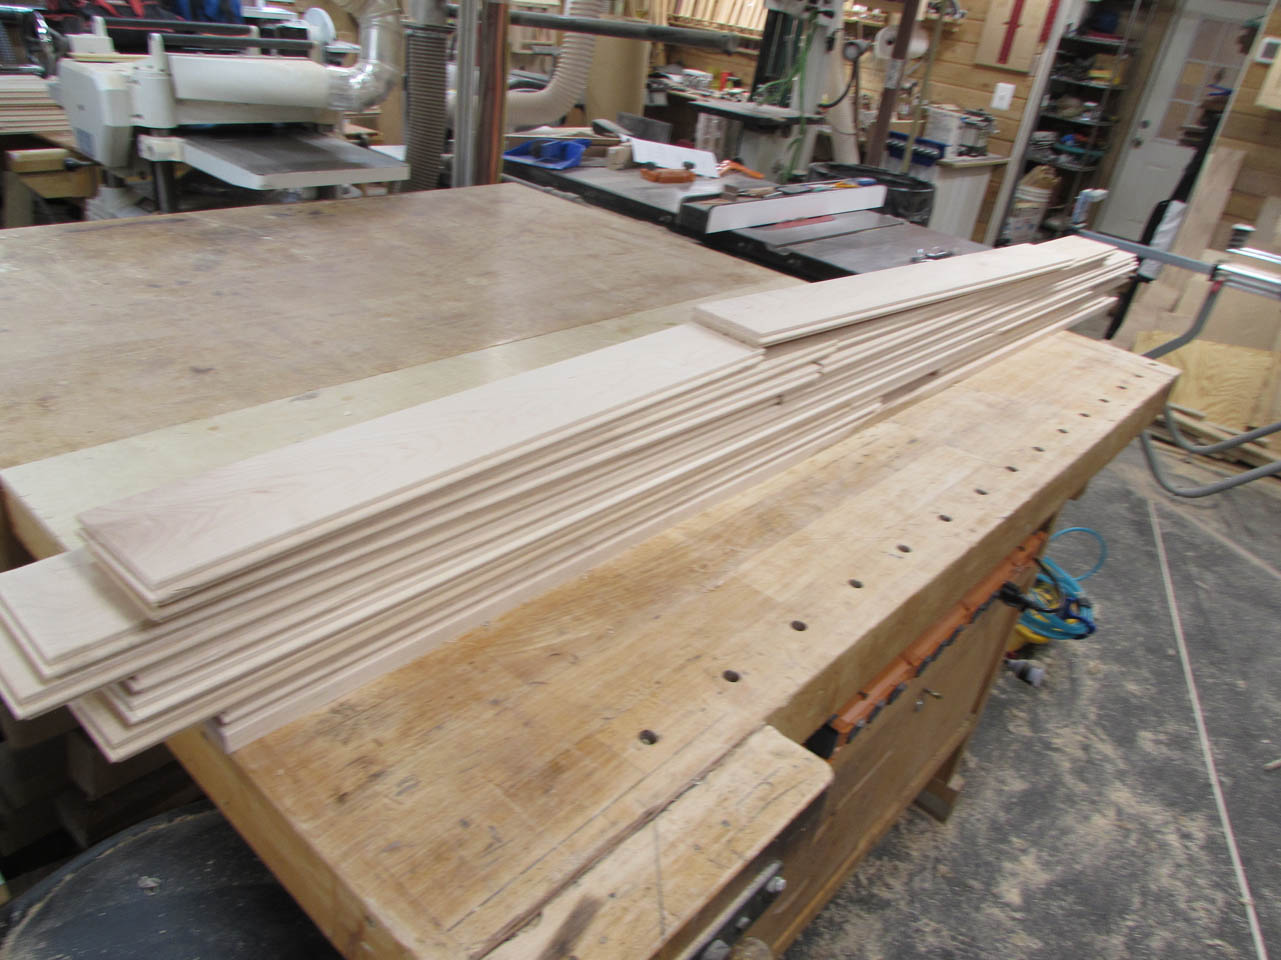
Time to prep all the maple flooring for install. I have an area of roughly 75 square feet to cover with premium hard maple. I picked up five packs of flooring, averaging 18 square feet each.

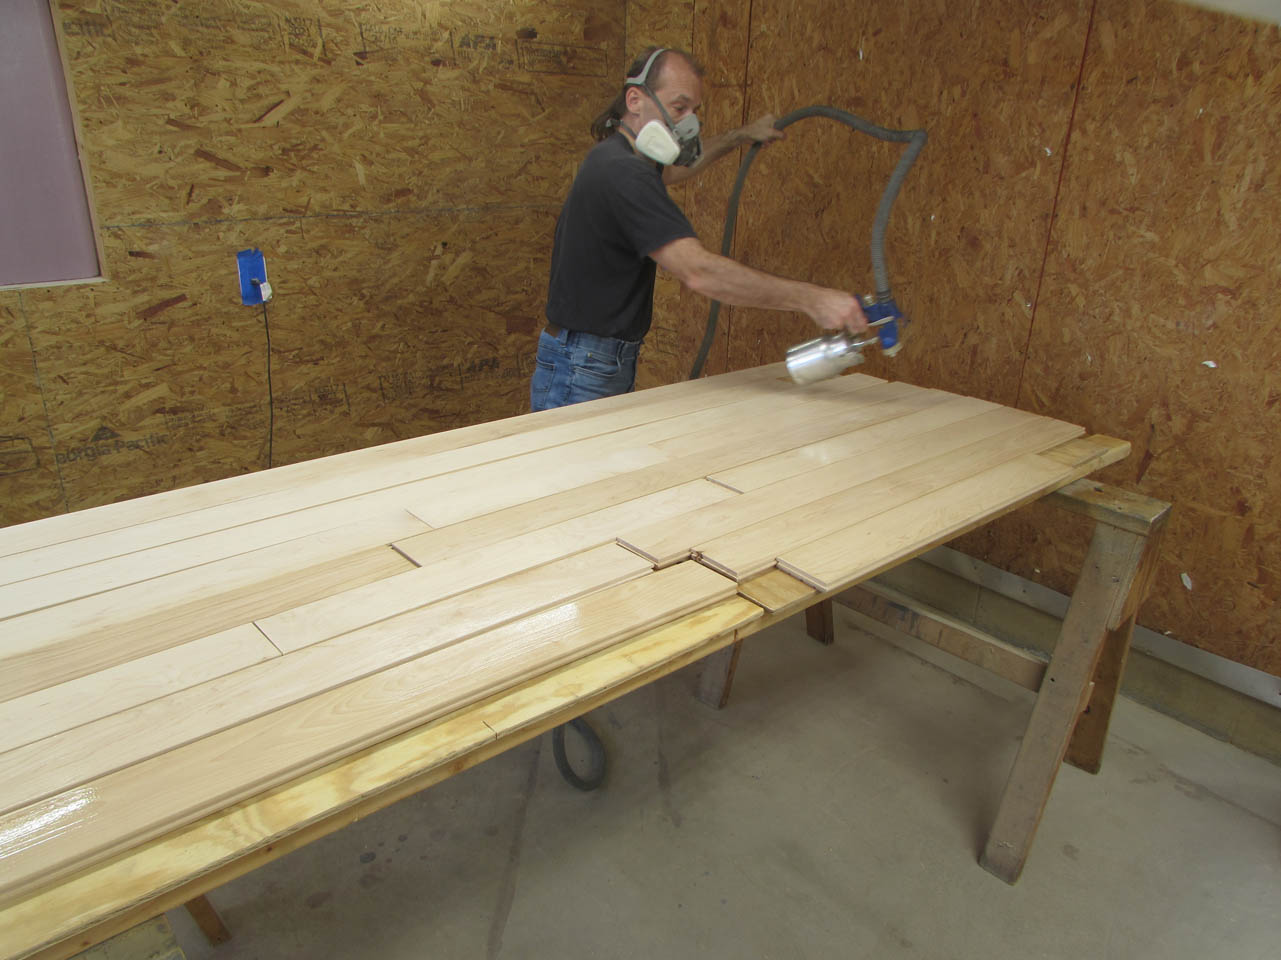
I am going to pre-finish the flooring so that I can install it in one day and not have a significant mess and fumes at the cathedral.

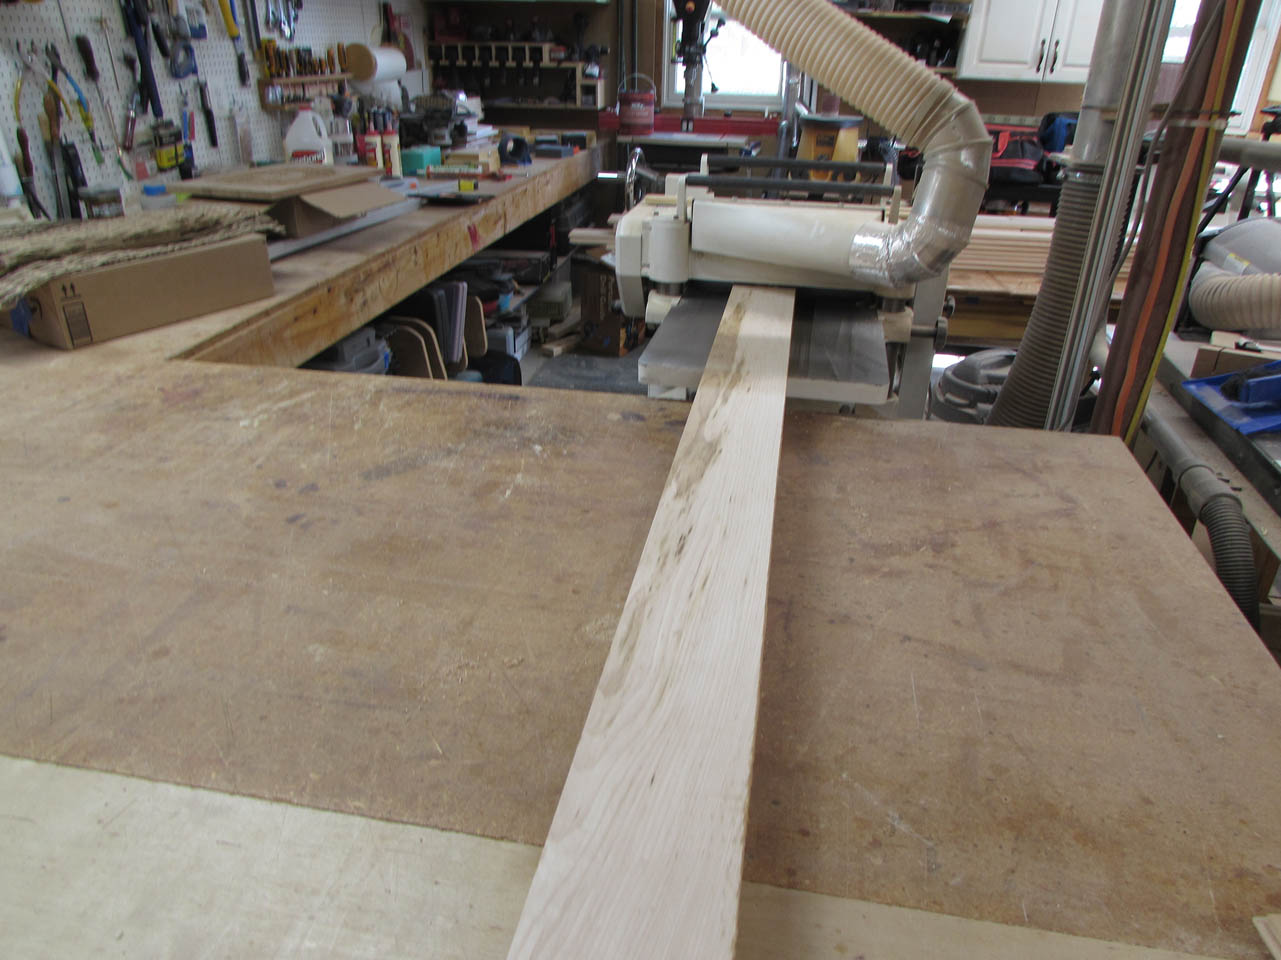
The first step is to remove any mill marks and make sure all of the flooring is the exact same thickness. I do this by running all of the flooring through my drum sander. I really only have the room to work on one bundle at a time which is good because I am hand planing a small bevel around each piece of flooring. It takes about an hour per bundle to sand and bevel.
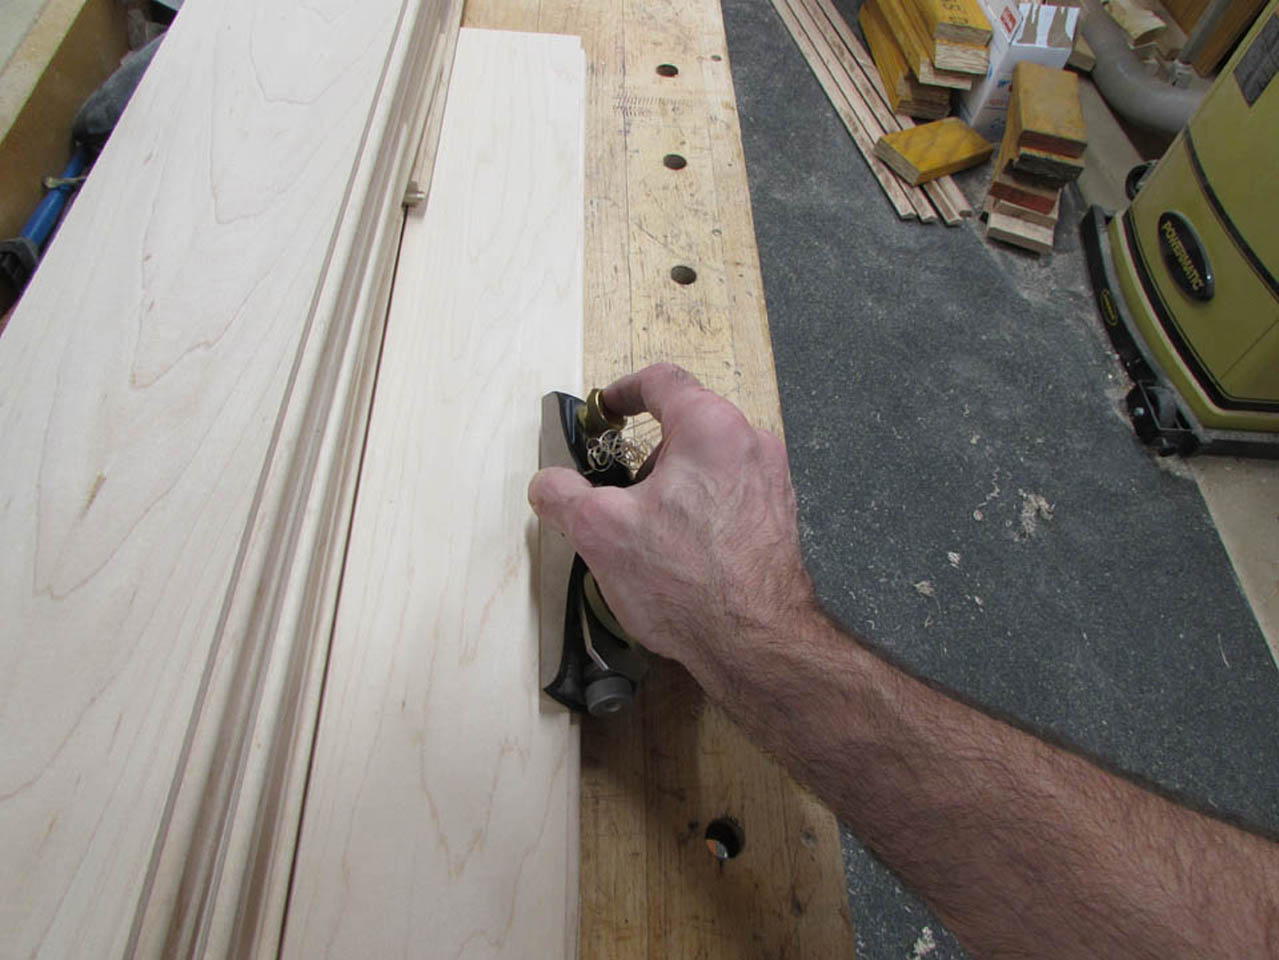
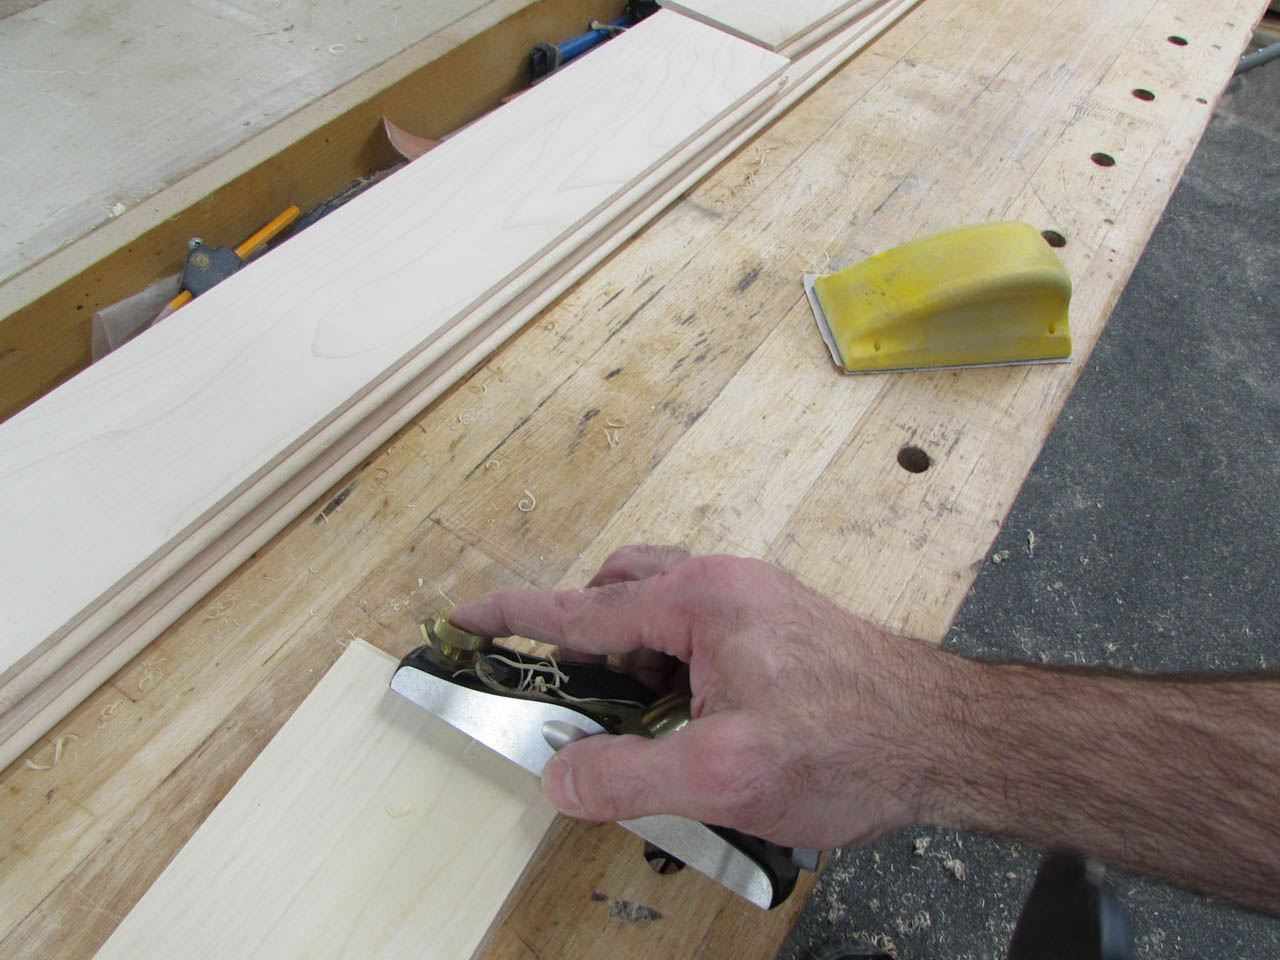
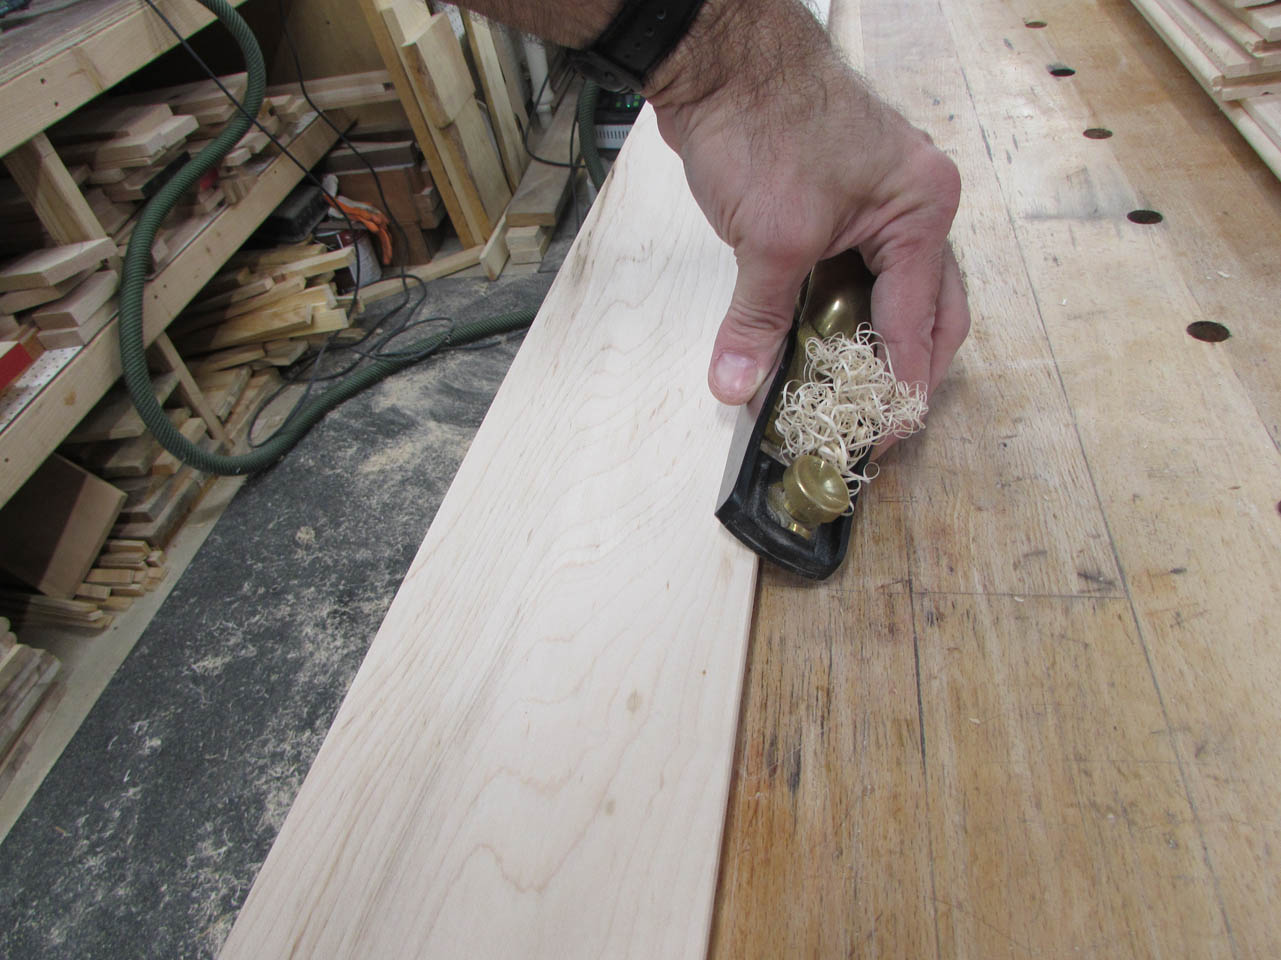
After each piece gets about four swipes with the block plane, I hand sand each bevel.

With each piece gently beveled, it is time for finish.

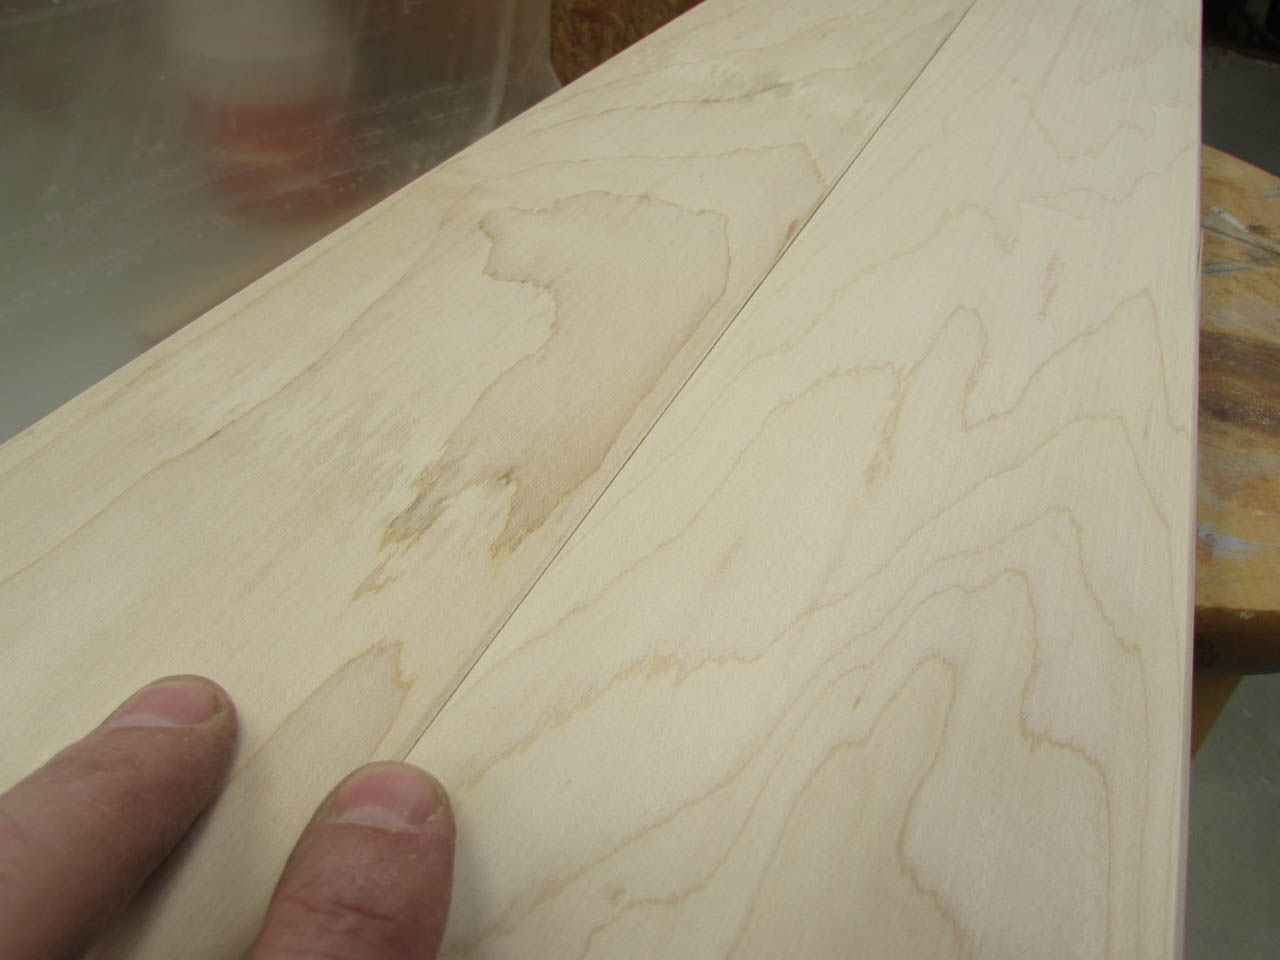
I want the maple to stay as creamy white as possible to blend in with the marble at the altar. To achieve this, I have to stay with a water-based floor poly. I discovered that the water-based is thin enough that I can spray it so I laid out an entire bundle on plywood and sprayed each bundle together.
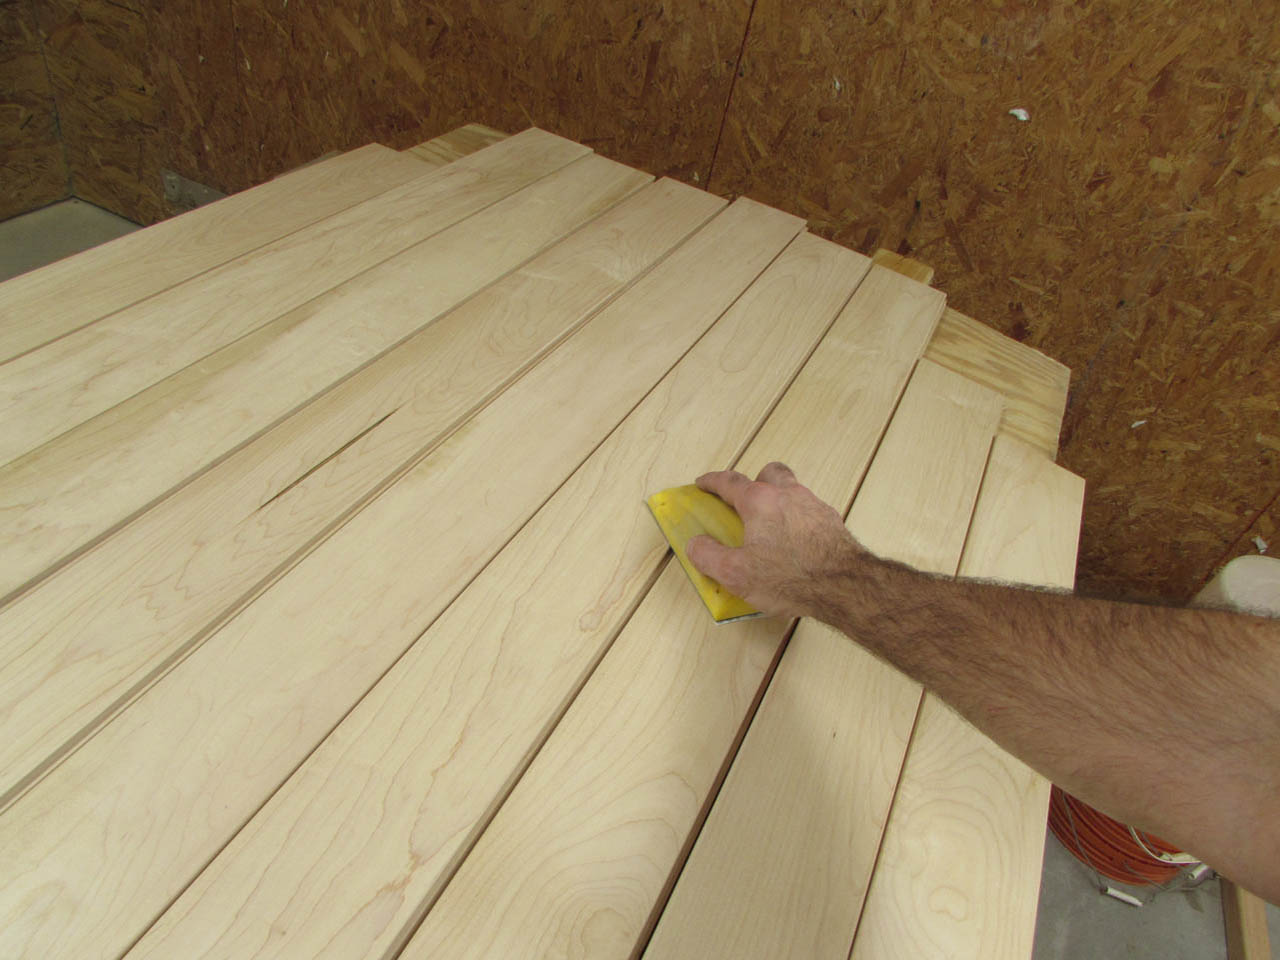
I applied three coats, sanding the surface between each coat with 400 grit paper.


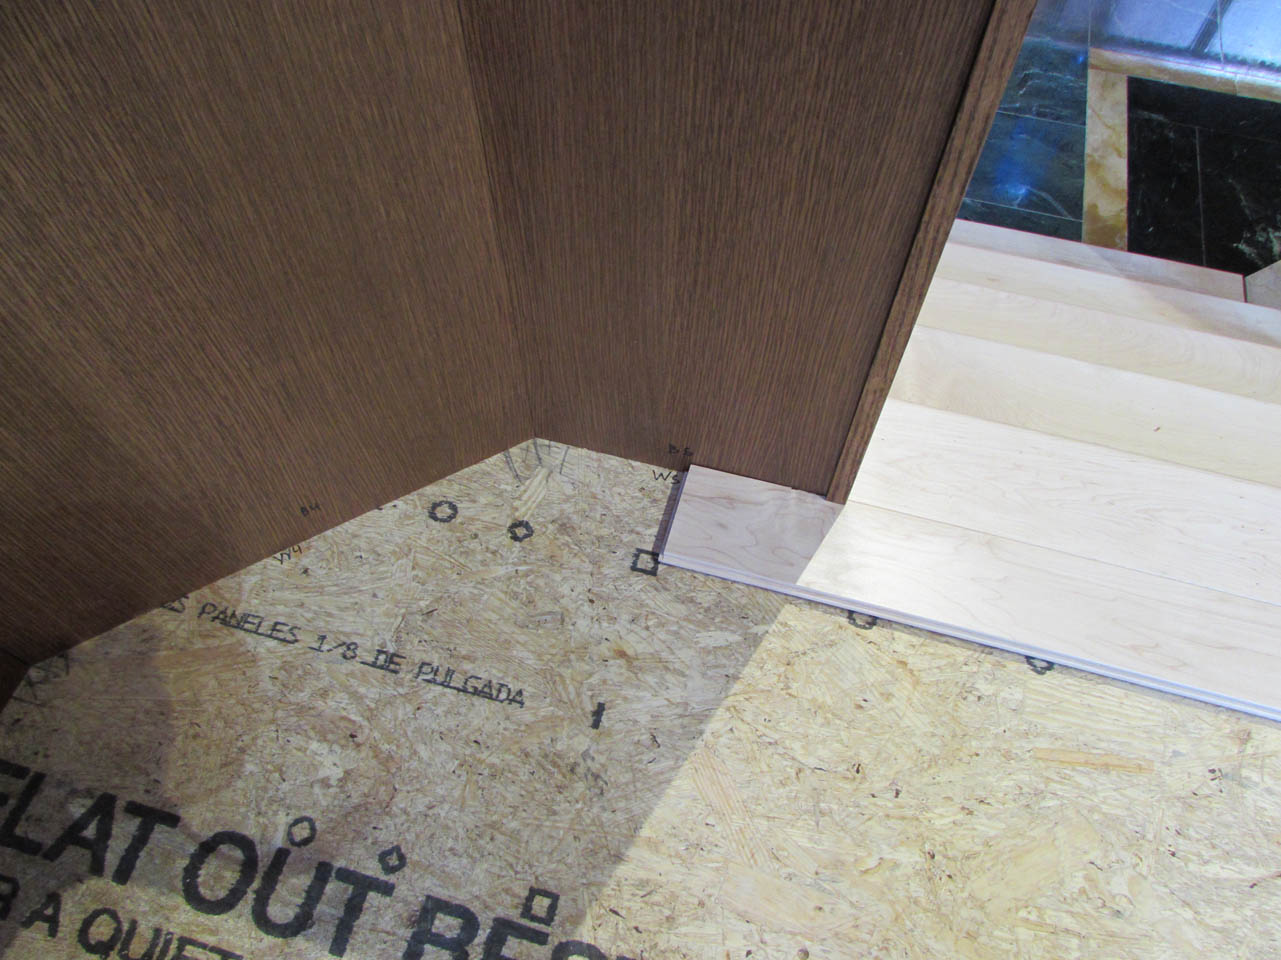
The purpose of the bevel is to not have any edges that stick up if there is an anomaly in the sub-floor. Even if one piece of flooring is slightly higher than the one next to it, you cannot tell.
The first bundle down, four more to go.

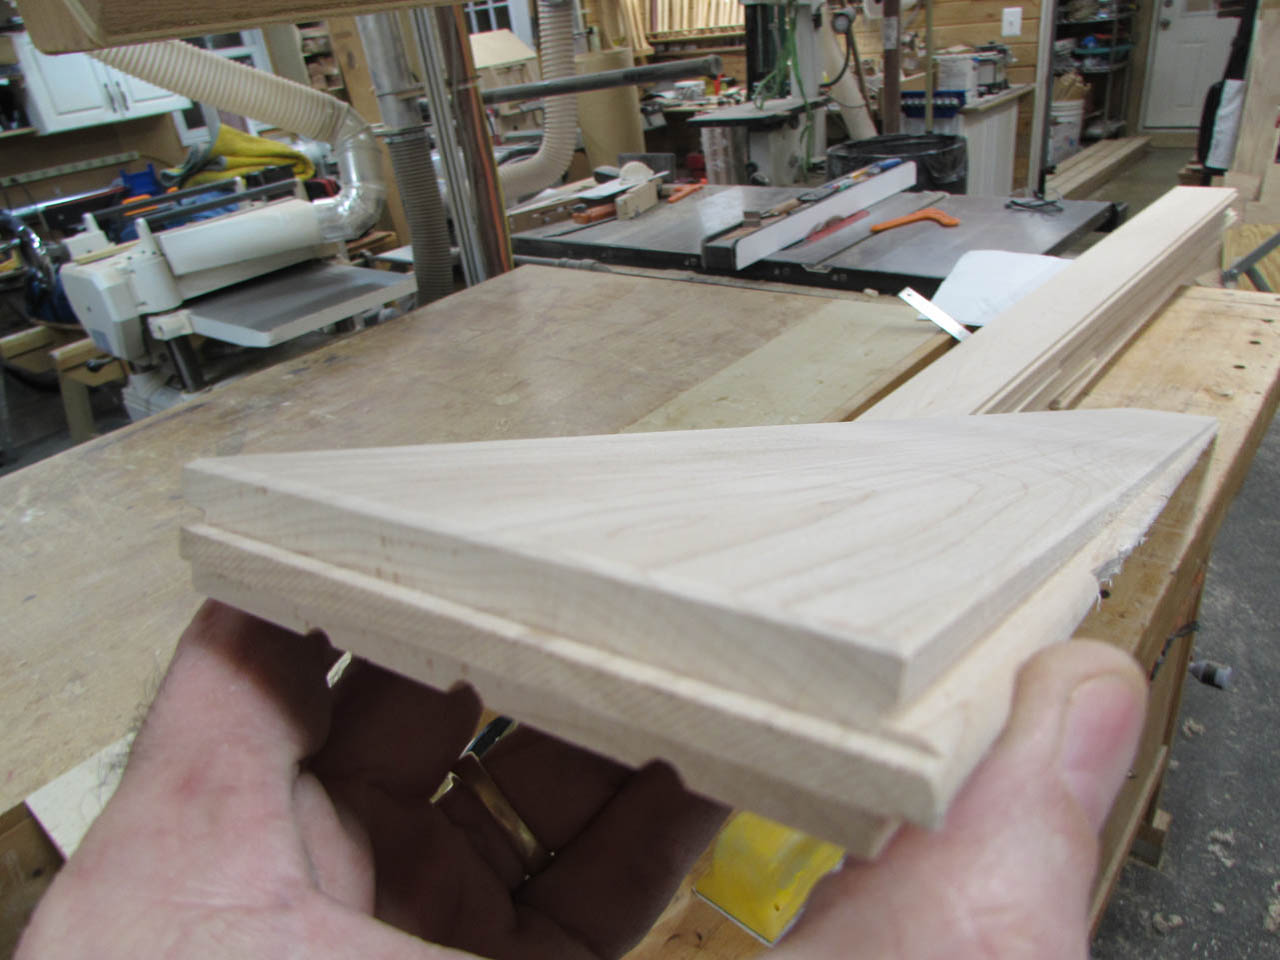
My calculations show that I will wind up with a roughly 4-1/4″ gap after installing all but the last row of flooring. Since I already have the bullnose at the top of the steps installed, the last piece will need to be custom cut to fit. I have 4″ flooring so to avoid having a 1/4″ wide strip at the end, right at the top of the steps. I am making a custom piece that is a little wider.


I cut a single piece of maple, then planed and jointed it straight and flat.


I planed it down to the exact thickness of a piece of flooring, but a bit wider.


I set the blade depth to match the groove depth in the flooring and set the fence to match the top section of the groove side.
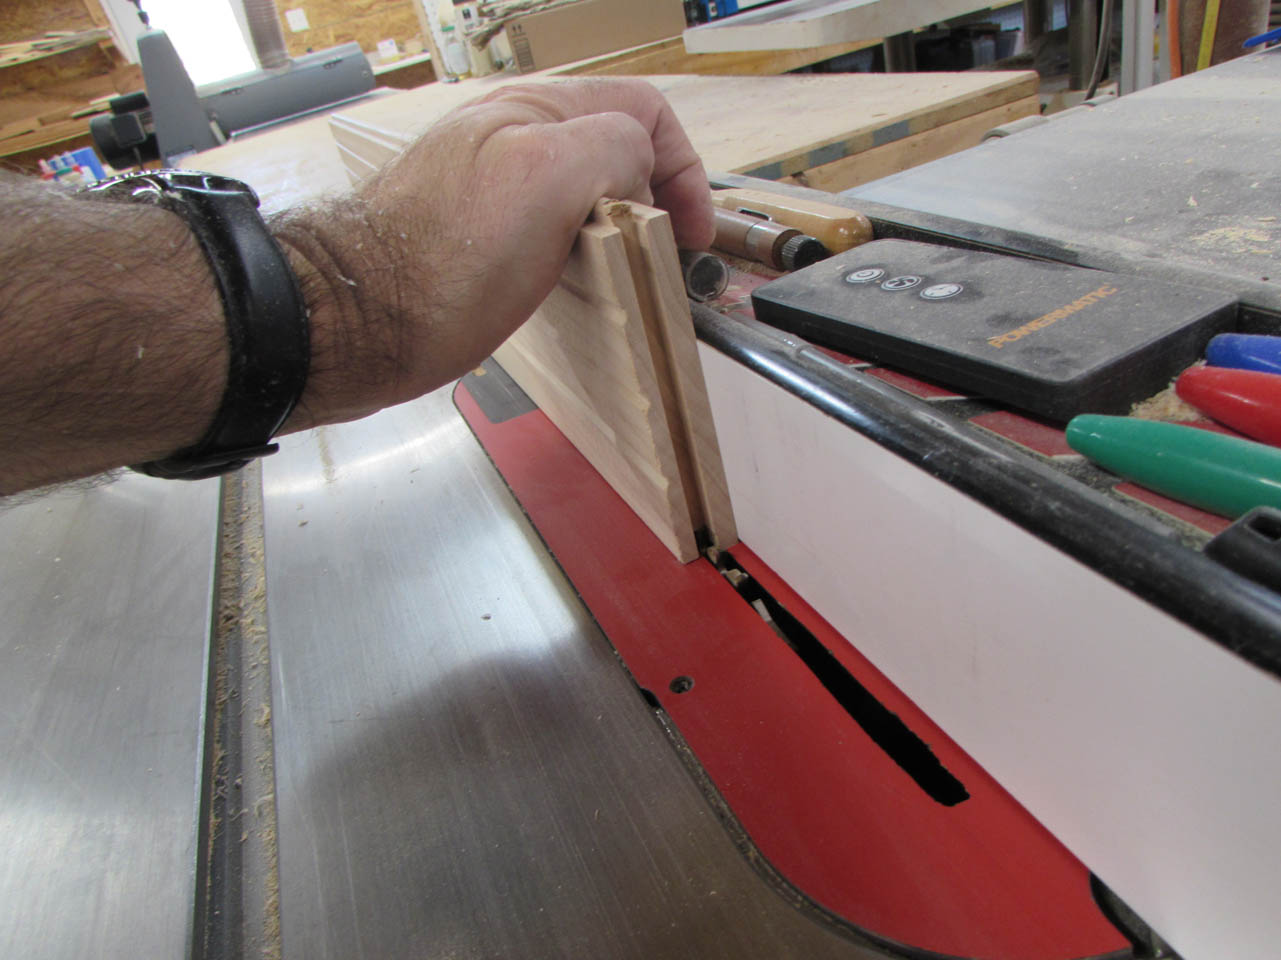


Then I cut a notch so that this piece can be dropped onto the tongue of the previous row, since I won’t be able to press-fit the last piece in around the tongue.


I threw that piece in with the last batch of flooring.

And repeated the beveling and sanding process.


One last batch of finishing…
Then it was all done and ready for install.

The following week, I had a day to work so I packed everything up and hauled it to the cathedral.


I picked a side to start on and decided on a longer piece so the first seam was along the wall, not the steps.
For the little angled piece, I culled through the pile to find discolored or cracked boards so I could cut away the less desirable areas to create the short piece.


I brought my portable chop saw for the angled cuts. I cut the piece allowing up to 1/4″ of gap that will be covered by trim after the floor is down.

To reduce the chance of wood movement and eliminate noise, I applied polyurethane glue to the bottom of each board.
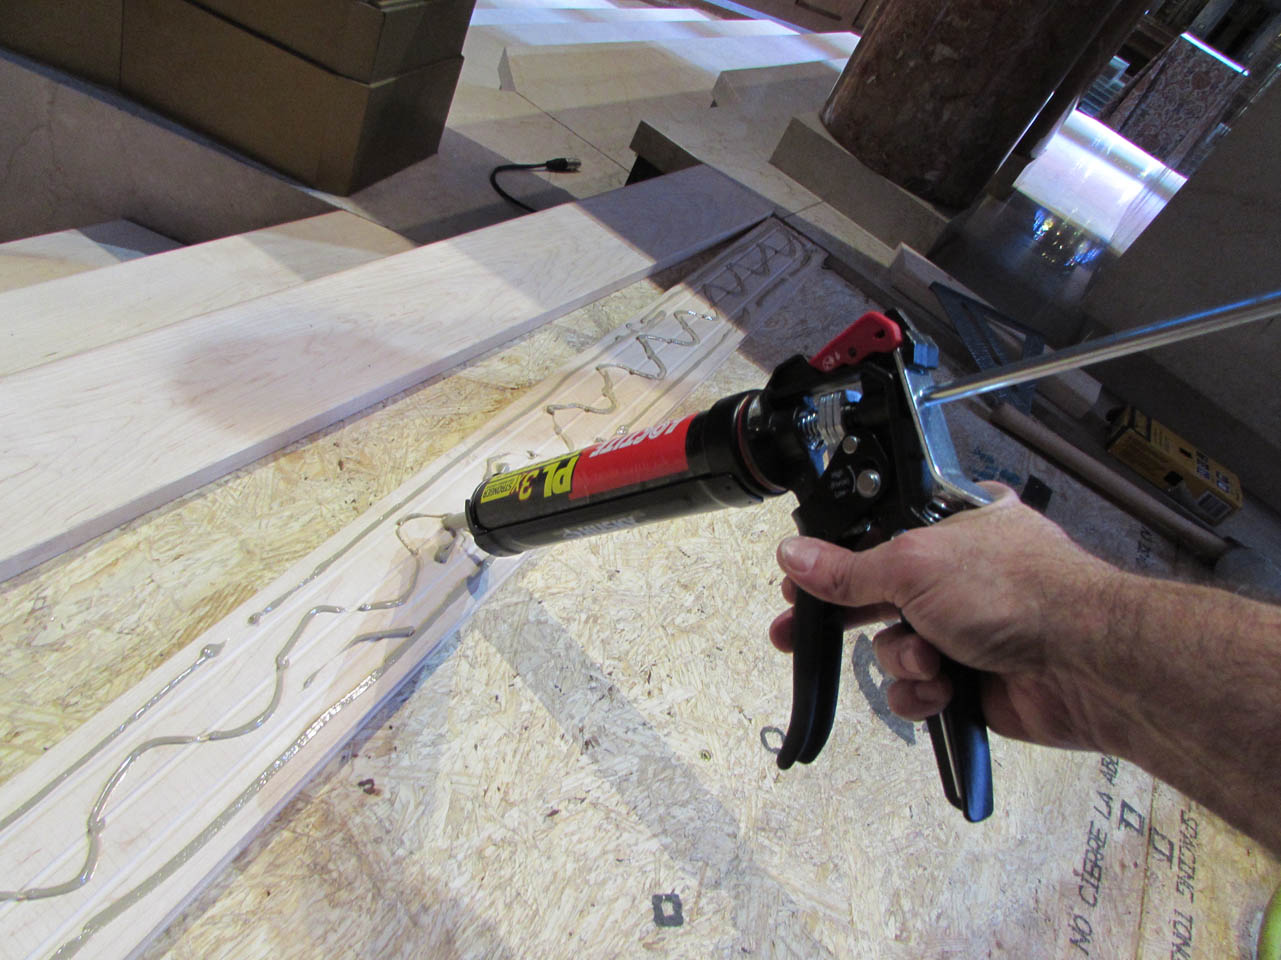

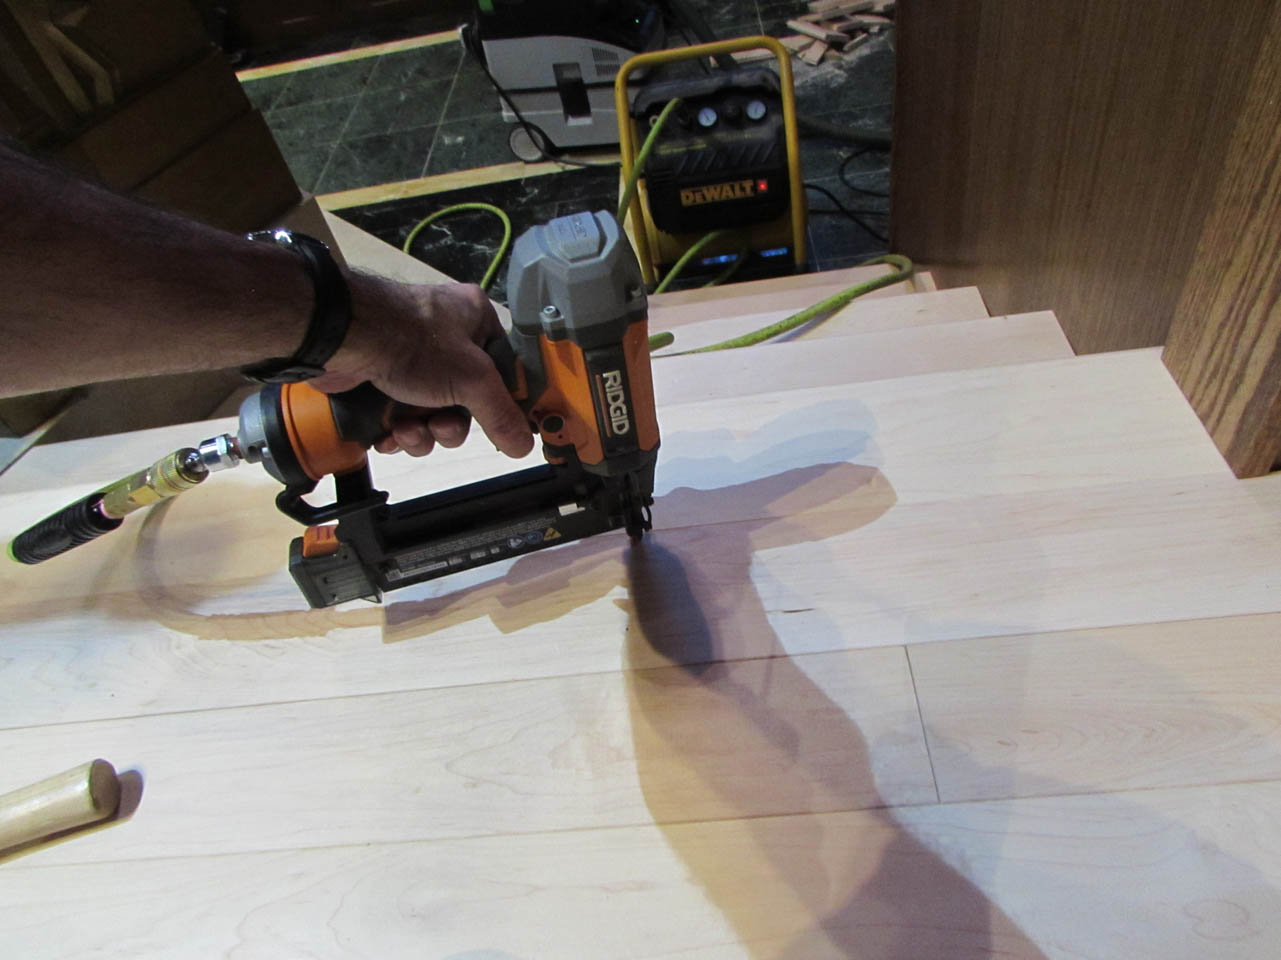
I face-nailed the first edge along the bullnose, then used the flooring nailer along the tongue side.
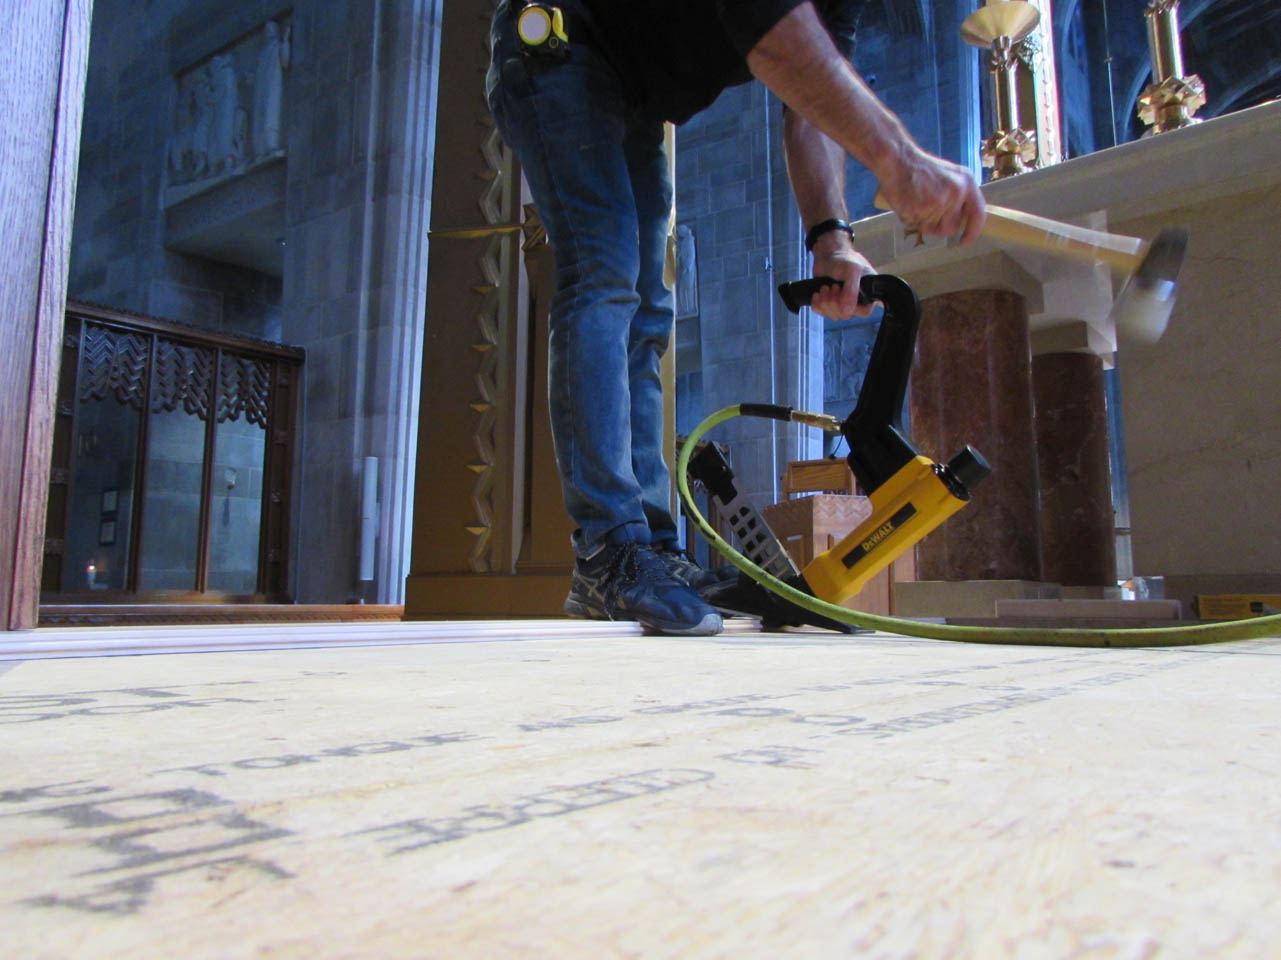
I placed a flooring nail about every 8″.

As I lay the flooring, I am using random length material so I have to be careful to have any seams at least 6″ away from any other seams.

To speed things up, I can lay out several rows at a time.
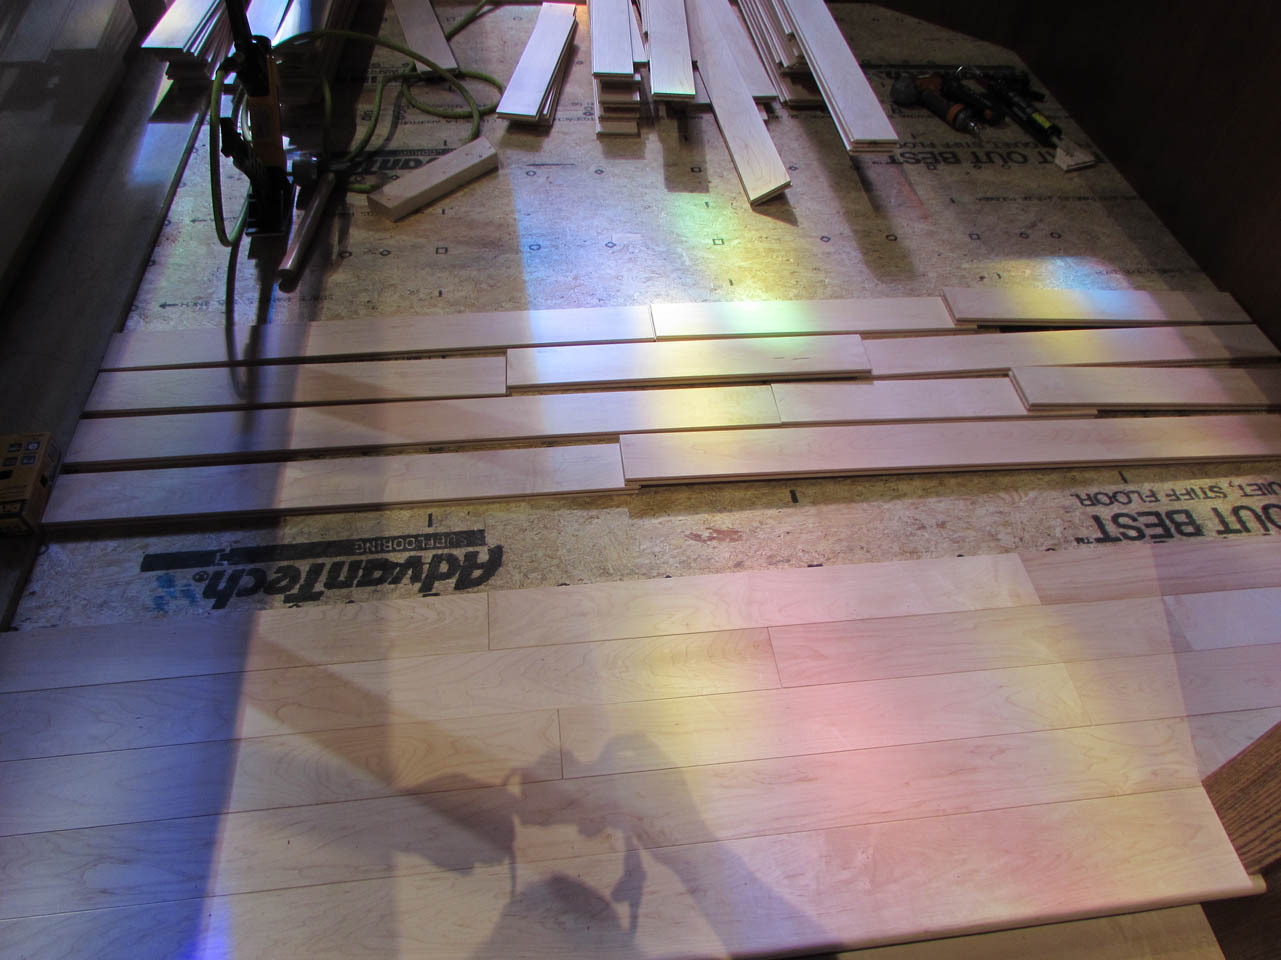
I thought it would save time to apply the glue several rows in advance, but that created a different problem because the air hose kept wanting to drag across them in the glue.
After that I went back to glueing one at a time.
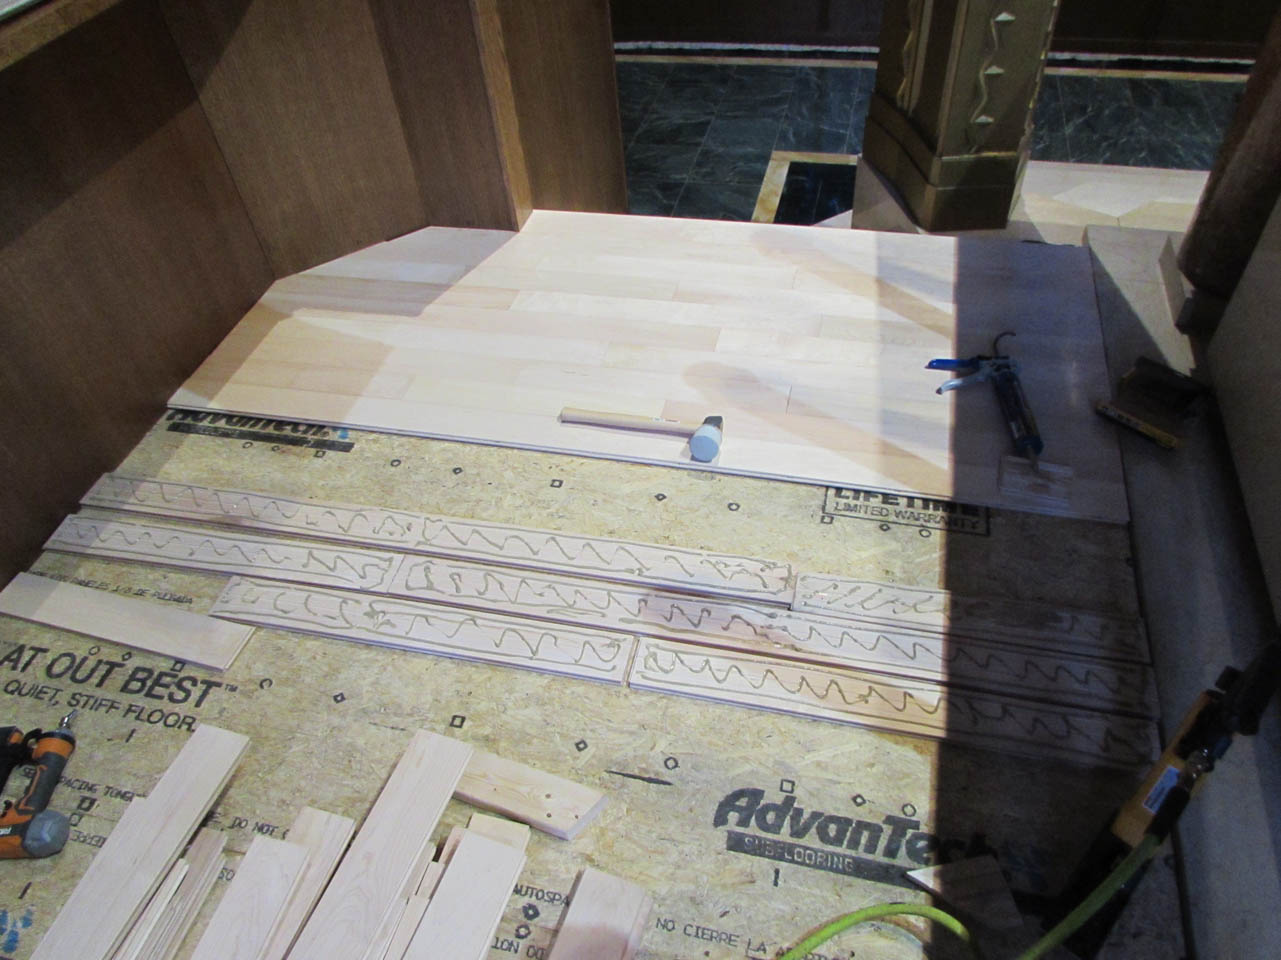
Finally I got down to the last row. I had calculated that I would need a 4-1/4″ wide piece. Turns out the last one was 4-5/8″ wide at one end and 4-3/8″ wide at the other.

Luckily the piece I made was 4-5/8″ wide… I set up my track saw to cut the long taper.

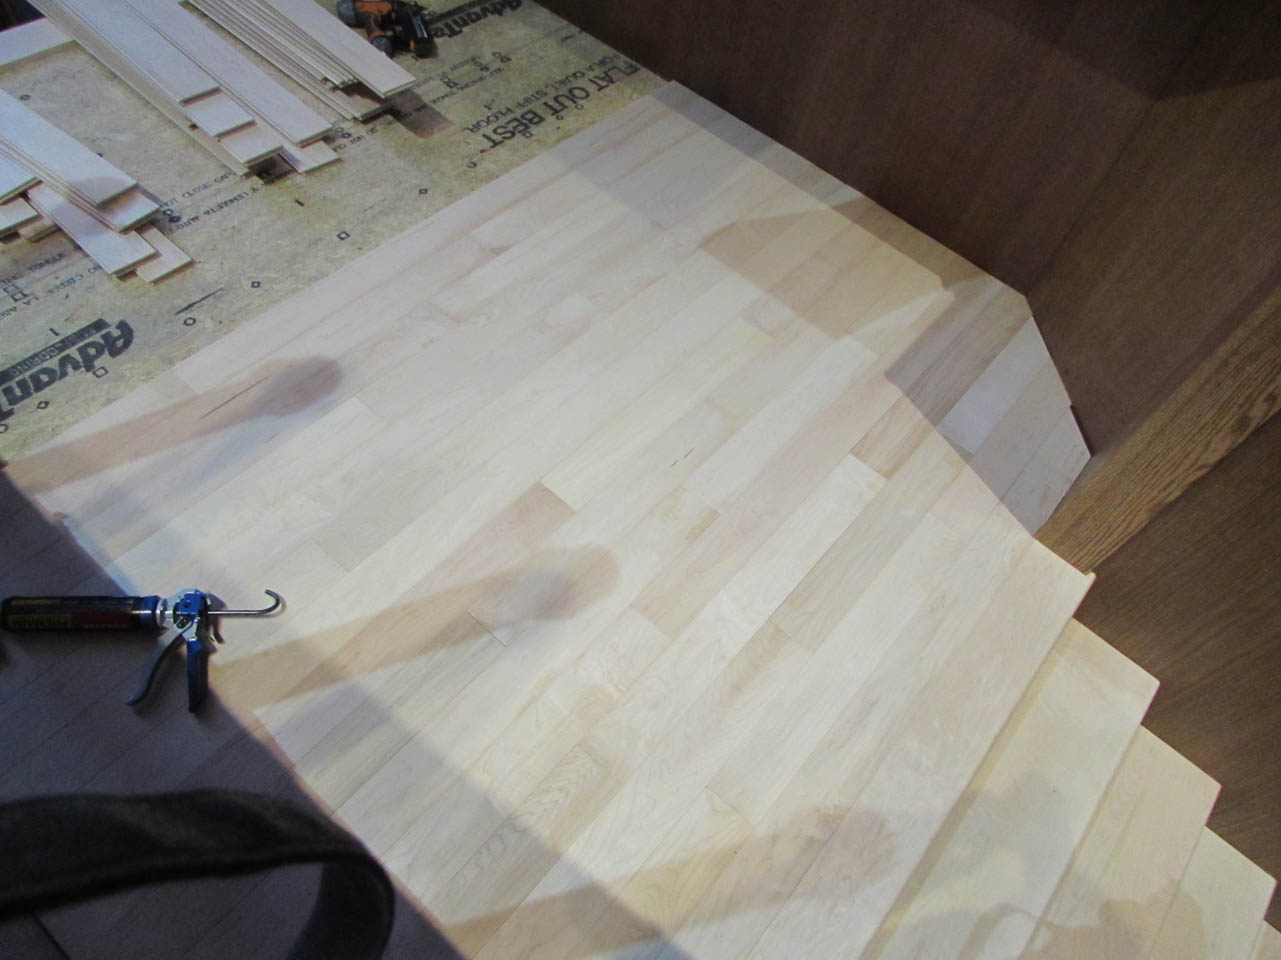
Instead of beveling the cut end and having to apply finish and wait for three coats to dry, I used my burnishing rod to roll over the finished sharp edge to mimic the finished beveled edges. It worked surprisingly well. The floor poly that I used is flexible enough that it just bent over without cracking.

Next, I applied a bit of glue and persuaded the last board into place.

A few face nails were added with my 18 gauge brad nailer and the floor was installed.
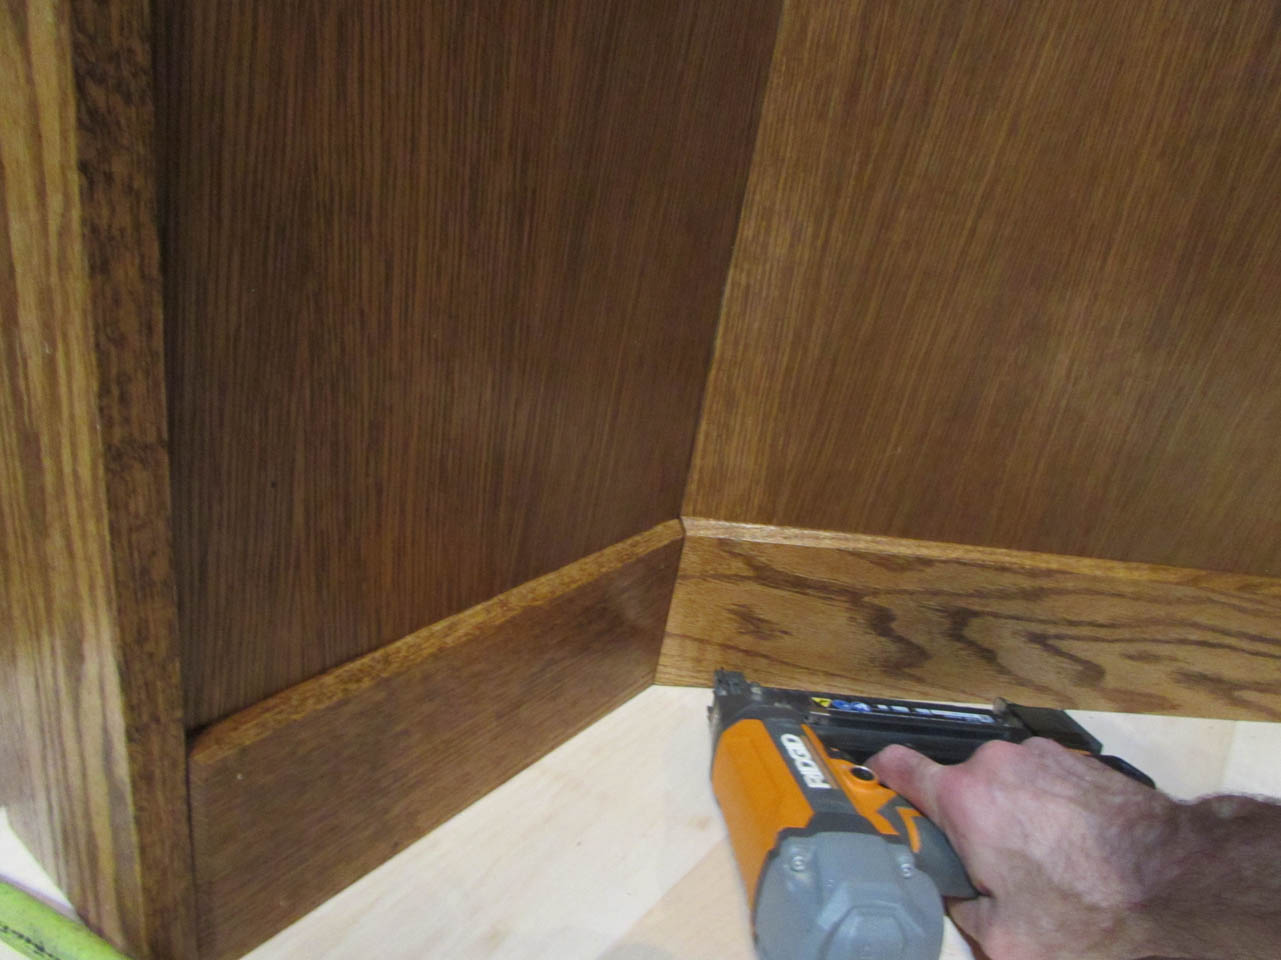
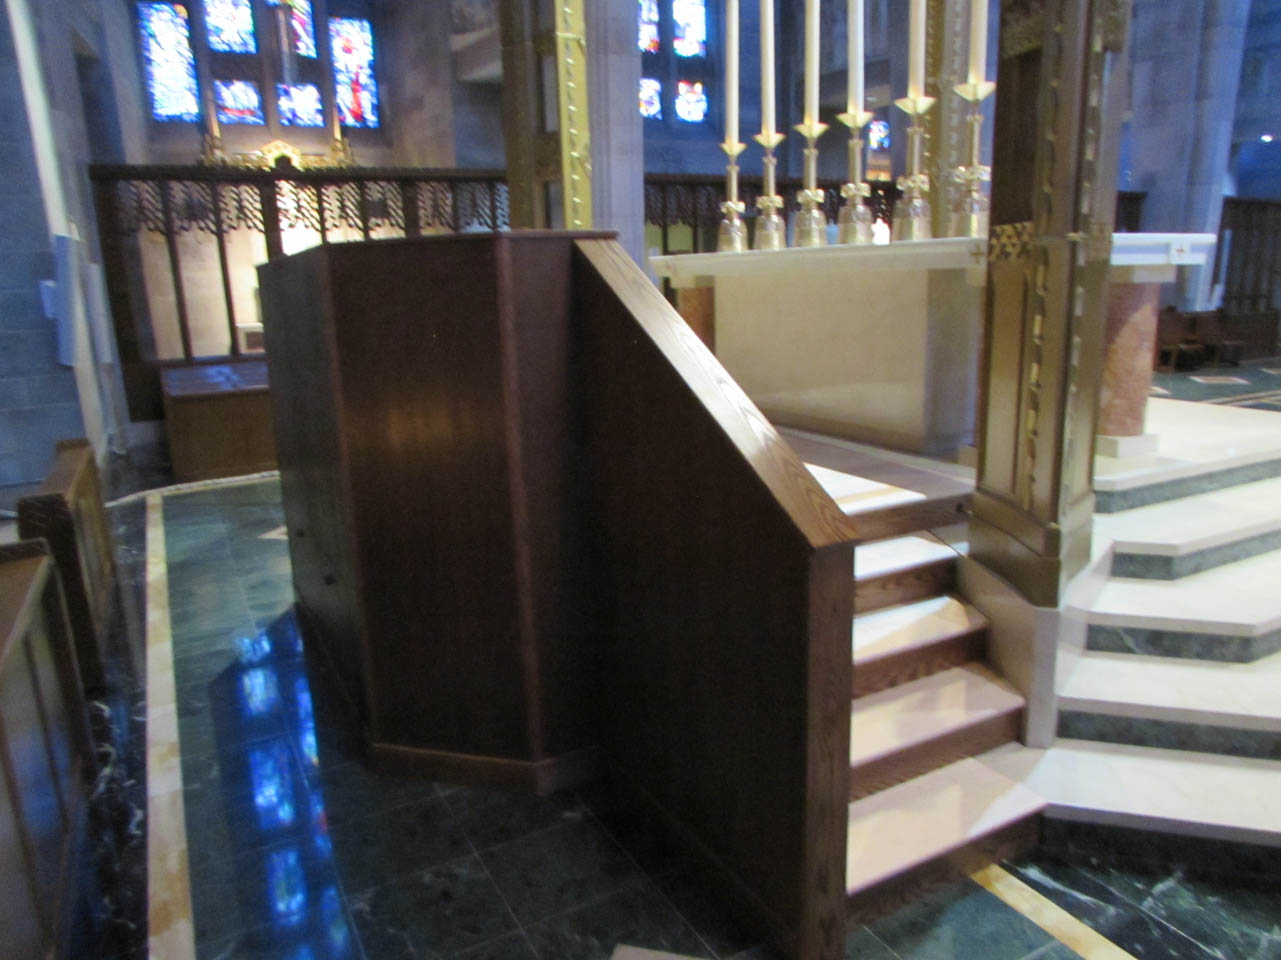
The last step was to nail the base trim into place.
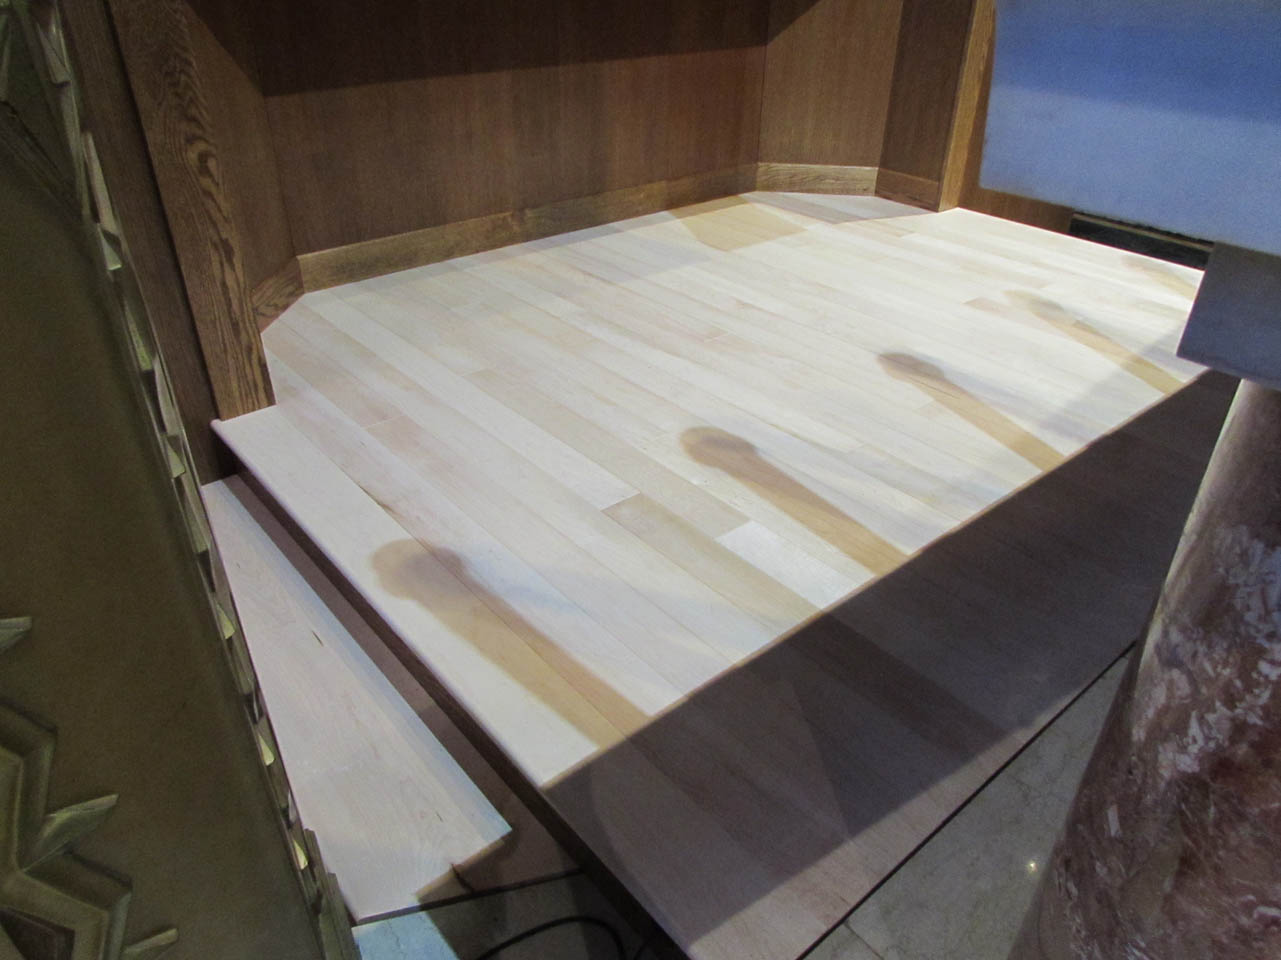
The floor looks really good.

It was hard to get a good picture with all of the shadows and the mottled colors coming through the stained glass windows so I took a bunch of pictures…
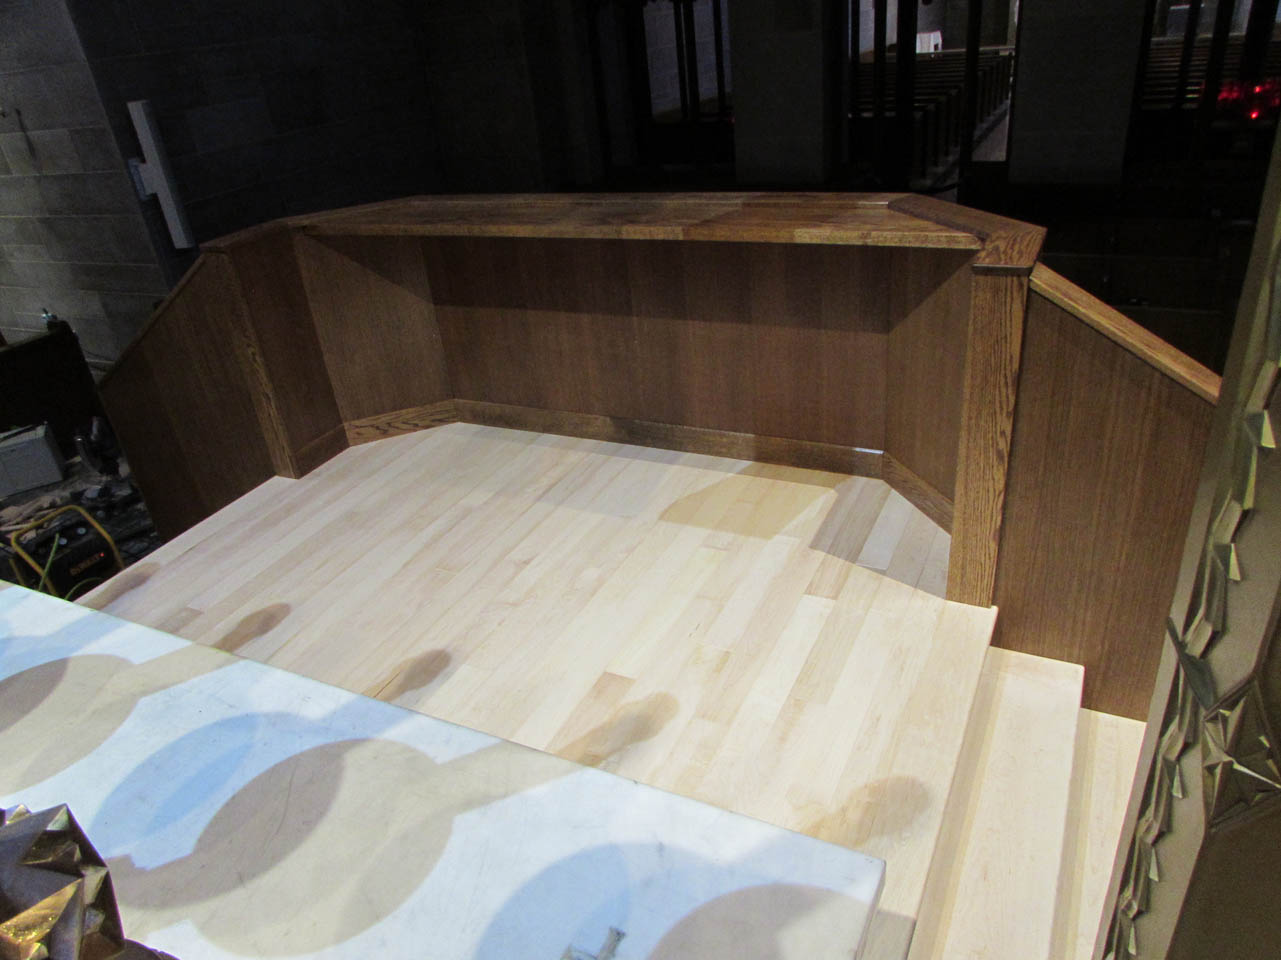
It is finished and it turned out really nice.


So far, I have had nothing but compliments which I am grateful for. I usually only focus on the mistakes…

I attached a couple of video clips as well to get a better visual.
This was a challenging project. It was the largest piece of furniture that I have made and it had to be surprisingly precise for such a large piece. I am glad for the experience but I am also glad it is finished.
