
Dip bar attachment
In an effort to expand the usefulness of my Stall bars that I just built, I am now going to make a Dip bar that will attach to the stall bars.
Here is the design I am starting with, but there will be a little tweaking to fit my bars later. dip bar.pdf
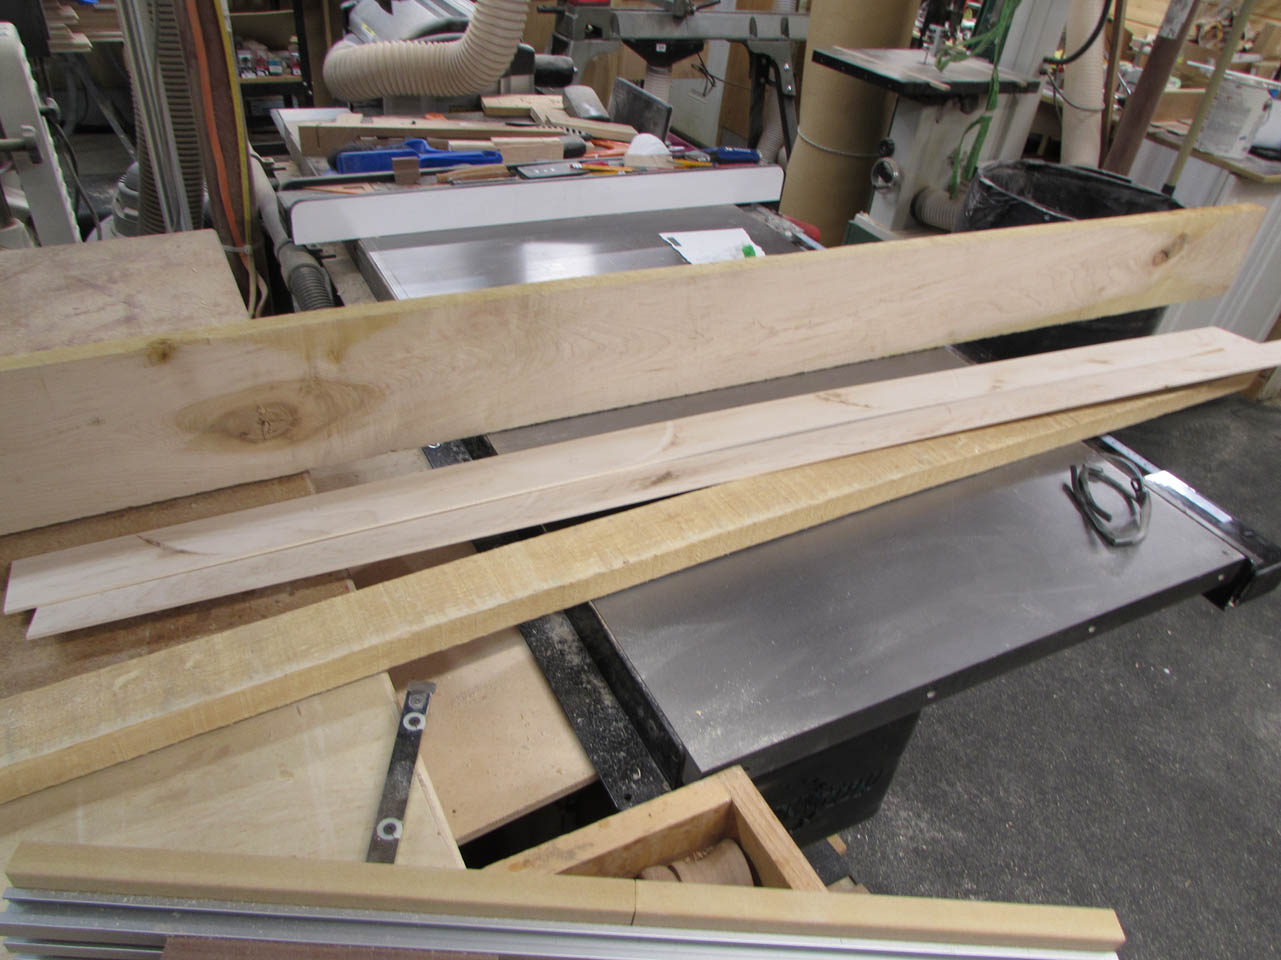
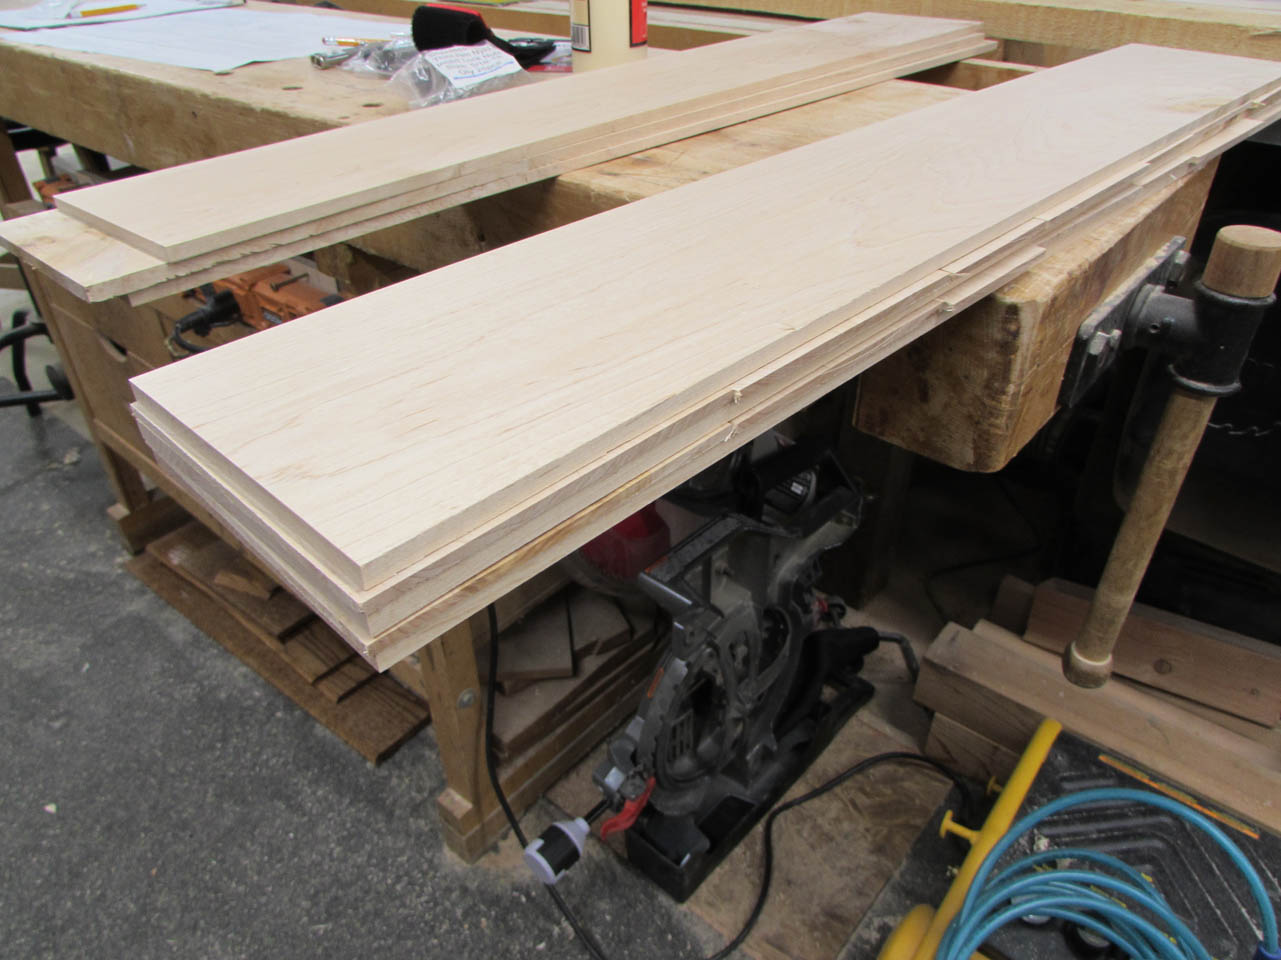
I am making this device from hard maple and unfortunately I don’t have much left. I have one 6″ wide board and some odd scraps.
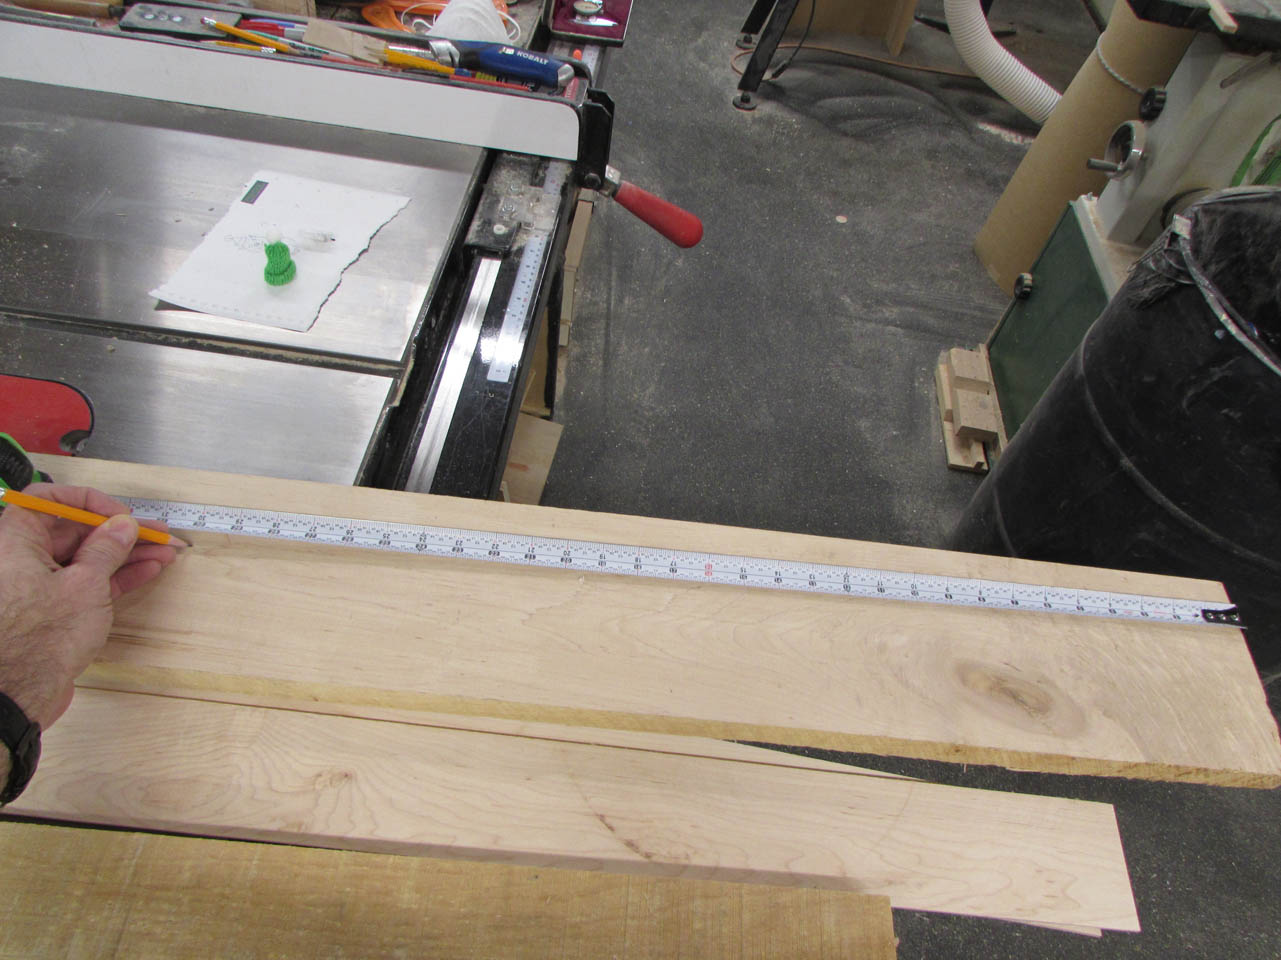
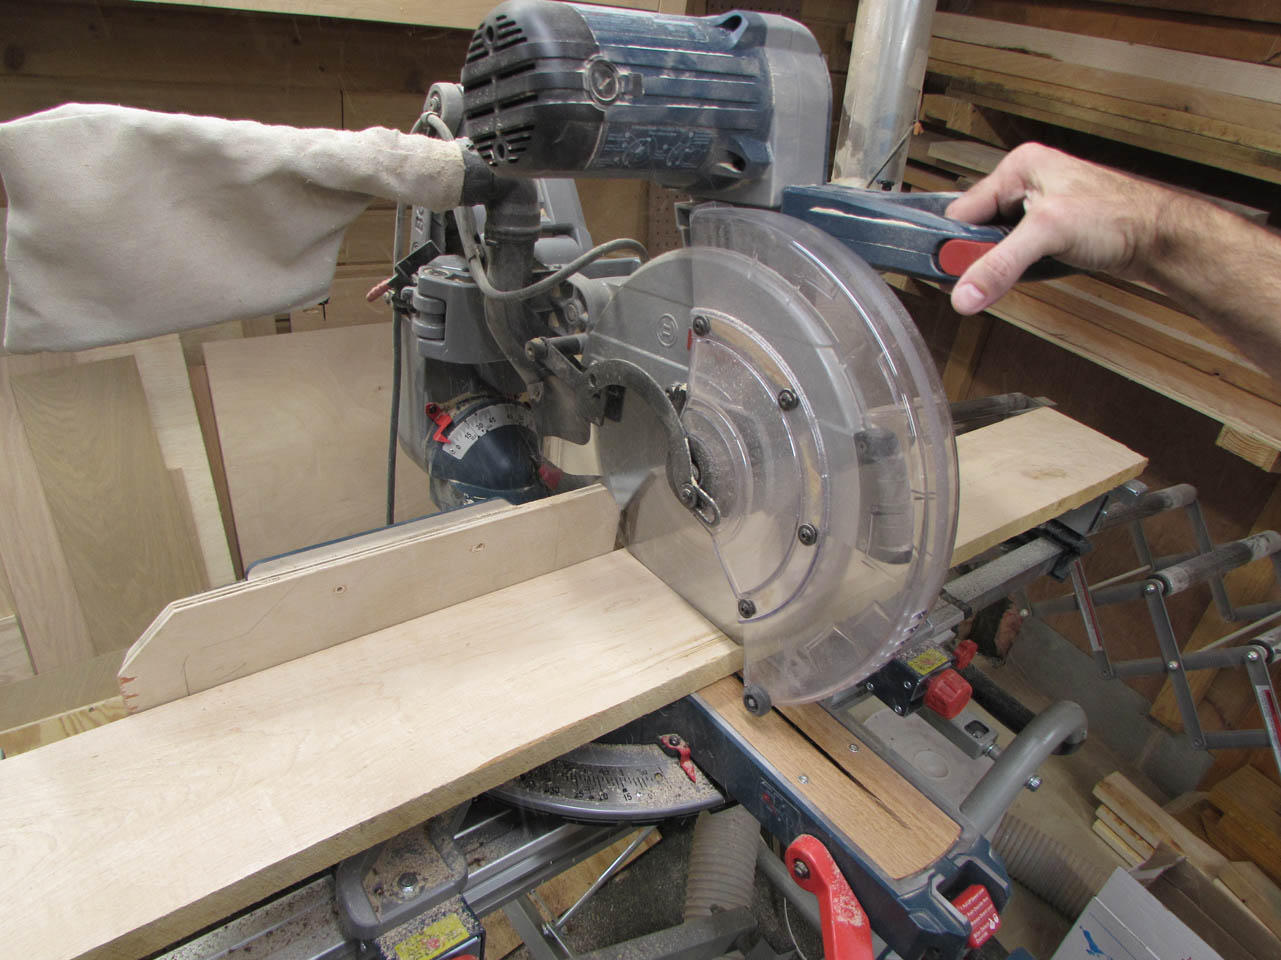
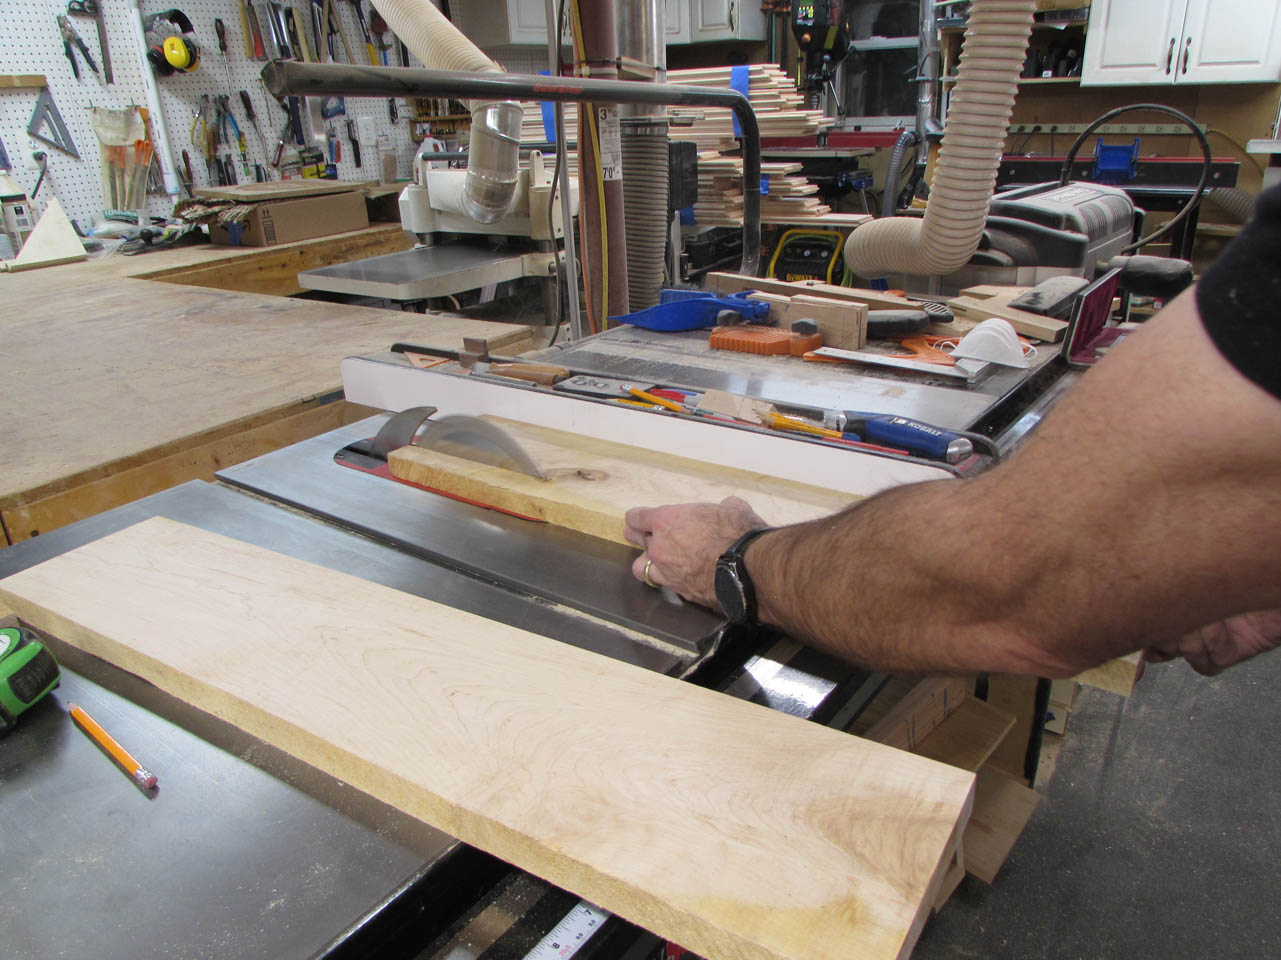
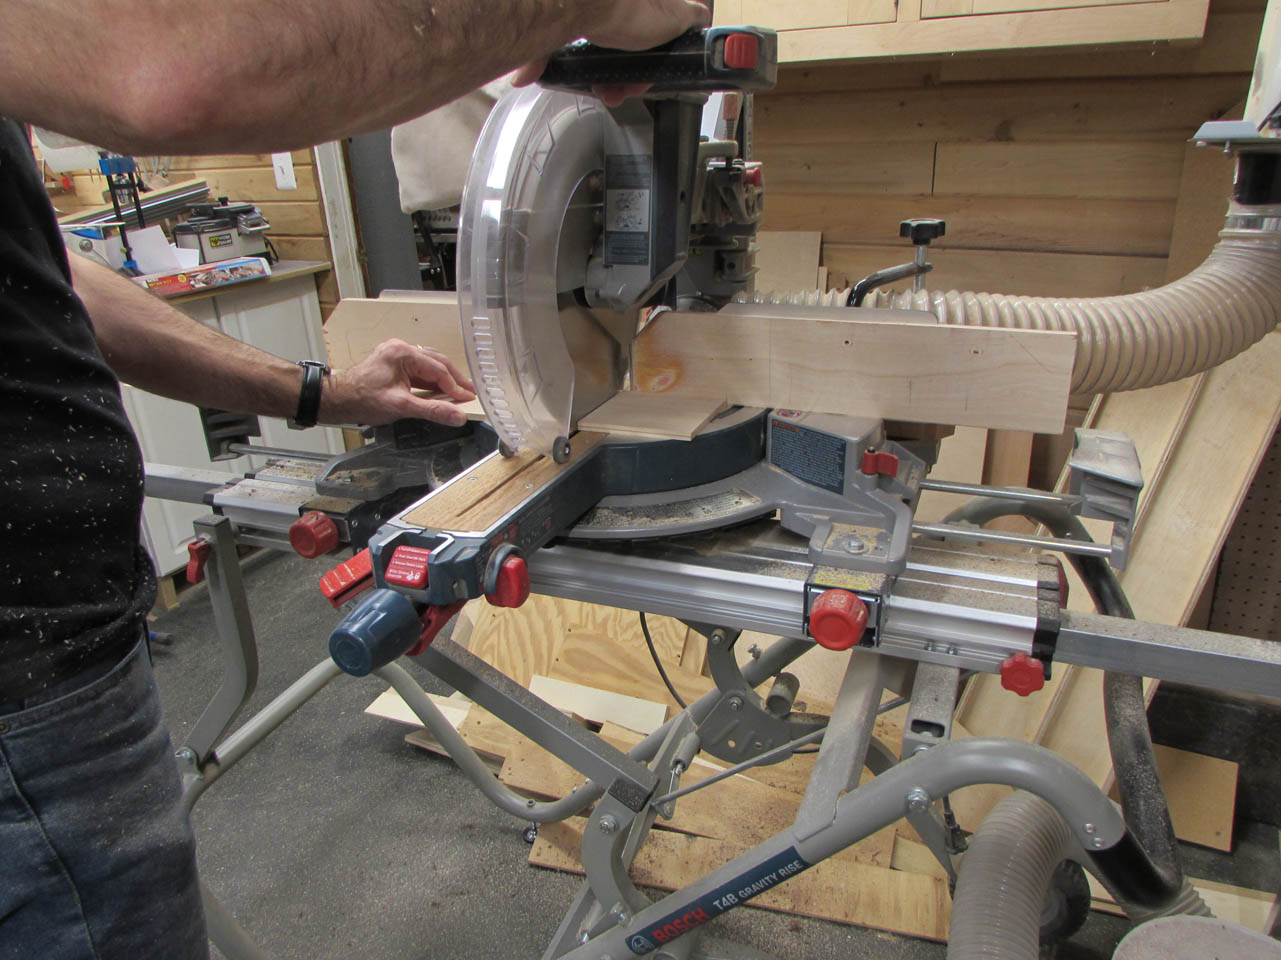
My initial focus will be on the sides because they will be the most complicated. I am cutting my side pieces to length while attempting to avoid the knots where possible.
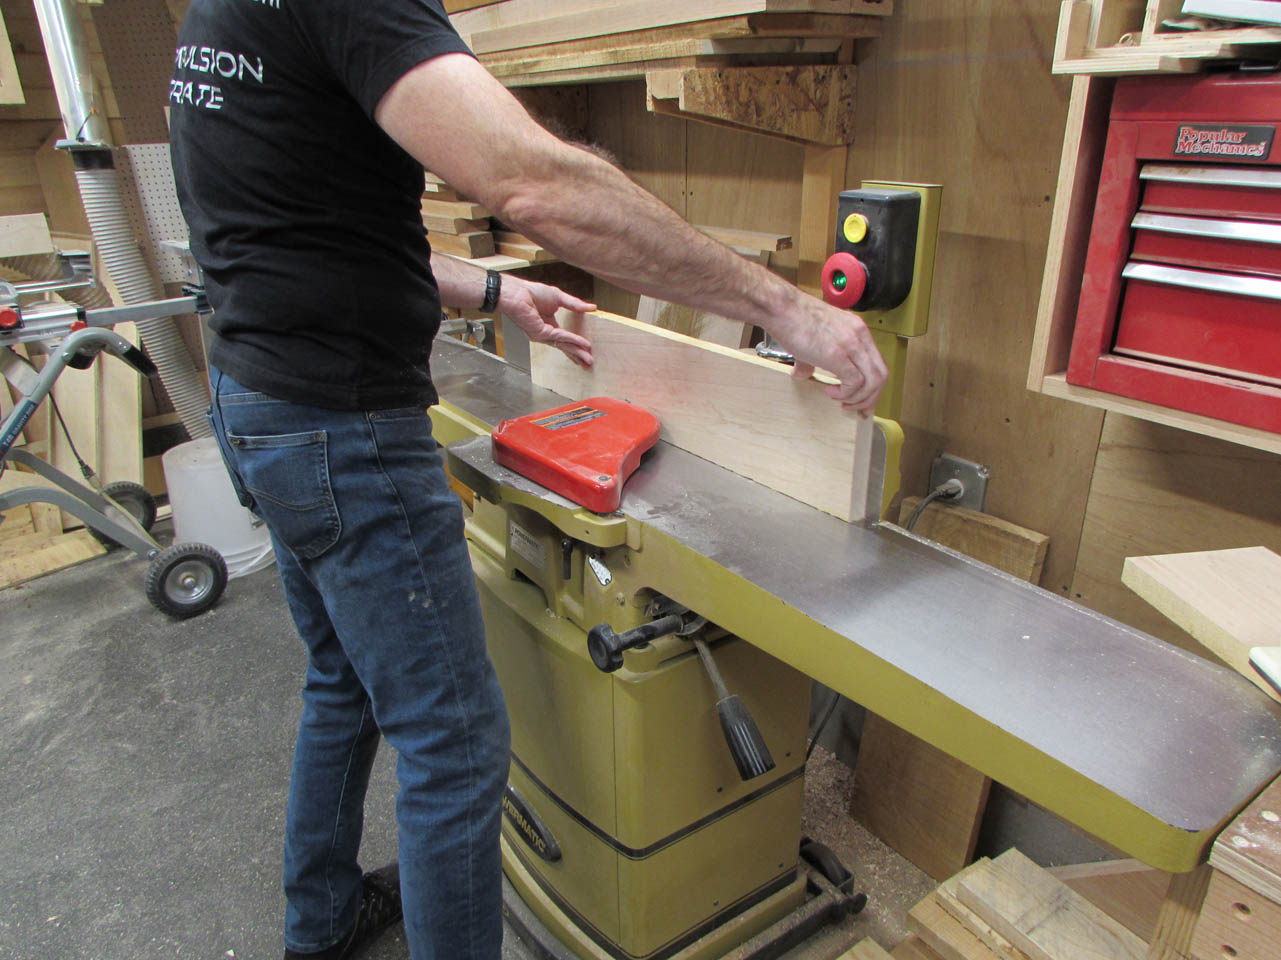
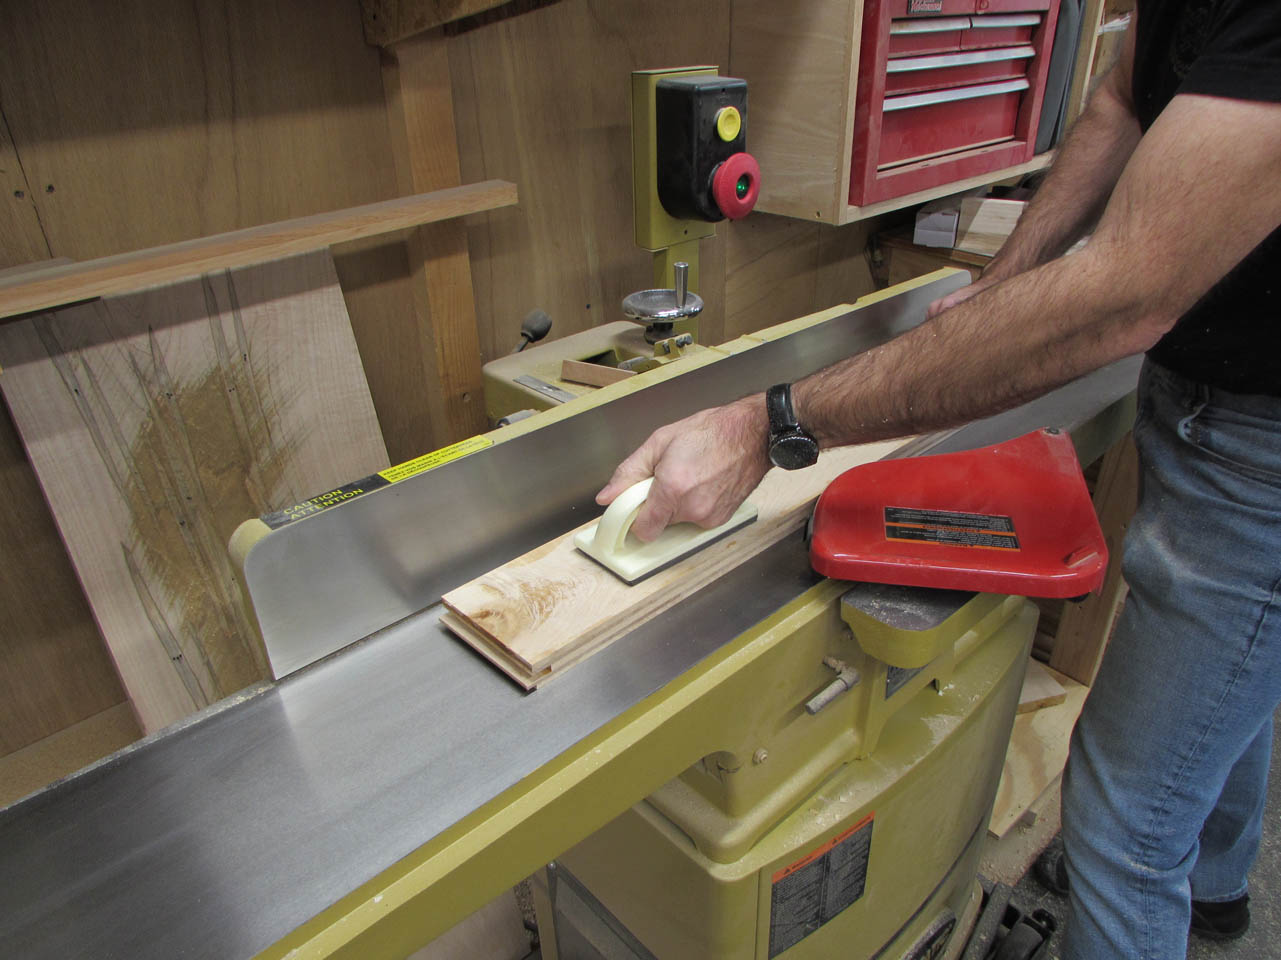
The board is already planed flat, but I need to joint the edges still.
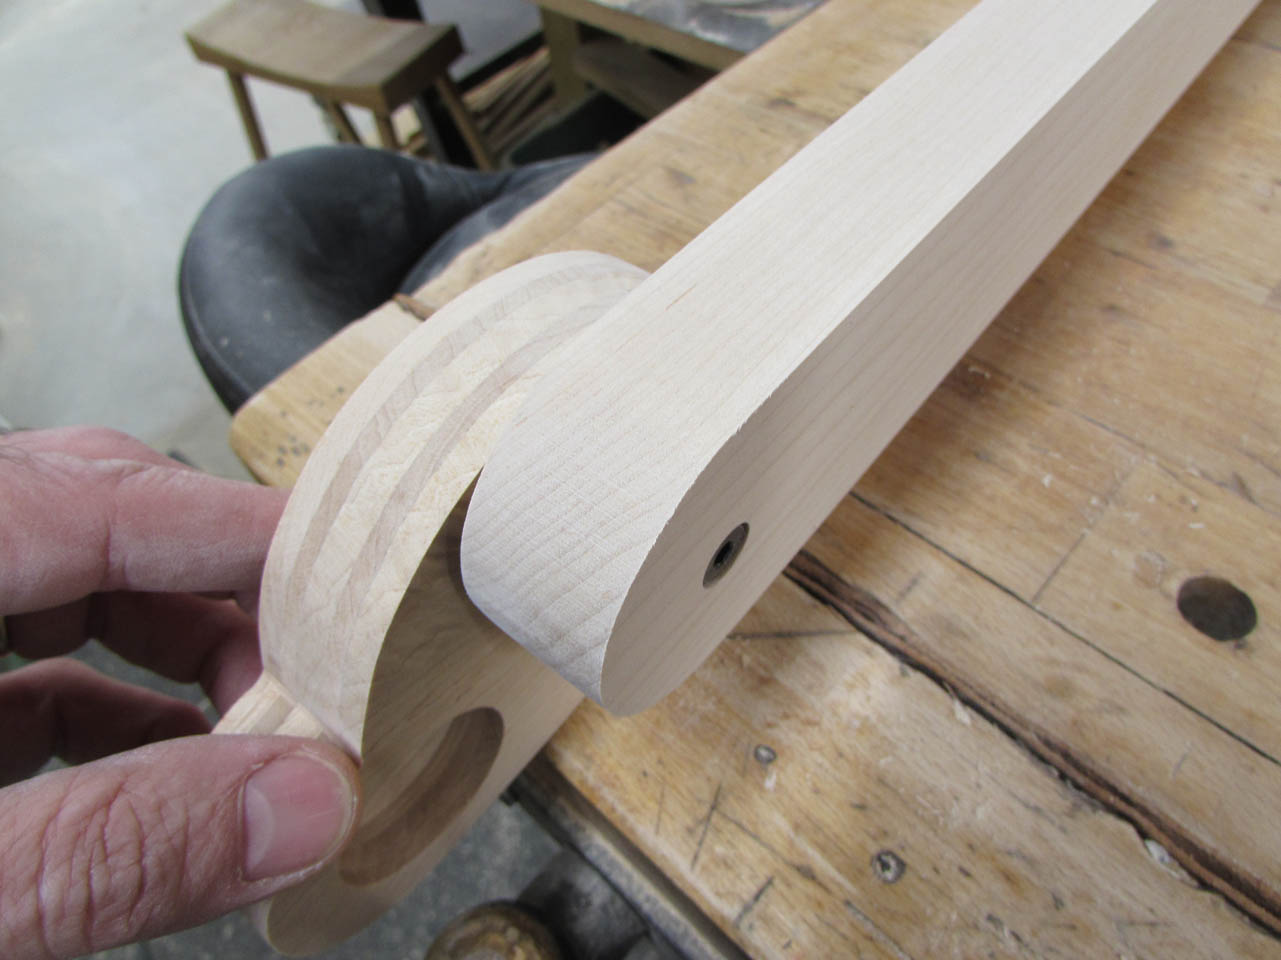
Then I cut each piece to the final width of the side pieces. The sides have hooks that will have to handle a lot of weight and I don’t want the wood to split under stress so I am going to make my own plywood so the grain will run in two opposing directions.
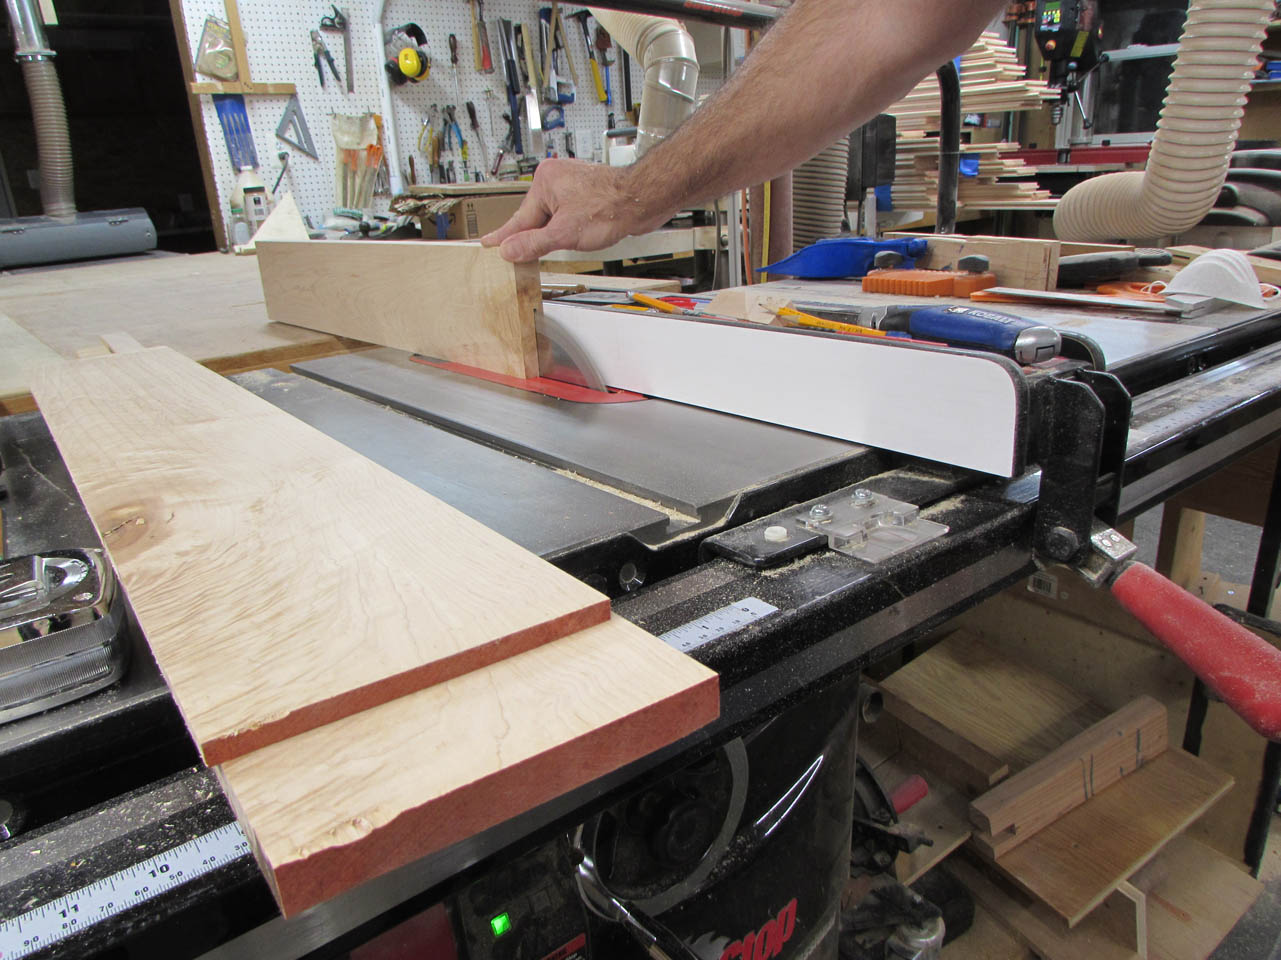
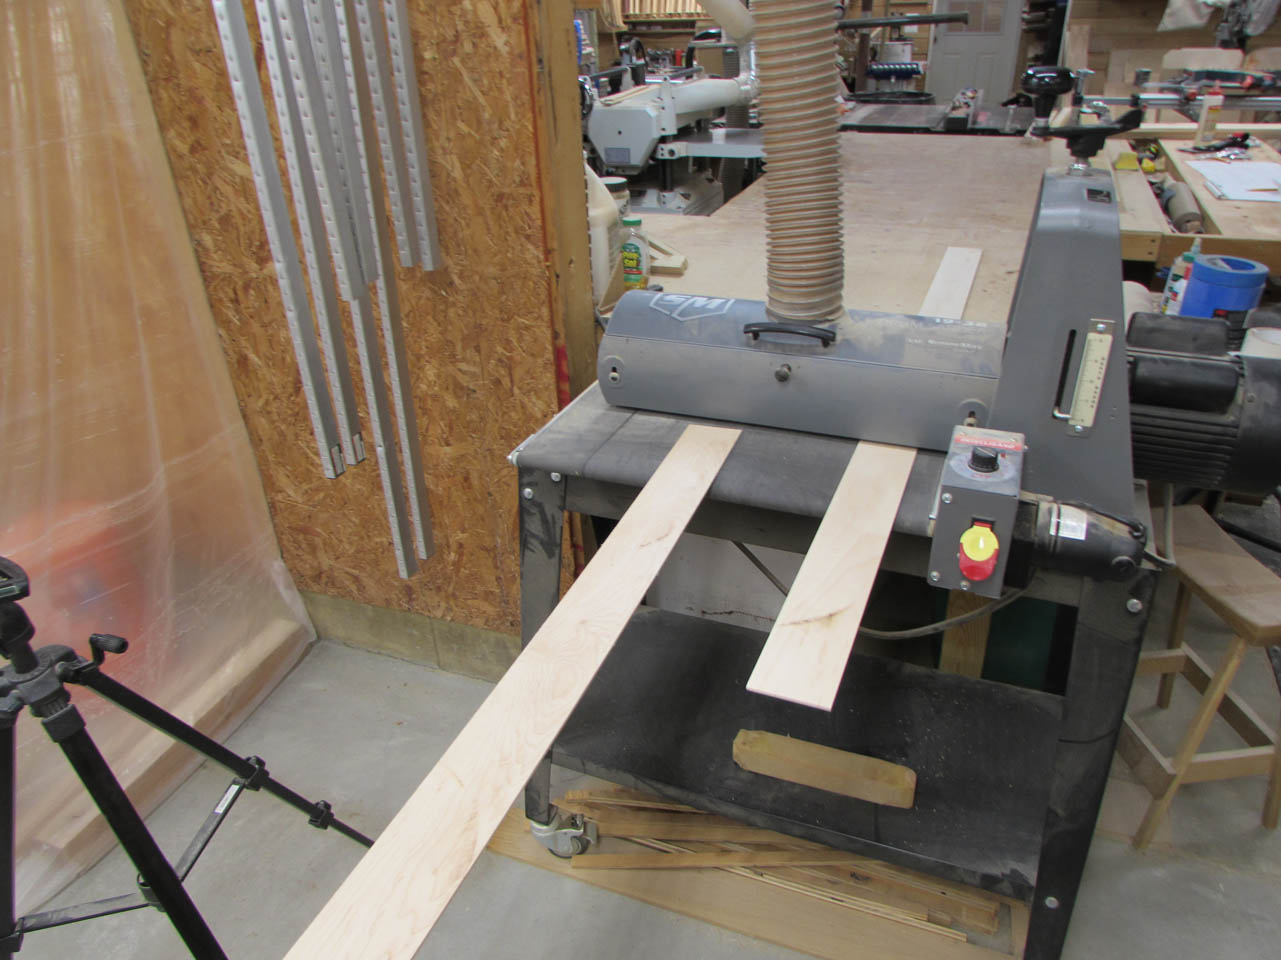
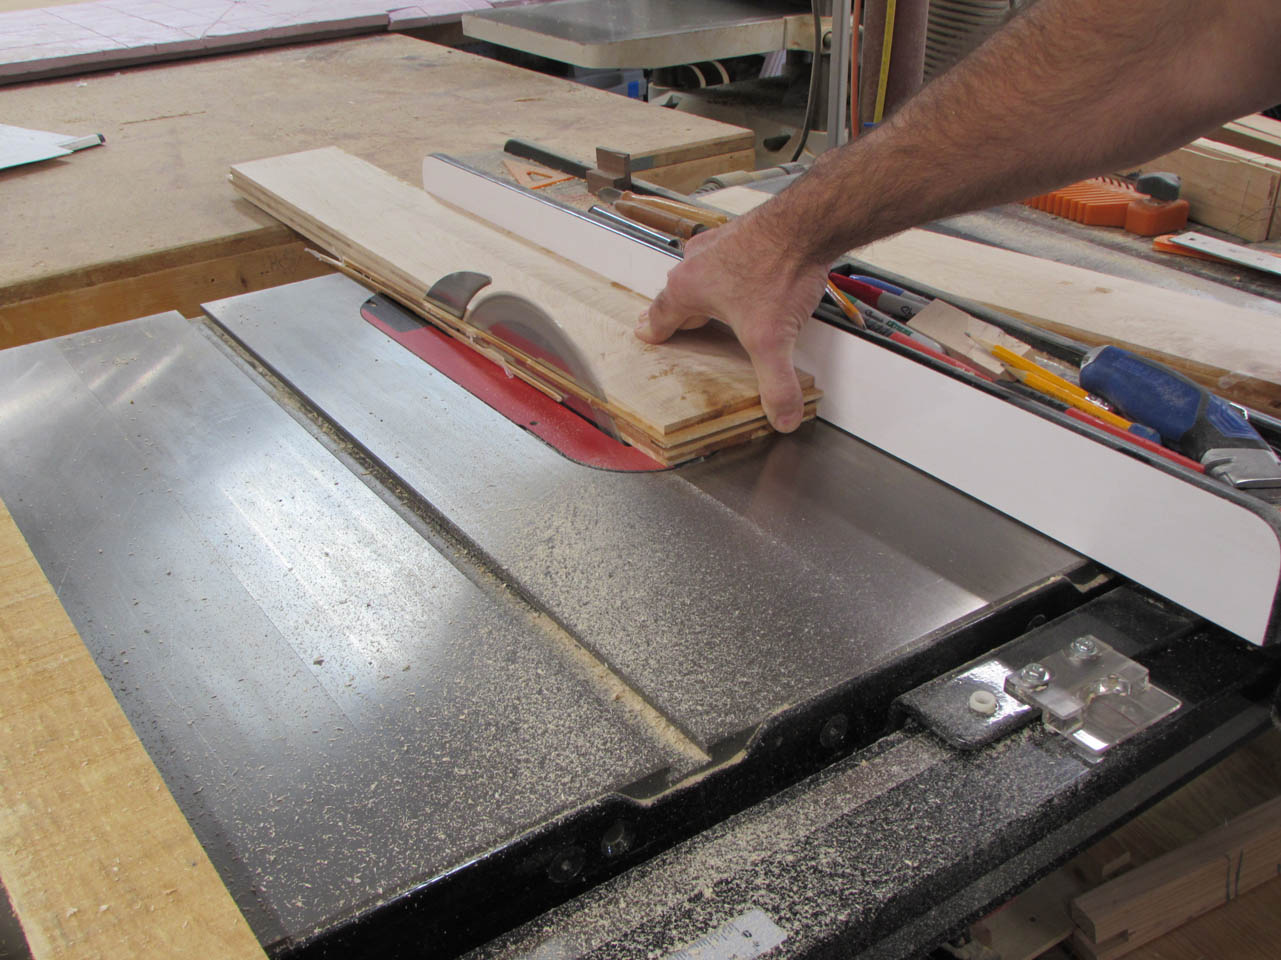
To do this, I need to re-saw my boards down to 1/4″ thick. I do this on the table saw, cutting them slightly thicker than I need.
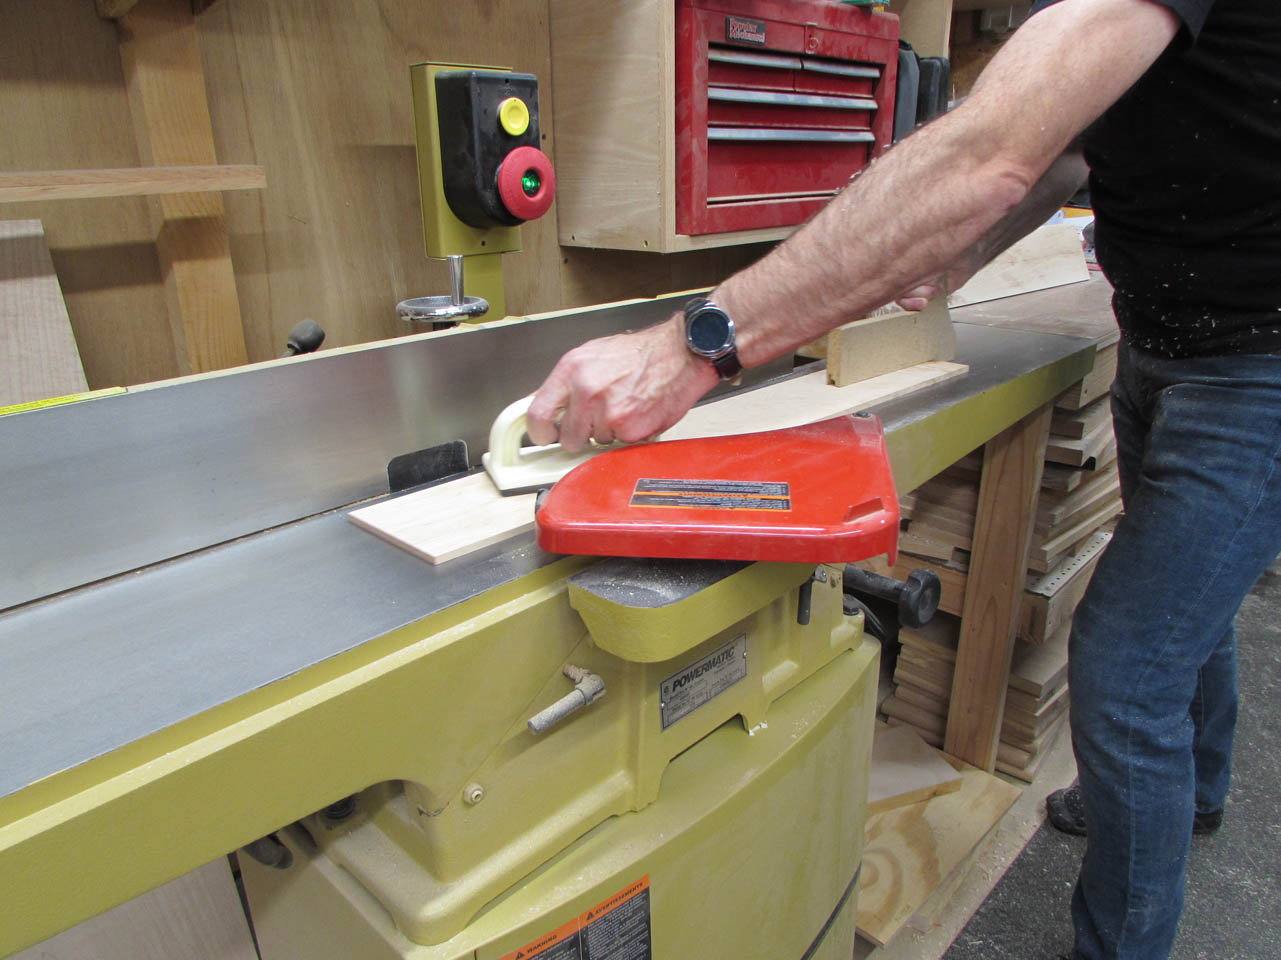
Then I joint the cut face to make it smooth again.
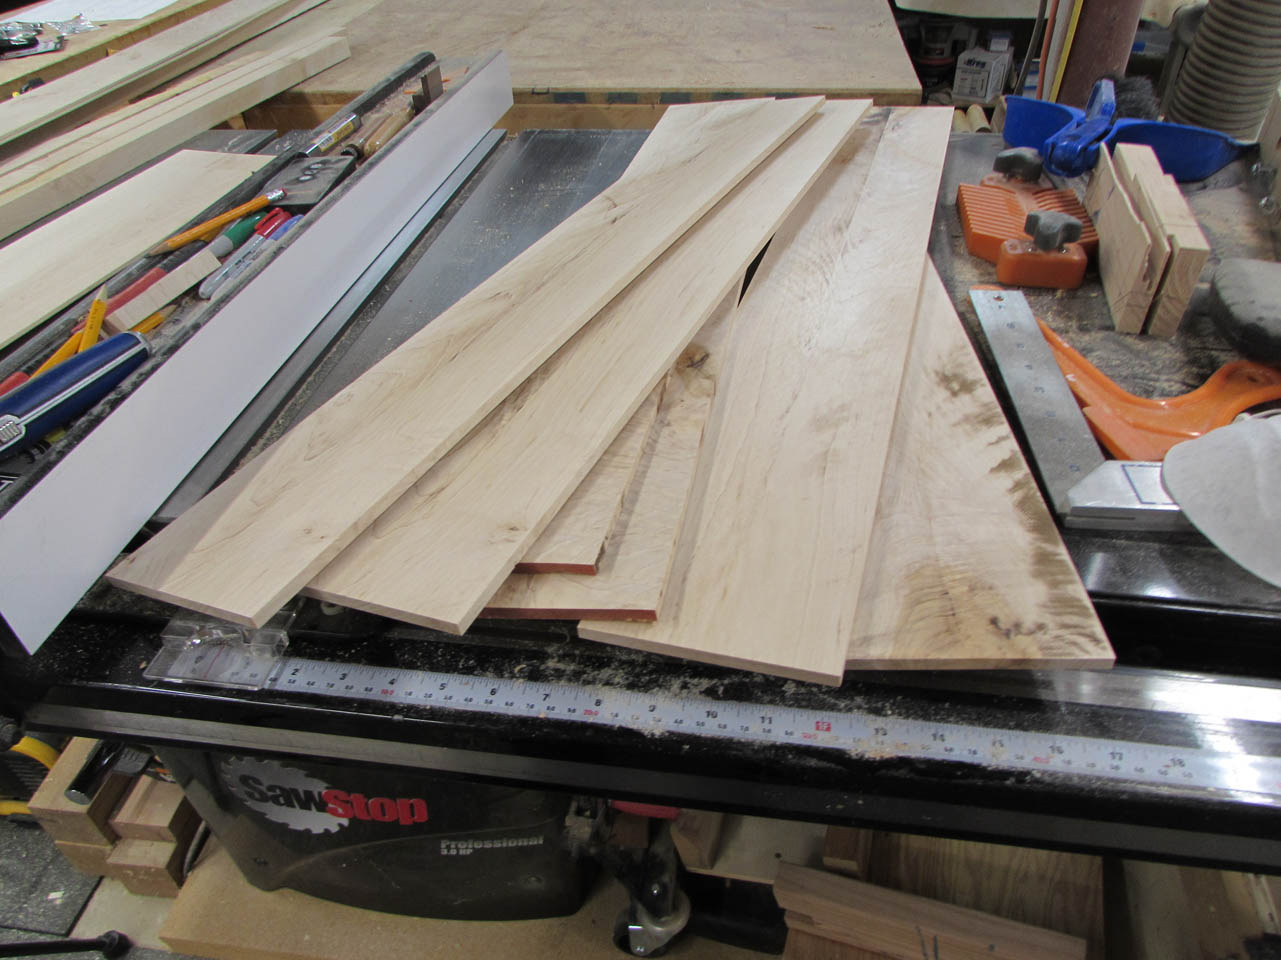
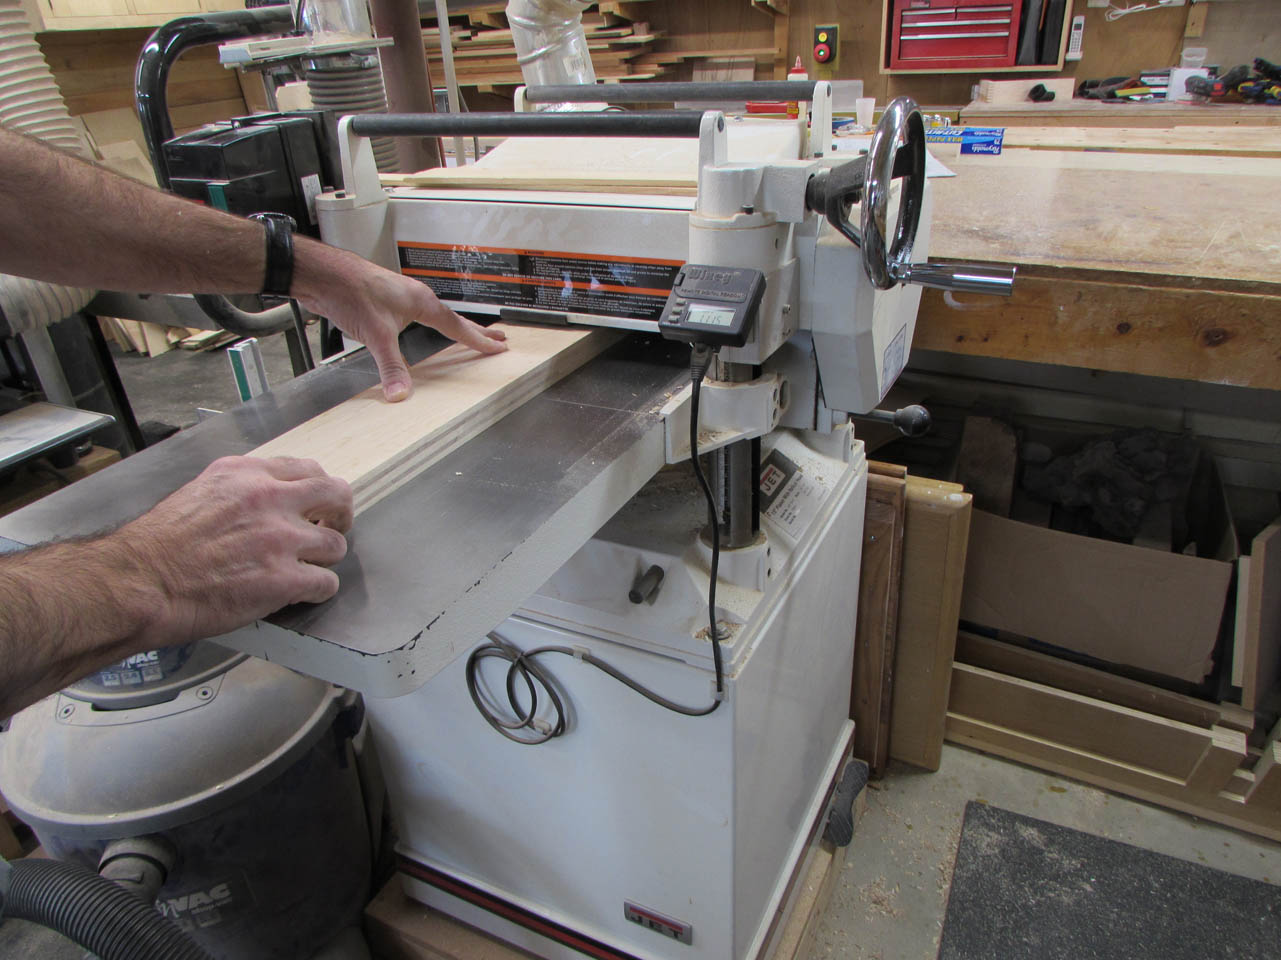
I am able to get two 1/4″ wide pieces from each board and one 1/8″ wide piece. I have some additional thin strips that can also be sanded down to 1/8″ thick. I use the drum sander because it is safer than trying to plane something that thin.
When I have enough 1/8″ thick pieces, I cut them down to just over the width of my boards.
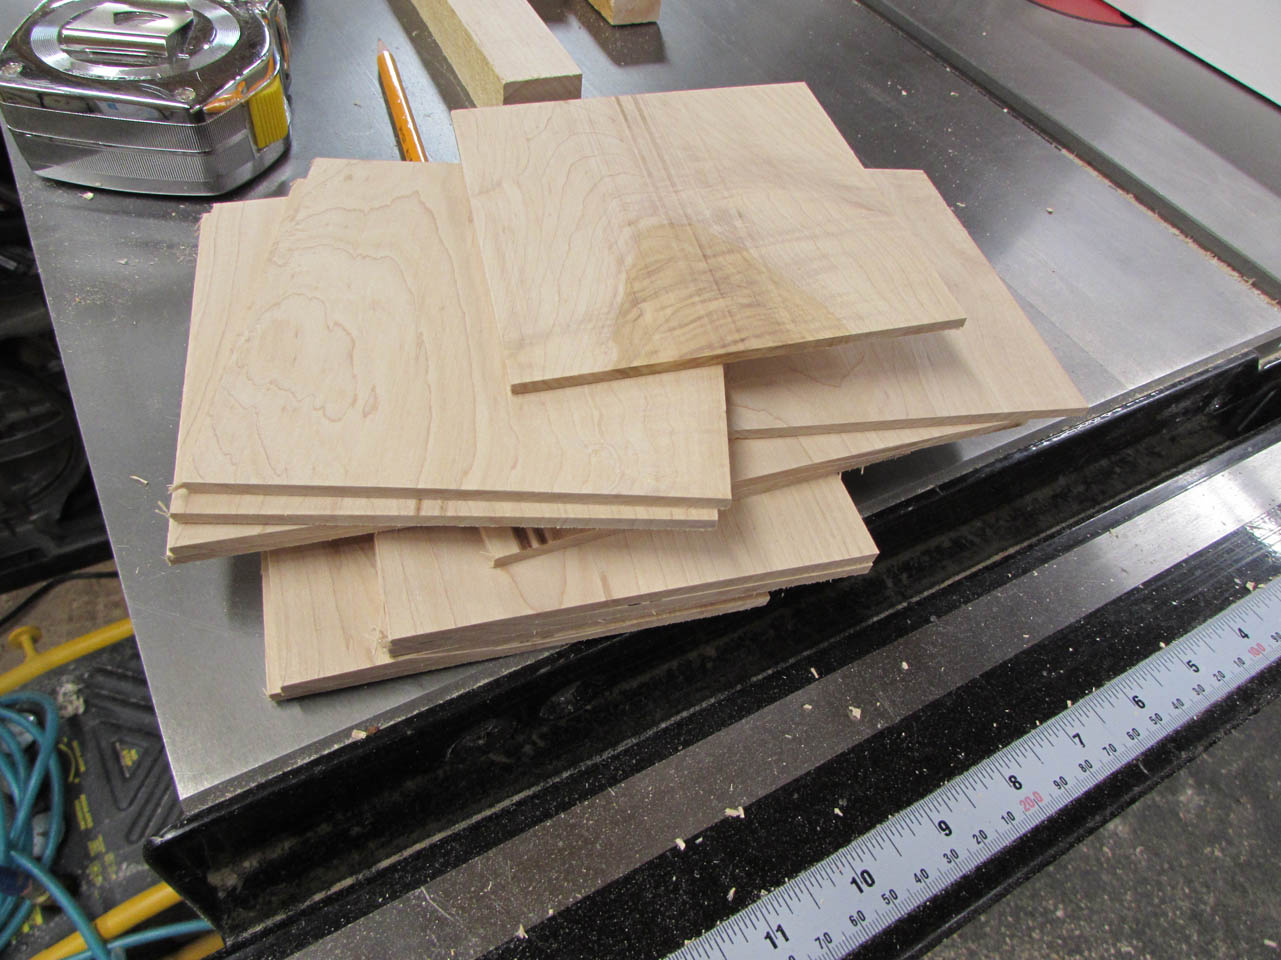
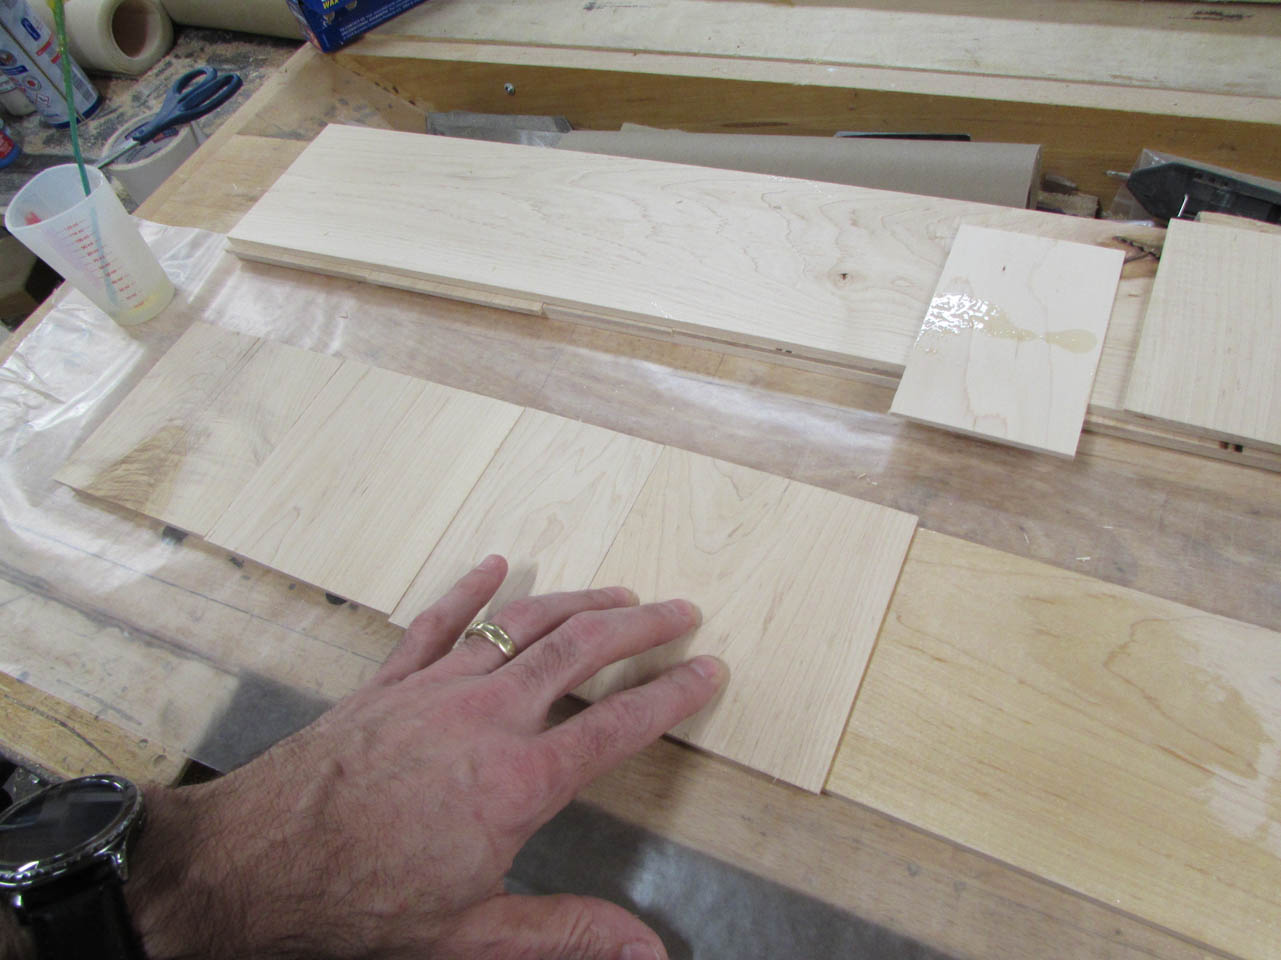
The 1/4″ thick pieces will be my horizontal boards and the thinner 1/8″ ones will be my vertical ones.
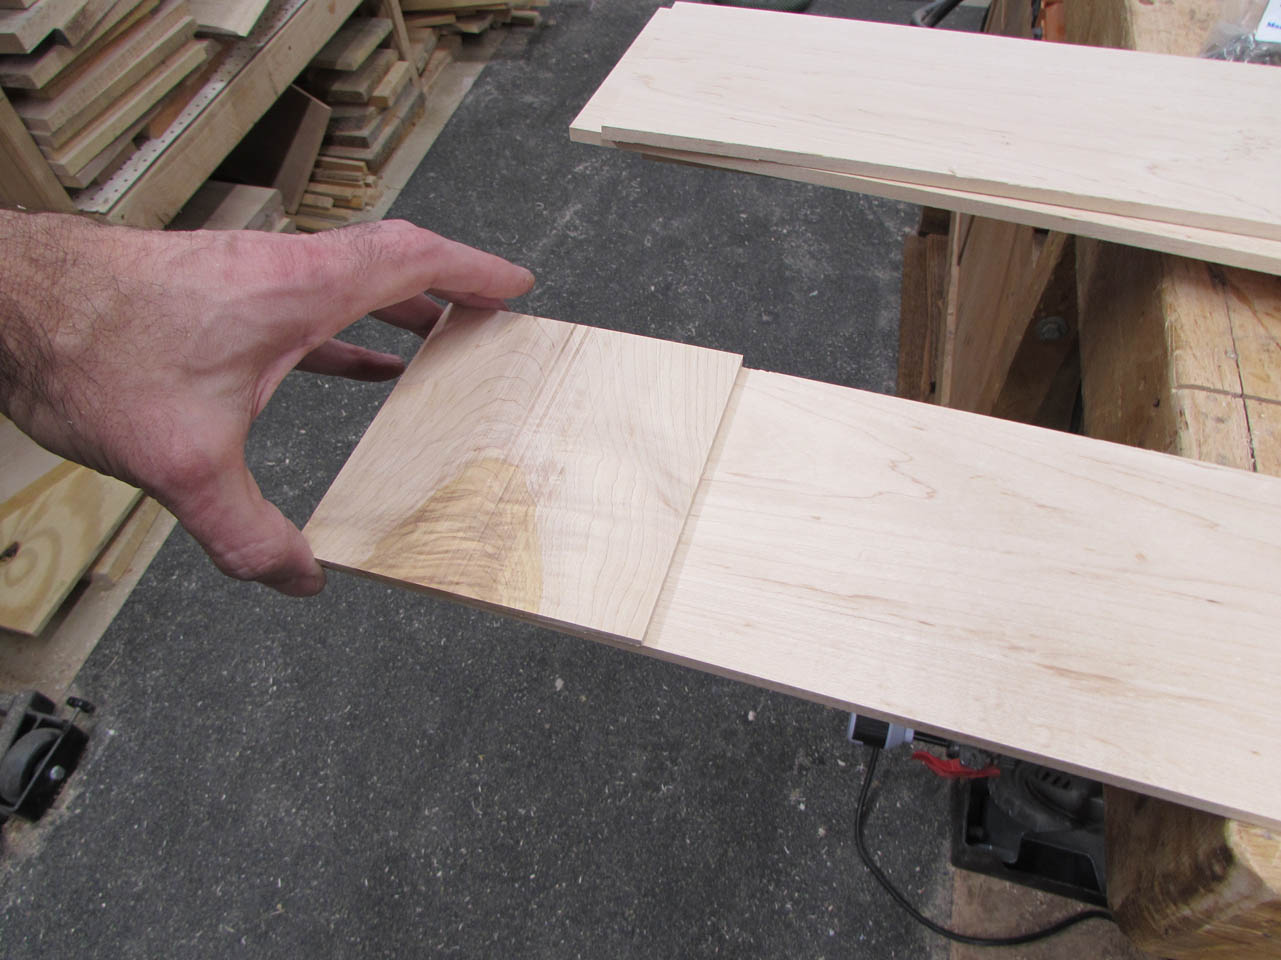
I dry-fit the sandwich to make sure I have enough pieces.
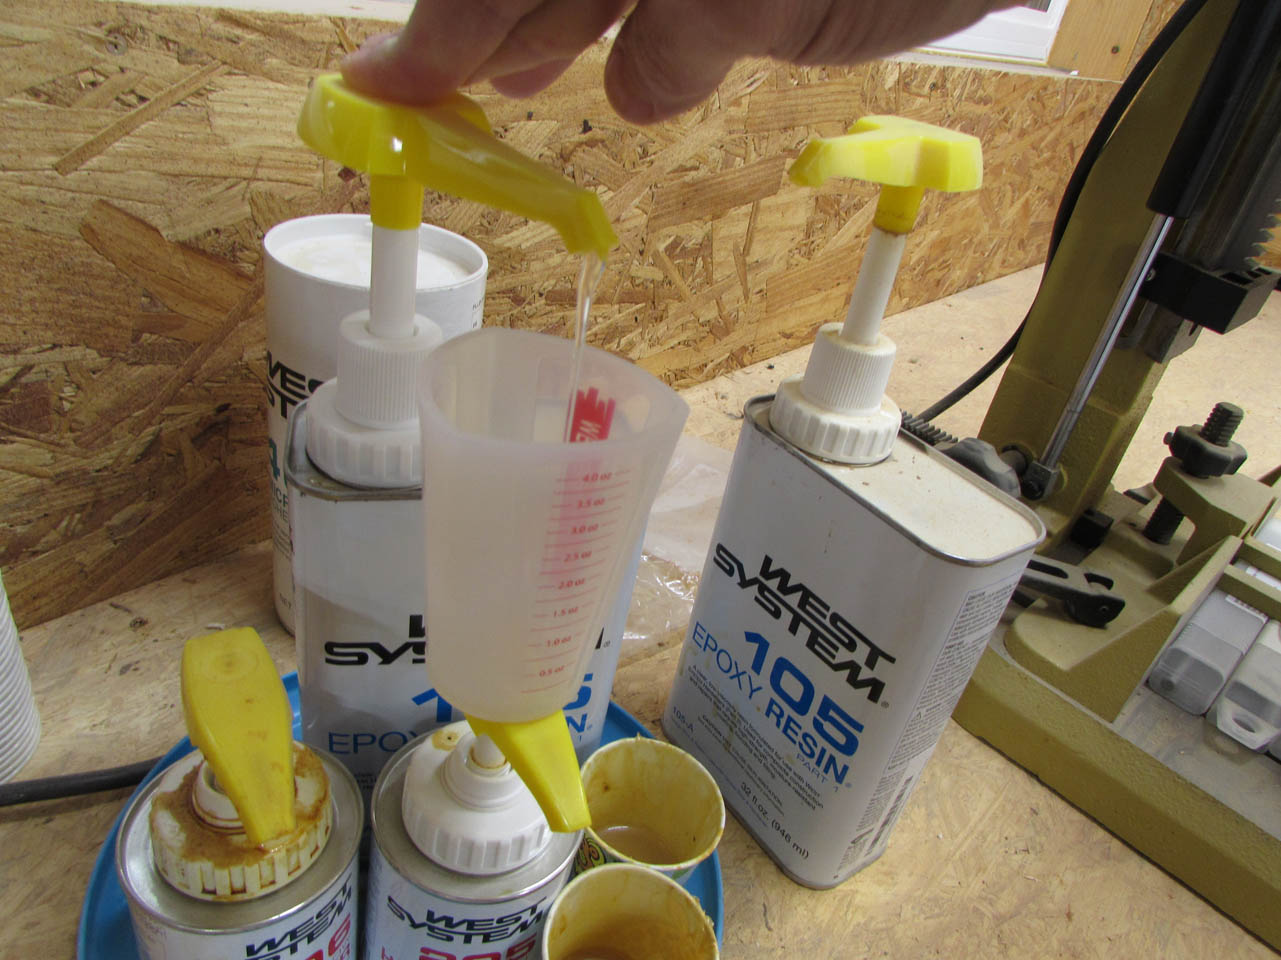
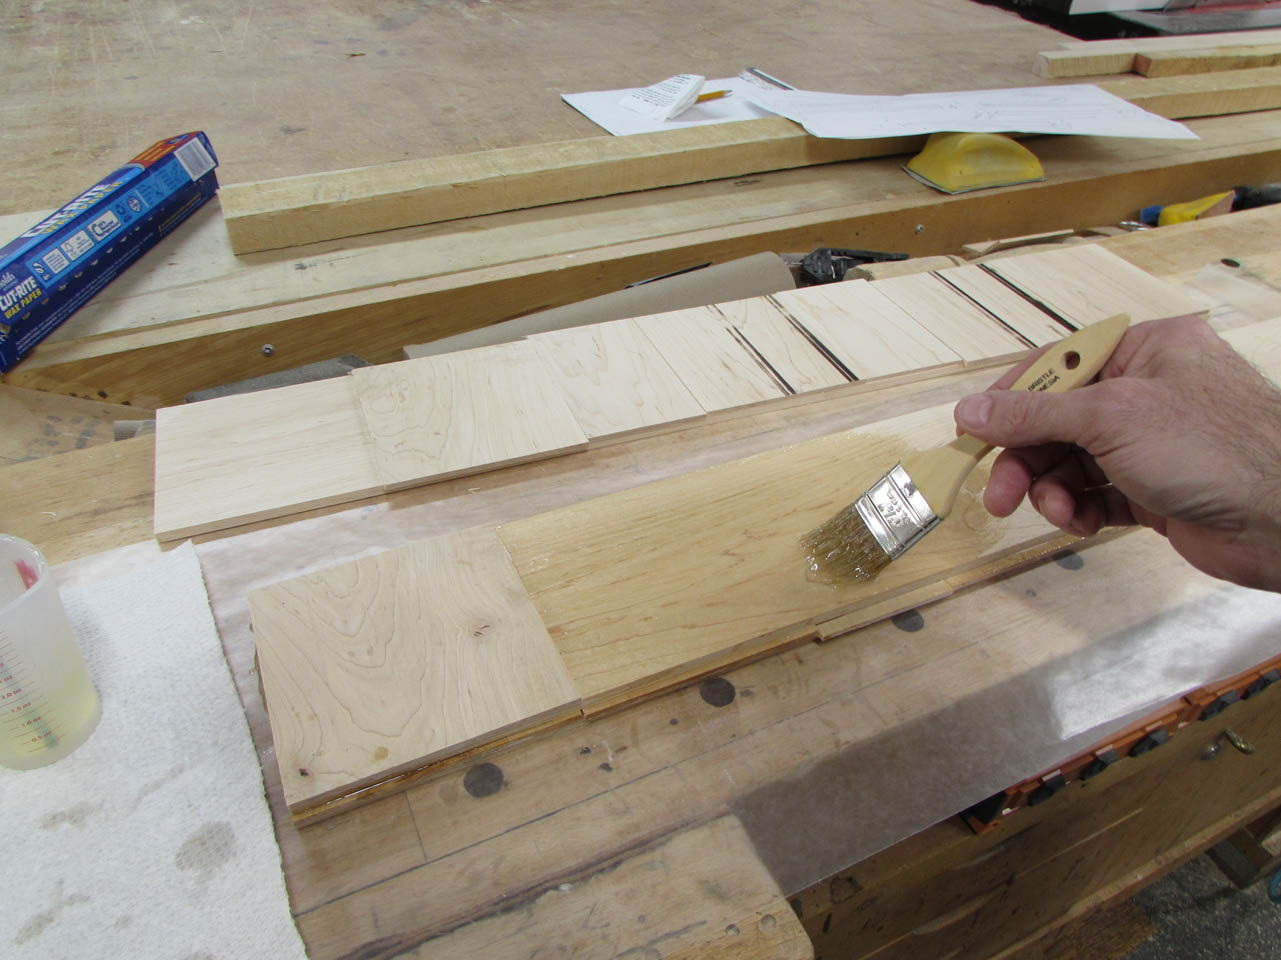
Then I mix up a bunch of slow-set epoxy to bond the boards together.
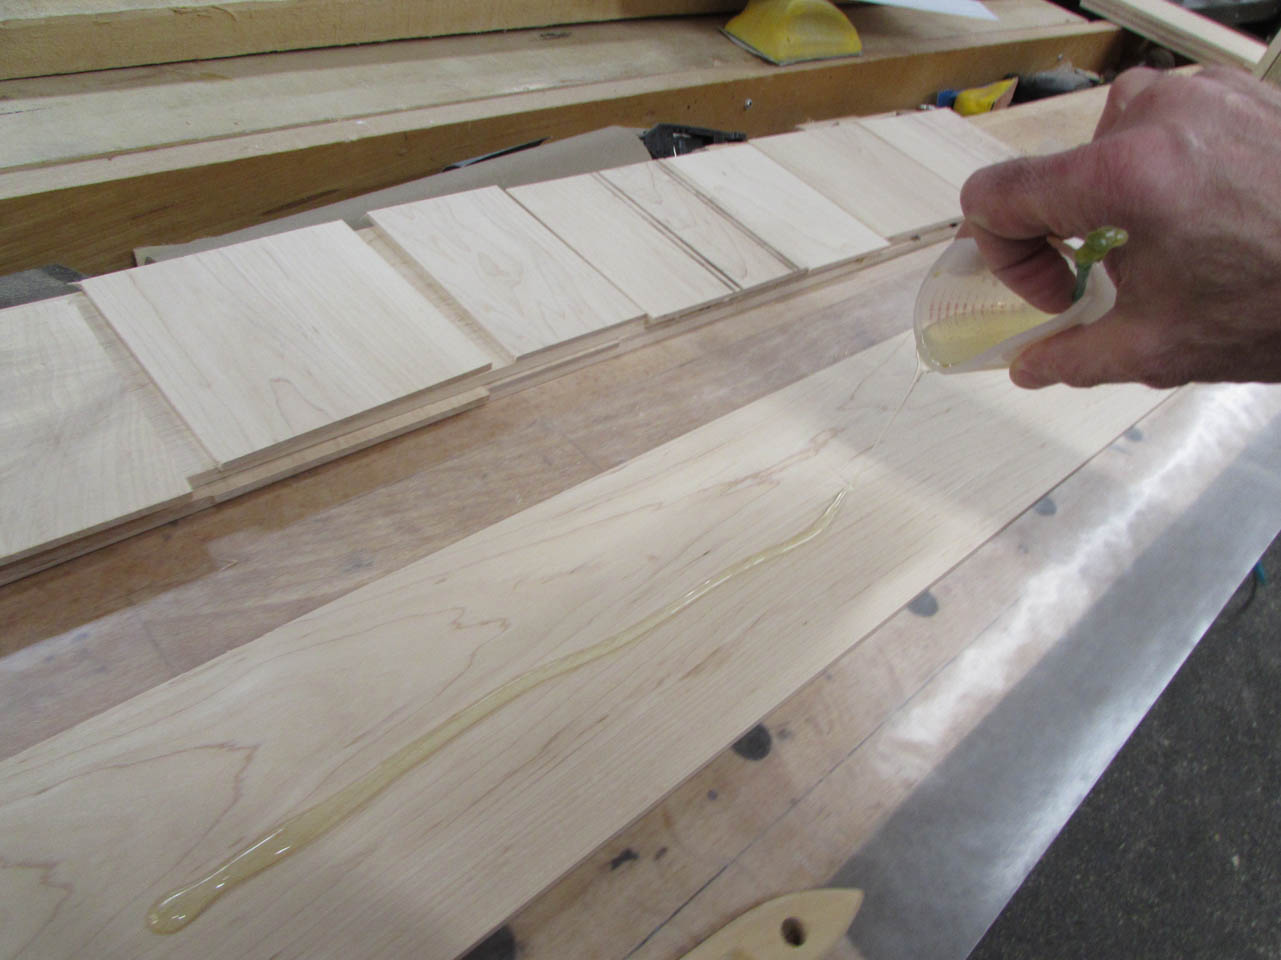
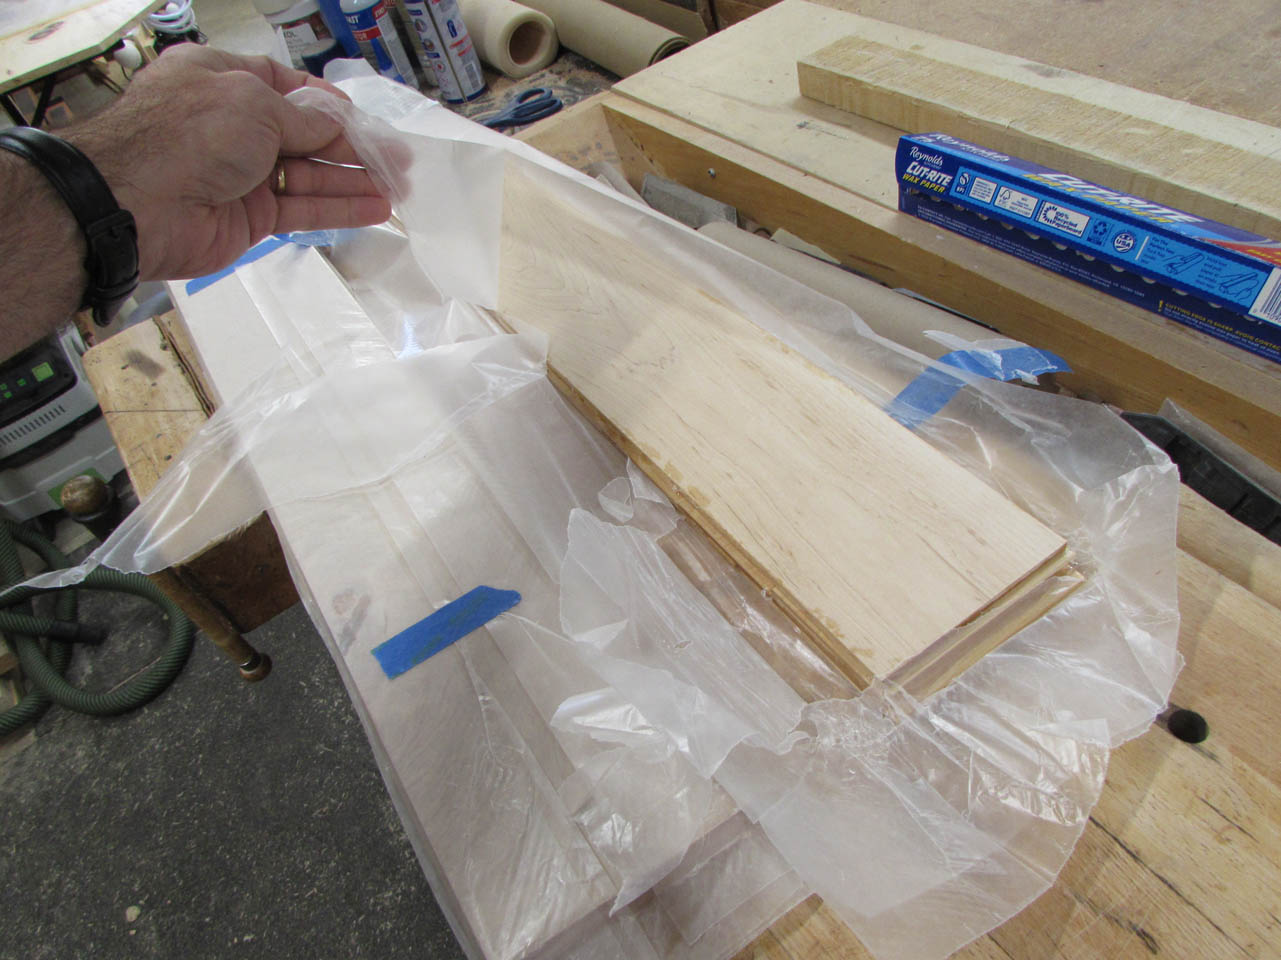
There is going to be a lot of squeeze-out so I am working on a layer of wax paper.

I brush on the epoxy and then add the second layer, making sure to coat the edges as well.
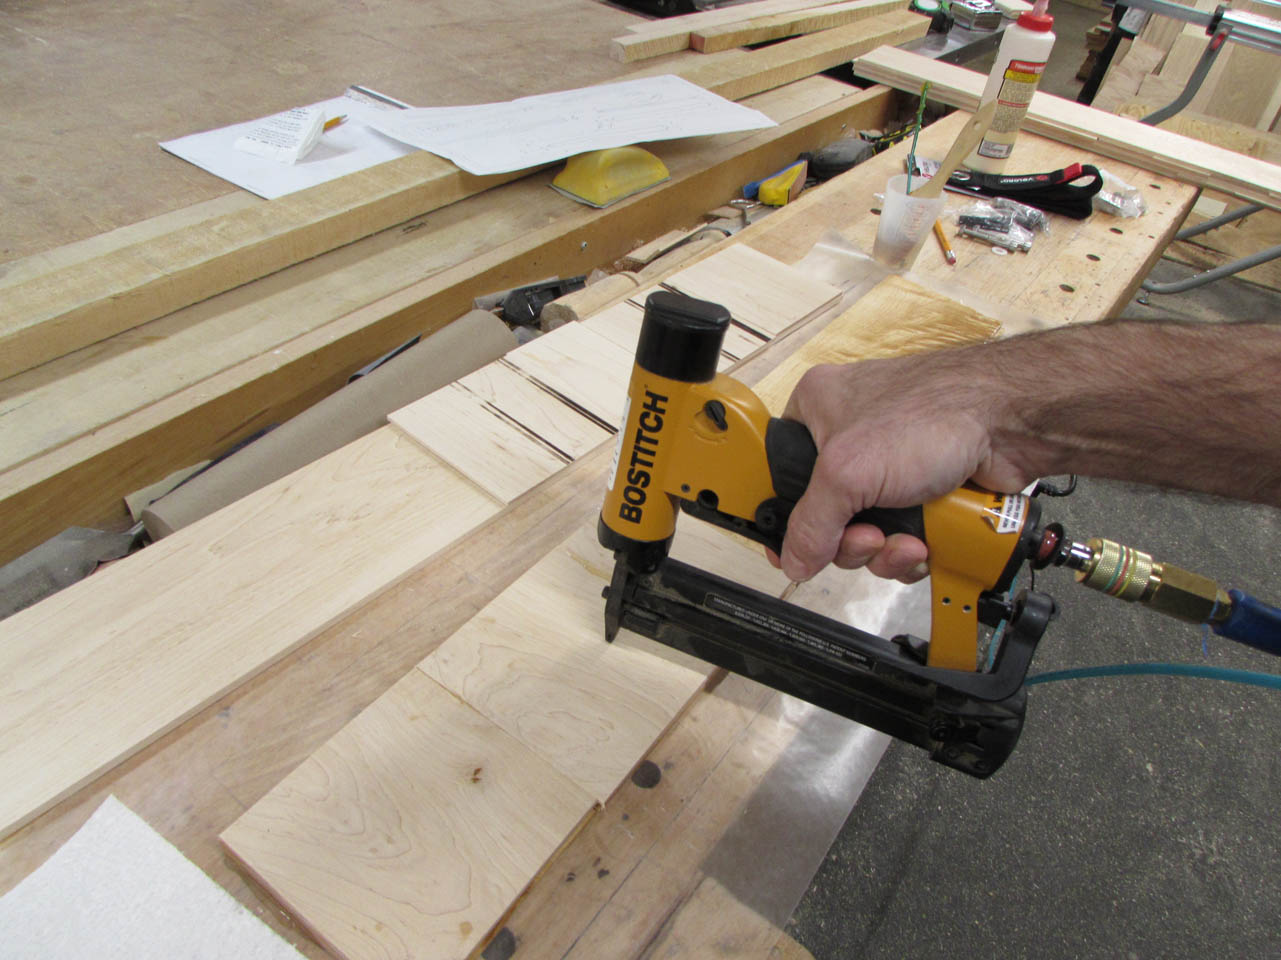
Occasionally I add a 23 gauge pin nail to keep the boards from slipping around. I attempt to place them where they will not be cut or drilled into later.
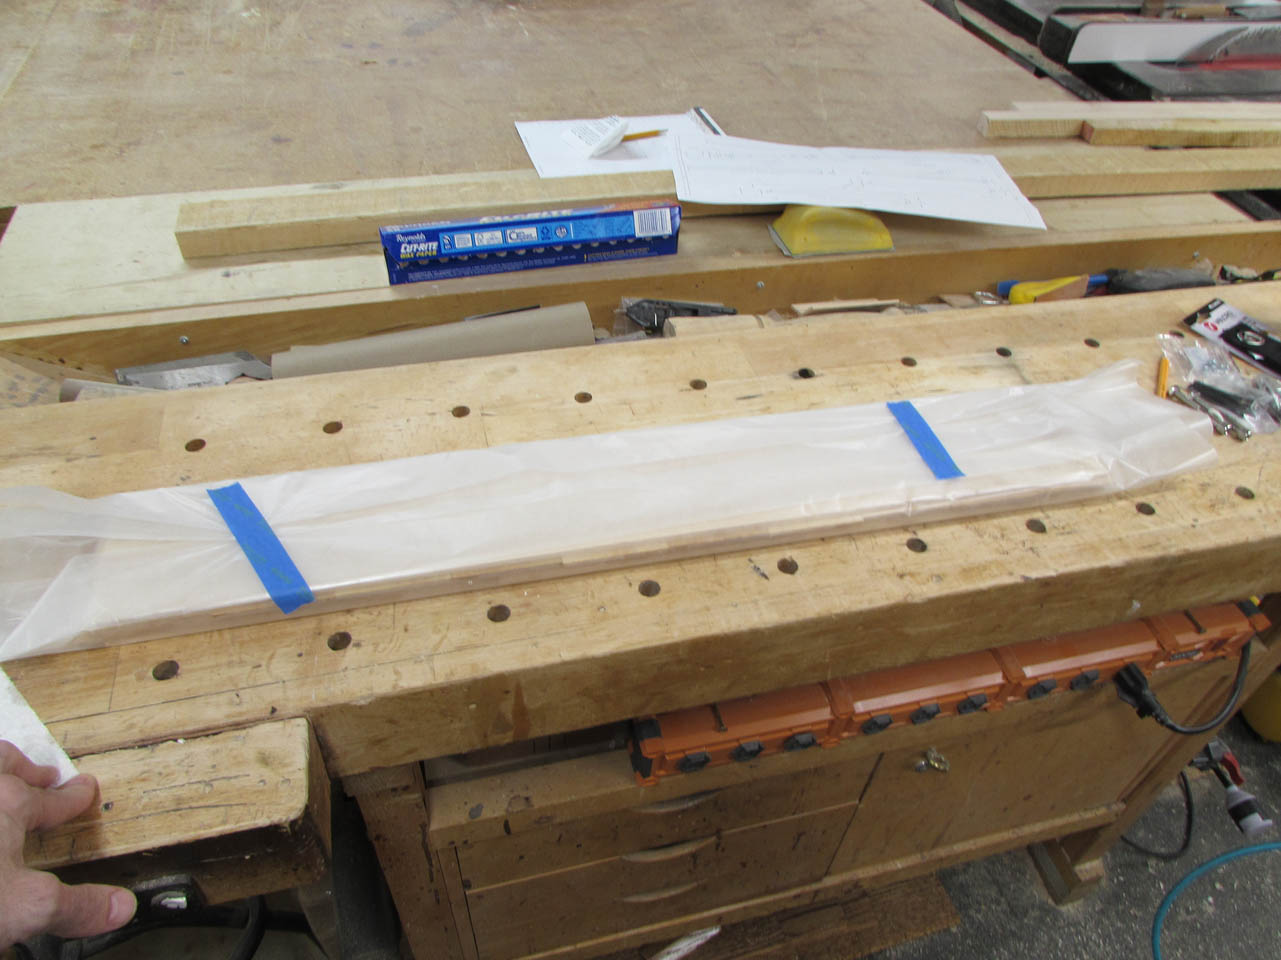
Once the parts are glued and stacked, I add another layer of wax paper and tape it closed.
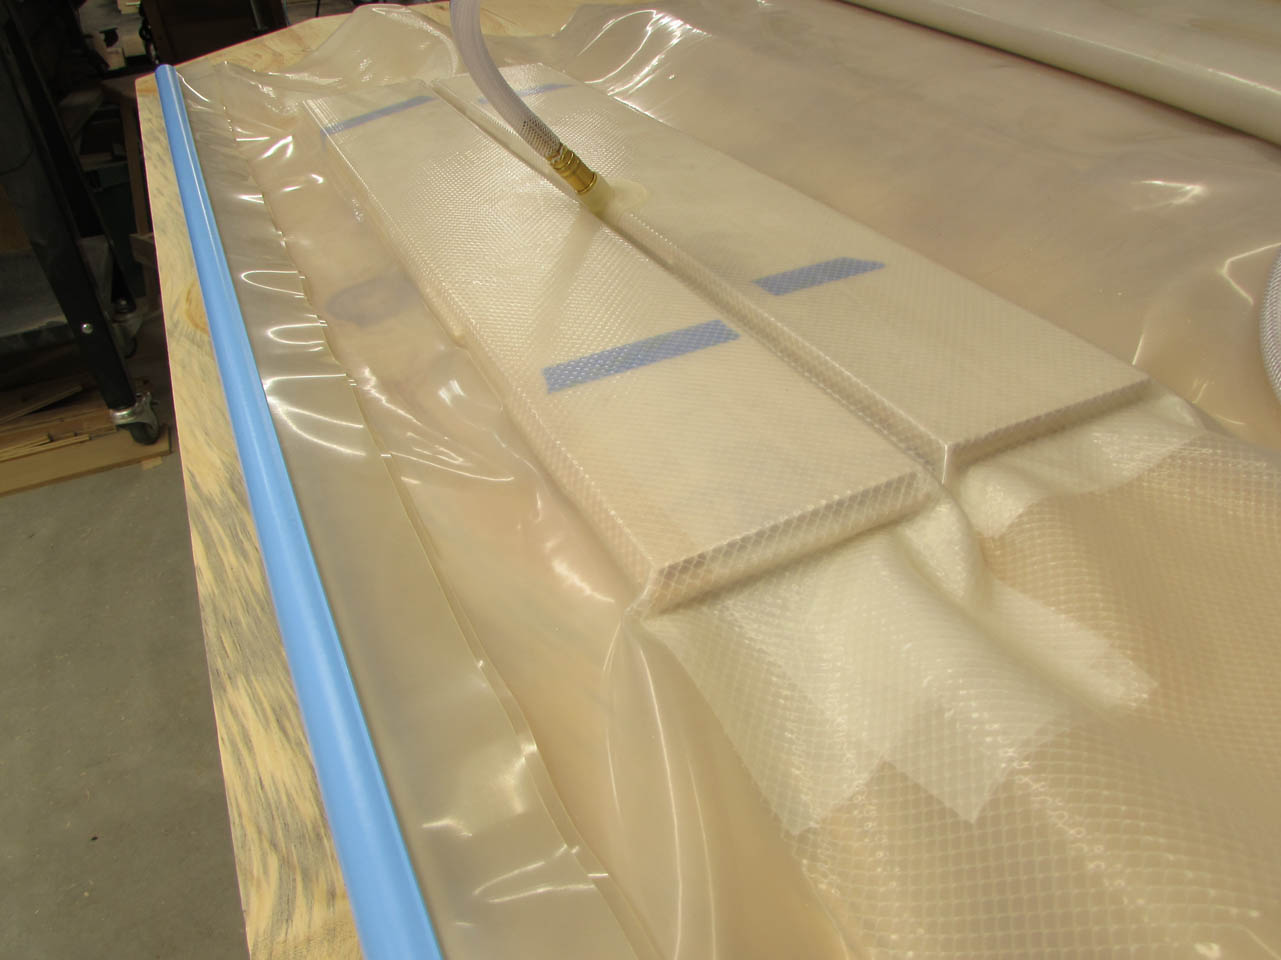
To insure that I get clamping pressure across the entire surface, I am using my vacuum bag and sucking it down really far, then I shut the valve off and leave it sit for 12 hours to cure.

After releasing the vacuum, the next day, I can remove the wax paper and see the outcome.
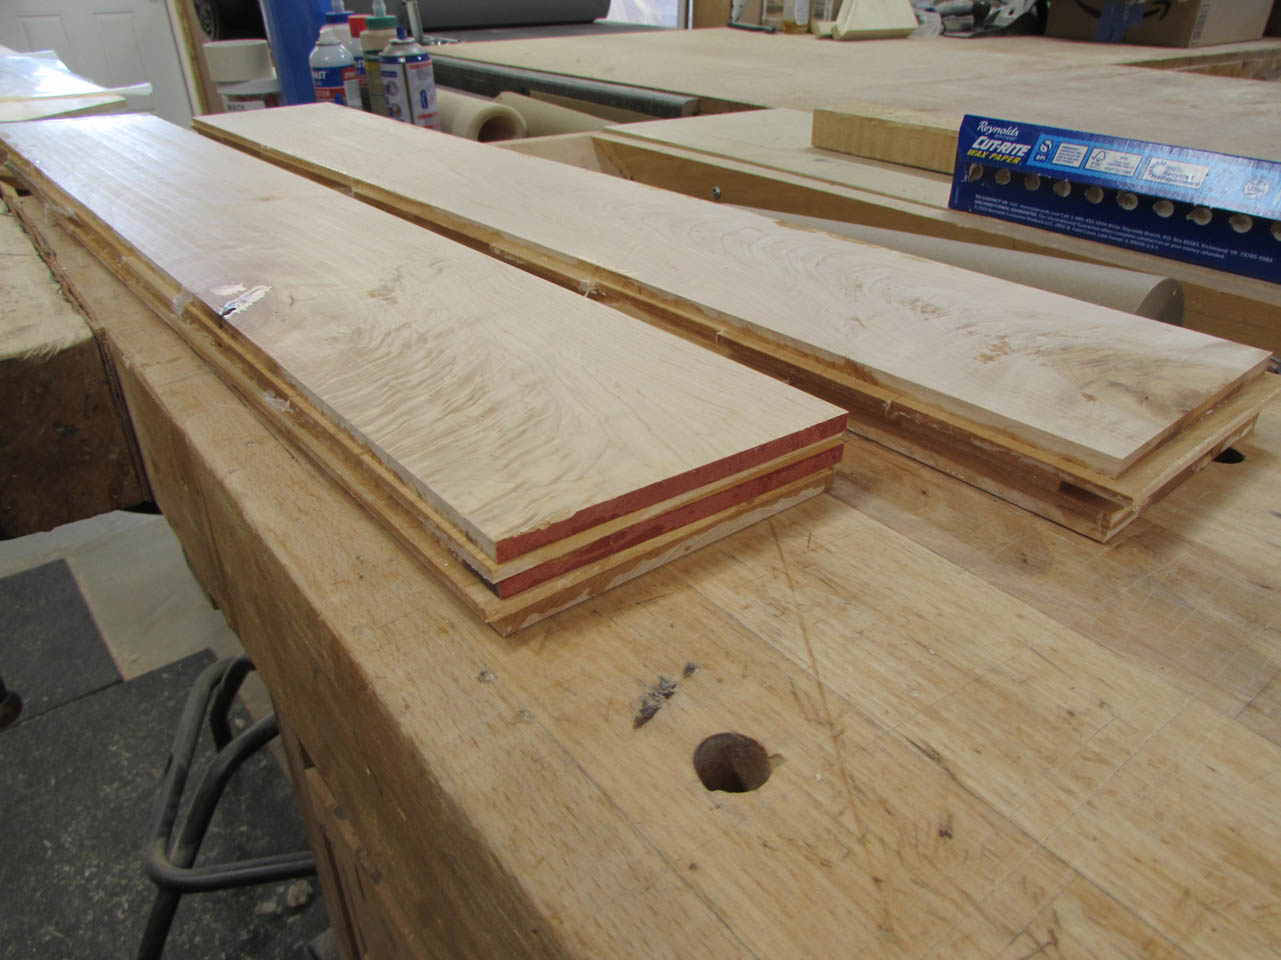
It is a little rough around the edges but it looks like it will work perfectly.
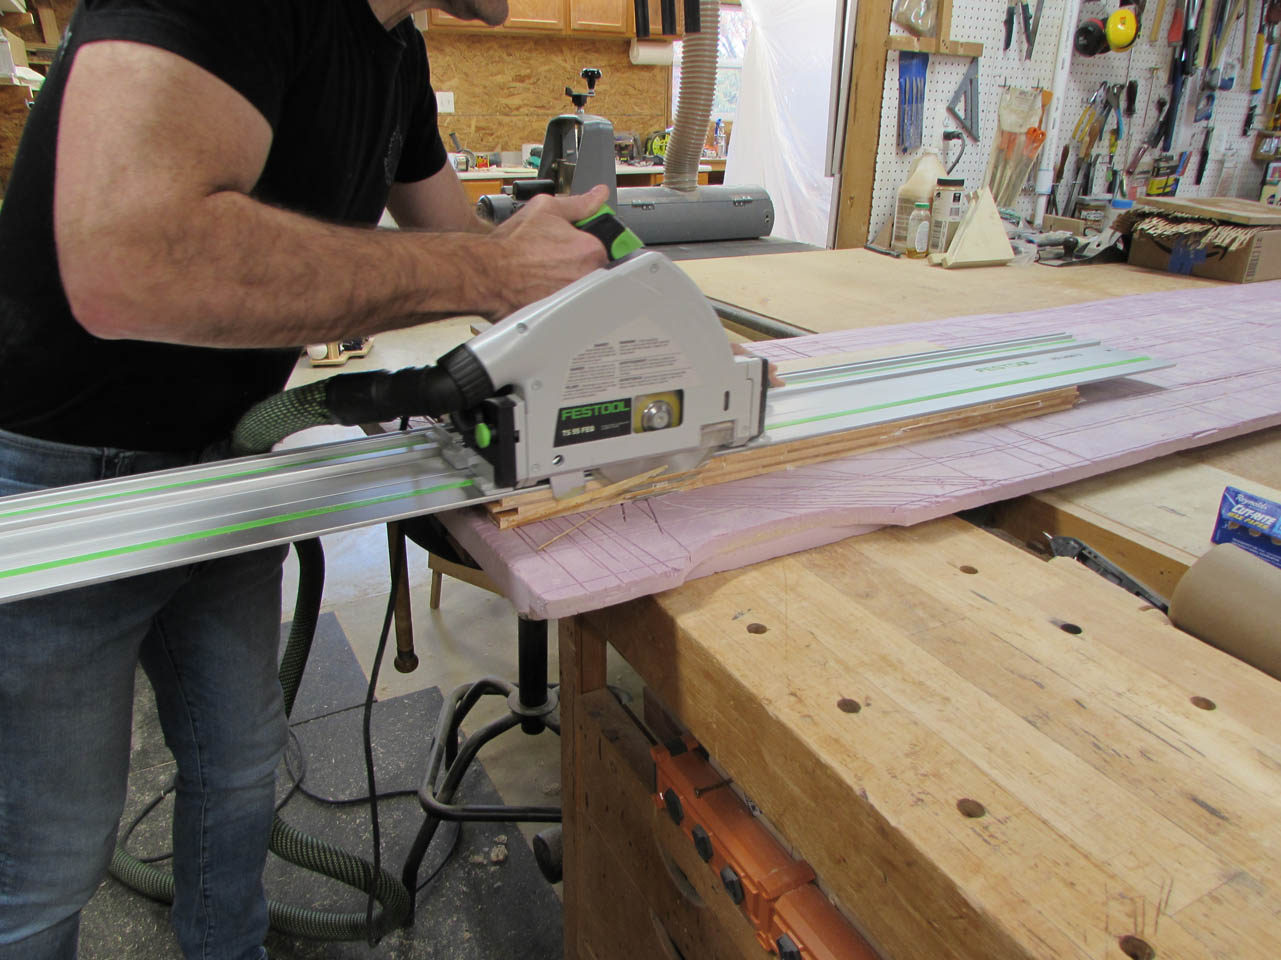
To get a straight edge, I use my track saw on one side.
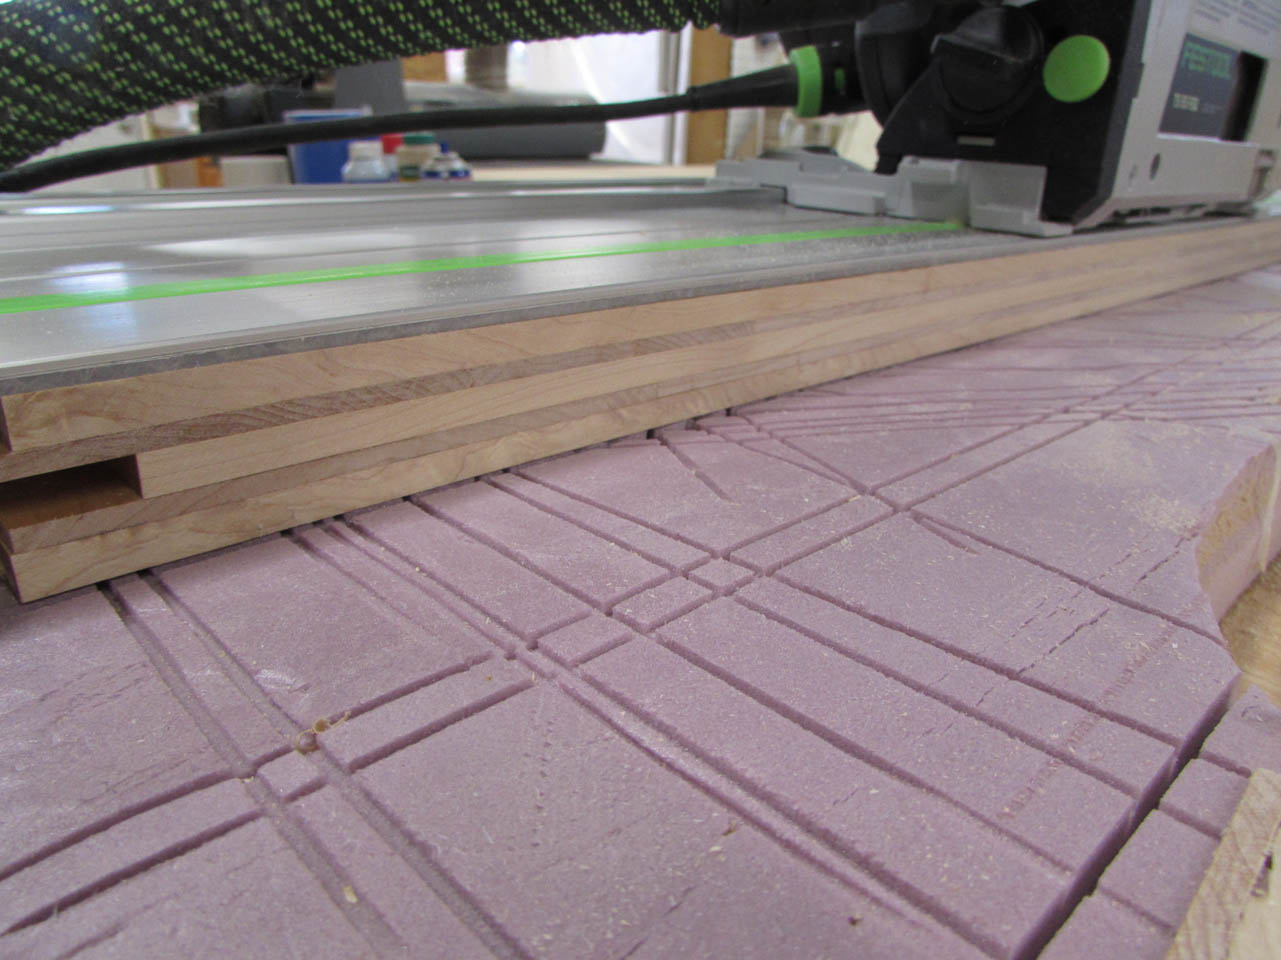
Then I can cut the outer side parallel on the table saw.

One board is slightly bent, but fortunately it is over the 1″ thickness I need so I can joint it flat.
Then plane it down to 1″ thick.
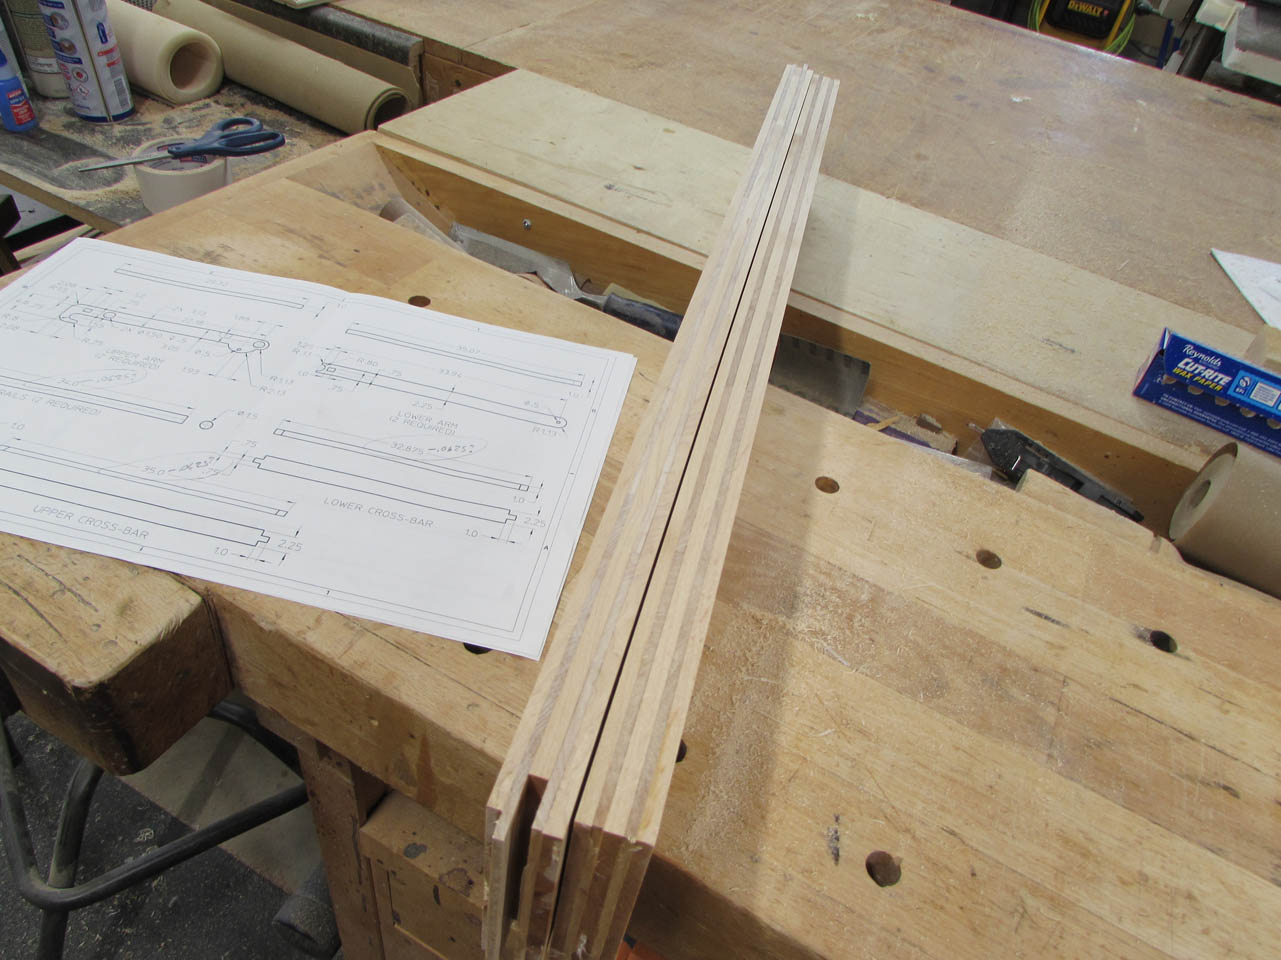
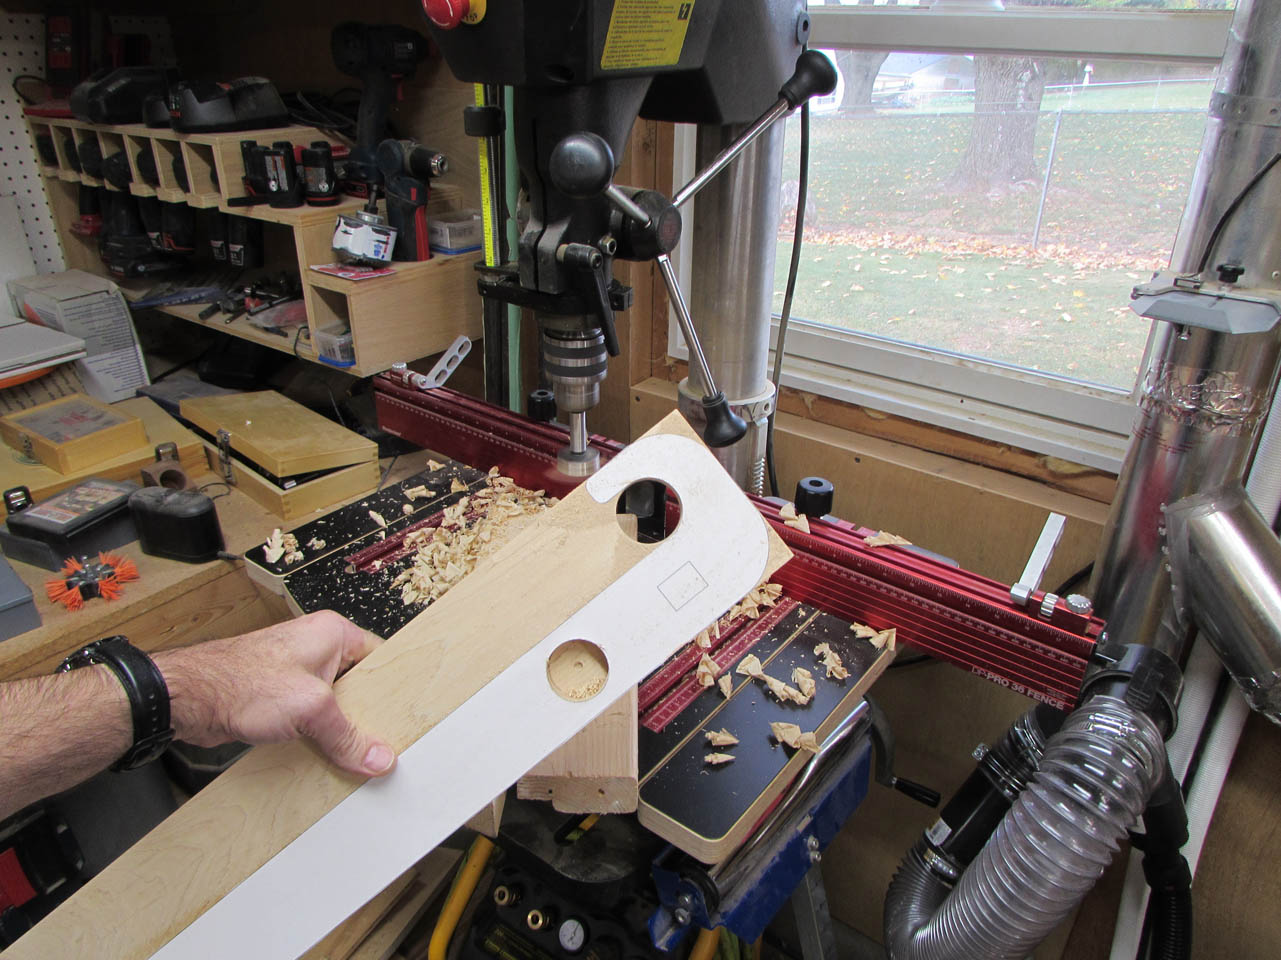
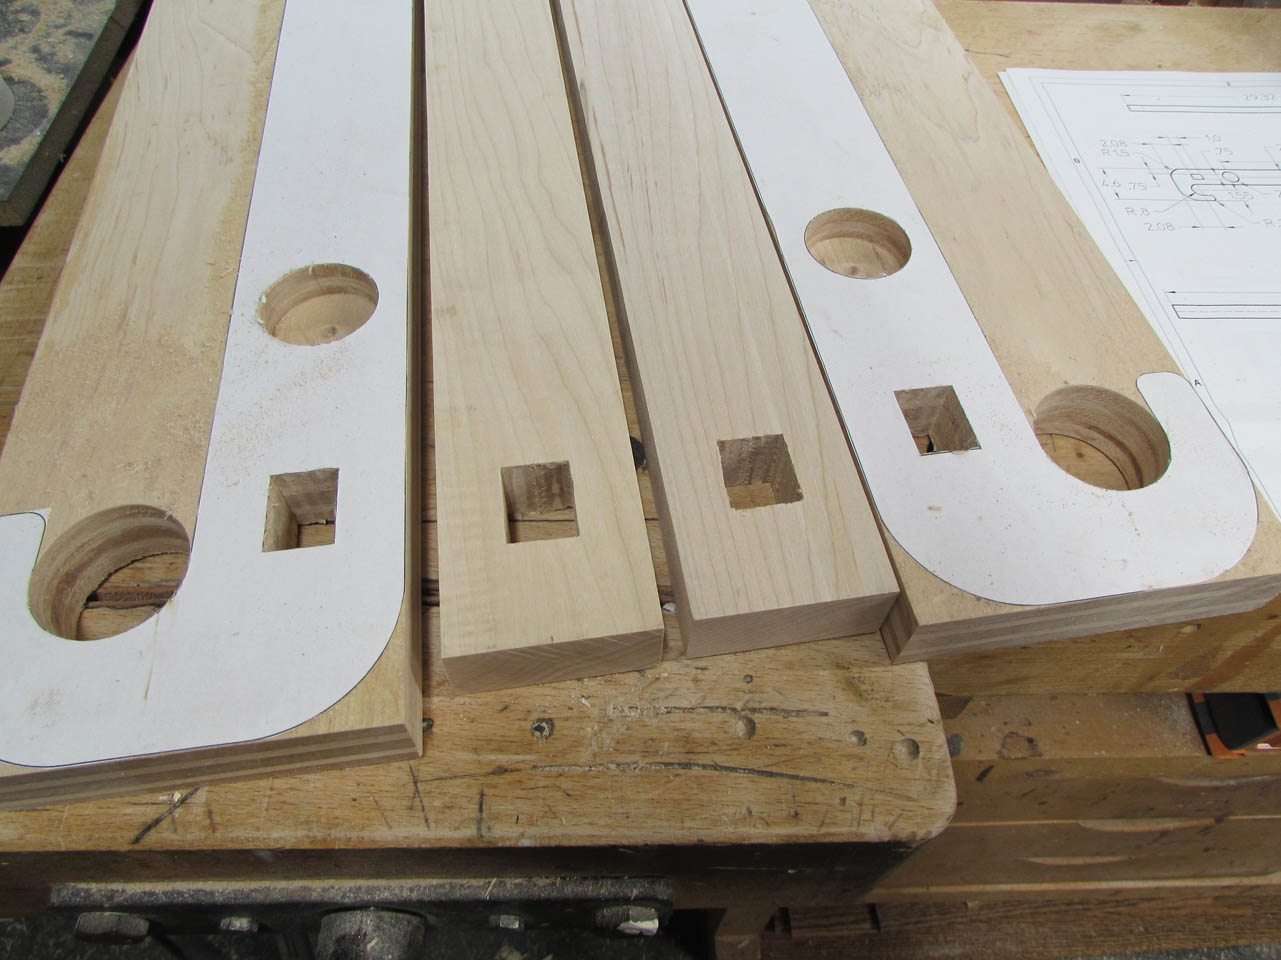
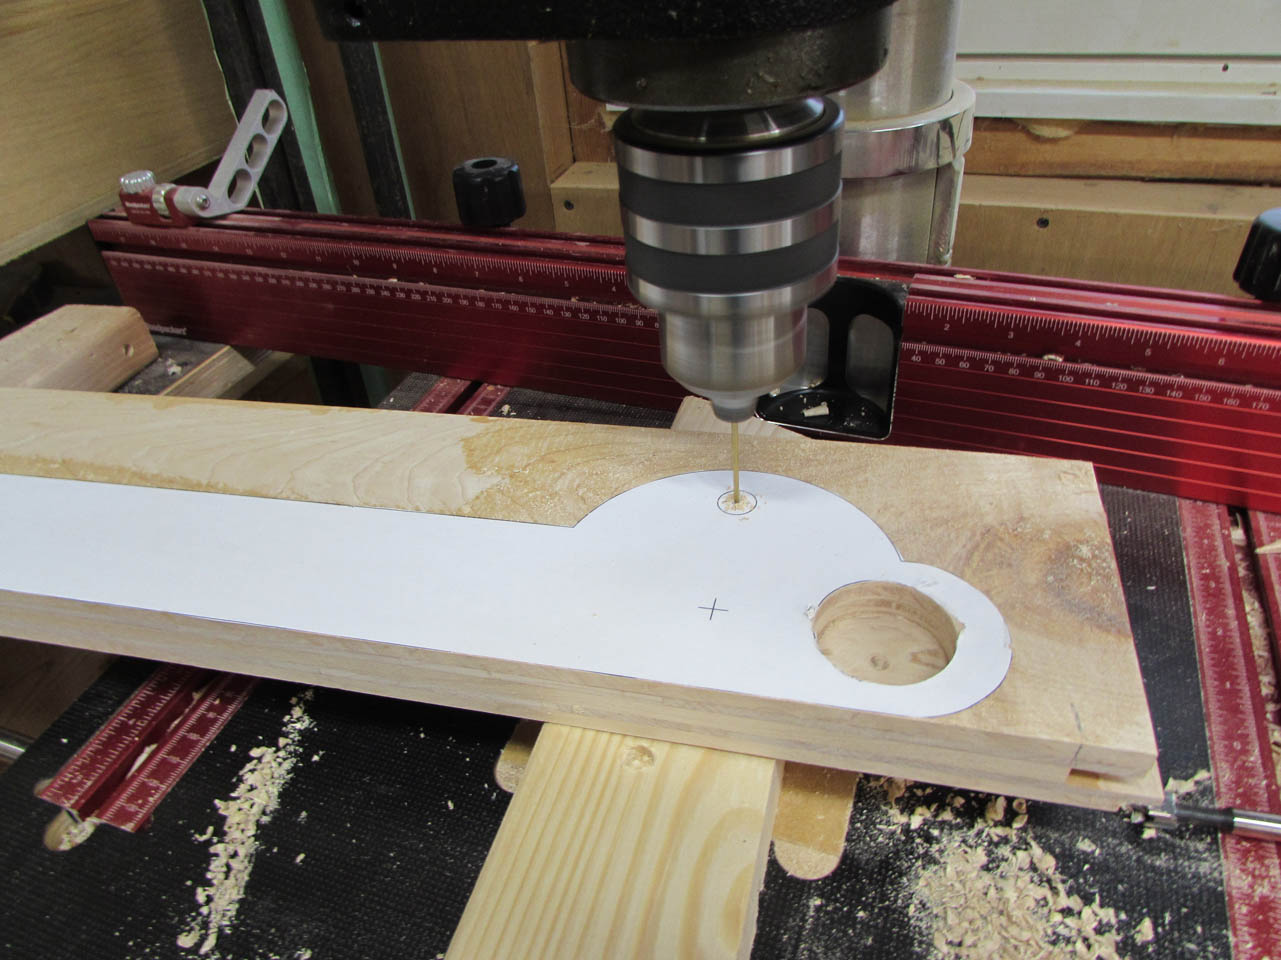
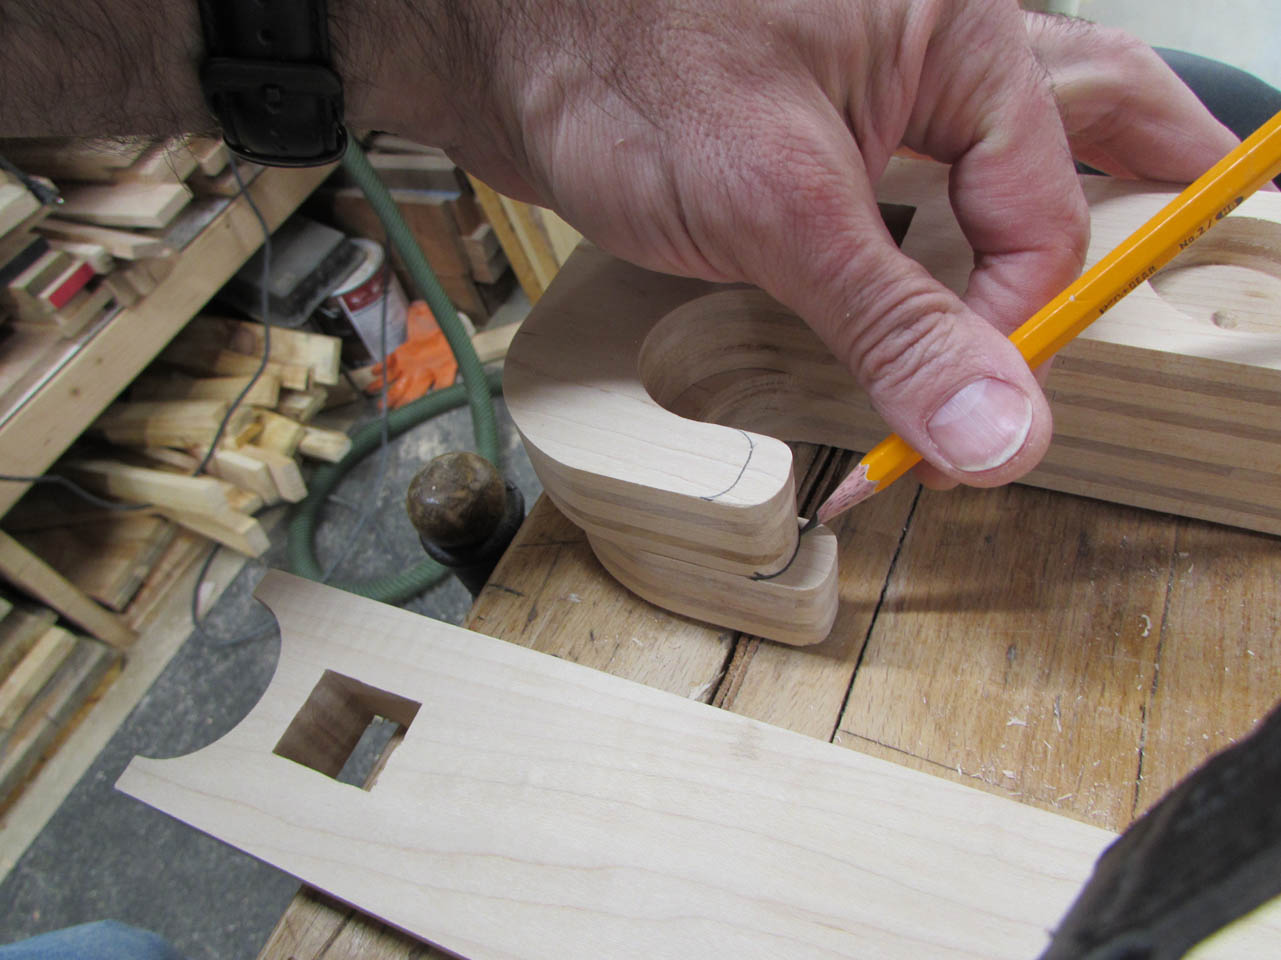
I started trying to lay out the odd little curvy bits that make up the sides then gave up and just printed the shape out full size as a pattern.
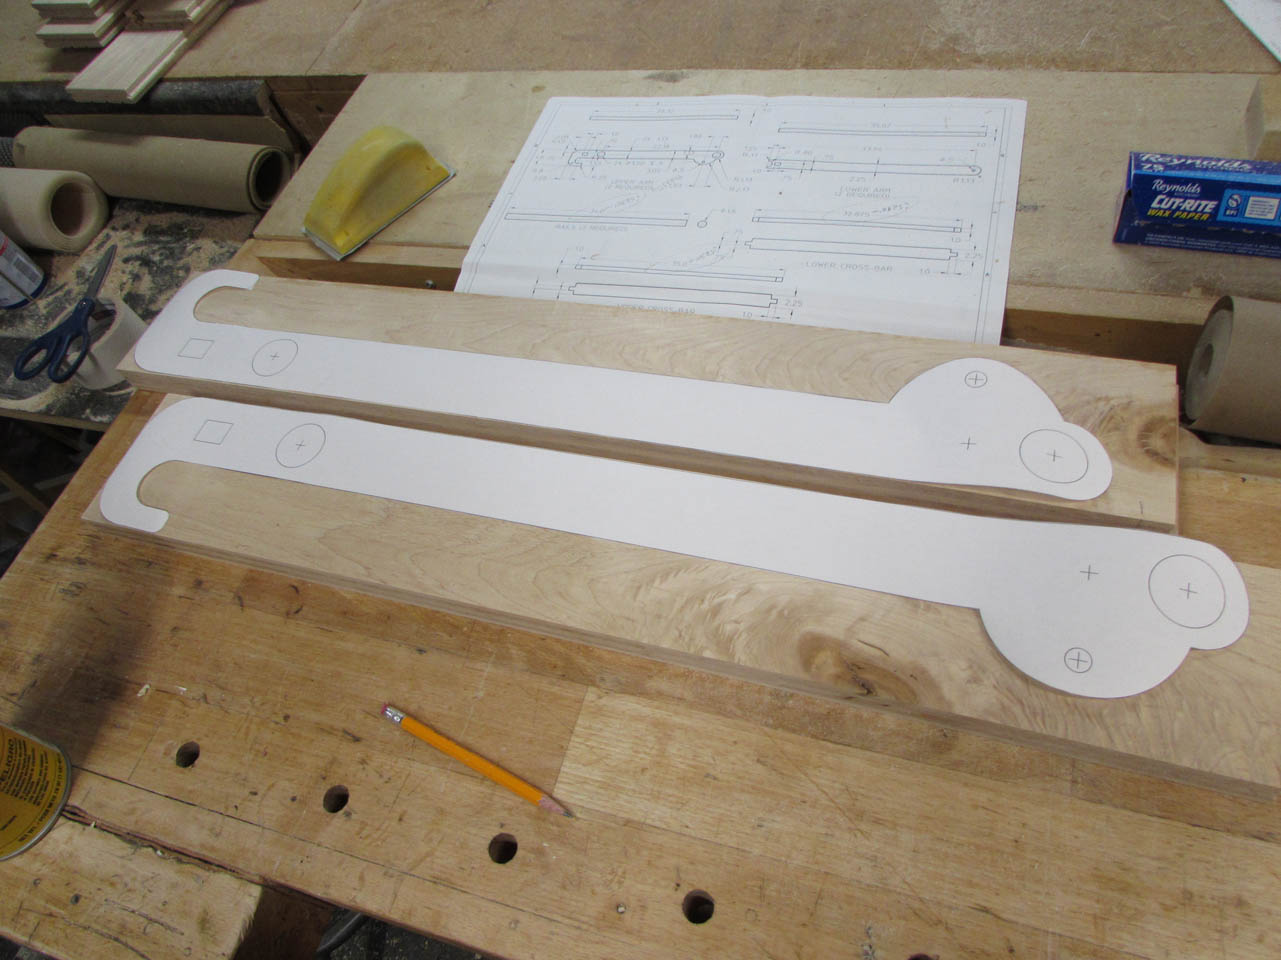
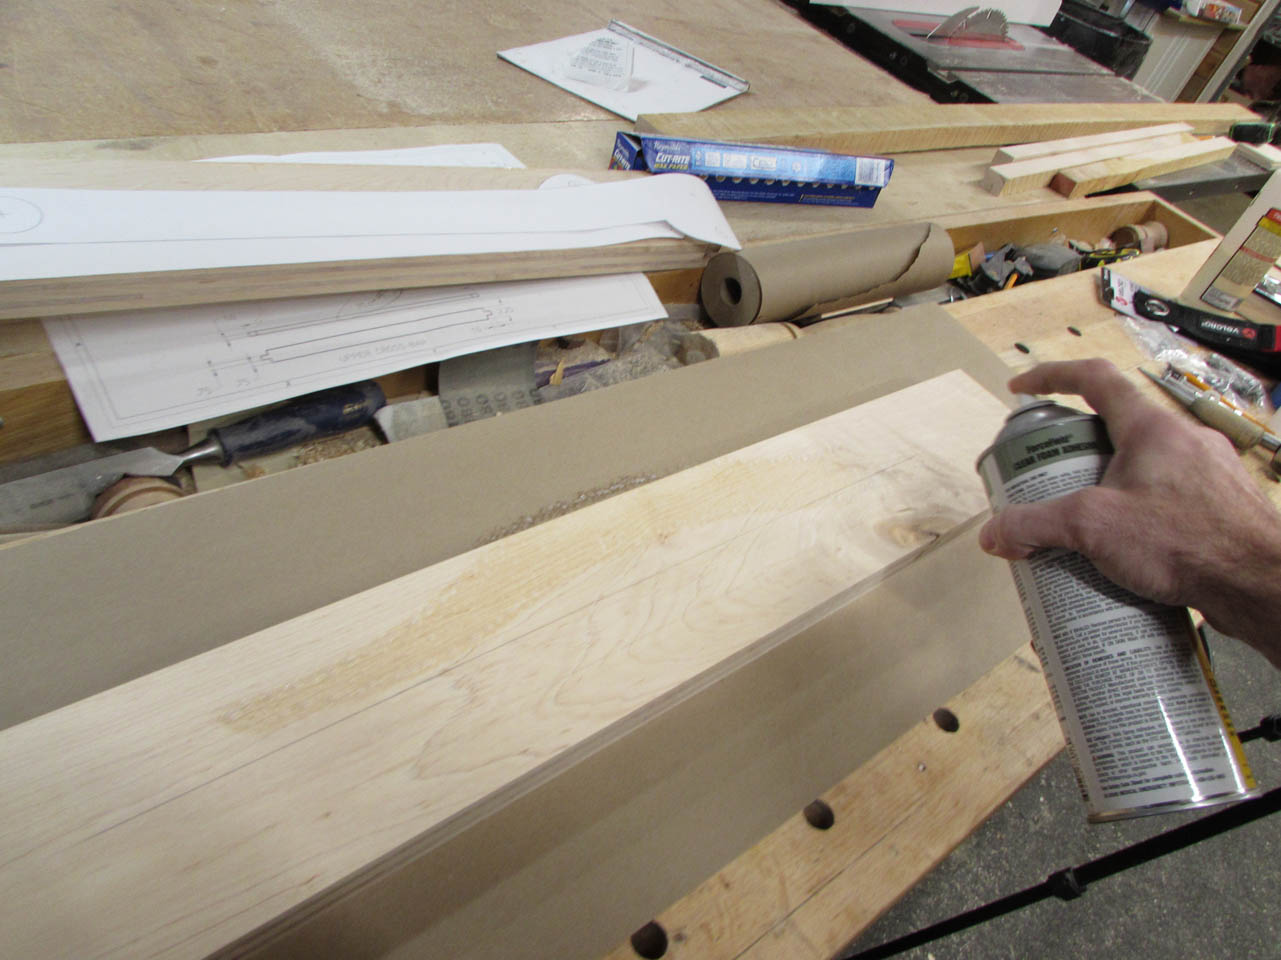
I used a little spray adhesive to attach it.
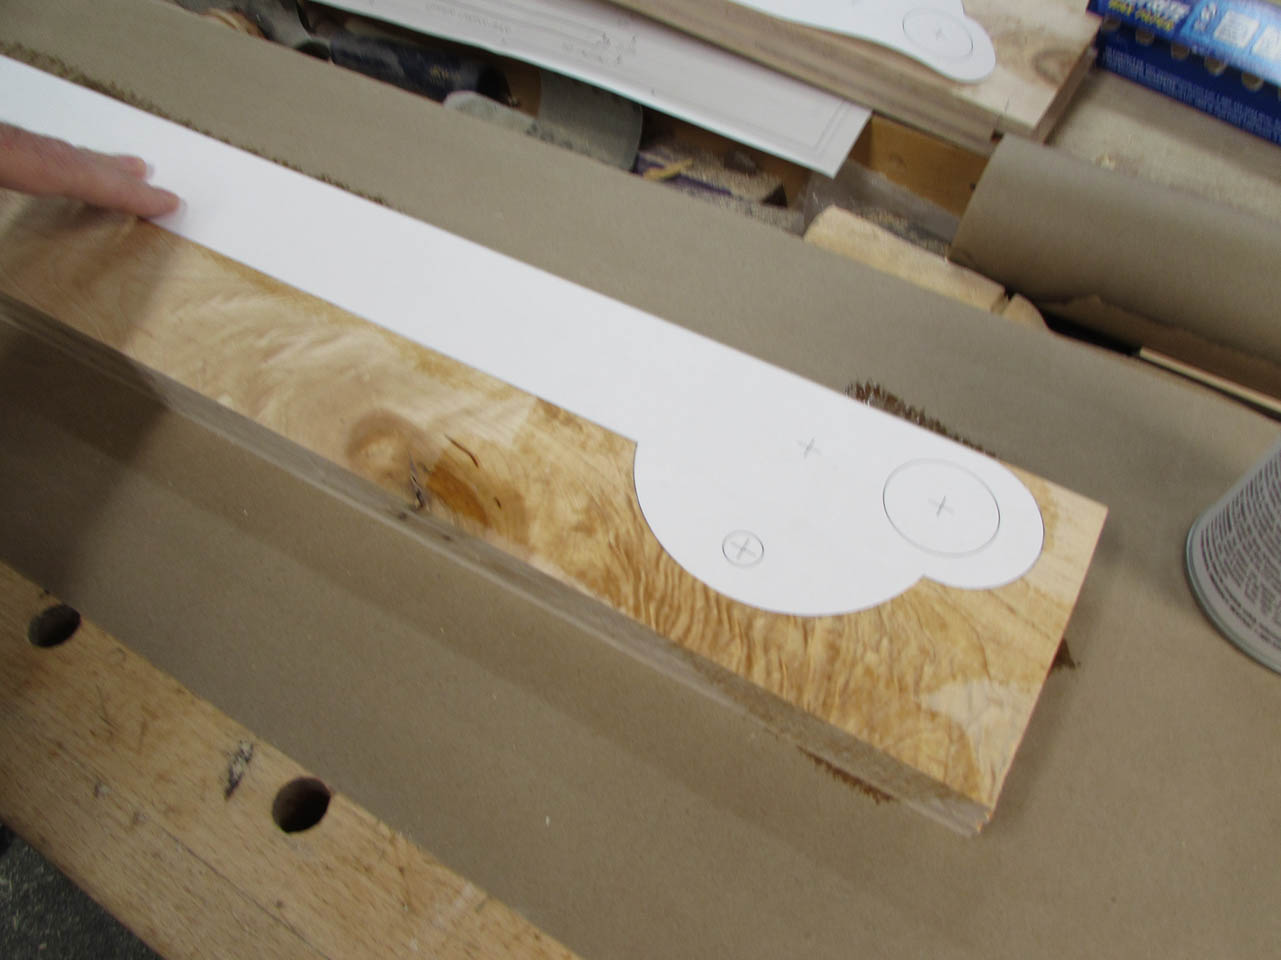
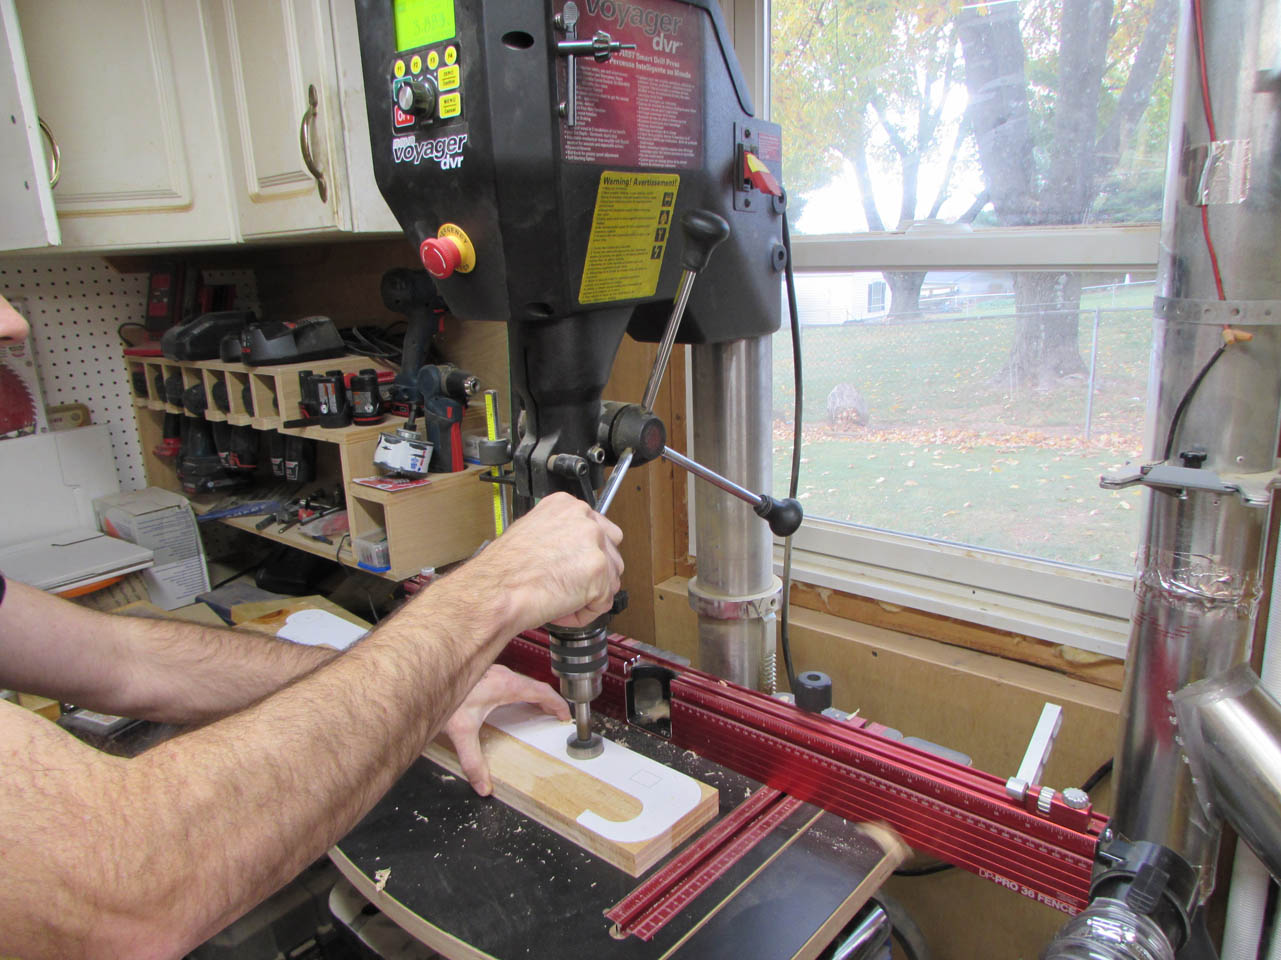
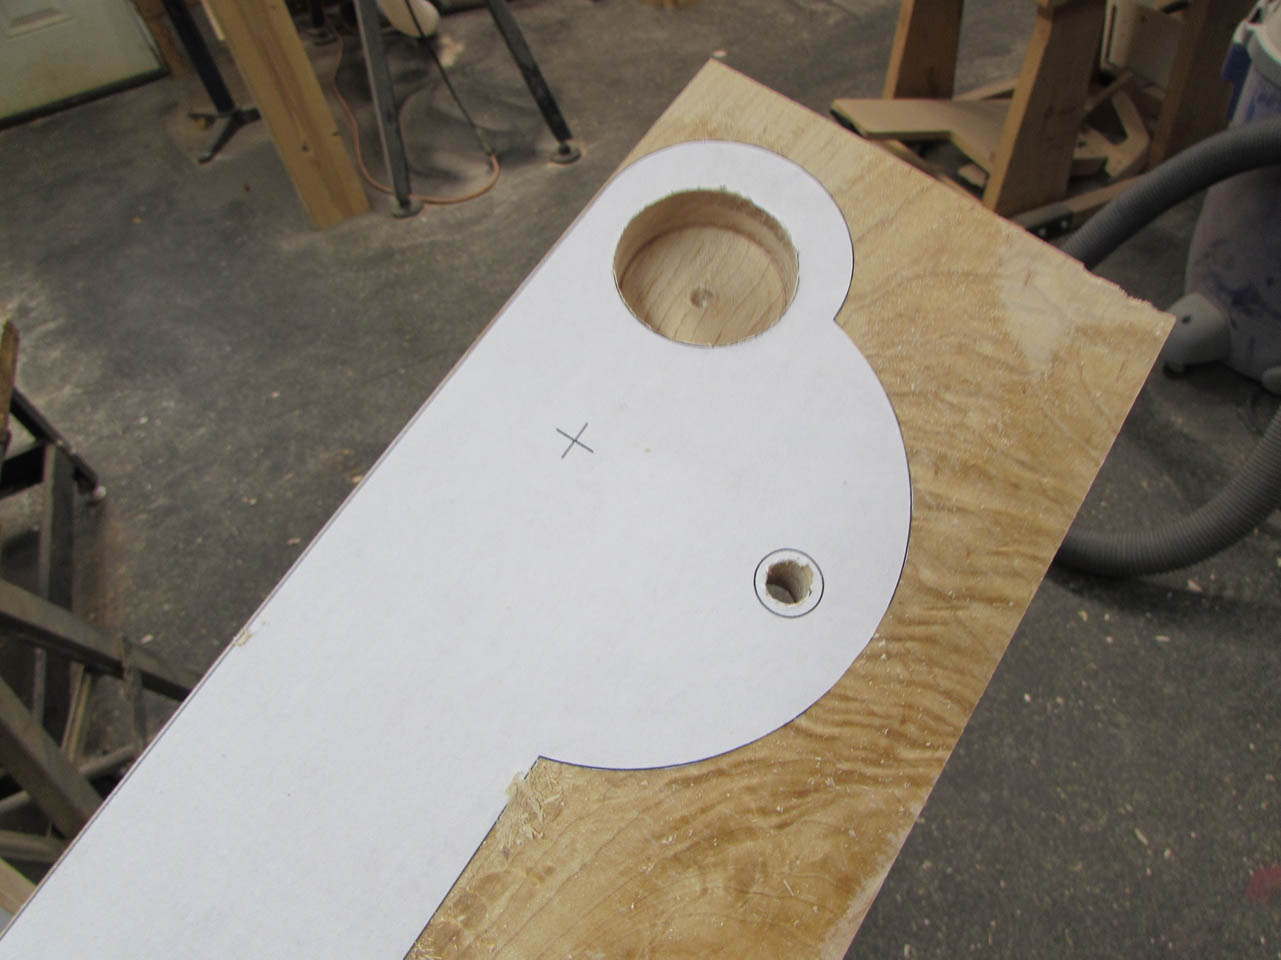
Then started drilling my dowel holes.
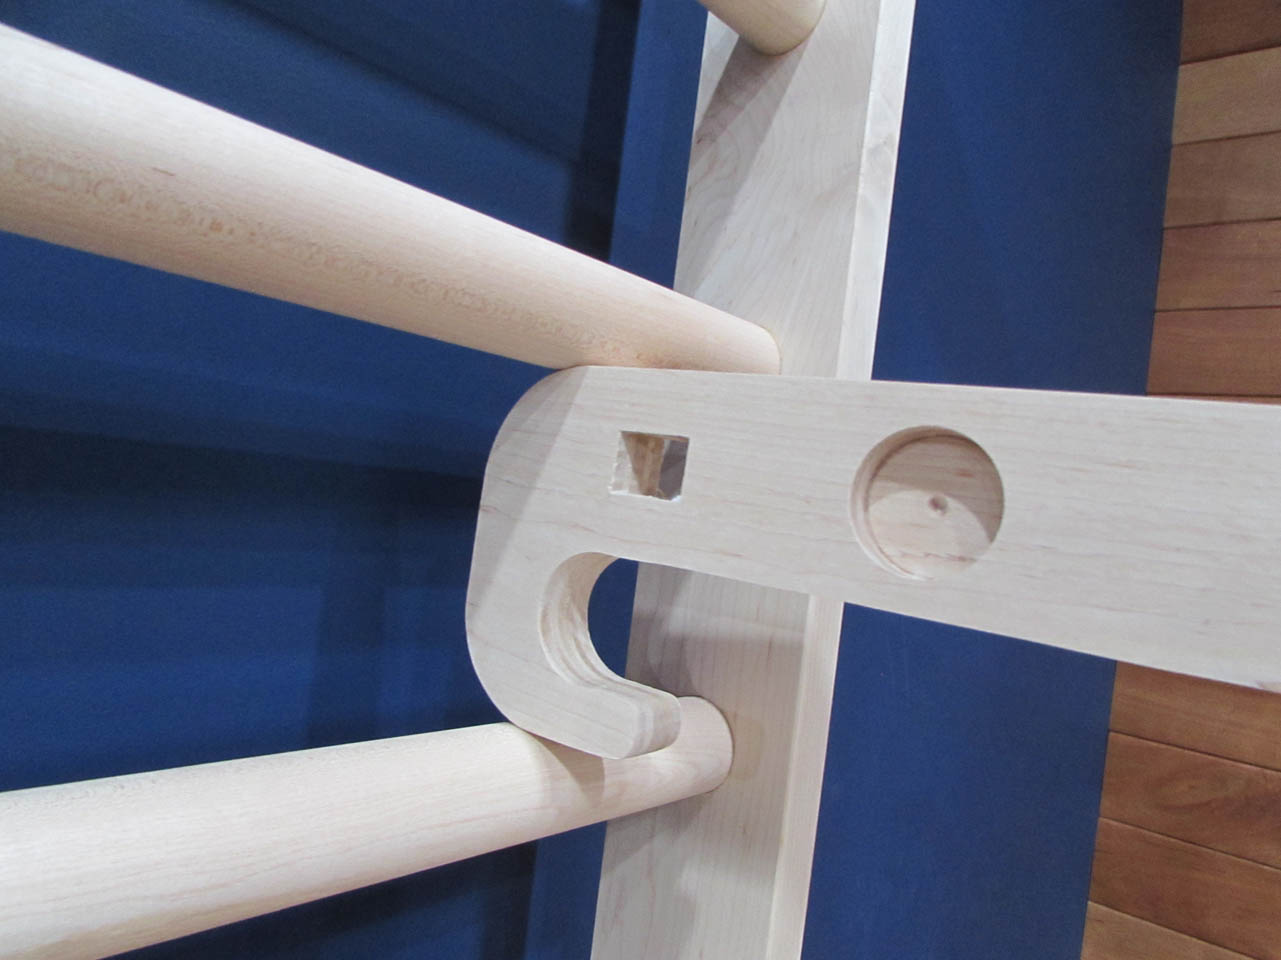
Two hold dowels and one is slightly larger to slip over one.
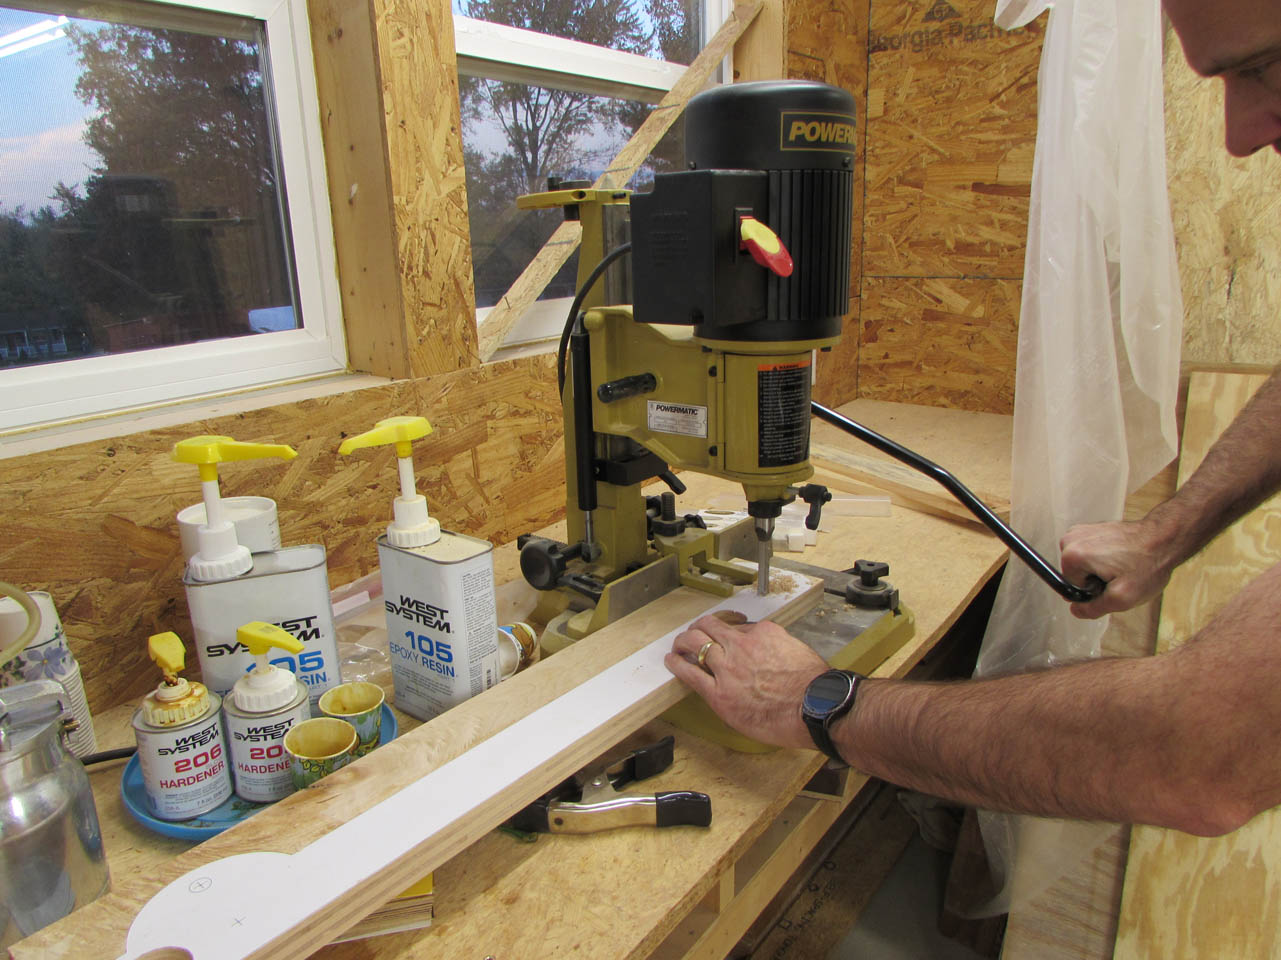
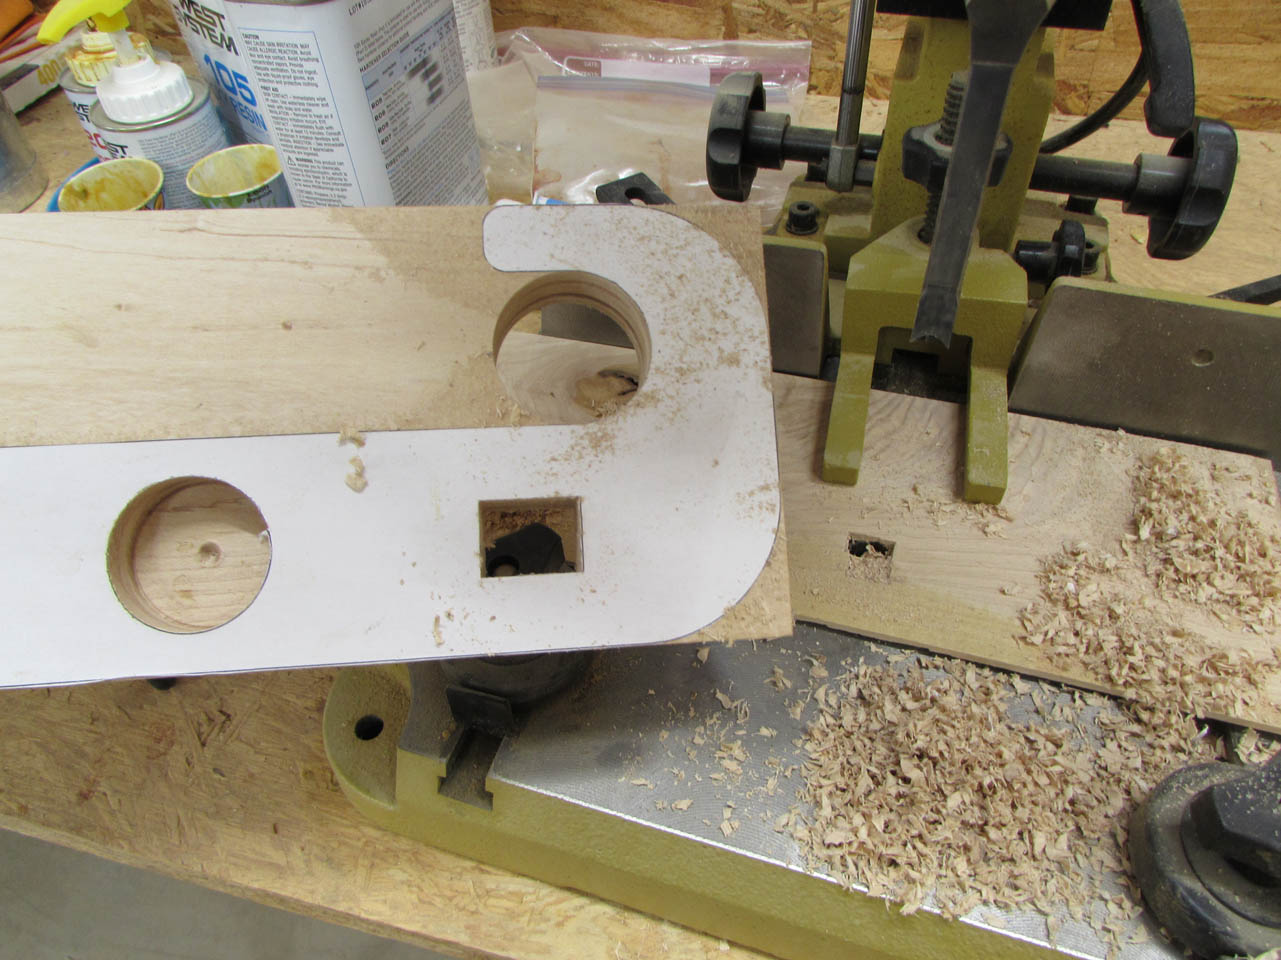
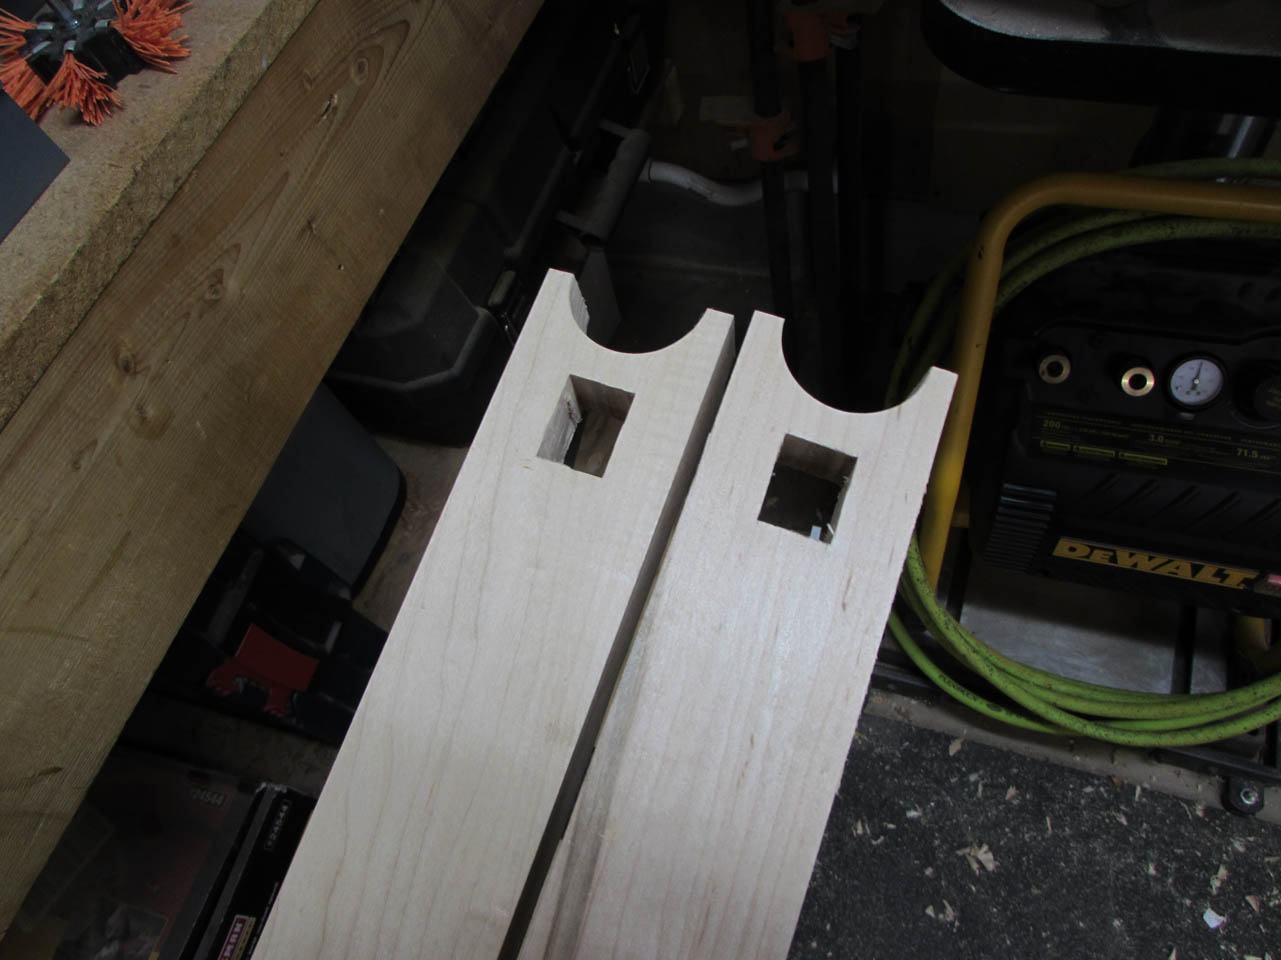
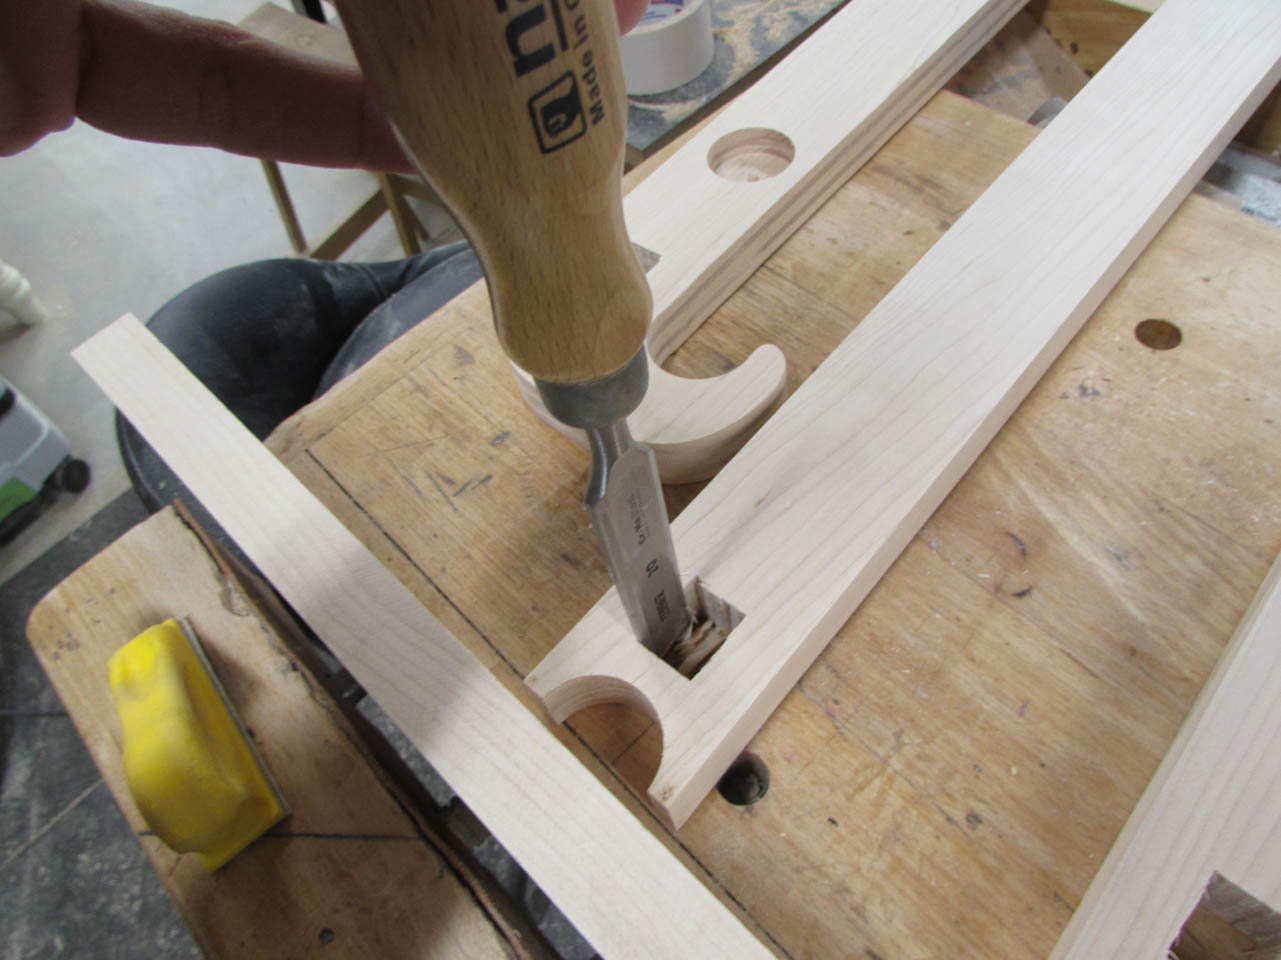
The square holes require a bit more effort.

Instead of chopping them out by hand with a chisel, I decided to take the easier path and use my hollow chisel mortiser.
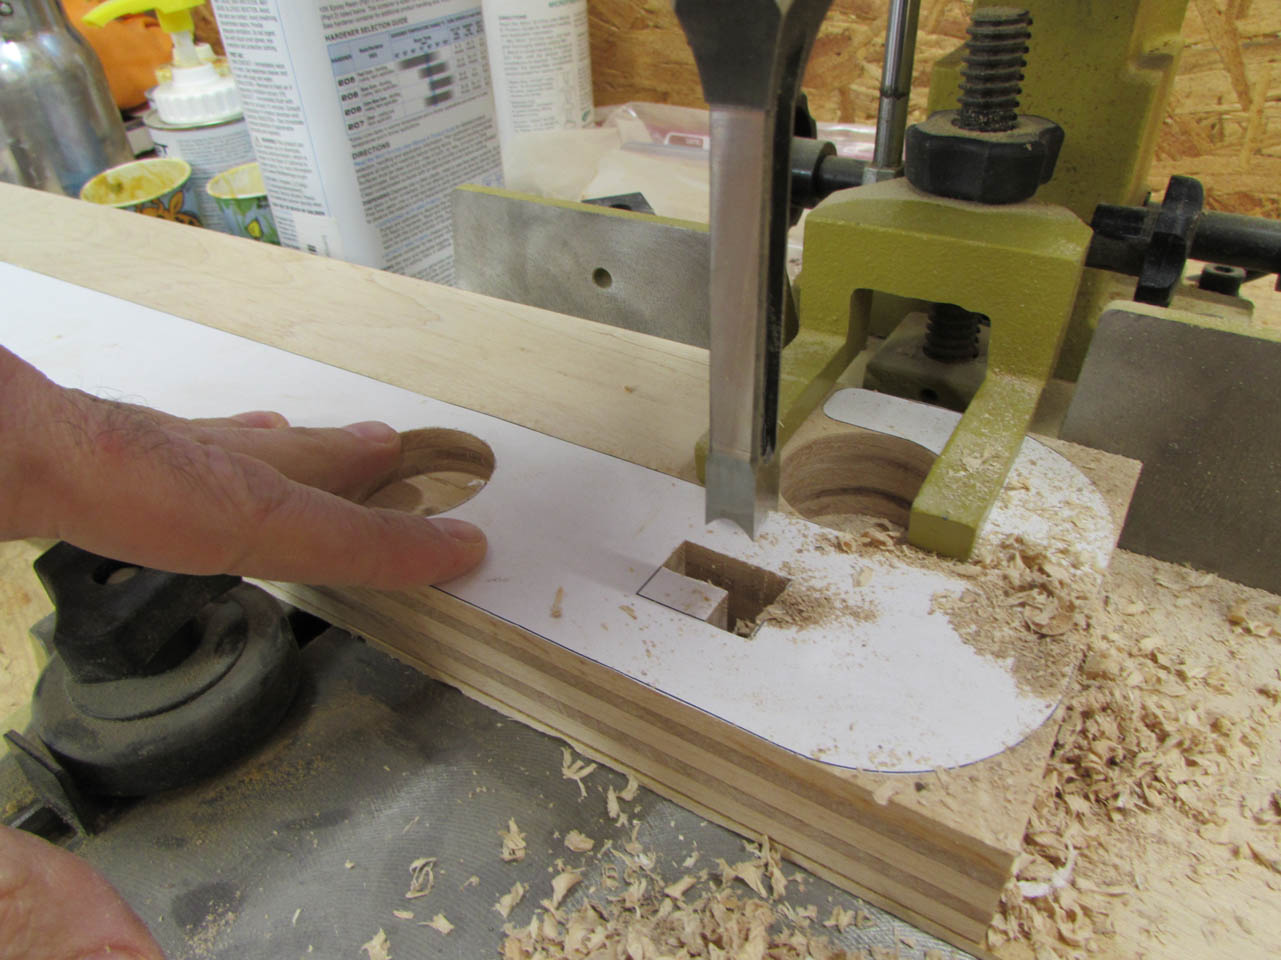
I used the 3/8″ bit to drill a series of square holes to open up the 3/4″x1″ holes required.
I cut a few more boards from my scrap to create the support brackets which have similar mortises so that I could drill them out as well.
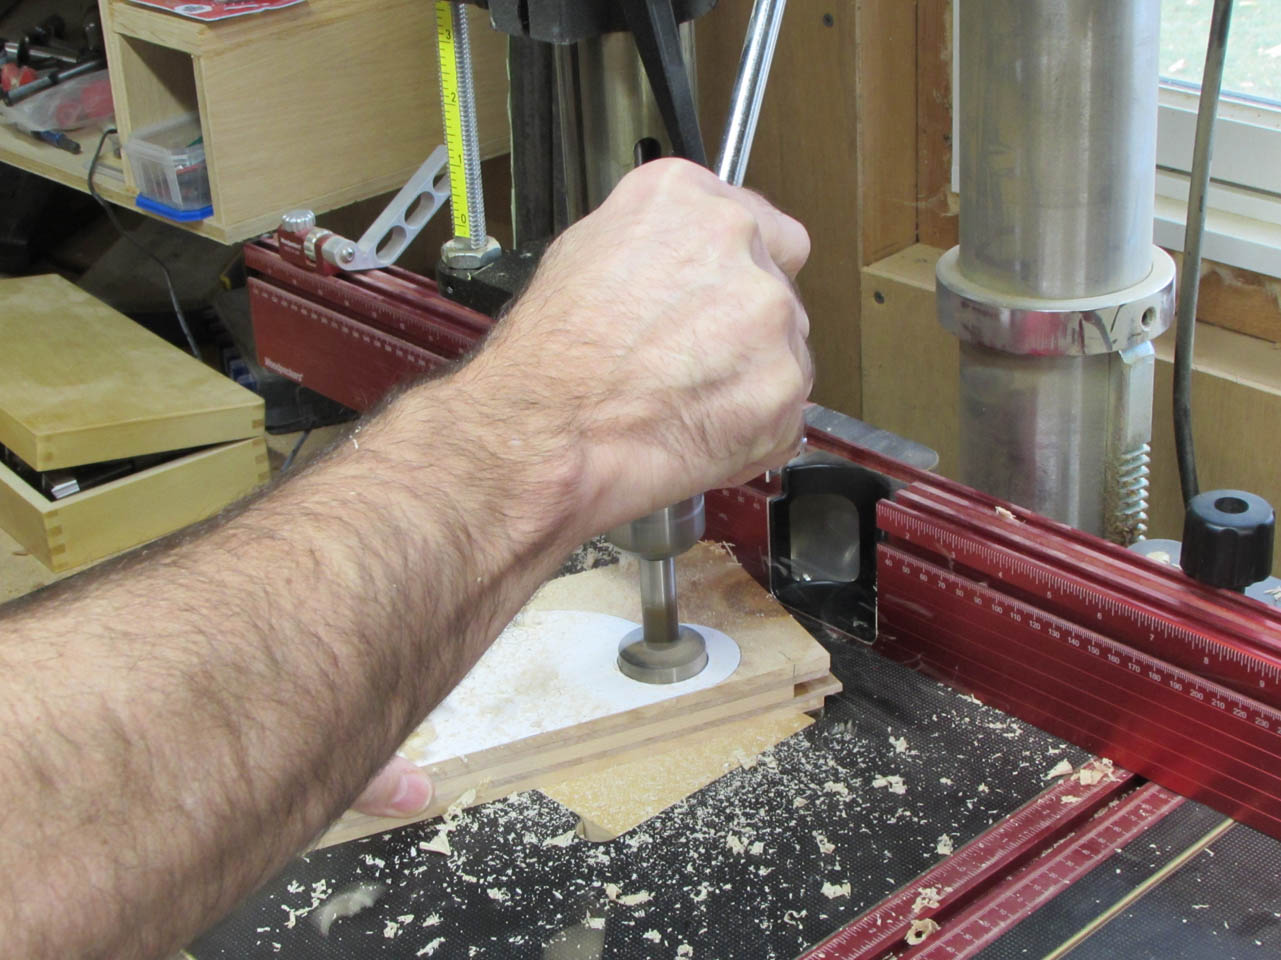
Since the end of the support brackets each require half of a 1-5/8″ diameter hole, I butt them together and clamp them down to my drill press table and just make one cut where the two boards meet.
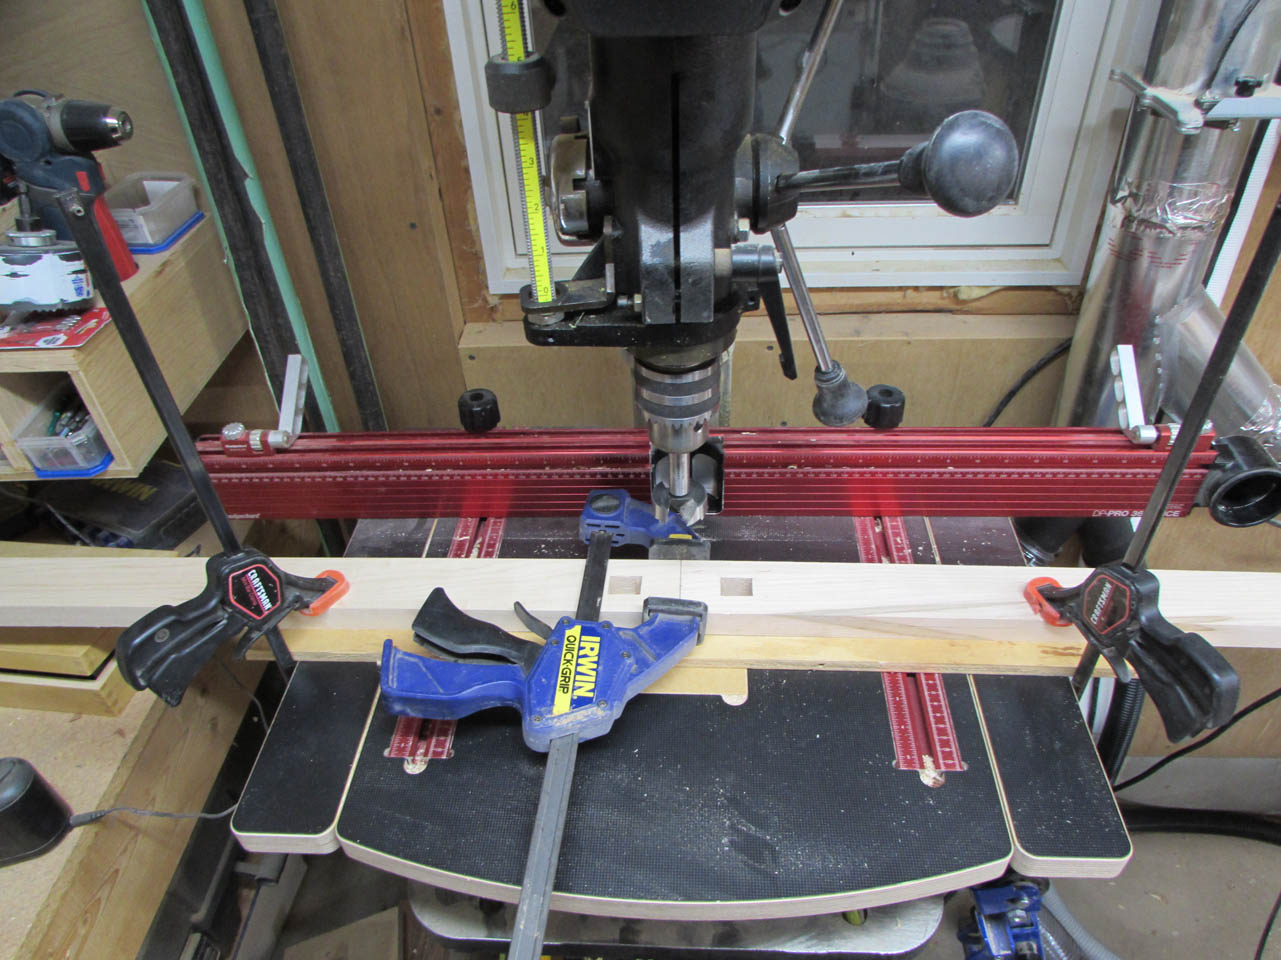
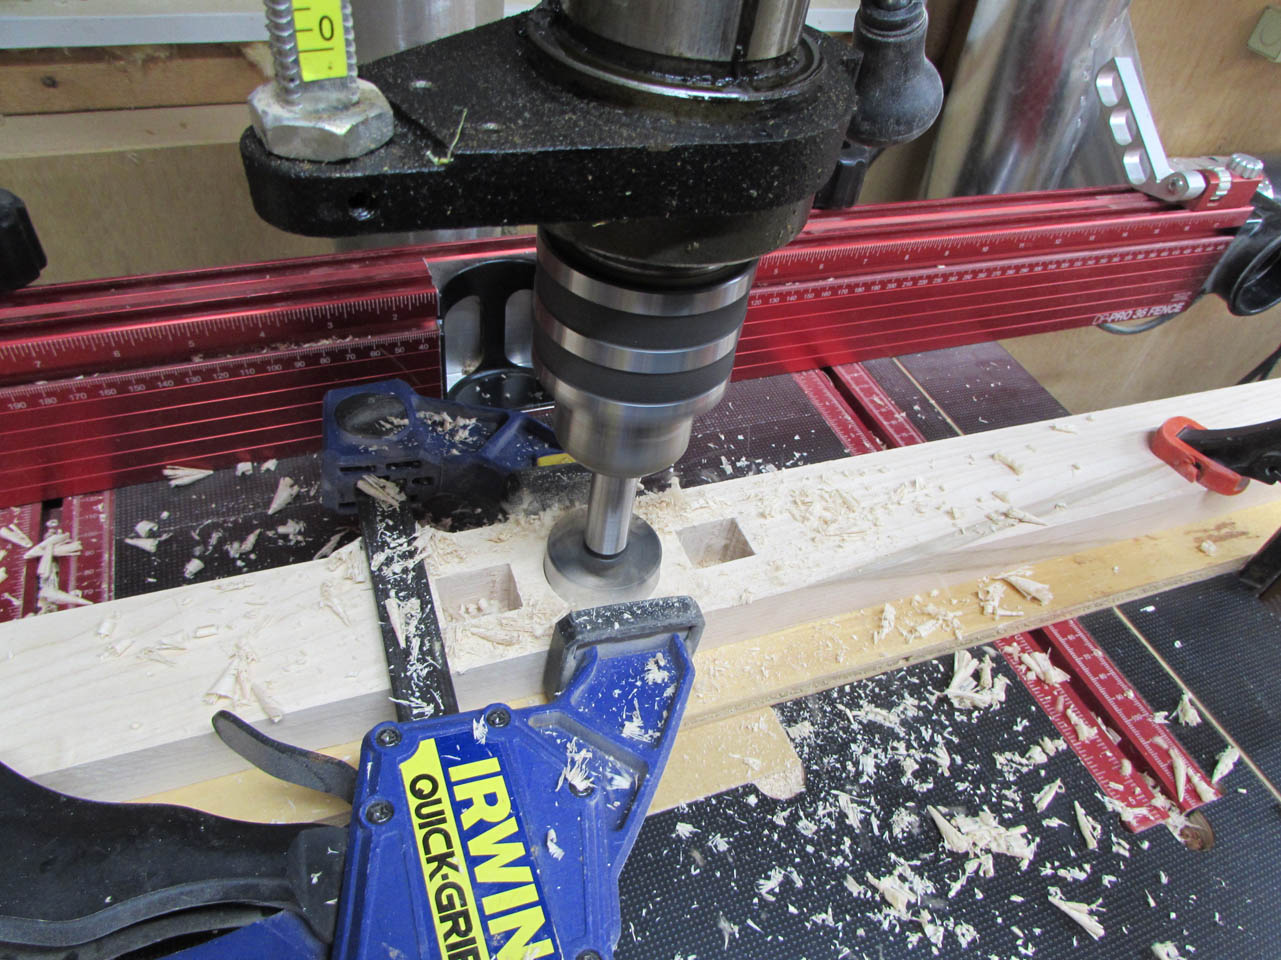
It works well as long as it is all clamped down tightly.
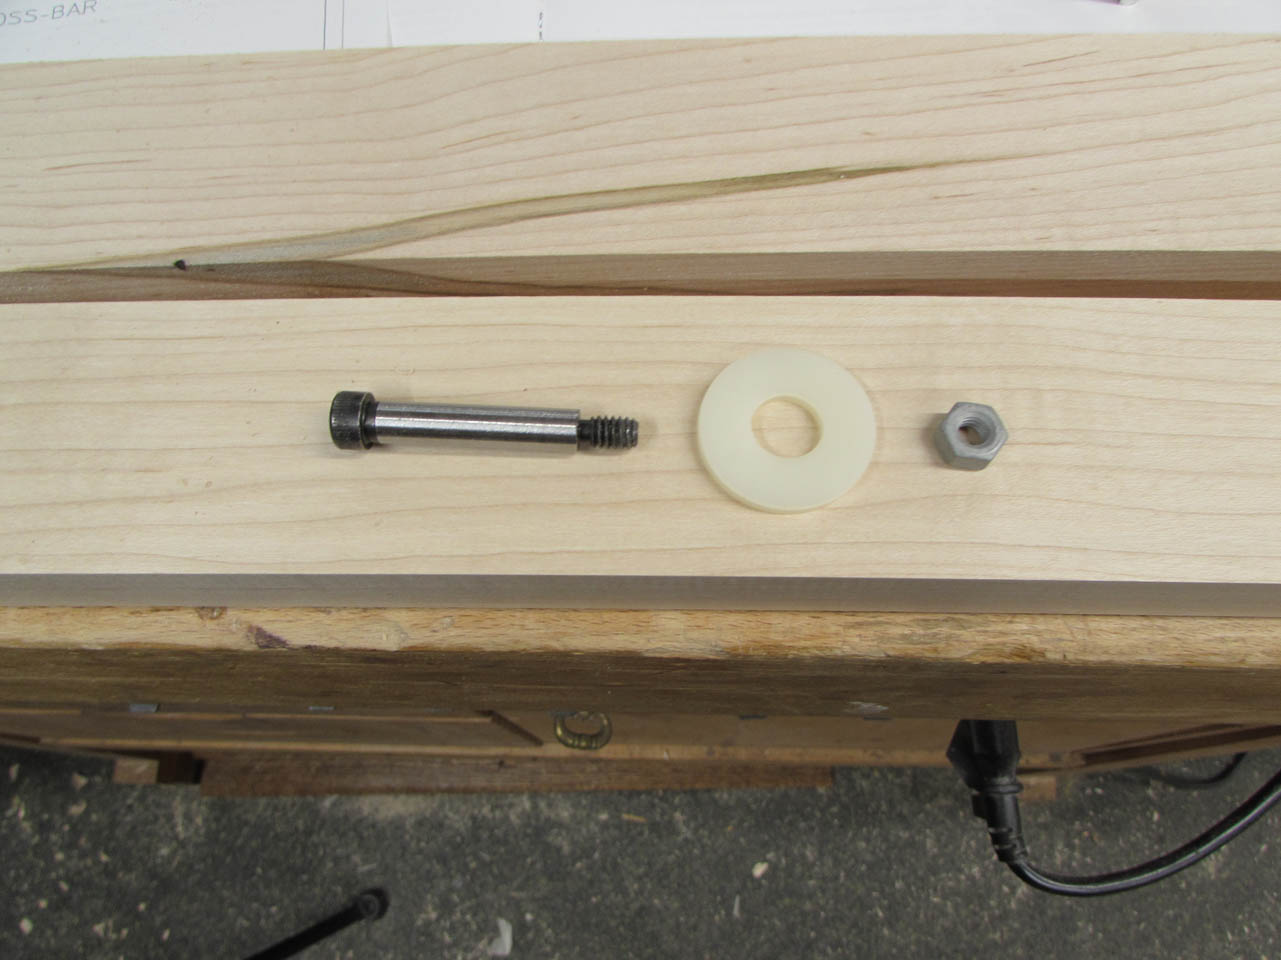
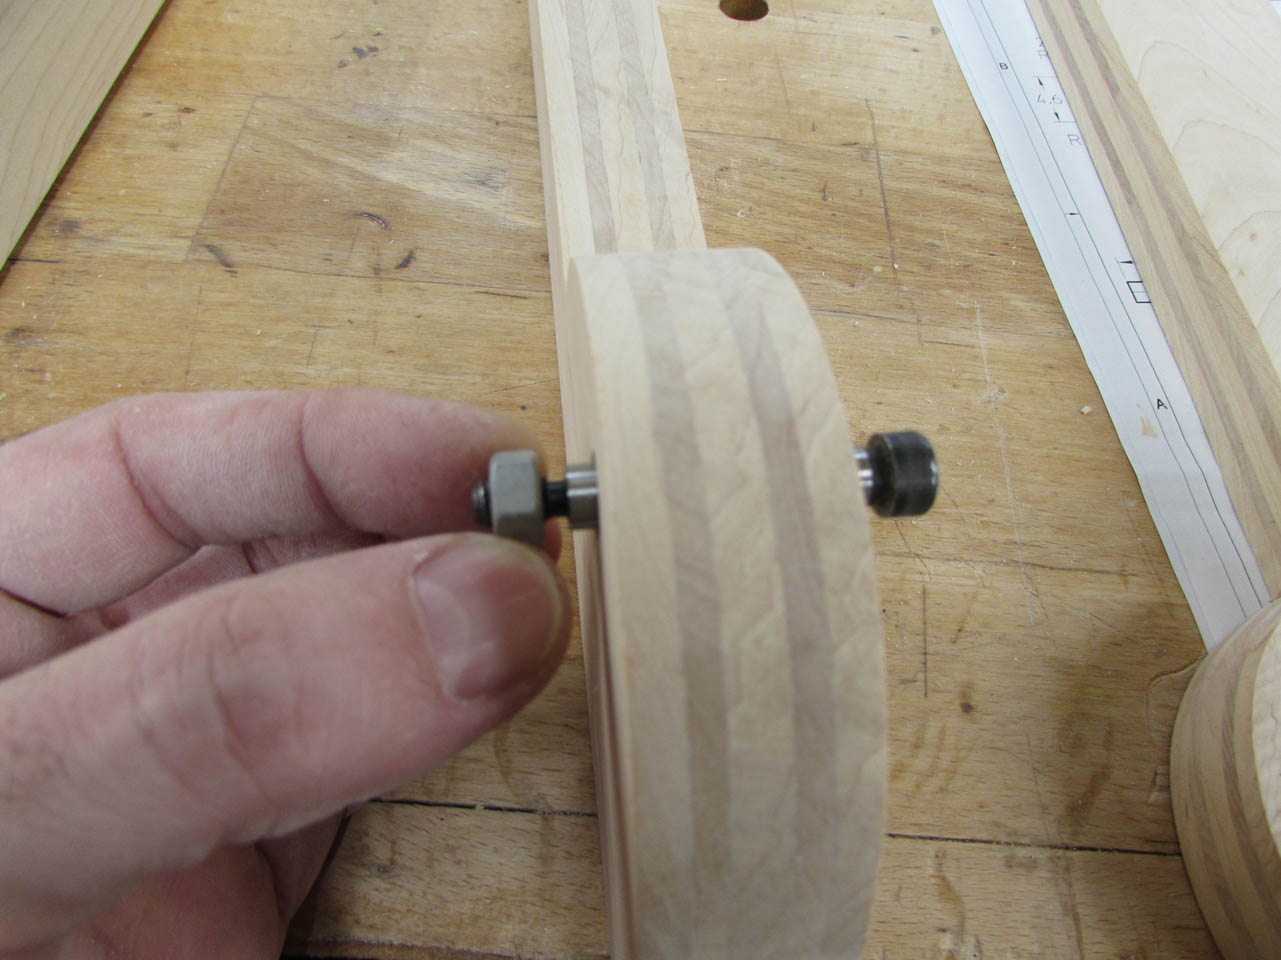
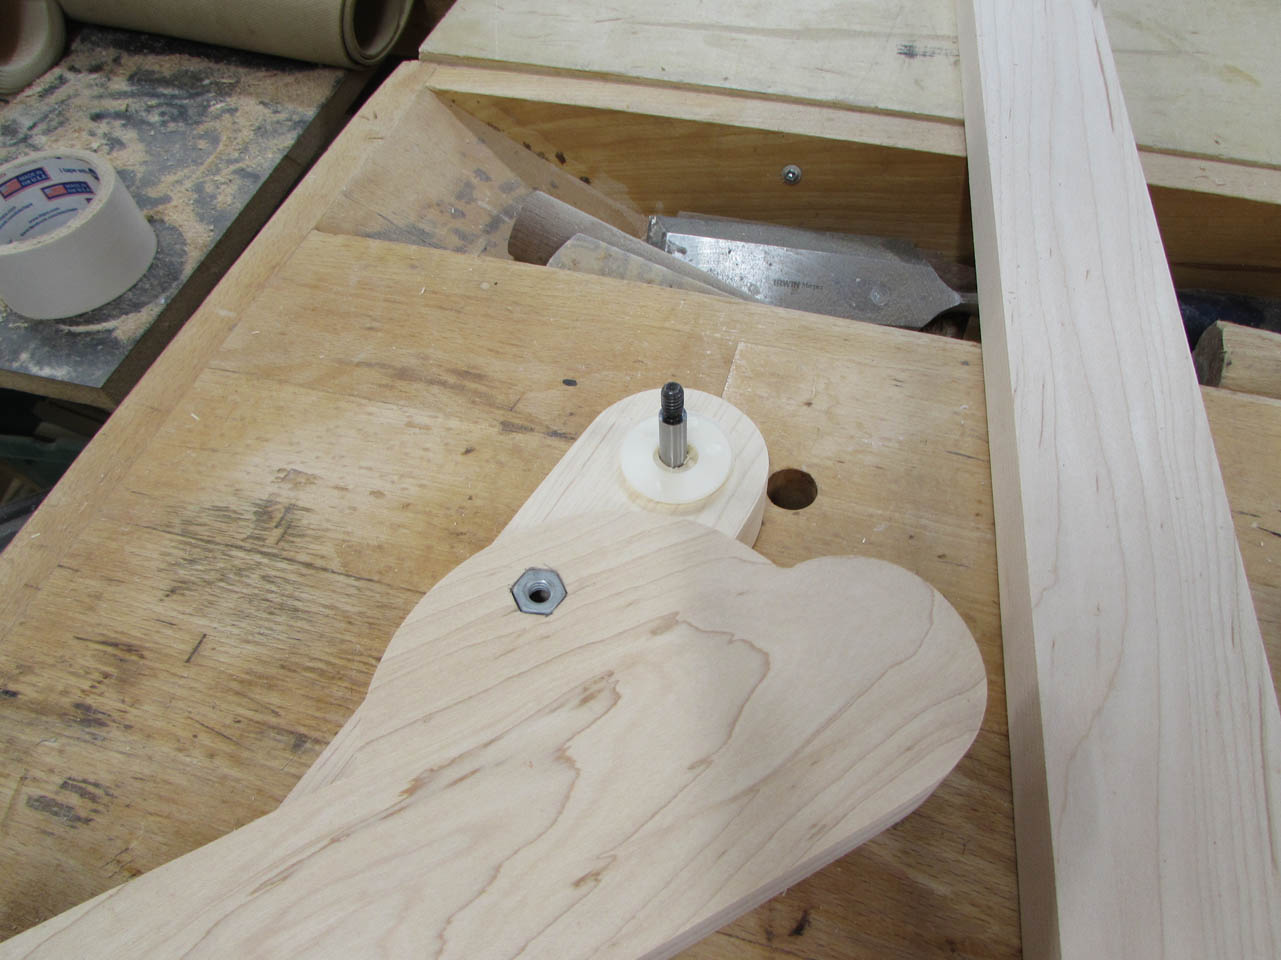
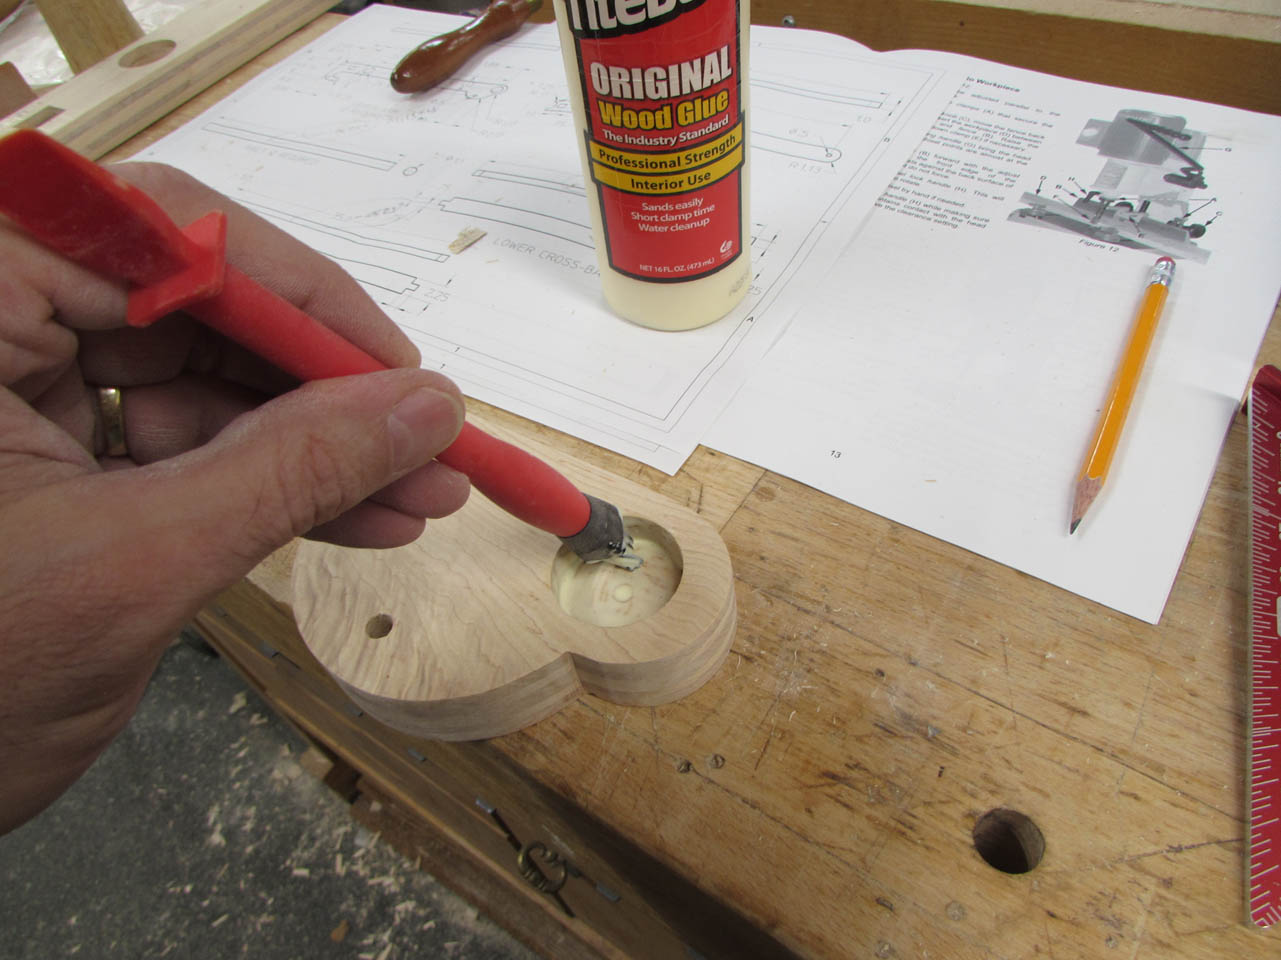
The sides and support bars attach at a pivot point so I bought some shoulder bolts and some nylon washers to make the pivot smooth.
I need to create the counter-bore to hold the bolt head first, then I can drill the smaller through-hole.
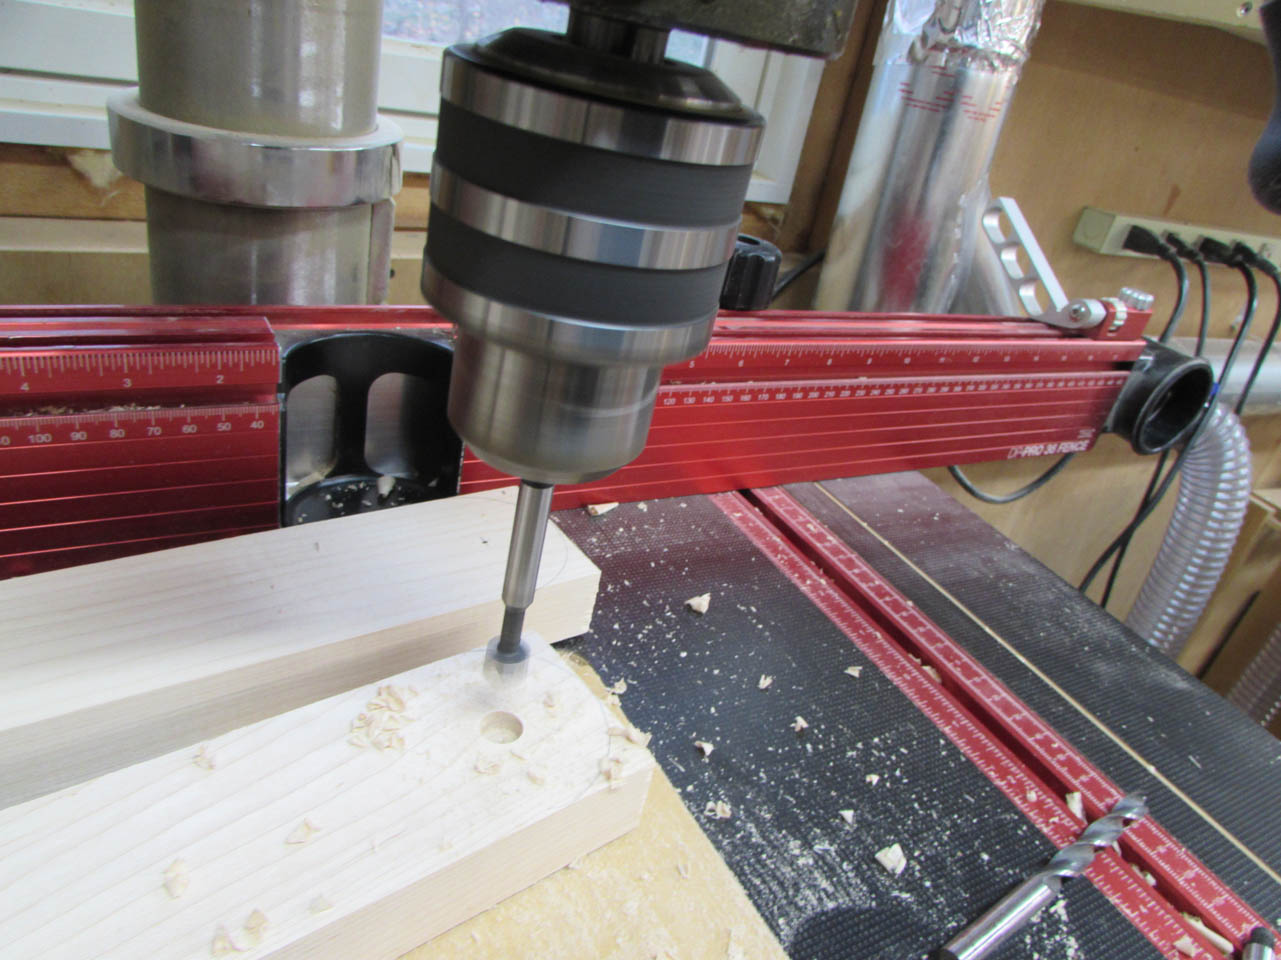

This allows the bolt to recess in and leave the head flush.
I need to do something similar on the side pieces but the templates are on the wrong side.
I drilled a tiny pilot hole all the way through so that I can use that hole on the opposite side to start my counter-bore.
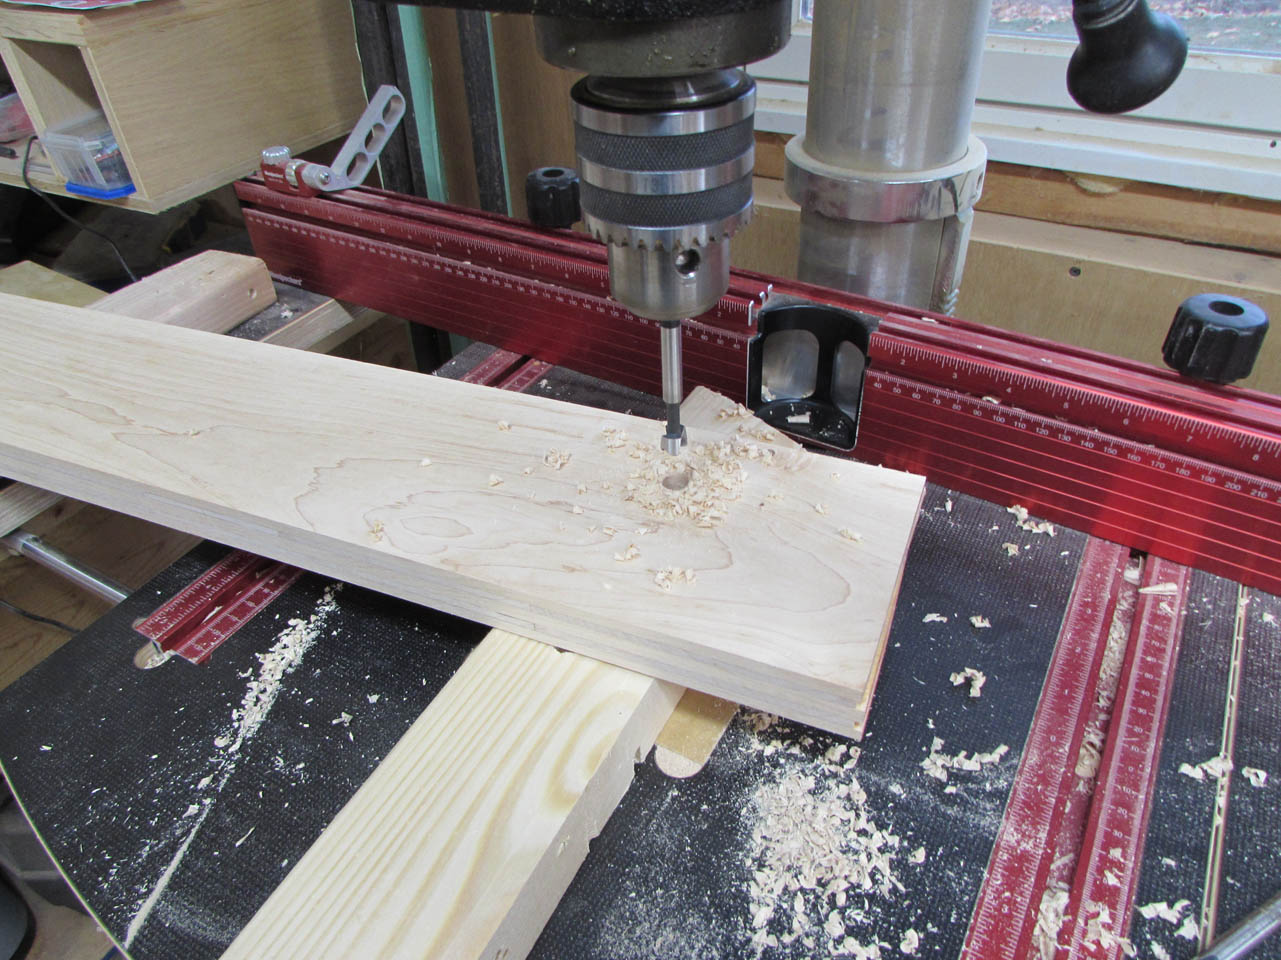
Then I could drill the smaller through-hole.

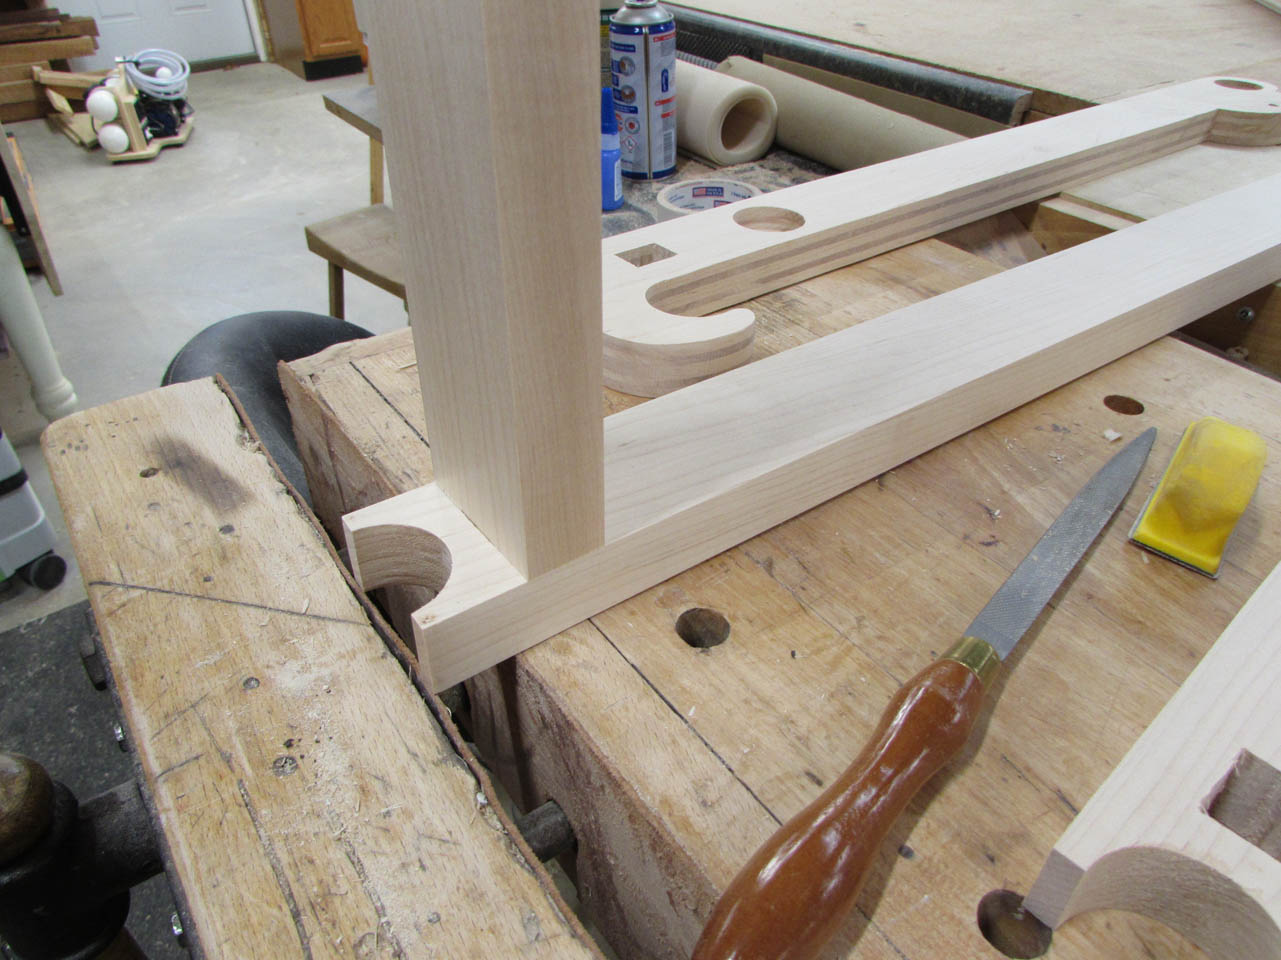
The holes are all drilled so I can now cut out the shape of the sides on the bandsaw.
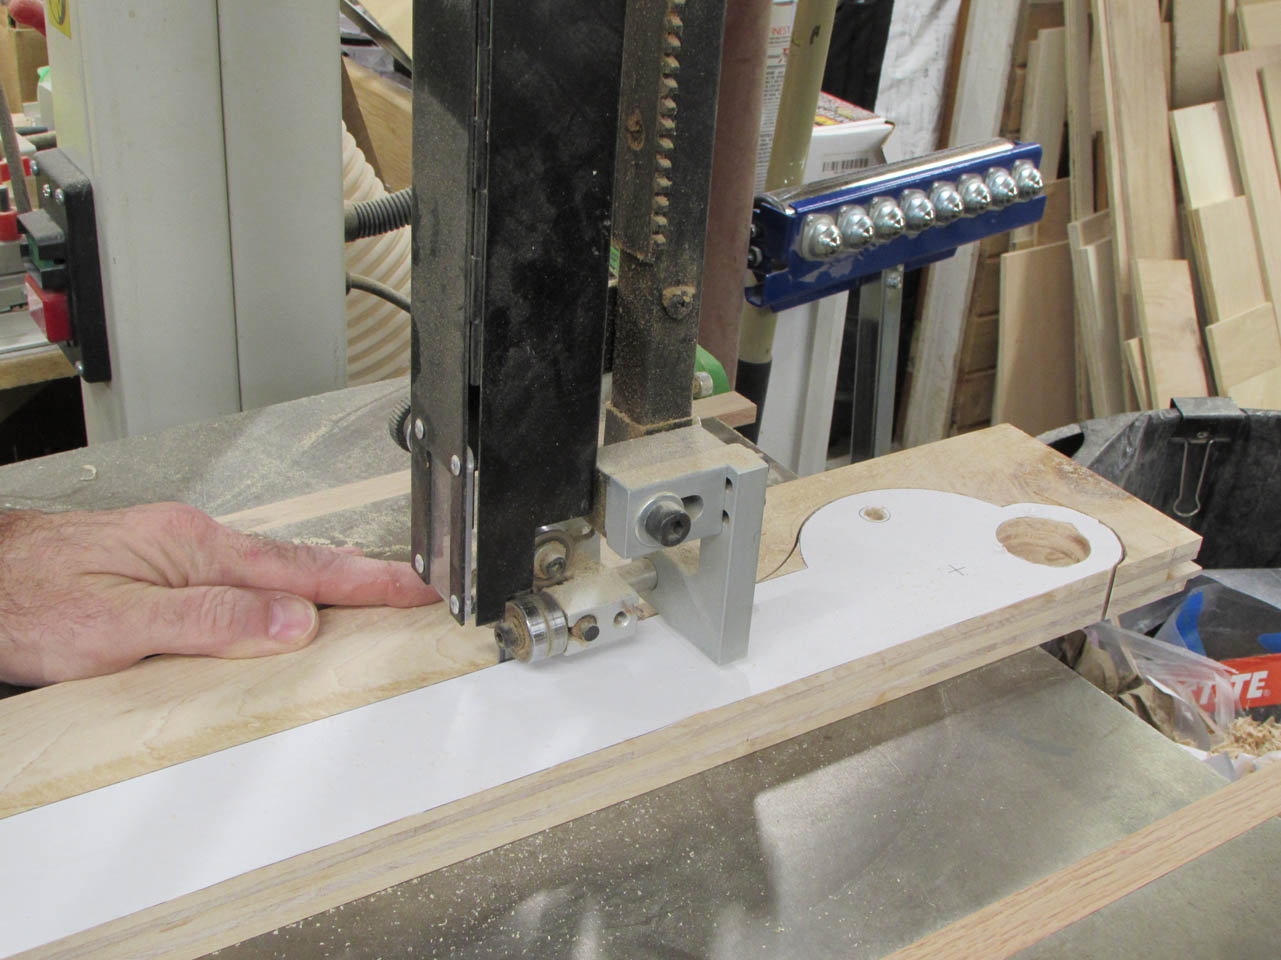
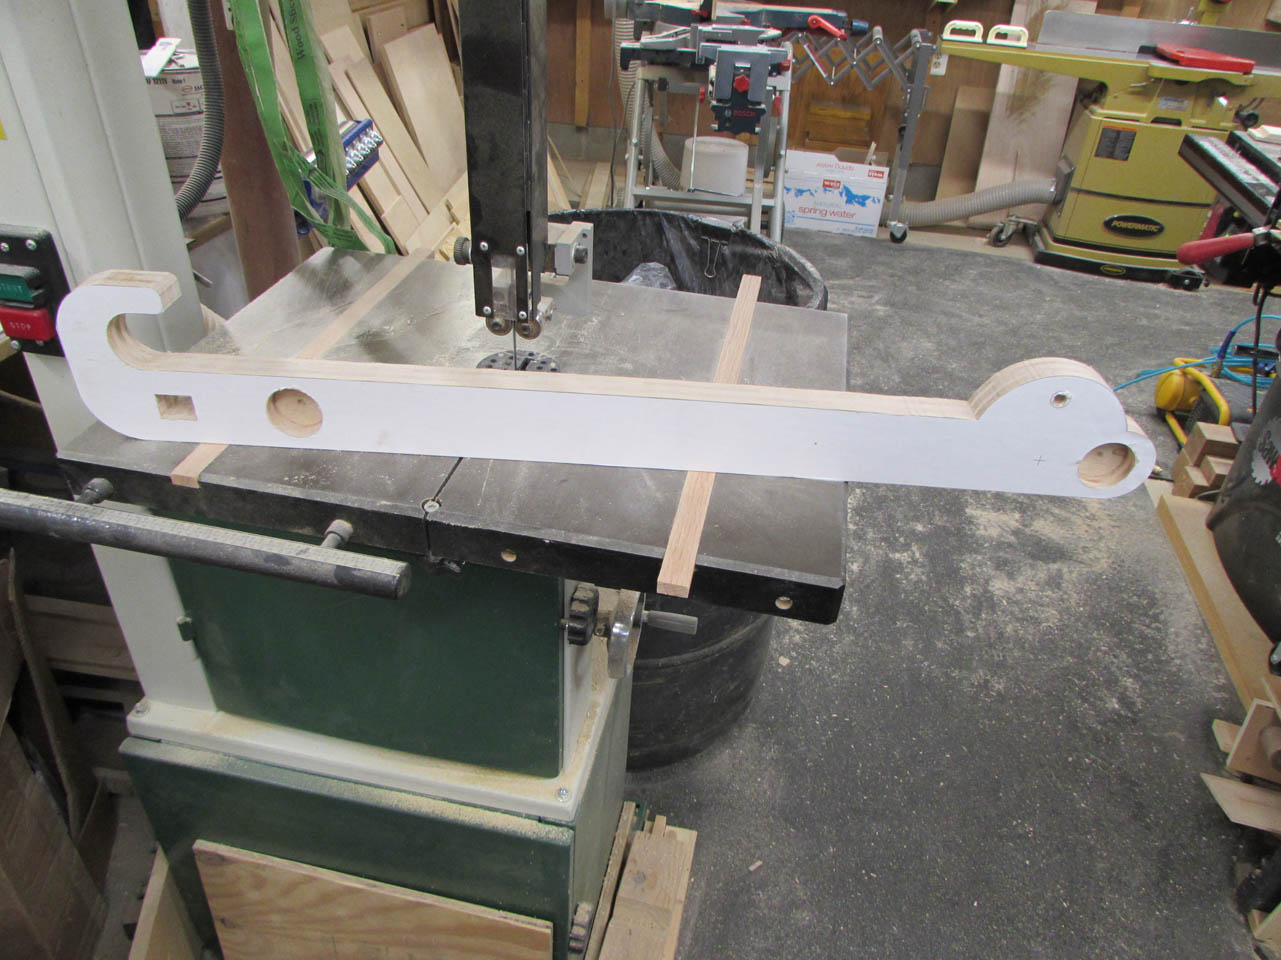
I also cut the curved ends of the support bars.
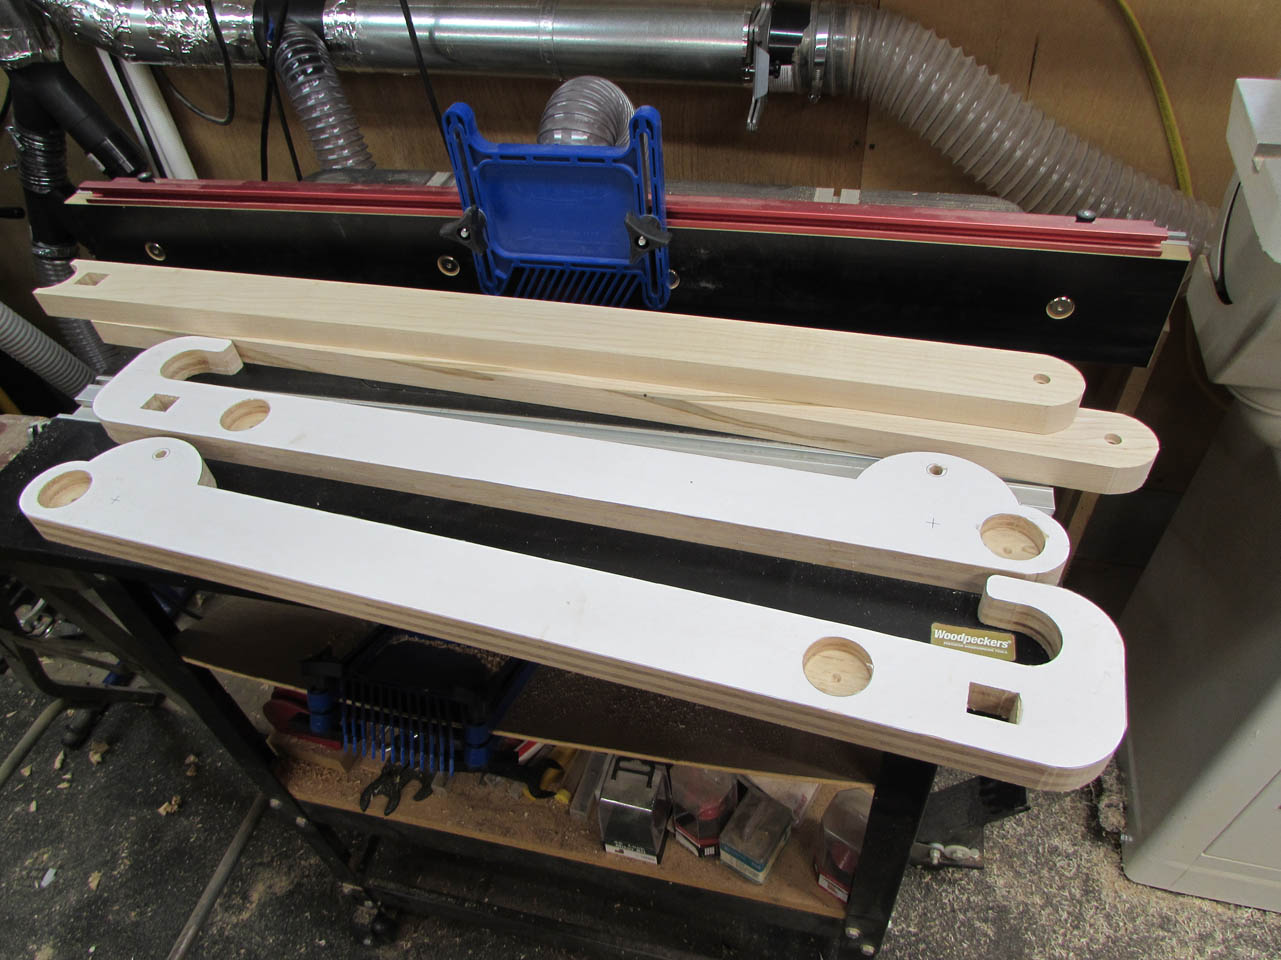

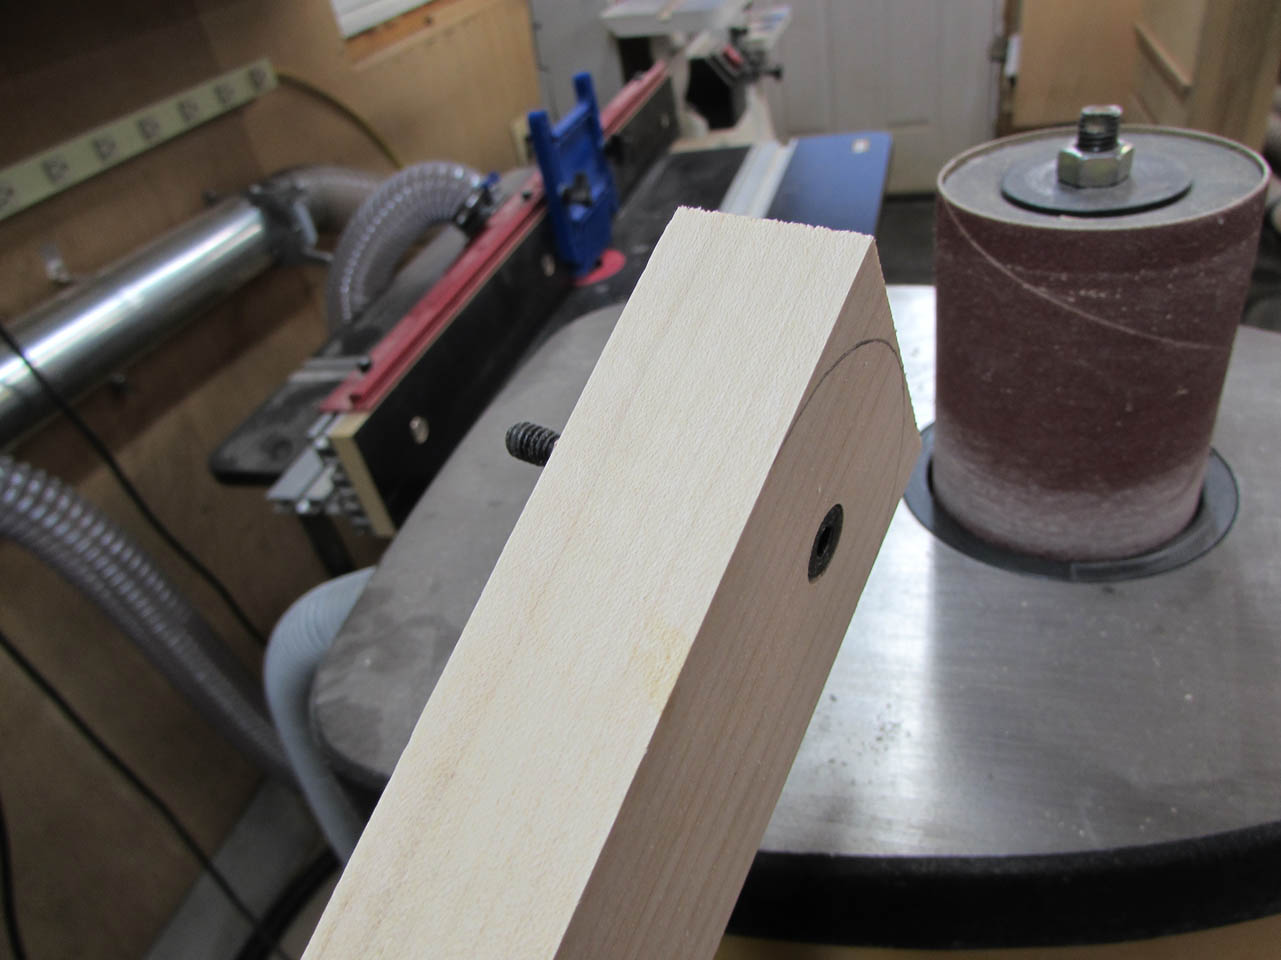
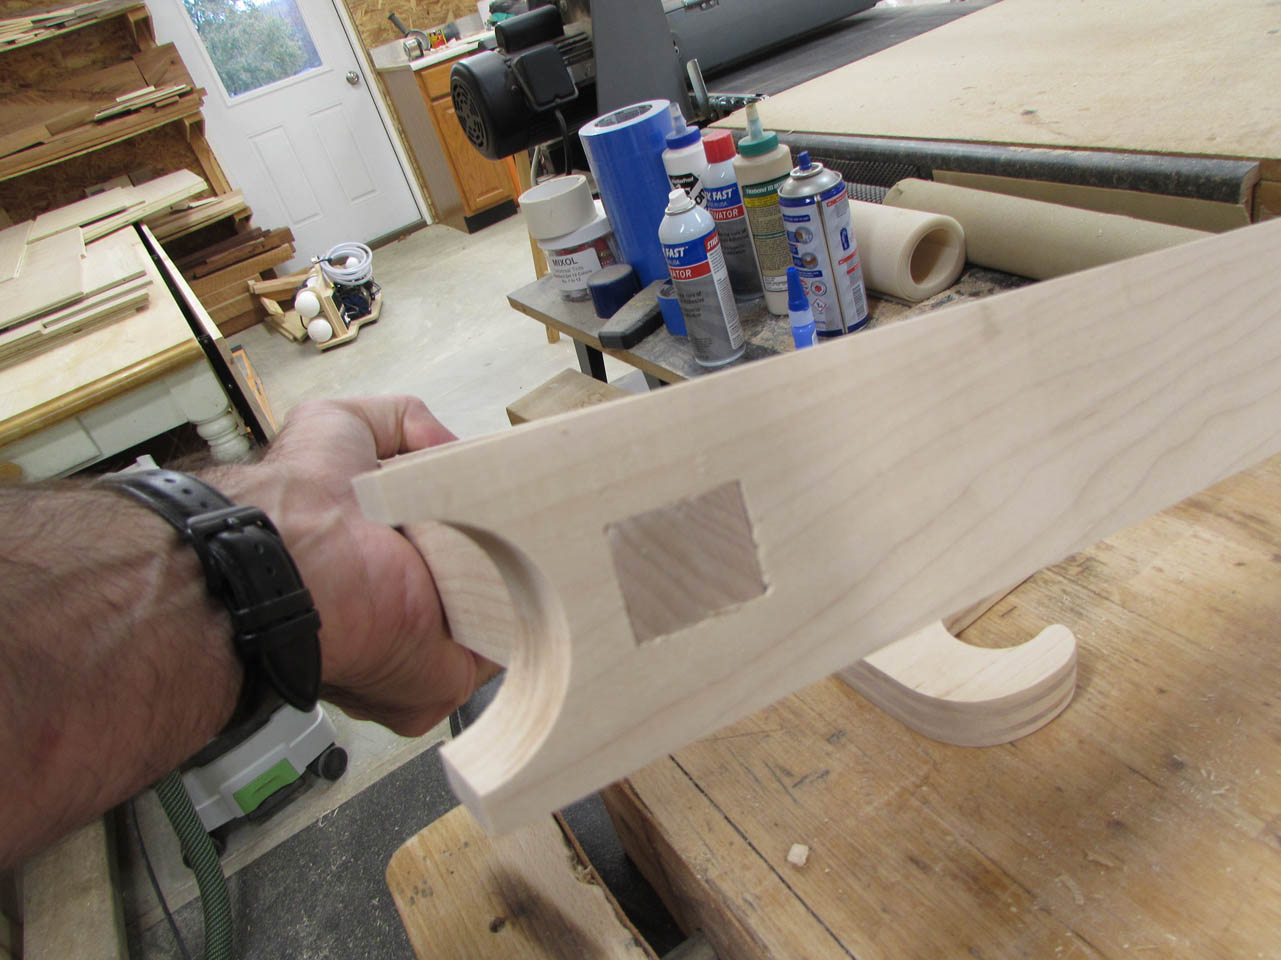
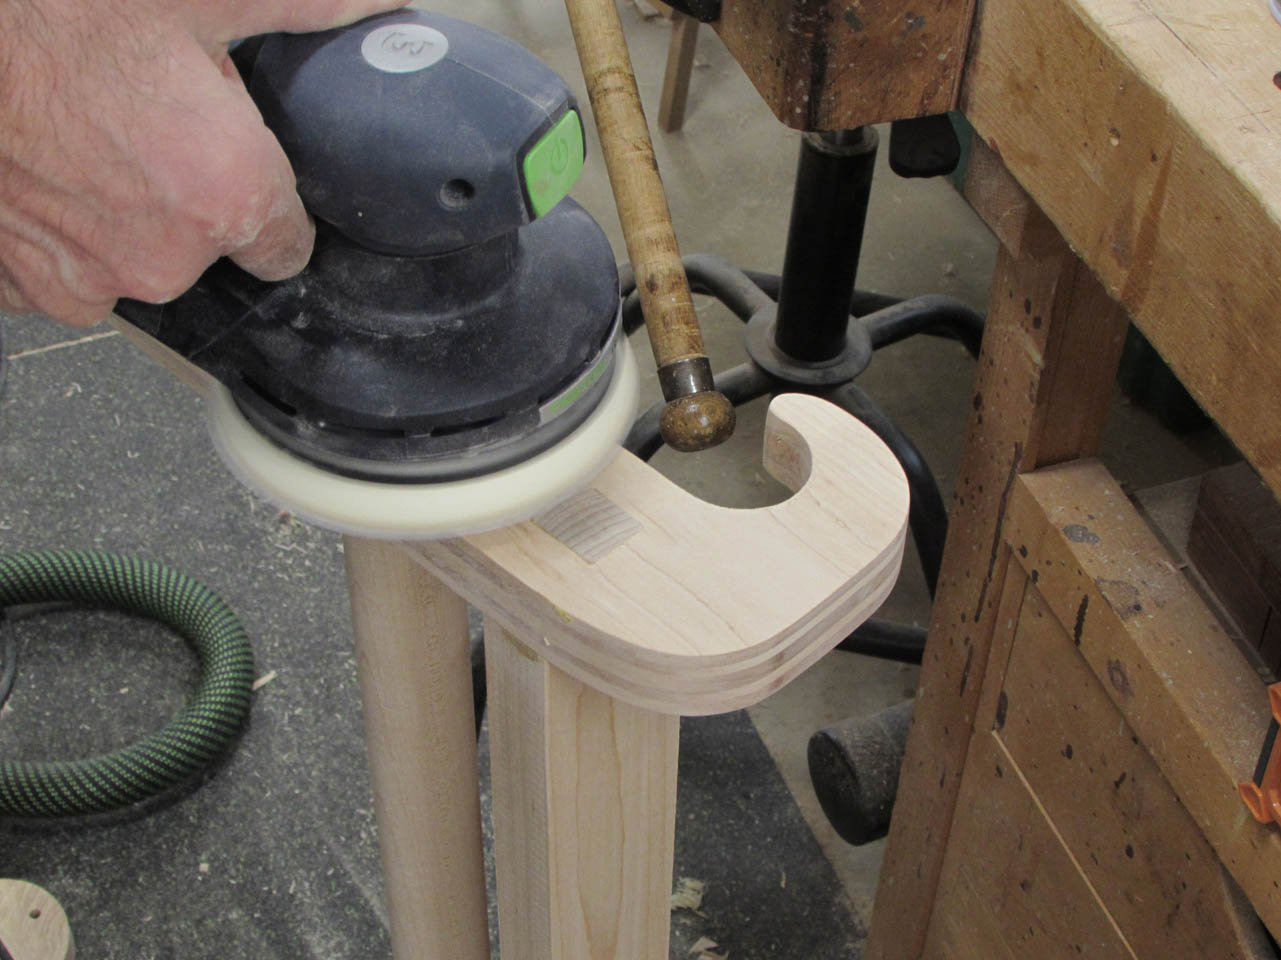
Then it was time to sand all the sides to smooth out any bandsaw cuts.
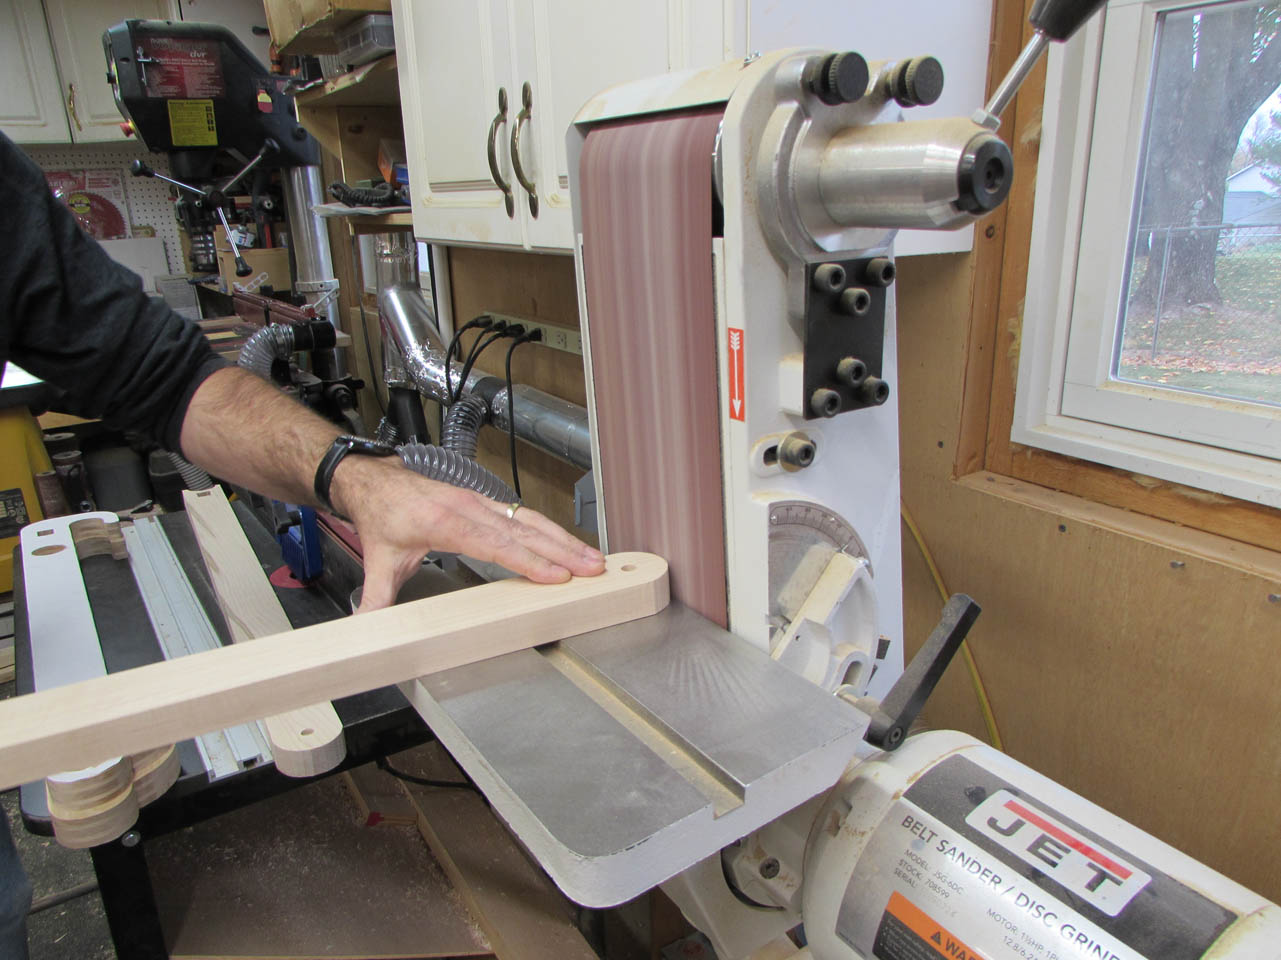
To remove the pattern and the spray adhesive, I ran the sides through the drum sander a couple of times.
Then sanded everything with my orbital and hand sanders.

I inserted the shoulder bolt in the side and attached the nut so that I could pull it tight and trace the location of the nut.
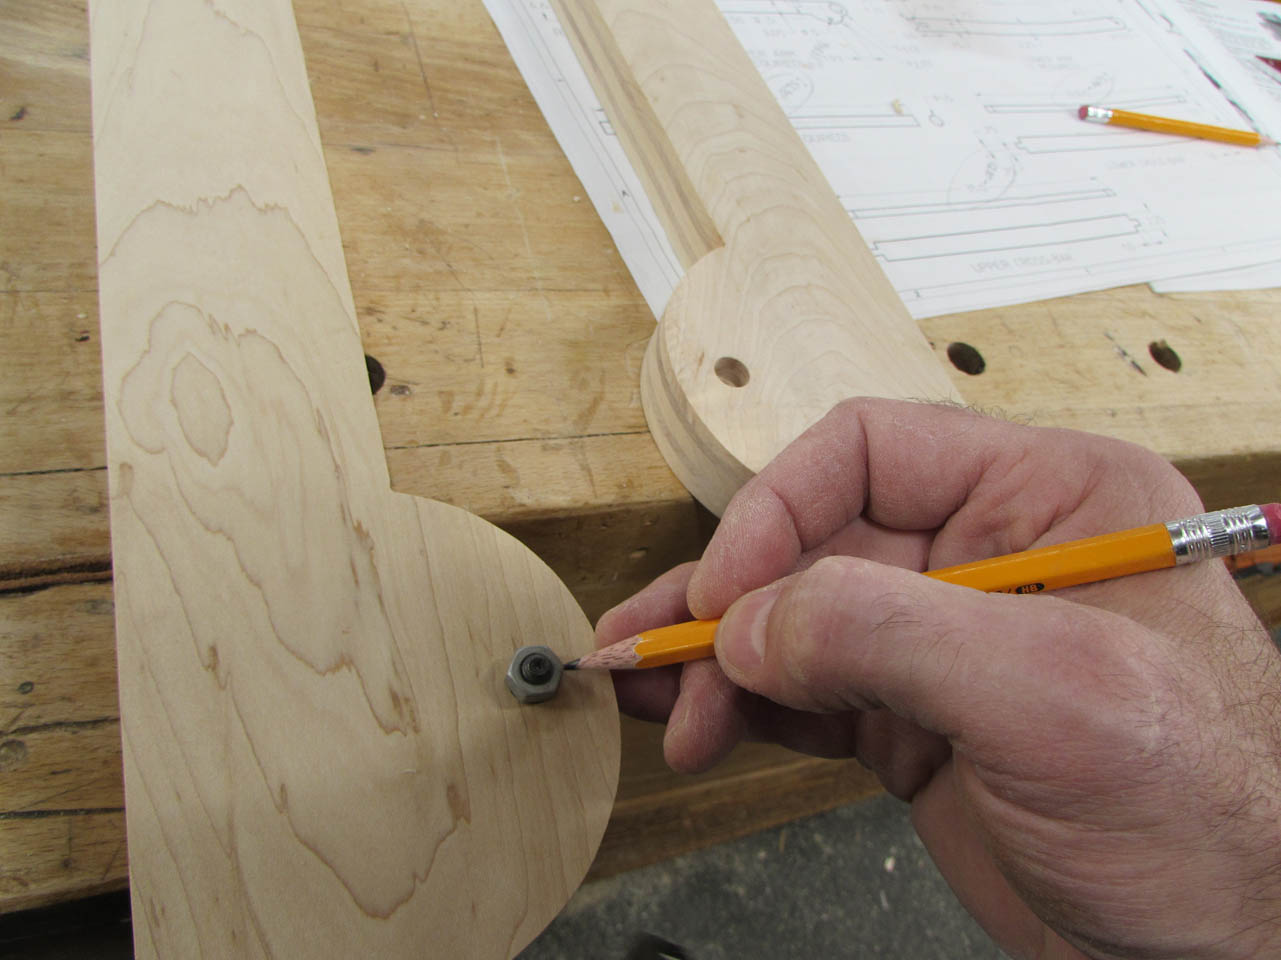
Using those marks I can chisel cut the sides.
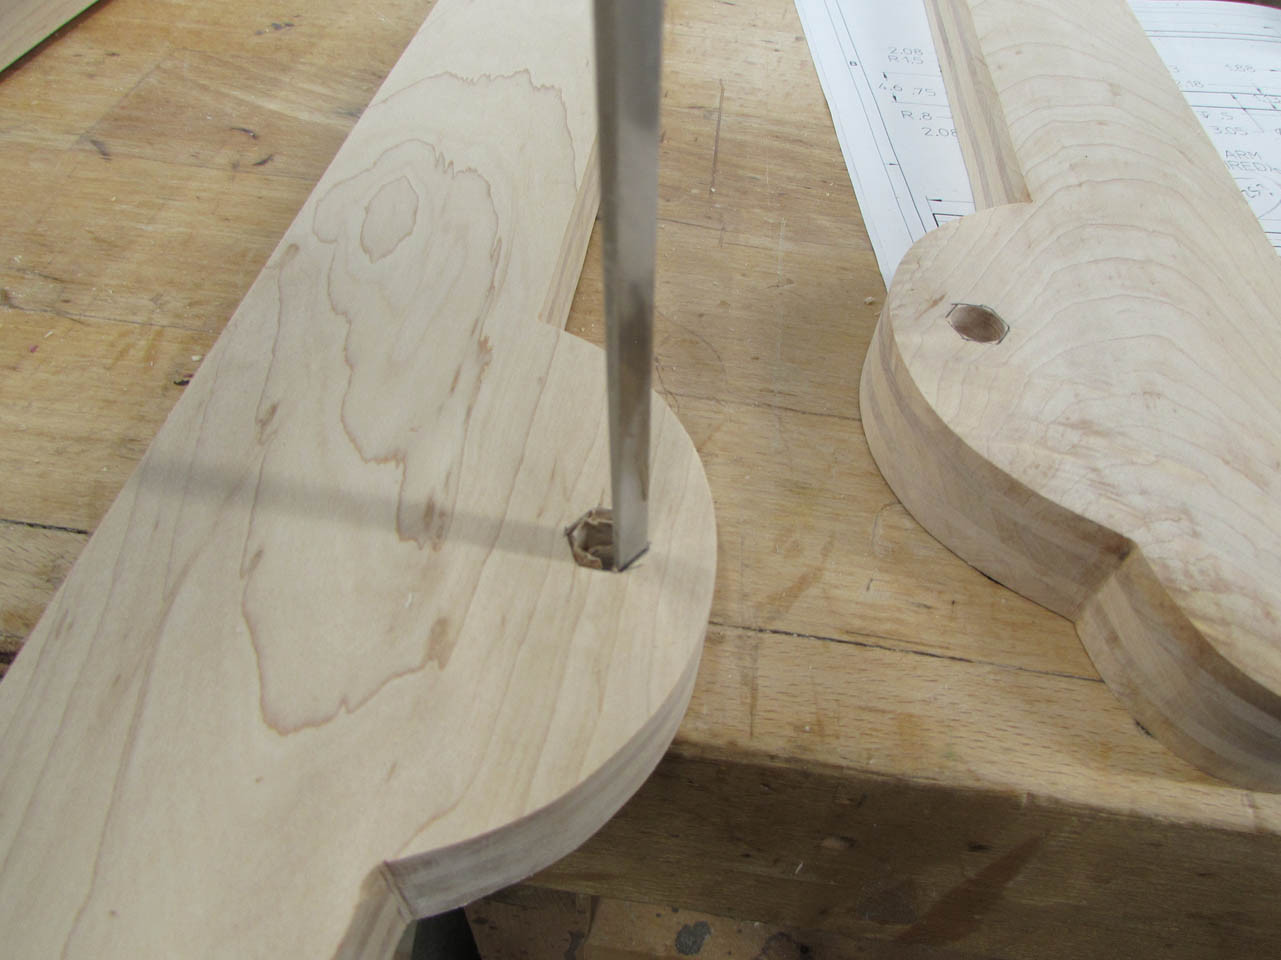
And, create a hole that will hold the nut firmly in place as I tighten the bolt.
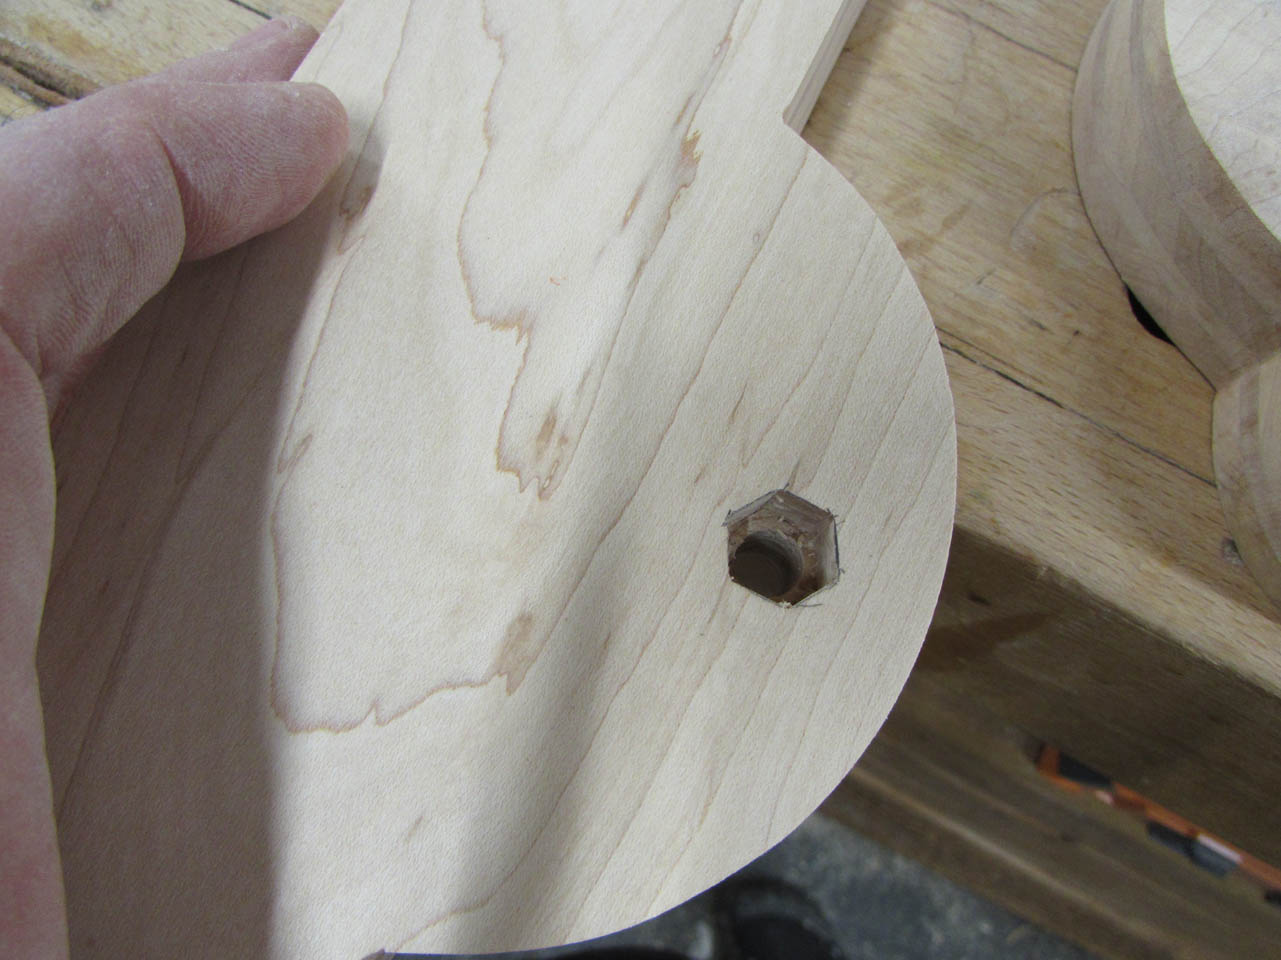
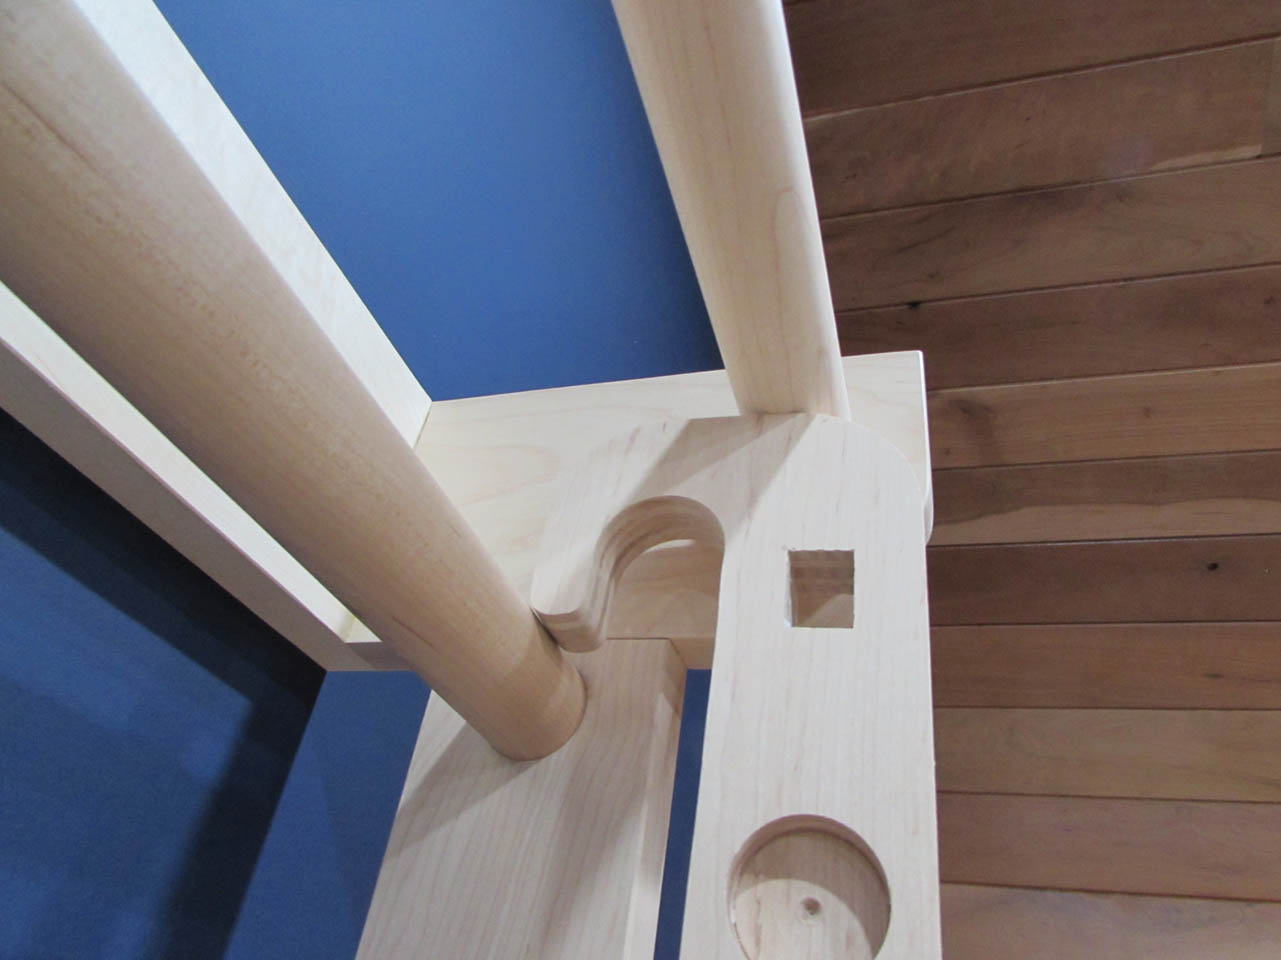
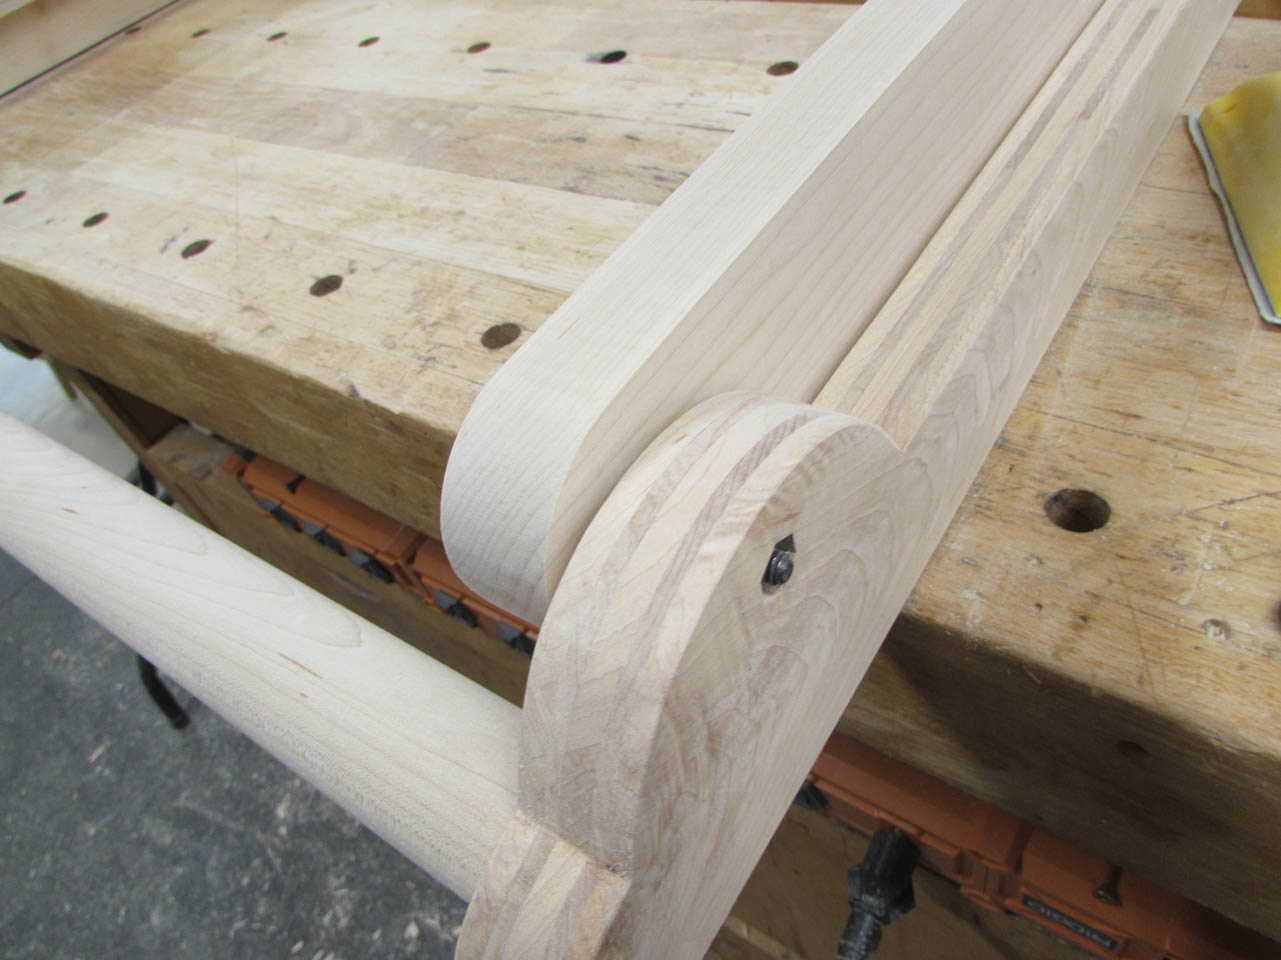
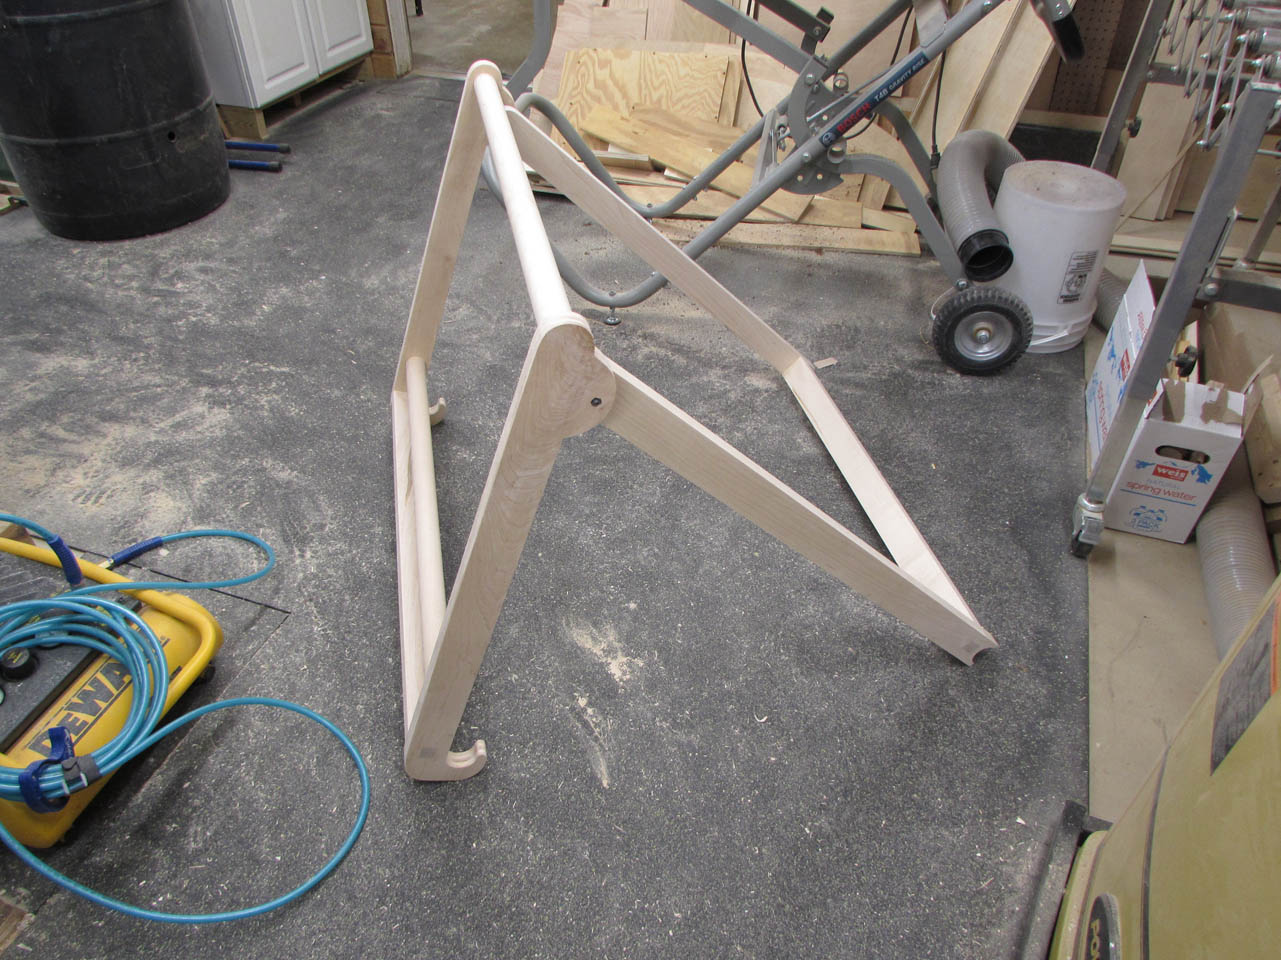
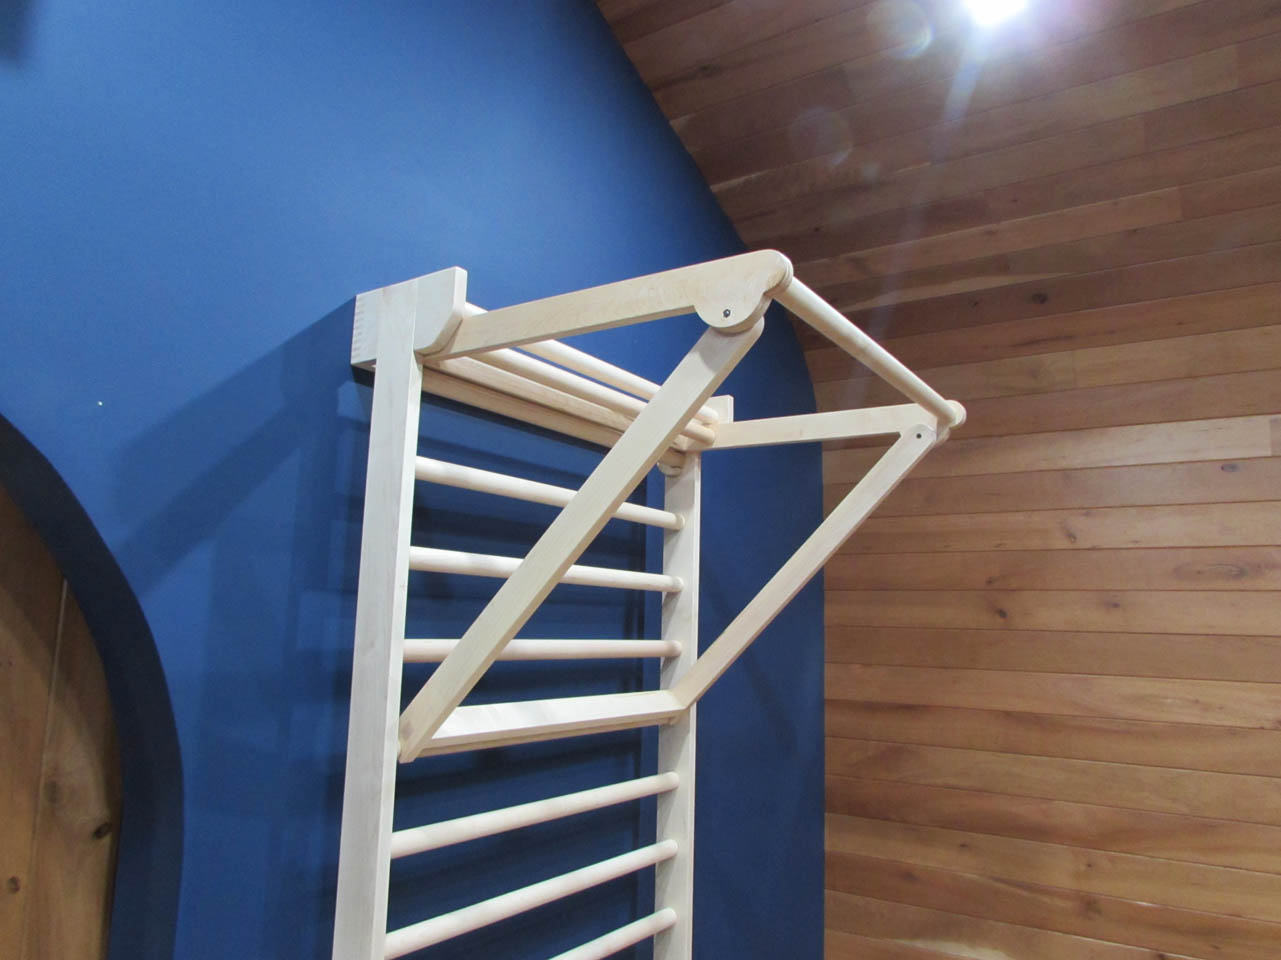
I use the, washers, and nuts to dry-fit the pivot.
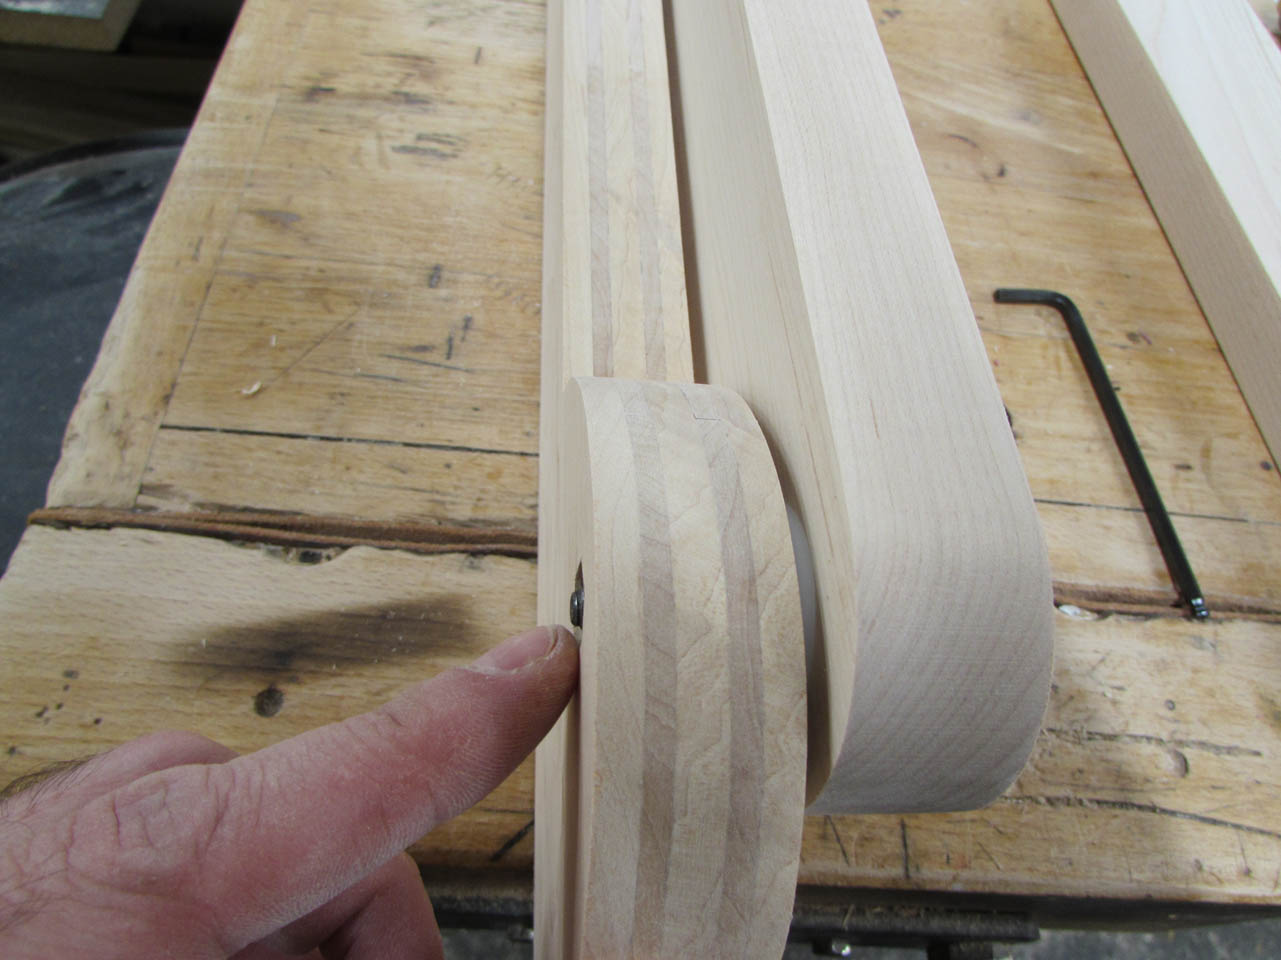
It attaches well and pivots easily.
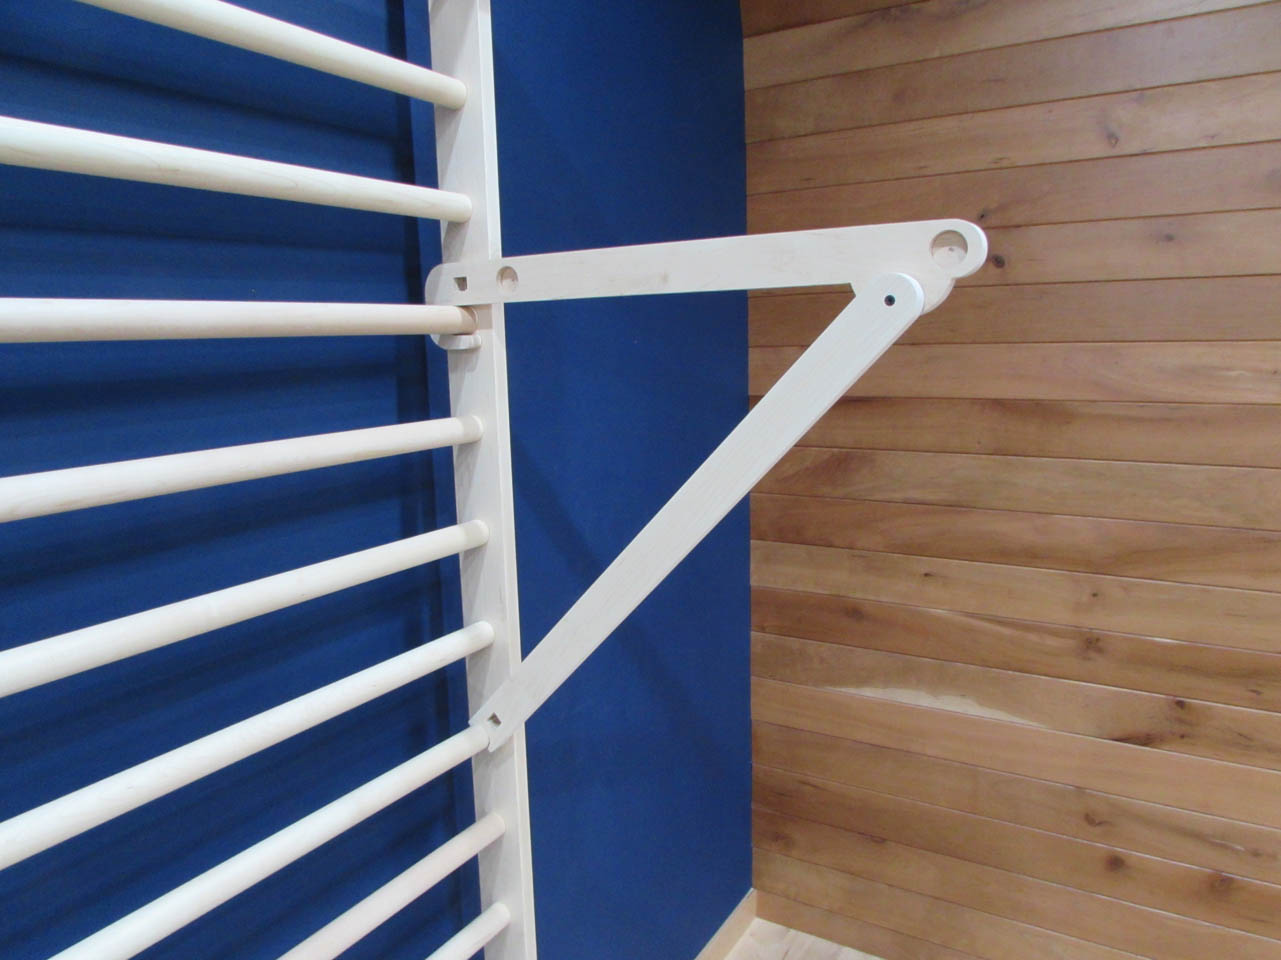
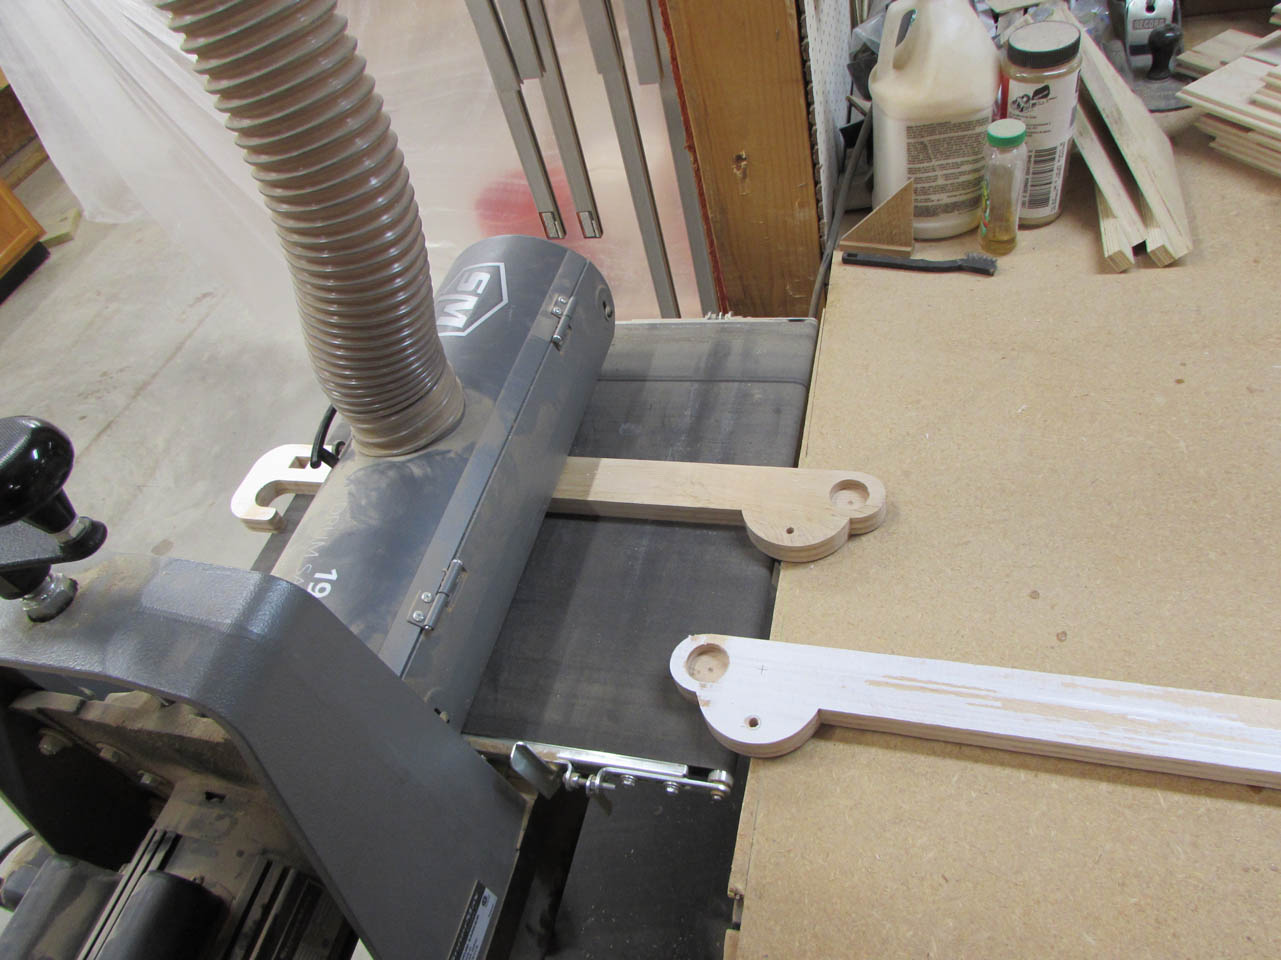
I took it up to my stall bars to do a test fit and a load test.

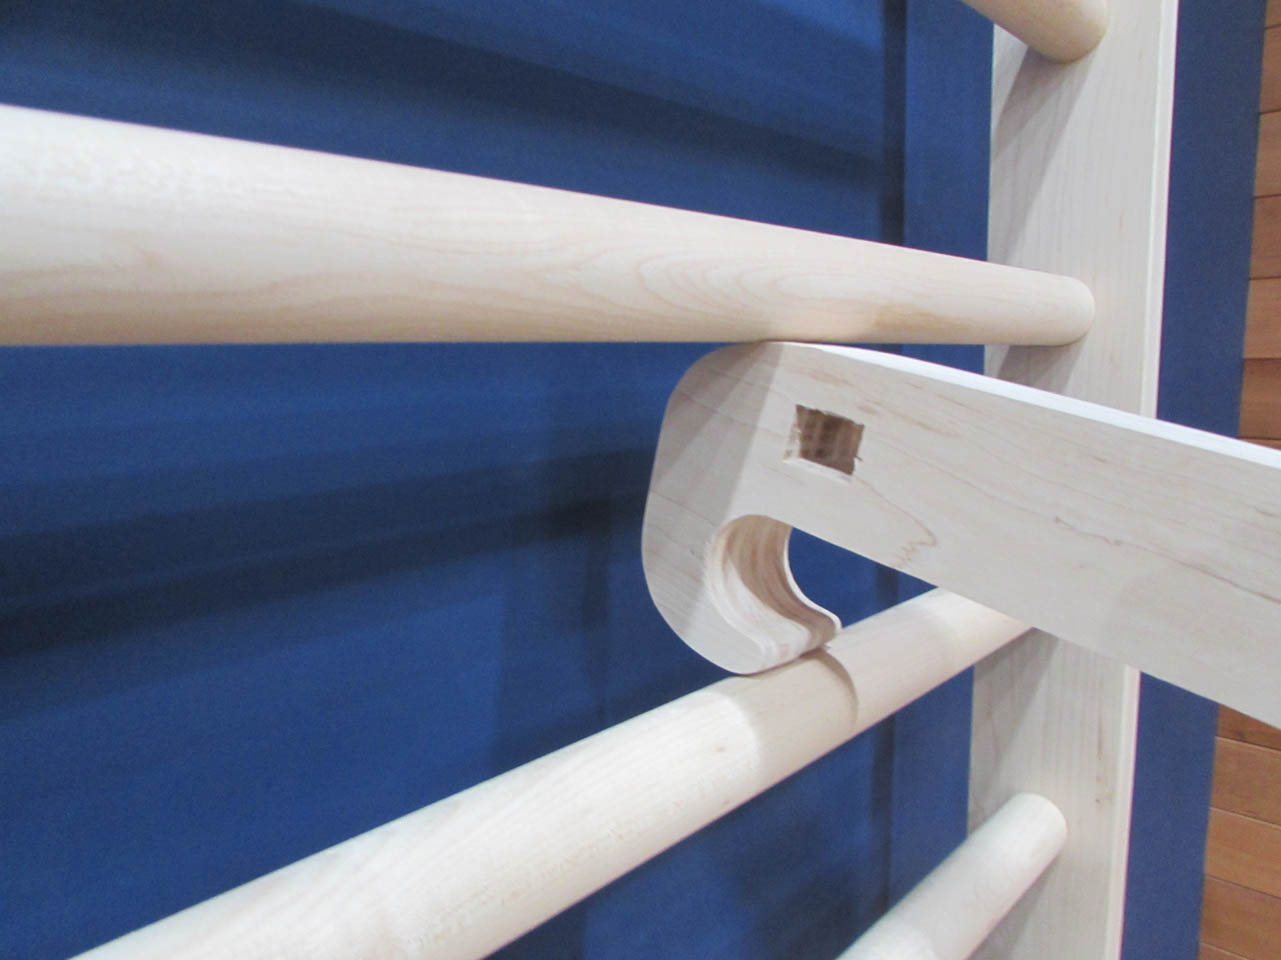
I found a couple of fitment problems that will affect me when everything is assembled so I need to make some changes.
The main change is to shorten the hook and thin the height about 1/16″ so that it will fit through the bars easier.
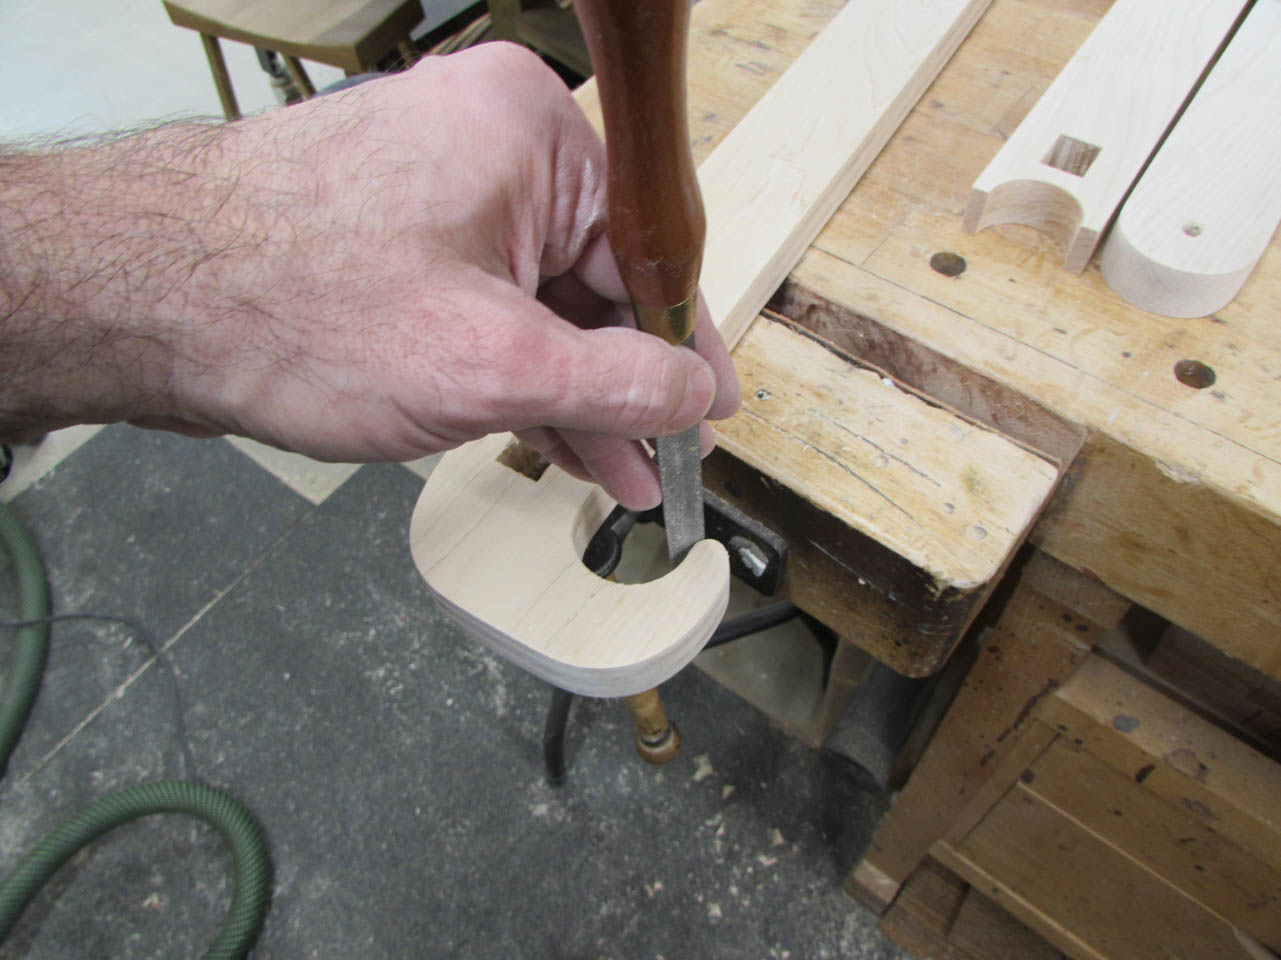
This just required a bit of cutting and filing.
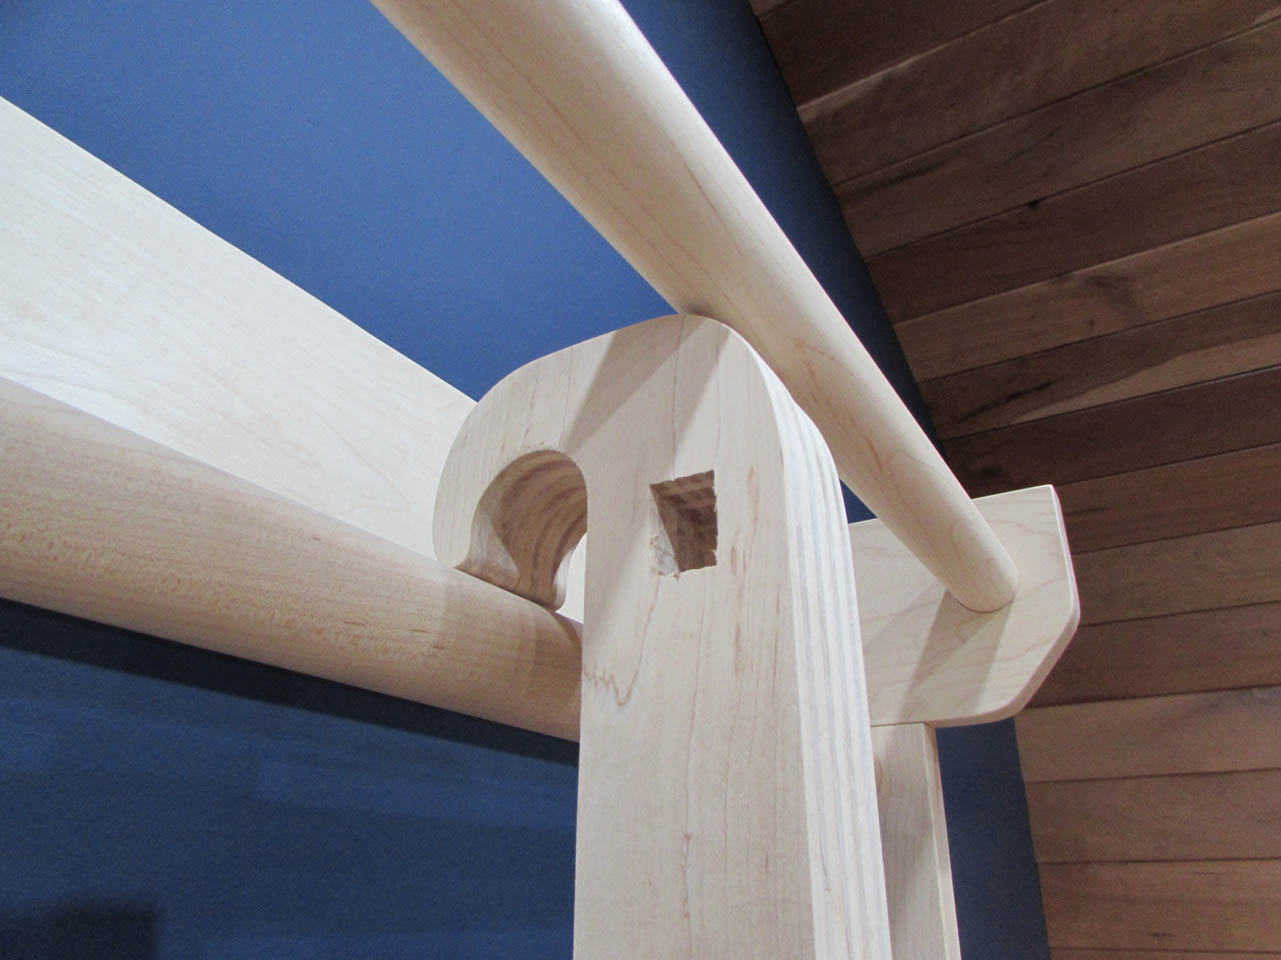
Now I can fit through below the top bar where it had the most trouble fitting.
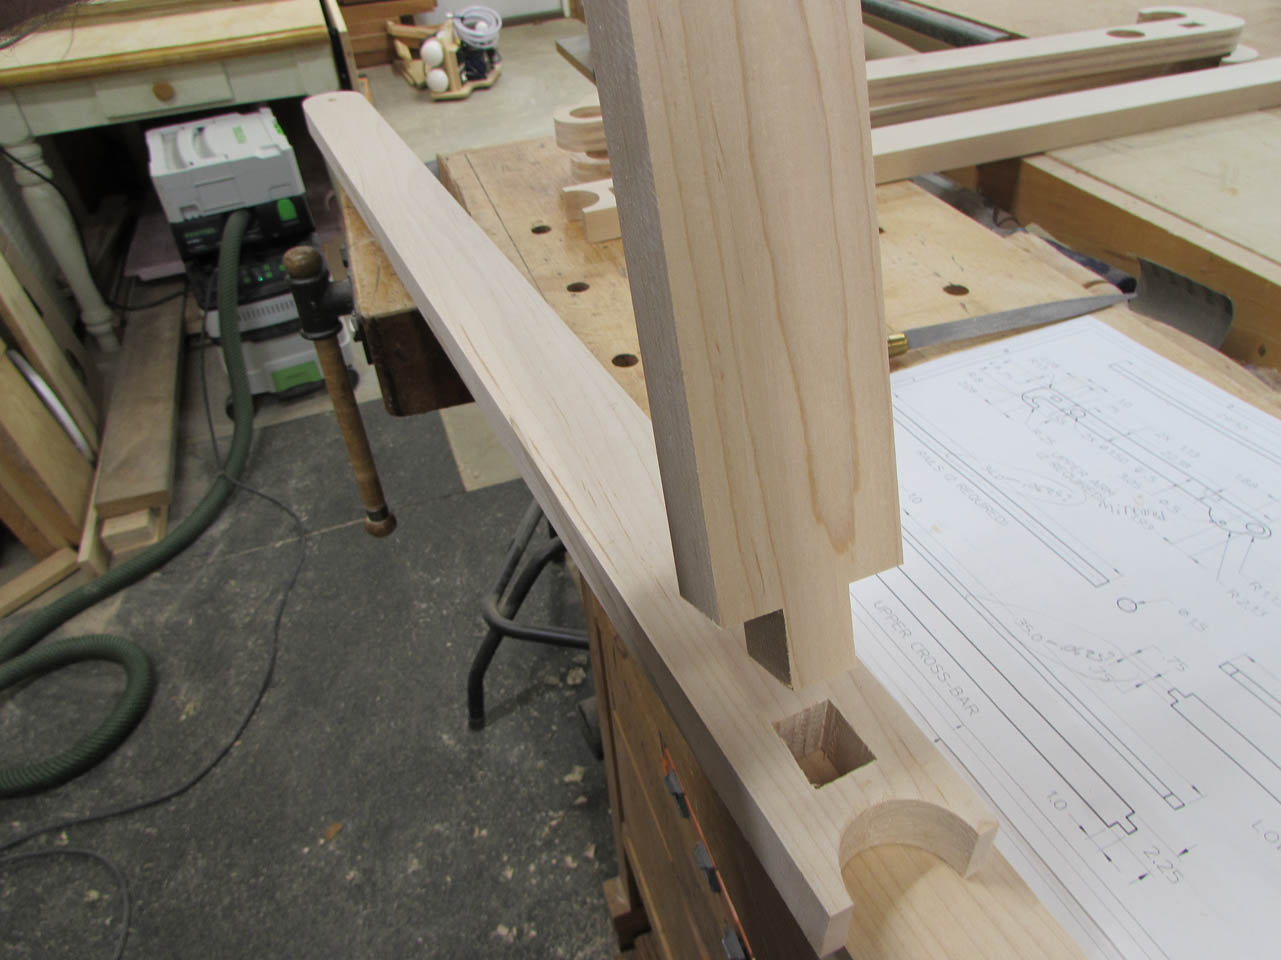
I also need to make two cross-bars that need tenons cut onto the ends to fit through the rectangular mortises.
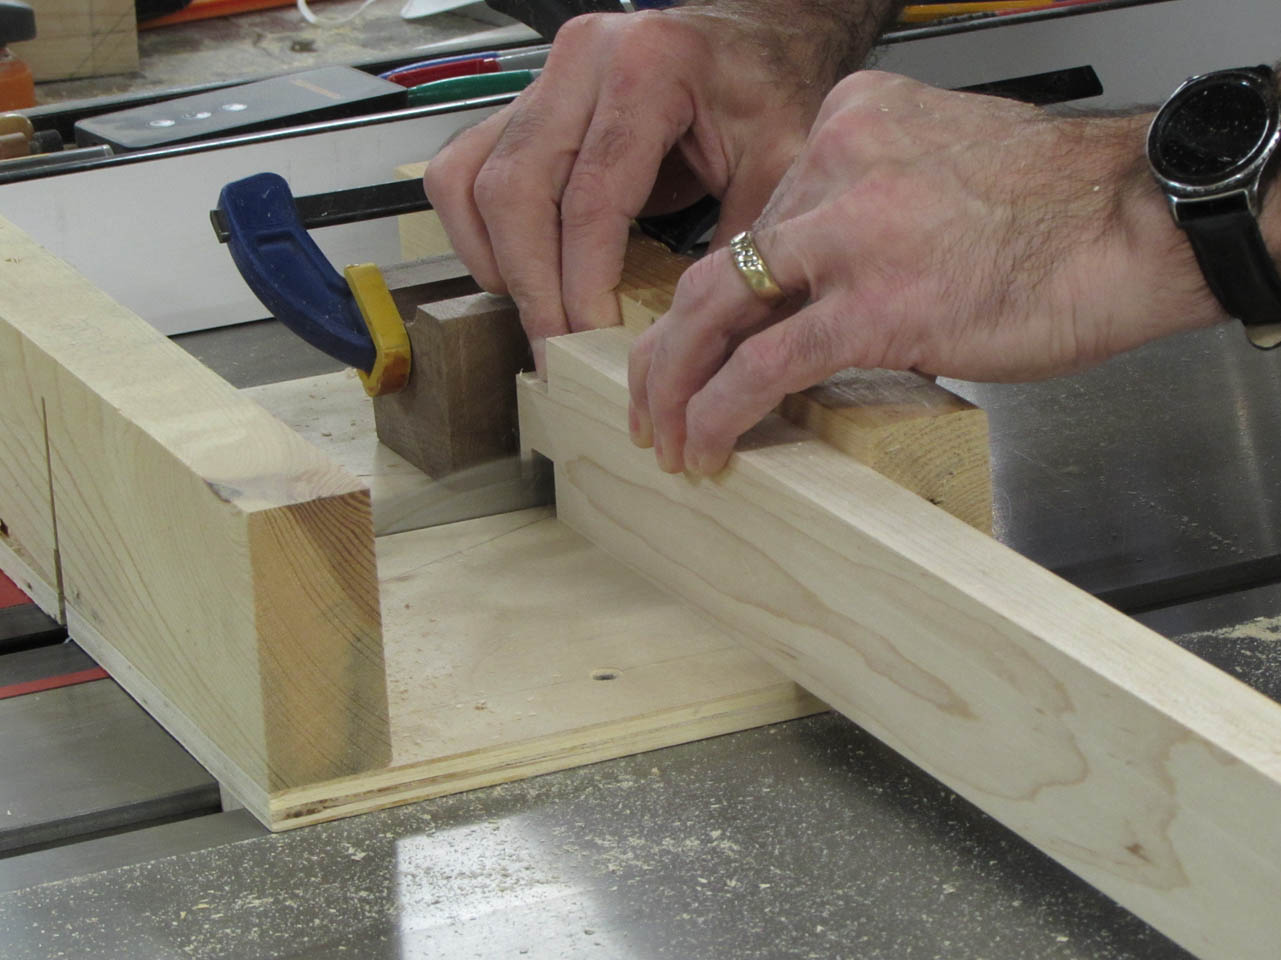
I setup my small cross-cut sled and made several passes on each side to cut the tenons.
Some subtle trimming with my chisel and the boards pressed together tightly.
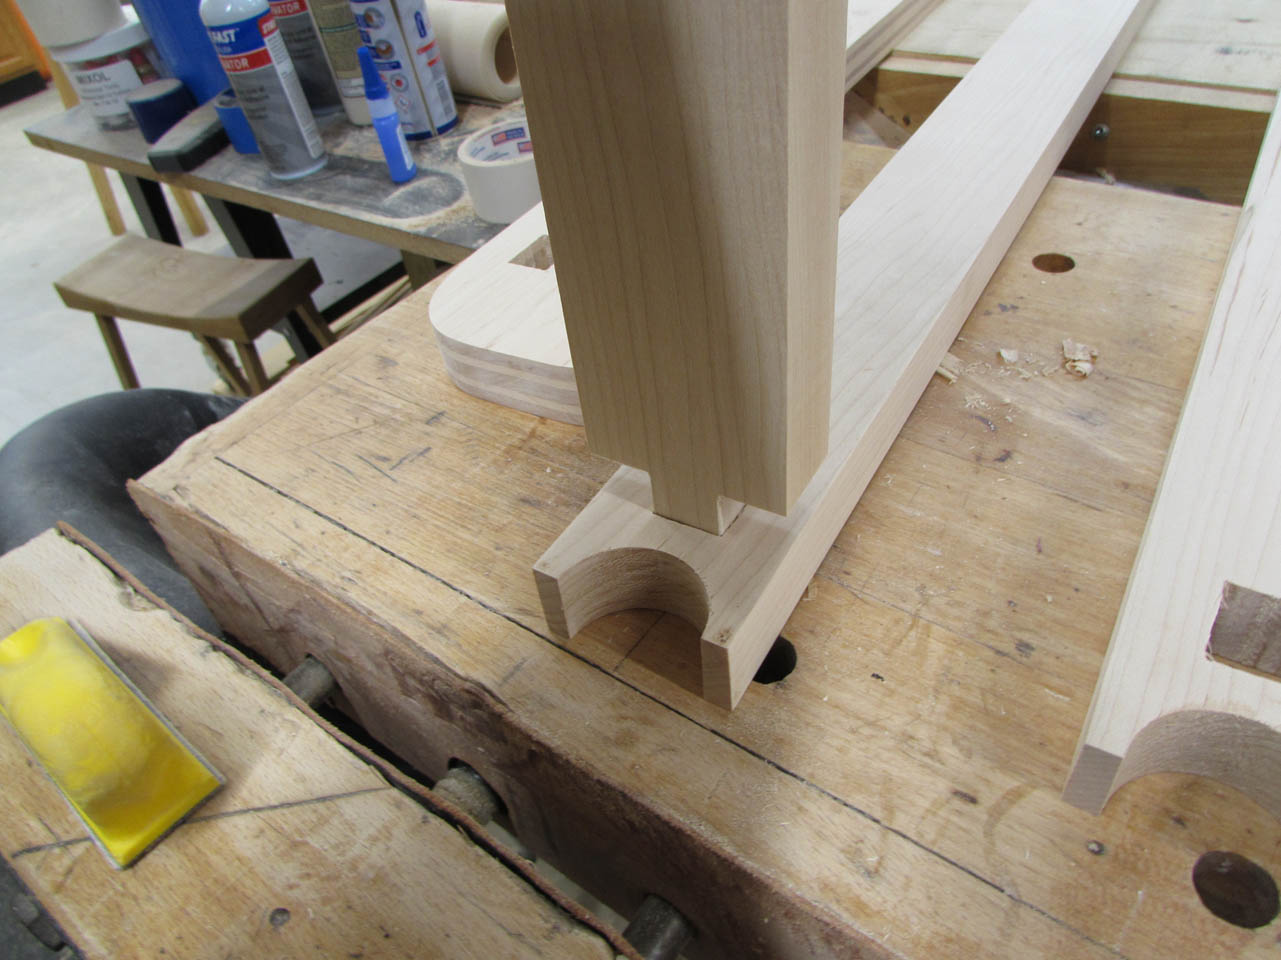
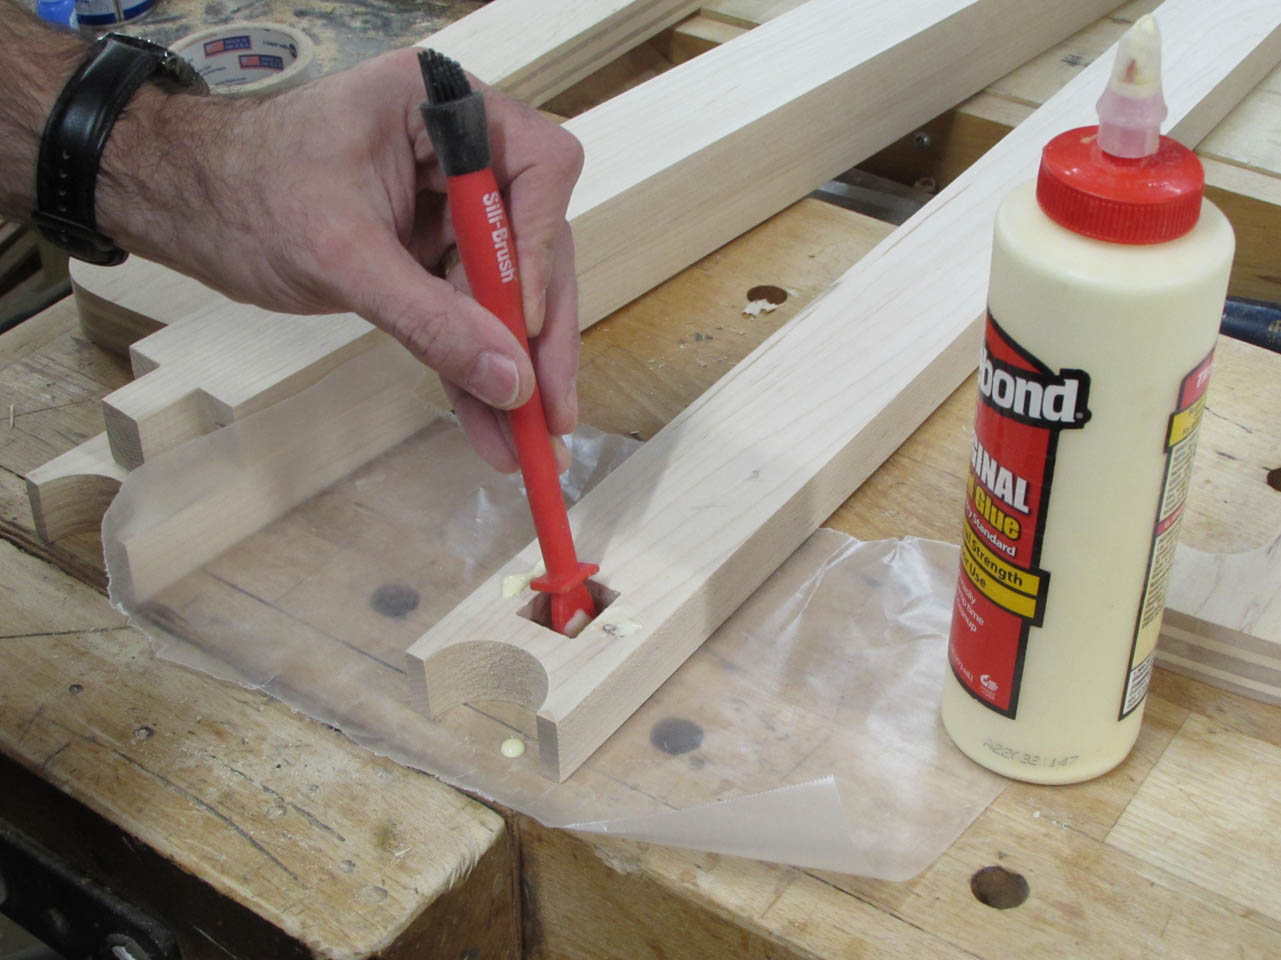
The joint looks good, so I add some glue to both mortises.
I press the cross-bar in place and clamp it tight to dry.


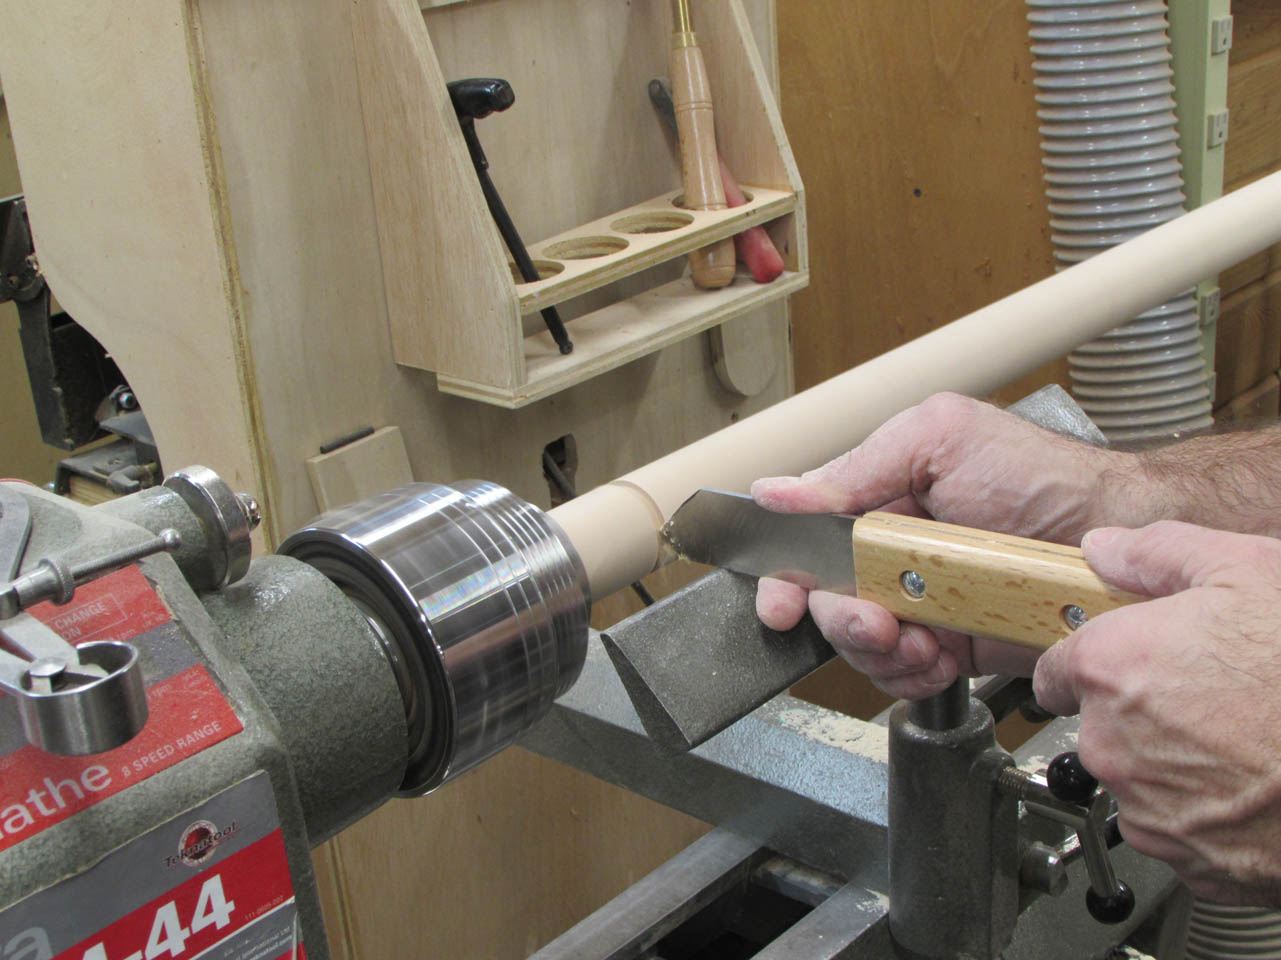
Before I can glue up the side assembly, I need to sand down a couple of dowels and cut them to length.
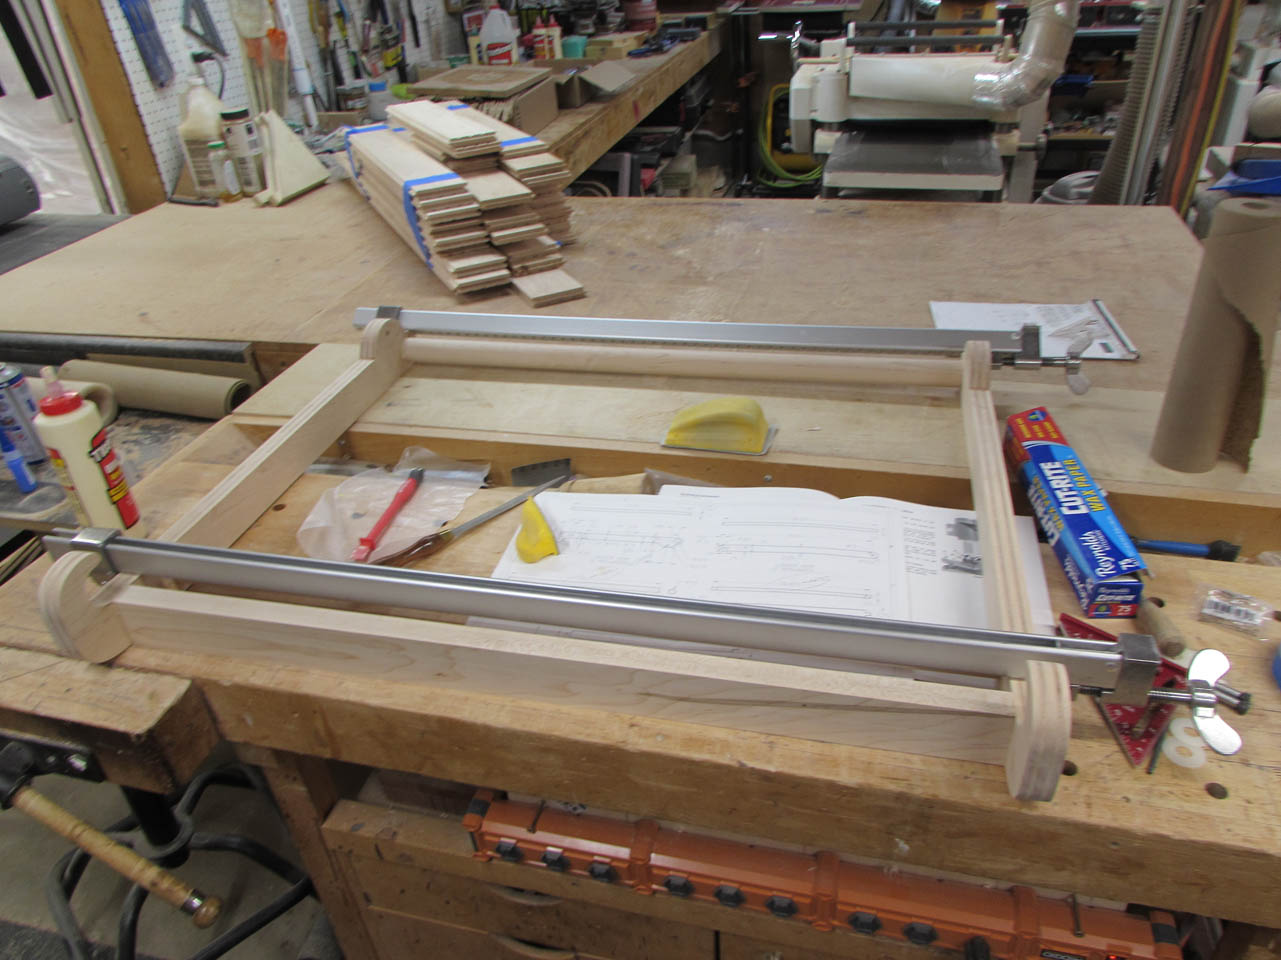
Then it was time to glue and clamp that assembly up as well.
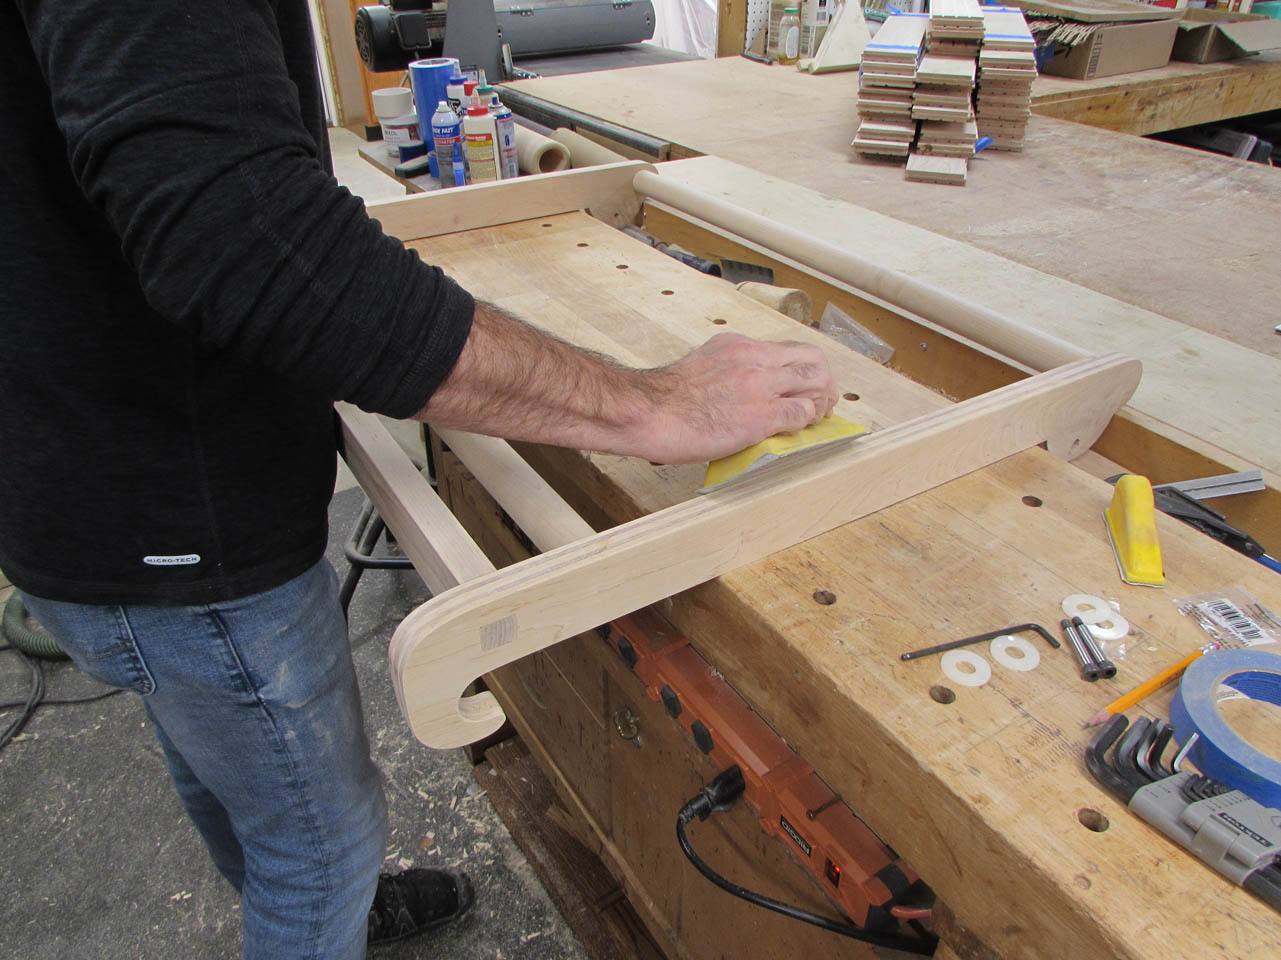
Then I sanded all the tenons where they penetrated the sides slightly and hand-sanded all the sharp edges to soften them.
Than the shoulder bolts were re-installed for a test-fit.
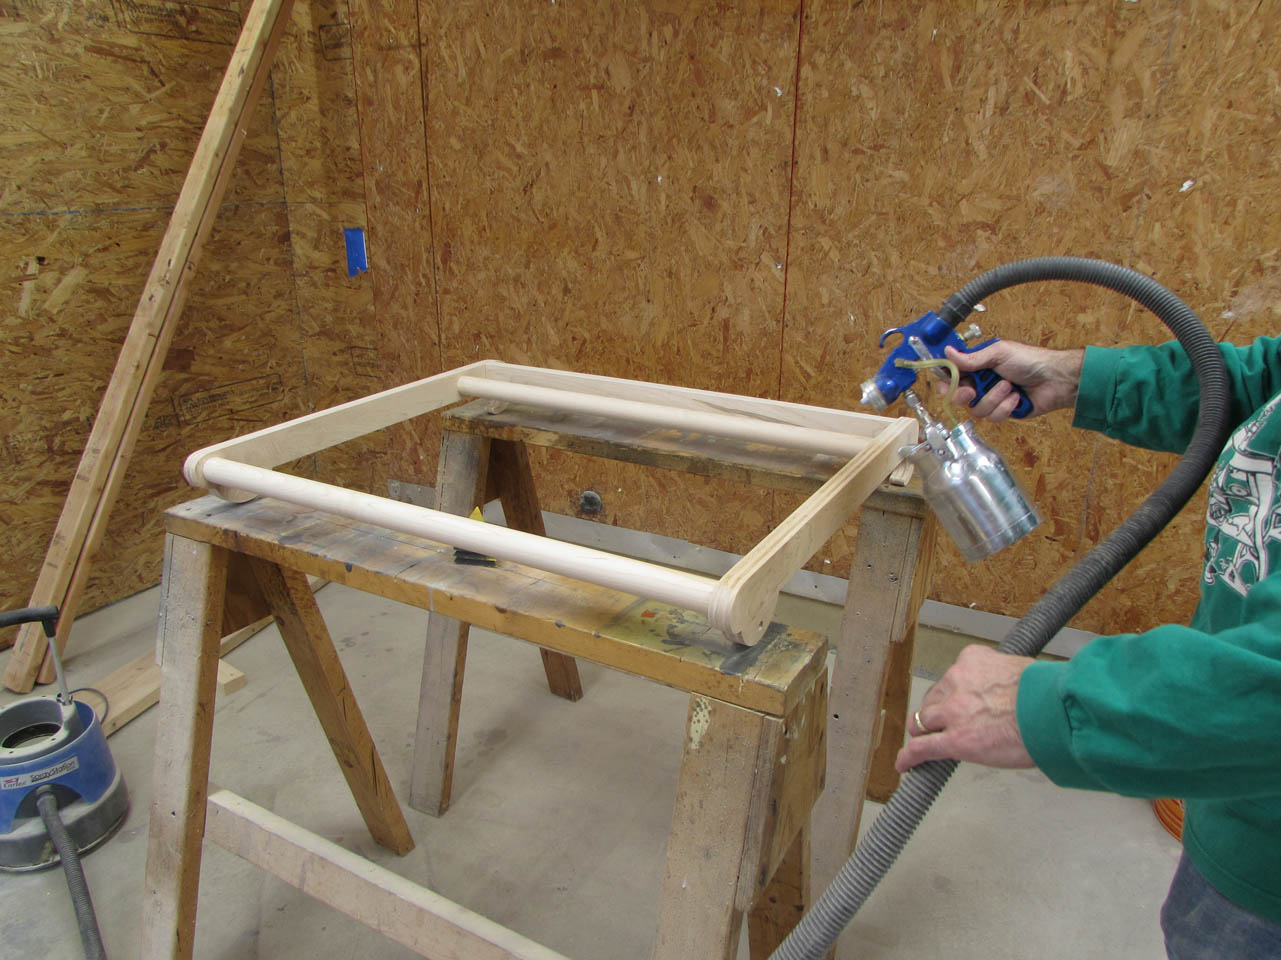
Finally, I took it apart again and sprayed on a coat of water-based poly.
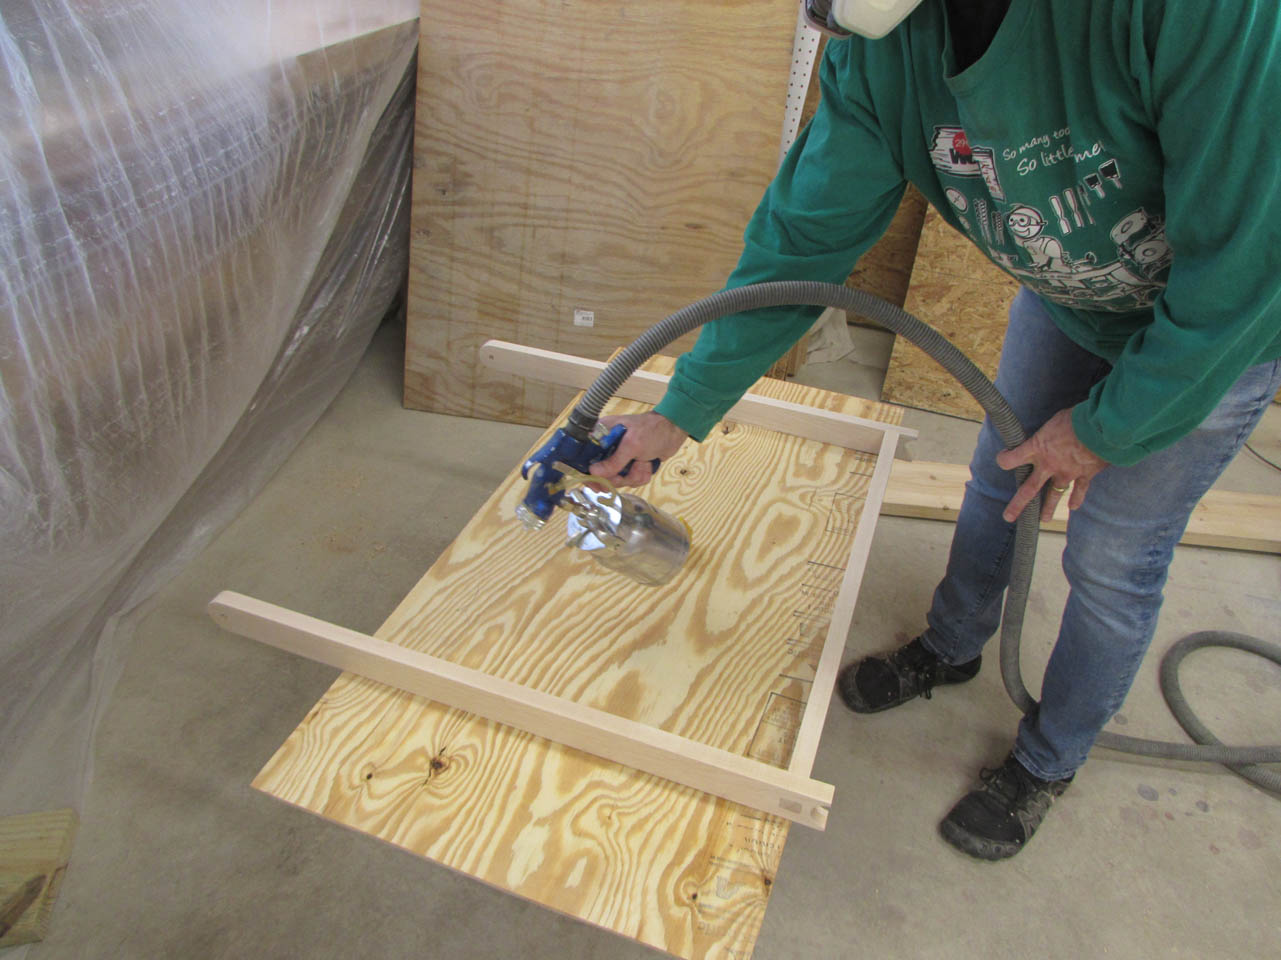

After that dried, I sanded it down with 400 grit paper and sprayed it again.
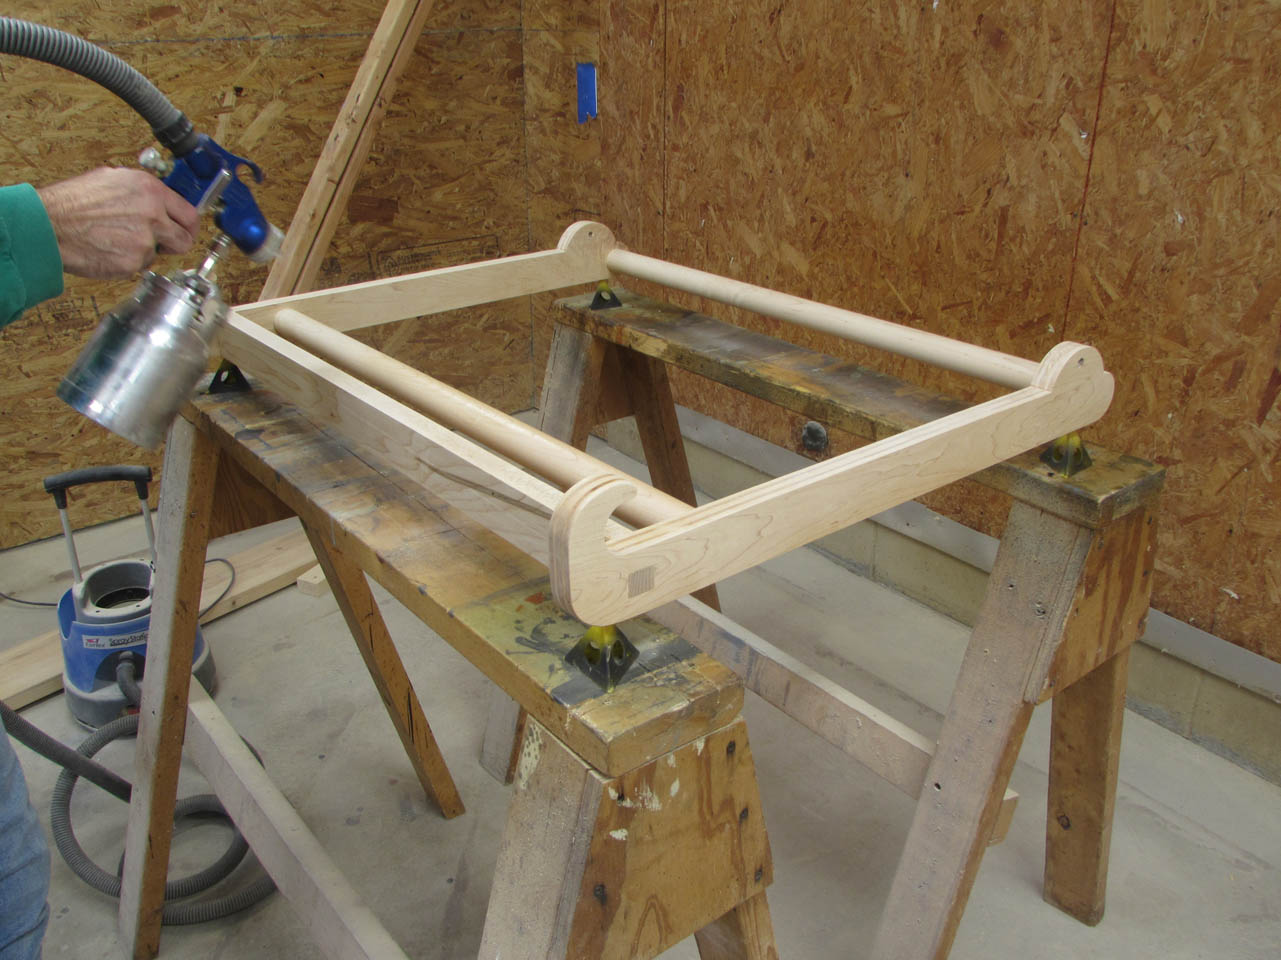
I stopped at two coats because it left the wood still slightly textured from the water raising the grain a bit. This is actually good for grip.
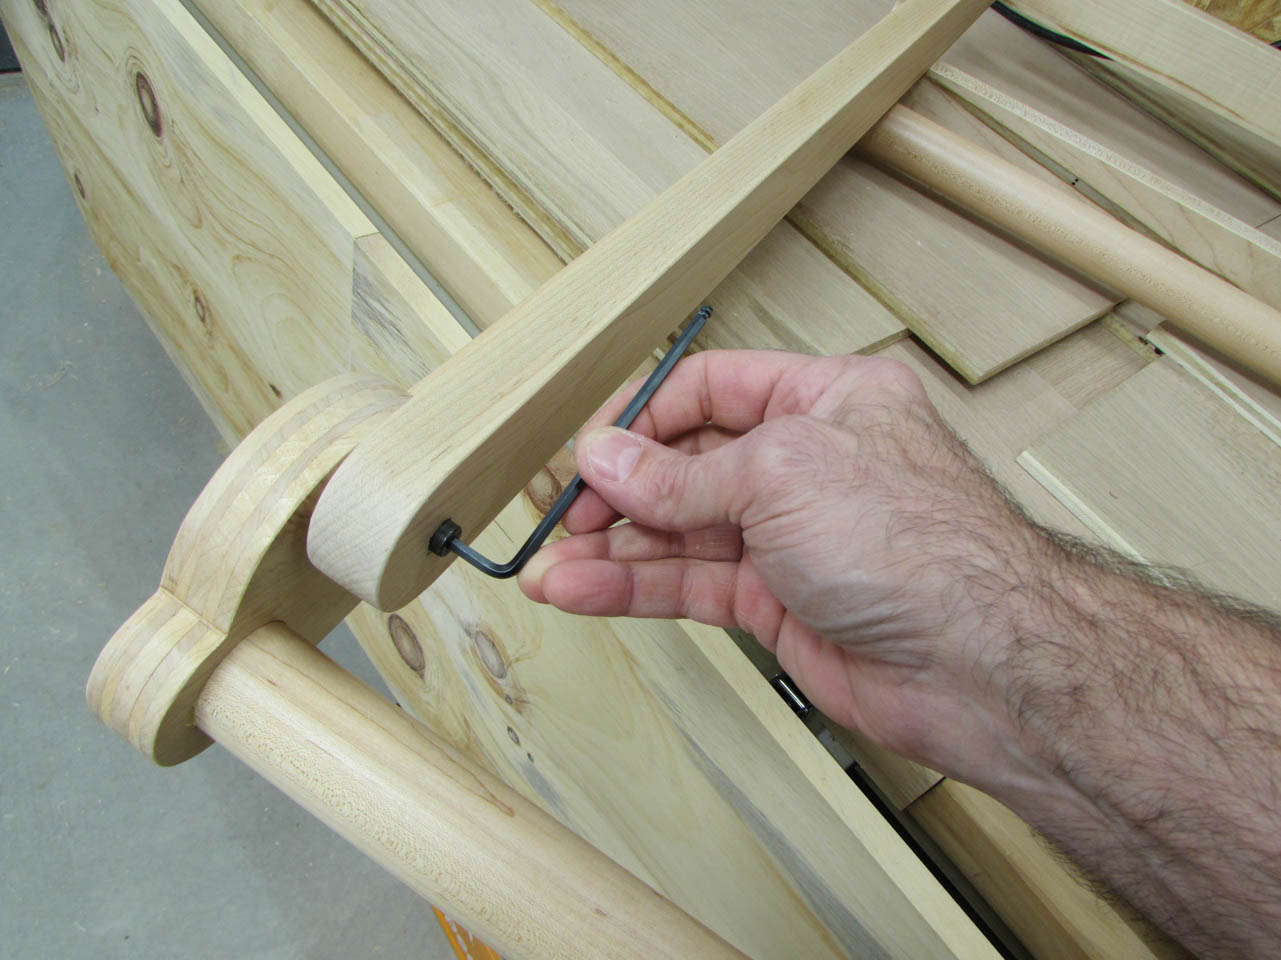
Then it was time to re-install the hardware and test it out.
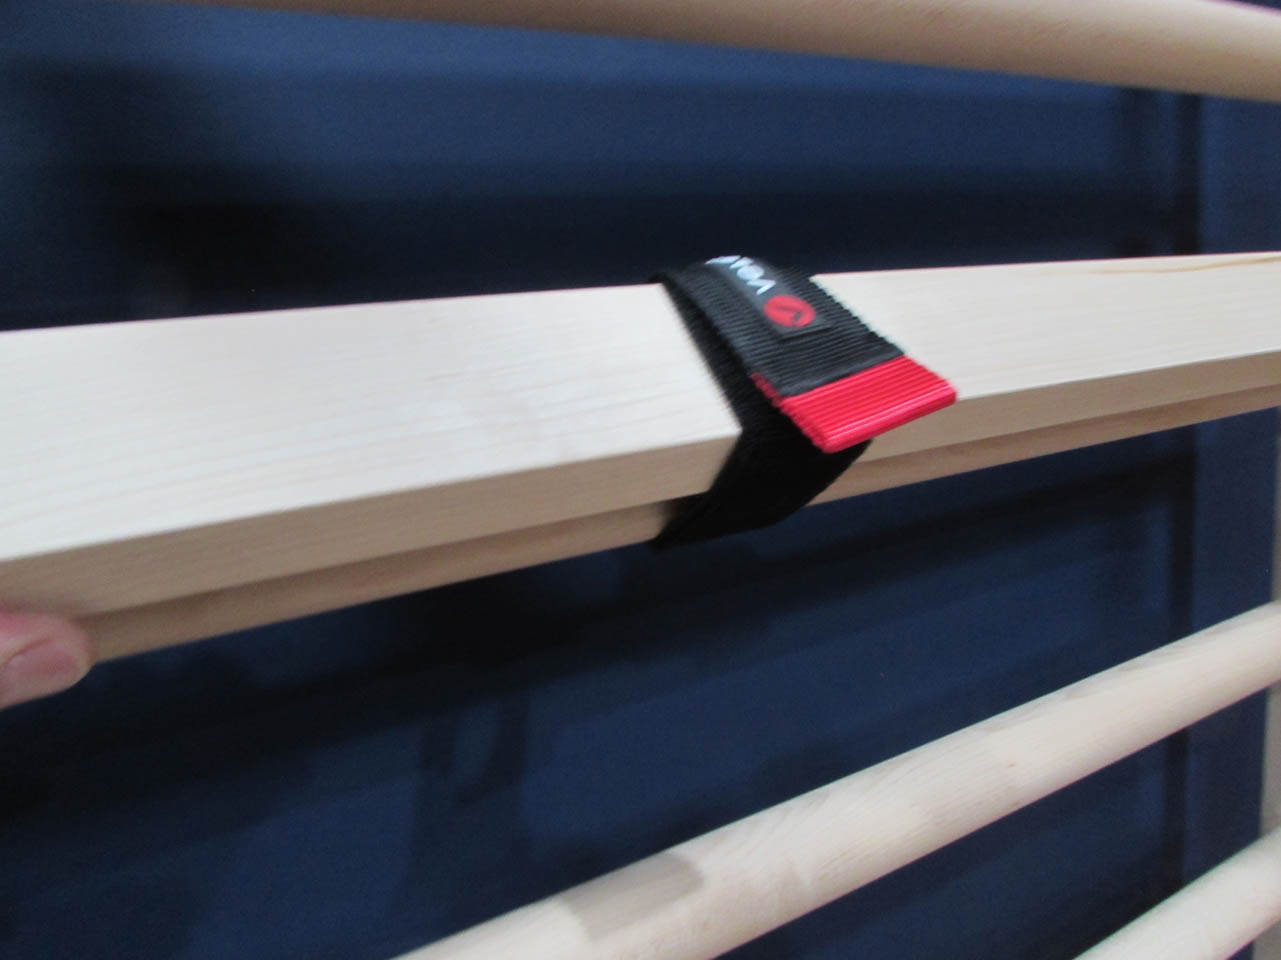
I picked up a heavy duty Velcro strap to hold the bottom of the assembly to the stall bar rail. This keeps it from slipping off the dowel if the bars get bumped up.
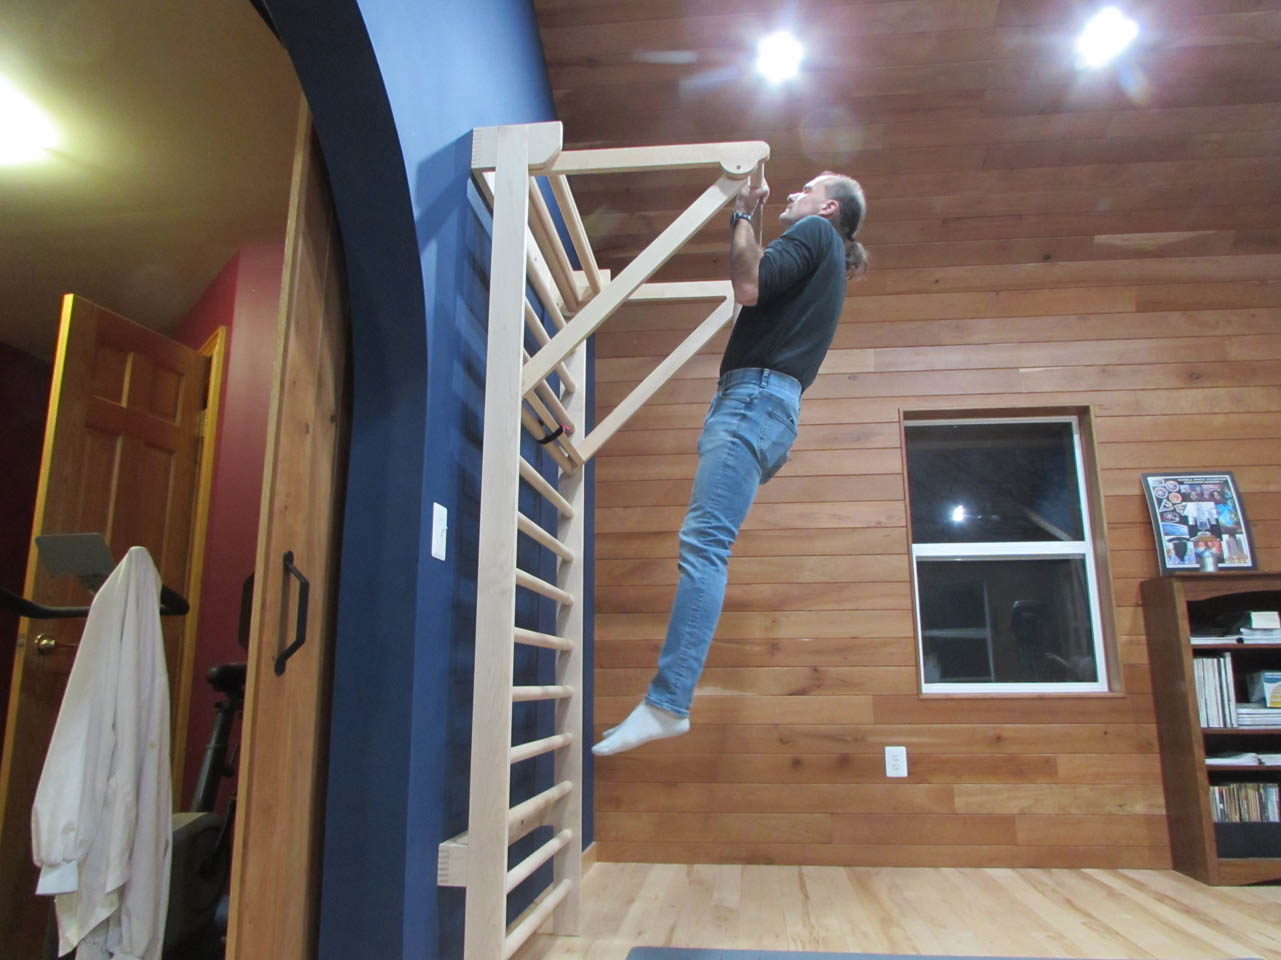
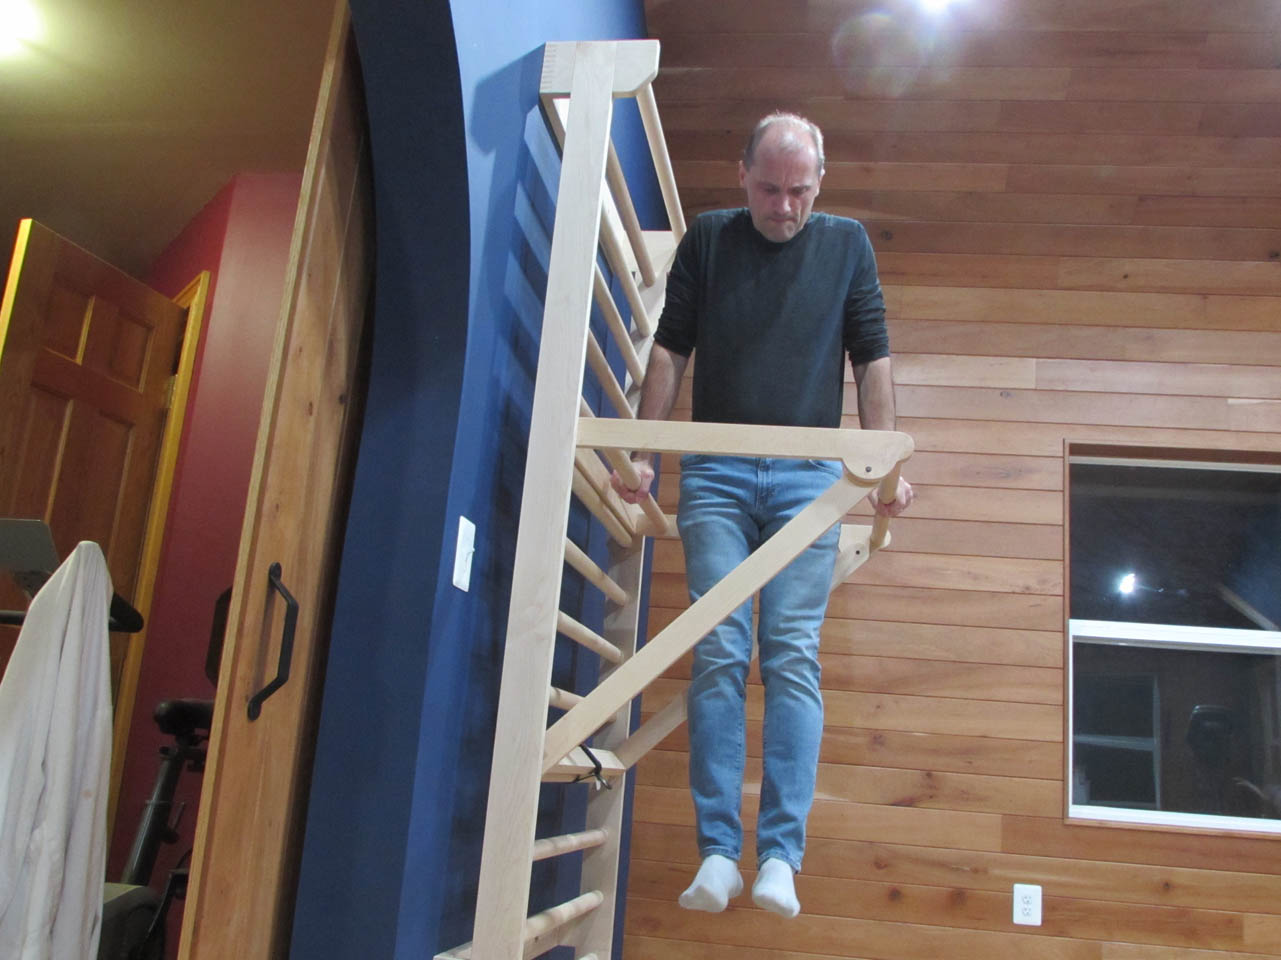
I did a few chin-ups and a few dips to test. Everything held firm and felt solid.
This was a much smaller project than the stall bars, but I found them to be more complicated. It took me about the same amount of time to make either even though there was considerably less material for the dip bars.
