
More piggy ornaments
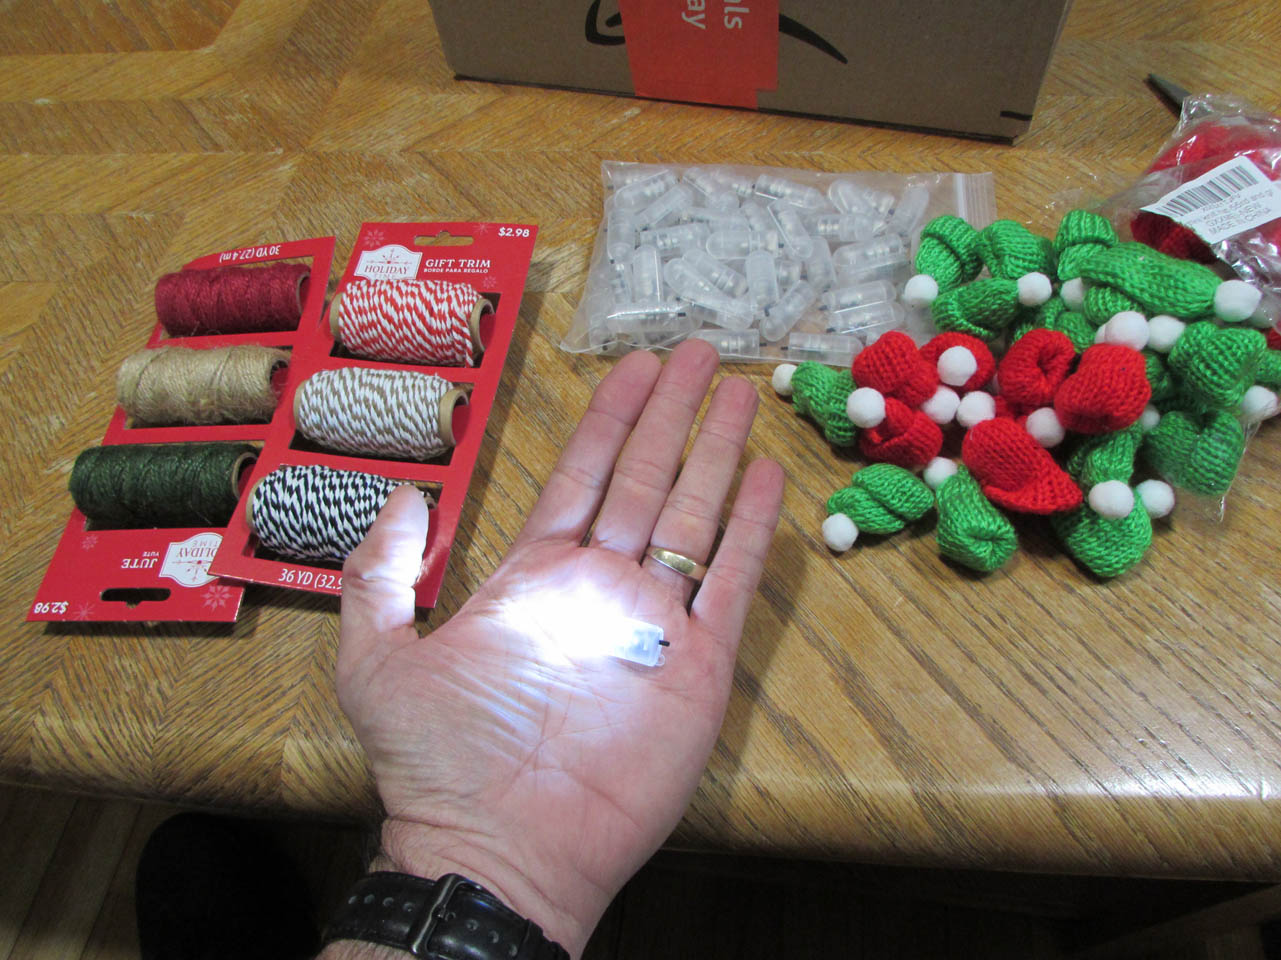
For the last couple of years, my wife and I have been making piggy ornaments as gifts for the staff of a local barbecue restaurant, Carterque, that we frequent. We have been acquiring components that we thought we could use this year, so I finally came up with an ornament that would use all the stuff. We had a selection of string, a bag of tiny Santa hats, and a bag of balloon lantern lights. We need about fifty so I decided to use the laser for most of the work.

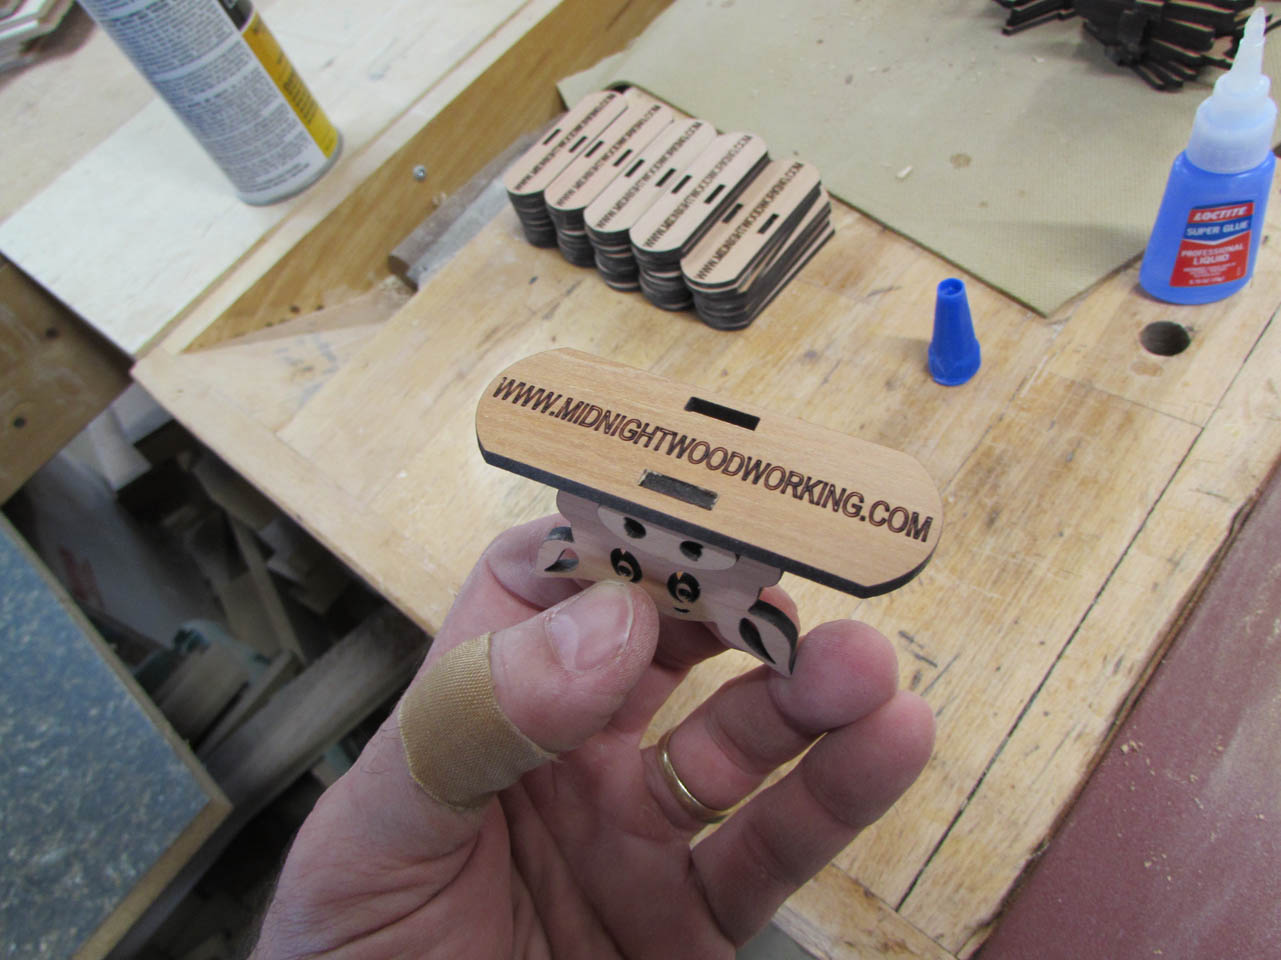
I found a pattern for a pig-shaped napkin holder, modified it and scaled it down to suit my needs.

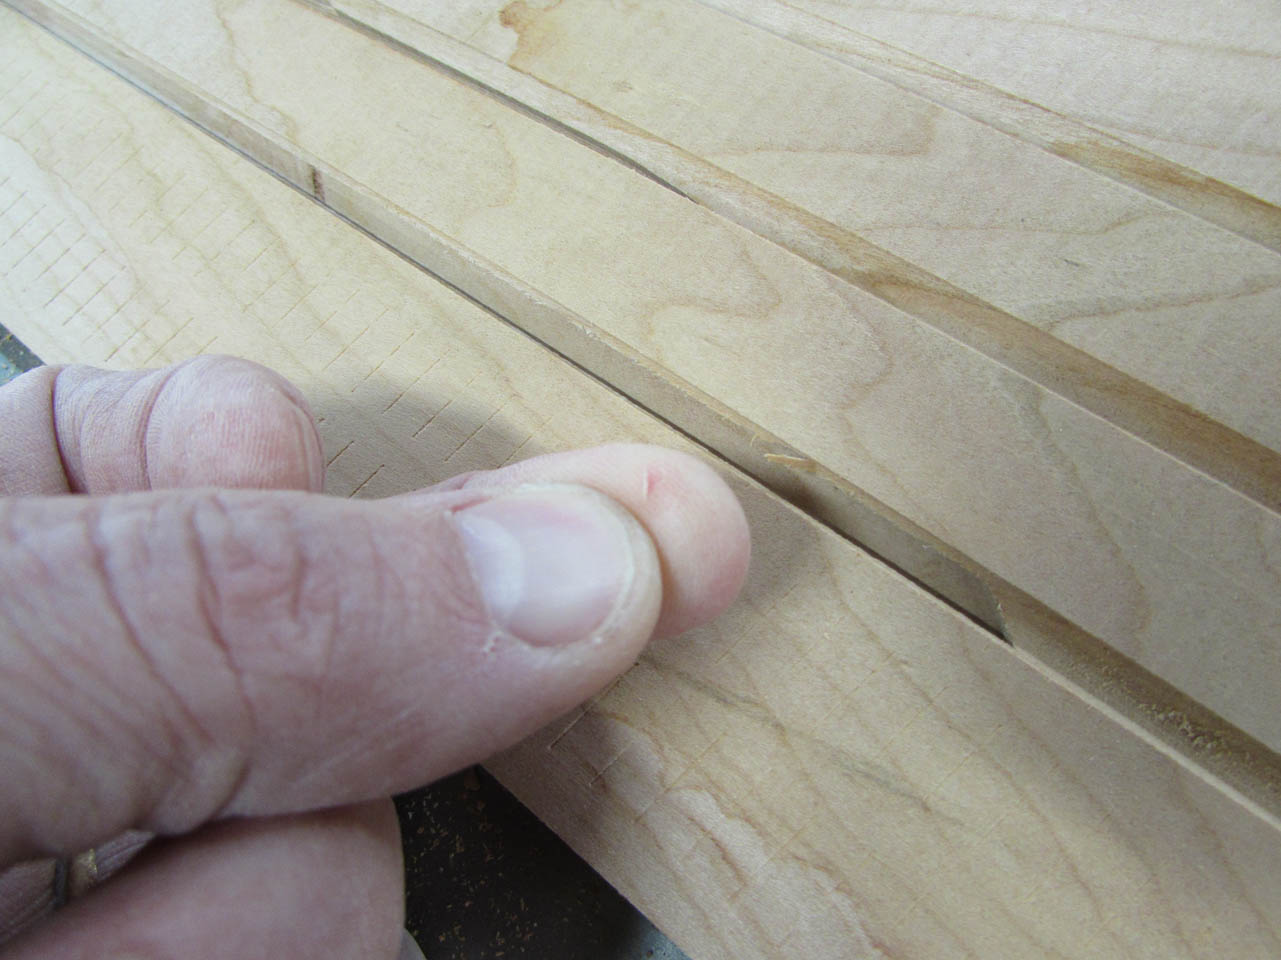
Cherry has a nice pink-red color that works well for piggys especially since it will darken over time. I need several pieces cut down to about 1/8″ thick so that I can easily laser through it. I have some left-over cherry flooring with nice straight grain that will work perfectly.
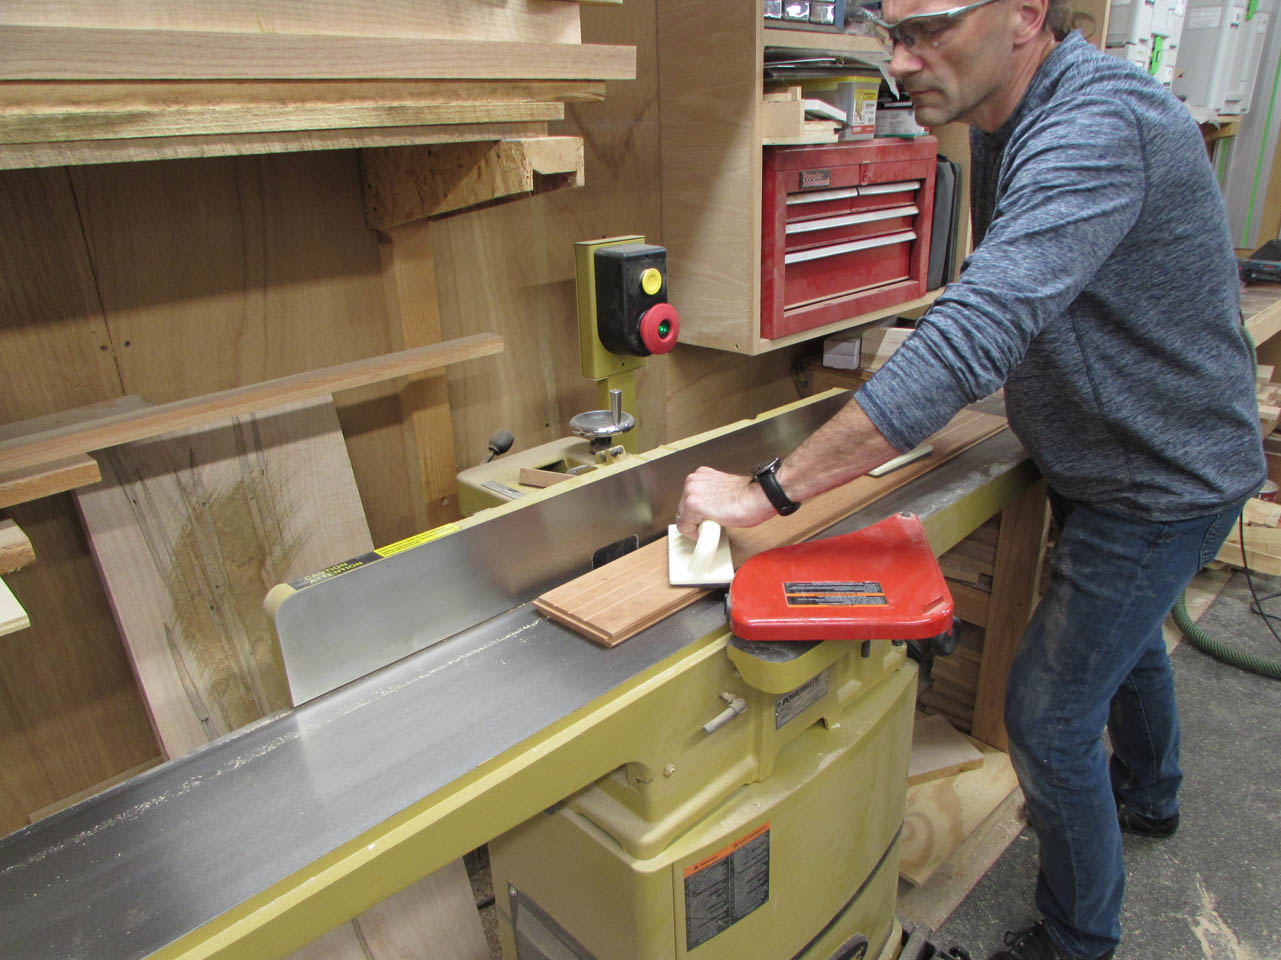
I started by jointing one face flat.

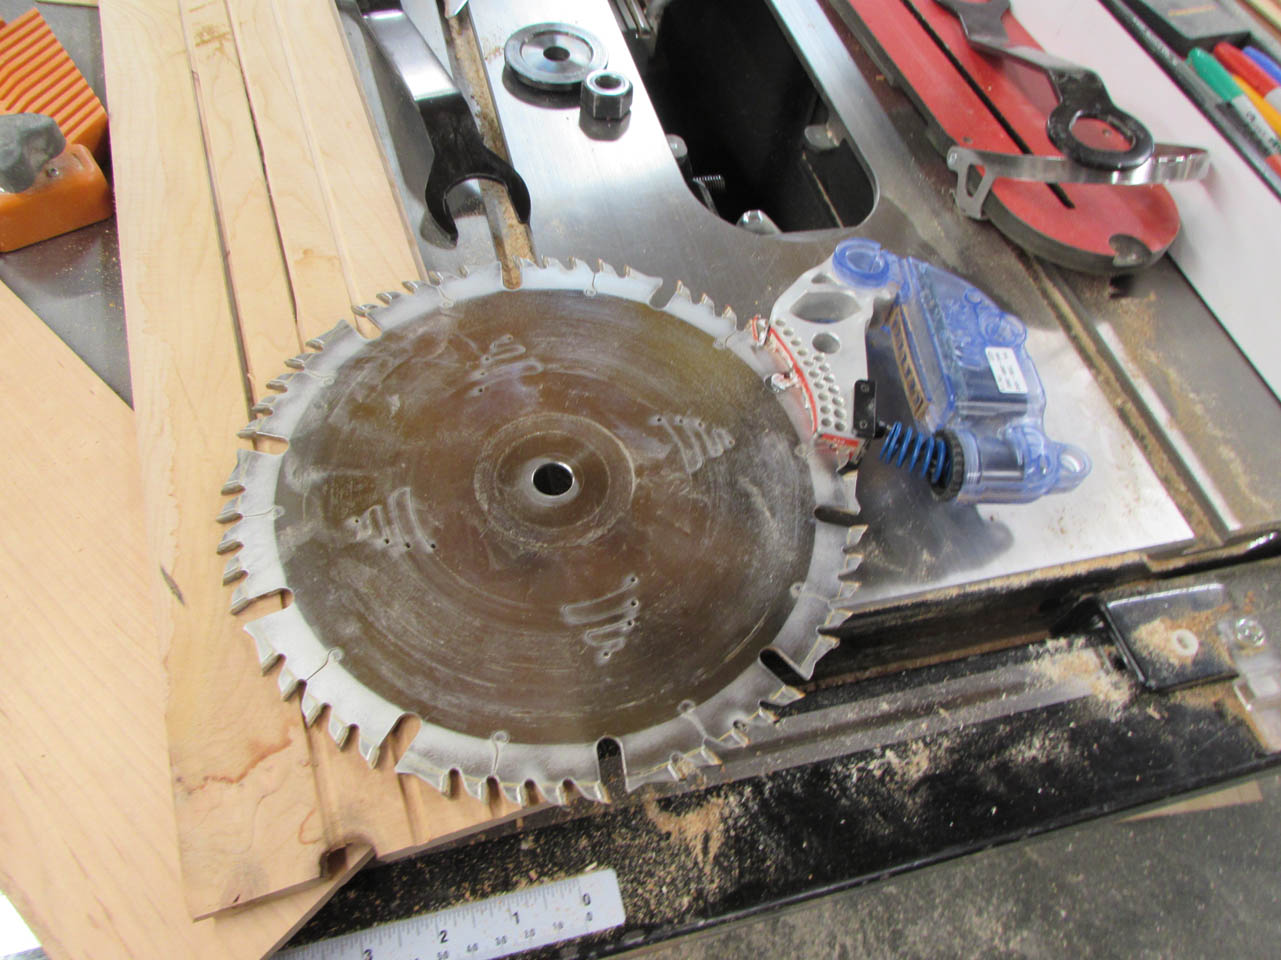
Then I used the table saw to re-saw the the piece down to a little thicker than I needed.

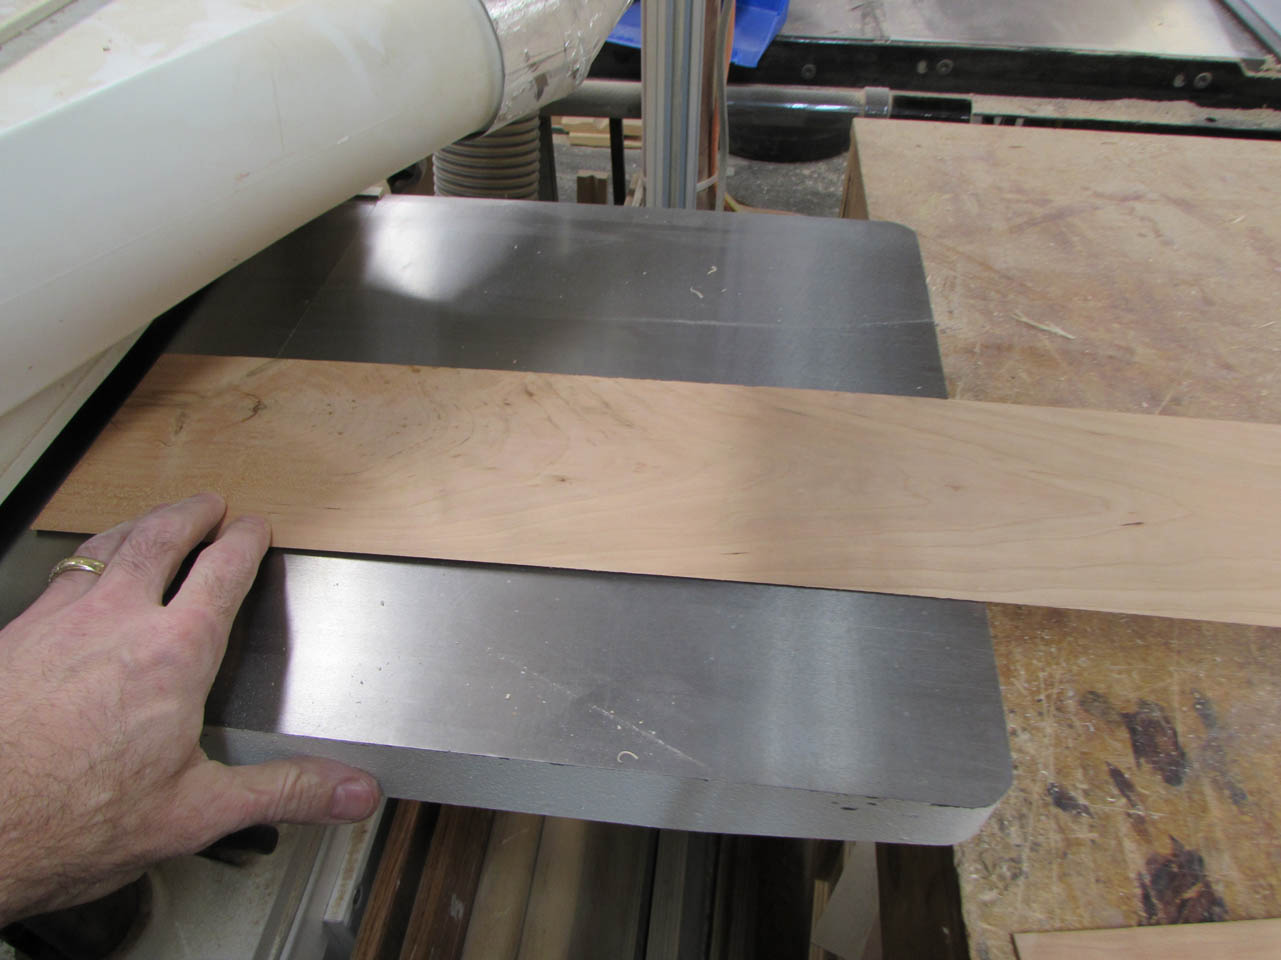
These thin pieces were run through my planer to clean up the cut face and take the board down to size.

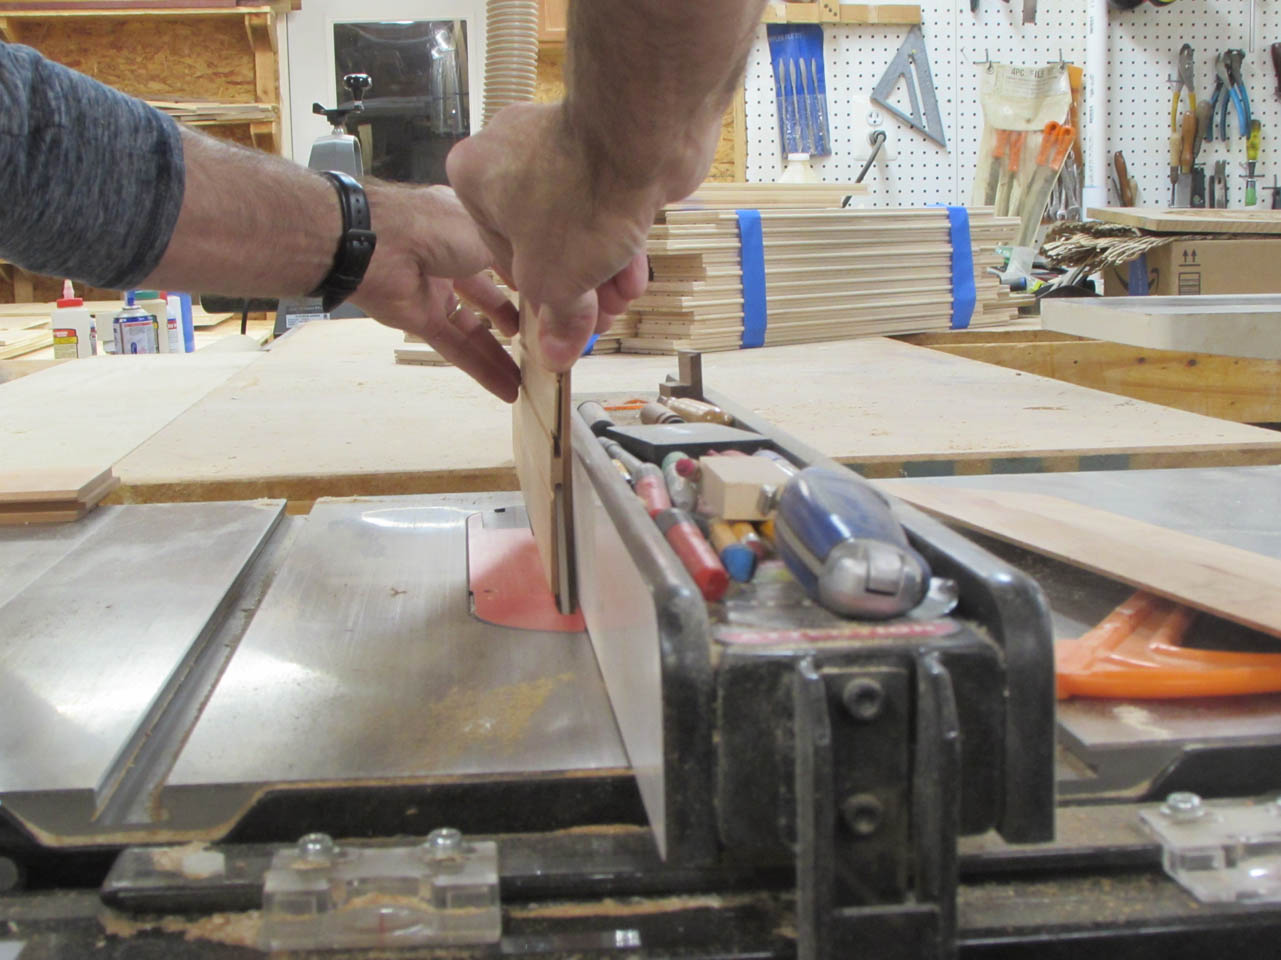
Unfortunately I didn’t realize my finger was in one of the grooves in the flooring as I was cutting and my finger got nicked by the blade.

Not a big deal for my finger, but it did trip my SawStop table saw, which slams an aluminum block into the blade when it detects contact with flesh, typically saving you from major damage. In this case the damage was the loss of a brand new saw blade and a brake… Finger is ok though.
Fortunately I managed to cut enough wood to make my ornaments while waiting for a new brake and blade to arrive…
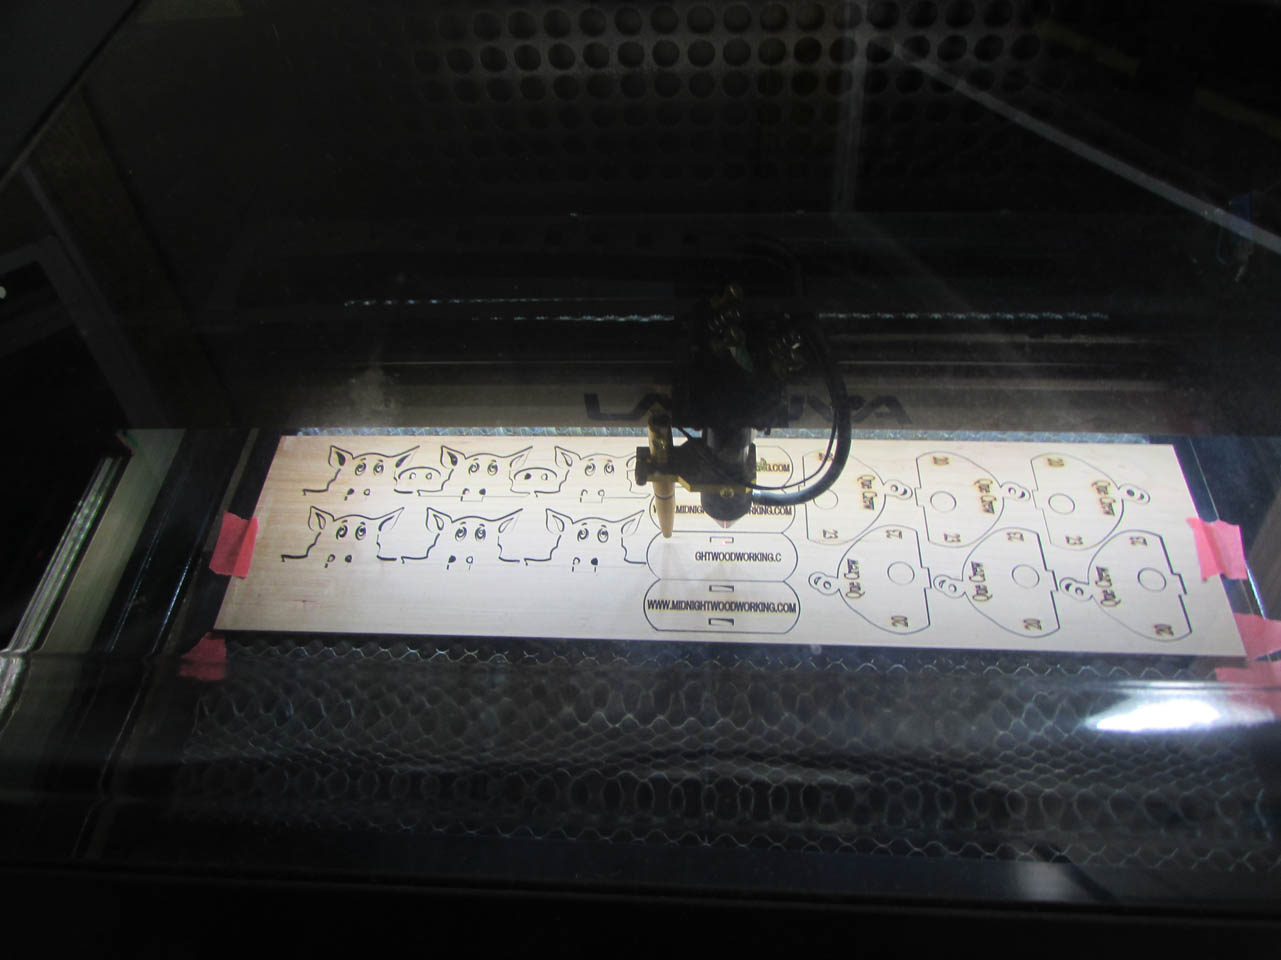
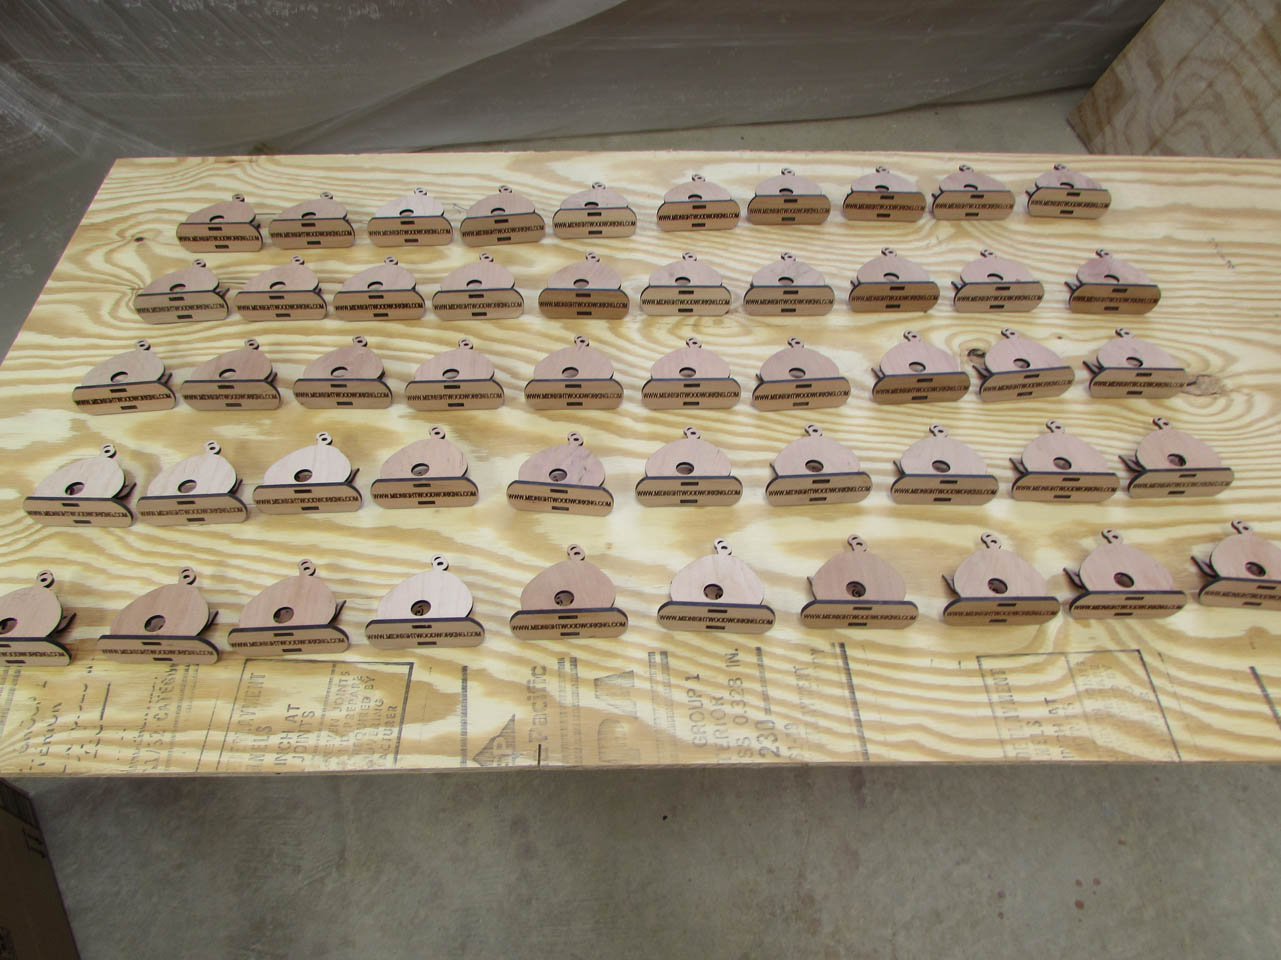
I created a program for the laser to carve out parts for six ornaments at a time and let it run.


After about an hour or so, I had enough pig parts cut out to make more than 50 piggys.

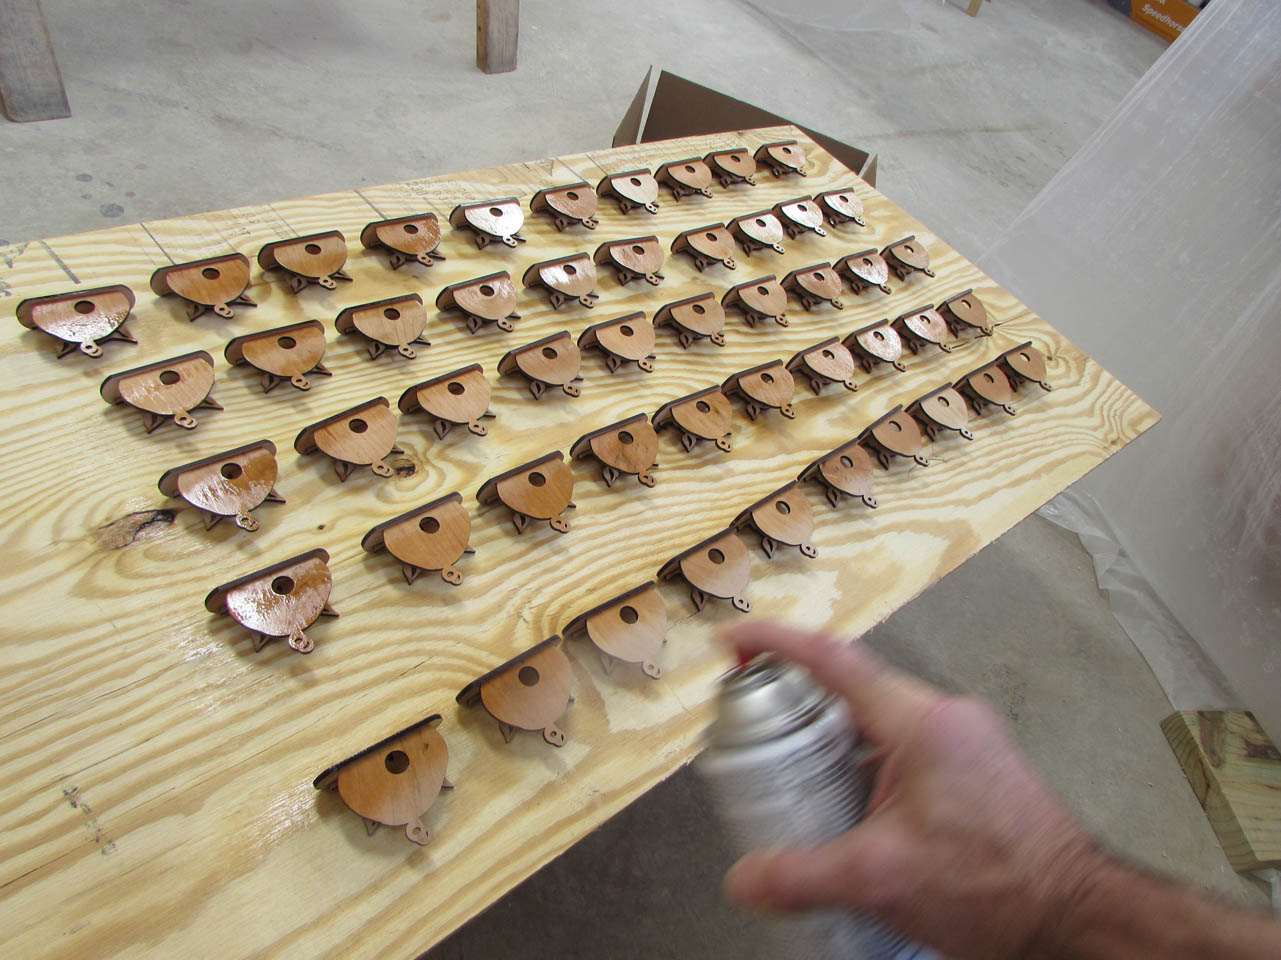
The laser leaves a smoke haze on the wood and sometimes boils up some resins from within the wood so sanding the surface is always a good idea.
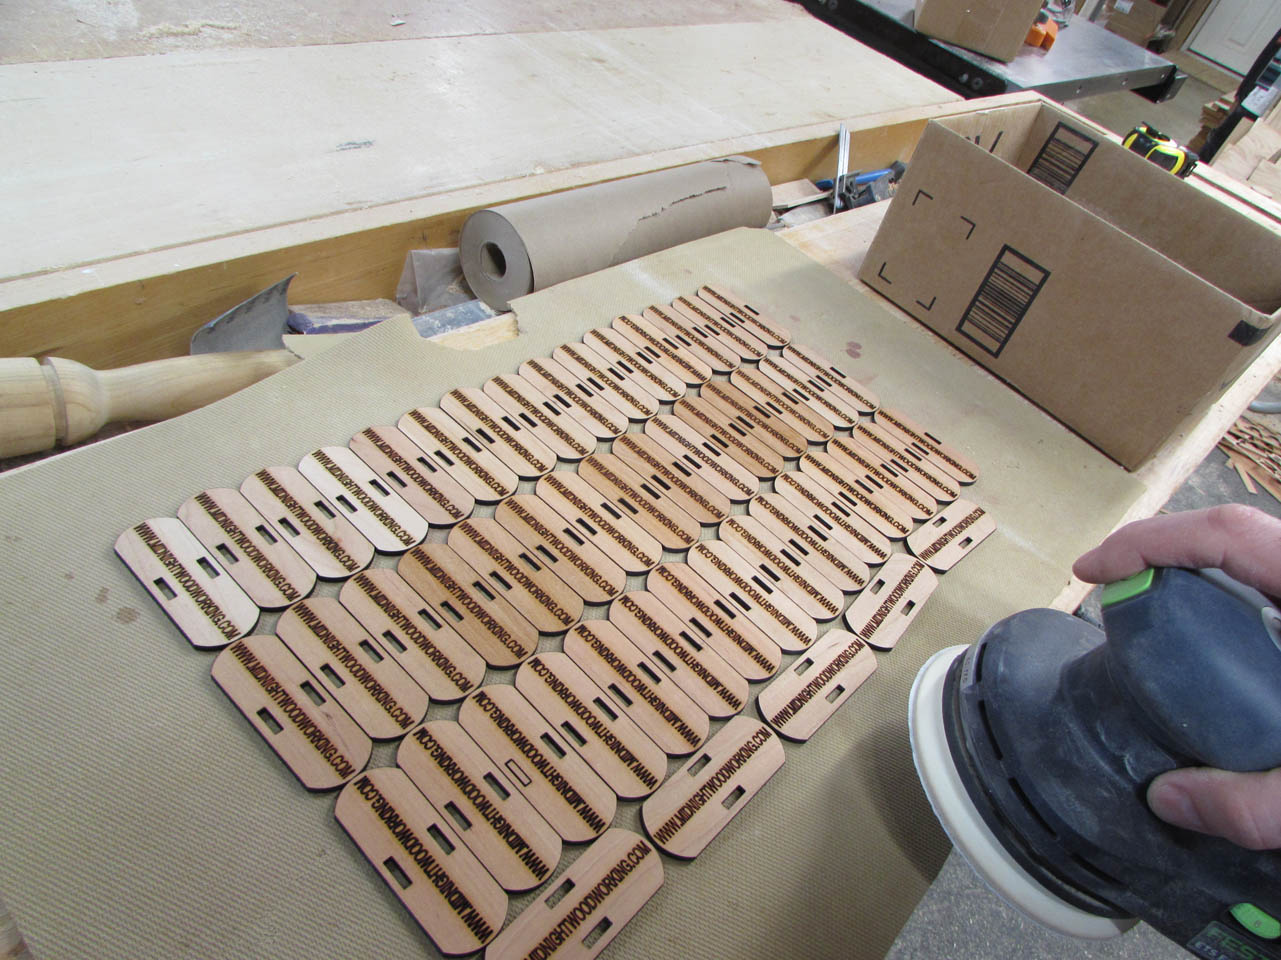
I thought I would attempt to do this quickly with a non-slip mat and an orbital sander, but it just threw piggy parts all over the place so I had to do it manually.
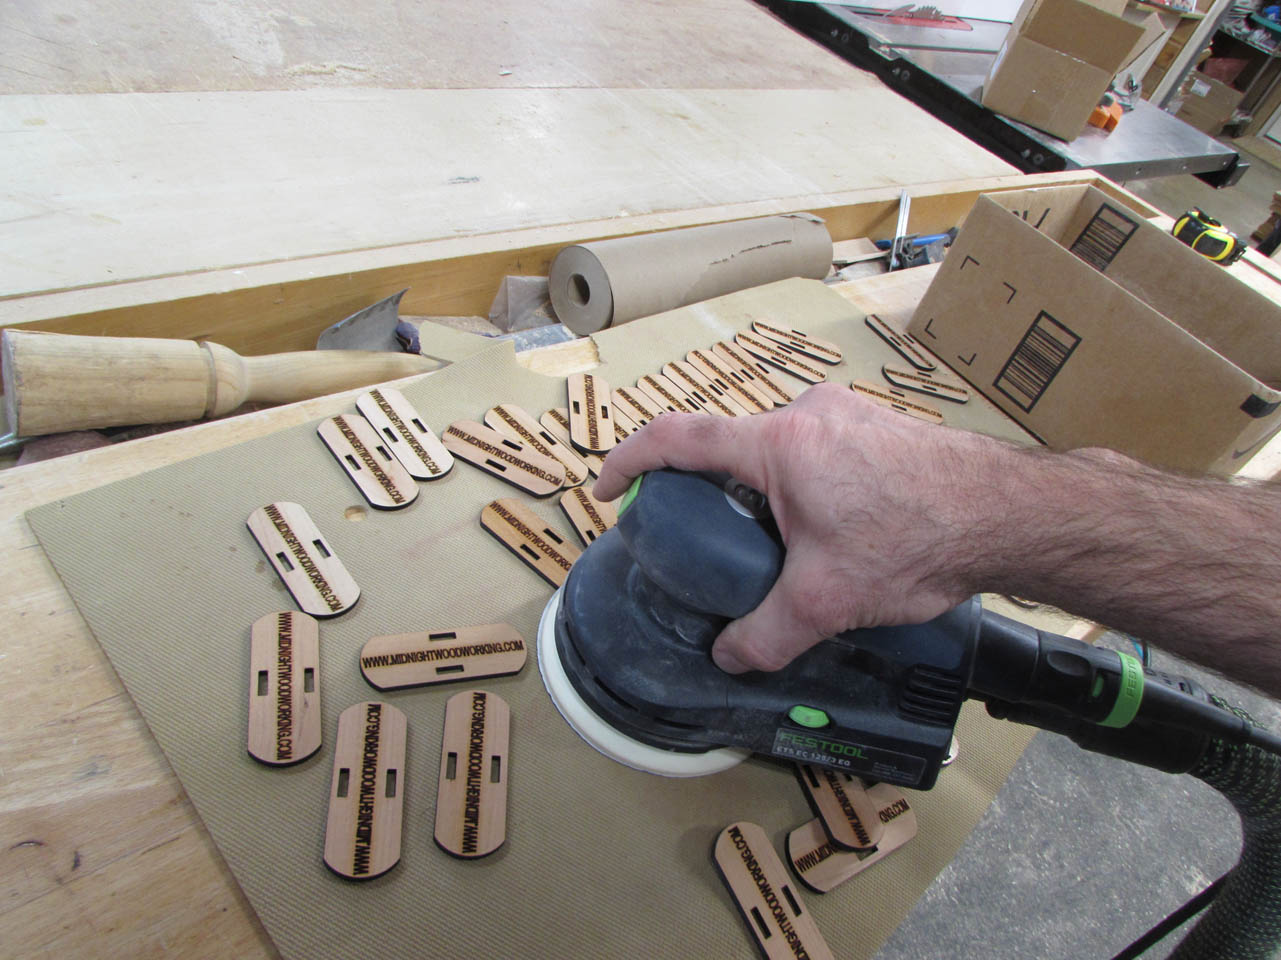

I grabbed a roll of 180 grit paper and some spray adhesive and attached the paper to a block of wood.
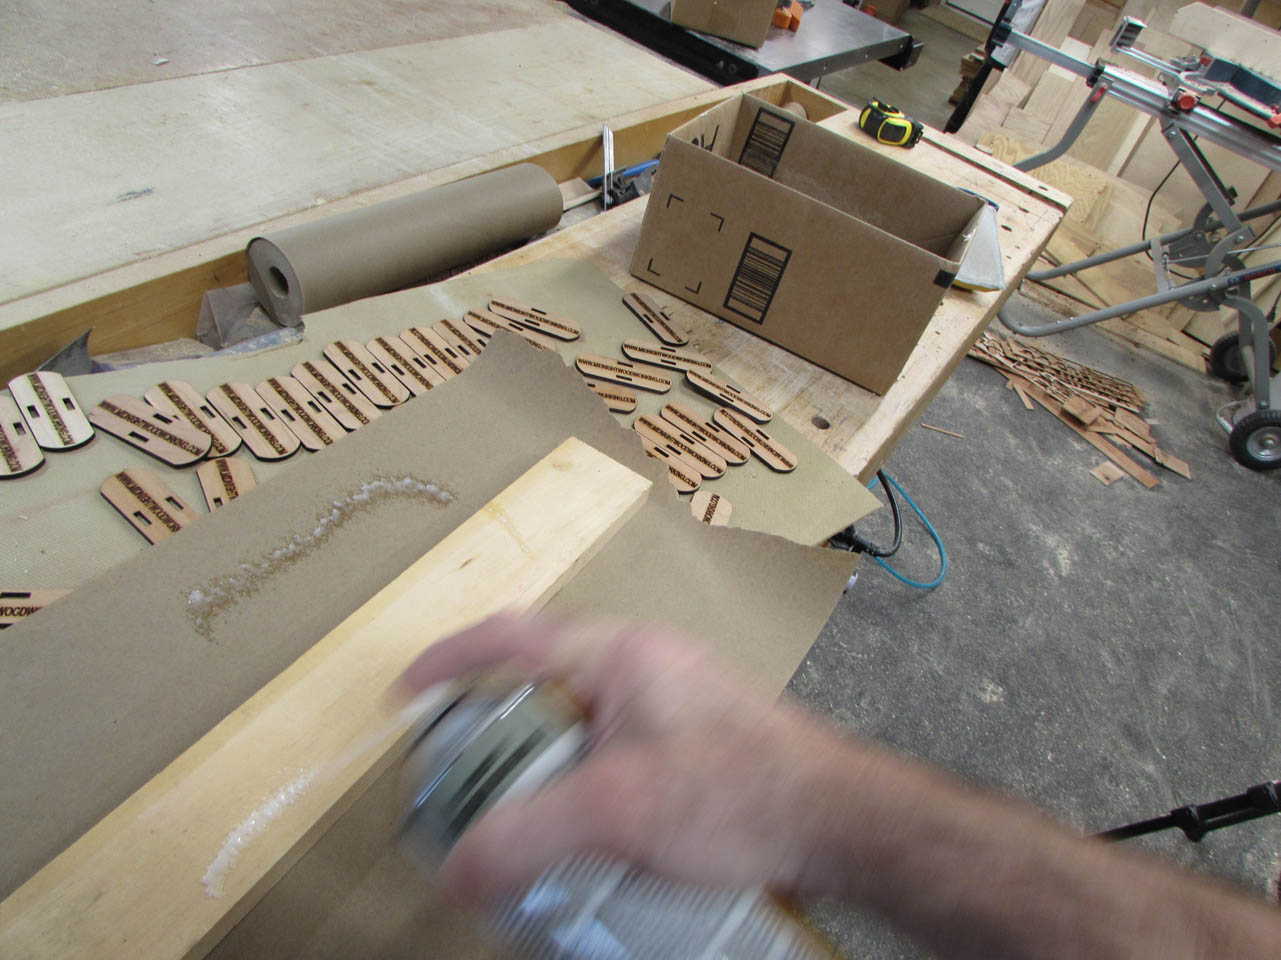

I mounted the sanding block in my vise and started sanding each piece and a few finger tips…

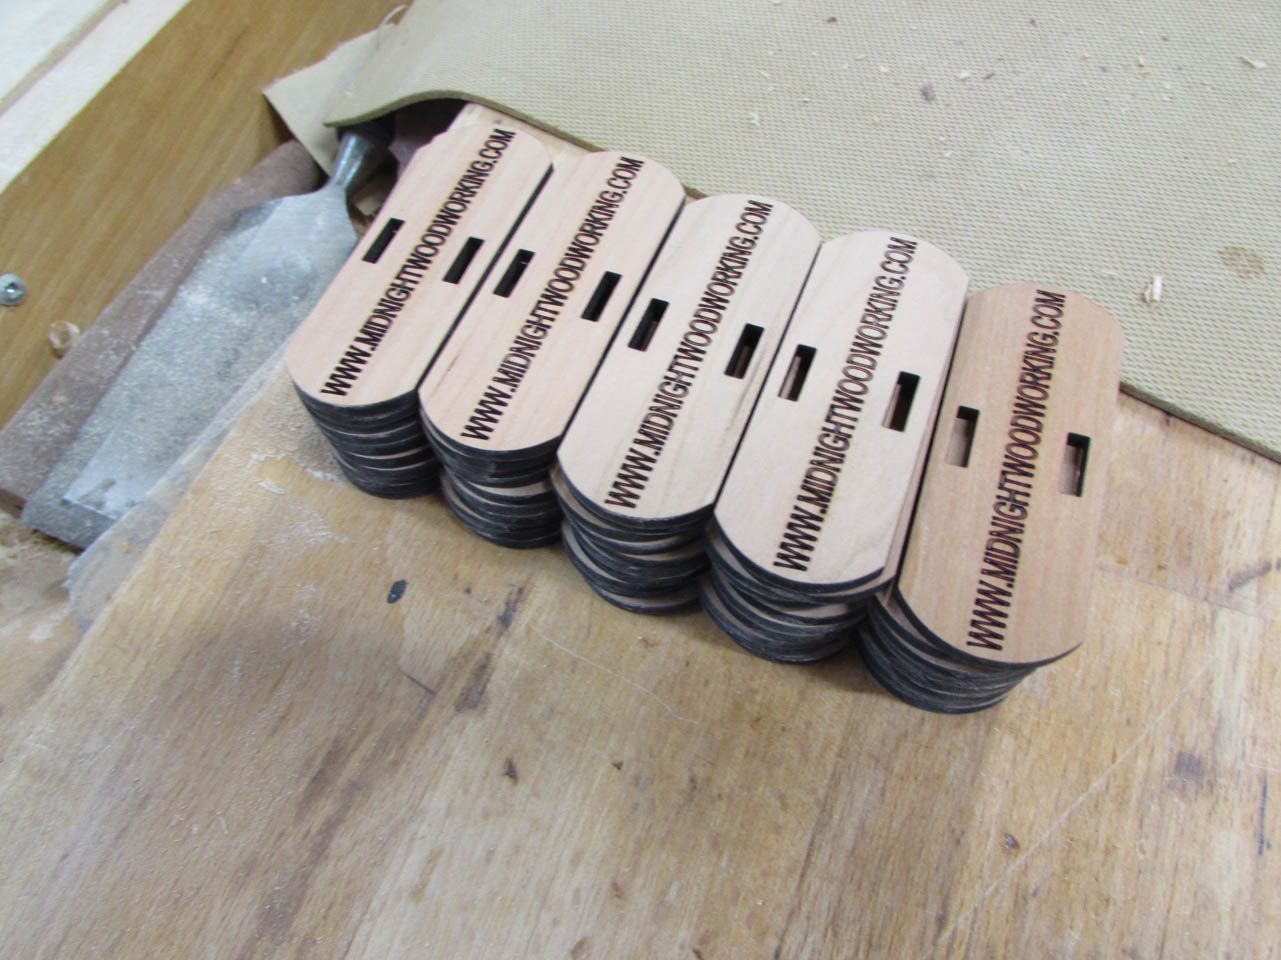
I think it took longer to sand these guys than it did to cut them out…

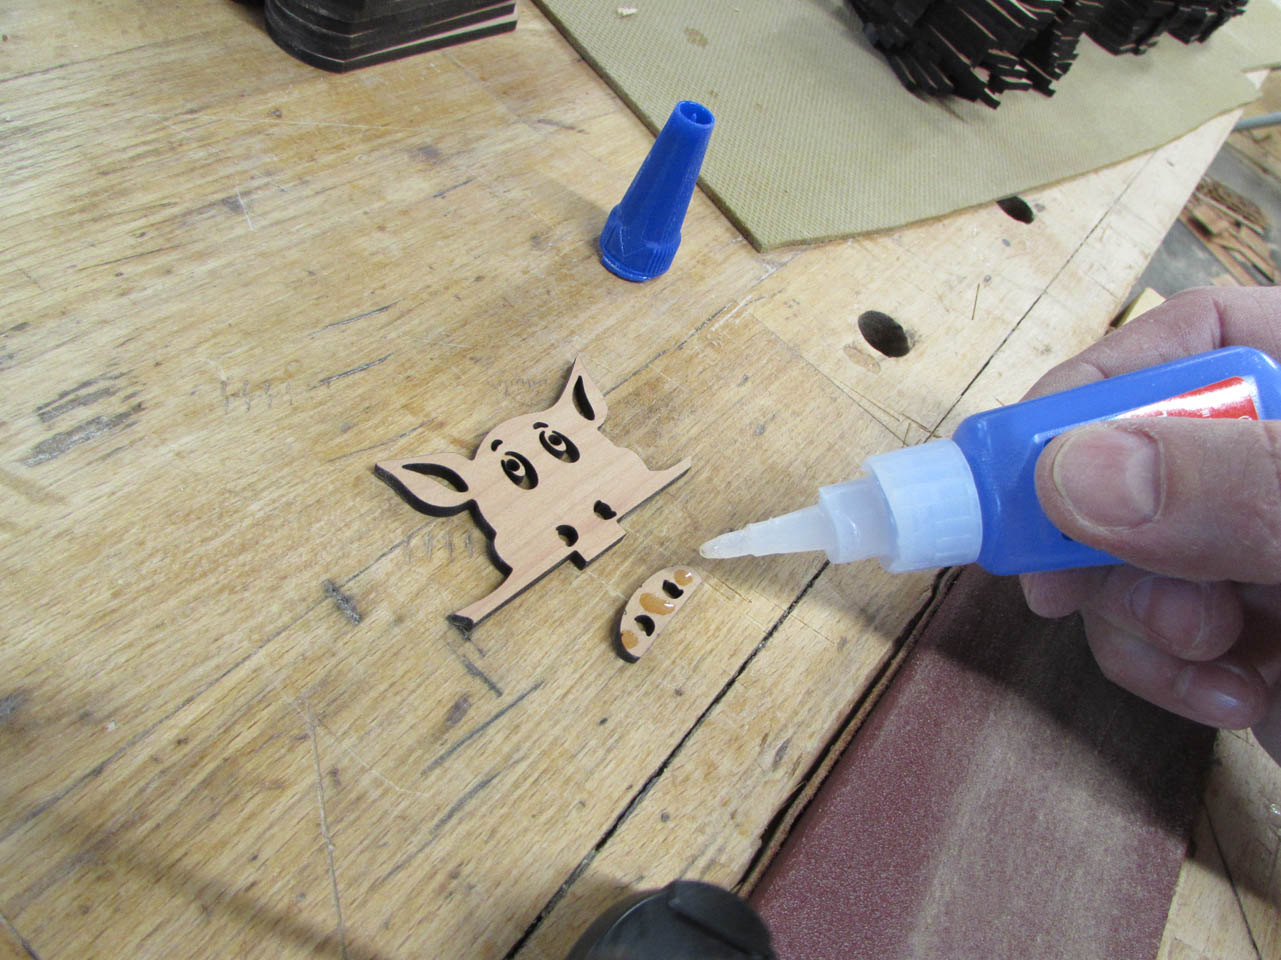
When all was sanded, I started assembly with CA glue.


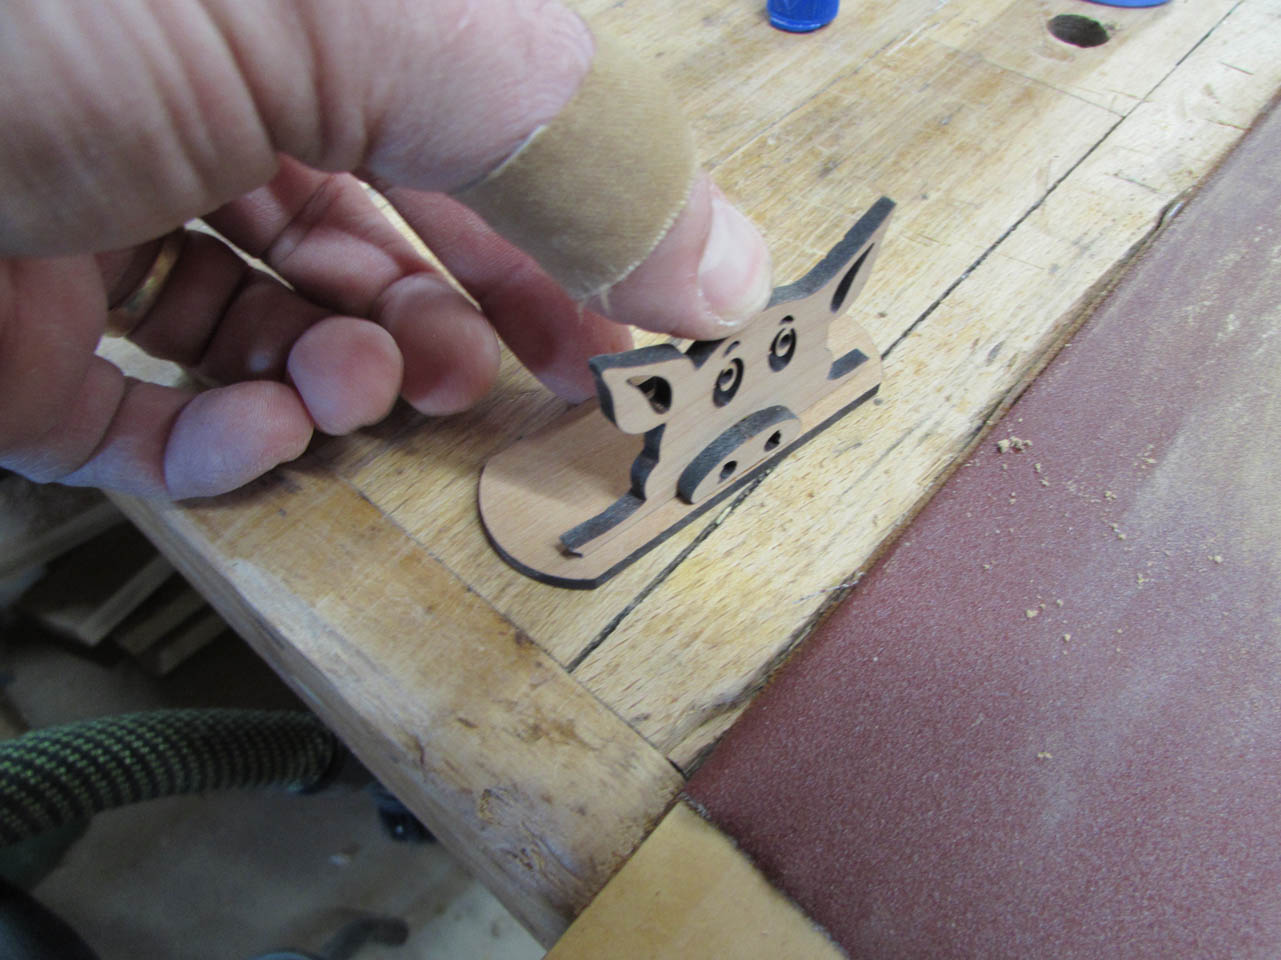
After the nose was glued on, the pig parts were assembled to the base.


All 50 pigs were assembled and ready for finish.

I used several coats of spray lacquer instead of my HVLP sprayer because the spray gun would have blown the lightweight piggys all over the place.


I sanded any rough spots with 600 grit paper between coats.


All the pigs sat for a day or so to let the fumes dissipate.
Now it was time to figure out how all the parts were coming together.
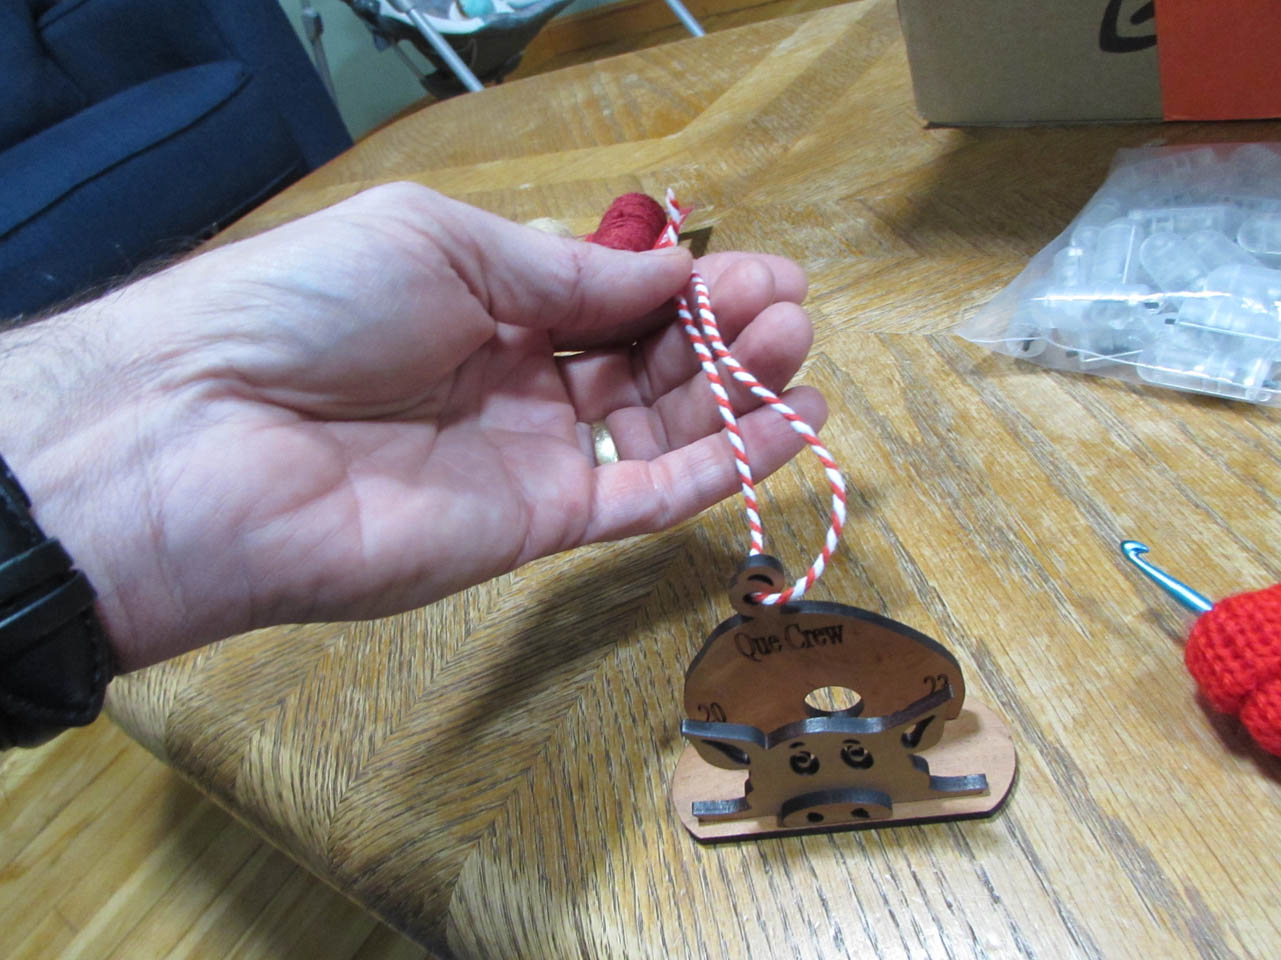
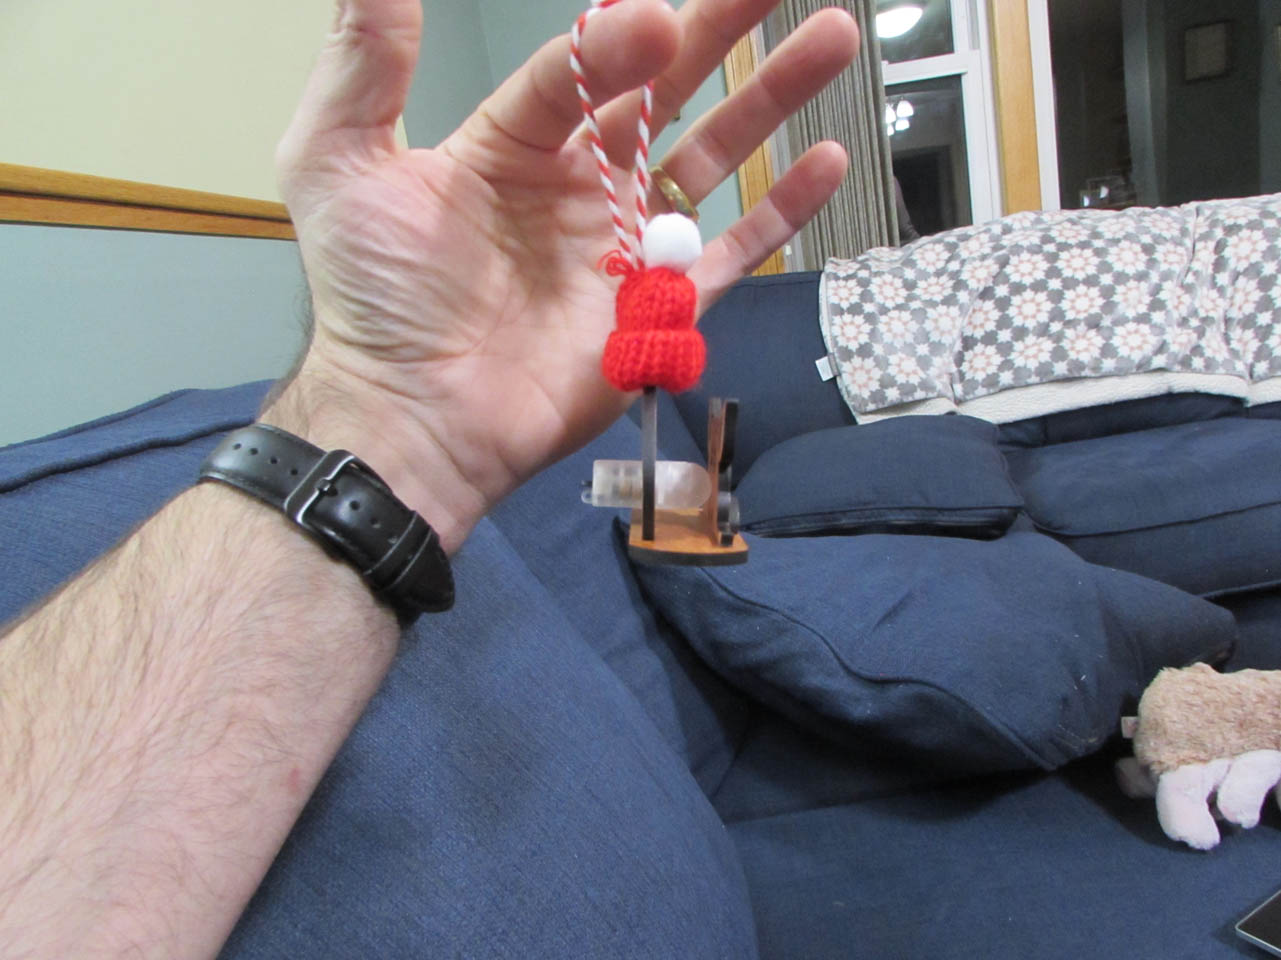
I figured the tail would be the best place to hang the string. Originally I was planning to glue the hat to the head, but I decided to feed the string through it and place it on the tail to hide the knot in the string.

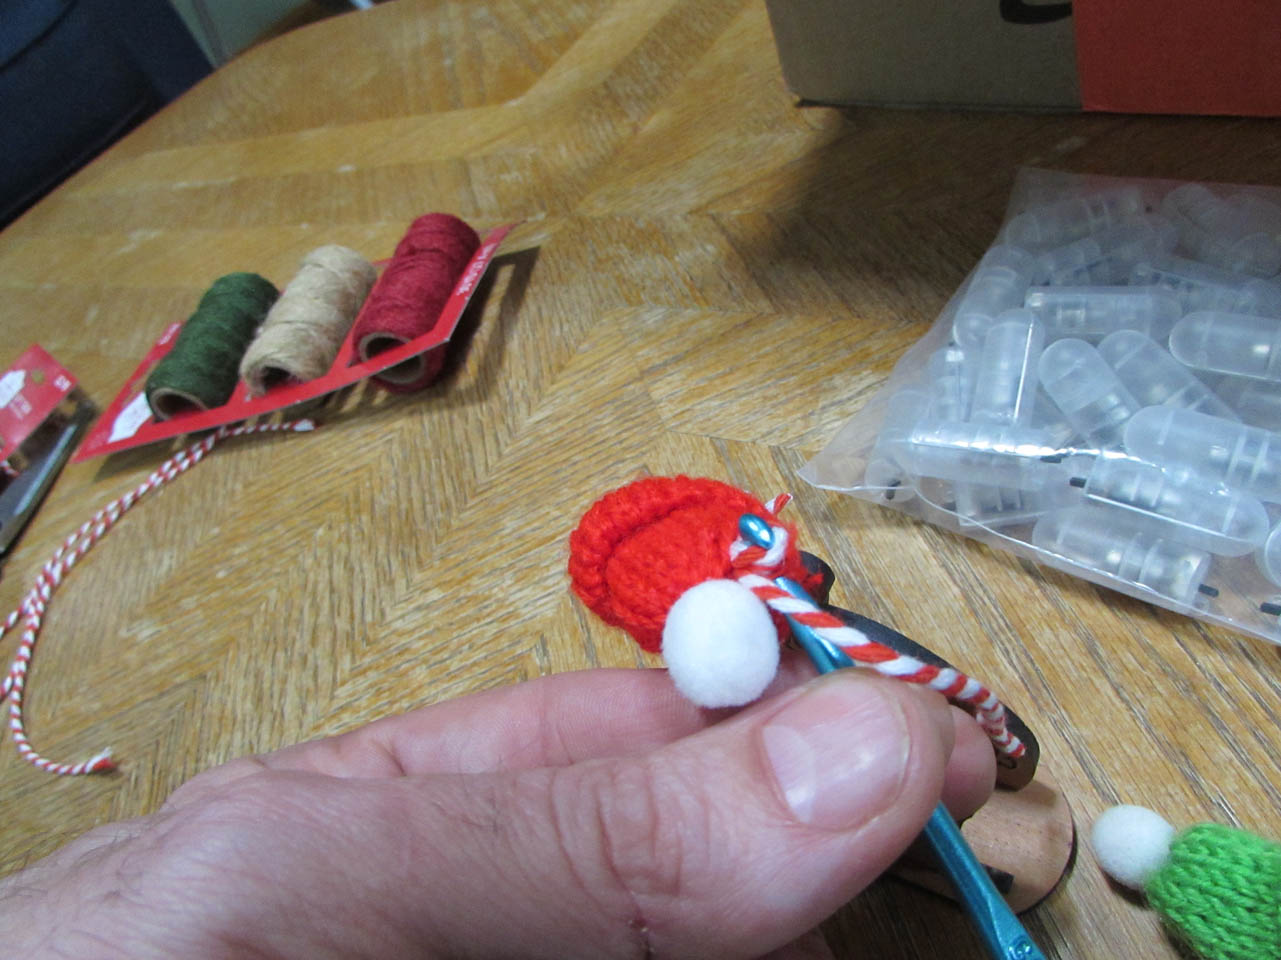
We tried a crochet hook at first but it kept snagging the strings in the knit hat.
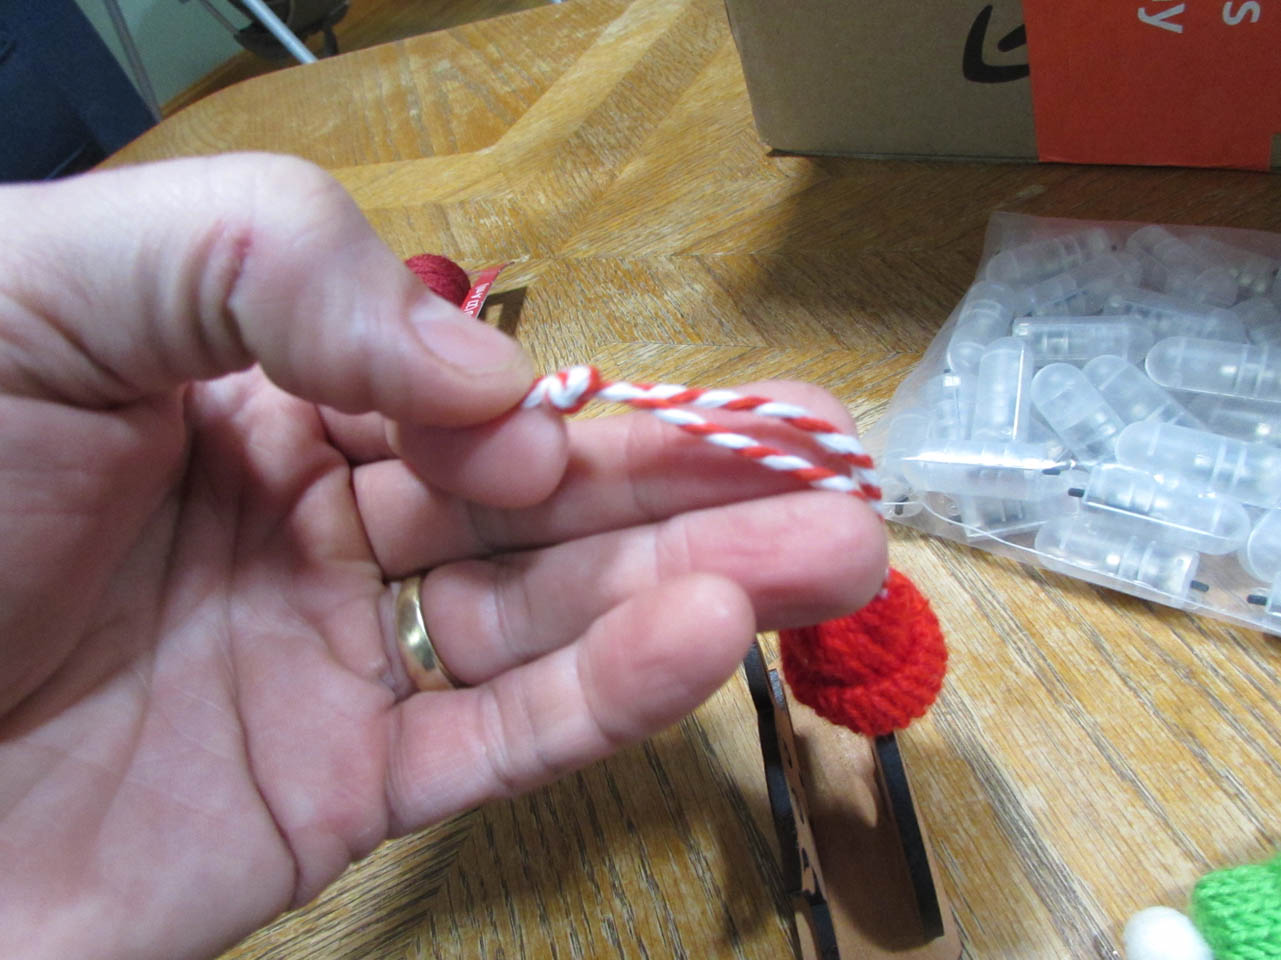
After fishing the string through the hat, I tied it off.
Then I inserted one of the lights into the hole in the back side.

I made sure the hole was cut in a location that centered the light between the holes in the face so that it wouldn’t be too blinding.
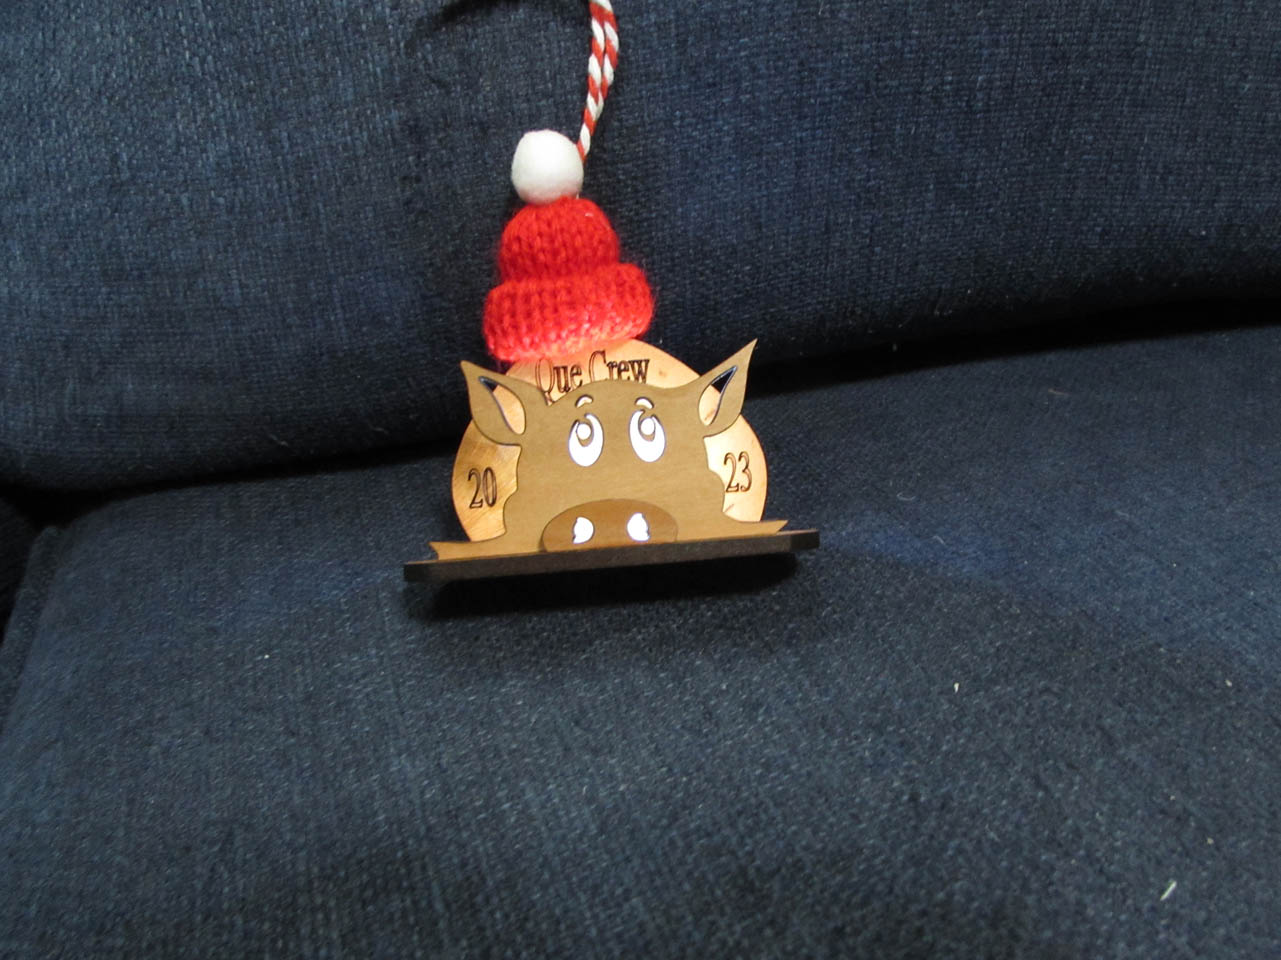
The first one was a success but we needed a different way to feed the string through the hat. Note that with the light hanging out the back and the hat centered above, the ornament hangs perfectly balanced so that it doesn’t tip forward or backward.
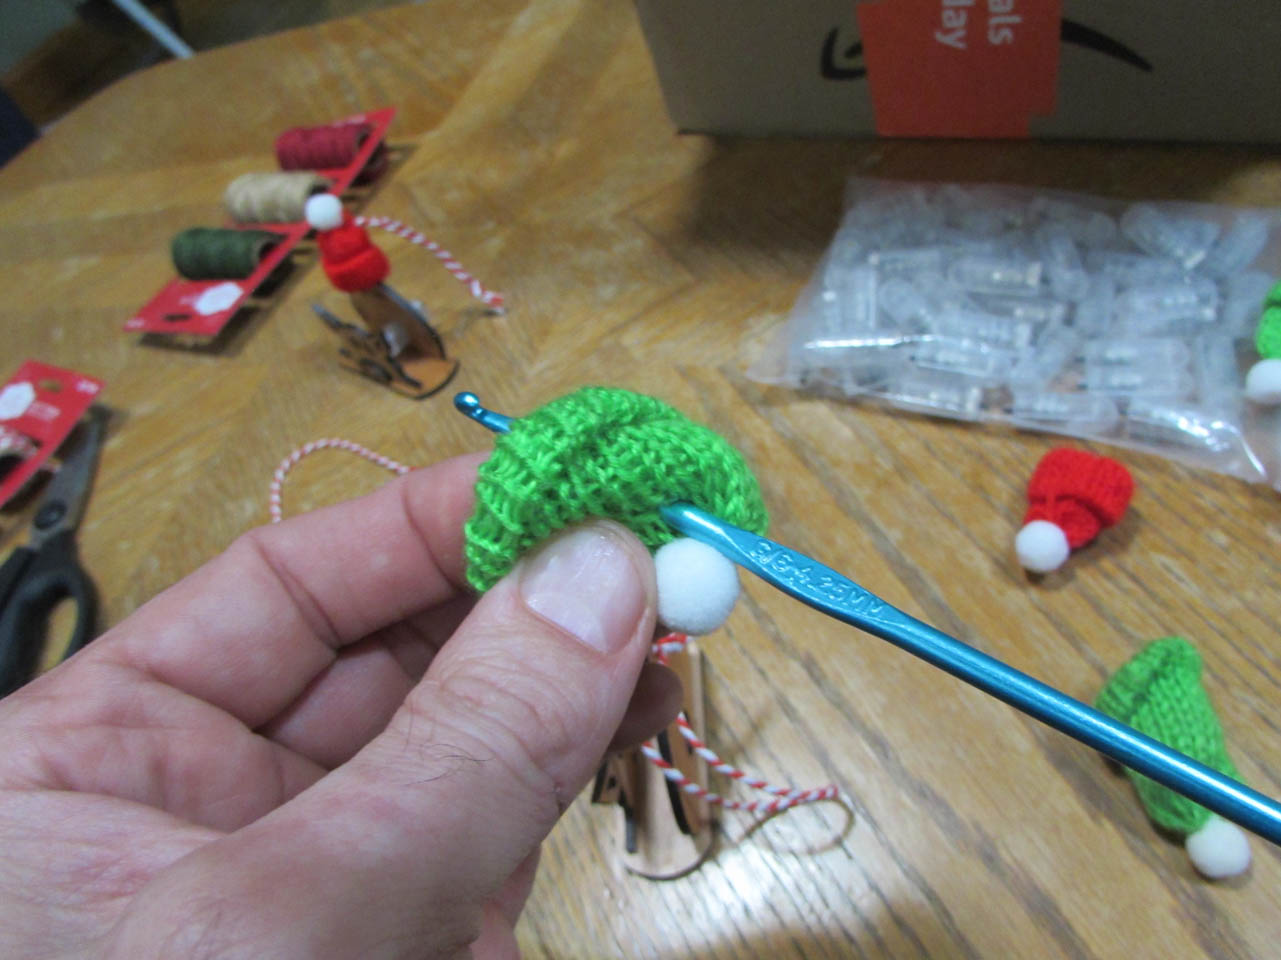
After a few other attempts with the crochet hook, we switched to a large yarn needle.
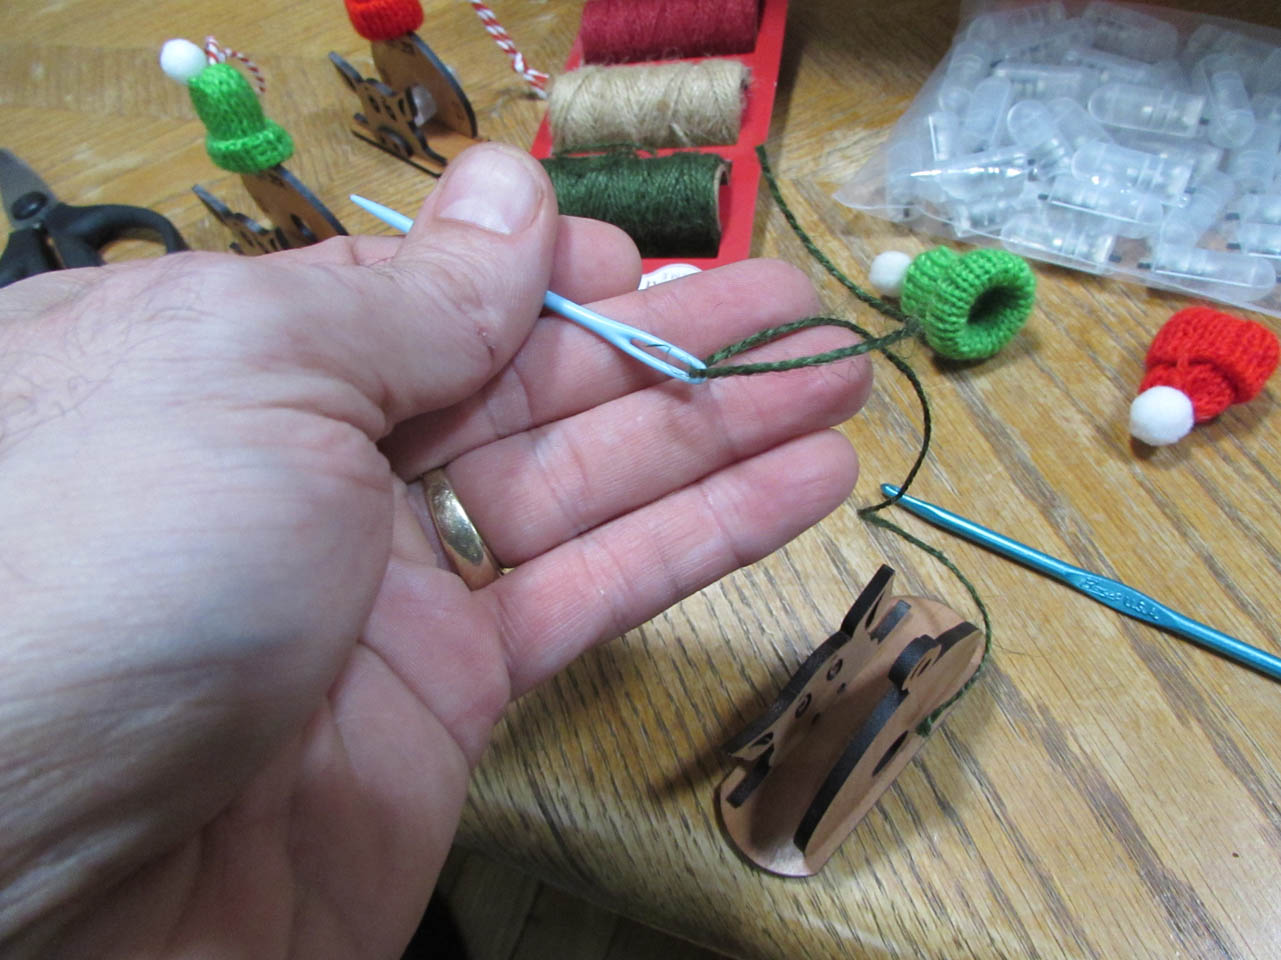
This worked way better and went a lot faster.
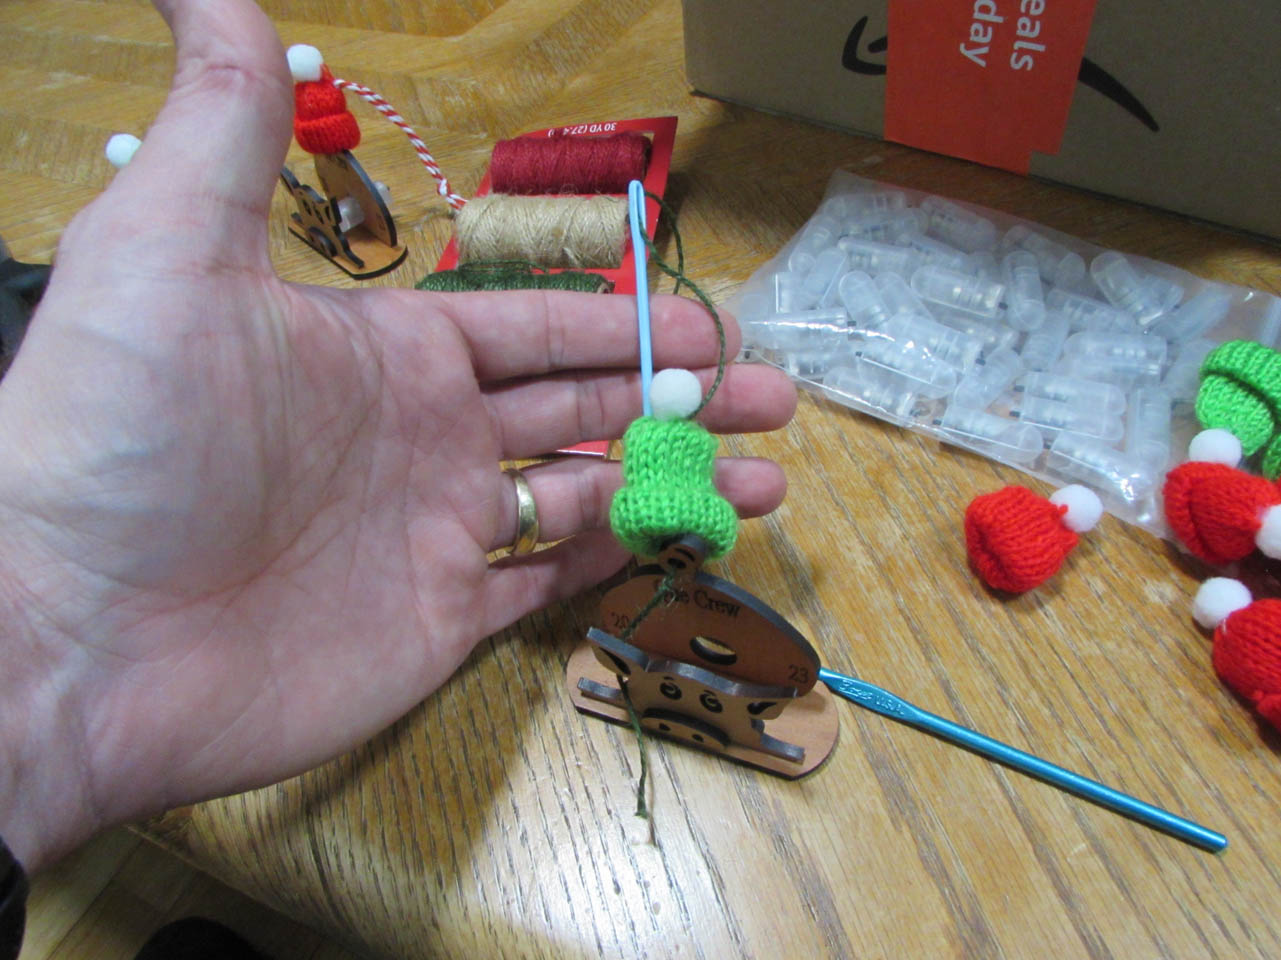
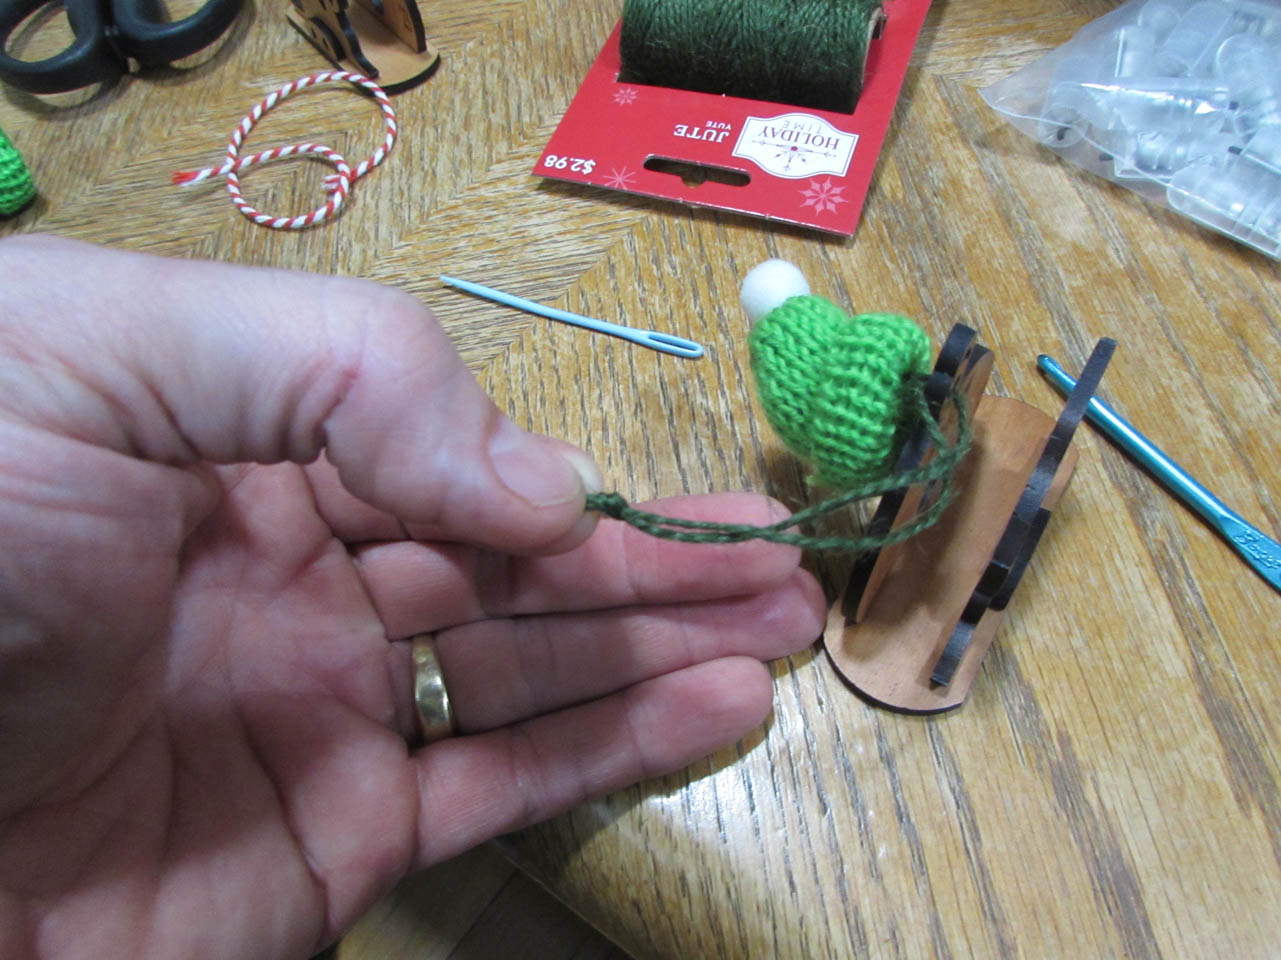
I was able to feed the string down through the hat and back up again allowing the hat to slide up and down.

This is what the final assembly looks like, all lit up.

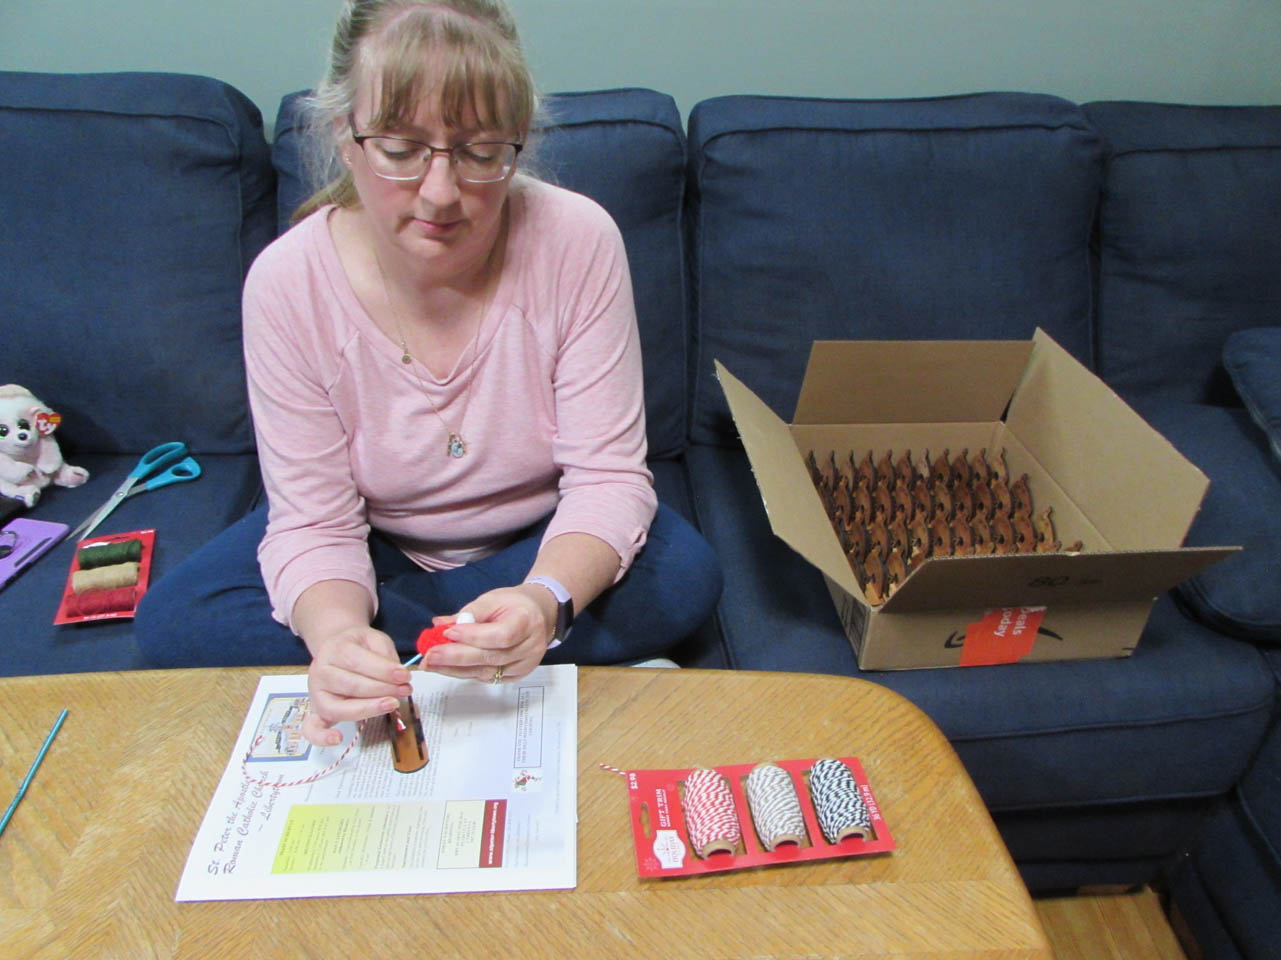
My dear wife volunteered to do all the final assembly, which was good because my fingers were still numb from sanding all of the pig parts…
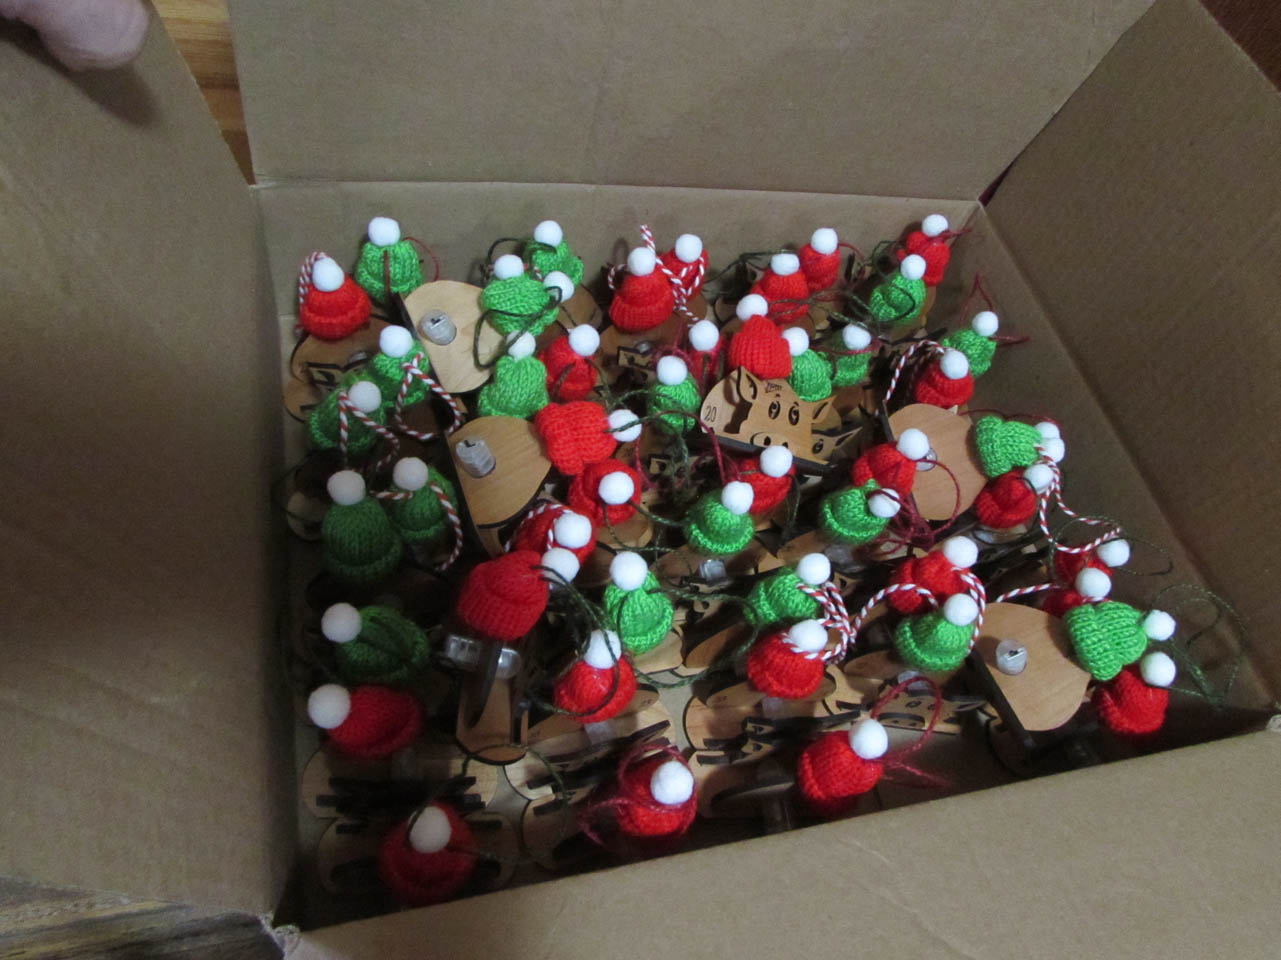
Piggys are all packed up and ready to be delivered, hopefully in the next week or so.
