
Holy water font for Holy Spirit church – part 1
Holy Spirit church has asked me to make them a couple of holy water fonts. Their preference is to have them made entirely of red oak to match their other furnishings. Their will be a holy spirit dove engraved on the front as well. The bowl will be made integral to the font, out of oak. They have a transparent liner that will sit in this bowl to allow them to easily change the water and keep it clean.
This is the design that I came up with: FONT36.PDF
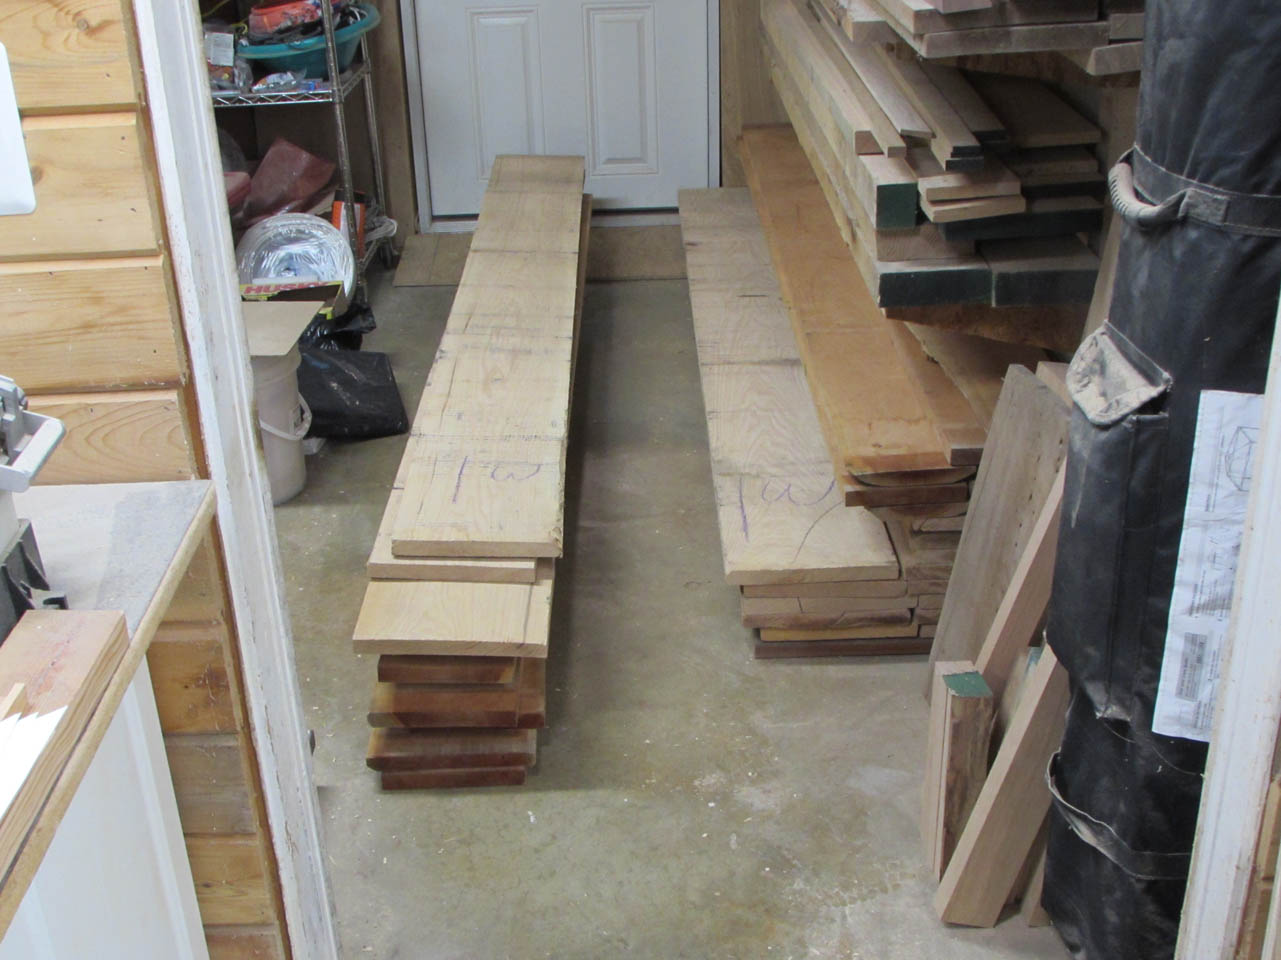
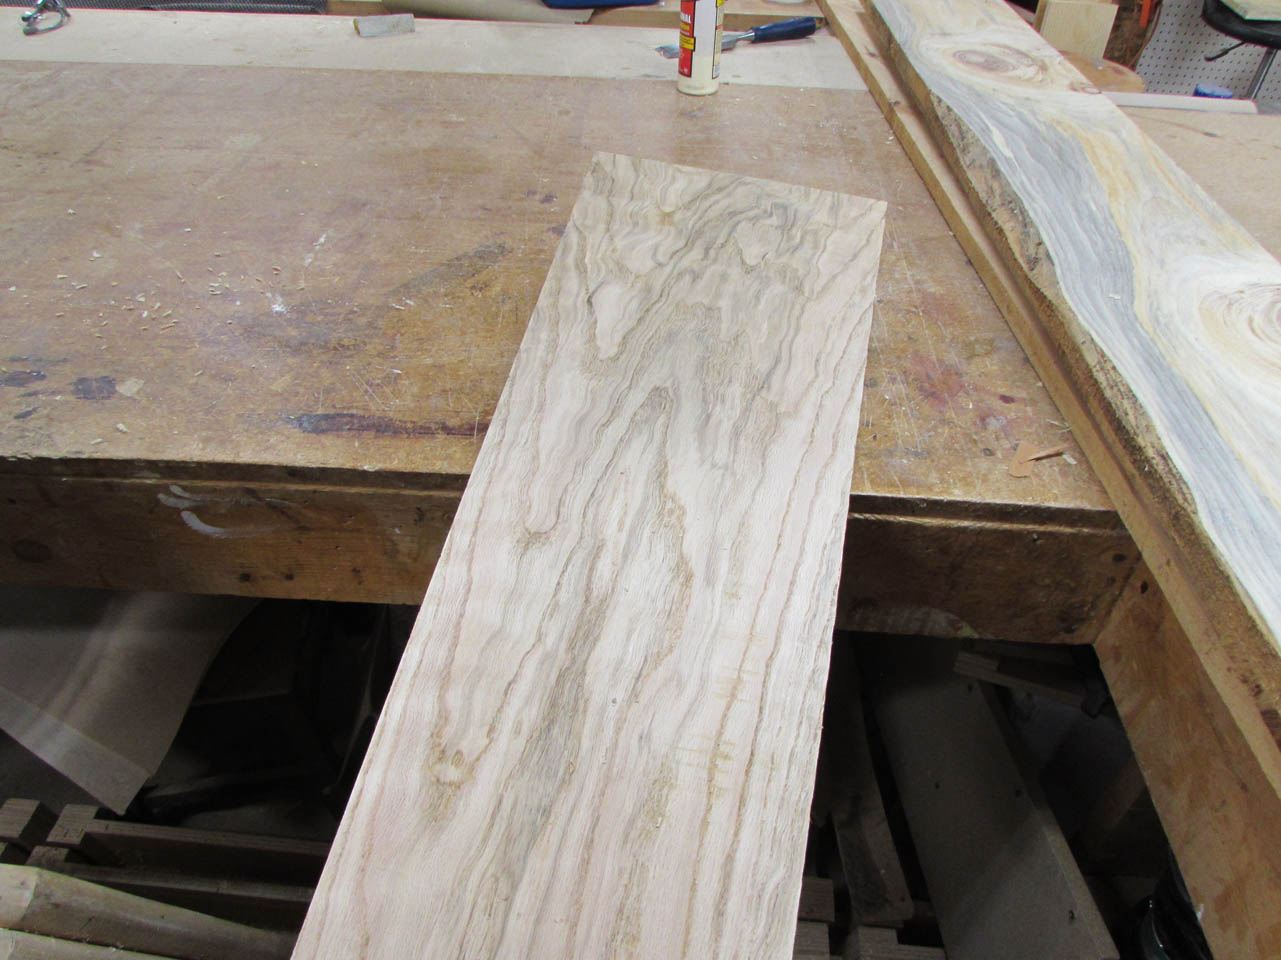
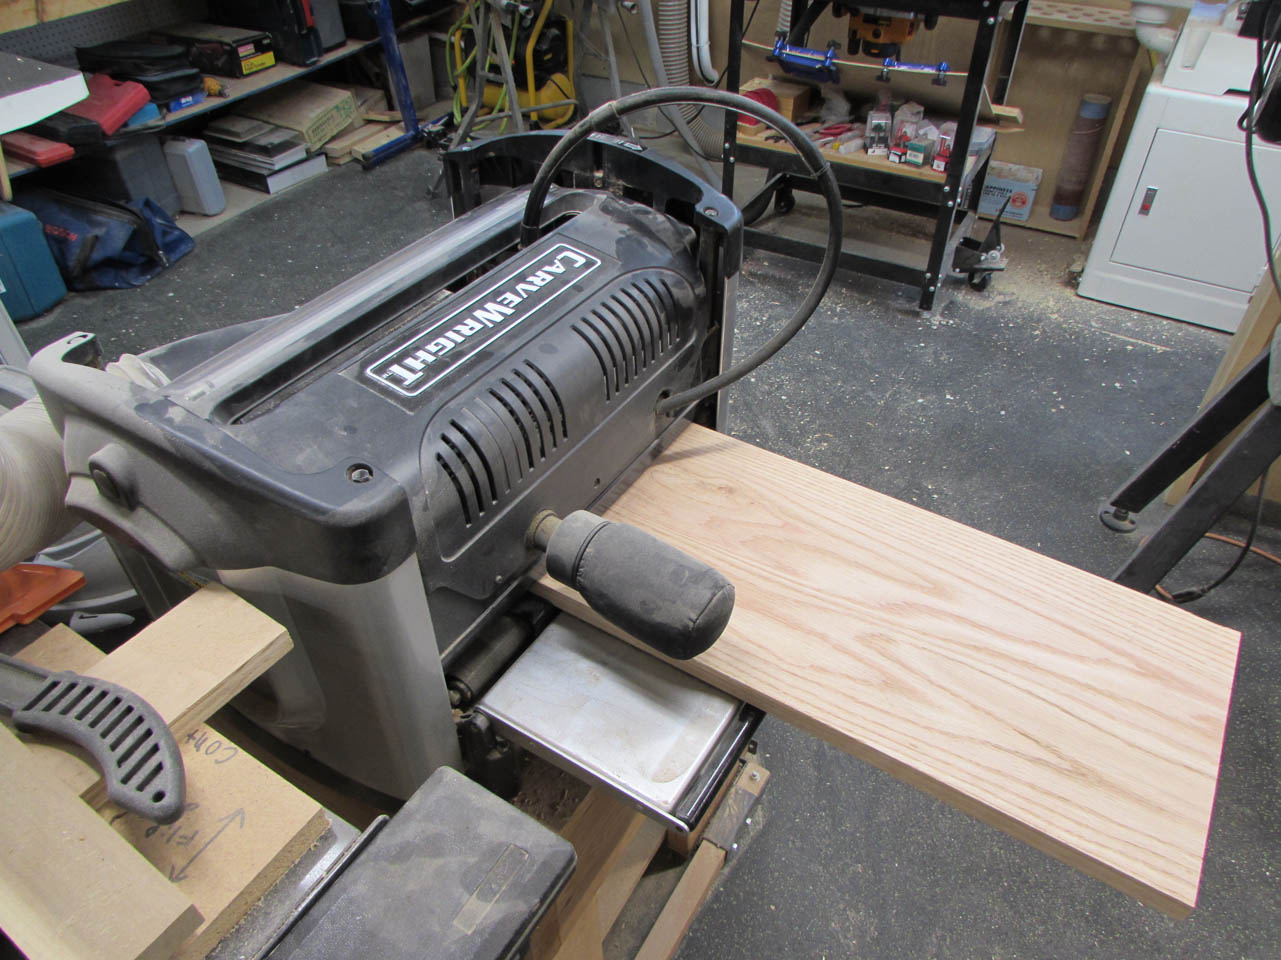
I picked up a pile of 4/4 red oak boards for this project. All of the boards are about 10″-11″ wide to minimize the need for any panel glue-ups. This will leave the sides of the fonts free of seams, allowing the grain to flow smoothly from top to bottom.
Since the font is only 36″ tall, I can make milling the boards a lot easier by roughly cutting them to size, leaving a couple extra inches to deal with planing snipe and cracks in the ends of the boards.
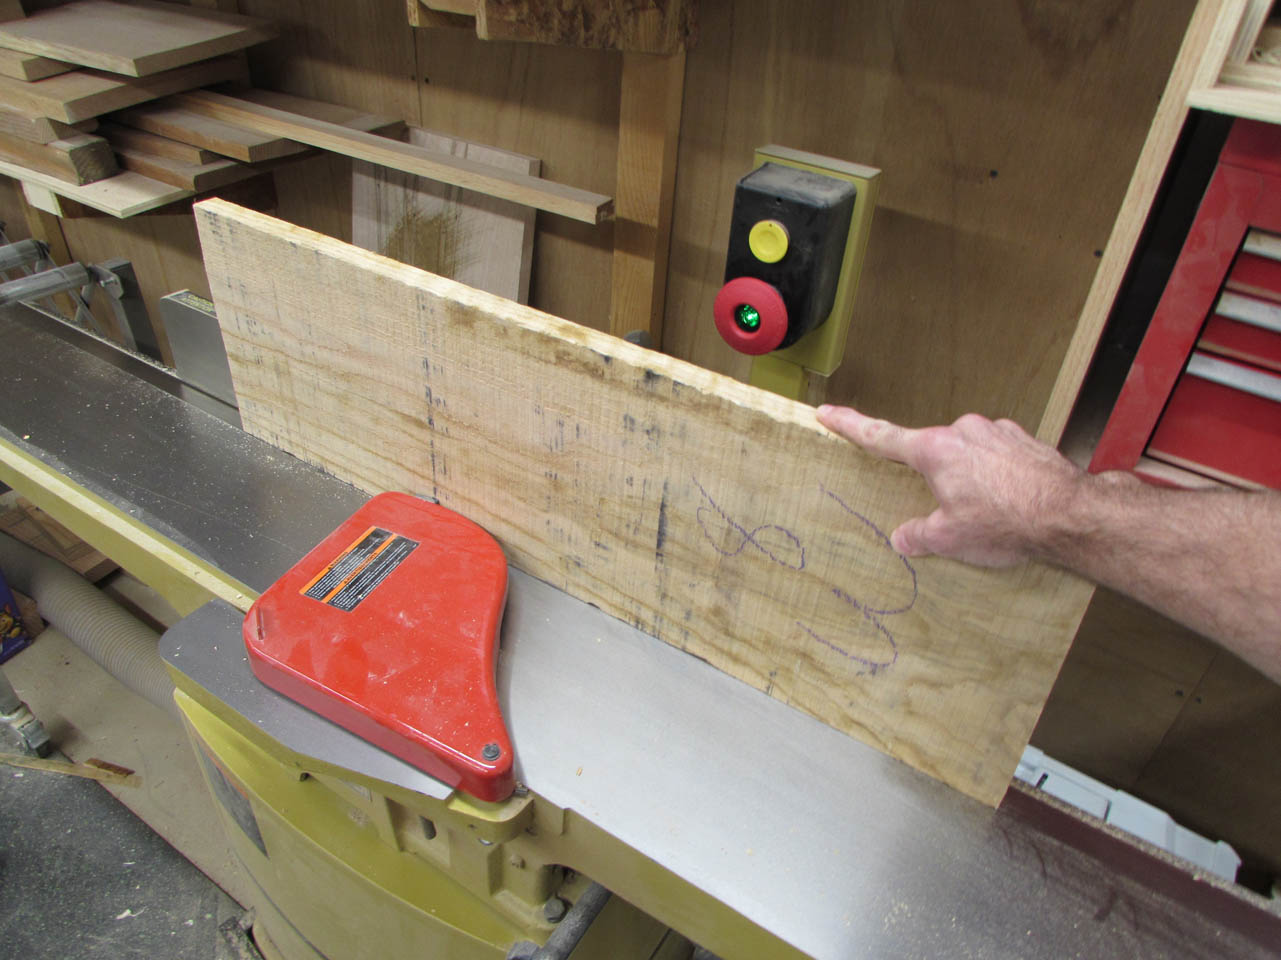
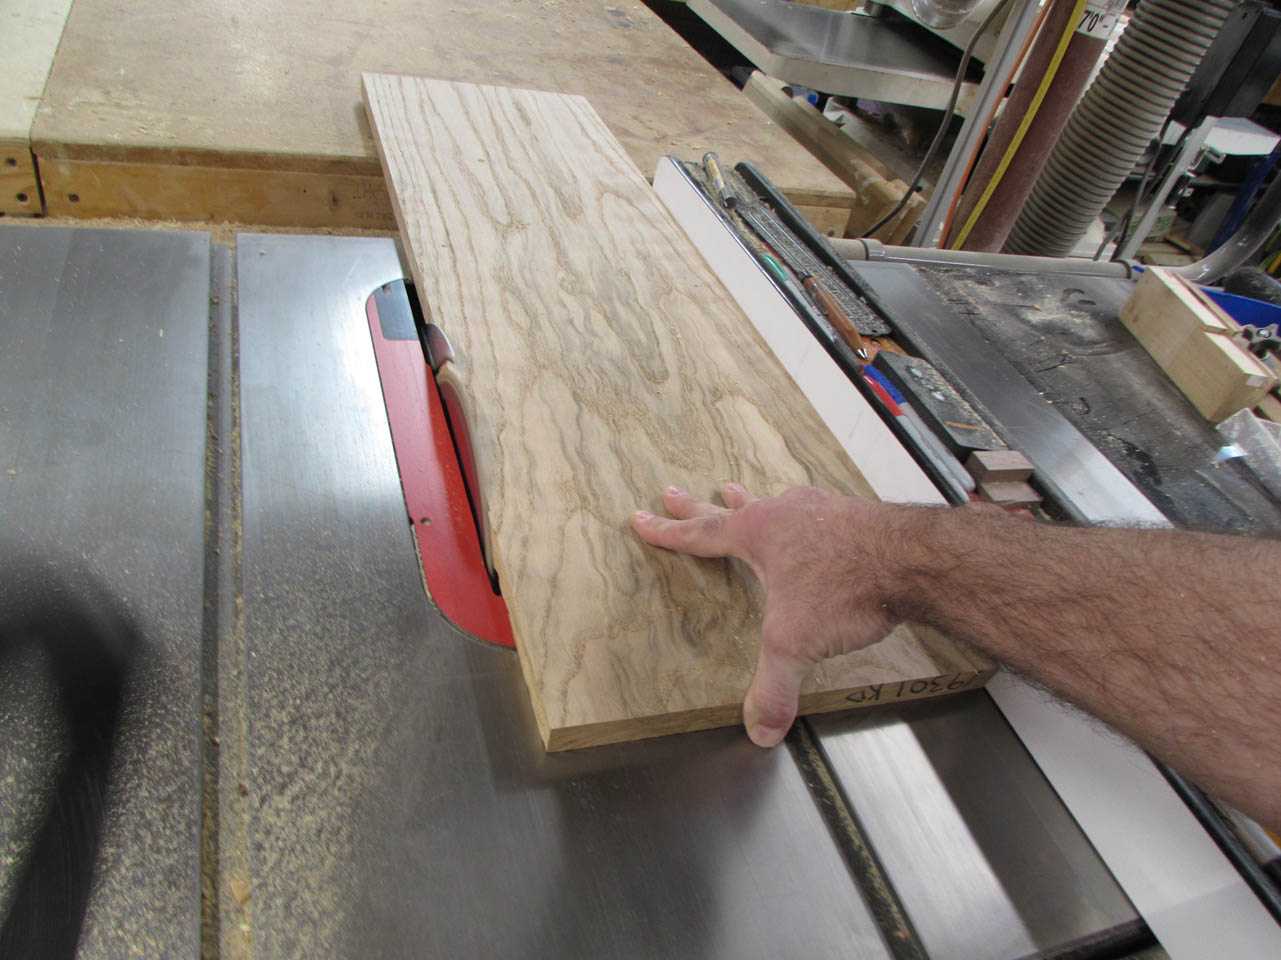
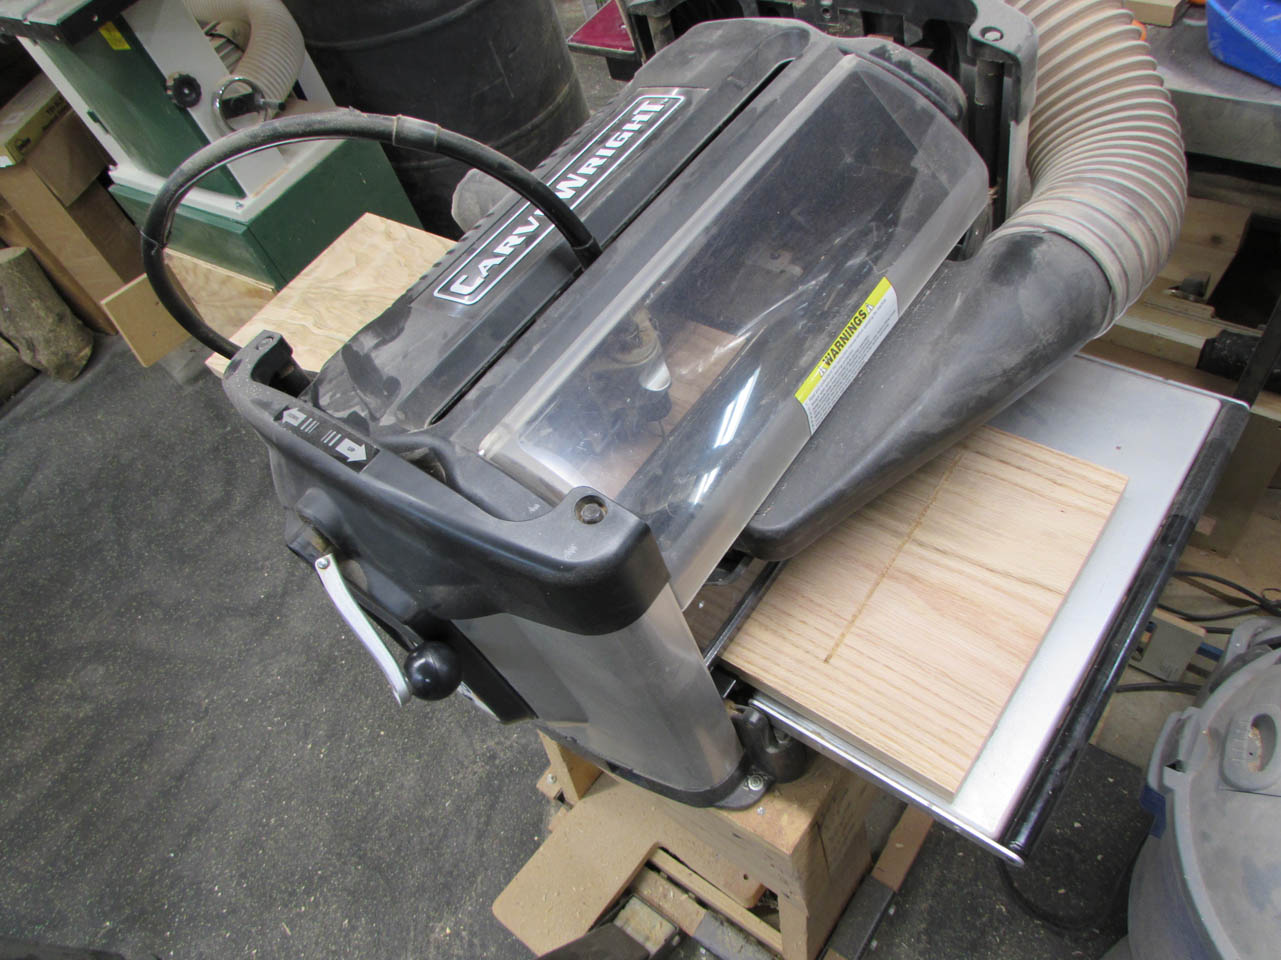
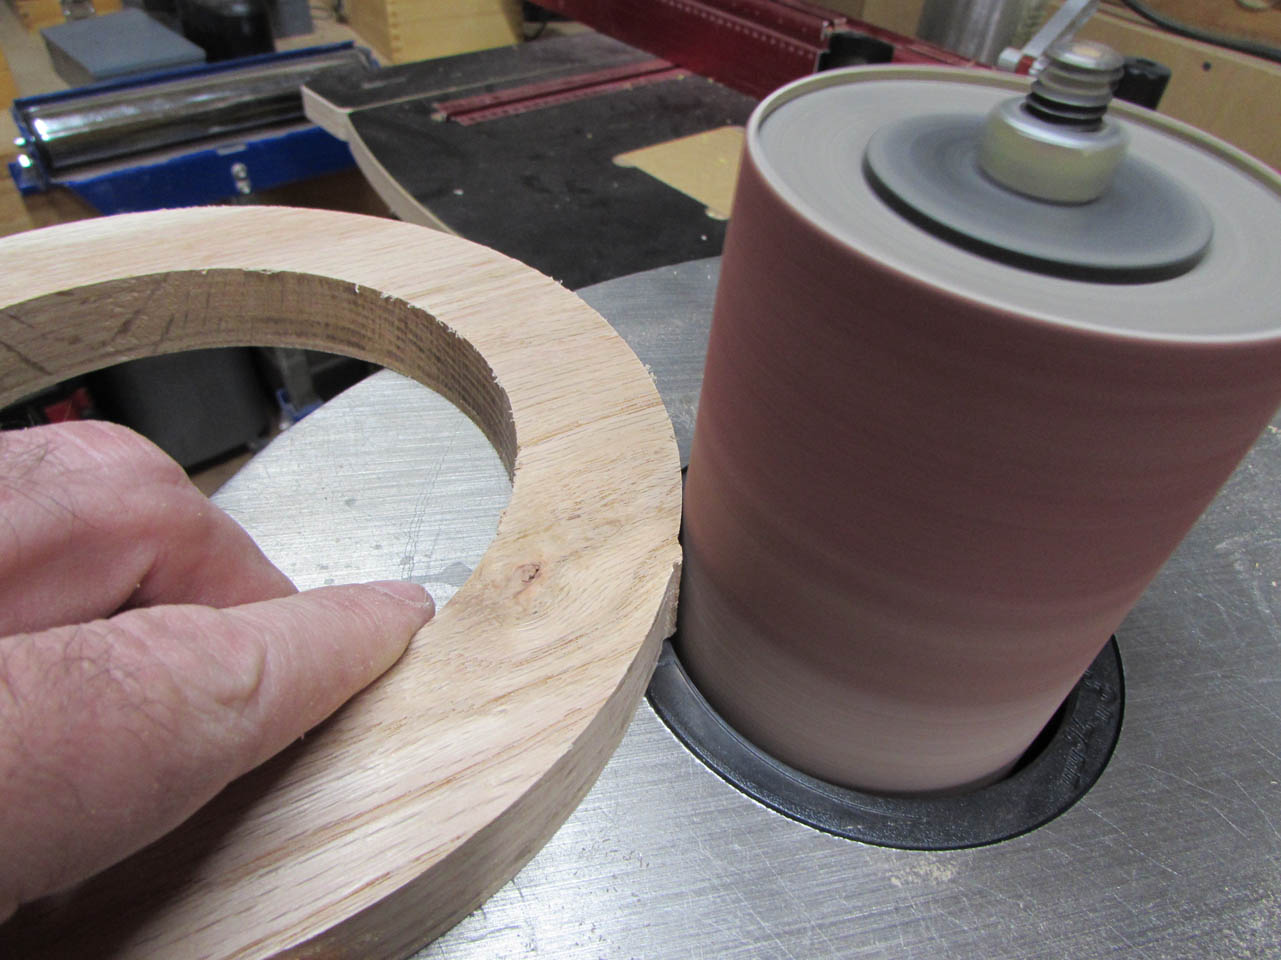
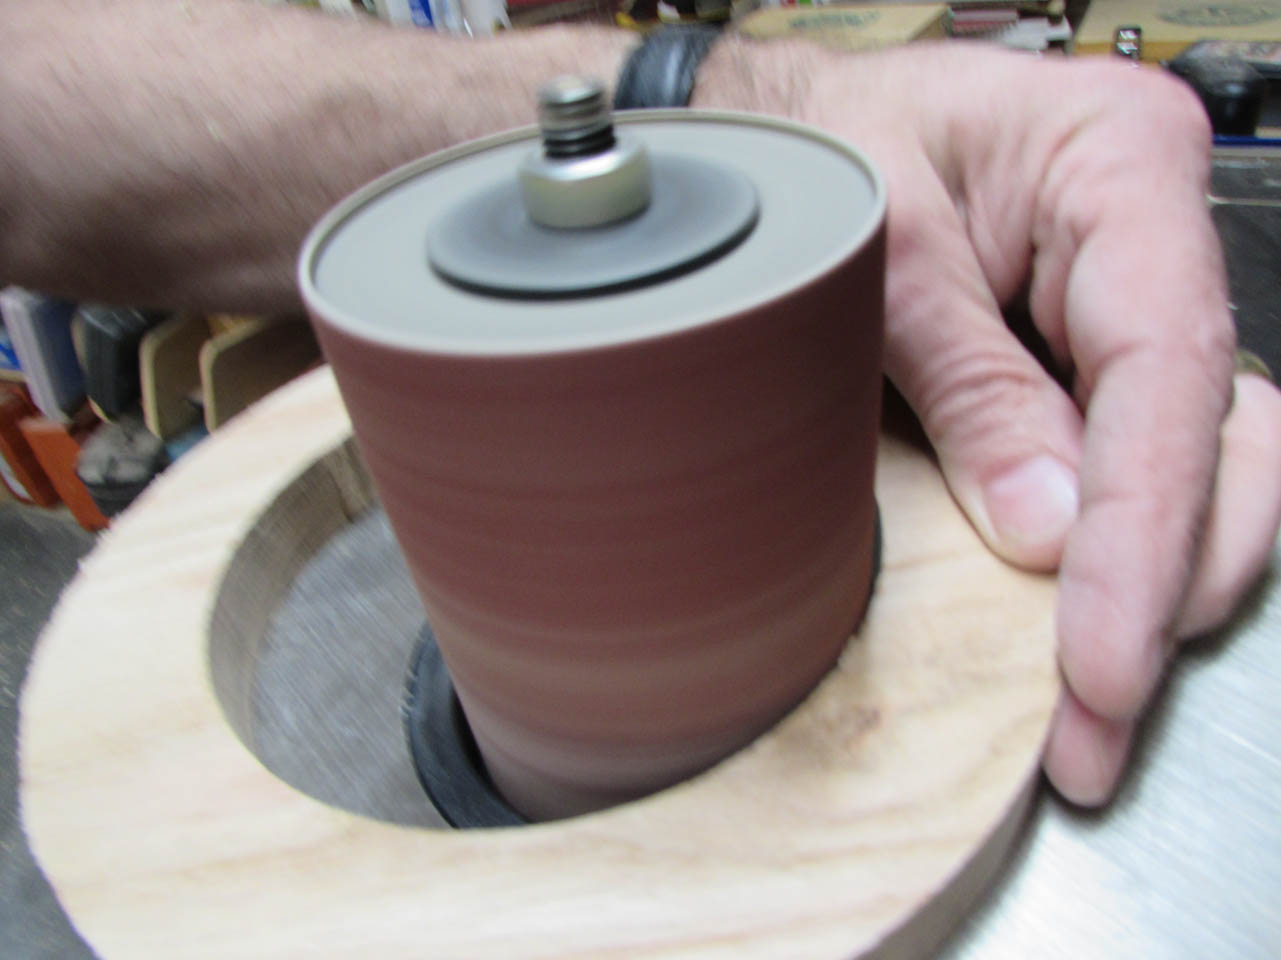
The most difficult part of this build will be creating the bowls so I decided to start with them. The first step is to square up the edge of the board on the jointer, then run it through the planer to flatten the faces.
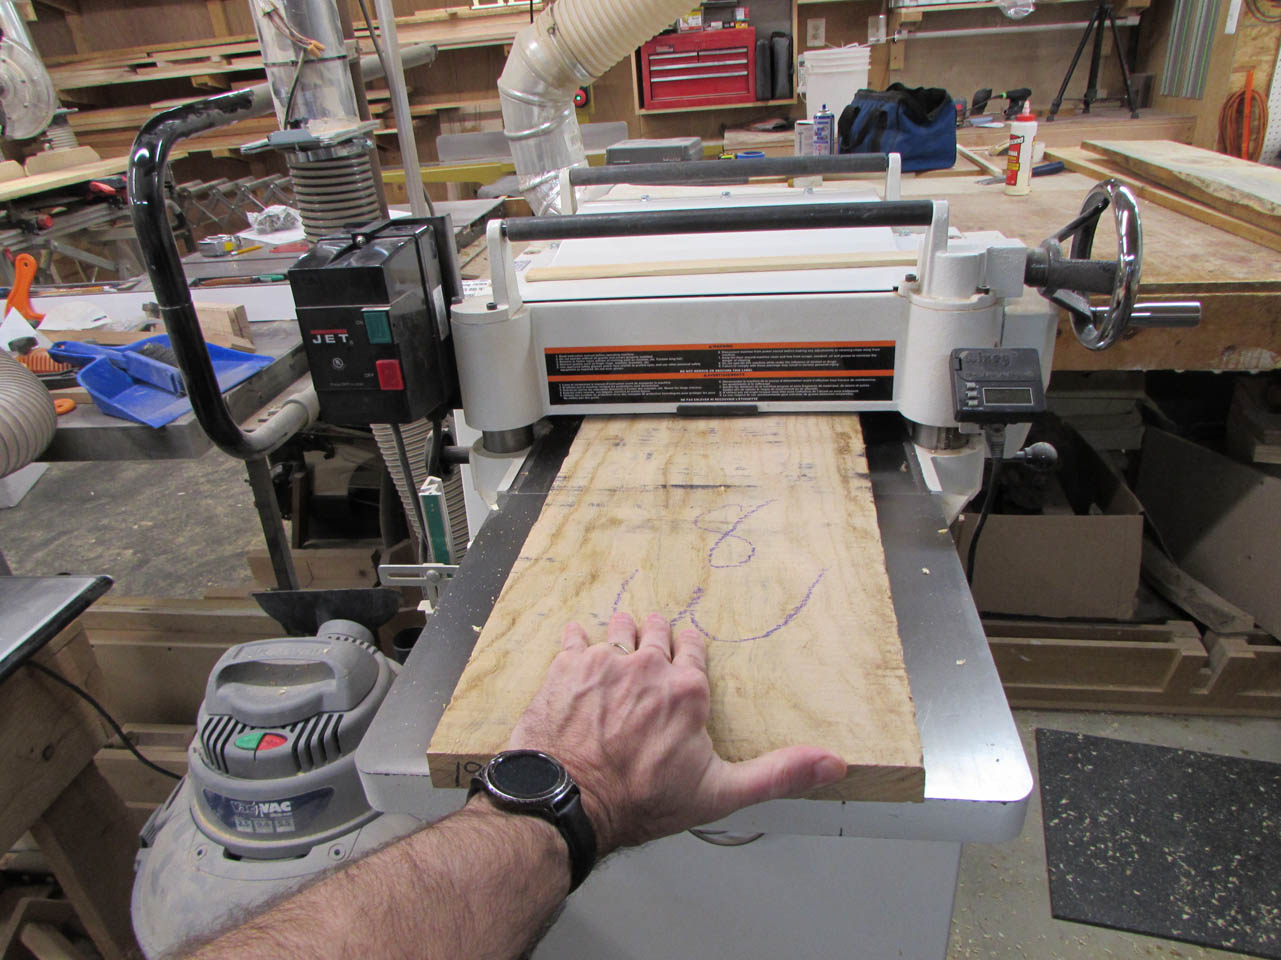
Once the faces are cleaned up, I cut the board to the final width on the table saw.
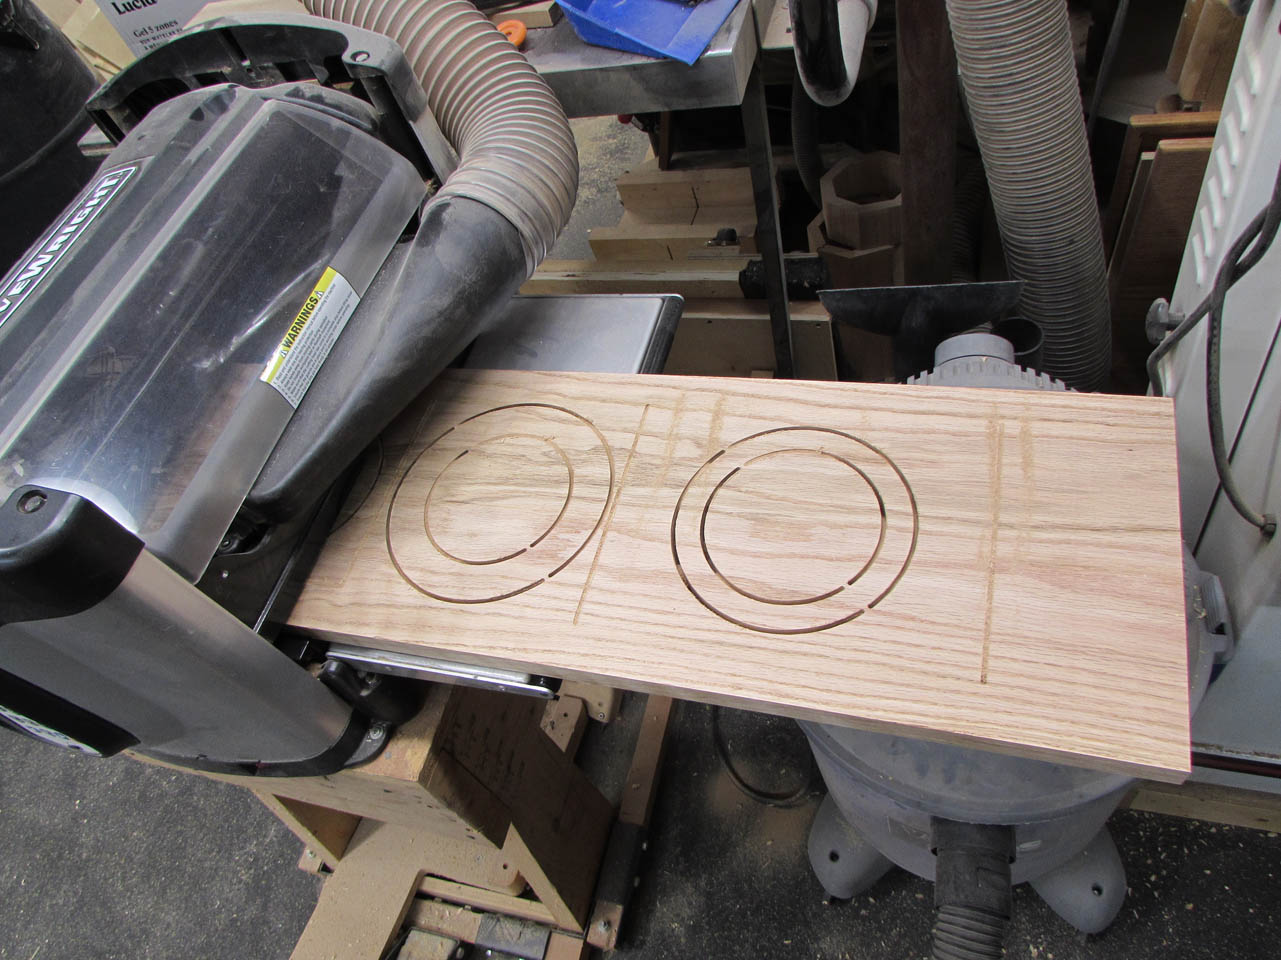
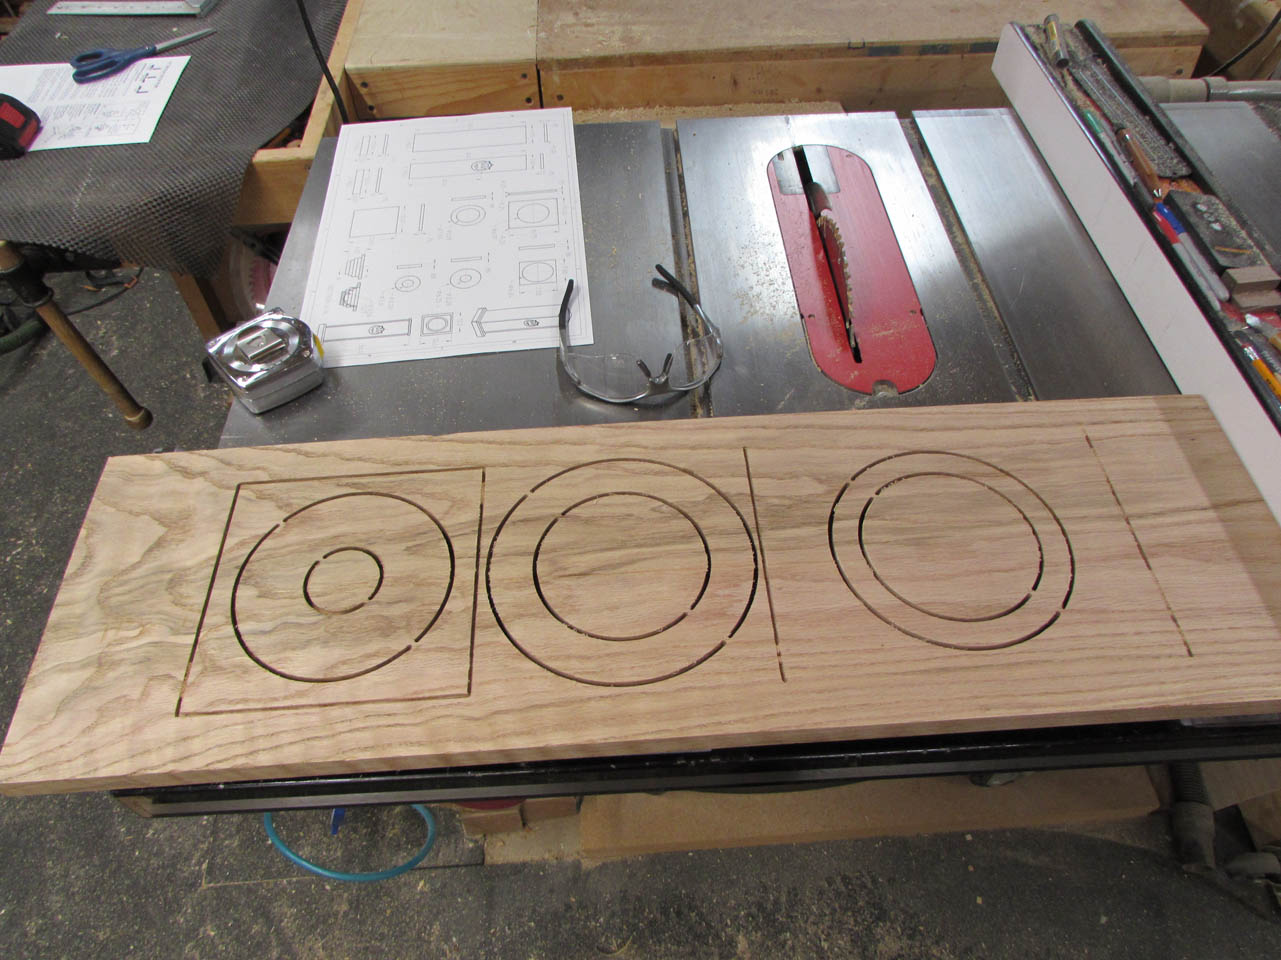
I created a program for my CNC that will cut out all of the layers of the bowl, nesting the circles where possible to save wood and maintain similar grain color and density.
When the carve was complete, I cut away the tabs that held everything together while the machine finished carving.
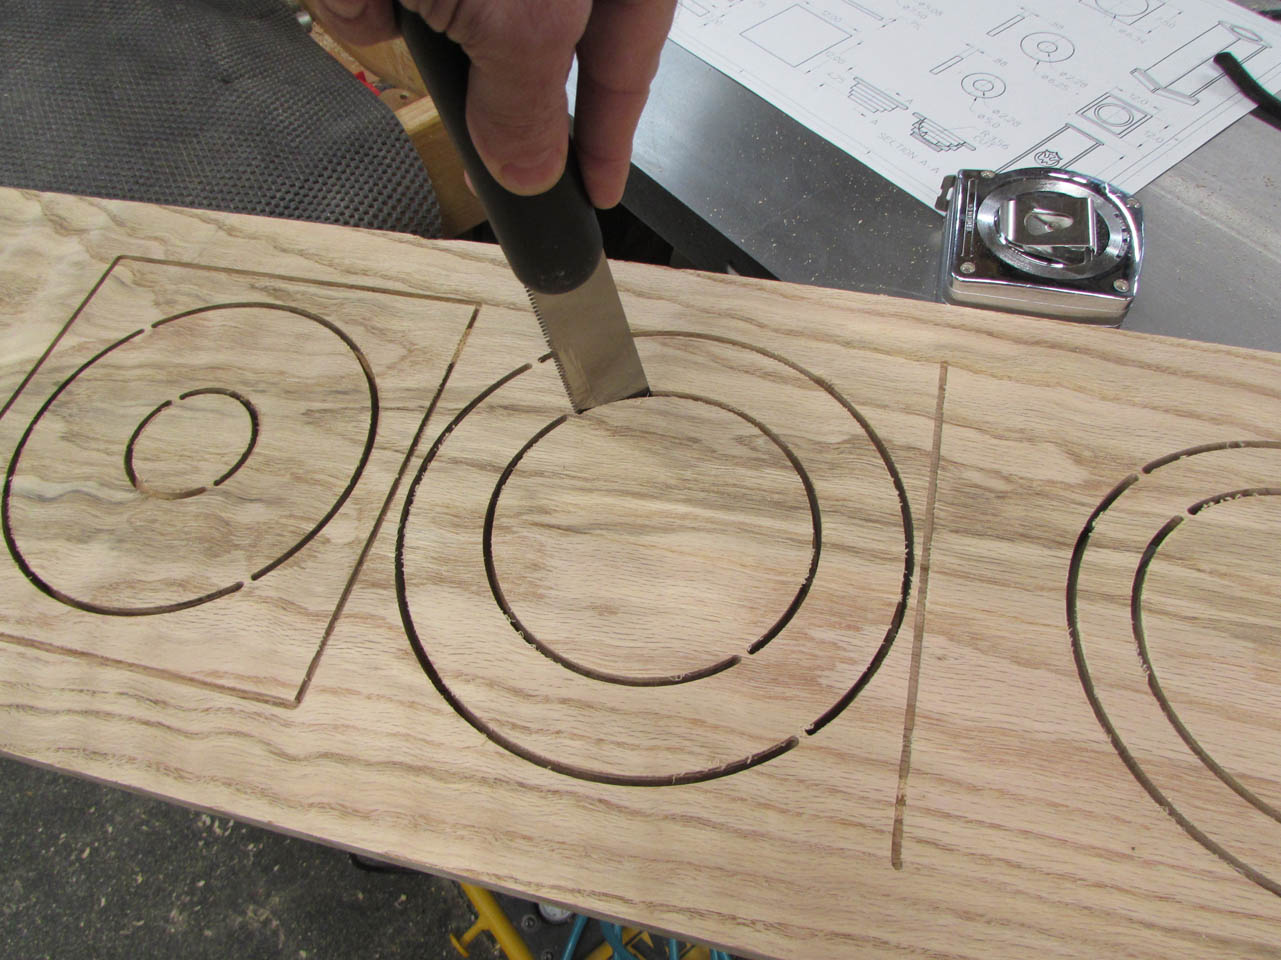

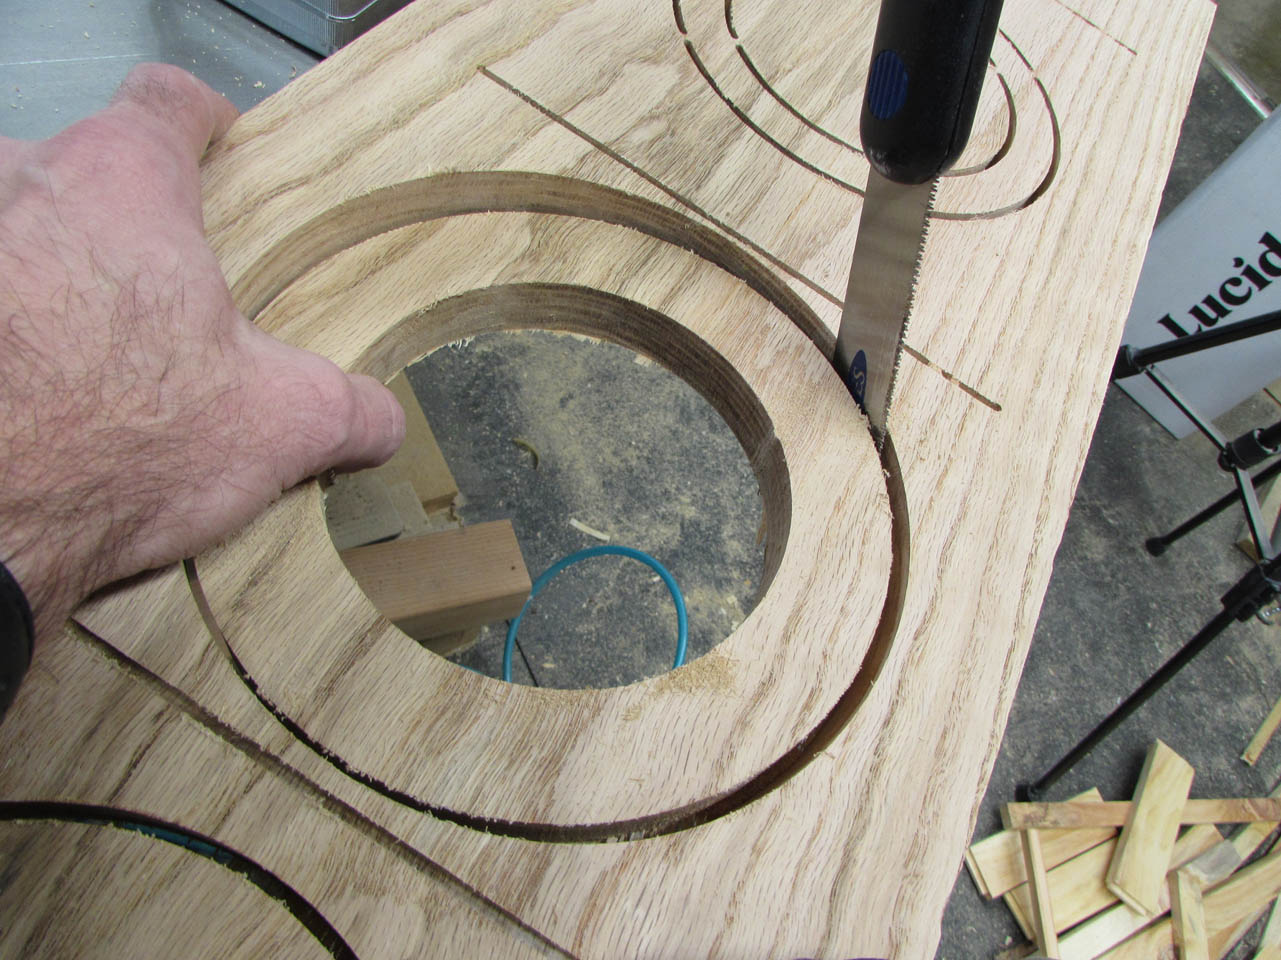
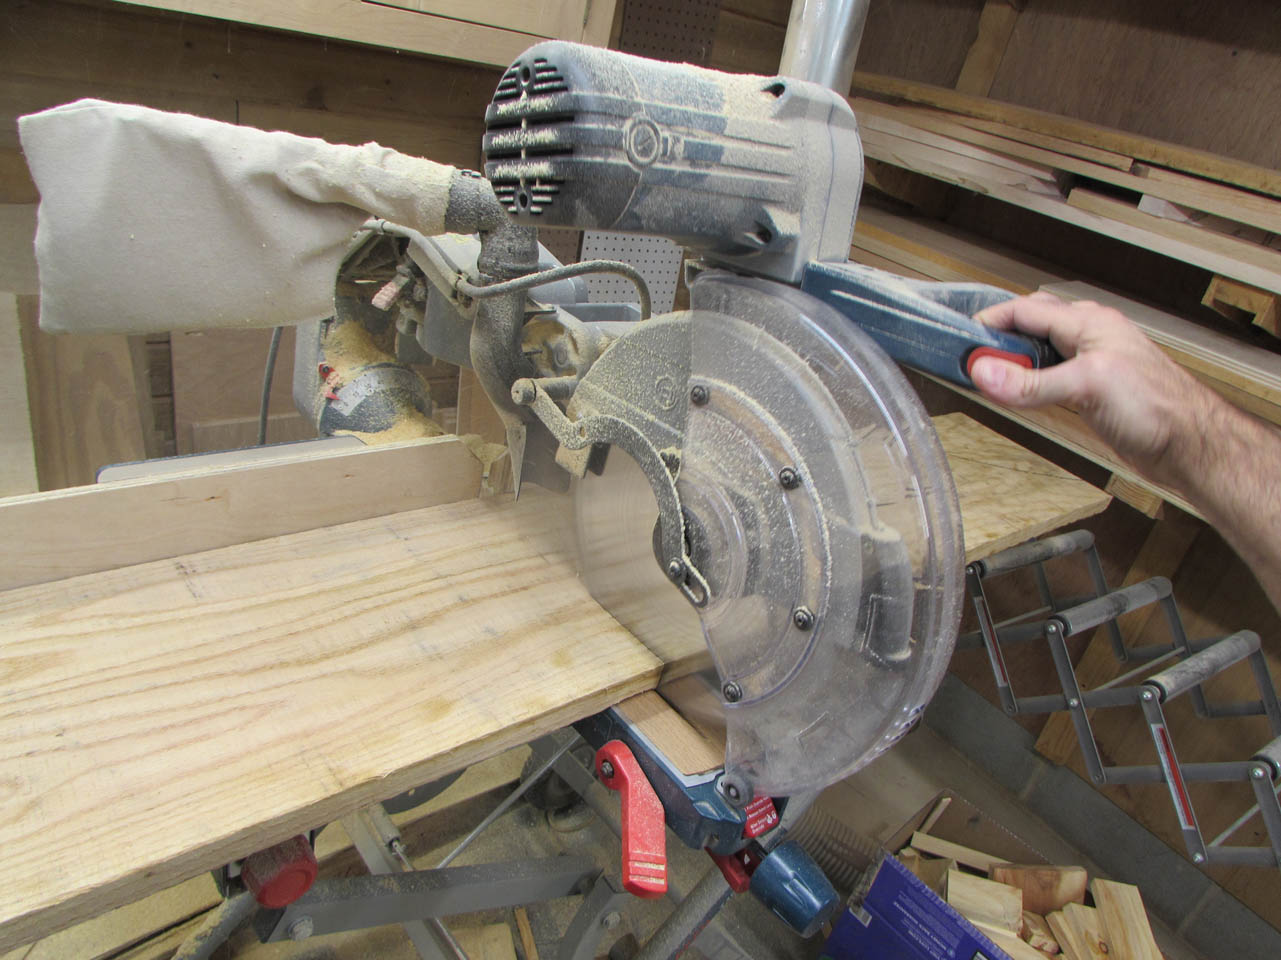
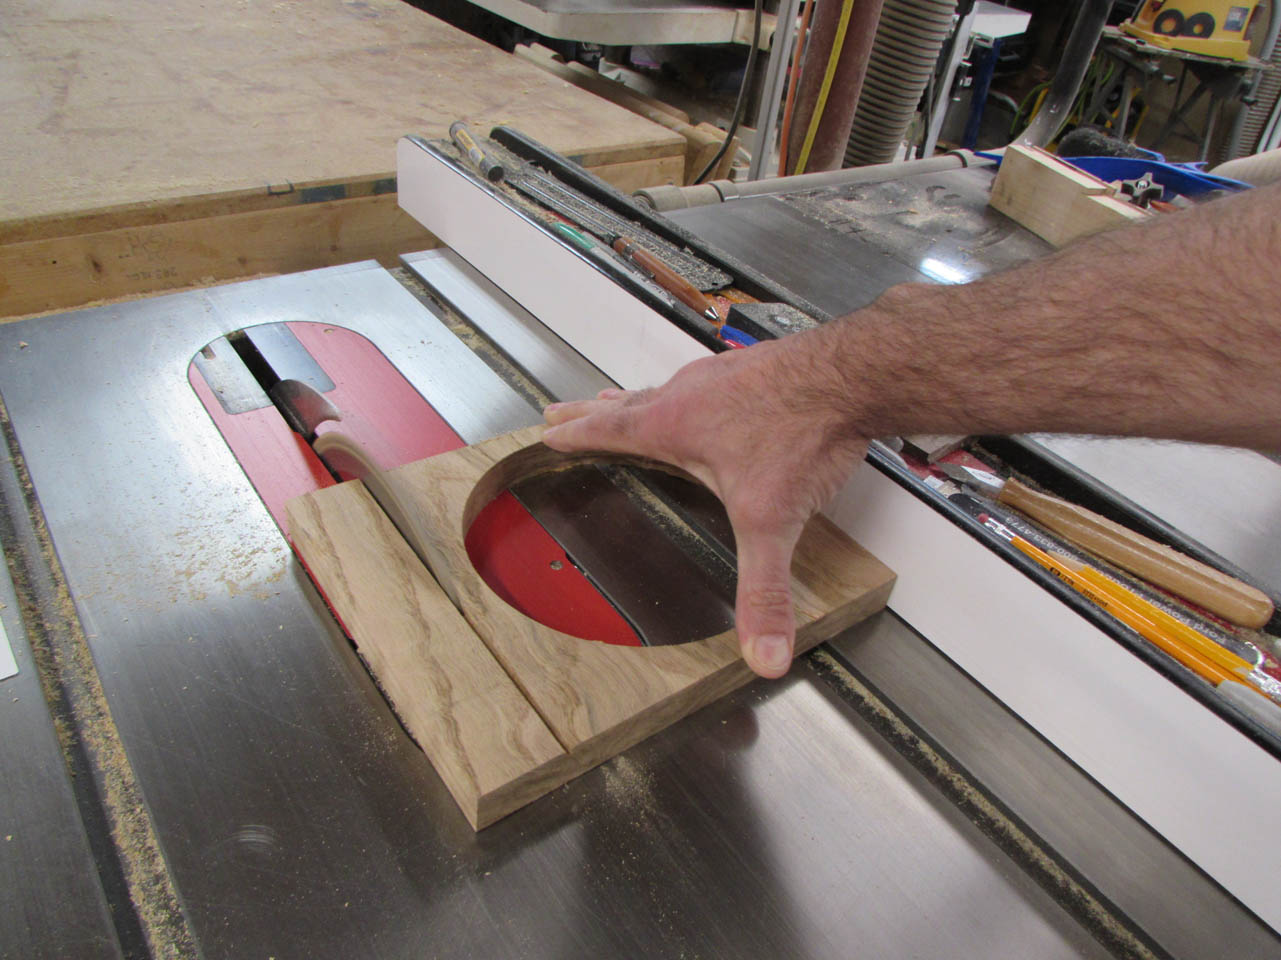
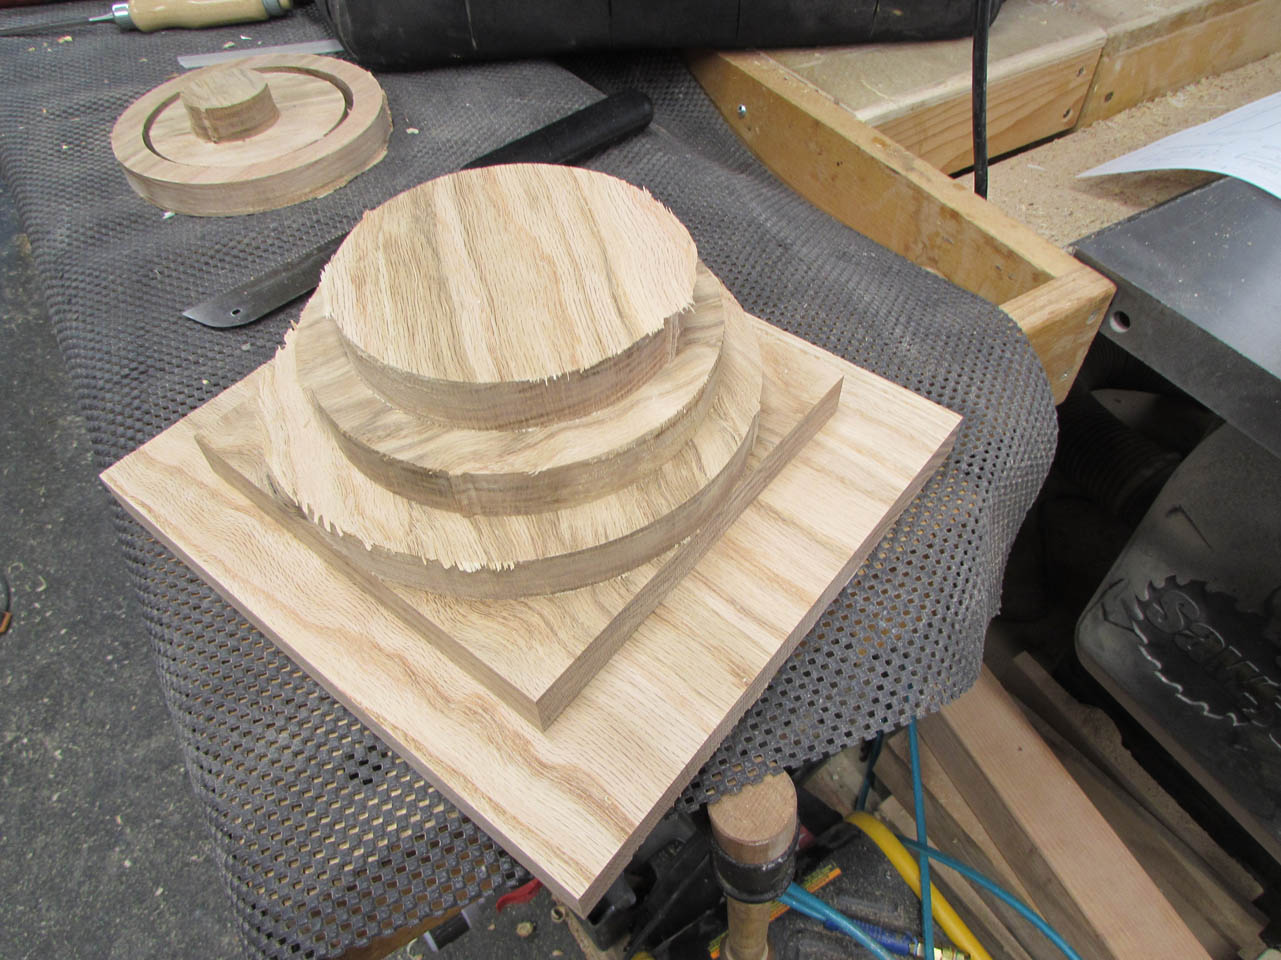
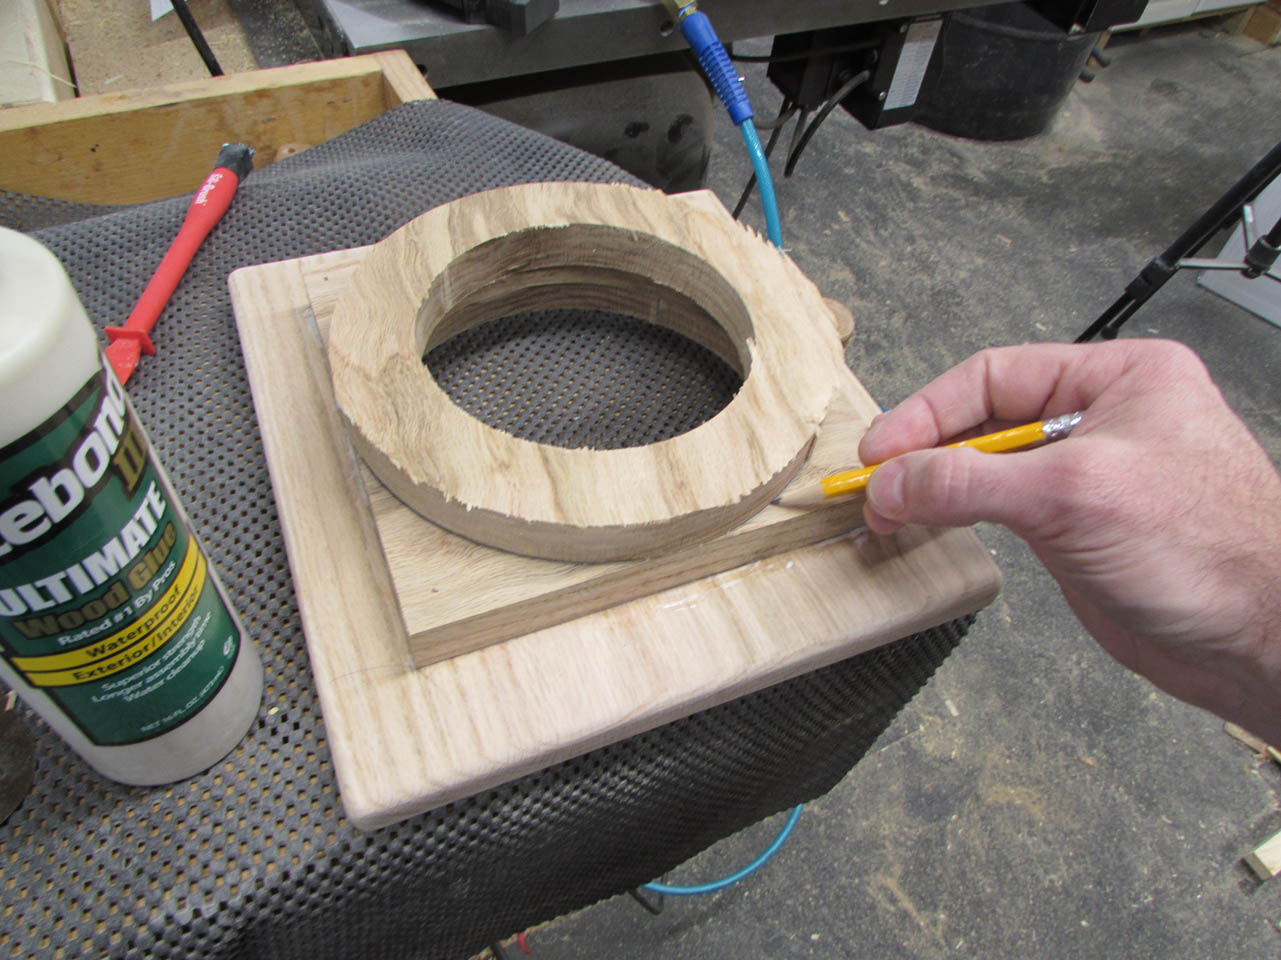
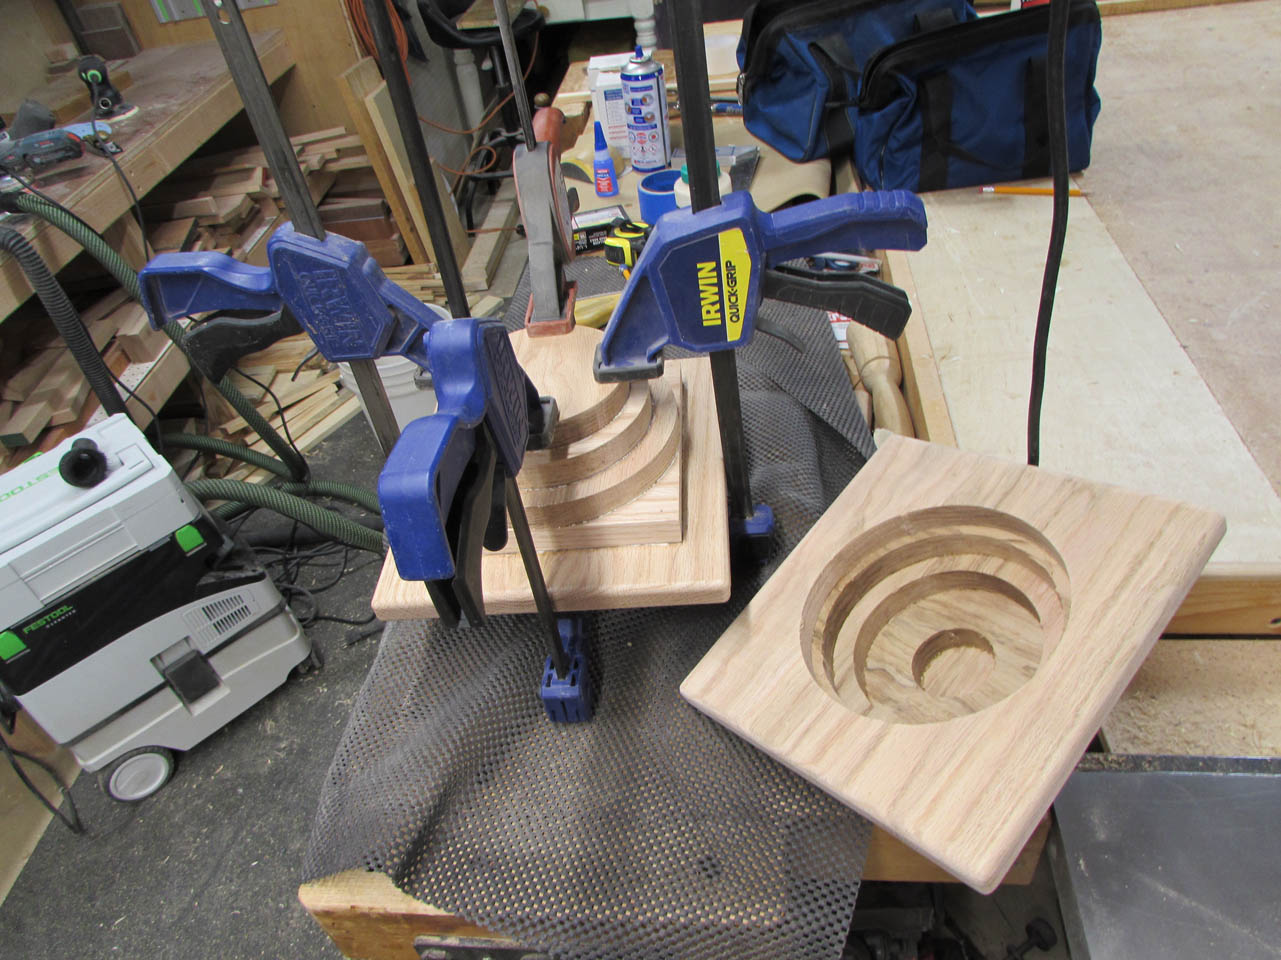
Once all of the circles were cut out, I needed to finish cutting the two square components.
I had the CNC carve a line, 1/8″ deep so that I knew where to cut.
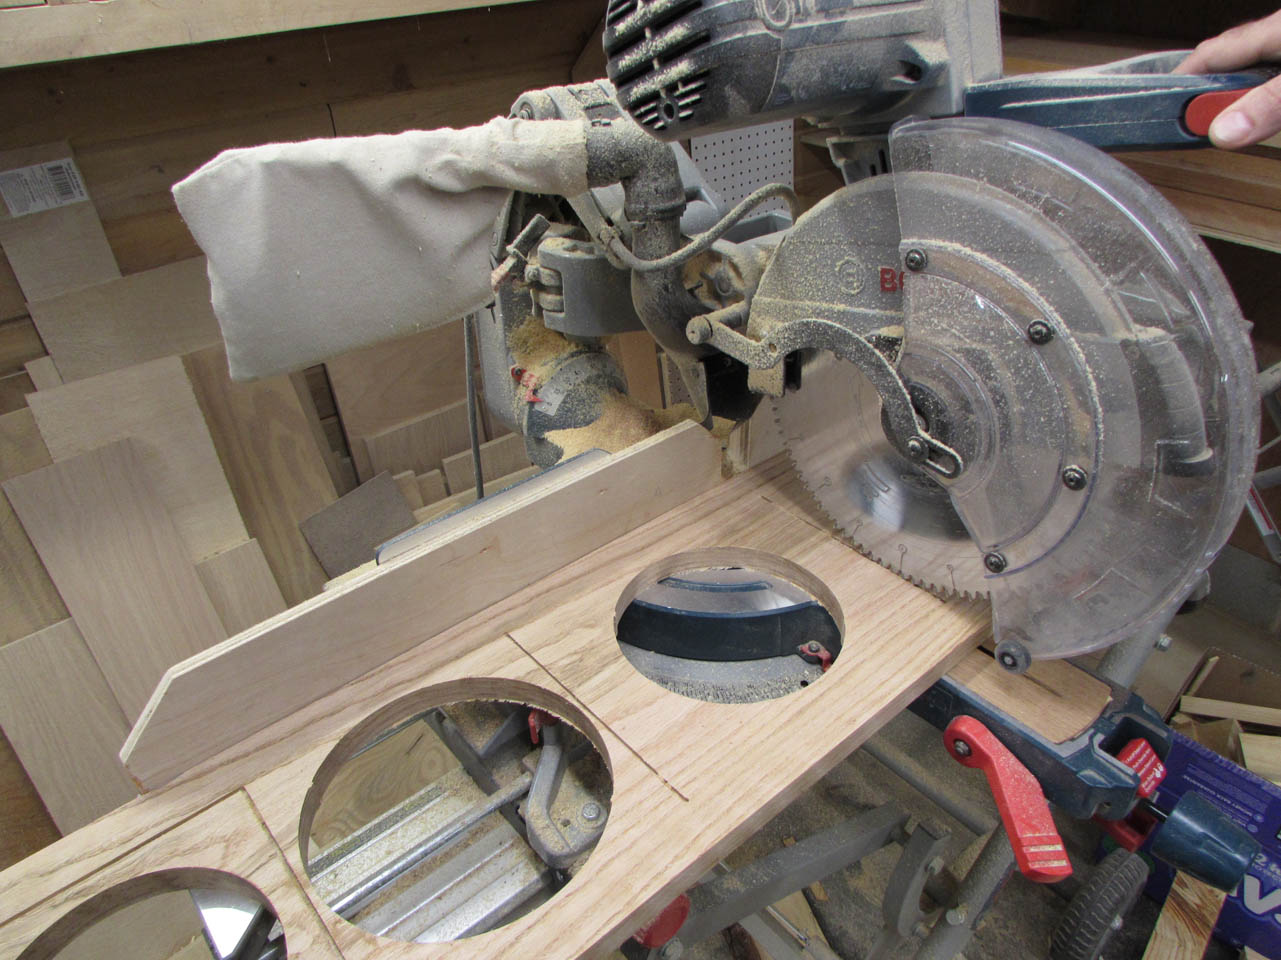
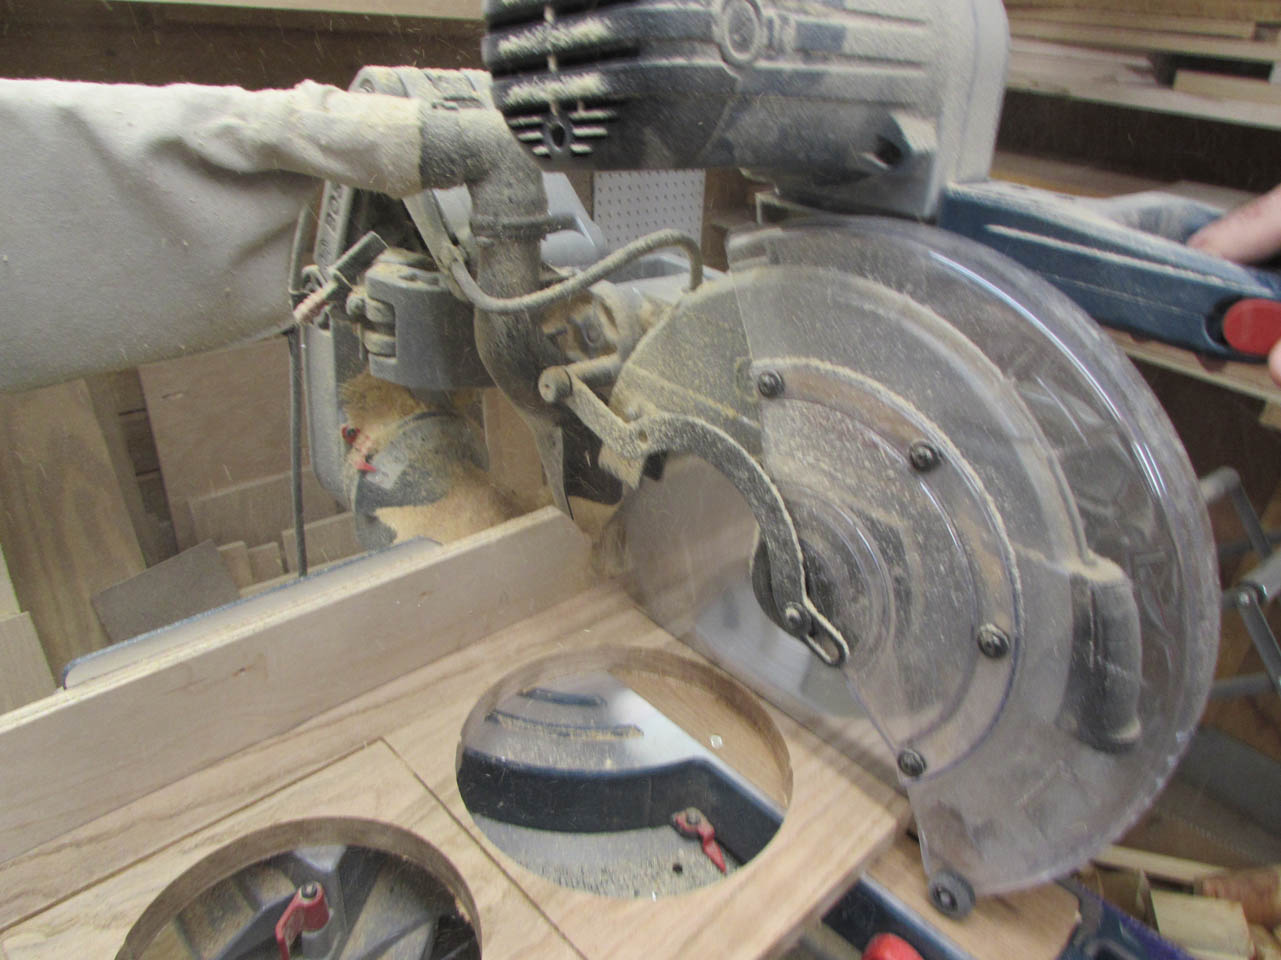
I used a combination of the miter saw and the table saw to cut my squares exactly to size.
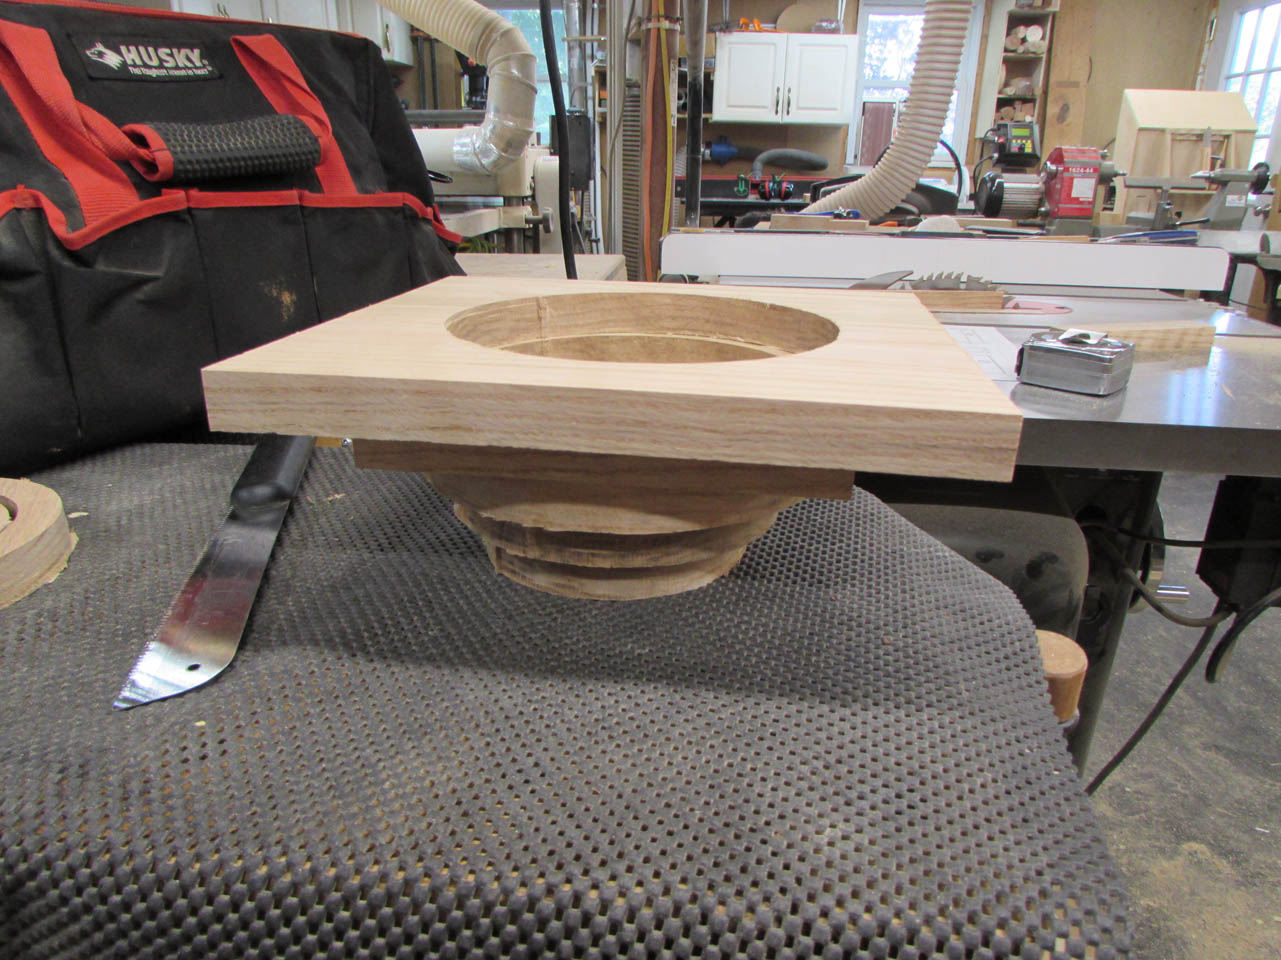
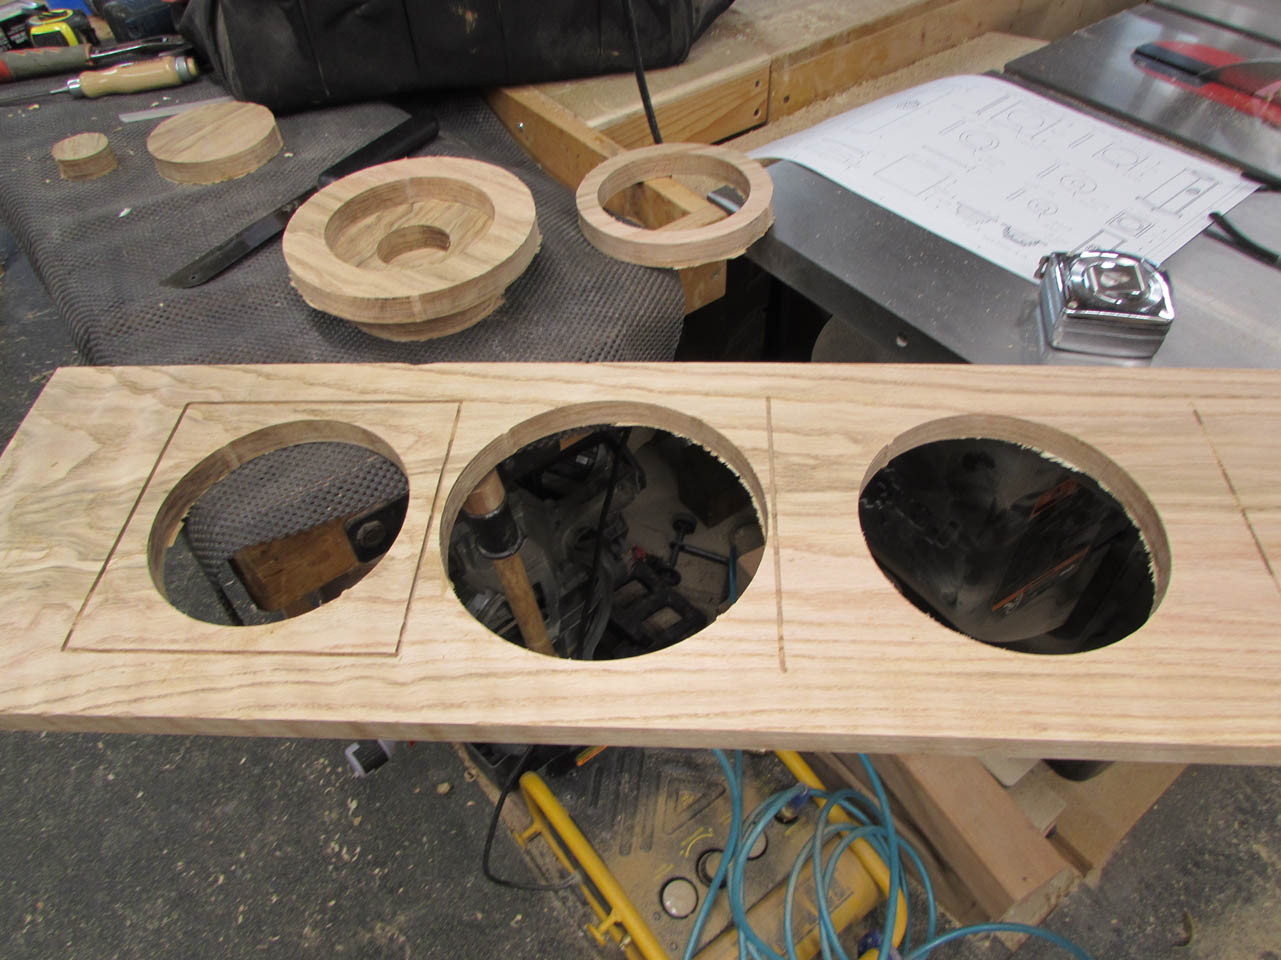
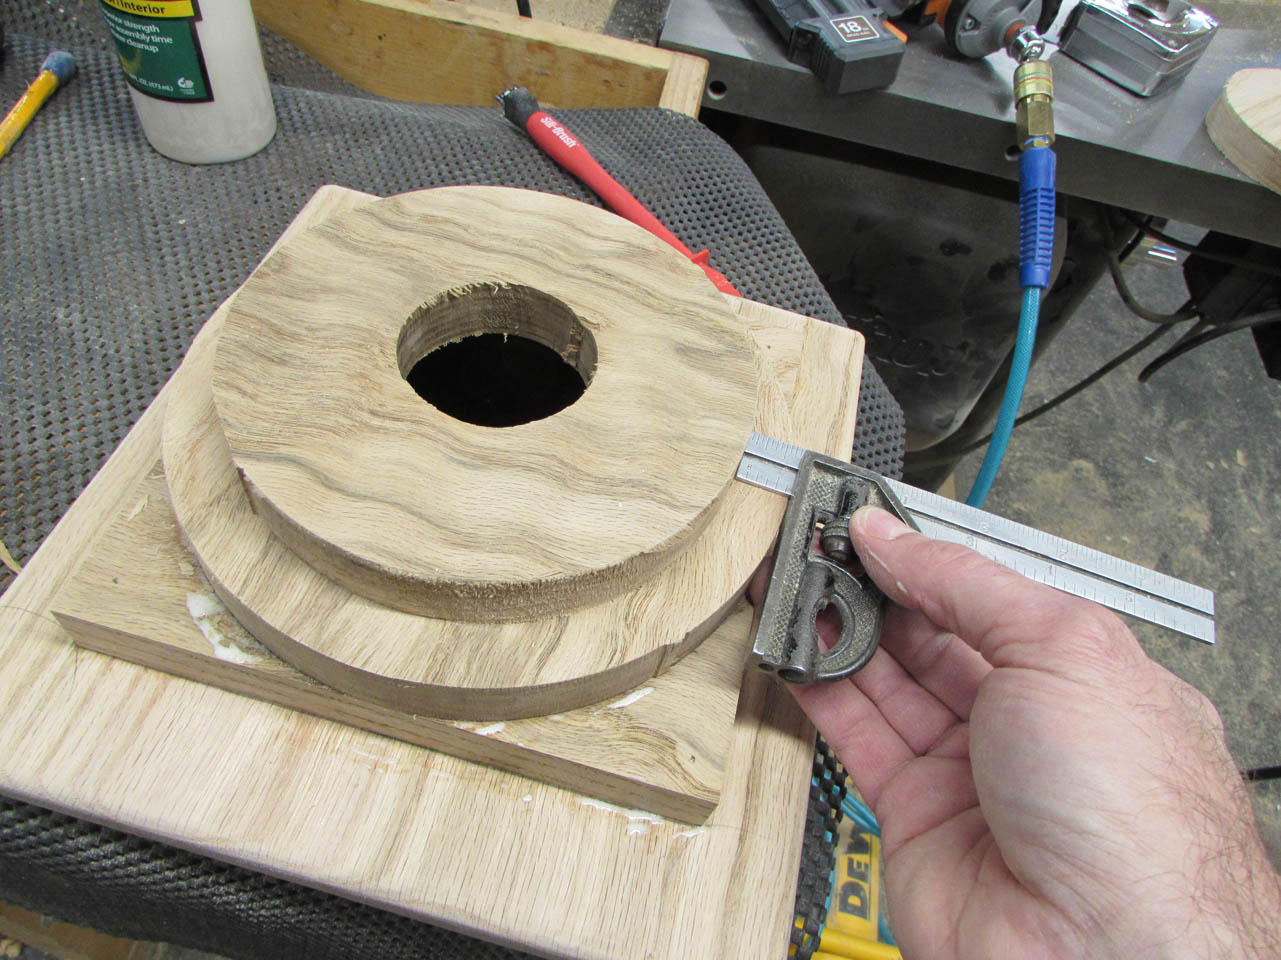
Here is the final result.
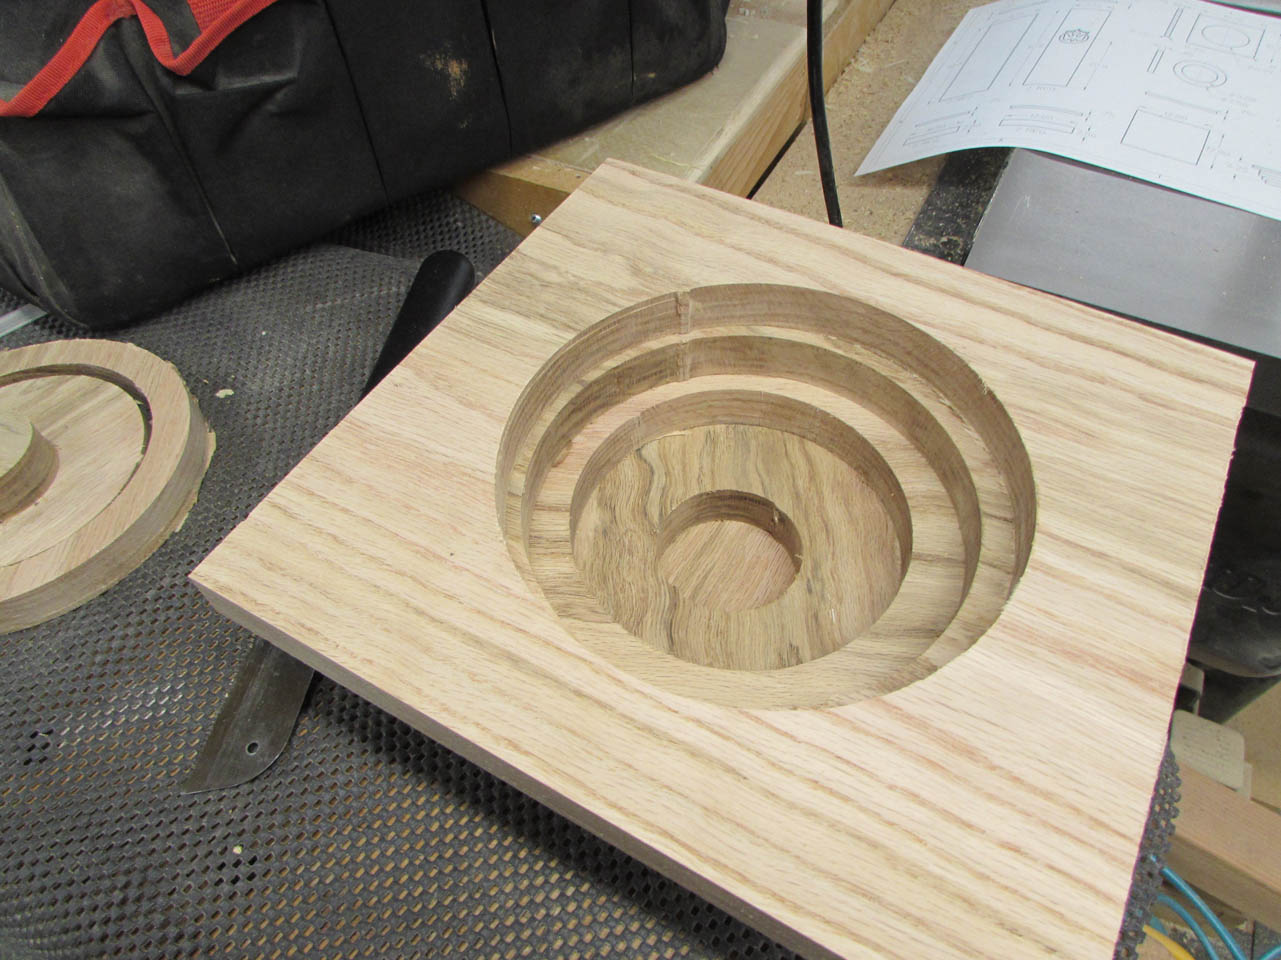
It doesn’t look like a bowl yet, but this will make cutting the bowl out, on the lathe, a lot easier.
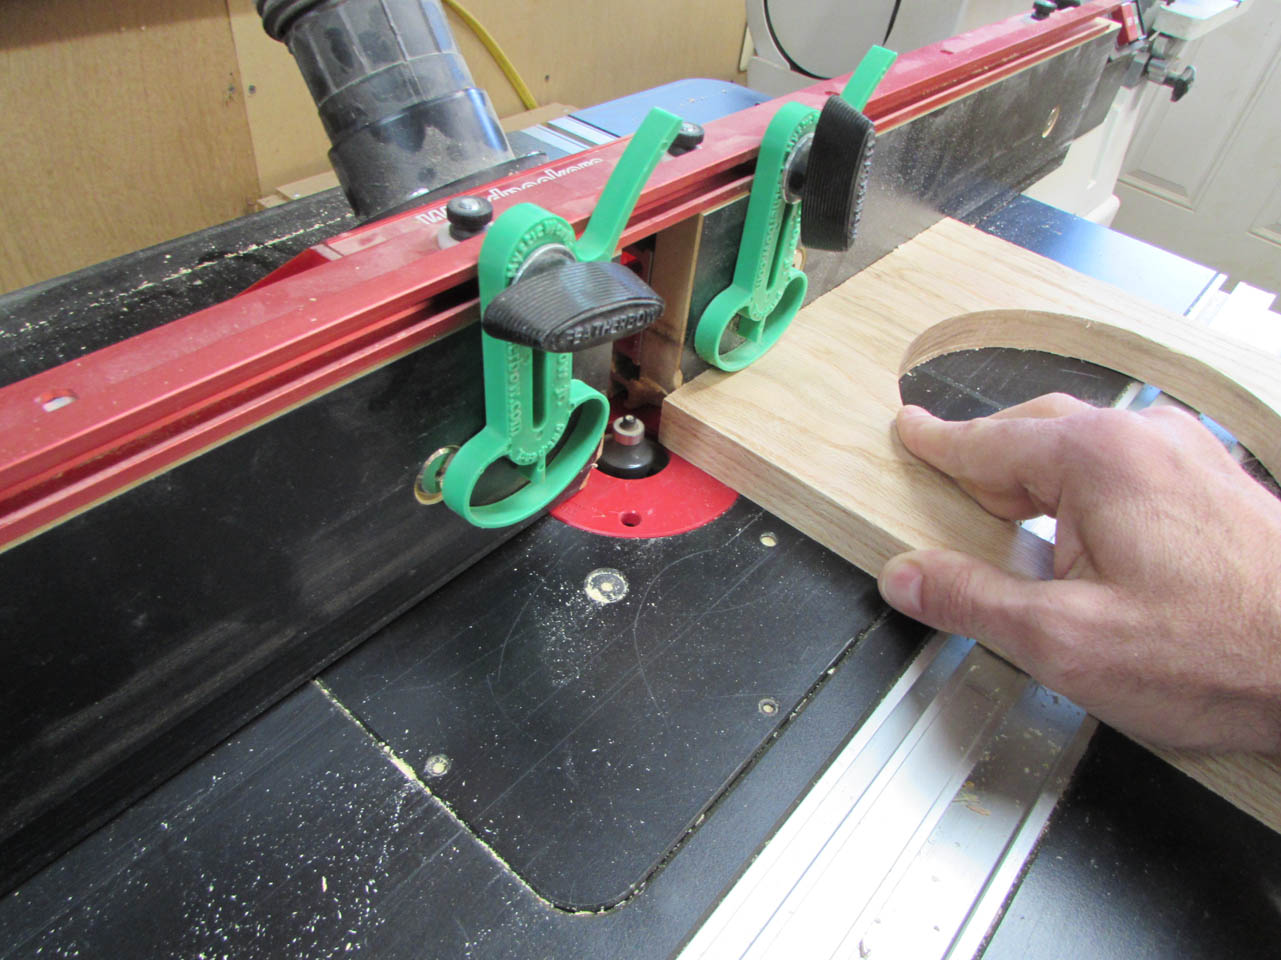
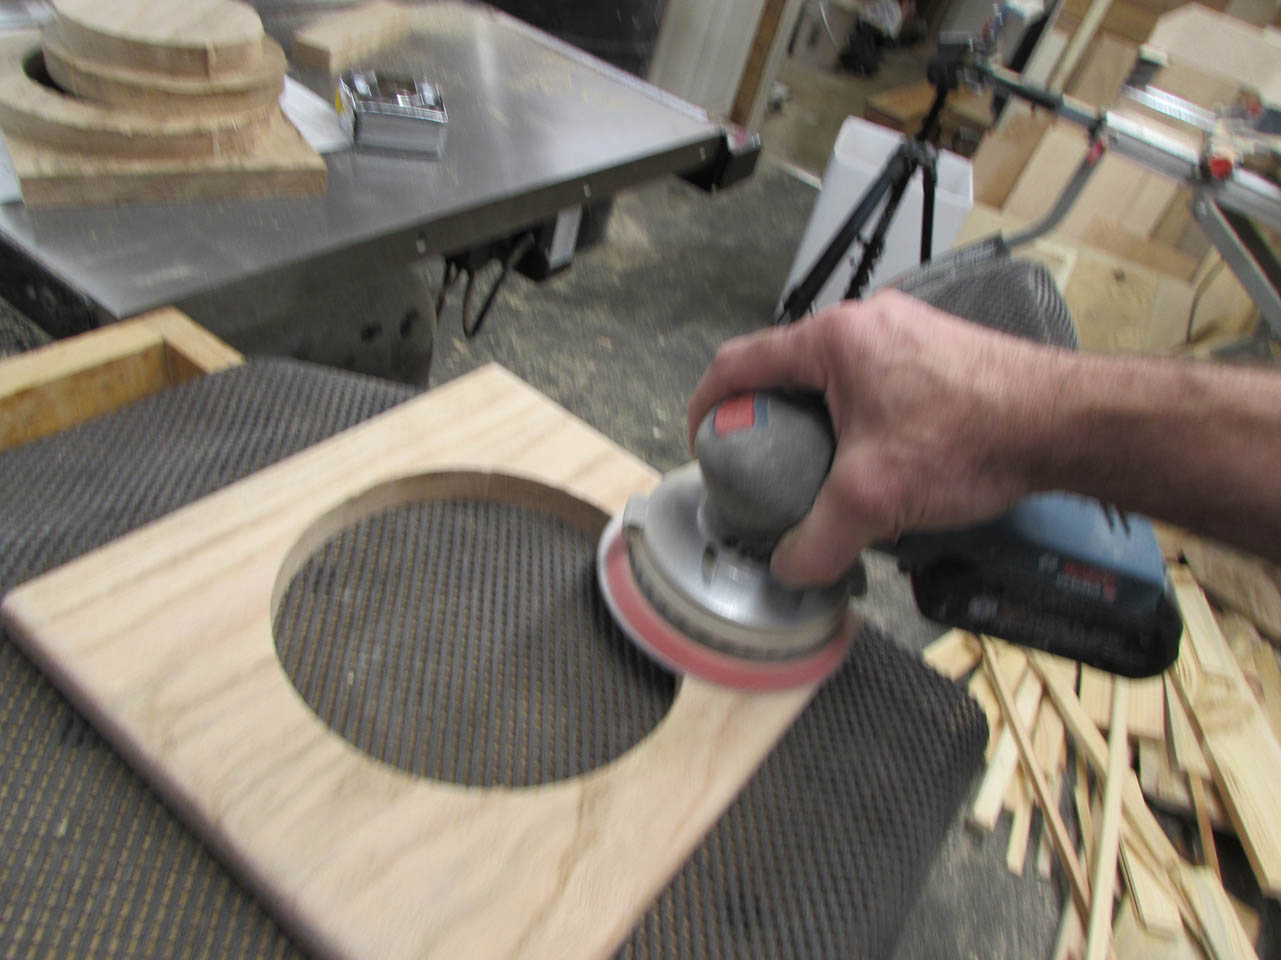
Before I can glue up the all the pieces, I need to round over the edges of the top piece.

I used a 1/4″ round-over bit on my router table and took my time trimming every edge.
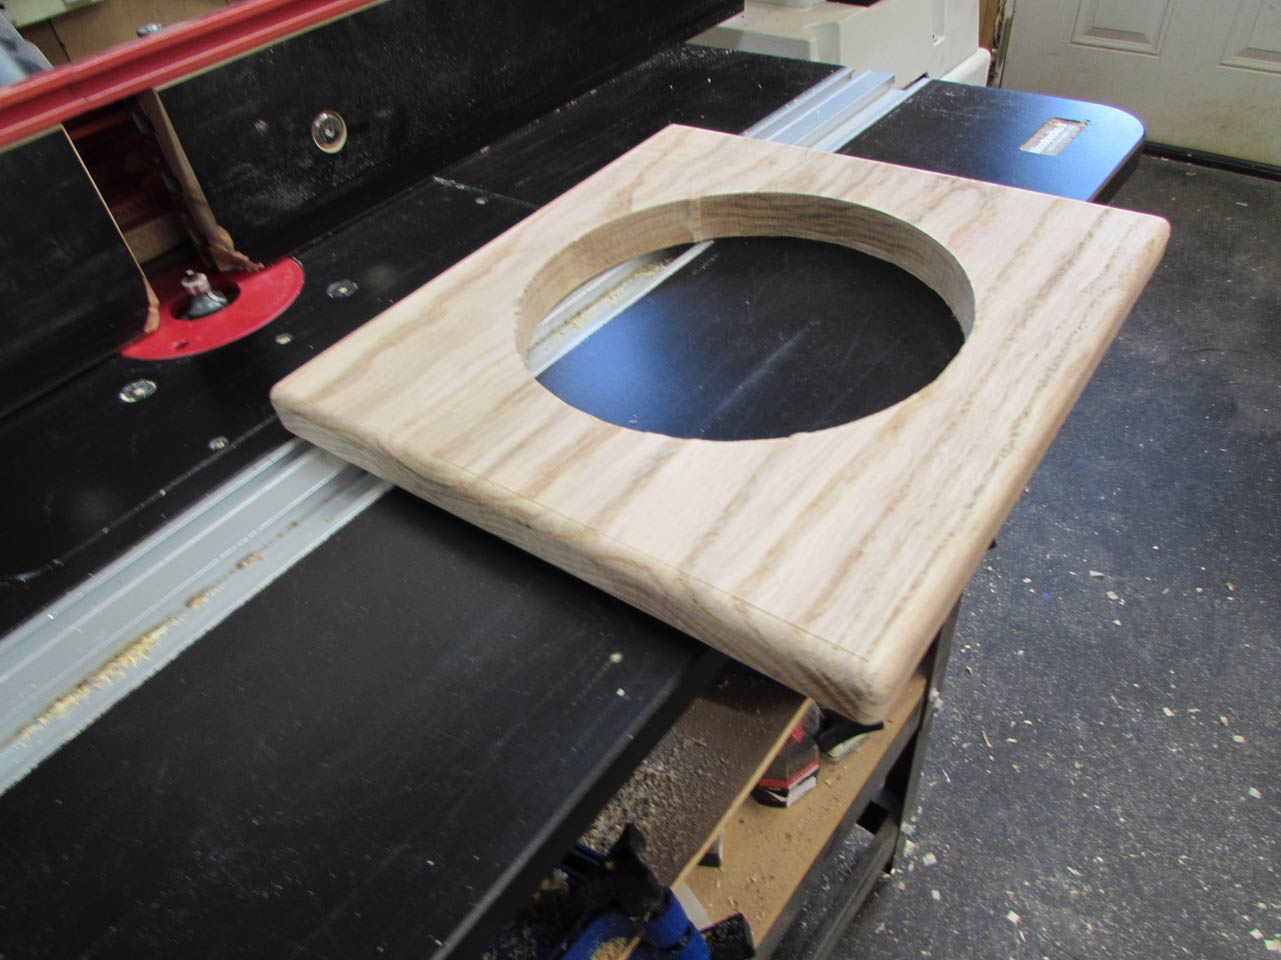
Then I sanded all of the surfaces. This is way easier to do now, before everything gets all glued together.
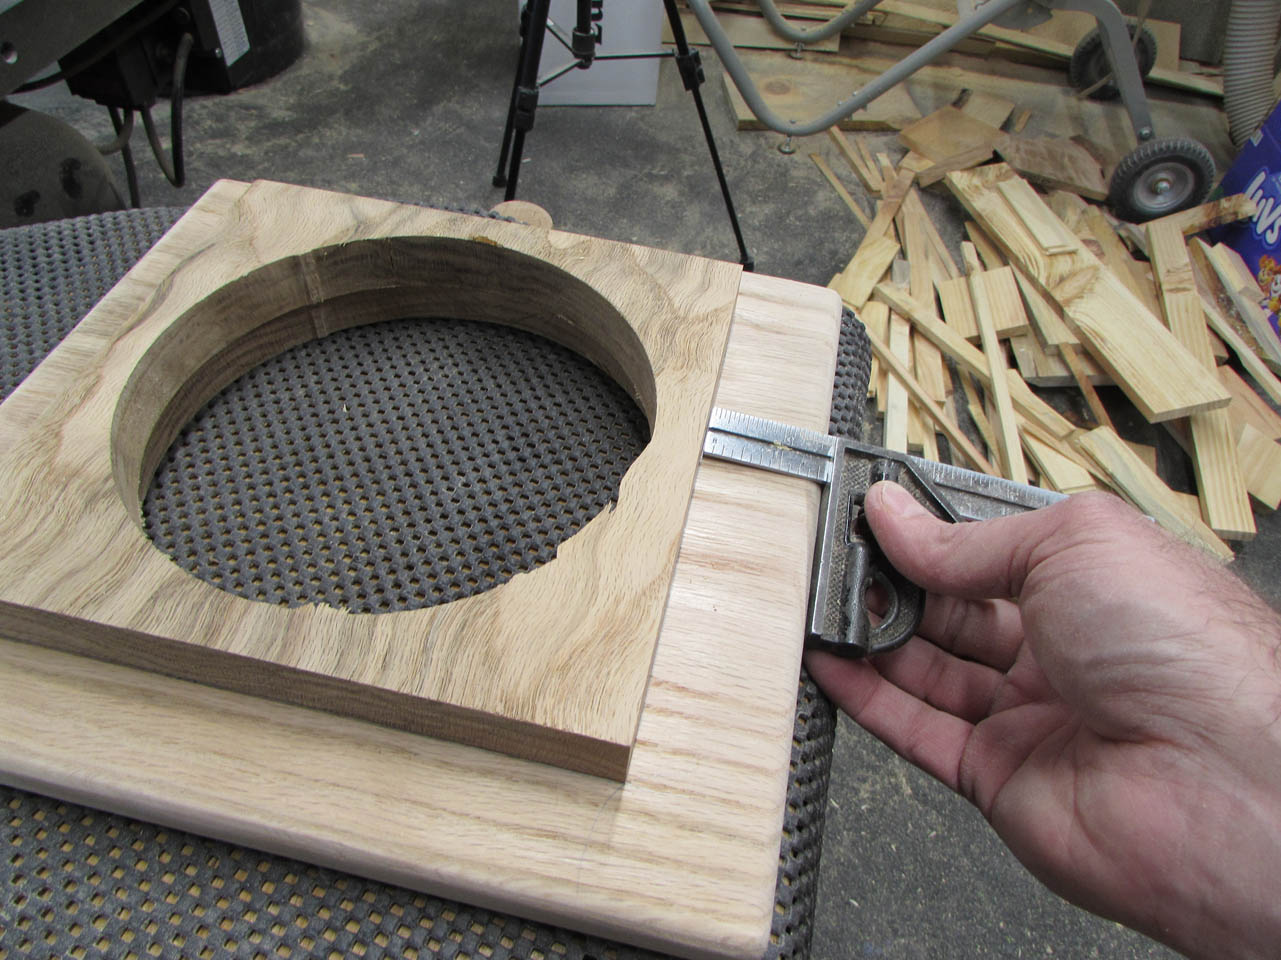
One key to the assembly is keeping each piece centered over the last. I use my combination square to set the exact distance and check along all four edges to make sure the plate is centered. Then I trace a line around the edge and remove the plate.
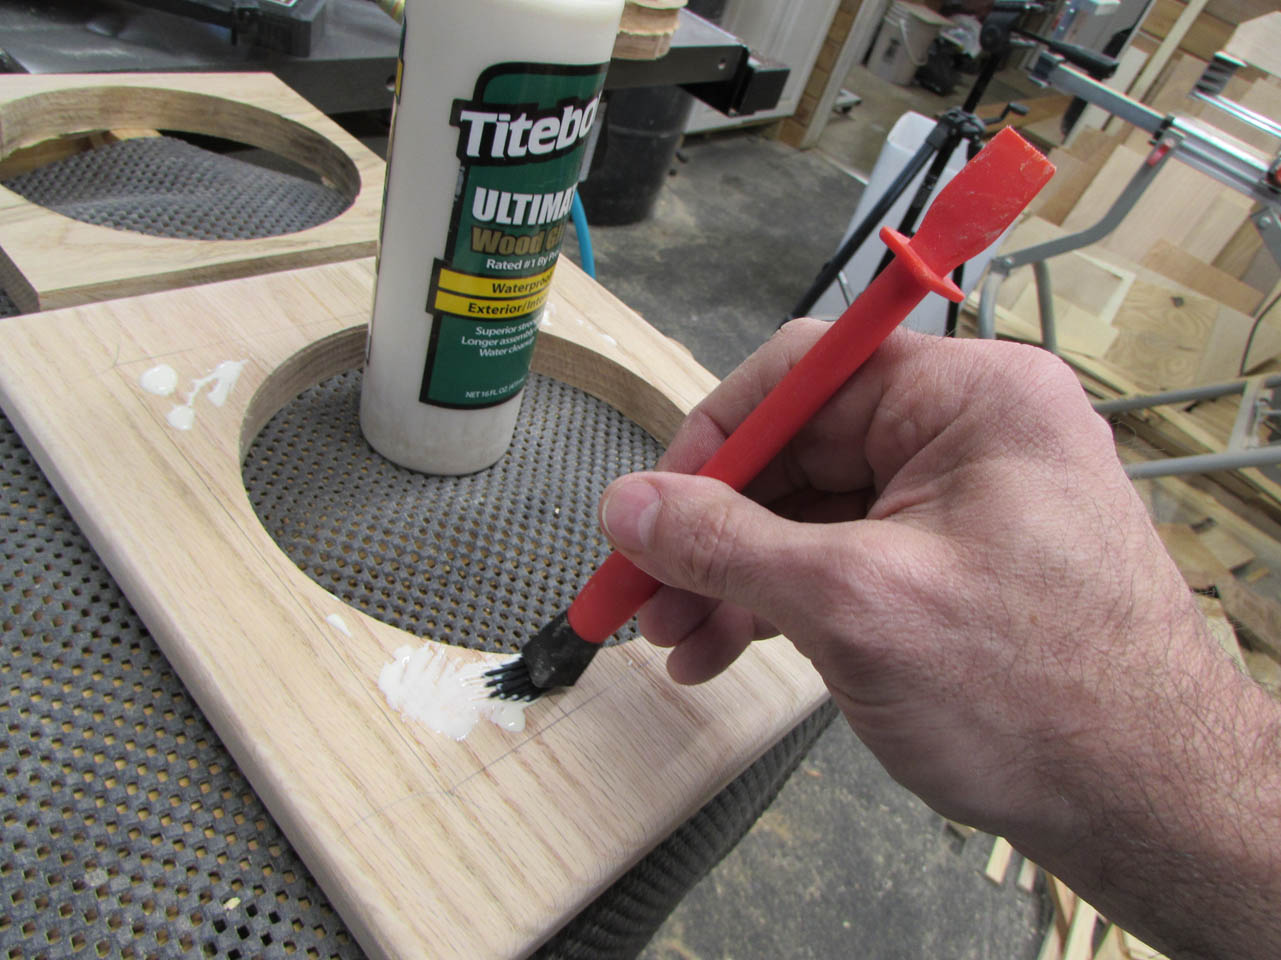
Water-proof glue is applied within the lines and the plate is attached with a small brad nail in each corner. I will be clamping the assembly together, but the nails keep the square plate from moving. I won’t be using nails on the next few layers because I may hit them with my chisel while turning the bowl and that would be bad…
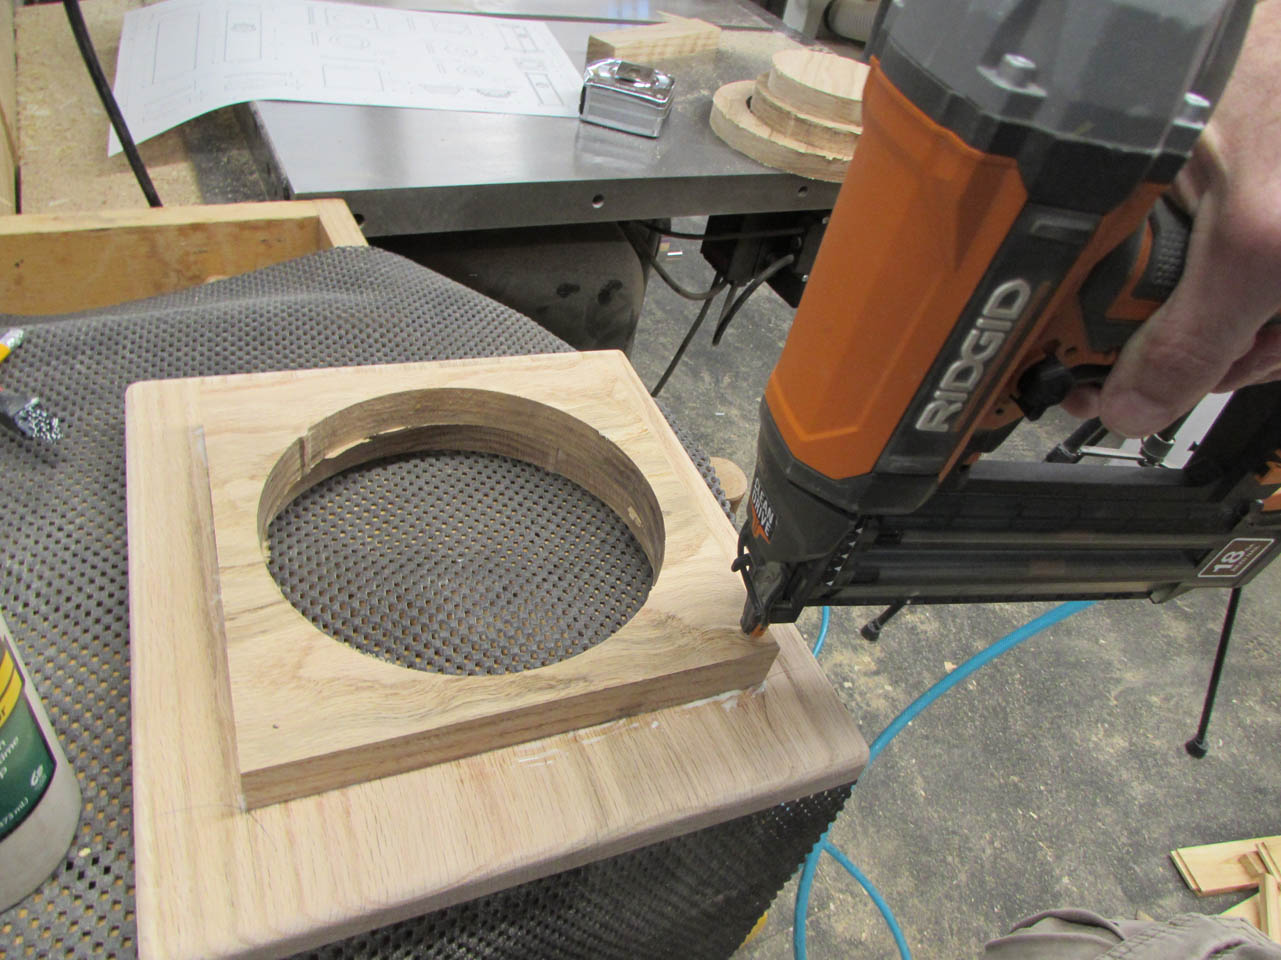
The process gets repeated for each remaining layer. Center, mark, and glue. I also decided to add a bit of stability by alternating the grain direction with each layer.
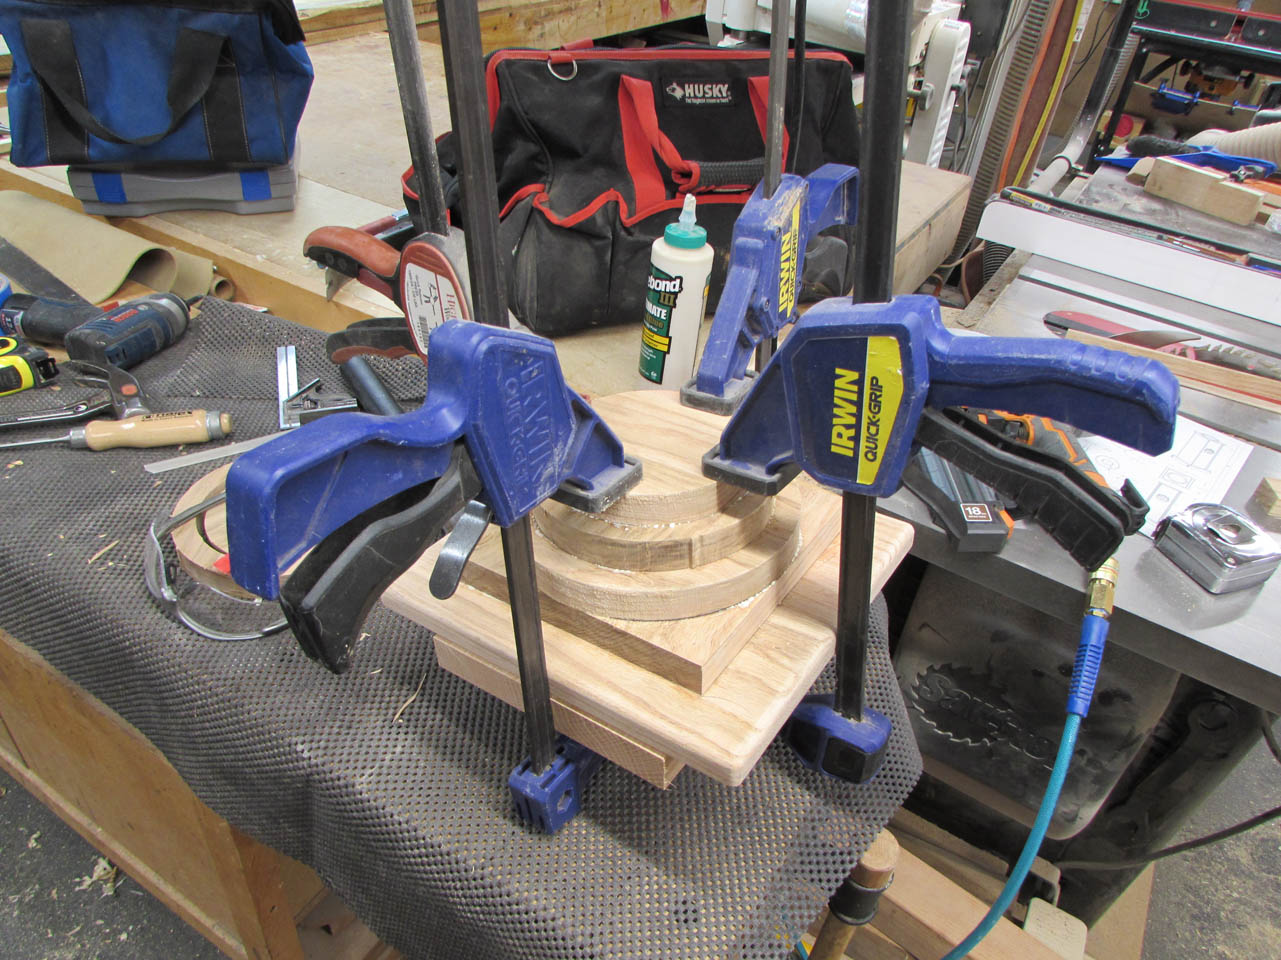
Once all the layers are in place, I add a board across the bottom and clamp the entire stack.
While I was working on that, my CNC was busy carving out the same components again for the next bowl.
This time I decided to sand off the remainder of the tabs. I realized that they may want to catch my chisel while turning and this makes it just a little bit safer.
I let the glue dry overnight and pulled the clamps.
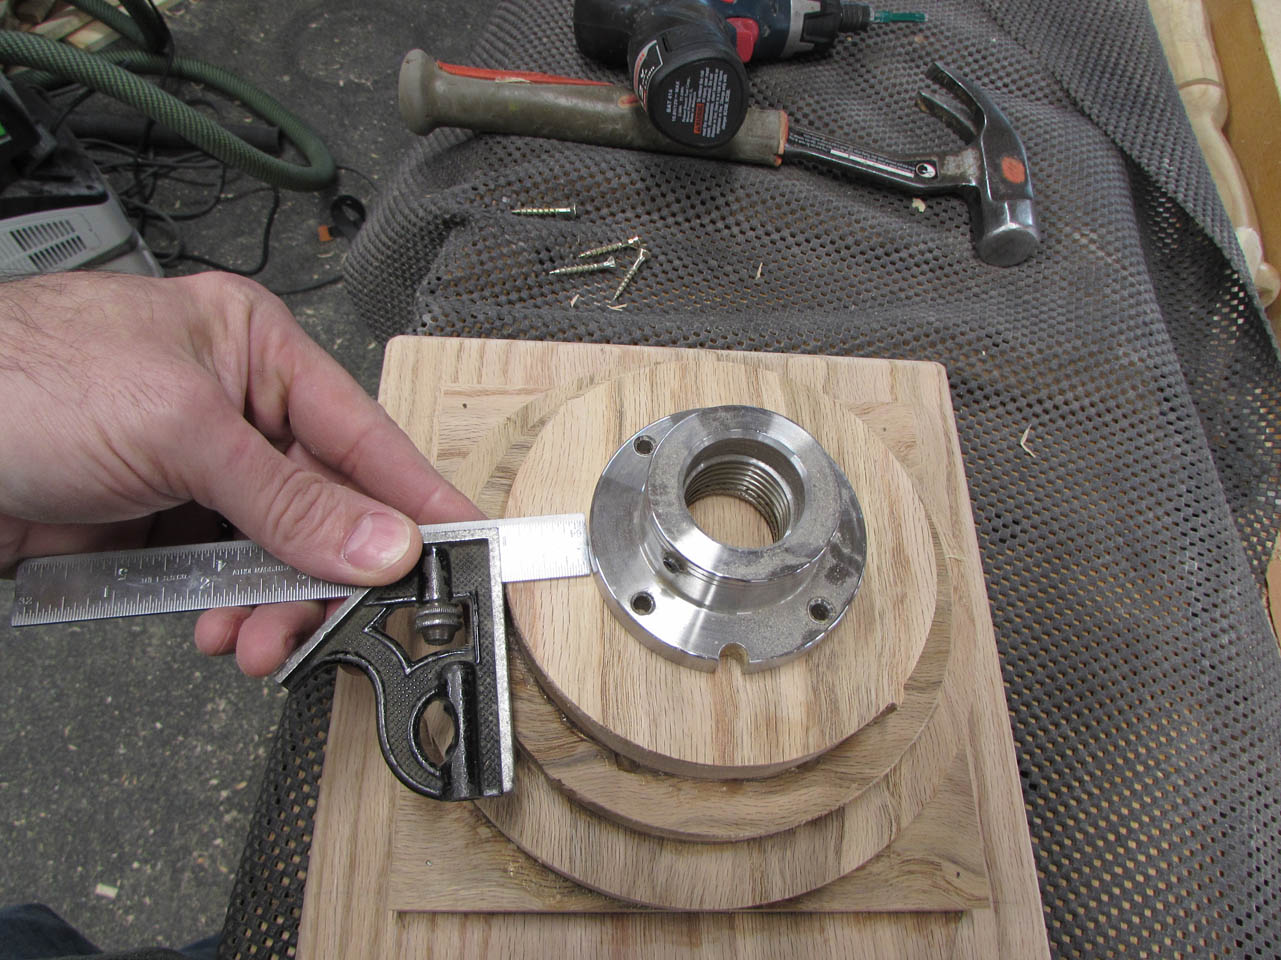
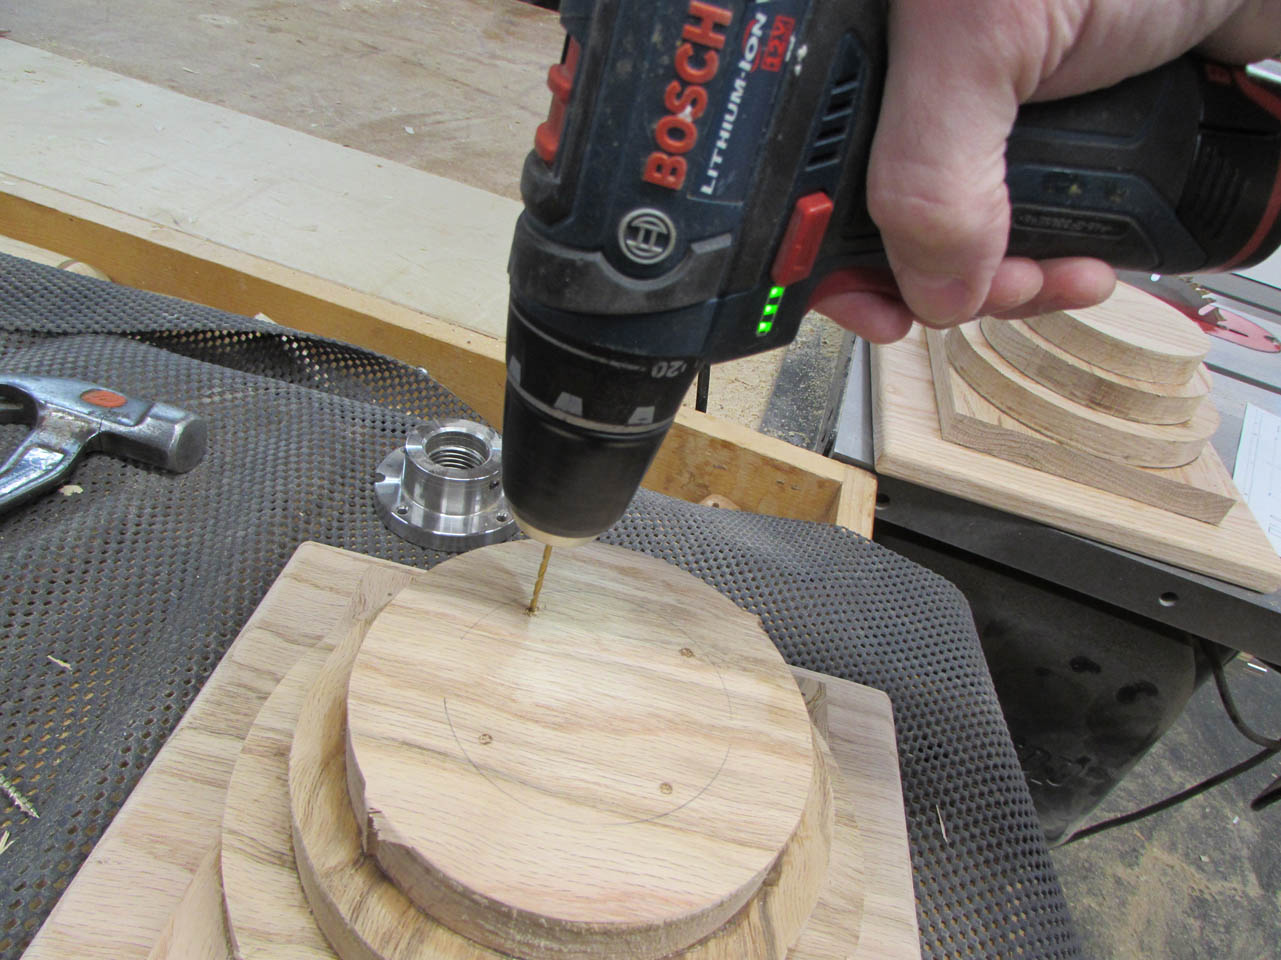
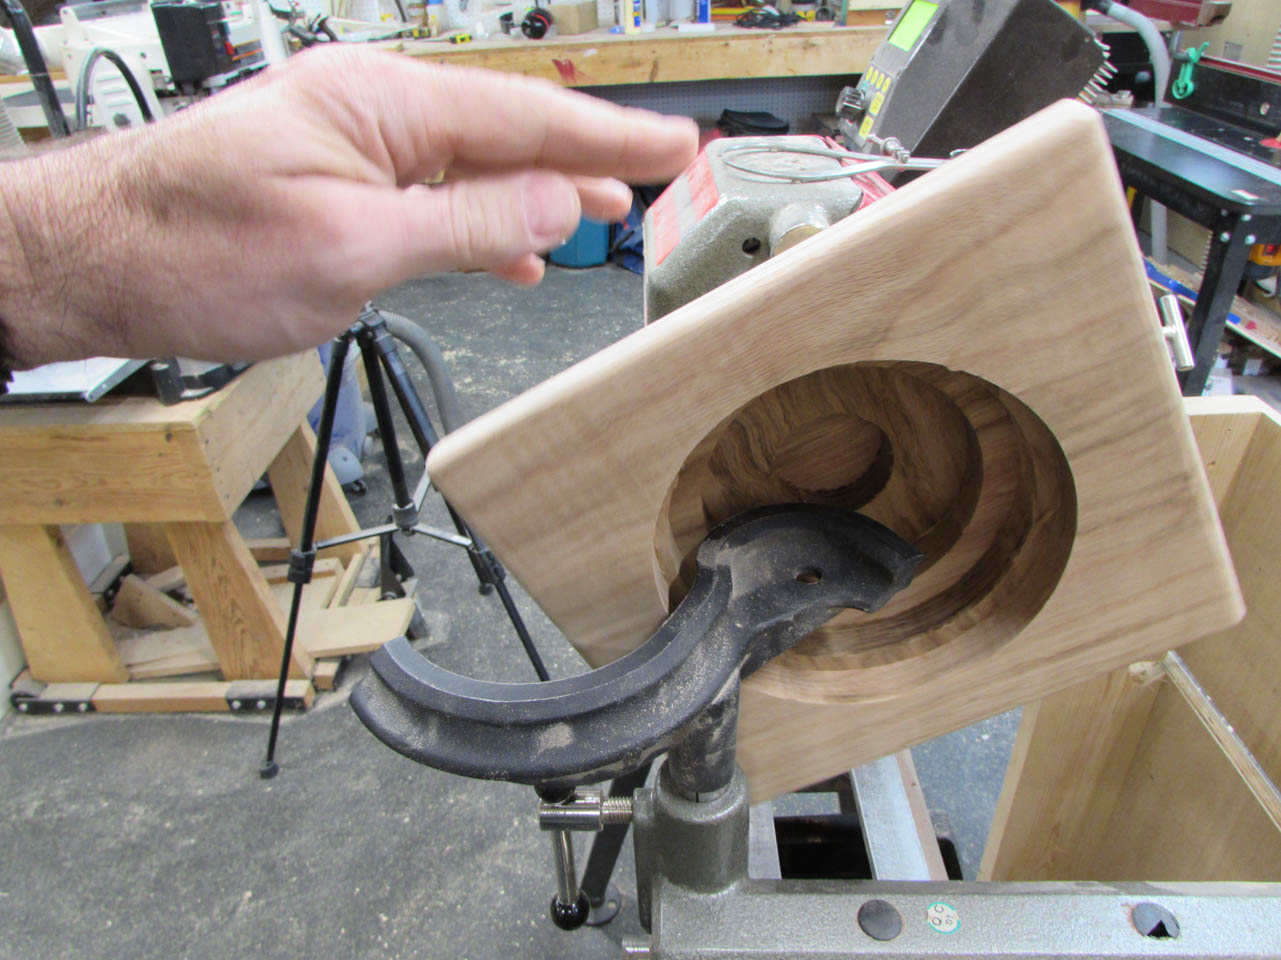
To mount these to the lathe for turning, I will be using a faceplate, centered and firmly secured with construction screws.
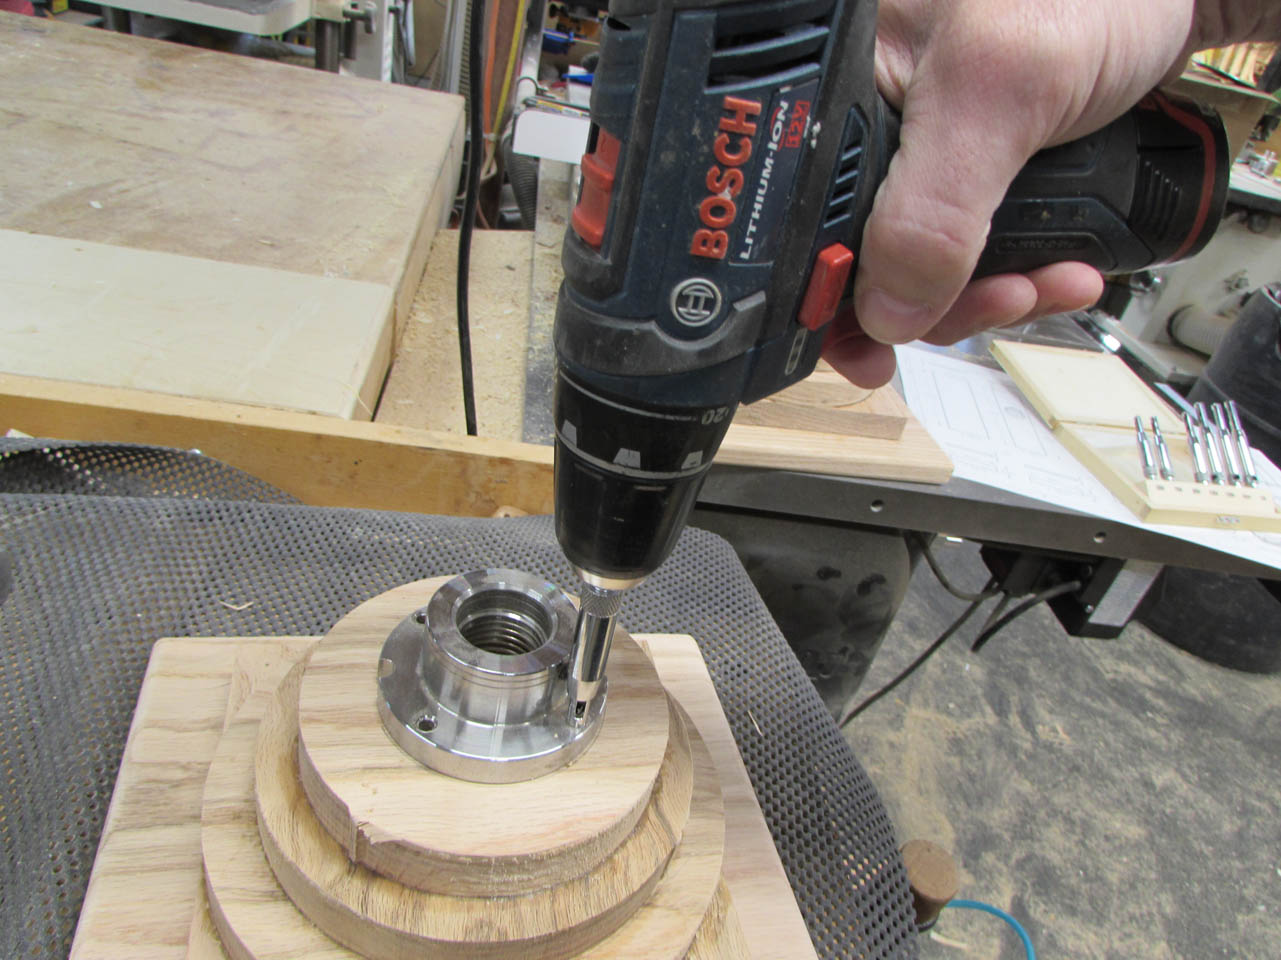
I used a self-centering drill bit to locate the centers of each hole, then drilled a pilot hole for each screw.
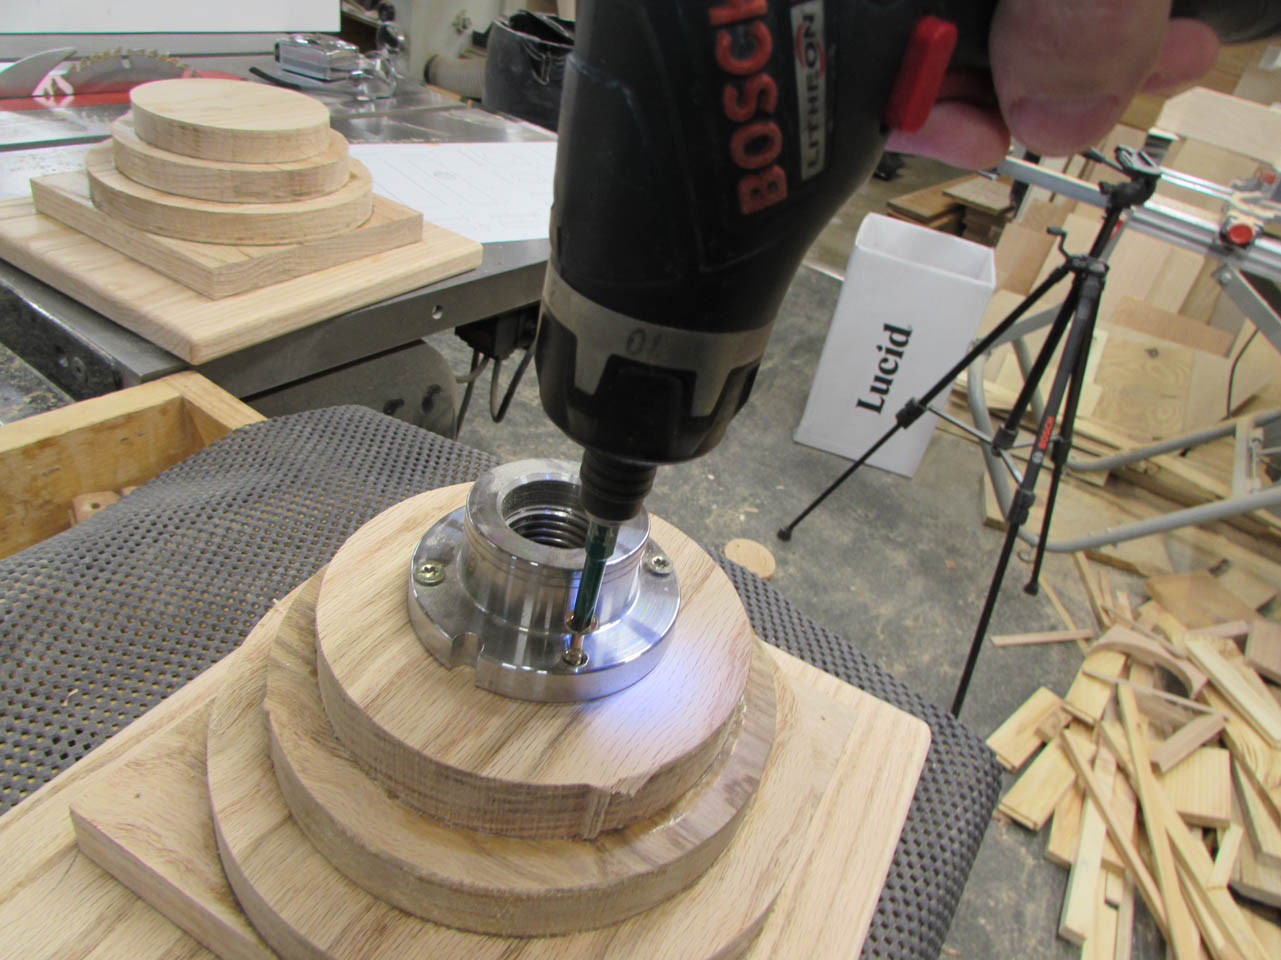
After attaching the faceplate, the entire assembly was attached to the lathe.
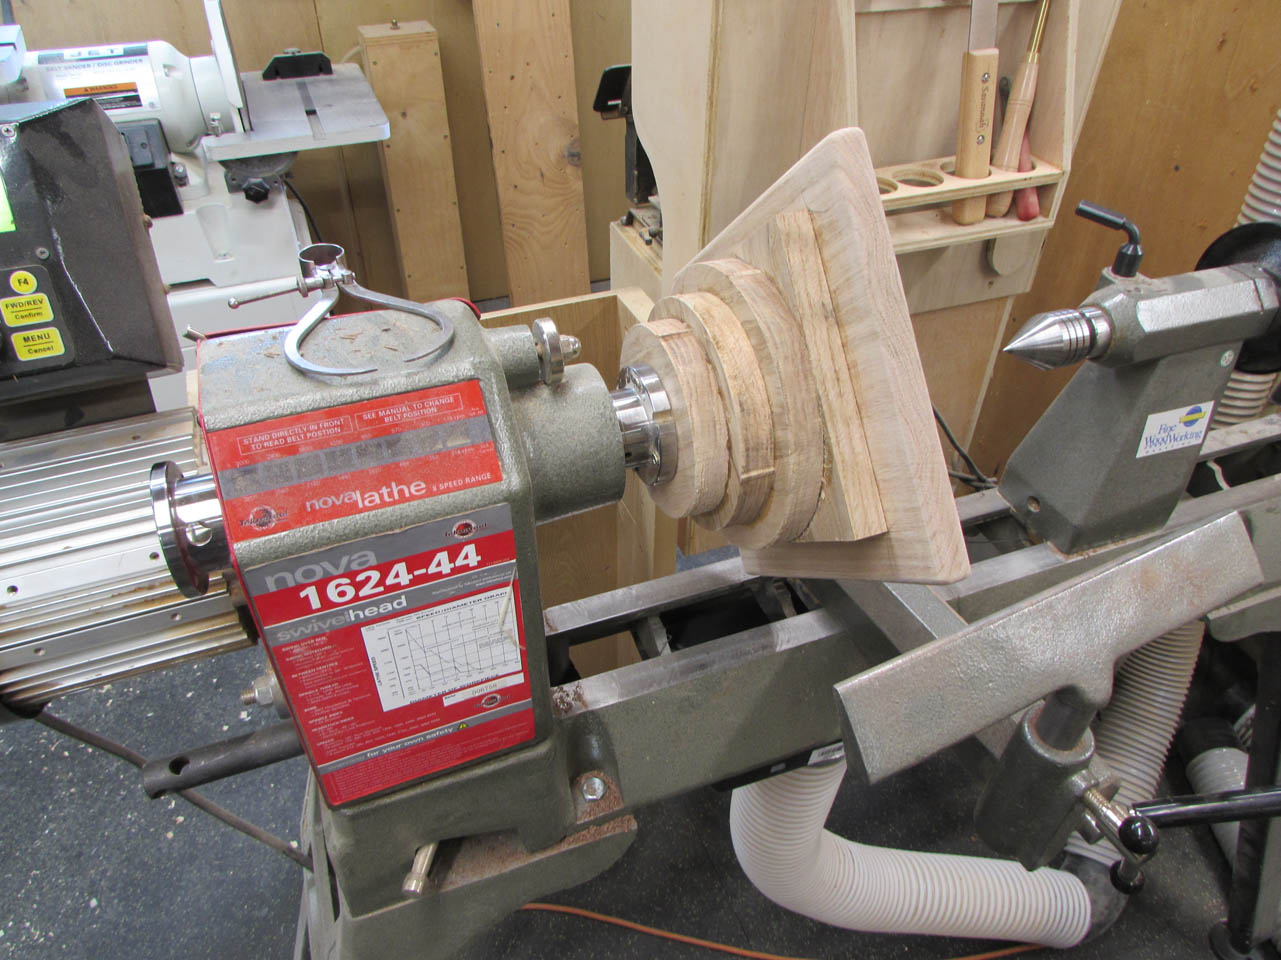
I set a curved bowl rest in place and spun everything to make sure there were no interferences.
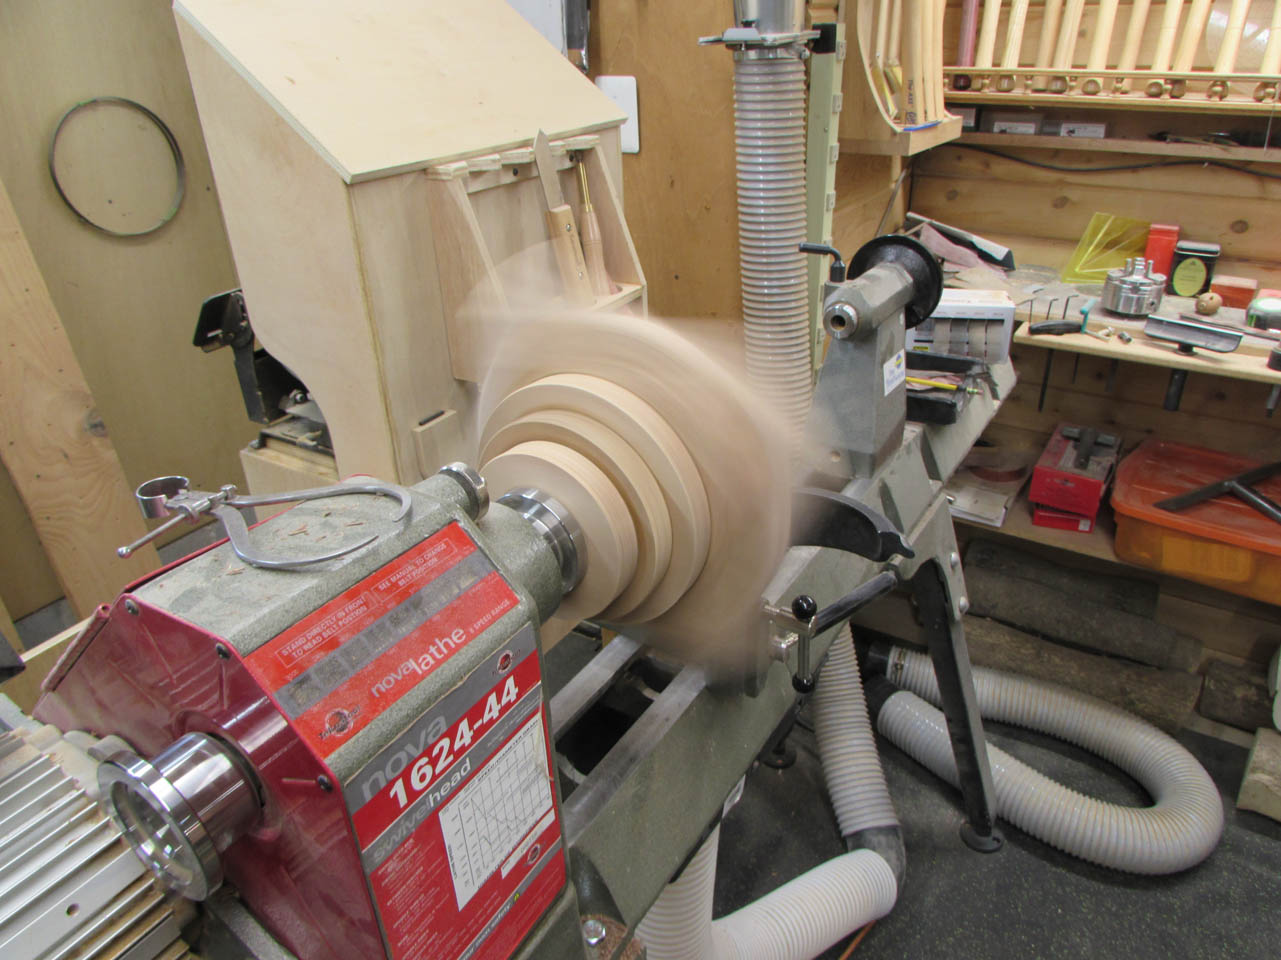
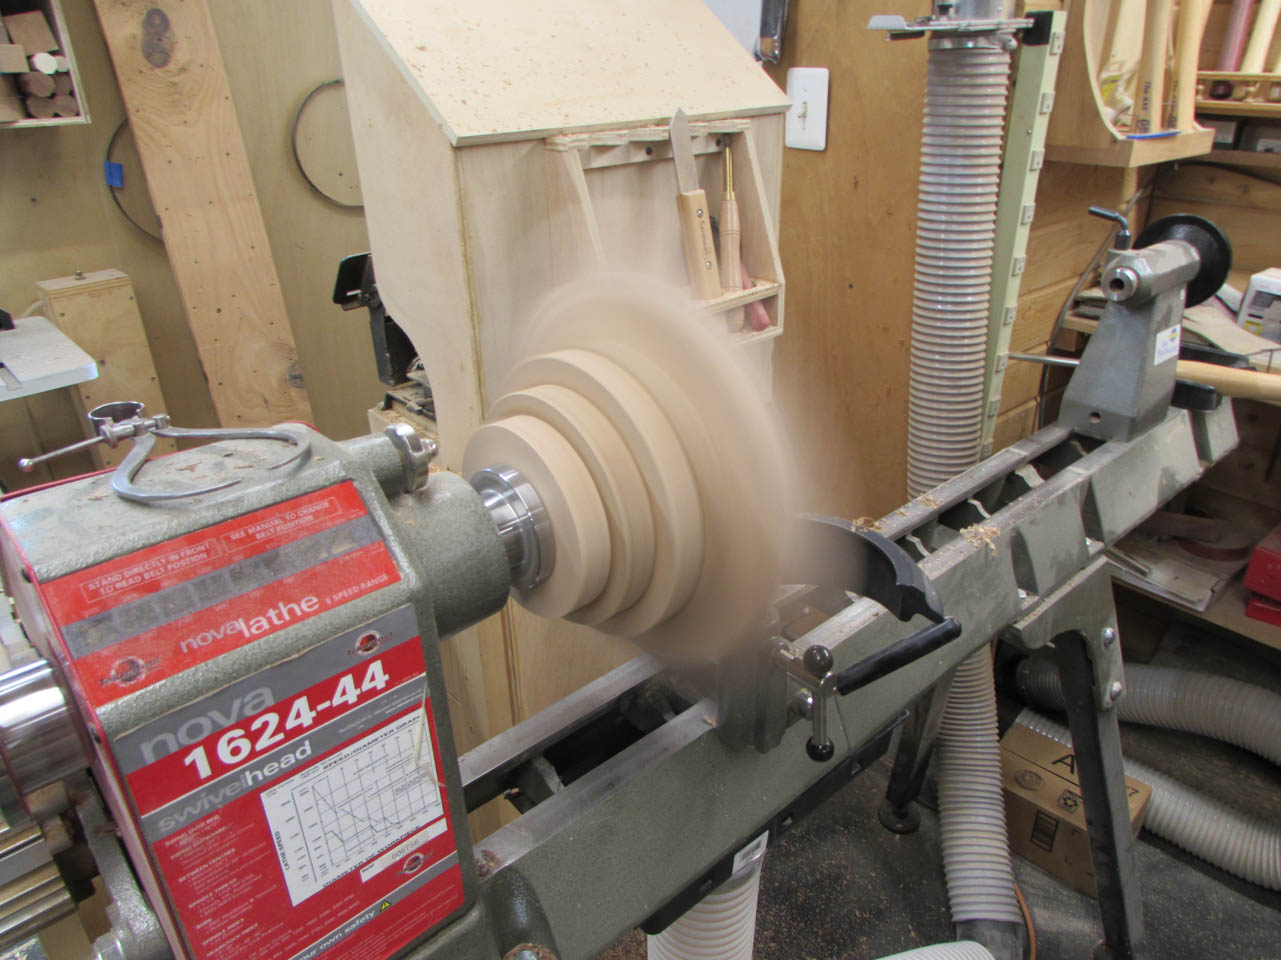
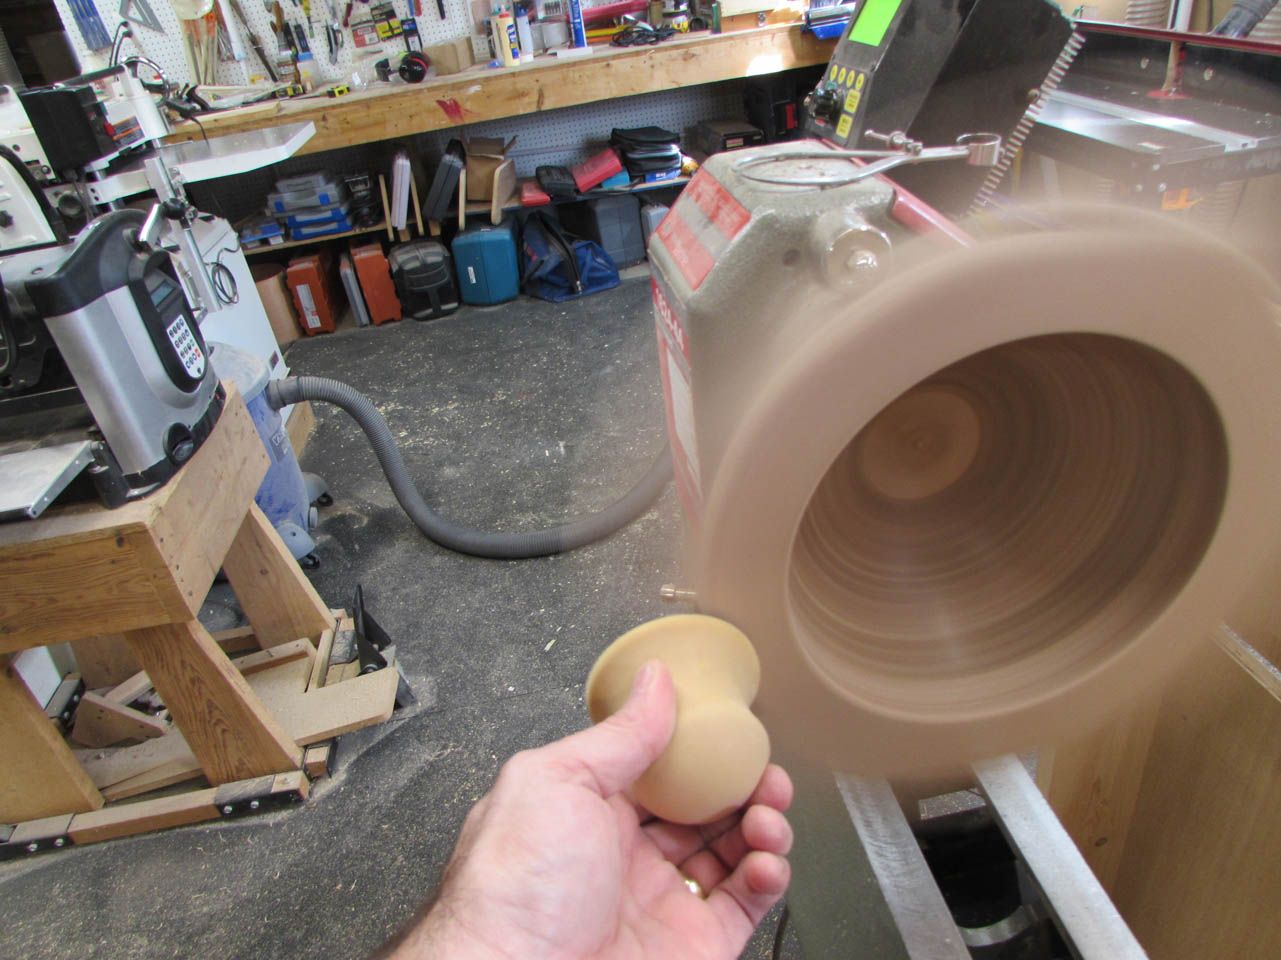
Now for the scary part, I turned the lathe on, starting at 500 rpms.
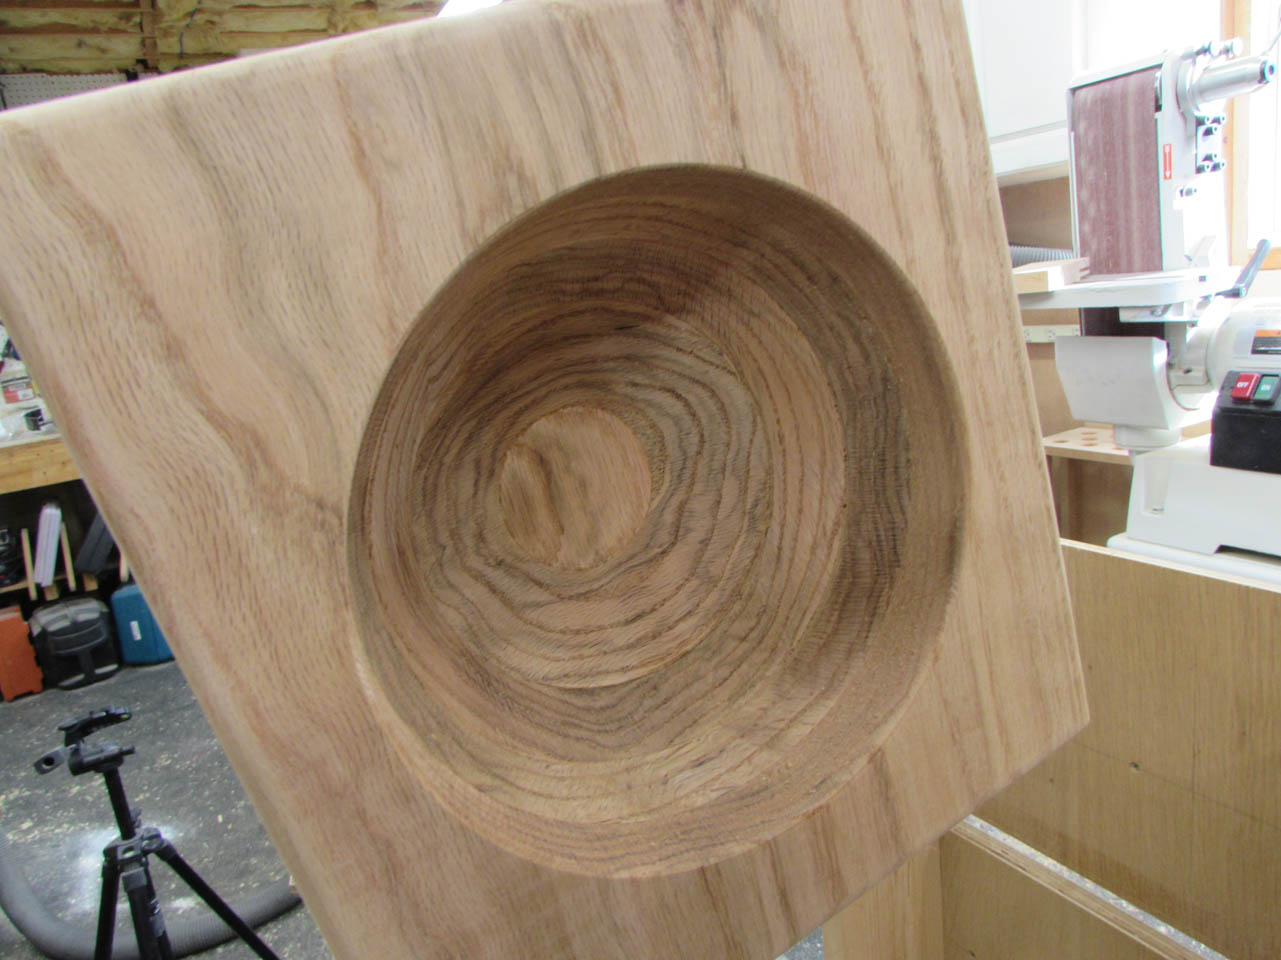
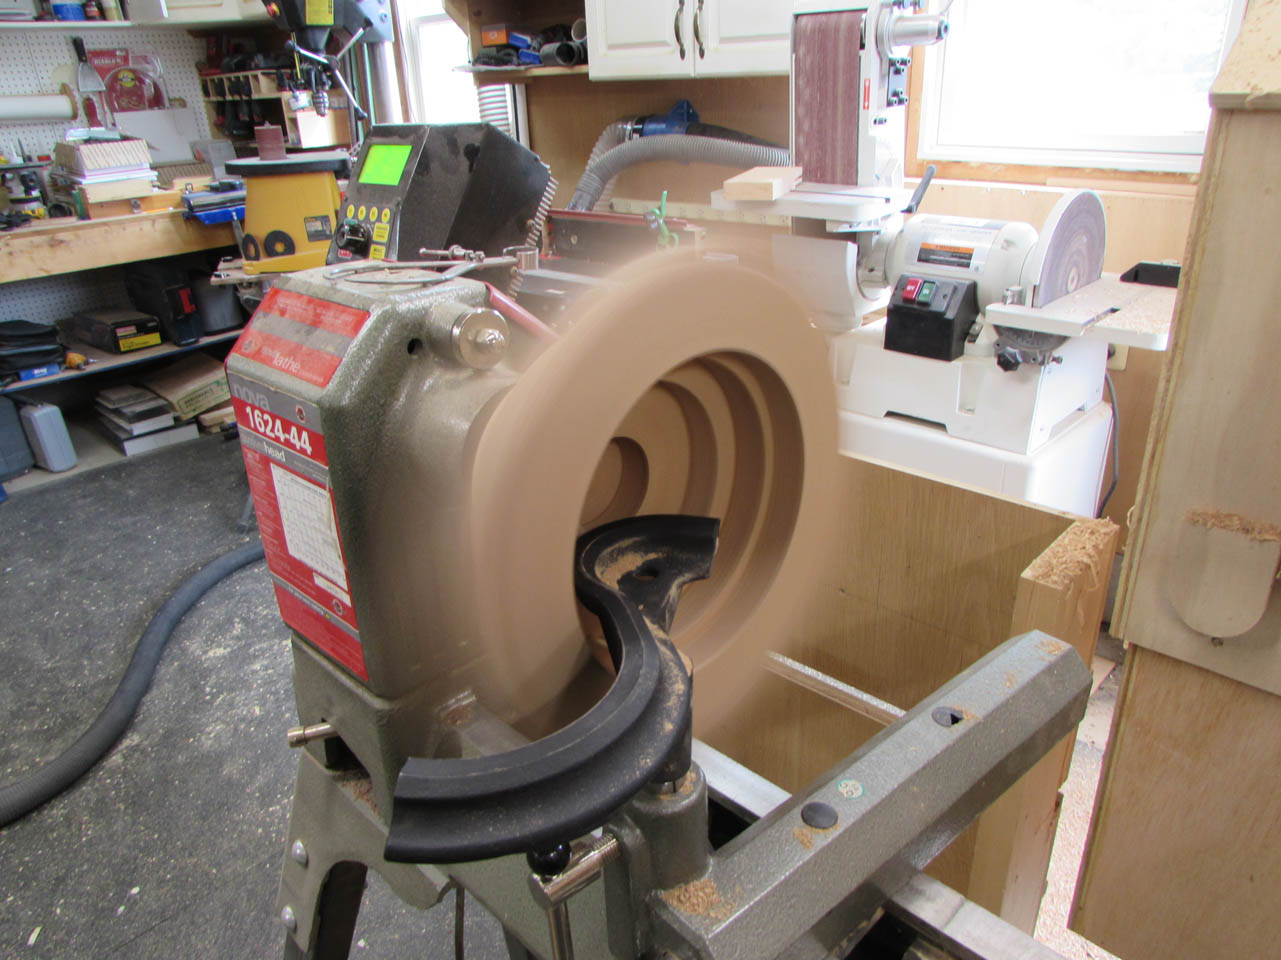
Standing well back, I slowly sped it up to about 1,800 rpms. It sounded like a helicopter but everything looked stable so I got out my round carbide scraper and started removing the steps inside the bowl. I actually designed the holes, in the centers, to be the exact dimension at the bottom of the curve.
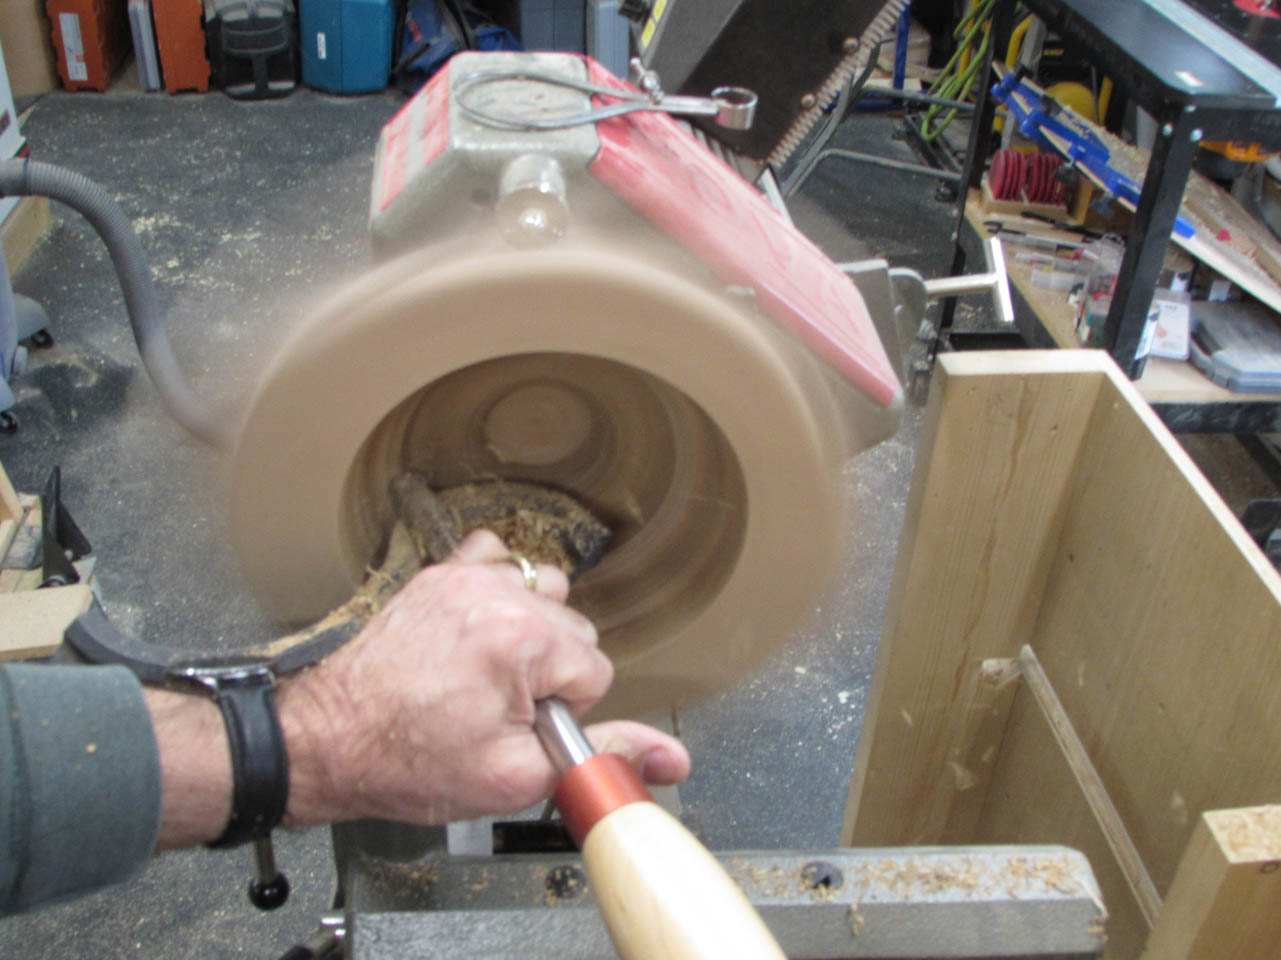
This made it easy to free-hand the shape of the bowl by carving a gentle curve between each of the steps and just a little scoop from the bottom. Careful not to go too deep and risk hitting the screws holding on the faceplate.
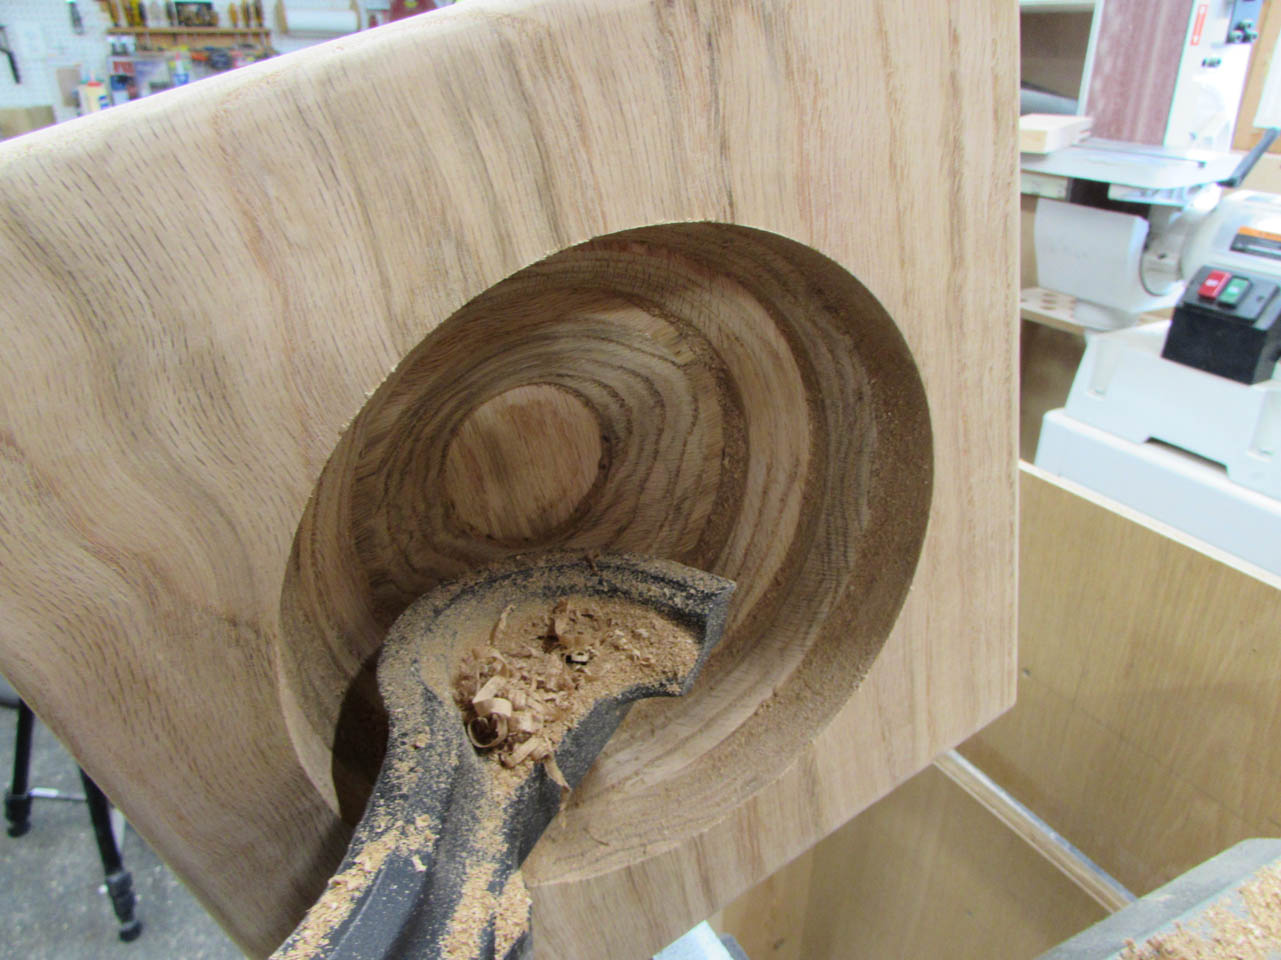
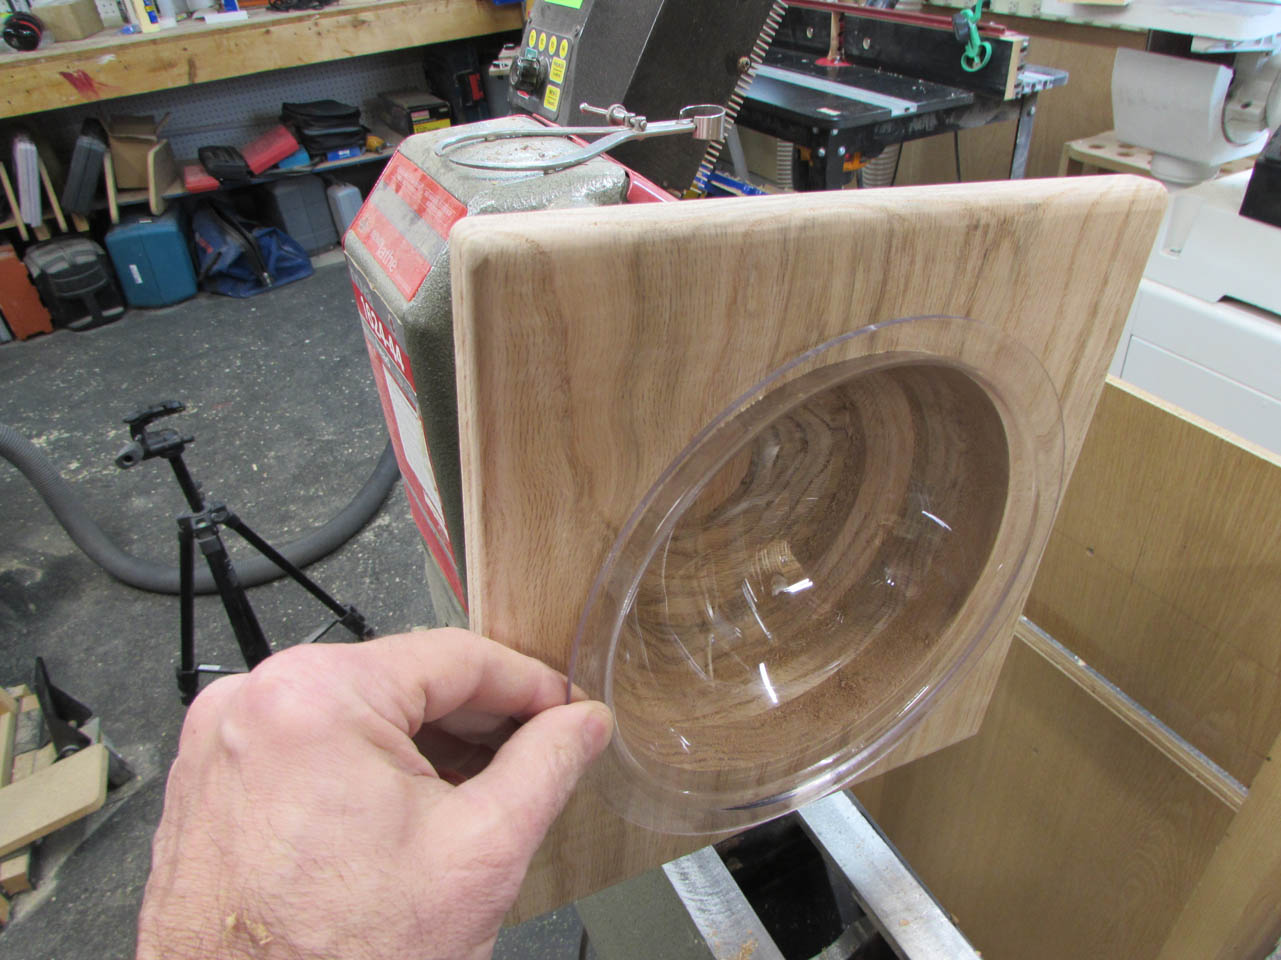
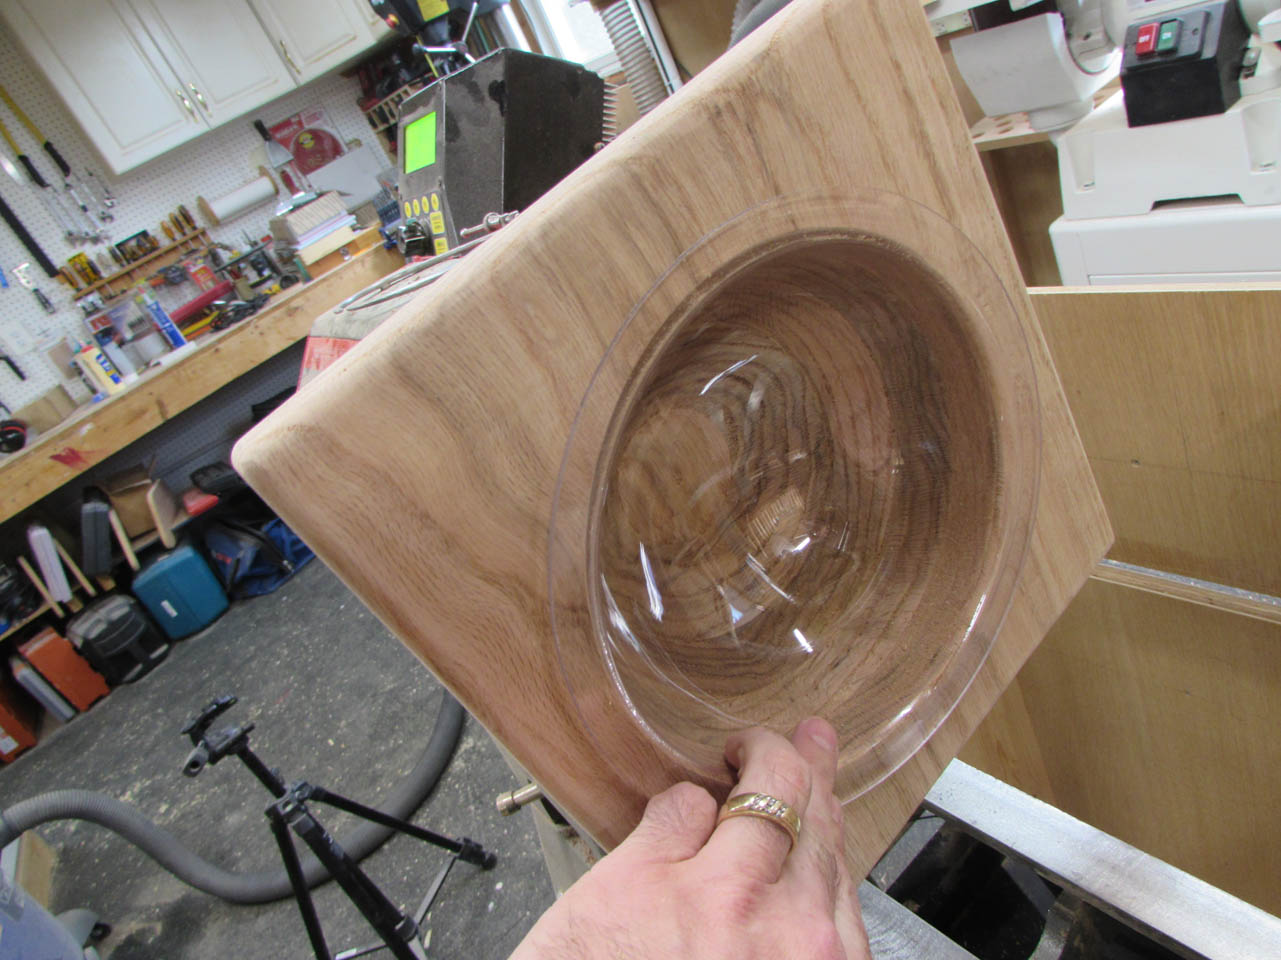
After the shape was roughed out, I set the bowl liner in place to get a feel for where I needed to add a few finish cuts.
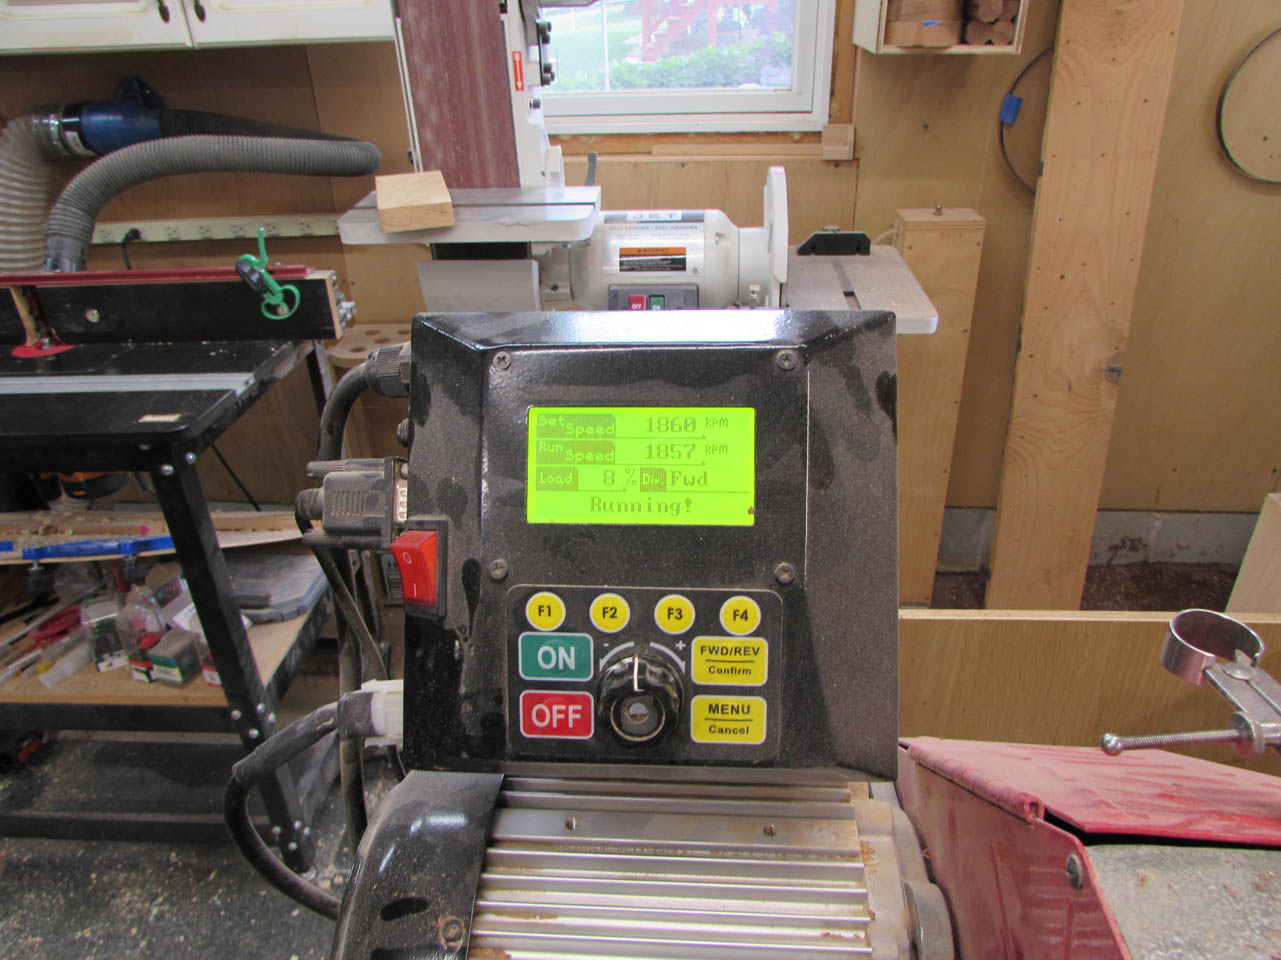
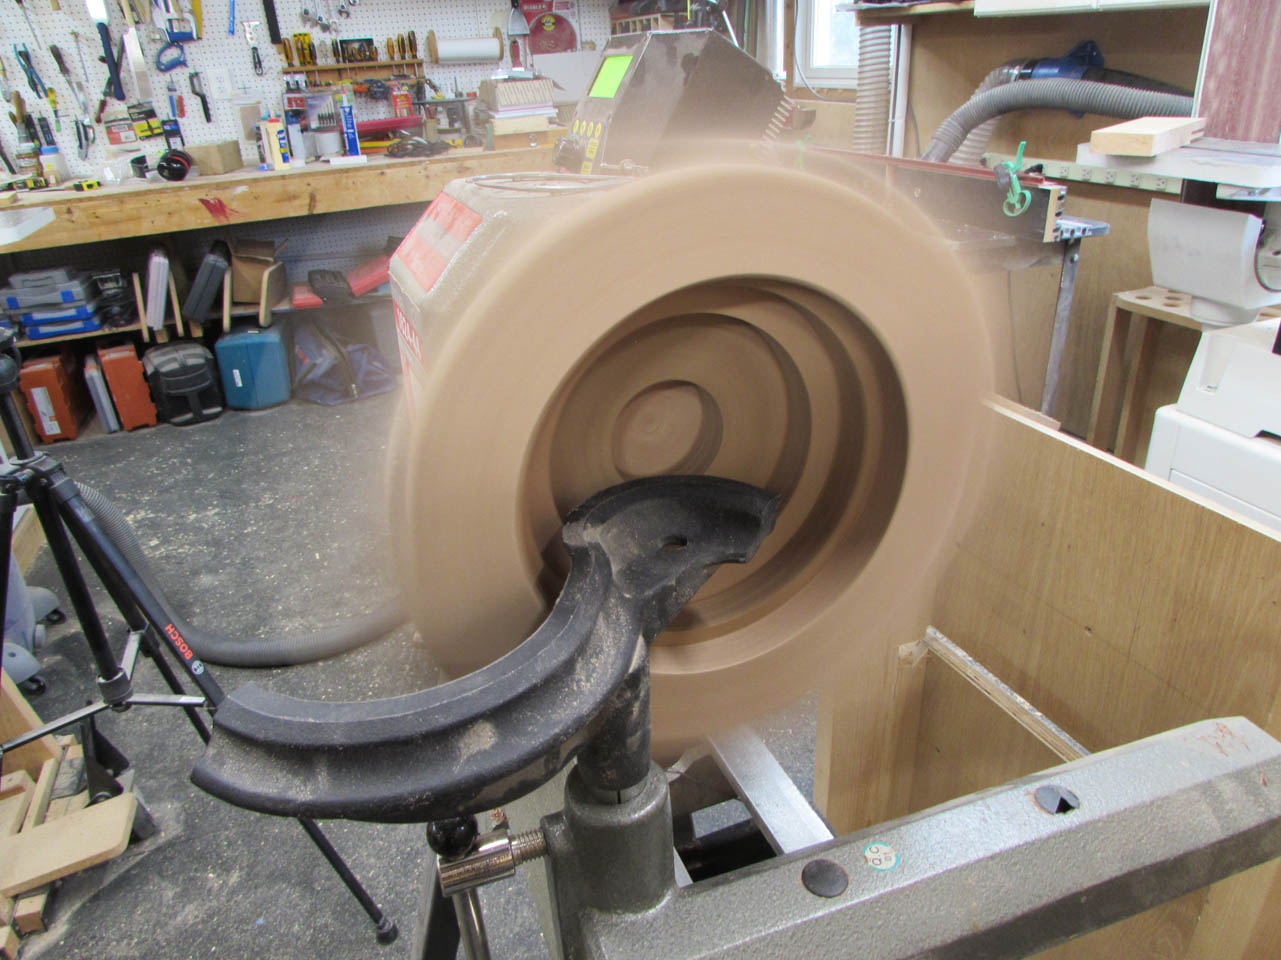
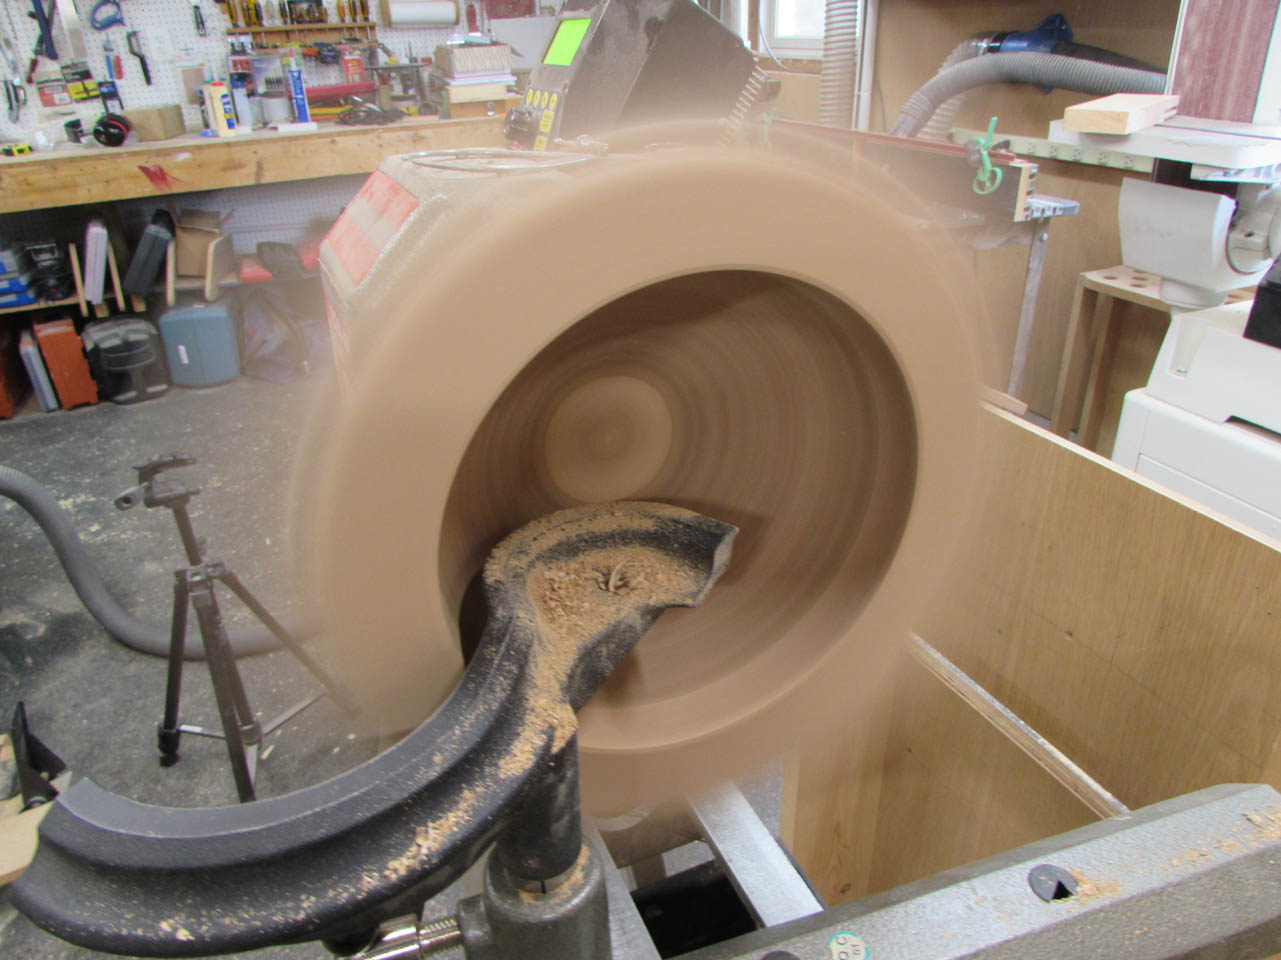
To get a cleaner finish cut, I needed to spin things up even faster.
I think 2,500 rpms was as much as I wanted to push it.

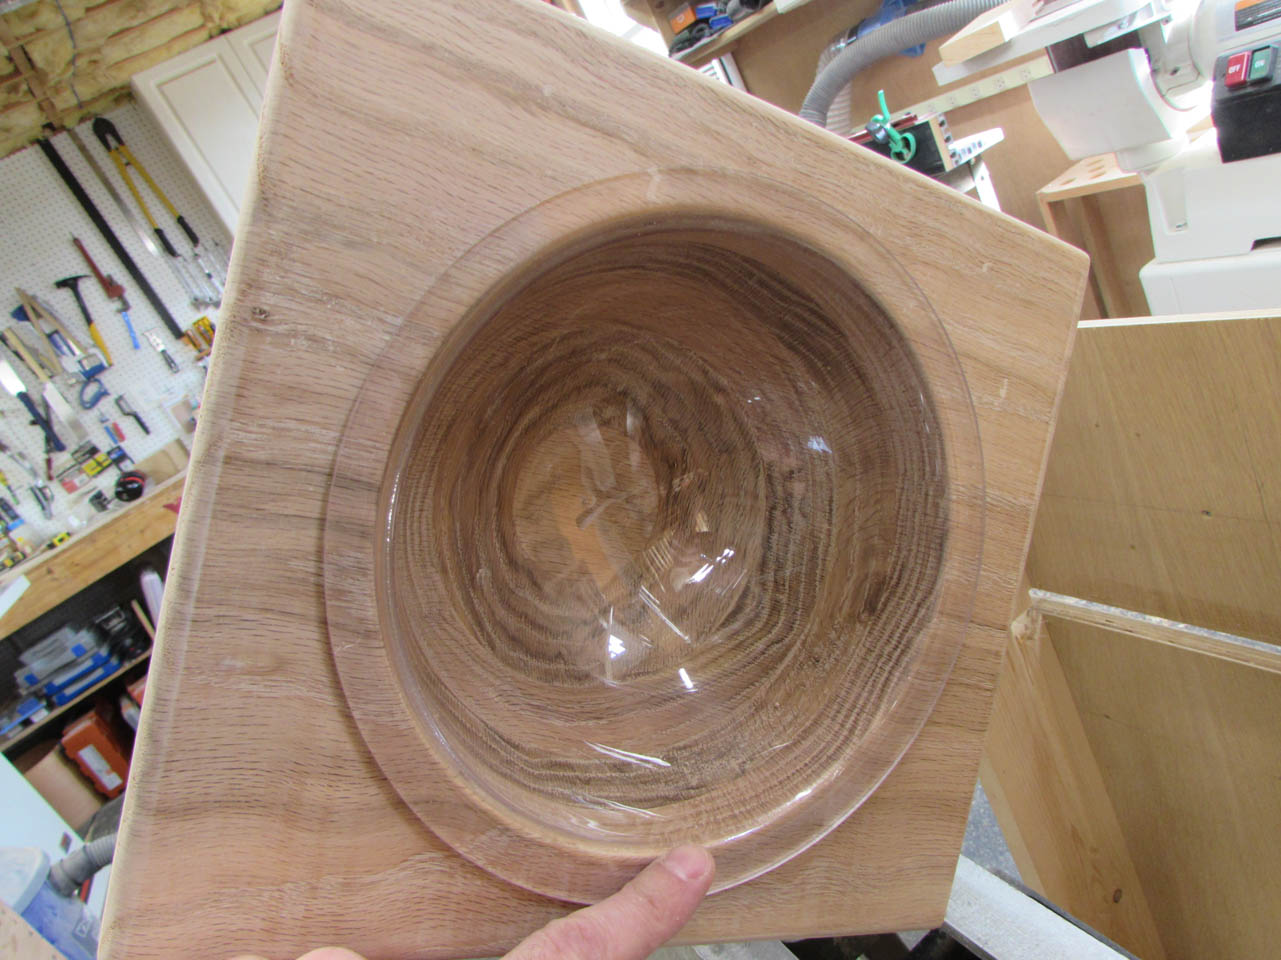
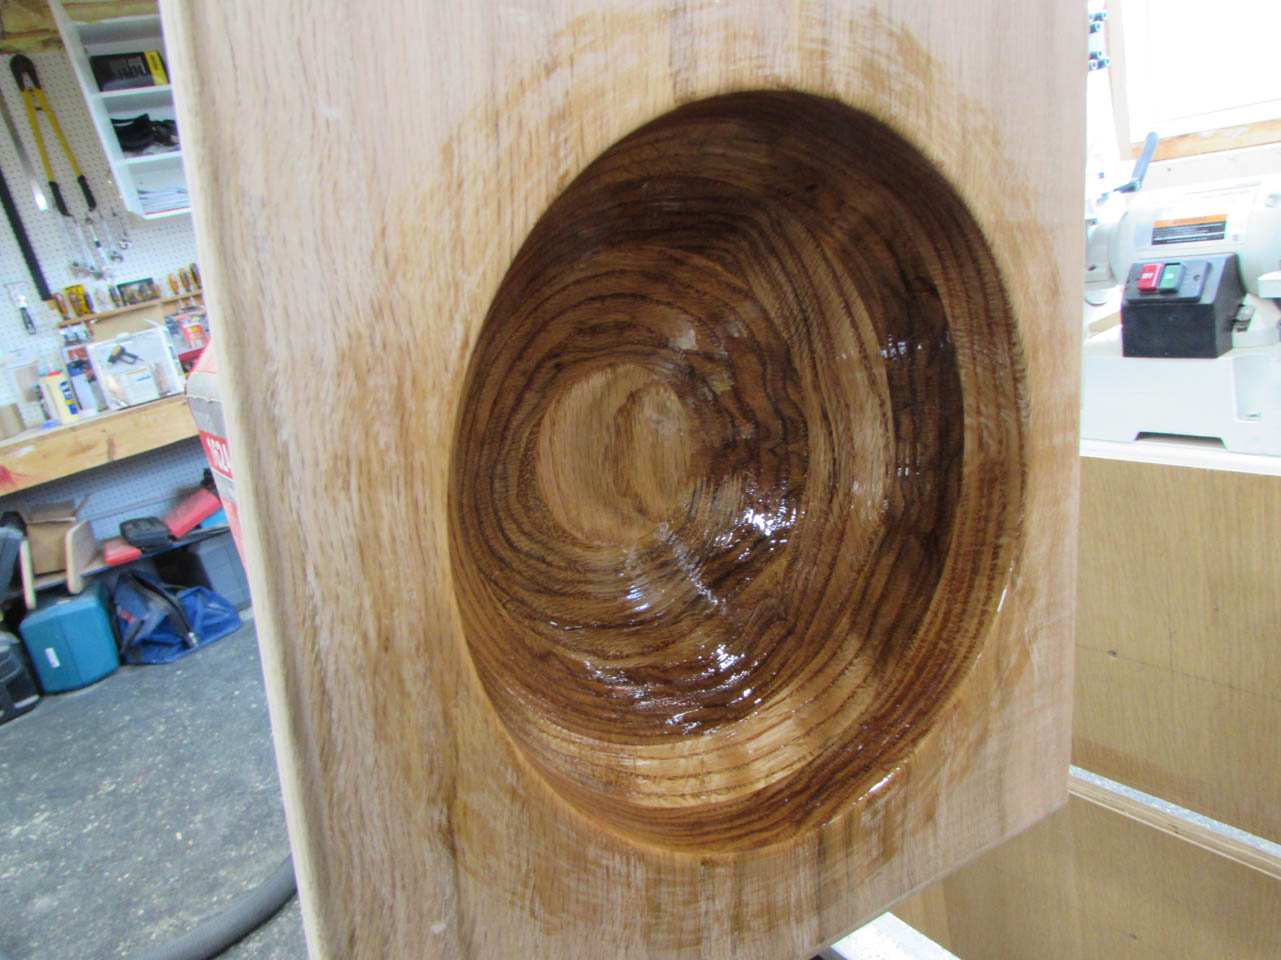
The final result looked really cool and the liner fits perfectly.
After taking a final pass with the scraper, I started sanding up through the grits, starting at 60 grit, all the way up through 400 grit.
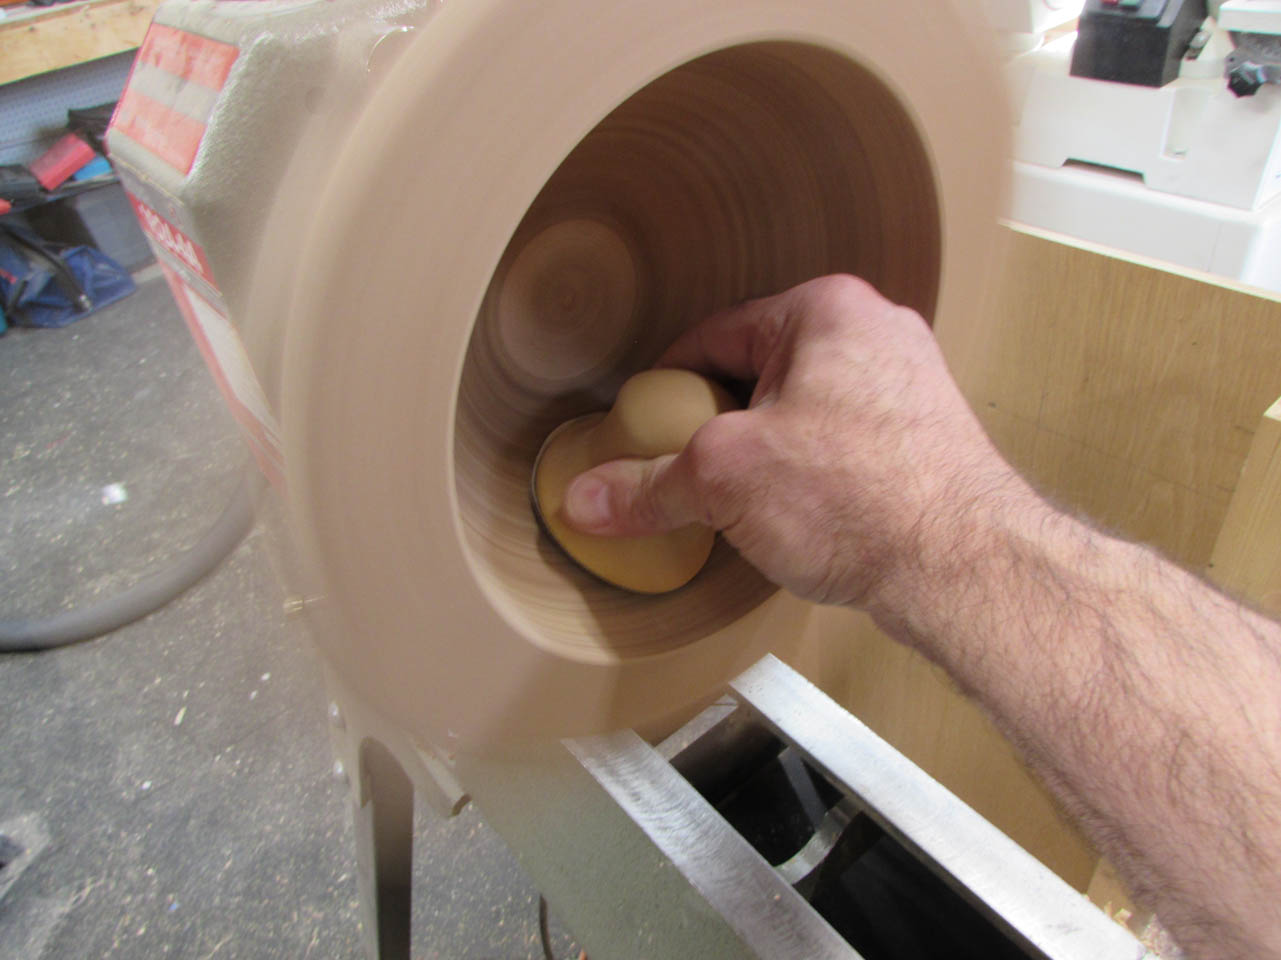
Amazingly, you can even sand out to the ends of the square corners if it is turning fast enough. It is a bit scary, but it works.
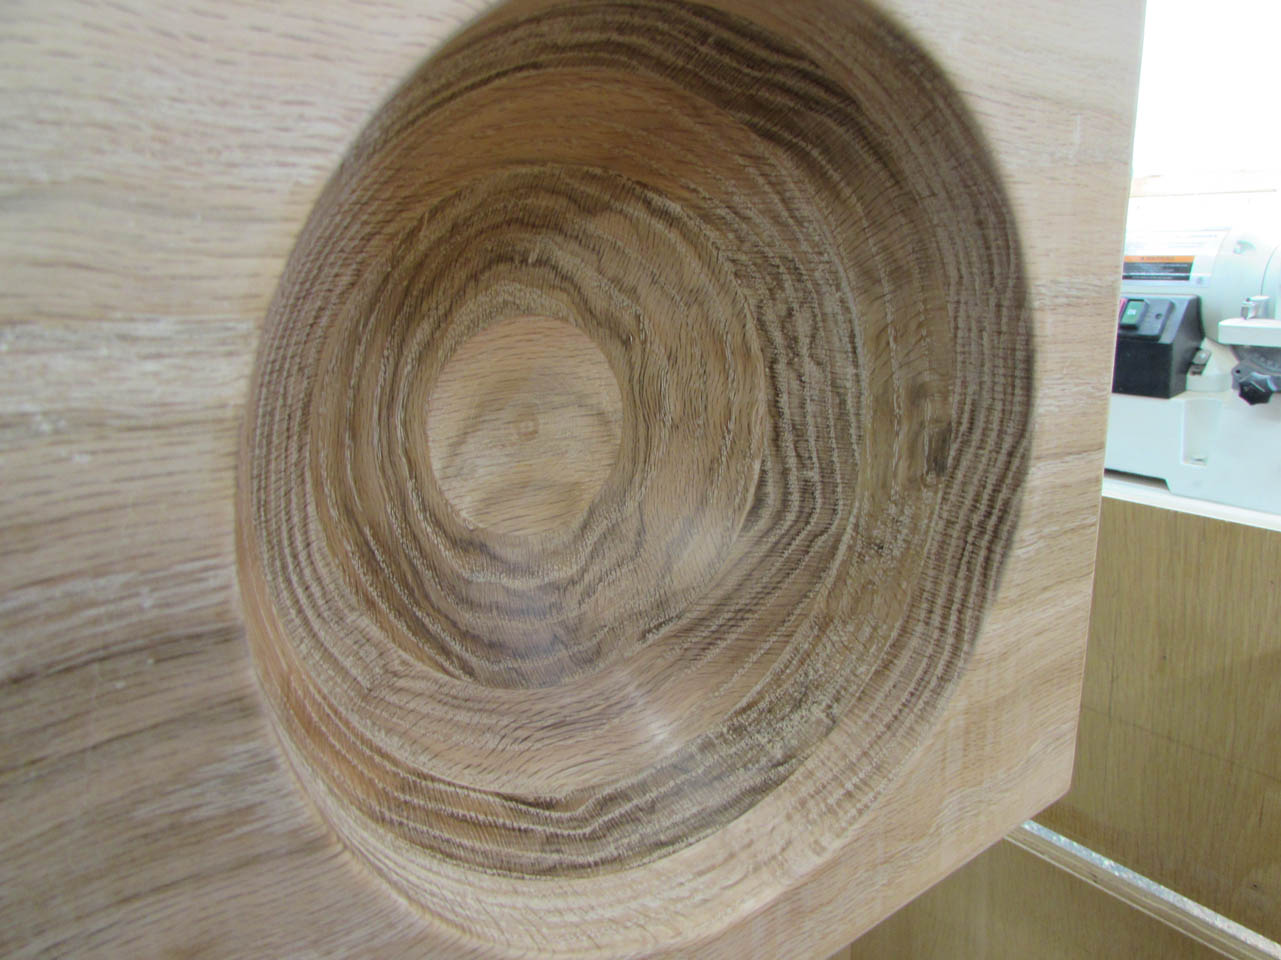
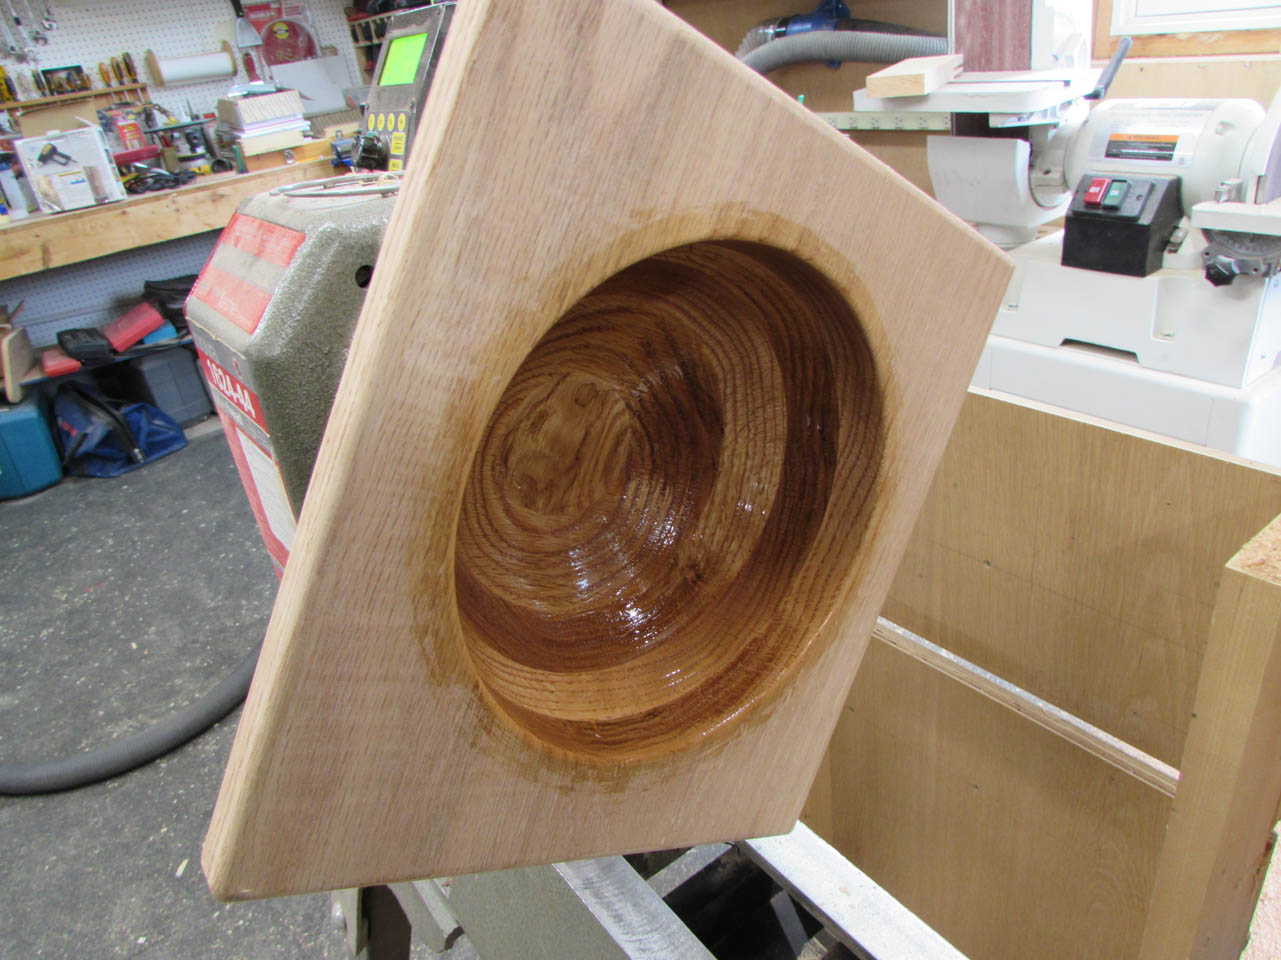
Look how nice and shiny that bowl is.
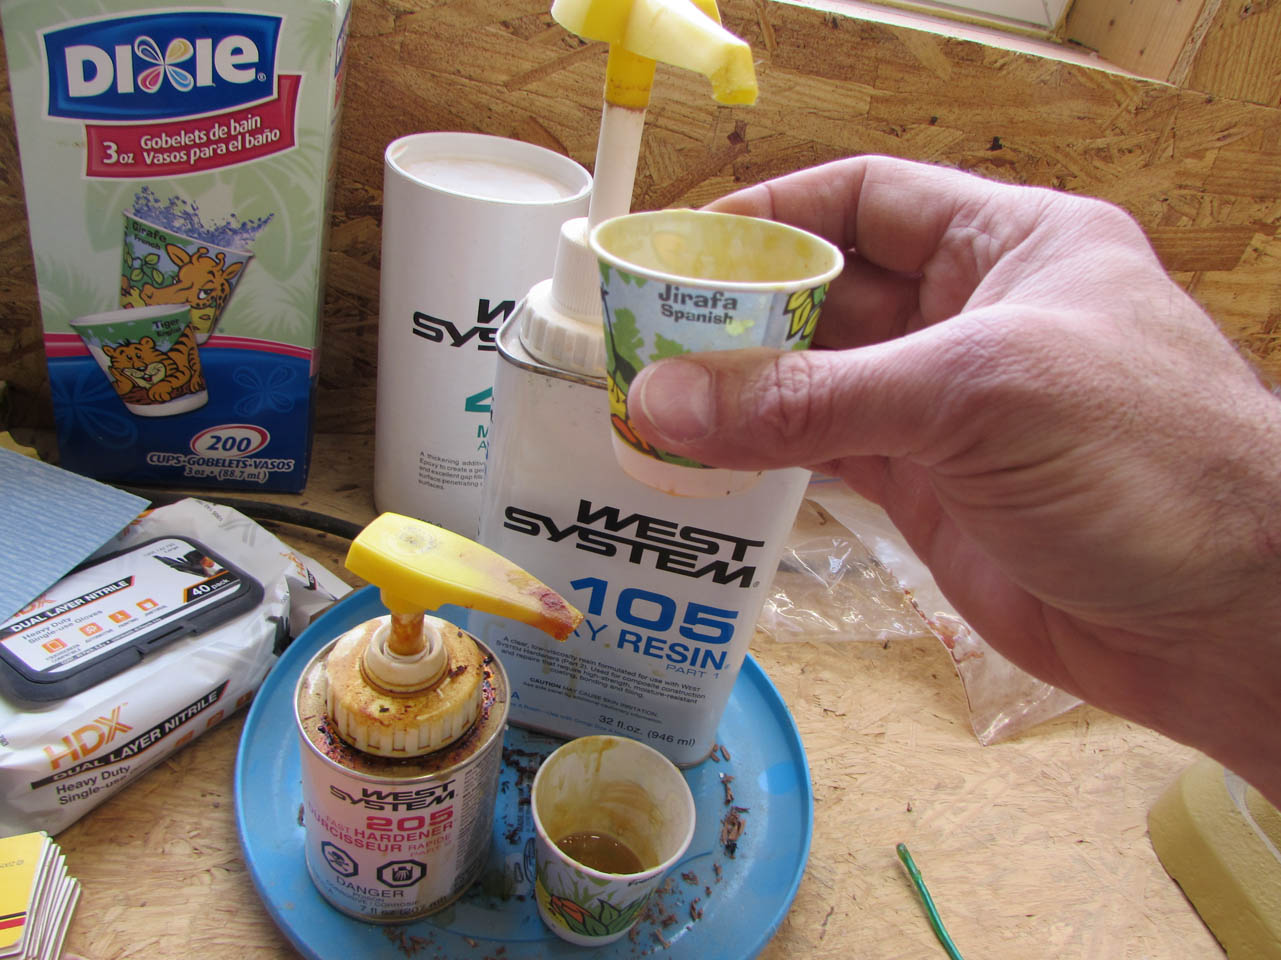
Since this will be the actual bowl, I am going to line the surface with a marine epoxy. Since the two-part epoxy heats up a lot when it cures, the heat often draws air bubbles out of the wood and into the epoxy leaving a very rough surface. I have found that heating the wood to a higher temperature than the epoxy really helps to prevent this problem.
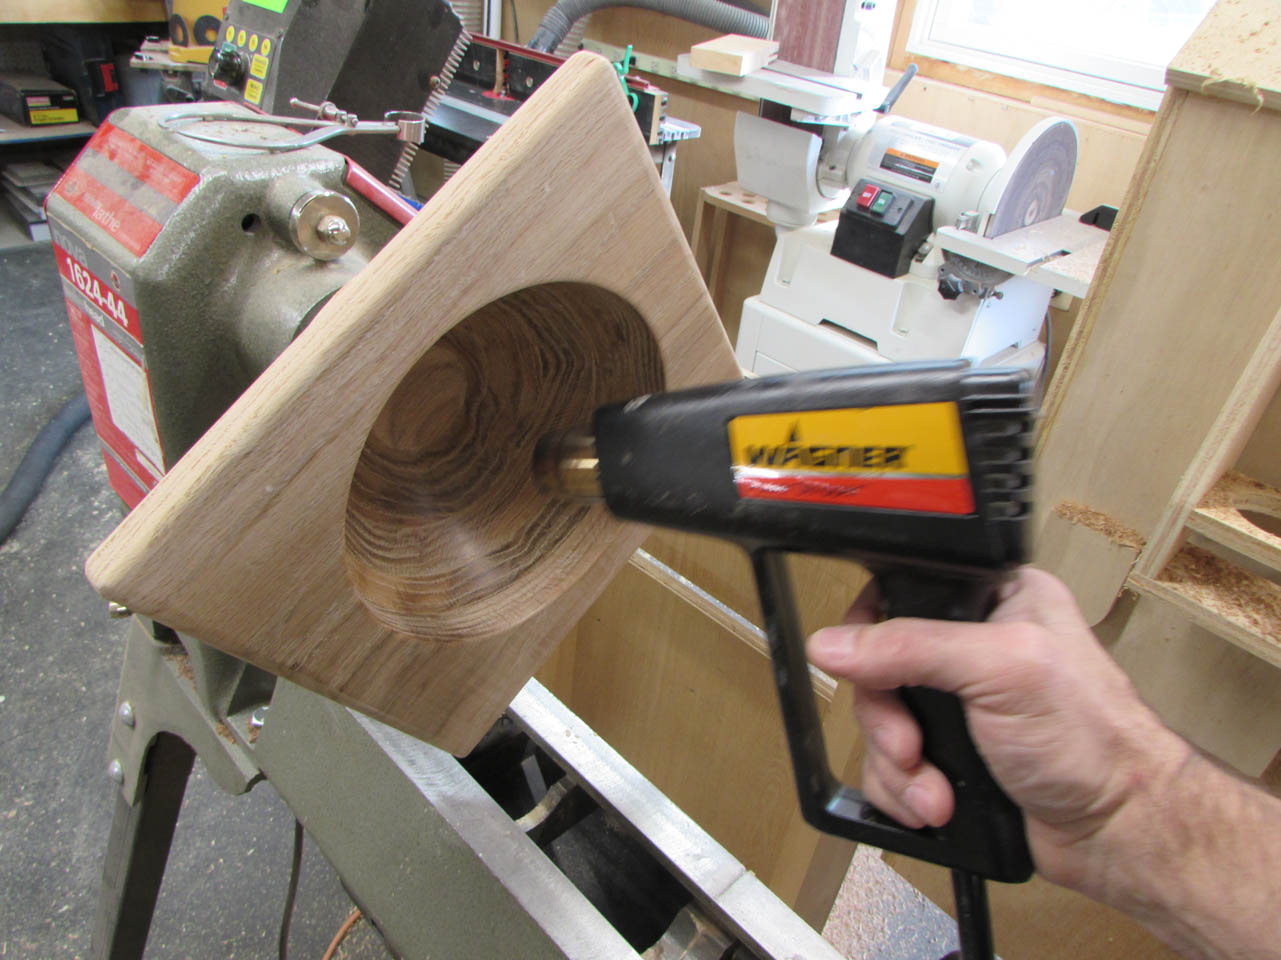

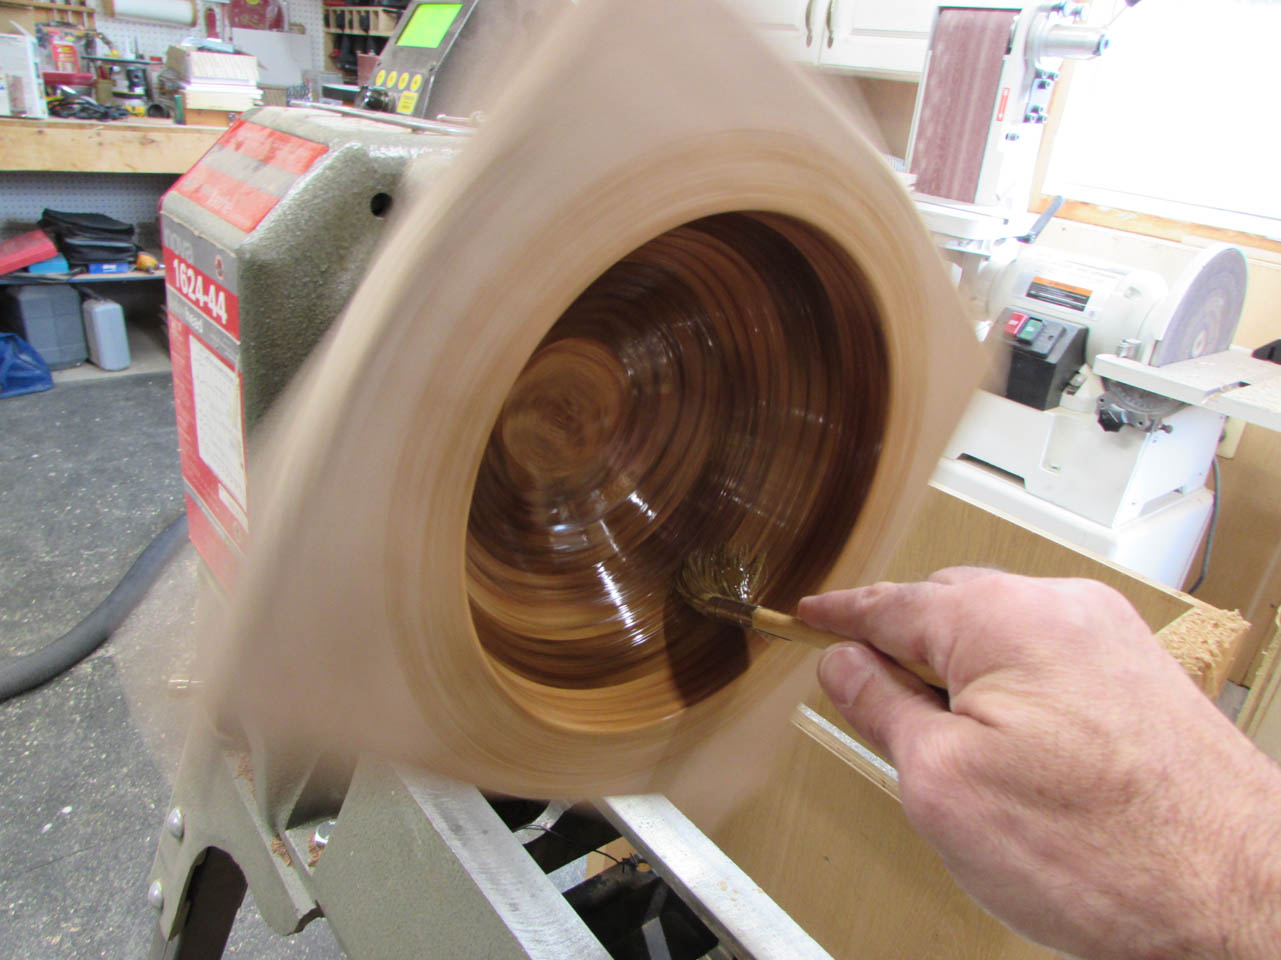
To apply the epoxy, I reduce the lathe speed to 100 rpms, the slowest it will go. Then I brush on the epoxy and leave it spinning for an hour while the epoxy sets. This avoids getting any drips or runs in the epoxy. Centrifugal force just holds it in place on the sides of the bowl.
After an hour, I can remove the bowl and install the second one.

Then I get to repeat the process again.
By the next morning, both bowls are dry and I can move on to safer endeavors…

