
Holy water font for Holy Spirit church – part 2
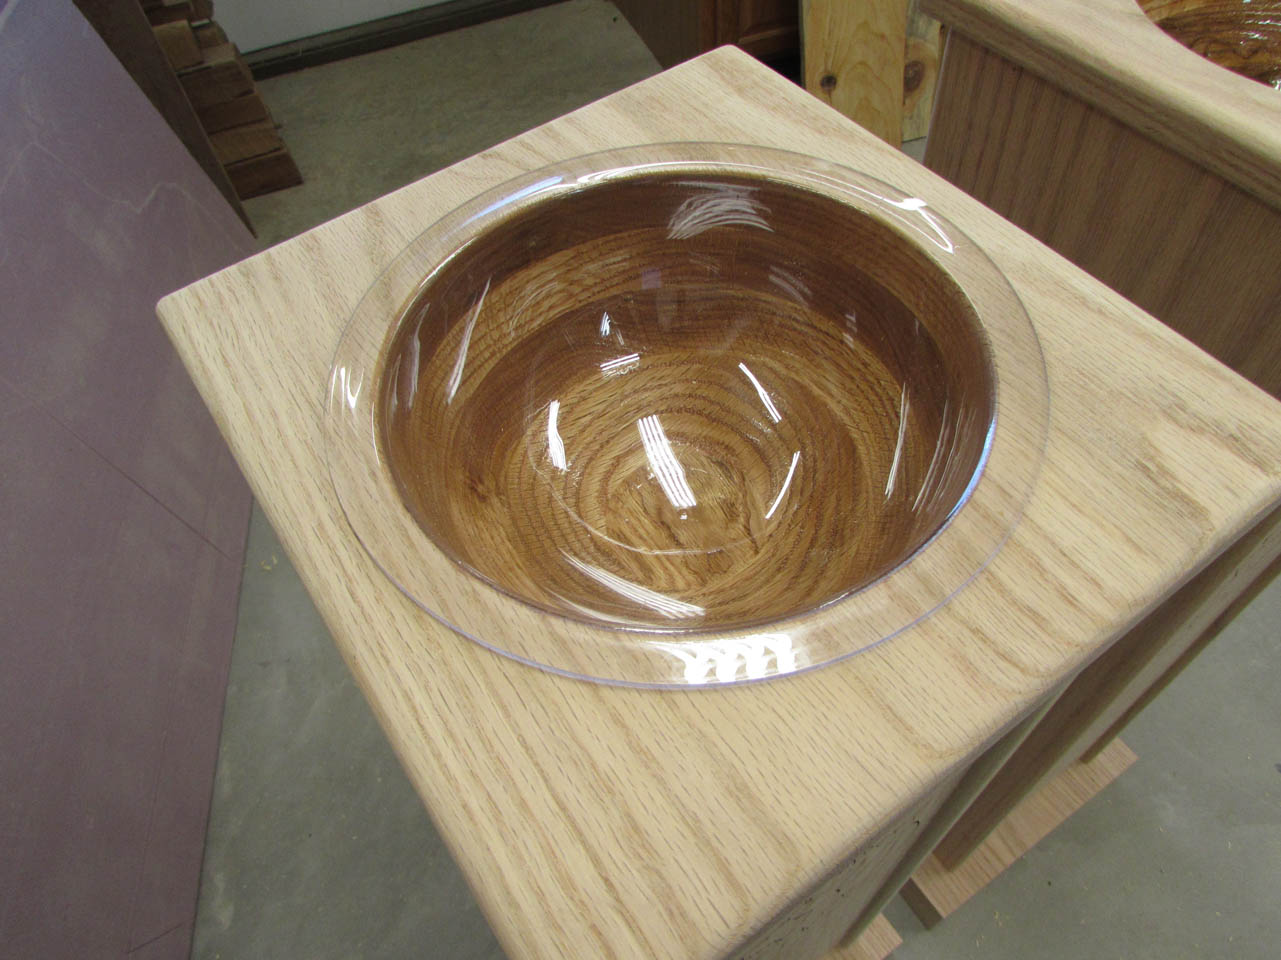
The bowls set overnight and the epoxy has cured.
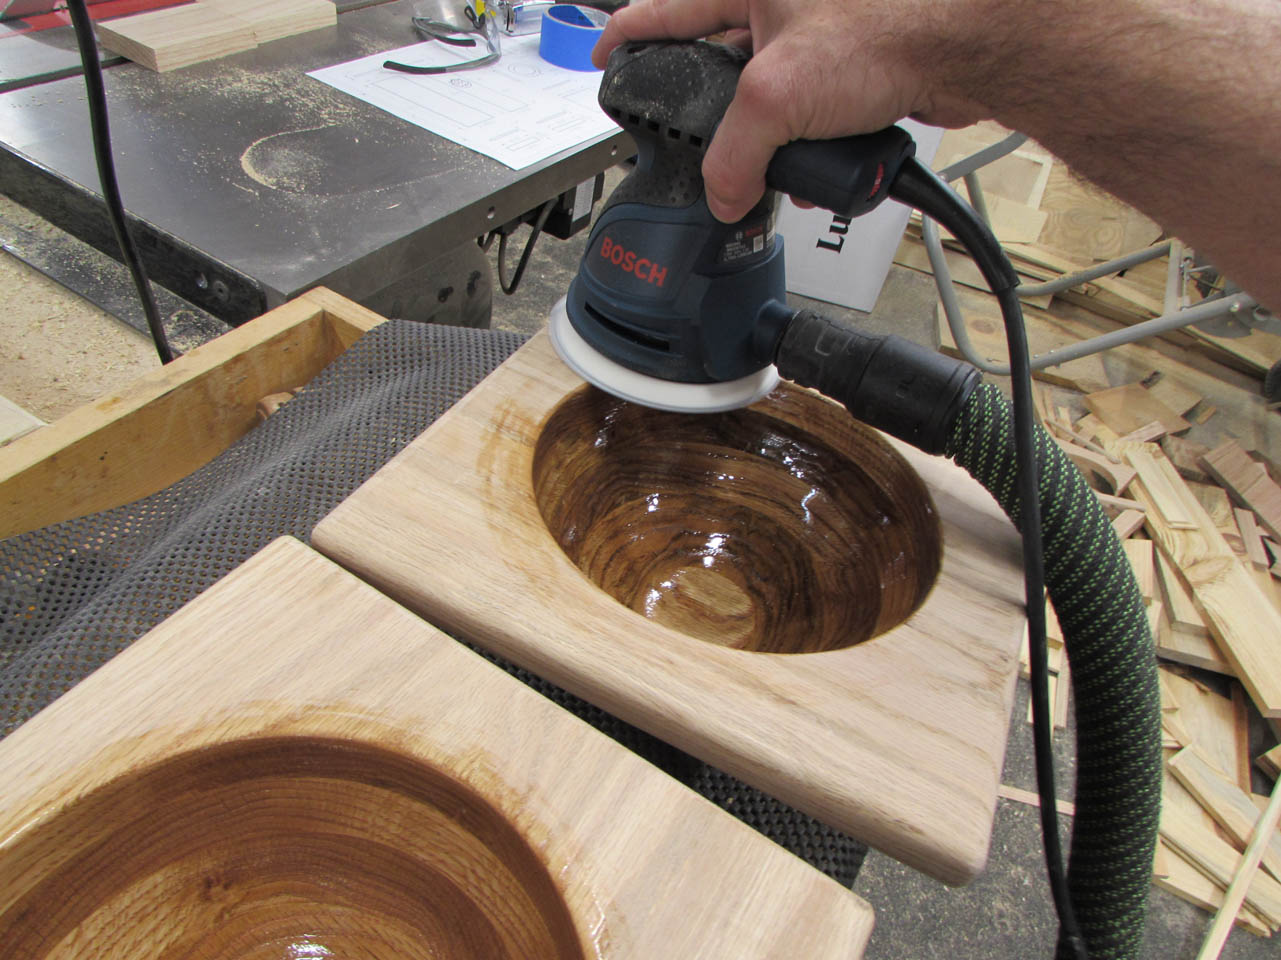
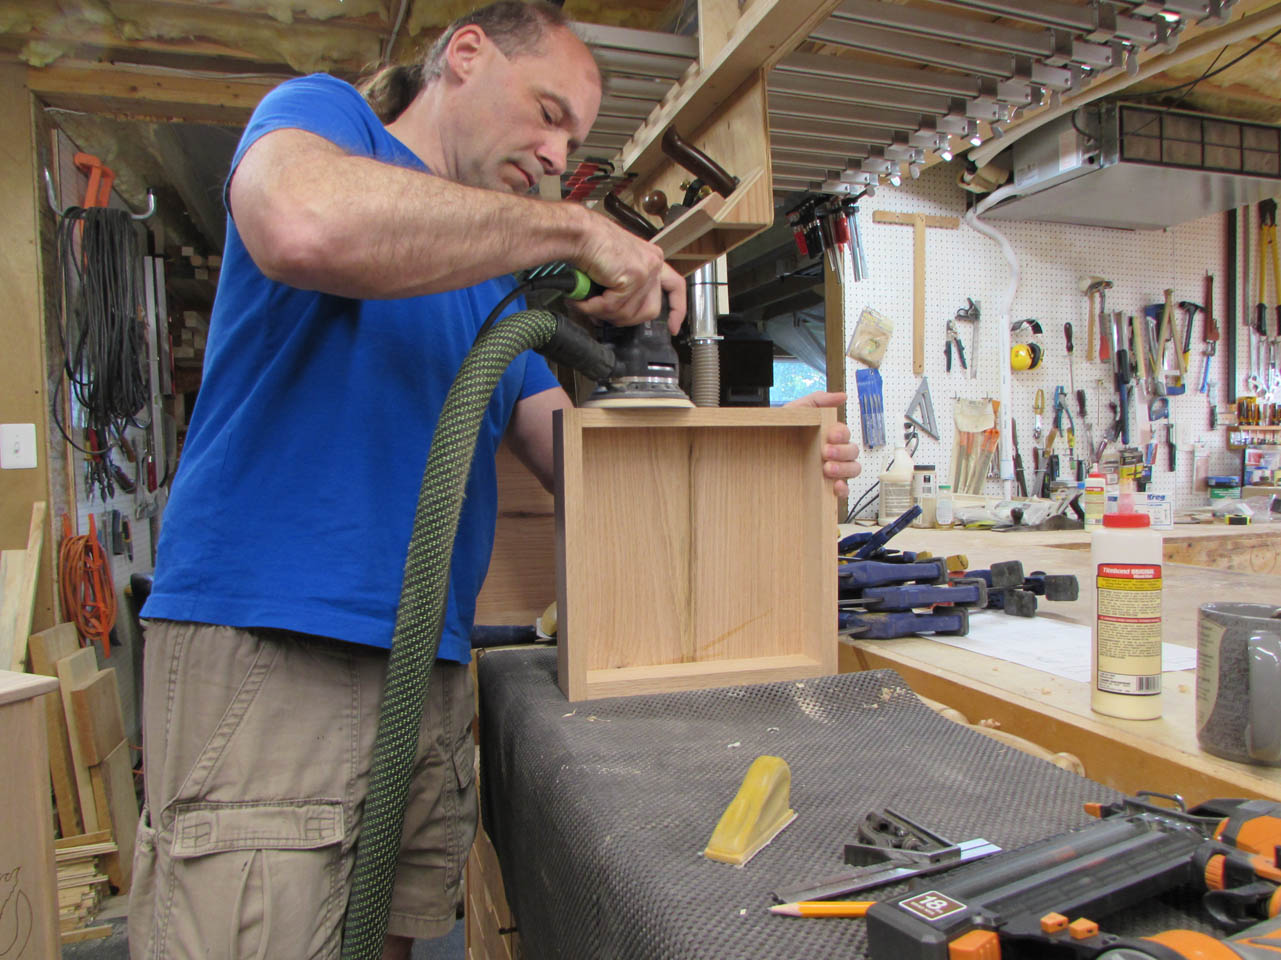
Some of the epoxy was brushed onto the top surface. I used the orbital sander to sand back the top surface so that I can stain the top evenly. The epoxy actually has an amber tint of it’s own so it will be a pretty close match to the stained wood.

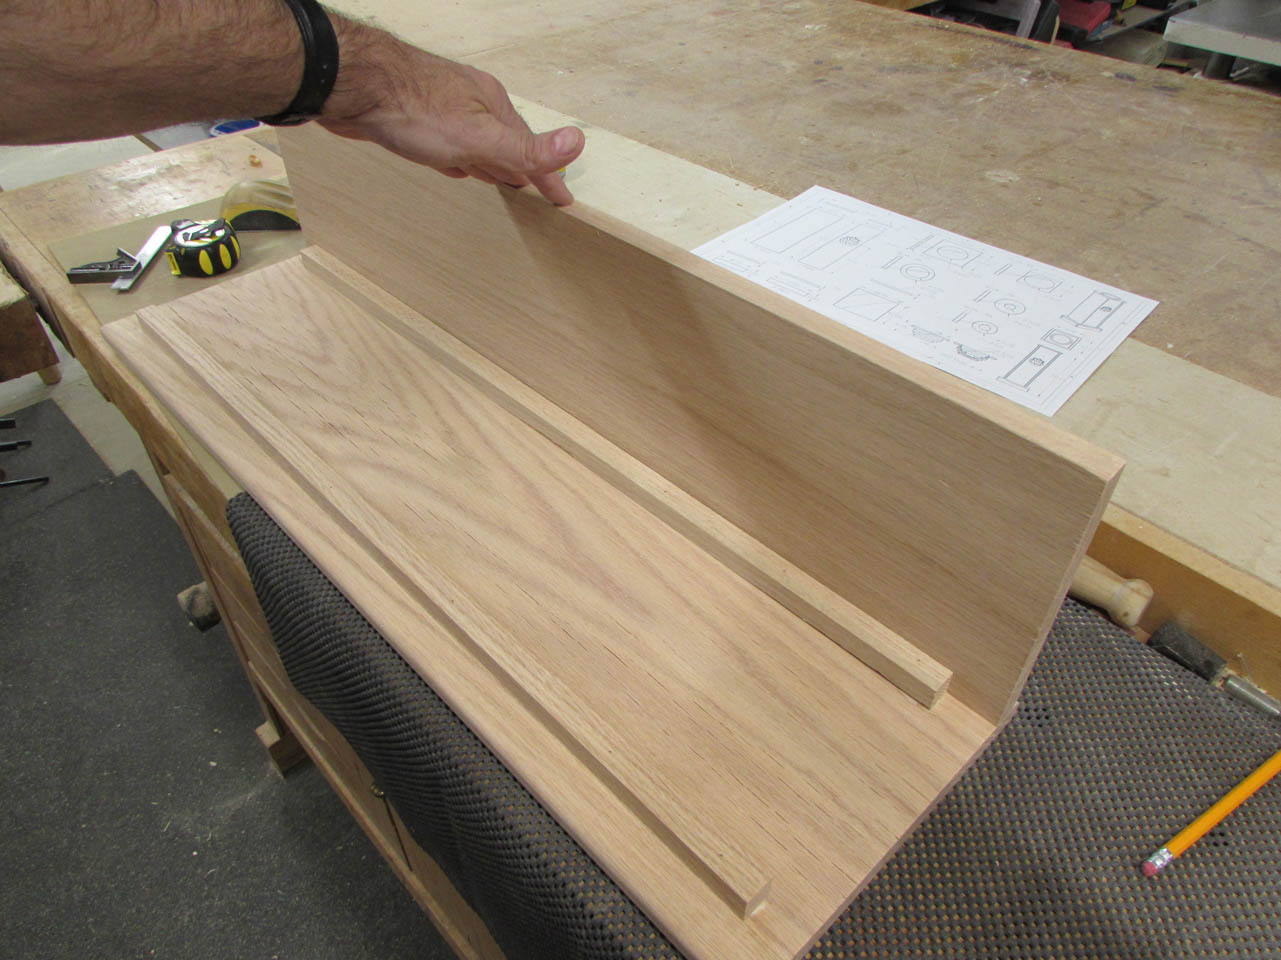
Time to get started on the main bodies of the fonts.
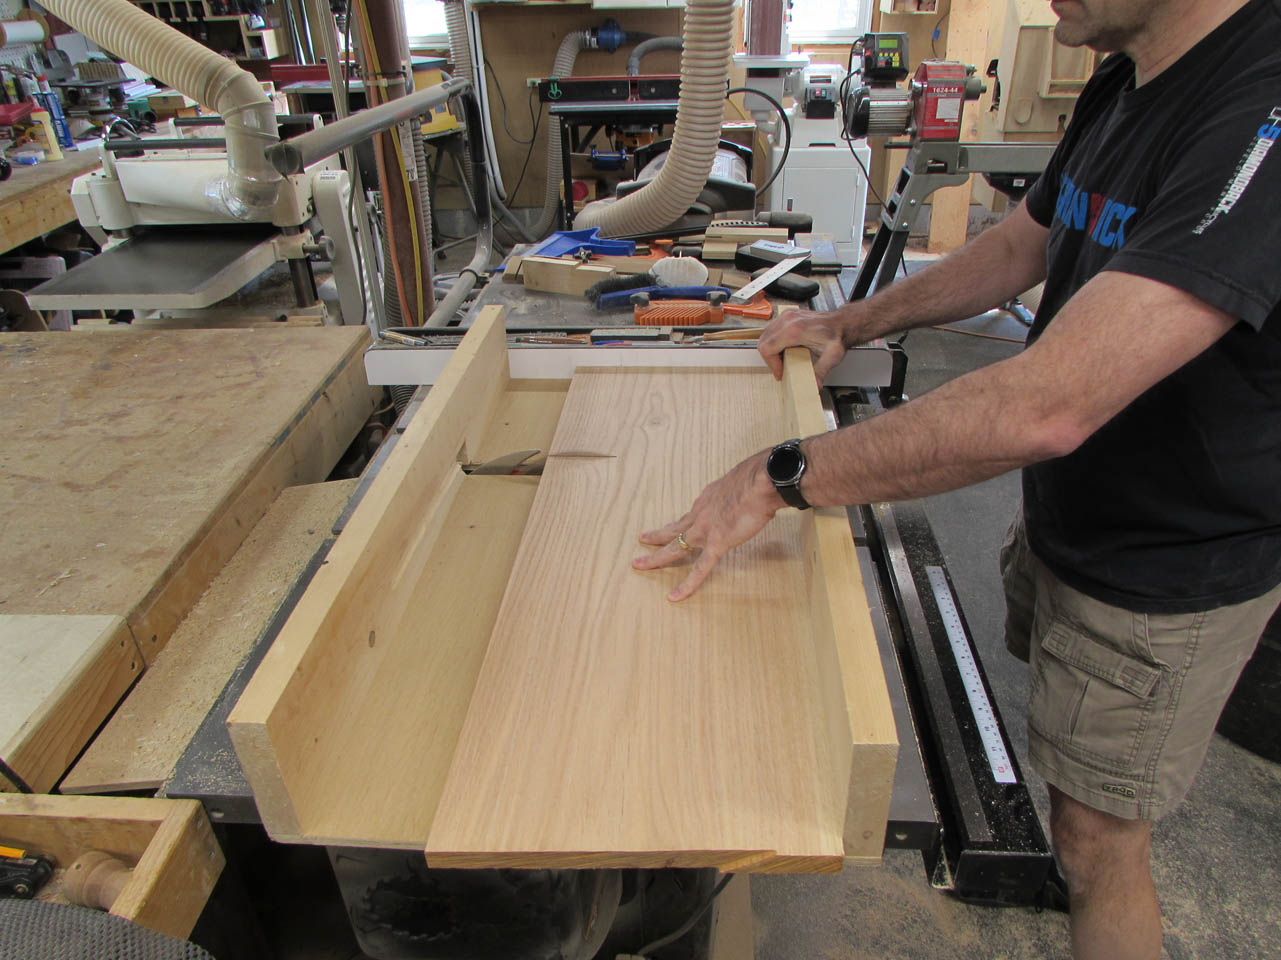
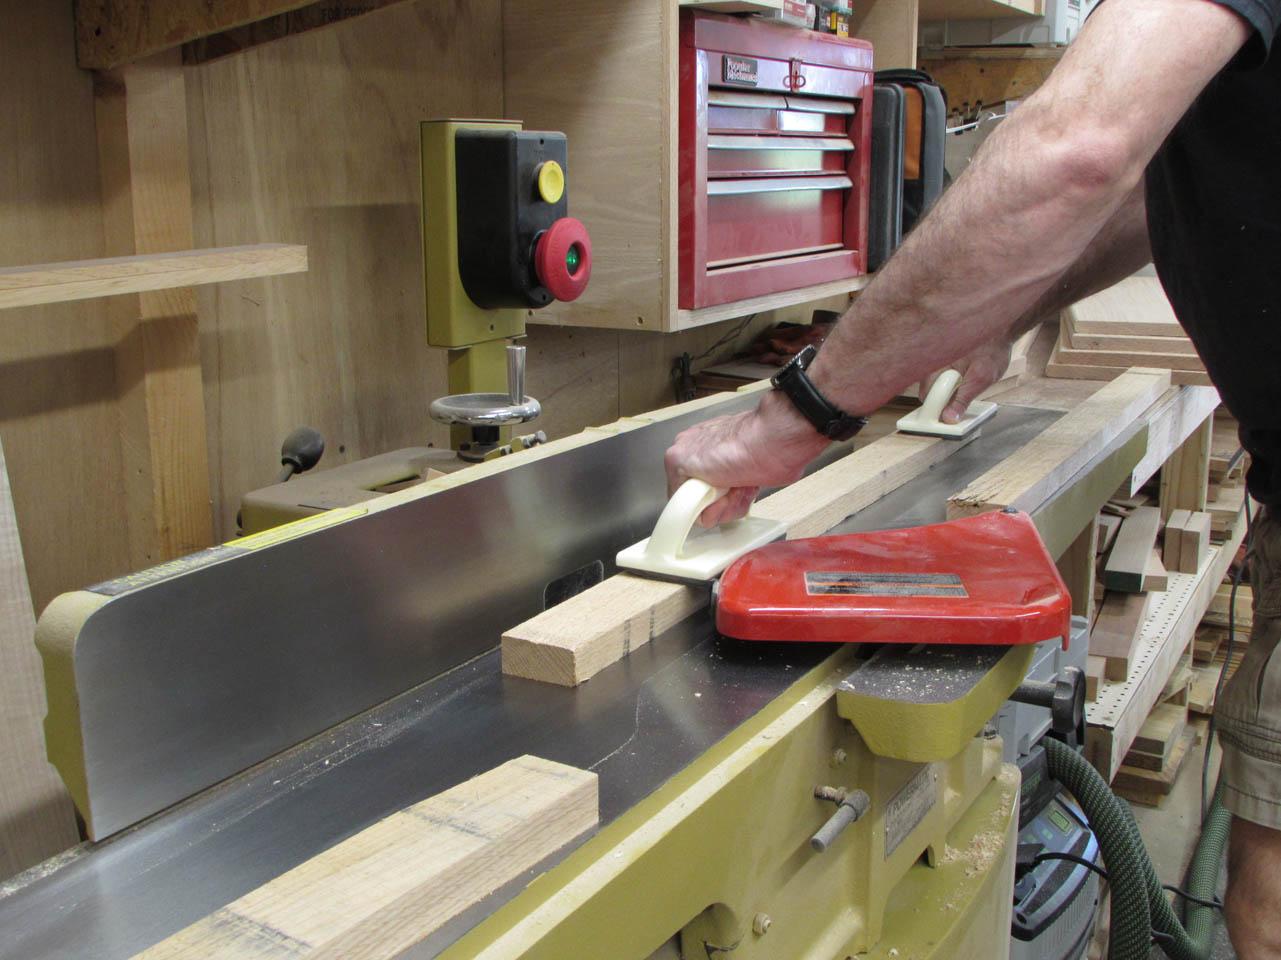
Next up is the front and rear of the font. I cut four pieces approximately 36″ long and jointed the side and one face of each.

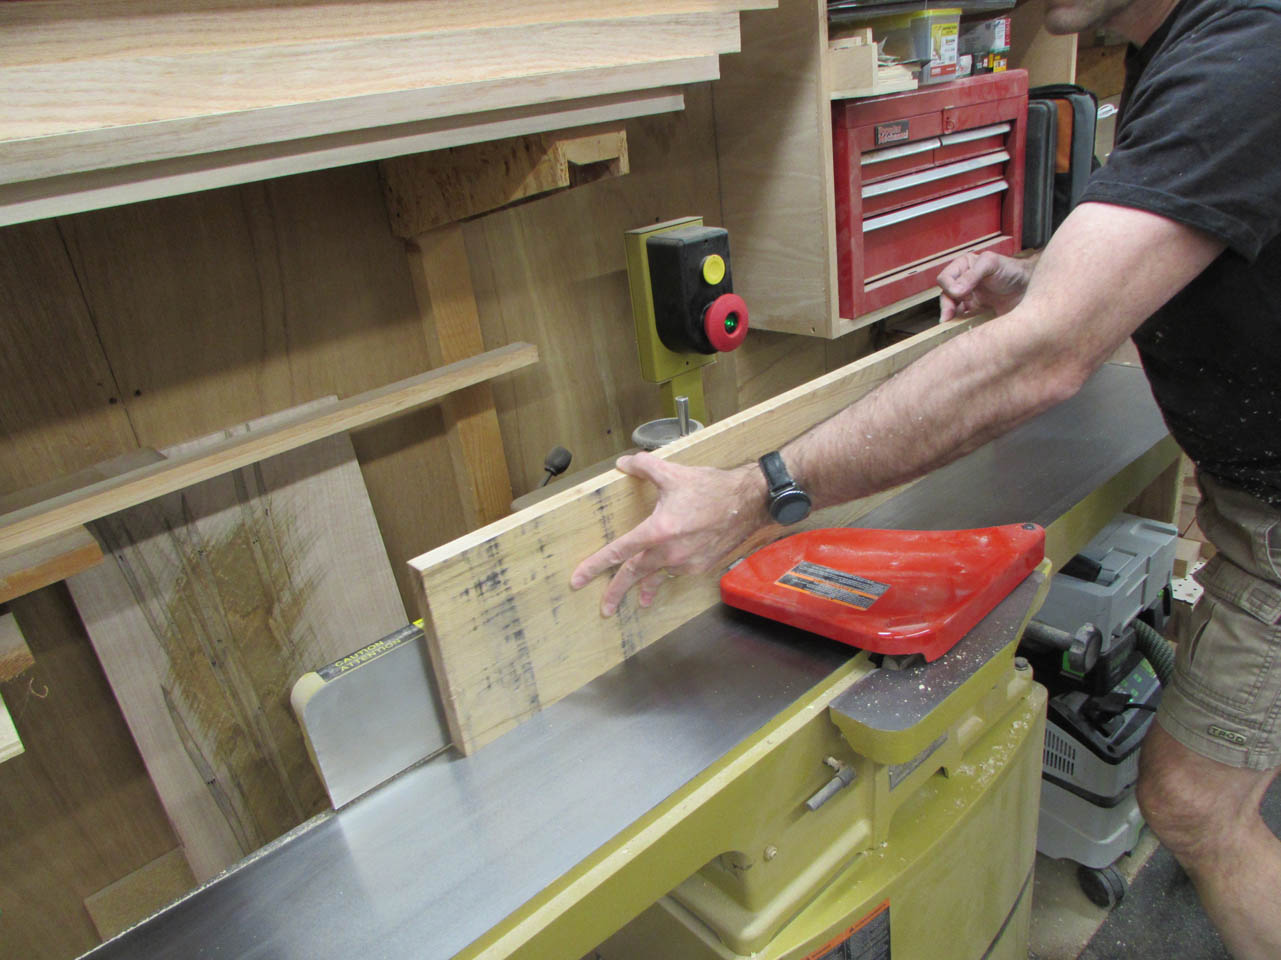
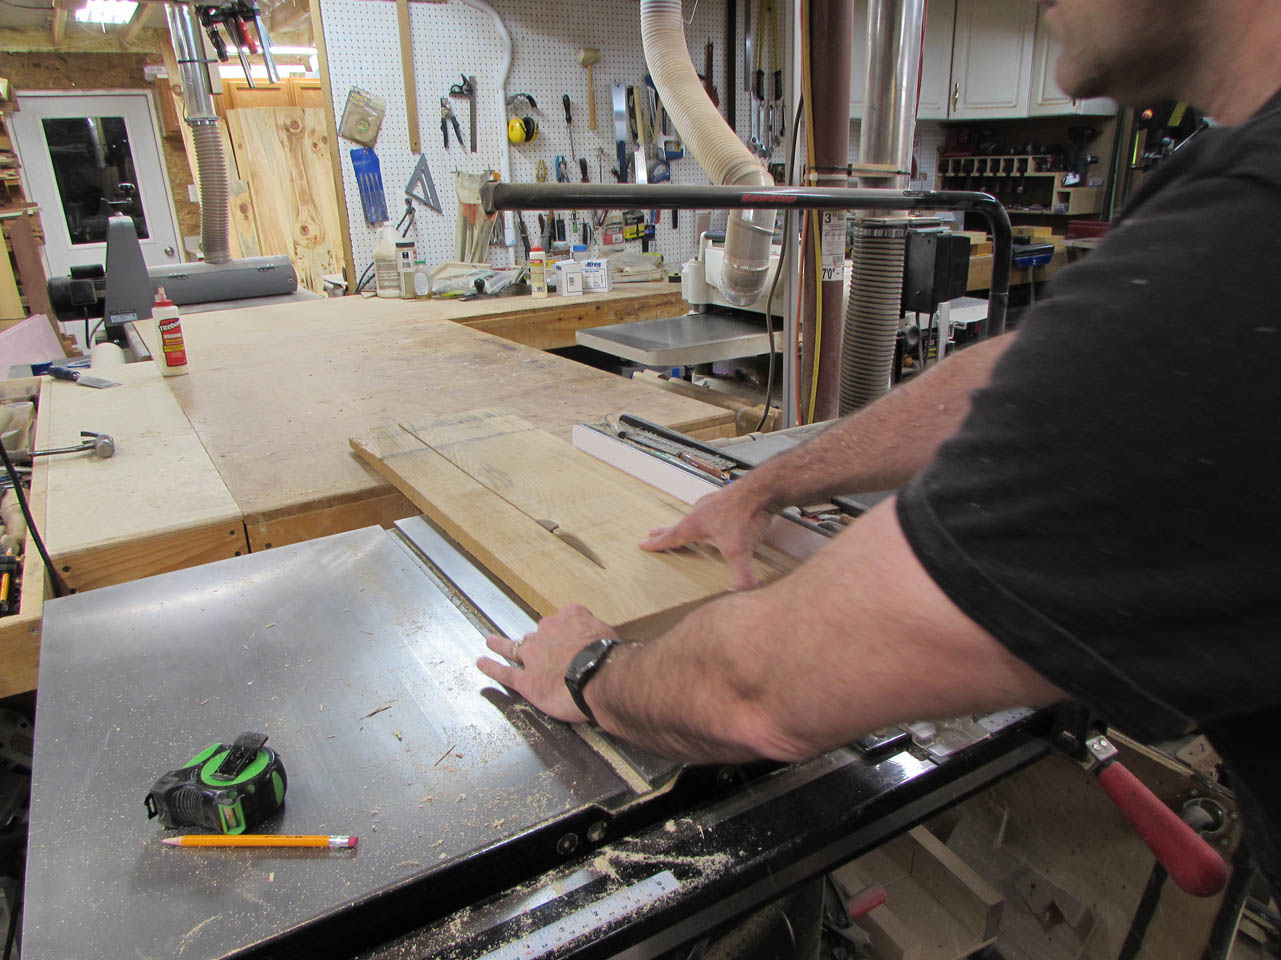
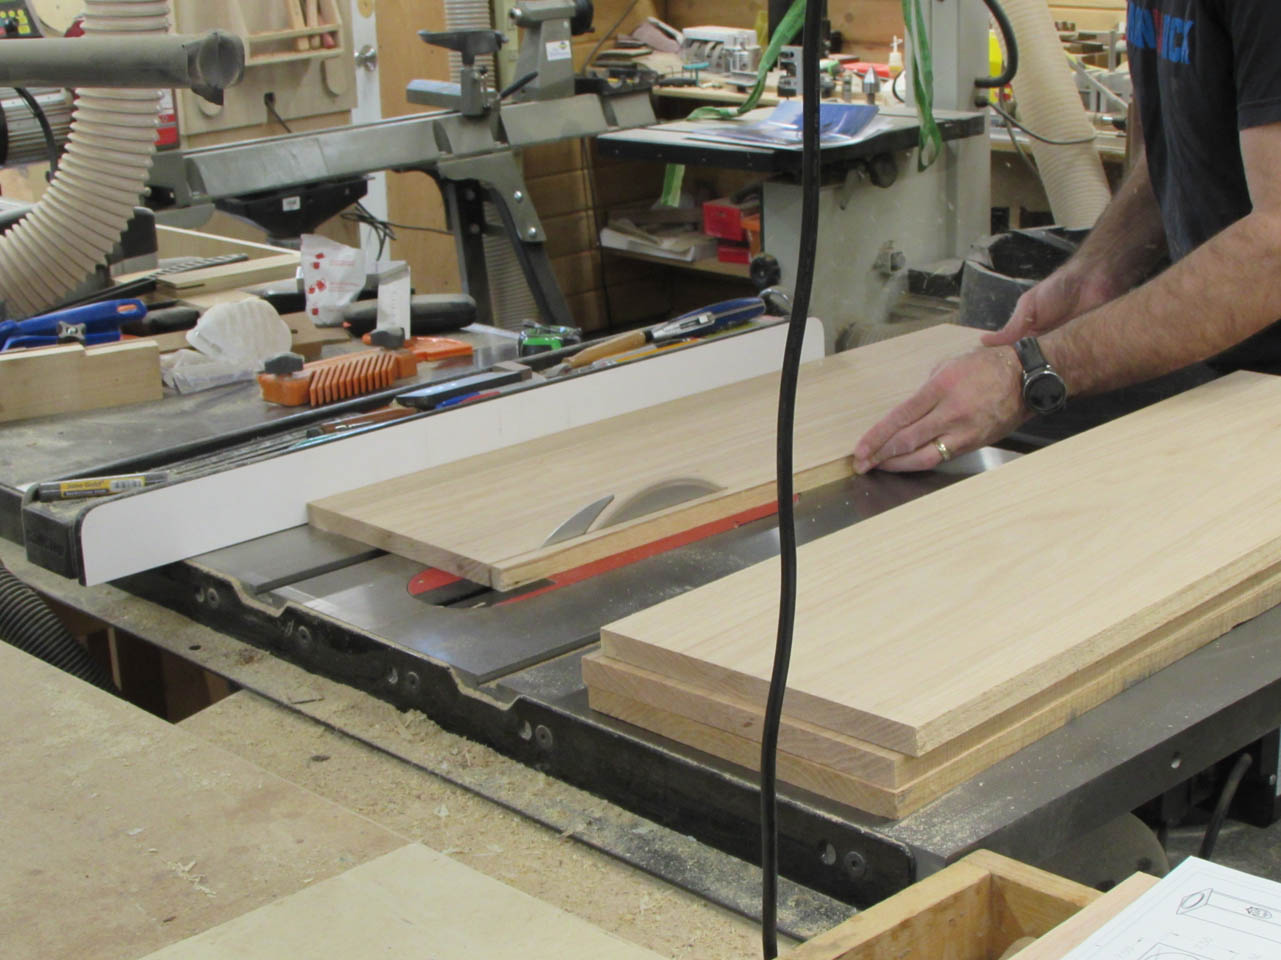
That will give me two flat faces, 90° adjacent to each other. The table saw will cut the opposite side perfectly parallel.
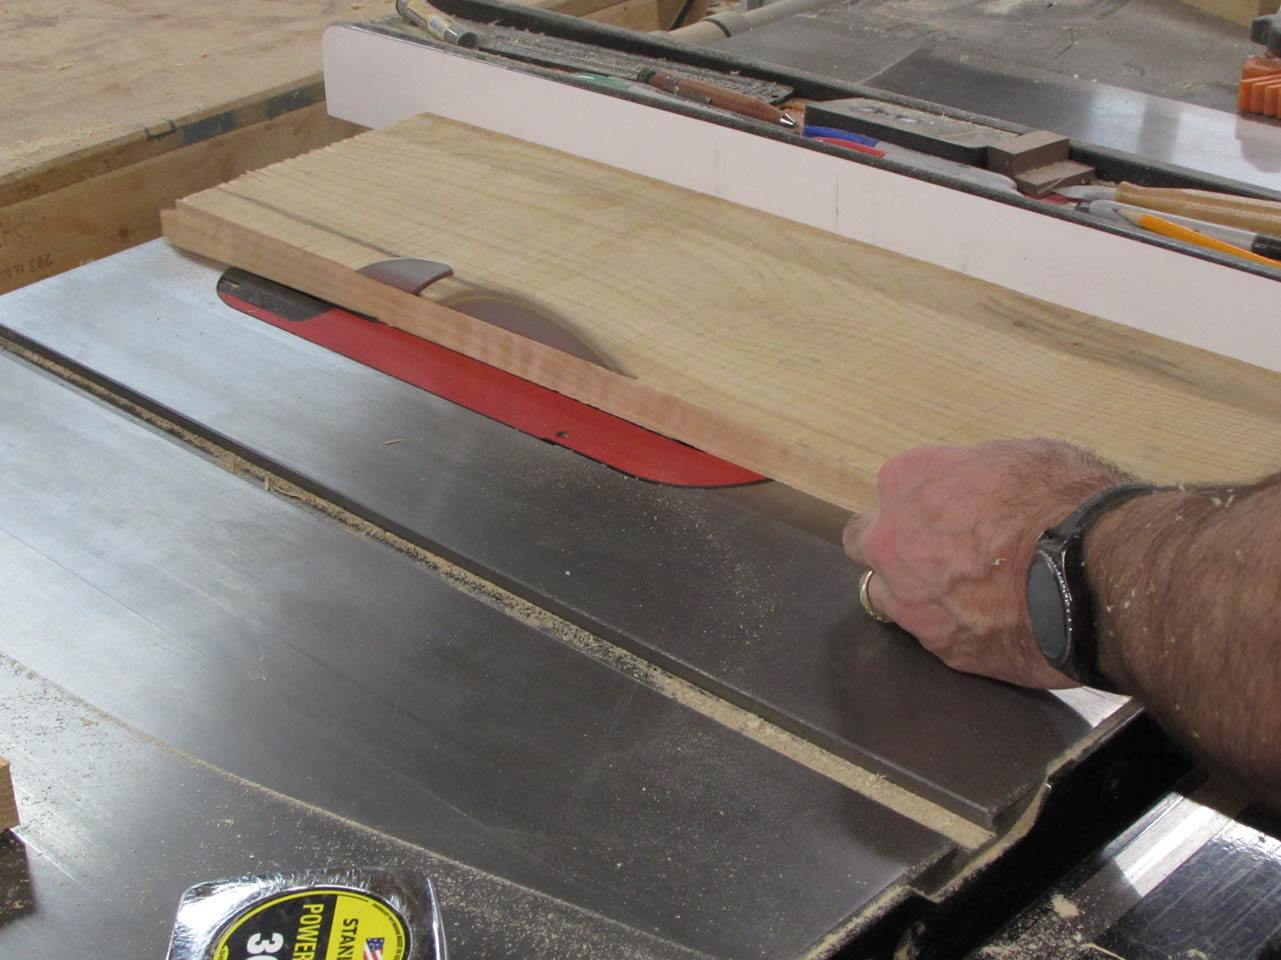
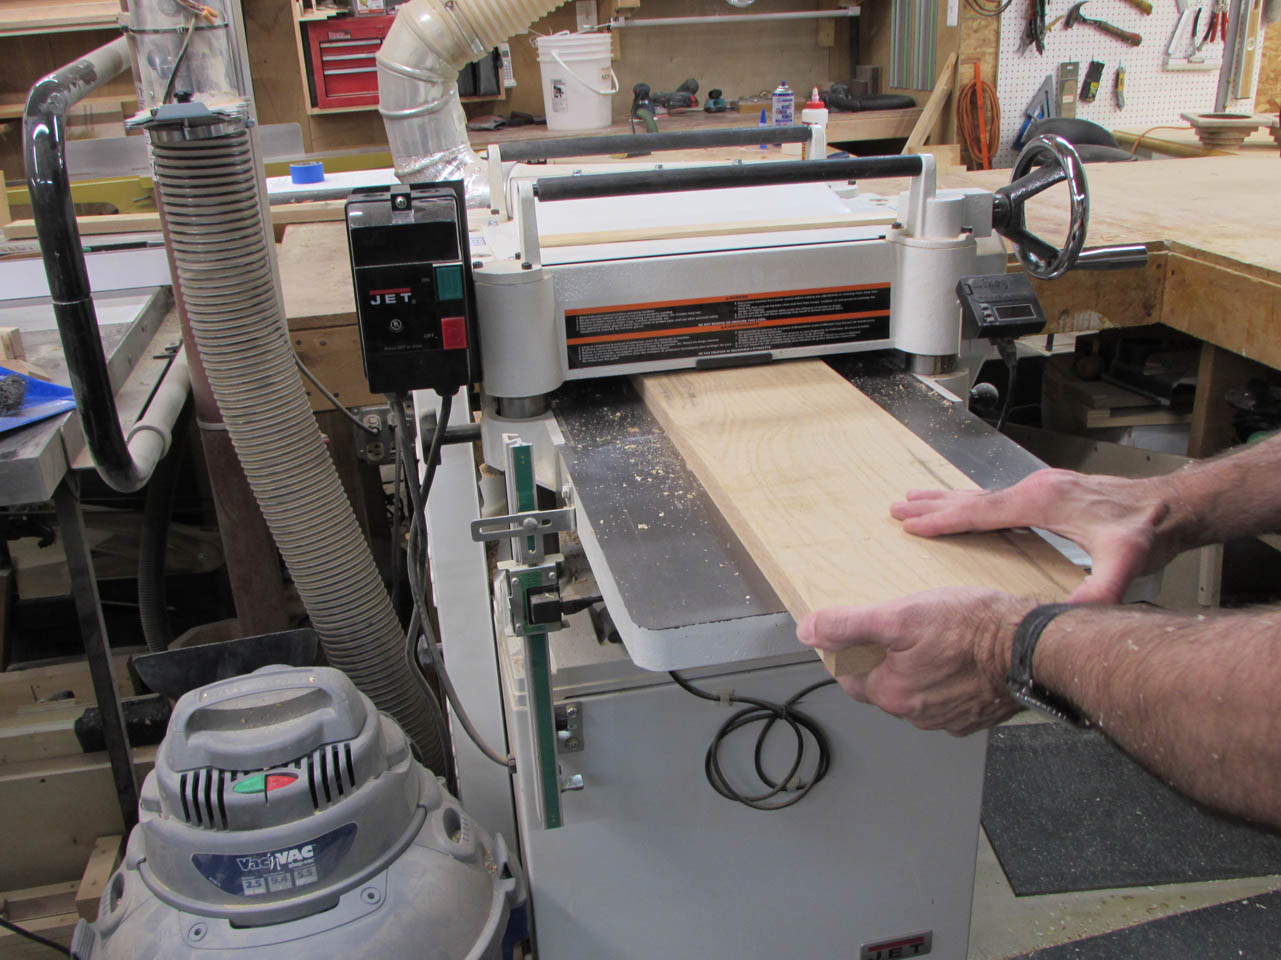
The final side gets planed down to 3/4″ thick.
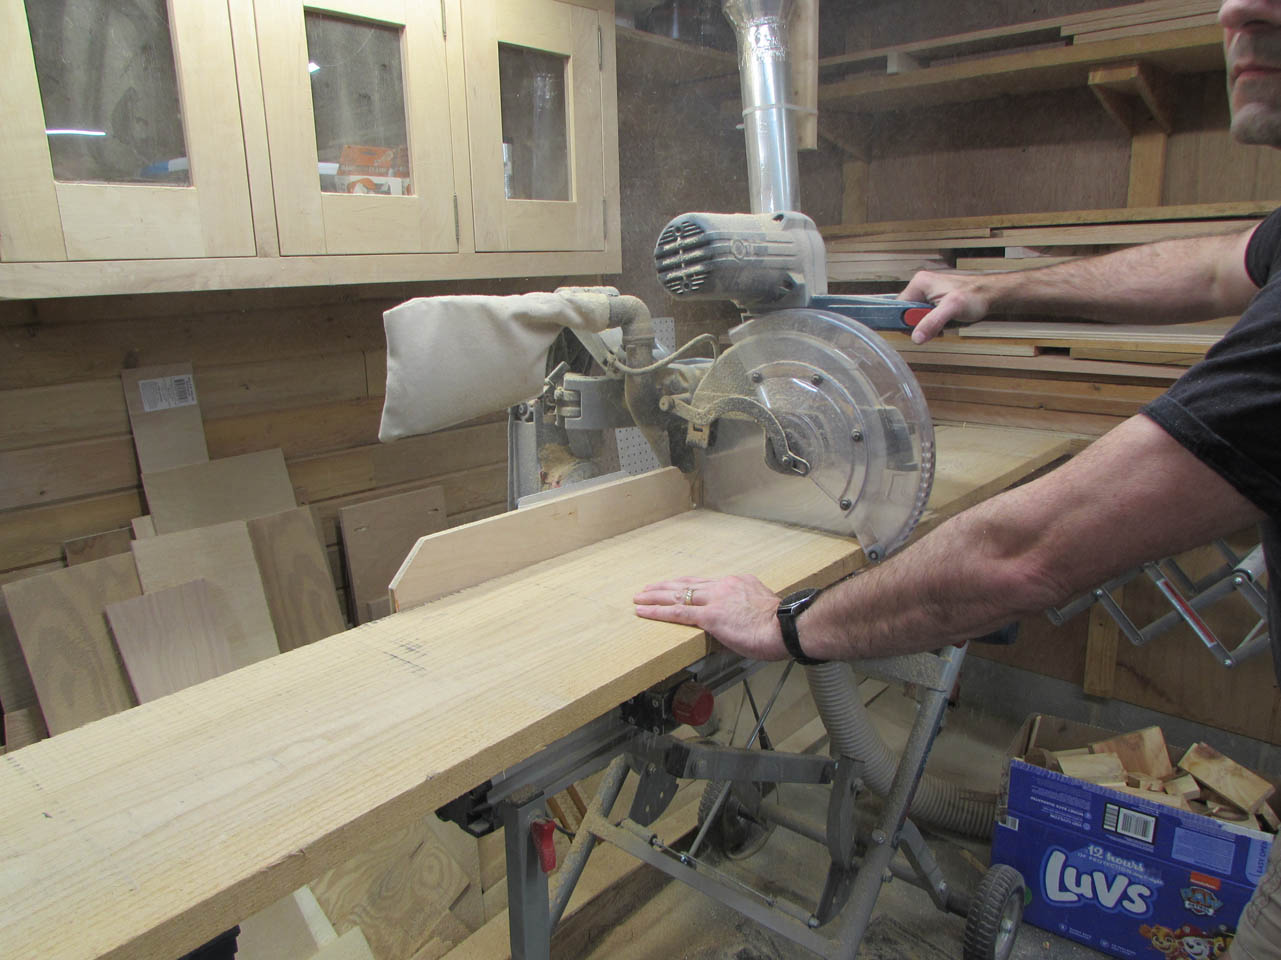
I use my cross-cut sled to square up the ends and cut the boards to final length.

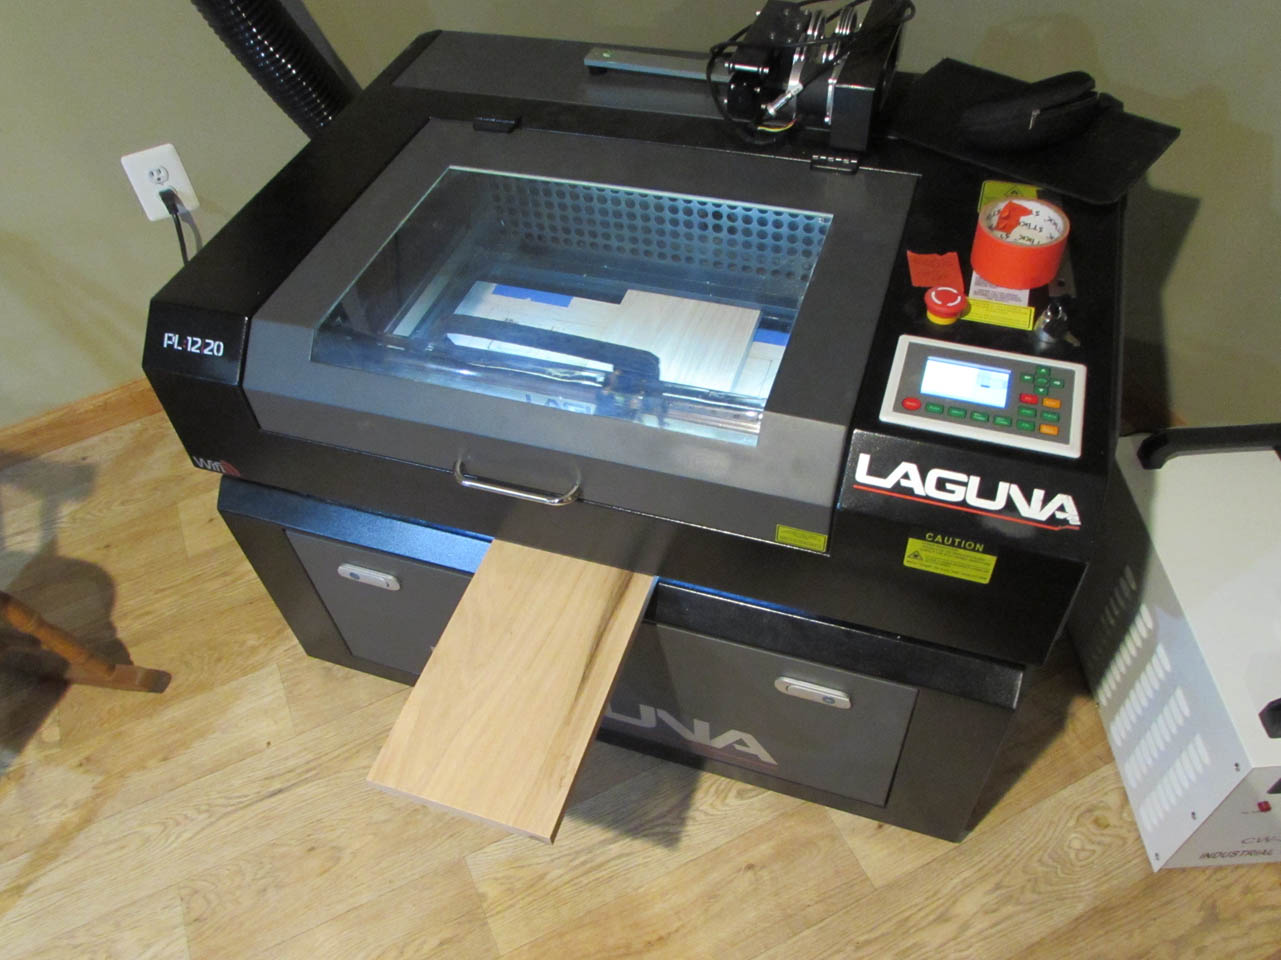
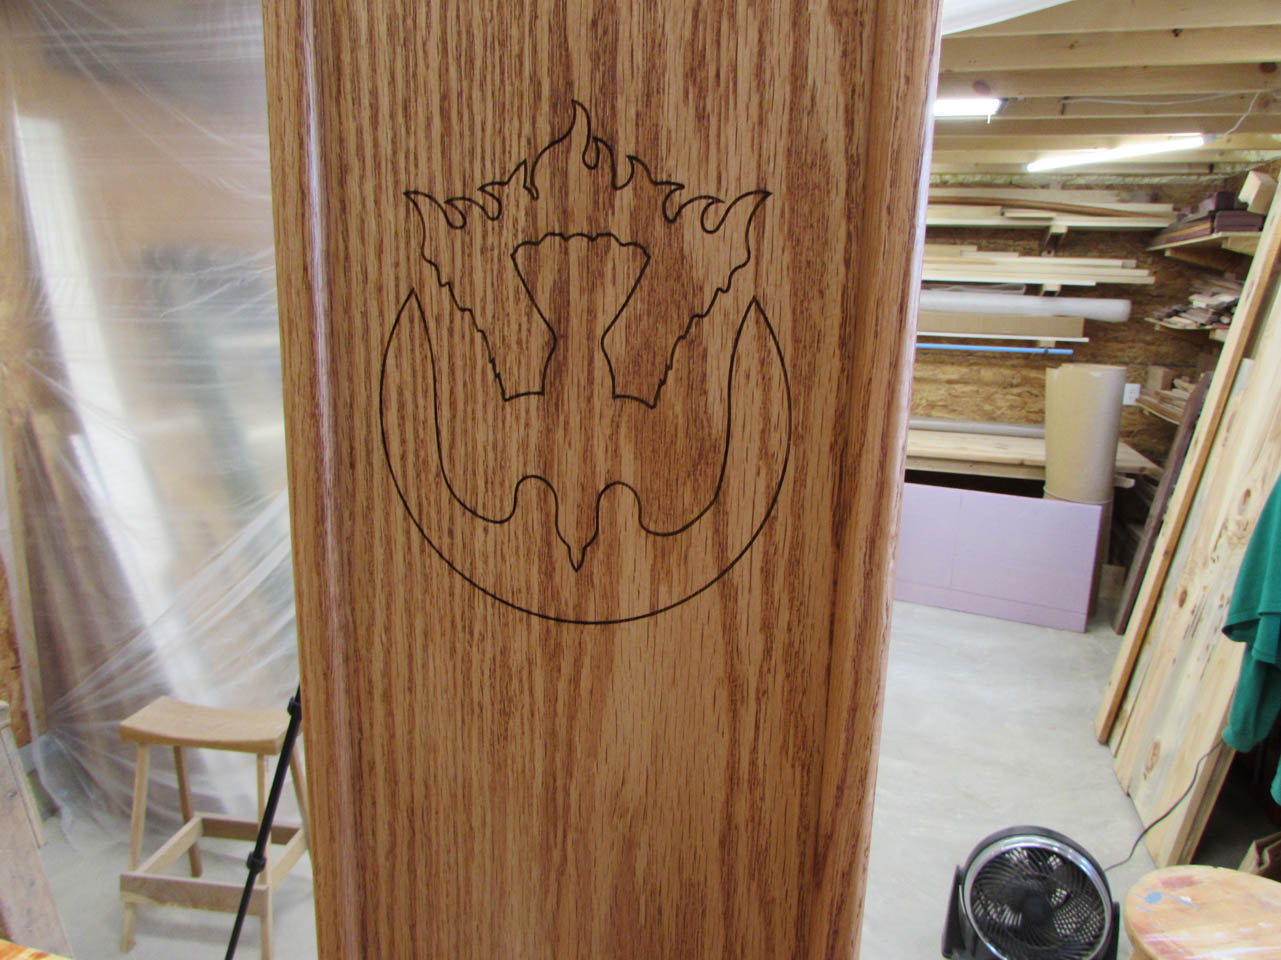
I mark the center of the board, 20″ up from the bottom, then place the board in my laser engraver, centering the laser on that point.
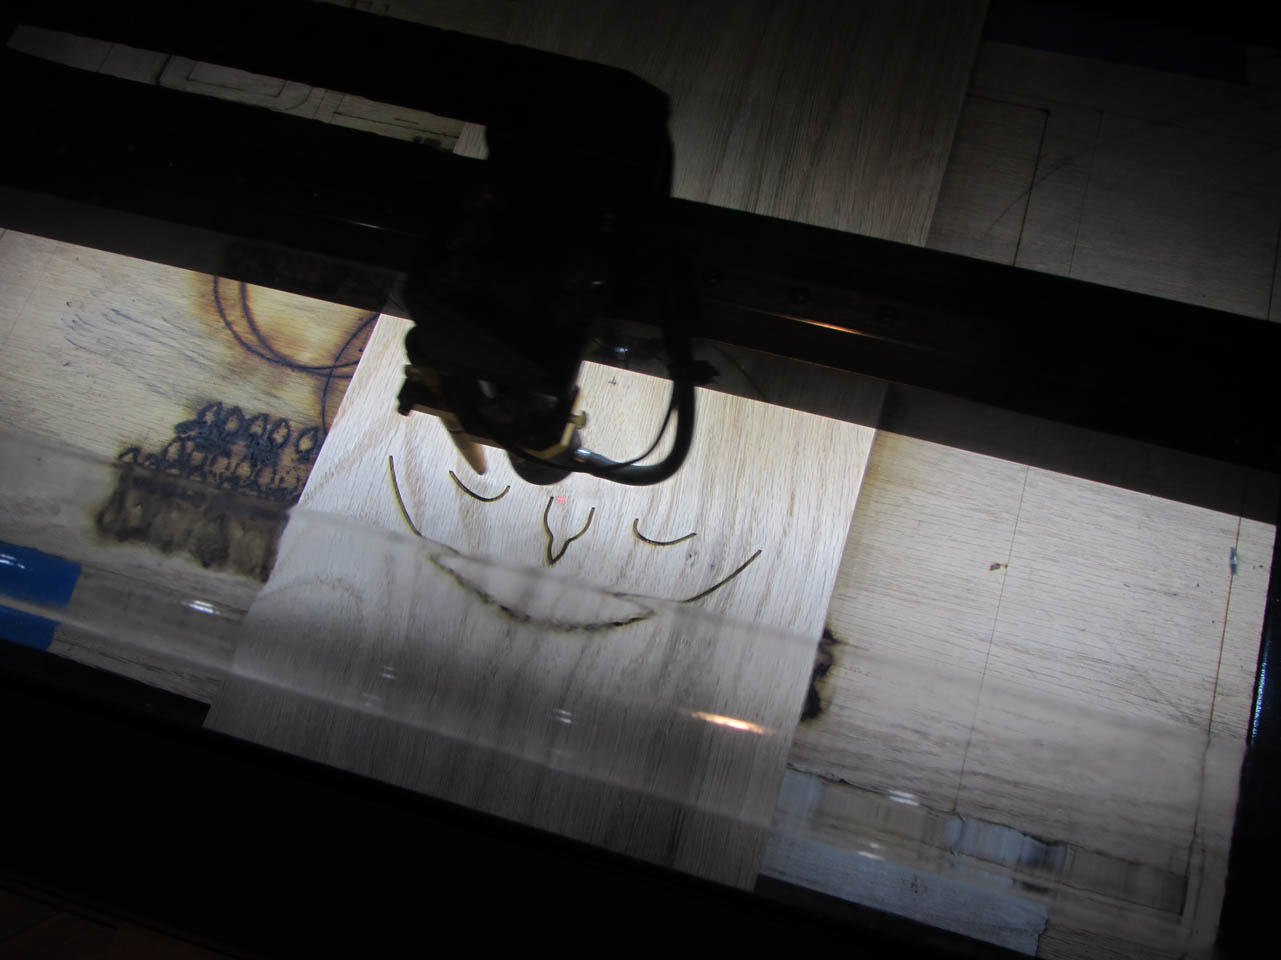
I experimented on a couple of pieces of scrap oak to get the settings and size the way I wanted it, then I engraved the holy spirit symbol onto each of the boards.

It only needed to go onto two of the boards because one side faces out and the other will face the wall, but I figured the location could change one day or someone may prefer the face with more or less character. Either way, it will be on both sides of the font so they can pick.

I happened to find one board that was wide enough to make the 12″x12″ base top. I had just enough to cut both tops. This was the only board that I thought I would have to make a glued-up panel for.

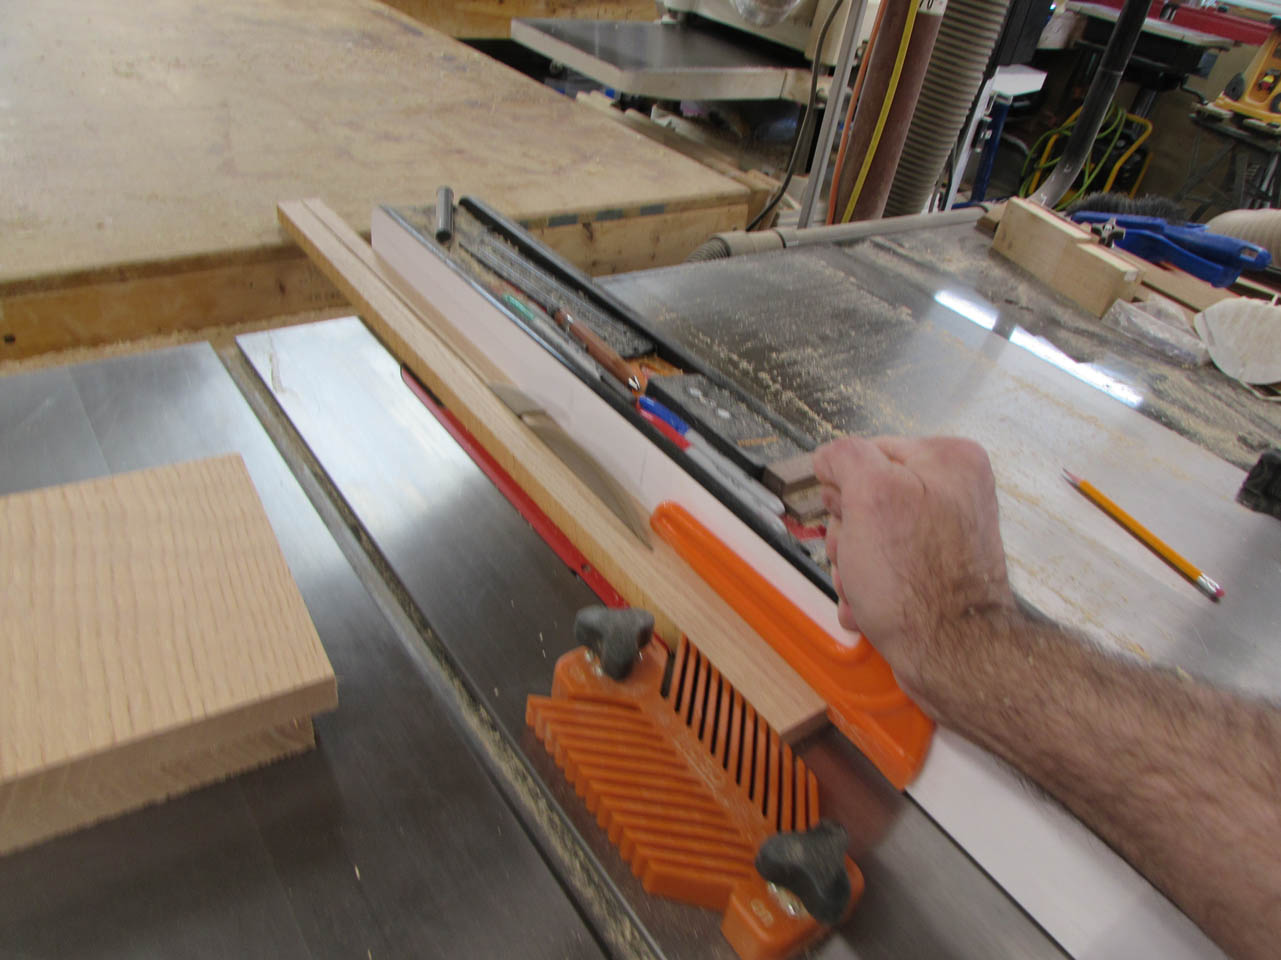
Moving onto the sides, I grabbed four wider boards and repeated the milling process.


Once milled down to size, I can then round the front and back edges on the router table.
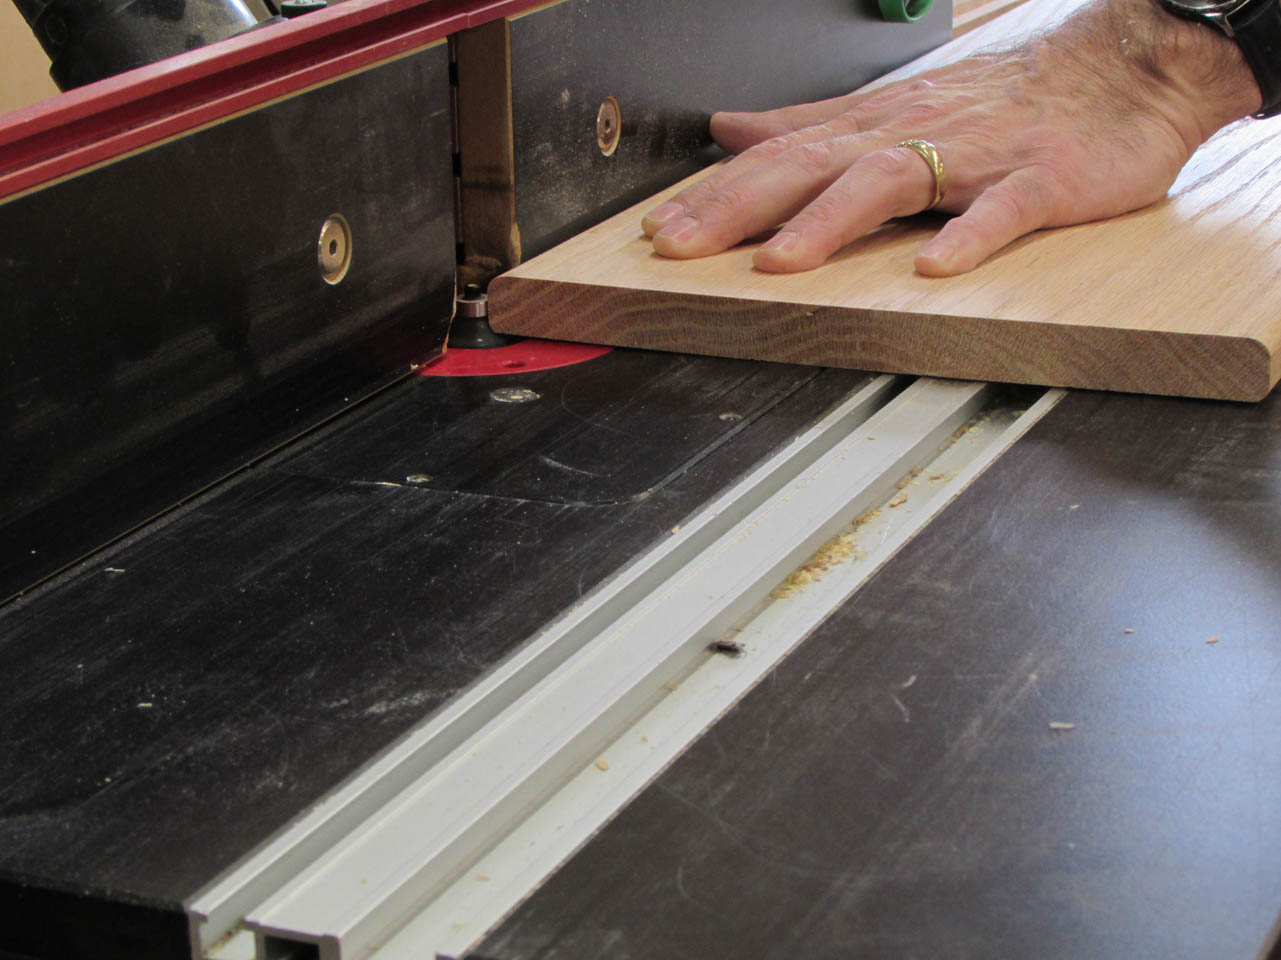

Once rounded, I can cut all four boards to length.


Now I only need the remaining strips for the base as well as a few pieces of inner structure.
Before assembly, I need to sand down all of the surfaces.

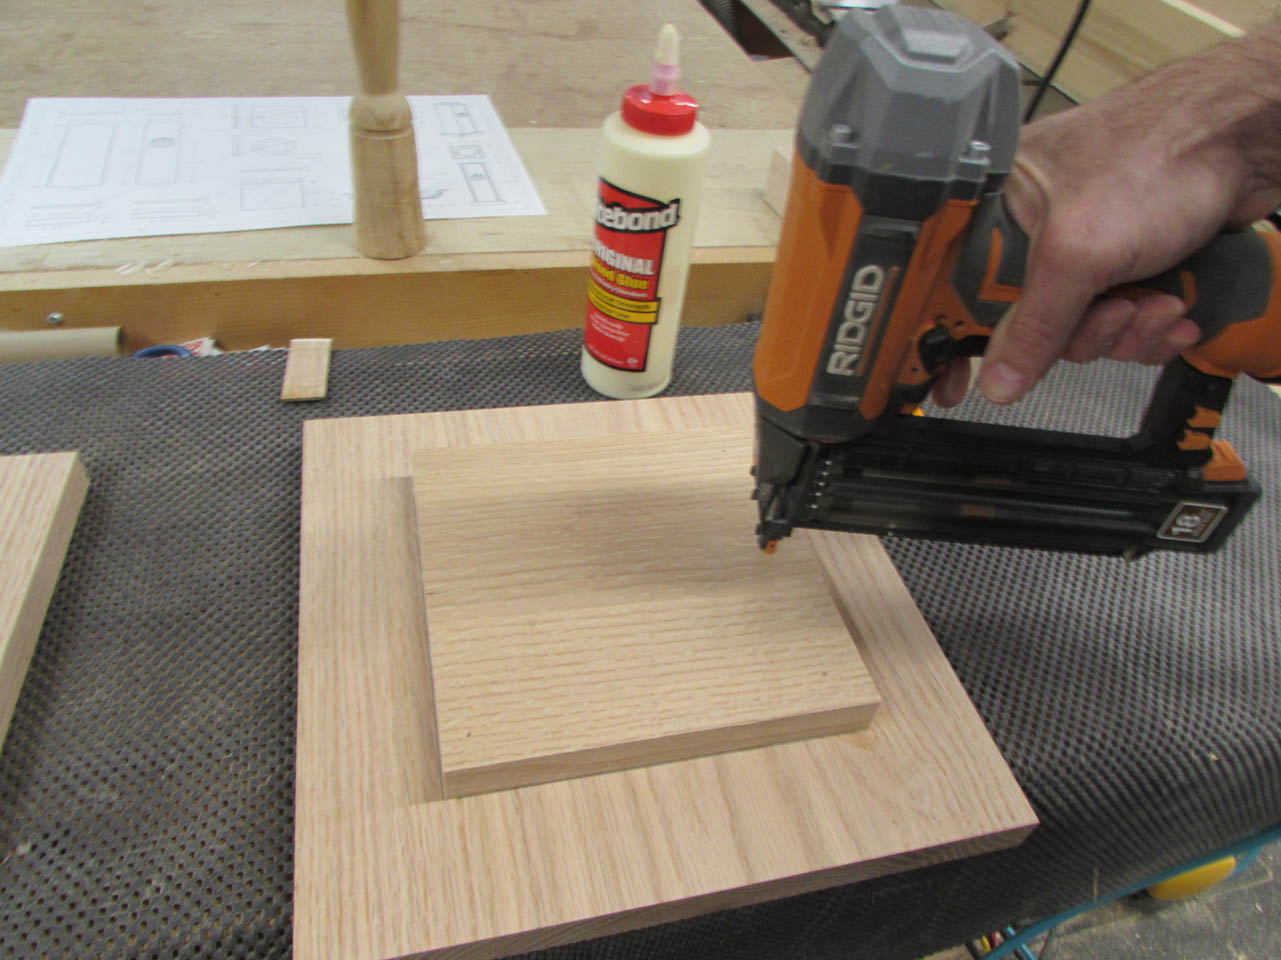
To aid in locating the sides and to add an additional glue surface and attachment point, I added a 7-1/2″ square to the center of the base.

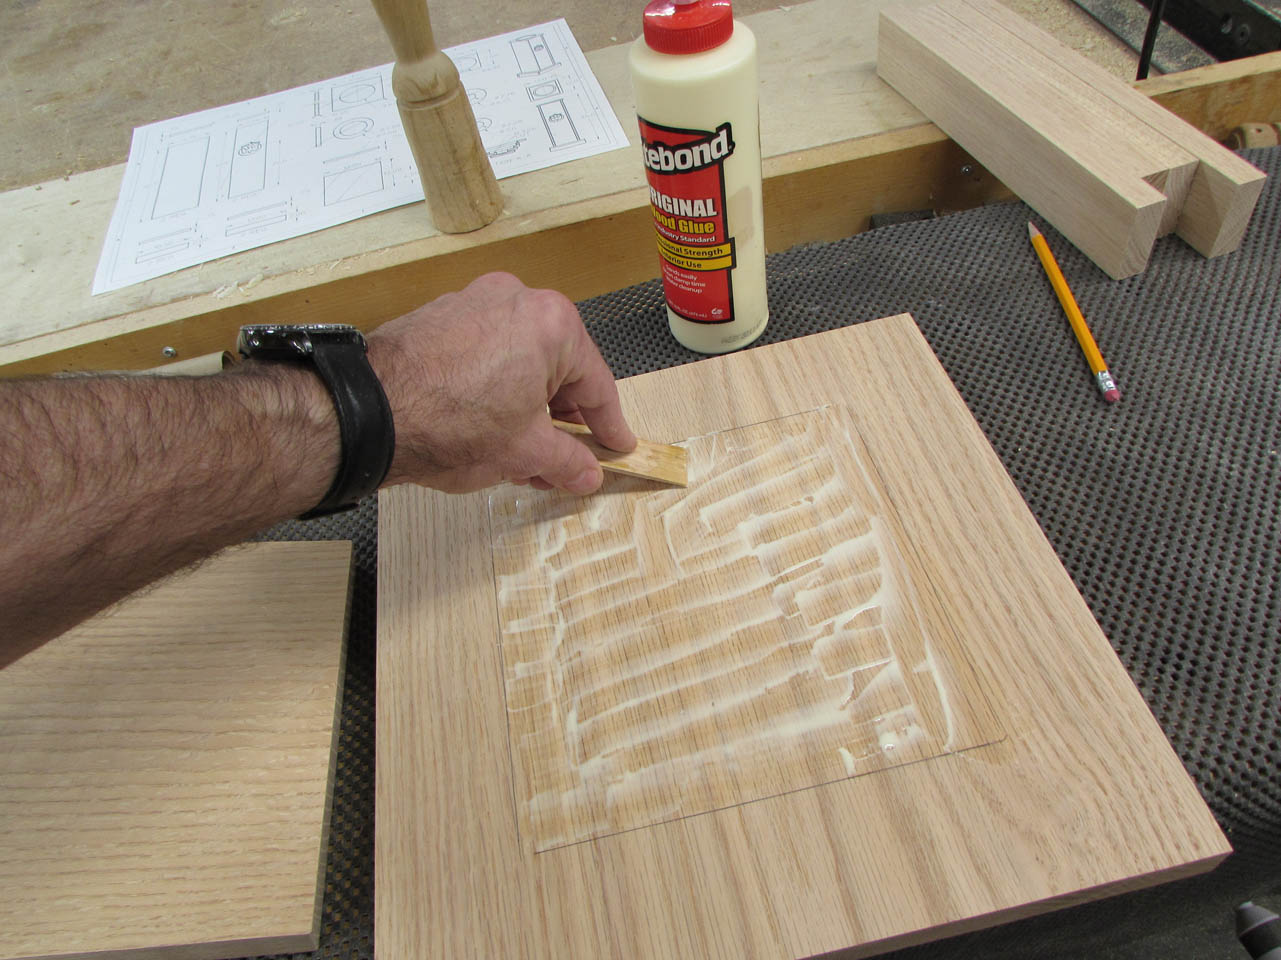
This was glued and nailed into place.
Then the rest of the base was glued and clamped together.


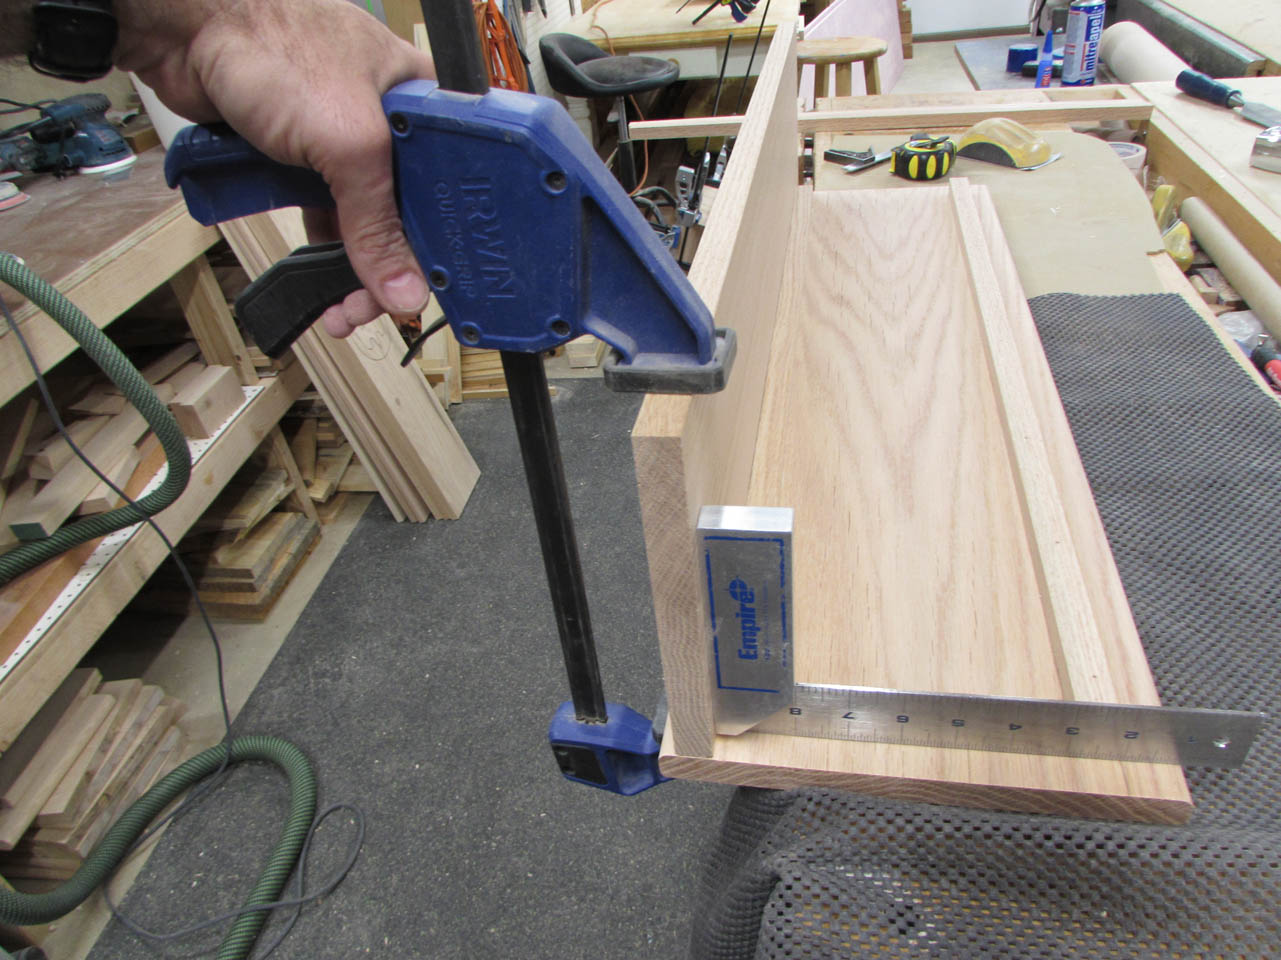
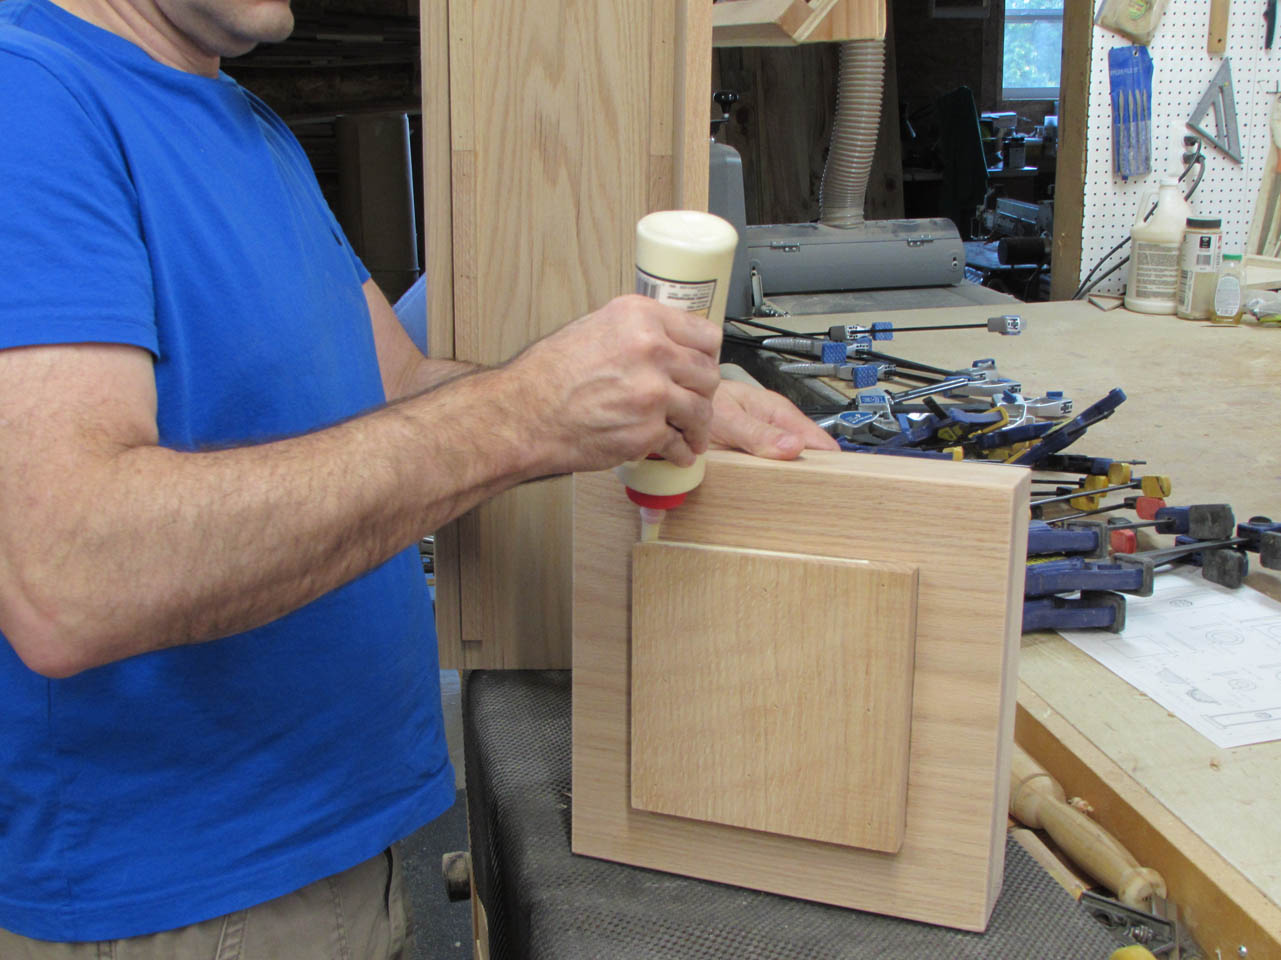
I centered the 7-1/2″ wide front piece on the side piece and marked it’s location.

I glued and nailed 3/4″ strips to the inside of these lines. These strips will aid in assembly by giving me something to glue and clamp to.

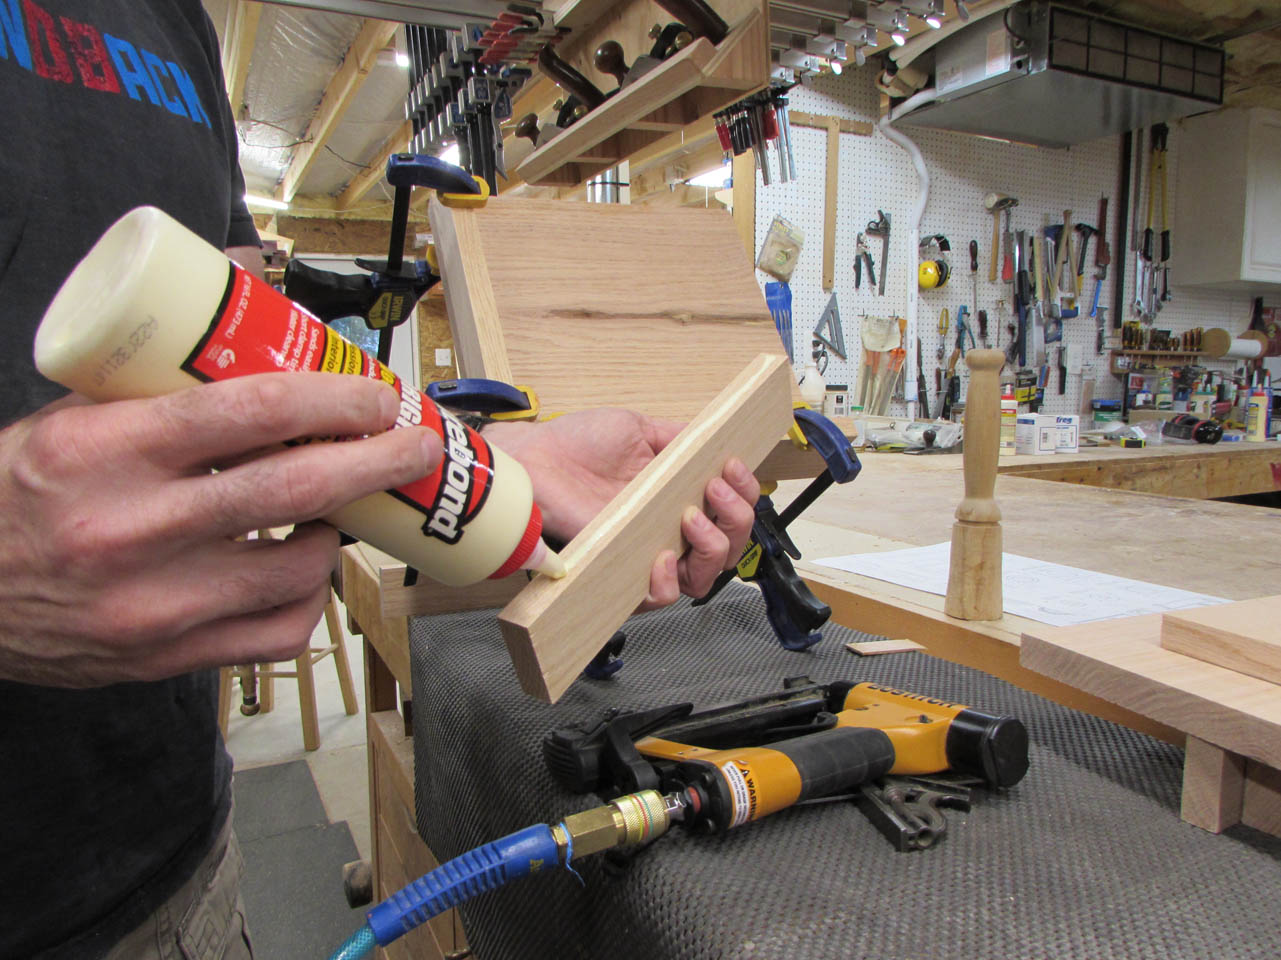
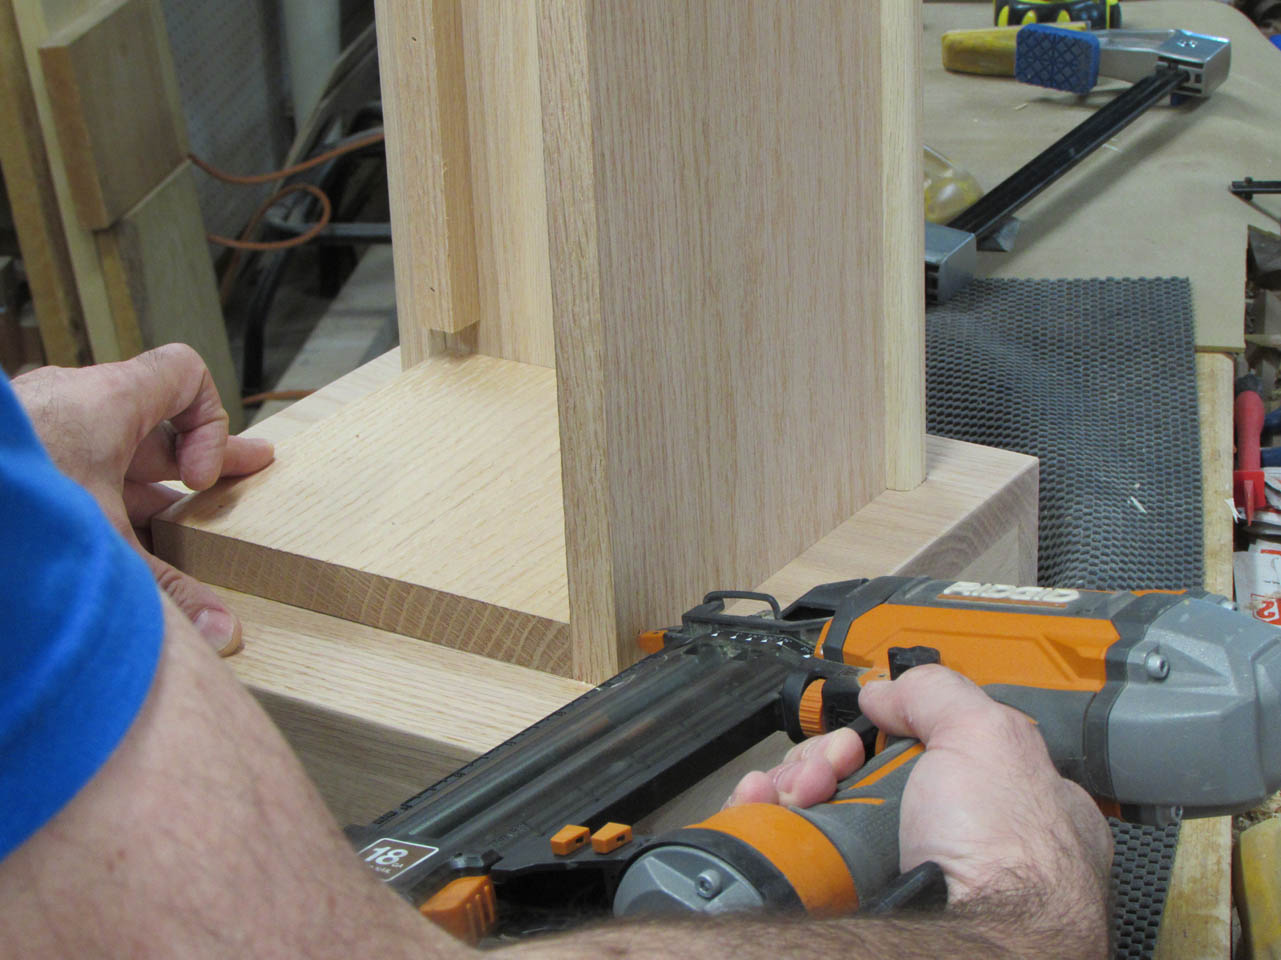
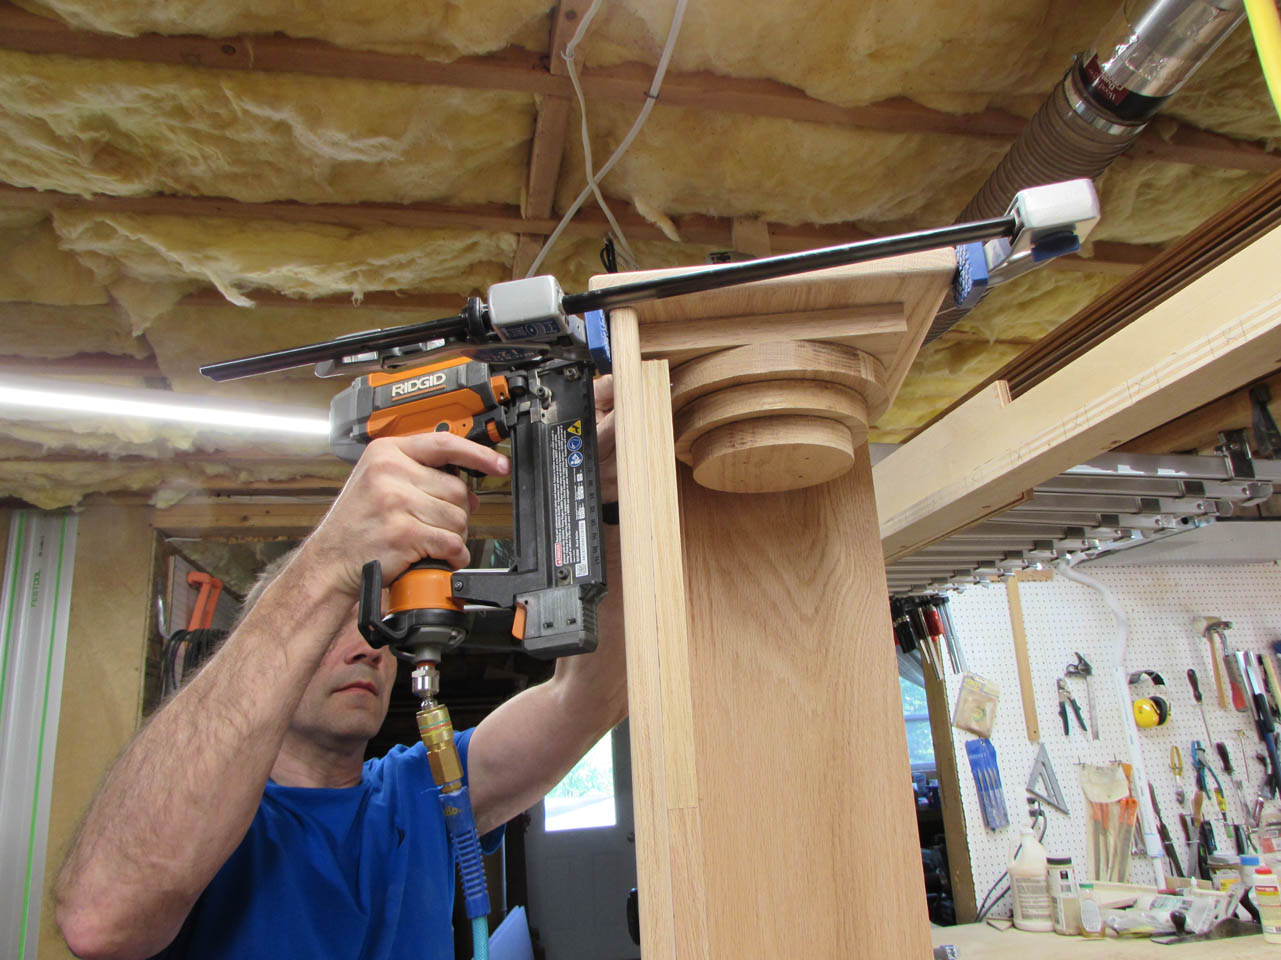
I add one of the face pieces, with the laser engraved side facing out. This was glued and nailed from the inside insuring that I cannot see any of the nails on the outside face.

I used a square to make sure the sides were set at 90° before clamping the sides till they were set.
After the glue set for an hour or so, I pulled the clamps and did a quick dry-fit.
Before final assembly, I pulled the clamps and sanded the base smooth.
I applied glue to the 7-1/2″ alignment block and only used a couple of brad nails to hold the side in place.
Next, I repeated the process with the top that also had a 7-1/2″ alignment block .
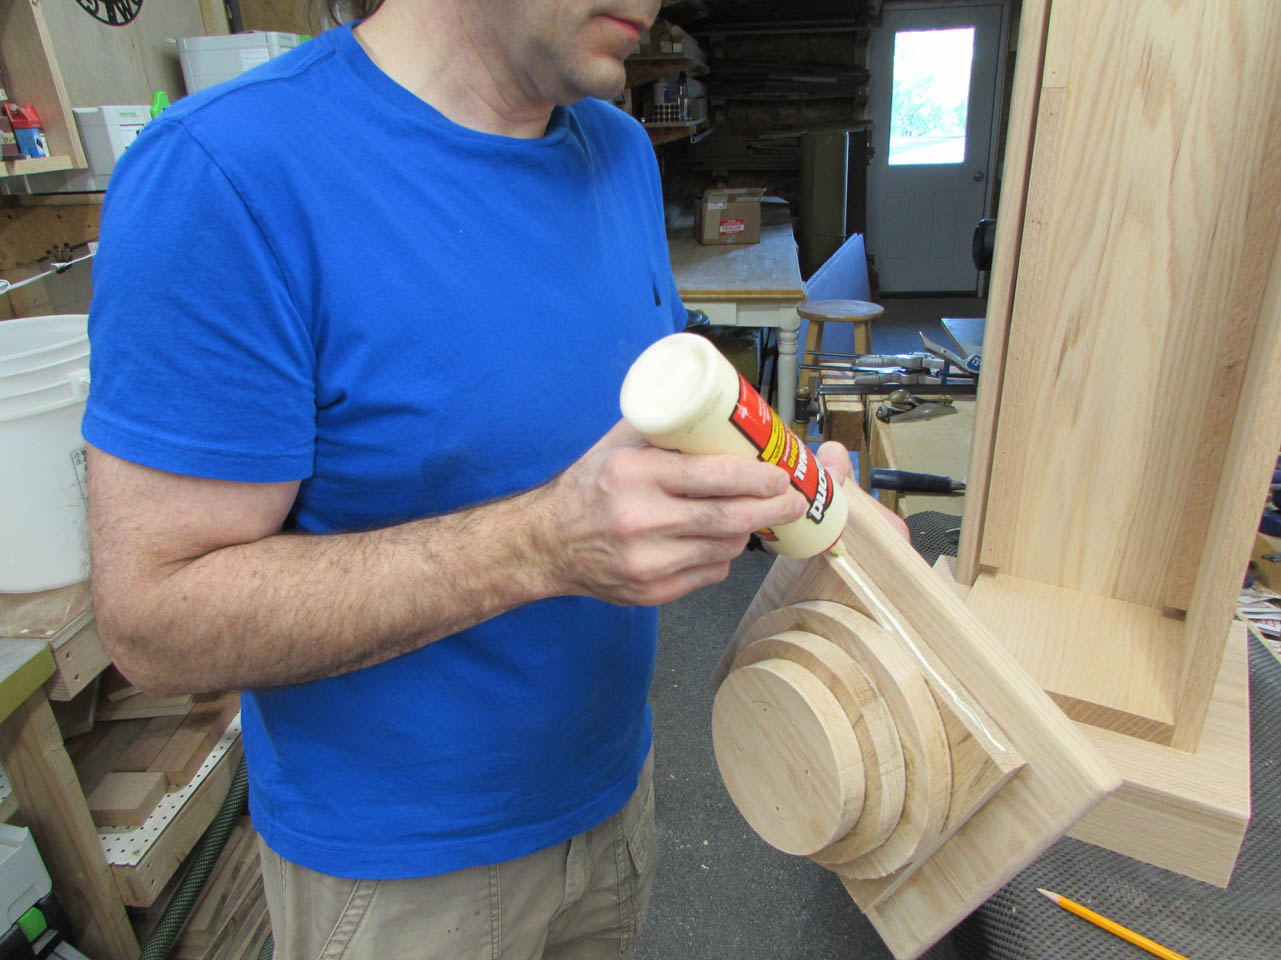
Here is a quick look at the inner structure before the rest of the sides go on.

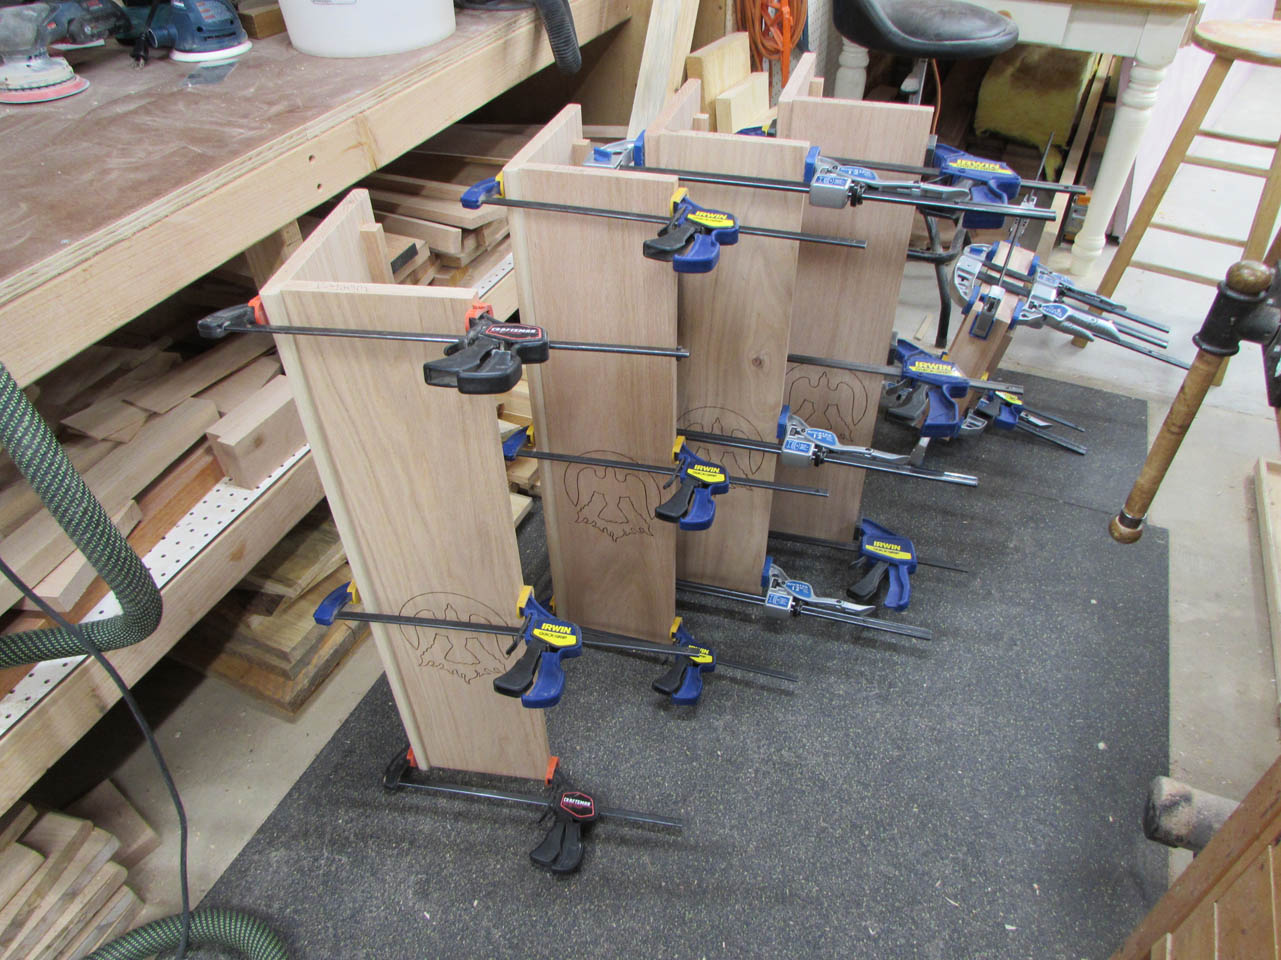
All contacting surfaces get a bead of glue, then the other faces get clamped in place.
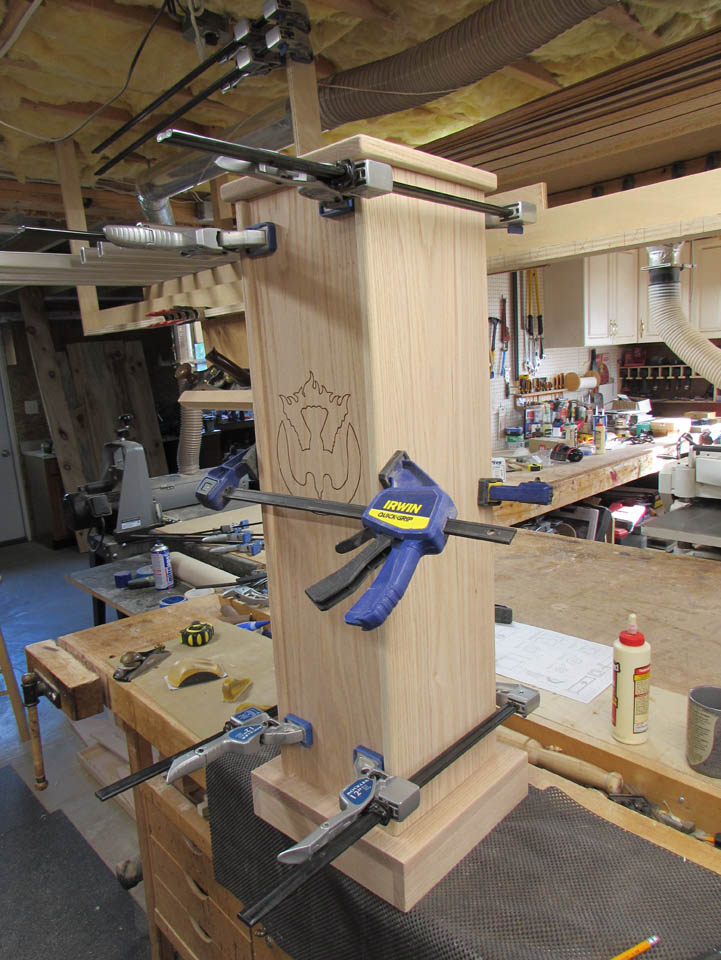
A few minutes later, the second one was glued up and they were both left to dry overnight.


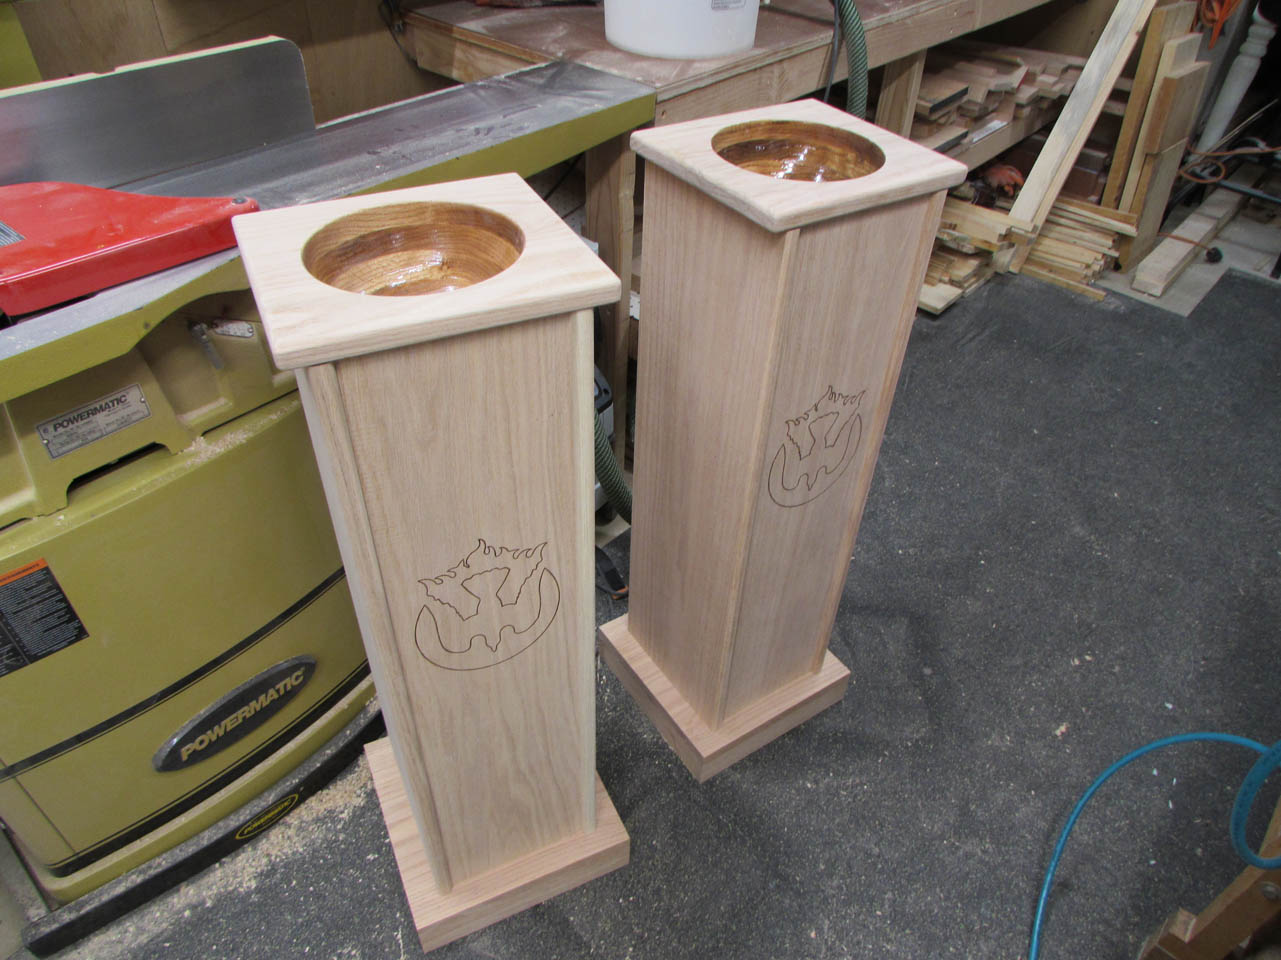
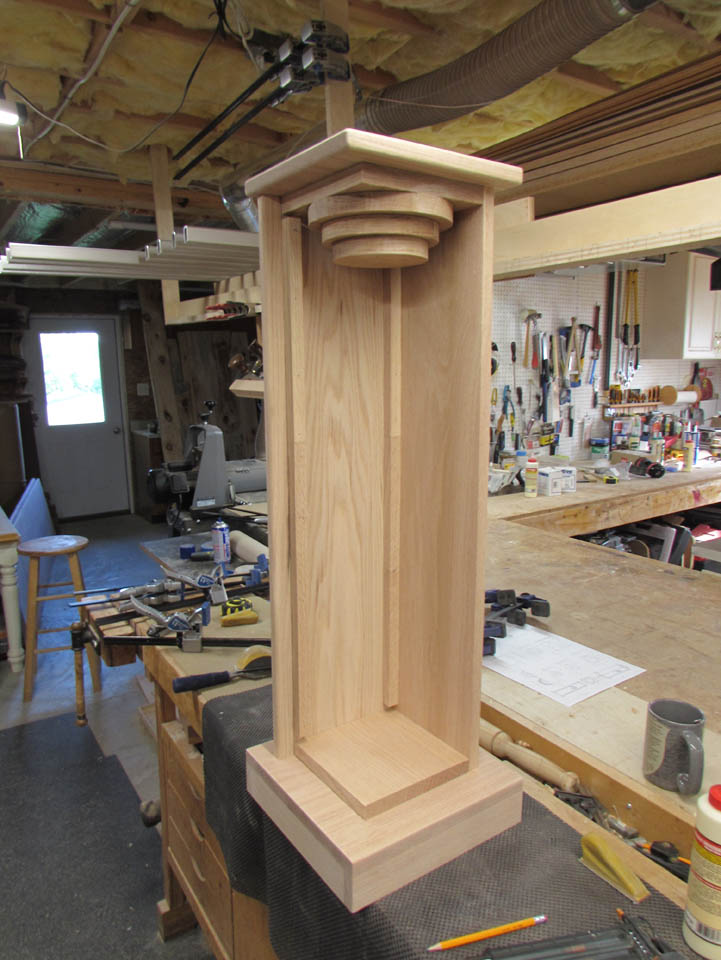
The extra added structure inside really helped me get these assembled straight as well as perfectly centered. I think they look good.

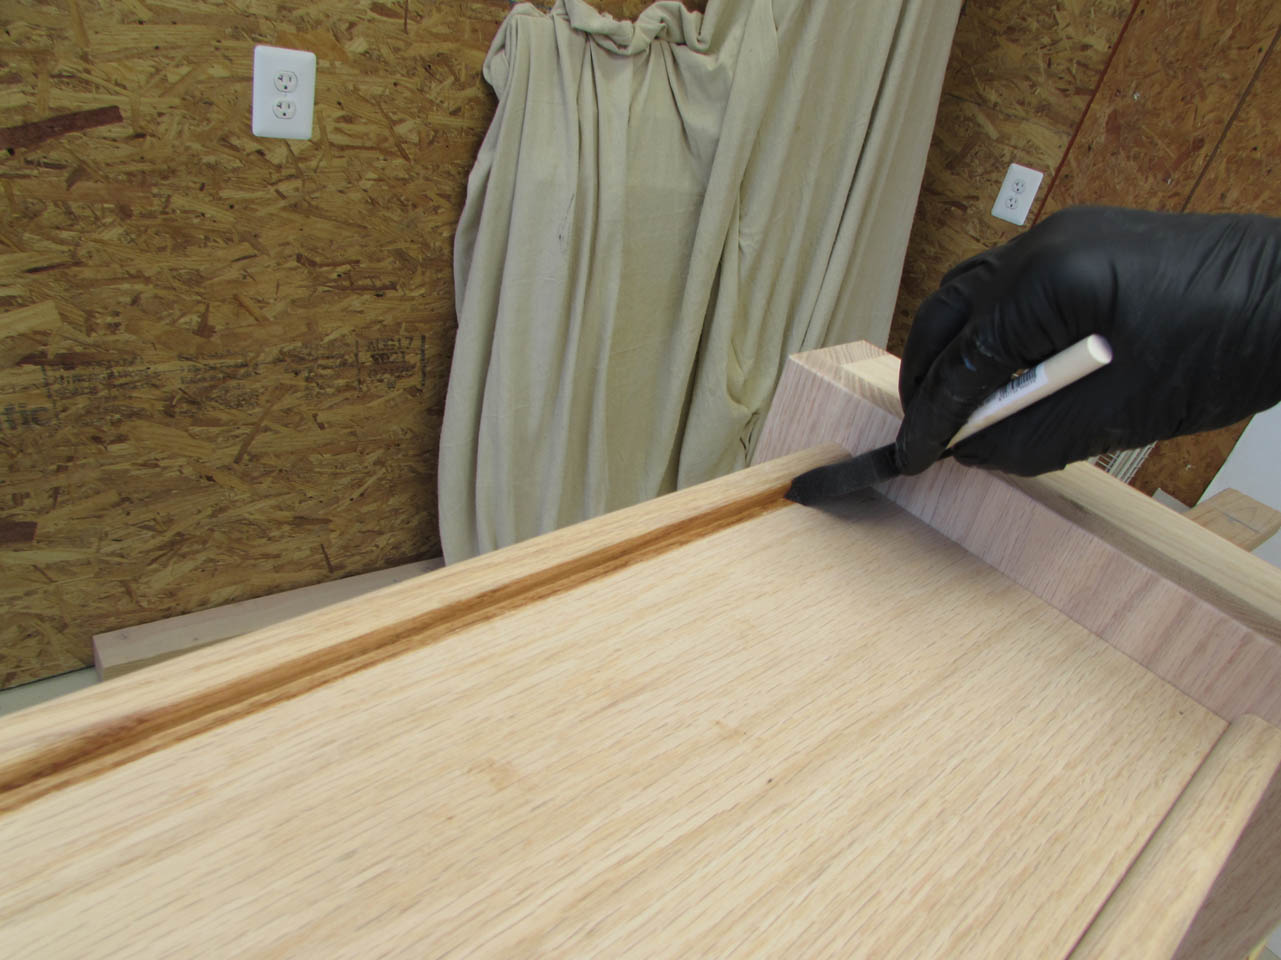
Next, onto the finish. I am applying Minwax, Cherry 235 stain, first on the top and bottom, then I do the main body.

I used a foam brush to get into the tight corners.
Then I stood the fonts up and used a cloth to apply the rest.
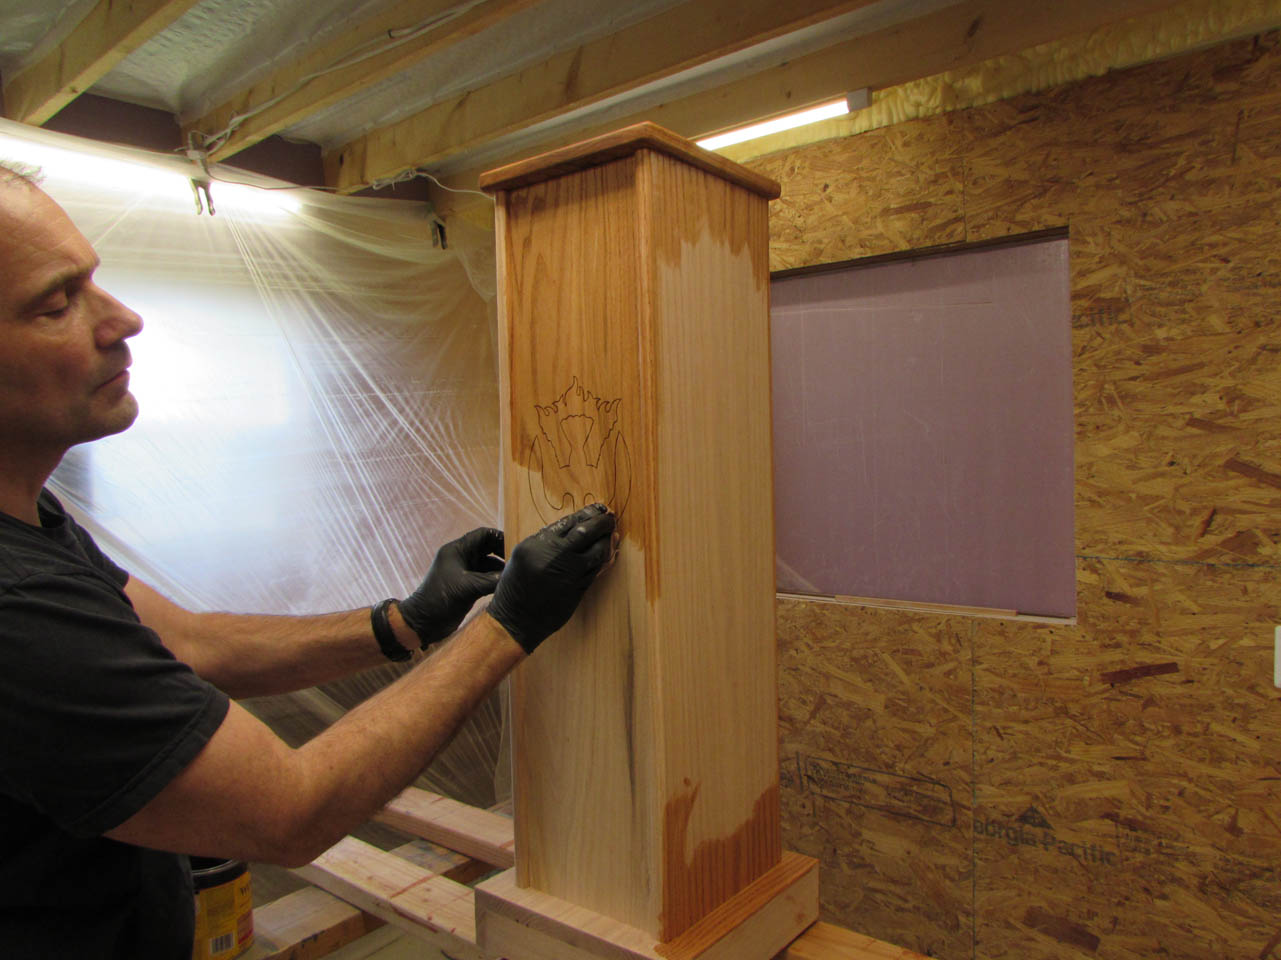

I like the color, and the Holy spirit symbol looks good. Not too prominent, just subtly there.

These will sit overnight and tomorrow, I will start applying polyurethane.
