
Walnut tabernacle
I was recently asked to make a tabernacle for a new order of religious sisters who moved into the Baltimore Basilica convent. They need a tabernacle for their convent chapel. After some discussion of the size, shape and type of wood, I came up with this design: tabernacle.pdf
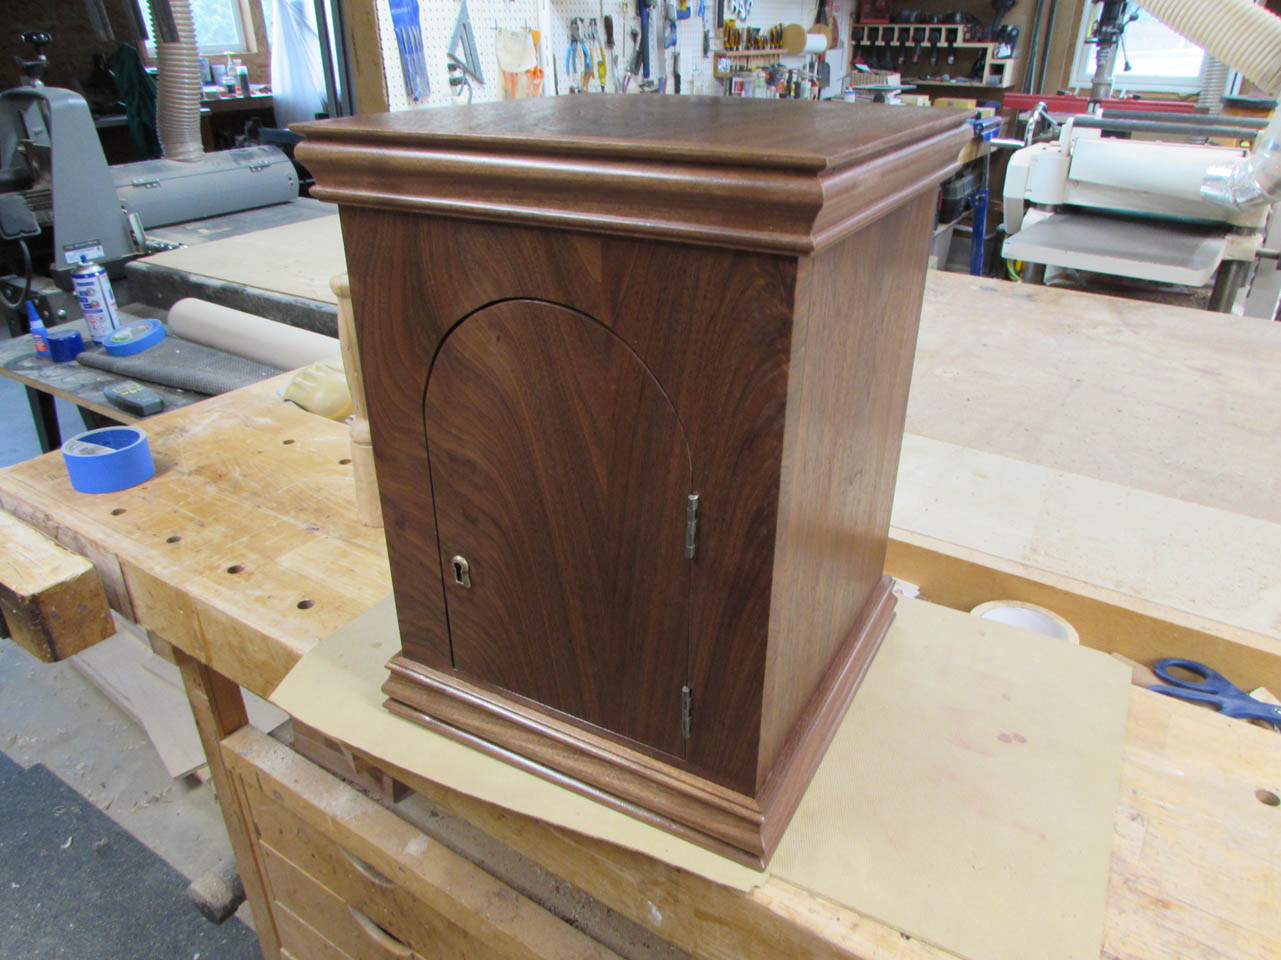
The tabernacle will be made from walnut and have an arched door. I have not made an inset arched door before so this should be fun.

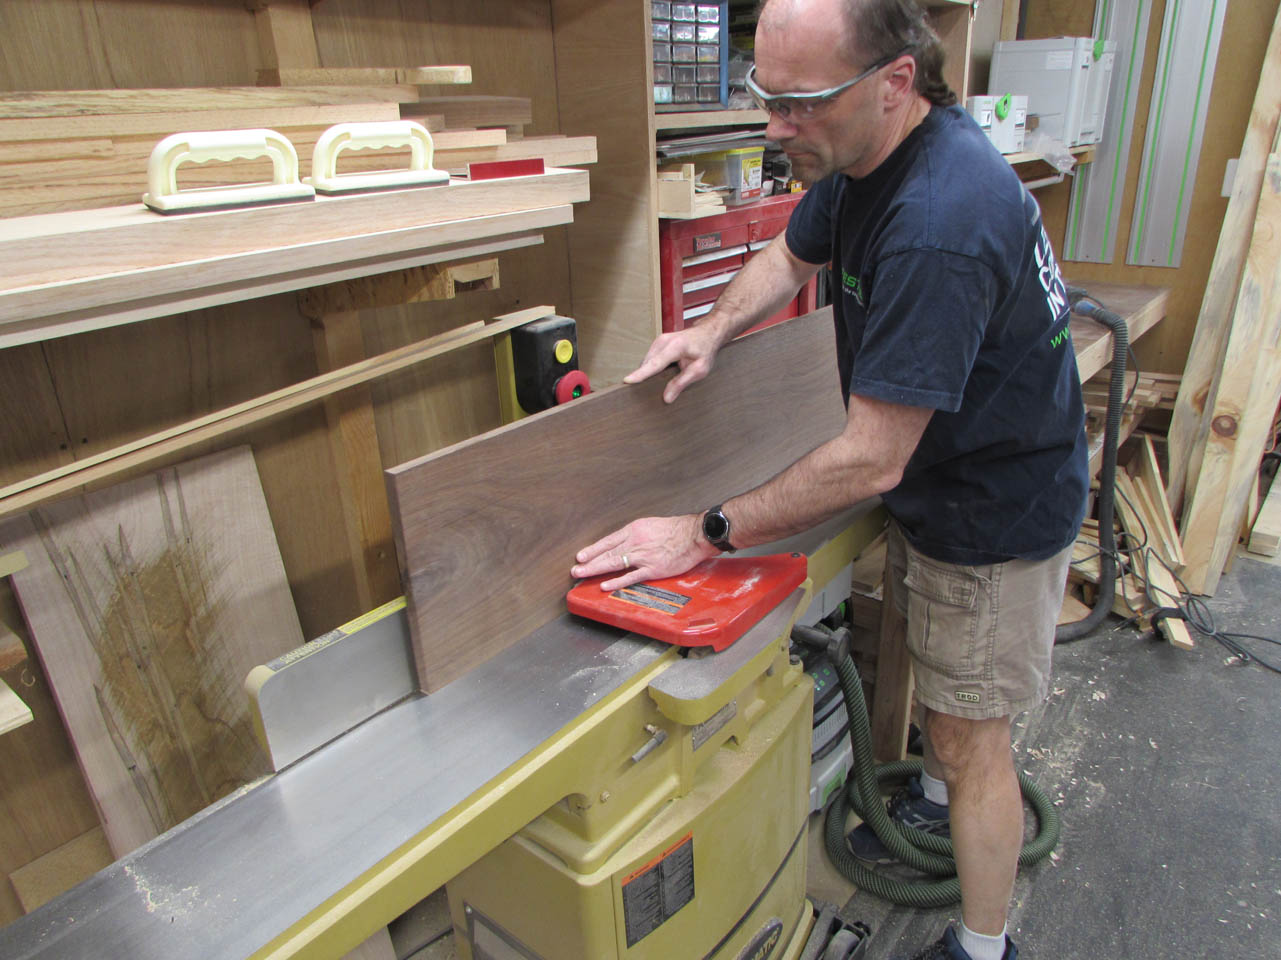
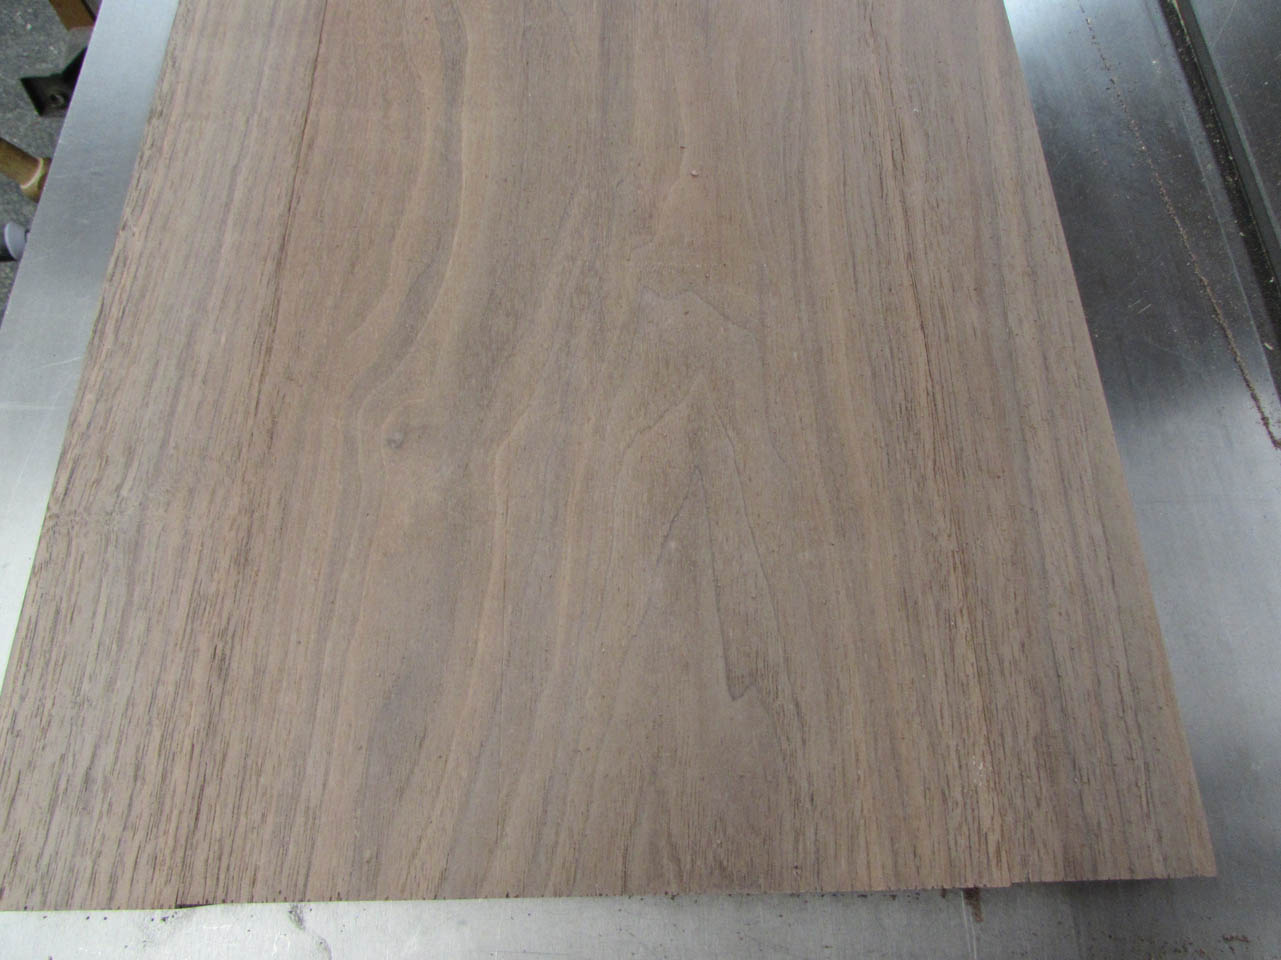
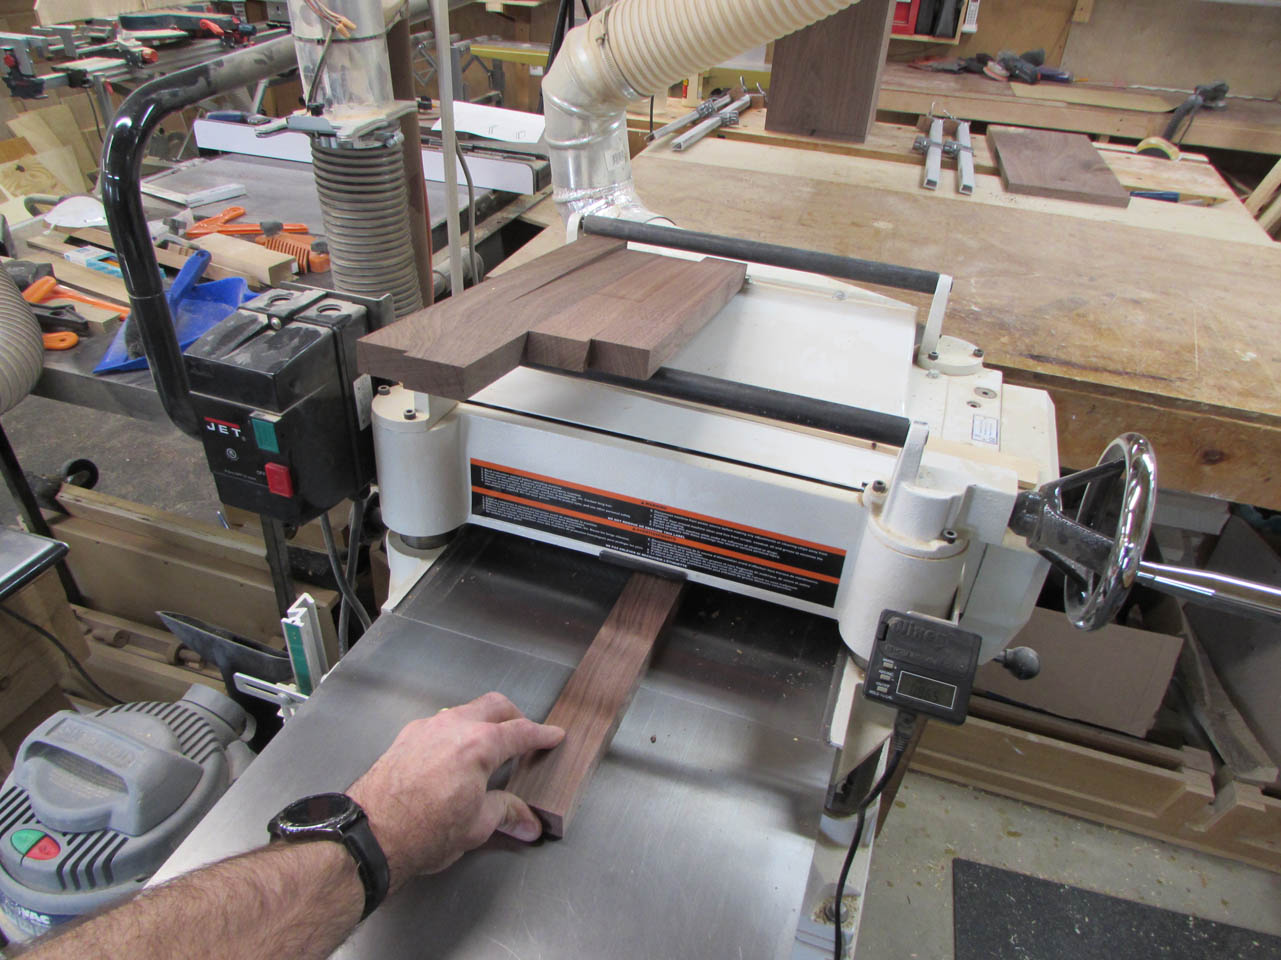
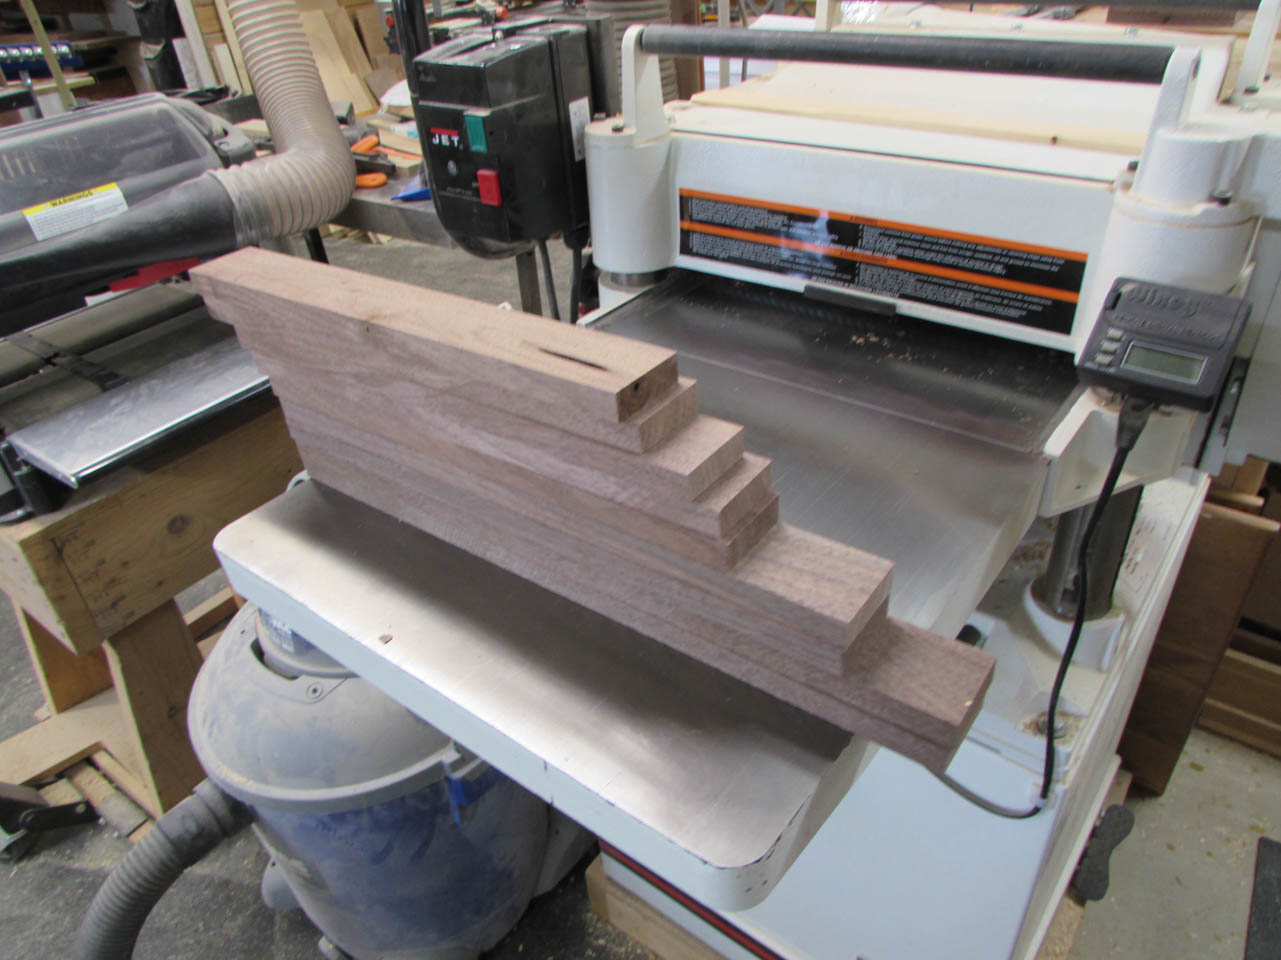
I found a beautiful piece of walnut that was over 12″ wide. It will be perfect for what I want to do. I start by planing the material down to 3/4″ thick, then cut it down to more manageable lengths.

The shorter pieces are easier to run through the jointer to create a smooth, straight edge that is perpendicular to the face.
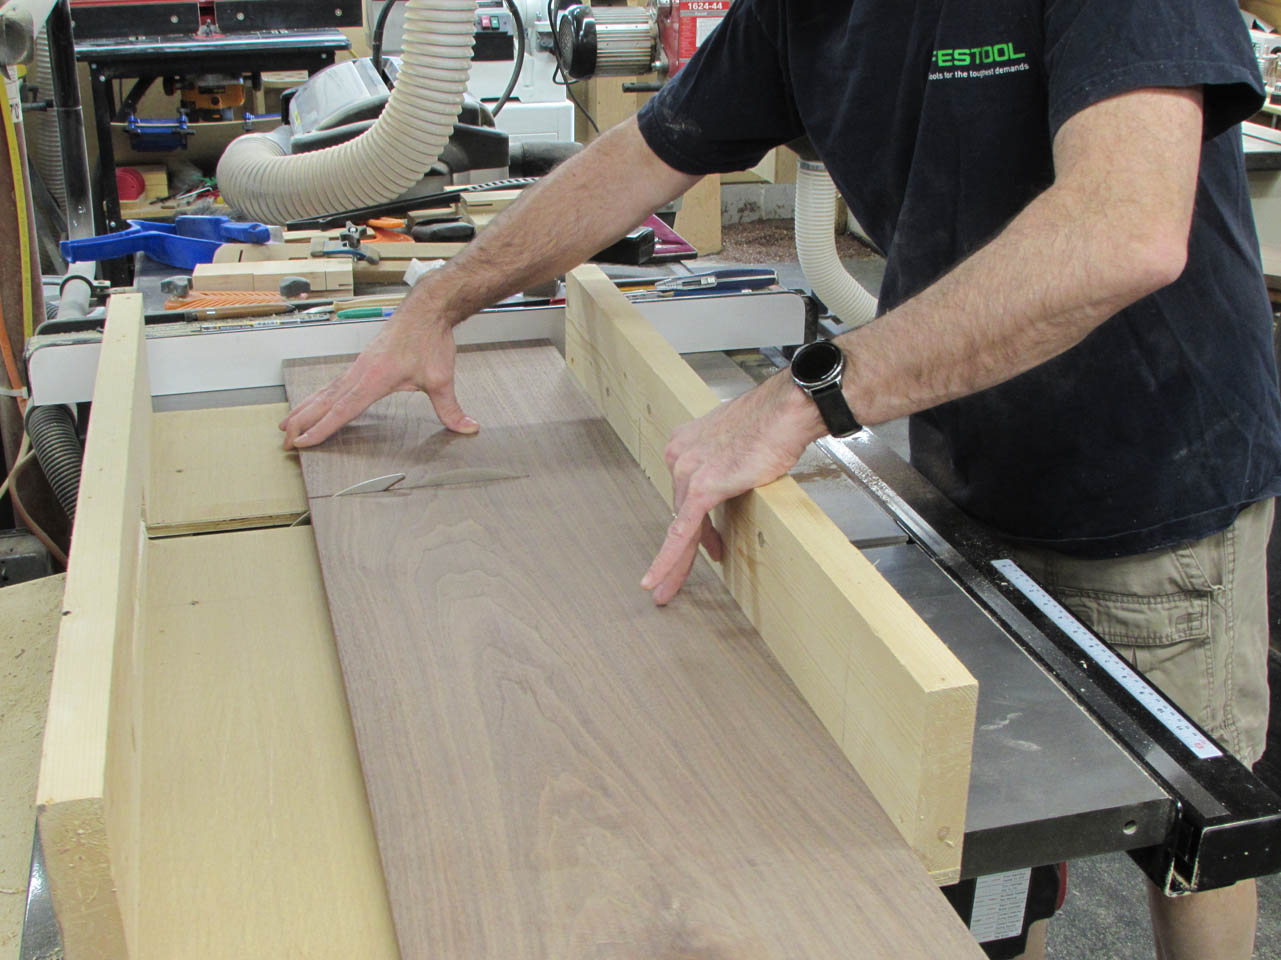
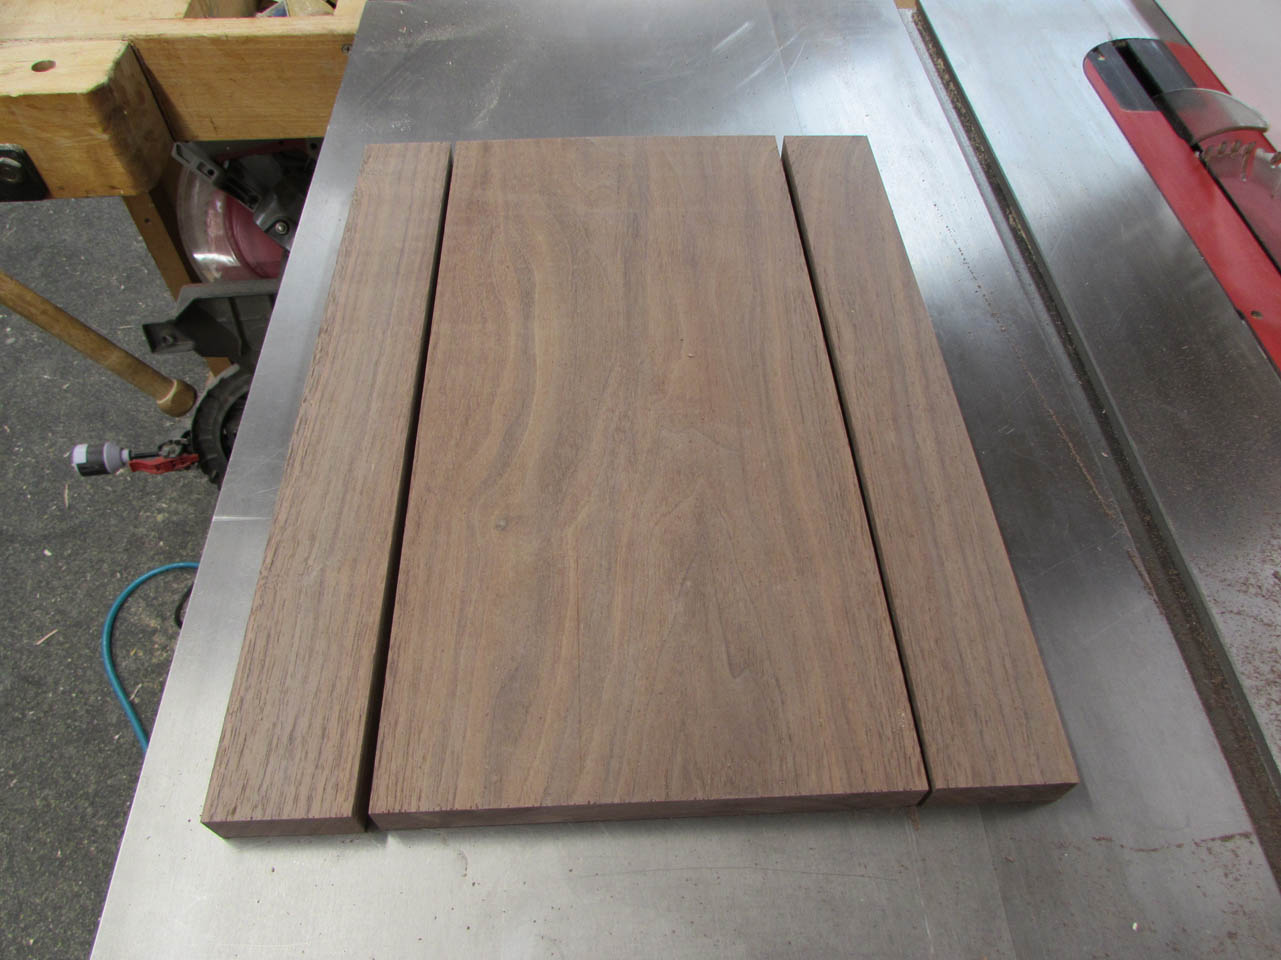
Next, I can cut the pieces down to the correct lengths on my table saw with a cross-cut sled.

The pieces can then be cut to their final width.

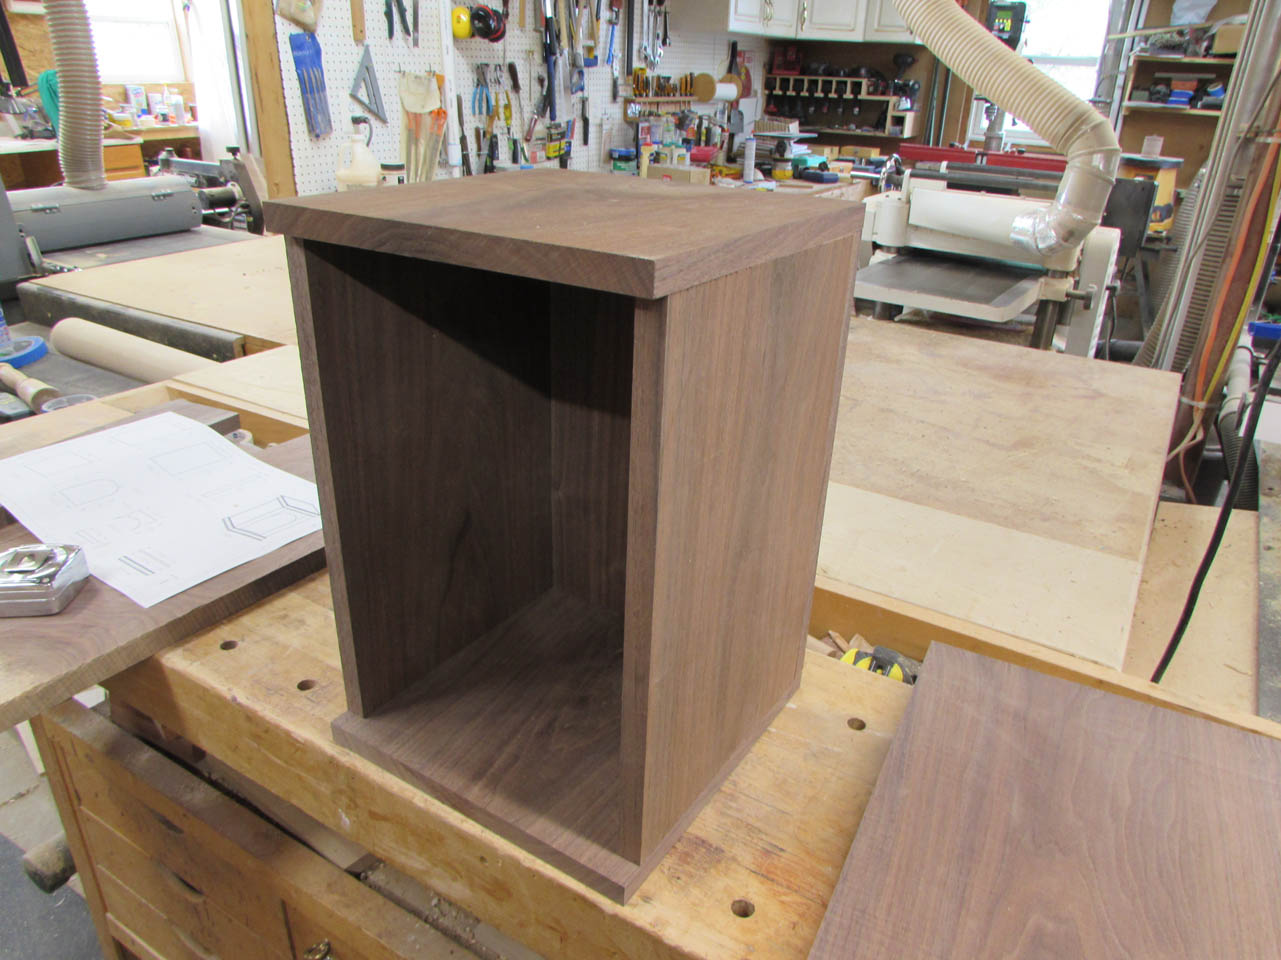
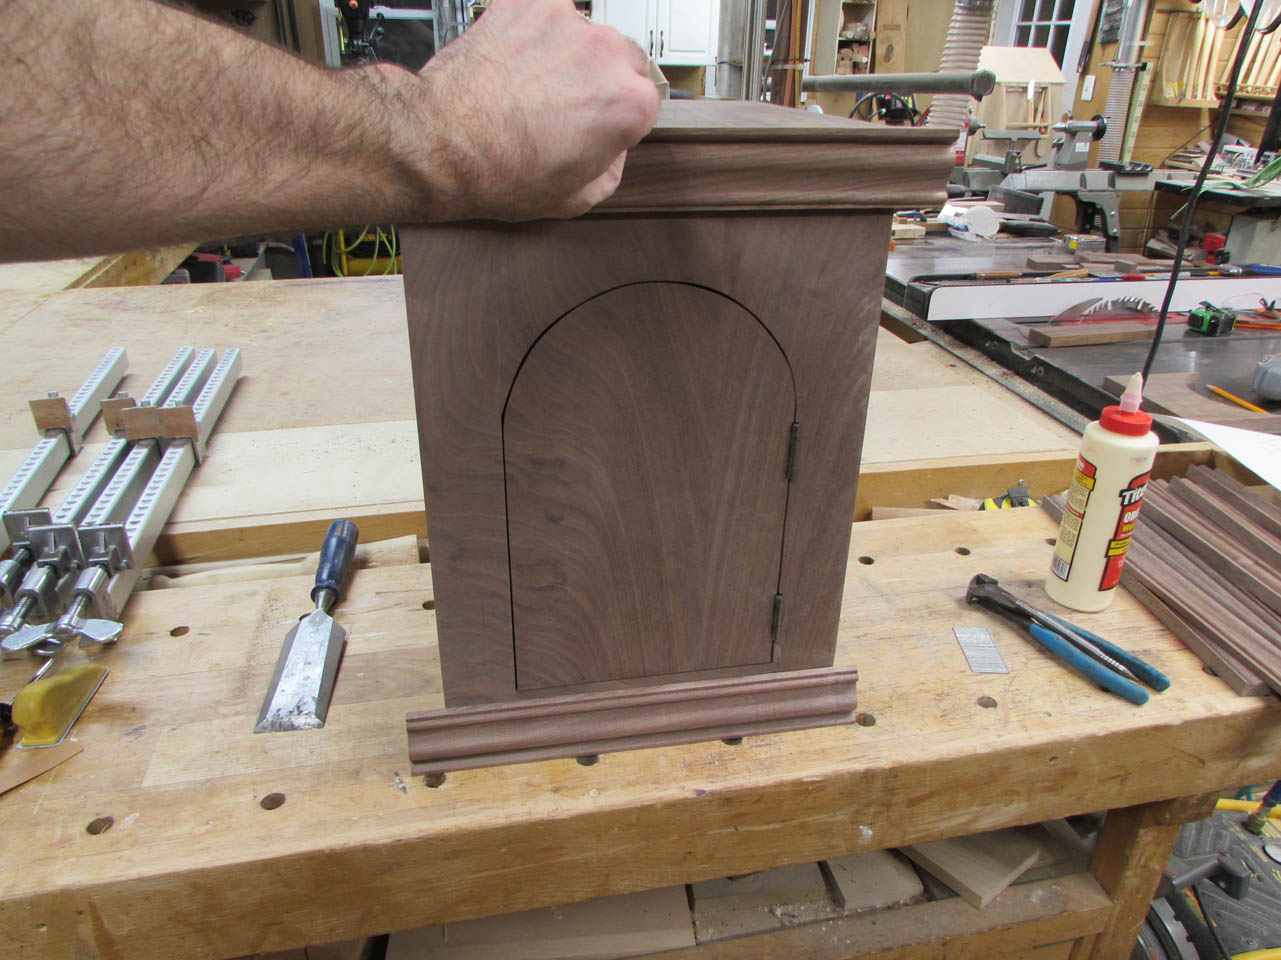
I placed the top, bottom, back and two sides together for a quick dry-fit.
For the door, I am cutting the sides off so that I can cut the arch, then I will glue the top and sides back together. This will maintain a grain match across the face of the tabernacle.
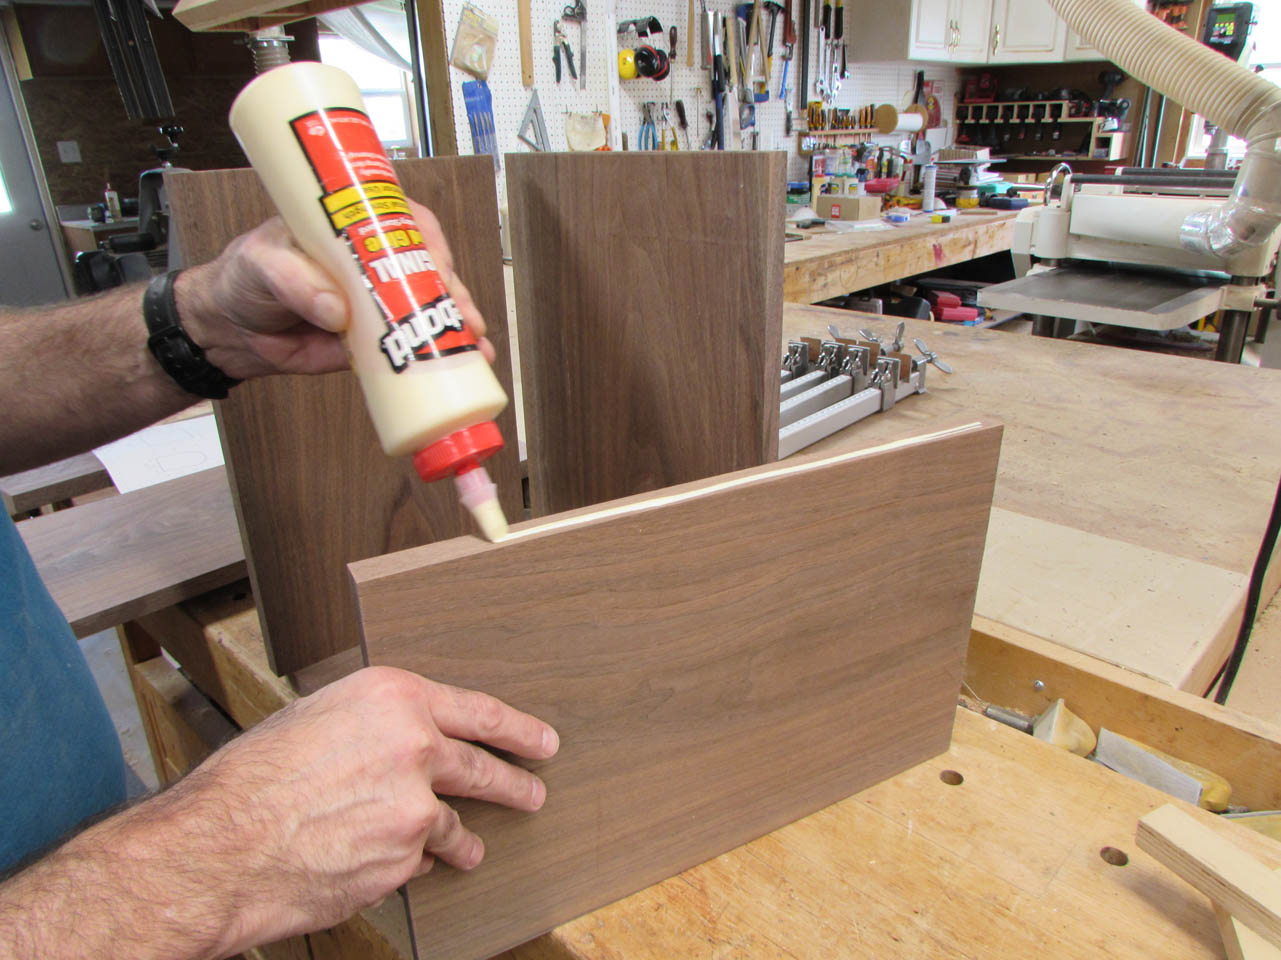
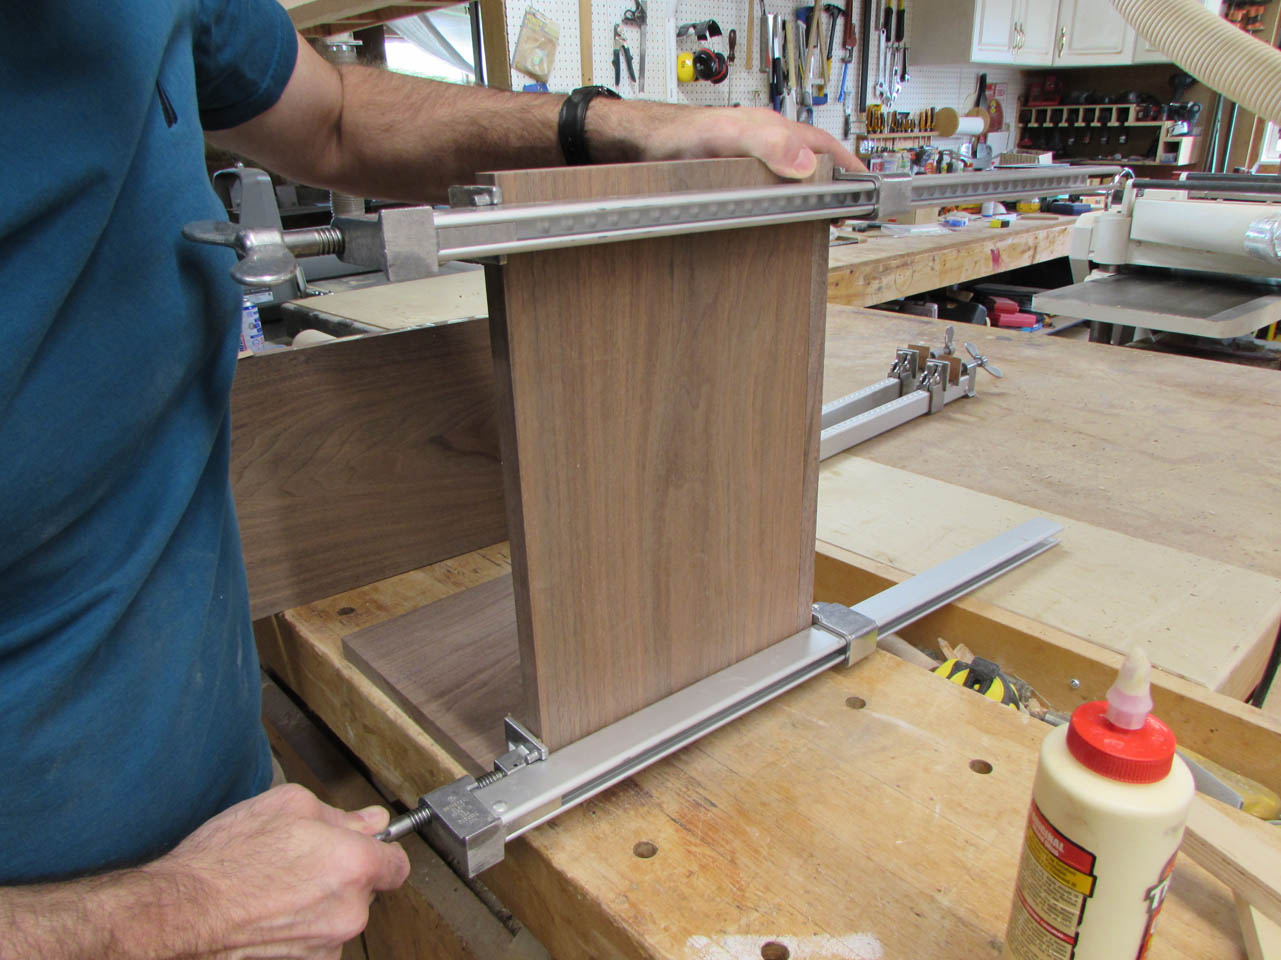
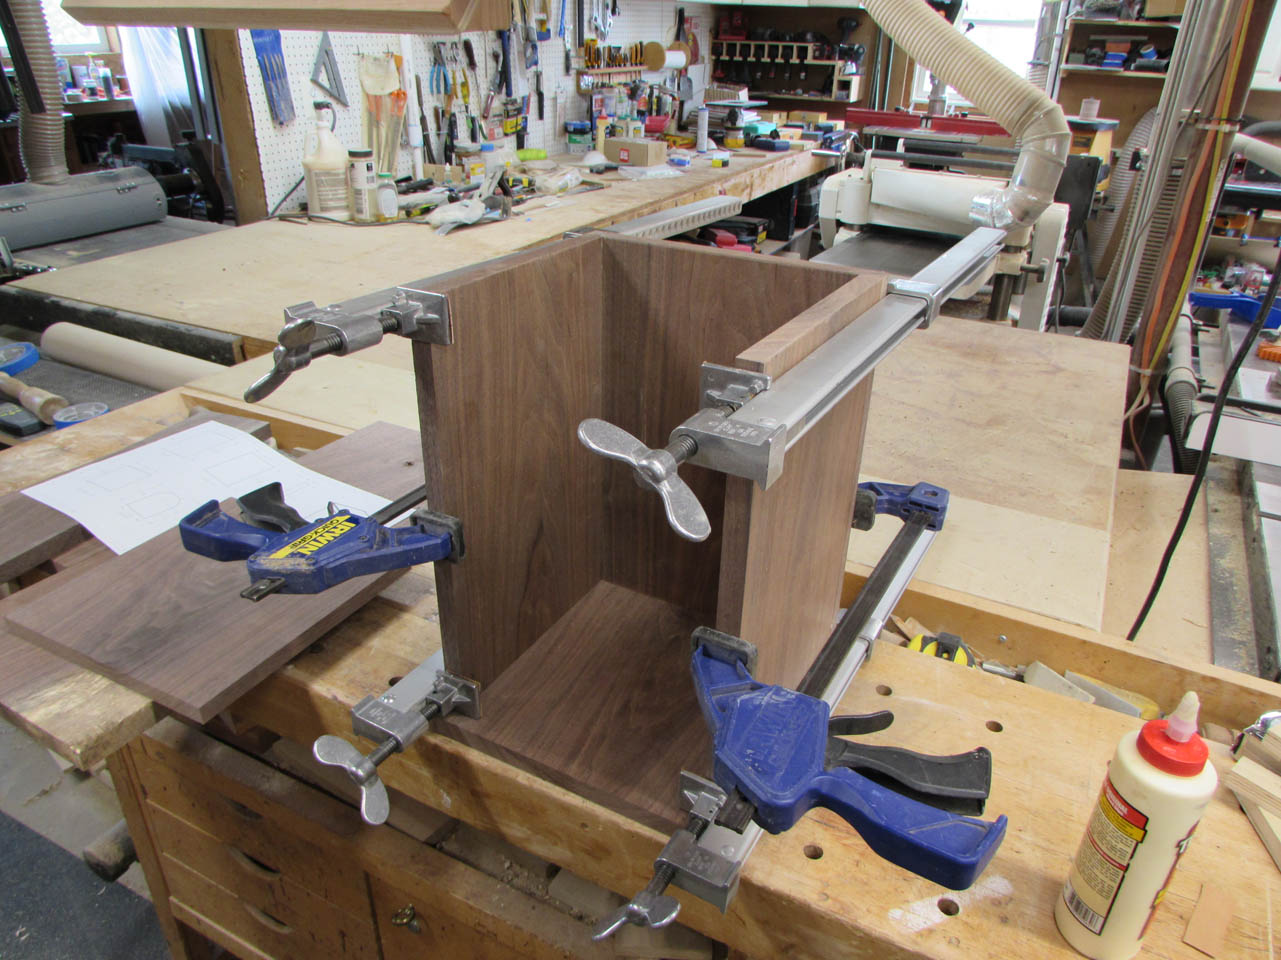
I decided to start gluing up the cabinet so that it can dry while I work on the door.
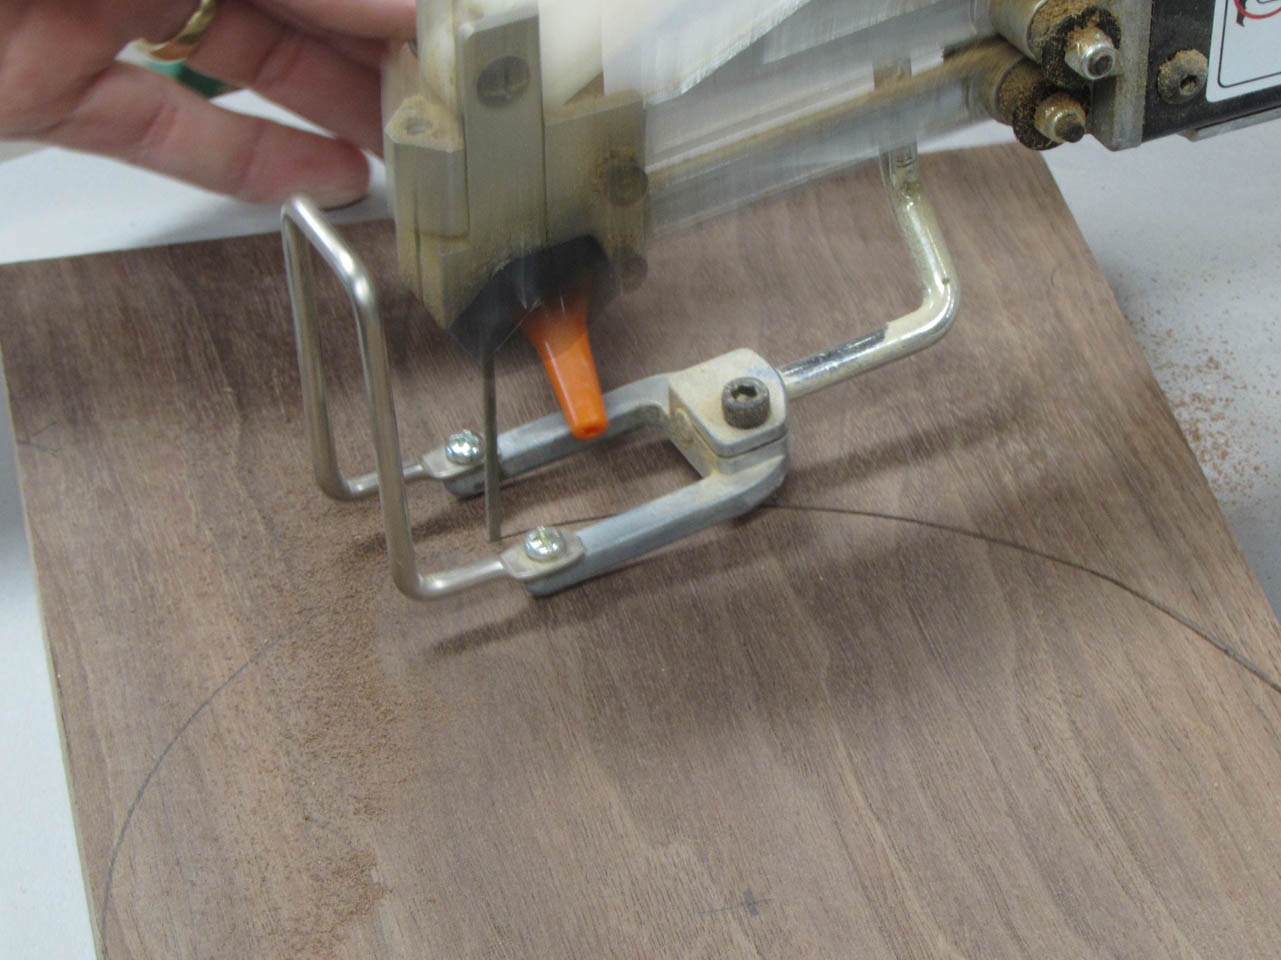
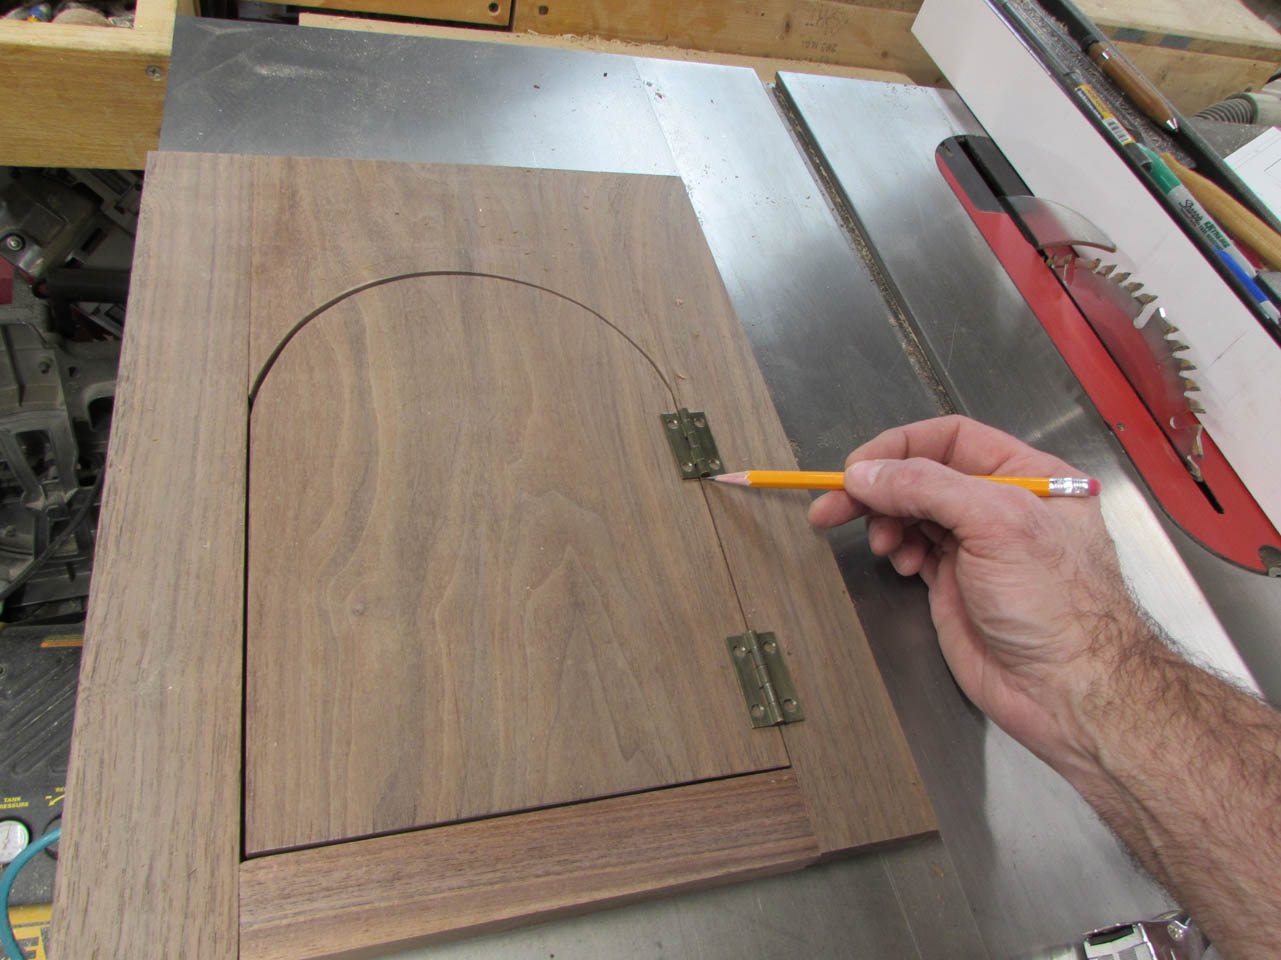
I used a compass to lay out the arch.

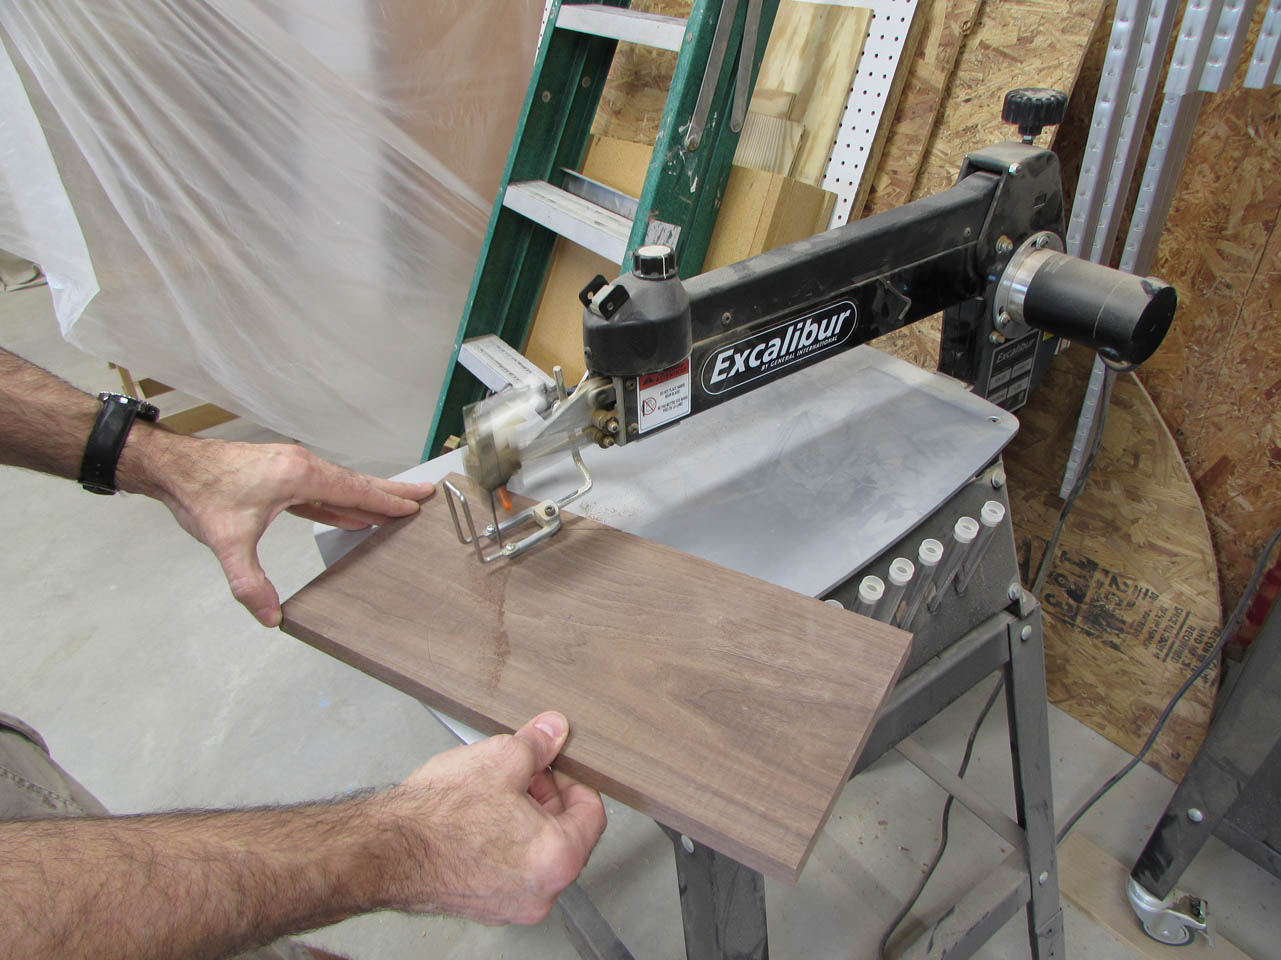
Then I cut the arch on my scroll saw. I used this saw because it creates a smooth cut that requires little sanding.


Once done, I can sand both cut edges on the spindle sander.

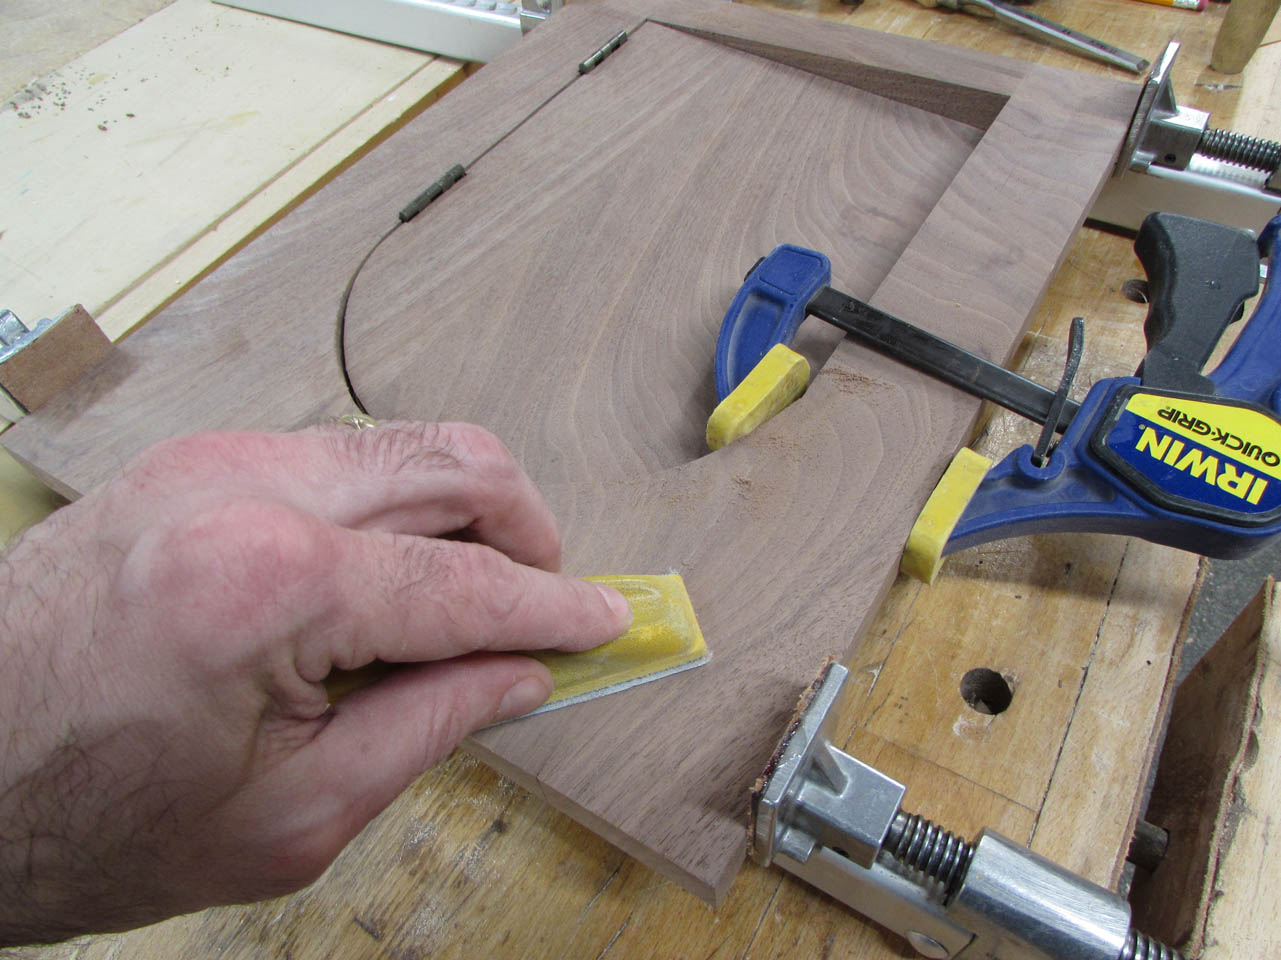
To help prevent the door from binding if there is any expansion of the wood in the future, I sanded a back-angle along the top and the latch side.

This has created a nice smooth curve that was thin enough that the grain still flows across it nicely.

When rejoined, everything will still look like it came from the same board.


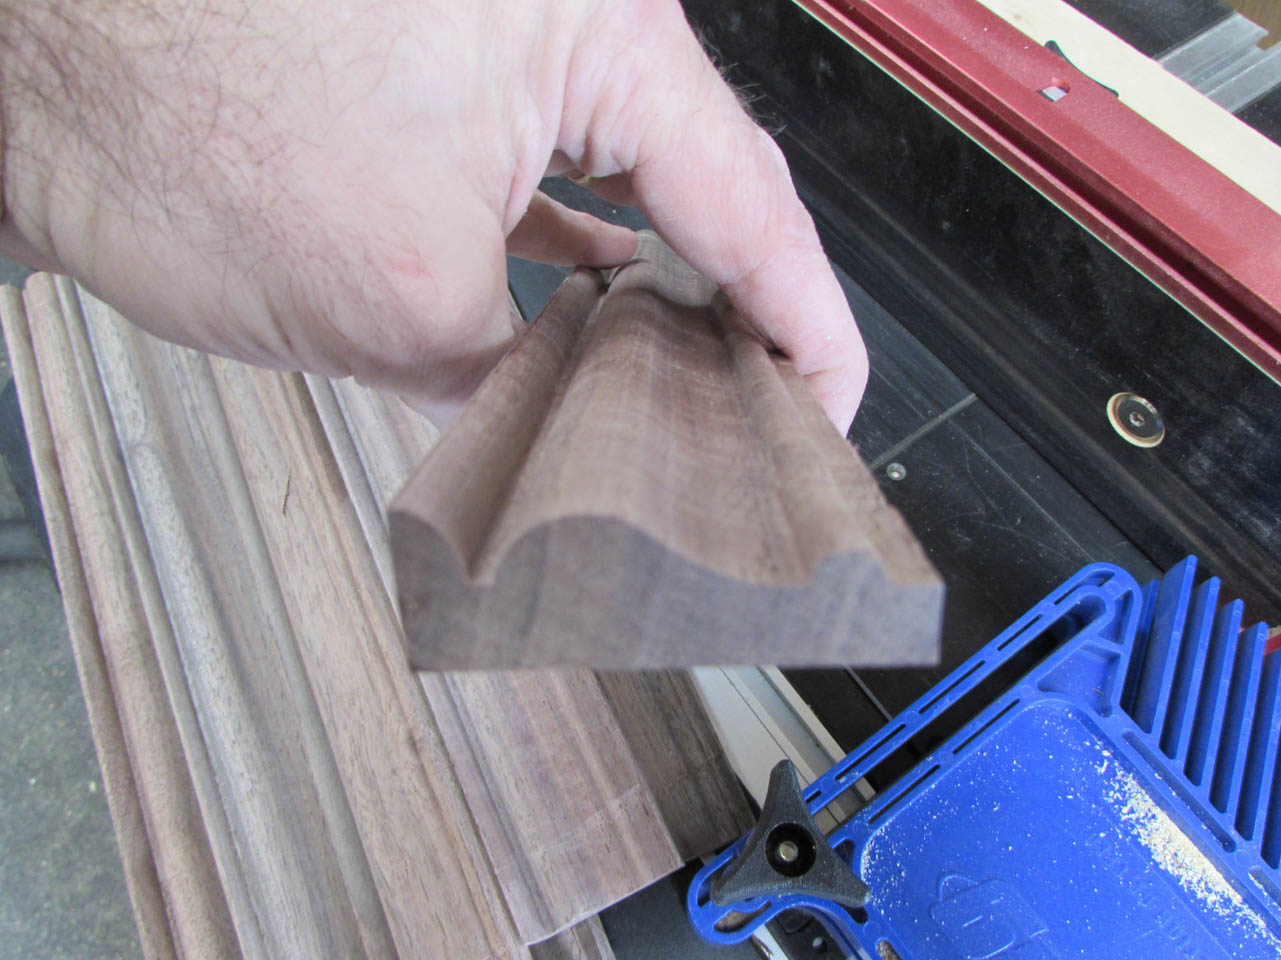
With the main body cut and still drying, I decide to start making the trim. I cut several pieces 2″ wide by 5/8″ thick, and several inches longer than I need to trim a side.
These molding bits are new to me so I cut a few extra pieces to experiment with setup and feed rates.

I started with the usual method of slowing down the large bit and making multiple passes but I discovered, after the first pass, that I would have to cut it all in one pass because I had no way of holding the wood perfectly vertical once the flat face was removed.

After several attempts, I wound up speeding up the bits and slowing down the feed rate, and making the cut all in one pass.
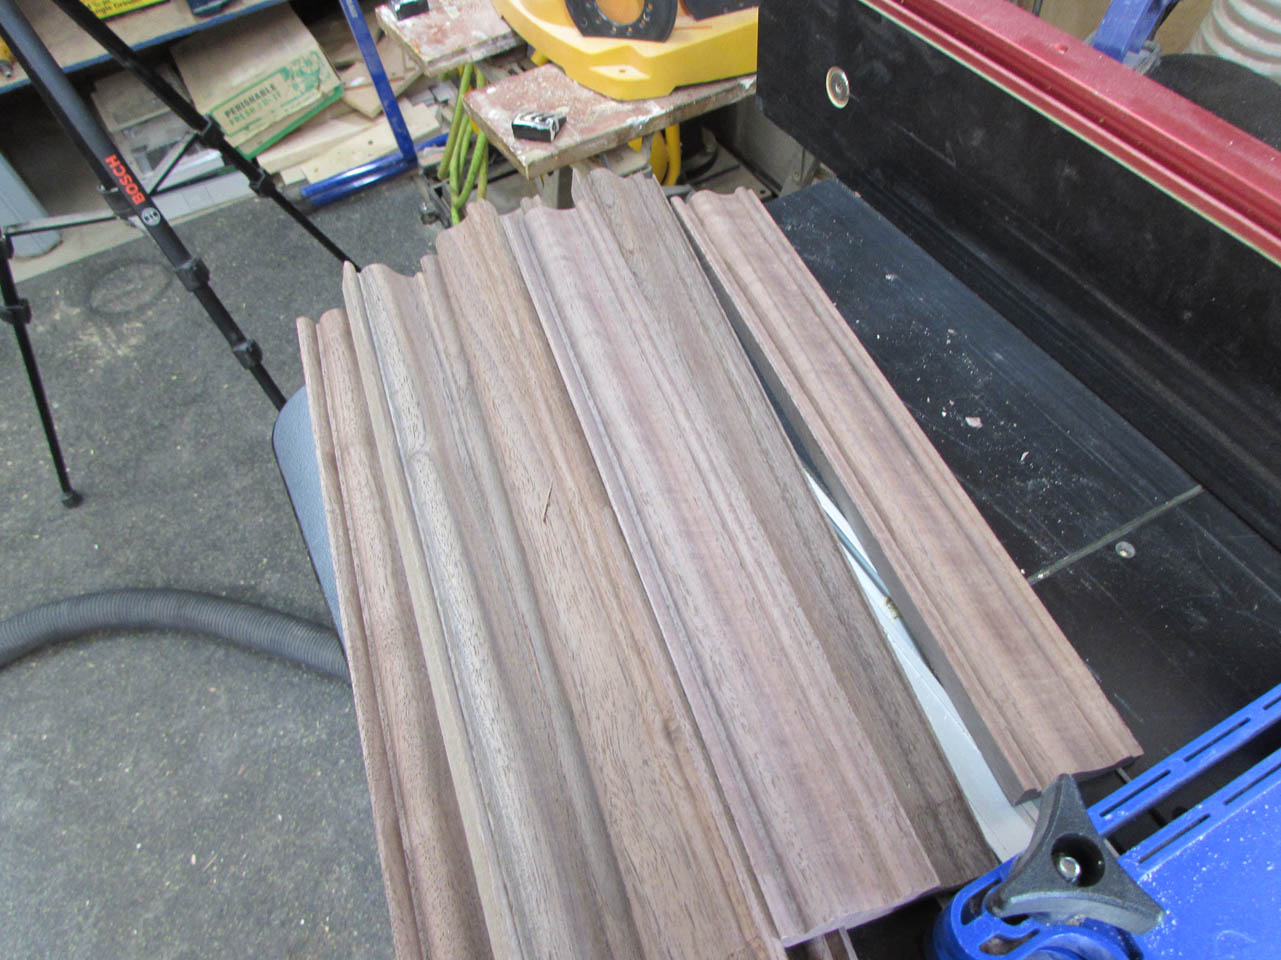
There was still a lot of snipe at the end but I made them long enough to cut that part off and still have enough.
With the trim cut, I set that aside and went back to the door. I cut off the bottom of the door and made a new threshold piece that ran the grain horizontally. I was laying out the hinges when I realized that I had made the door 2″ shorter than I had planned.
I will skip over remaking the door, but I did make a new one so I found a piece of walnut with a more interesting grain pattern.

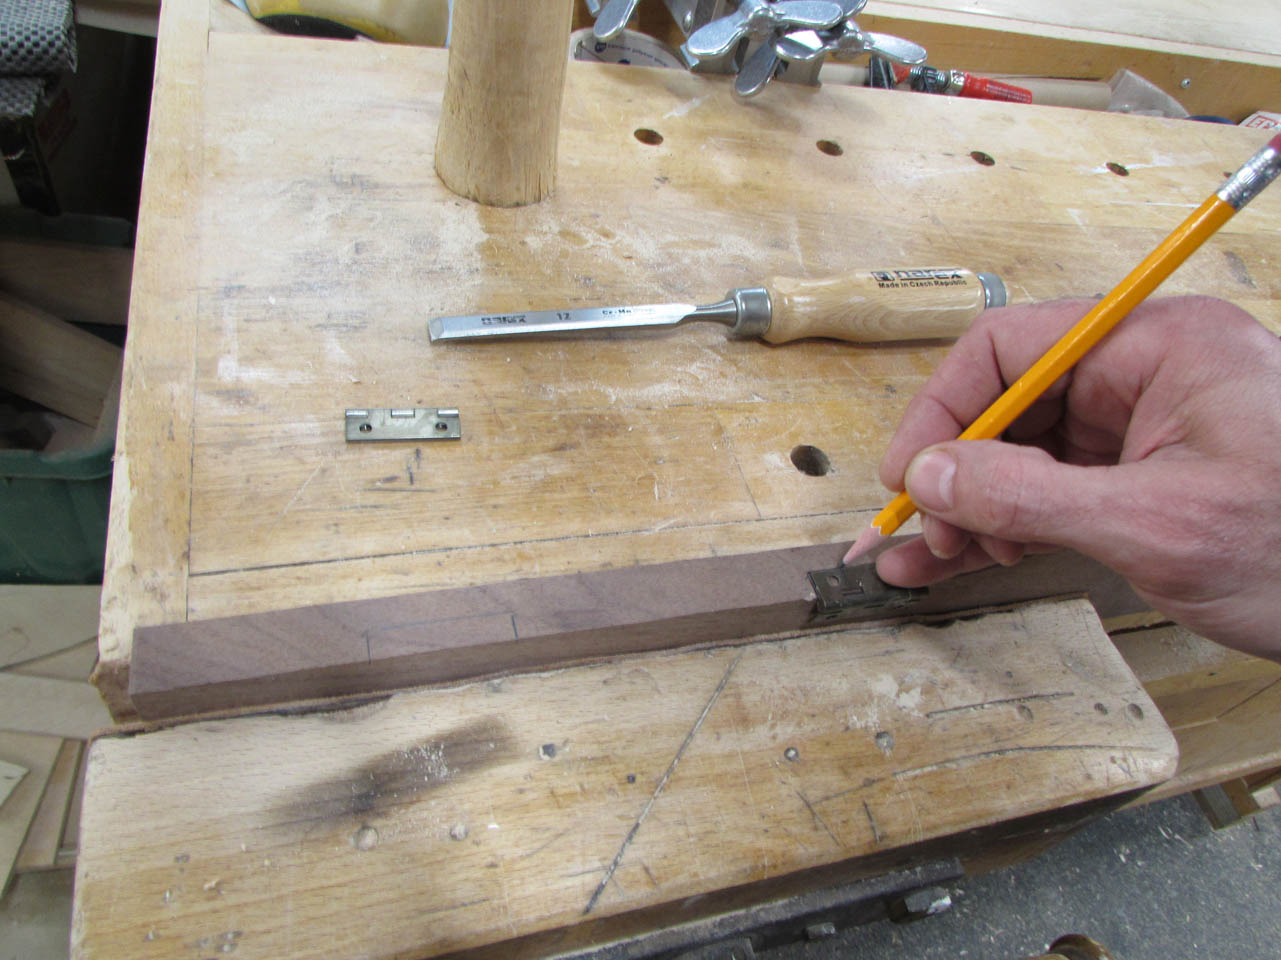
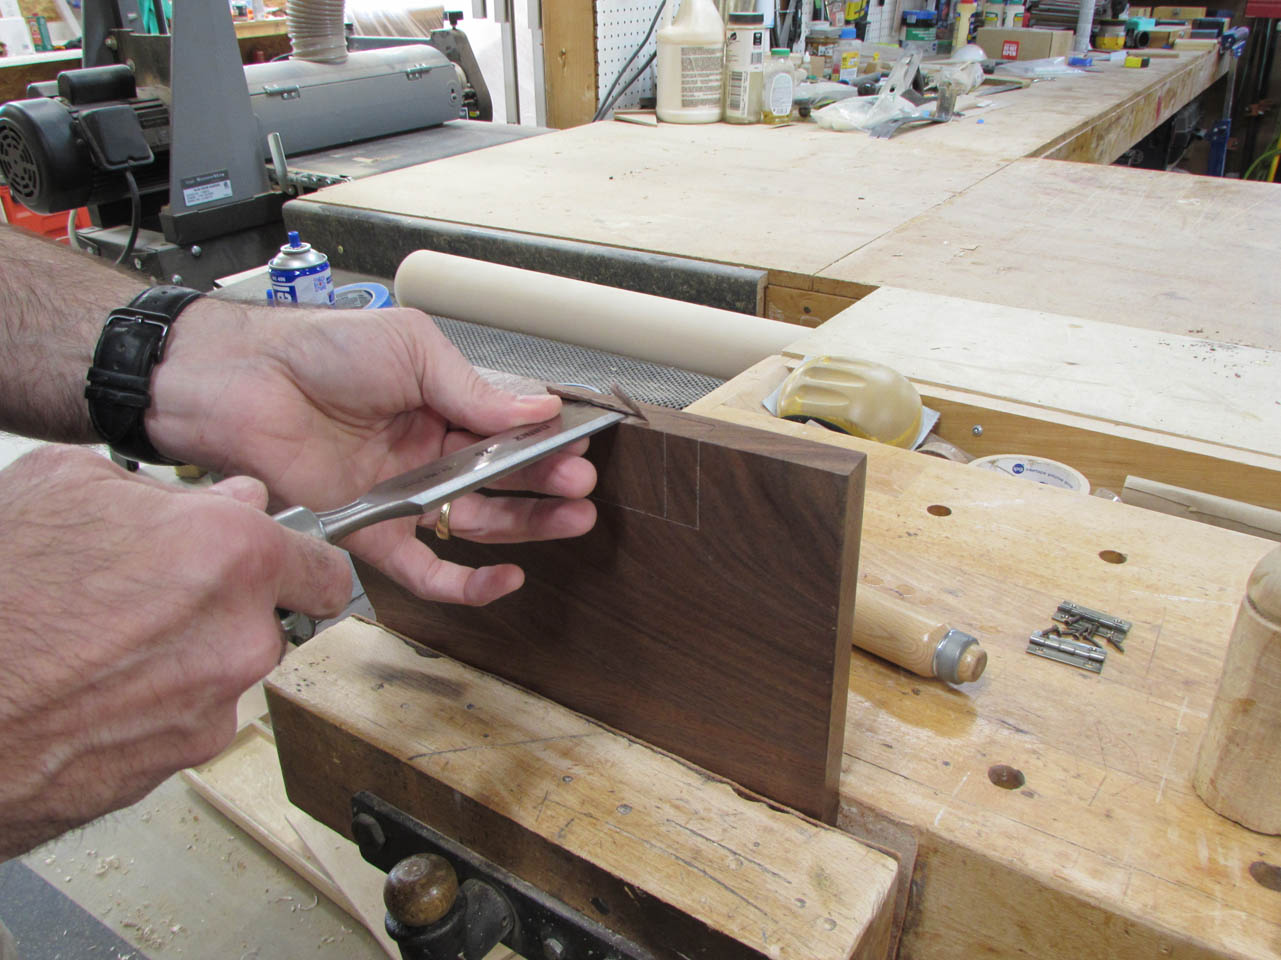
I marked off the locations of the hinges and used a chisel to remove a bit of material to recess the hinge onto the door and the jamb.

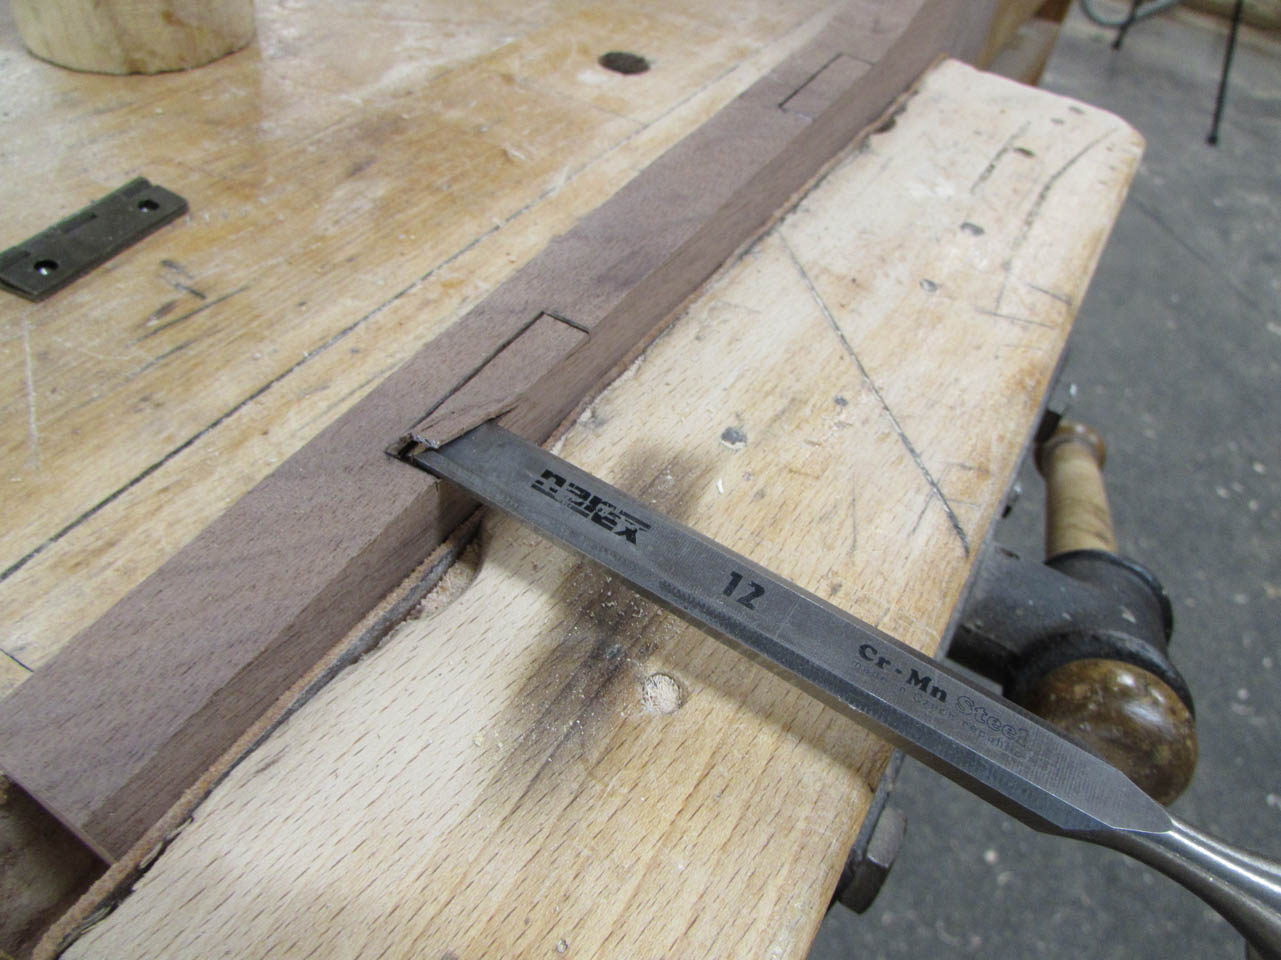
I took my time and gently pared away a few thin layers at a time until I could set the hinge in at the depth I wanted.


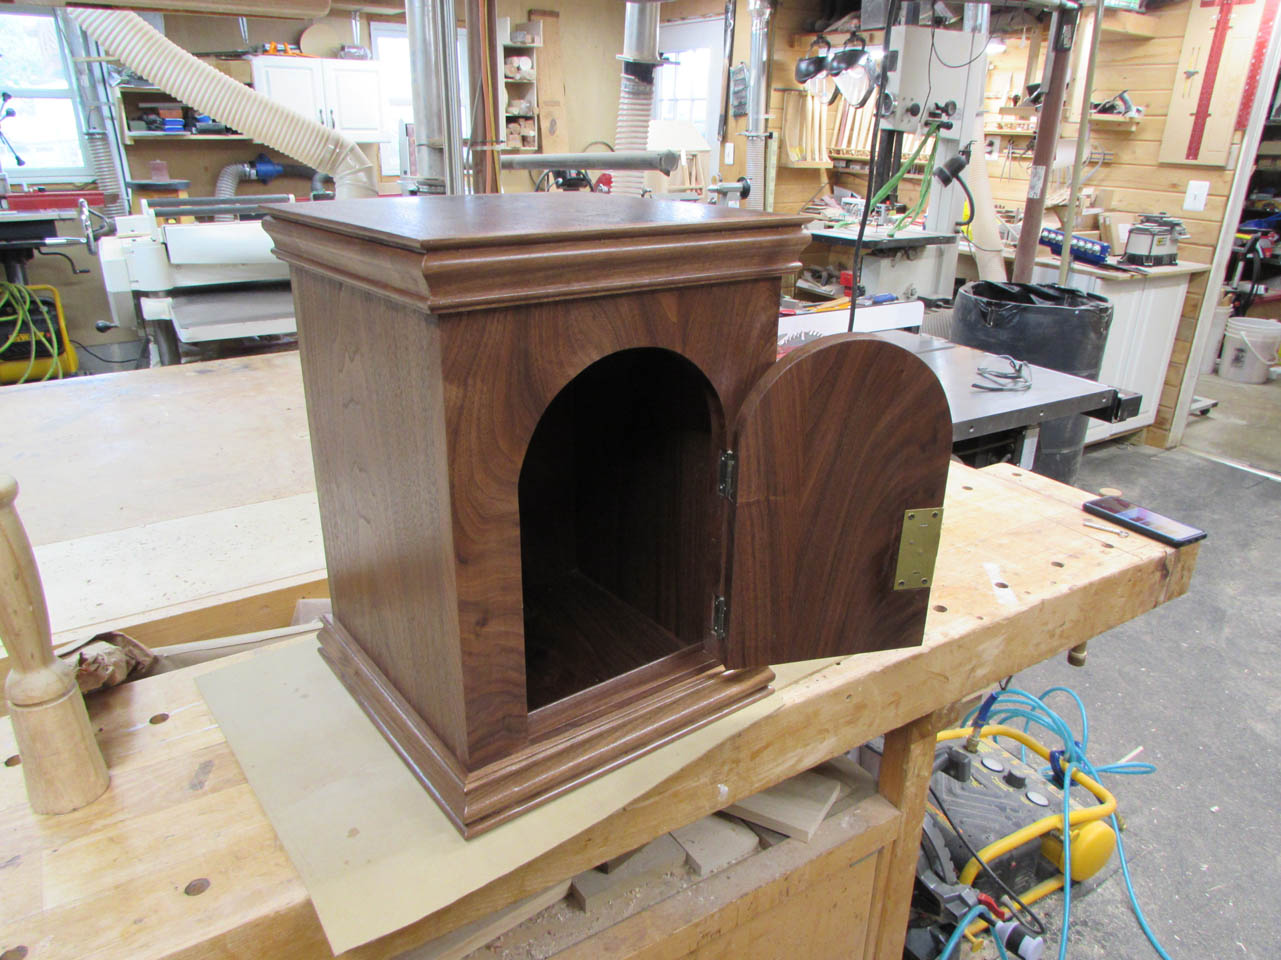
After attaching the hinge to the side, I located the door and marked exactly where the hinges would need to go on it.


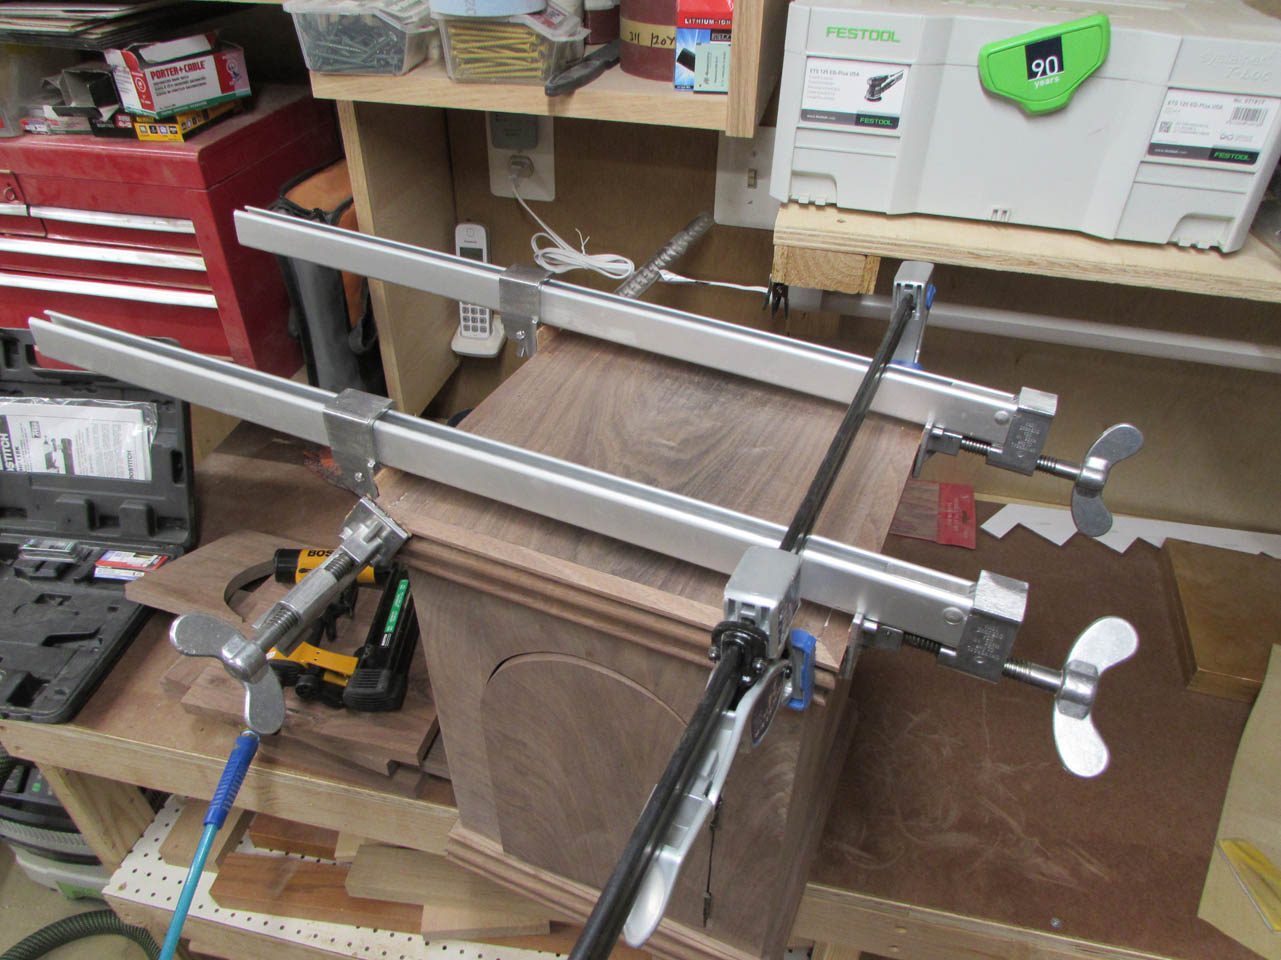
After the hinges were attached, I glued and clamped the frame back together.

While the glue was still wet, I sanded the joint to embed walnut dust into the glue at the joint to help it look more seamless.

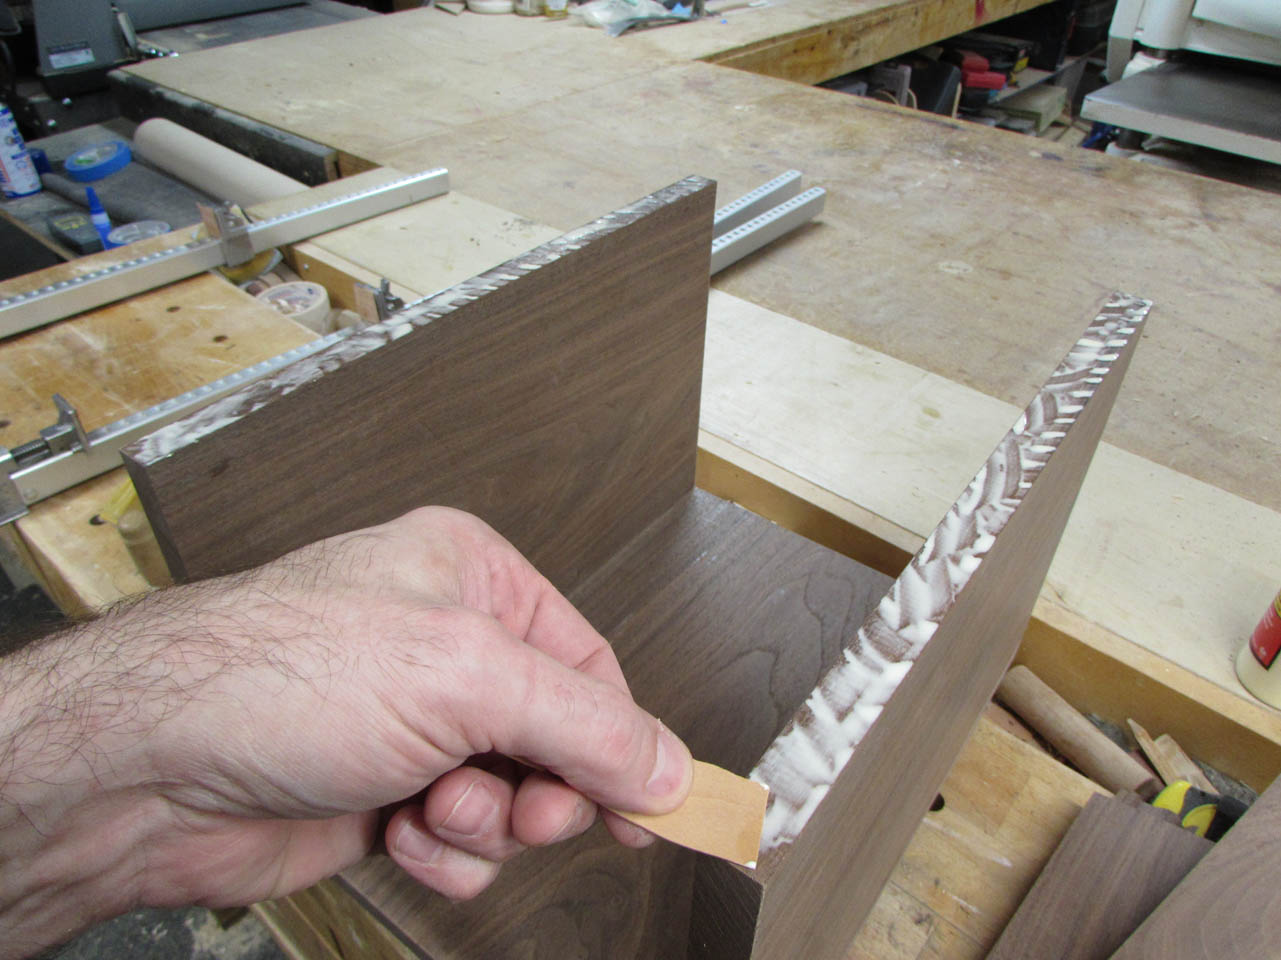
After that dried, I applied glue to the front edge of the sides and attached the door face.

I pinned it in place with brad nails at the corners, then clamped the rest of it together while it dried.

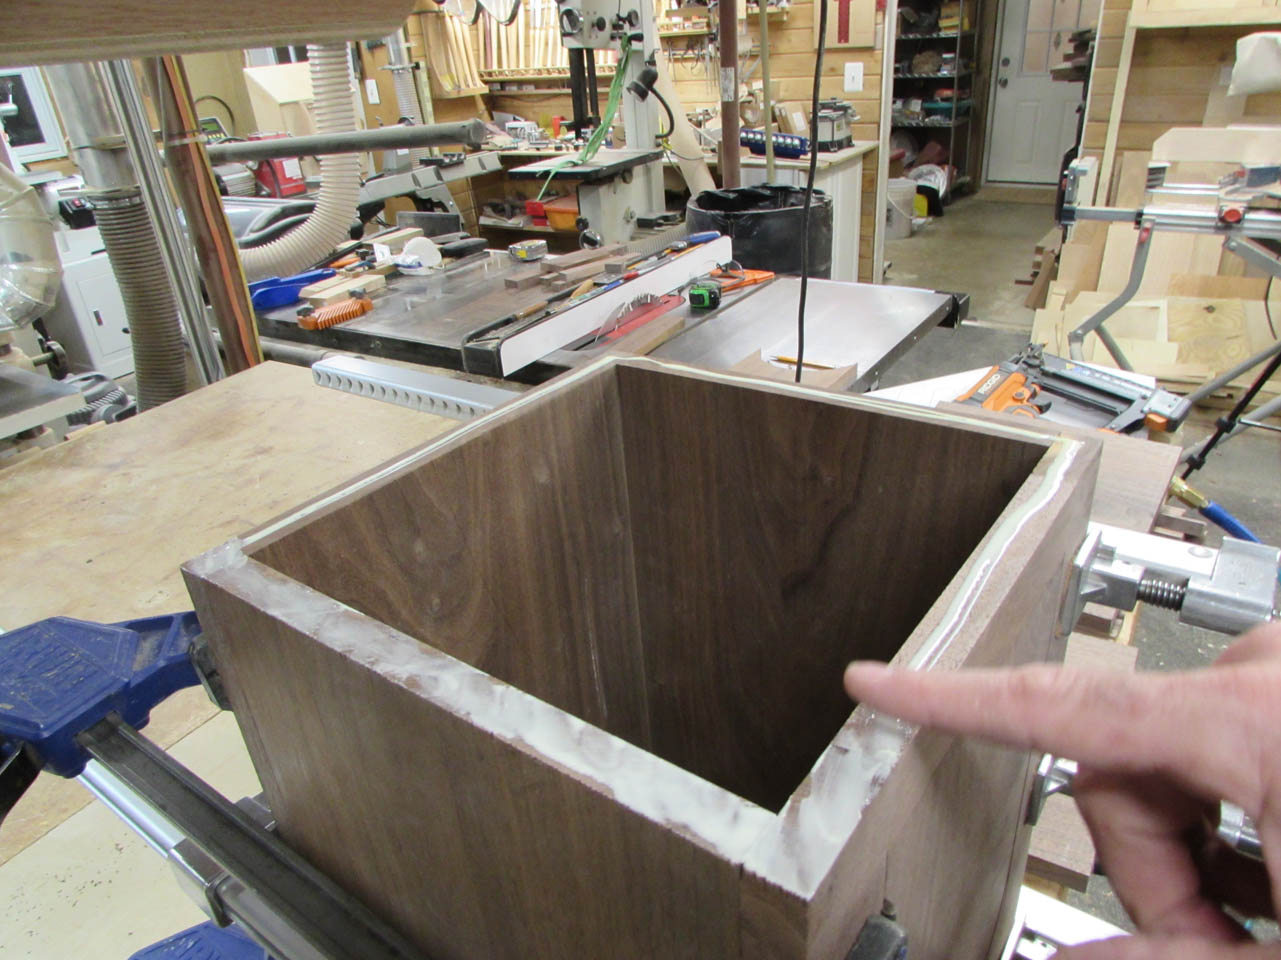
When that was done, I attached the top and bottom in a similar fashion.

After the glue dried, I sanded all of the glue joints flush to the sides of the cabinet.

Then it was time to start attaching the trim.
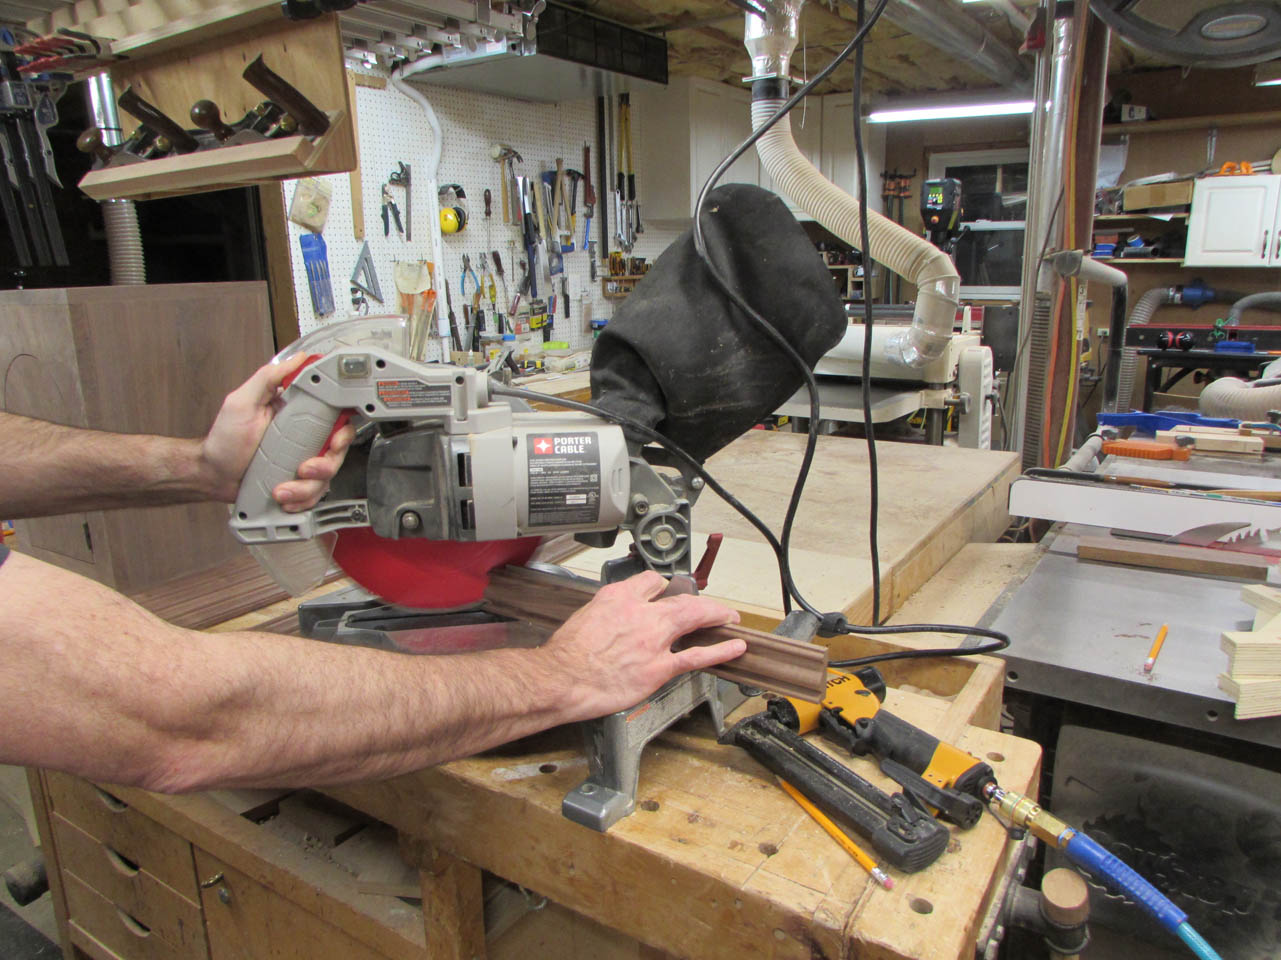
I pulled out my smaller miter saw for the 45° miter cuts. It seems to be far more accurate than my larger miter saw. Probably because this one is fixed, not a slider like the other.
I start by mitering two pieces together at one corner.


I use a pencil to mark where each over-shoots the edge of the box.

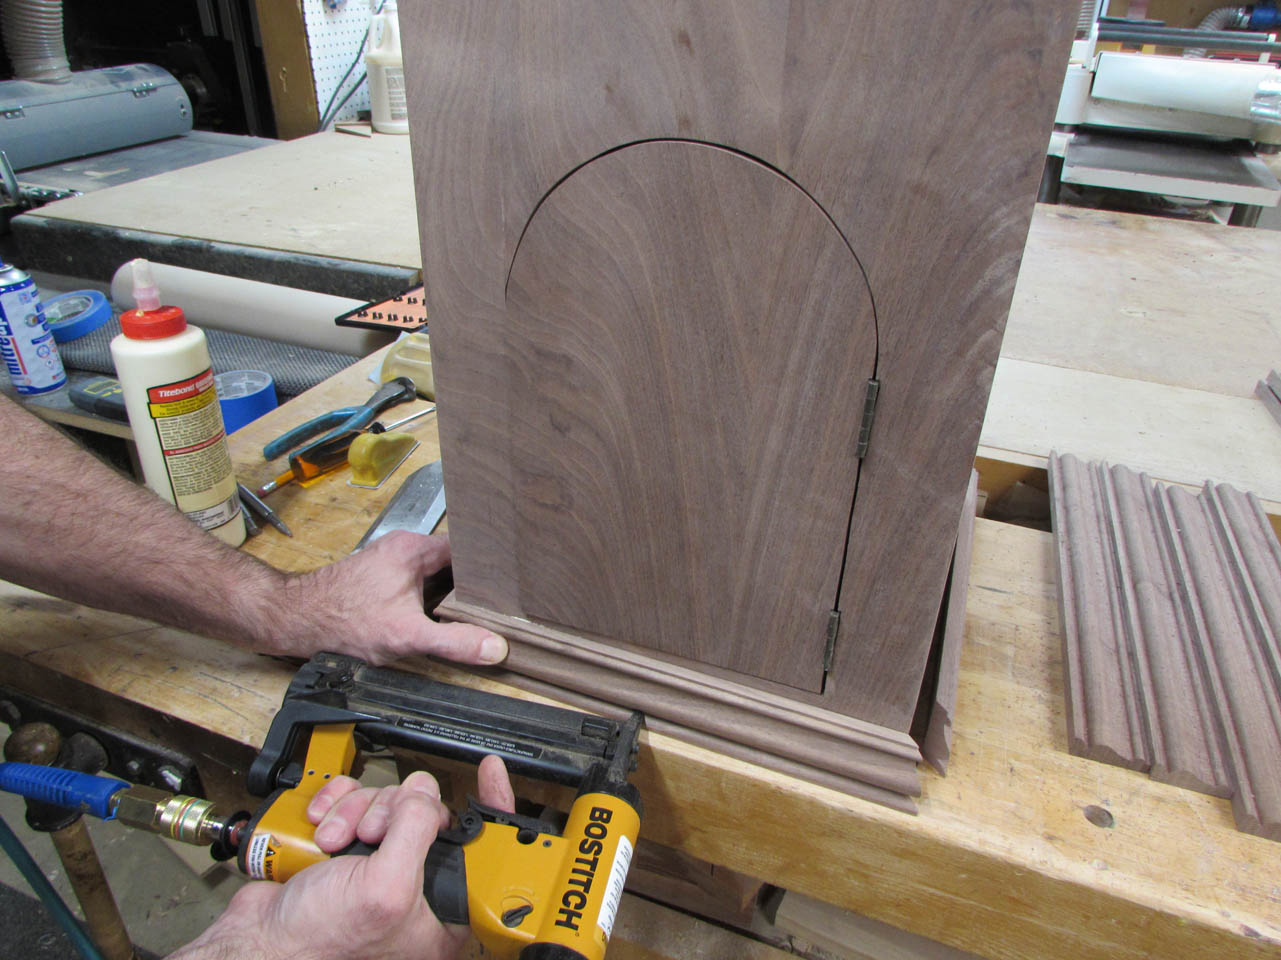
After cutting those two to length, I glue and pin the corner together with a 23 gauge pin nailer.

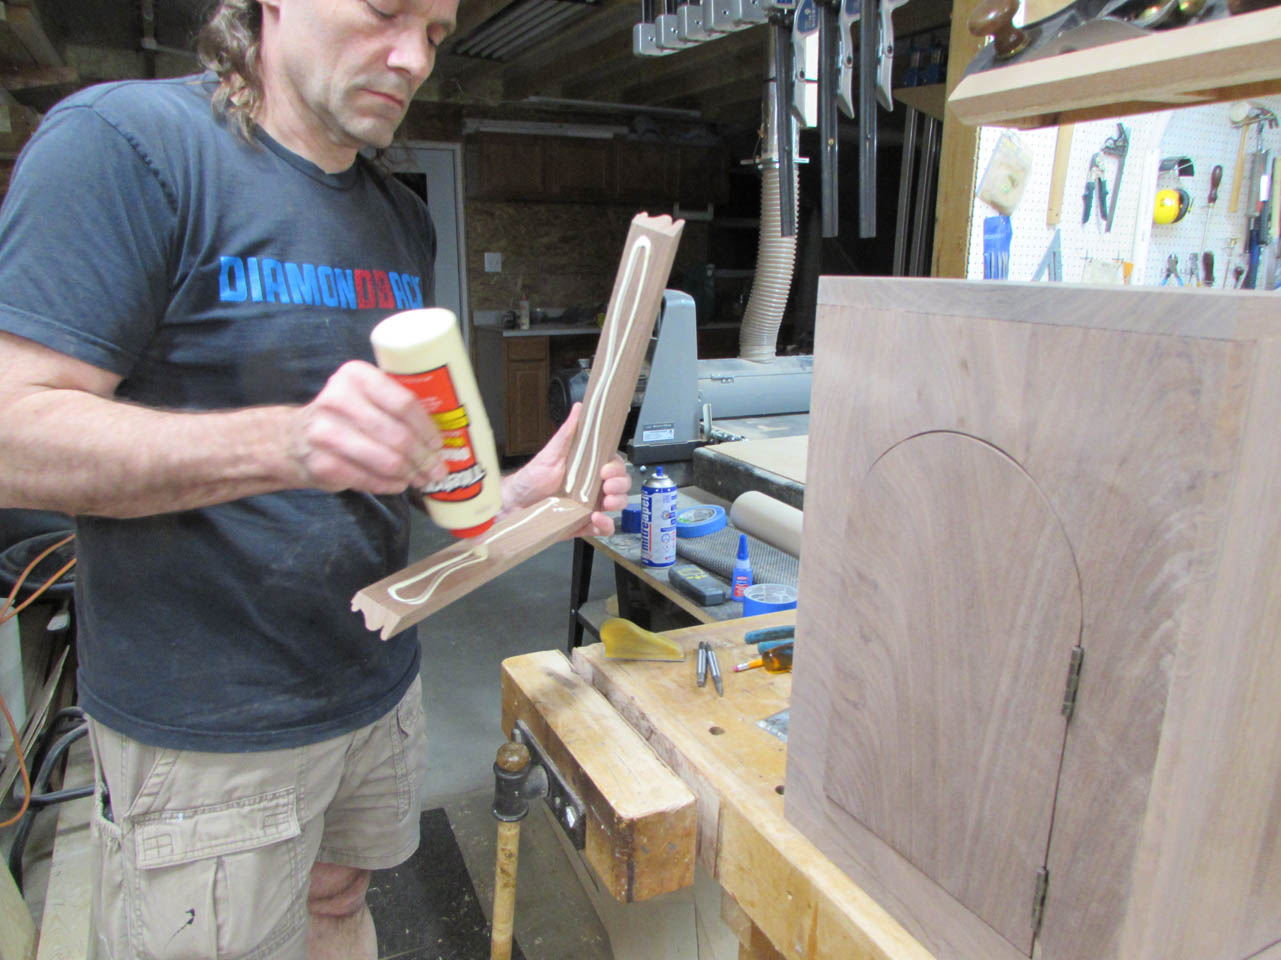
I apply glue to the back of the trim and pin it in place.
I can now repeat the process one additional piece at a time.

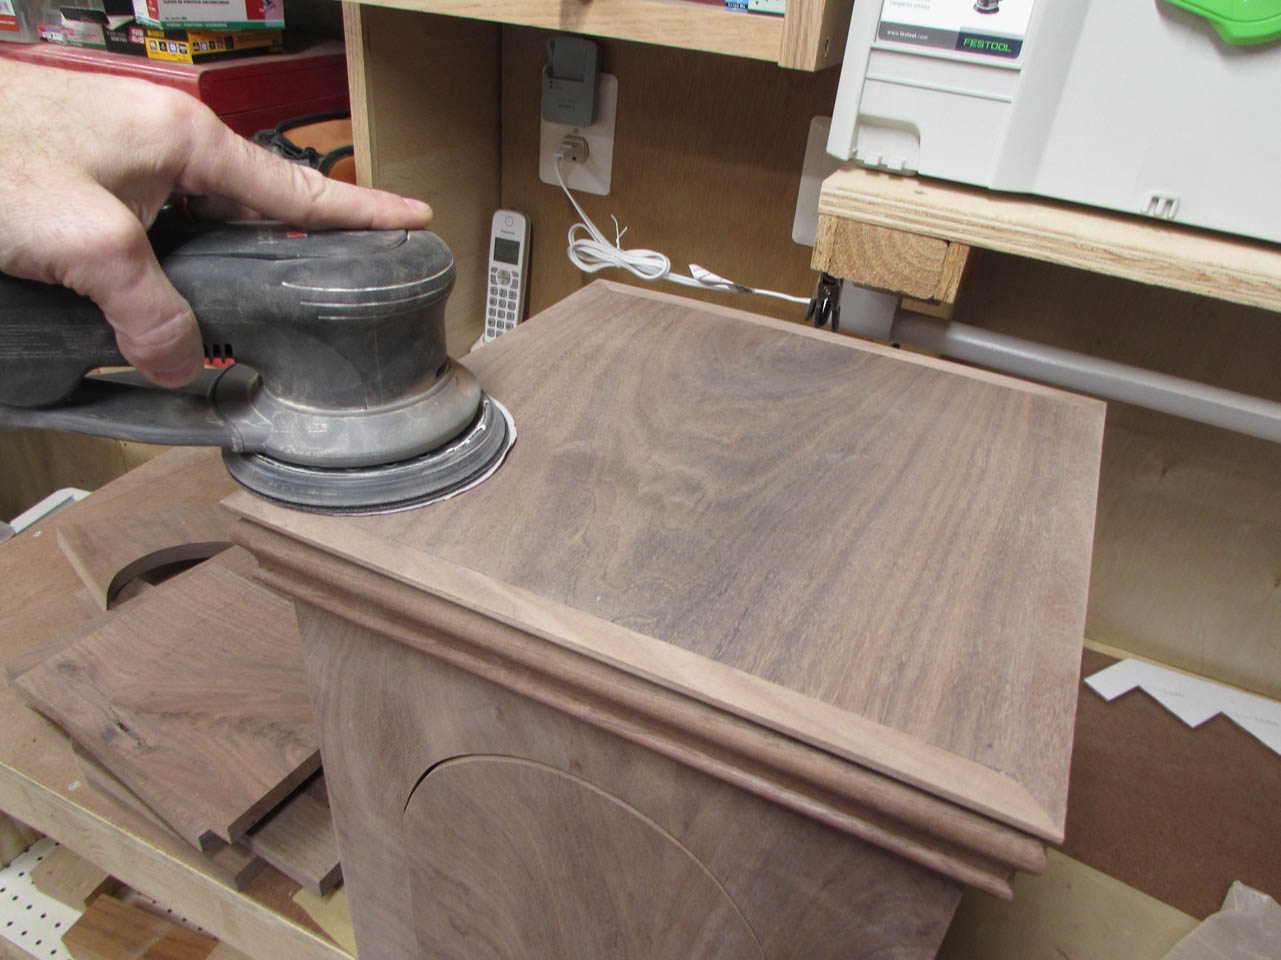
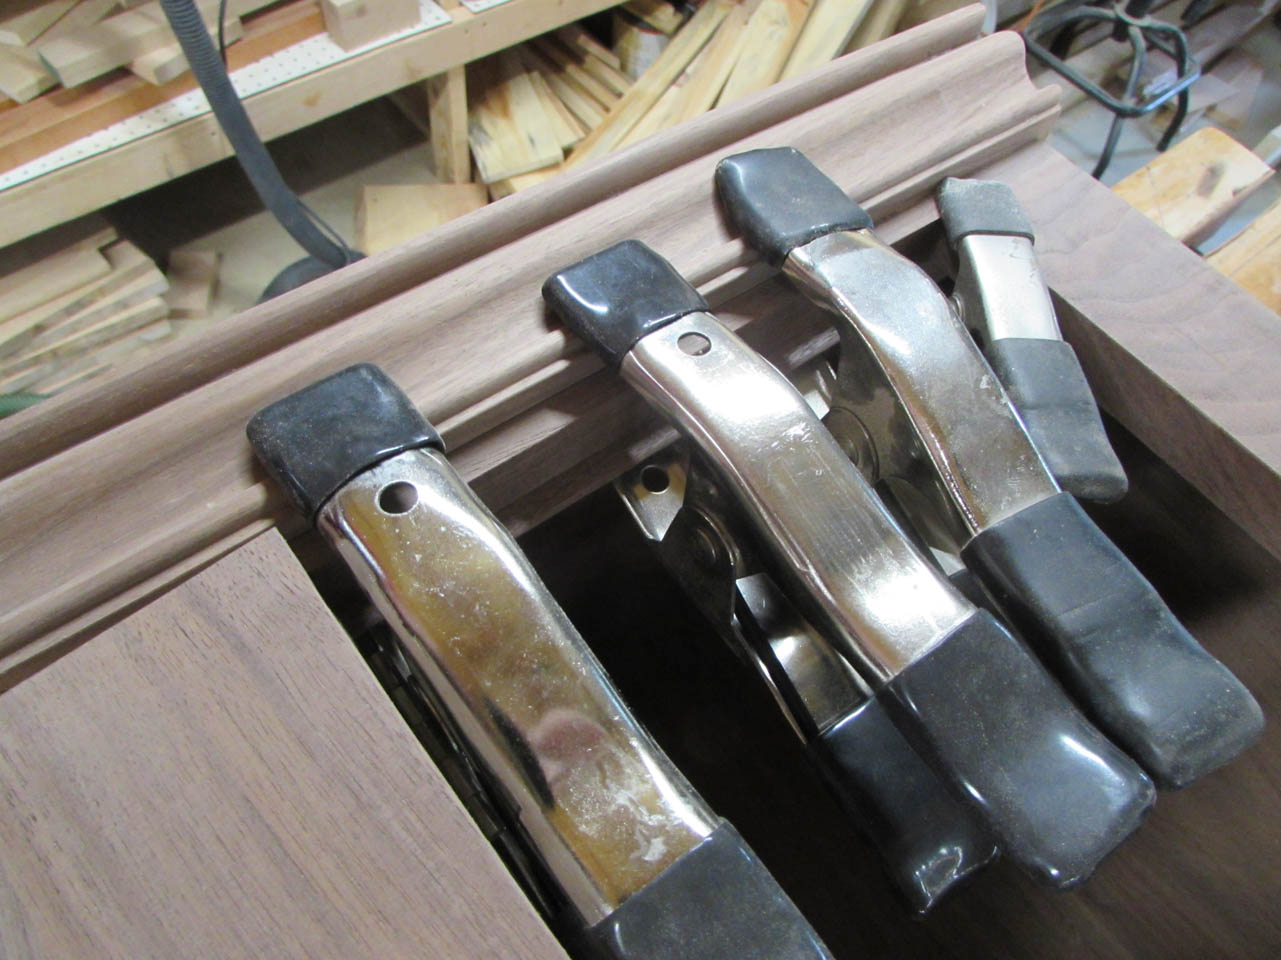
I don’t want to see any gaps along the top so after the top trim is attached, I clamp all of it to the box as tightly as possible, then sand the top smooth.
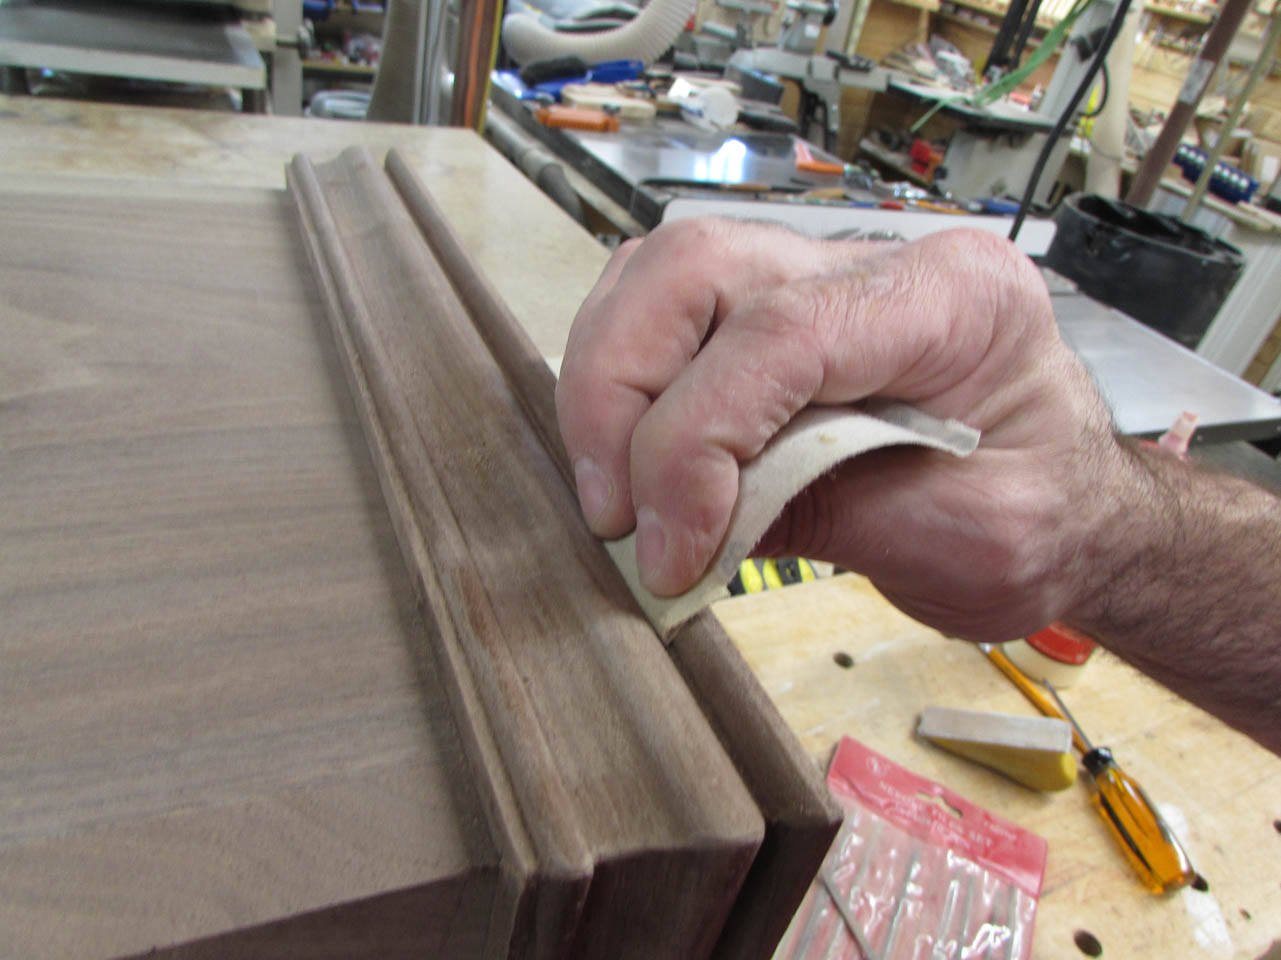
The corners of the trim came together pretty well but the edges are sharp so I use a jeweler’s file to break the edges and round them over slightly.

I also sand down all the trim to 220 grit.

The door needs a stop or it will swing into the box slightly so I add a thin strip of wood along the bottom.
After gluing and clamping it in place, I sand and round over the top edge so no one scrapes their arm on it.

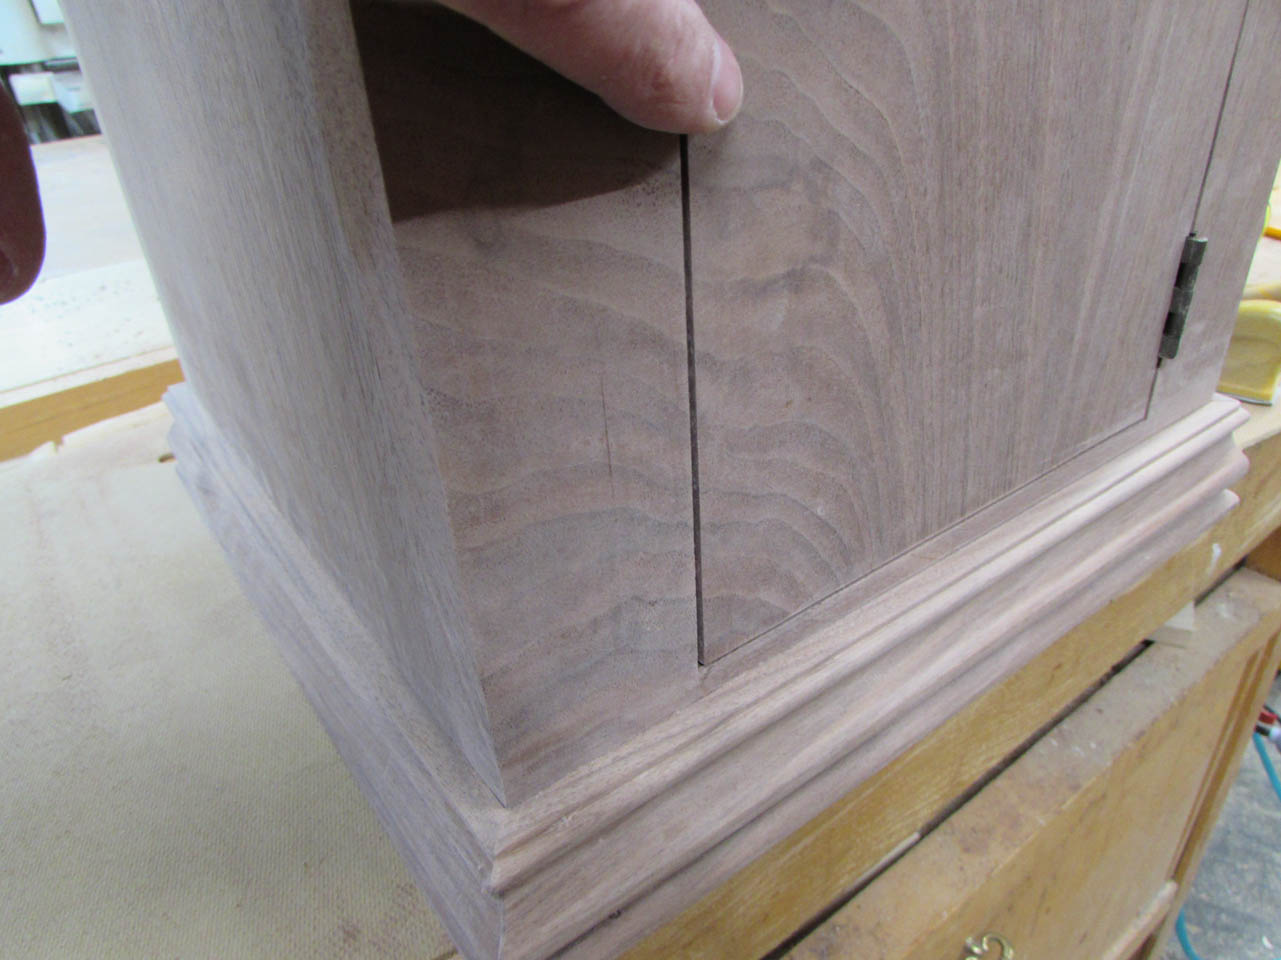
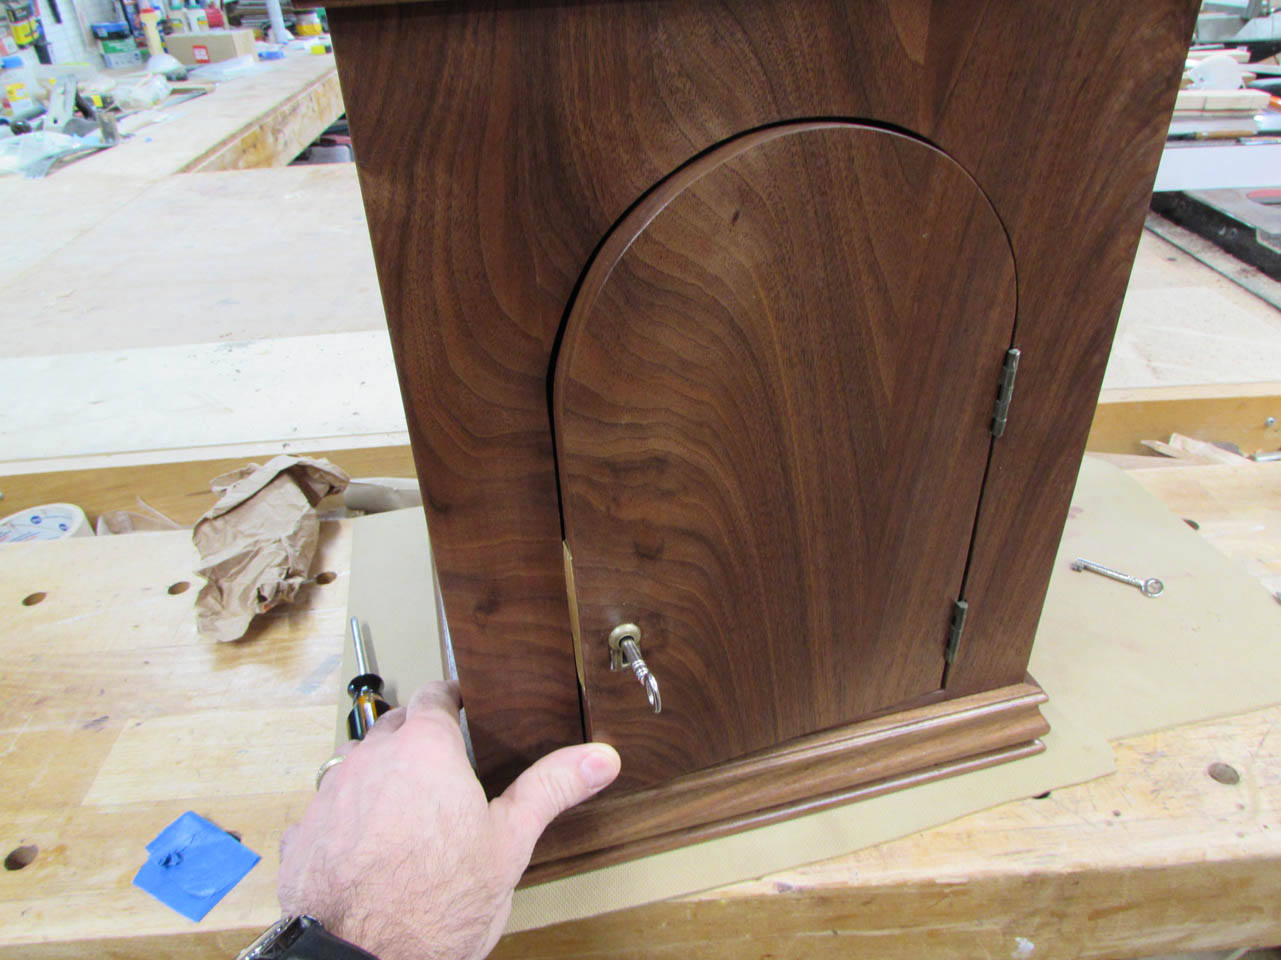
Now the door closes perfectly flush with the face of the cabinet.
I ordered all of the hardware about two weeks ago and it seemed to get lost in shipping so I ordered another lock set but it will be a couple more days before it arrives. To keep things moving, I am going to apply finish now, then add the hardware later.


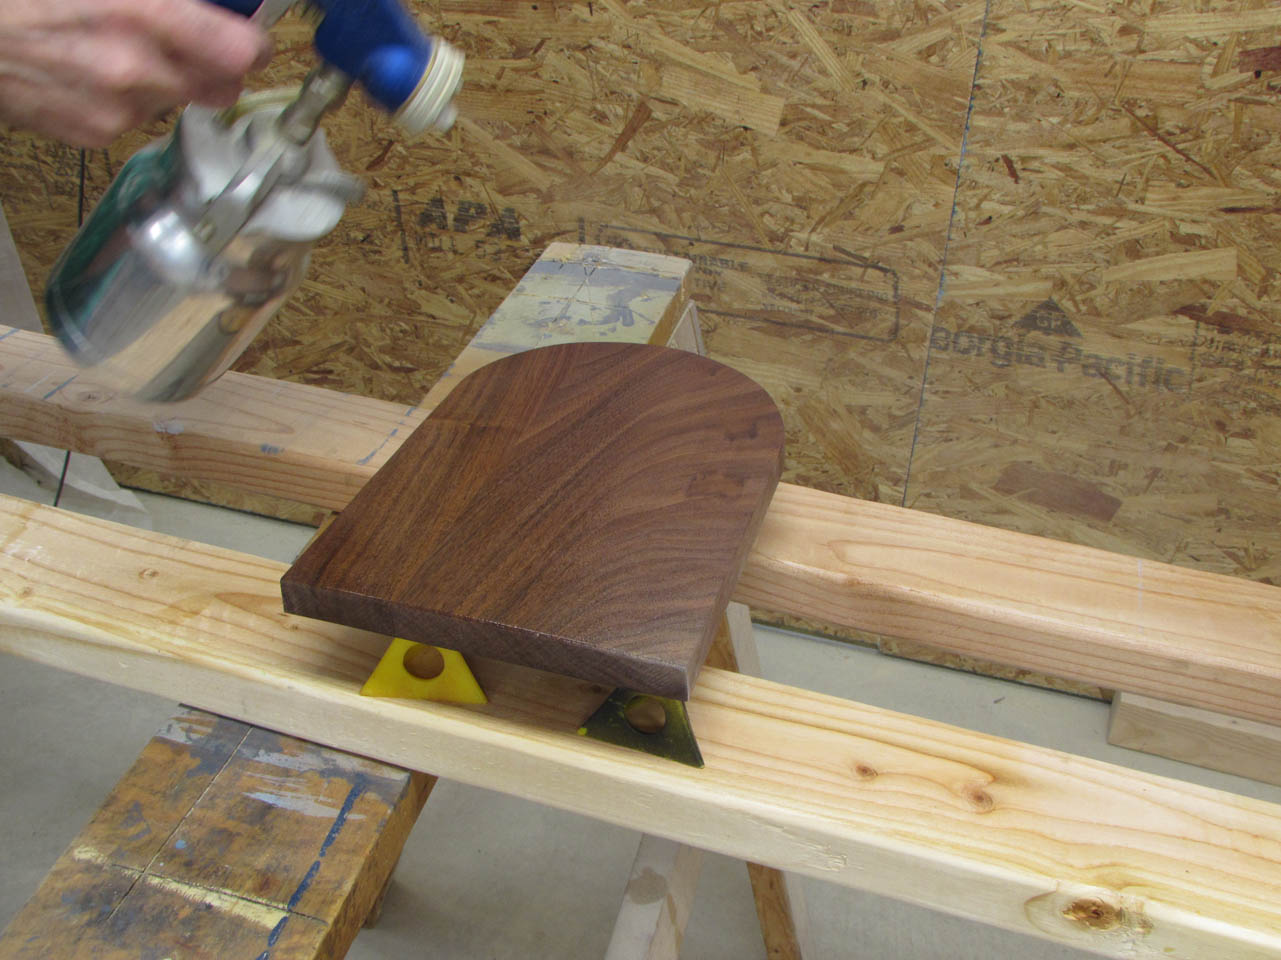
I sprayed on a coat of oil-based polyurethane, then left it to dry overnight.

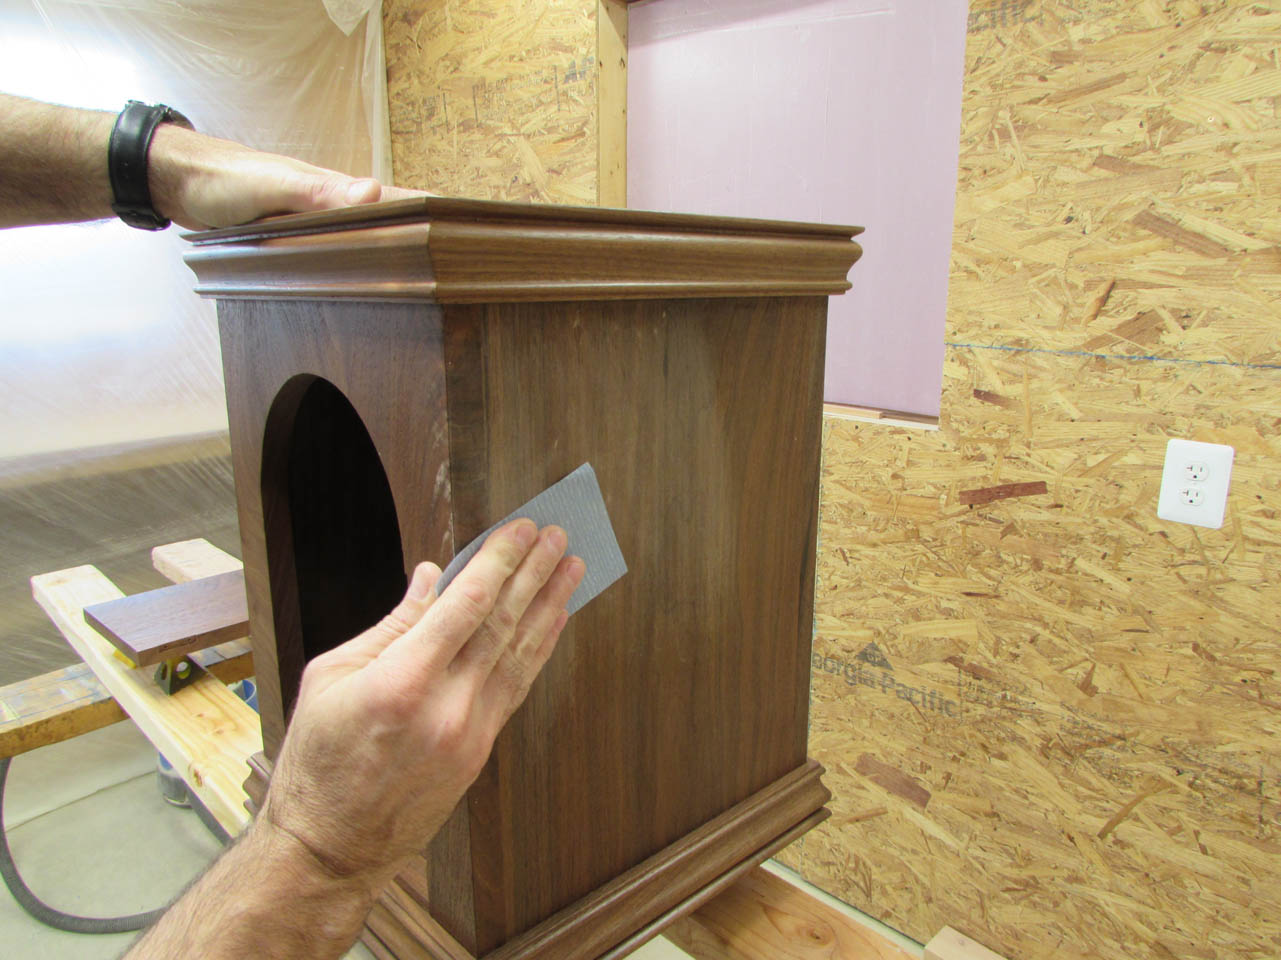
The next day, I sanded everything down with 400 grit sand paper and sprayed it with another coat.
By the time that had dried, both sets of new hardware arrived on the same day so I had two lock sets and seven different escutcheons (keyholes) to choose from.
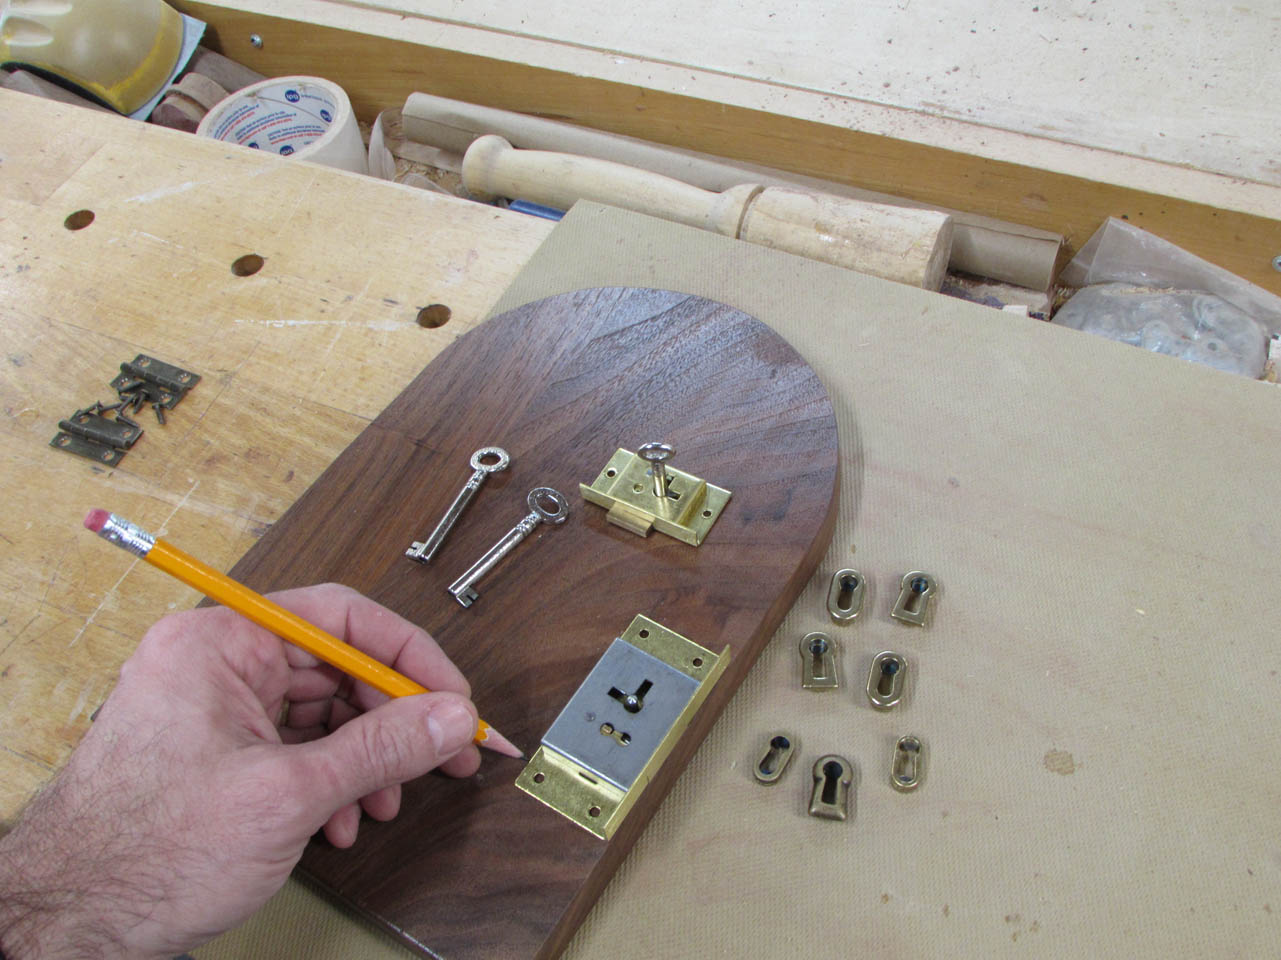
I chose to use the larger lock set because it came with two keys. I don’t know why they sell most sets with only one skeleton key. Seems like it would be hard to get a copy.

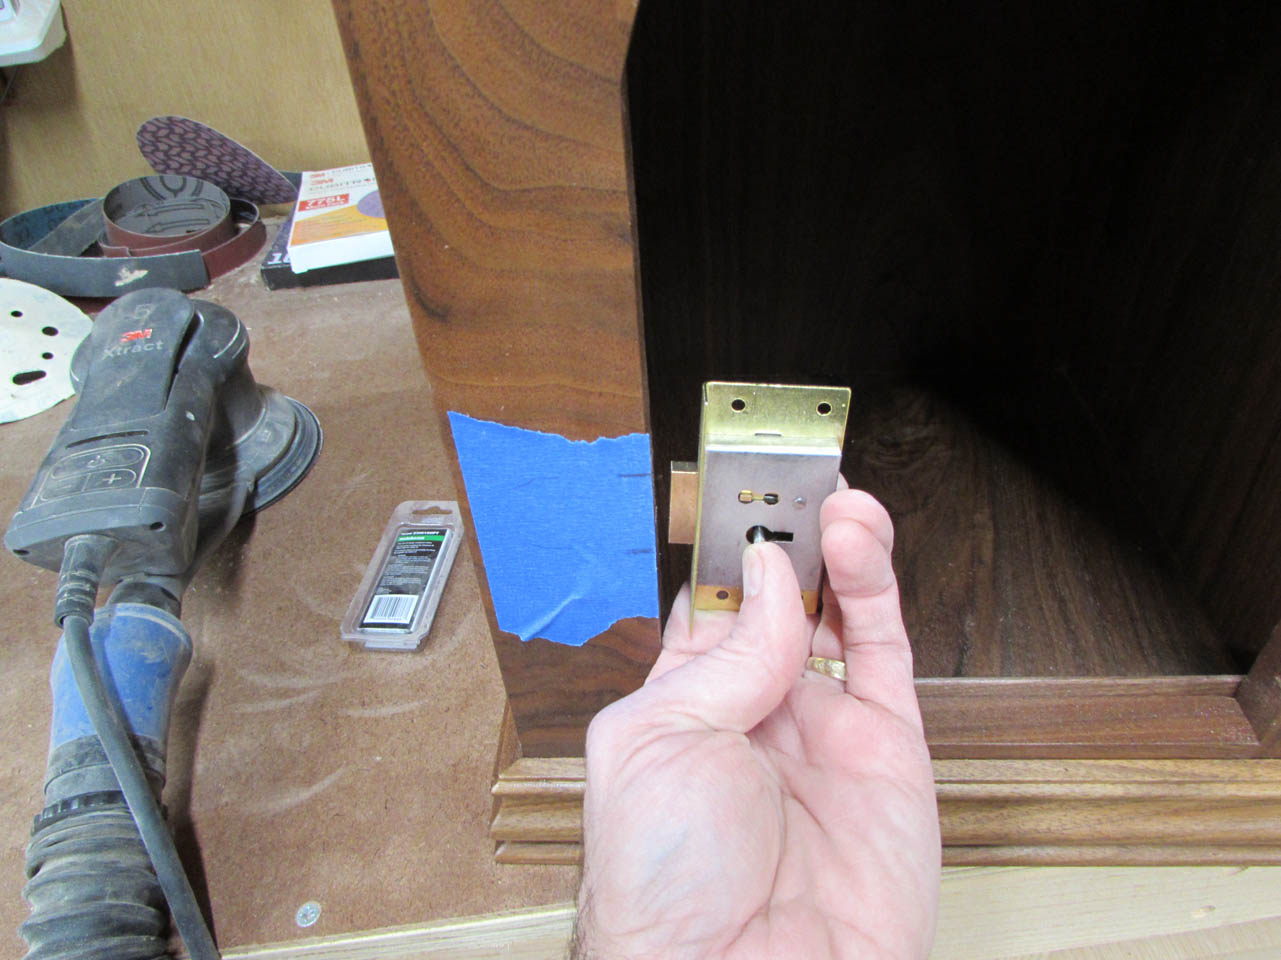
I laid out the edges of the lock that needs to be mortised in, then scored the marks with a knife so that the marks would stand out on the finish.
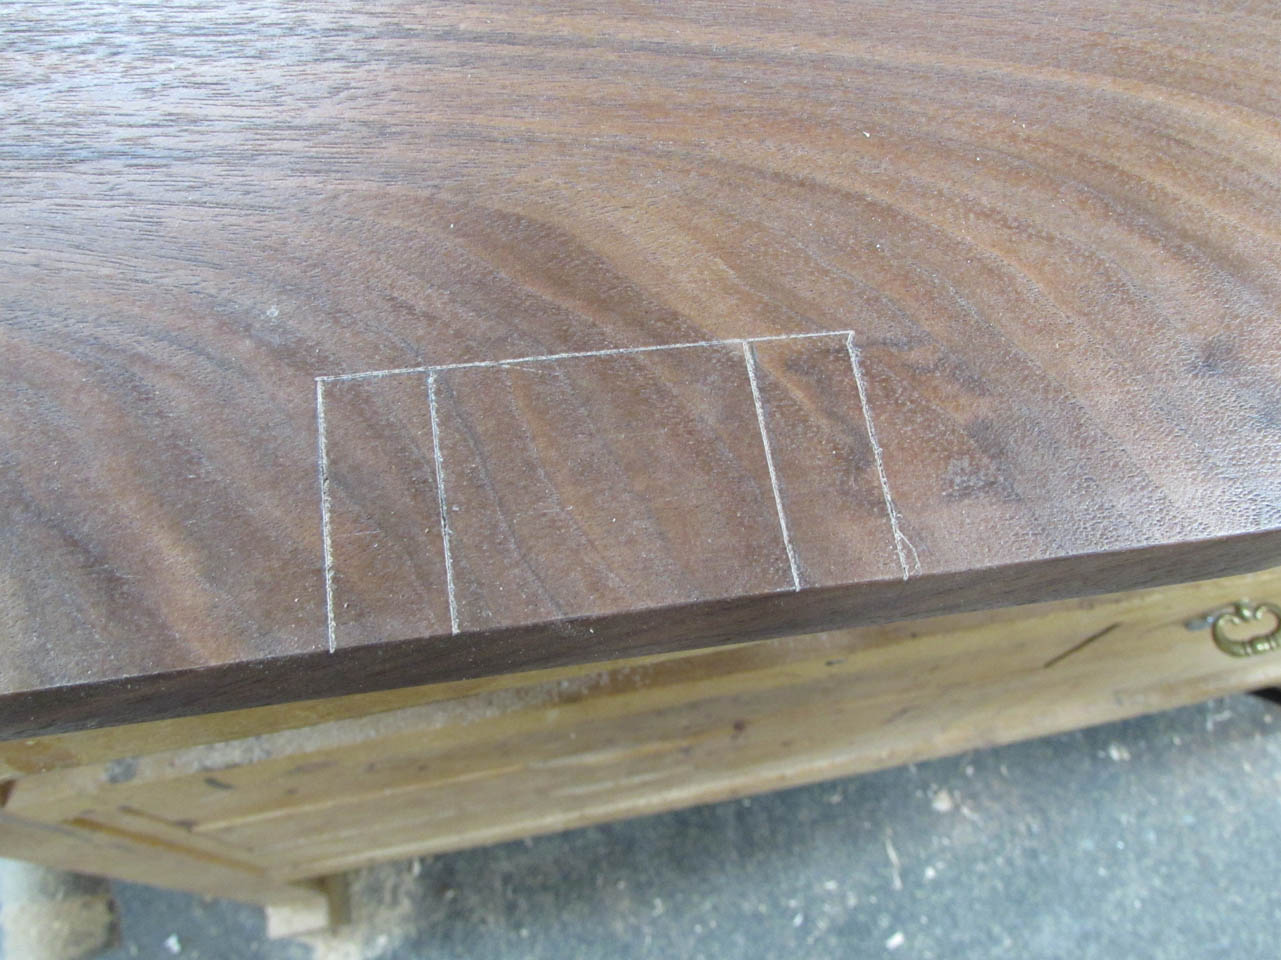
For the 1/16″ recess on the edge I used a chisel. For the mortise, I used my router with a 1/4″ spiral bit.

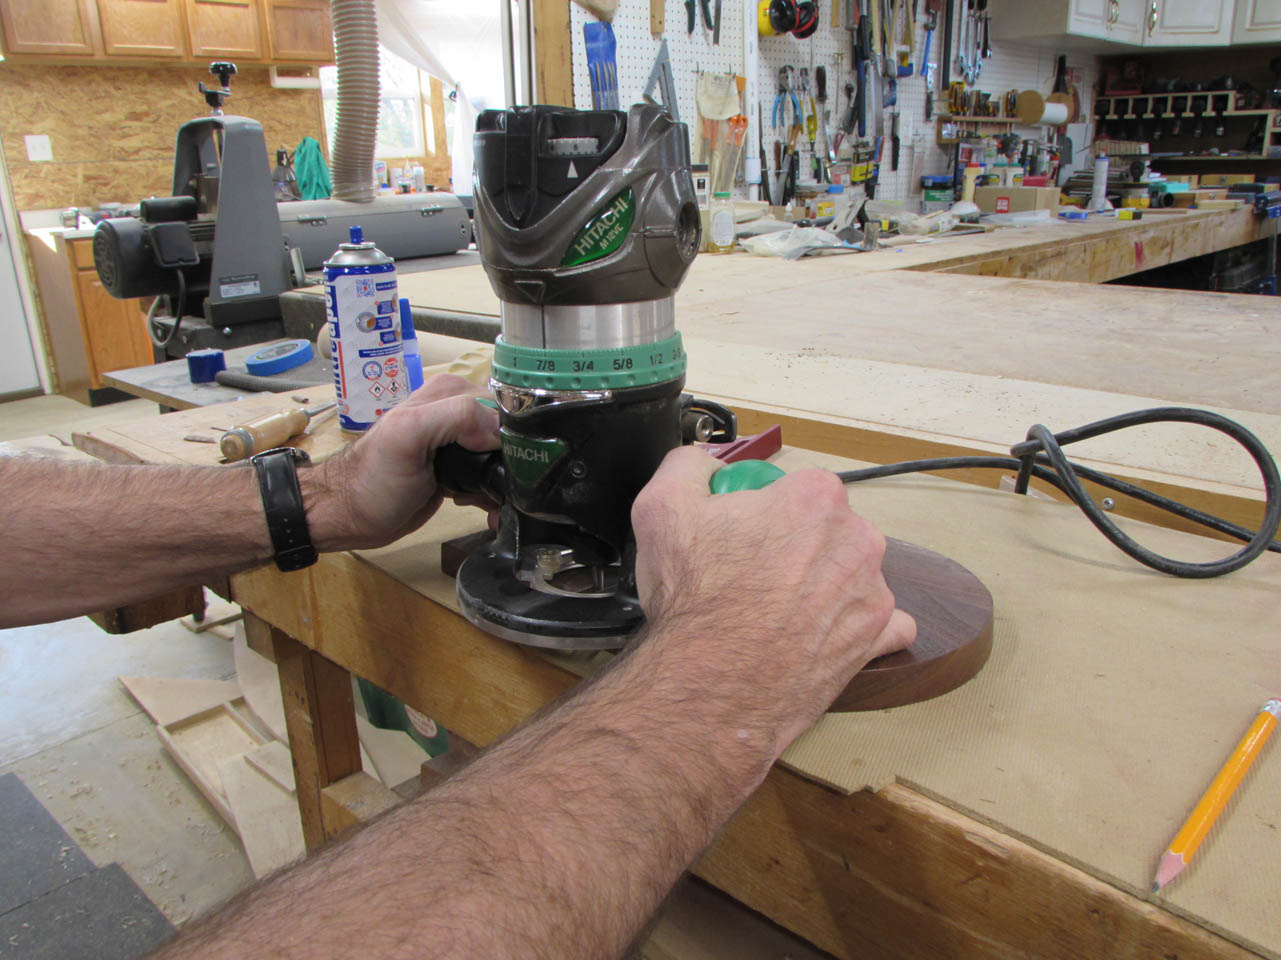
I cut the deeper section first, then retracted the bit and made a shallower pass on either side.


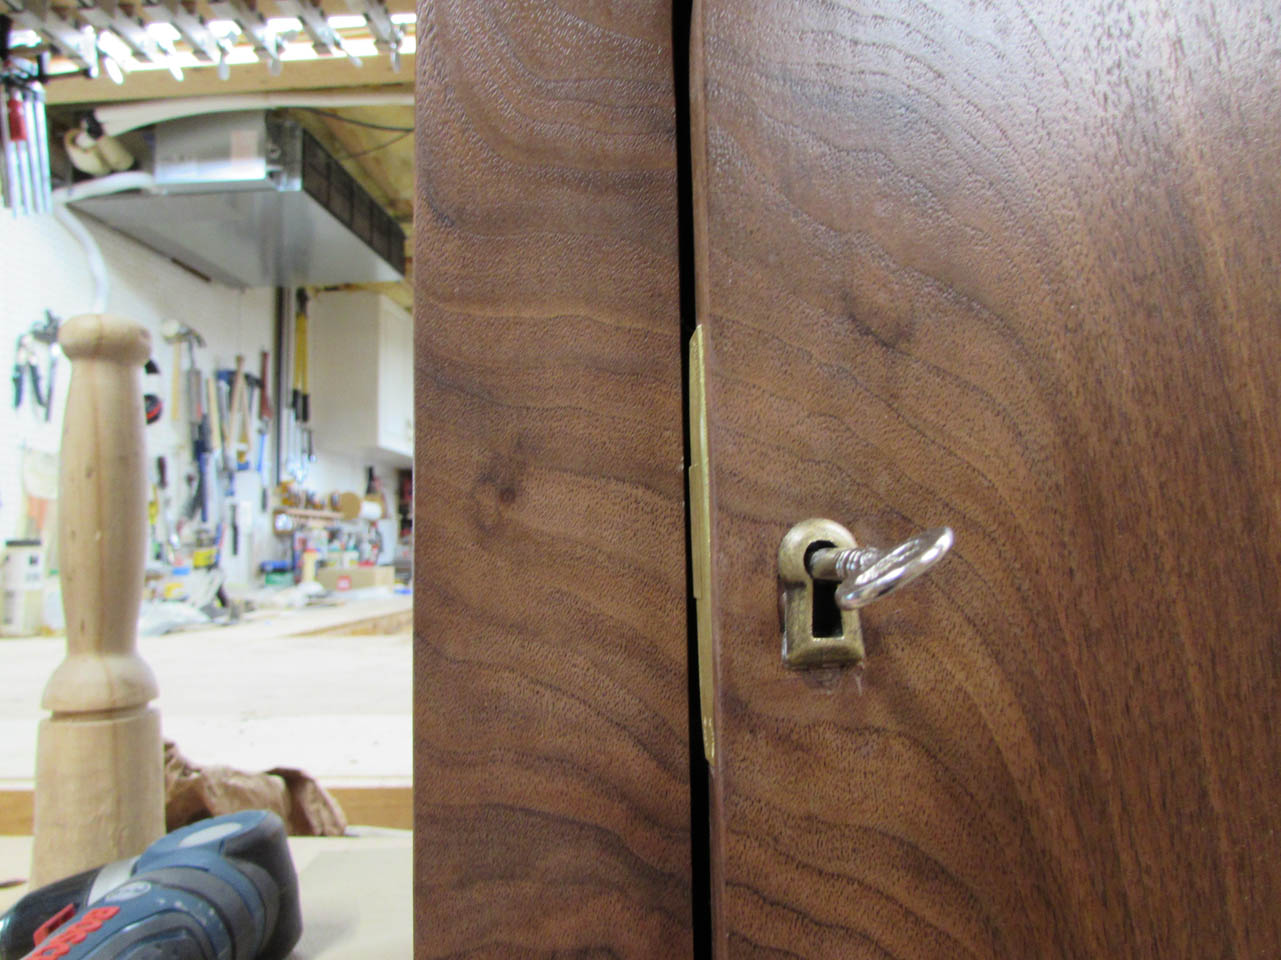
To locate the keyhole, I pressed the lock into place and the key post made an impression right where I needed to drill.
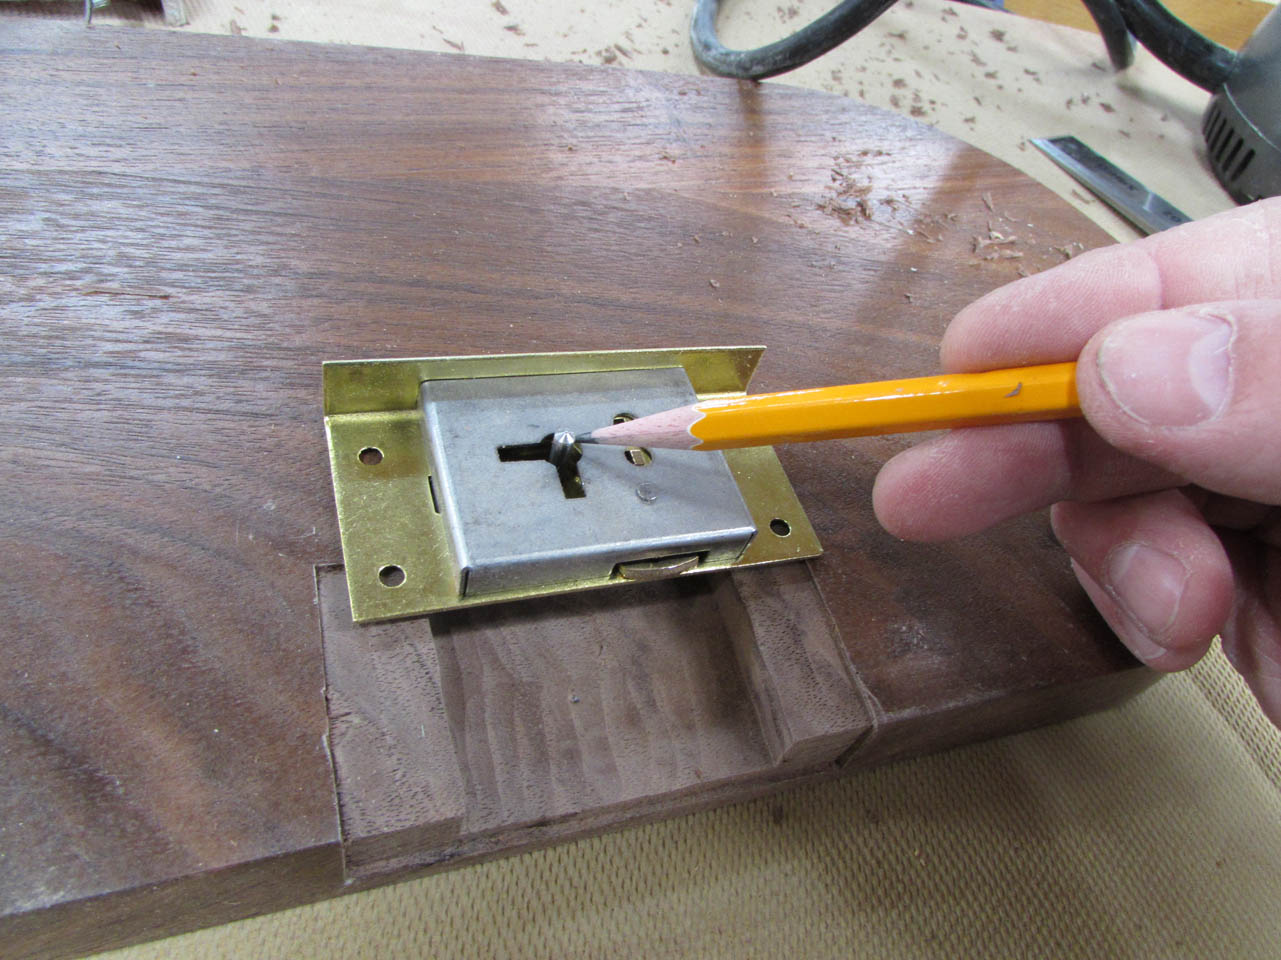
I drilled a smaller pilot hole from the back side, then after verifying the location lined up with the lock, I drilled a larger hole for the escutcheon from the front.

This needed to be more of a slot so I drilled two holes and cleaned out the space between with a chisel.


This will allow me to press-fit one of the brass escutcheons into place. Once I select the one I want and press it in, I can use a screw driver to press the thin metal discs into the wood to hold it there permanently.

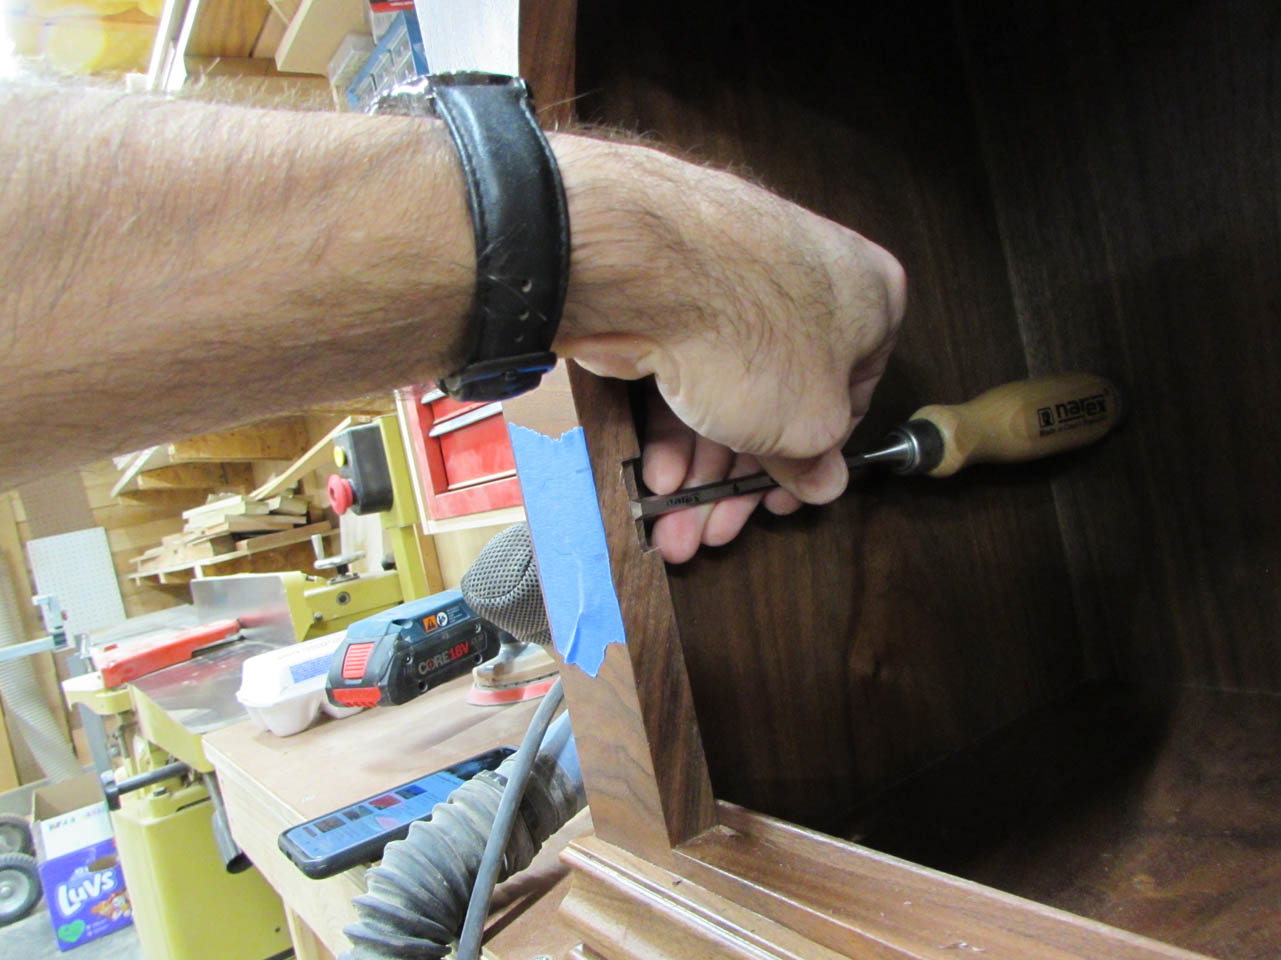
I also need to carve out a notch for the bolt on the lock. This would have been far easier before assembly but delays on the hardware would have set me back weeks if I had waited.

I take my time carving out the notch with a chisel after marking the location.


Depth and width look good, now I have to place the lock in the door and see if it all works well together.

Before that, I also need to add a coat or two of finish to the newly carved areas as well as the inside areas of the box that the spray gun cannot reach.

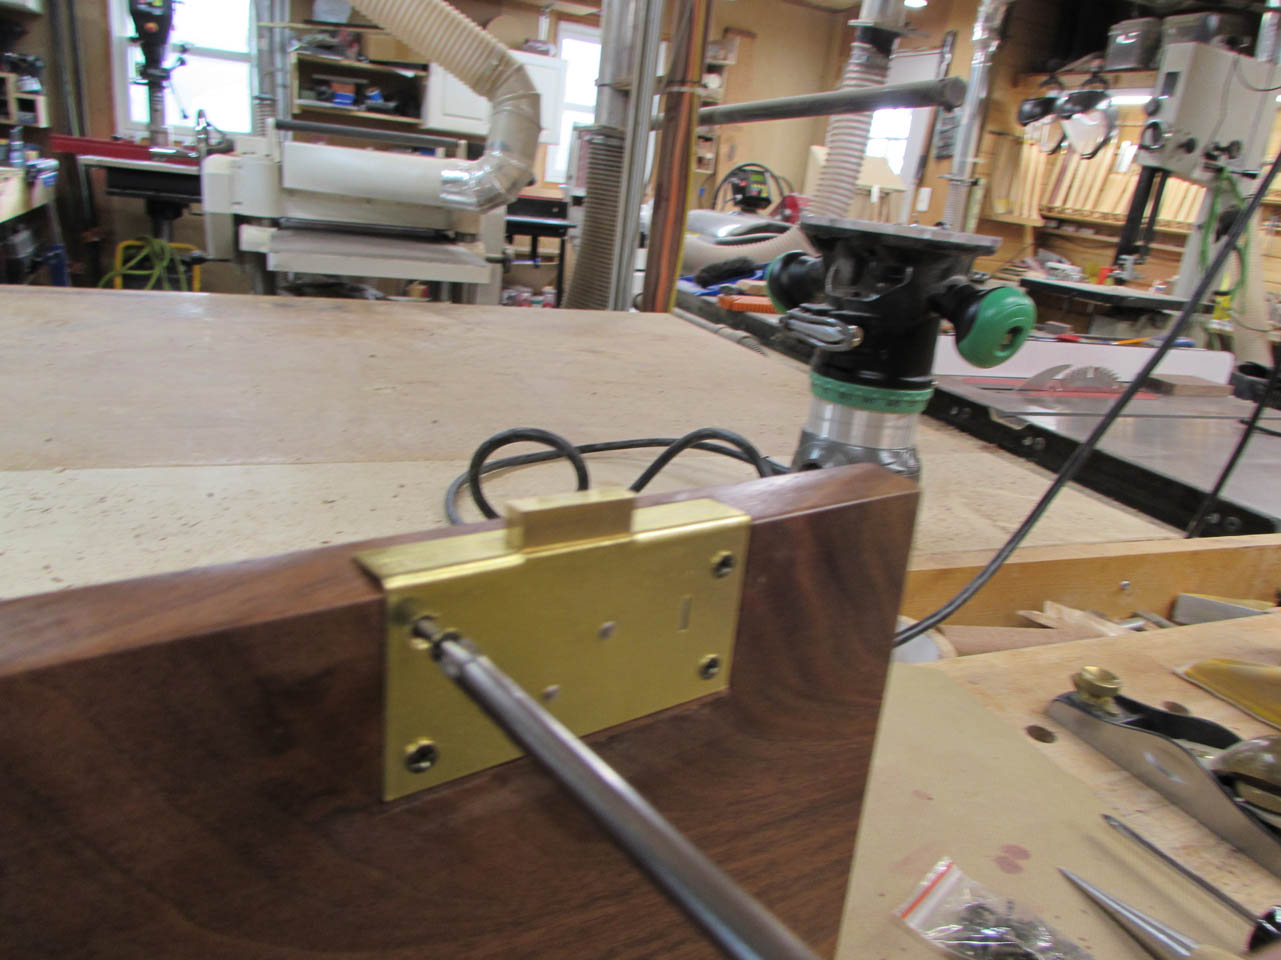
When I finally got the door reinstalled, the lock got in the way of closing. I placed a back-angle on the door to avoid this, but the brass plate is square and sticks out slightly.

It is only 1/32″ or so but it is enough to keep the door from closing. Instead of notching the door jamb at the latch area, I decide to deepen the notch the hinges are mounted in and reinstall the door.
It worked and the latch now has the required clearance.
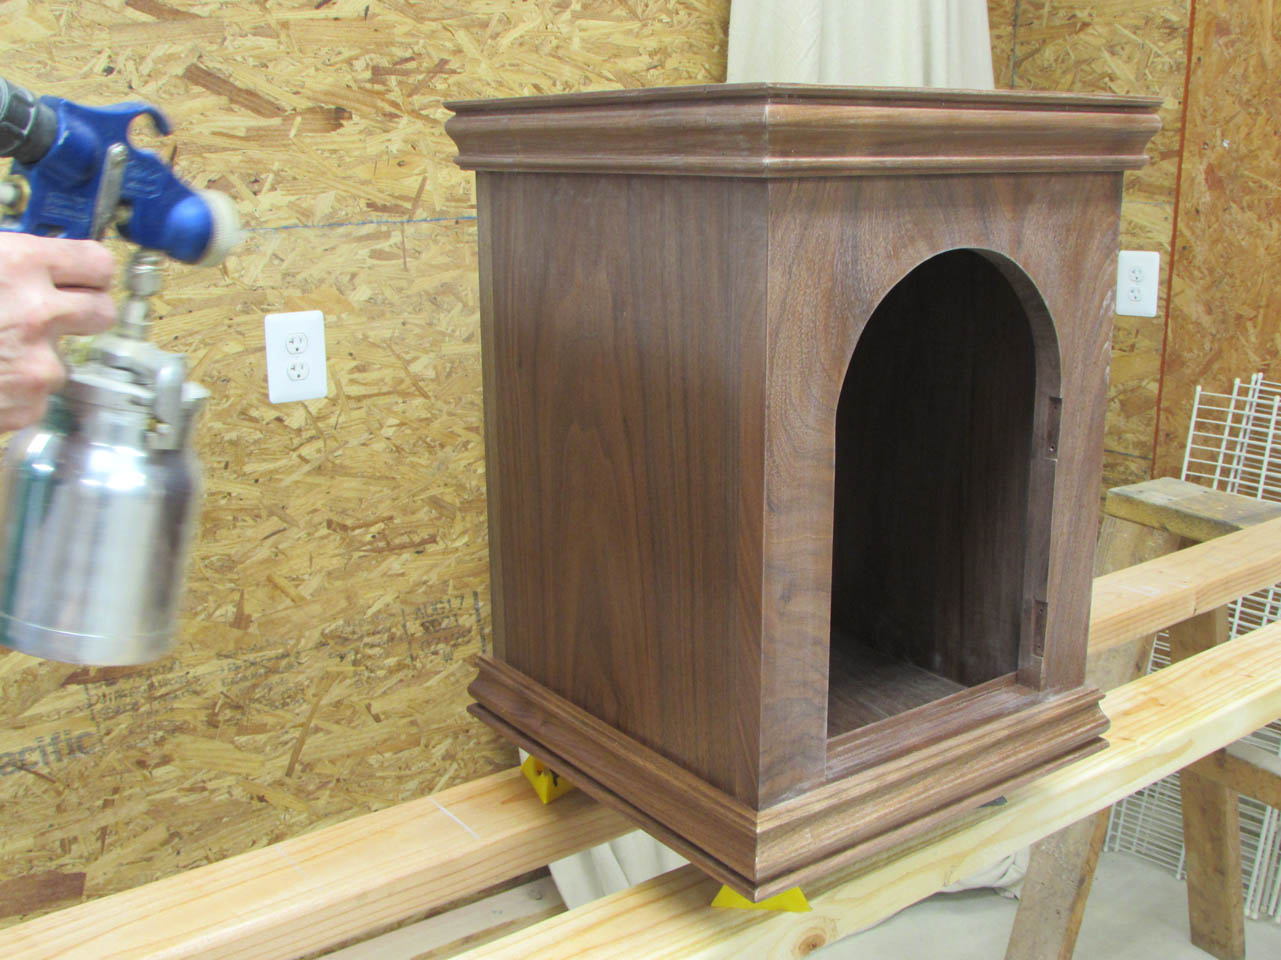
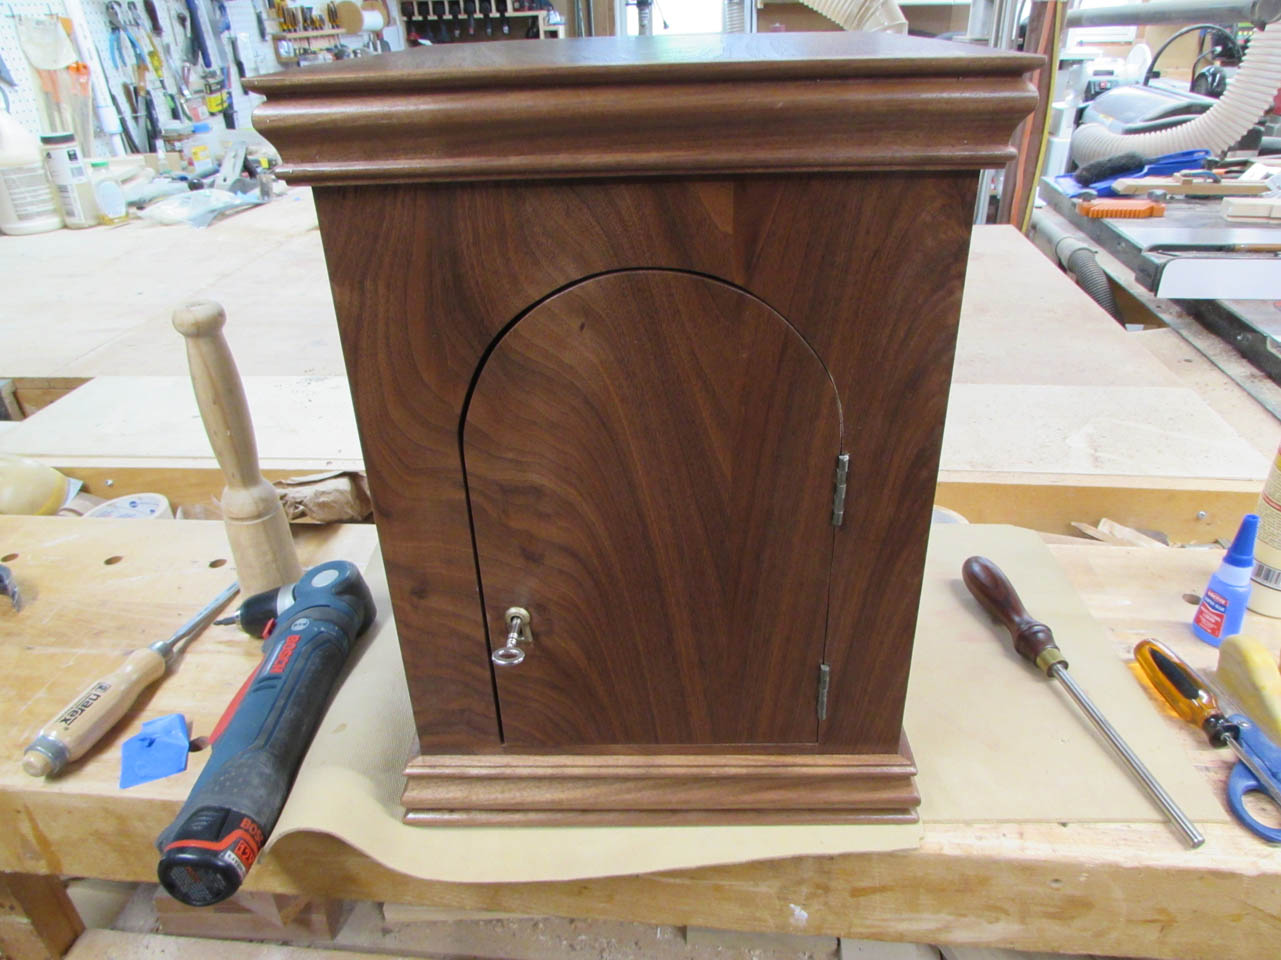
The tabernacle is now finished.

I think it turned out nicely. I like the grain flow across the front of the tabernacle.

Pingback: Cherry ambo | Midnight Woodworking