
Tenebrae Hearse for Holy Spirit church – part 7
The center post wouldn’t be too complicated if I were to make it from a solid piece of wood. Unfortunately, that would allow for too much wood movement. The thicker a piece of wood is, the more moisture it can hold in the center. The outside is prone to dry quicker than the center of the wood. That could cause swelling and cracking. The center post will fit fairly snugly into the sockets of the top and the base. Swelling can cause difficulty with fitting the pieces together.
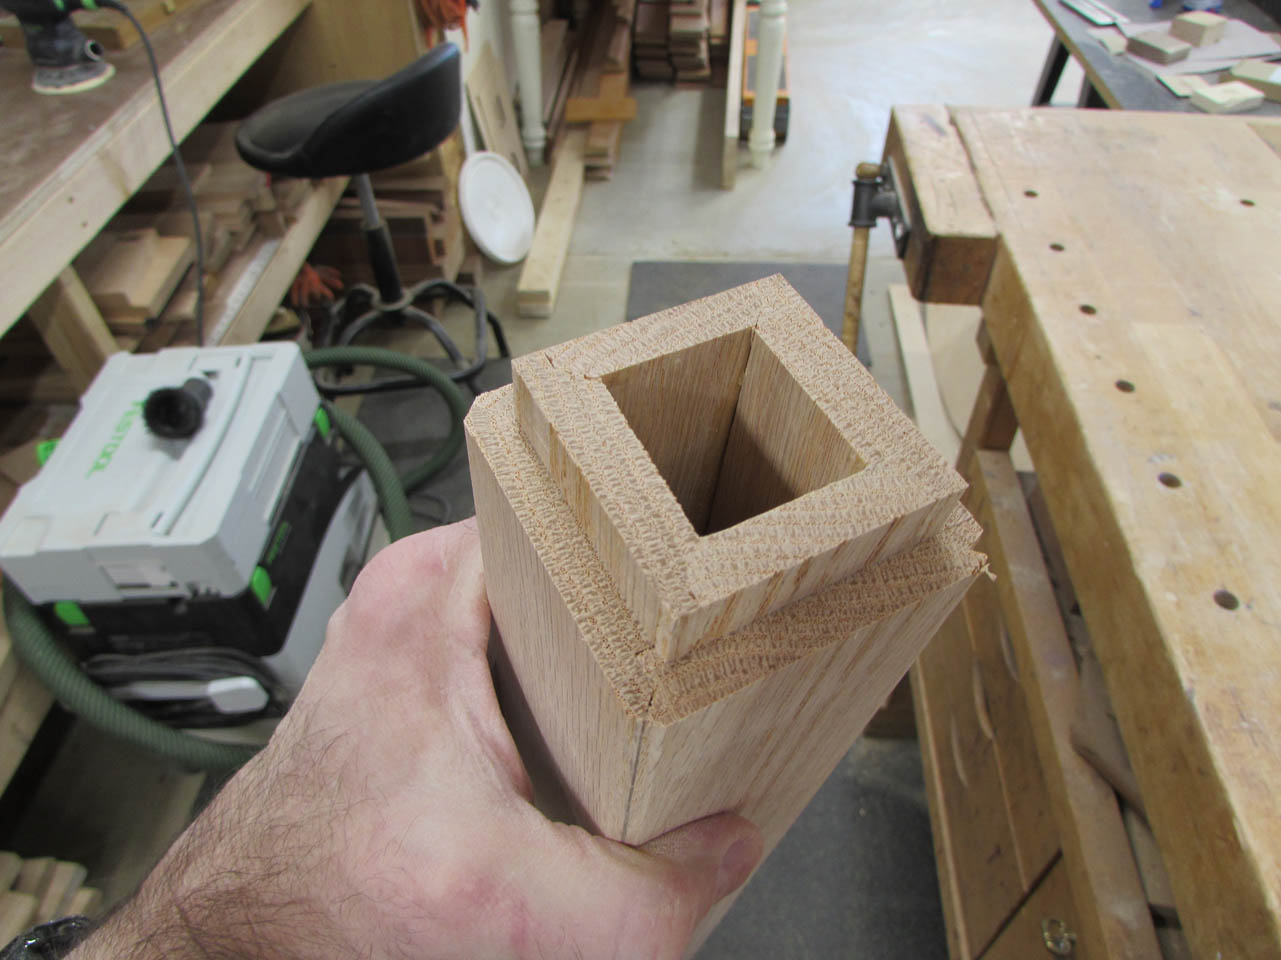
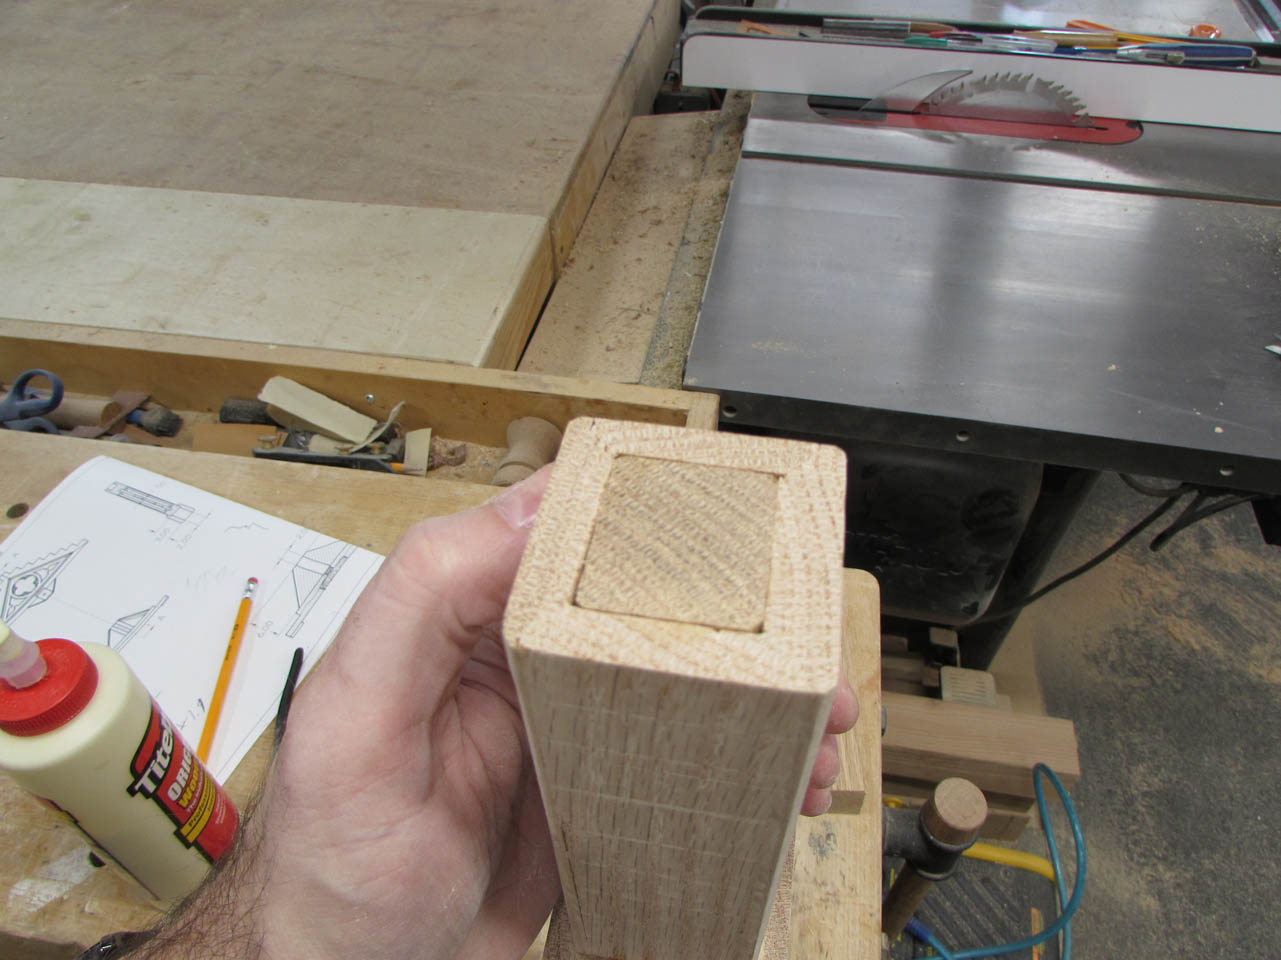
I will basically be making a tube allowing equal air flow to the outside as well as the center of the post.
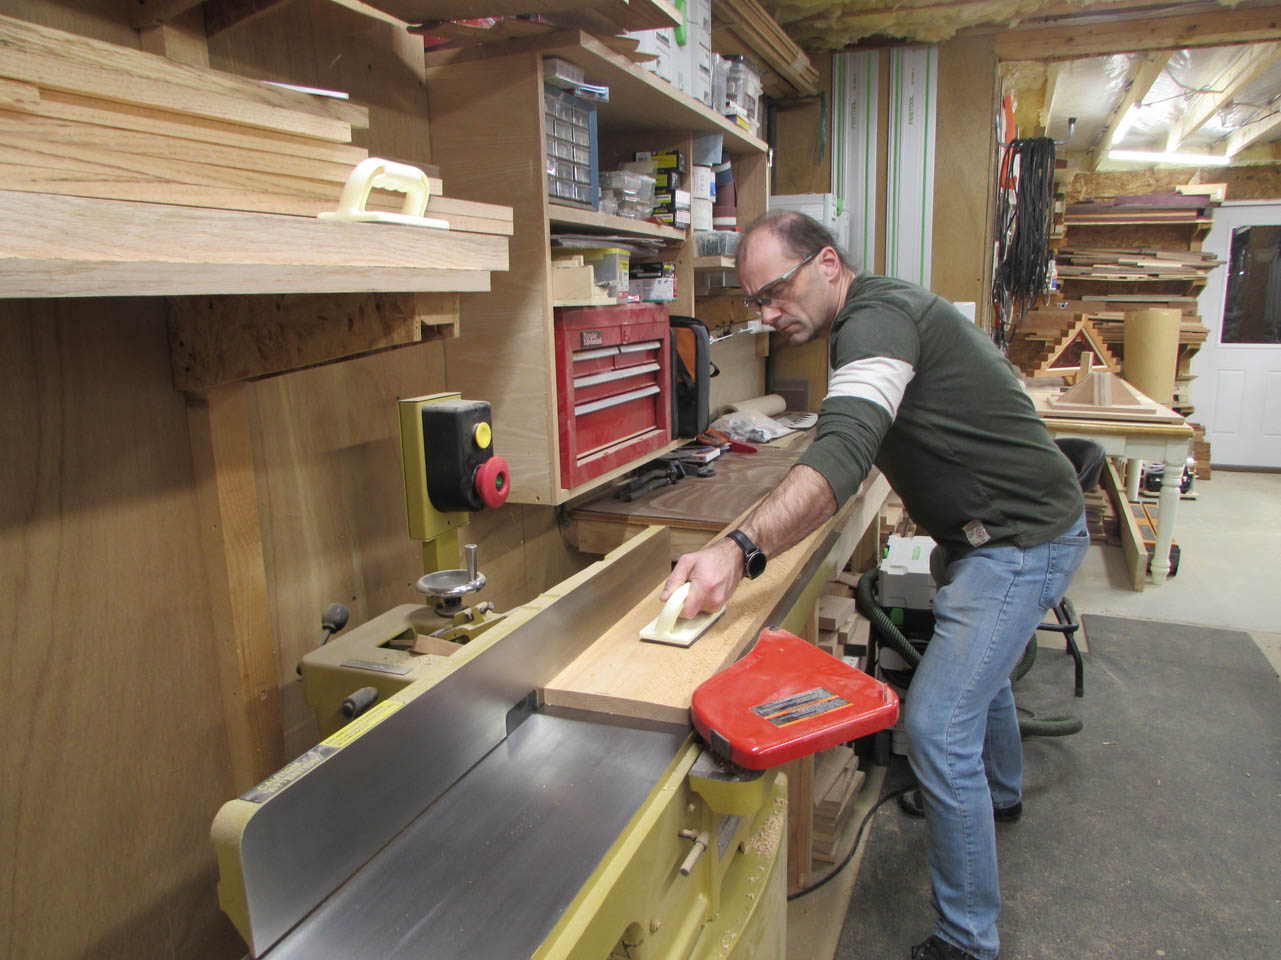
I start by jointing and planing down some boards to 3/4″ thick, then ripping them down to 2-1/2″ wide and cutting all four of them to 51-1/2″ long.
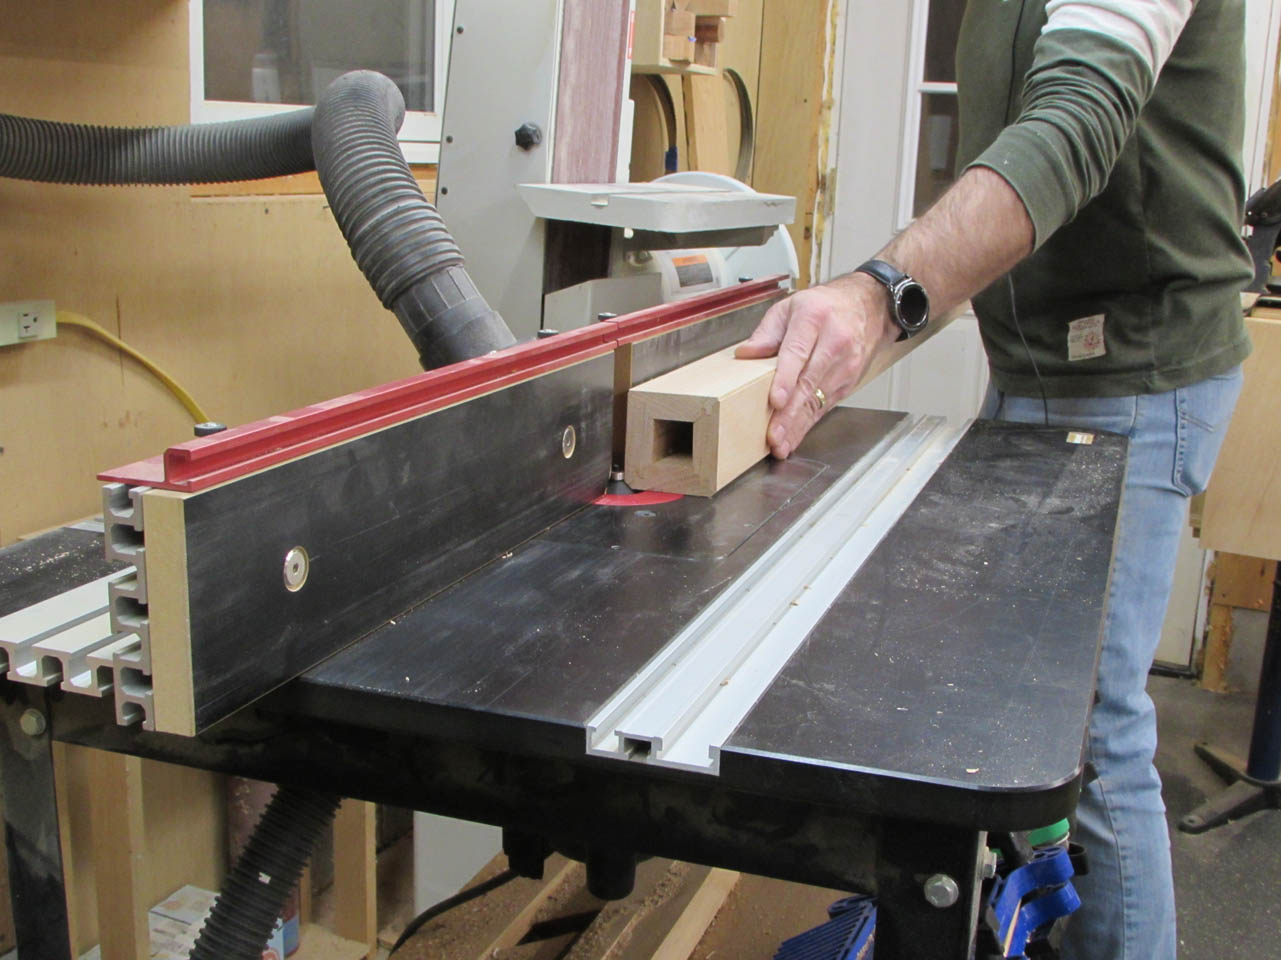
I want lots of glue surface and an interlocking face to join all four pieces together so I am going to miter the edges with a lock miter bit.

Setup of this bit can be difficult, so the first time I used it, I created a setup block that I can use every time I set it up in the future.
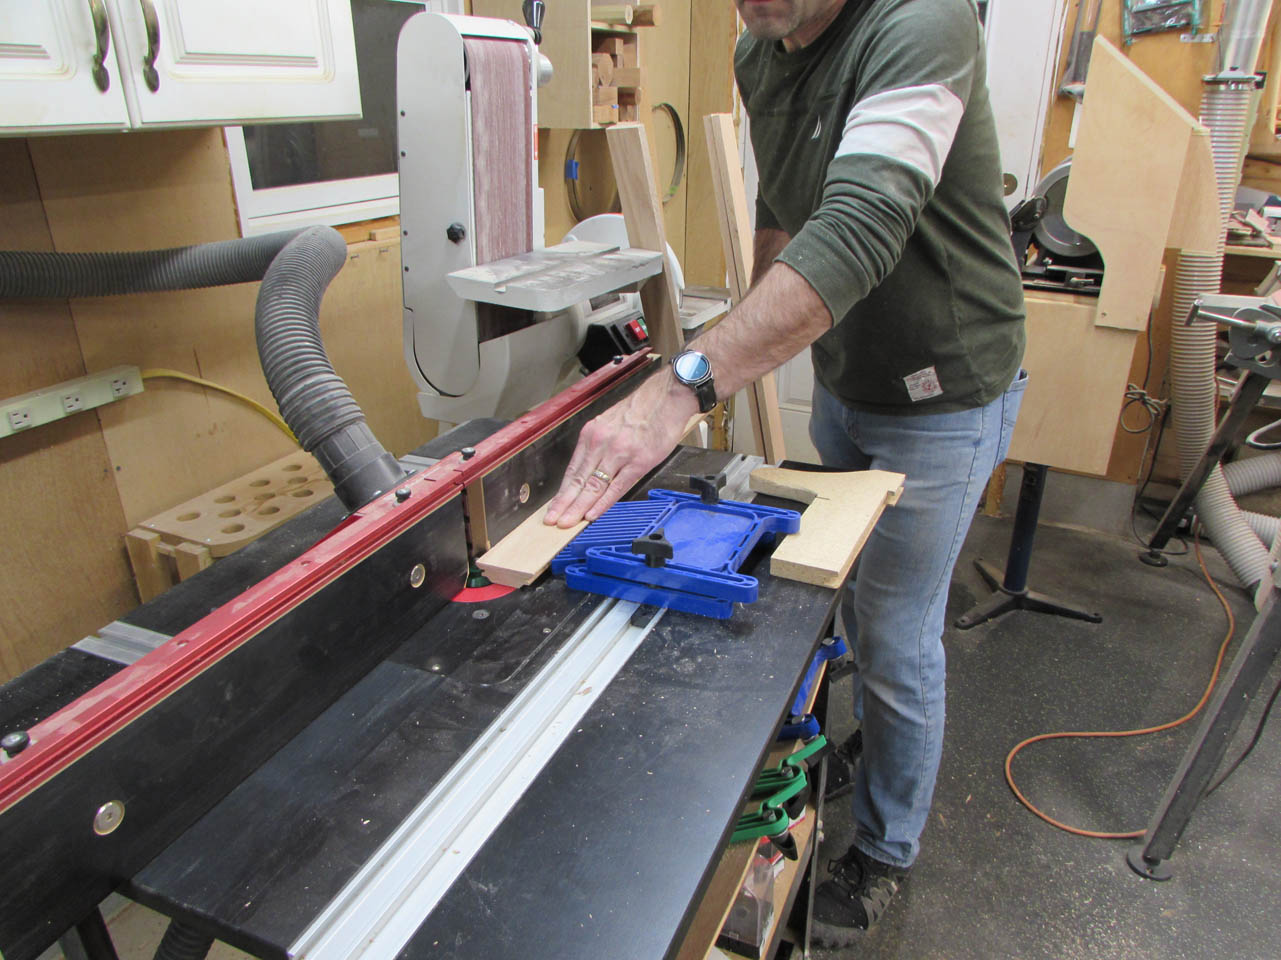
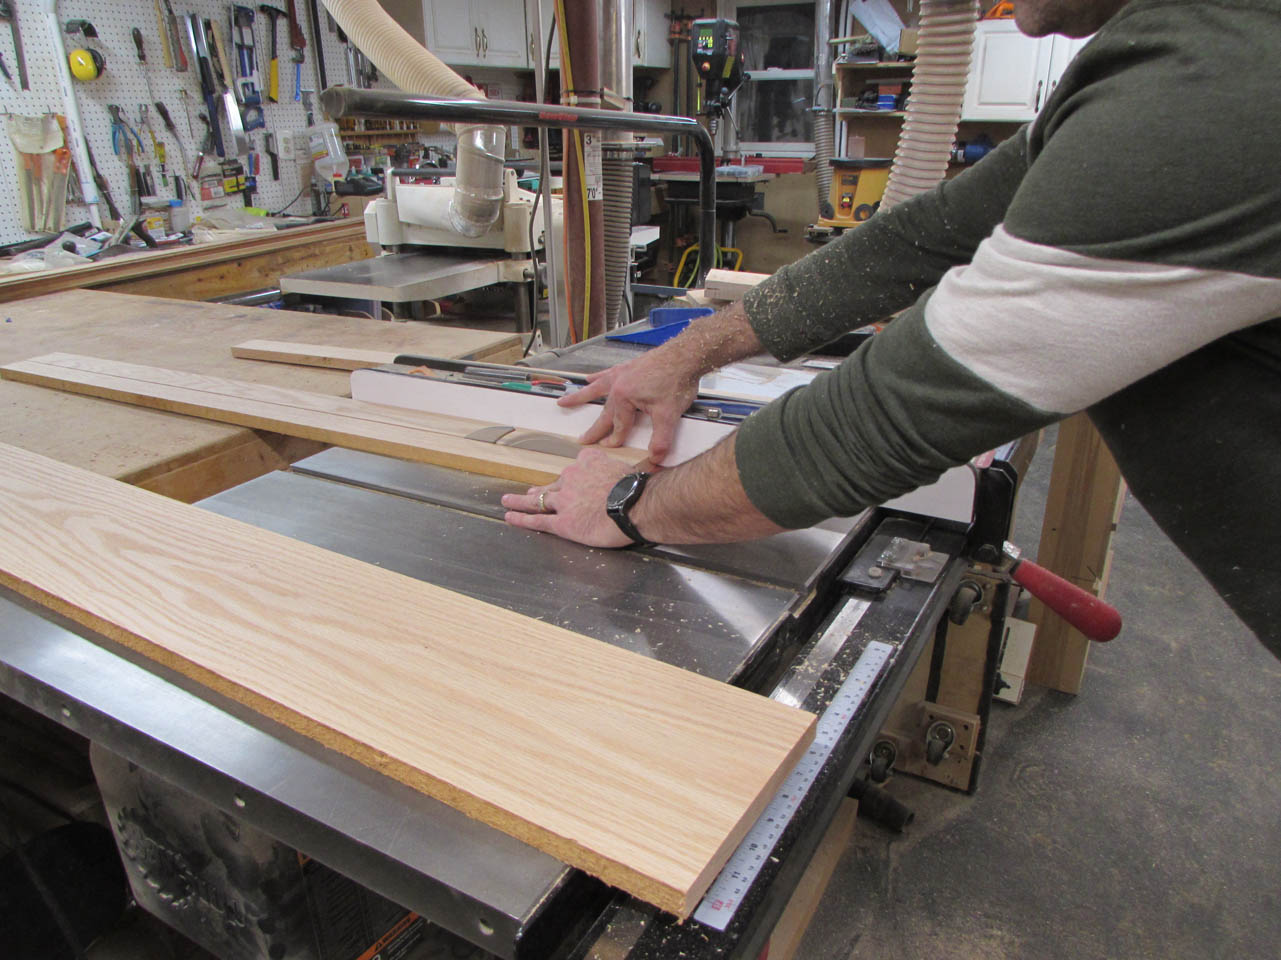
I use the bit in the router table. I cut the same miter on both sides of two of the boards, laying them flat on the table as I cut them.

The other two boards are run across the same bit, but in a vertical orientation.
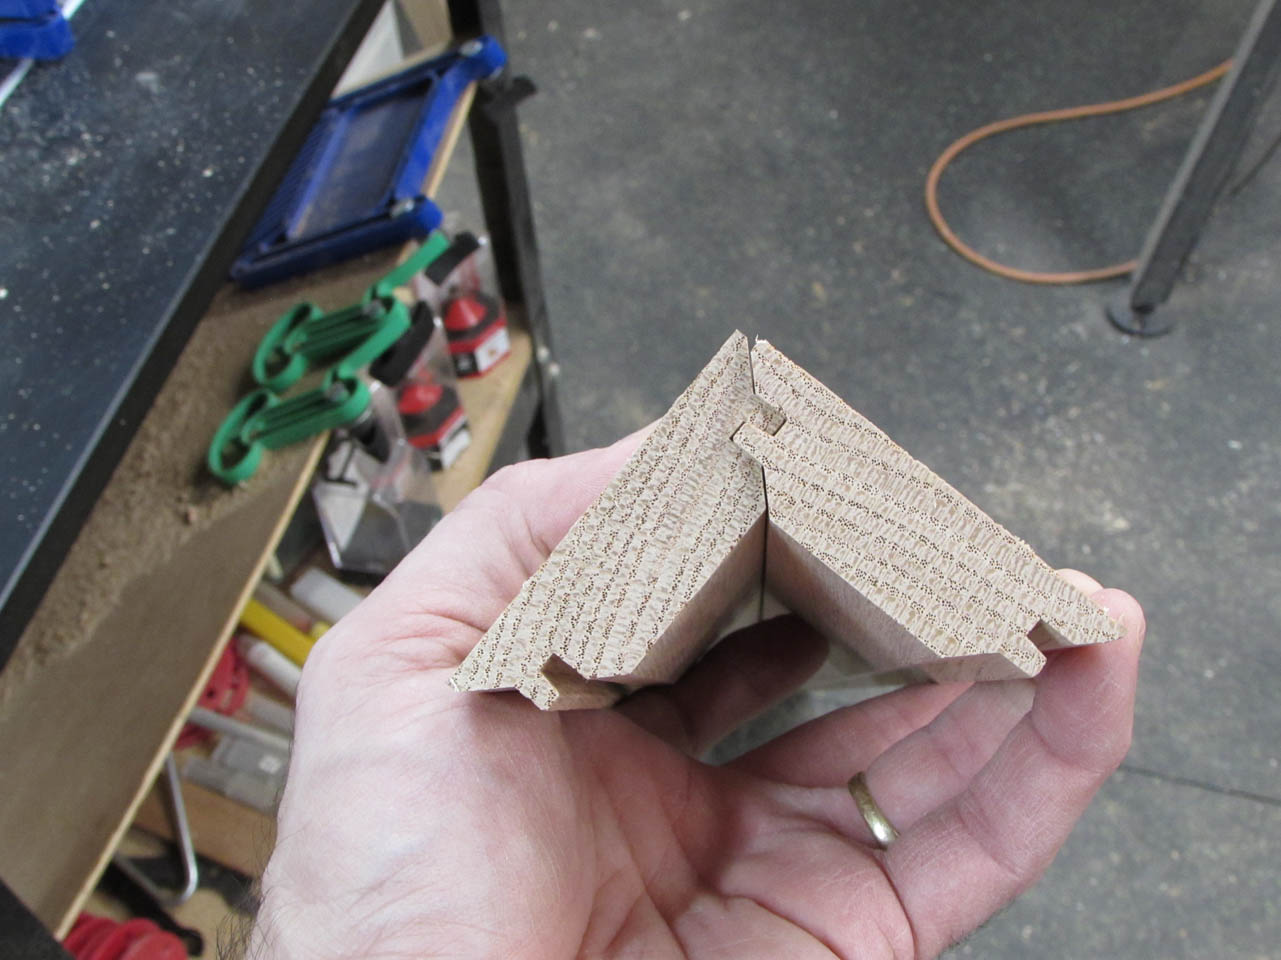
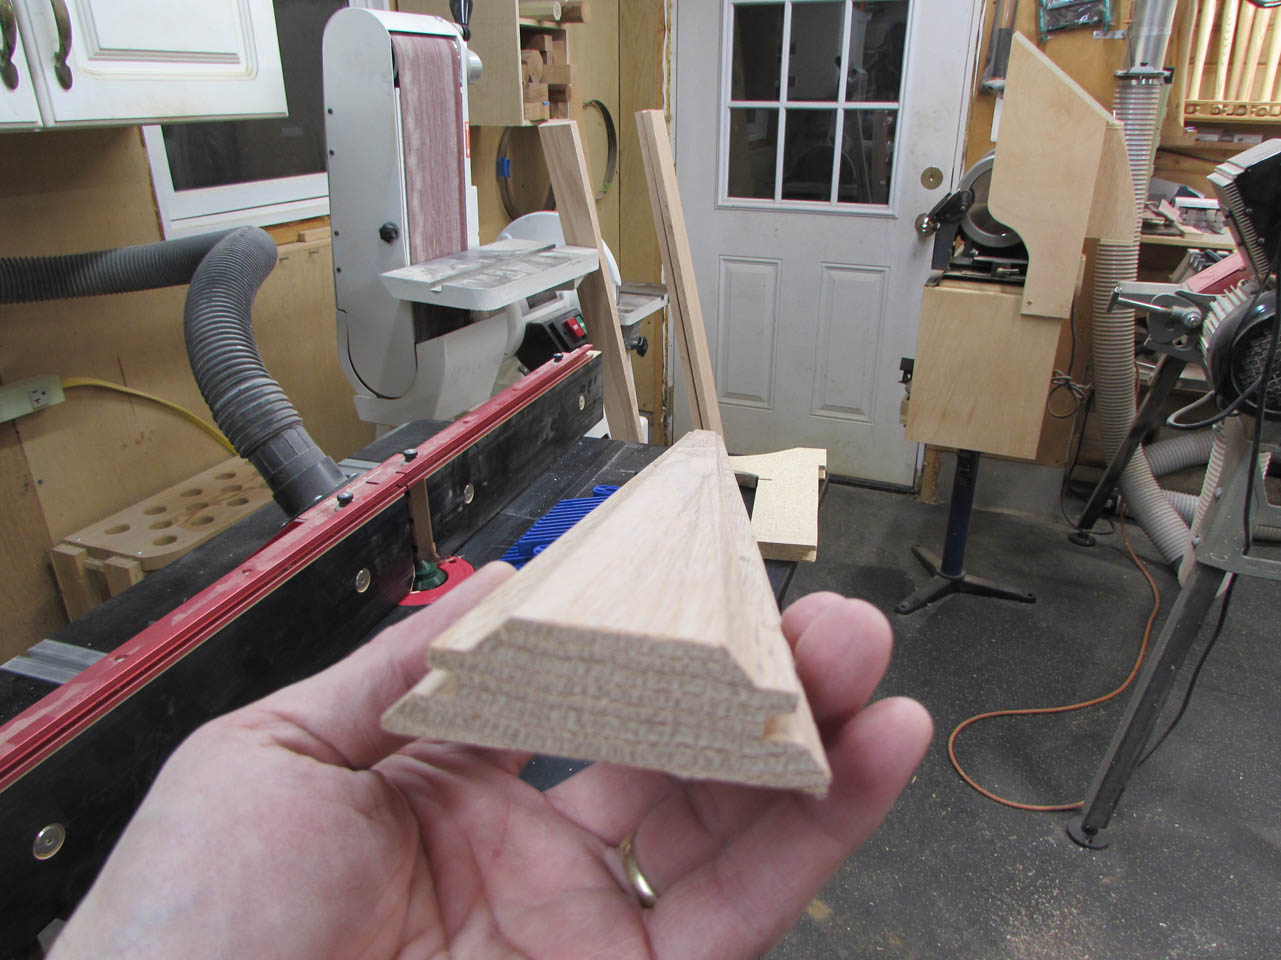
This gives me opposing profiles that lock together.

When glue is applied to the joint and all four boards are clamped together, I get an extremely strong joint at each corner.
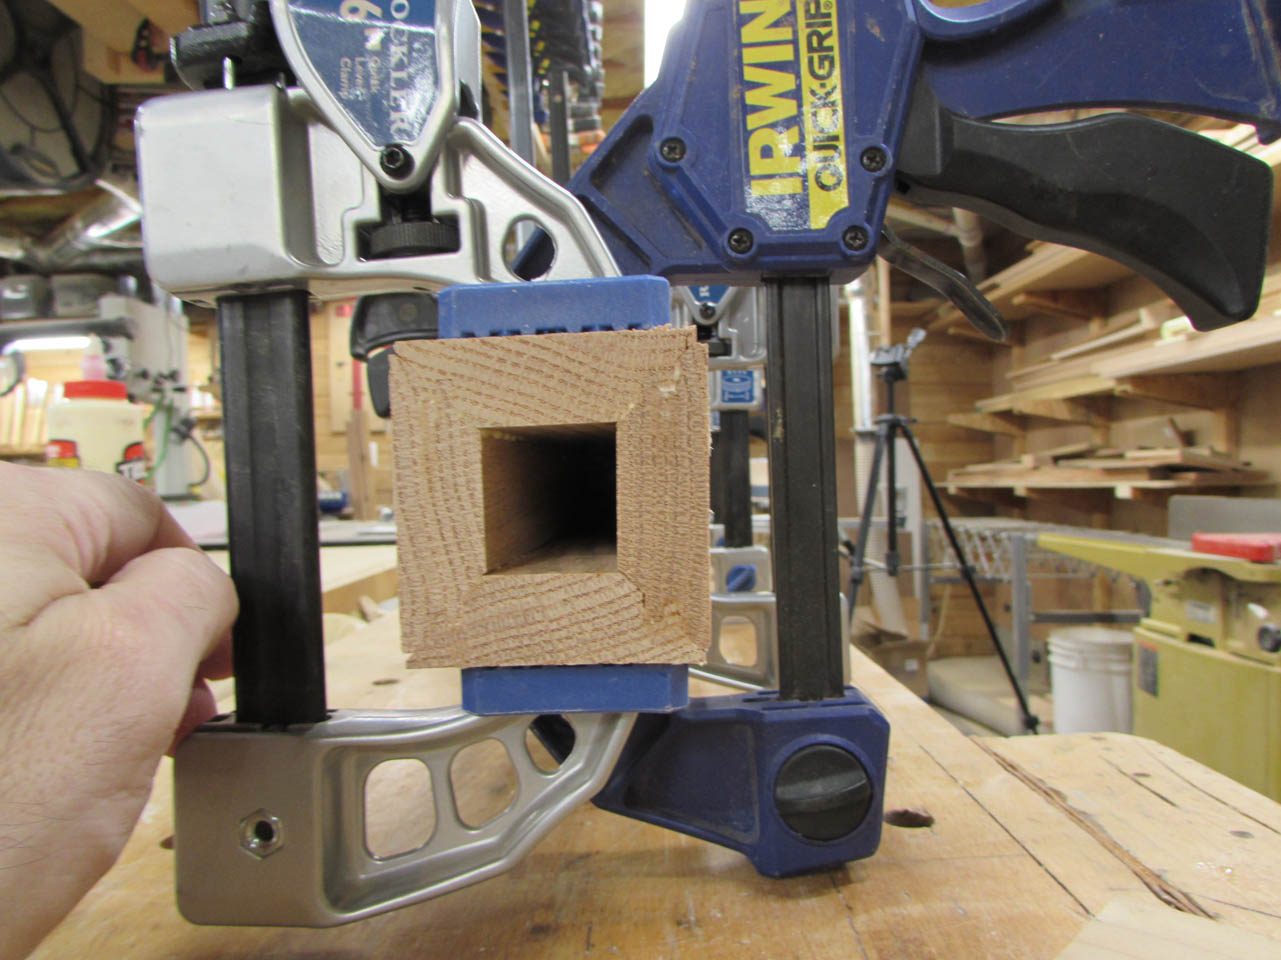

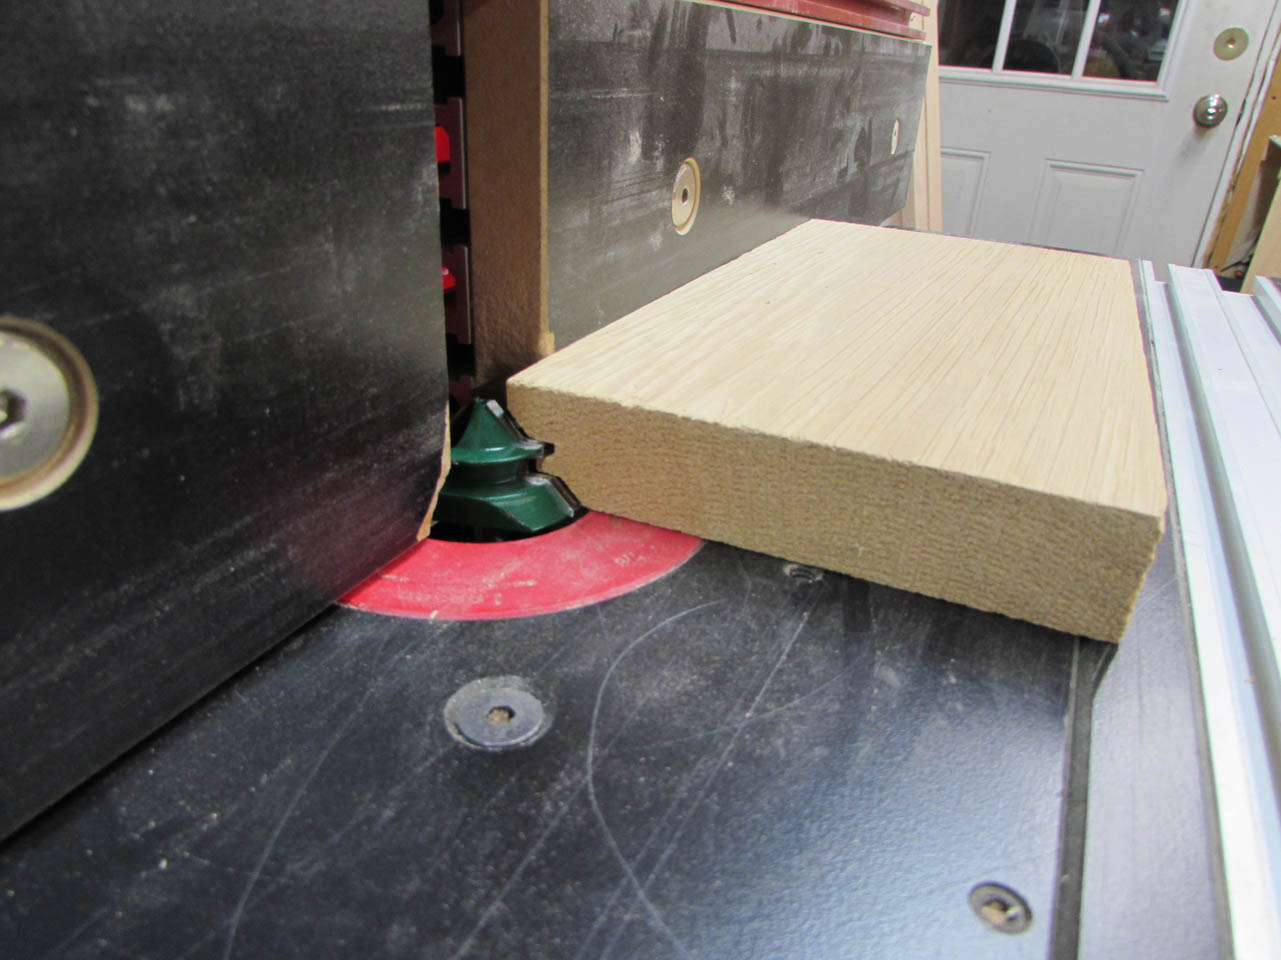
To clean up the outer corners and remove any sharp edges, I placed a 45° chamfer bit in the router and beveled all of the corners.
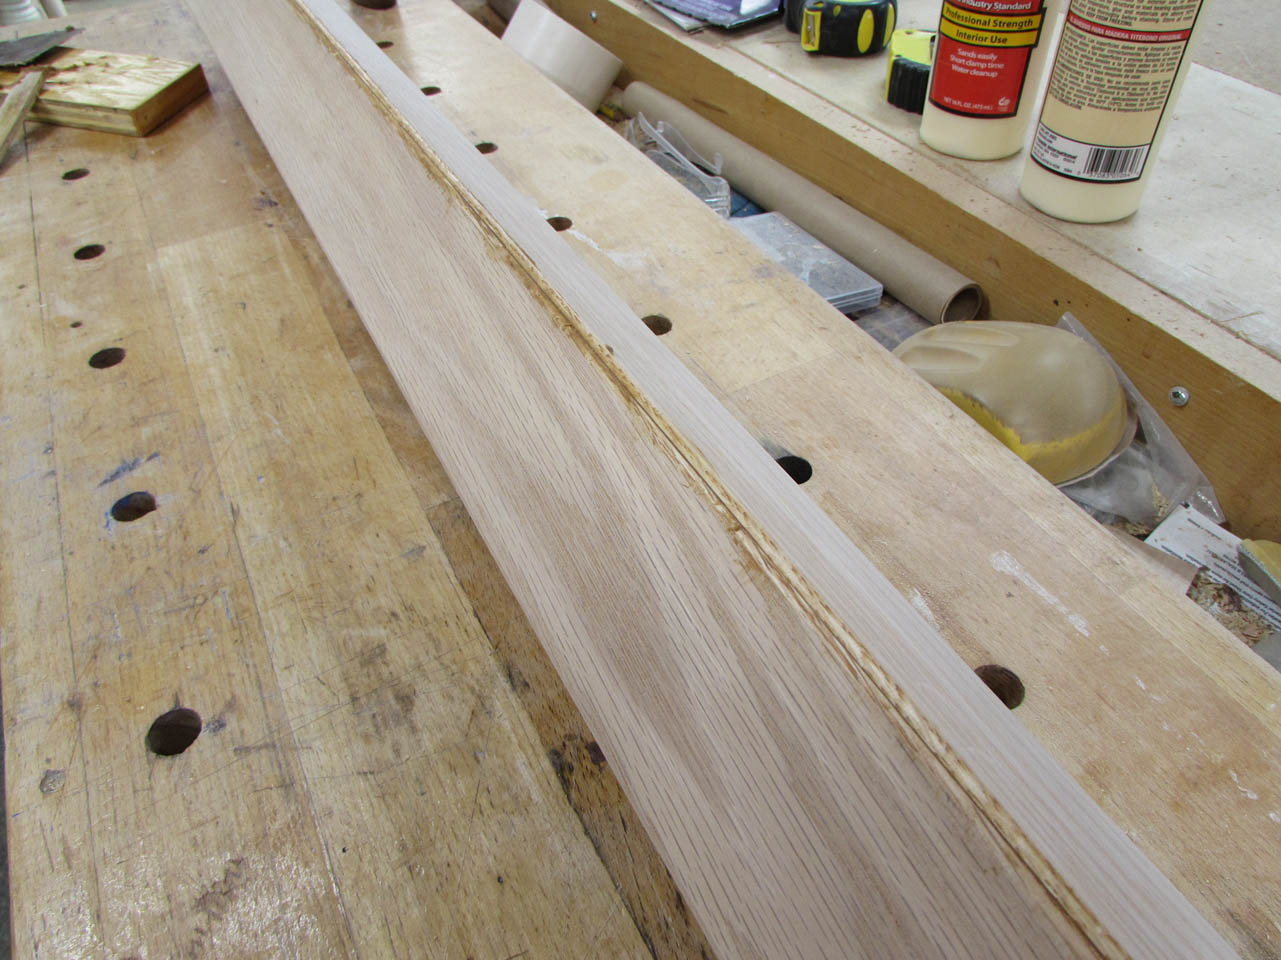
In a couple locations, I did not get the joint completely clamped tight so I will need to fill those areas.
The inside of the joint is tightly glued, it is just the outside that has a slight gap. The pic below shows what the rest of the post looks like.


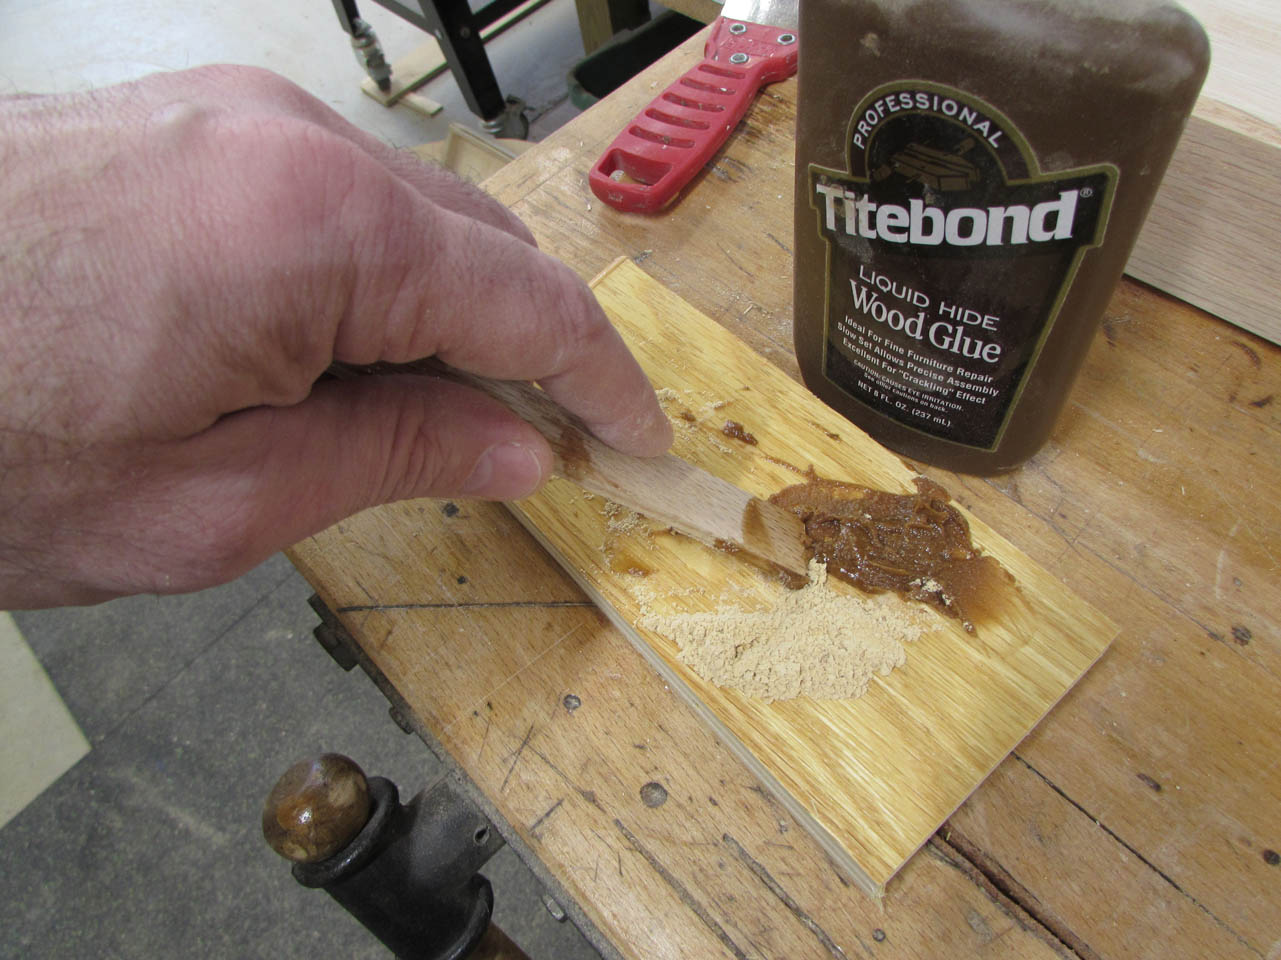
To fill this, I need wood flour. To make wood flour, I just need a sander with a bag instead of a vacuum hose, to collect the dust. I needed to sand all the faces anyway…

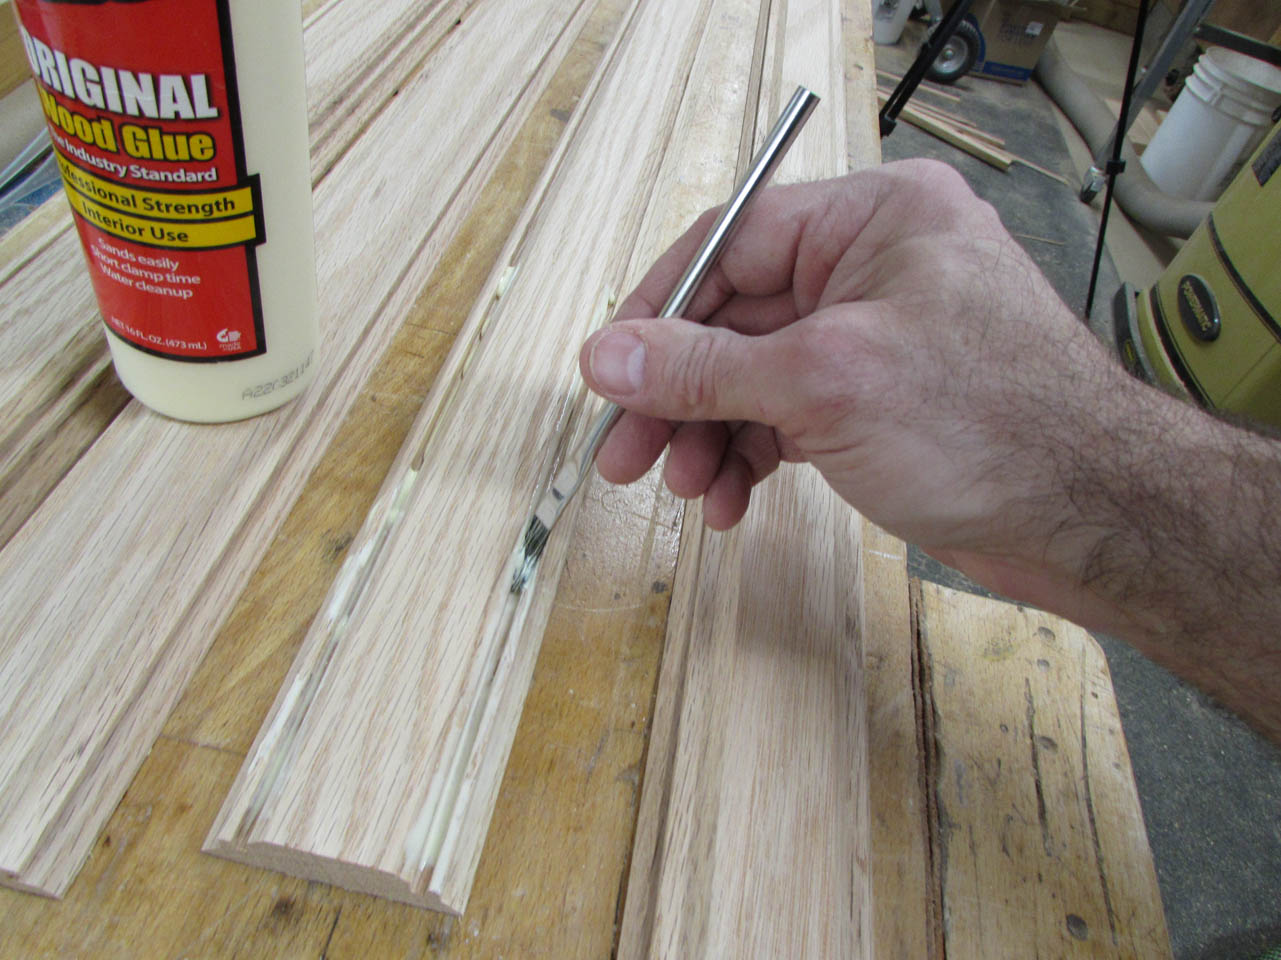
Since normal wood glue would clog up the pores of the wood, preventing the stain from soaking in, I use hide glue instead to mix with the saw dust to make a paste.
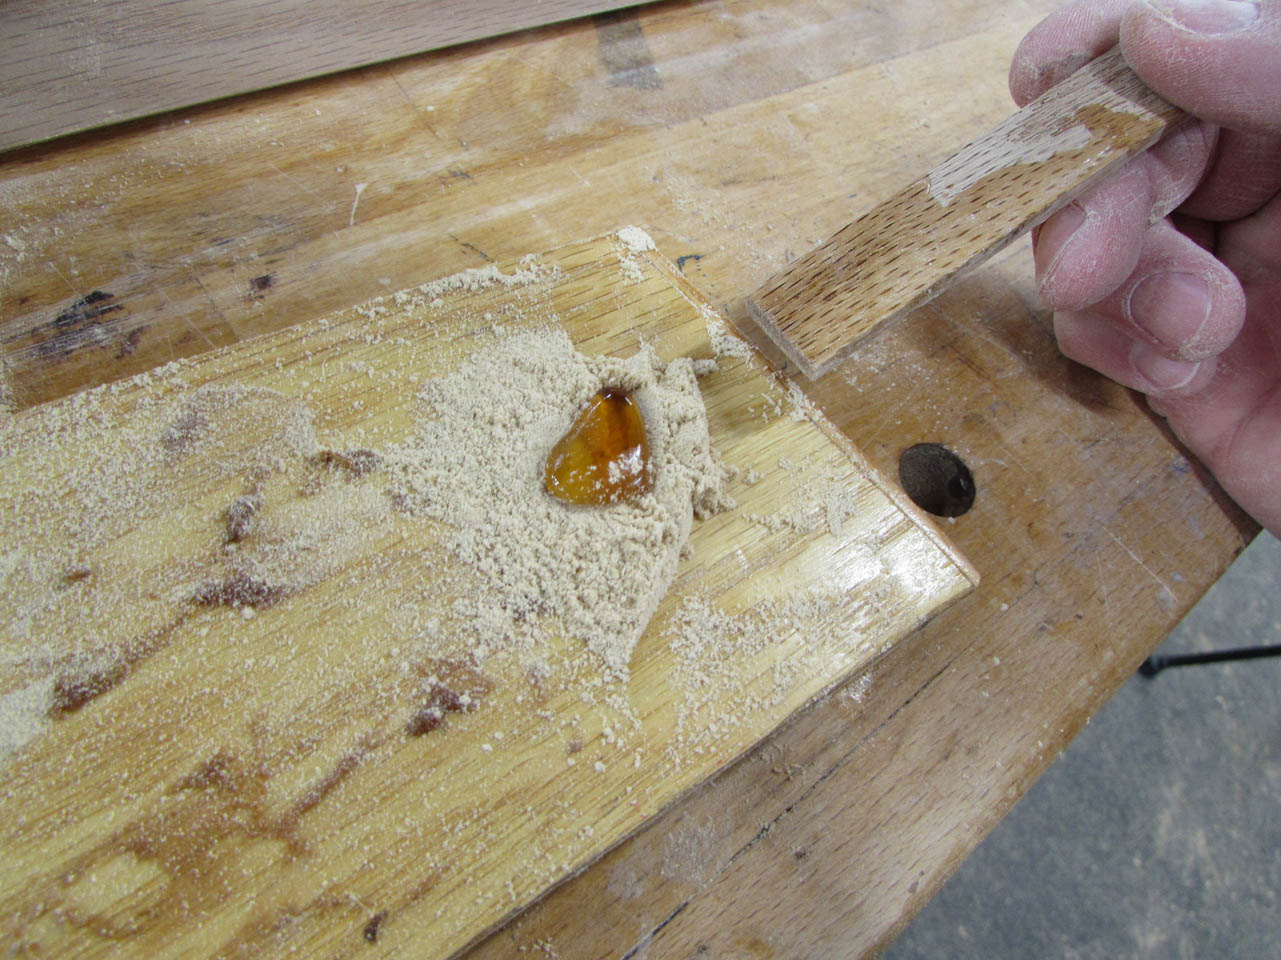

I carefully press the homemade paste down into the seam wherever I see a gap.
Before it fully dries, I hand sand the area to force new, dry sawdust into the drying glue.

This leaves me a filled, stainable surface. It is slightly darker than the natural wood, but it blends in with the grain of the wood when stained.


I save the extra wood flour in zip-lock bags for future use on other projects. I have several other varieties of wood saved as well, but I had run out of oak so I had to make more.

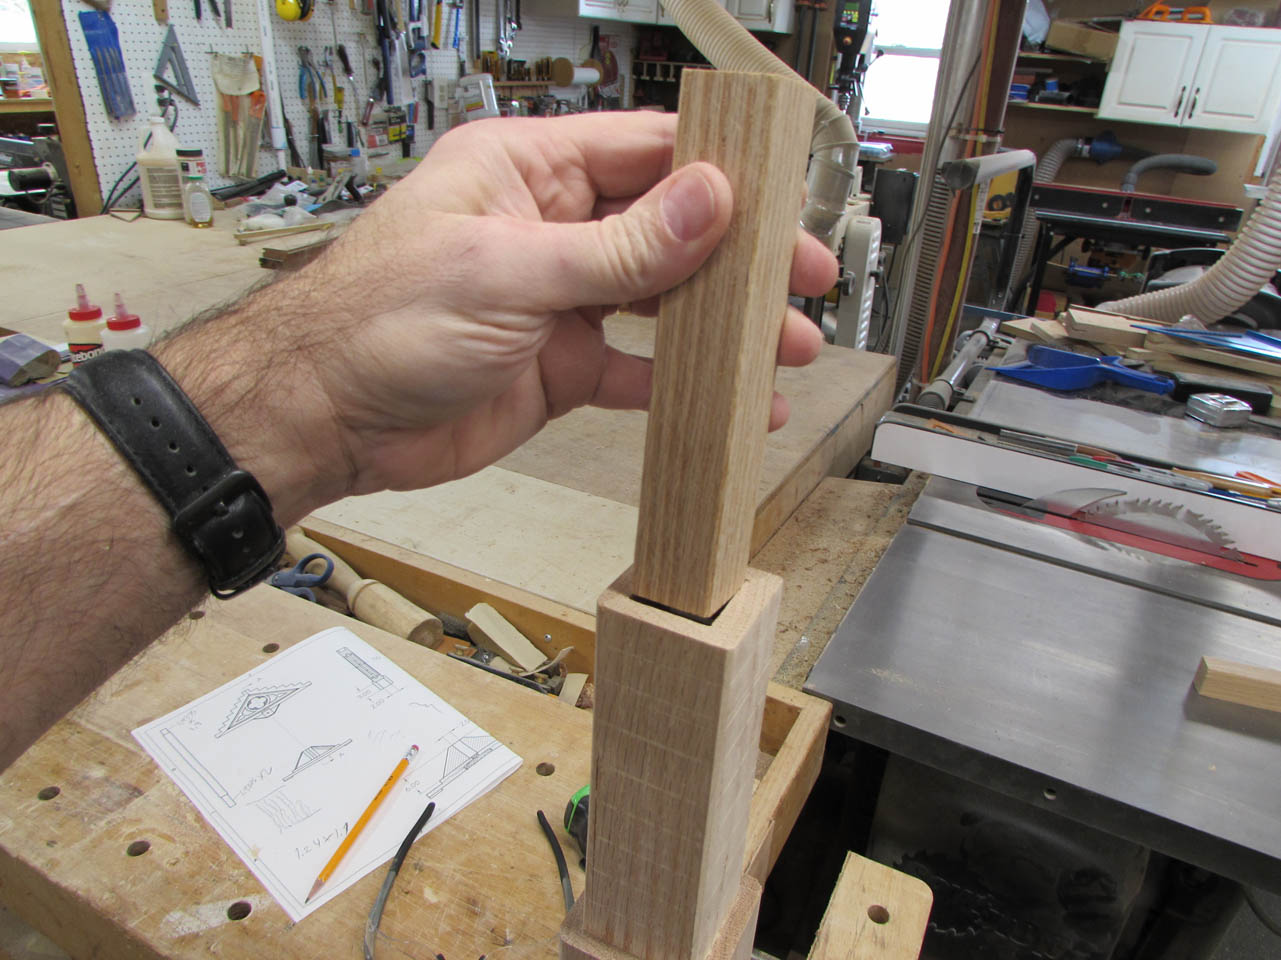
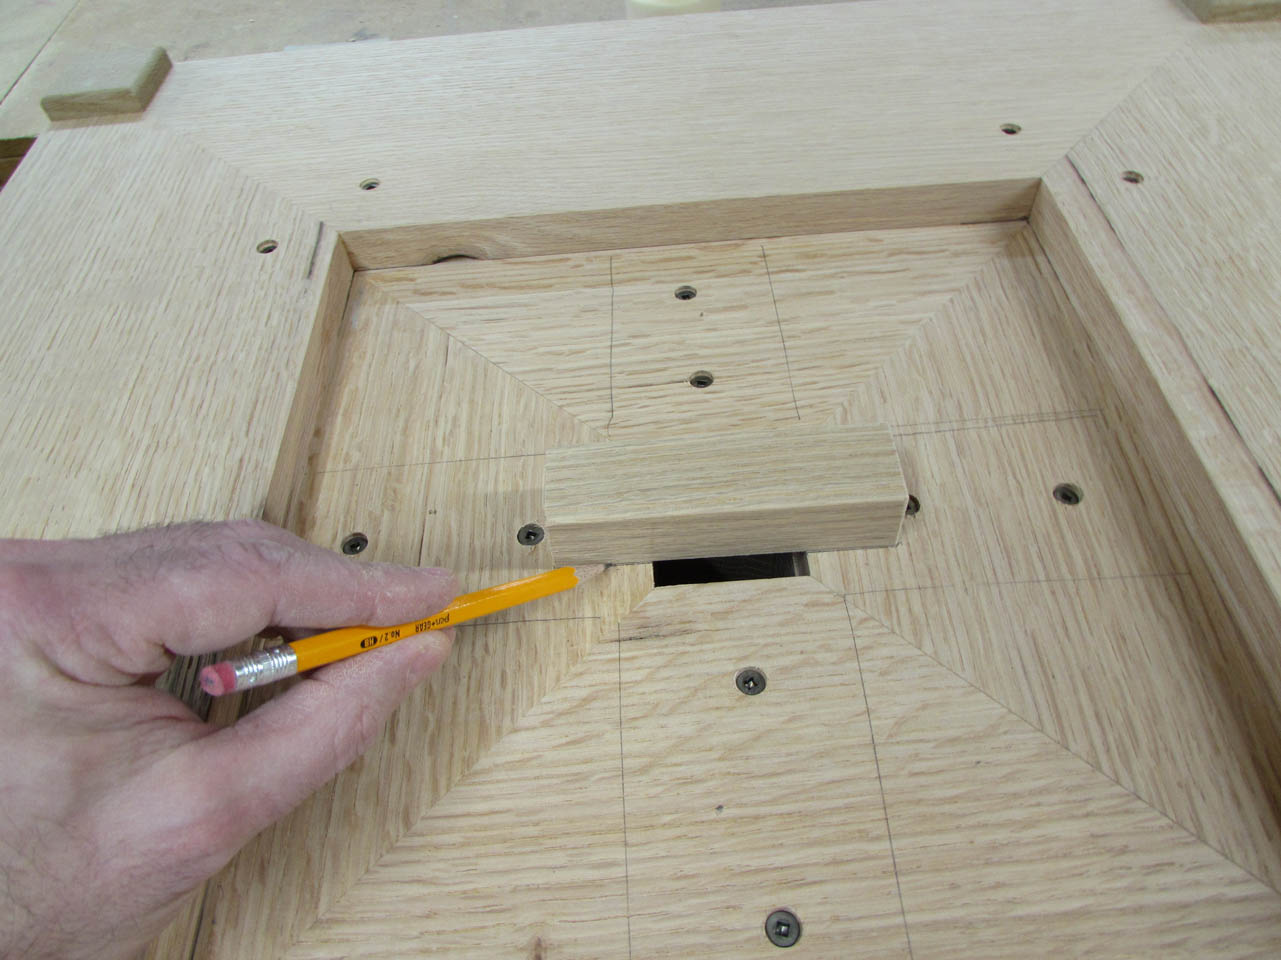
Currently the post is about 2-1/2″ wide and the holes in the head piece and the base are just under 2″ wide. I need to cut the ends down so that the post will fit in both.
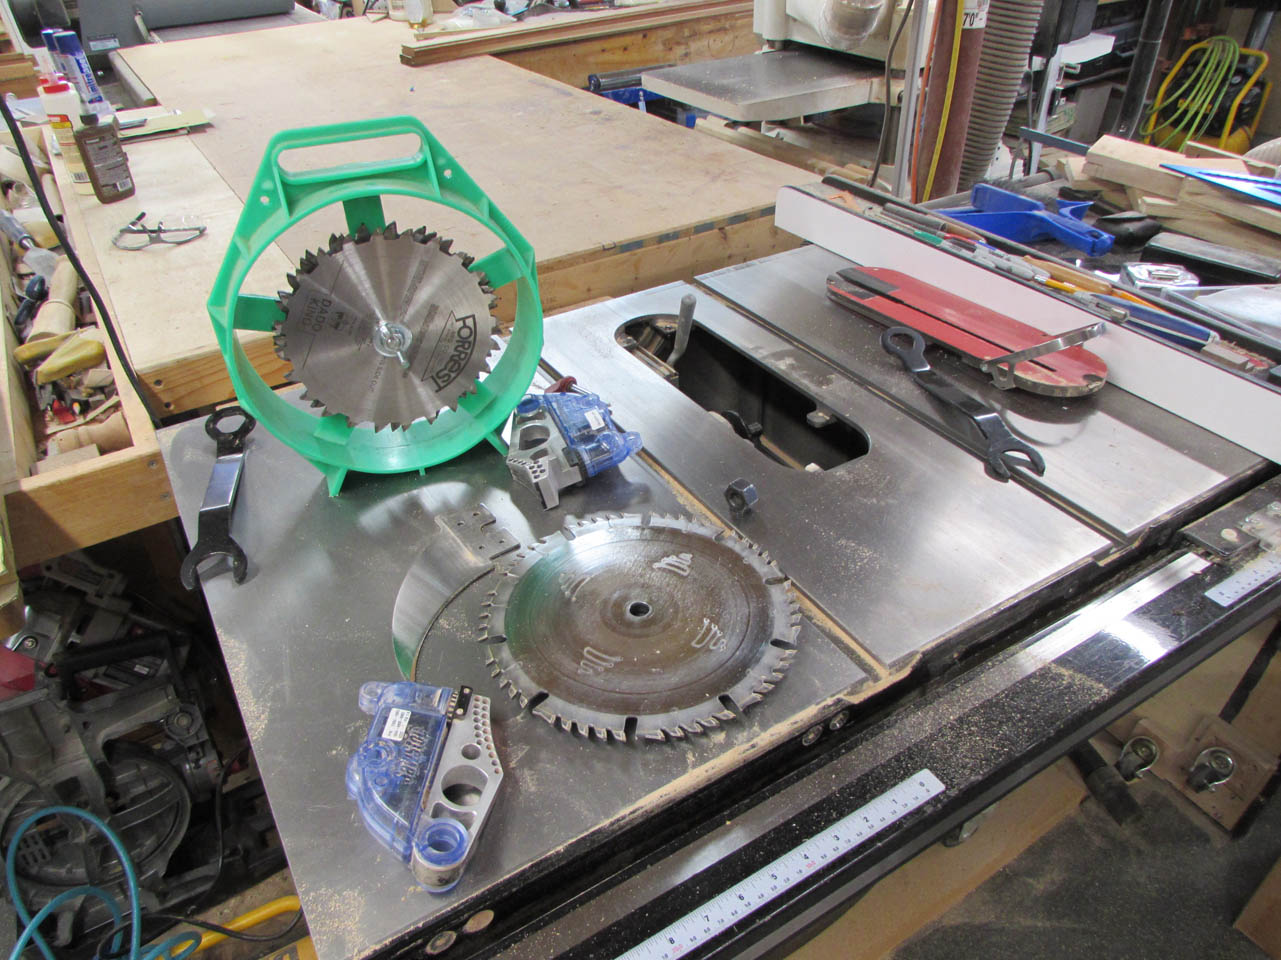
I think the most accurate way for me to do that is with my dado blade in the table saw.

The dado blade is a stack of saw blades that equal 3/4″ wide. It is six times wider than my regular blade, speeding up this process considerably.

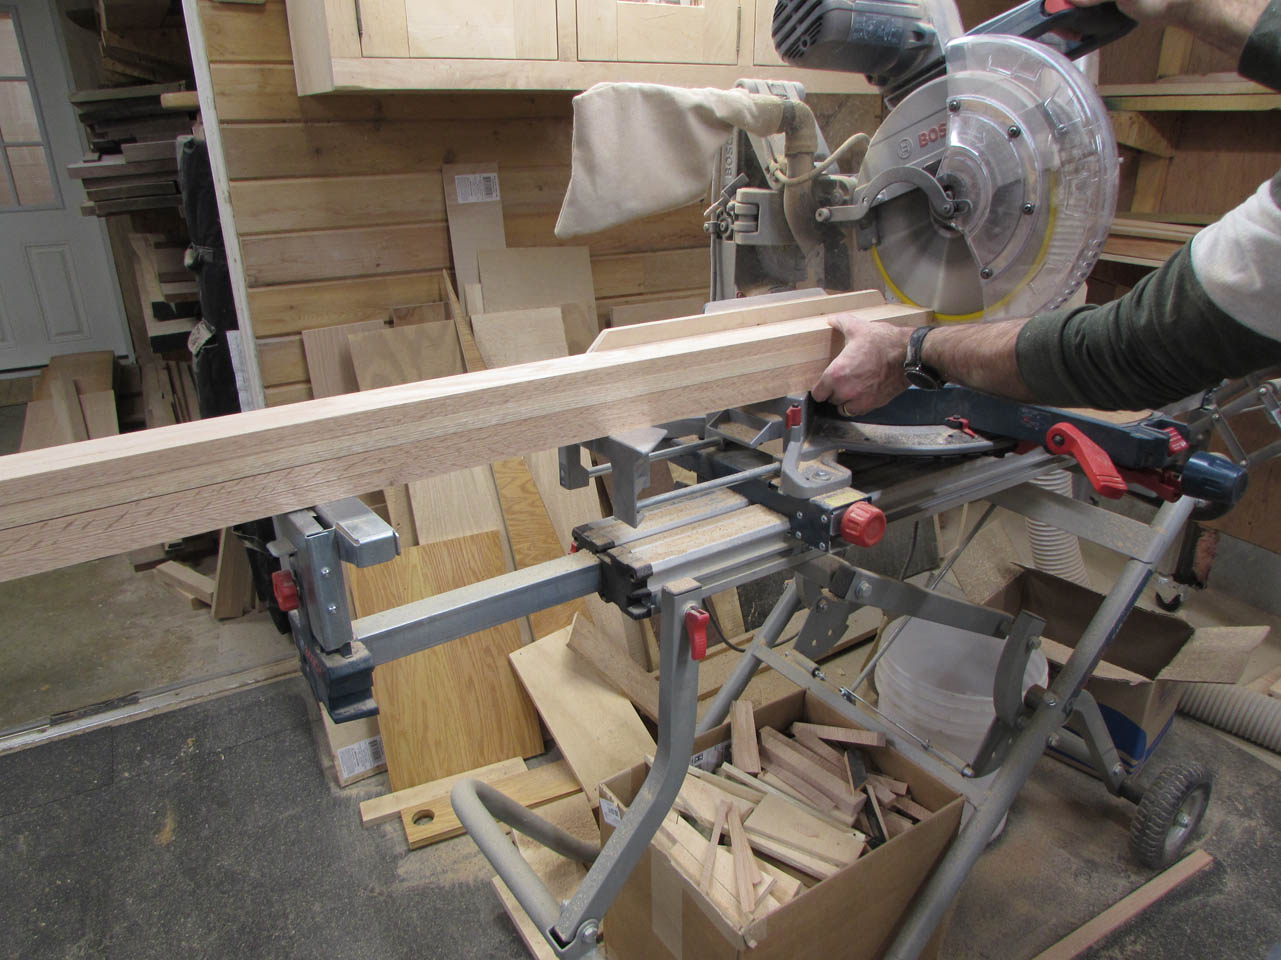
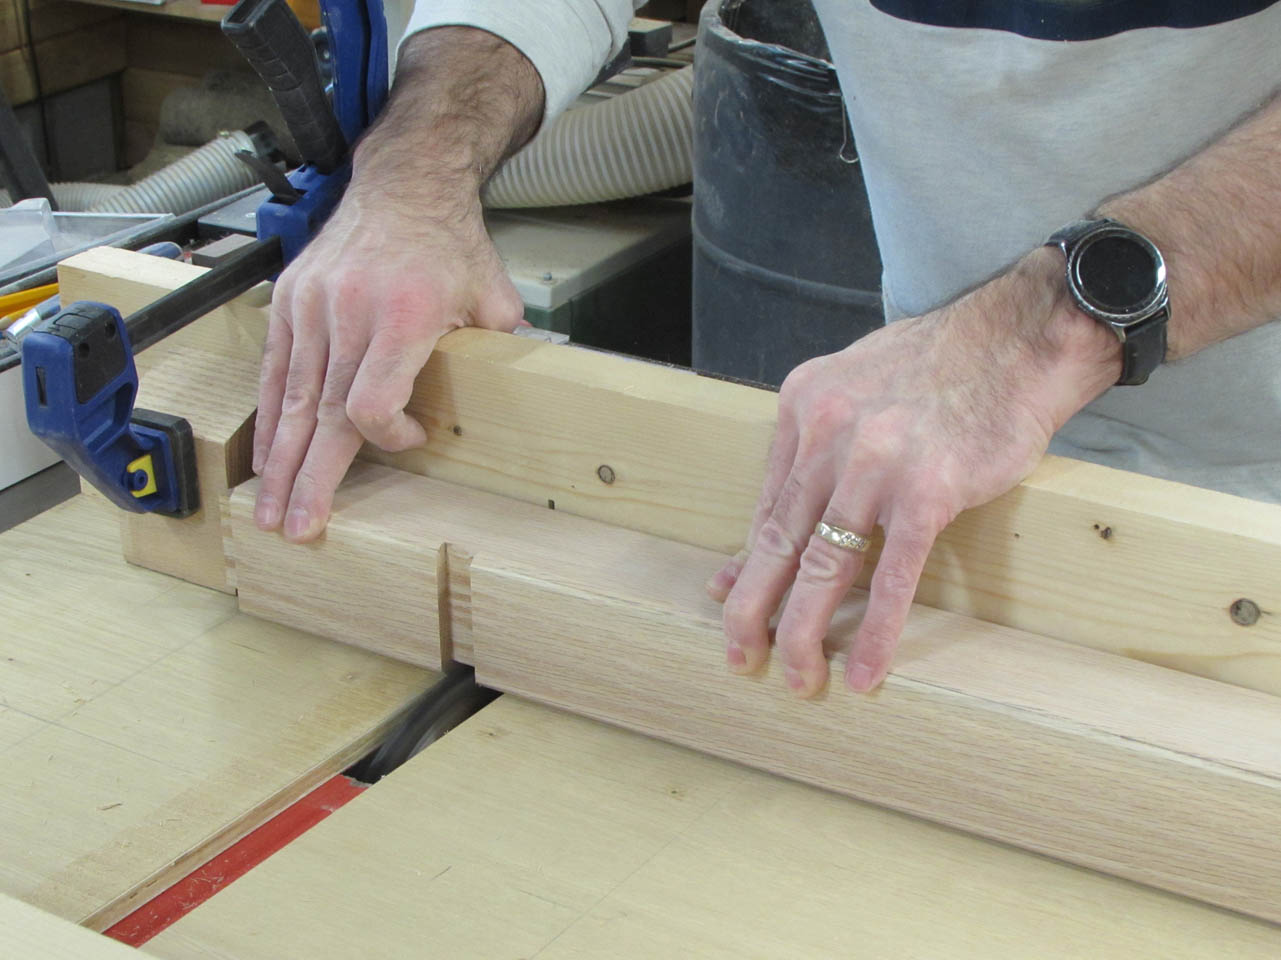
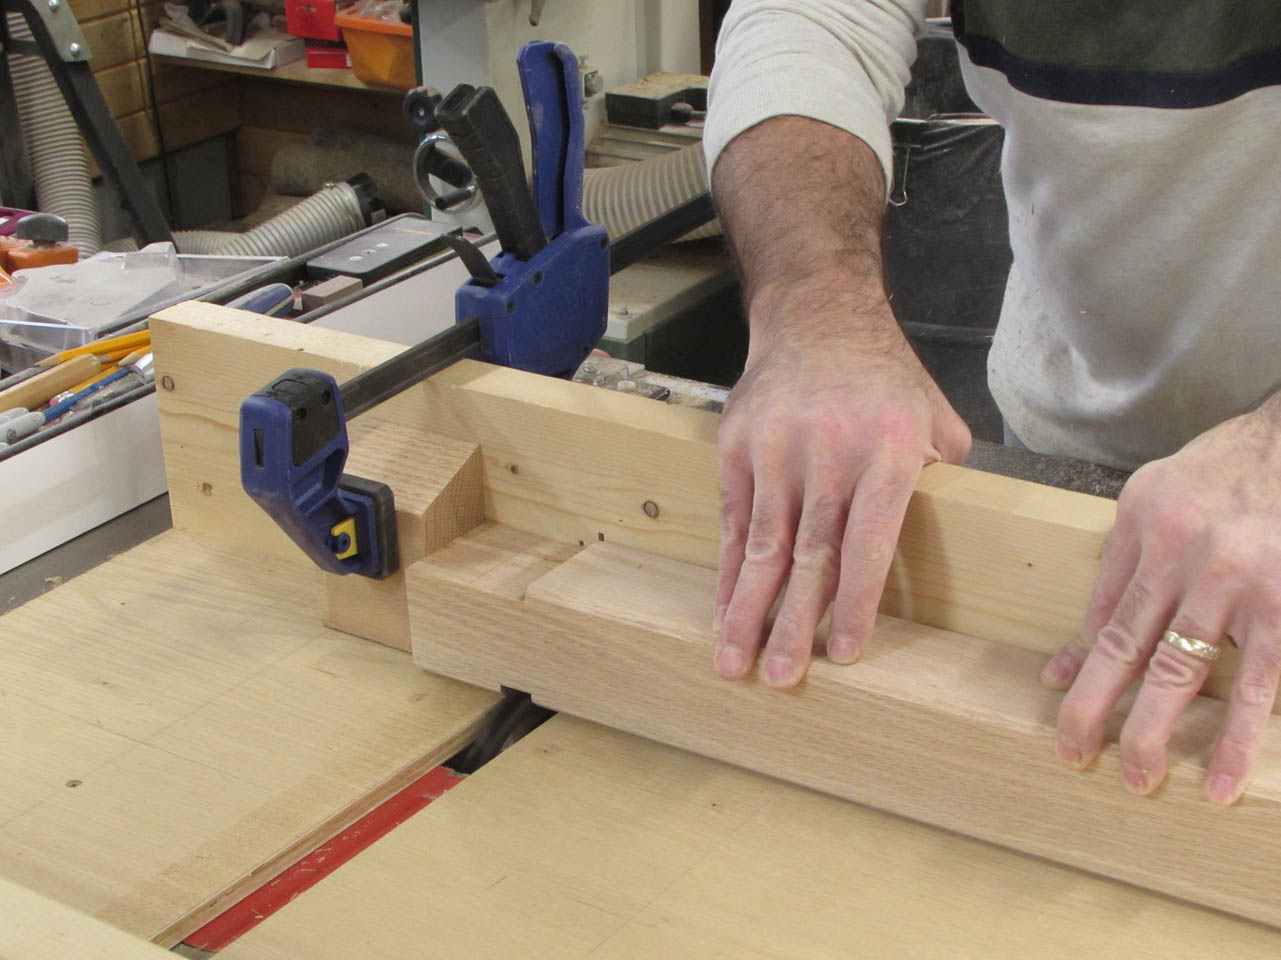
I am going to use my cross-cut sled to make several cuts along each end, to take the ends down to the desired thickness. For the bottom, I set up a stop block, 6″ from the blade.

This will help me to create the shoulder at 6″ so the post will not stick down too far into the base.
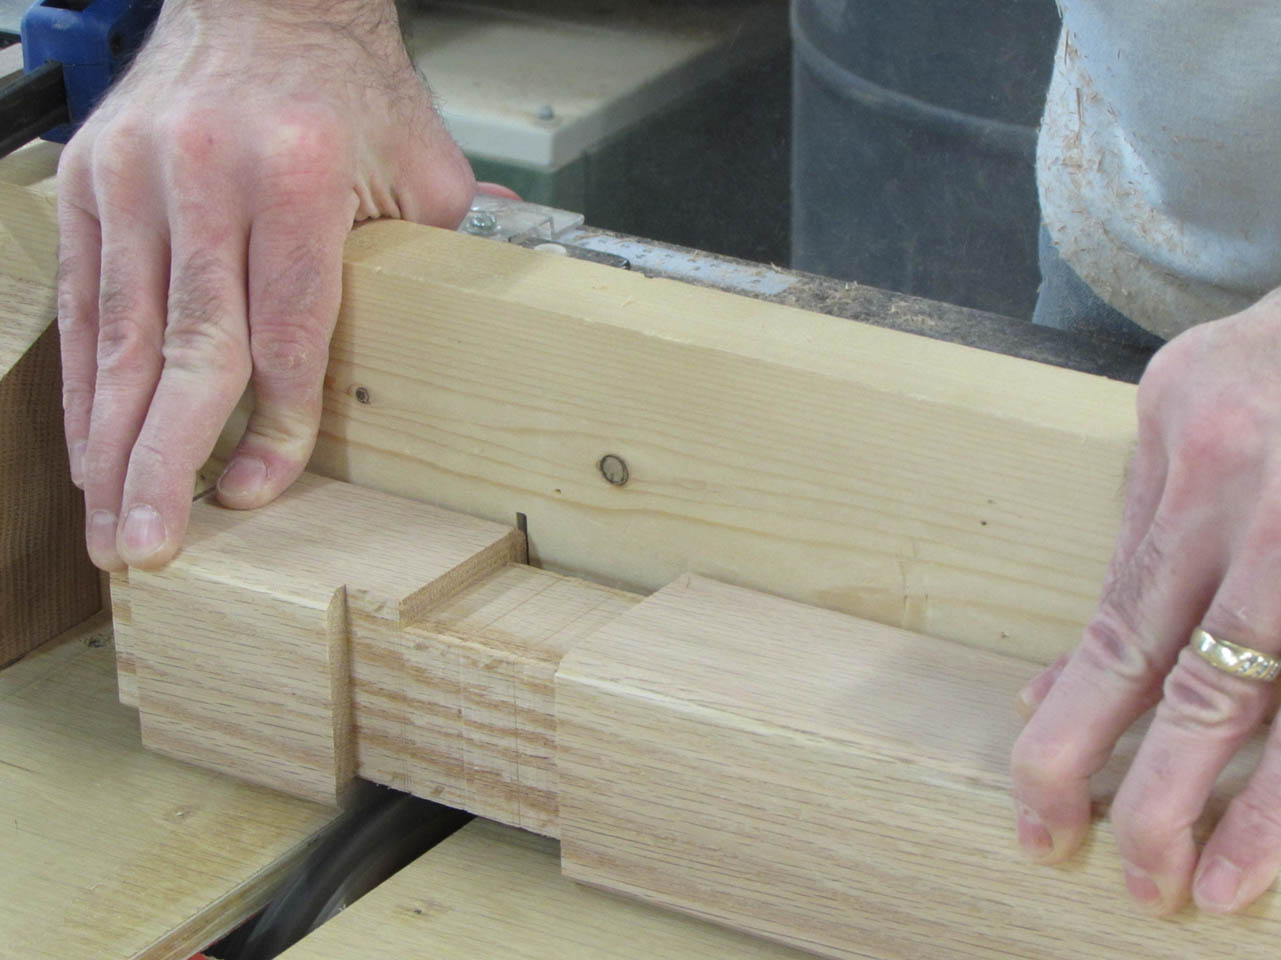
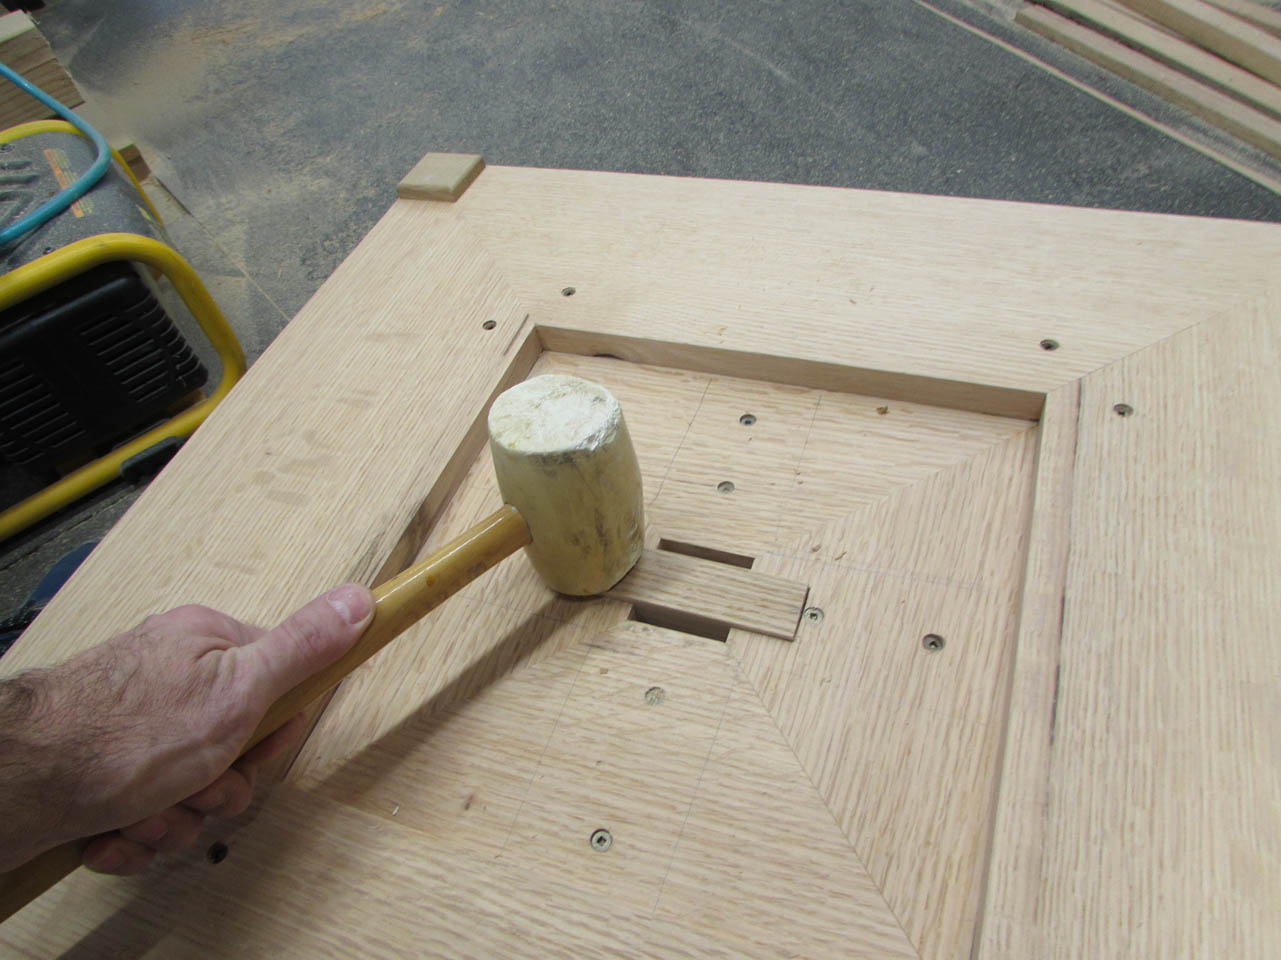
I do a test cut on the end first to make sure my post fits just right.


It looks good so I make several passes on the table saw until the entire end is cut down to size.
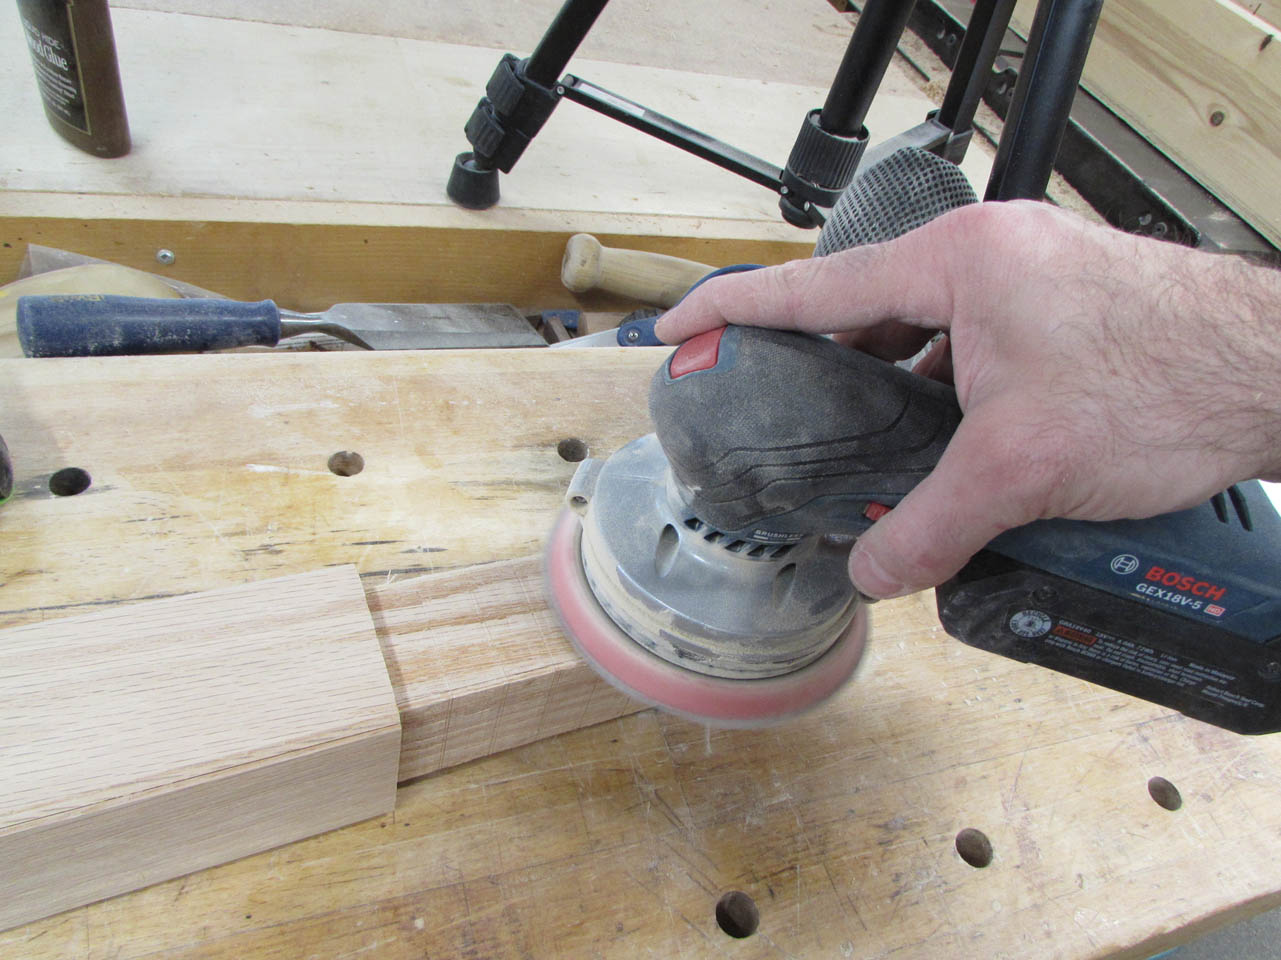
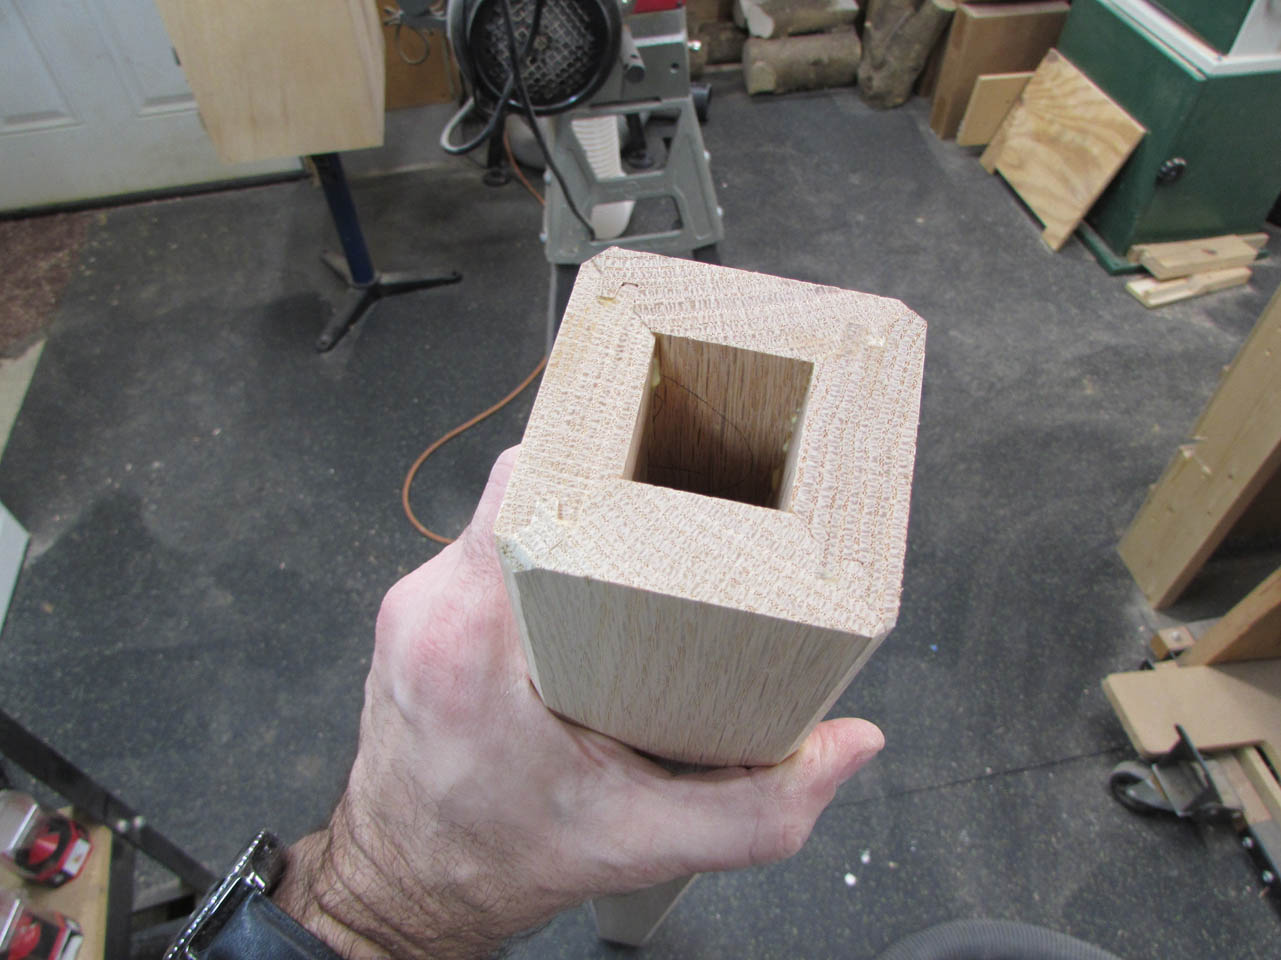
The cut is a little rough, but it will not be visible when the Tenebrae is assembled, so I sand the faces, but only until they are smooth enough to slide into the socket easily. I also chamfer the corners a bit to prevent any binding if there is any glue squeeze-out in the inside corners.


It is as perfect fit, so I move on to the top,

Here is what it looks like from the bottom, when fully inserted.

I repeat the process with the top, cutting only 3″ down.
I asked my wife to step into the fully assembled shot to give you a sense of scale. This thing is nearly six feet tall.


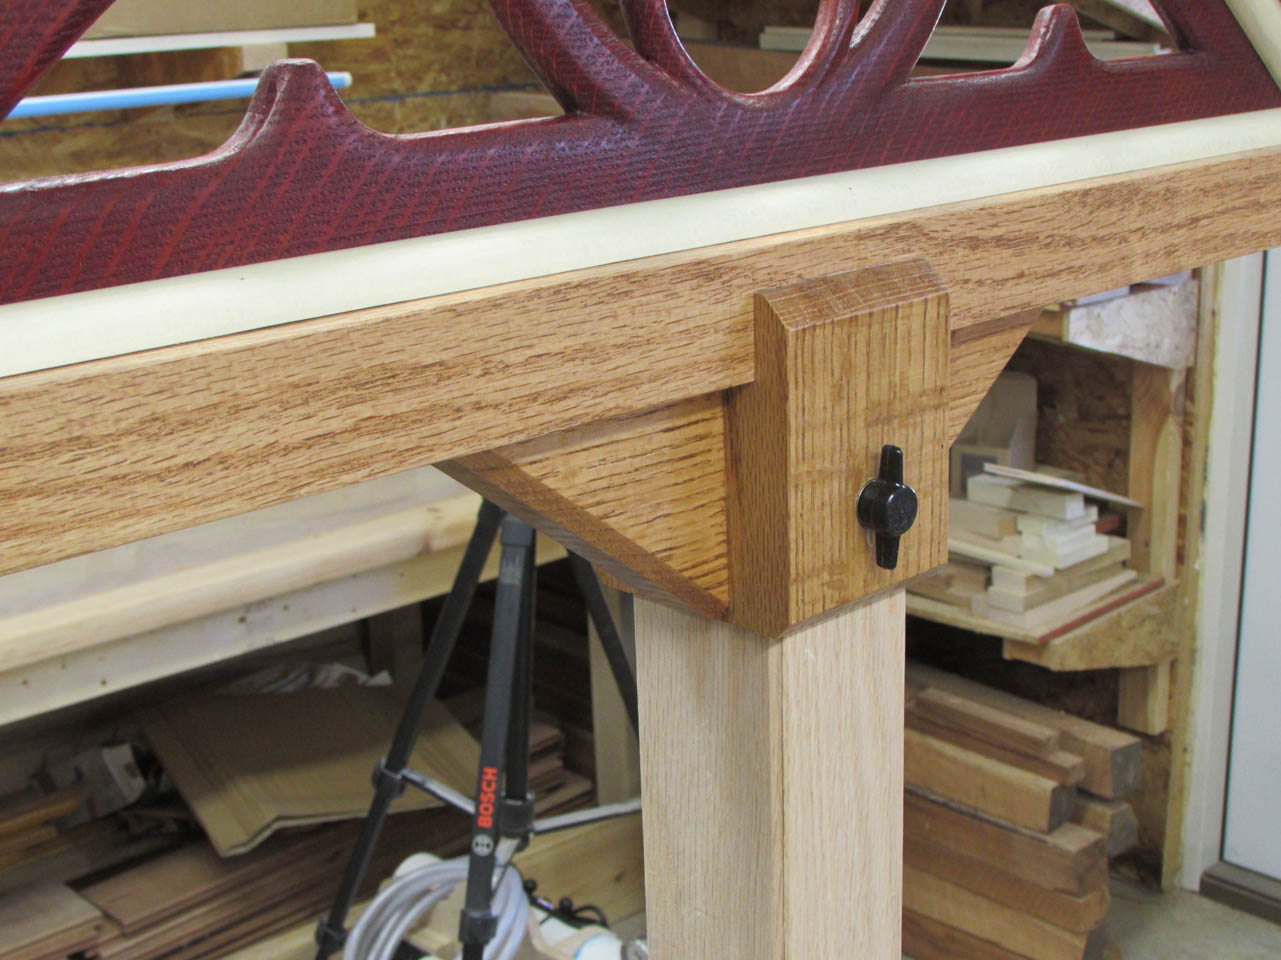
I was asked to add something to hold all three pieces together so that it could be moved when fully assembled. The top can be held on with a simple thumb screw.

I drilled a 5/16″ hole through the head piece as well as the post. The screw will connect the two preventing the head from lifting off.
To keep the screw in place, I am adding a threaded insert.
I carefully drill the correct size hole for the insert and add a small counter-sink around the edge to keep the insert flush to the surface.

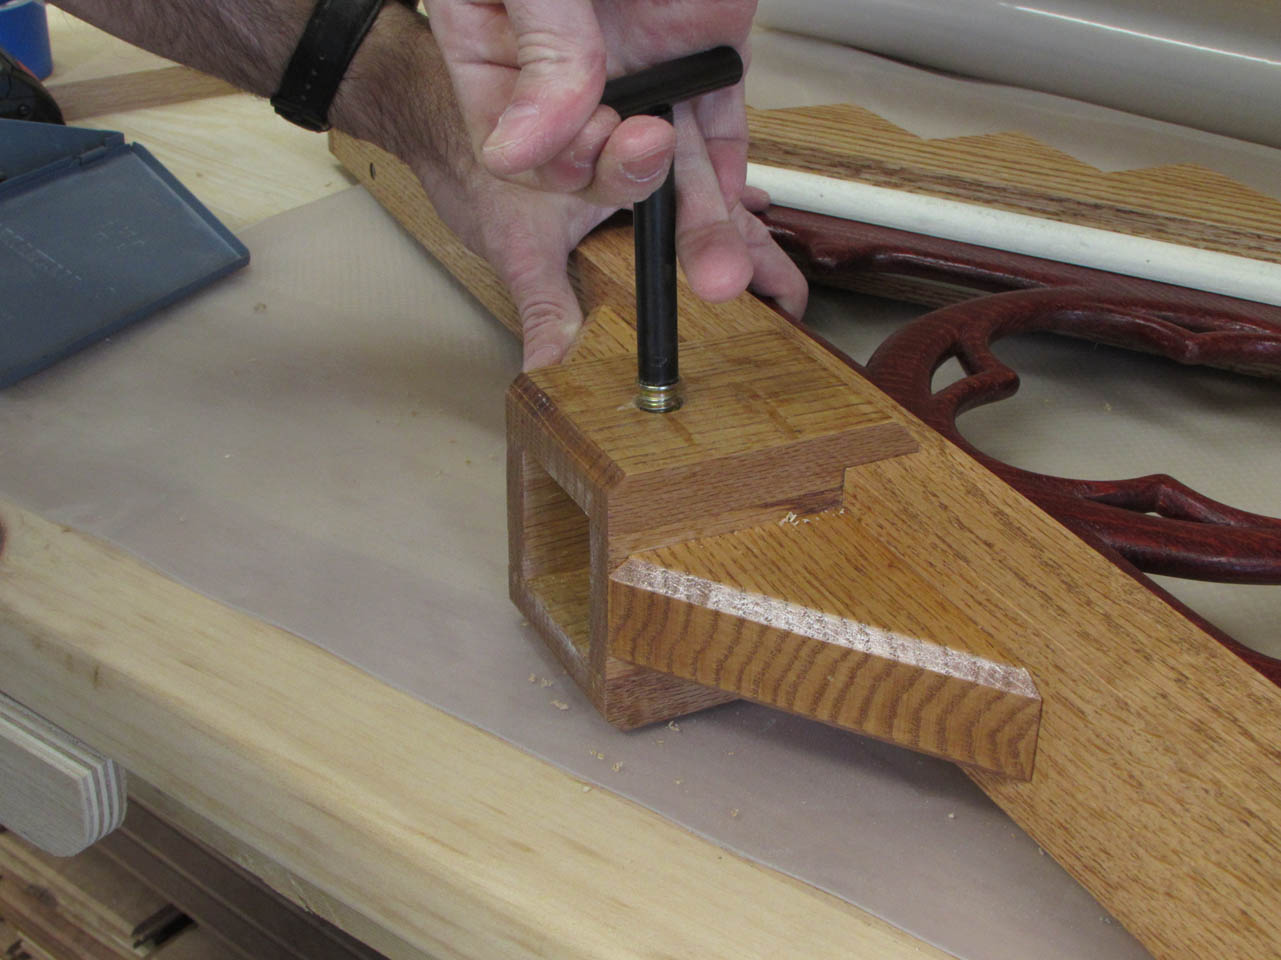
Then I install the insert.
The screw threads in part way, keeping it retained to the head-piece when in storage.
When installed, It is threaded all the way in and the post cannot be removed.
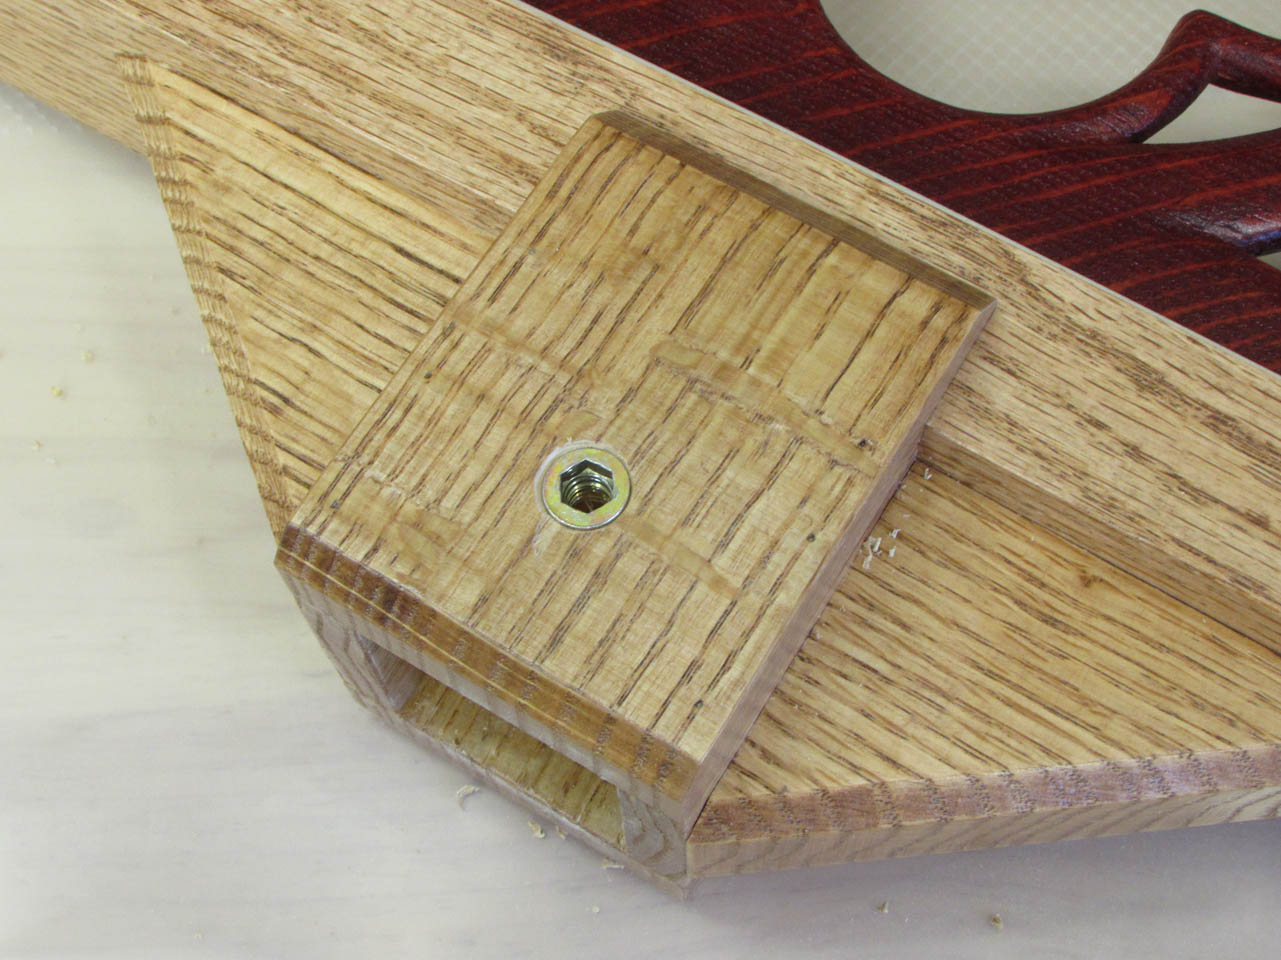
The shape of the base socket prevents repeating this method on the bottom. I left a recess under the base that will allow attachment from below with a few modifications.
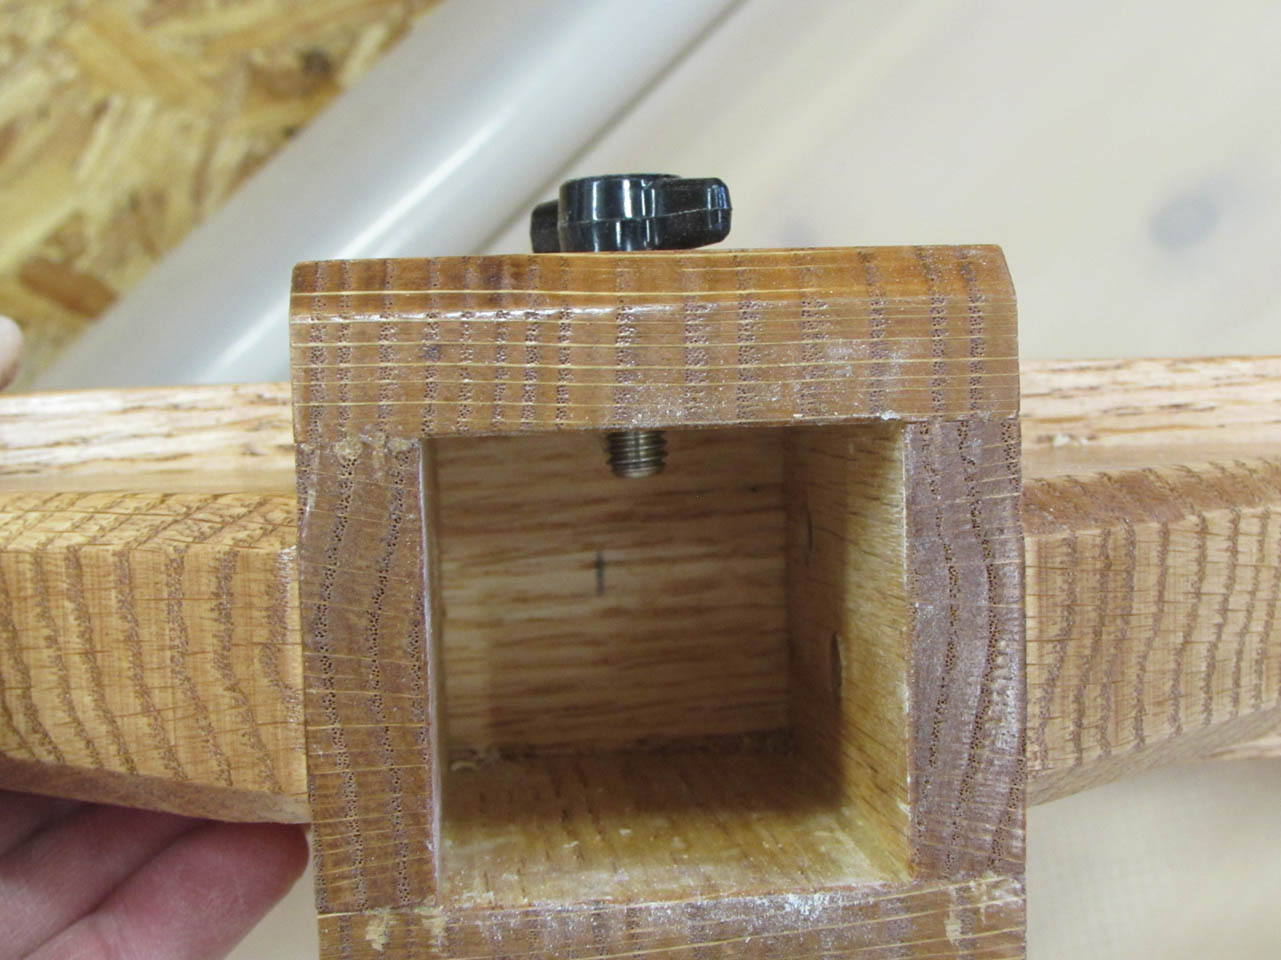
First, I need to glue in a solid block into the base of the post to receive the threaded insert. I cut the block to be a tight fit then add some glue and tap it into place.


Then I drill out the center and add the insert.

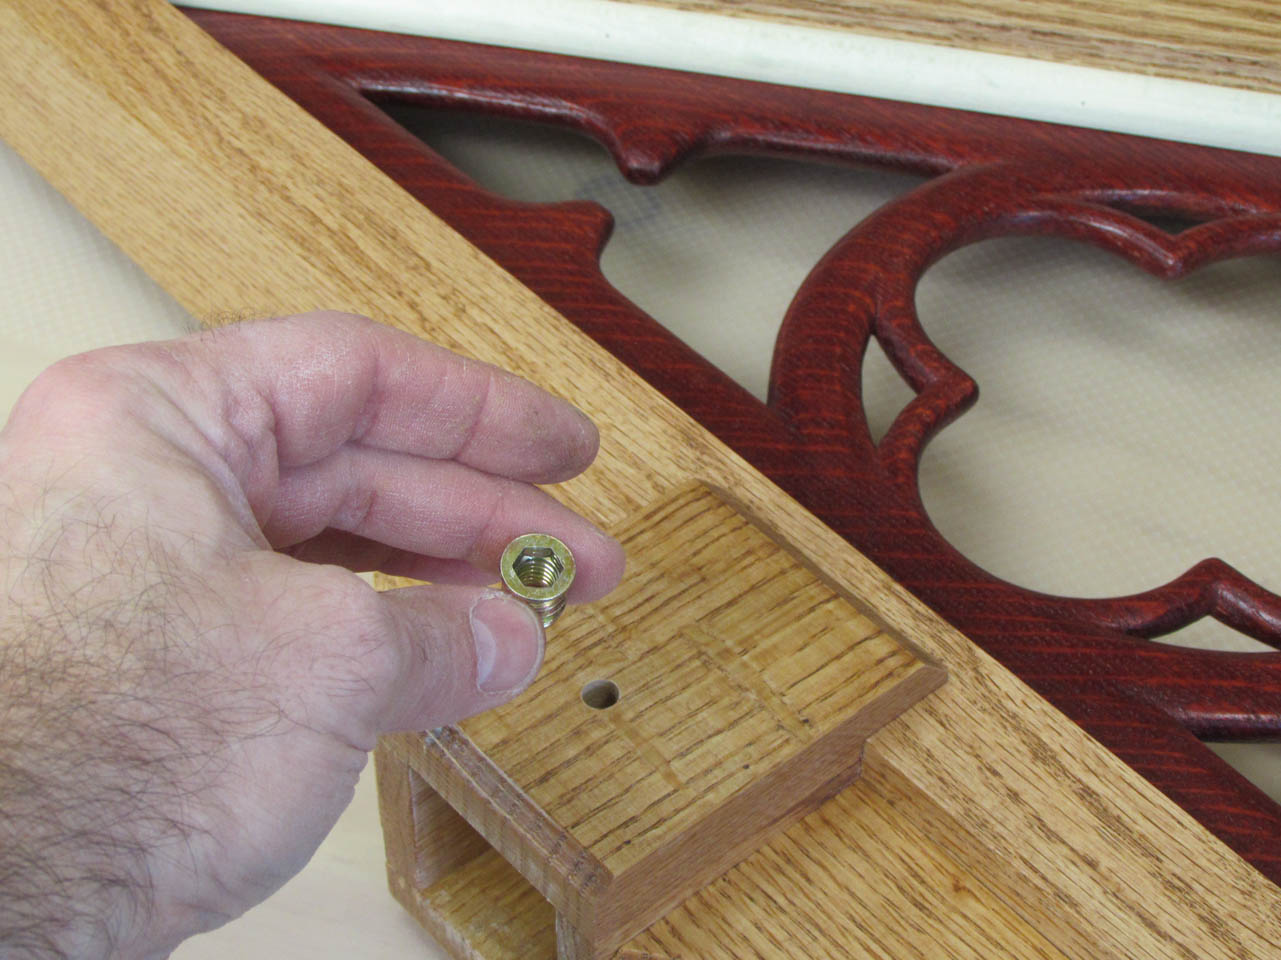
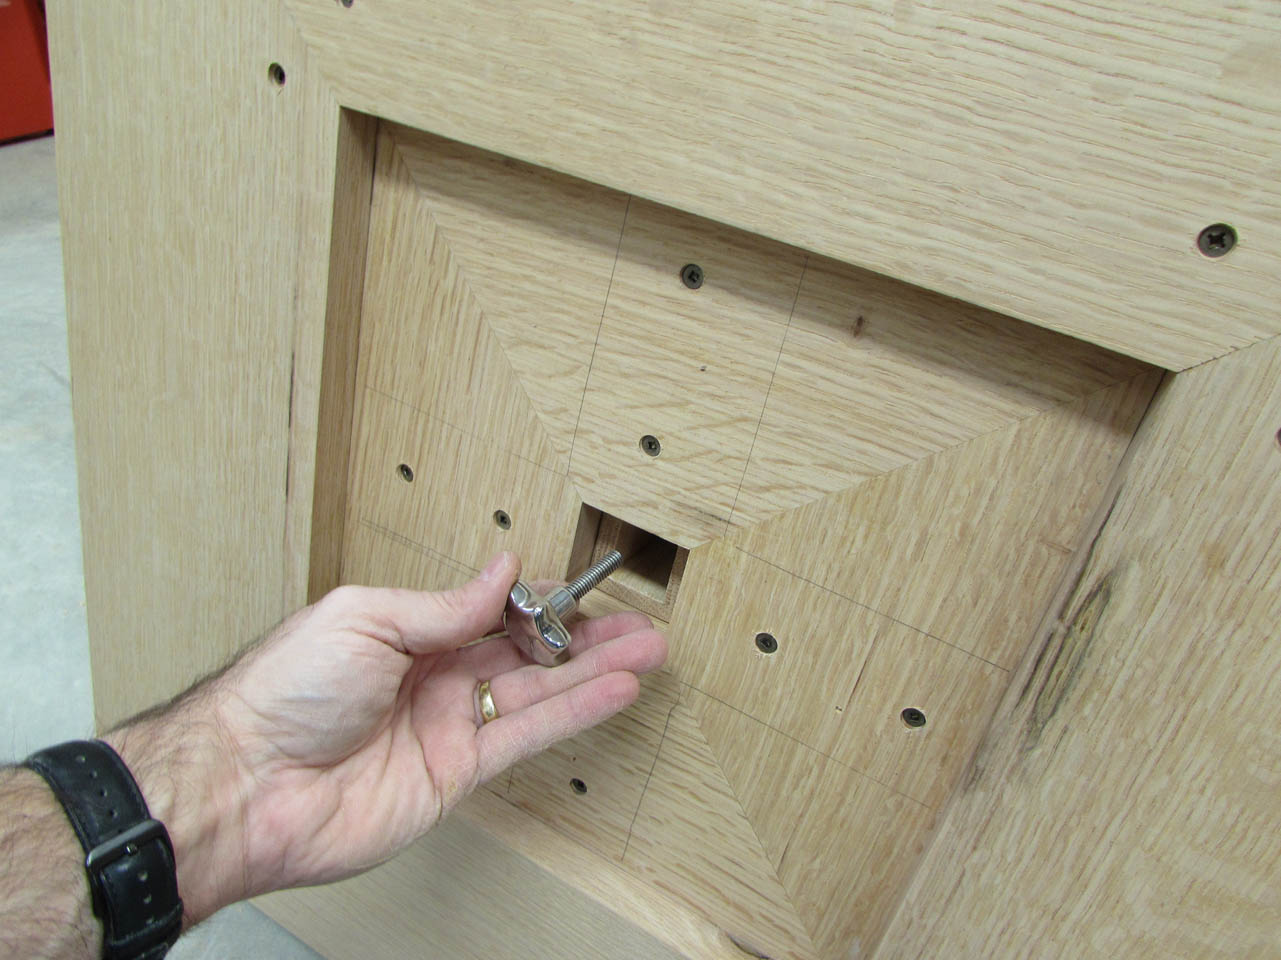
In order to have something for the screw to pass through and draw the post down tight, I have to install a block in the base.
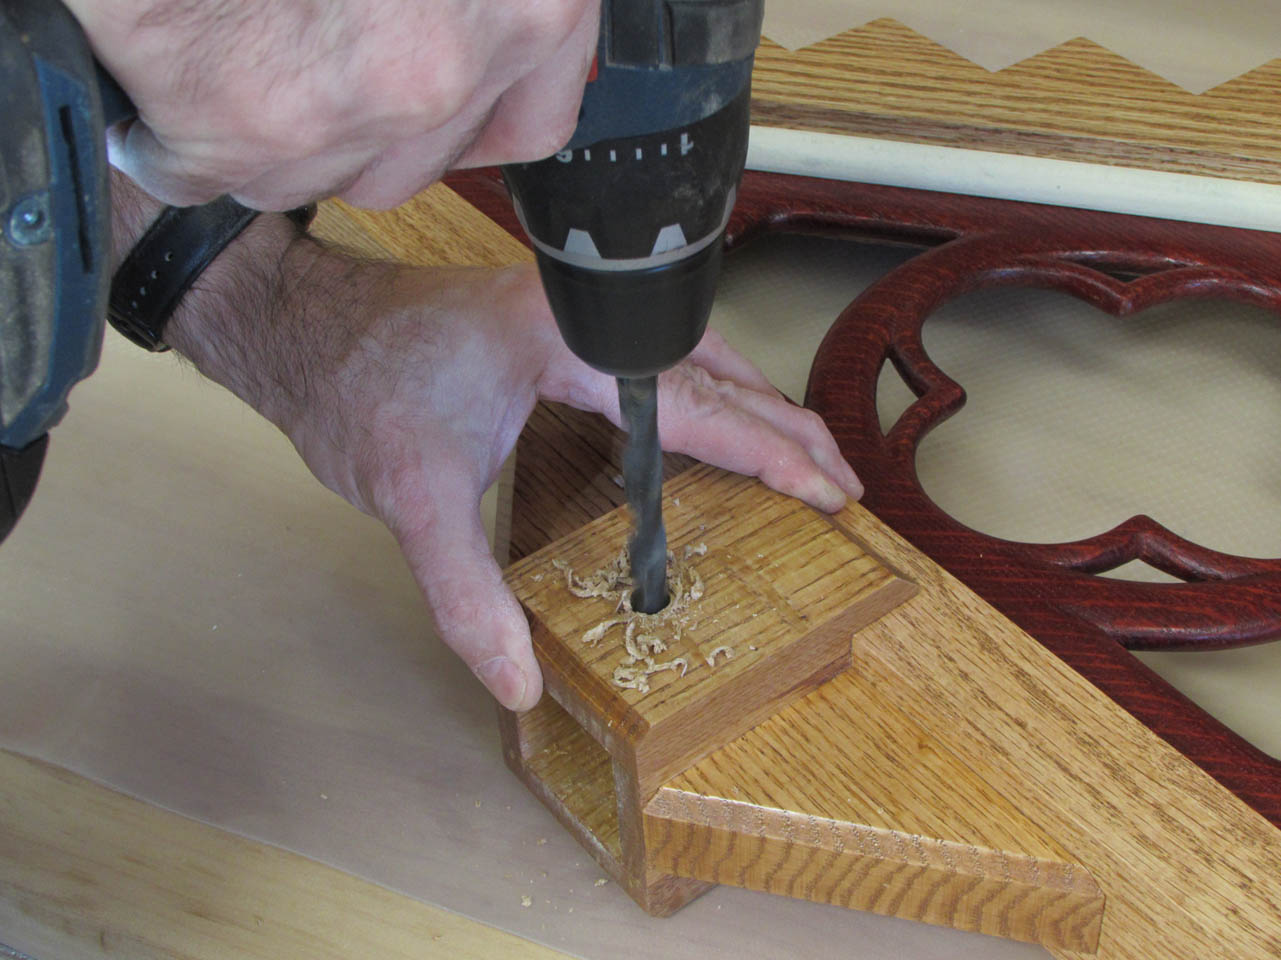
I trace the block, then place a spiral bit in my router.


I cut down about 1/4″ at a time, by eye, staying within the lines that I traced.


After I reach full depth, I use a chisel to square off the corners and widen the hole to the exact width of the block.


I add some glue and tap the block into place.
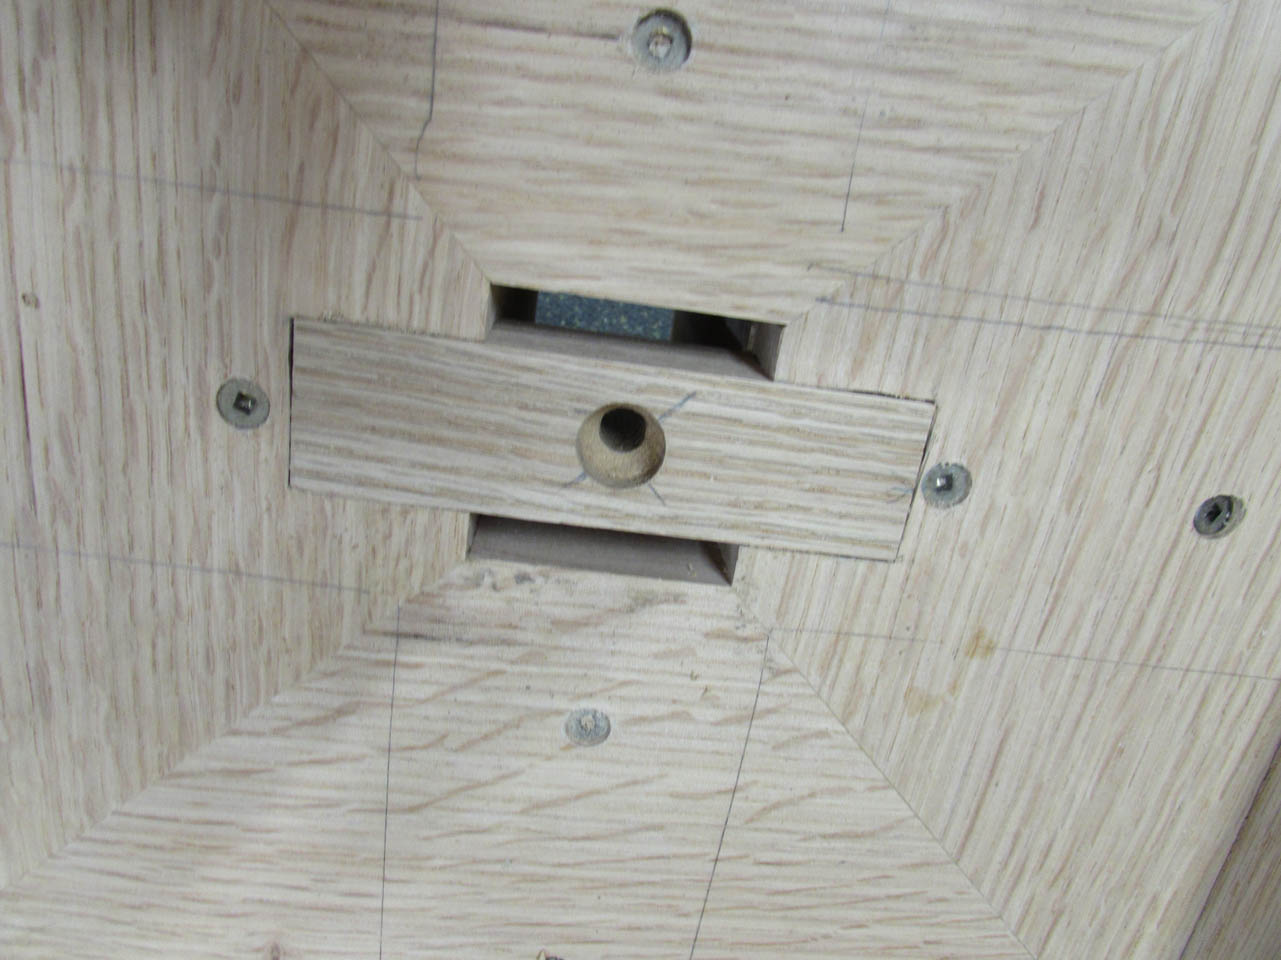
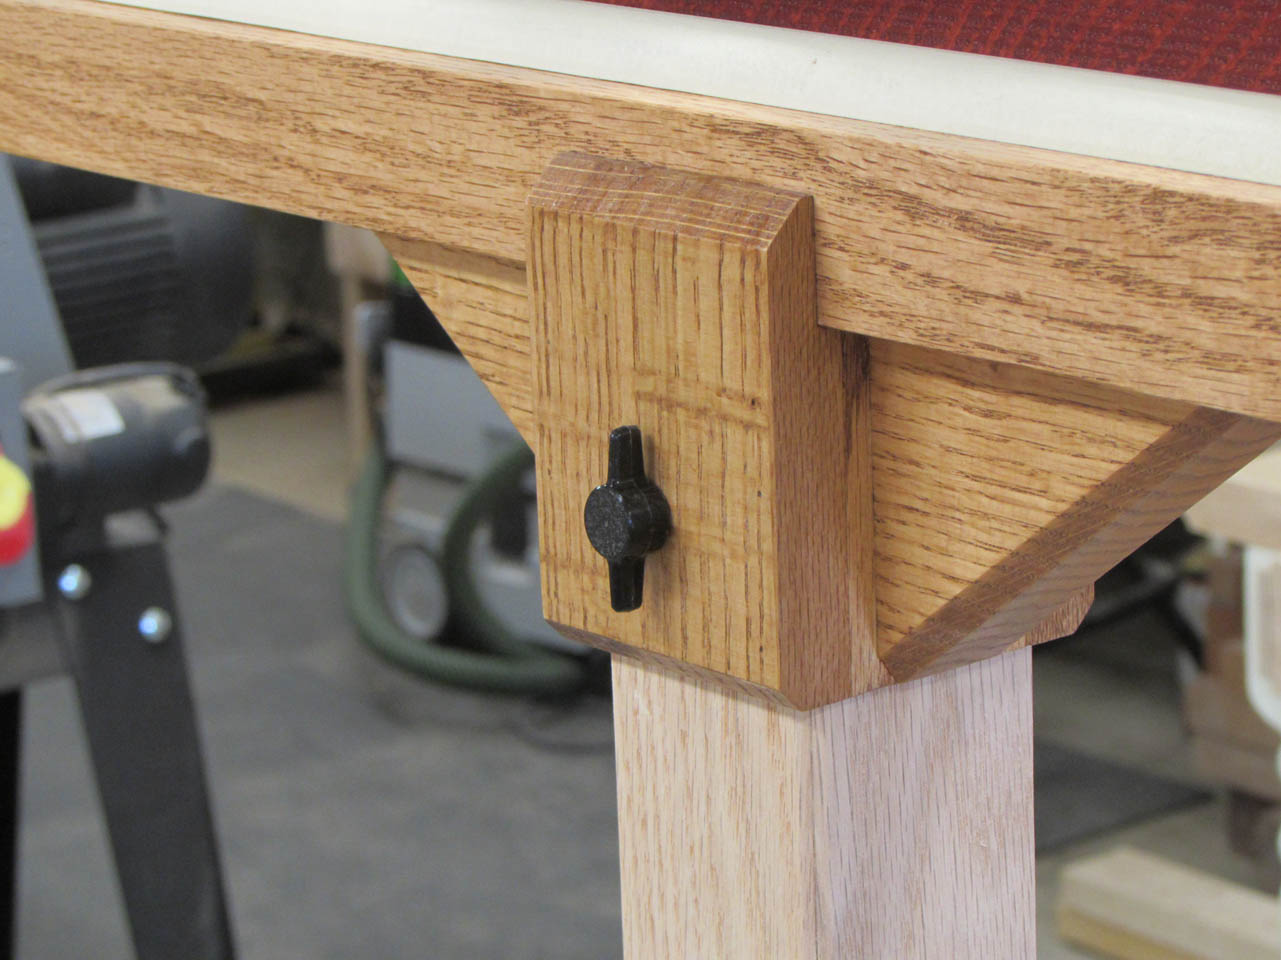
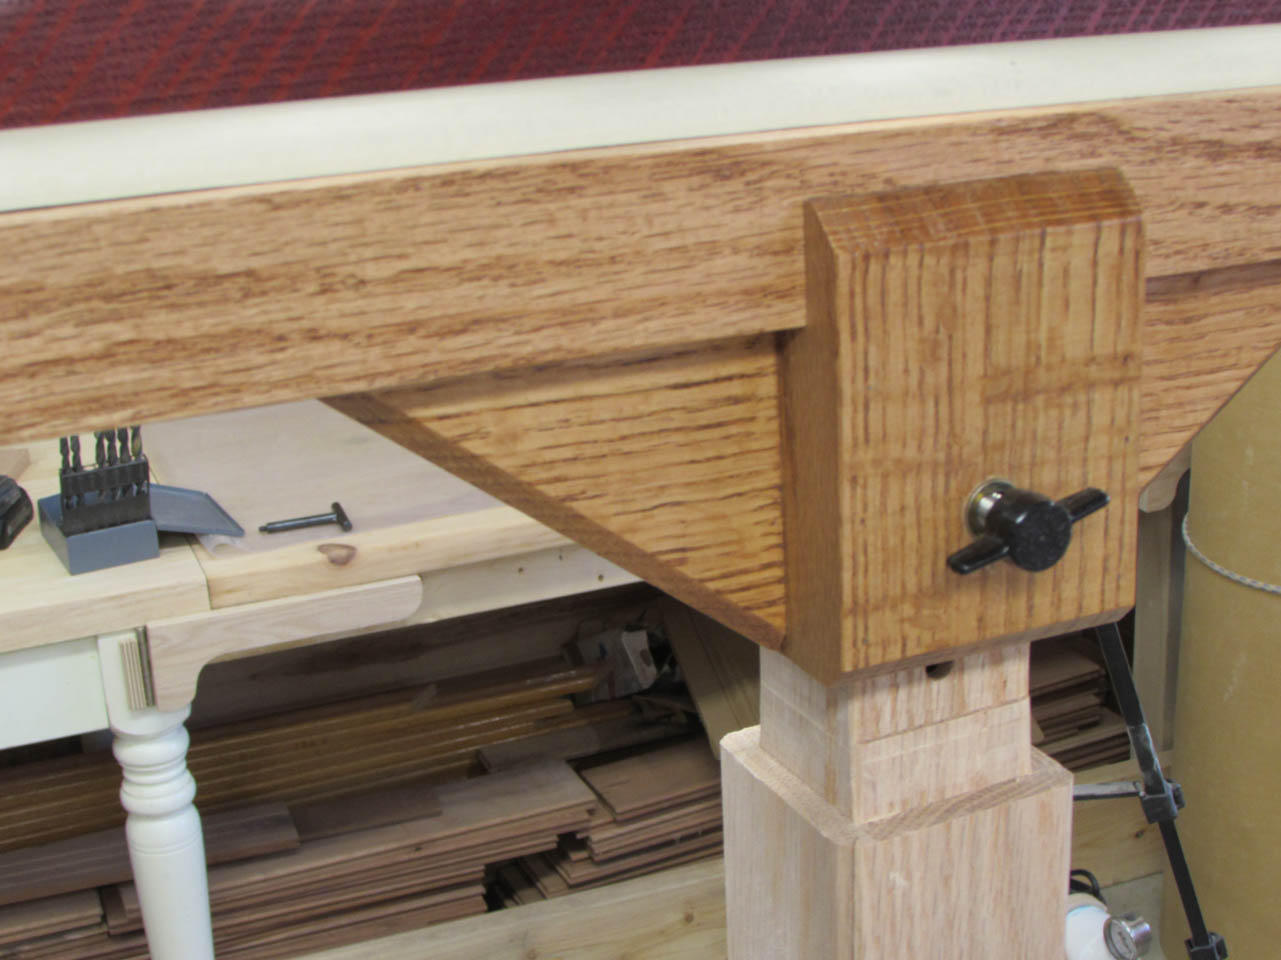
I drilled a slightly oversized hole to accommodate the shoulder of the threaded knob that I am using.

The knob threads into the base of the post and sits below the bottom surface so that it sits out of sight when the base is upright. I also added a threaded insert off to one side for the knob when the parts are separated when in storage.

I think that is everything. Now I double check every surface and do additional sanding down to 220 grit.


Before applying finish, I placed a few screws into the threaded inserts to prevent finish from coating the threads and causing binding problems.


Then it was time to apply stain.
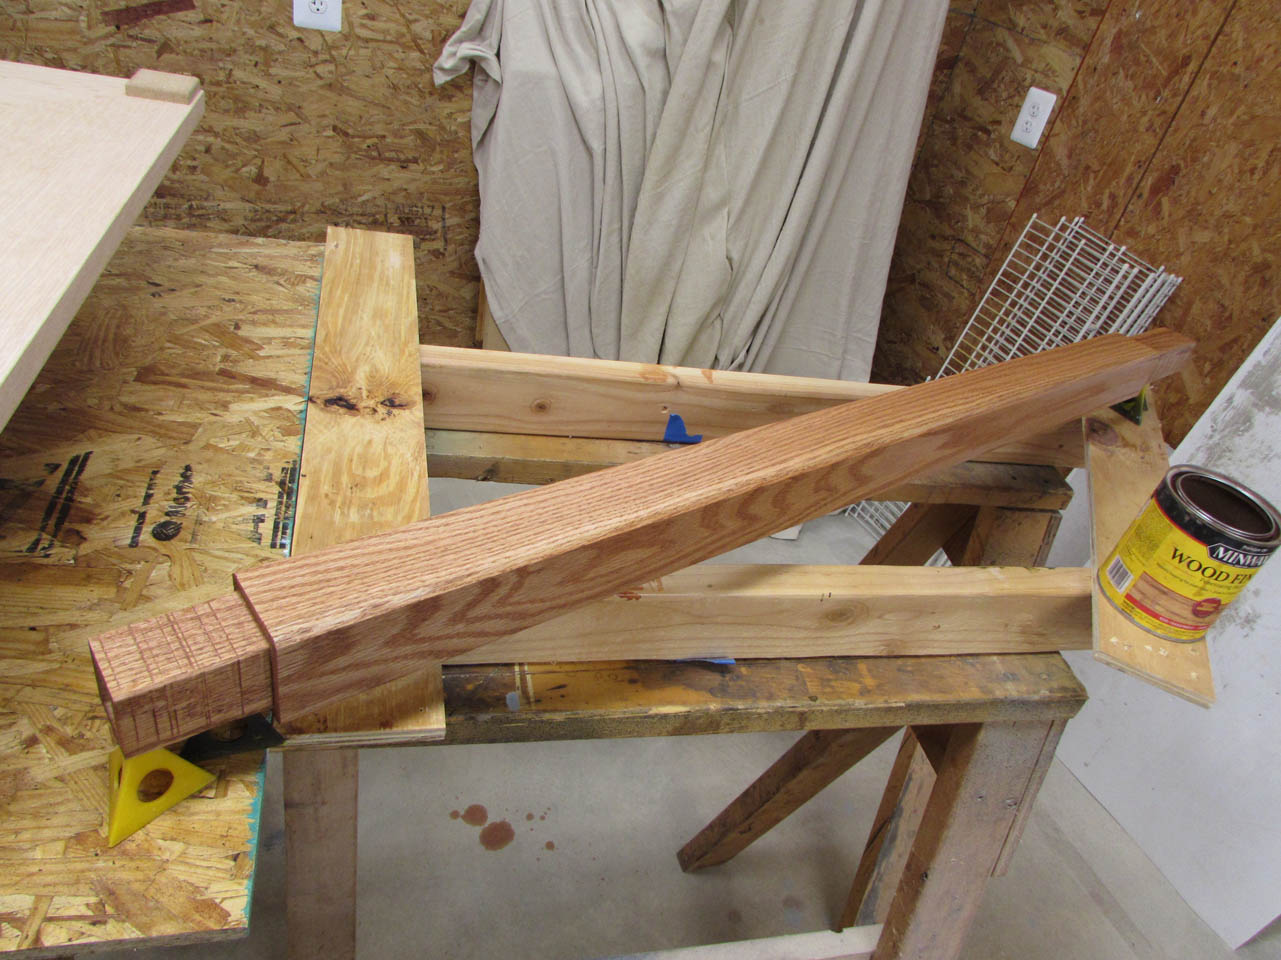
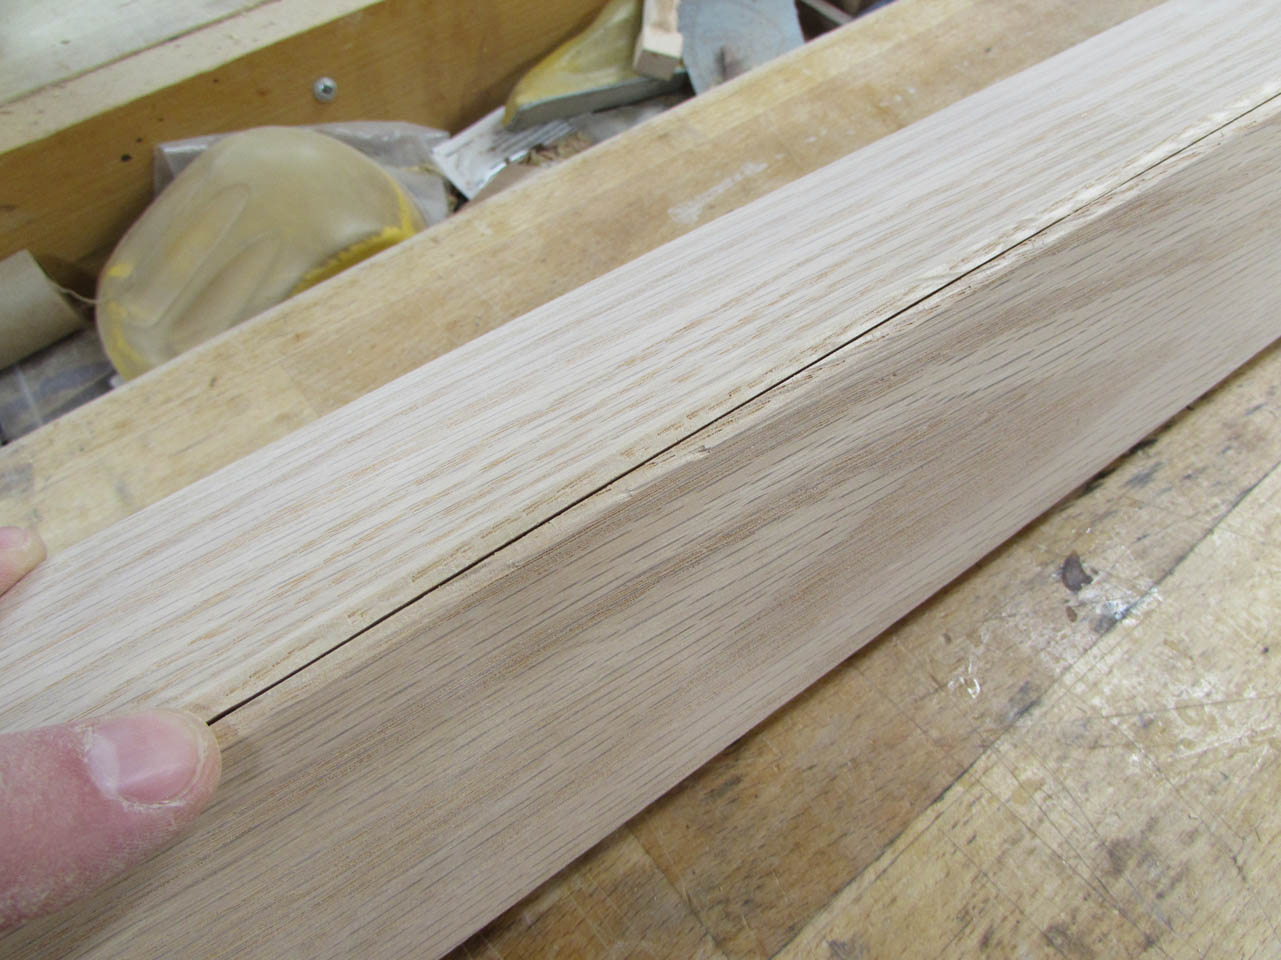
I am using the same Minwax, Cherry 235 that I used on the head piece. If you look closely at the seam in the picture below, you will see how the filled gap blends in with the stained grain of the wood nicely.

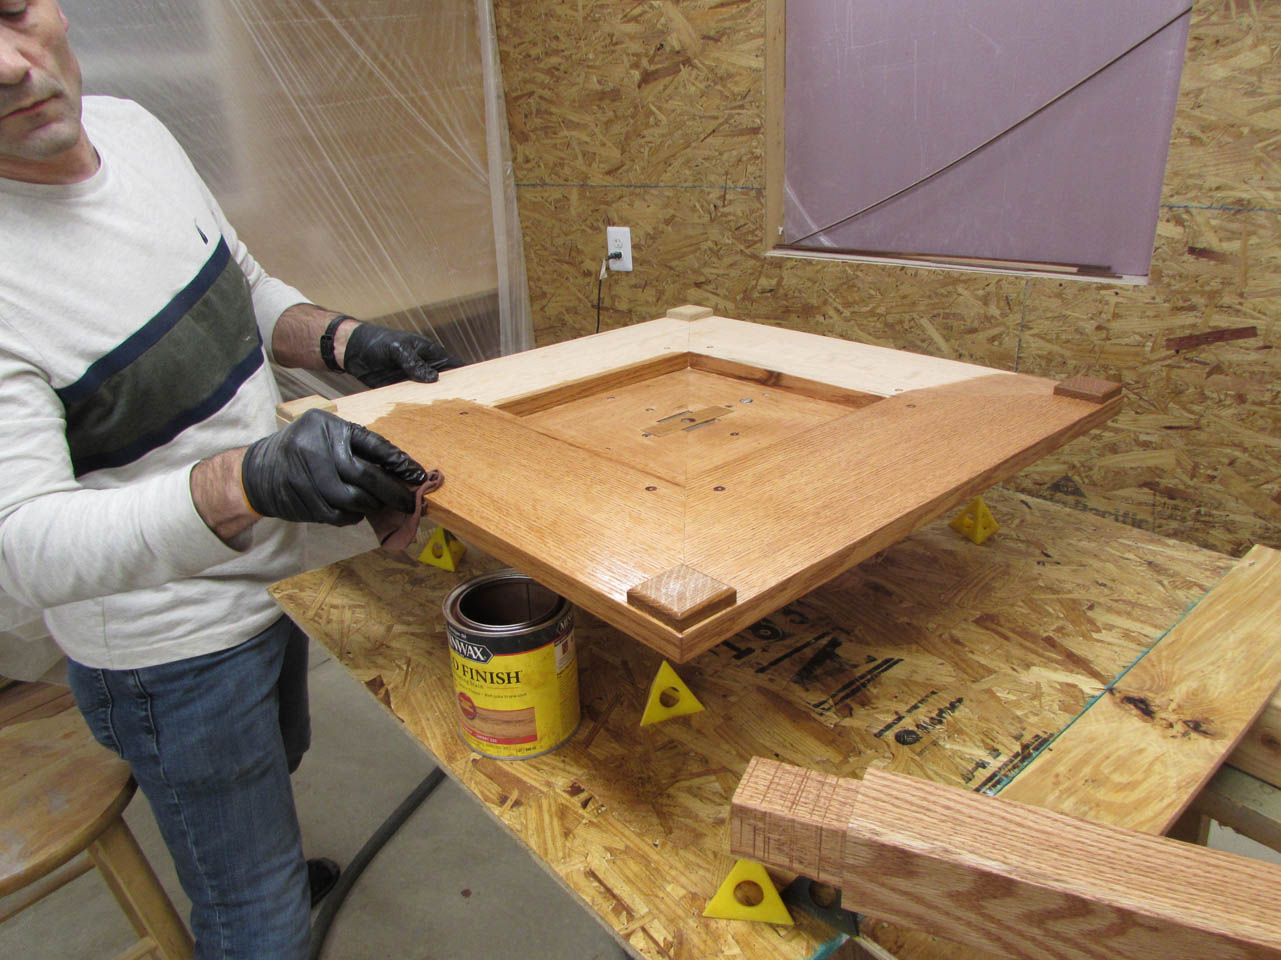
Finally, I moved on to the base, starting with the bottom, then flipping it onto some painter’s pyramids to do the top.


You can always tell if you sanded poorly when you apply stain, the mistakes really stand out. I must have done a pretty good job this time, everything looks really good.

Tomorrow, when the stain is dry, I can start applying the polyurethane.
