
Tenebrae Hearse for Holy Spirit church – part 6
I pull off the temporary glue blocks and remove all of the tape so I can use them again.
I laid out the two larger base pieces to see if they warped at all under the clamps. Looks like a tight fit. That is good.

The smaller base piece did not fair as well. There is a slight gap. The ends touch, but nothing else.

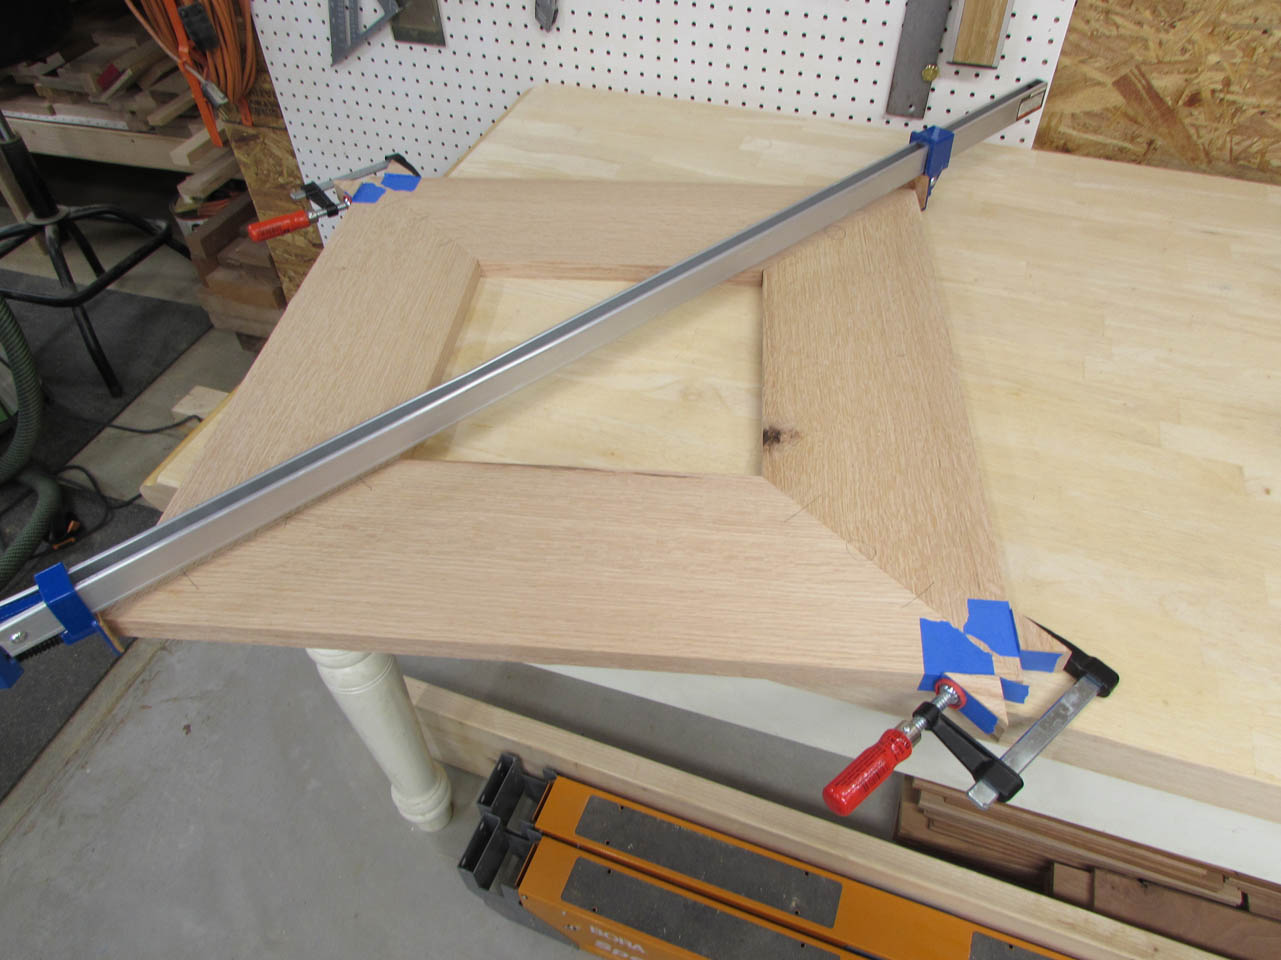
I have an idea for how to fix this, and I get to use a new tool. My Grizzly track saw stopped working properly so I decided to upgrade to the Festool TS 55. I got it for Christmas and I haven’t used it yet. Hopefully it does what it is supposed to and cuts a perfectly straight line.
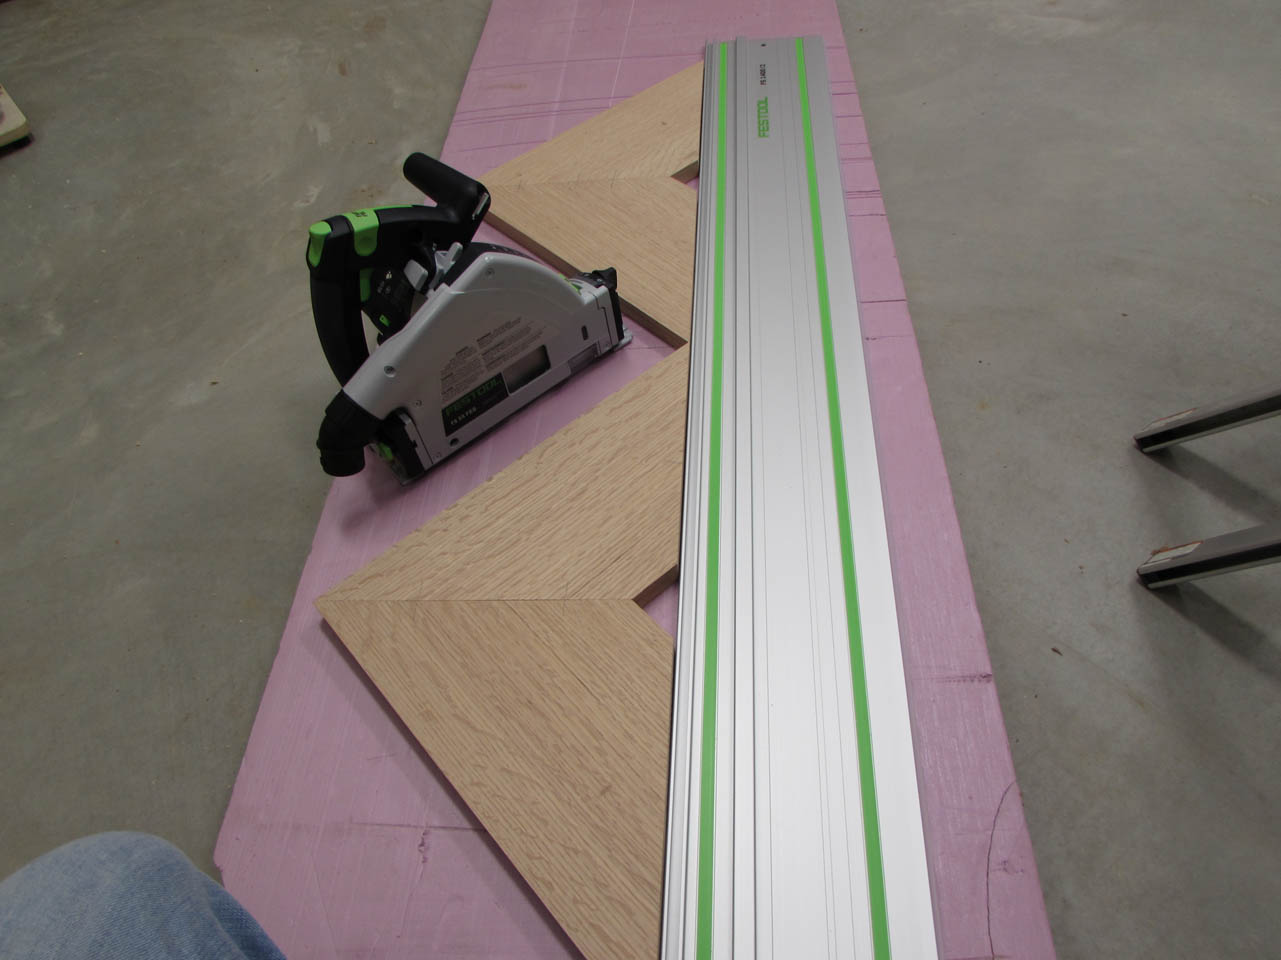
I placed the two small base pieces on a piece of rigid foam, then placed the track on top, using the edge of the track to align the inside edges of the base.

The track was lined up with the center edges, leaving tiny slivers sticking out on the ends to be trimmed away.

The track saw cuts precisely along the track, smoothly removing the exposed slivers.

Now the smaller base layer fits perfectly together. The Festool definitely cuts better than my old Grizzly.


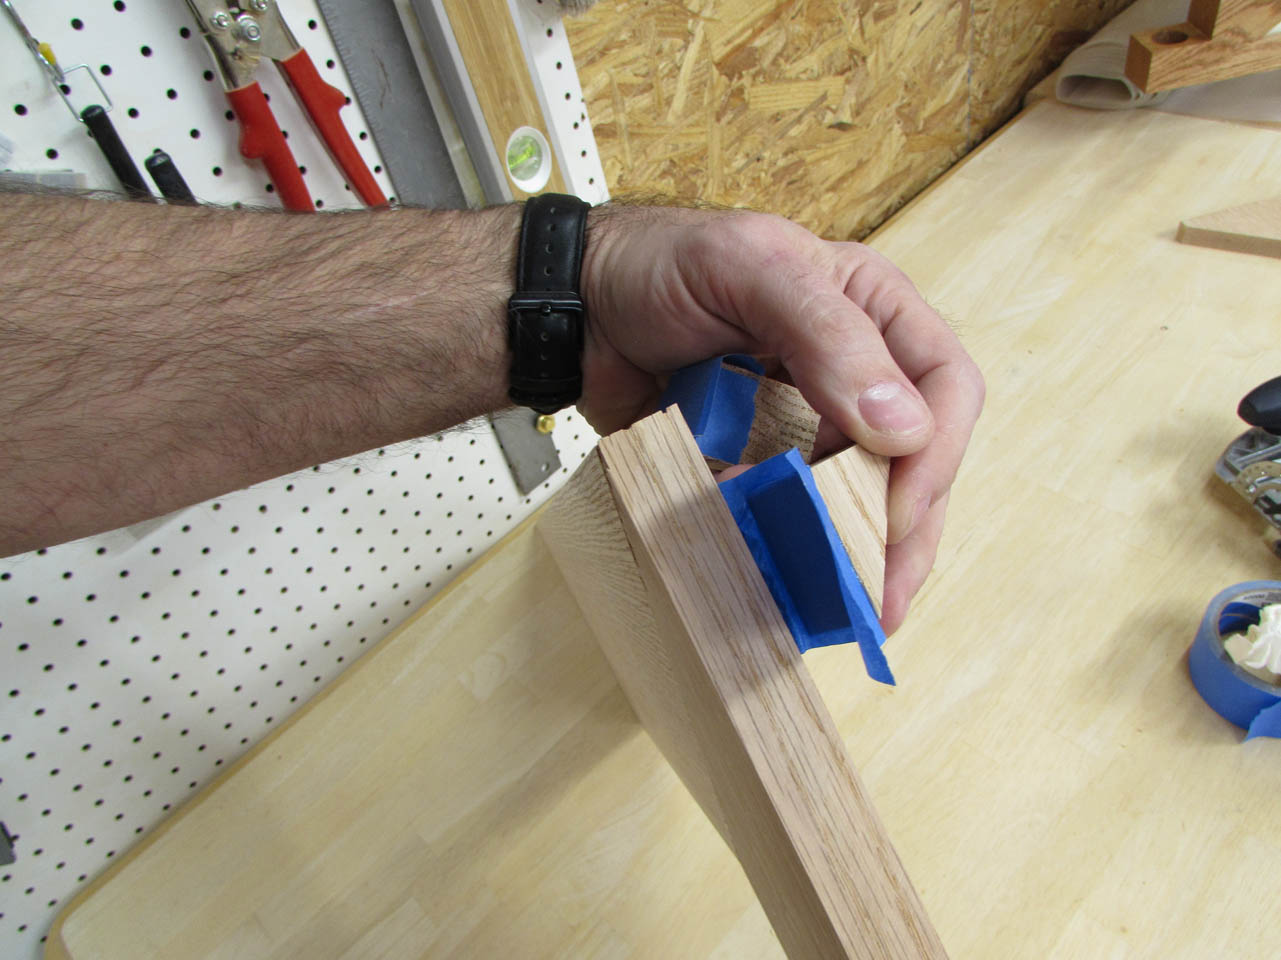
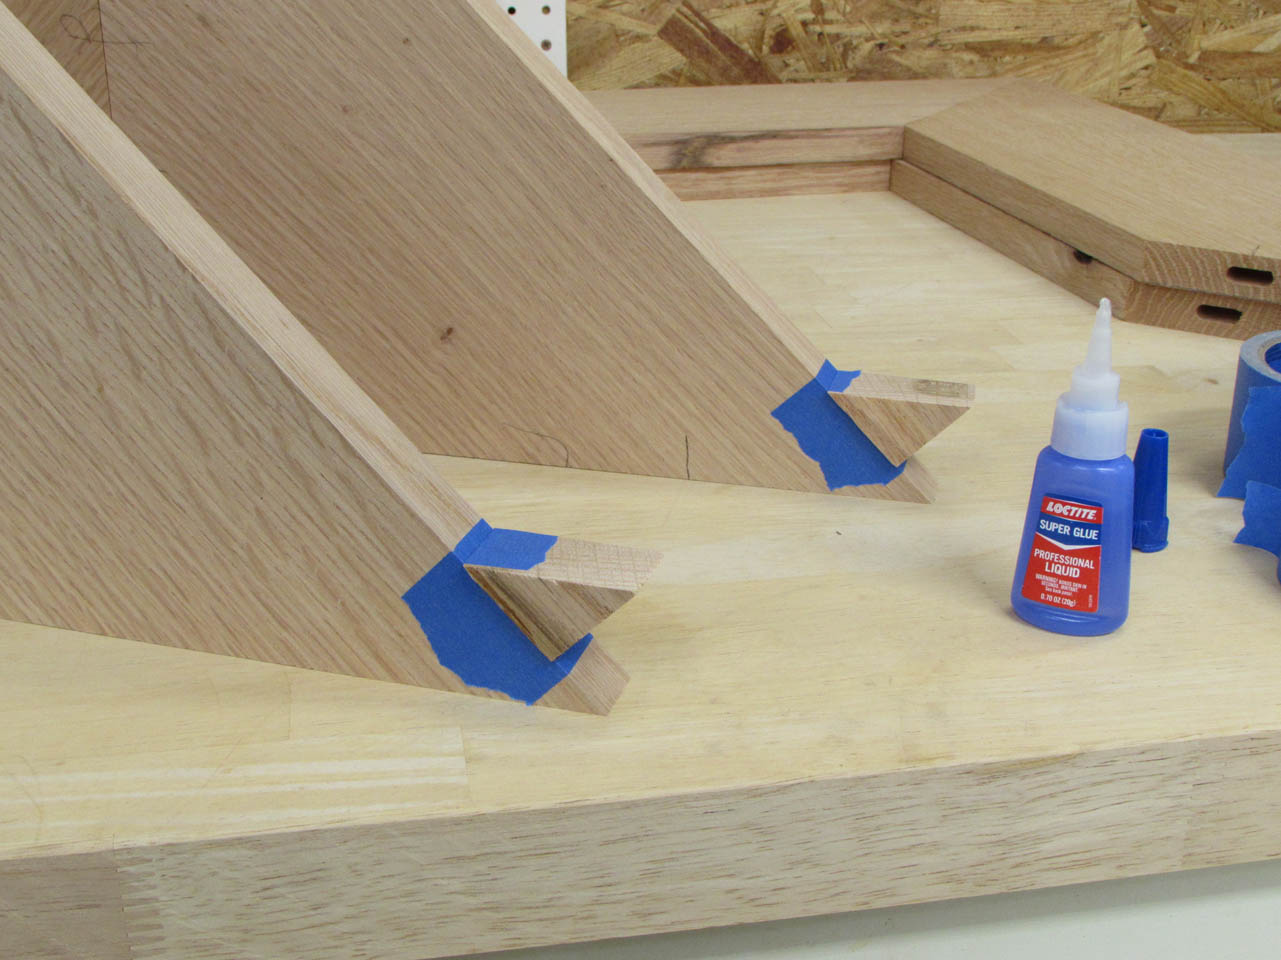
Now it is time to cut more mortises for the Domino tenons and start attaching the temporary clamping blocks,
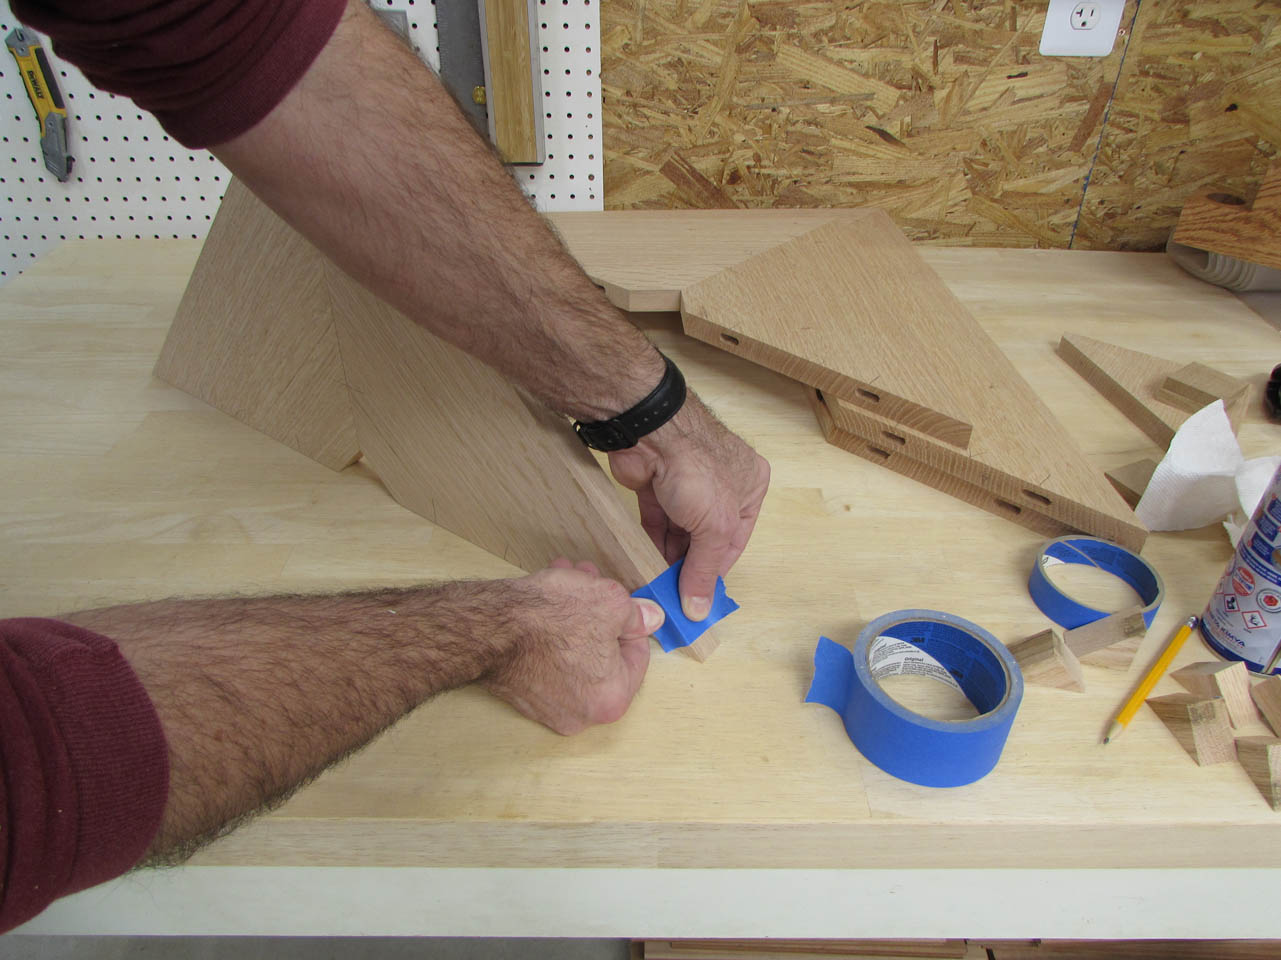
I wrapped painter’s tape around the end of the base pieces and along the edges of the clamping blocks, then used CA glue and activator to attach them.

Add a little wood glue and some Dominos and I can clamp it all together.

Both went together very well.
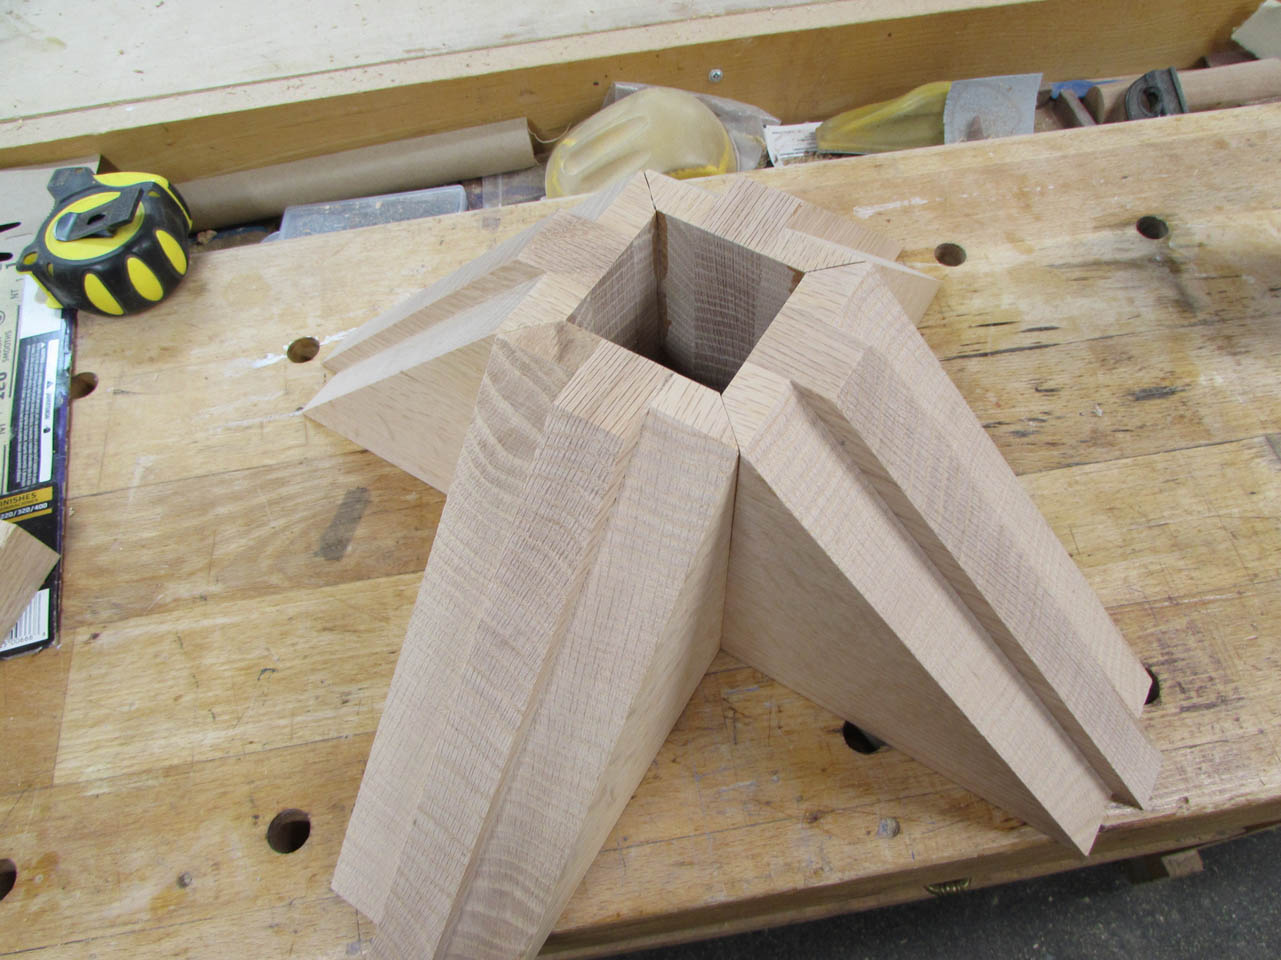
Time to figure out the socket…

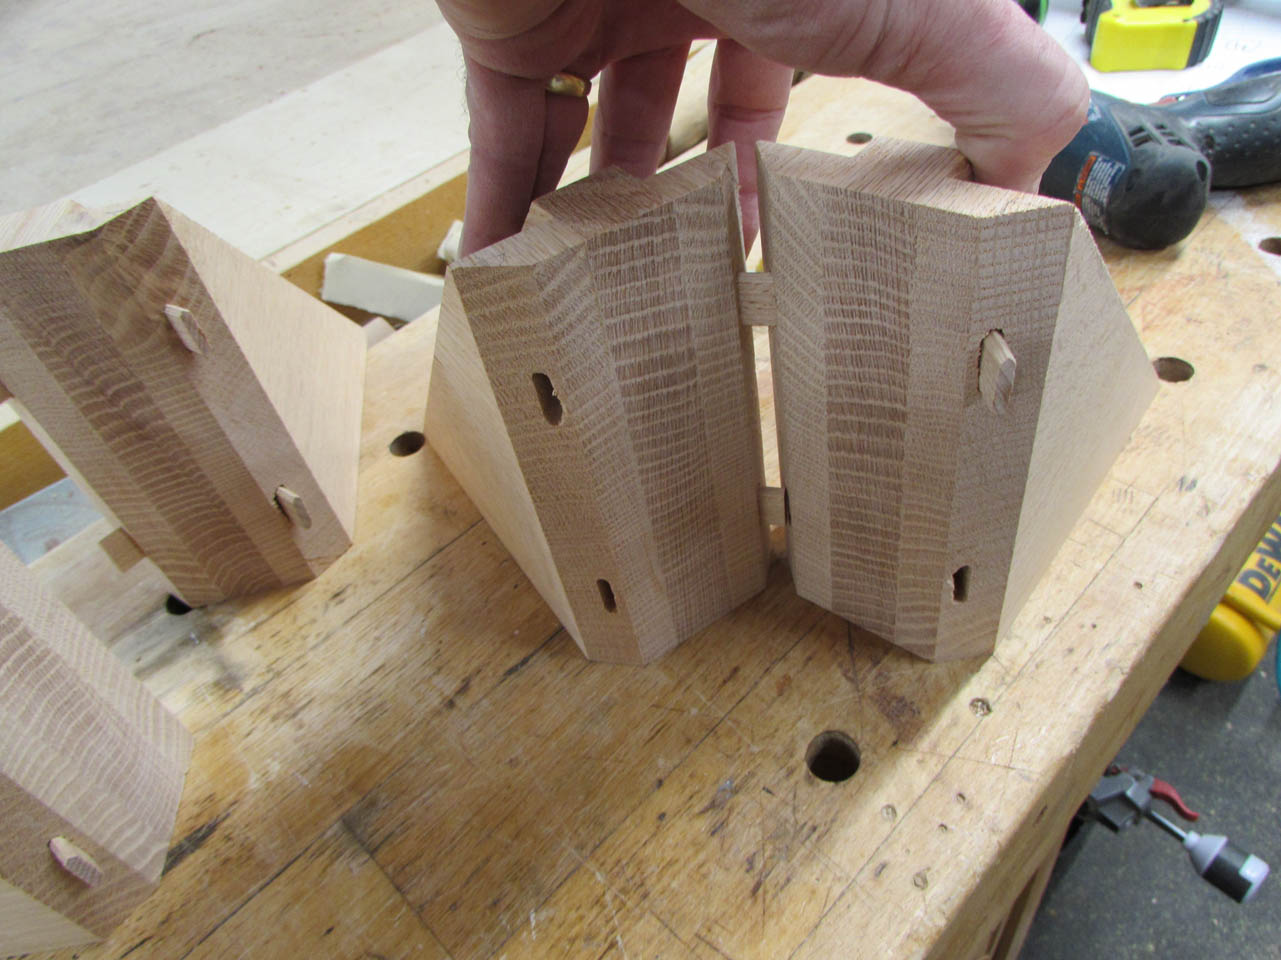
I decided to use some mini tenons. My Domino jointer can be adjusted to a 45° angle and it has a few spring loaded stops I can use to locate the mortises from the edges.


It is a little awkward, but I managed to cut four mortises into each section.

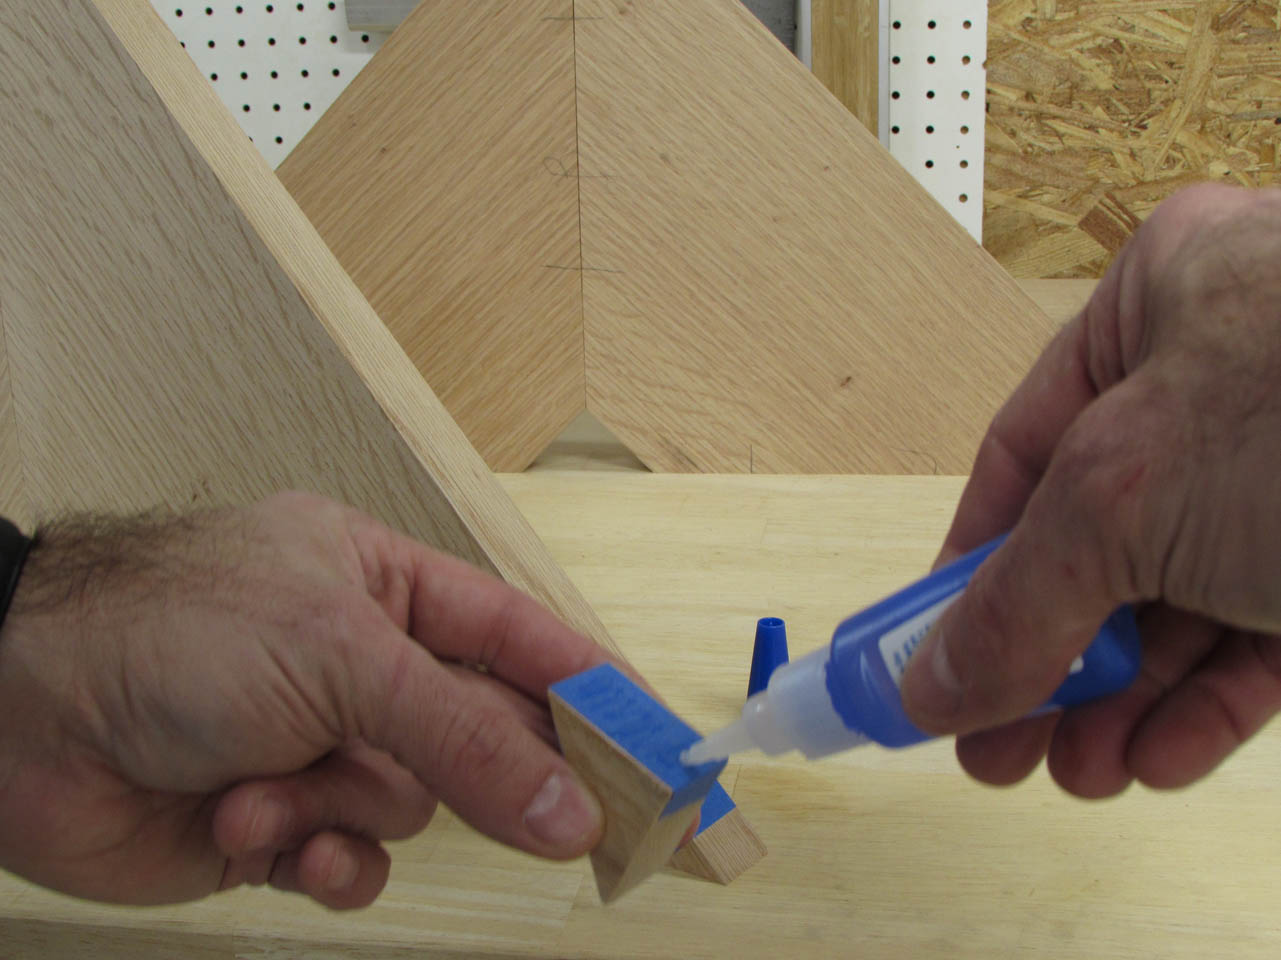
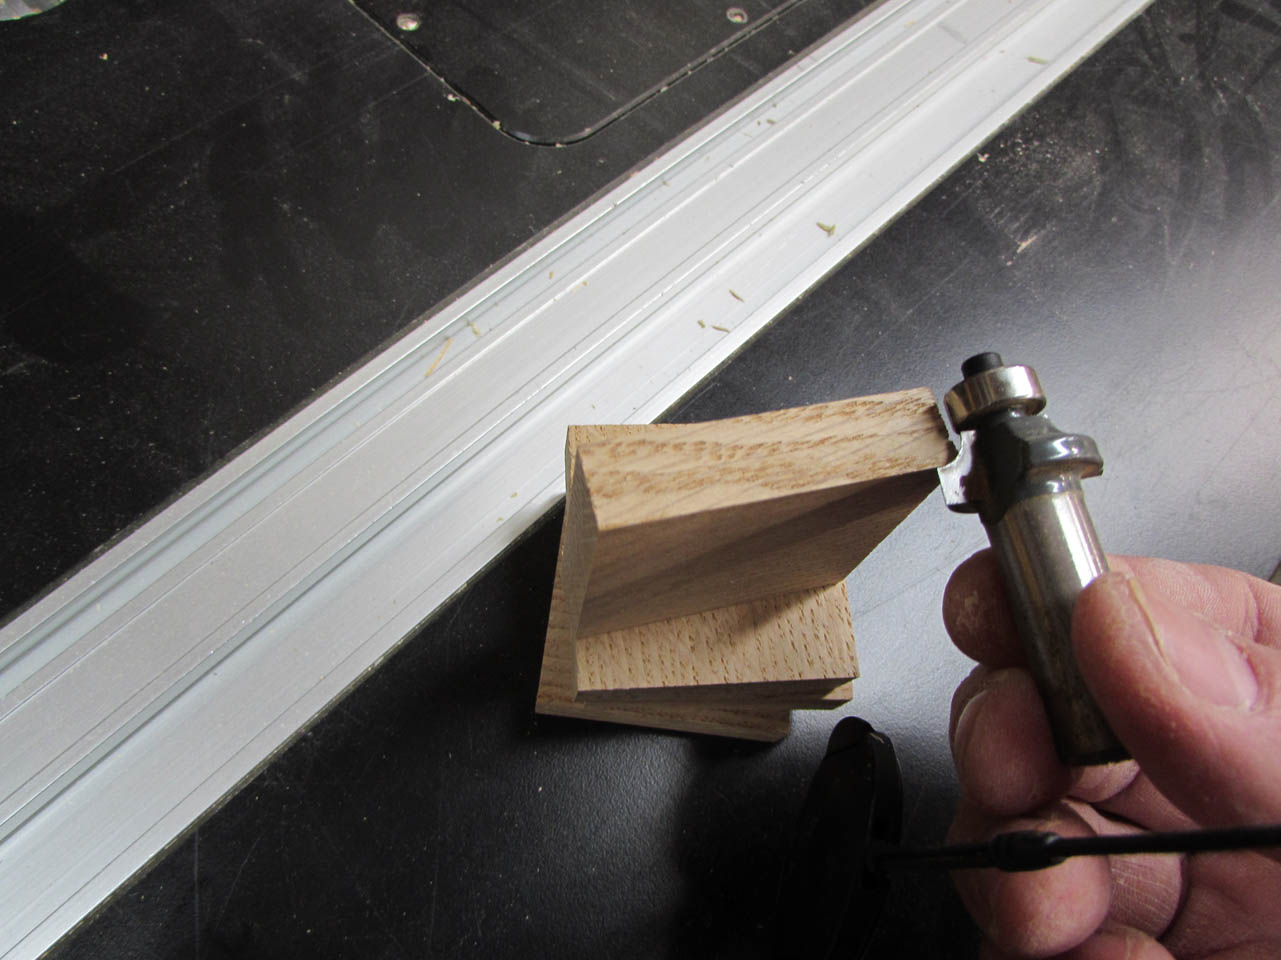
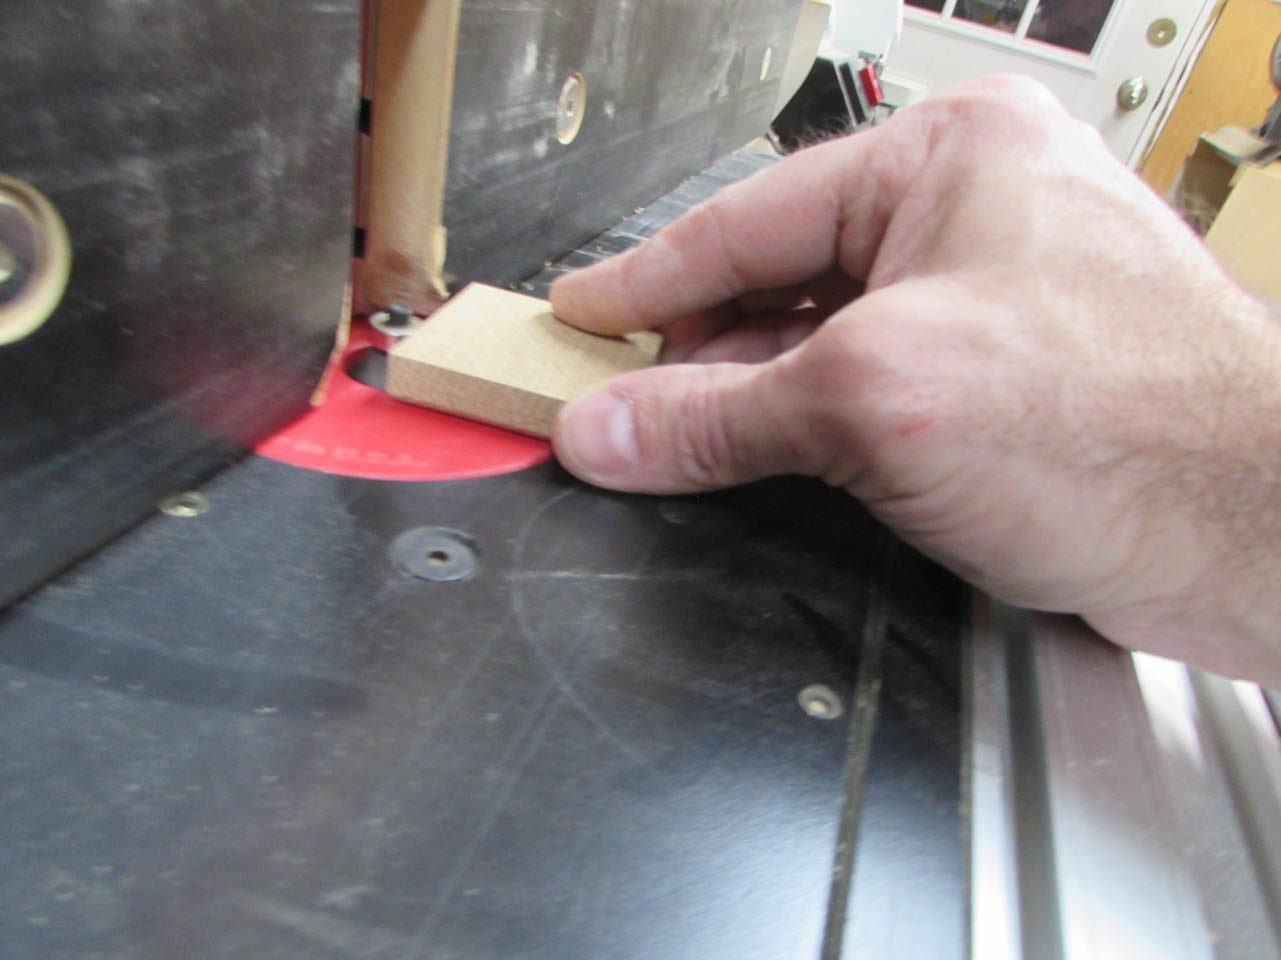
I did a dry-fit to make sure it would work before I added any glue. I found that a couple of the holes were shifted slightly so I trimmed a bit off the edges of the Dominos.
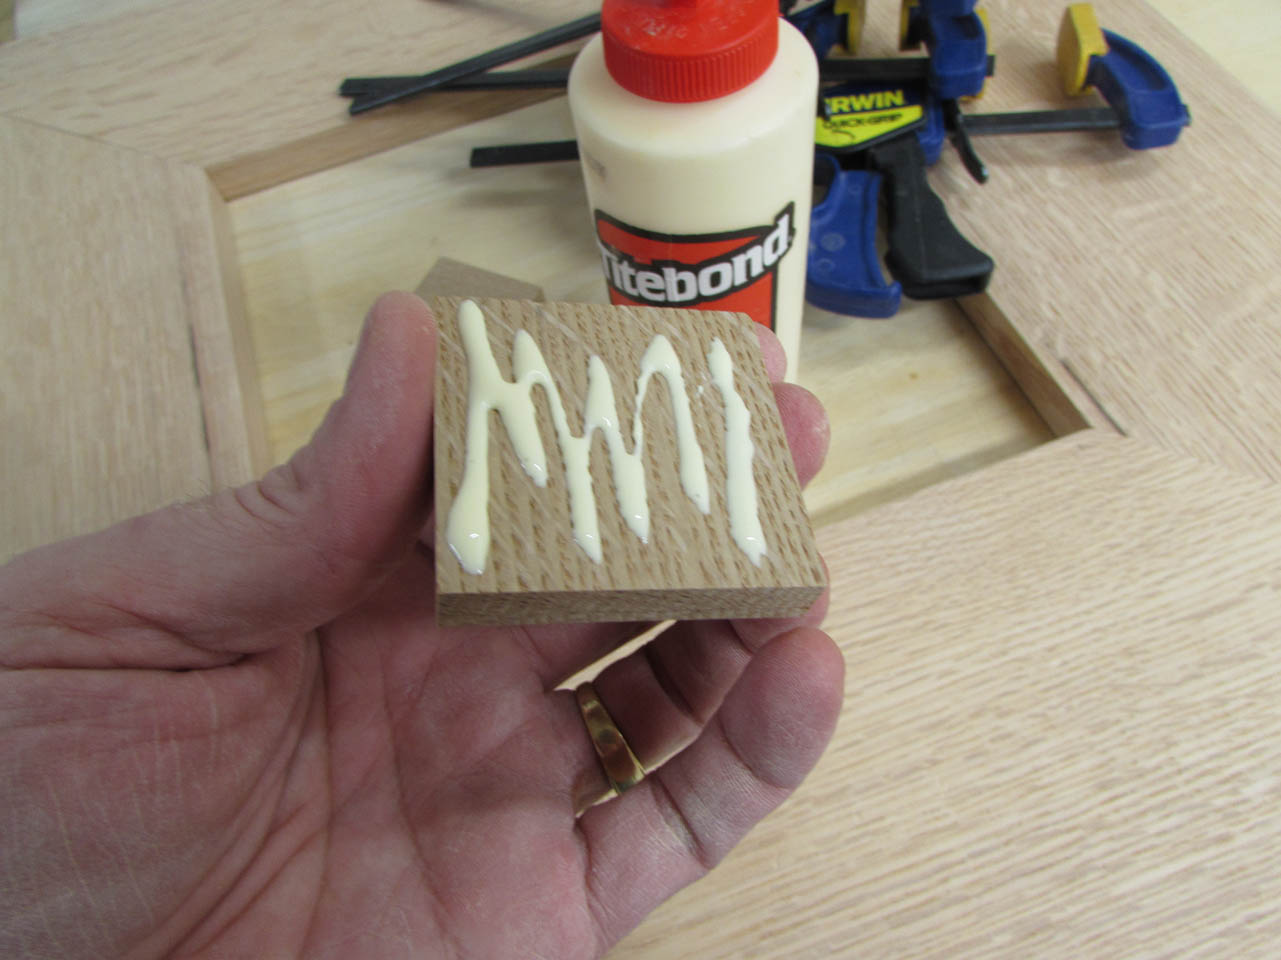
This seemed to mitigate the problem enough so I added glue and started pulling it all together.

Next problem: How do I clamp this together? First option is to hold it for 20 minutes before moving on to the next piece. Second option is to create more complicated glue blocks.
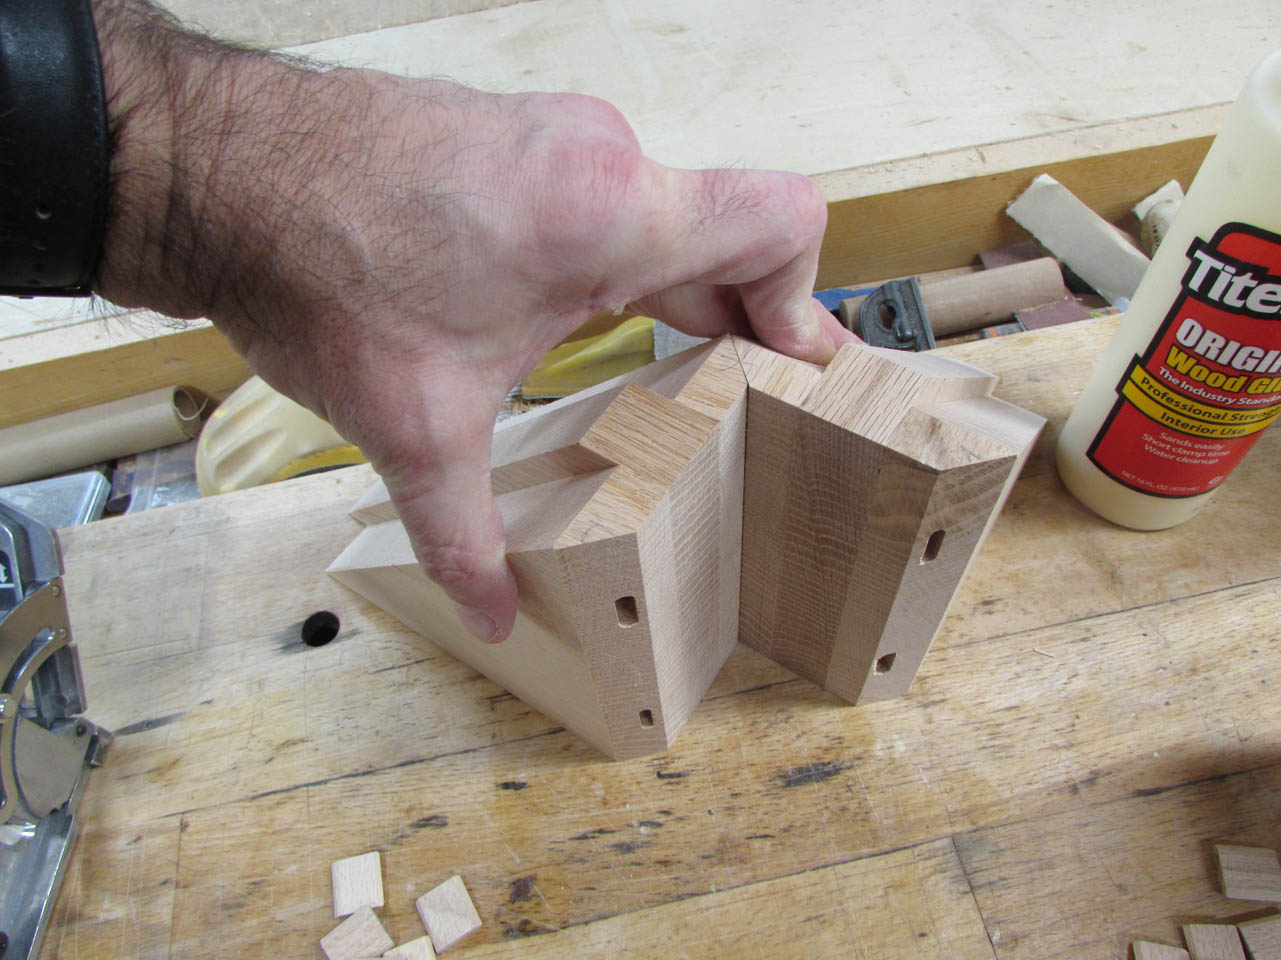
I decided to try a different approach. I dribbled CA glue down along the inside of the glue joint and sprayed it with activator. It creates a very tiny glue joint that holds the two blocks together while the glue dries.

I did the two halves this way first, then after letting them sit for a bit to set up, I glued the two halves together in the same fashion.
It worked and it still sits flat. Time to pull this base together.

I need to sand all of the base pieces first to flatten down any shifted edges or glue squeeze-out.

And, I remembered that I still have feet to attach. I want a bit of a shadow line where they hit the ground so I set up the 3/16″ round-over bit in the router table.
That will give me a nice rounded bottom for the feet.


These get glued and clamped to the bottom corners, set back just a little off the front faces to create another shadow line.


While they set up, I finish up the sanding.


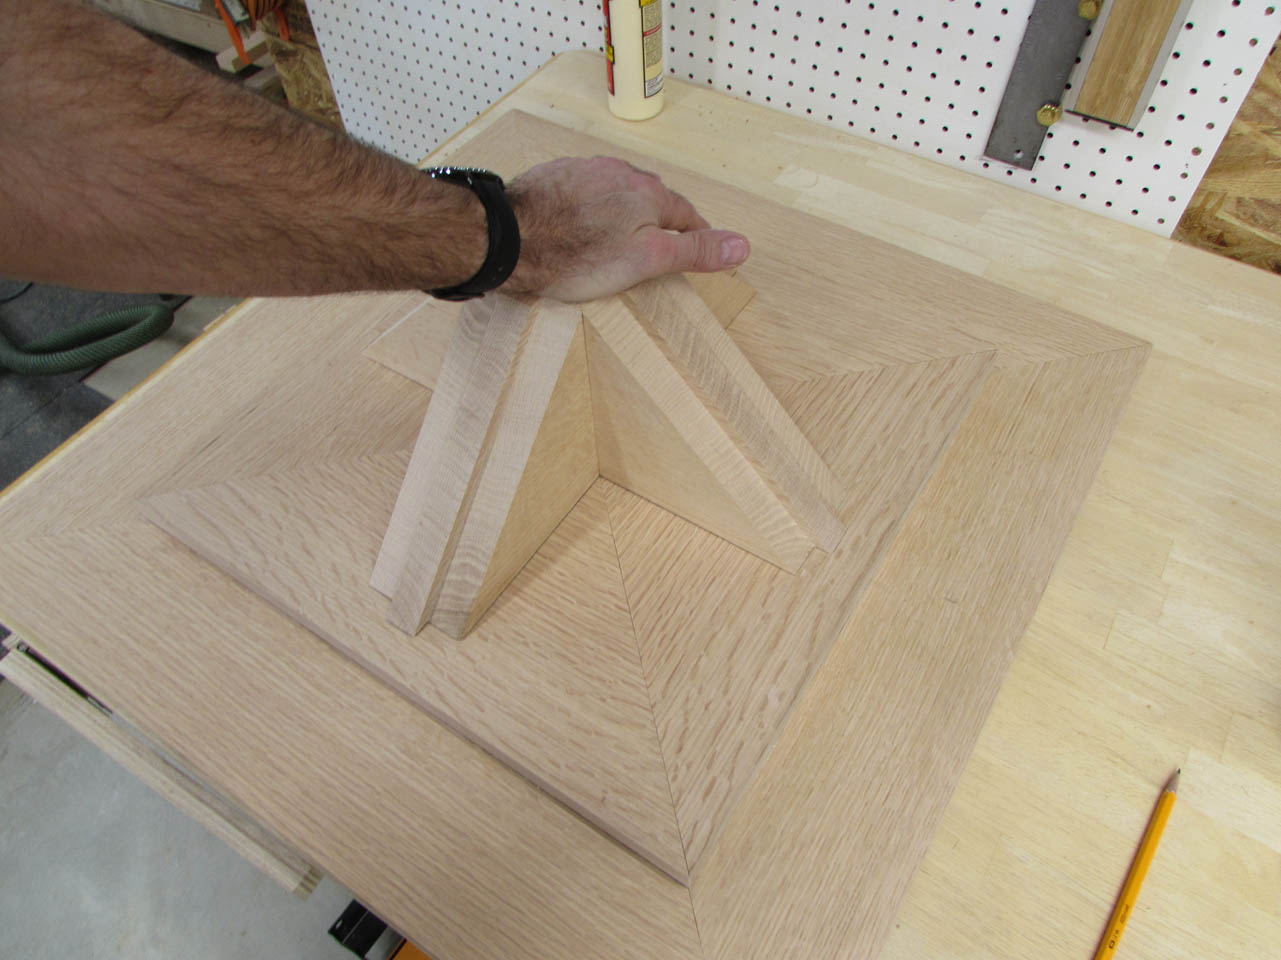
I carefully locate the smaller base piece on top of the larger, making sure to line up all of the seems. I taped it in place to help keep it from moving while I flipped it. I also traced its location from the bottom before flipping so I know if it moves.

To hold it in place, I counter-sunk some pilot holes, then added a few screws.

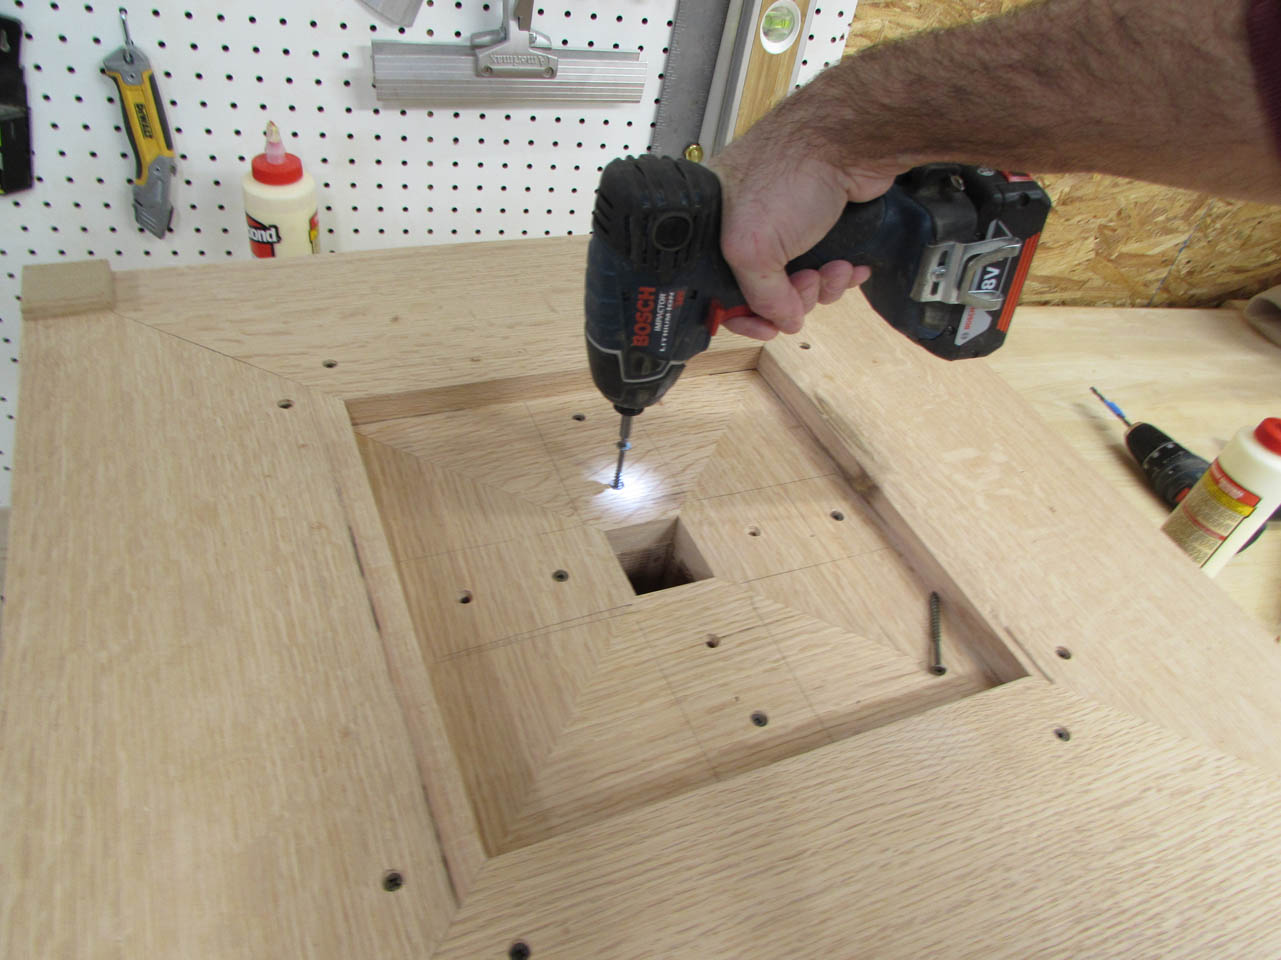
After that, I flipped it back over and located the socket as well.

Next, I pulled the screws back out and applied wood glue.

I reinstalled the screws to draw it all together tightly, then flipped it back over.


I spread more wood glue for the socket, then slid everything past the edge of the table and shot a couple of brad nails in from below to hold the socket on while I flipped it back over to attach.

More counter-sunk holes and 2″ wood screws were added from below to hold the socket tightly down.
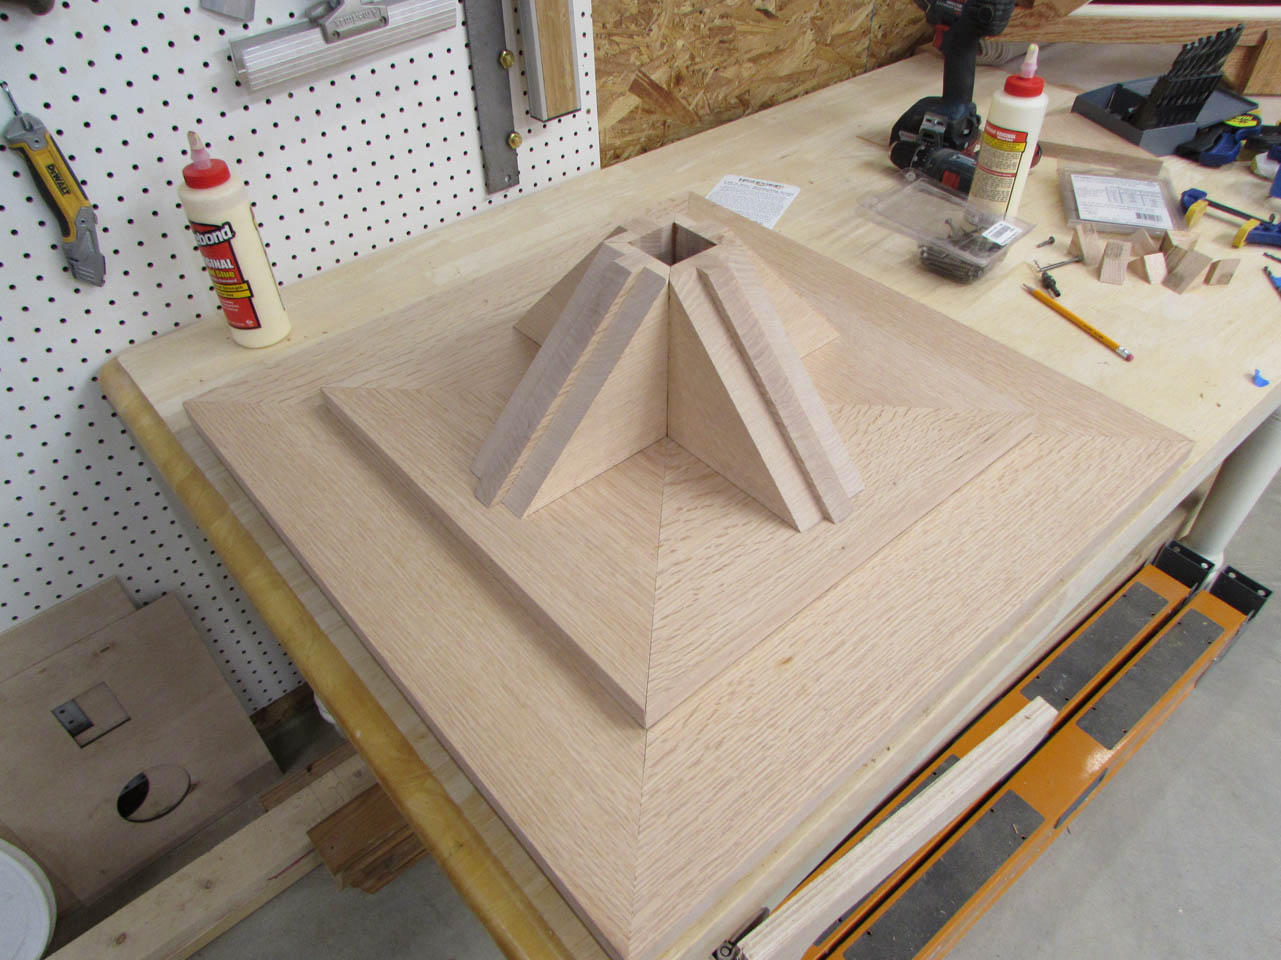
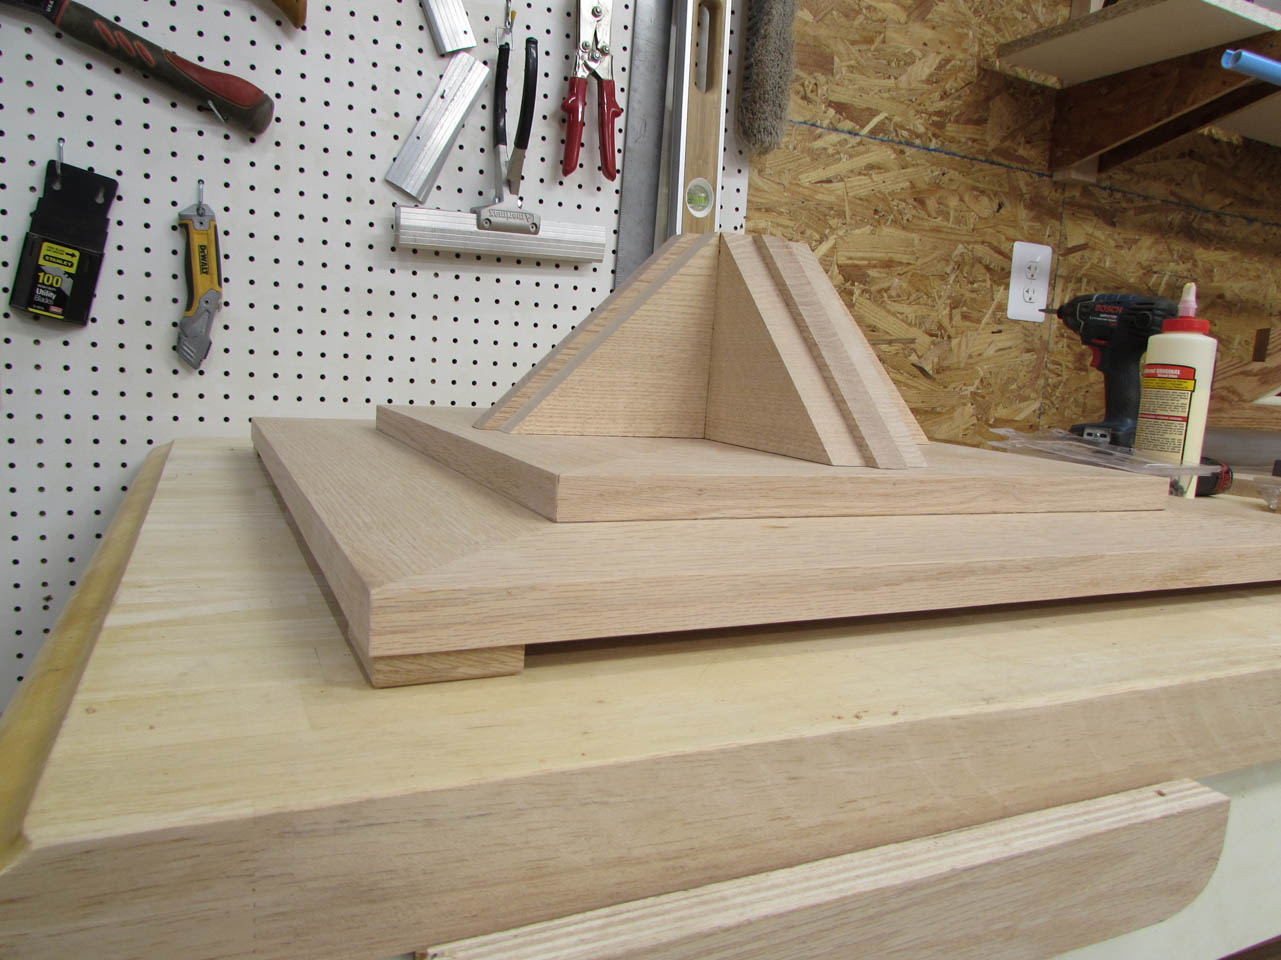
That worked really well. Before the socket was attached, the base had a slight twist and rocked a bit. After the socket was screwed down tightly, it sat dead flat.
Just for fun, I sat the head piece on top. Only thing missing it the center post.

But that will be tomorrow’s project…
