
Tenebrae Hearse for Holy Spirit church – part 5
Today I want to start working on the base. The easiest part will be the four feet.
Since I have come 1/2″ stock left over from the triangular off-cuts from the center piece, I start there.

I cut four 2″x2″ blocks that will be attached to the bottom, and set them aside for later.

This base needs to be fairly wide to counter the 37″ wide headpiece. My initial thought was to use plywood because of its stability, but the client wants solid wood. Solid wood makes sense because it is definitely more durable, but wood expands along the grain.
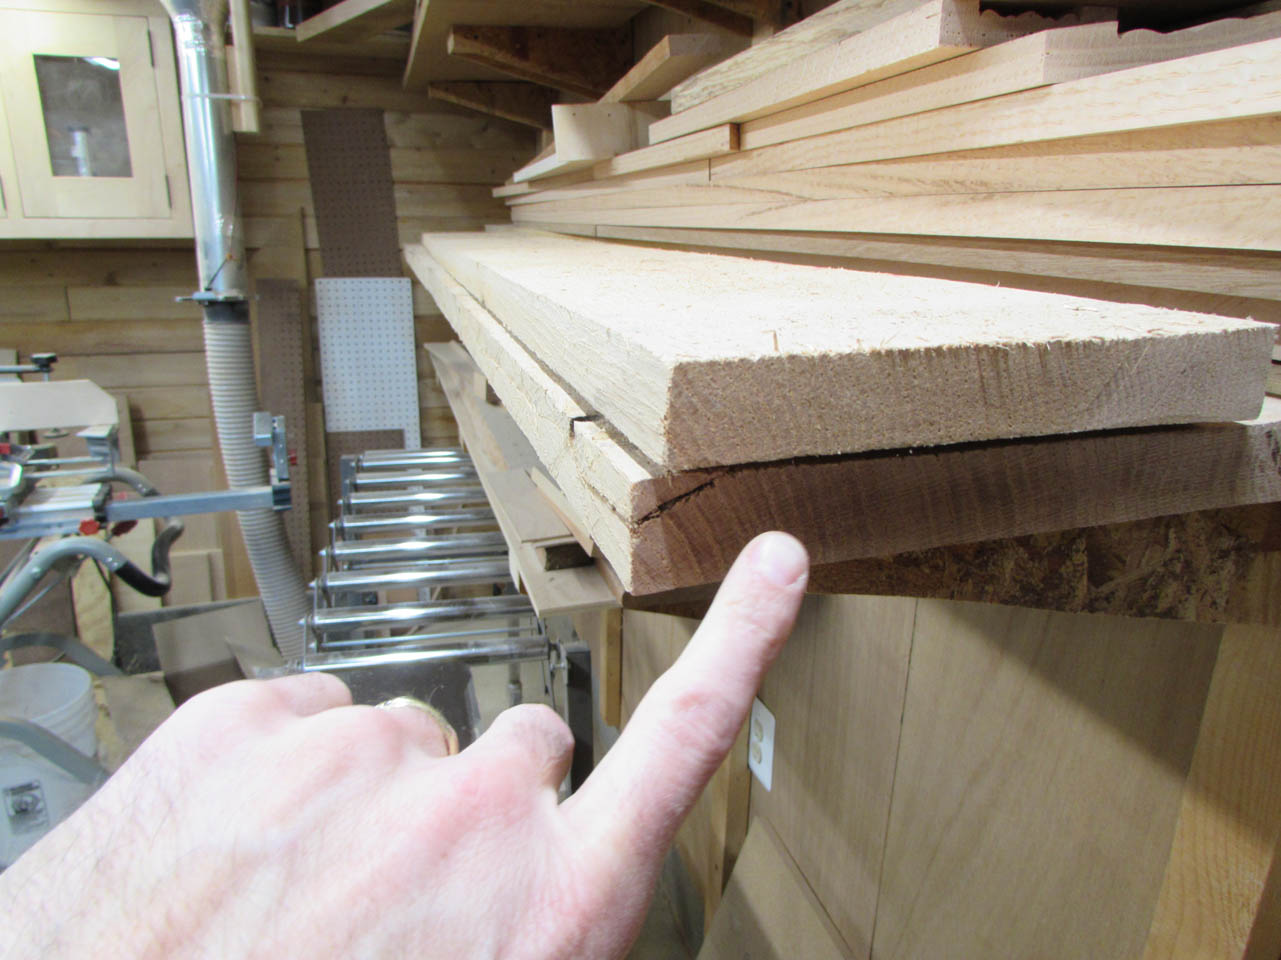
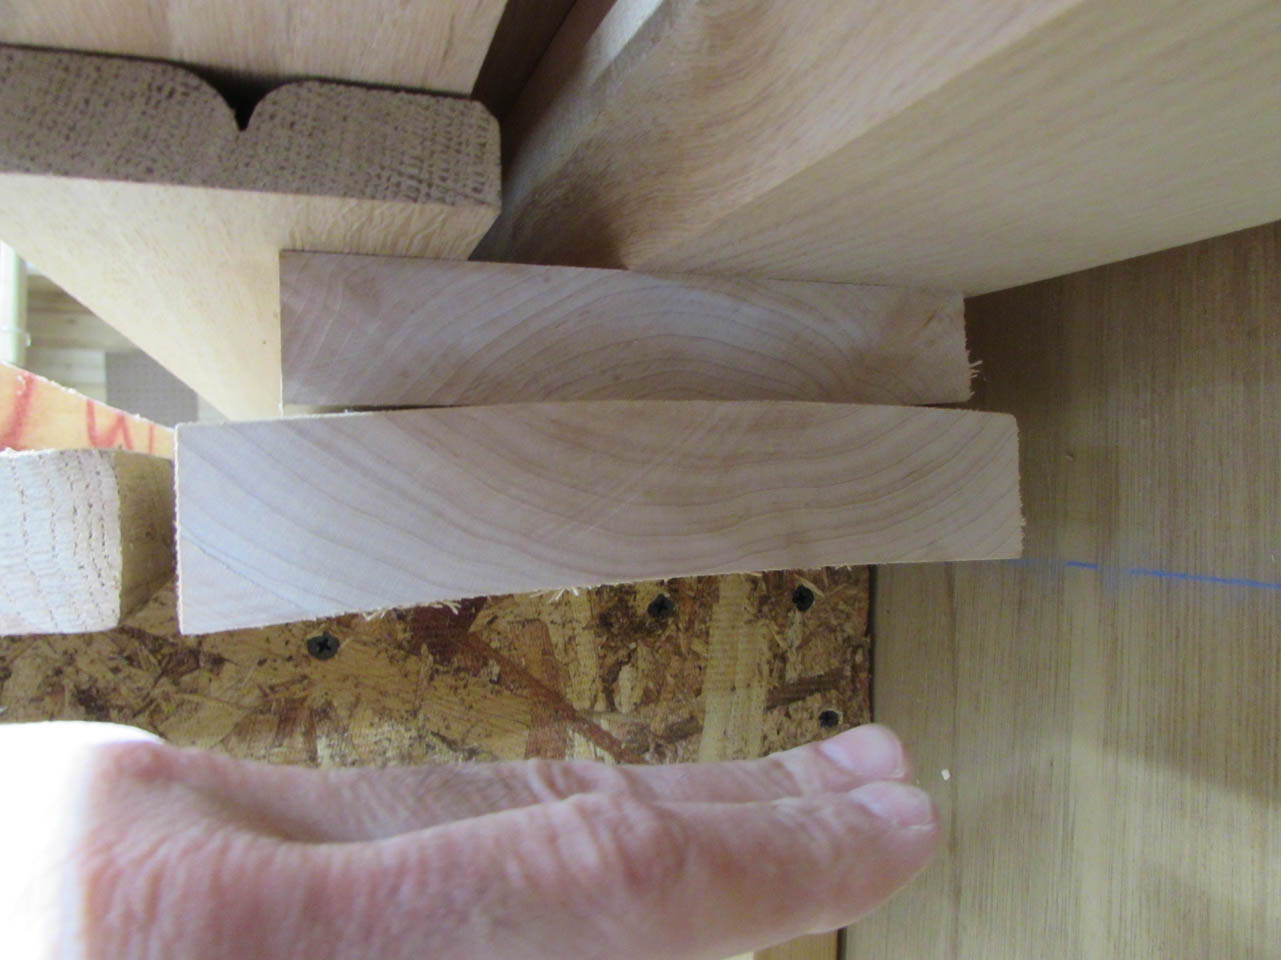
If there is a drastic change in humidity, for example, storing the Tenebrae in a damp basement, then bringing it out once a year to a heated or air conditioned space, the wood could expand or contract along the grain. That could cause warping and cracking depending on how the wood was constrained by joinery. To mitigate the movement as much as possible, I will use quarter-sawn wood, which was cut with the grain in the vertical direction (pic above). Flat-sawn wood (pic below) would expand horizontally along the grain.
That would allow too much expansion, so we will avoid that.

Instead of gluing up 18″ & 26″ wide panels, I will be mitering together narrower boards to create the stacked plates. This will also reduce the expansion across each board because each will be narrower. Plus it will look nicer with no end-grain exposed.
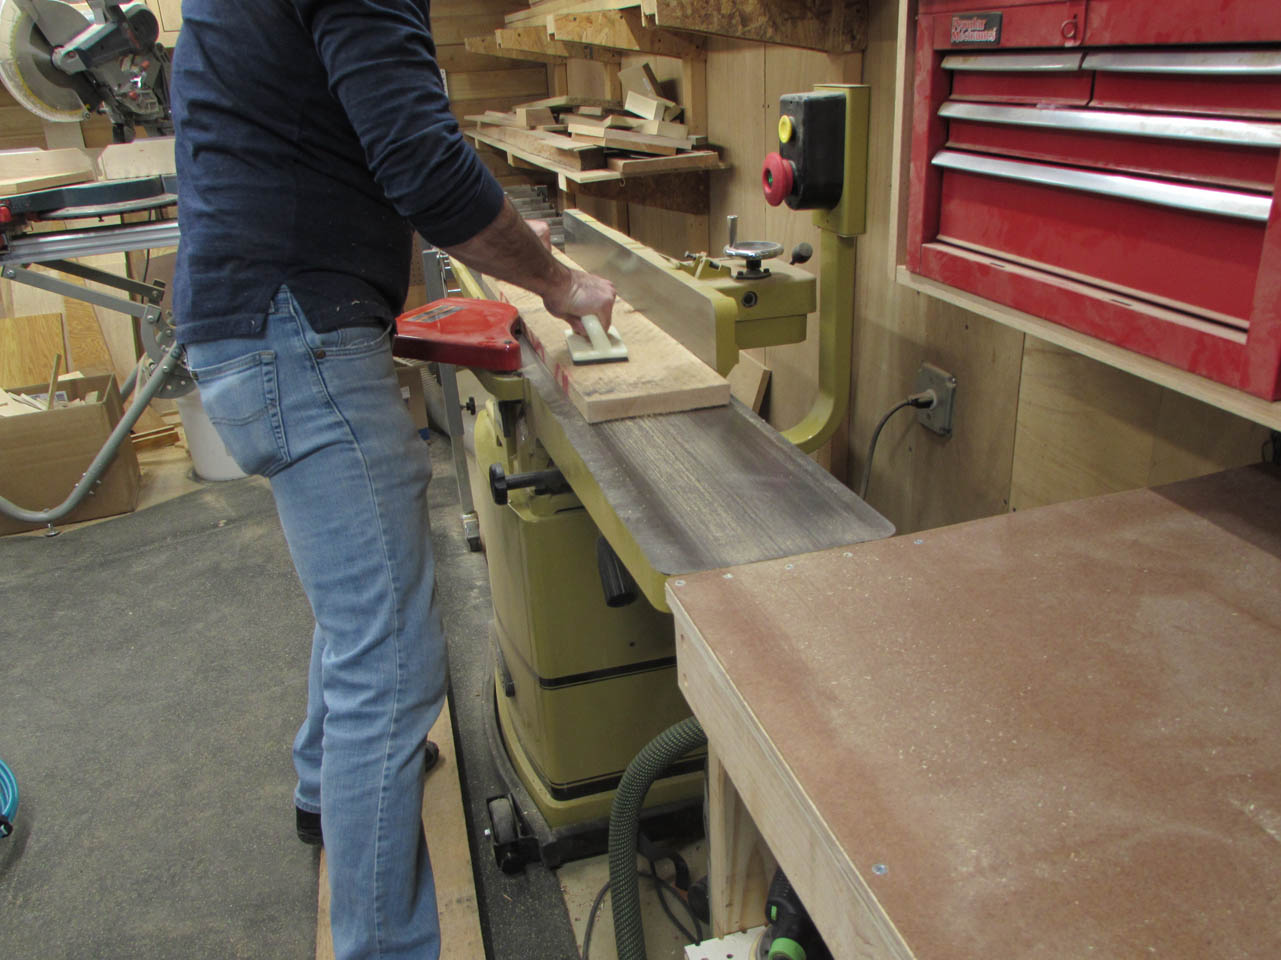
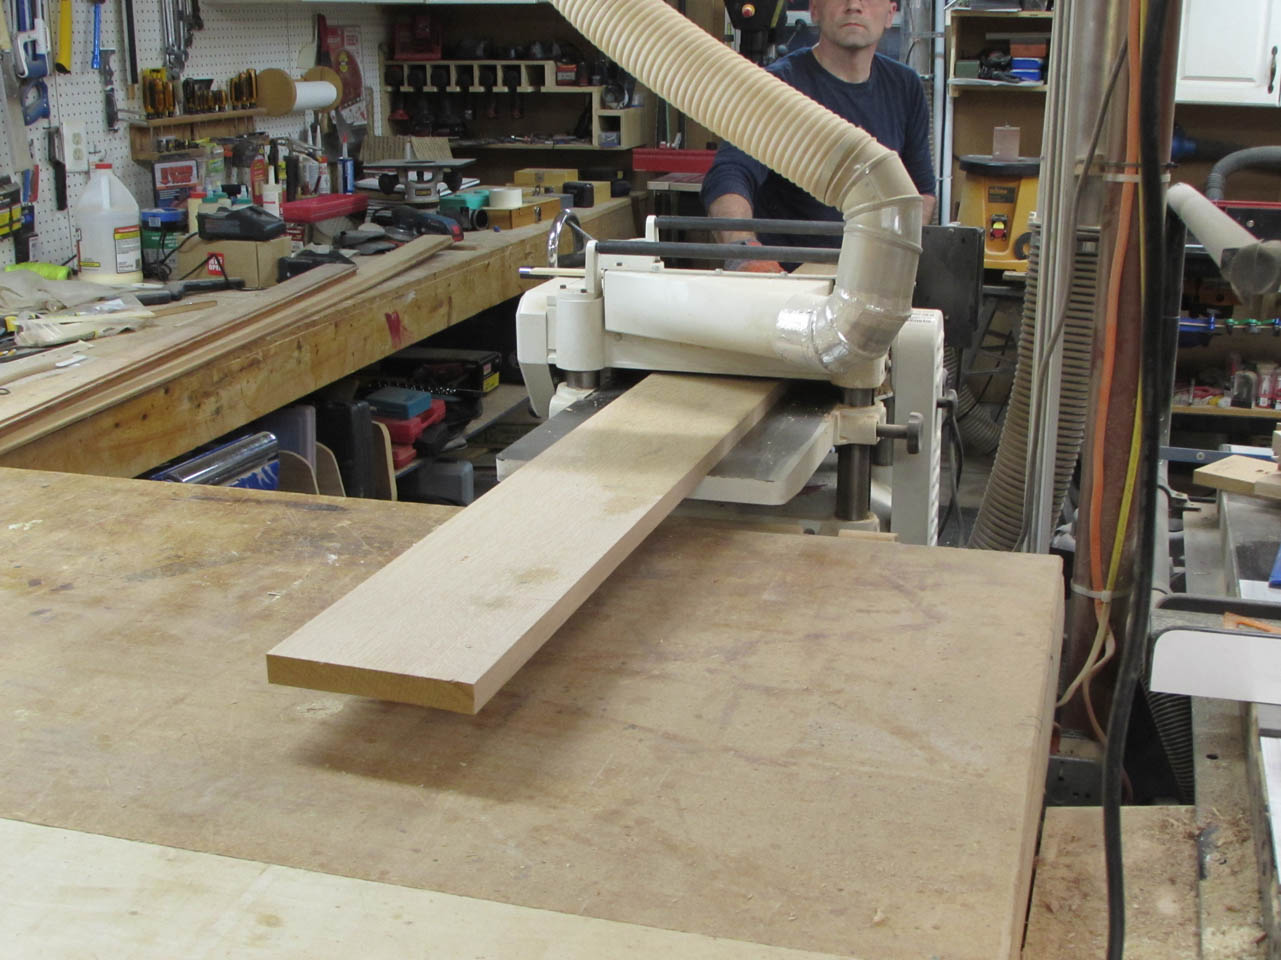
I start by jointing one edge and one face again.


Then cleaning up the opposite sides with the table saw and the planer.


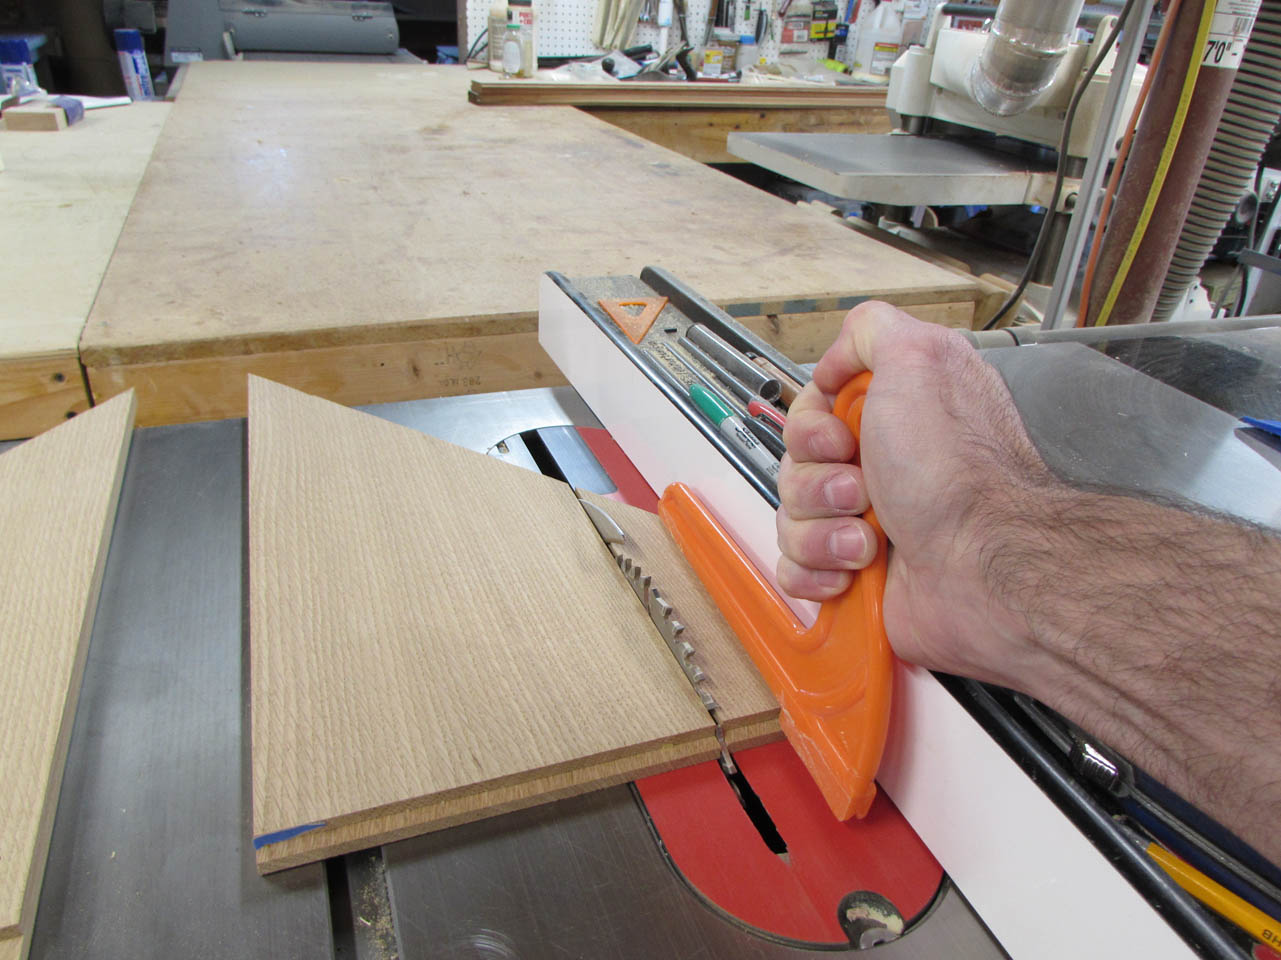
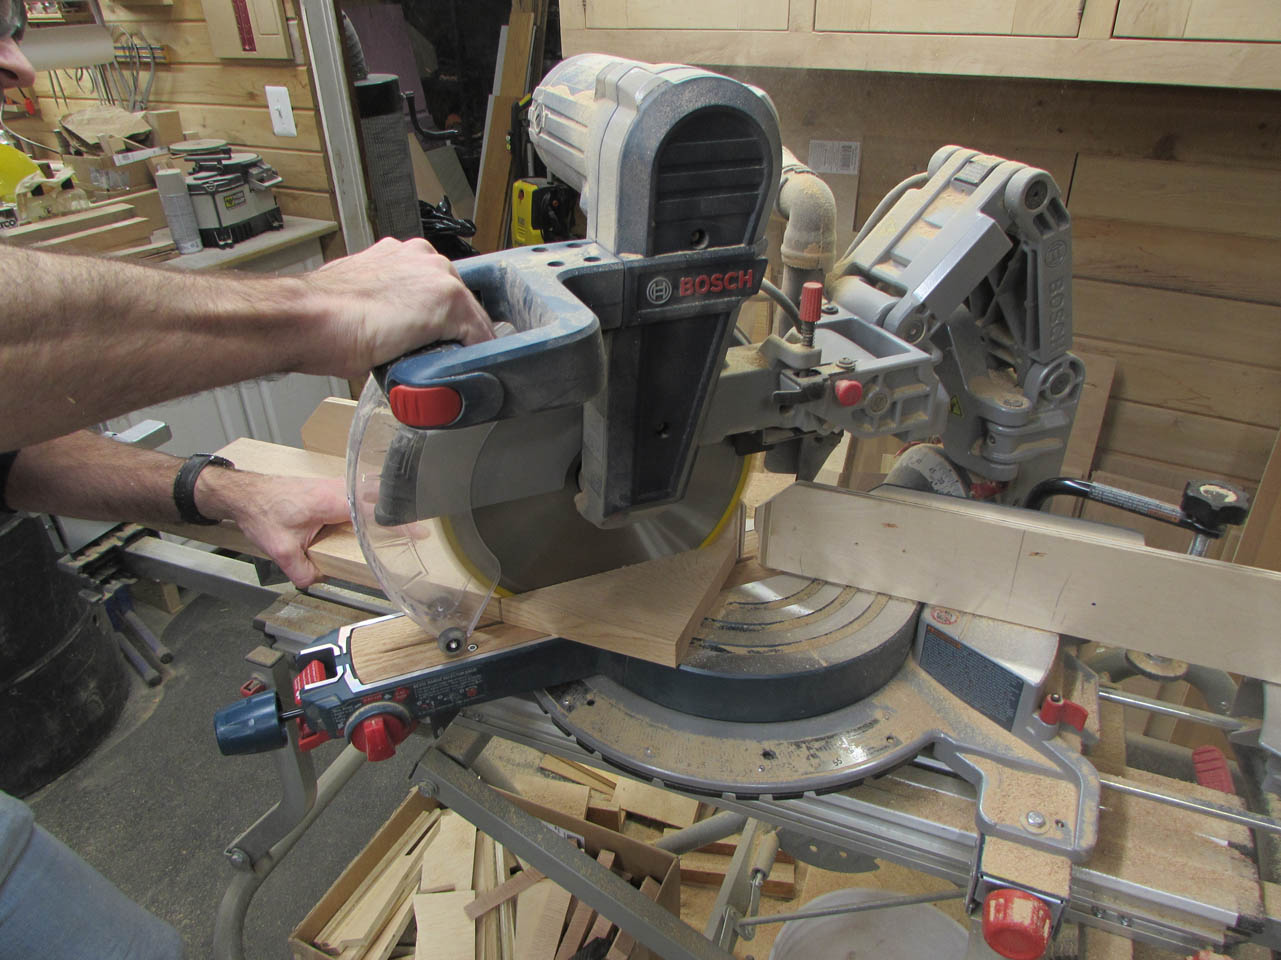
I take my time dialing in the miter saw to get an exactly 45° cut.

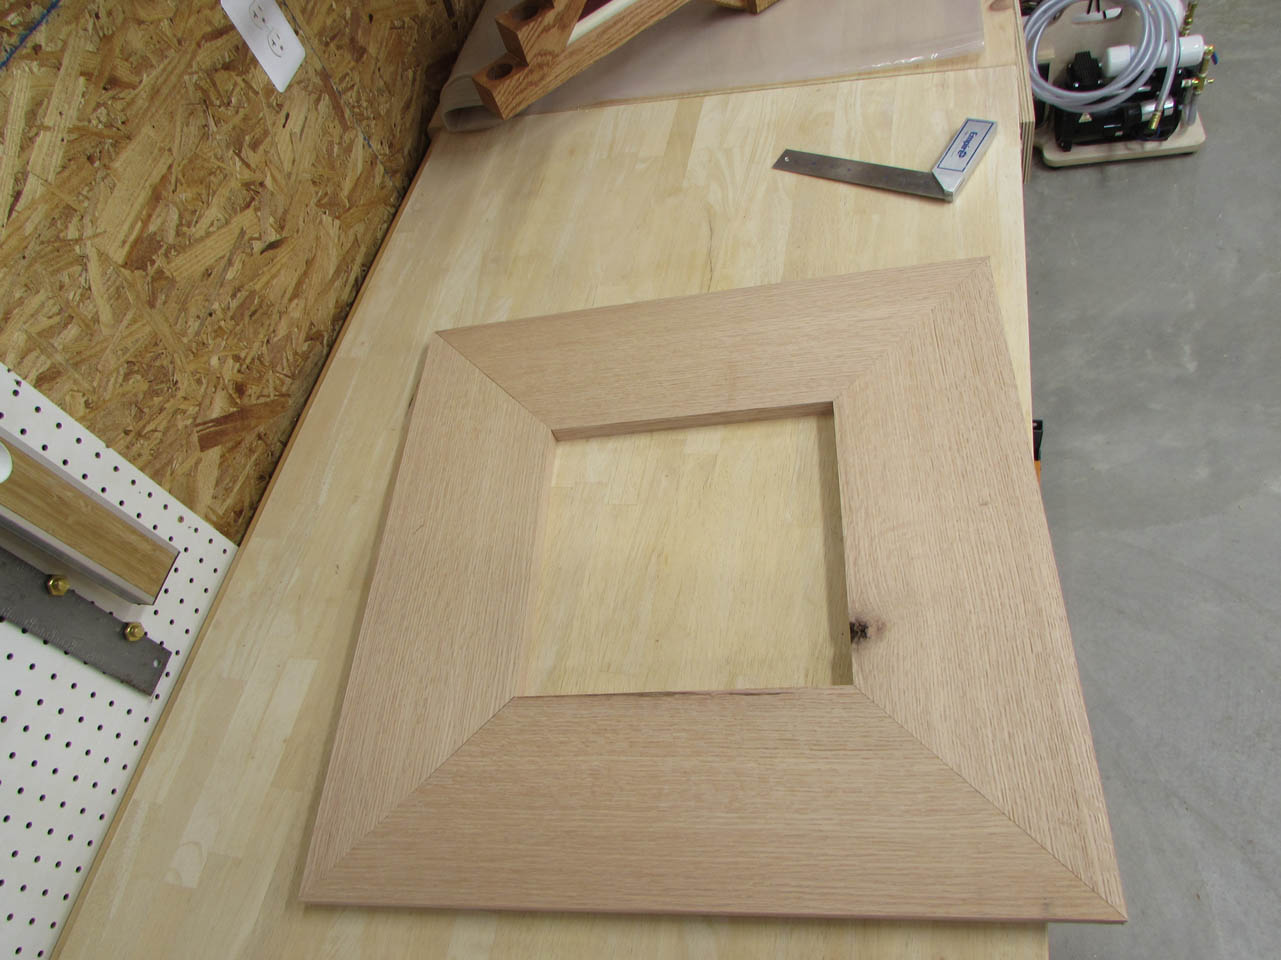
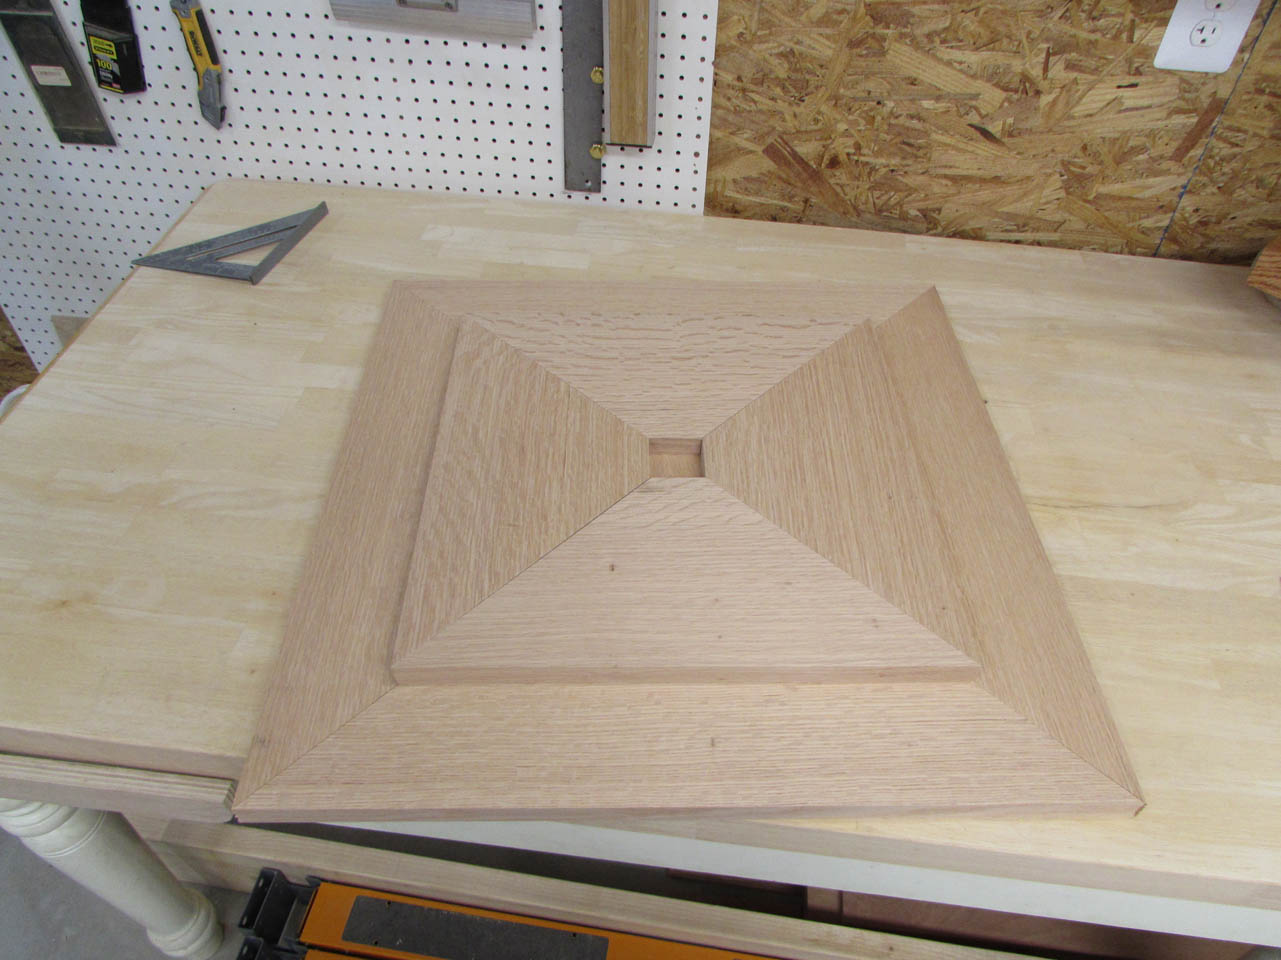
With the four pieces done for the base, I do the same thing again with the next level up.


I think it looks nice. figuring out how to glue it all together will be a completely different challenge…

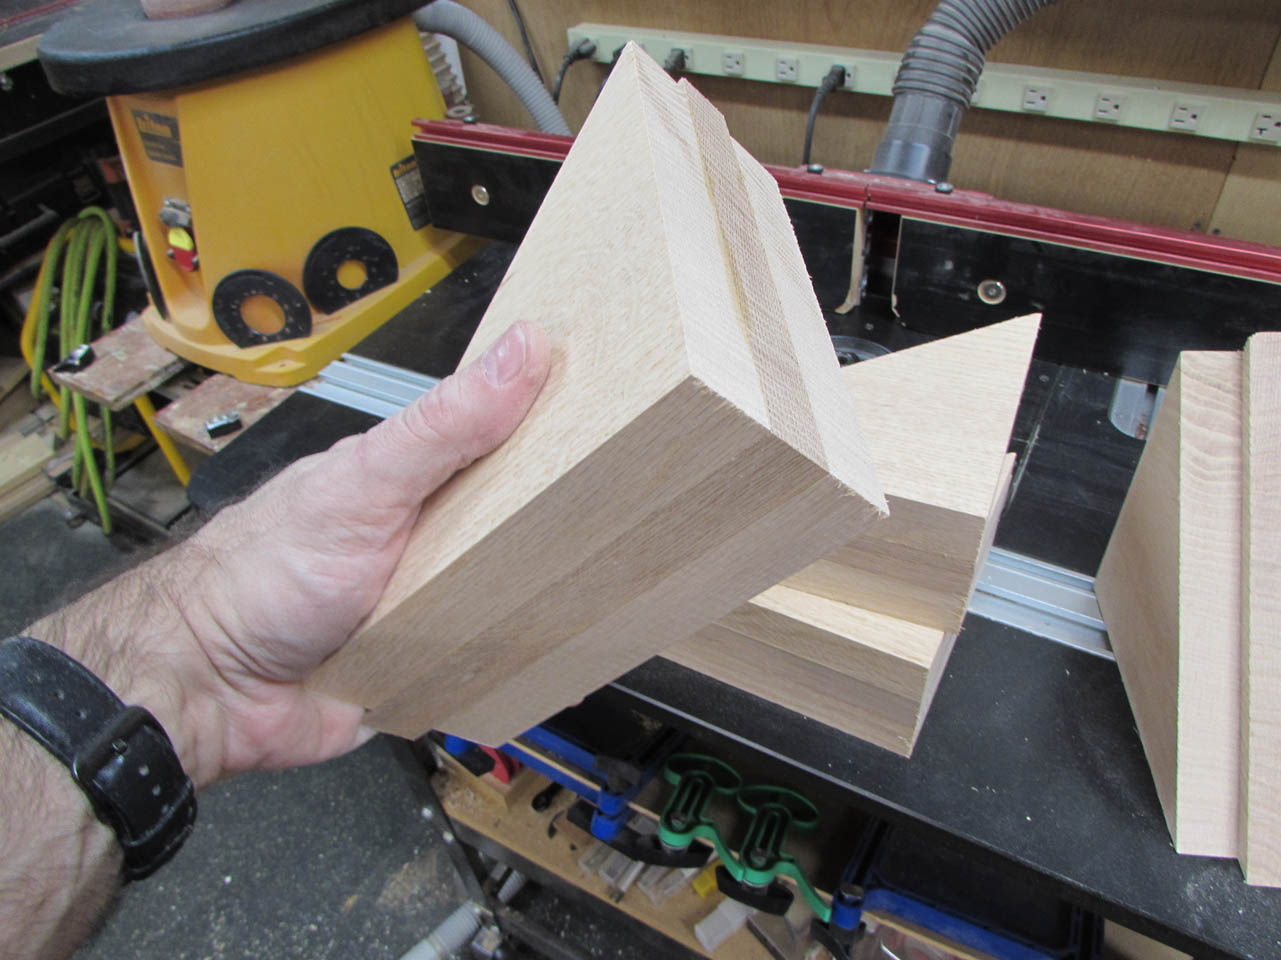
Before tackling that, I use some of the off-cuts to cut the triangles for the base socket.

There will be three laminated triangles on each side of the base, creating a 6″ deep socket to hold the post.
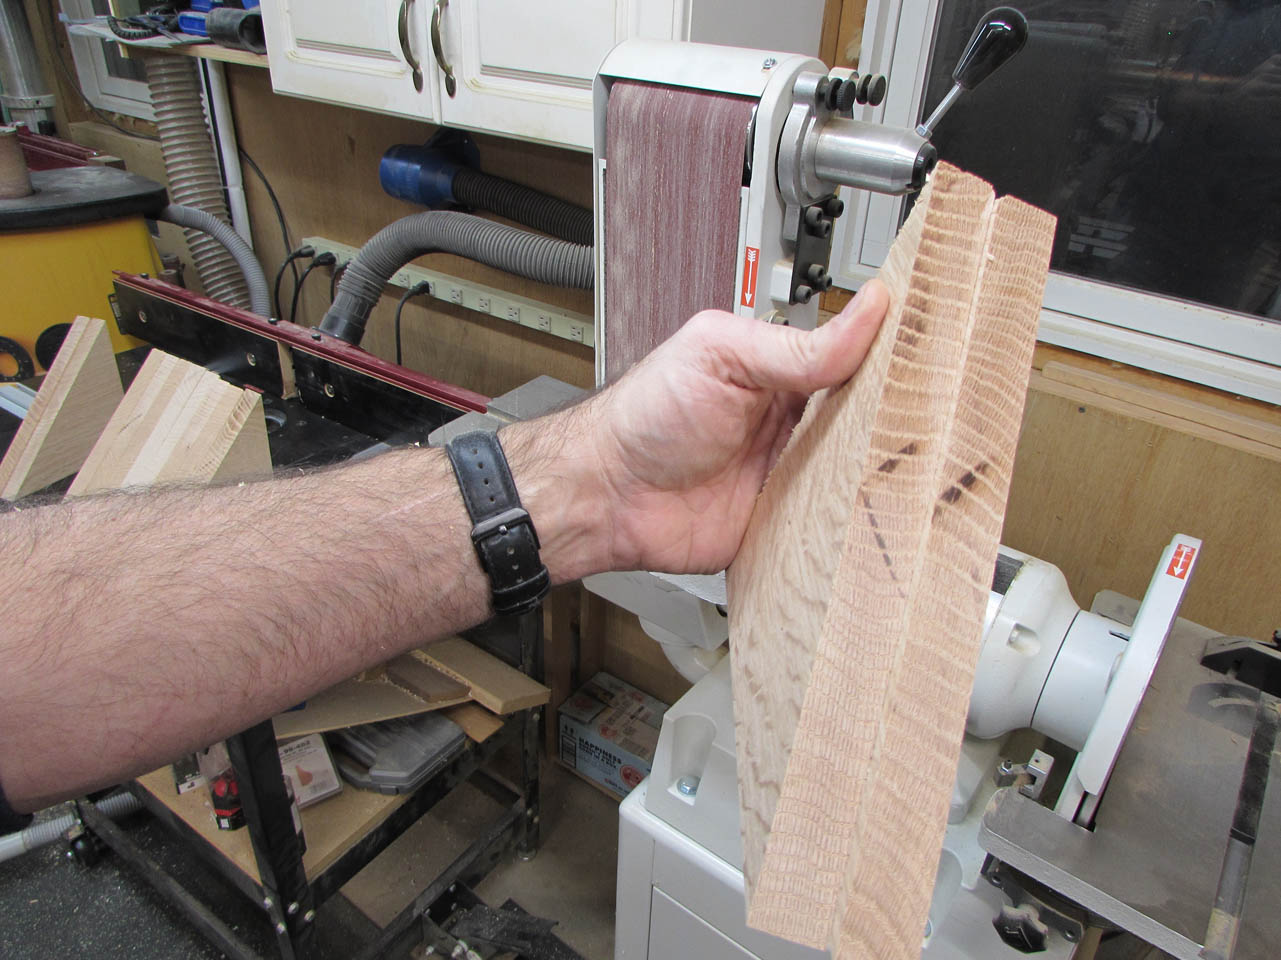
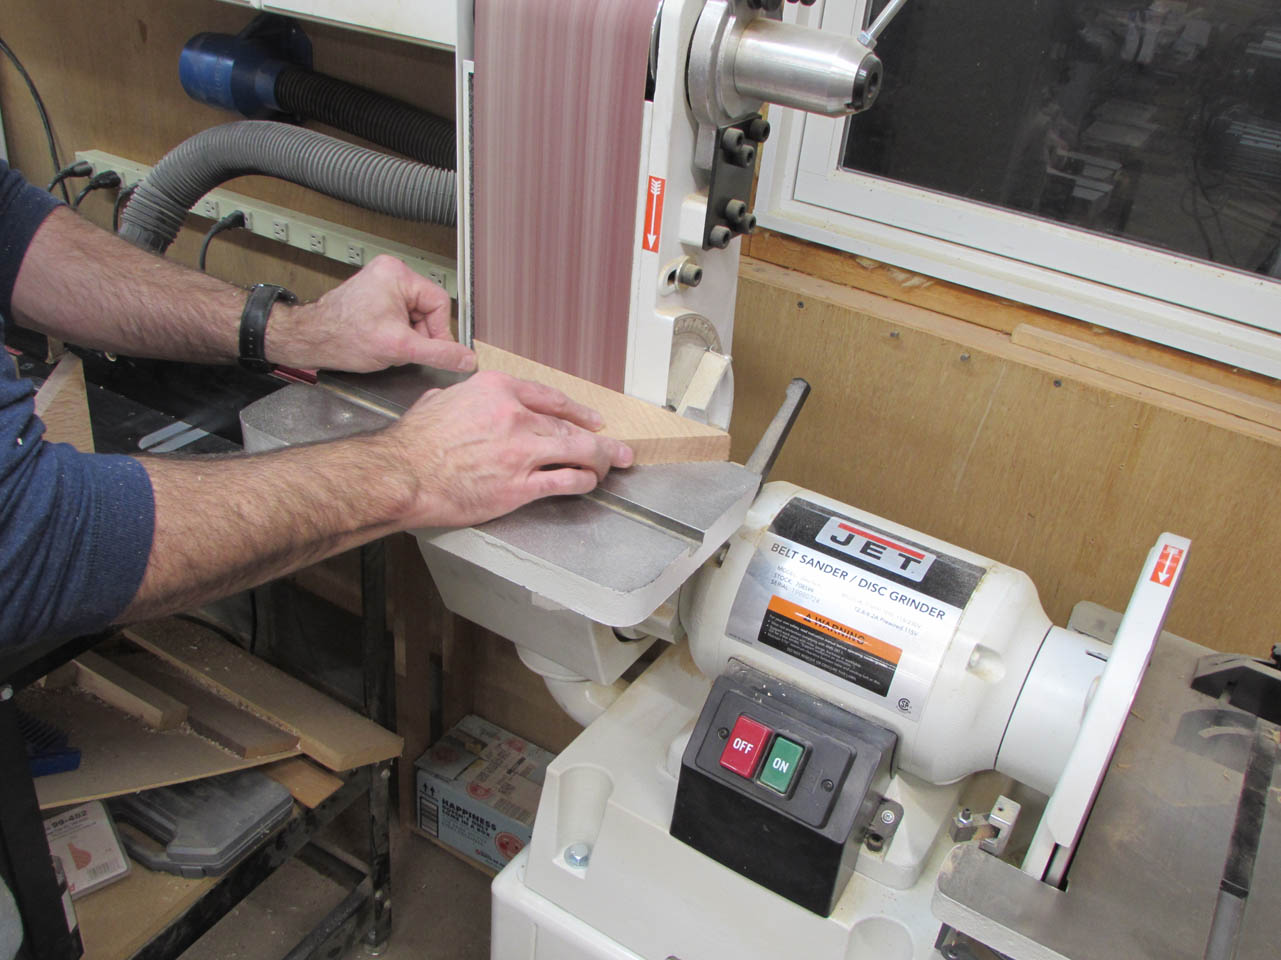
The miter saw sometimes will burn the wood, so I use the 6″ wide belt on my sander to clean up the cut faces.

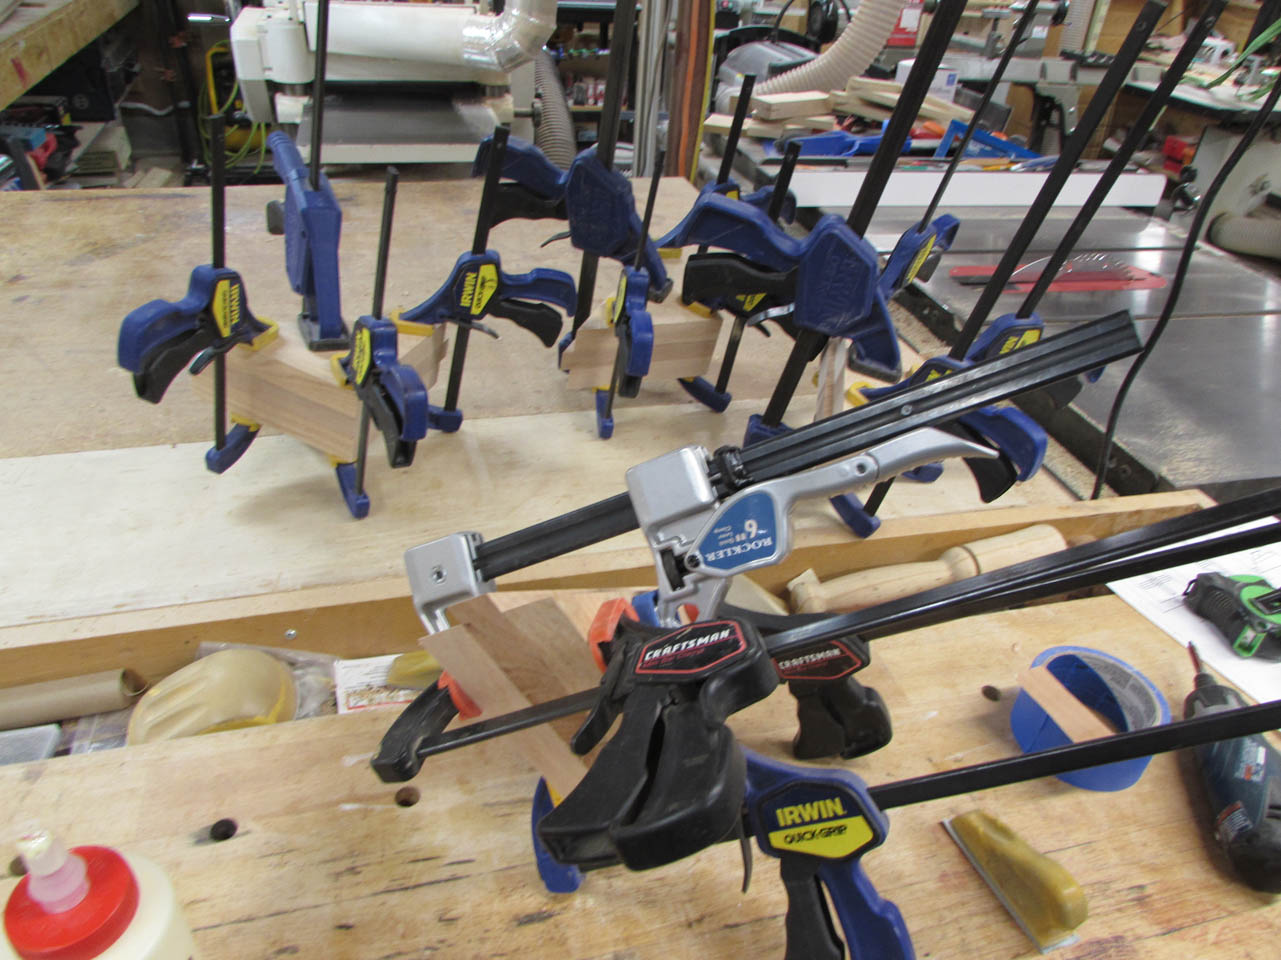
With all twelve of the triangles cut out, I can start gluing them up.

I spread a thin, even coat of glue on one face, then attach the center piece with a few brad nails. This will help prevent the boards from sliding around when clamped.

I don’t nail on the third piece because I don’t want the nail heads visible.
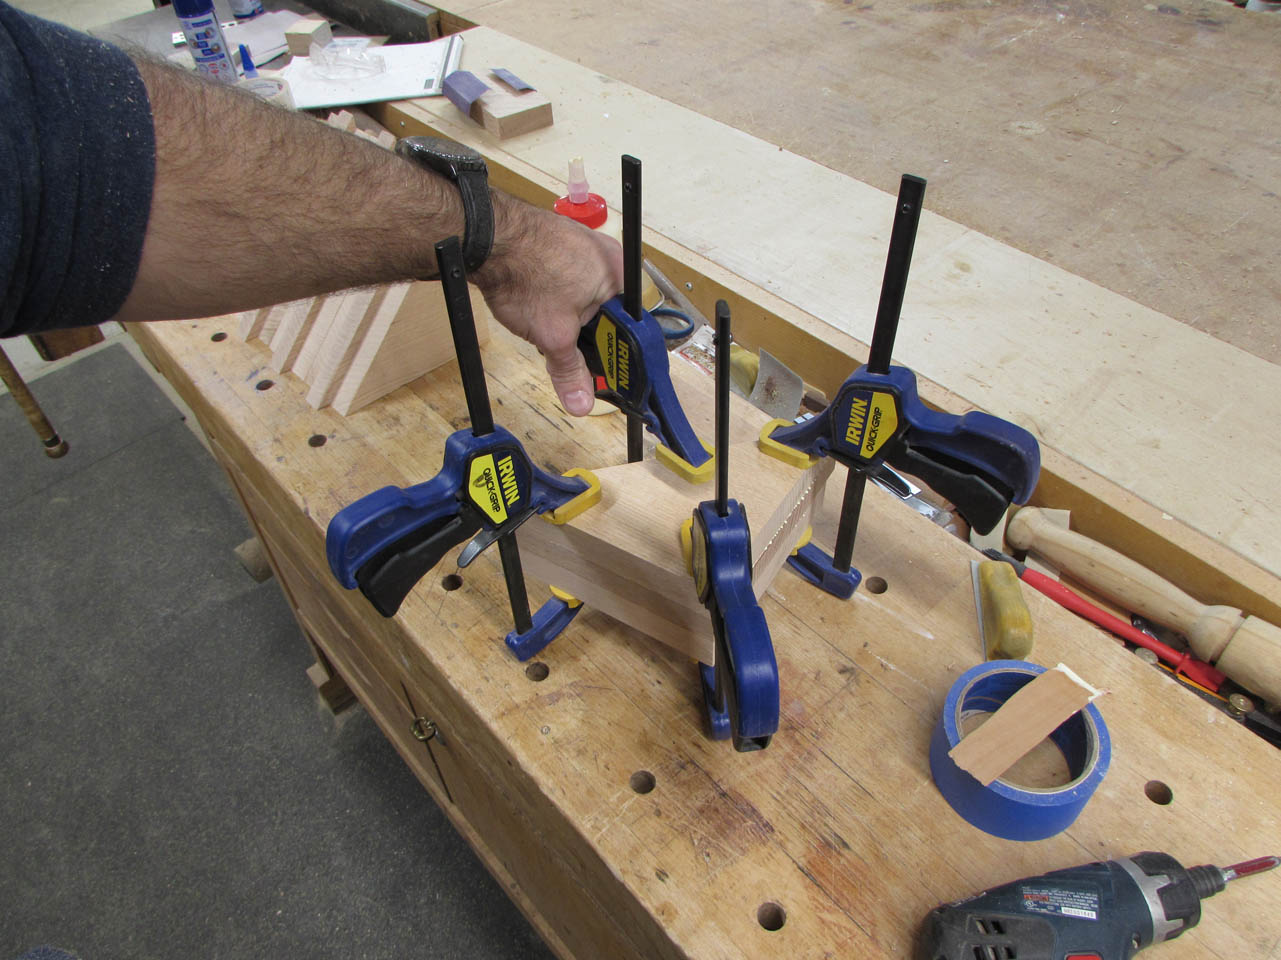
I am very careful to keep all of the faces flush as I attach the clamps.

While those are drying, I can go back to joining up the base pieces.
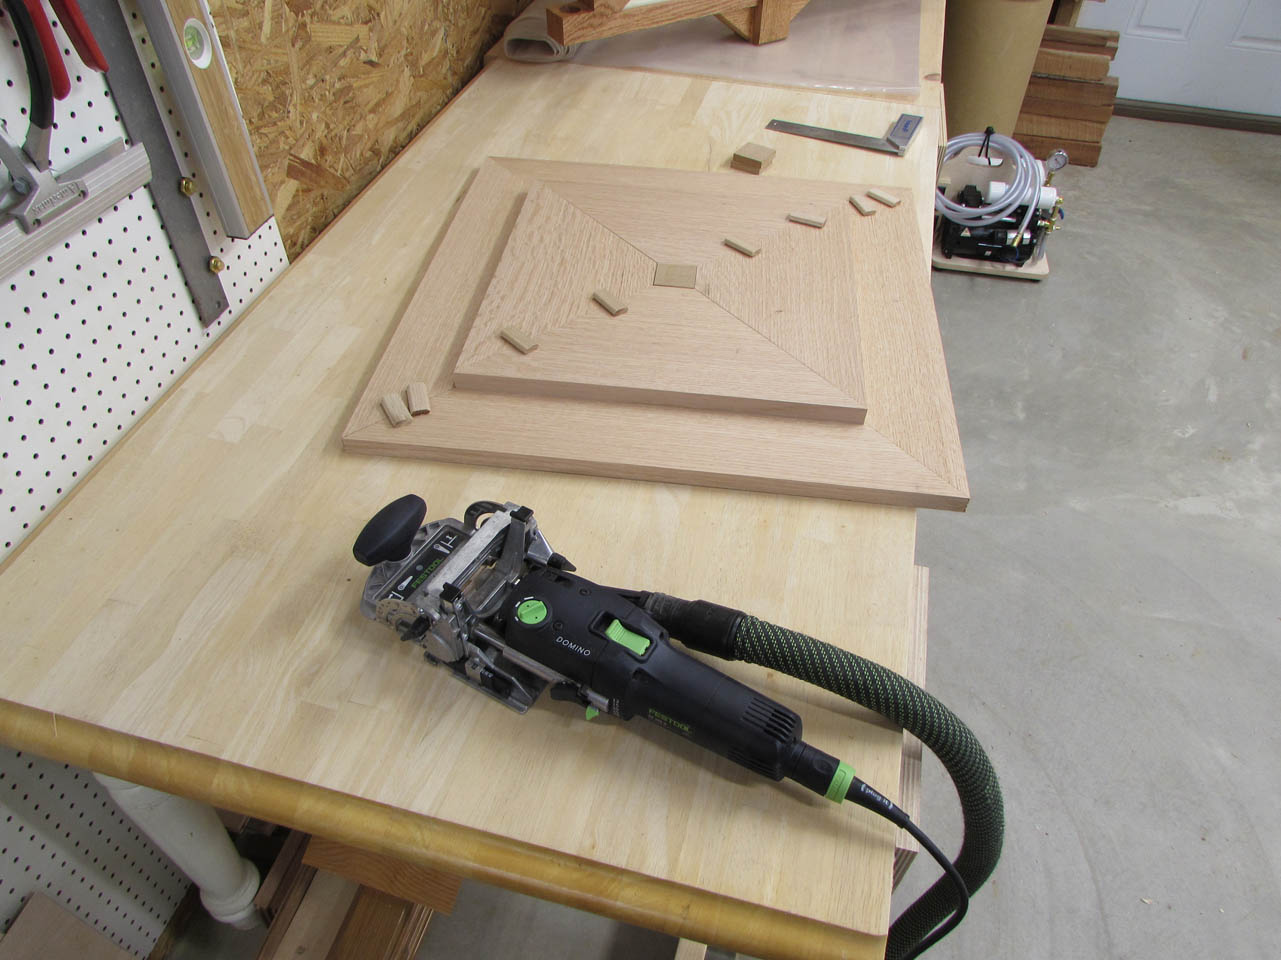
I thought about using splines to hold the mitered faces together, but I didn’t want them exposed on the corners. Instead, I am going to use small tenons.

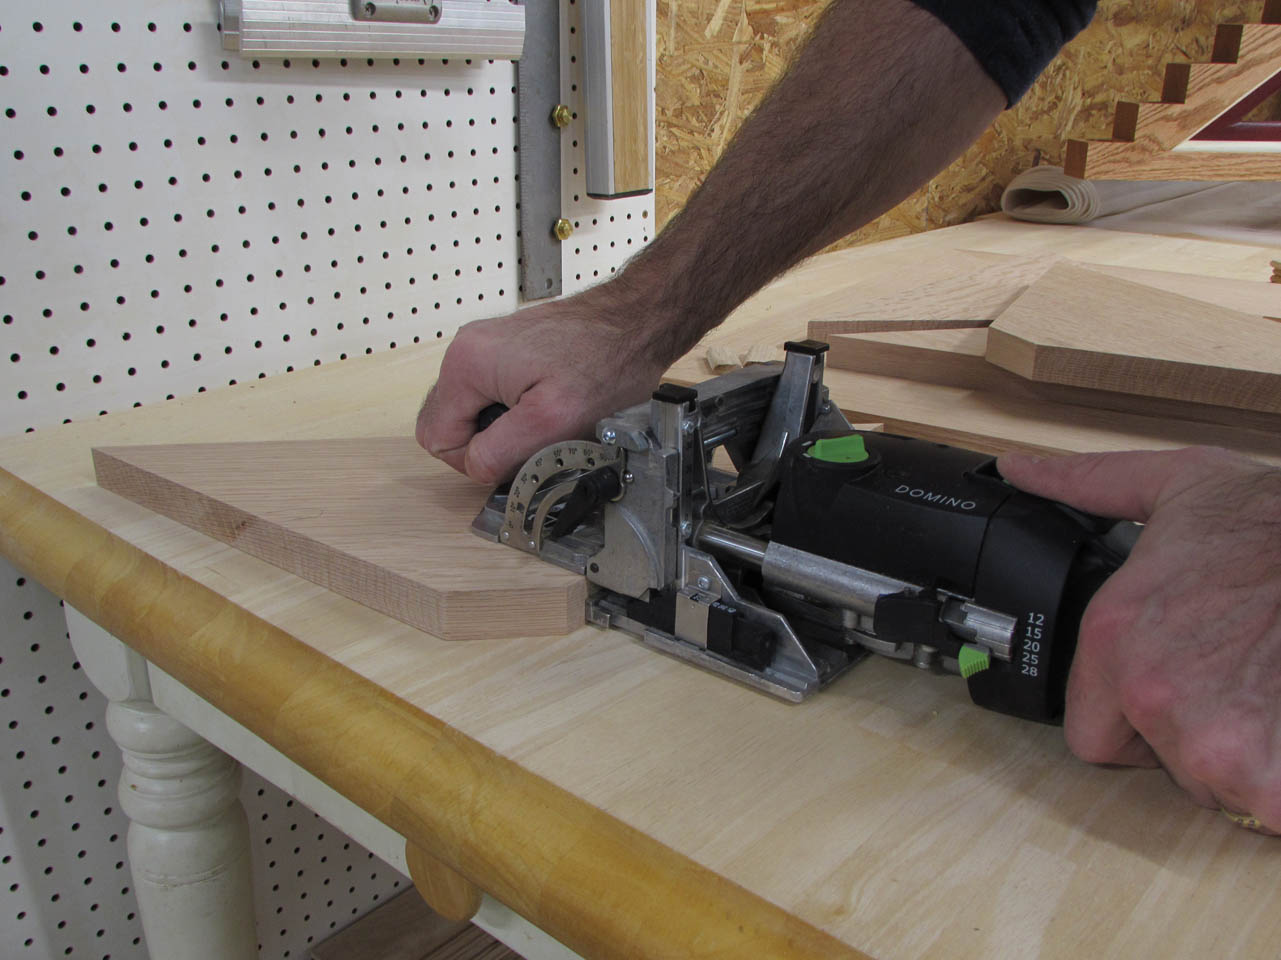
My Domino jointer will cut perfectly sized mortises to receive the tenons at my marked locations.

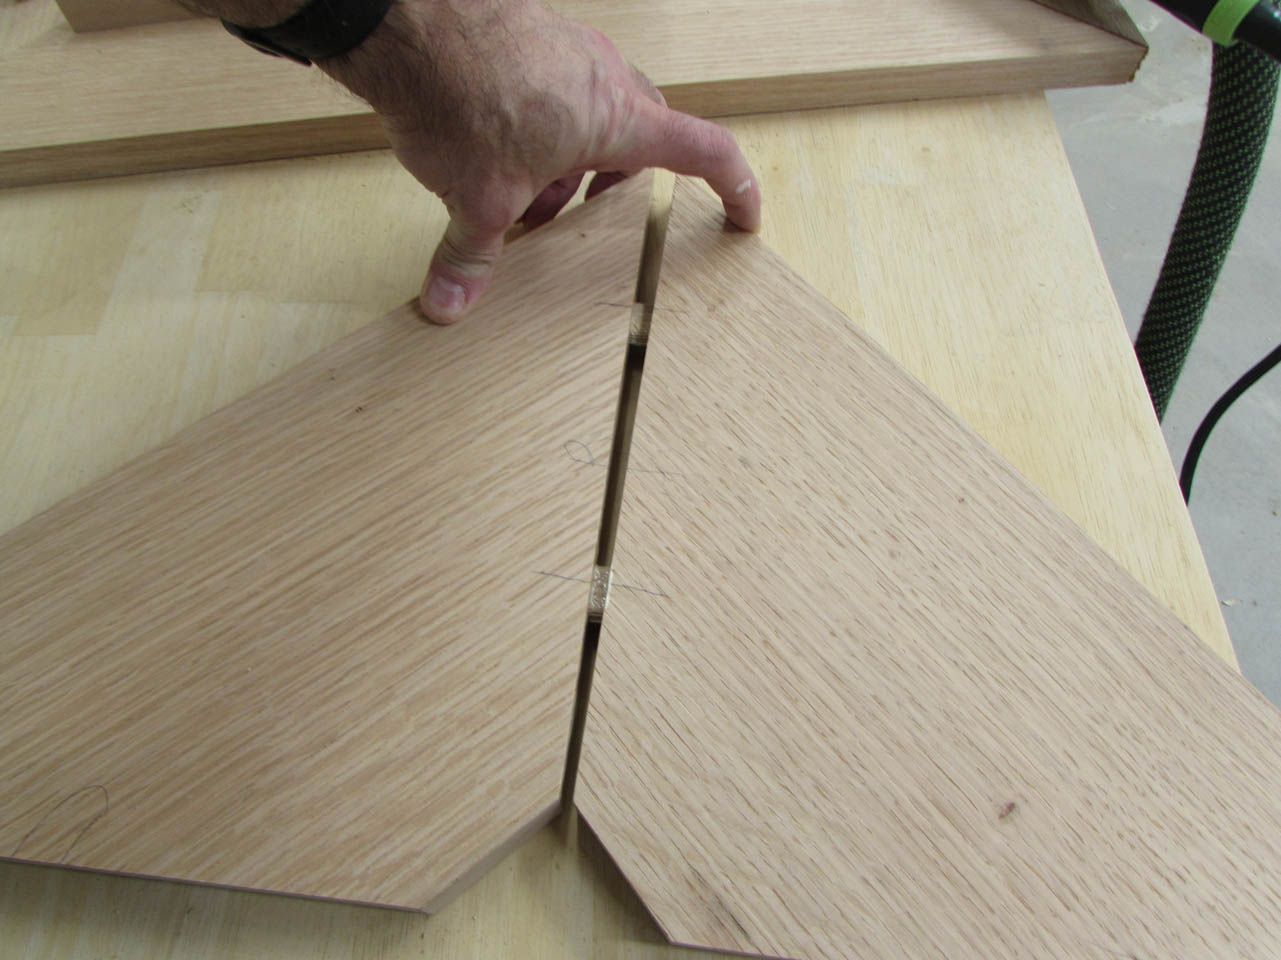
I apply glue in the mortises as well as along the mitered edge.

Then I press it all together. Now, the hard part is figuring out how to clamp it together while it dries.

The answer is painter’s tape and super glue. I cut some small 90° triangle blocks and applied tape to one edge, then I also applied tape along the corner of the base that needs clamping. I spray one piece of tape with CA glue activator and apply CA glue (super glue) to the tape on the triangle, then press it in place. It dries in seconds and has a very strong bond.

Now I have a temporary surface to clamp to.

I found that I needed some wider tape to be attached to the corner, with all the clamping force applied, the 1″ wide strip was not enough. Once the glue is dry, I can simply peel off the tape and the blocks are removed, leaving a clean corner behind.

I glued up the two halves of the small square first, then set them aside.


I repeated the same steps on the larger base section next.


While those are drying, I can move back to my triangular socket pieces.
After pulling the clamps, I cleaned up any of glue squeeze-out on the belt sander.


They look good so I set my table saw fence to 6″ and cut off one of the tips off each.

This gives me a nice, blunt edge for the top of the socket.


Next, I set the table saw blade to a 45° angle and cut 1/2″ off each side.

This is what I end up with.
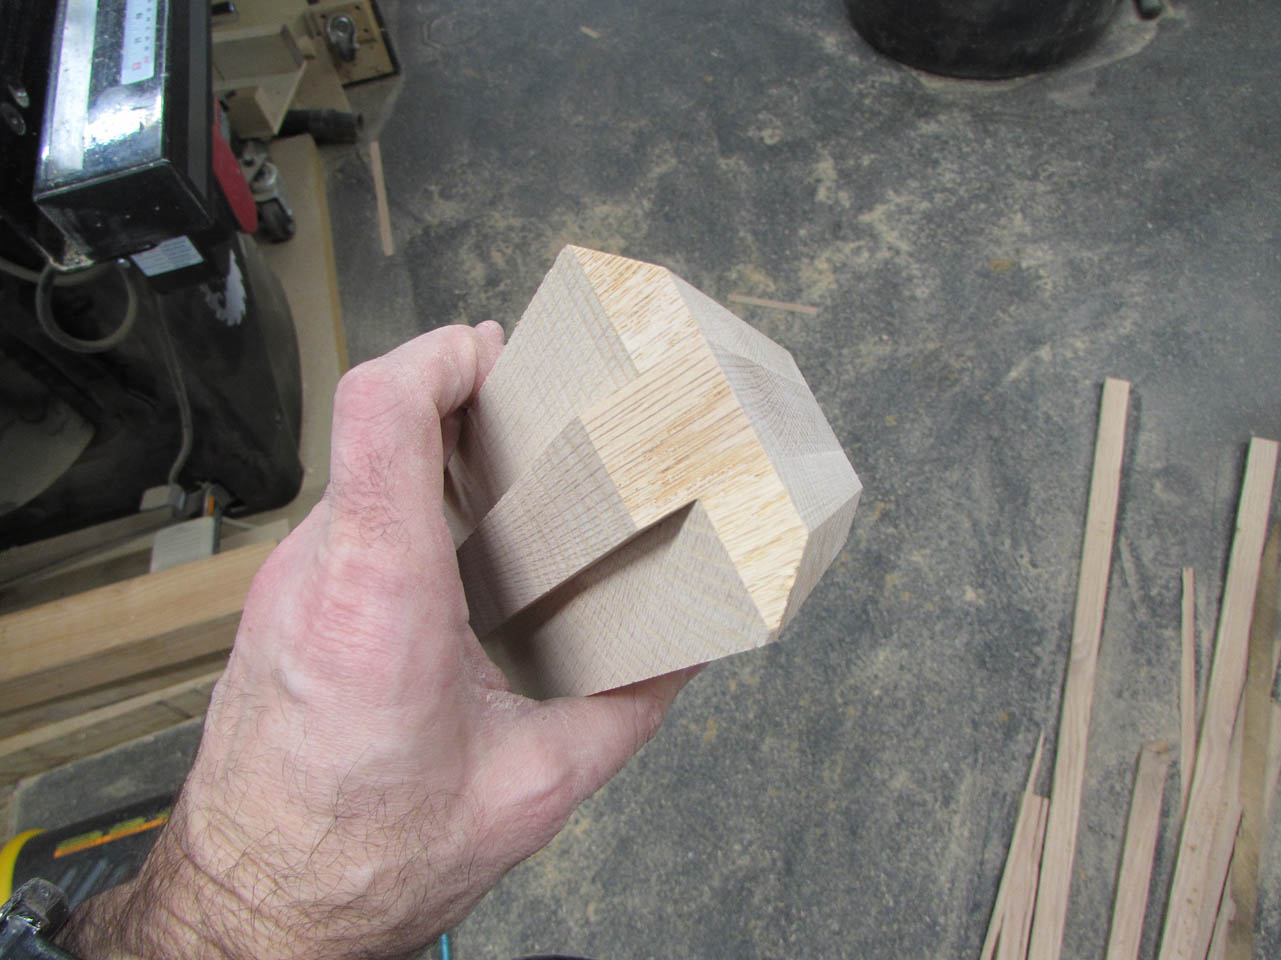
When I bring these mitered edges together, this gives me the 2″ wide socket for the post to sit in.

That’s enough for today, I will let the glue continue to dry while I figure out how to put this all together…
