
Tenebrae Hearse for Holy Spirit church – part 4
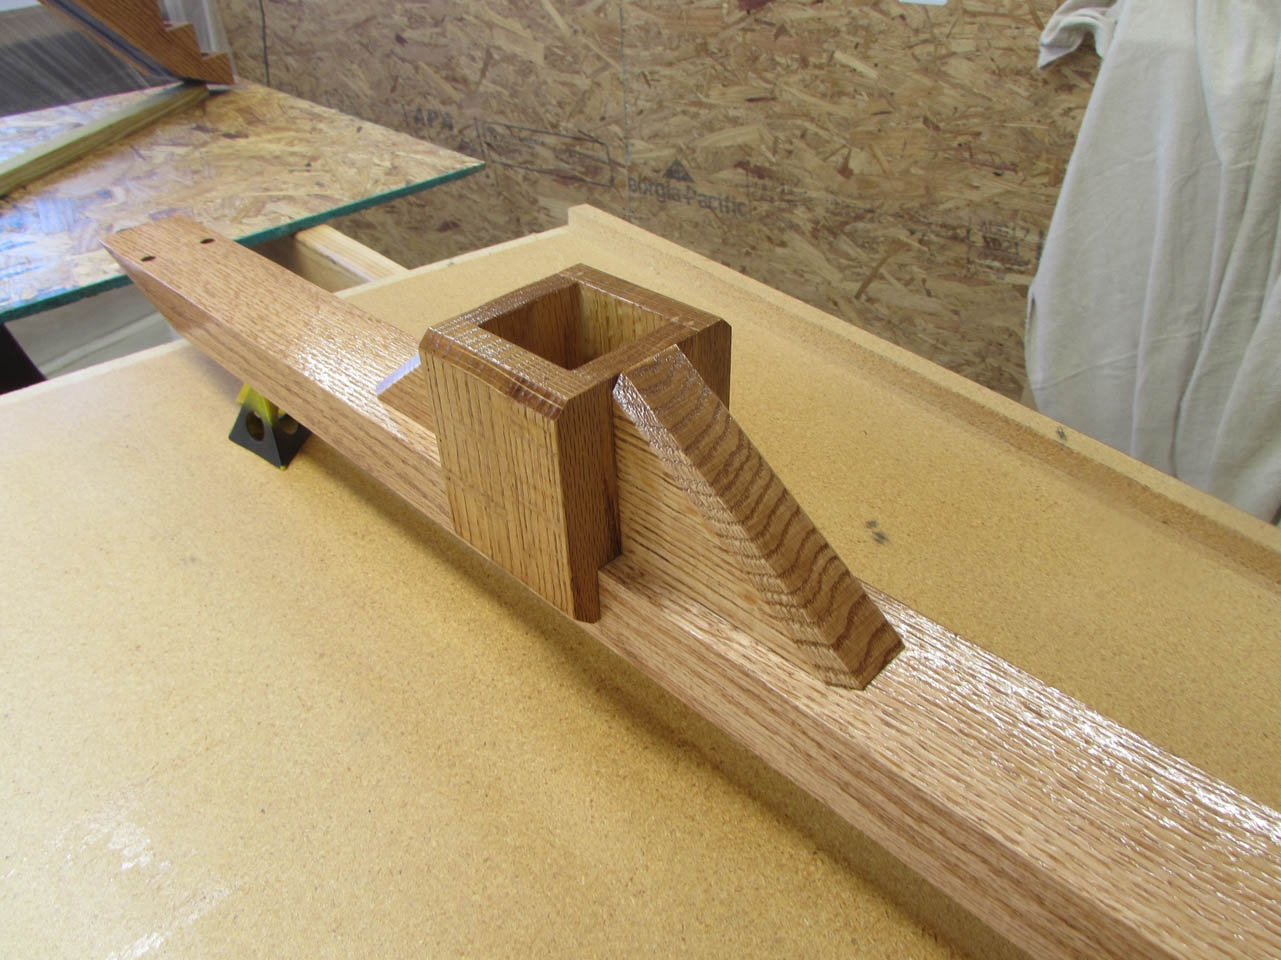
Time to make the yoke for the base of the head piece.

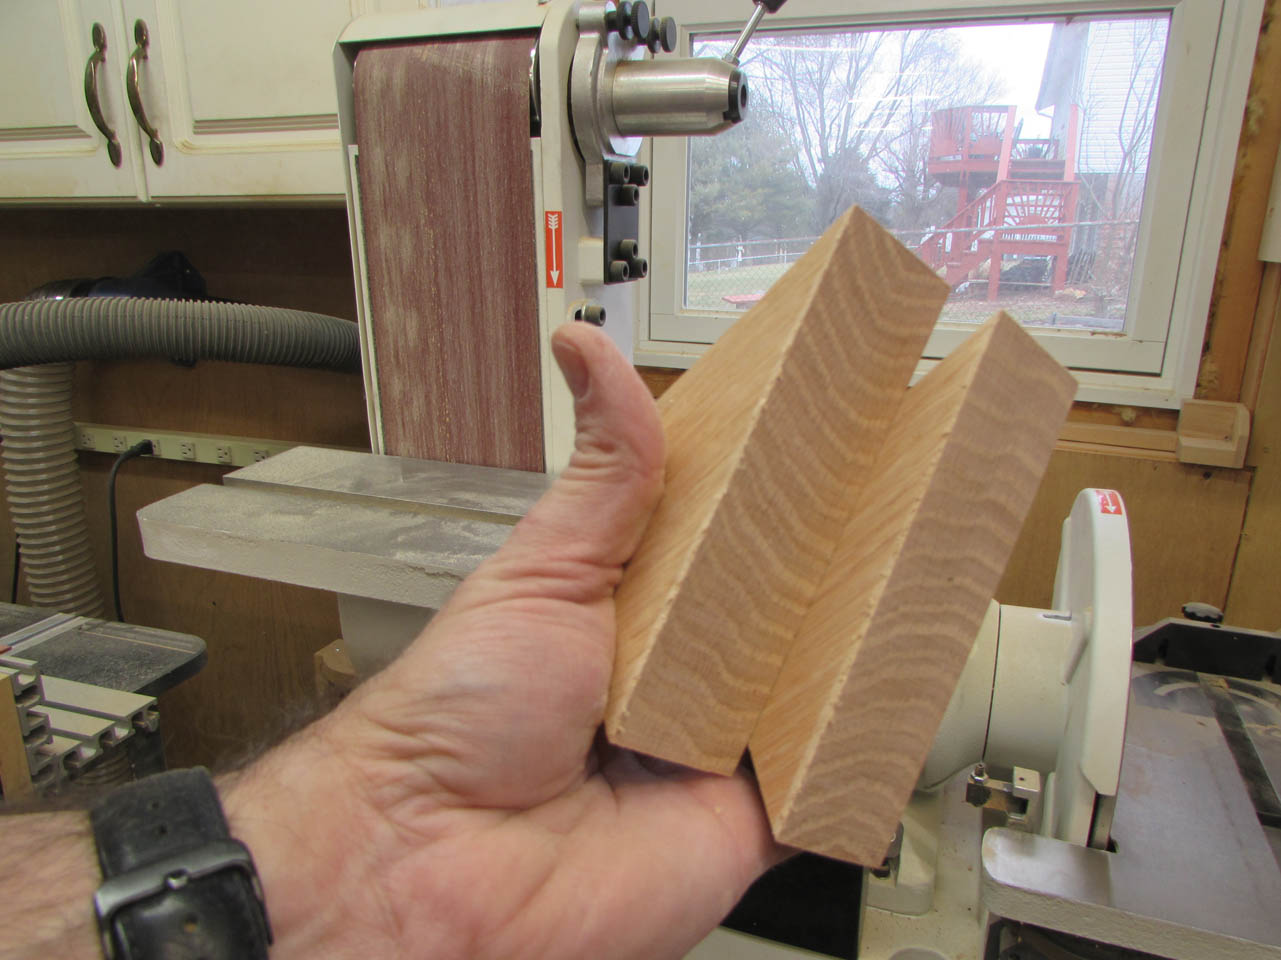
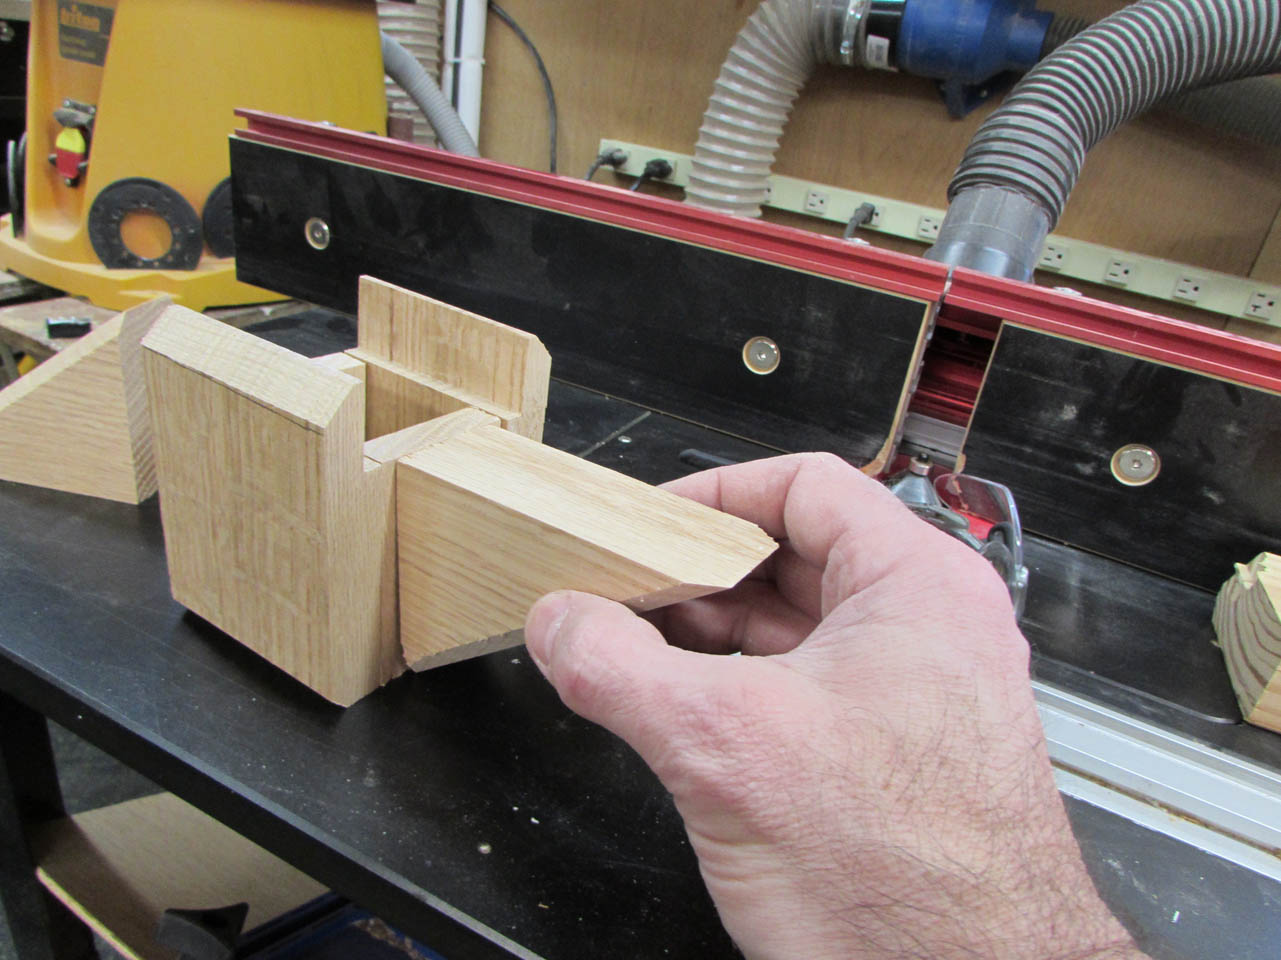
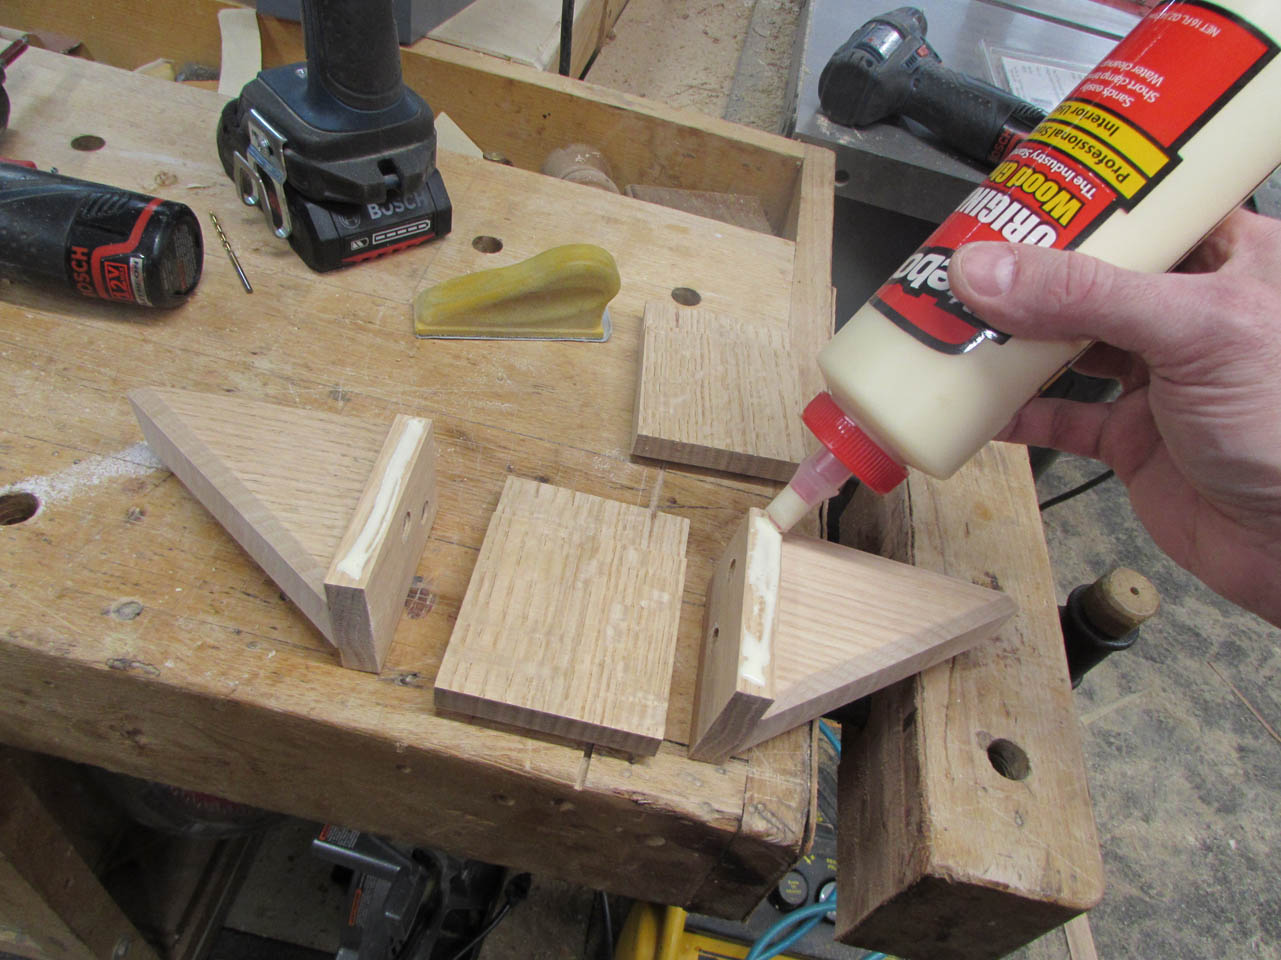
I start with the two gussets. They are 3″x4″ triangles that are 1-1/2″ thick. I squared up the corners on the table saw, then cut the angles on the band saw.
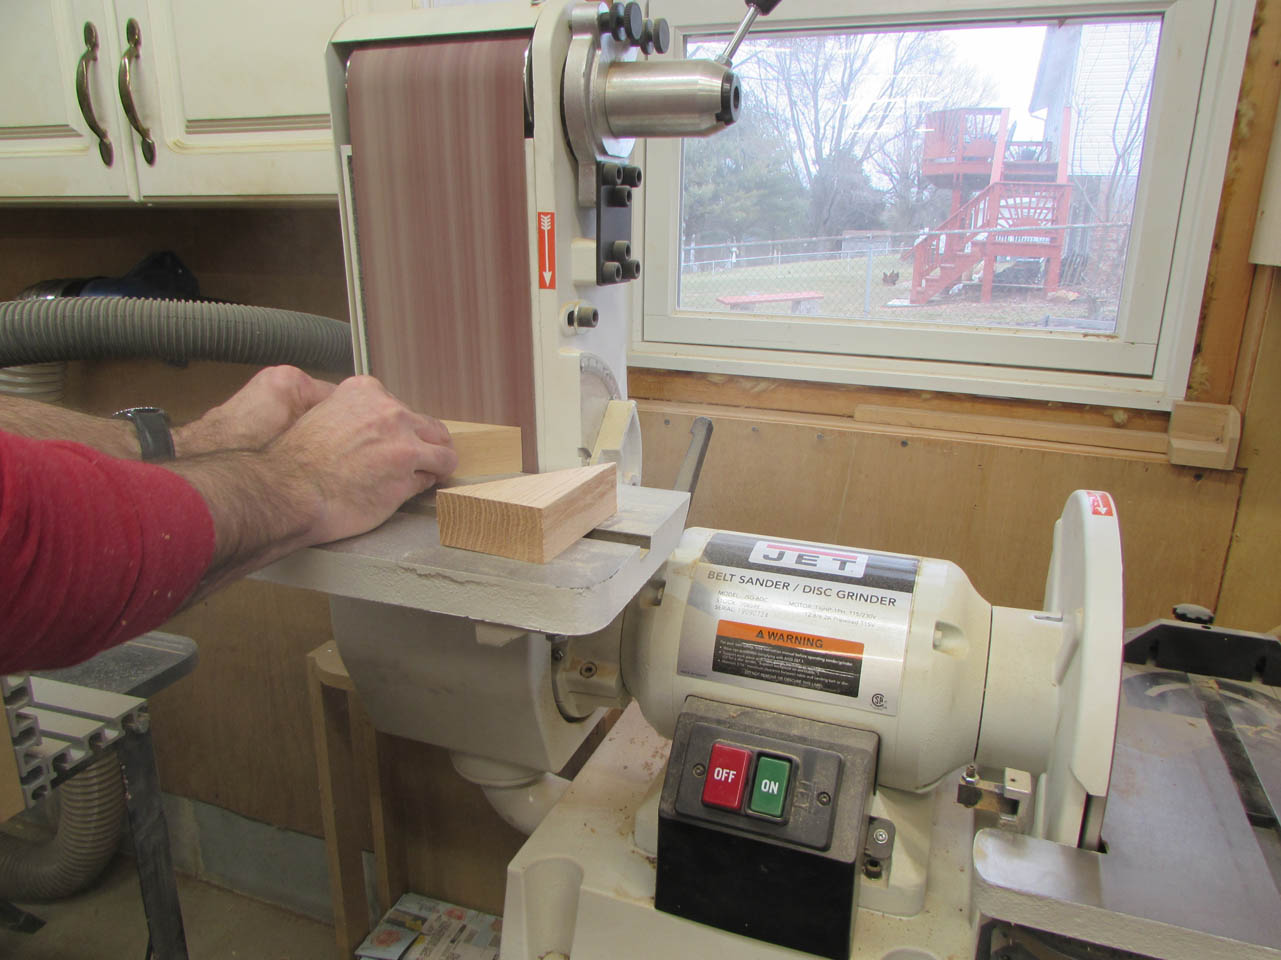
The belt sander is wide enough to easily flatten the band sawn edge.
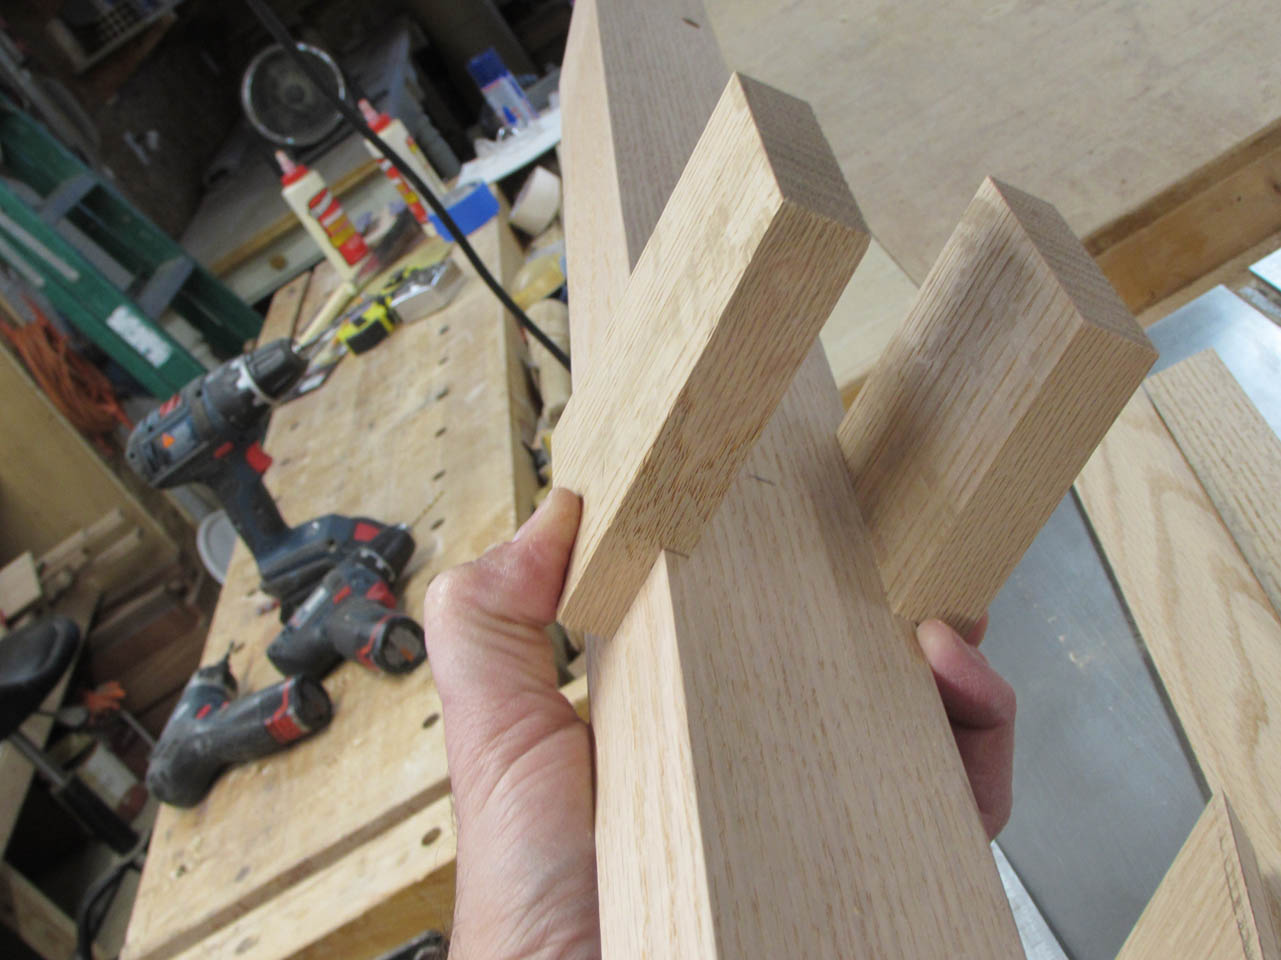
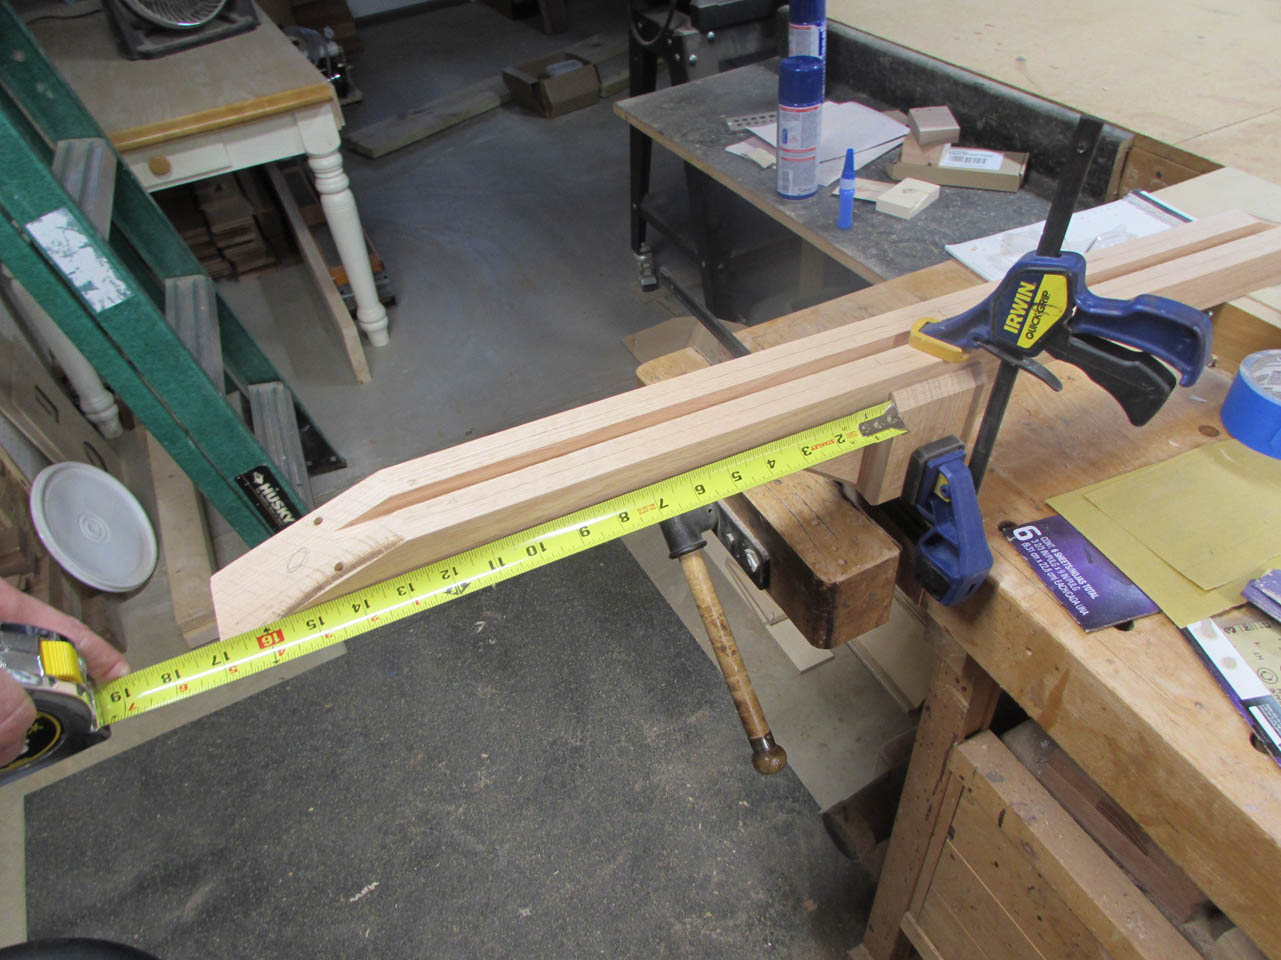
Next parts are the front and back. I grabbed a couple of scraps that were already the correct thickness and cut them to the length and width required.

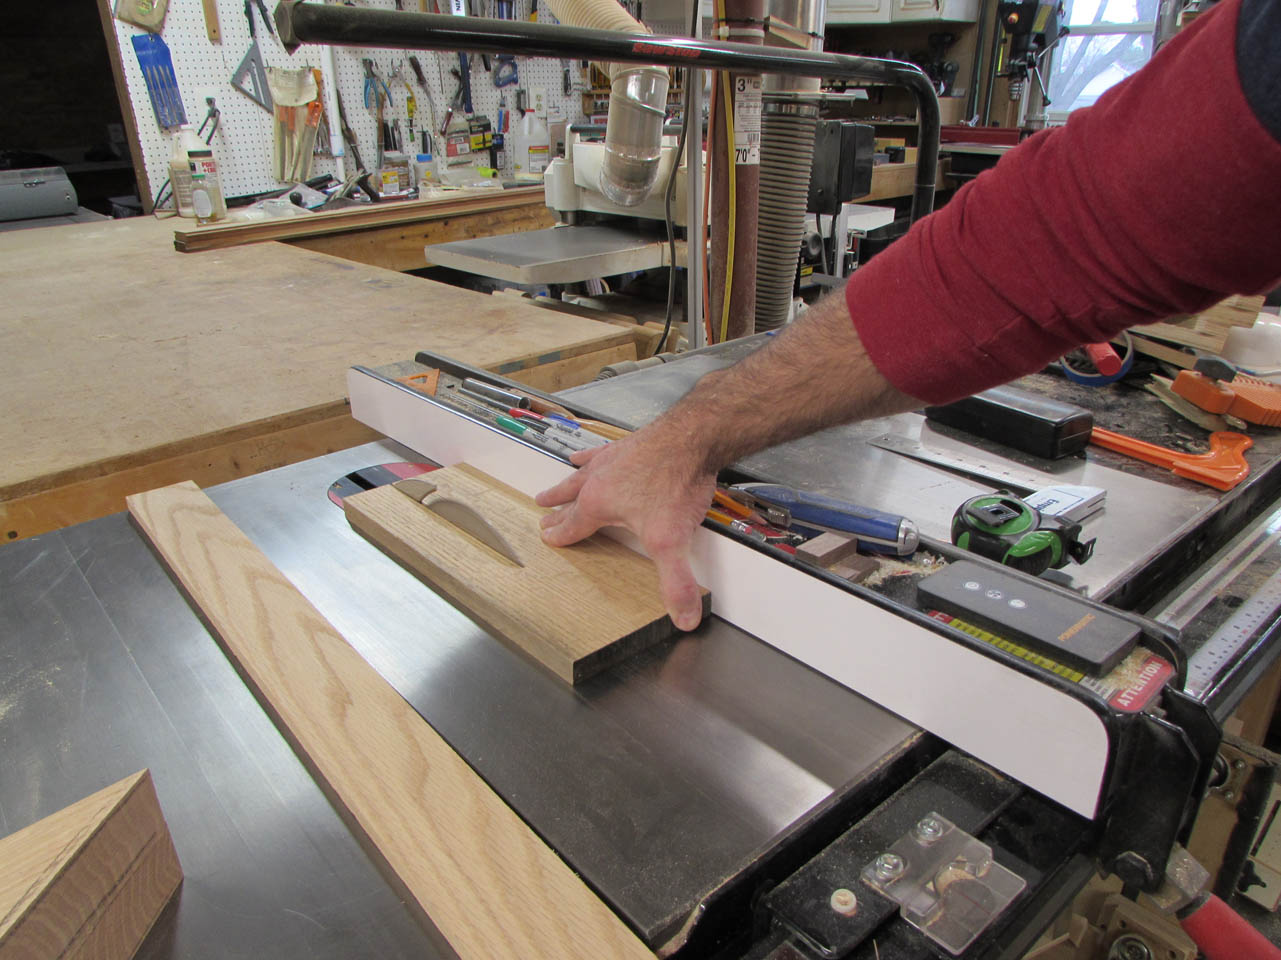
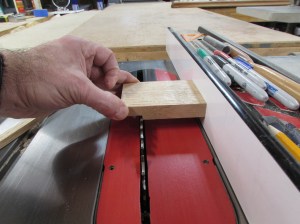
I used the table saw to cut the notches in the end that will grip the bottom of the head piece.
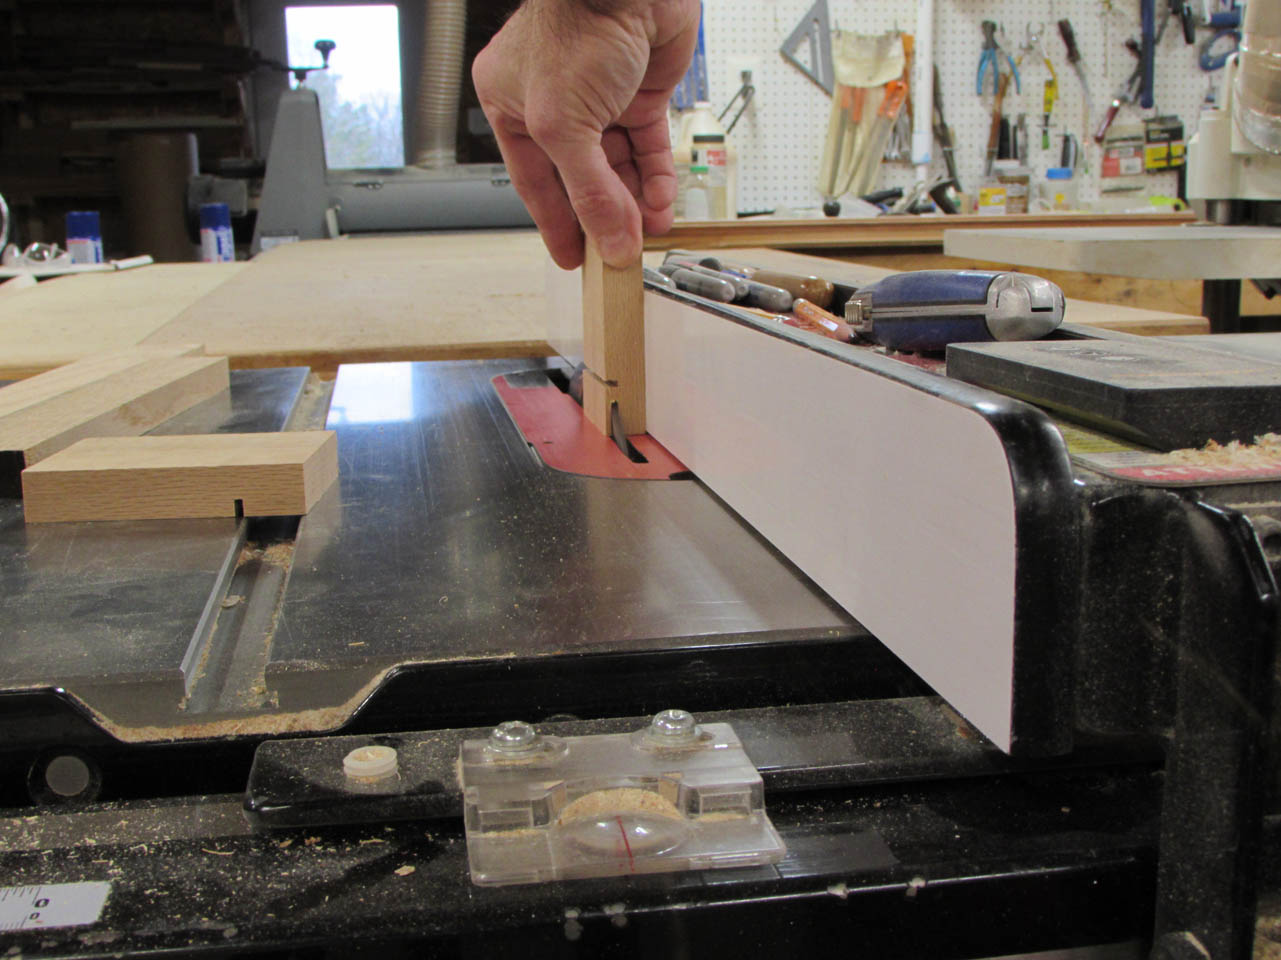
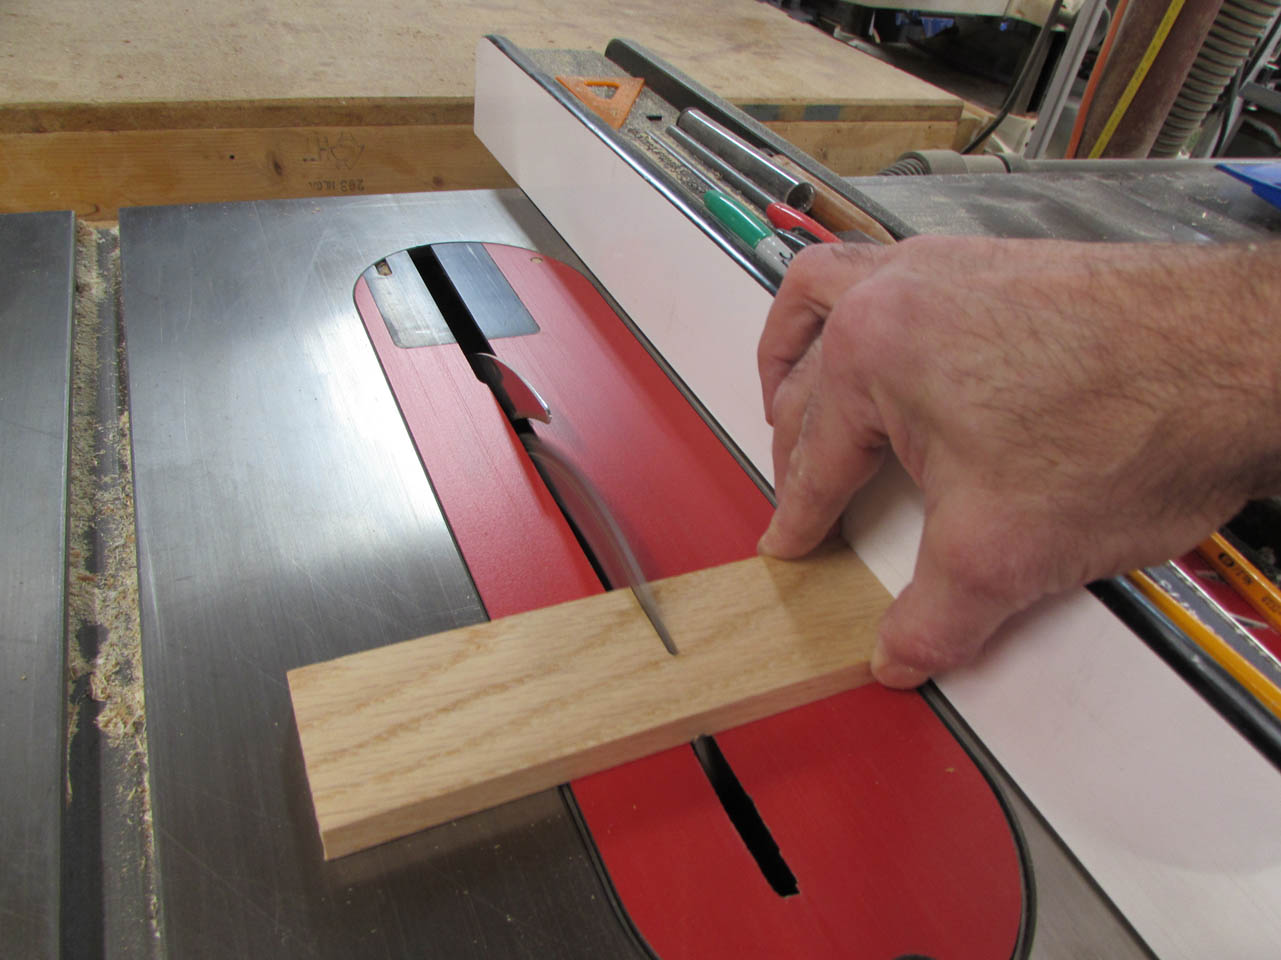
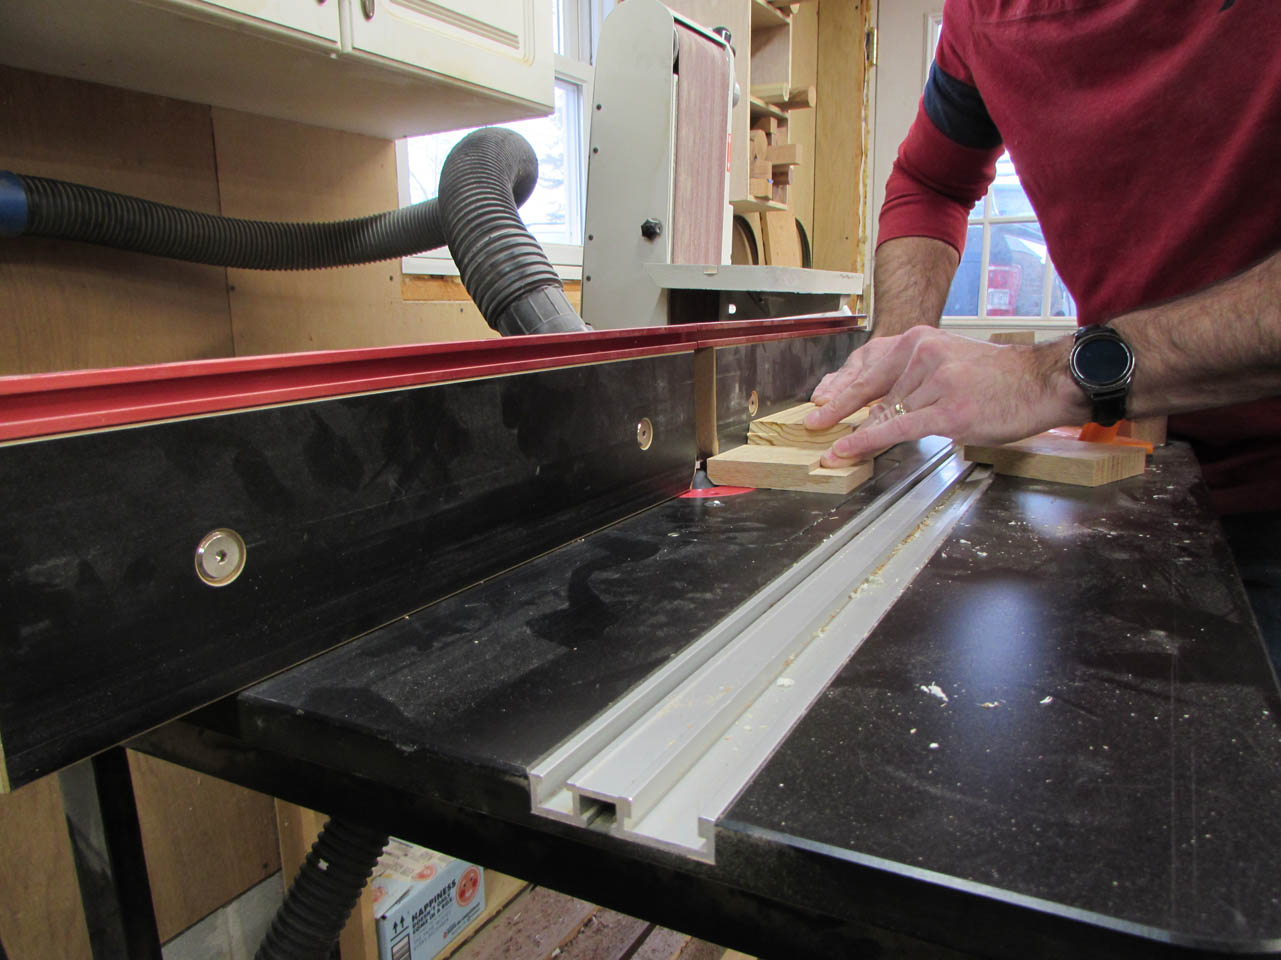
U used the notched piece to set the fence for cutting the length of the sides.
I used some 1/2″ scraps to cut the sides.
To prevent people running into all these sharp edges, I set up the chamfer bit in the router table and make 1/4″ chamfers along several of the edges.
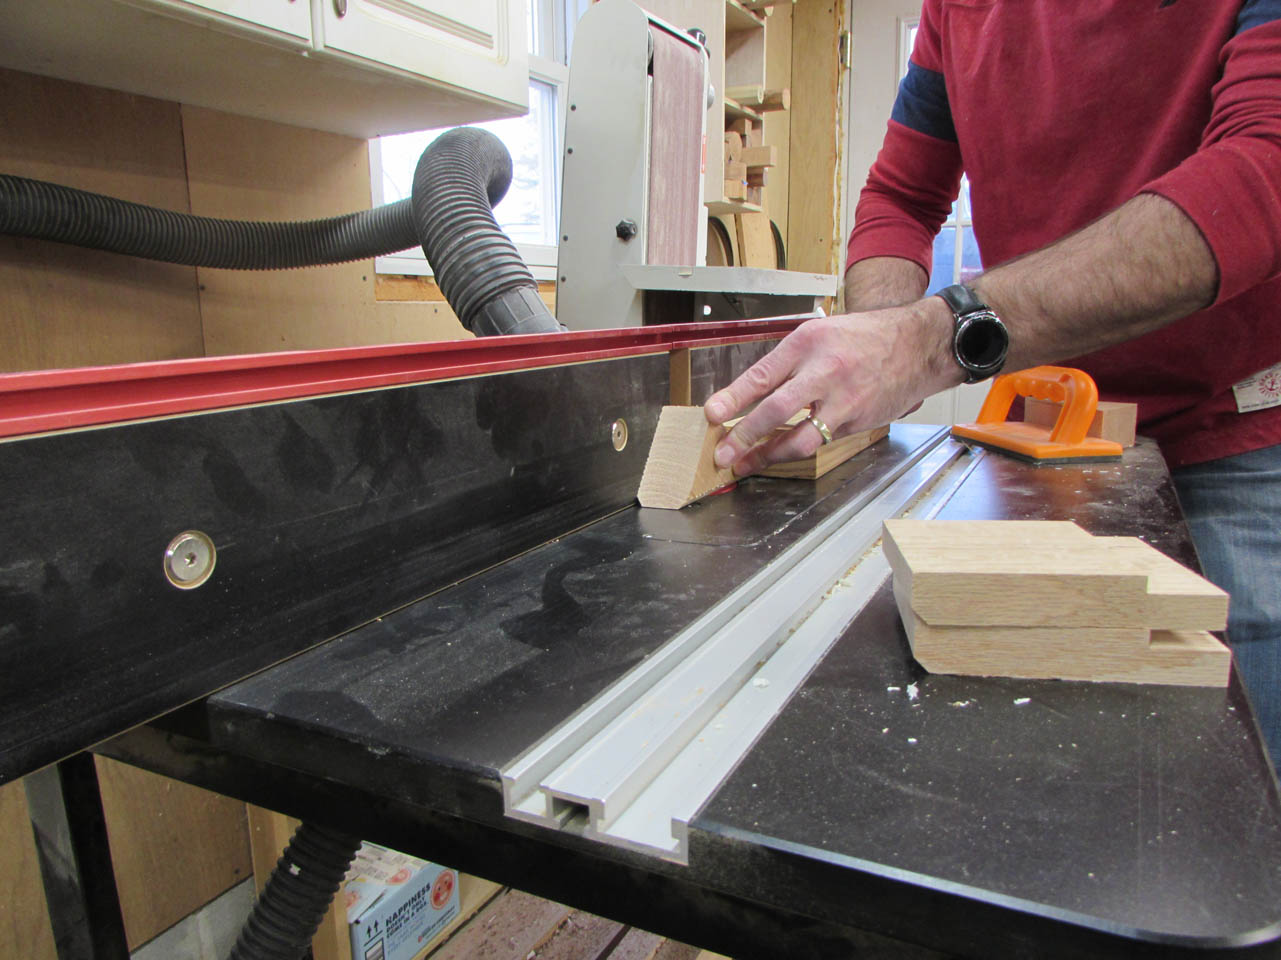
A made a couple of 1/2″ chamfers along the top as well.

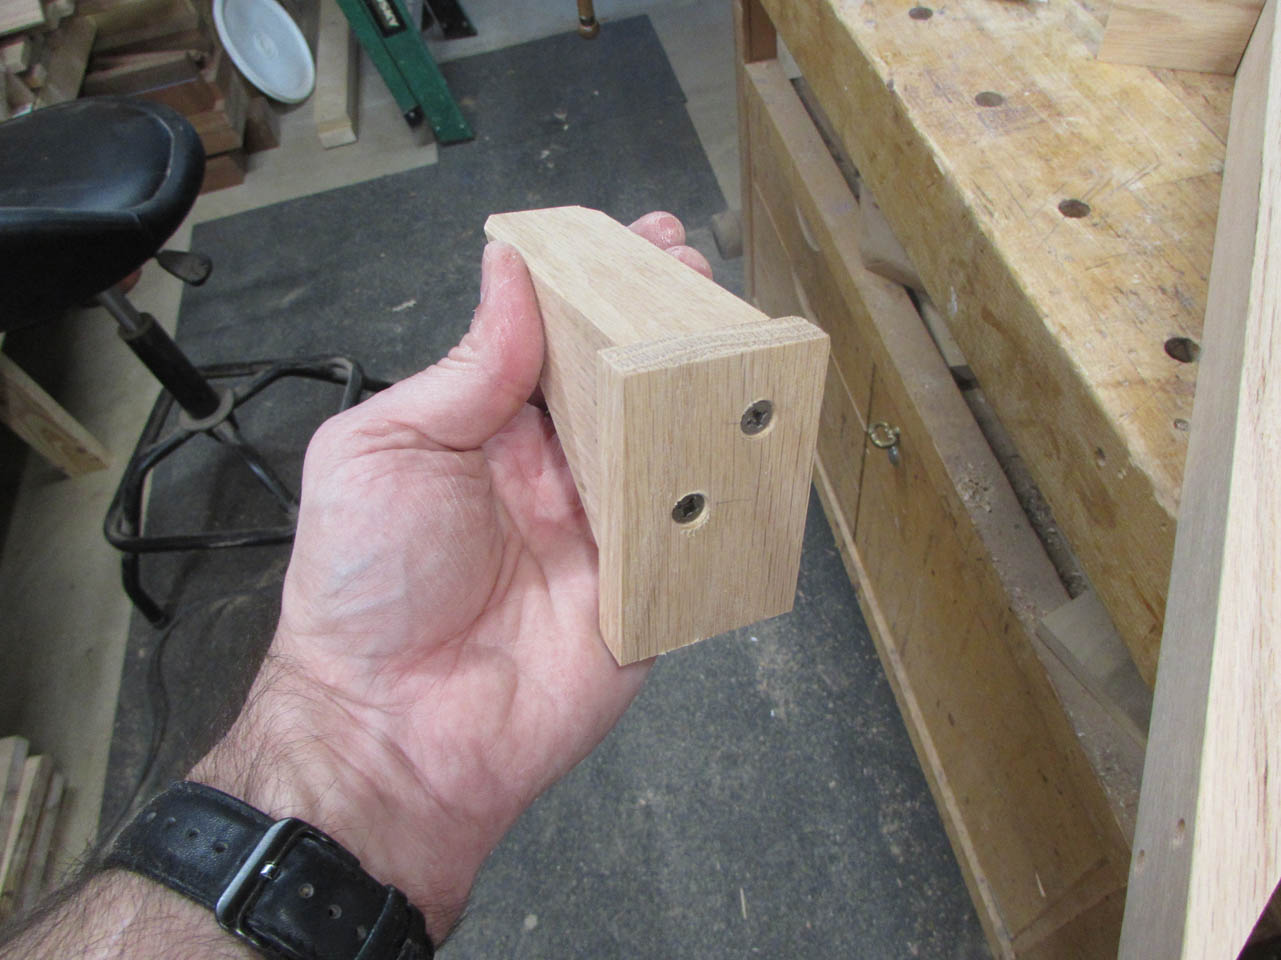
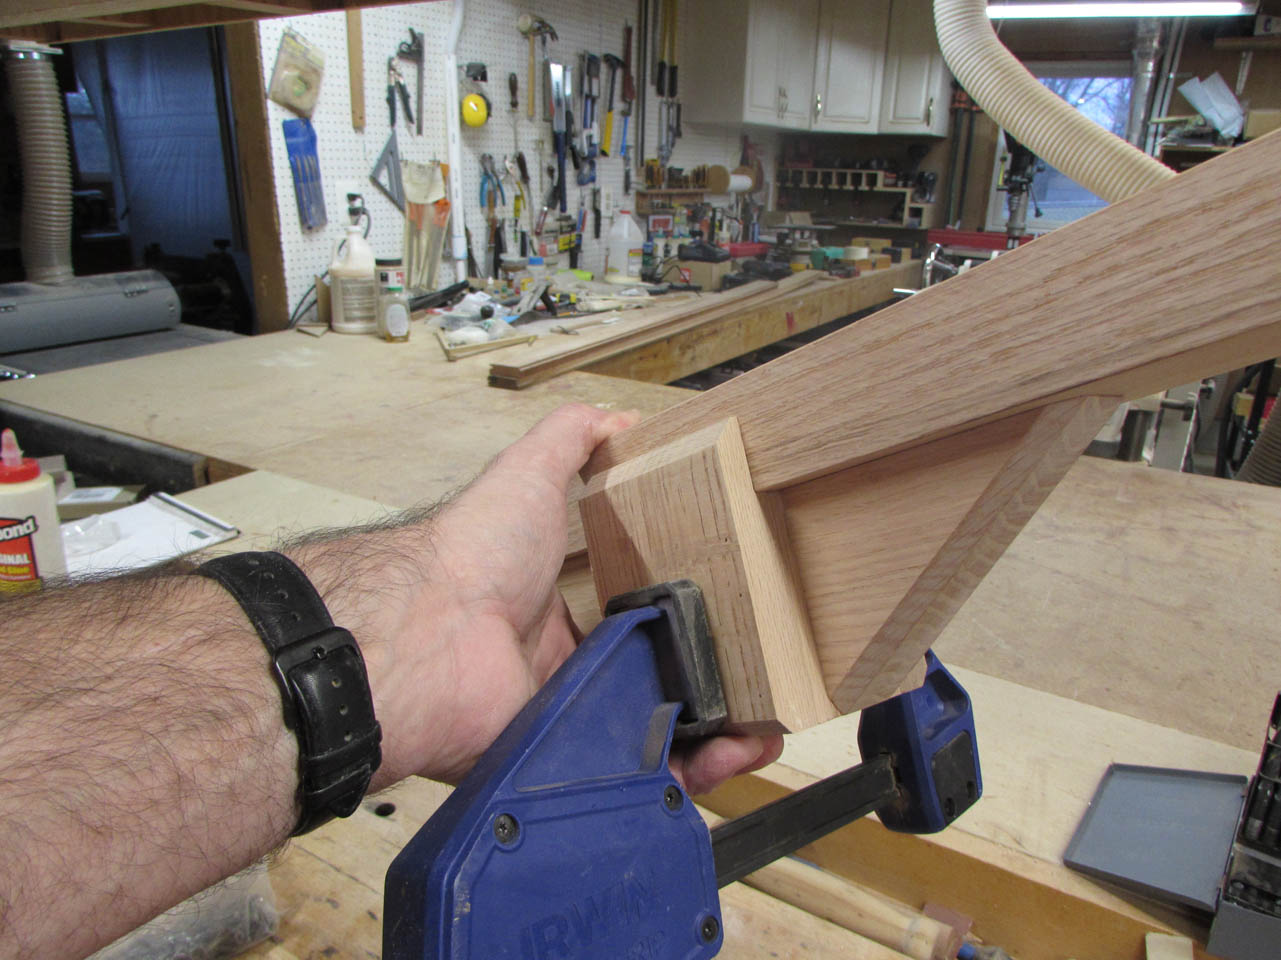
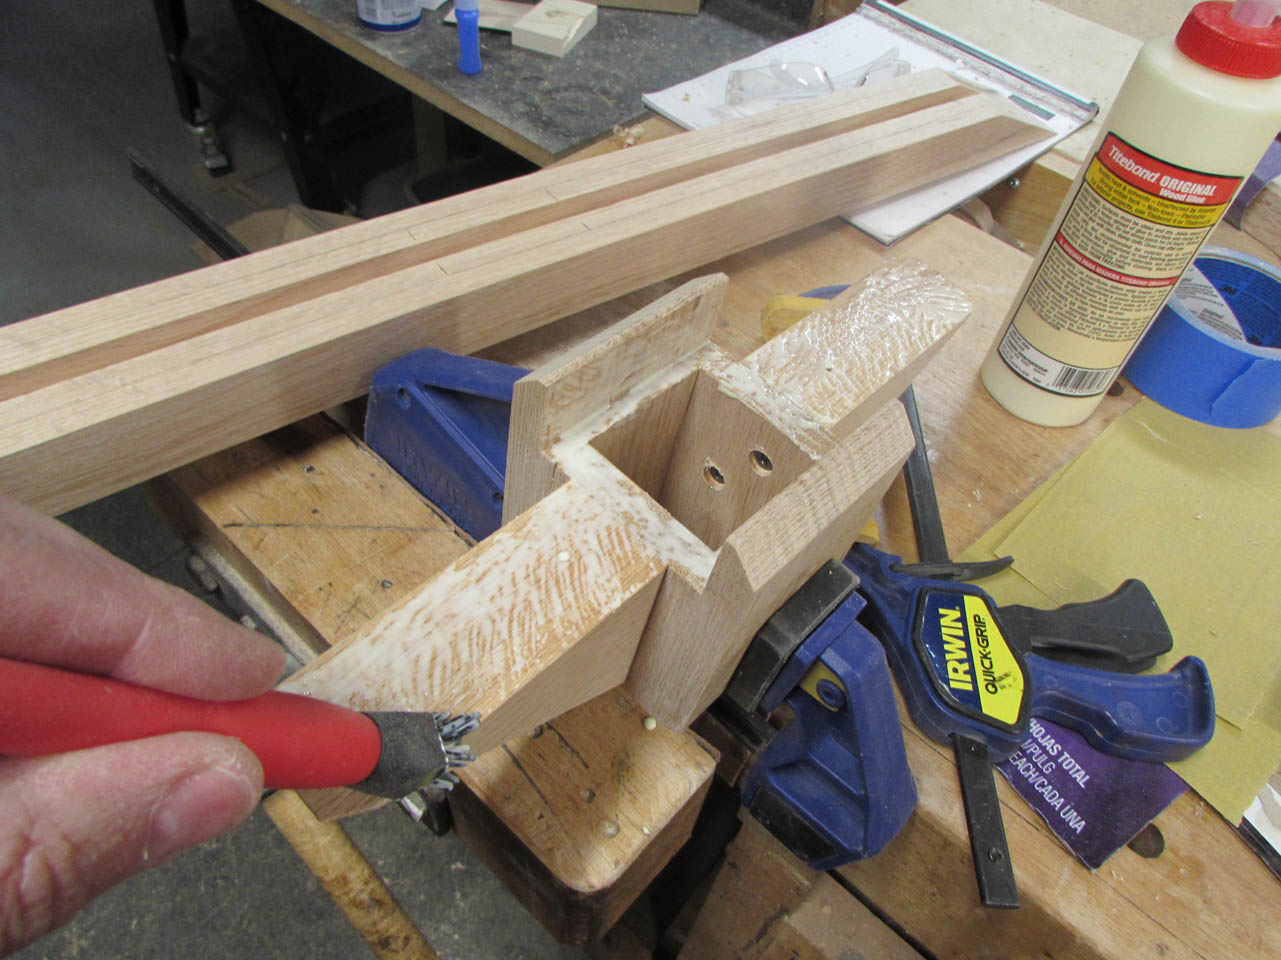
I will be using glue and screws to hold the gussets to the yoke as well as the head piece.
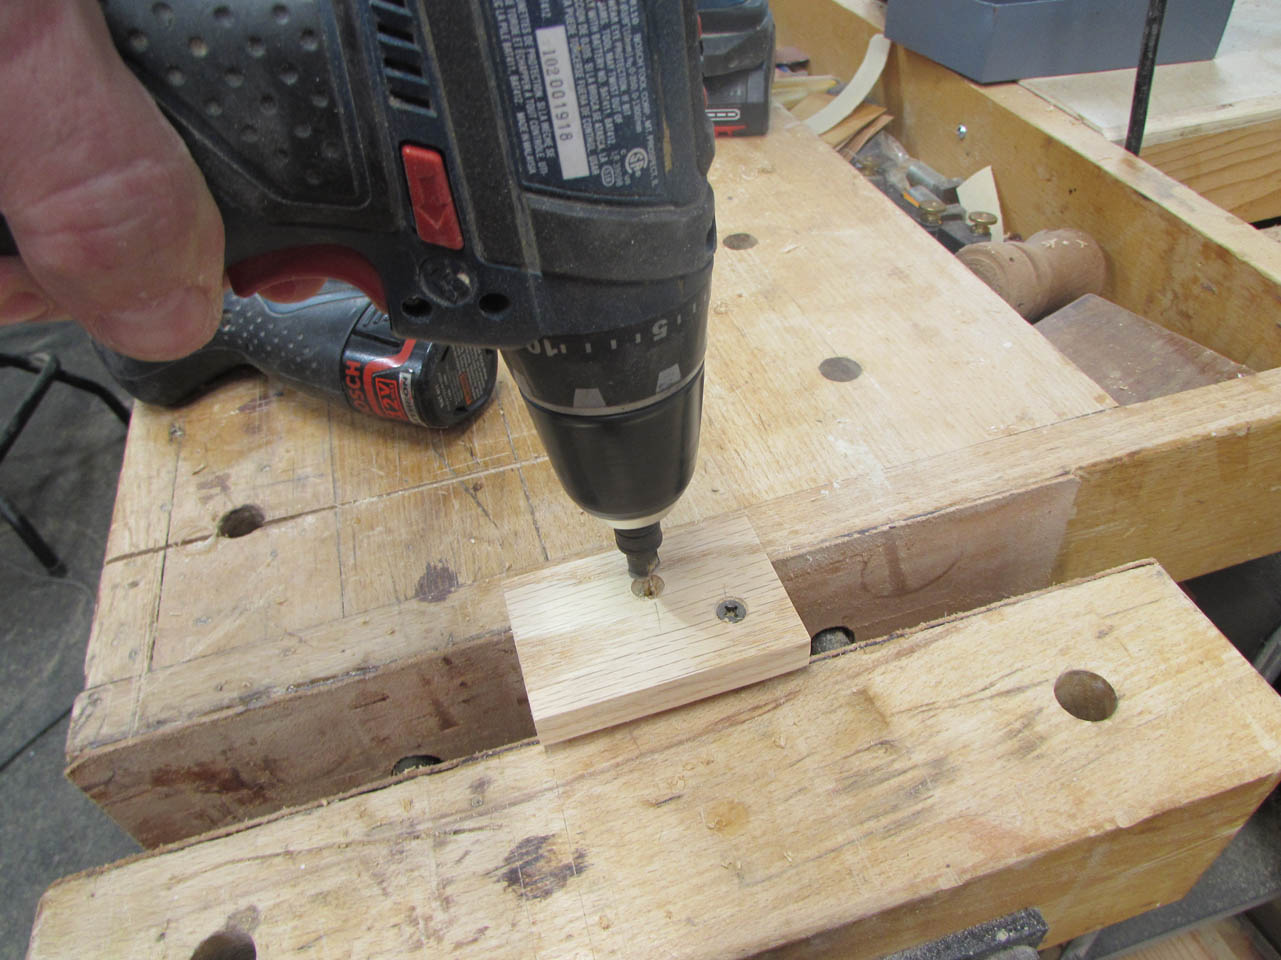
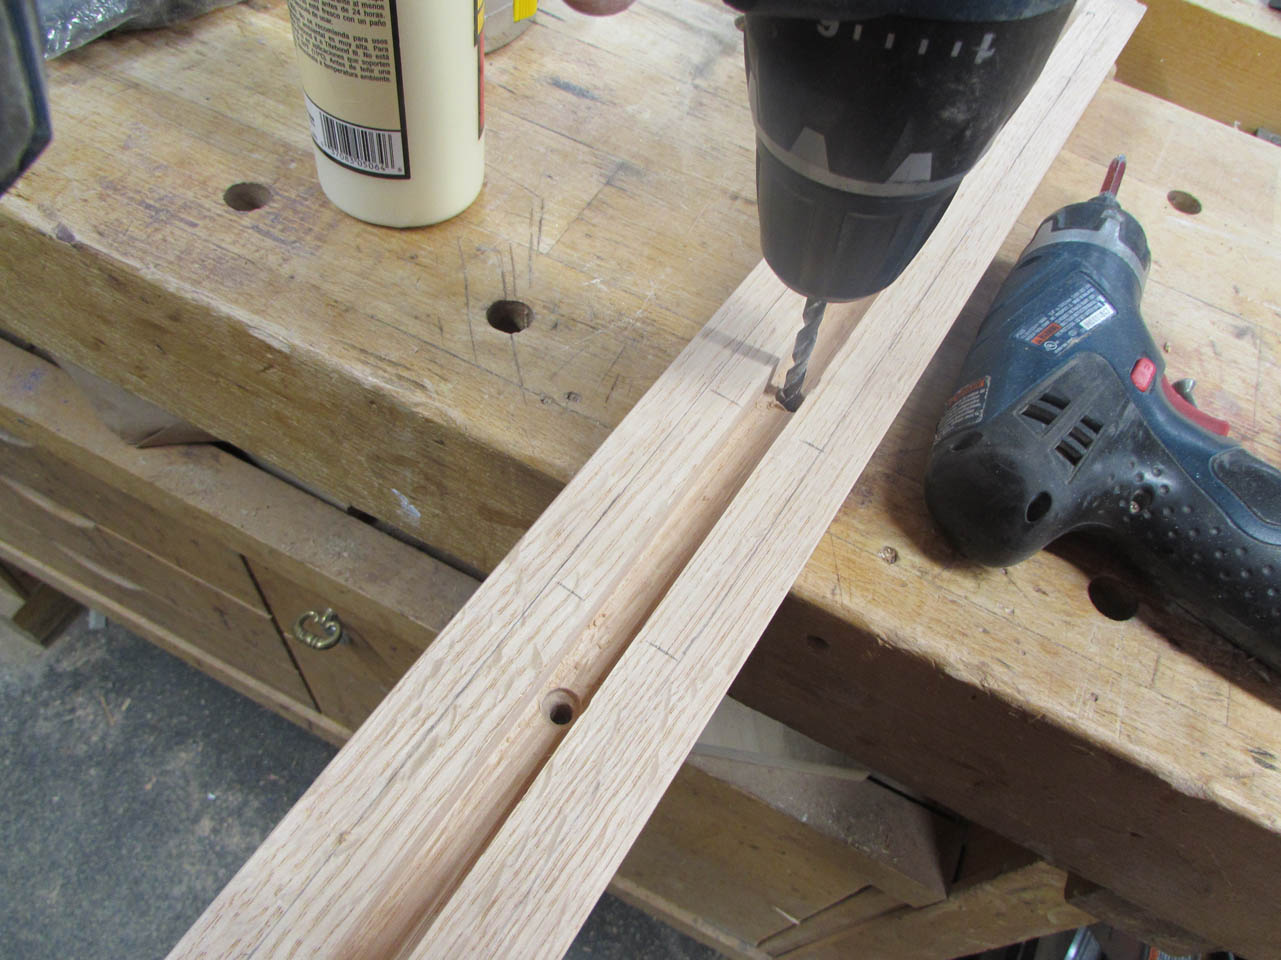
I counter-sunk some pilot holes to attach the side pieces to the gussets before they get glued into the body.
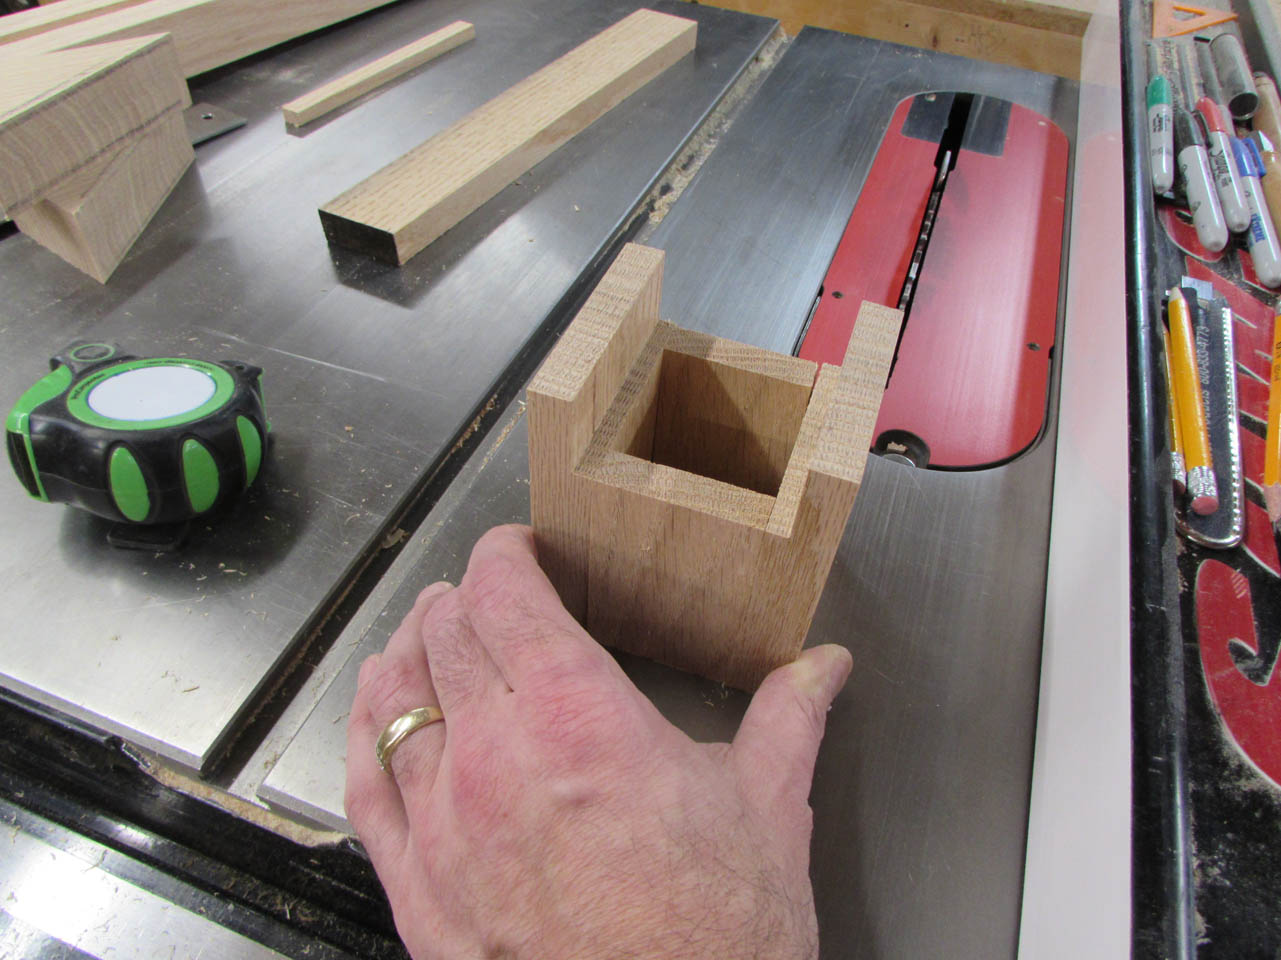
I applied glue to the sides and assembled the yoke. I used some 23 gauge pin nails to keep everything located properly while I applied clamping pressure to hold it all together as the glue dries.
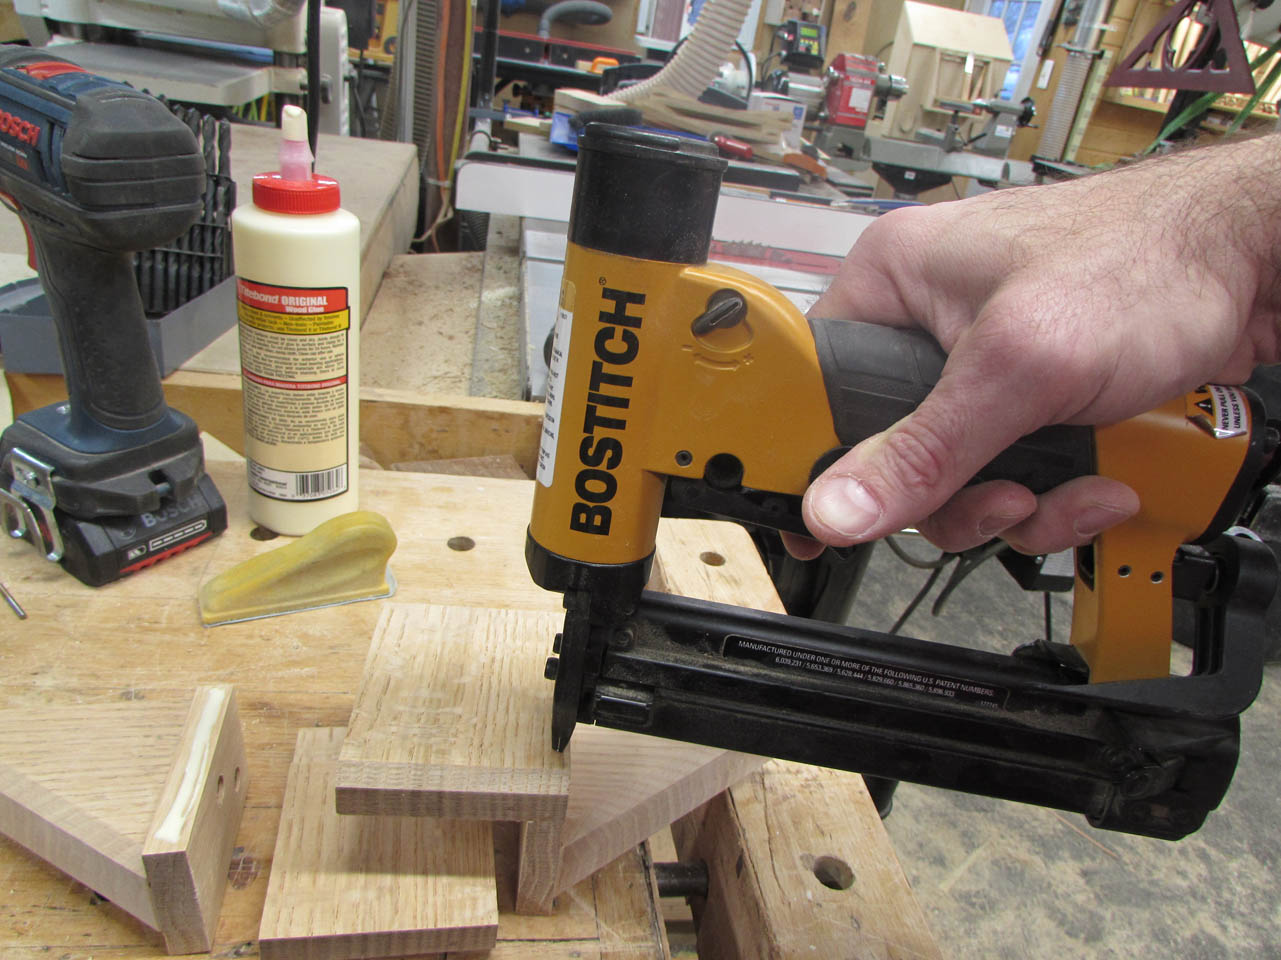
Without the pin nails, the boards are likely to slide around a bit and cause things to dry in an incorrect location.
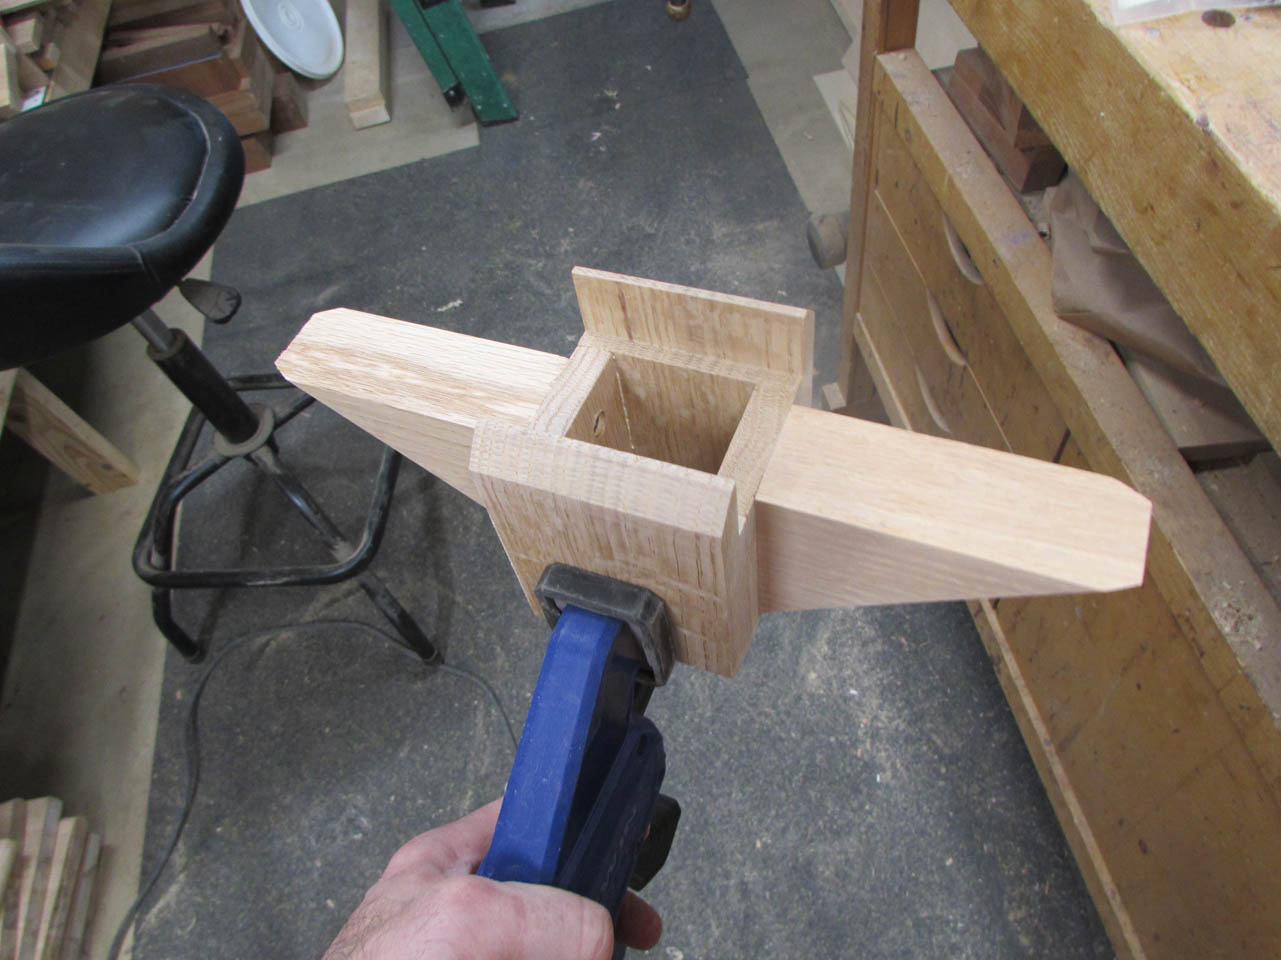
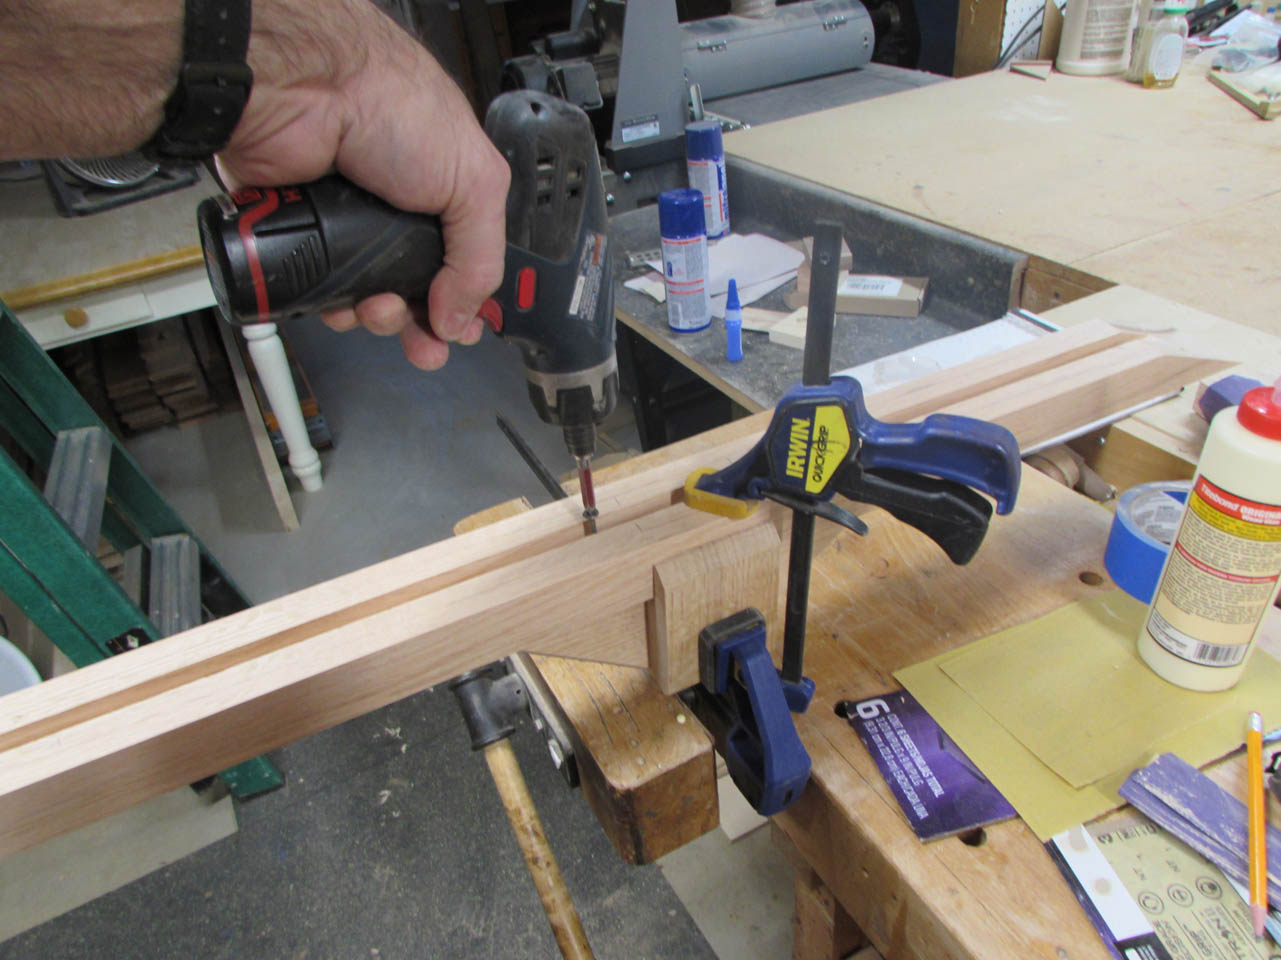
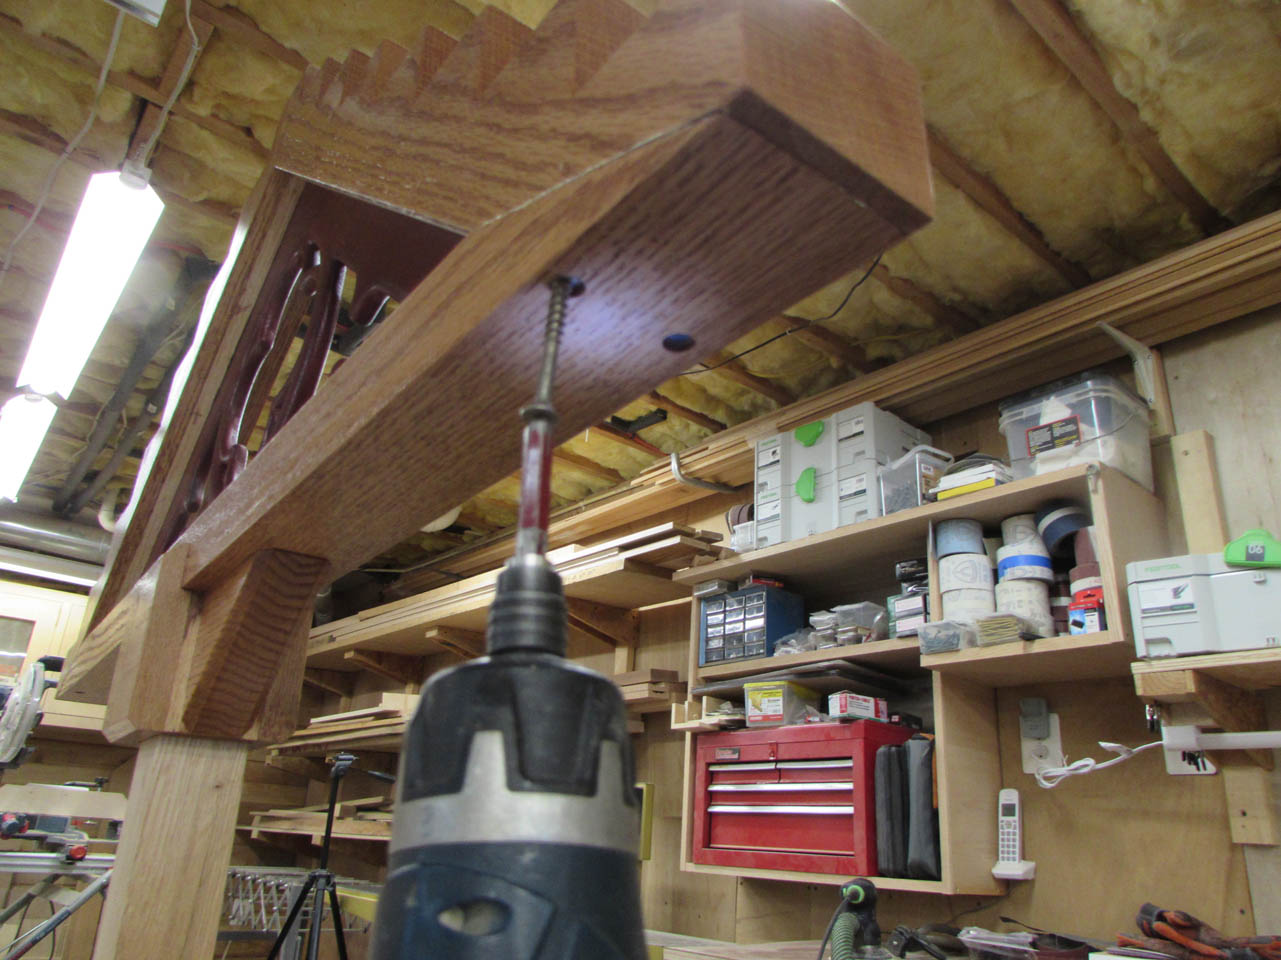
While that was drying, I can locate the bottom of the head piece assembly, centered over the yoke.
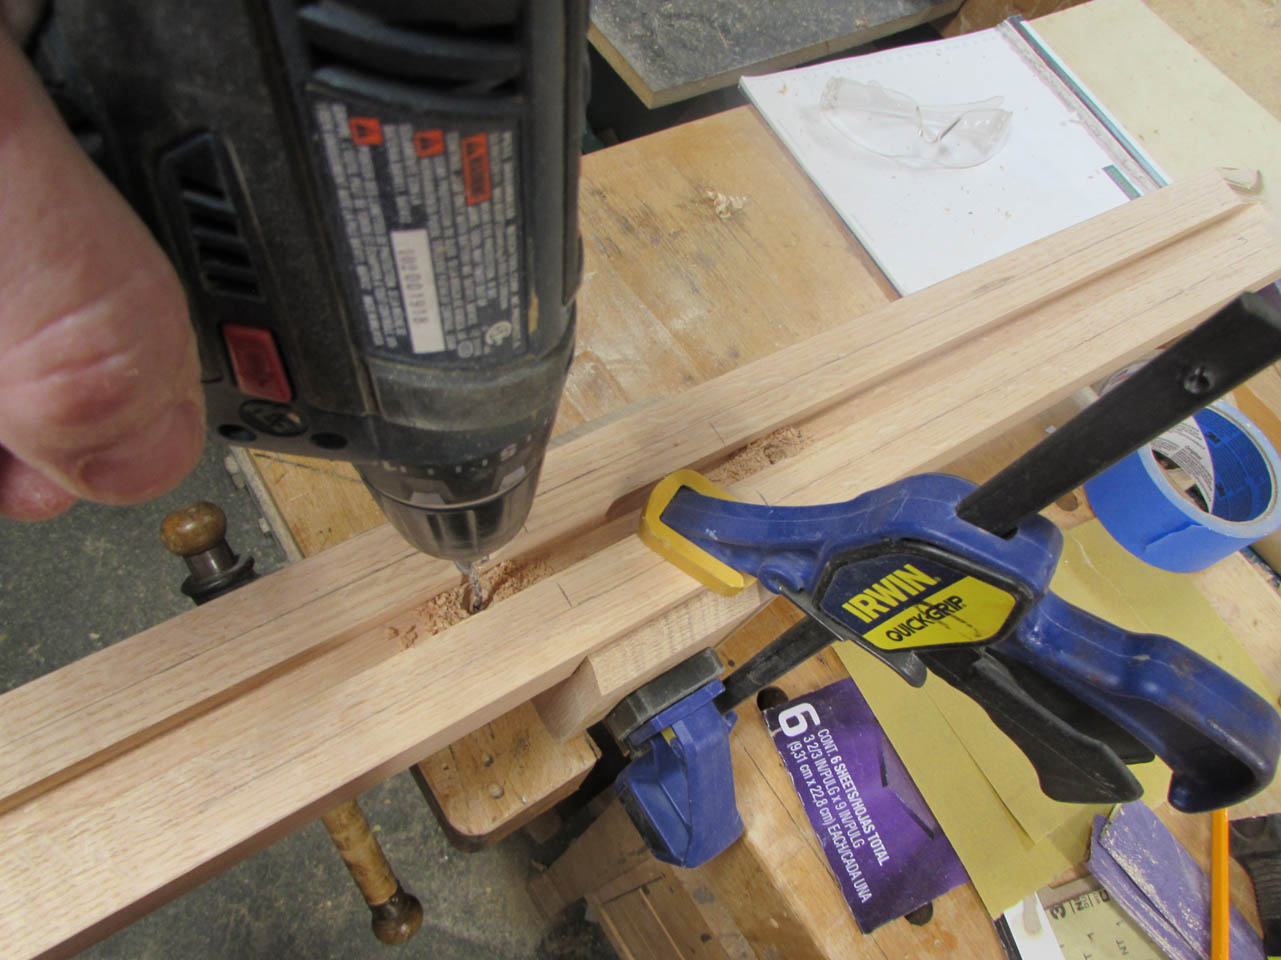
I carefully locate the pilot holes for the screws into the gussets to miss the 1″ screws that I just installed on the sides.
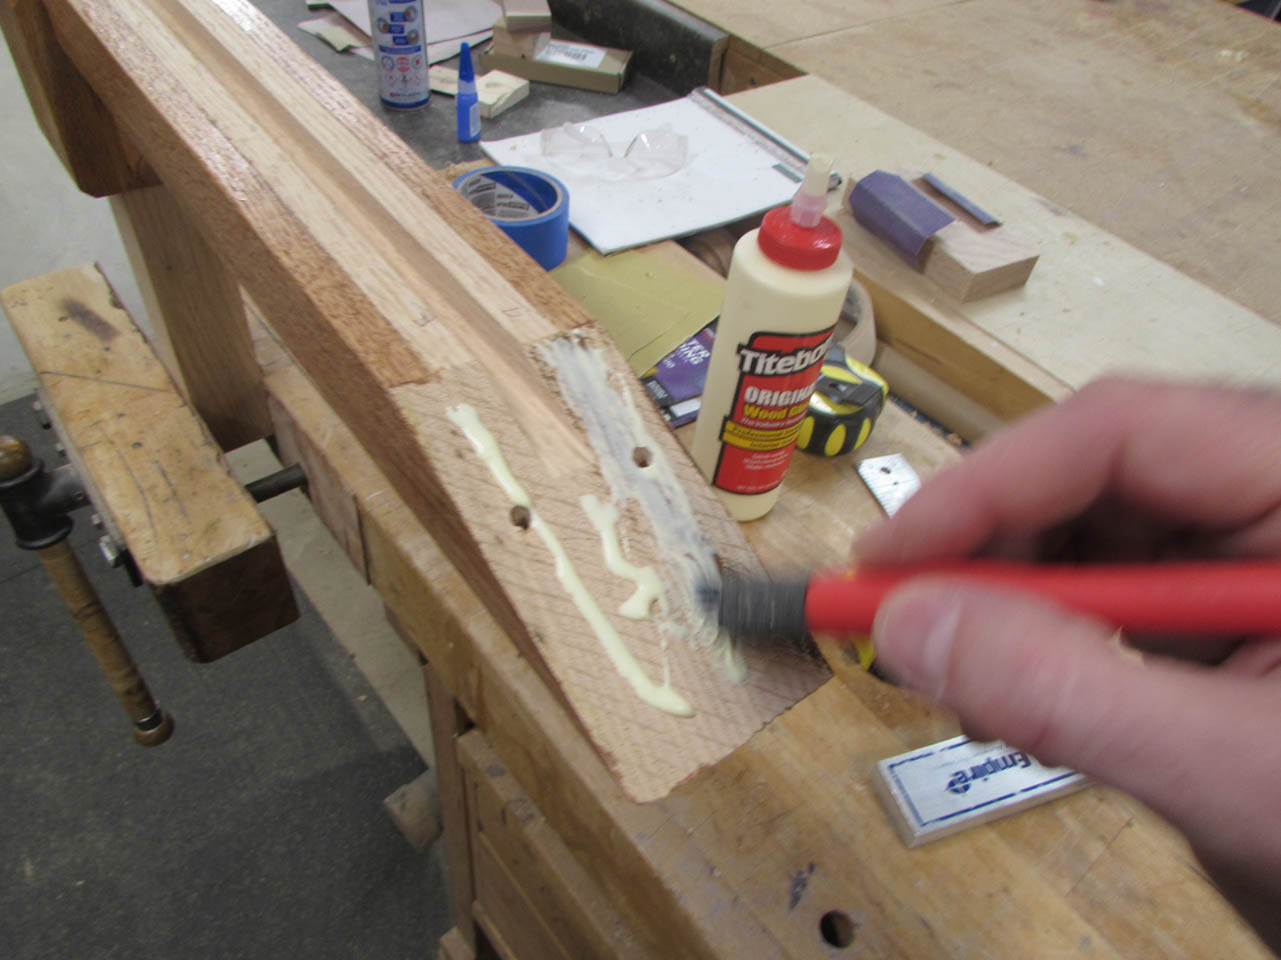
Before attaching the screws, I add a good layer of glue.
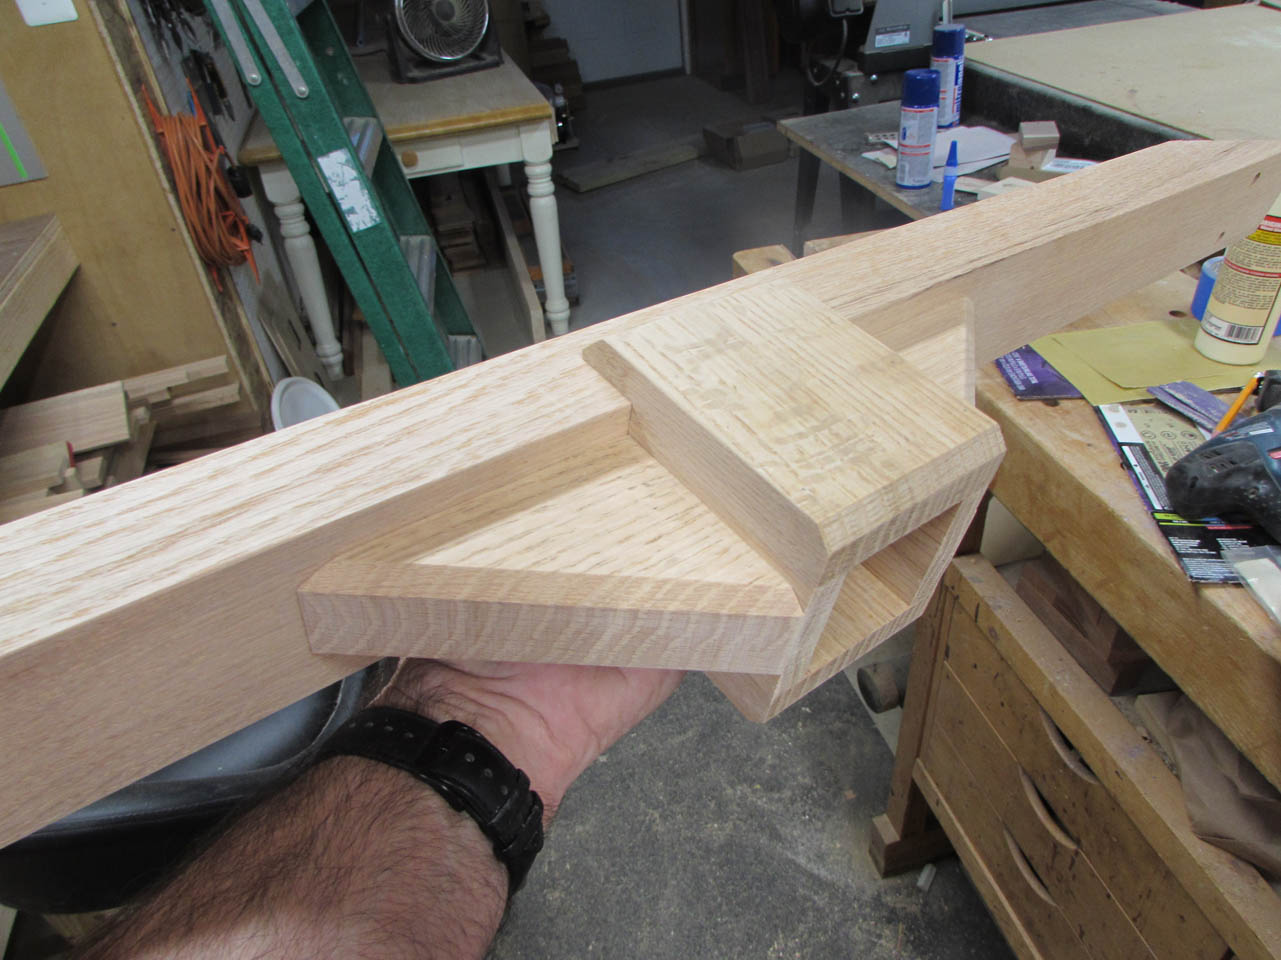
And the yoke is done. The screws will hold everything together while the glue continues to cure.
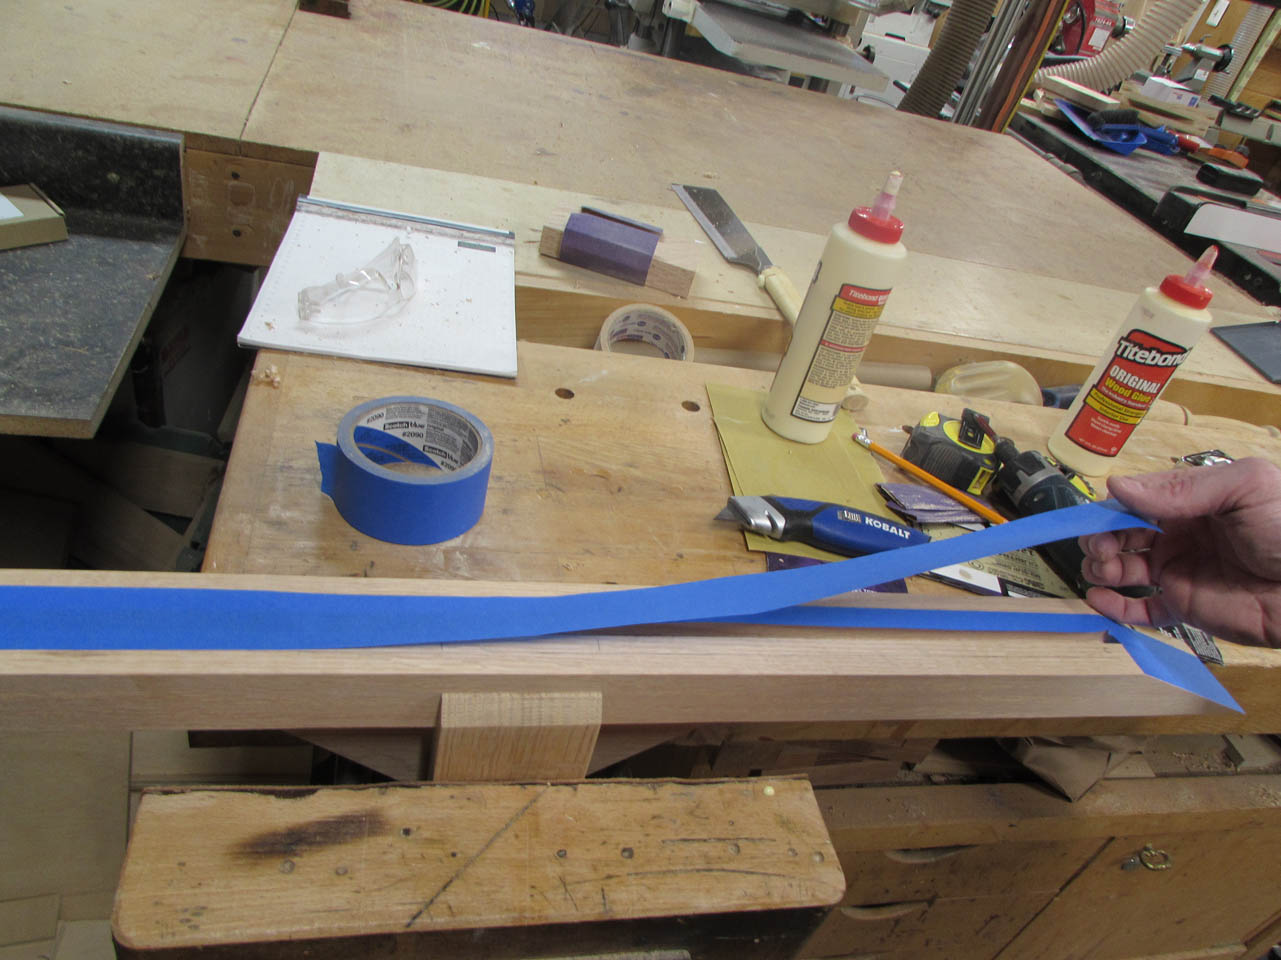
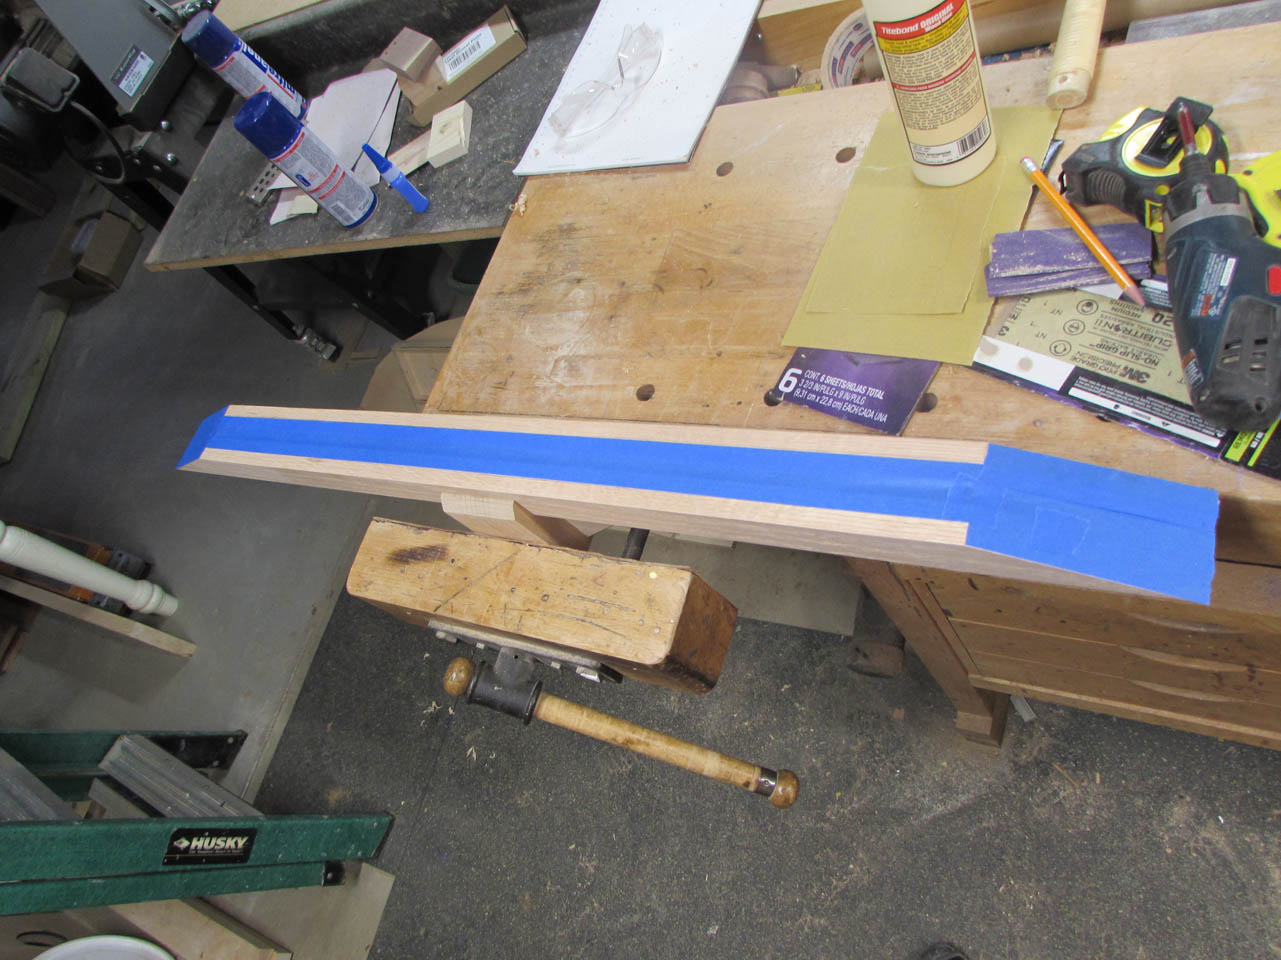
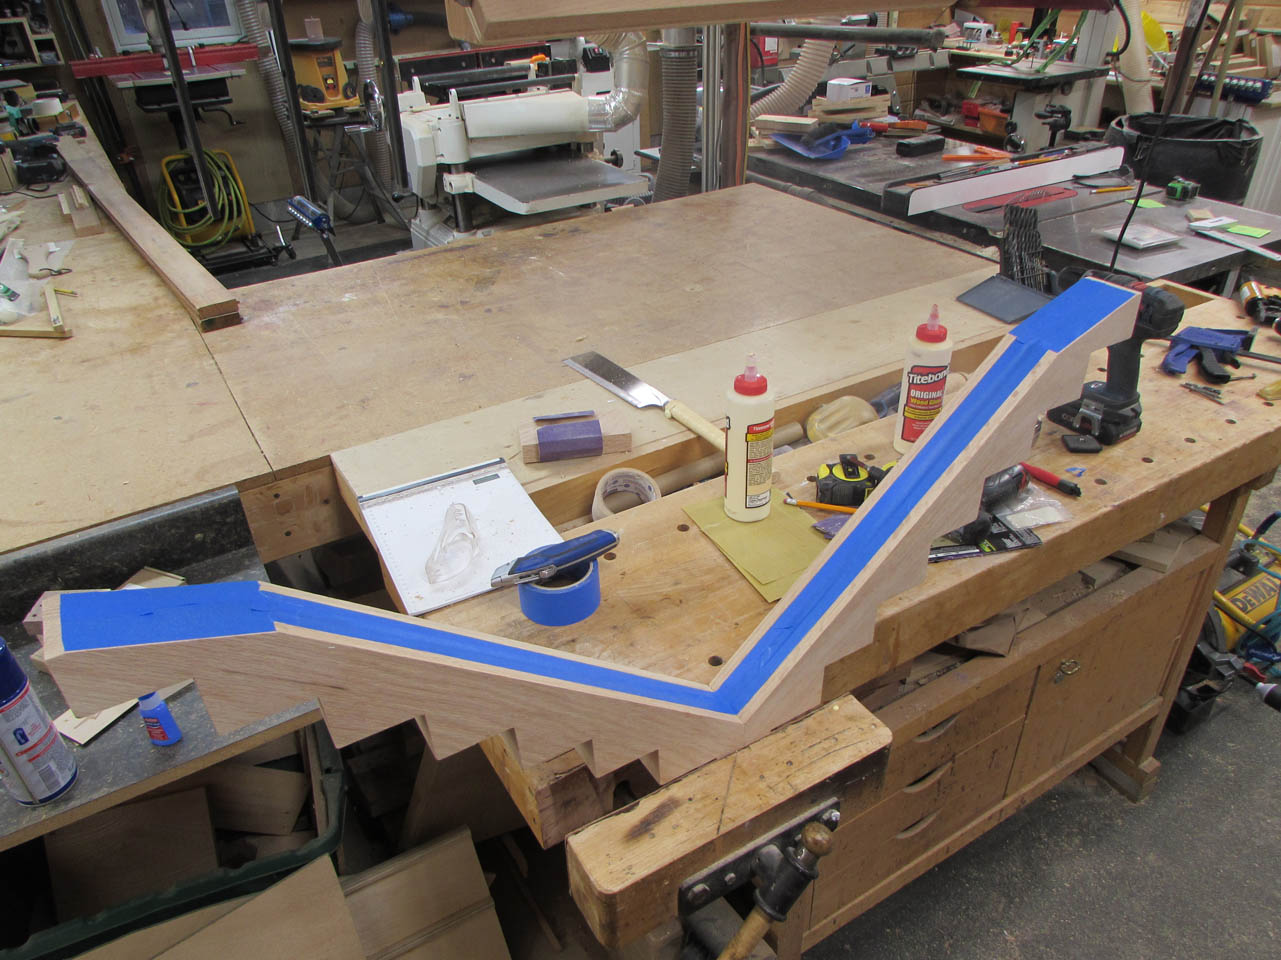
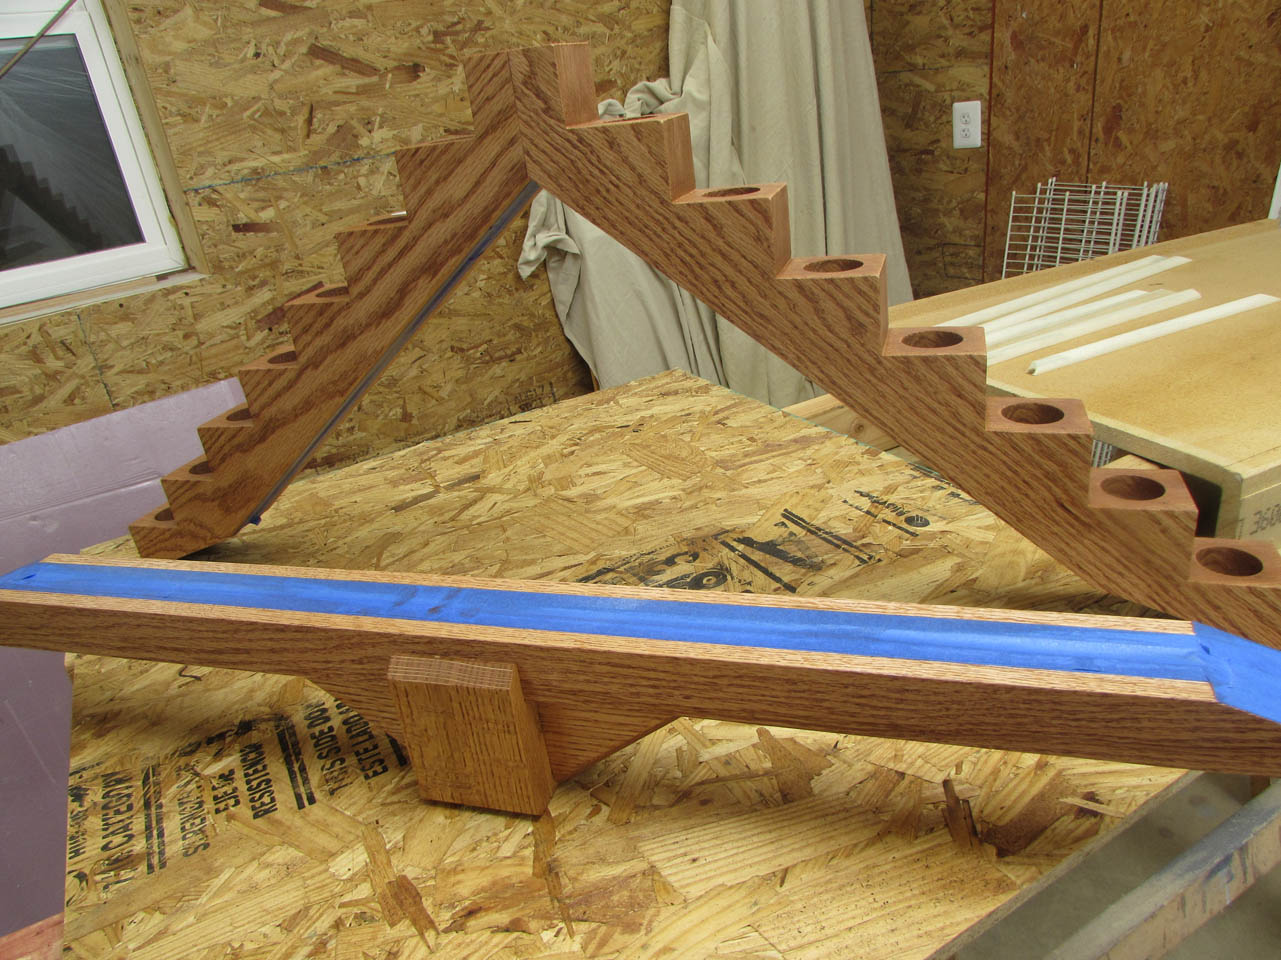
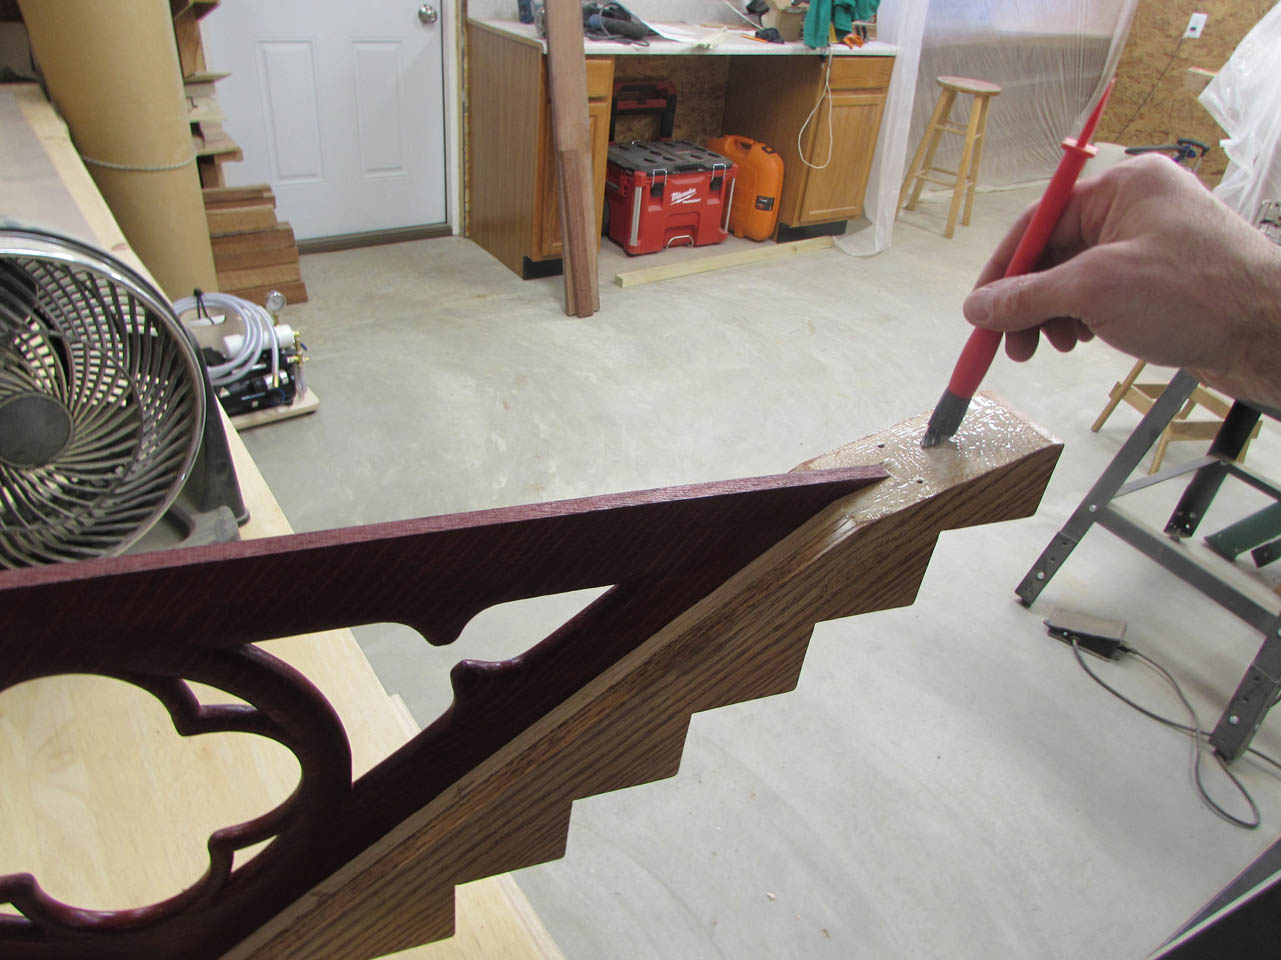
Time to start masking off future glue areas so I can apply stain and polyurethane.
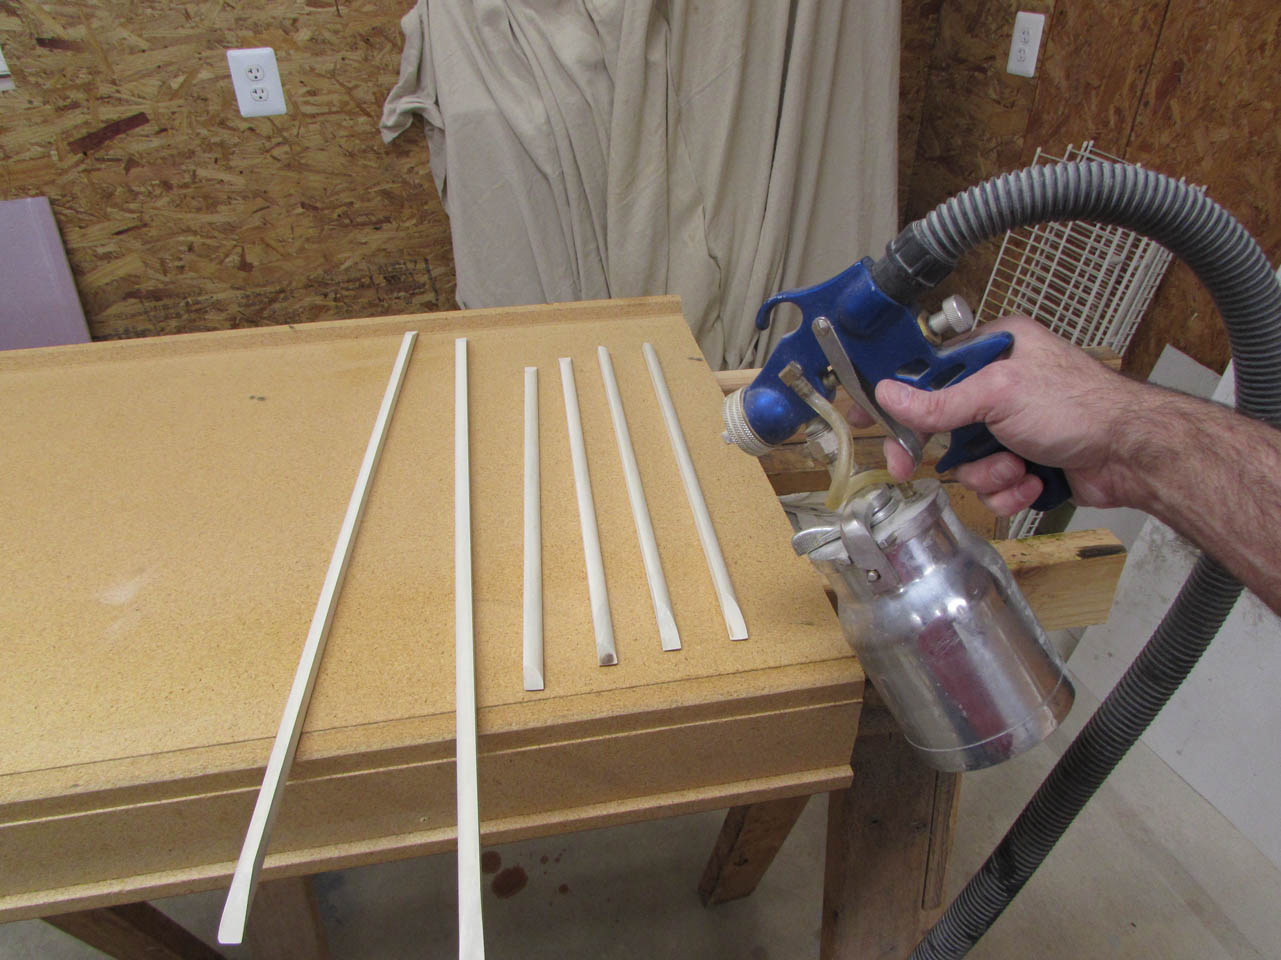
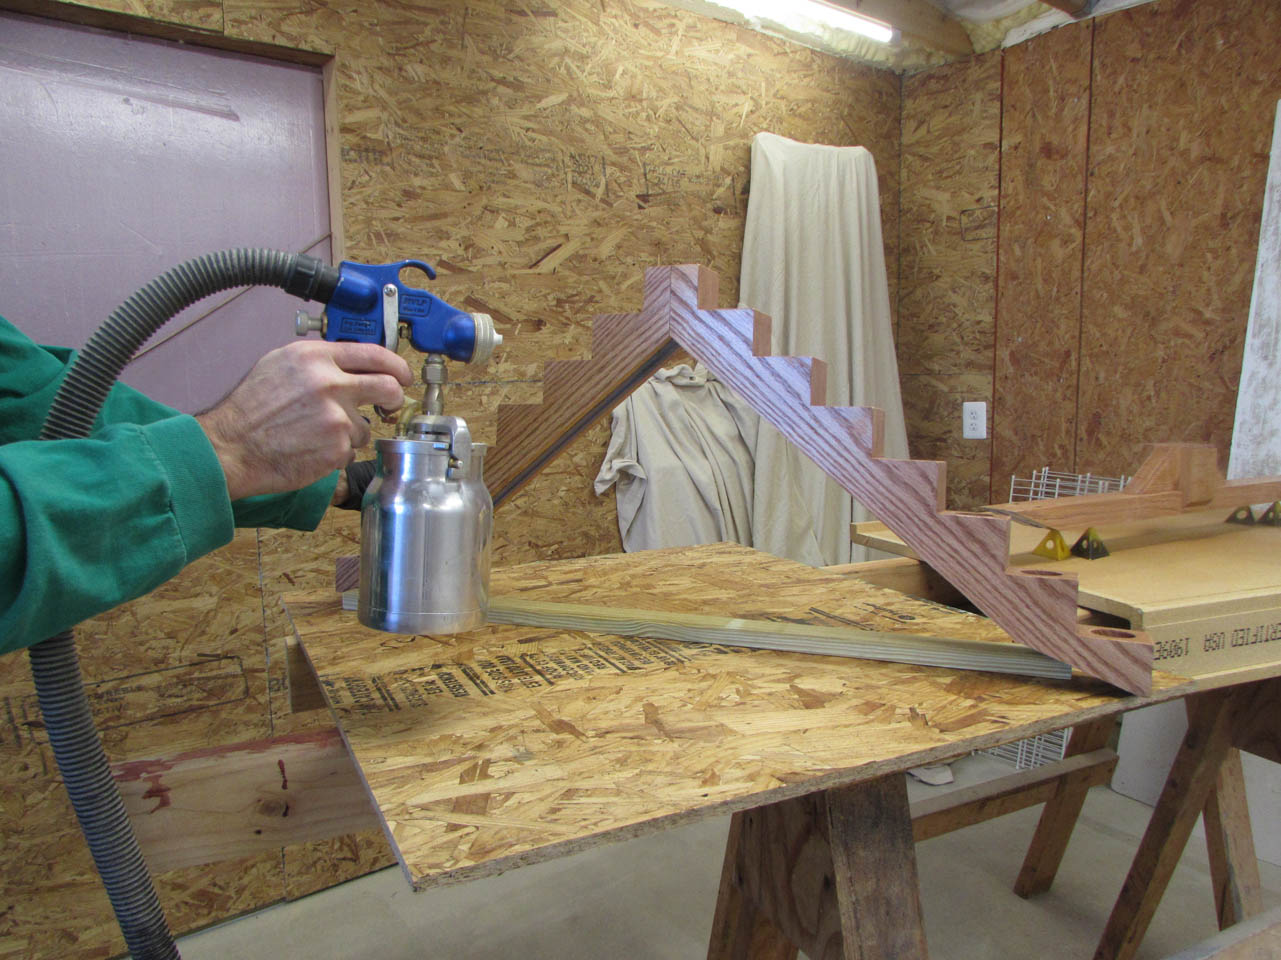
I finish applying water-based poly to the holly trim pieces, then clean out the sprayer and load it with the oil-based polyurethane for the oak pieces.
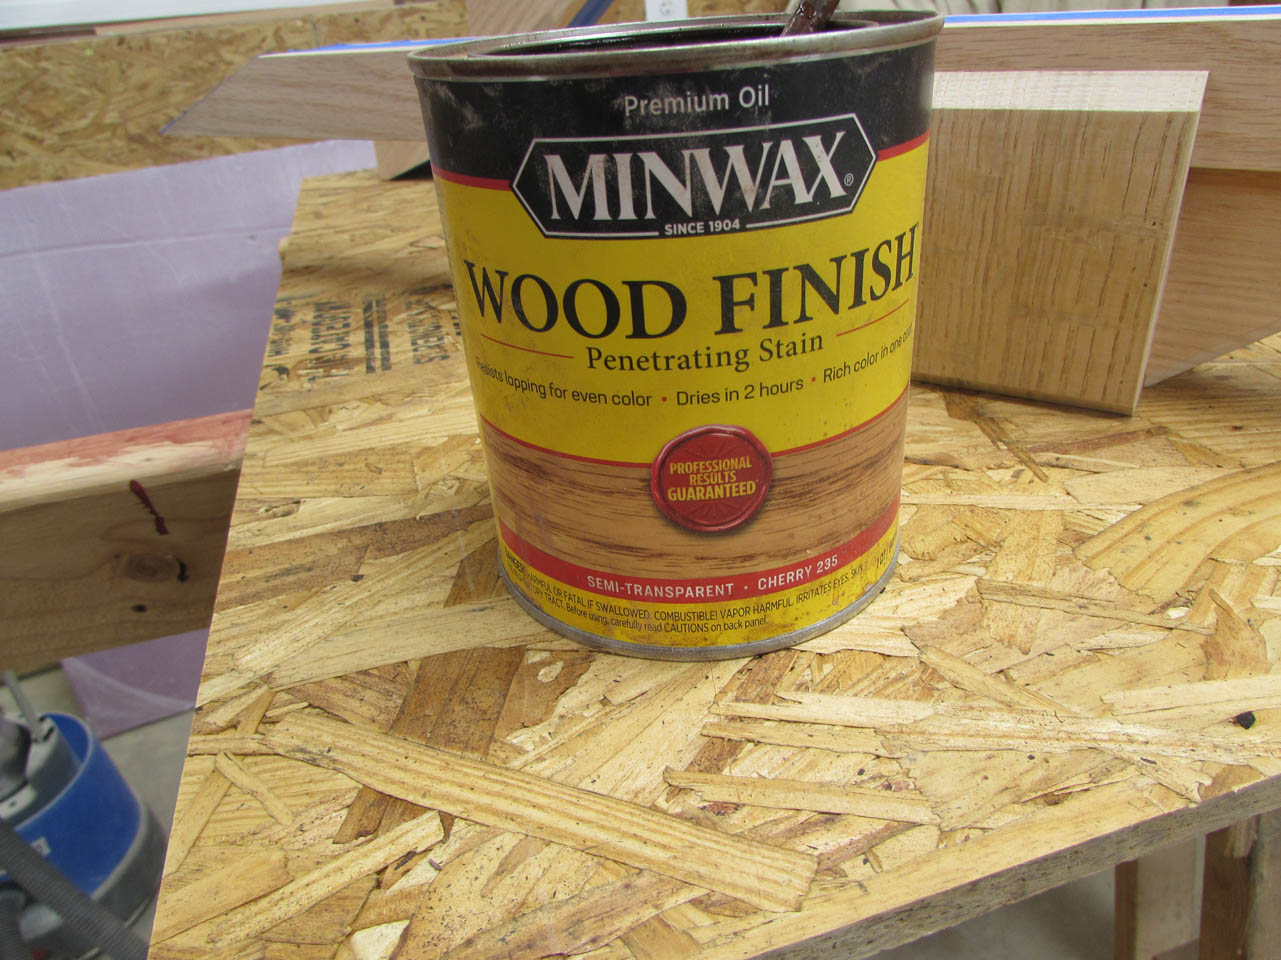
I am using Minwax, Cherry 235 stain. It is the closest, I can find, to the color of the other furniture they have at Holy Spirit church.
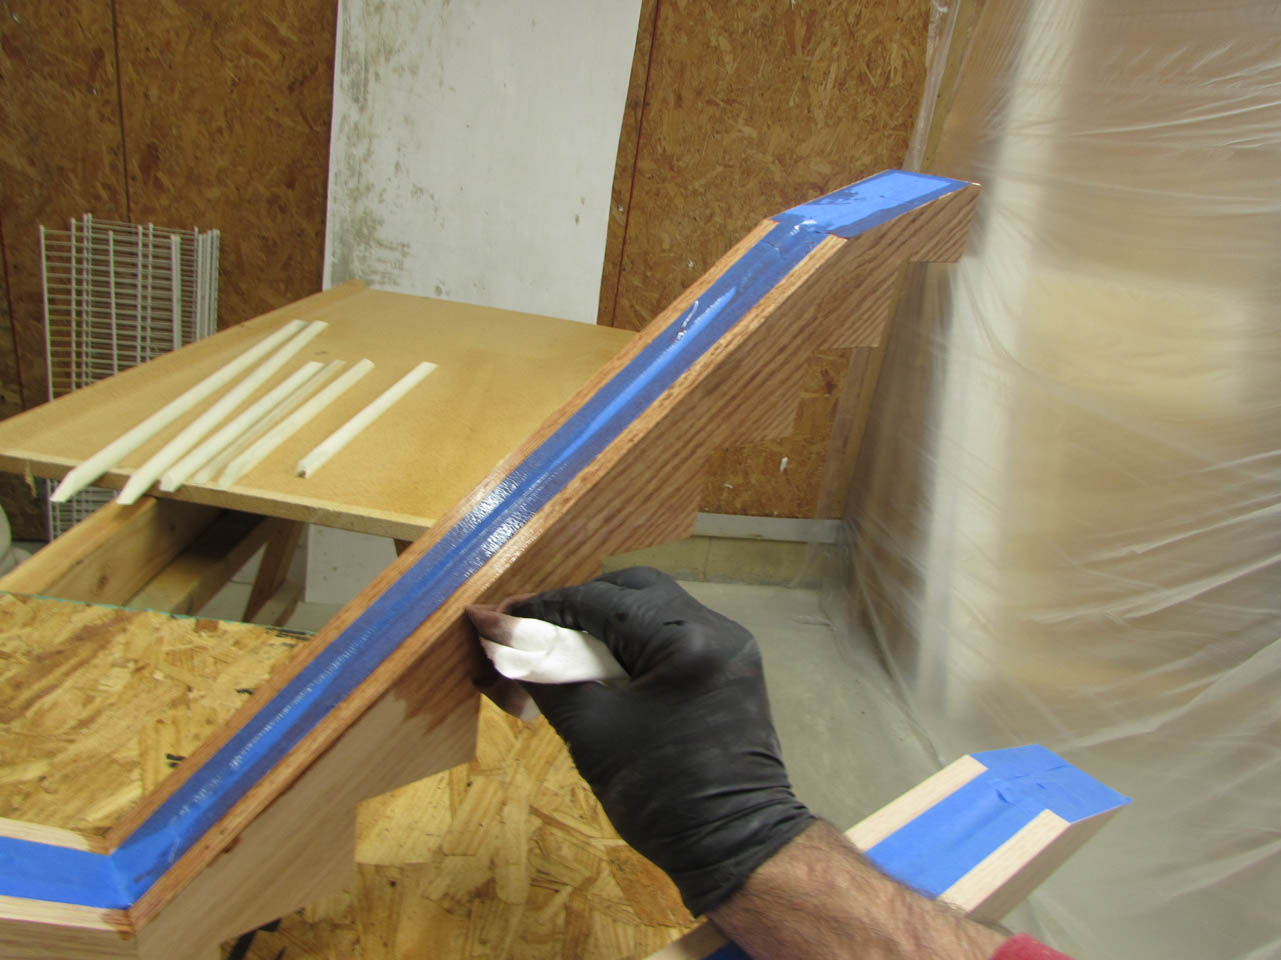
I am using a lint-free cotton cloth to apply the stain (aka: a piece of an old tee shirt).

After the stain is applied, I let it sit overnight to dry.
As you can see, the holly will contrast nicely against the stain.
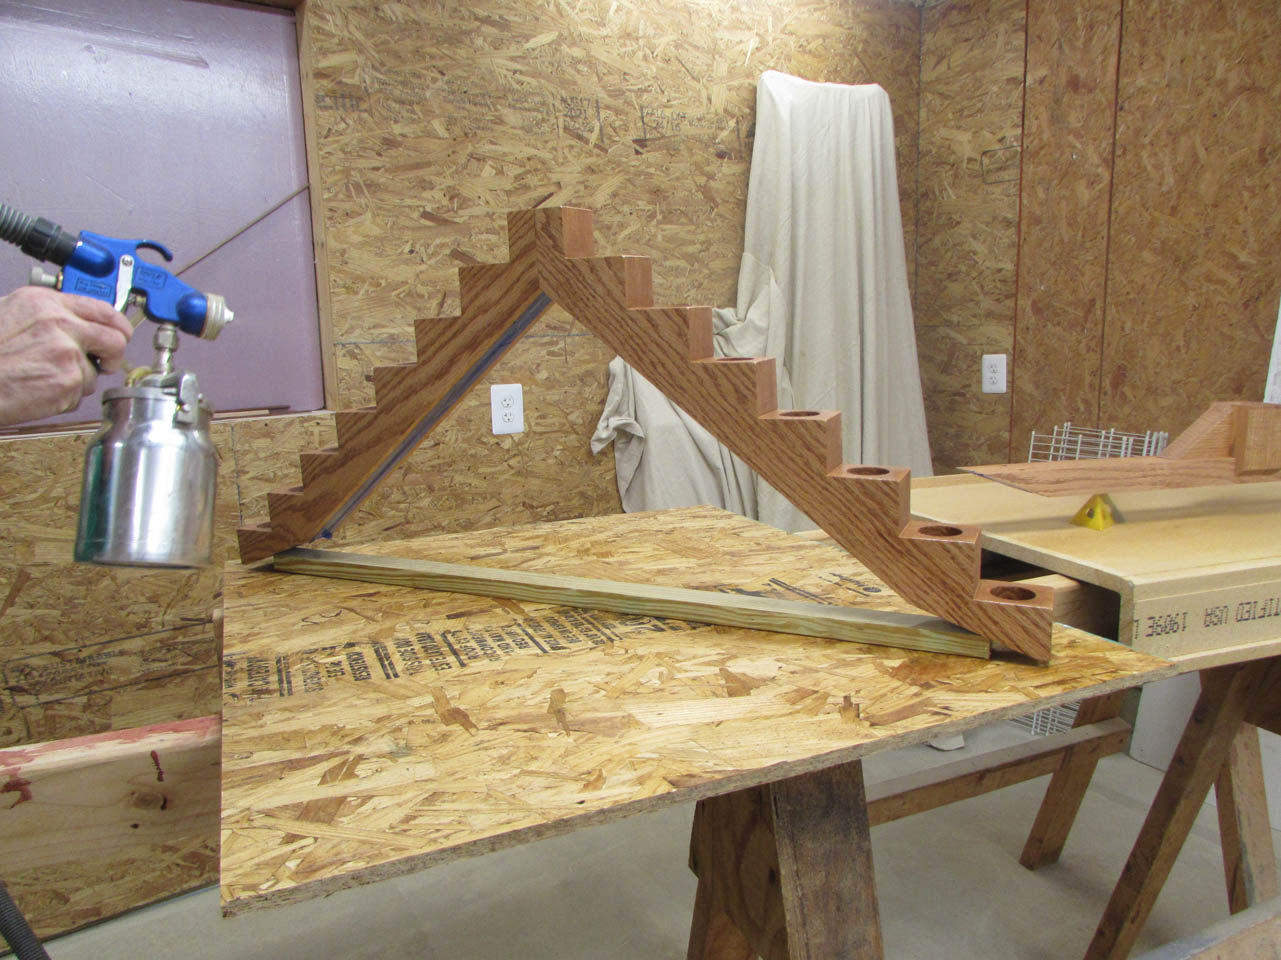
In the morning, I can get my first coat of oil-based poly applied.
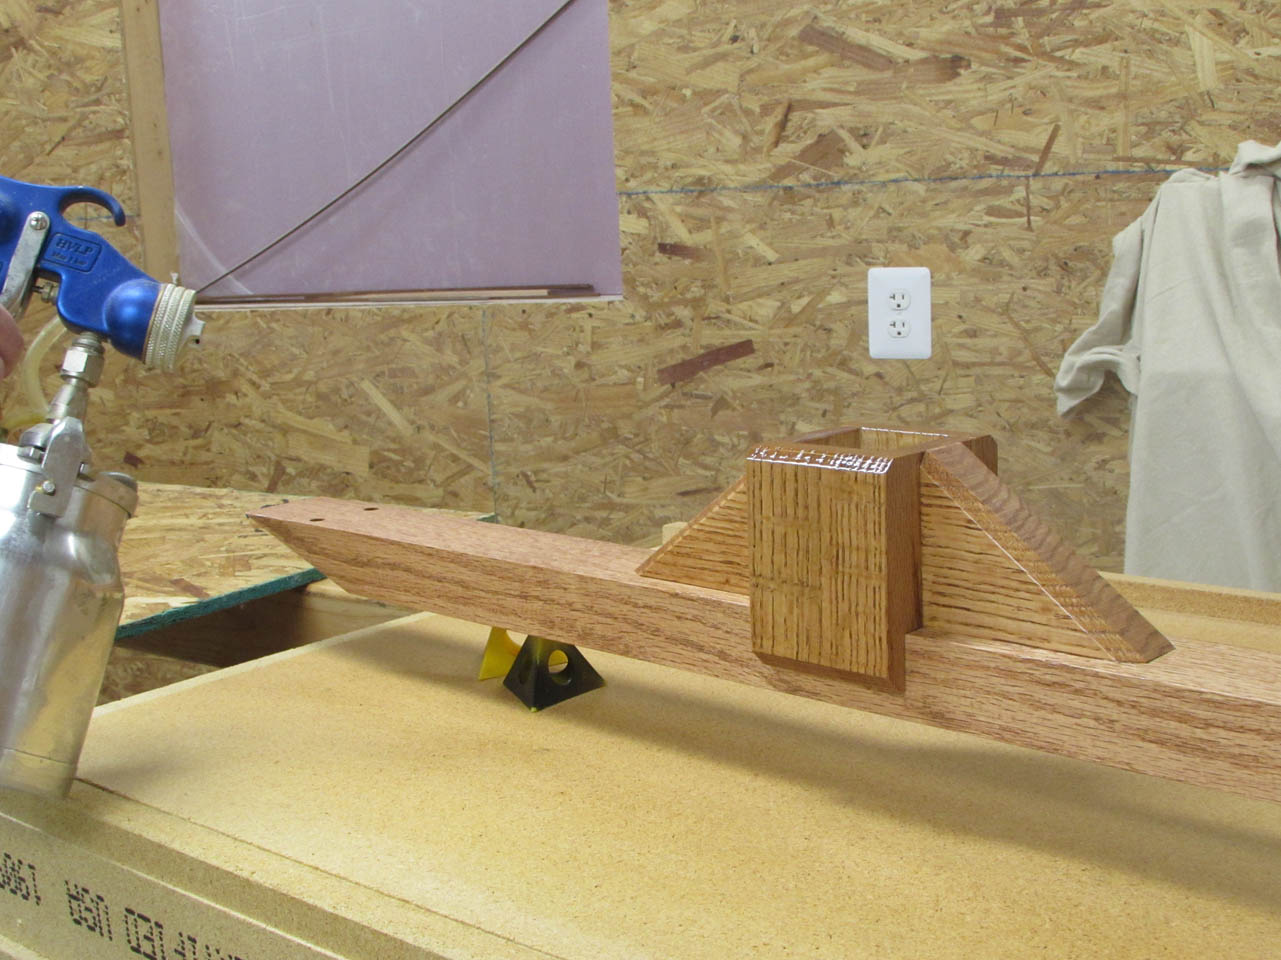
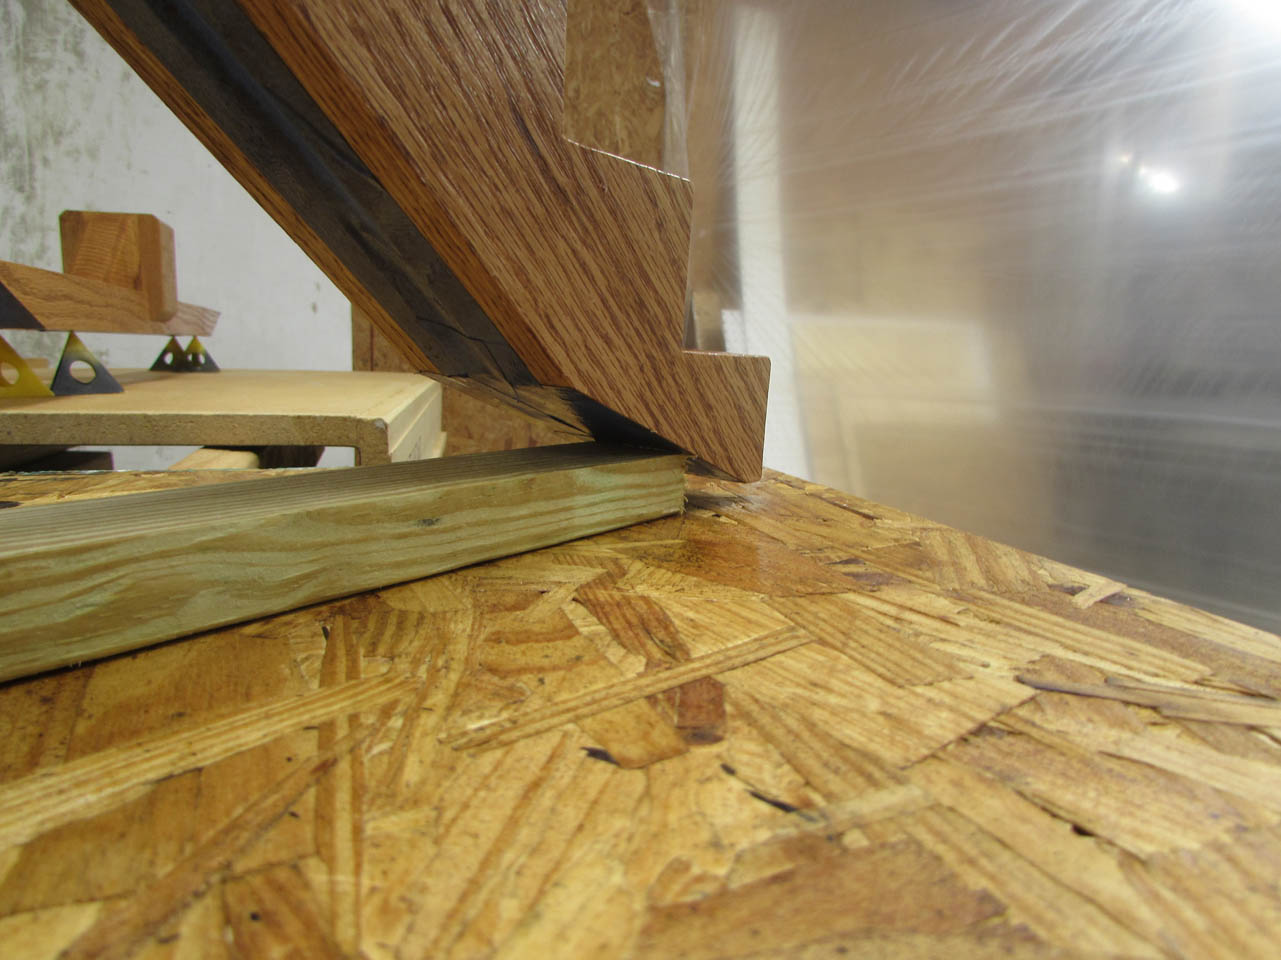
Painter’s pyramids work fine to hold up the bottom section, but I had to get creative holding up the top.

After that dried, I sanded all of the finished surfaces with 400 grit sand paper to knock down any raised fibers or dust that may have landed while the poly was drying.
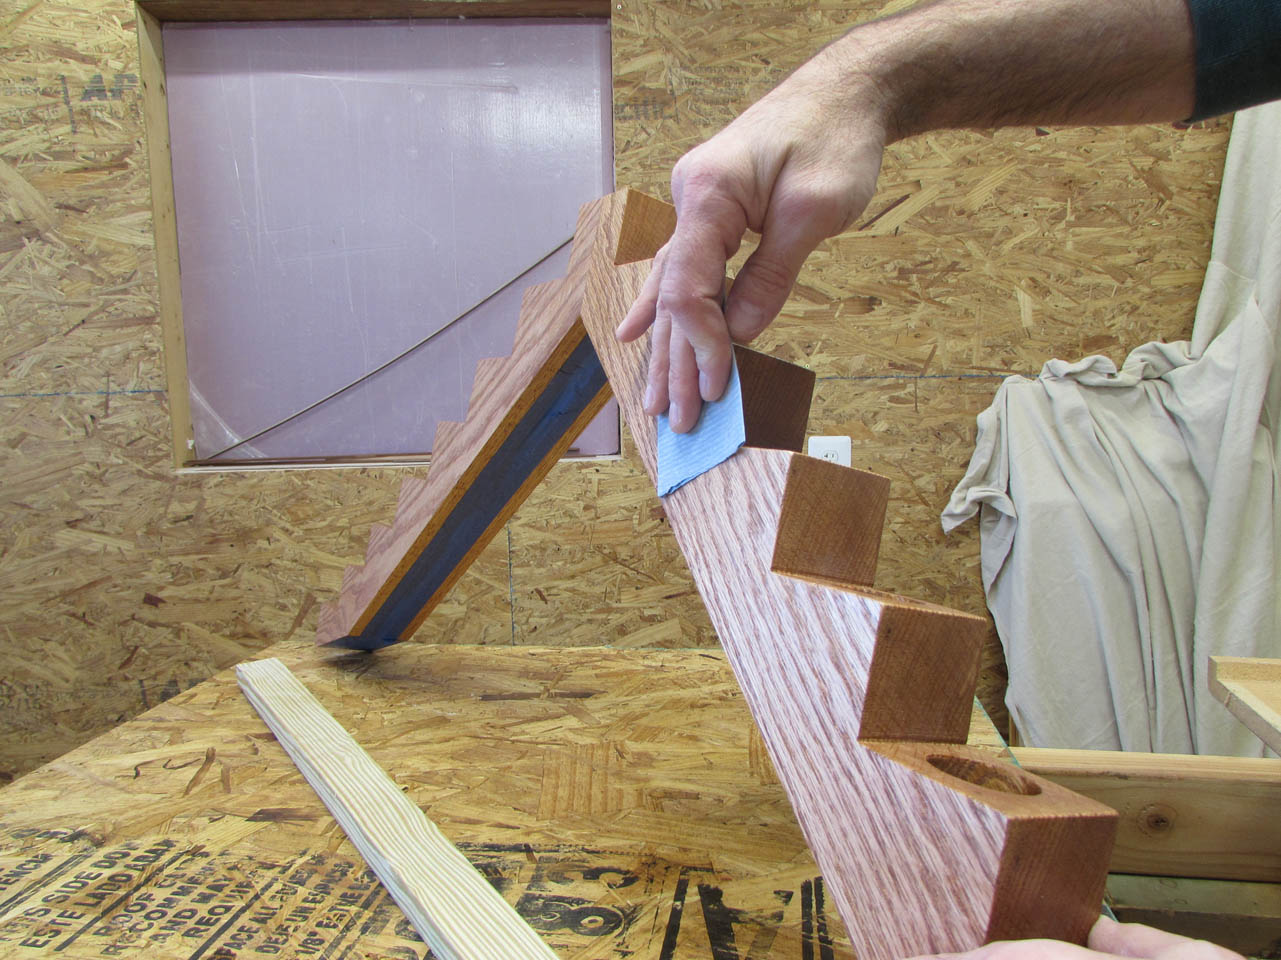
When that was done, I applied the second coat of polyurethane.

The next day, I could pull off the masking tape and start applying glue to assemble the head piece.
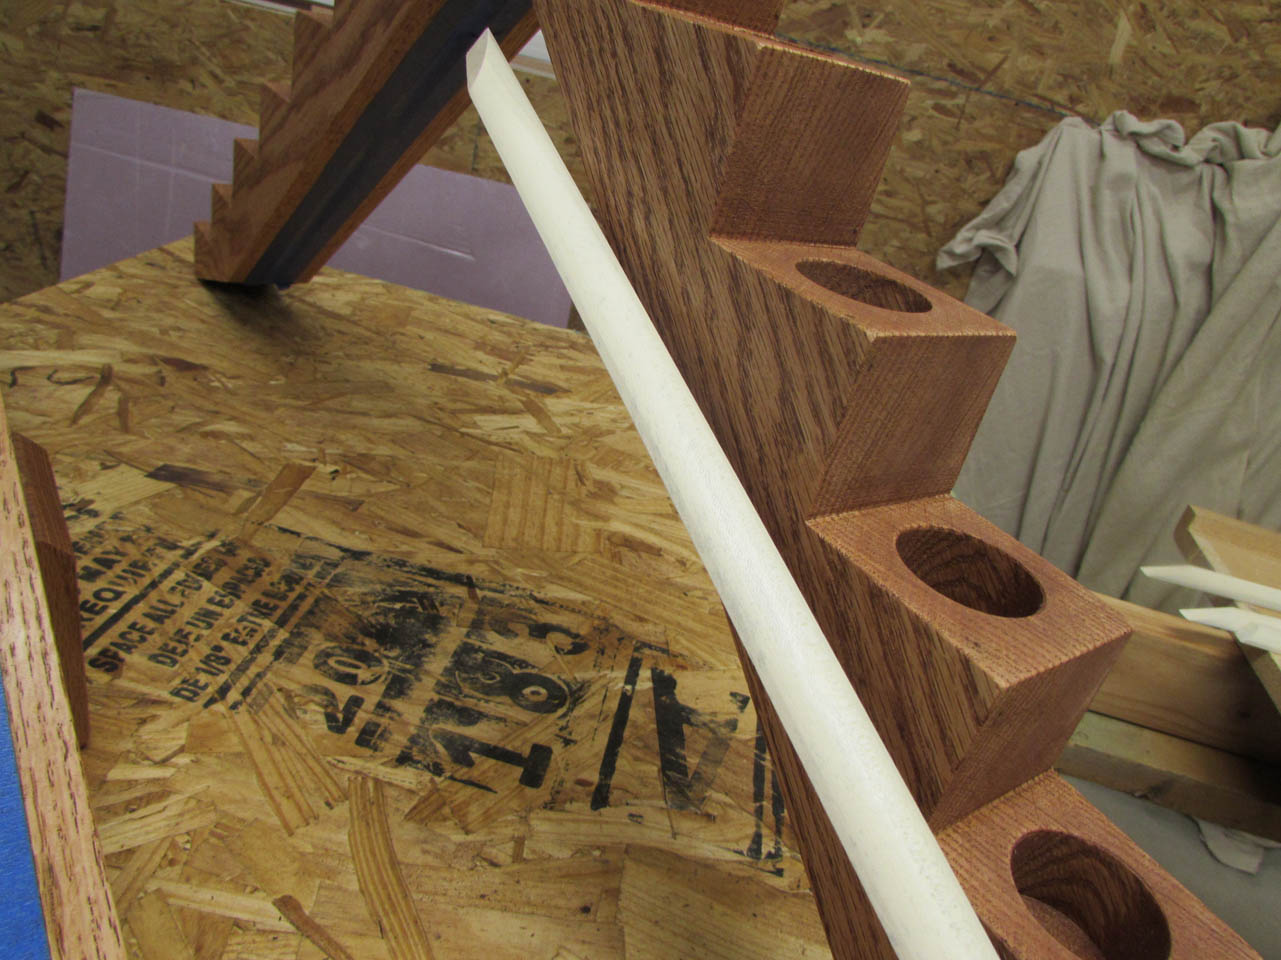
After installing the center piece, I put the top and bottom back together with the 2″ long screws.
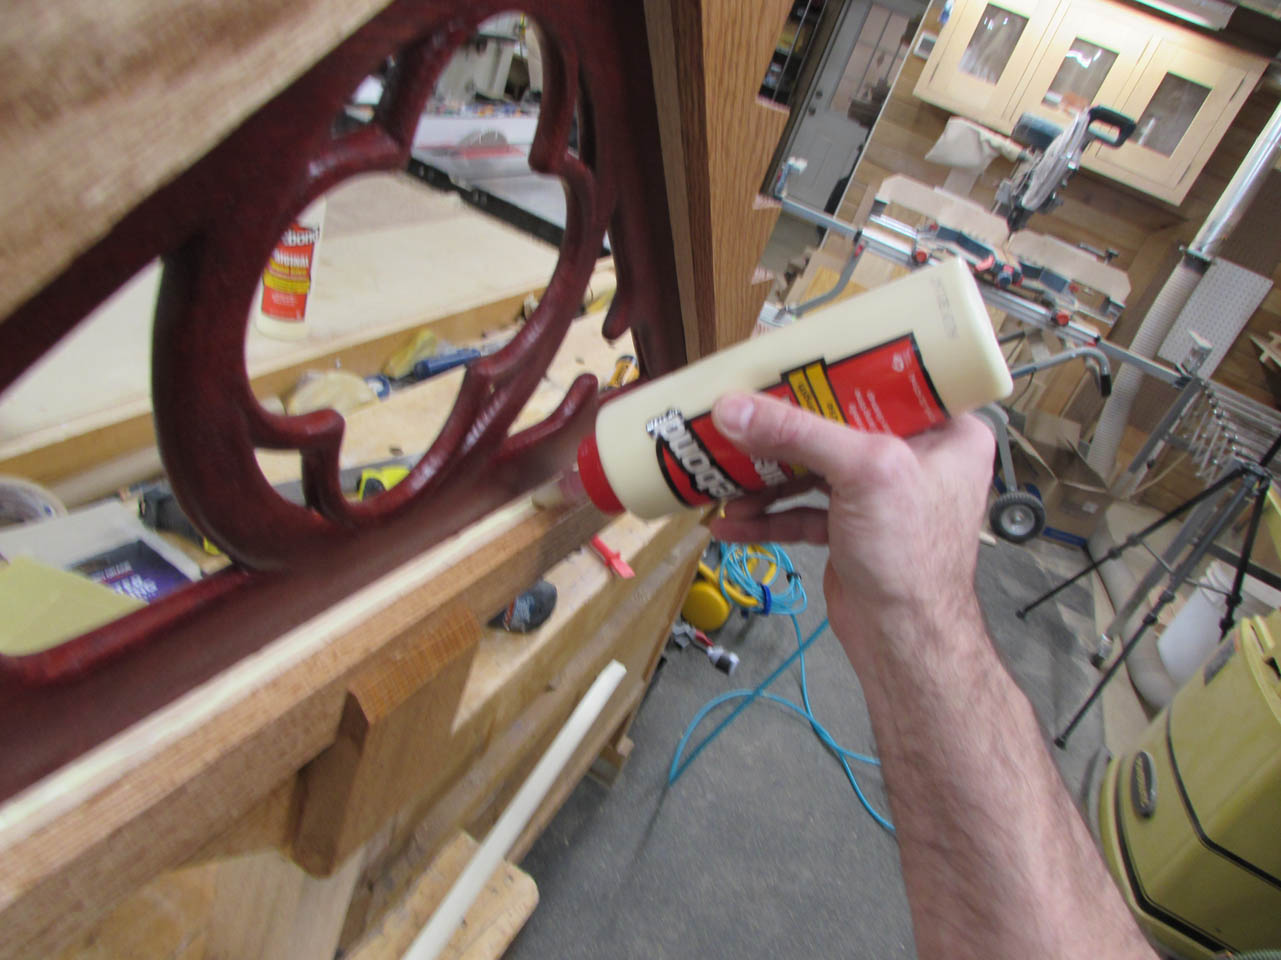
I applied a thin bead of glue to hold the bottom piece of holly trim.
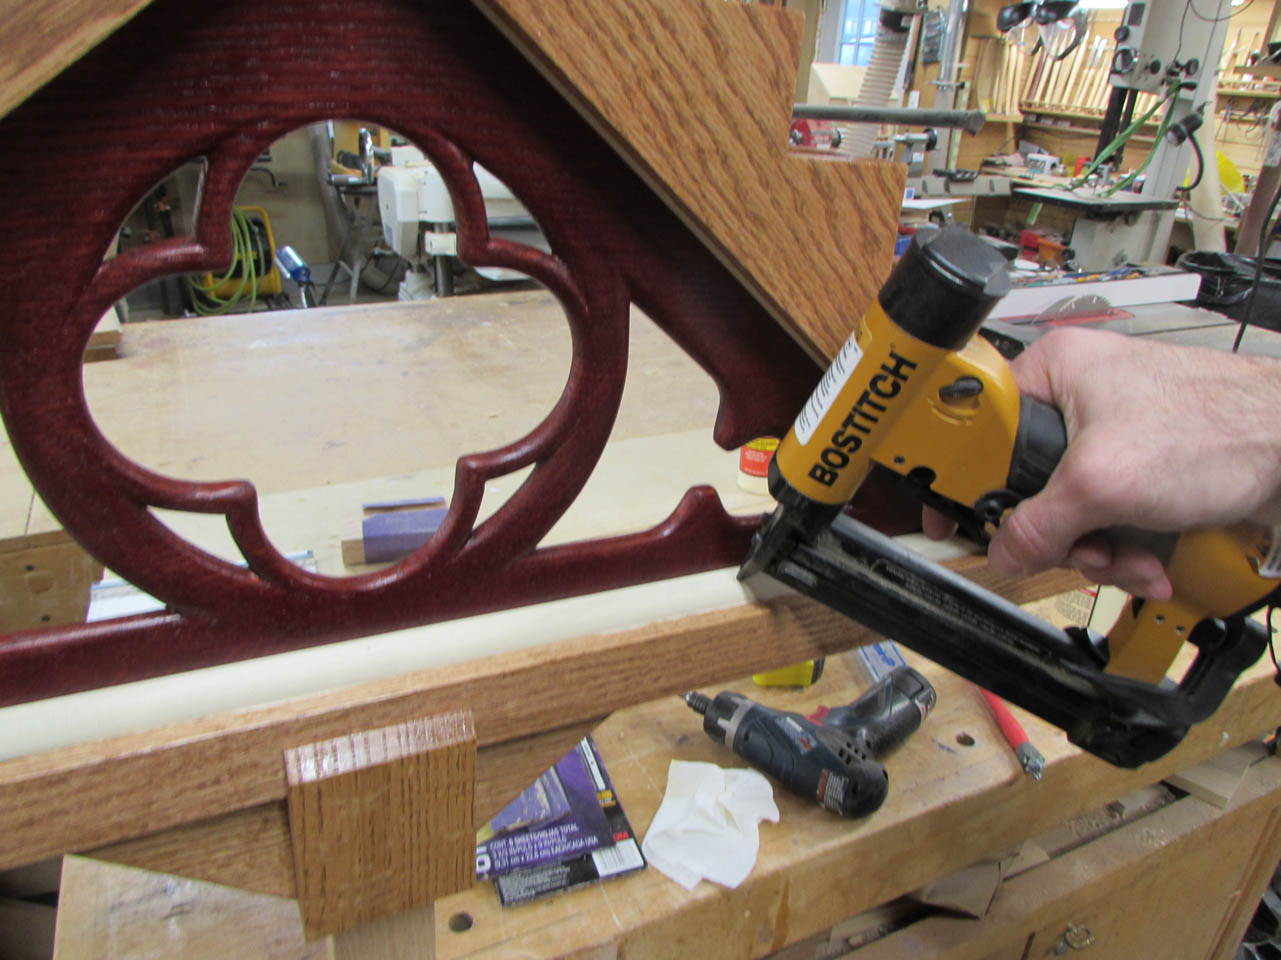
I used a couple of pin nails to hold it while the glue dried, then installed the rest of the trim in the same way.
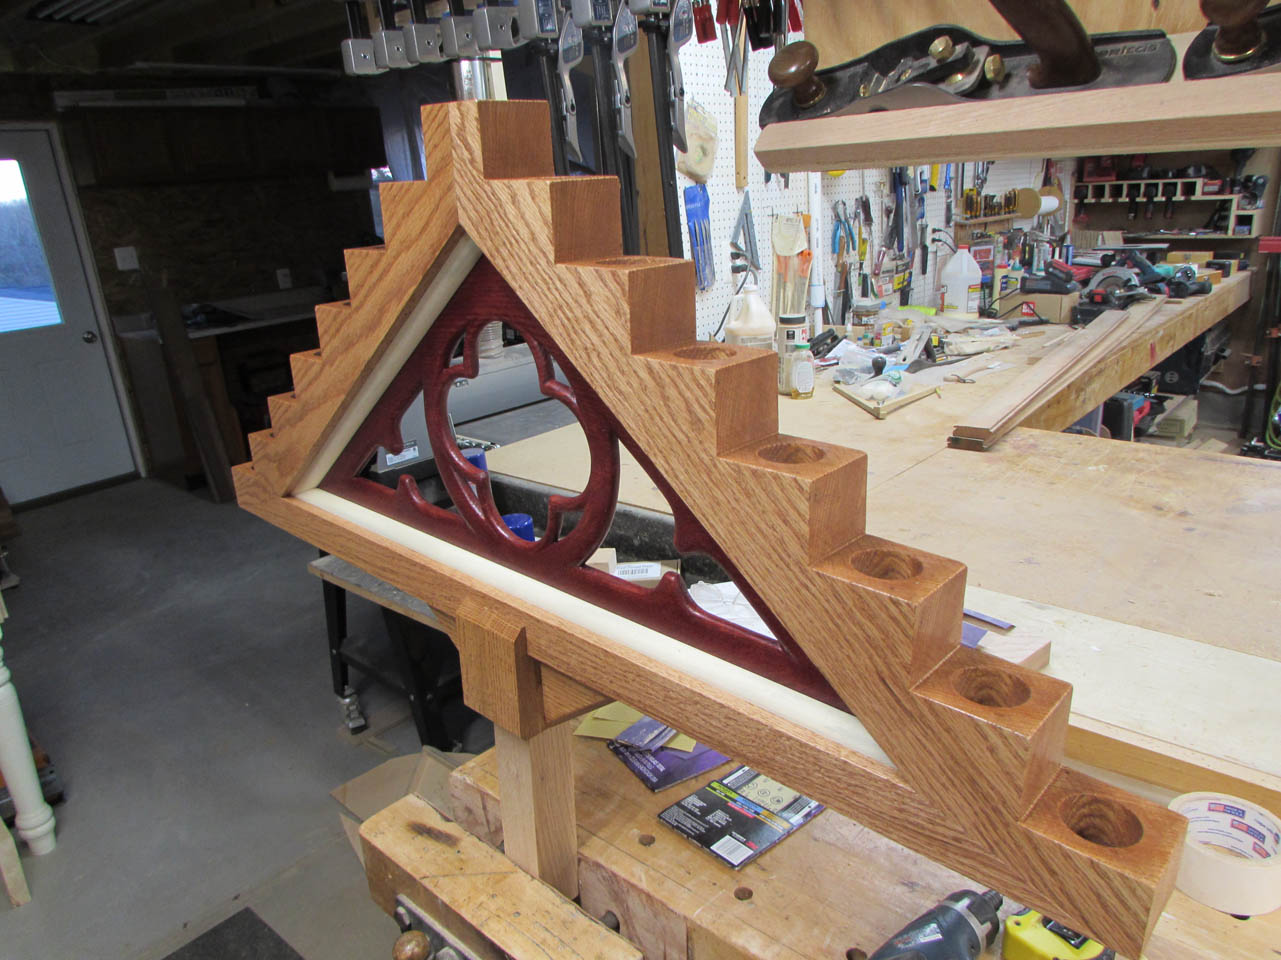
Here is the finished head piece. Time to move on to the base and the post.

