
Tenebrae Hearse for Holy Spirit church – part 3
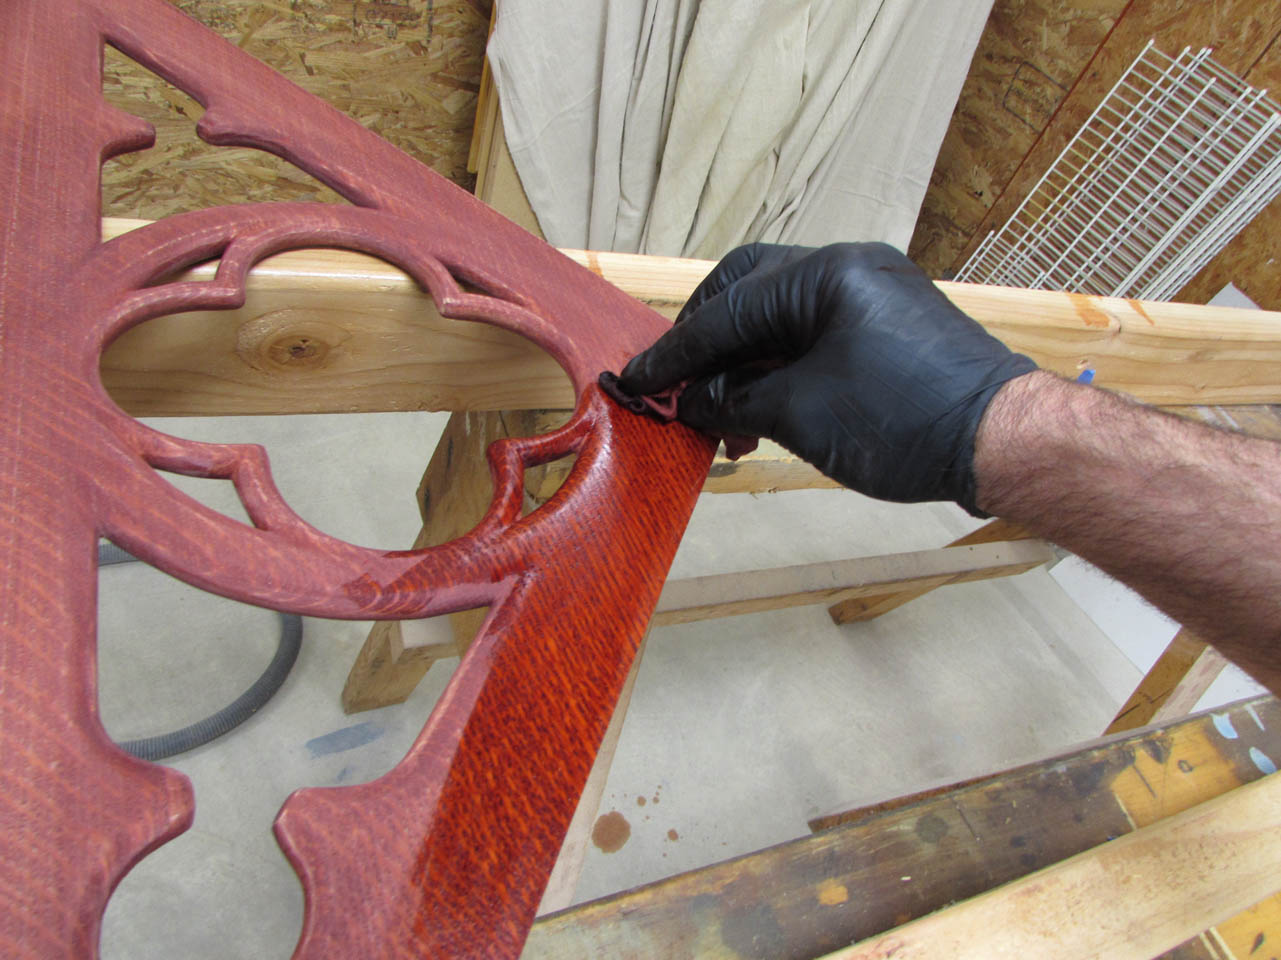
The water in the dye has a tendency to soak into the wood and swell the grain leaving a rough texture behind.

I used 400 grit sand paper to smooth the surface back down, then applied another coat of red dye just to make sure the color stayed even after sanding. The grain is not likely to swell up a second time.

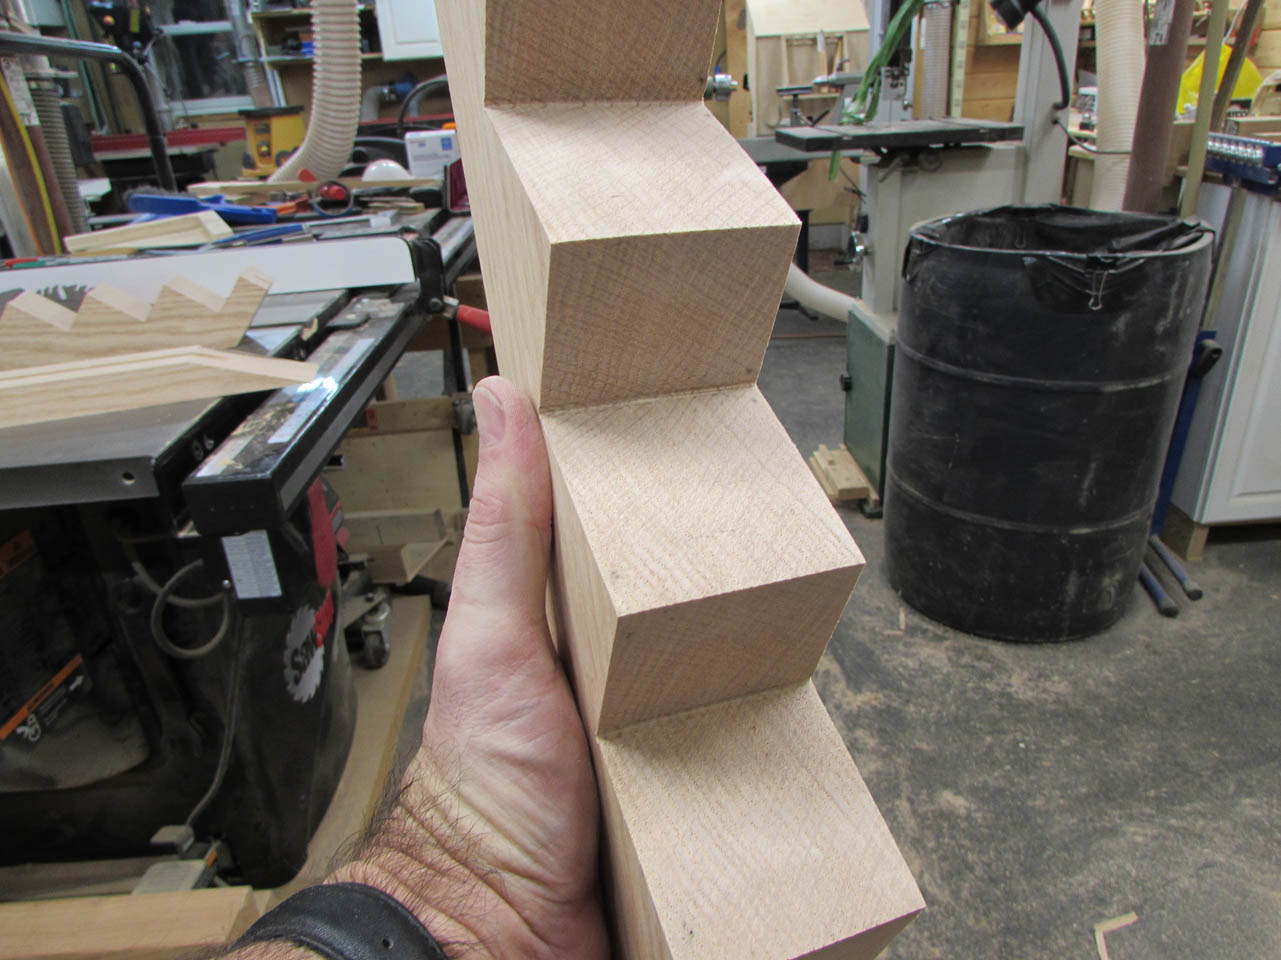
While that is drying, I can spend some time cutting out the stair steps along the top of the head piece that will give me the seats for the candles.

The band saw cuts a little rough, but it is the best tool for the job.


When the centerpiece is dry, I double-check the surface to see that it is still smooth, then spray on a couple of coats of water-based polyurethane to seal the surface. I used water-based because it will not change the color of the red dyed wood any further. I will be spraying an oil-based finish onto the rest of the wood that will frame this piece. The oil-based poly will soak into the grain of the rest of the wood, darkening it slightly and giving it a warmer tone. I want to prevent any of the oil from soaking into this piece. I will probably mask it off when I spray the rest, but this is added insurance against any oil infiltration.

While that dries, and in between coats, I move back to sanding the top frame pieces.
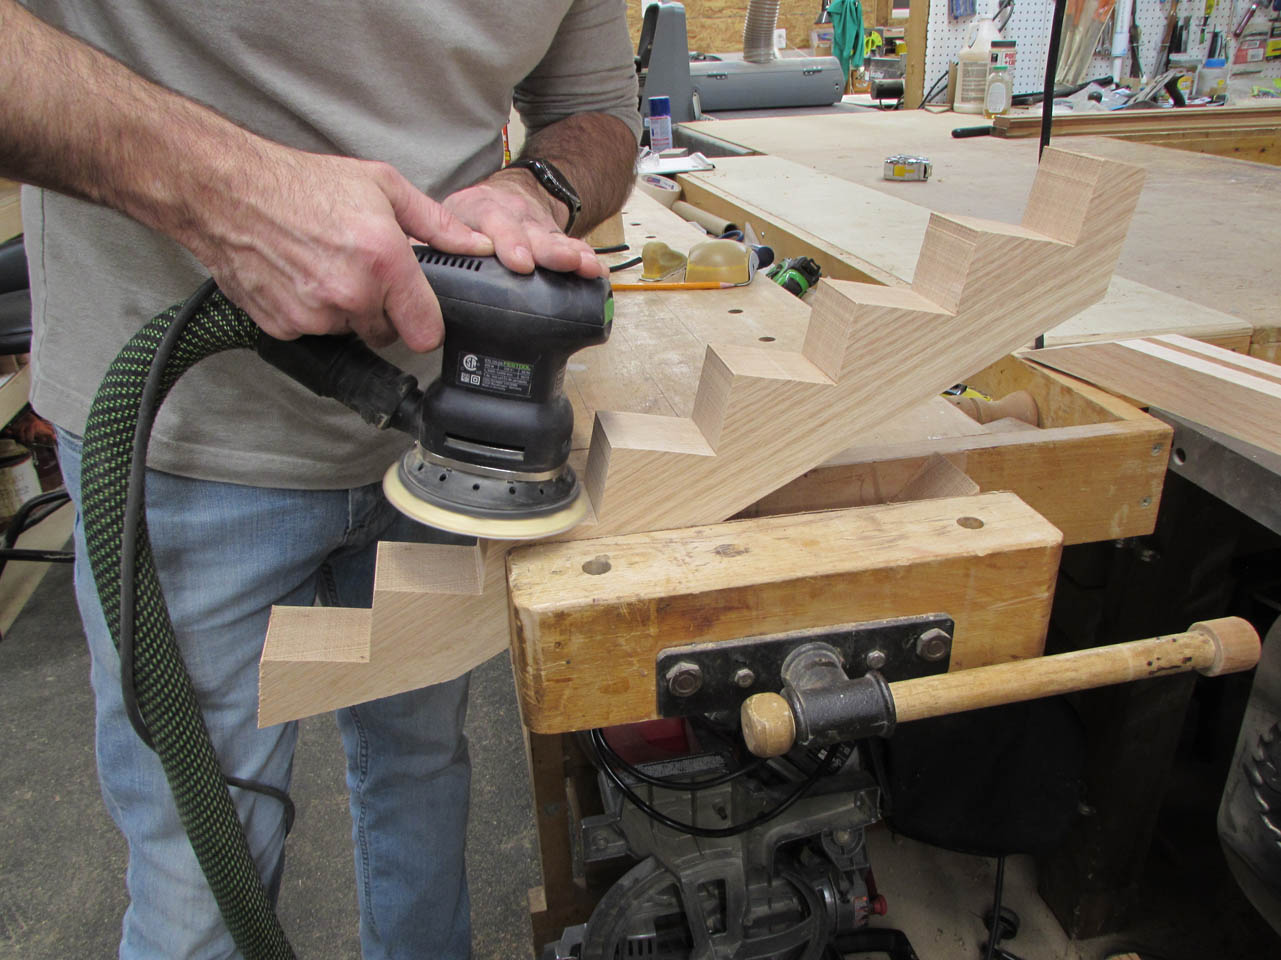
I used my orbital sander to smooth down most of the rough texture from the band saw, then switched to a piece of sand paper attached to a block of wood.
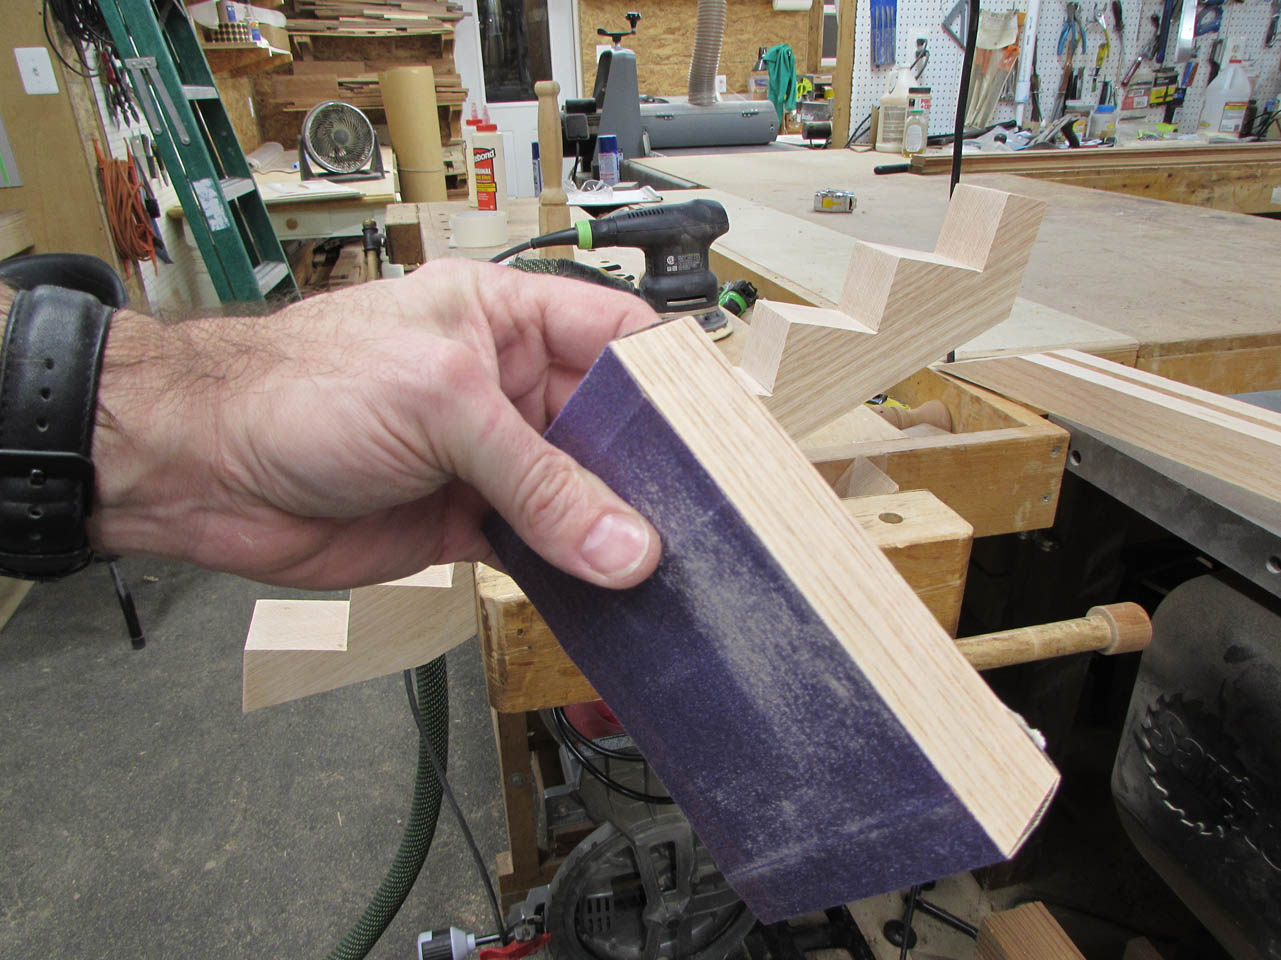
This gives me a solid, flat surface to finish sand with. The orbital has a cushion below the sand paper and if I press too hard, it can round over some of the edges. The sanding block leaves crisp, sharp edges and a perfectly flat surface. It just takes a little patience…

Smooth and flat, perfect.

Next step is to attach the two sides of the head piece. I apply glue to the spline and beat it into place.
I had a tight fit before, and the water-based glue soaks into the grain and swells the wood just a bit, giving me an even tighter fit.


I leave it clamped up for an hour or so. I am very happy with the tight joint.

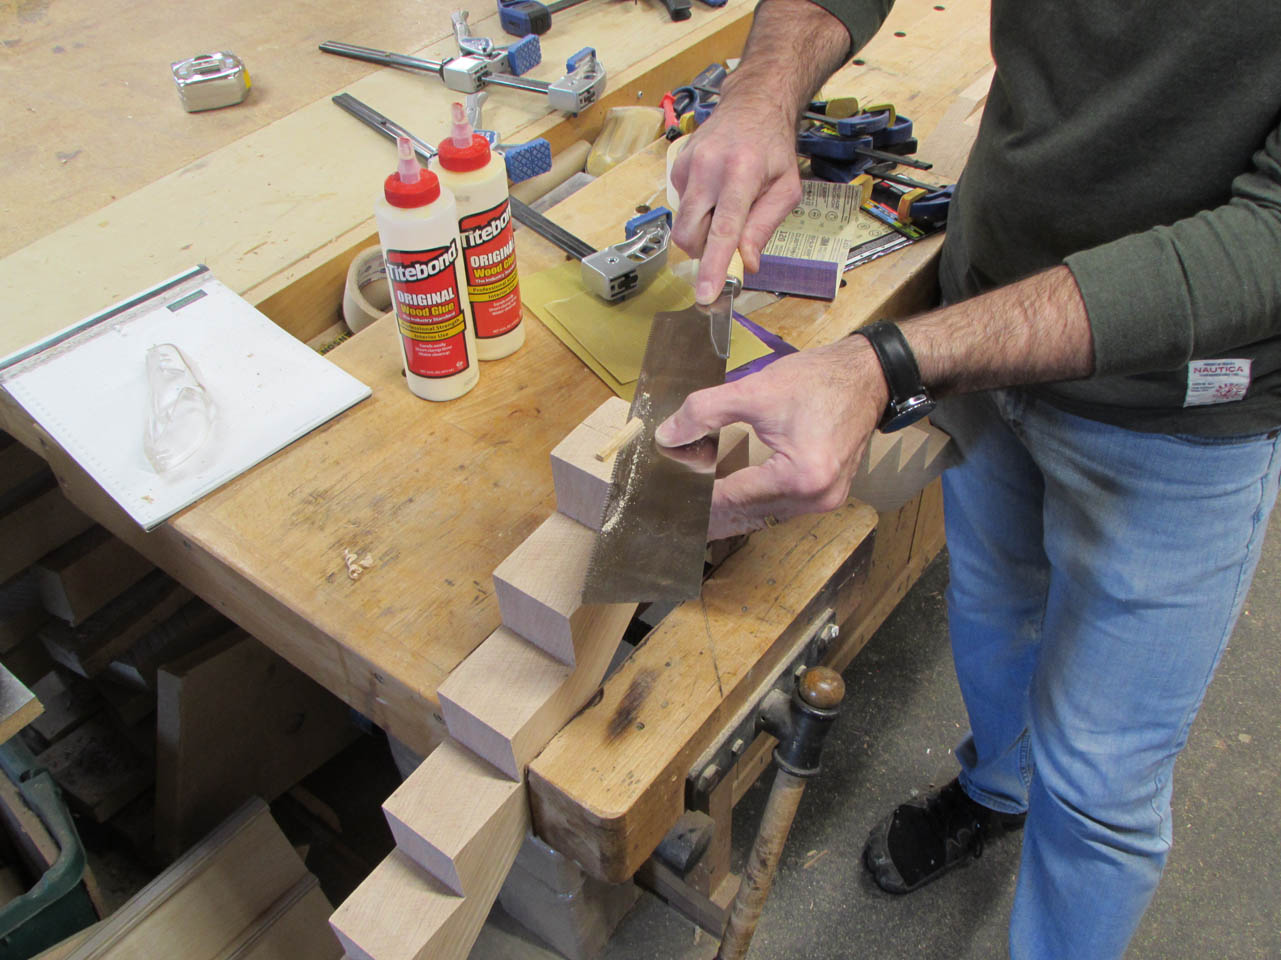
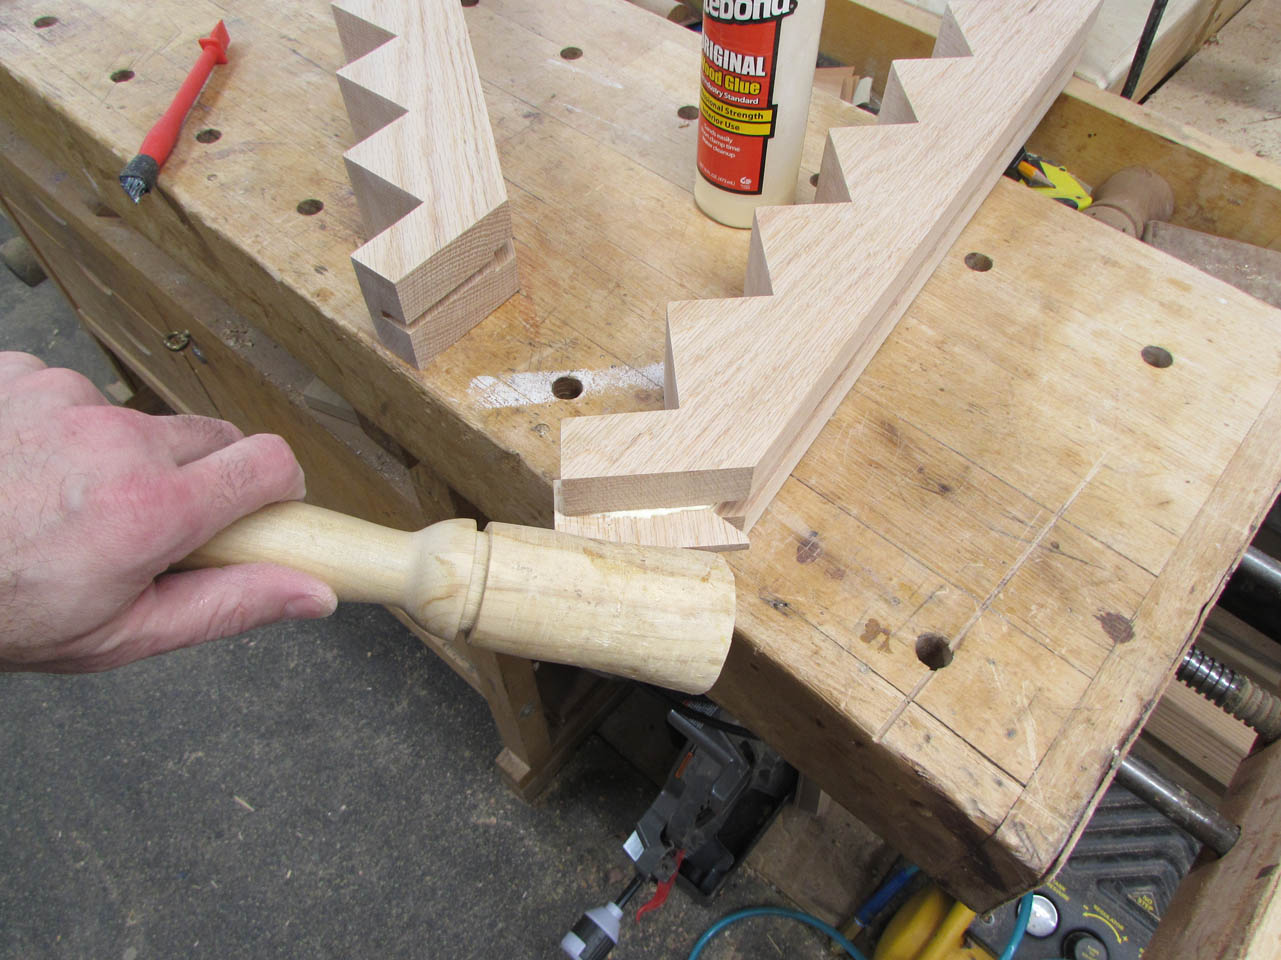
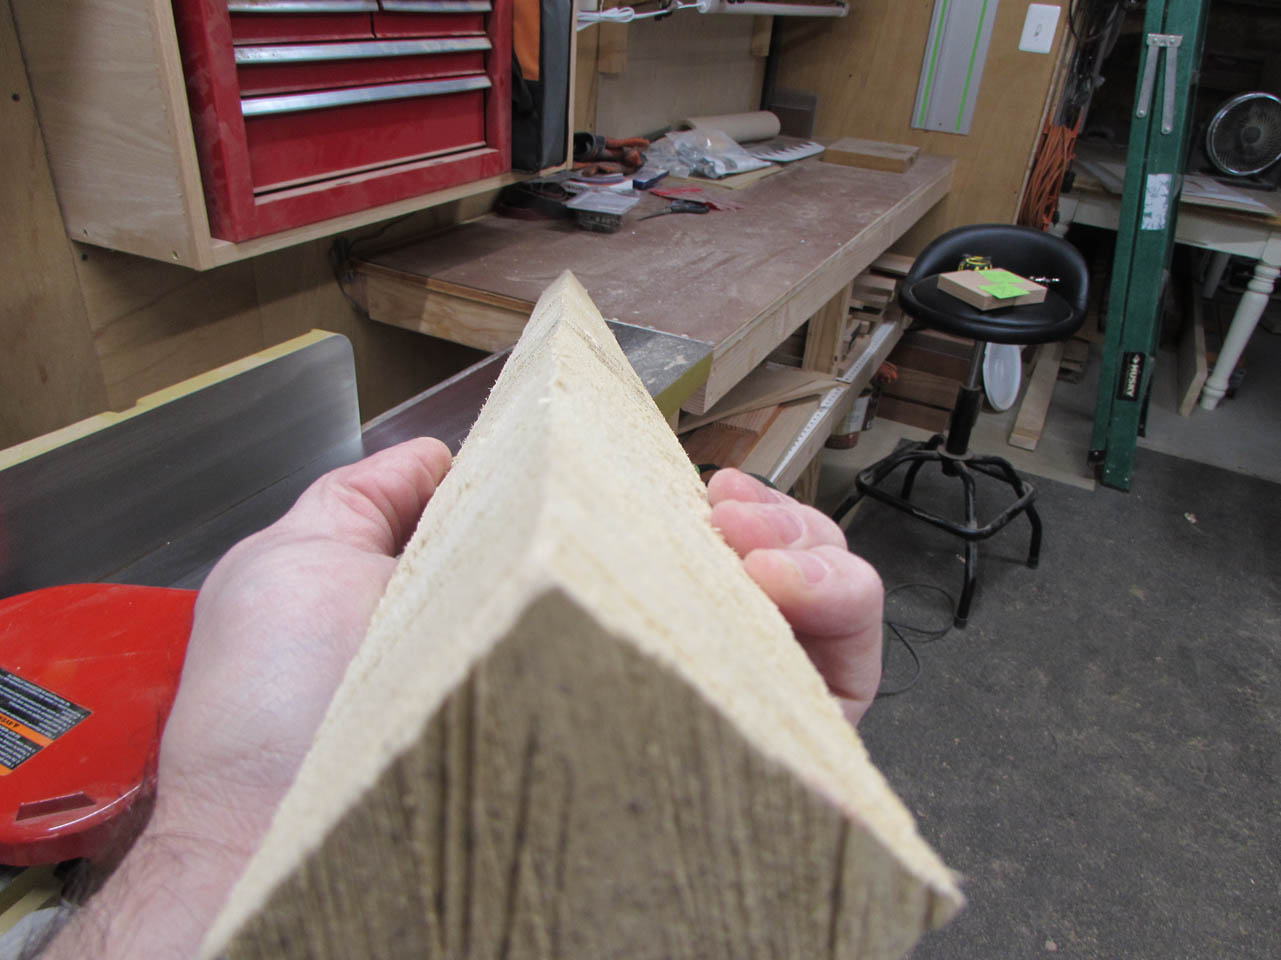
After the glue is dry enough to pull the clamps, I use my razor saw to remove the bit of spline that was sticking out, then sand the top flat.

I used a straight edge to mark the centers of each step. This is where the holes, that hold the candles, will be drilled.


Before I can drill them out, I need a stable base on the head piece.
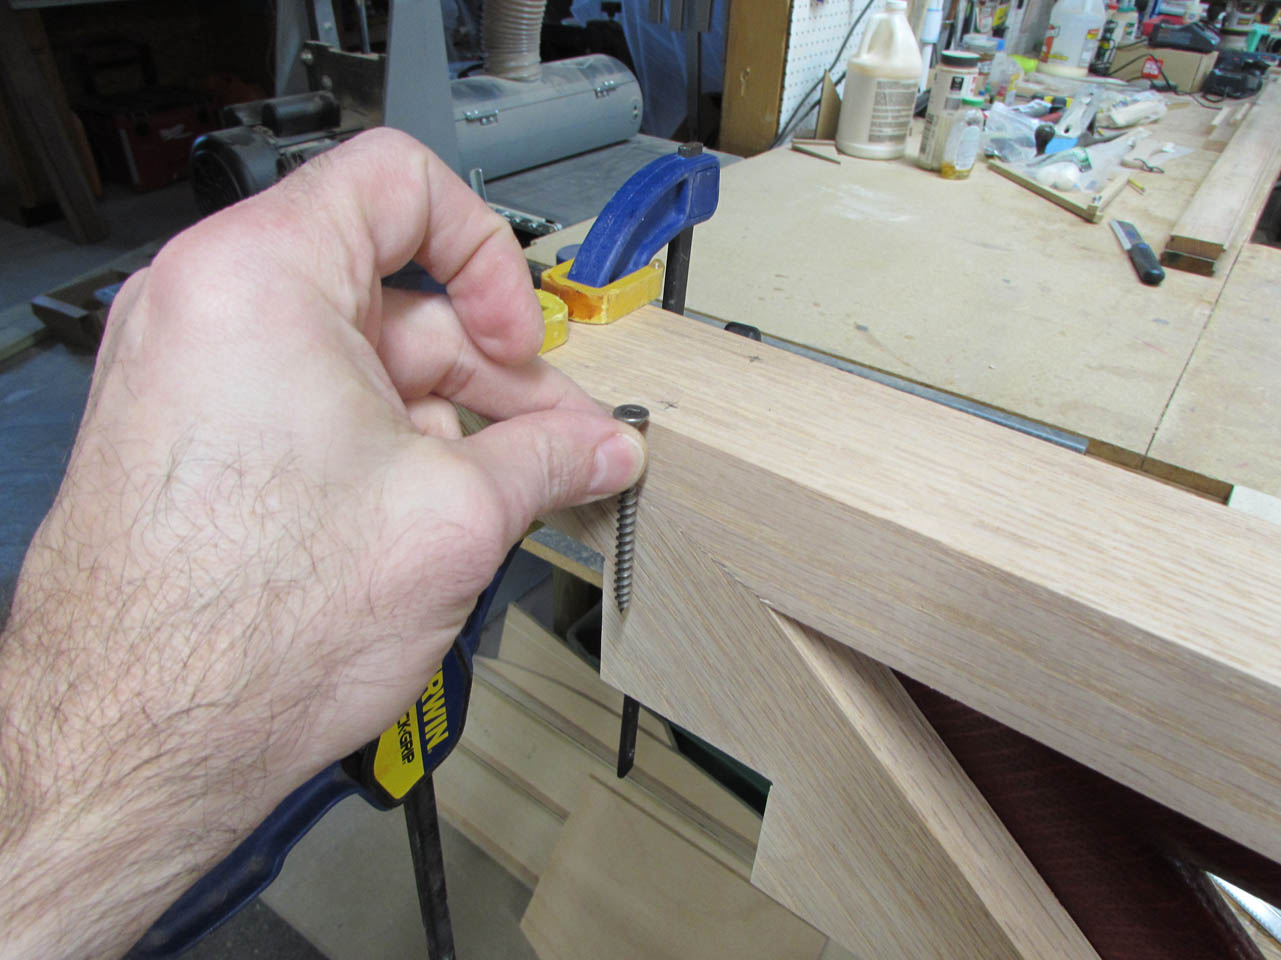
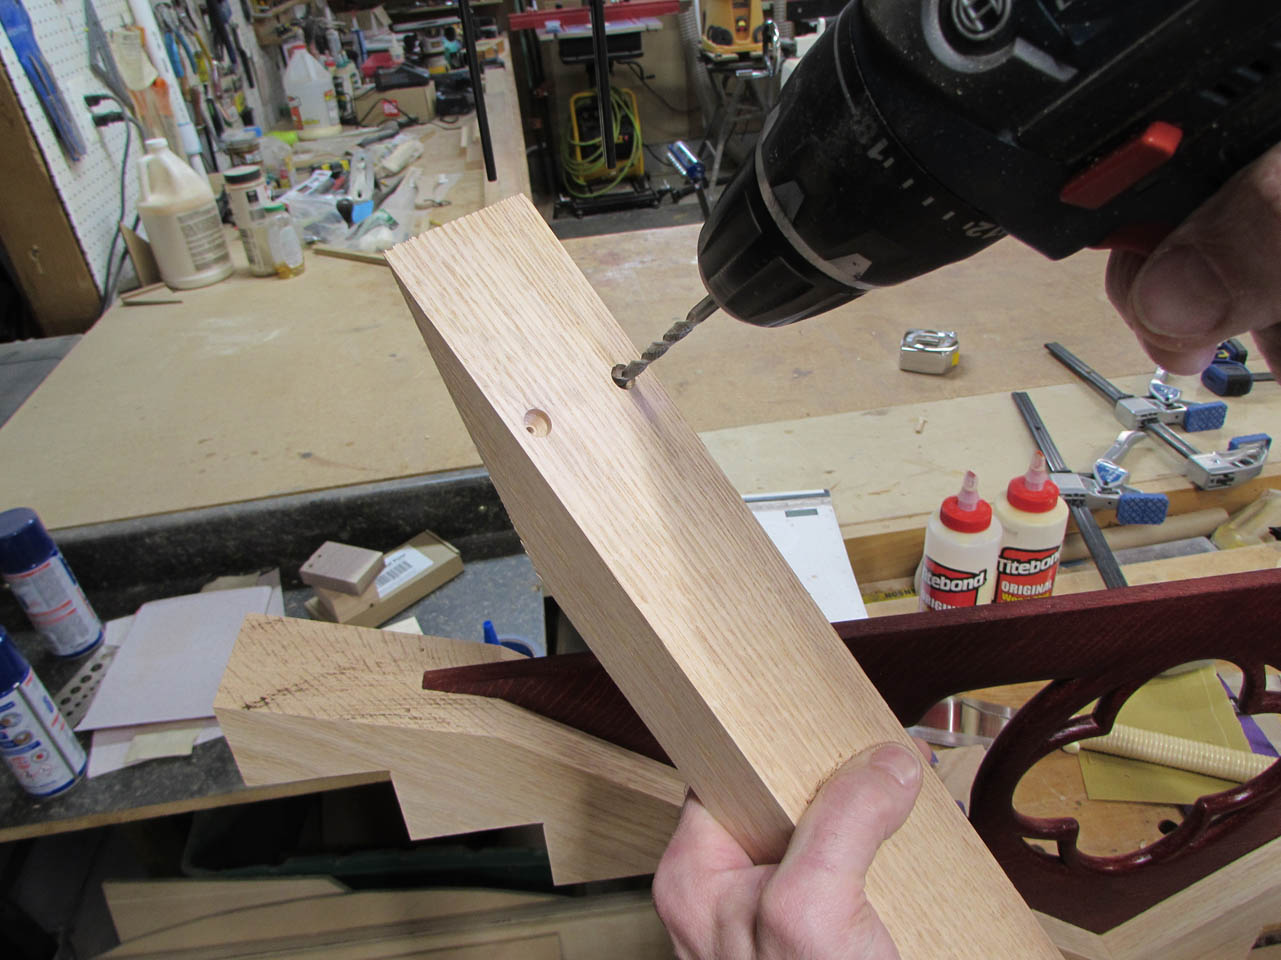
Since the long miter joint is all exposed end grain, it will not make a good glue joint. I will be attaching it with screws as well as glue since it is the bottom and will not be visible. Attaching it with screws now will allow me to finish the bottom and have a stable flat surface to sit on the drill press.
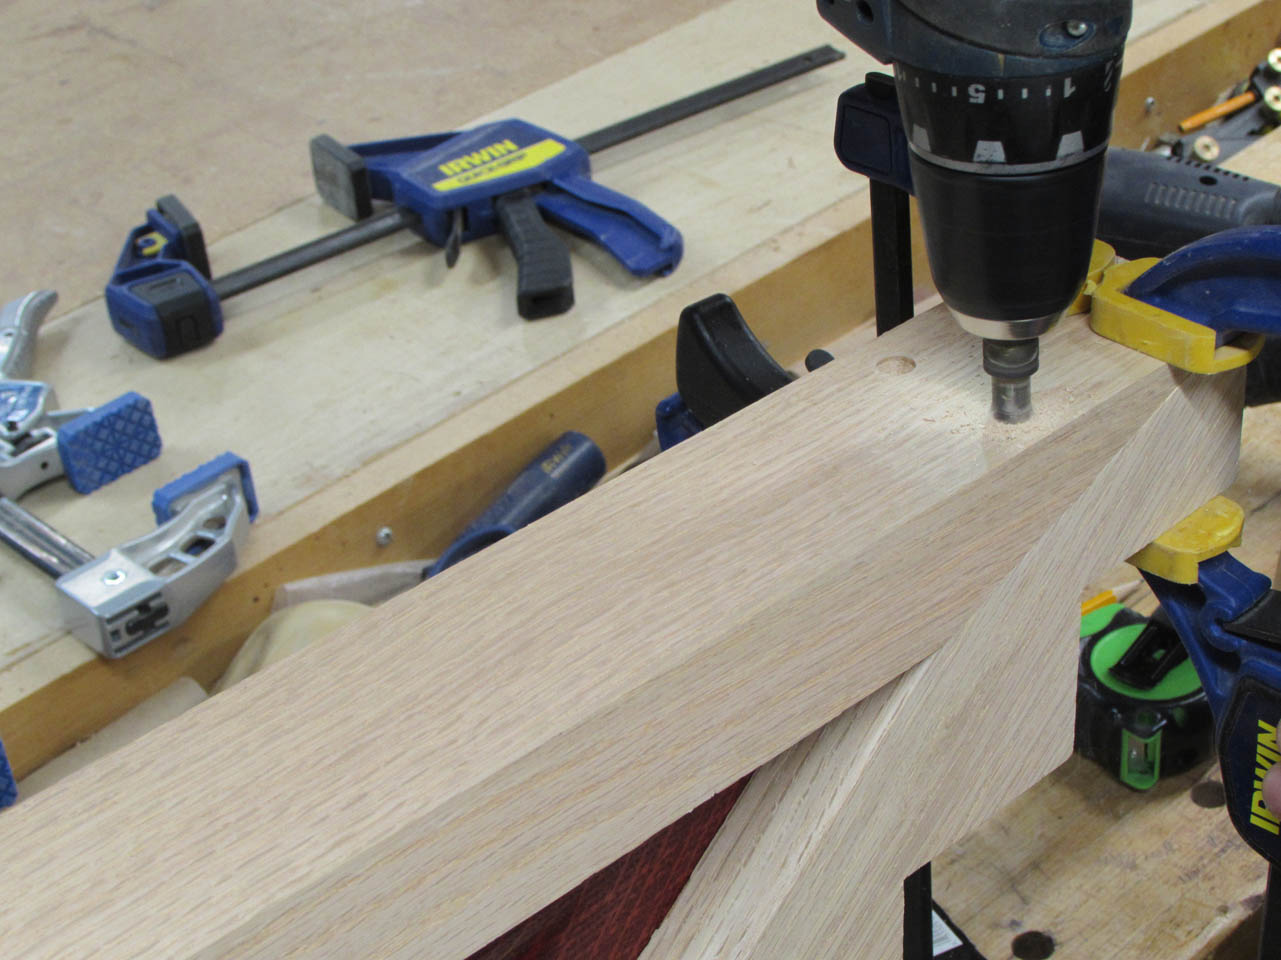
To keep the screws hidden, I drill the pilot holes with a counter-sink, then drill out the holes on the bottom piece so that the screws can pass through easily. This will allow the bottom to be drawn tightly up to the top when screwed on.


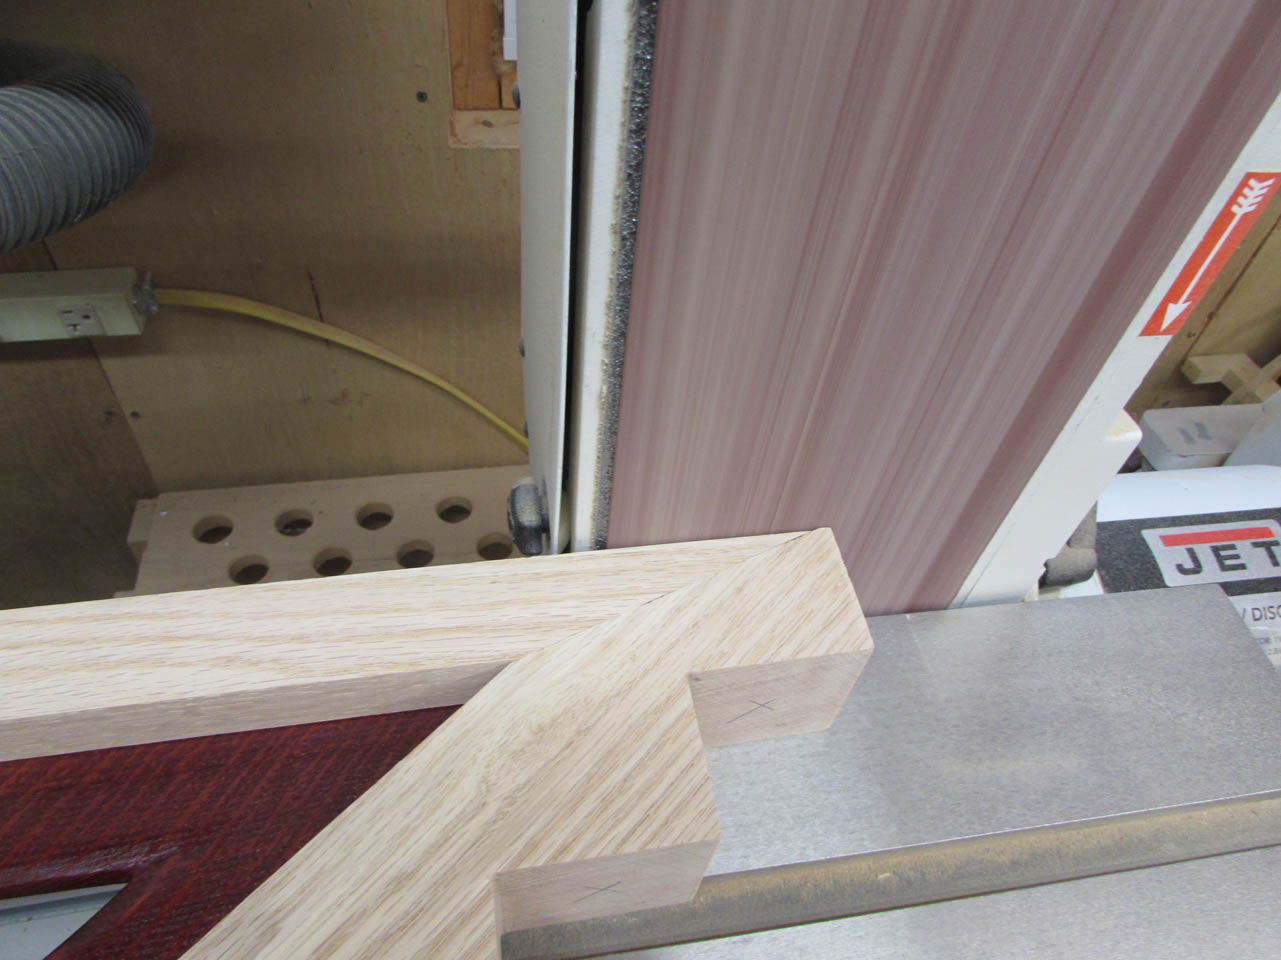
After the screws are tightly drawn down, you can see the ends of the top pieces hanging down. These can be trimmed flush easily on my sander.
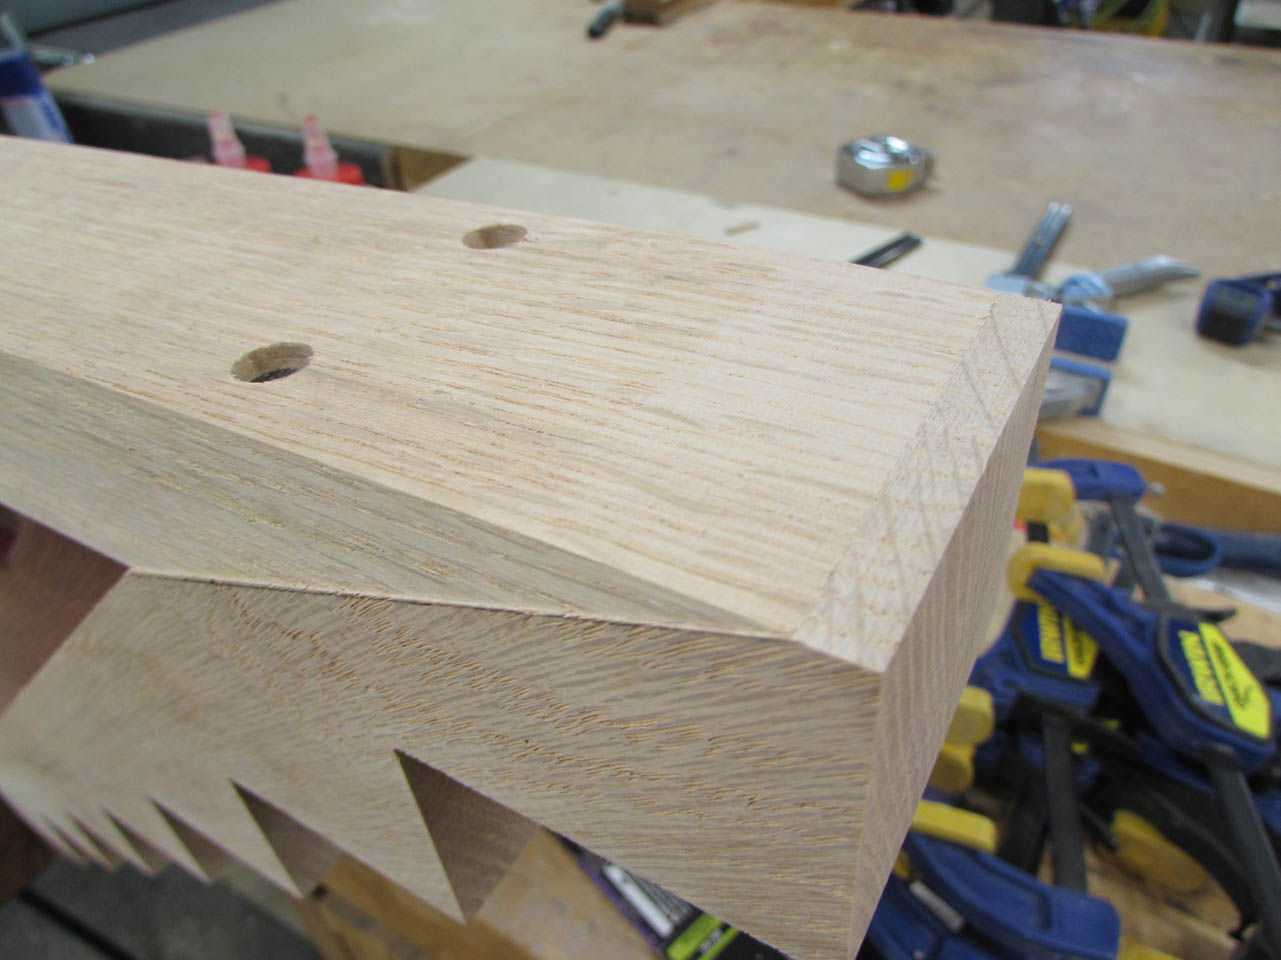
I do a little finish sanding and it now has a smooth, flat bottom.


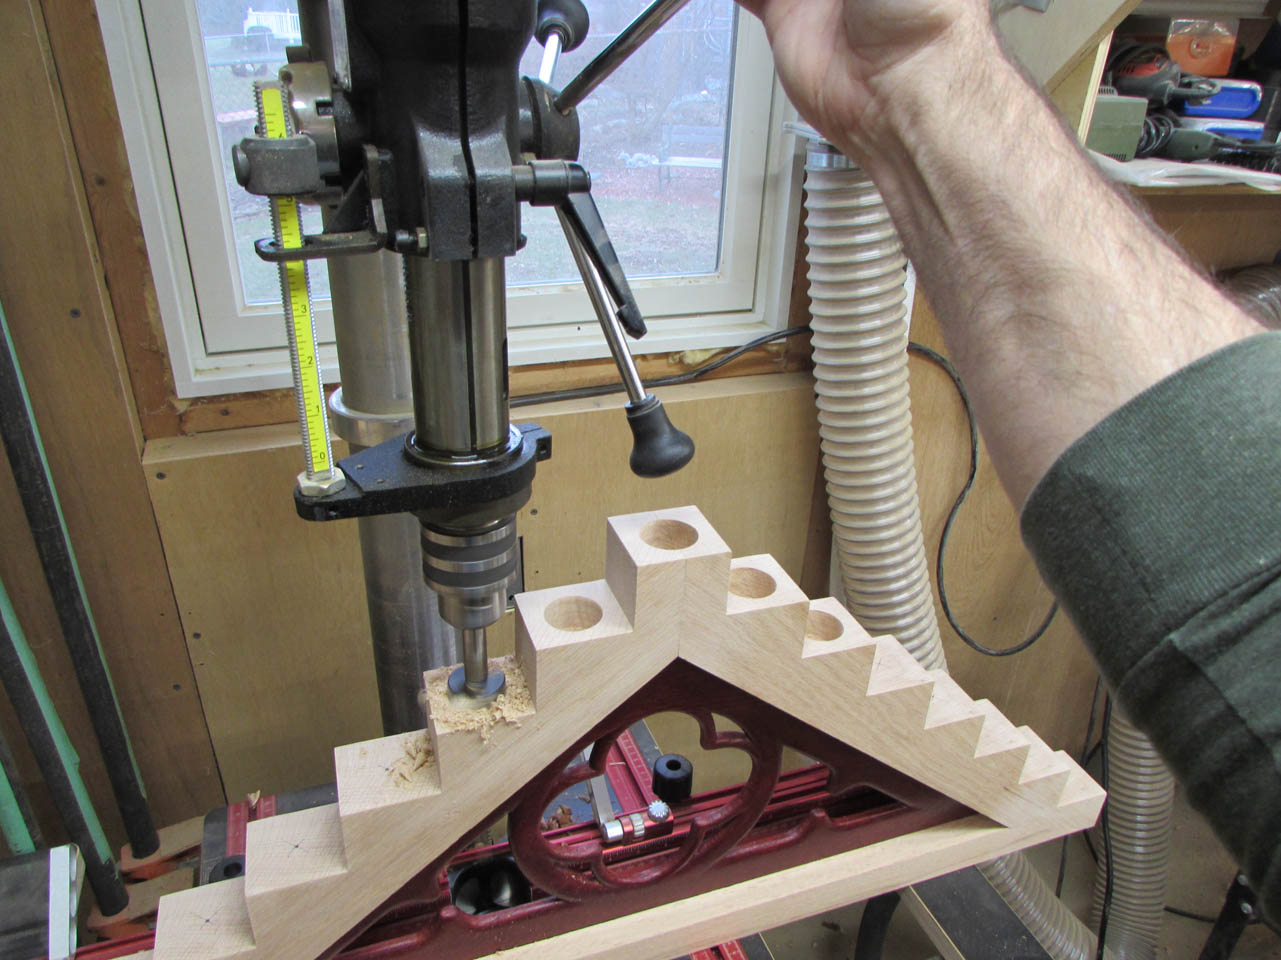
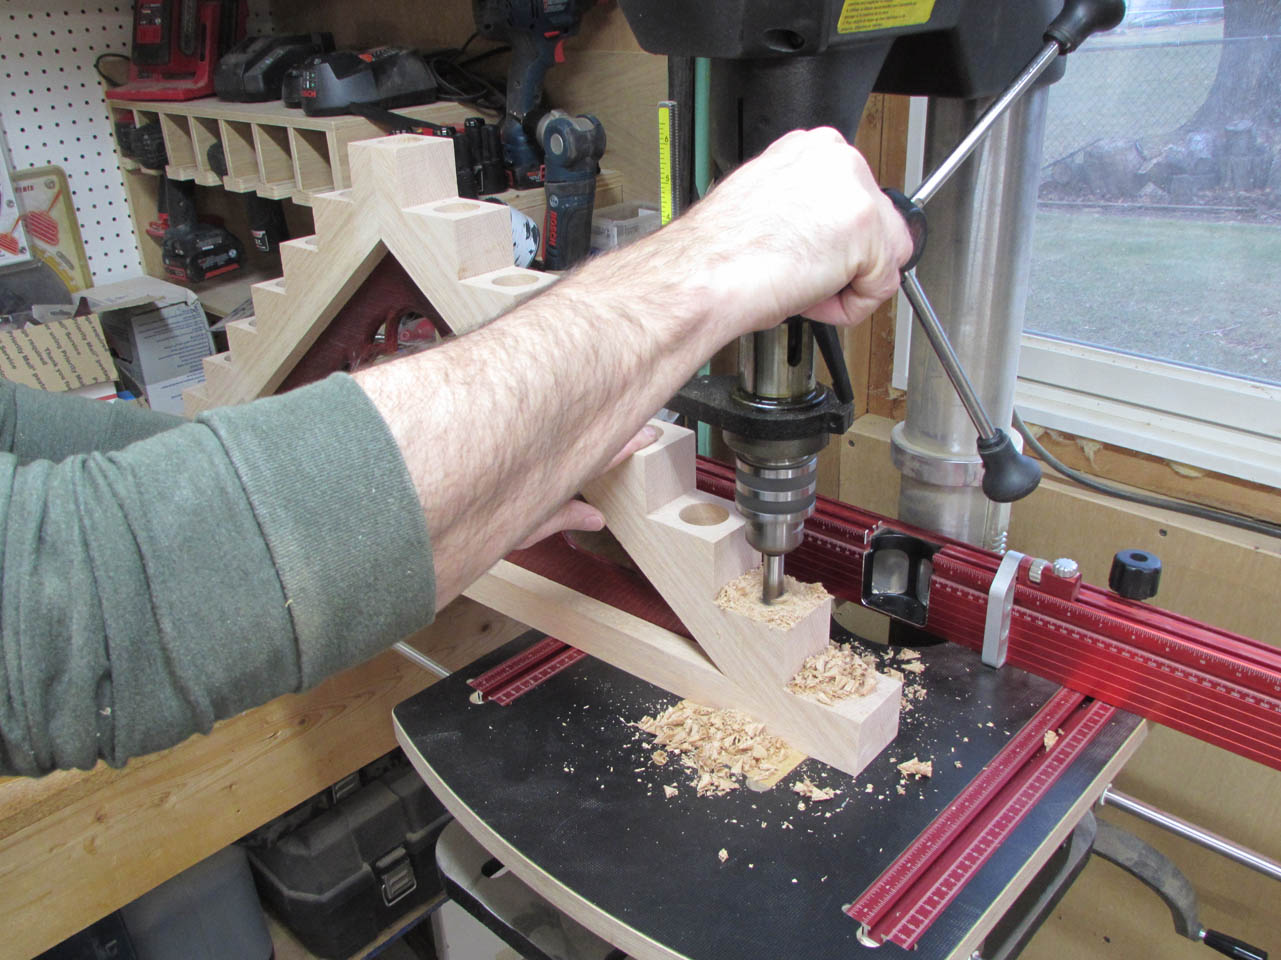
Time to drill the candle cups. I loaded a 1-1/2″ diameter forstner bit into the chuck and brought it down on my center mark.

I made a 1″ block to set the depth stop so that I can repeat the depth accurately as I step down the sides.


I keep the drill at a slow speed, 250 rpms, to reduce heat build-up. If the bit gets too hot, it will burn the wood and dull the bit.

First hole is complete and the candle sits in it well.

Then I proceed on to the next 14 holes.
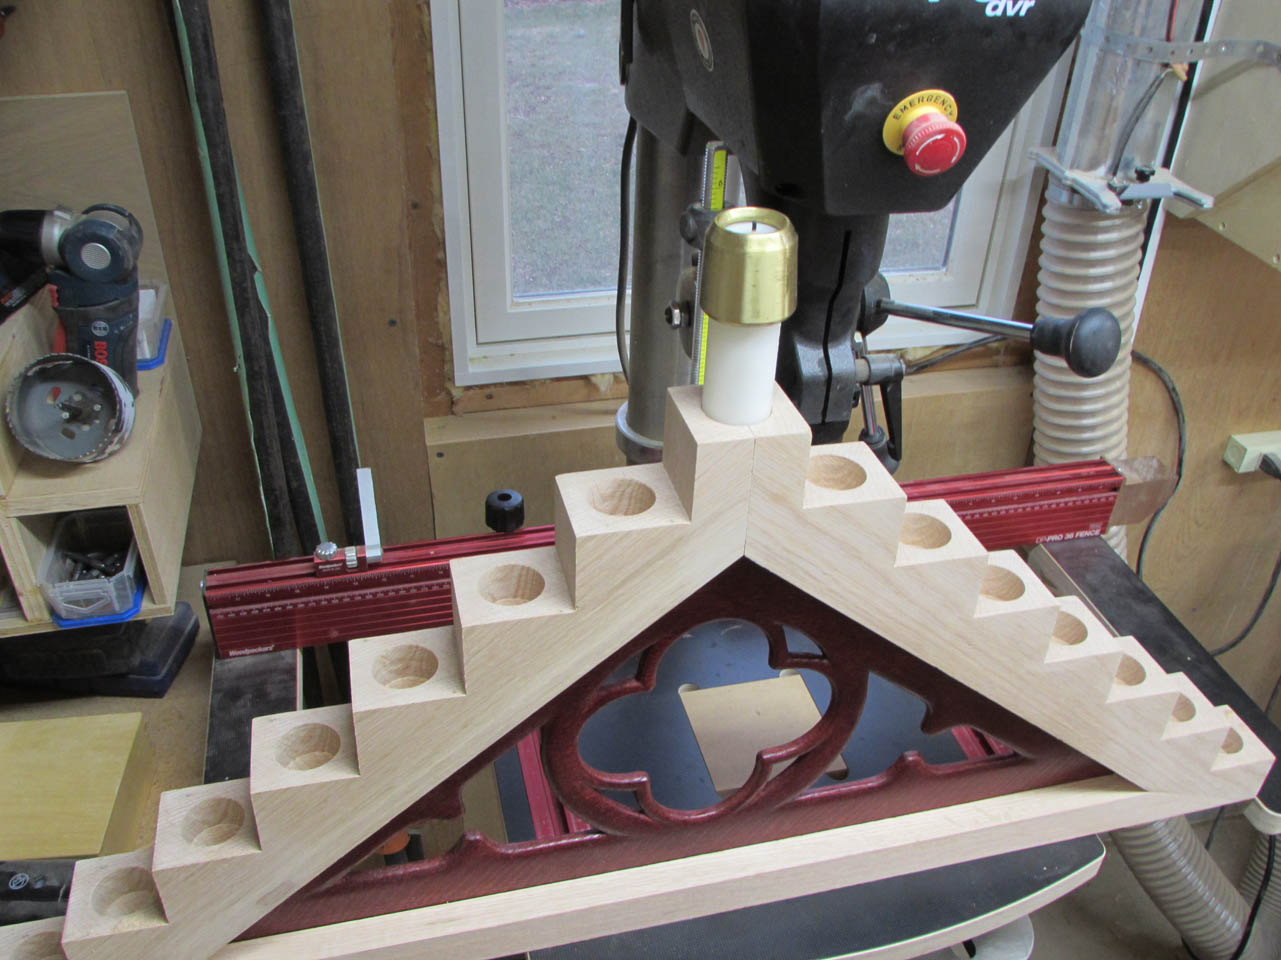
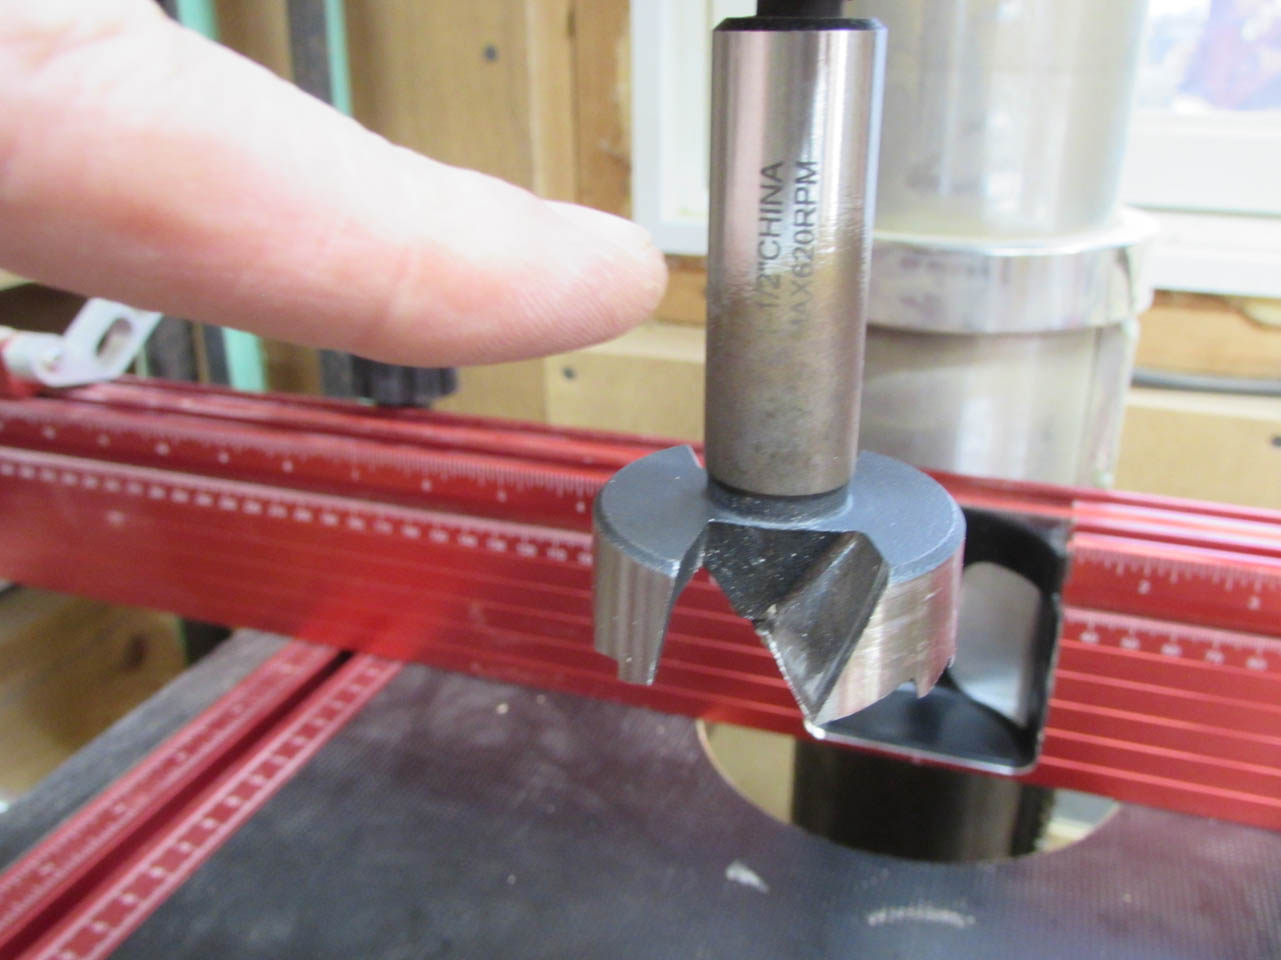
I was able to drill all 15 holes without a problem, but you can see the color change on the bit, it did start heating up towards the end…

Next step is to create the holly trim. I grabbed a piece of holly that was approximately 2″x2″ rough-sawn. A friend of mine took down this holly tree a few years ago and asked me if I wanted the wood for the church furniture, that I build. I had my buddy Dave cut it into several boards that have been slowly drying in my shop. Holly is a little tricky to dry. If you want it to be perfectly white, you have to get it into a kiln within a day or two of cutting or bacteria starts growing in the wood and causes some greenish coloring in random areas. Personally, I like the green coloring that develops, it can create some very subtly color patterns.
I ran two sides of the board through the jointer, making the rough sides flat and square.

I cut the two opposite sides parallel on the table saw. Here is a bit of the greenish color that I was talking about. I want to use that in my trim, on the head piece, to mimic the swirls in the marble in the sanctuary.

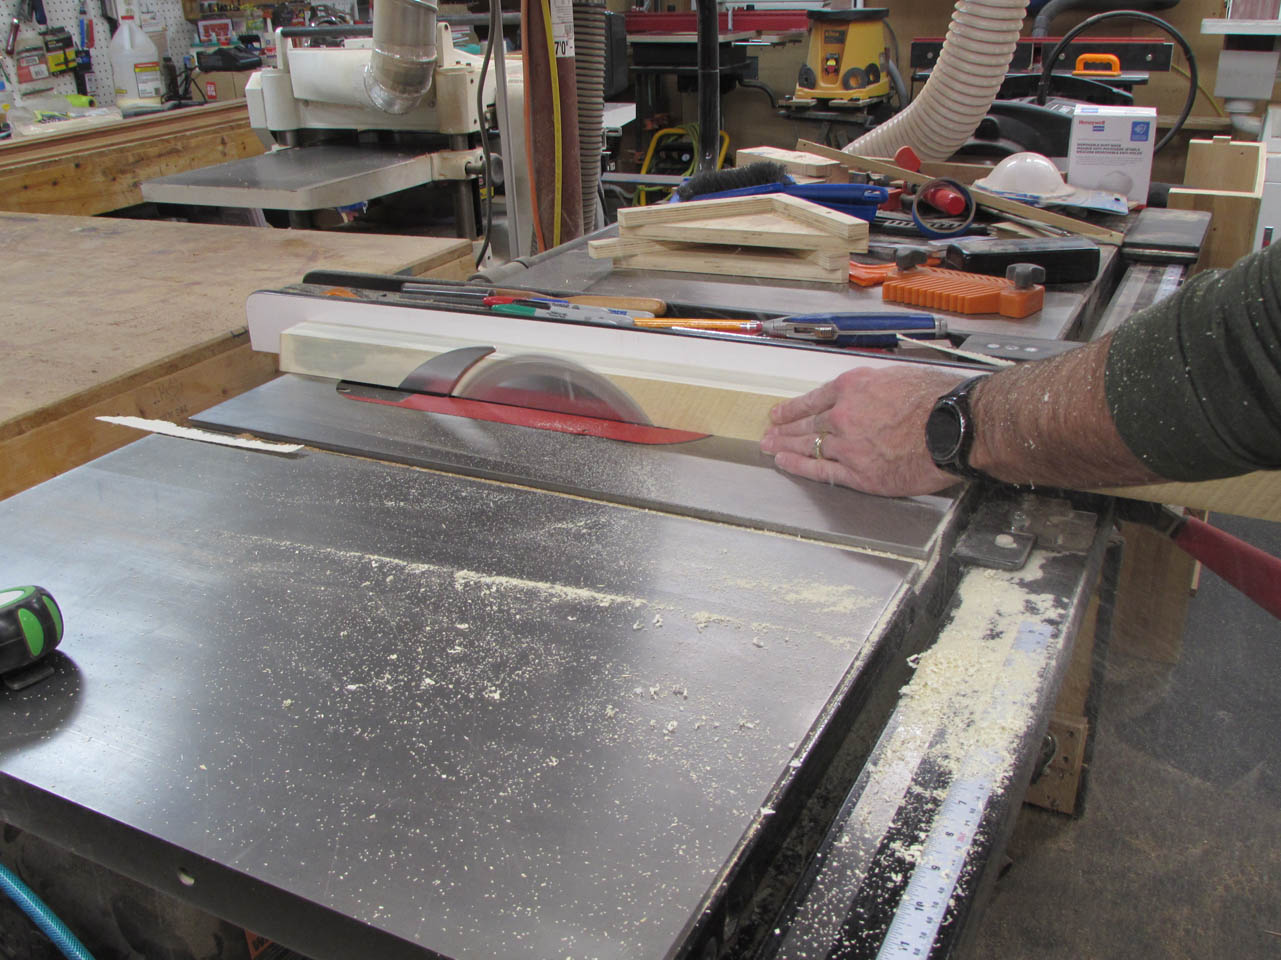
To create the 1/2″ quarter-round trim, I set a 1/2″ round-over bit in the router table and cut two edges on the board.
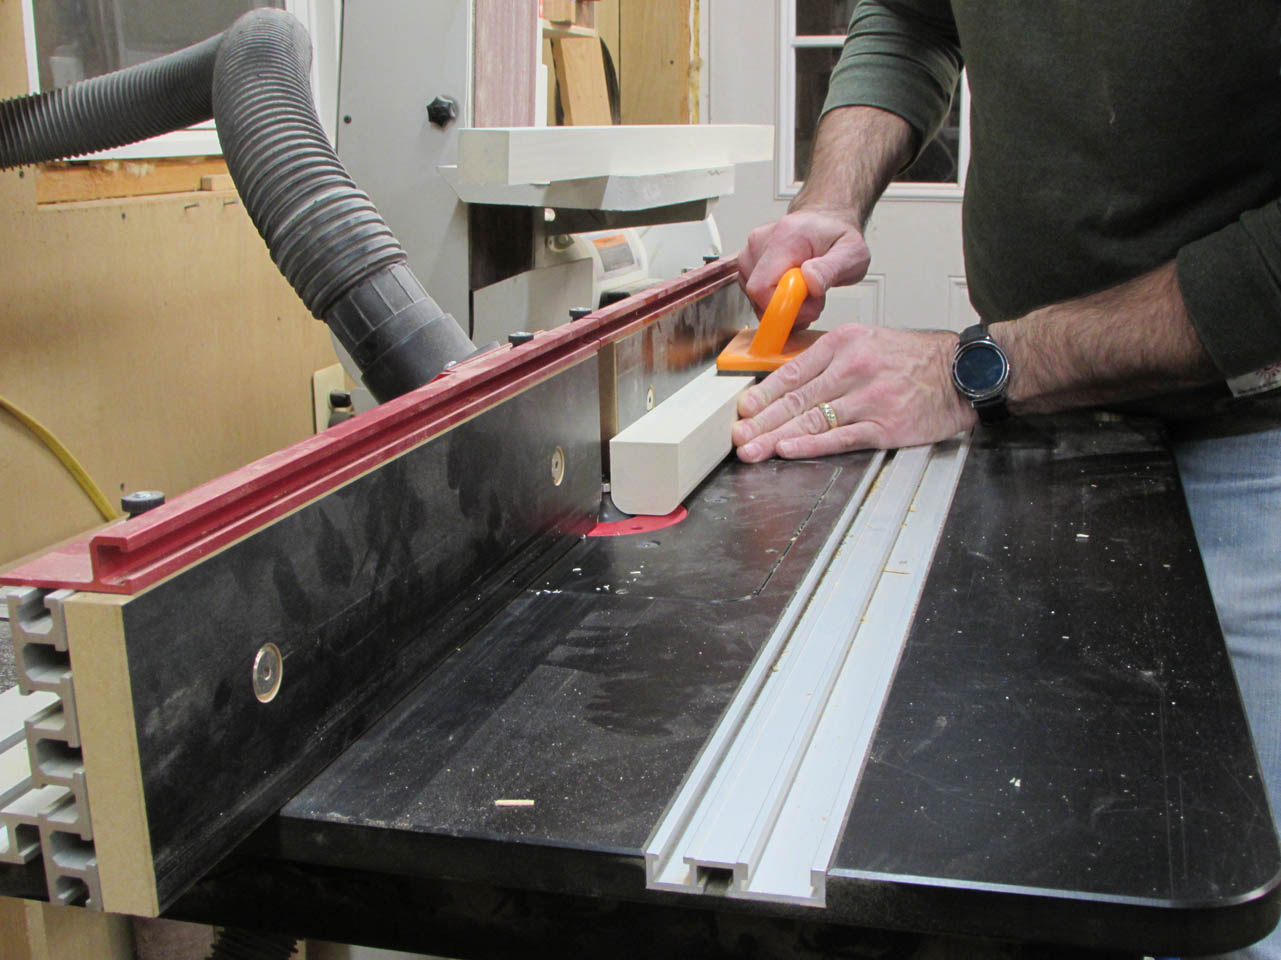

I then cut off the radiused side, 1/2″ wide, then laid that piece flat and ripped the radiused edges off at 1/2″ wide as well.

This produces a 1/2″ piece of quarter-round trim that will sit against the red center piece and give a nice contrast when the outer frame is stained.

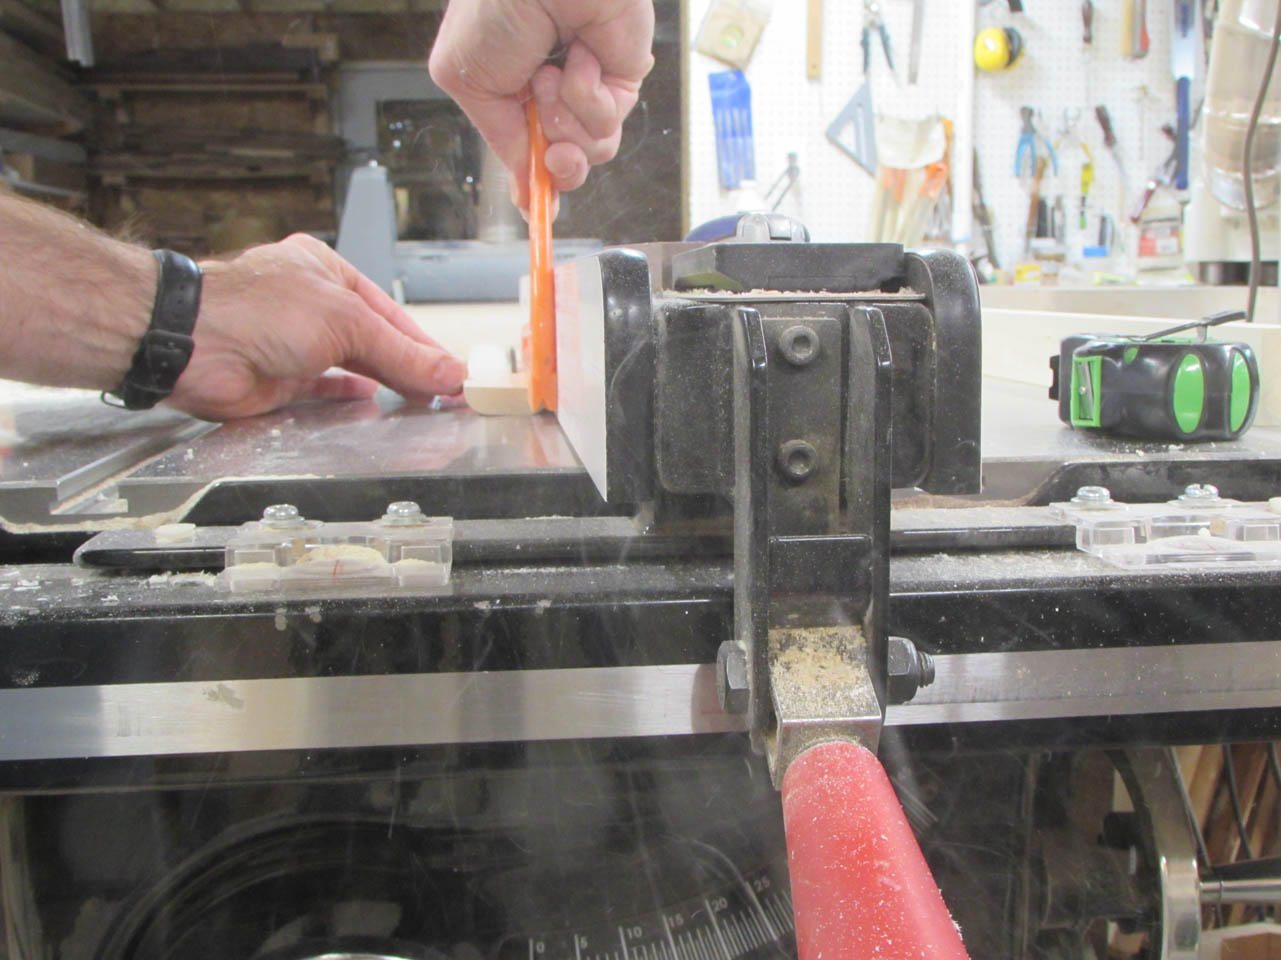
I will need to repeat the sketchy 19.33° angle cut that I made on the frame, on this trim. To make that a lot safer and more repeatable, I made up a jig and screwed it to the fence of my miter saw.


Now, I can safely hold the trim for cutting and sneak up on the correct length a little at a time.

Since I need to cut the 19.33° angle on one end of the side pieces and a 38.66° angle on the other, I set up a second miter saw to avoid removing the jig and putting it back on…


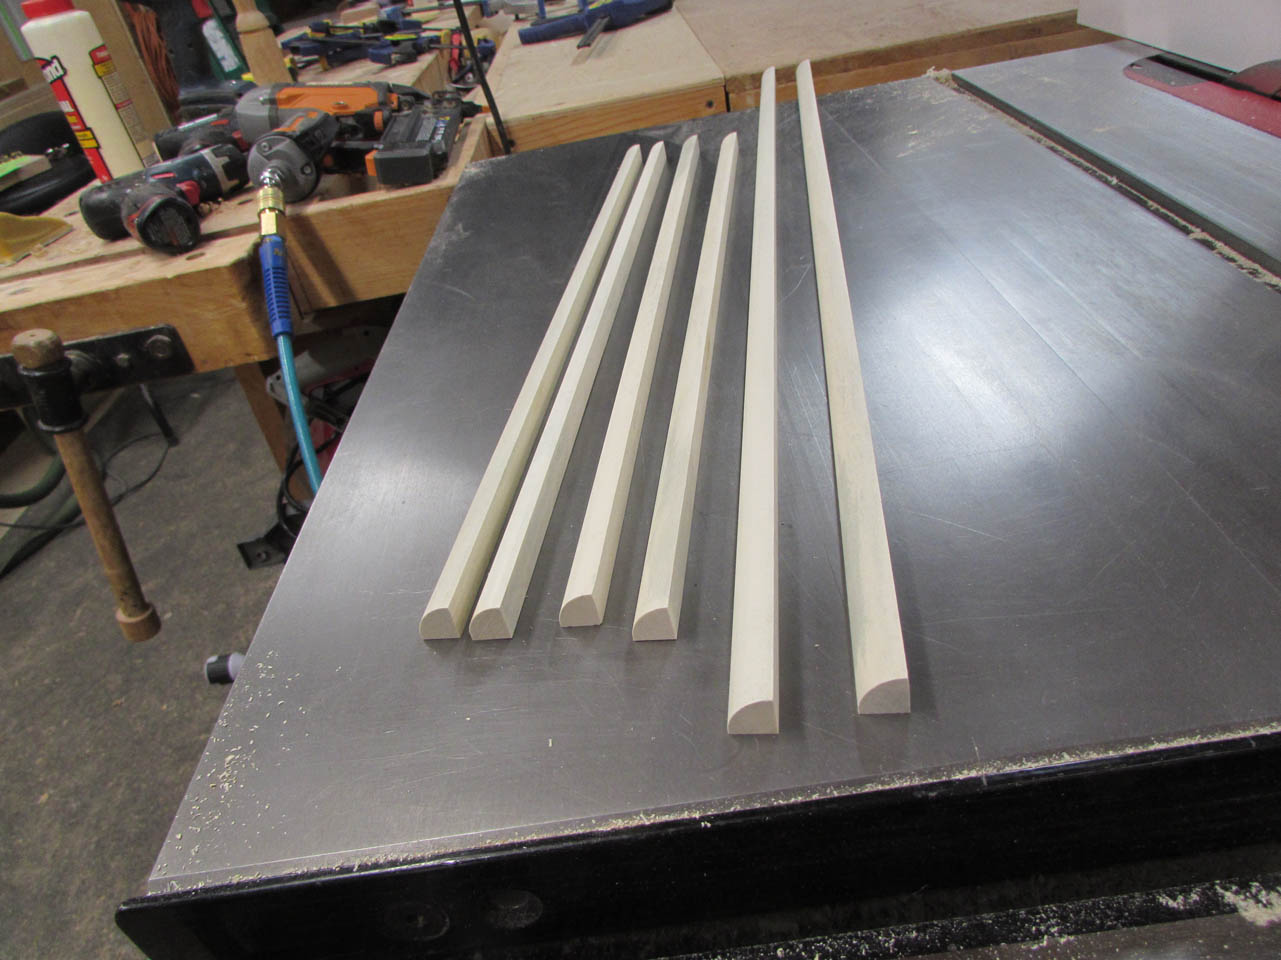
I took my time measuring and cutting, making each piece a little long, then shaving off 1/32″ at a time until everything fit tightly.

Looks really good. I can’t wait to see this with the frame stained.
