
Tenebrae Hearse for Holy Spirit church – part 2
To create the triangular frame around the centerpiece, I need to start with two fairly chunky pieces. The rough size of these two pieces is around 3-5/8″ x 2-1/2″ x 25″. The bottom of the frame is about 1-5/8″ x 2-1/2″ x 36″. I have some 1-3/4″ thick stock so I will cut the bottom piece first. The top two are pretty big so I would prefer to make them each out of two pieces. That should make them more stable. Wood moves along the grain when humidity is added and removed with the seasons. Everything you can do to mitigate that movement helps stabilize the wood and prevent cracking and binding in the future.

I start with a piece of quarter-sawn red oak for the bottom. I joint one face flat and one edge to give me two flat faces 90° perpendicular to each other.

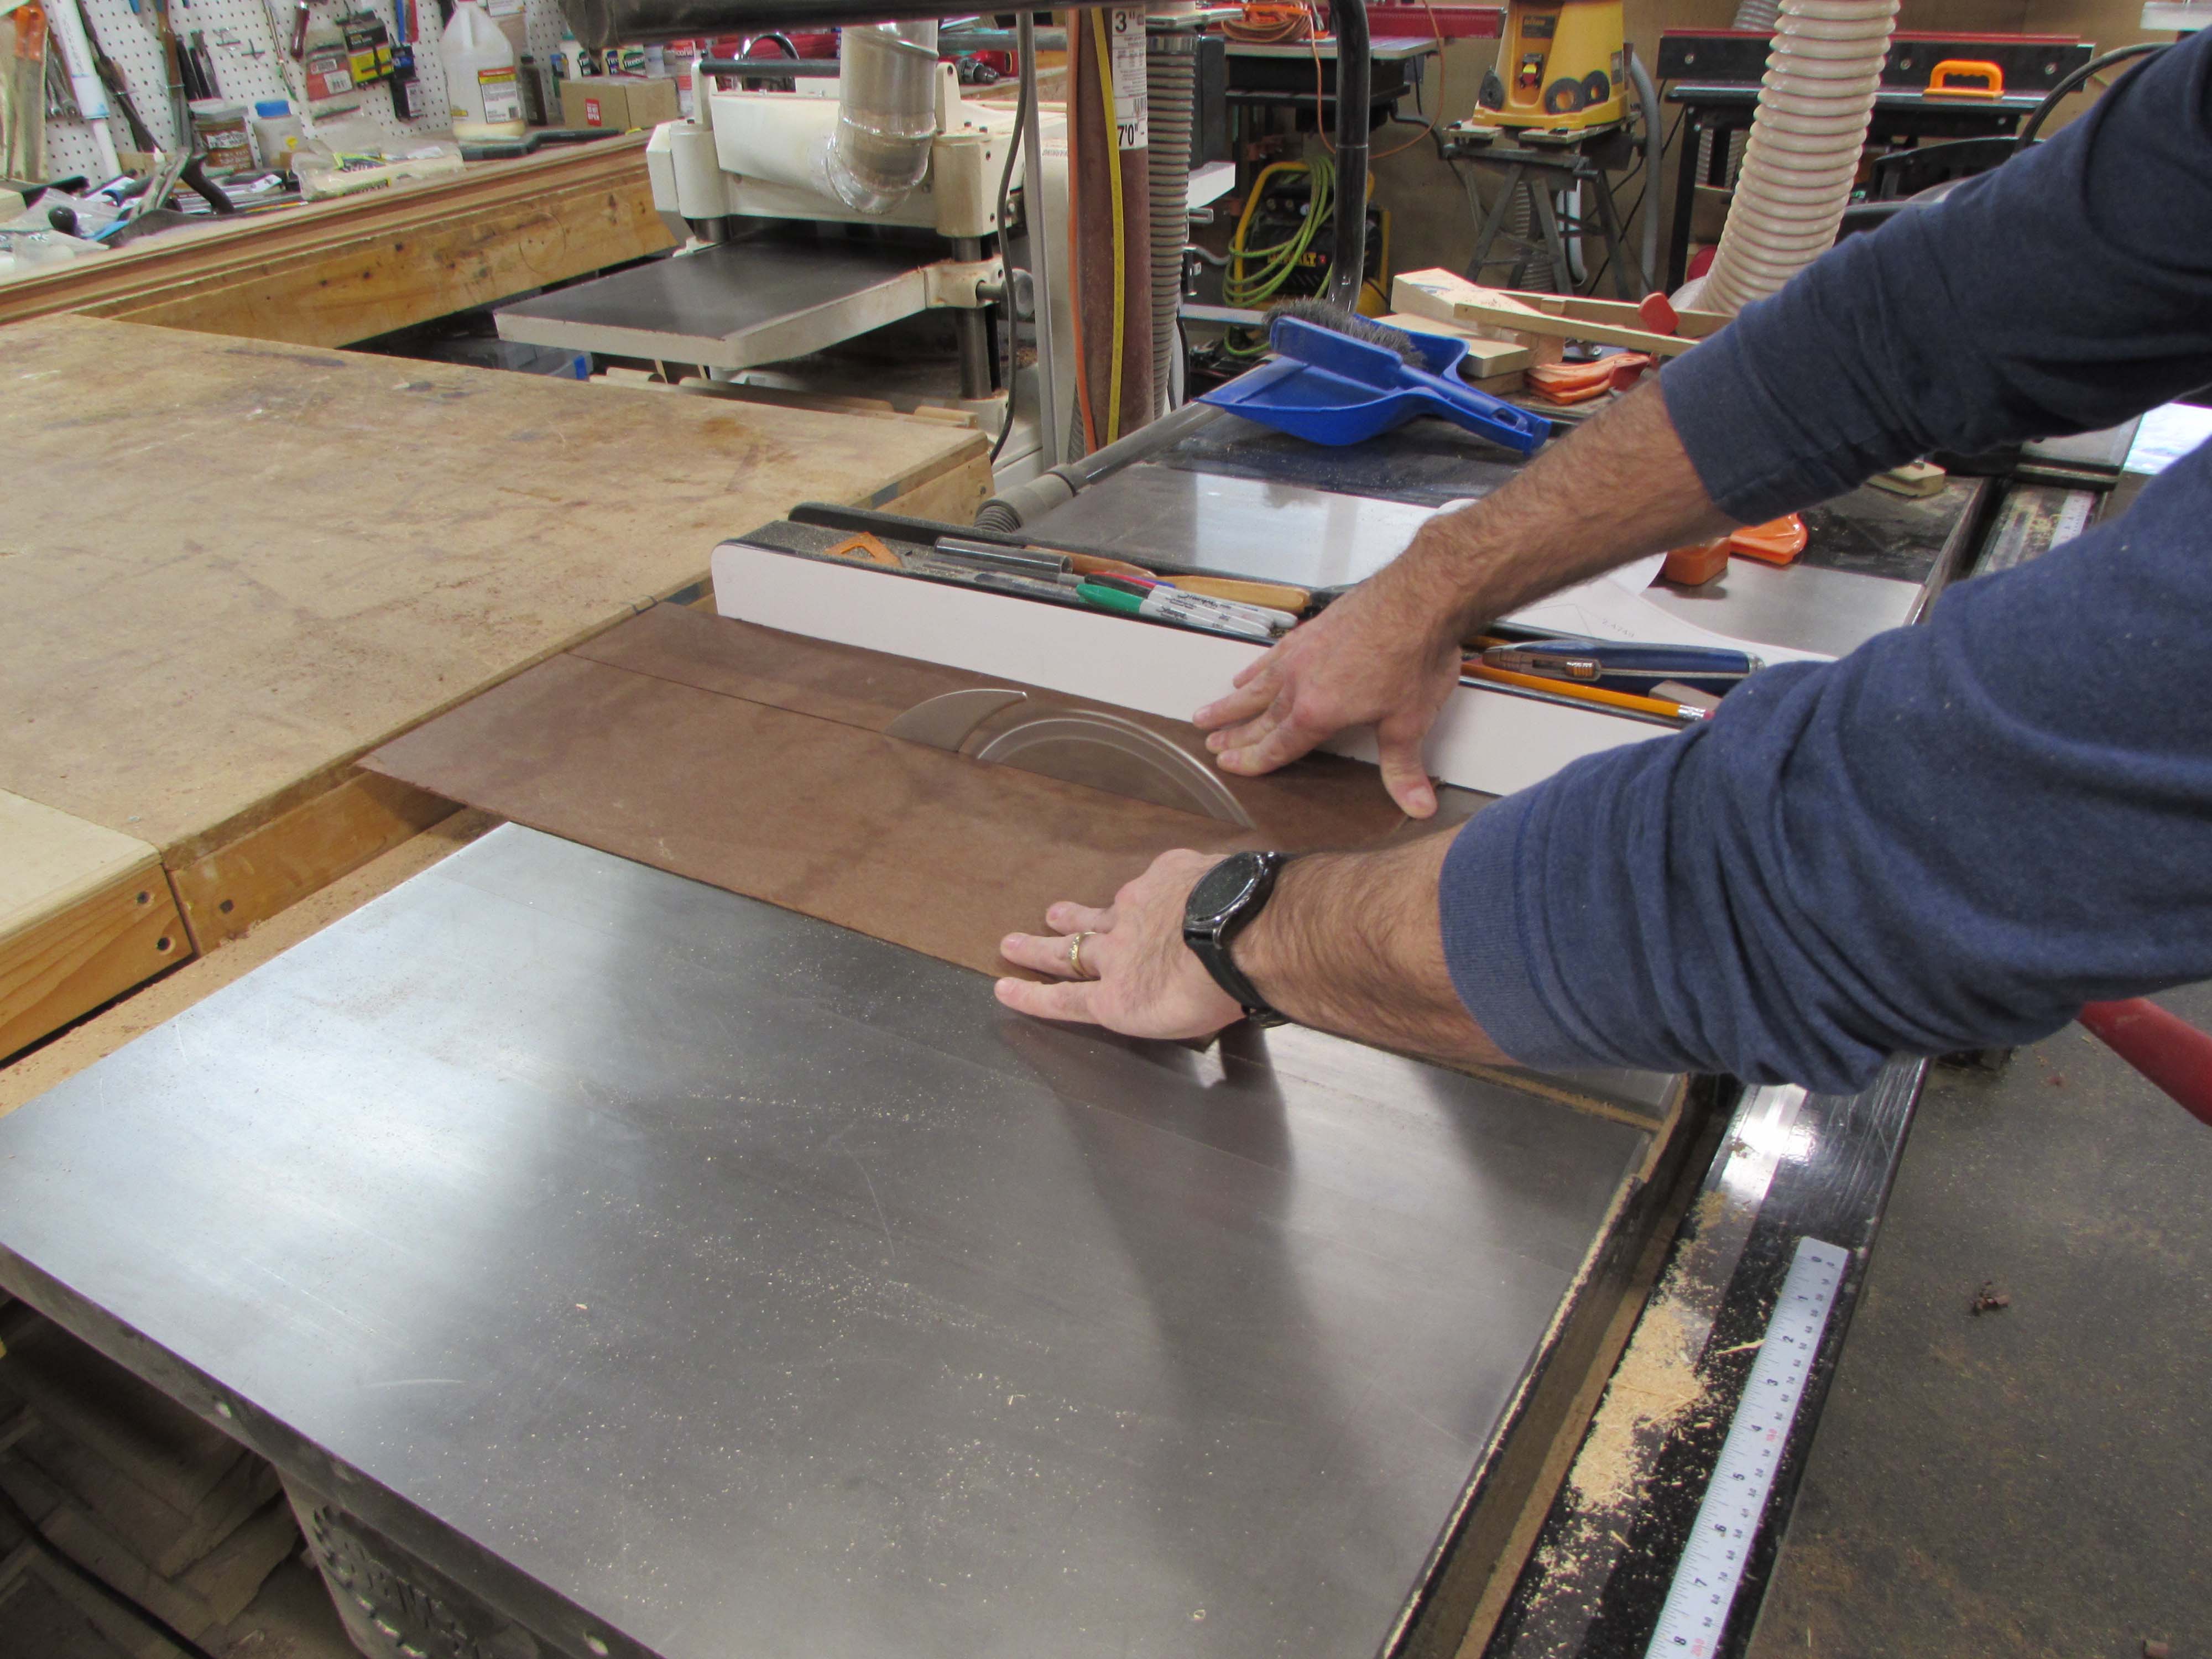
I can hold the jointed edge against the fence of my table saw and cut the board to the final 2-1/2″ width.
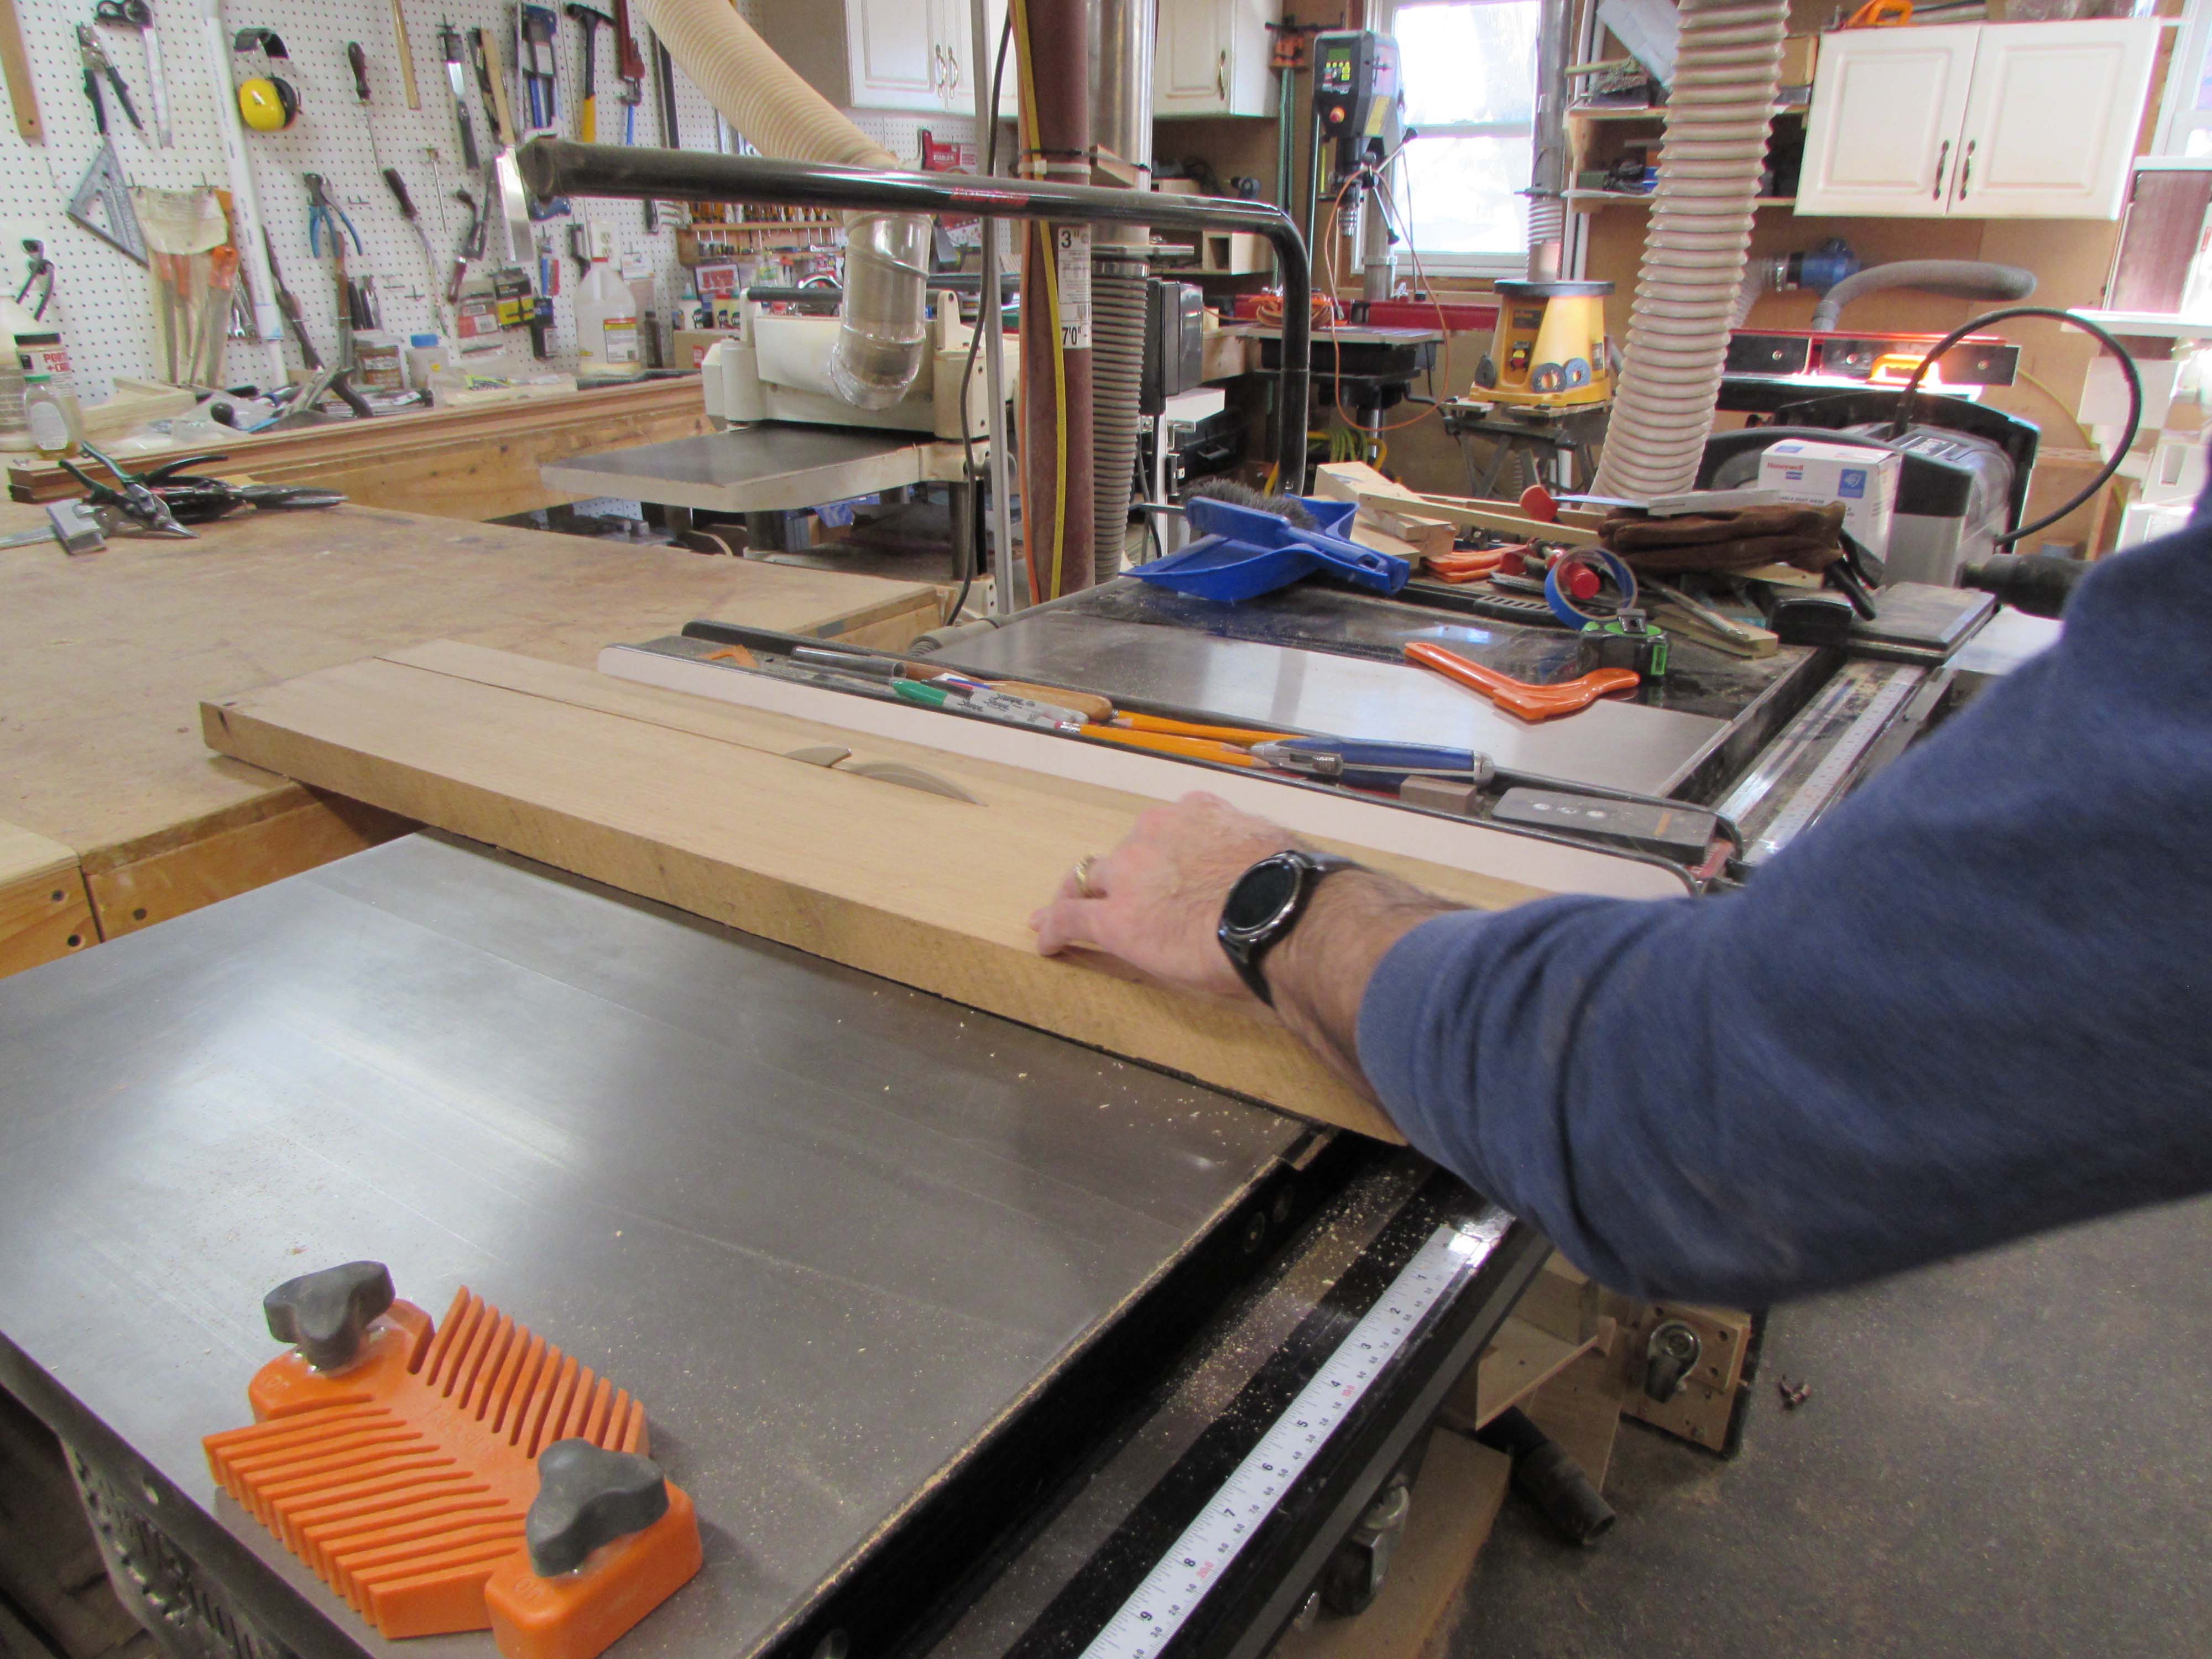

Then I can run the last side through the planer to give me the fourth finished surface.

I will set this guy aside for later. Now for the top two pieces.

If I split this piece in half, I will be able to take two 1-1/4″ thick pieces and glue them together to make the 2-1/2″ width I need. This should help prevent the wood from wanting to twist.
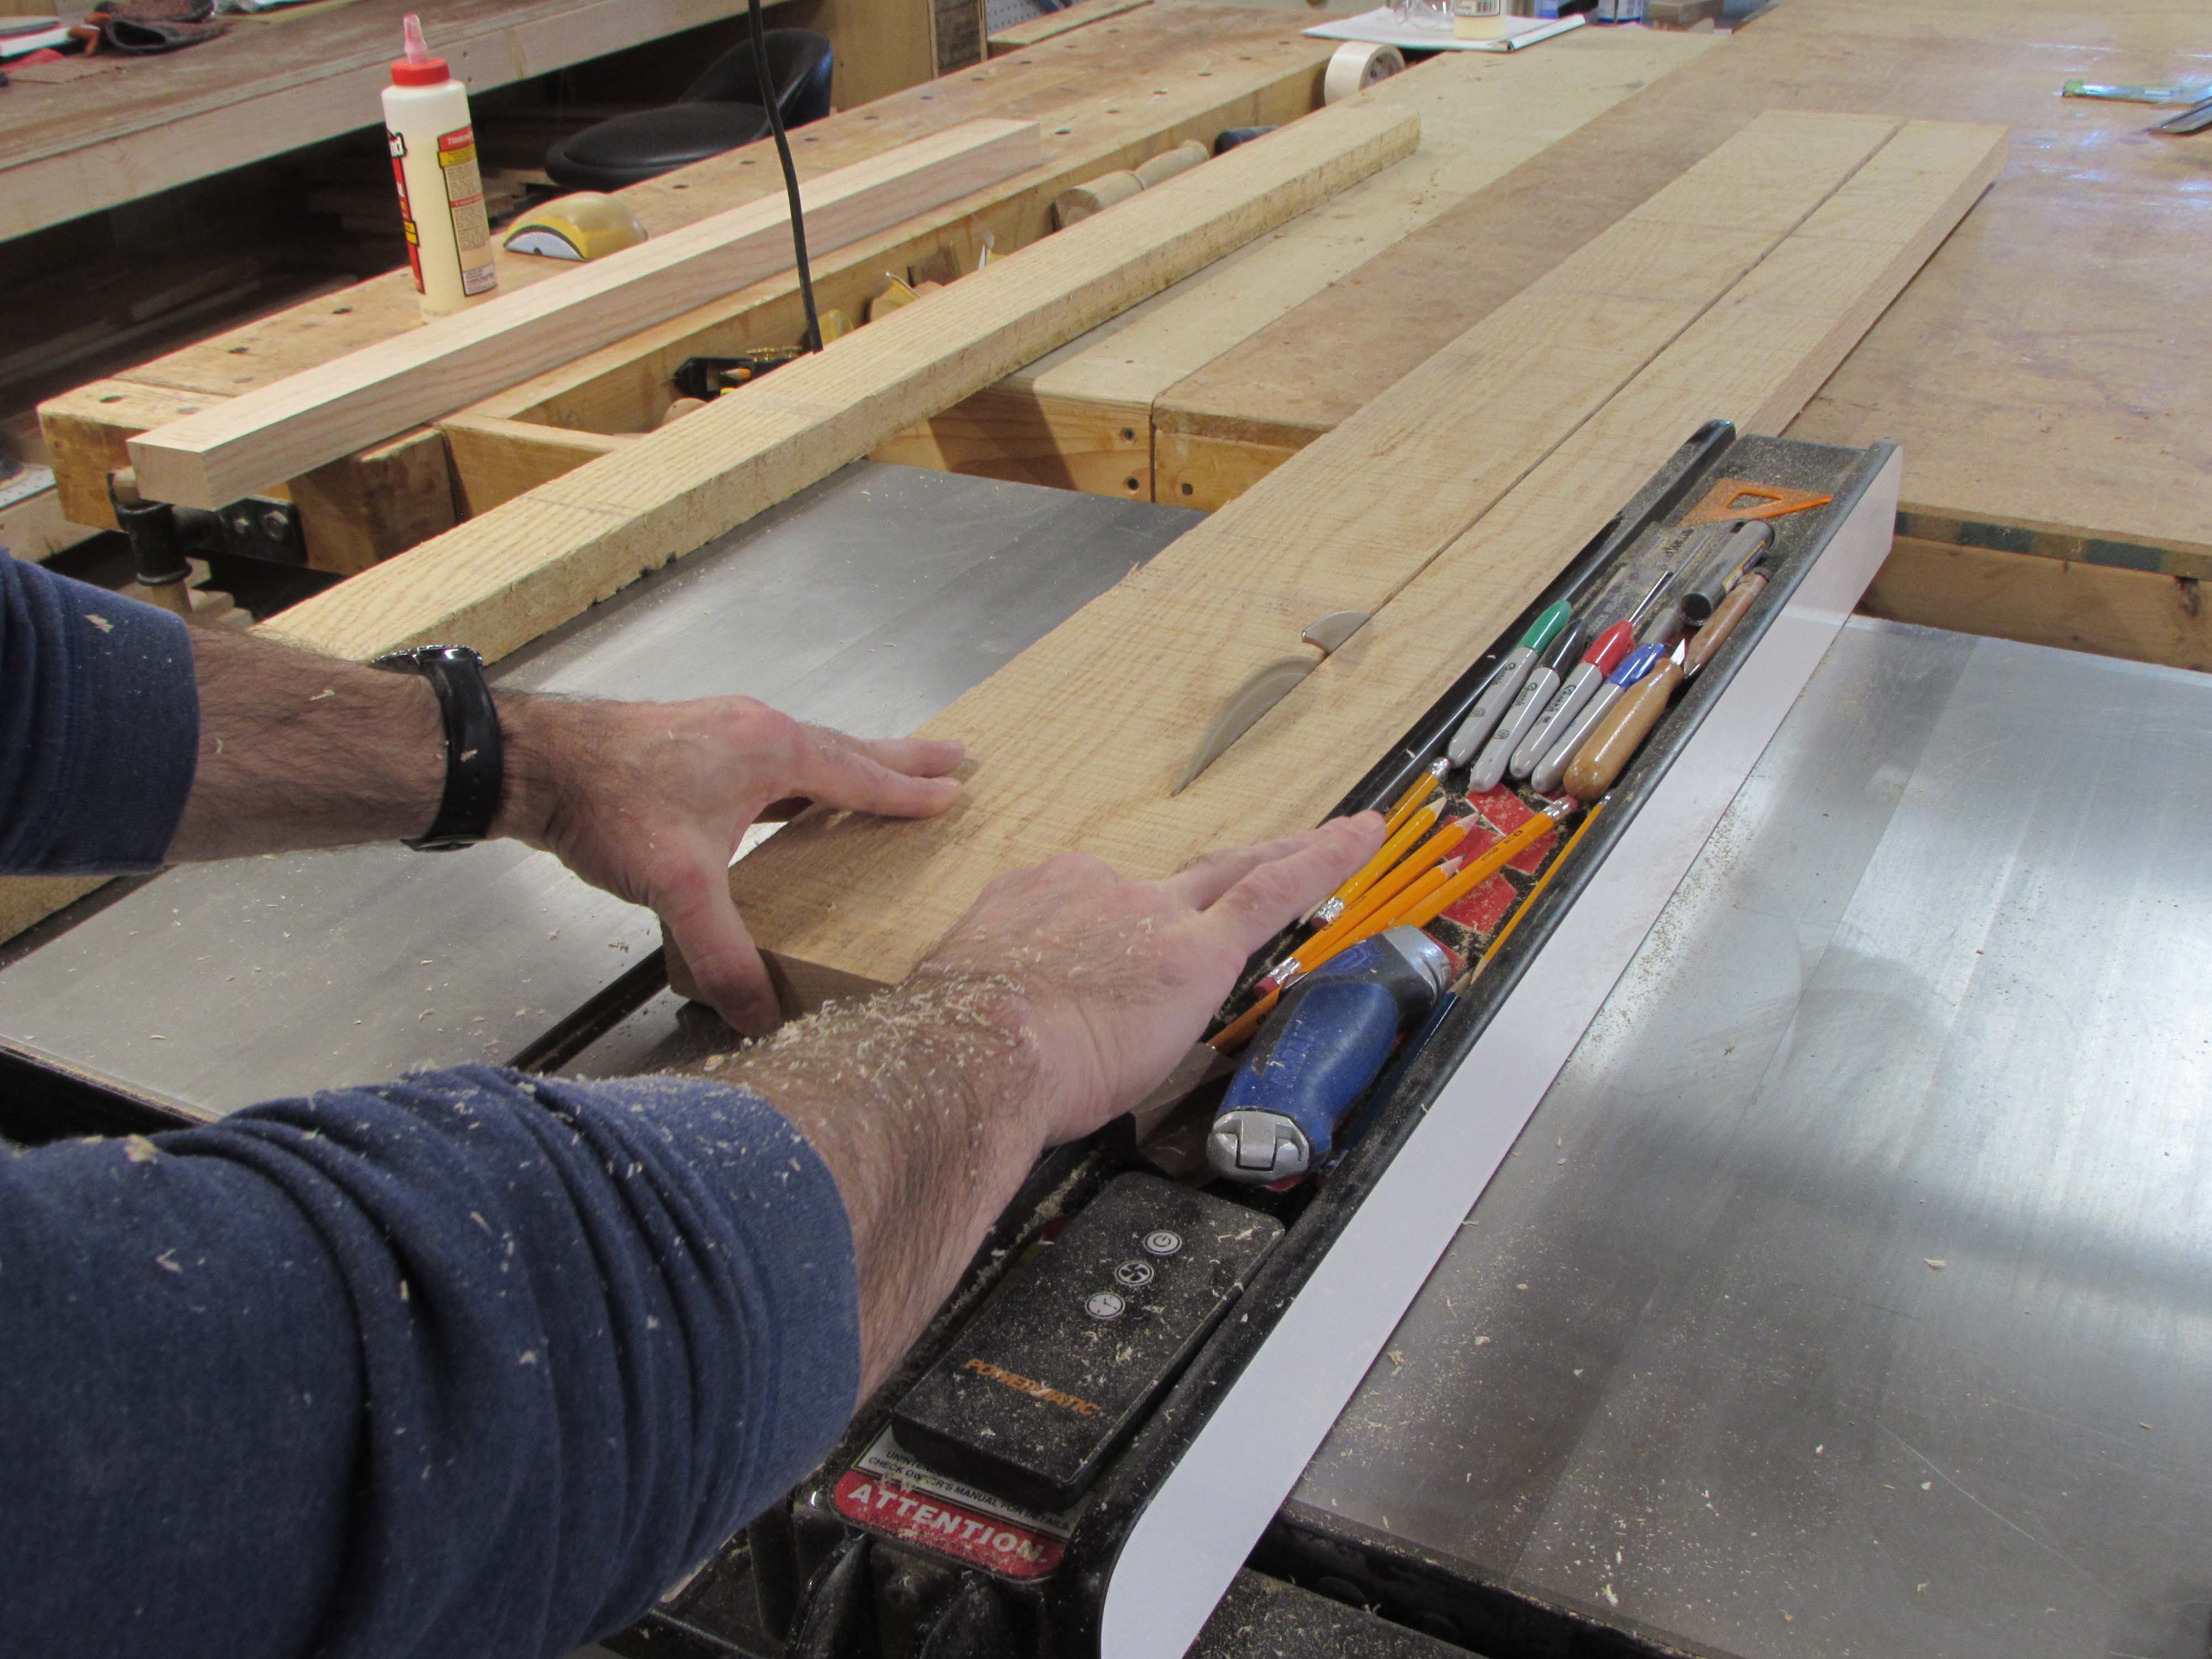
I am starting with a 1-1/2″ thick board this time. After jointing one edge flat, I rip a couple of 3-5/8″ wide pieces.

I roughly cut them down to about 6″ longer than I will need. That leaves them long enough to cut off any defects or planer snipe from the ends.

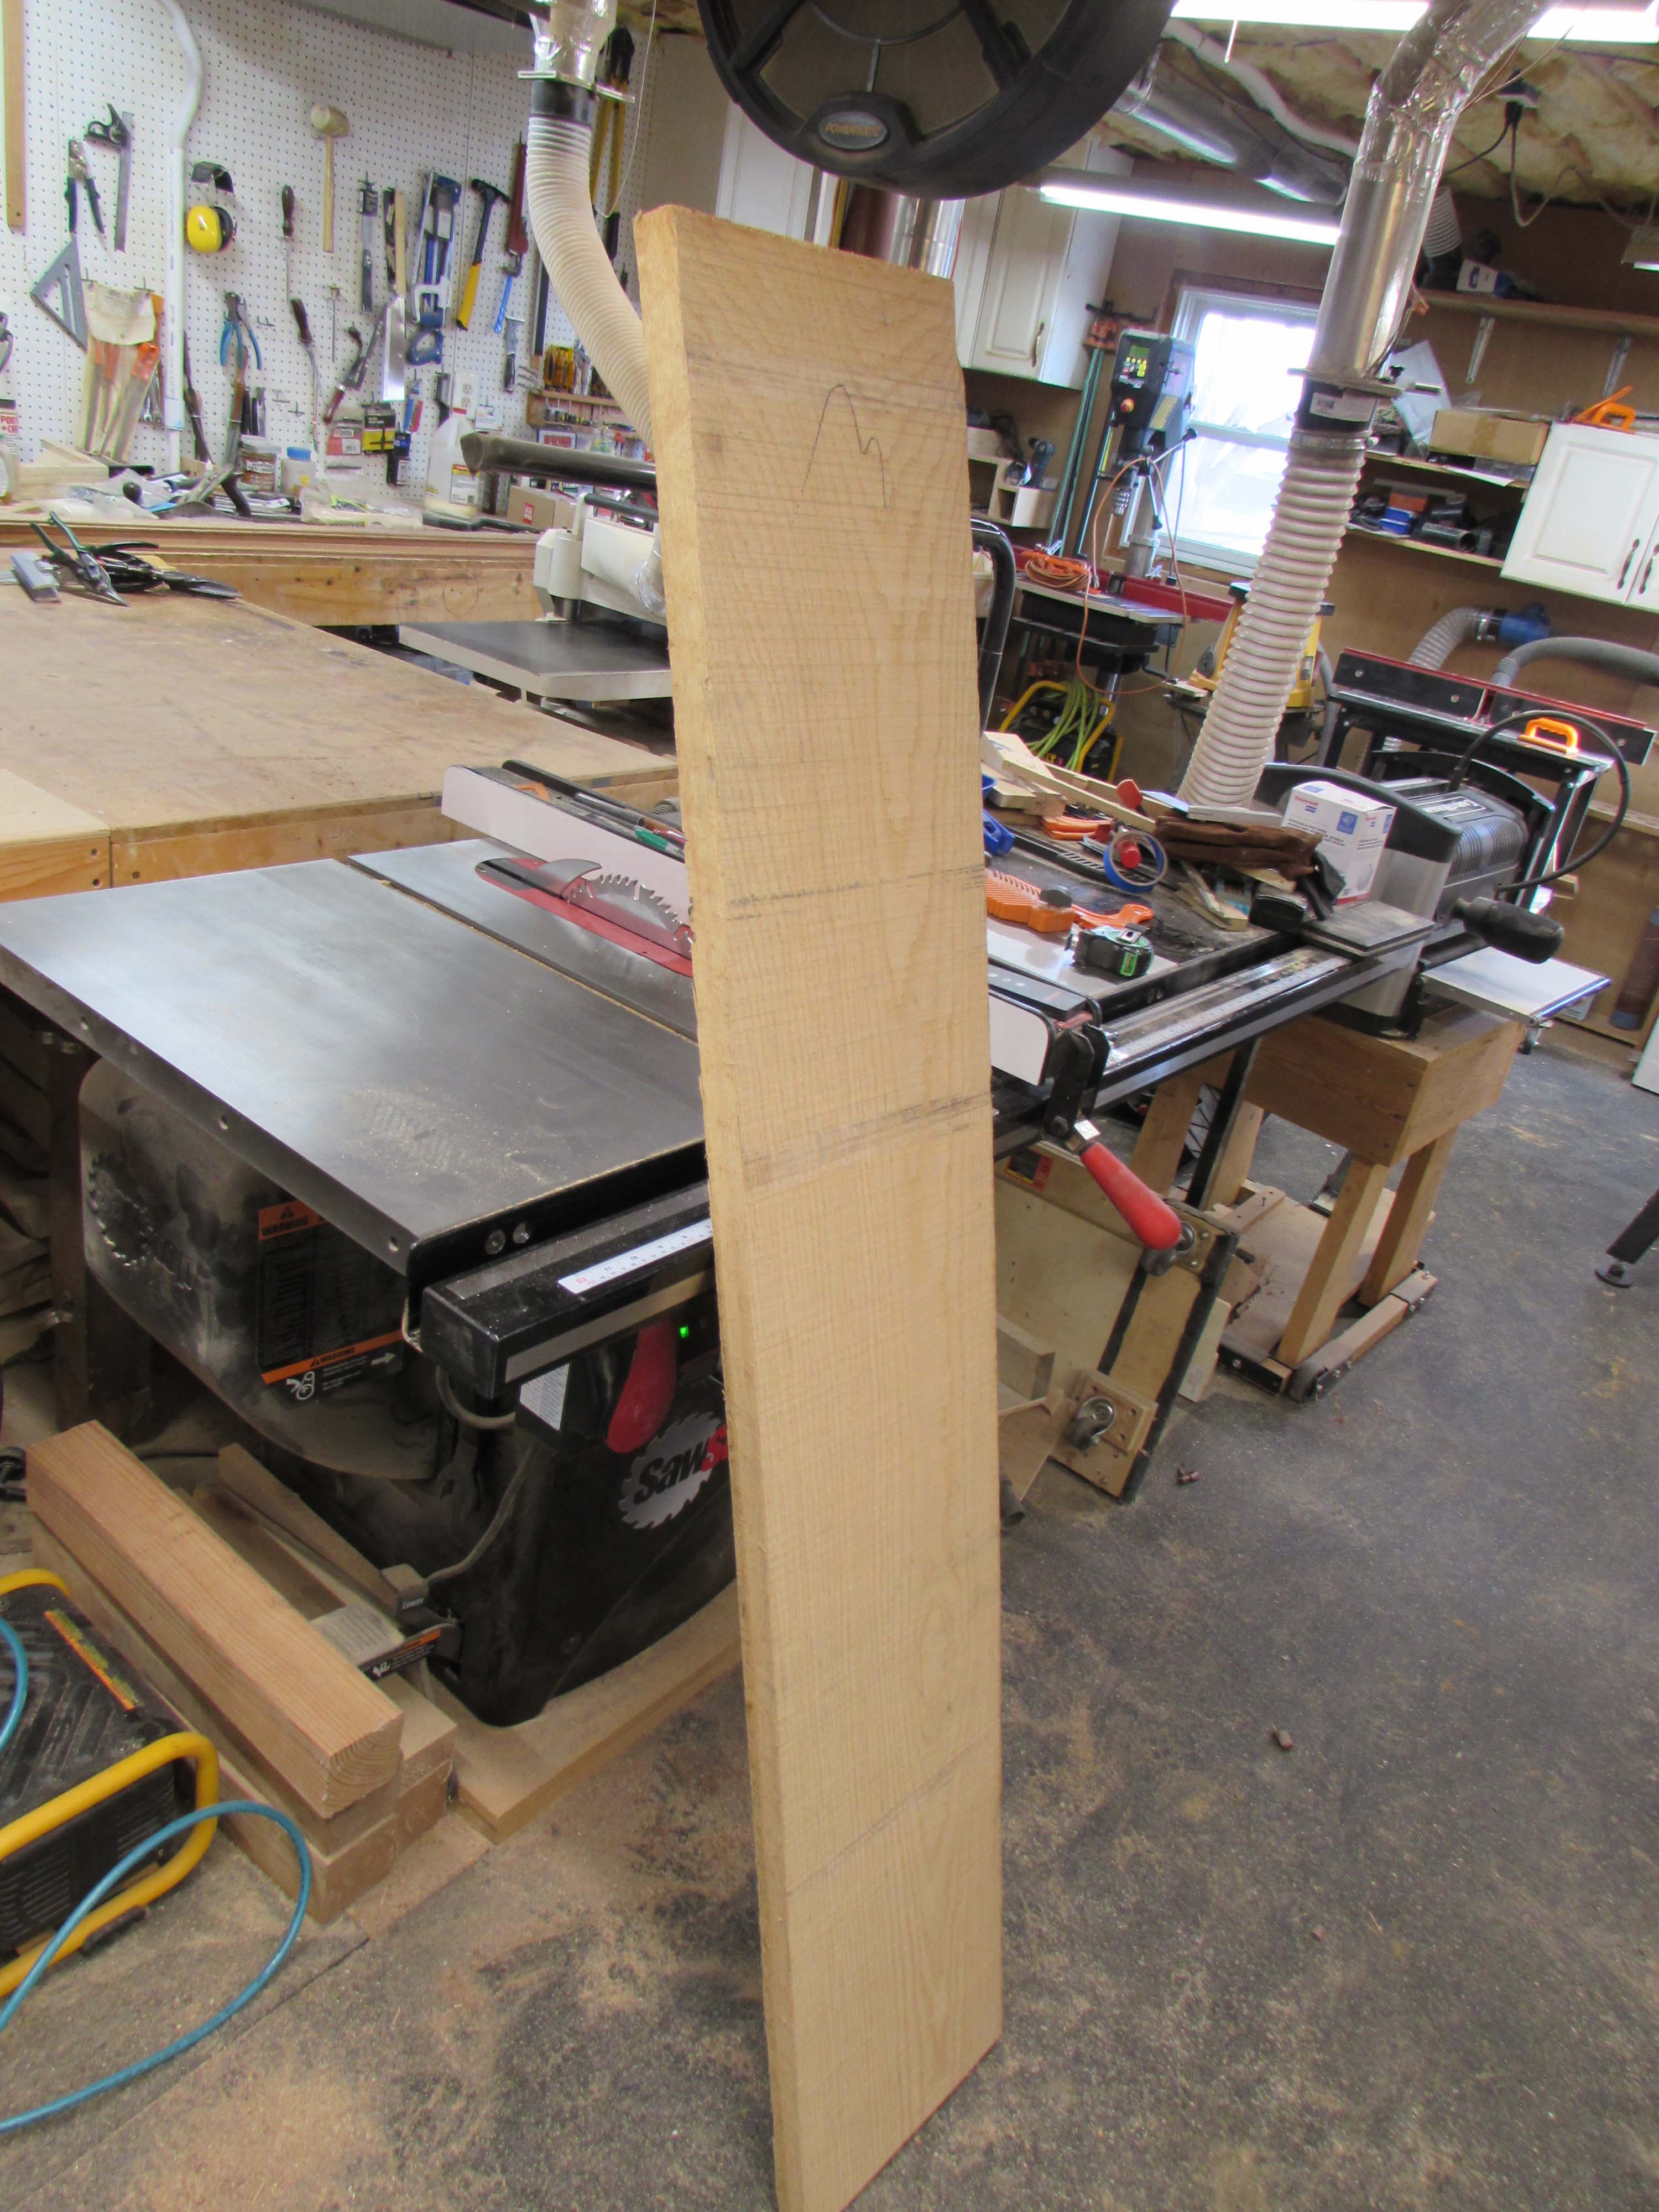
As you can see, there is a slight curve to the wood.


I can flatten one side on the jointer with a couple of passes.

Then I can plane the opposite side parallel, down to the 1-1/4″ thickness I require.


I carefully inspect the boards to find splits or other problems and cut those away as I cut the boards down to size on the miter saw.

Since each of these pieces came from the same board, I can carefully match them back up to align the grain and when glued, they will look like it was originally one piece with the additional strength and stability that the glue joint provides.

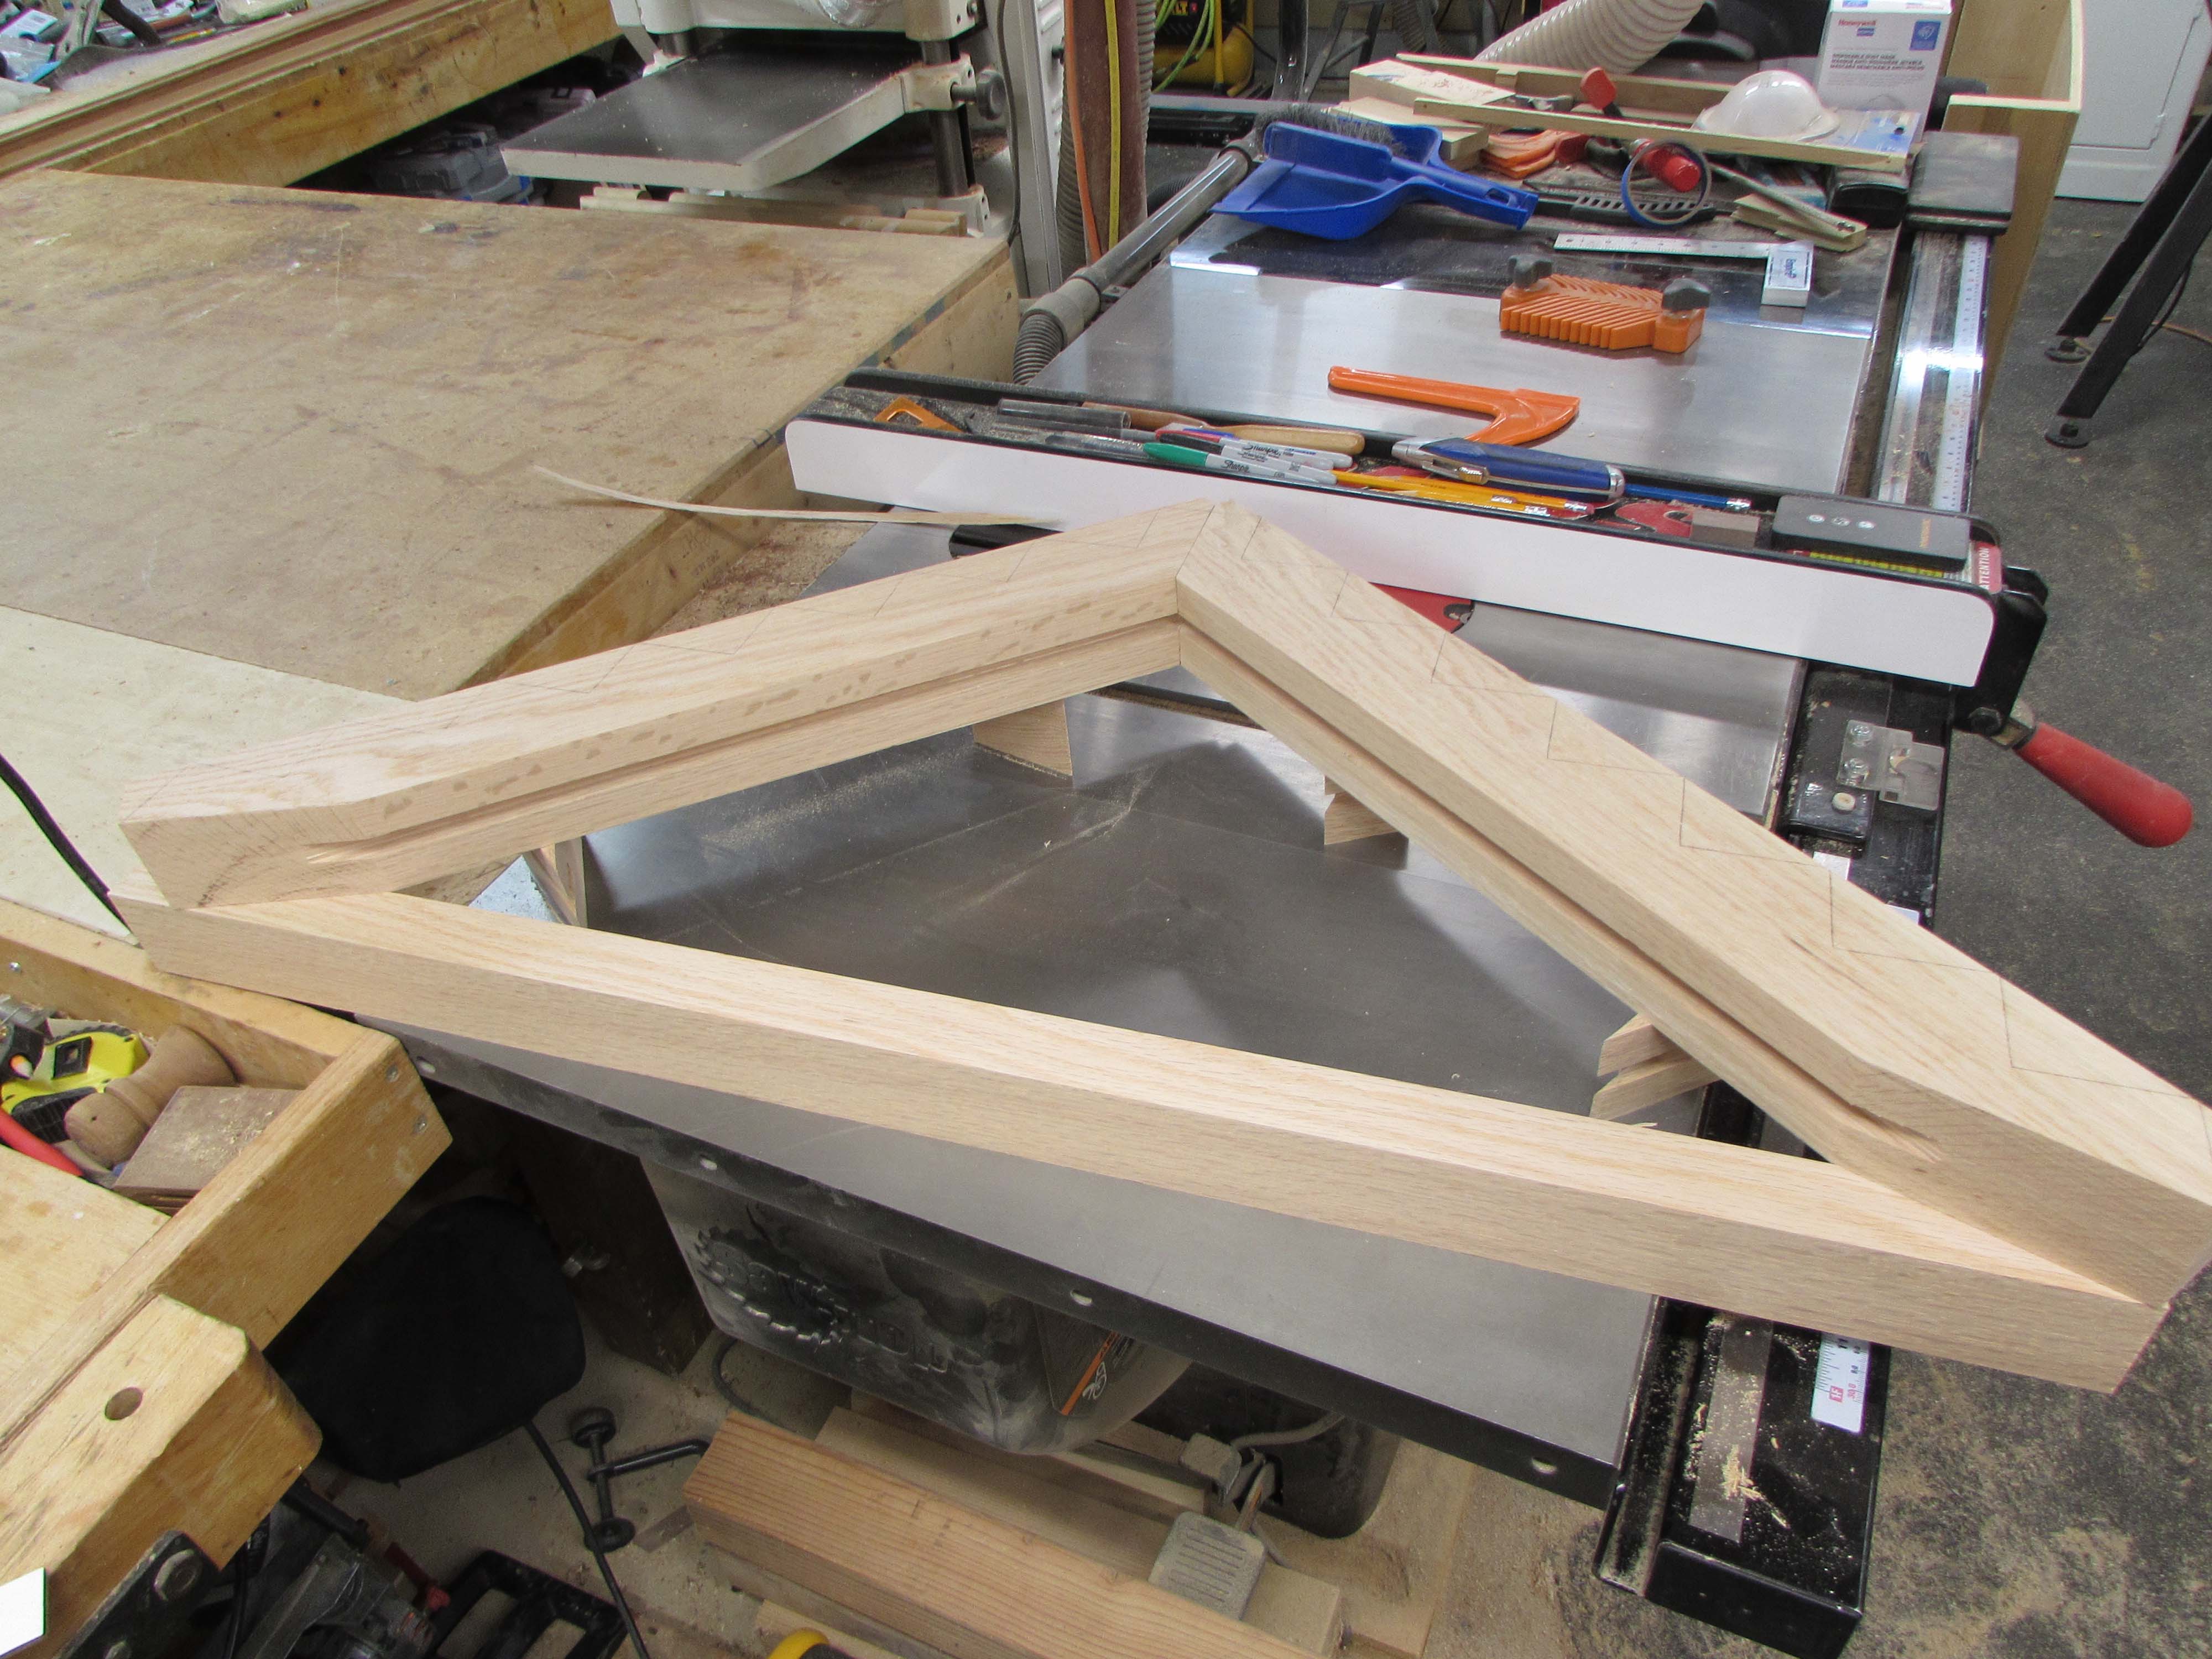
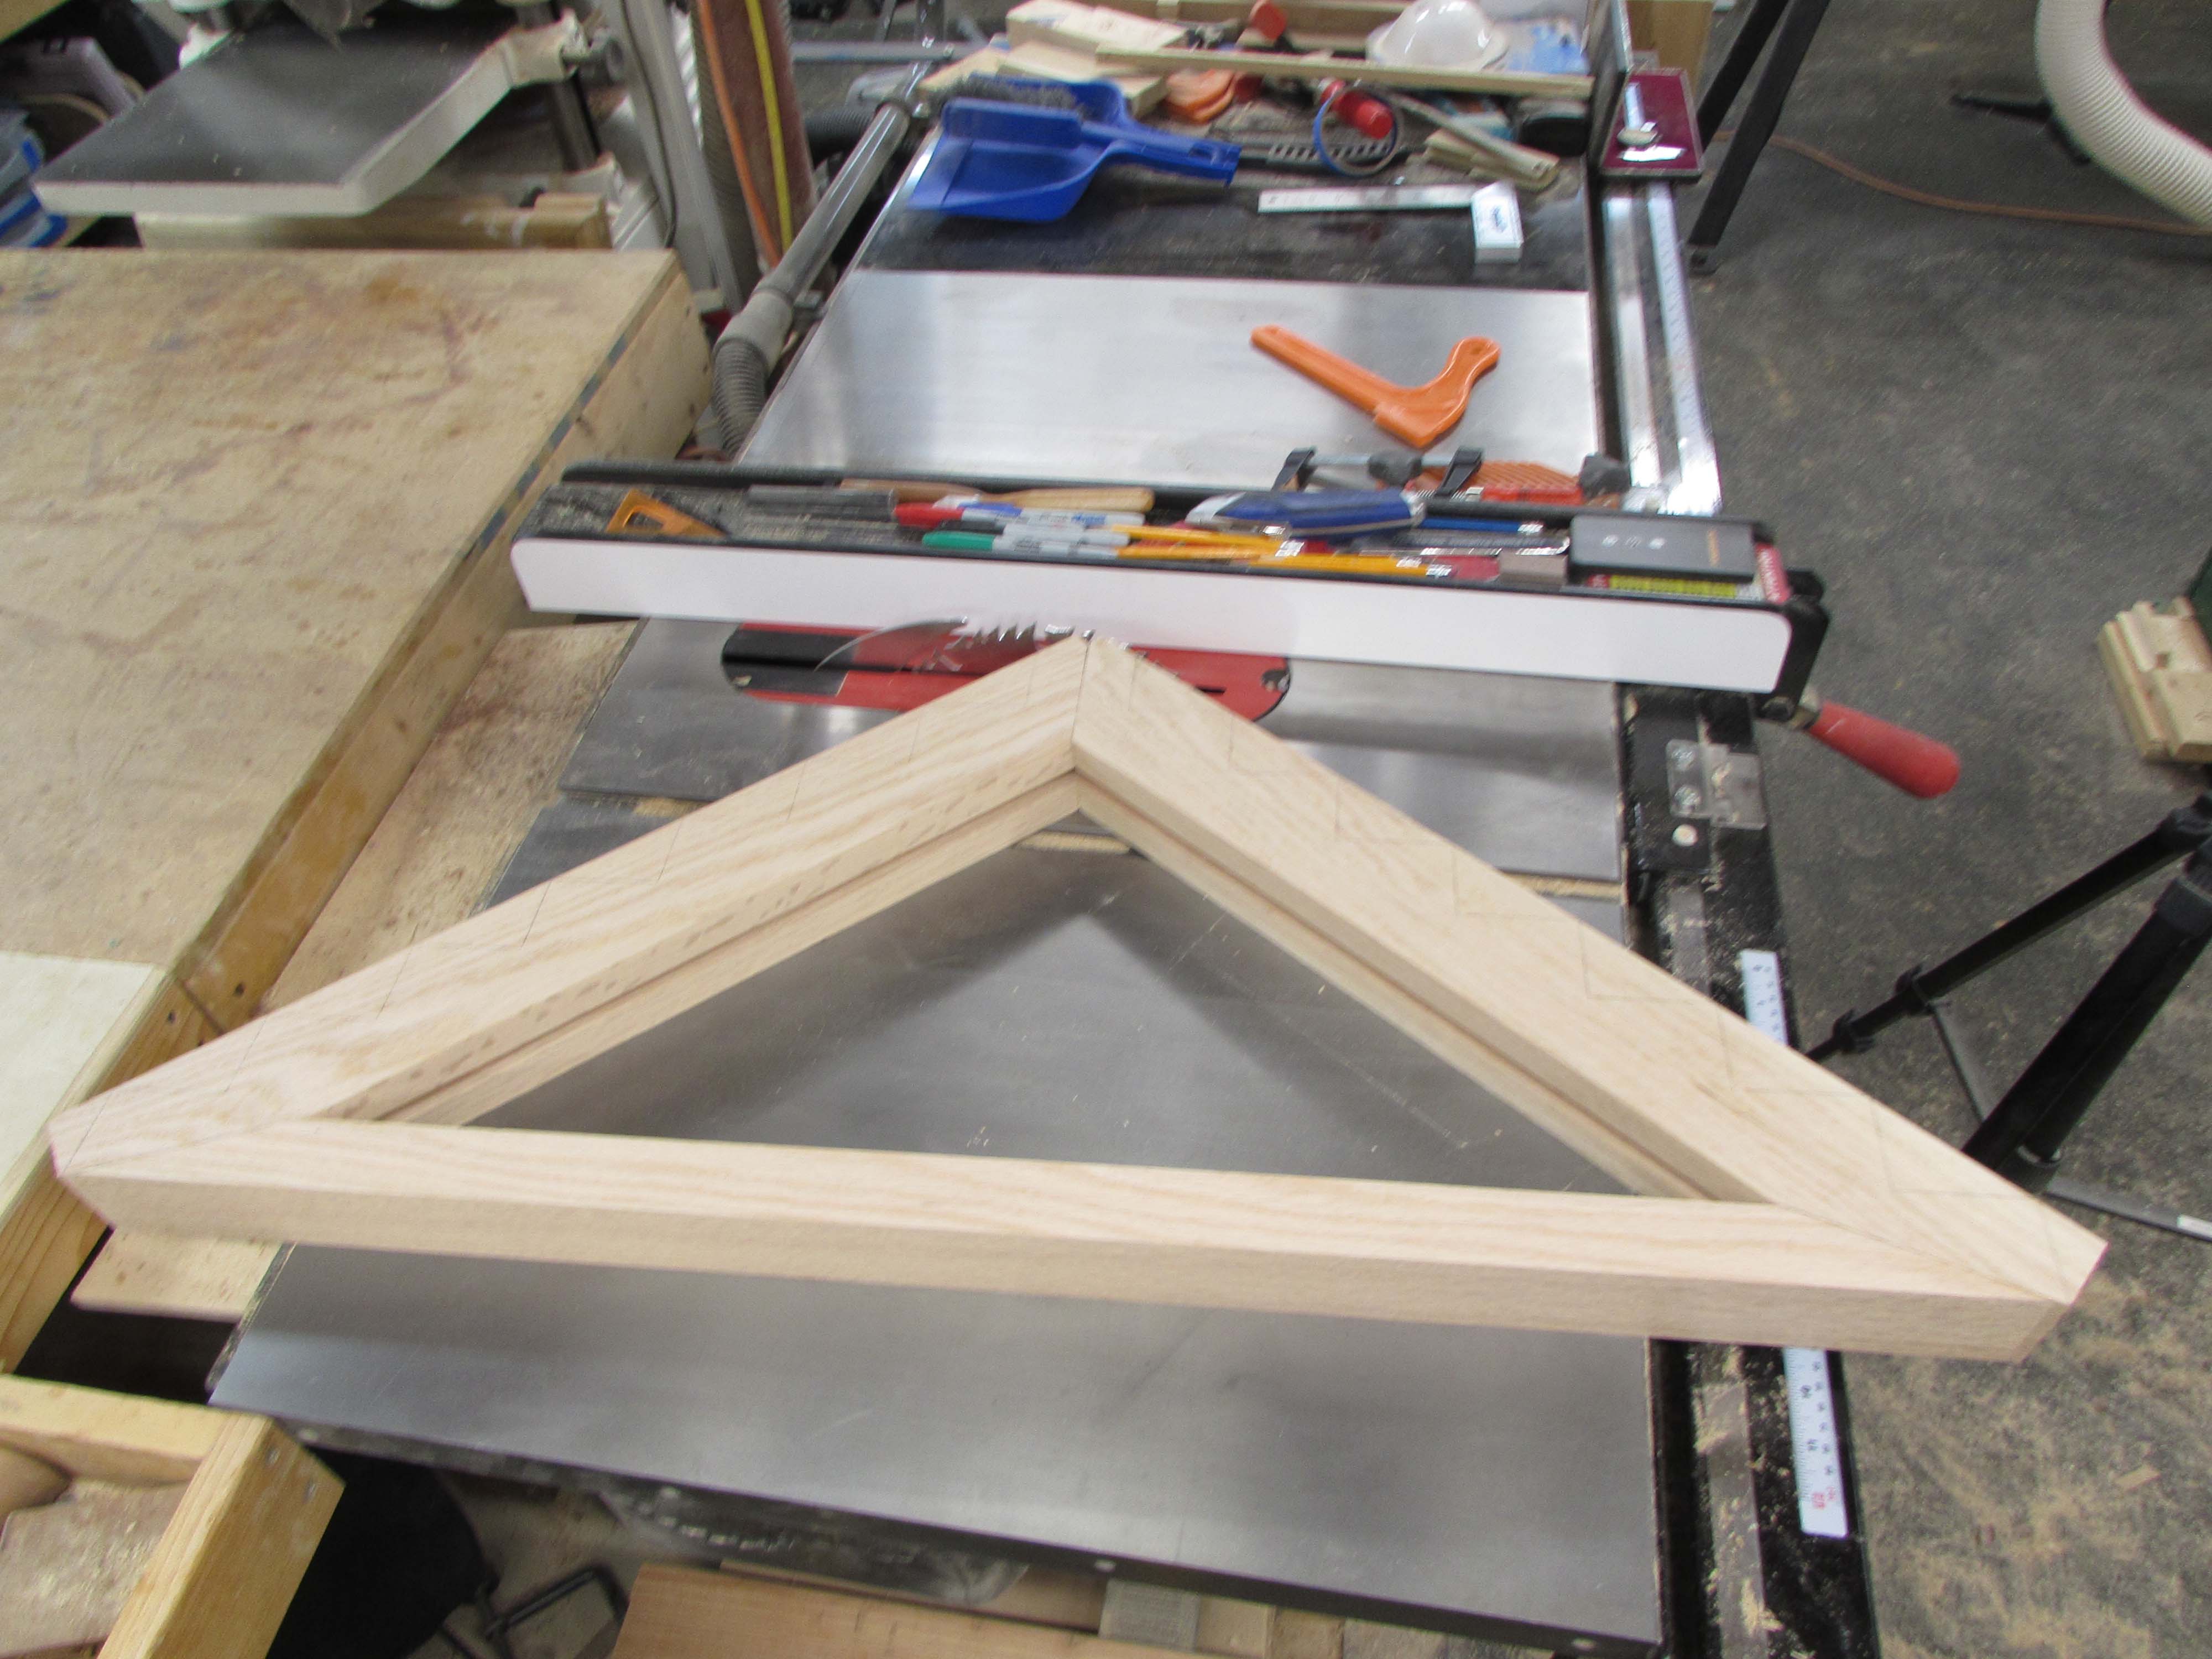
I roughly laid the frame out over the center piece to make sure that I was on the right track.


Confident that I was moving in the right direction, I applied glue to one side and clamped the opposite side to it.

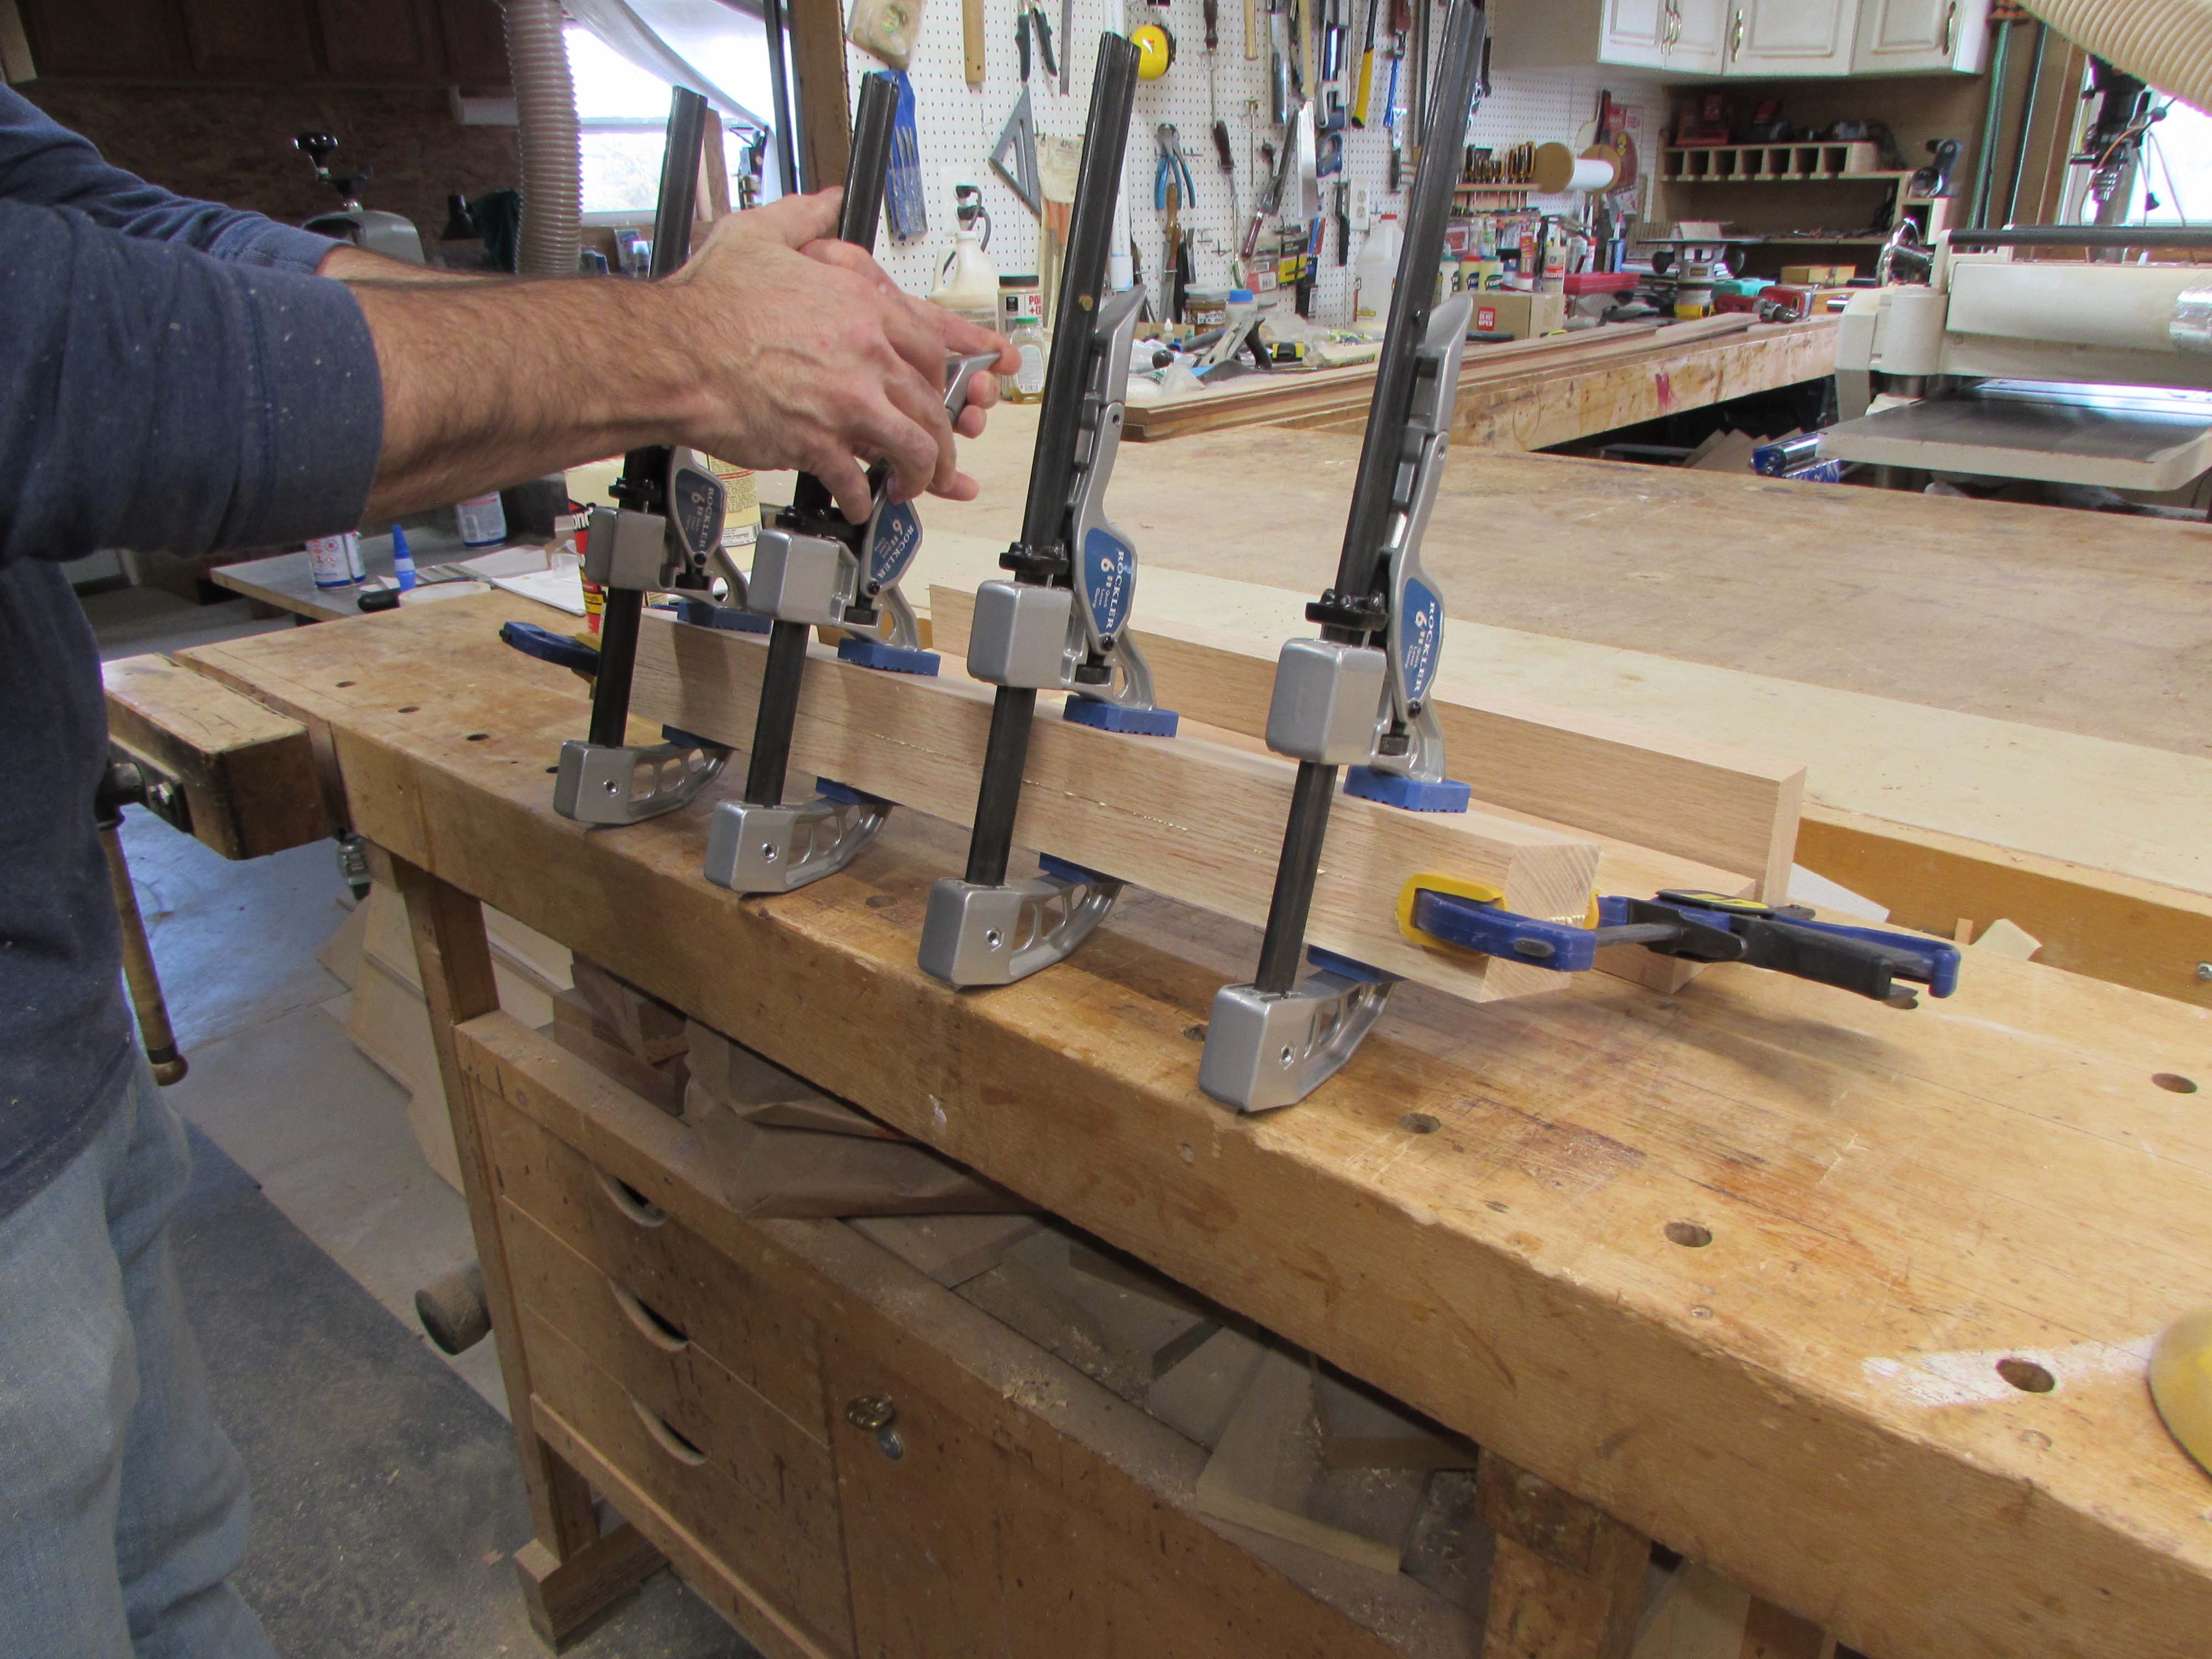
I left both of these to dry overnight.


They were glued together pretty well but I made a pass or two with the hand plane to make sure the edges were flush.
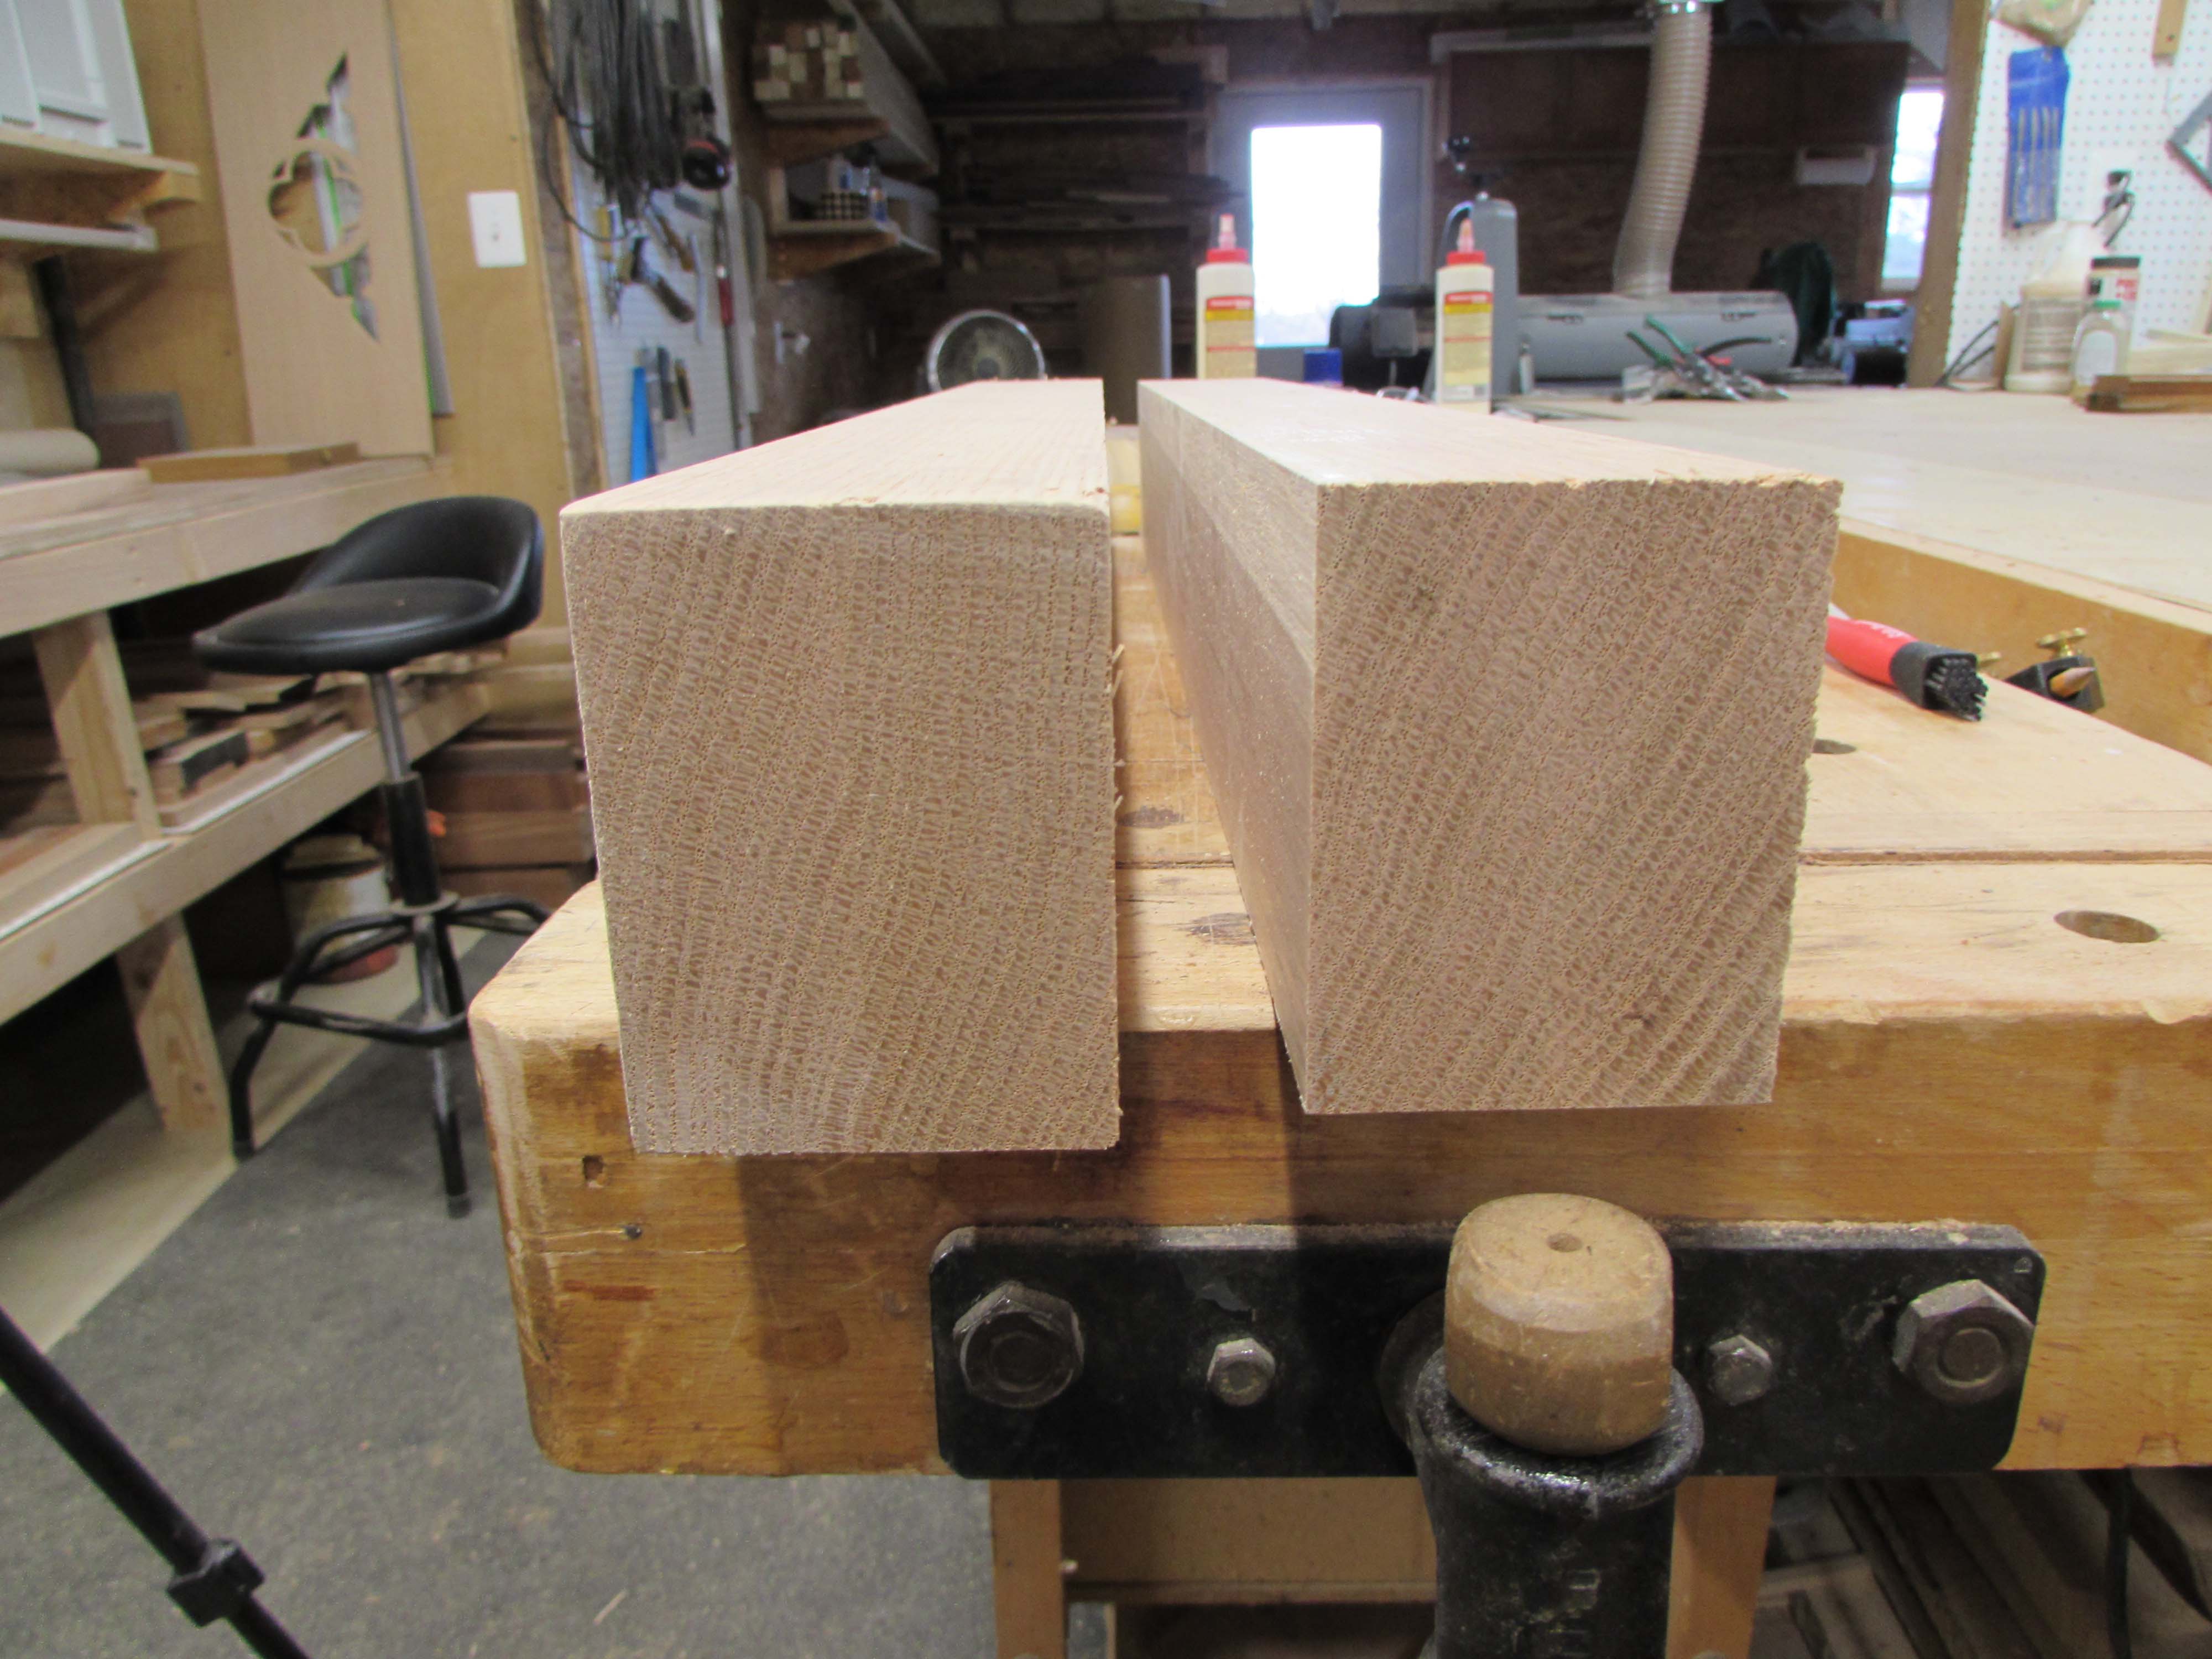
As you can see, the seam is virtually undetectable.
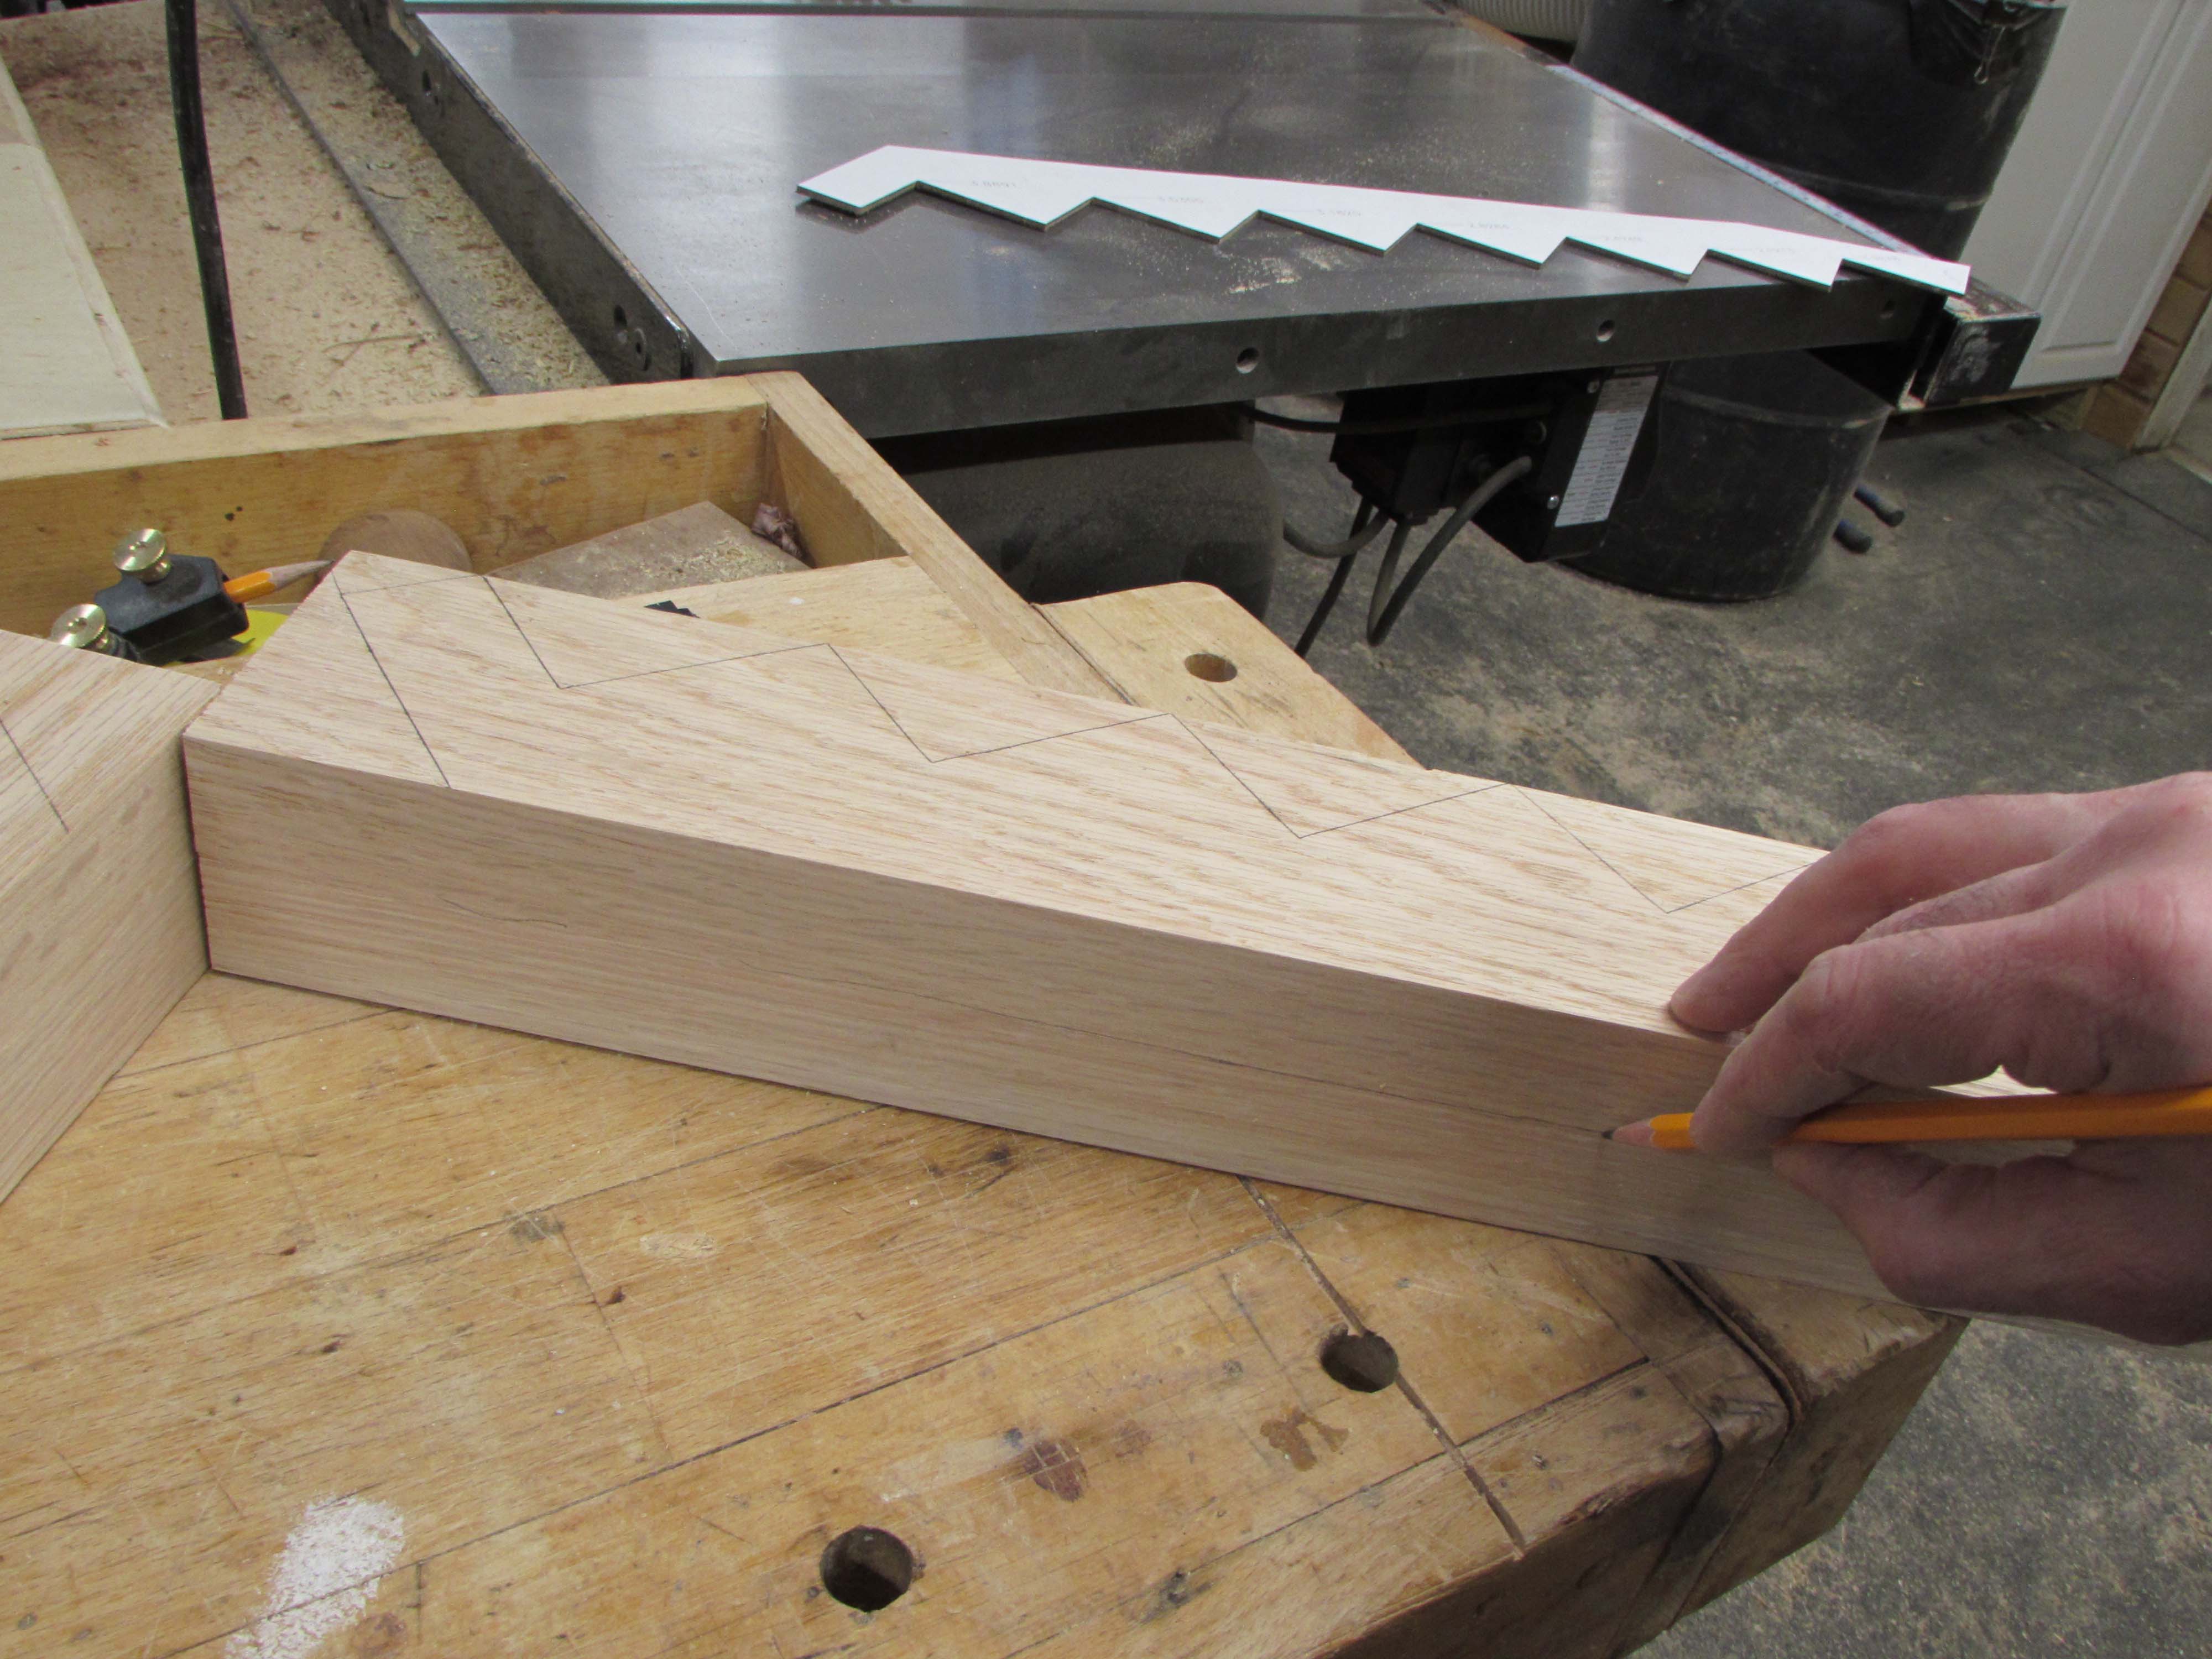
To create the steps in each, where the candles will sit, I decided to make a template from a full-size print-out.

I wanted a pattern that could be used a couple of times so I glued the print to a piece of 1/8″ hardboard.
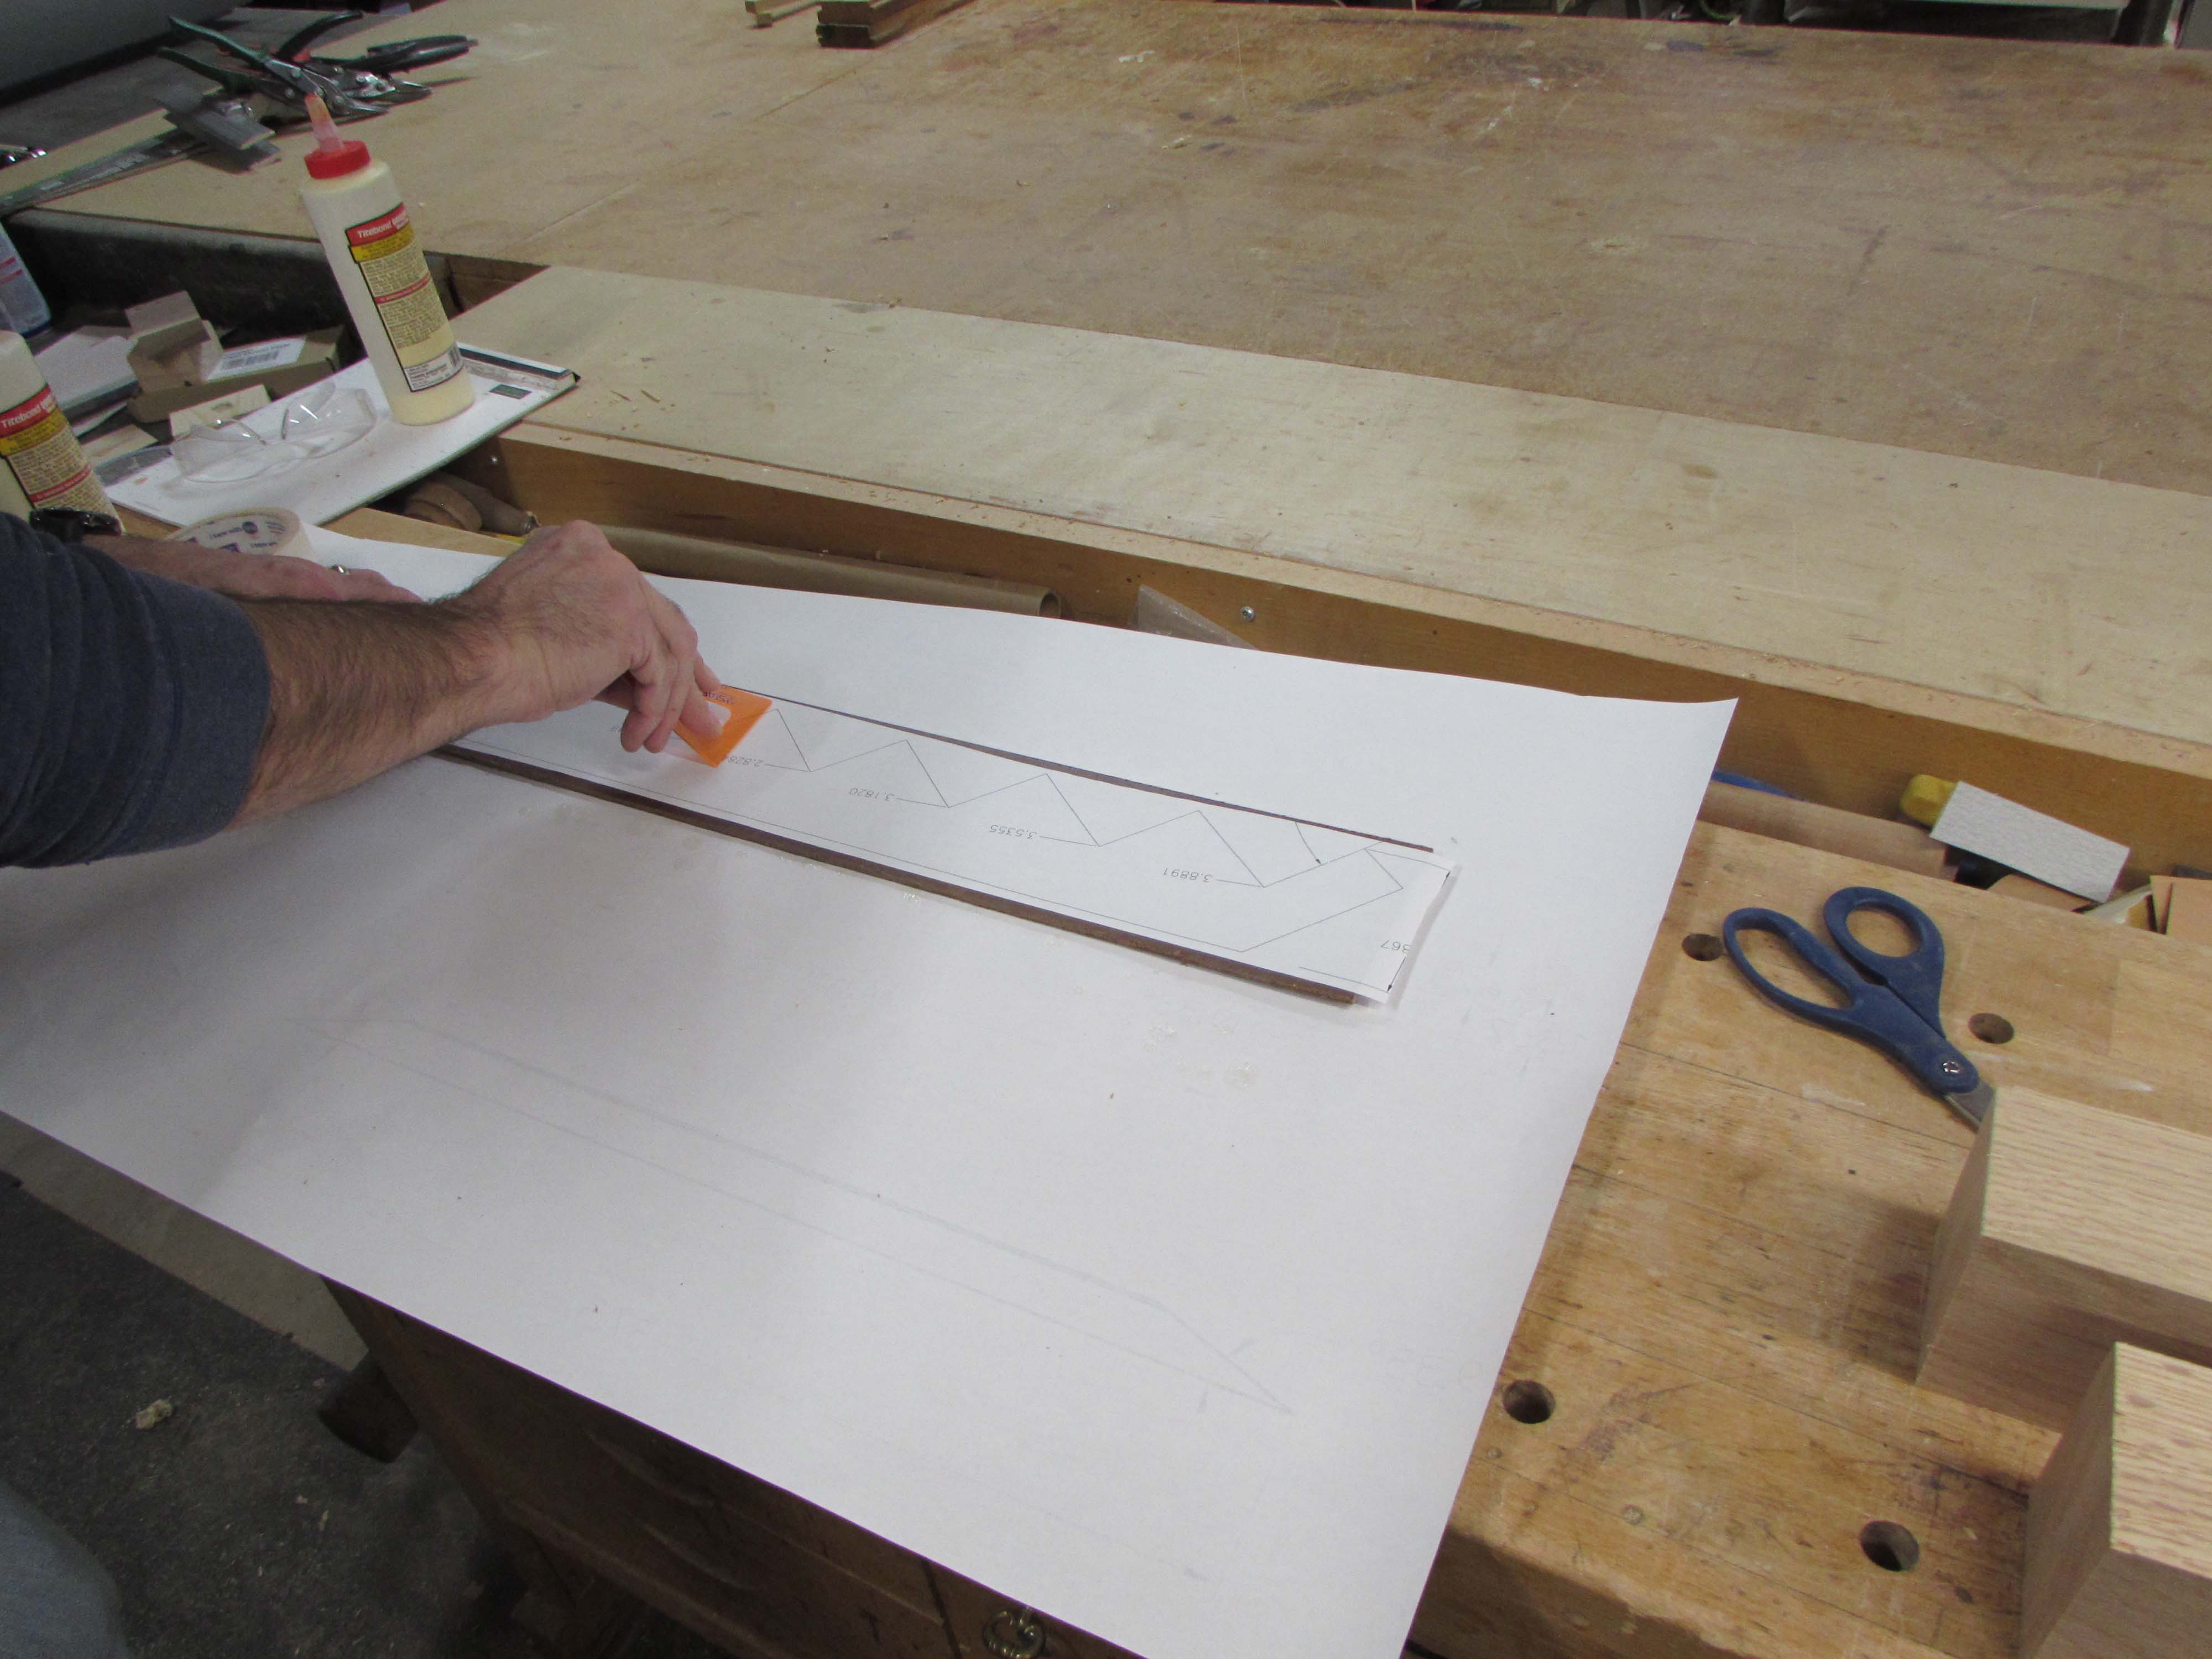

I then cut it out on my bandsaw and sanded all the edges flat and smooth.


This made laying out the oak a lot easier…
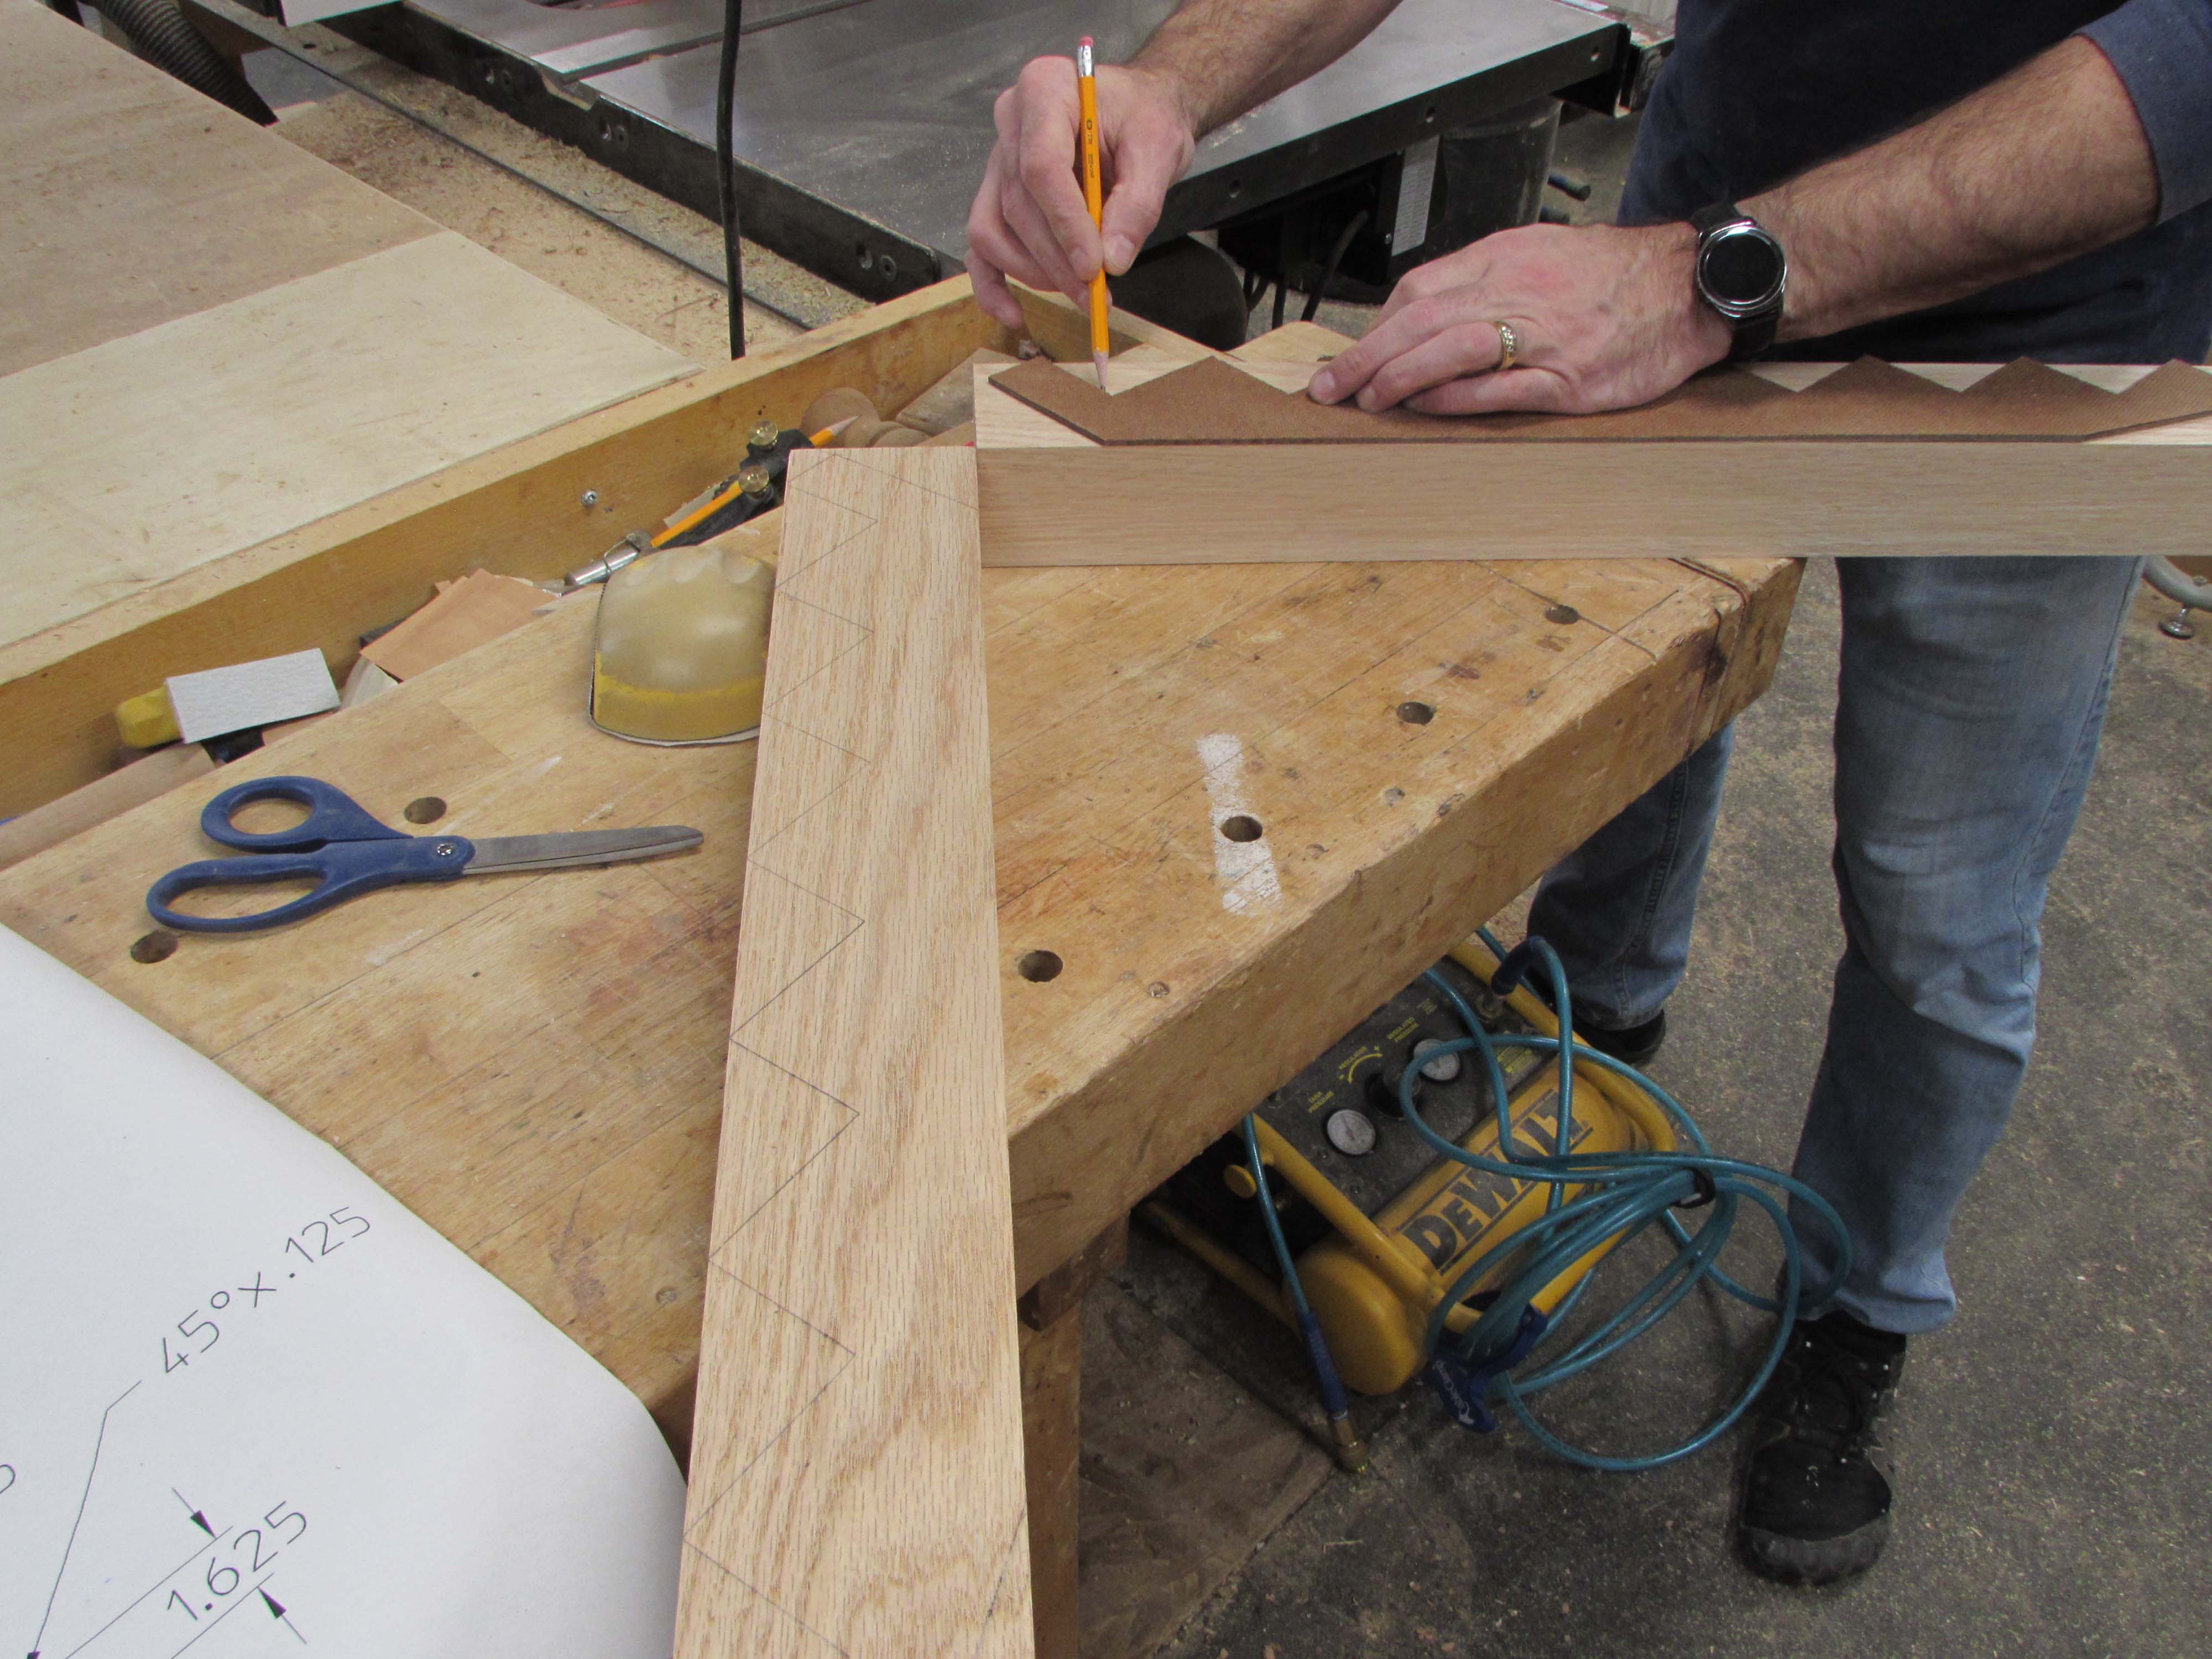

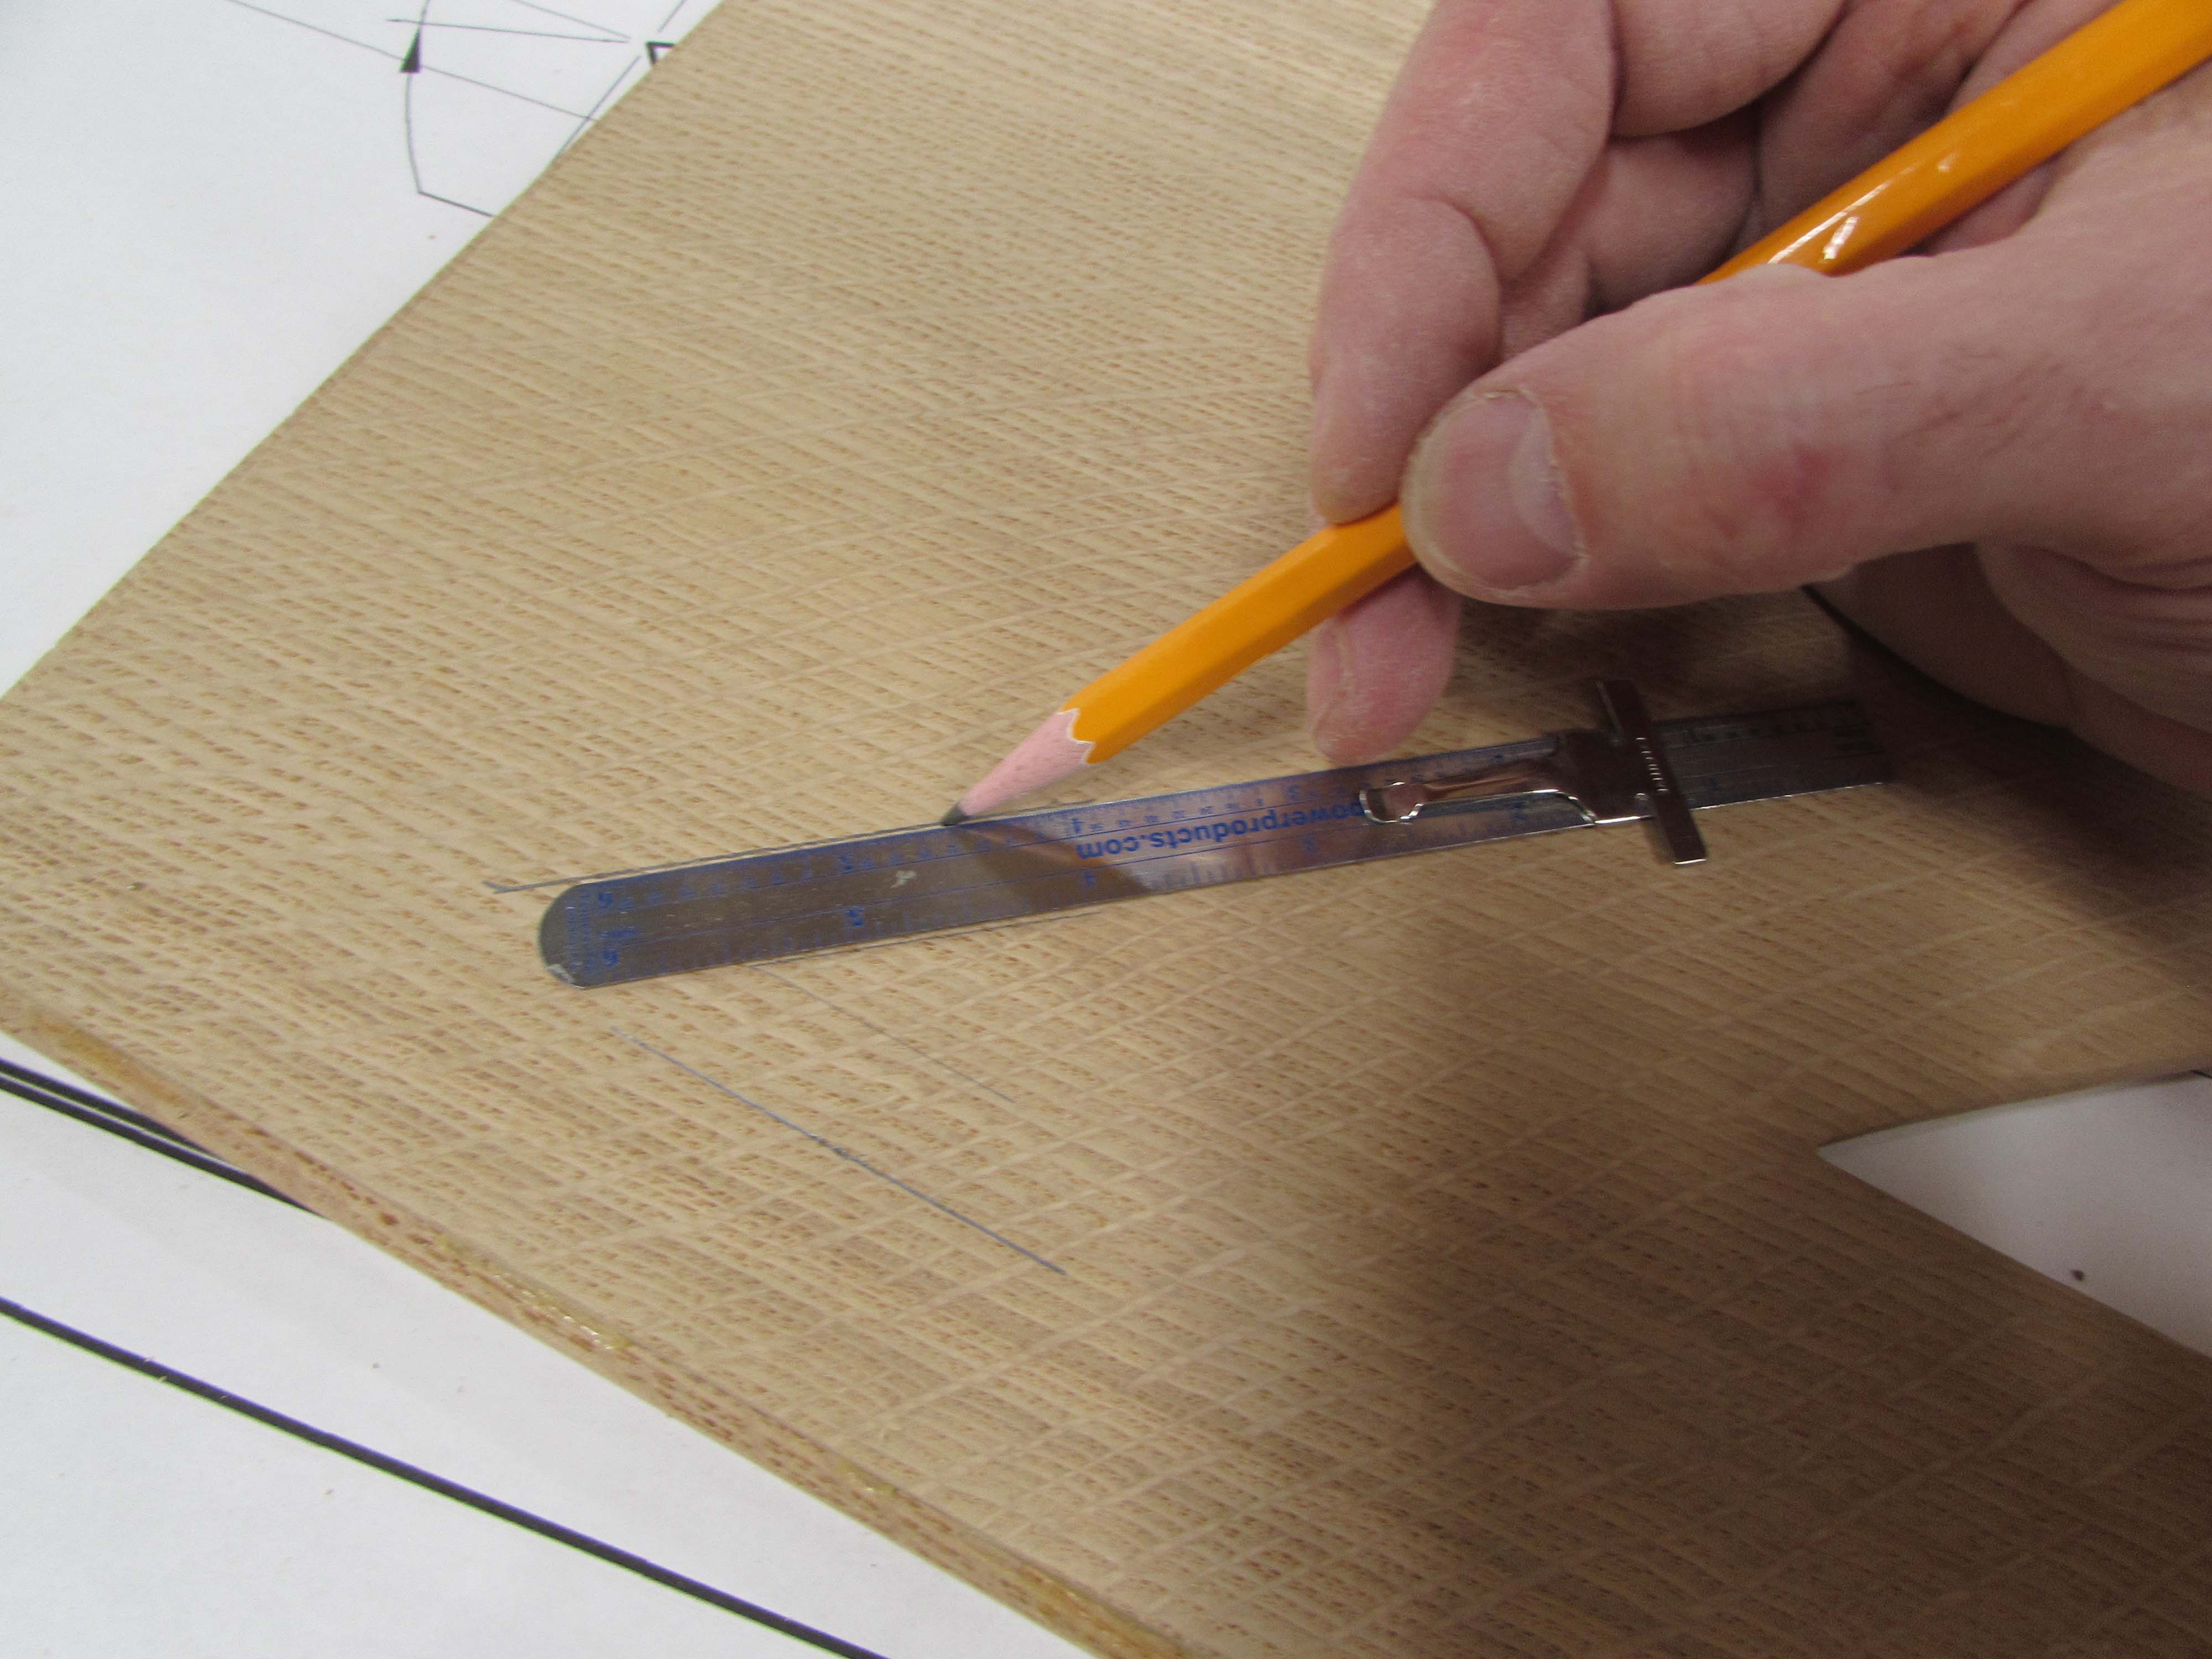
To capture the centerpiece, I need to cut a 1/2″ wide x 1/2″ deep groove down the center of all three frame pieces. I marked each with a pencil so I was sure to cut the correct side. (I have screwed that up before…)

I set up the fence on the table saw to cut the outer width of the groove, then spun the board around and cut the opposite side.
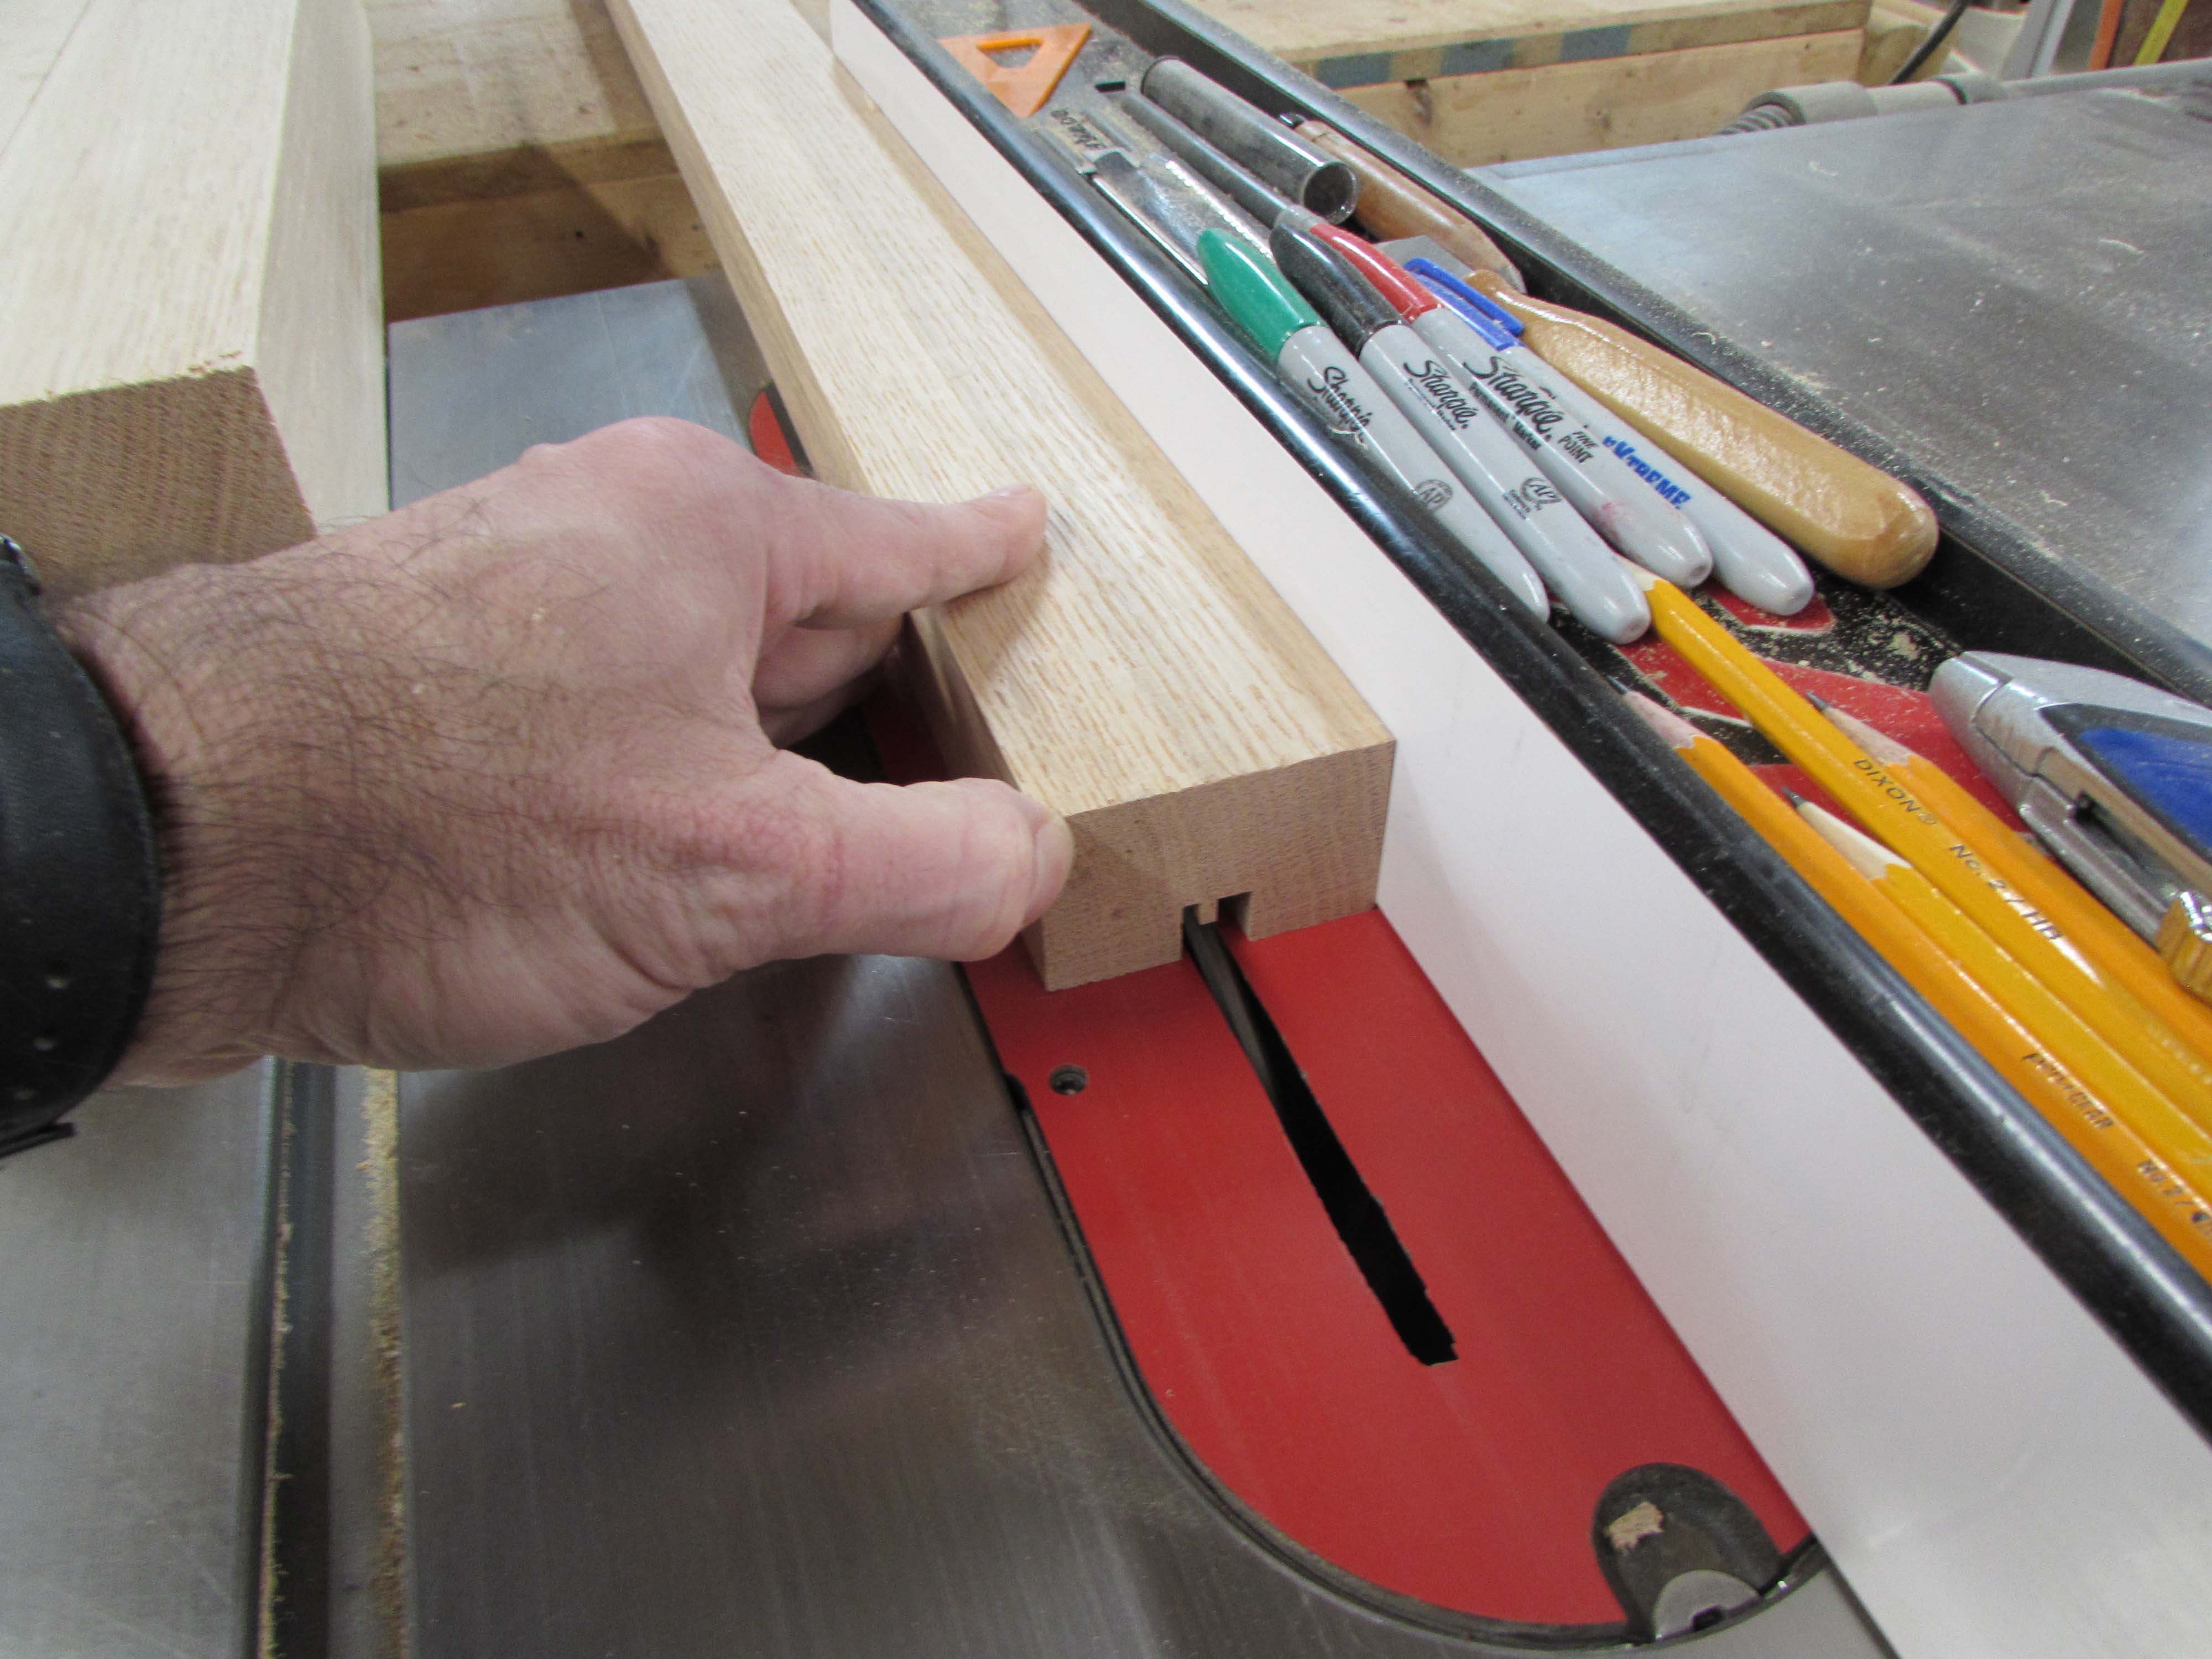
Test fit was perfect, just a few thousandths wider than the center piece so it can move a little with expansion.

I am taking my time making this frame because it is very easy to get it wrong and I want all the joinery to be perfect.

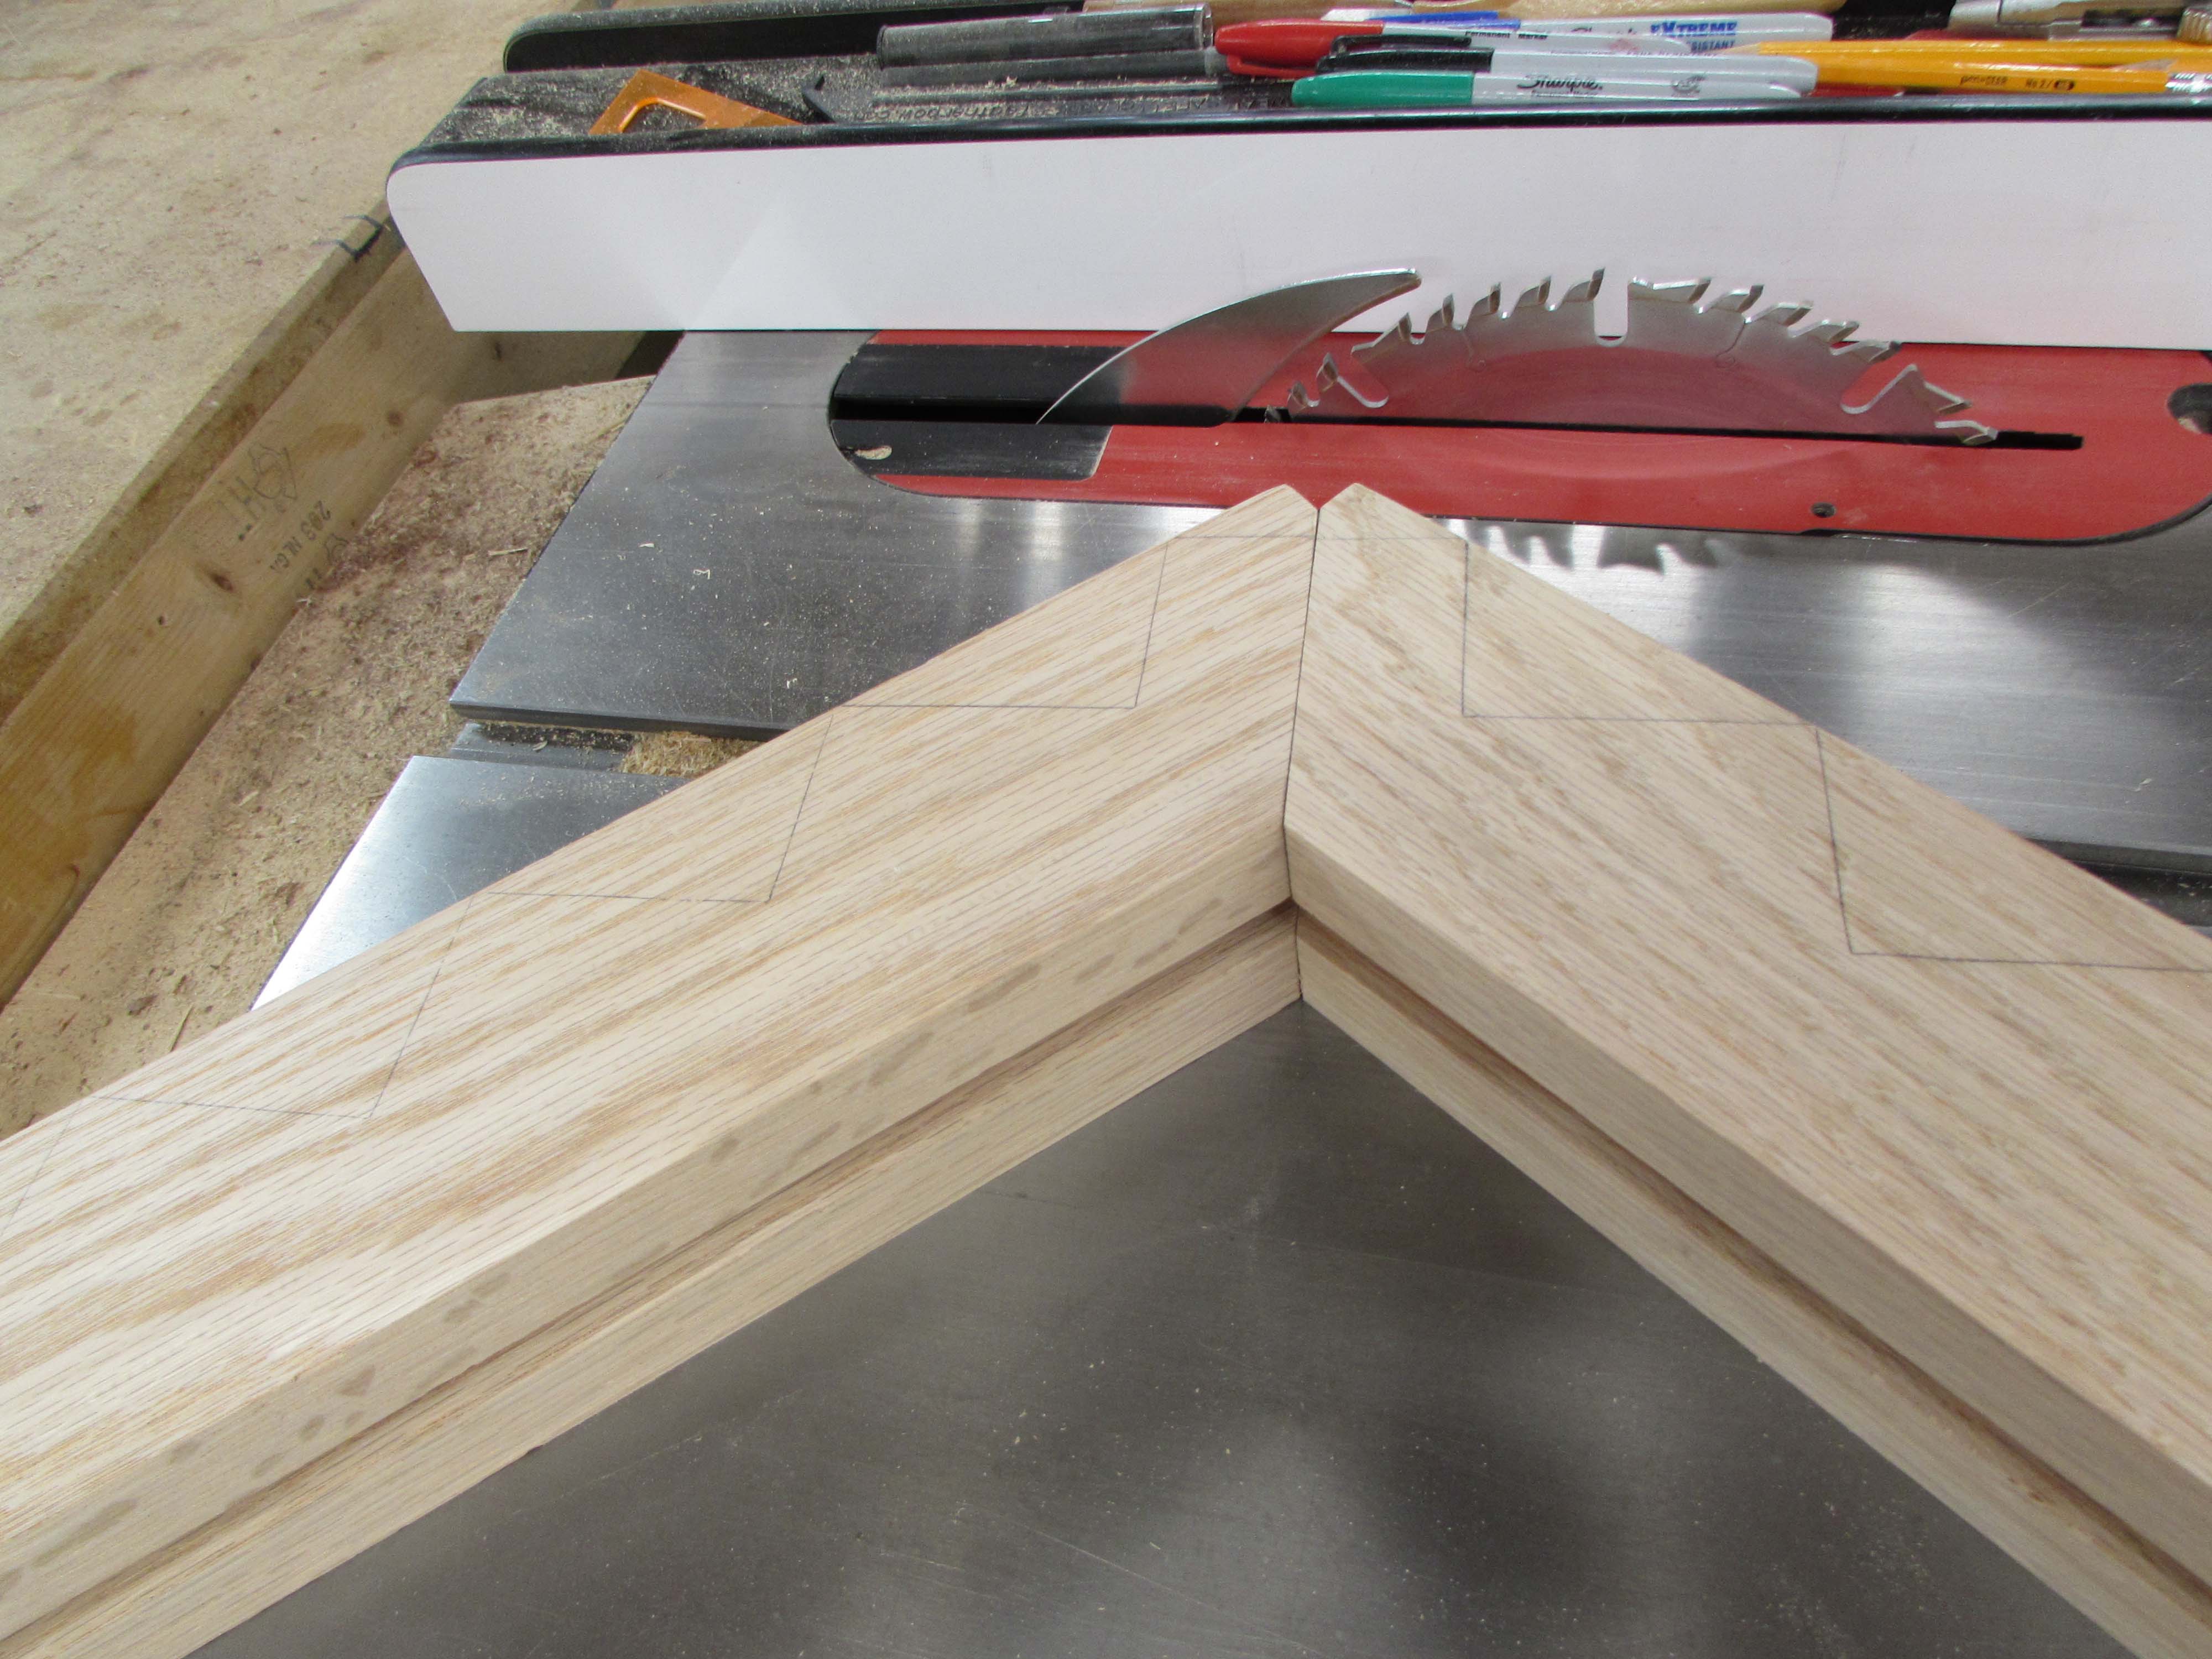
I cut the 45° angle of the top on the miter saw, then fit the two together to check the angle.
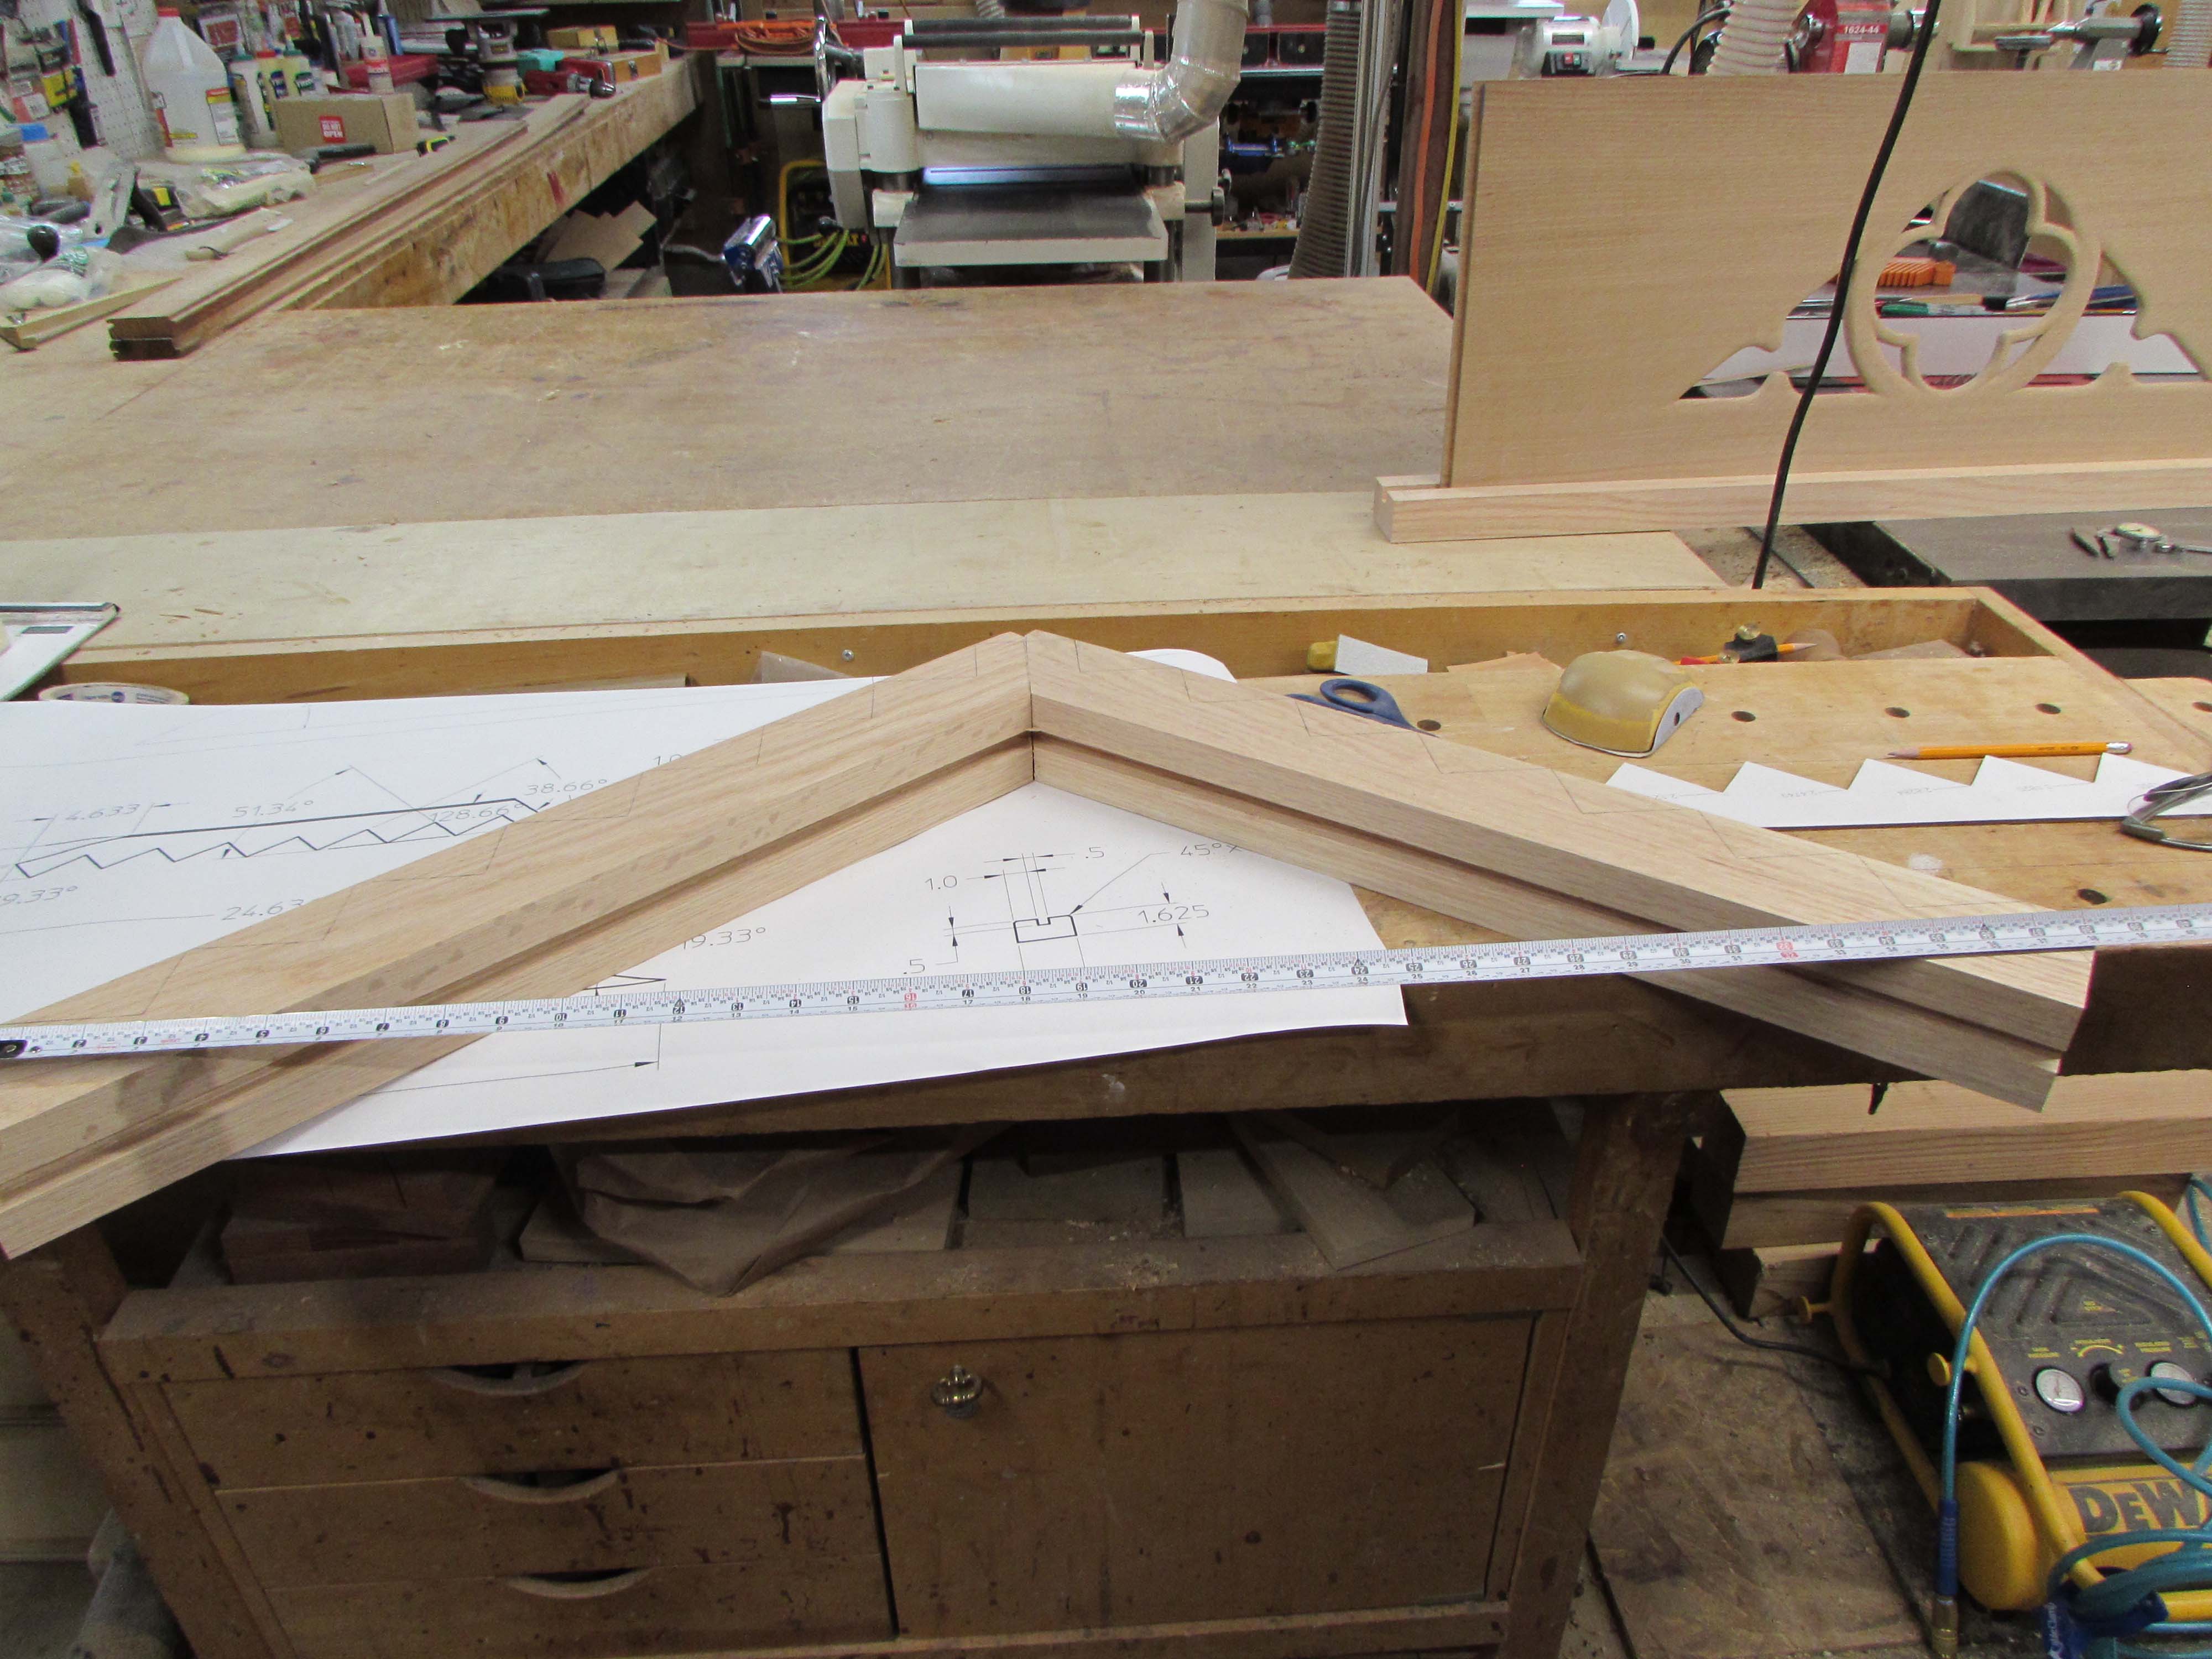
I used a straight edge to verify the angle I will need to cut on the bottom joints and marked them. So far my computer model still matches what I am building and I need to cut a 19.33° angle. Since my miter saw can’t achieve that angle with the current fence, I have to add an additional 90° temporary fence and hold the frame piece perpendicular to the miter saw fence.
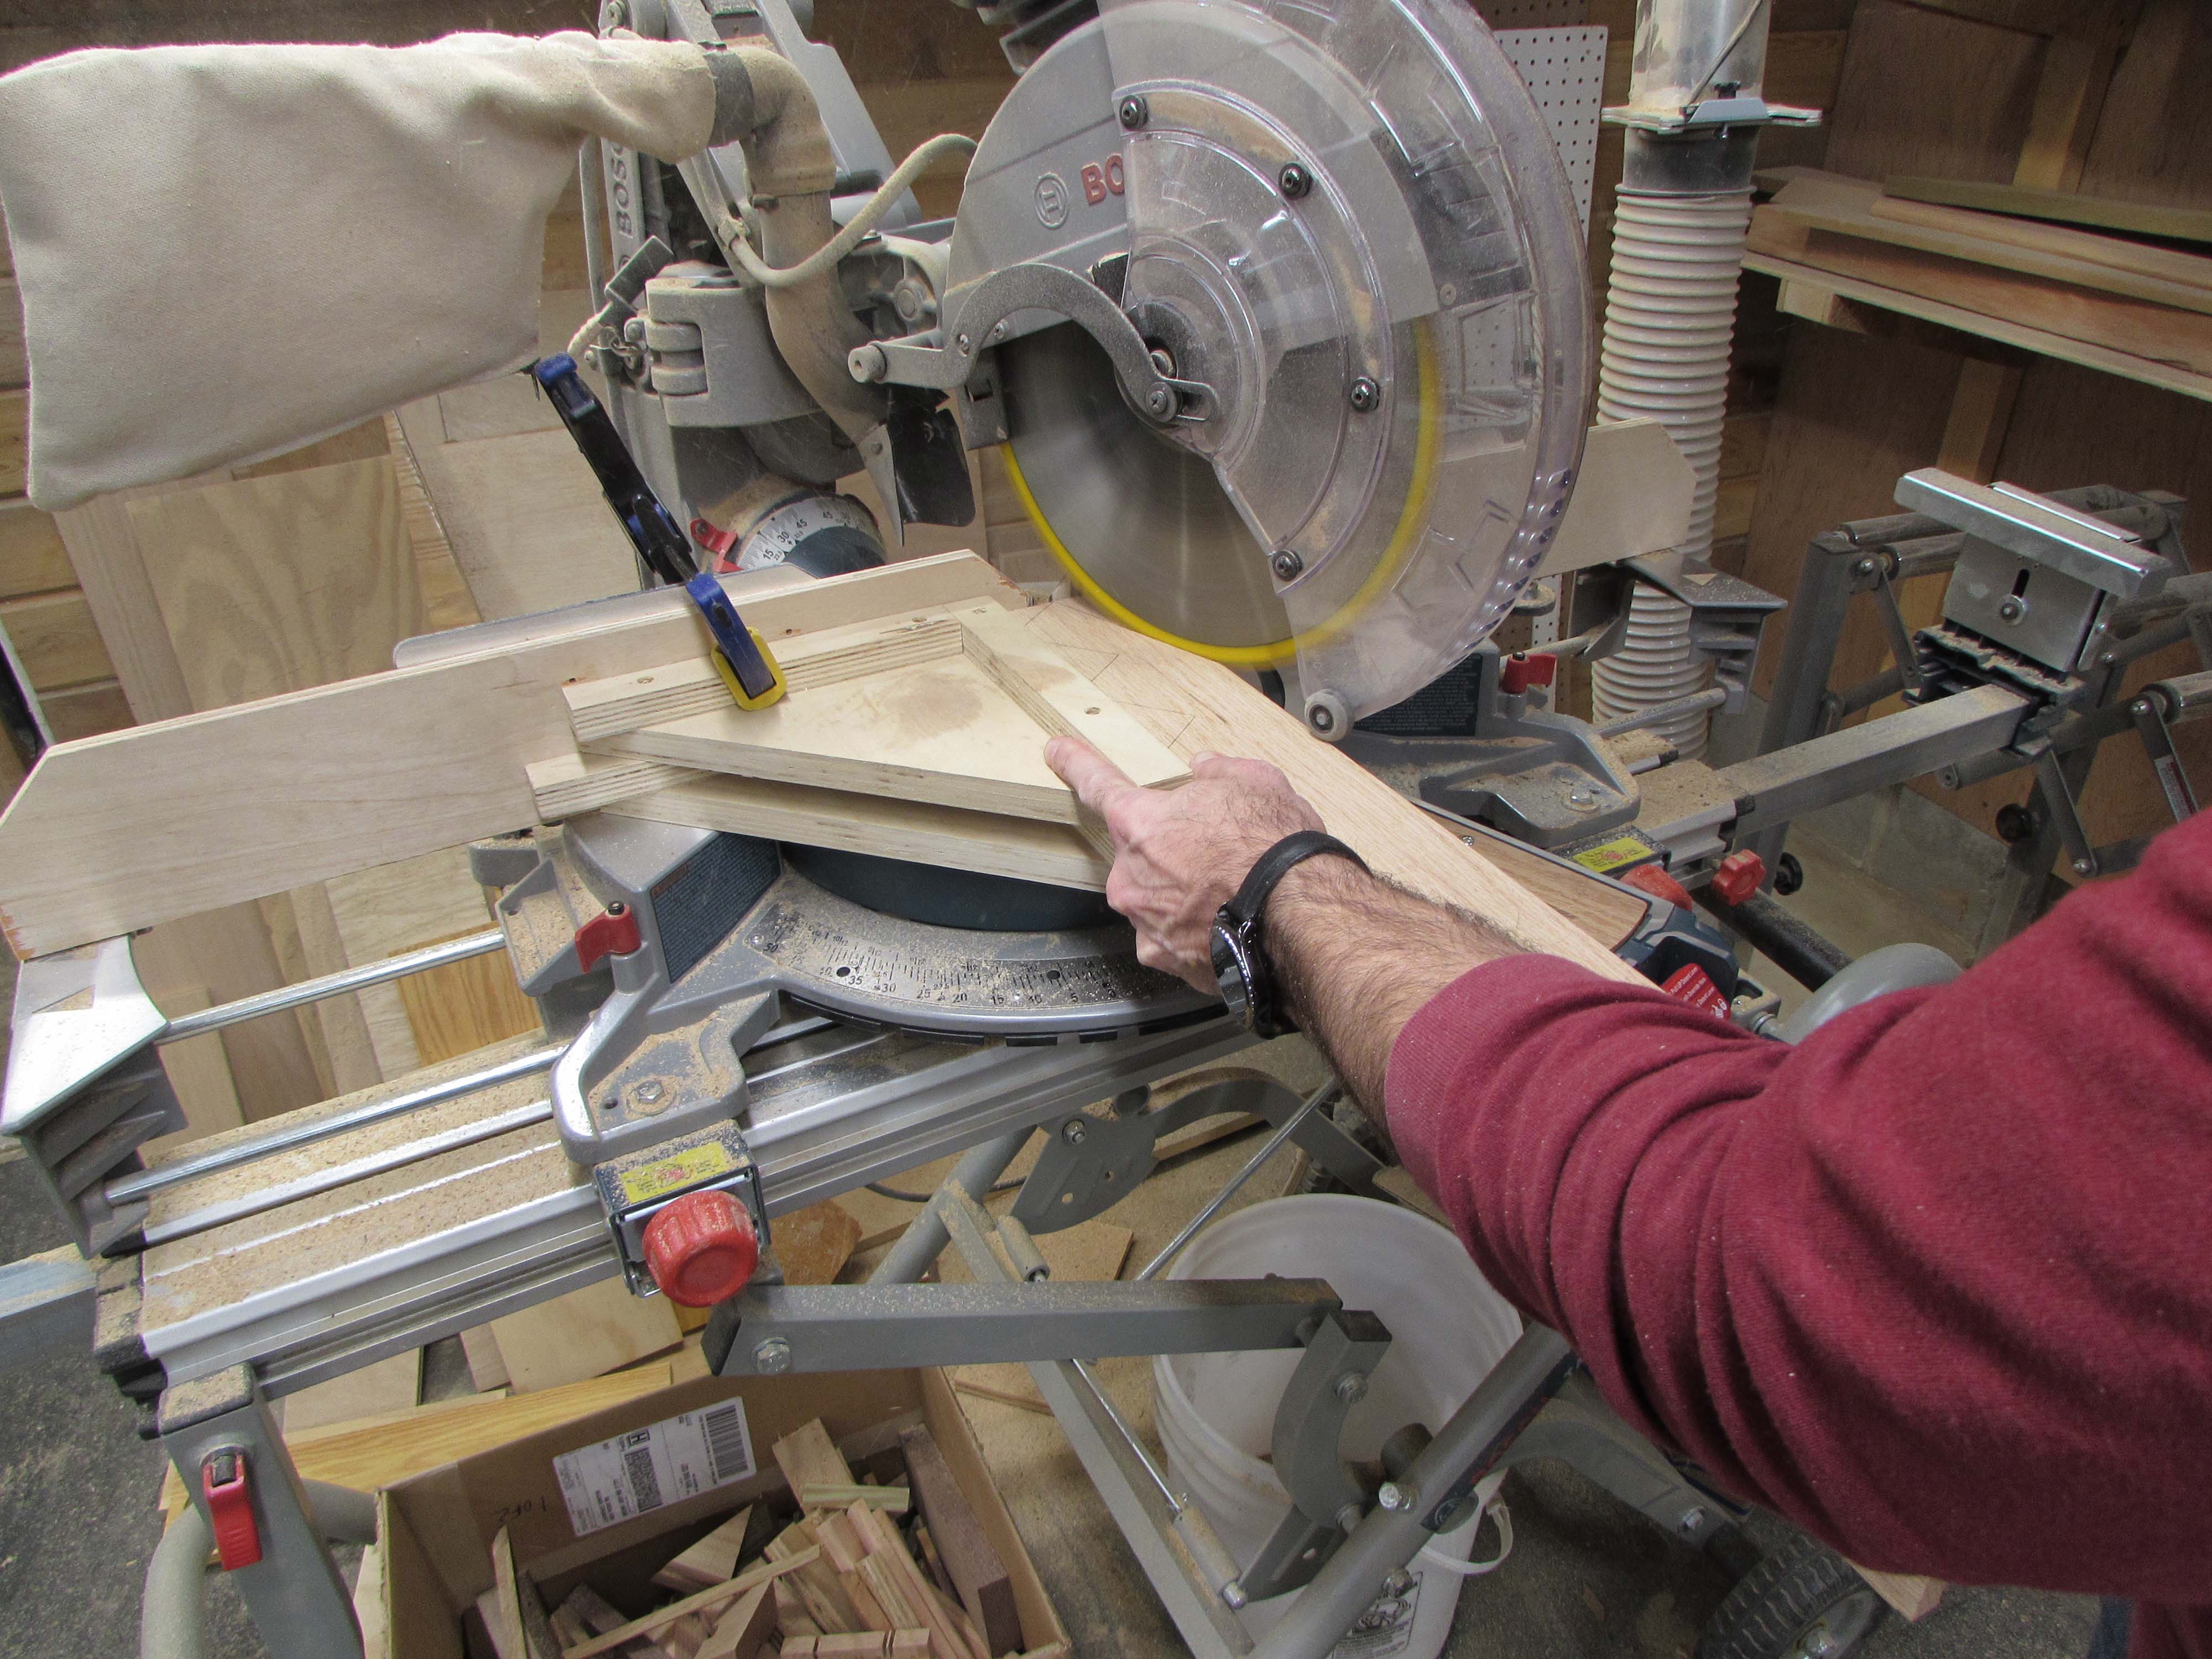
Probably not the safest approach, but it did work.

Placing those two pieces up on 2-1/2″ blocks, I was able to locate the bottom of the frame and trace the angles onto it.

Again with the sketchy setup on the miter saw and some careful test fitting, but it worked well and I have all three pieces cut to size.

Joining them together will be a different problem.

I decided to cut a notch in the 45° top joint to add in a 1/4″ thick spline.

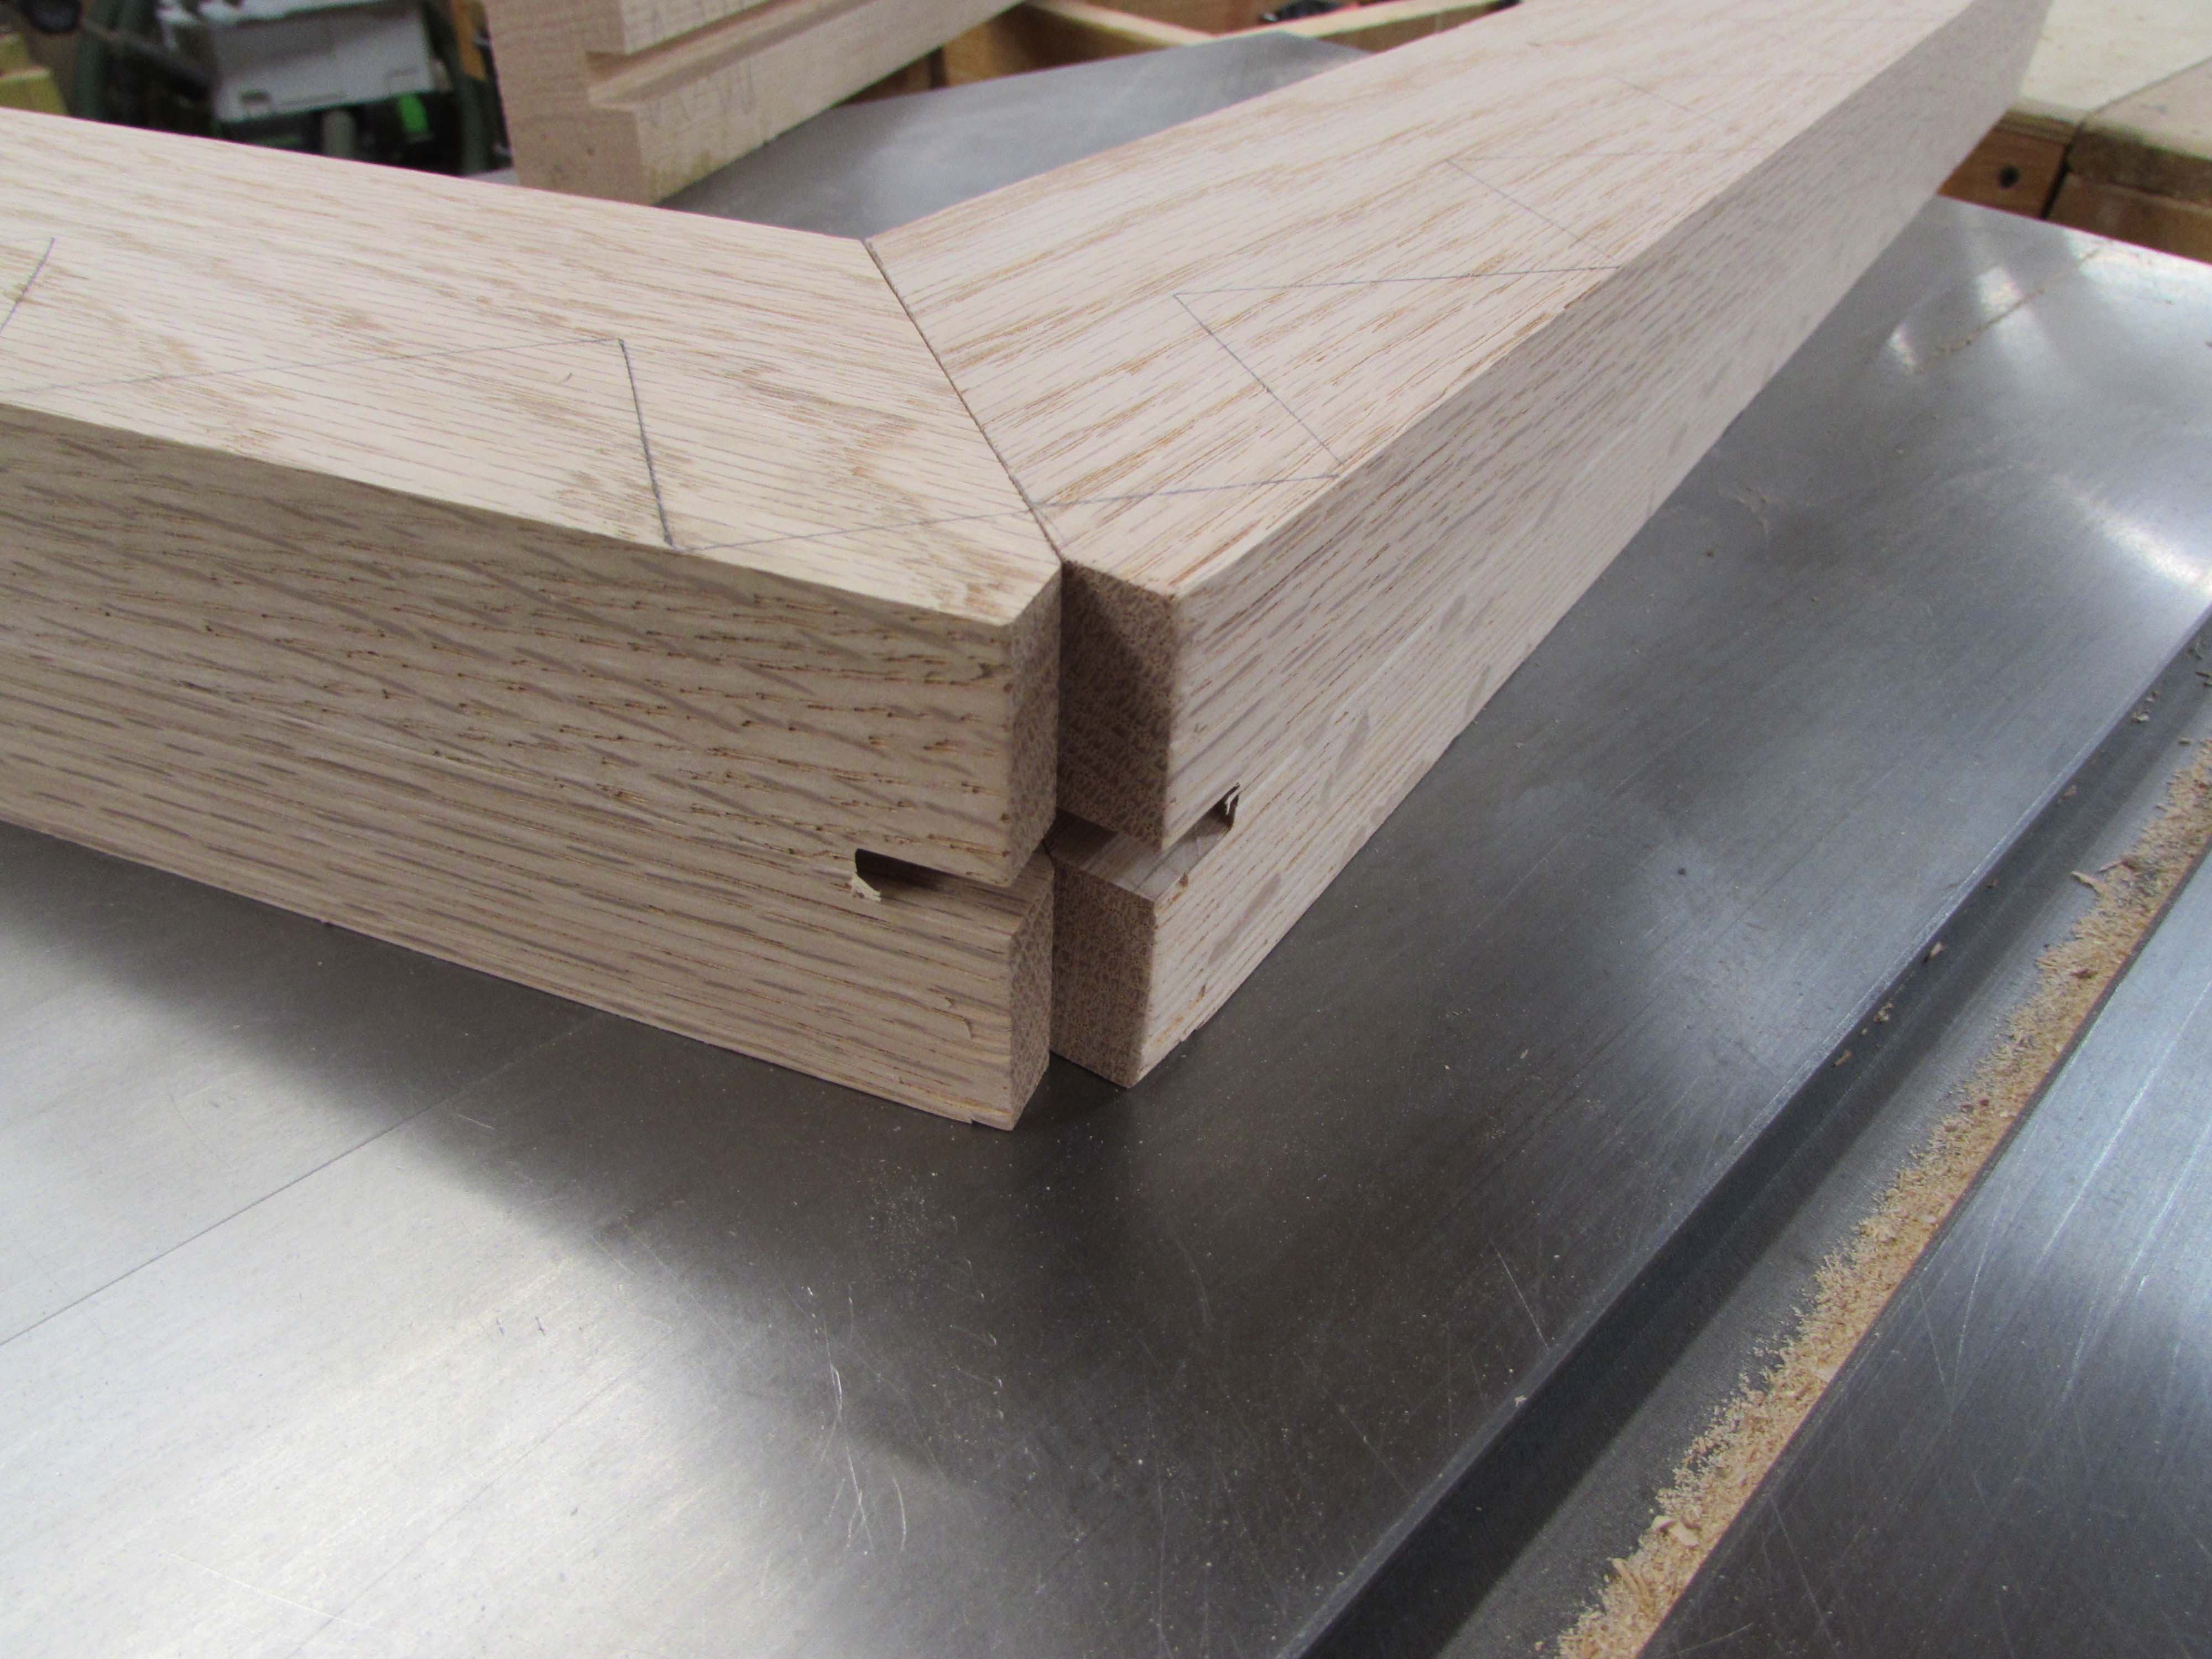
The spline has to be cut to fit perfectly so that I get full contact for glue surfaces. If it is fit well and glued properly, it will be as strong as a solid piece of wood.


I take my time creating the spline, sanding off a few thousandths of an inch at a time until I get a perfect fit.


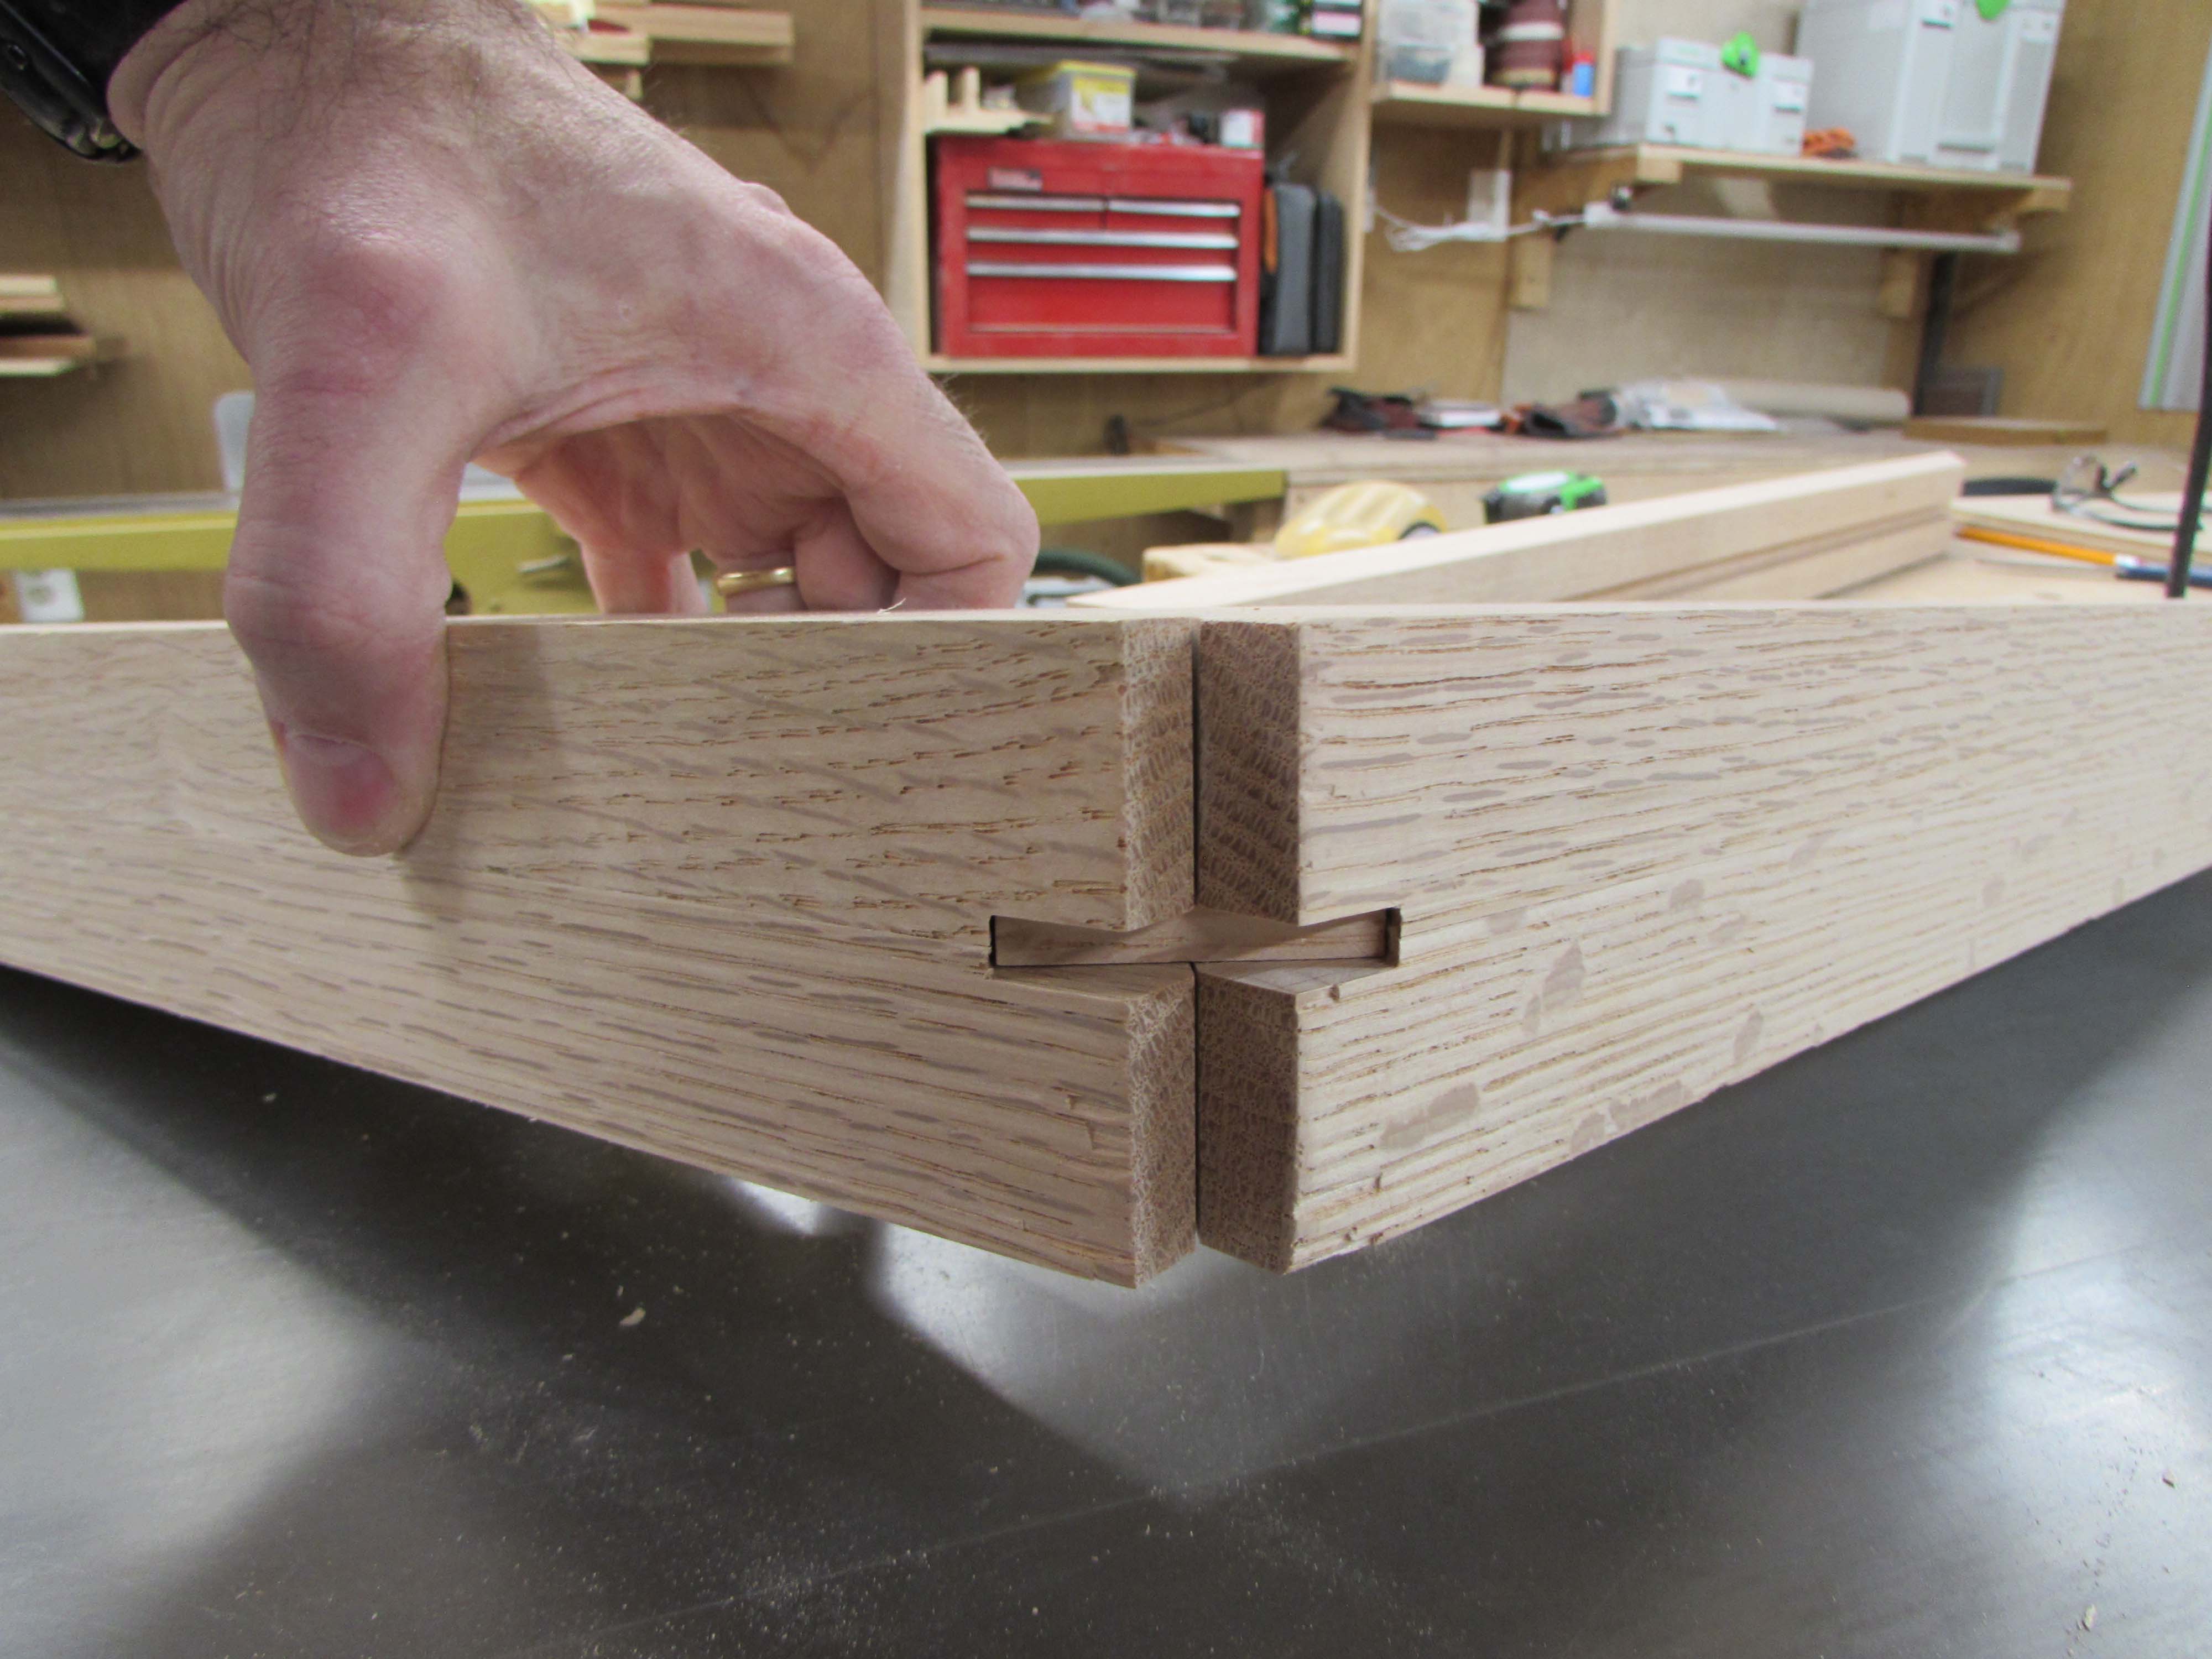
There is a slight gap on either side for glue, but all of the face to face contact is tight.

Before I finish cutting and glueing up the top, I want to cut and fit the centerpiece.

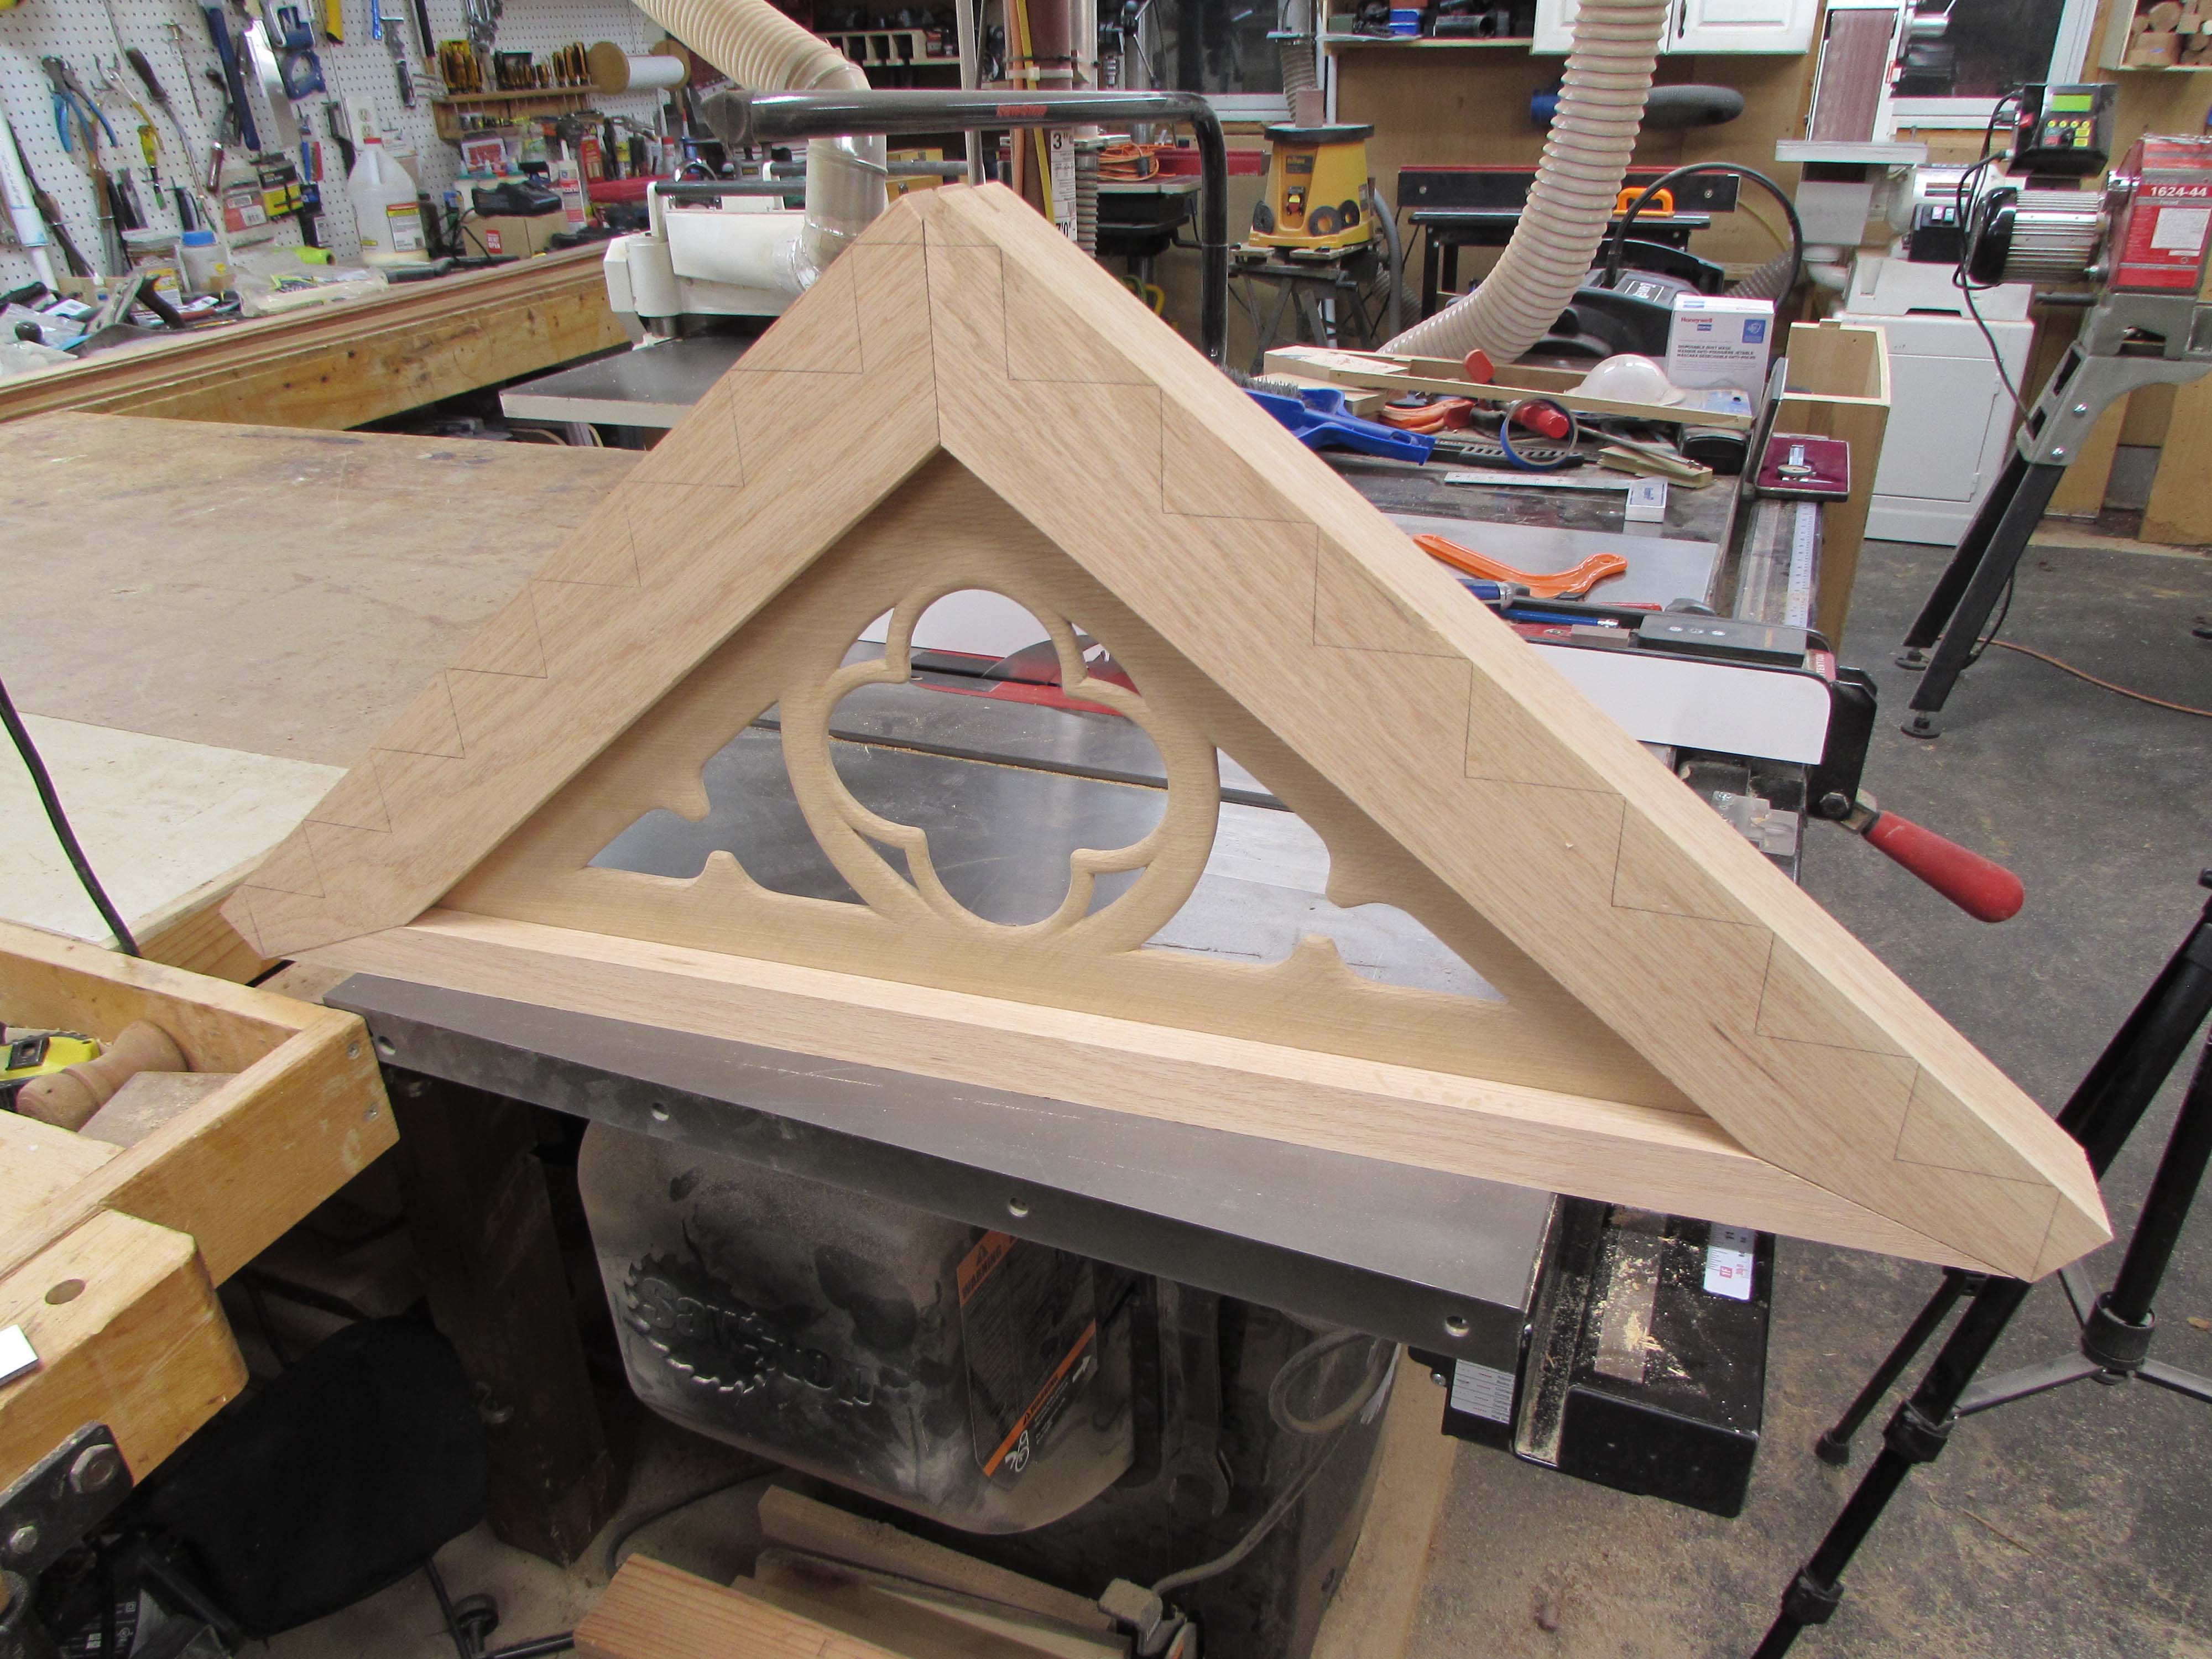
I assembled the frame on top of the centerpiece and traced the corners.

Then I offset the line 1/2″ larger and used a straight edge to connect those corner marks.


I cut the outlines on the band saw and sanded them flat.

The test fit looks good.

The center piece is meant to be red so I bought some red dye-stain. I did a test on an offcut to make sure it was the right color. It looks about right and it really pops out the grain of the oak nicely.
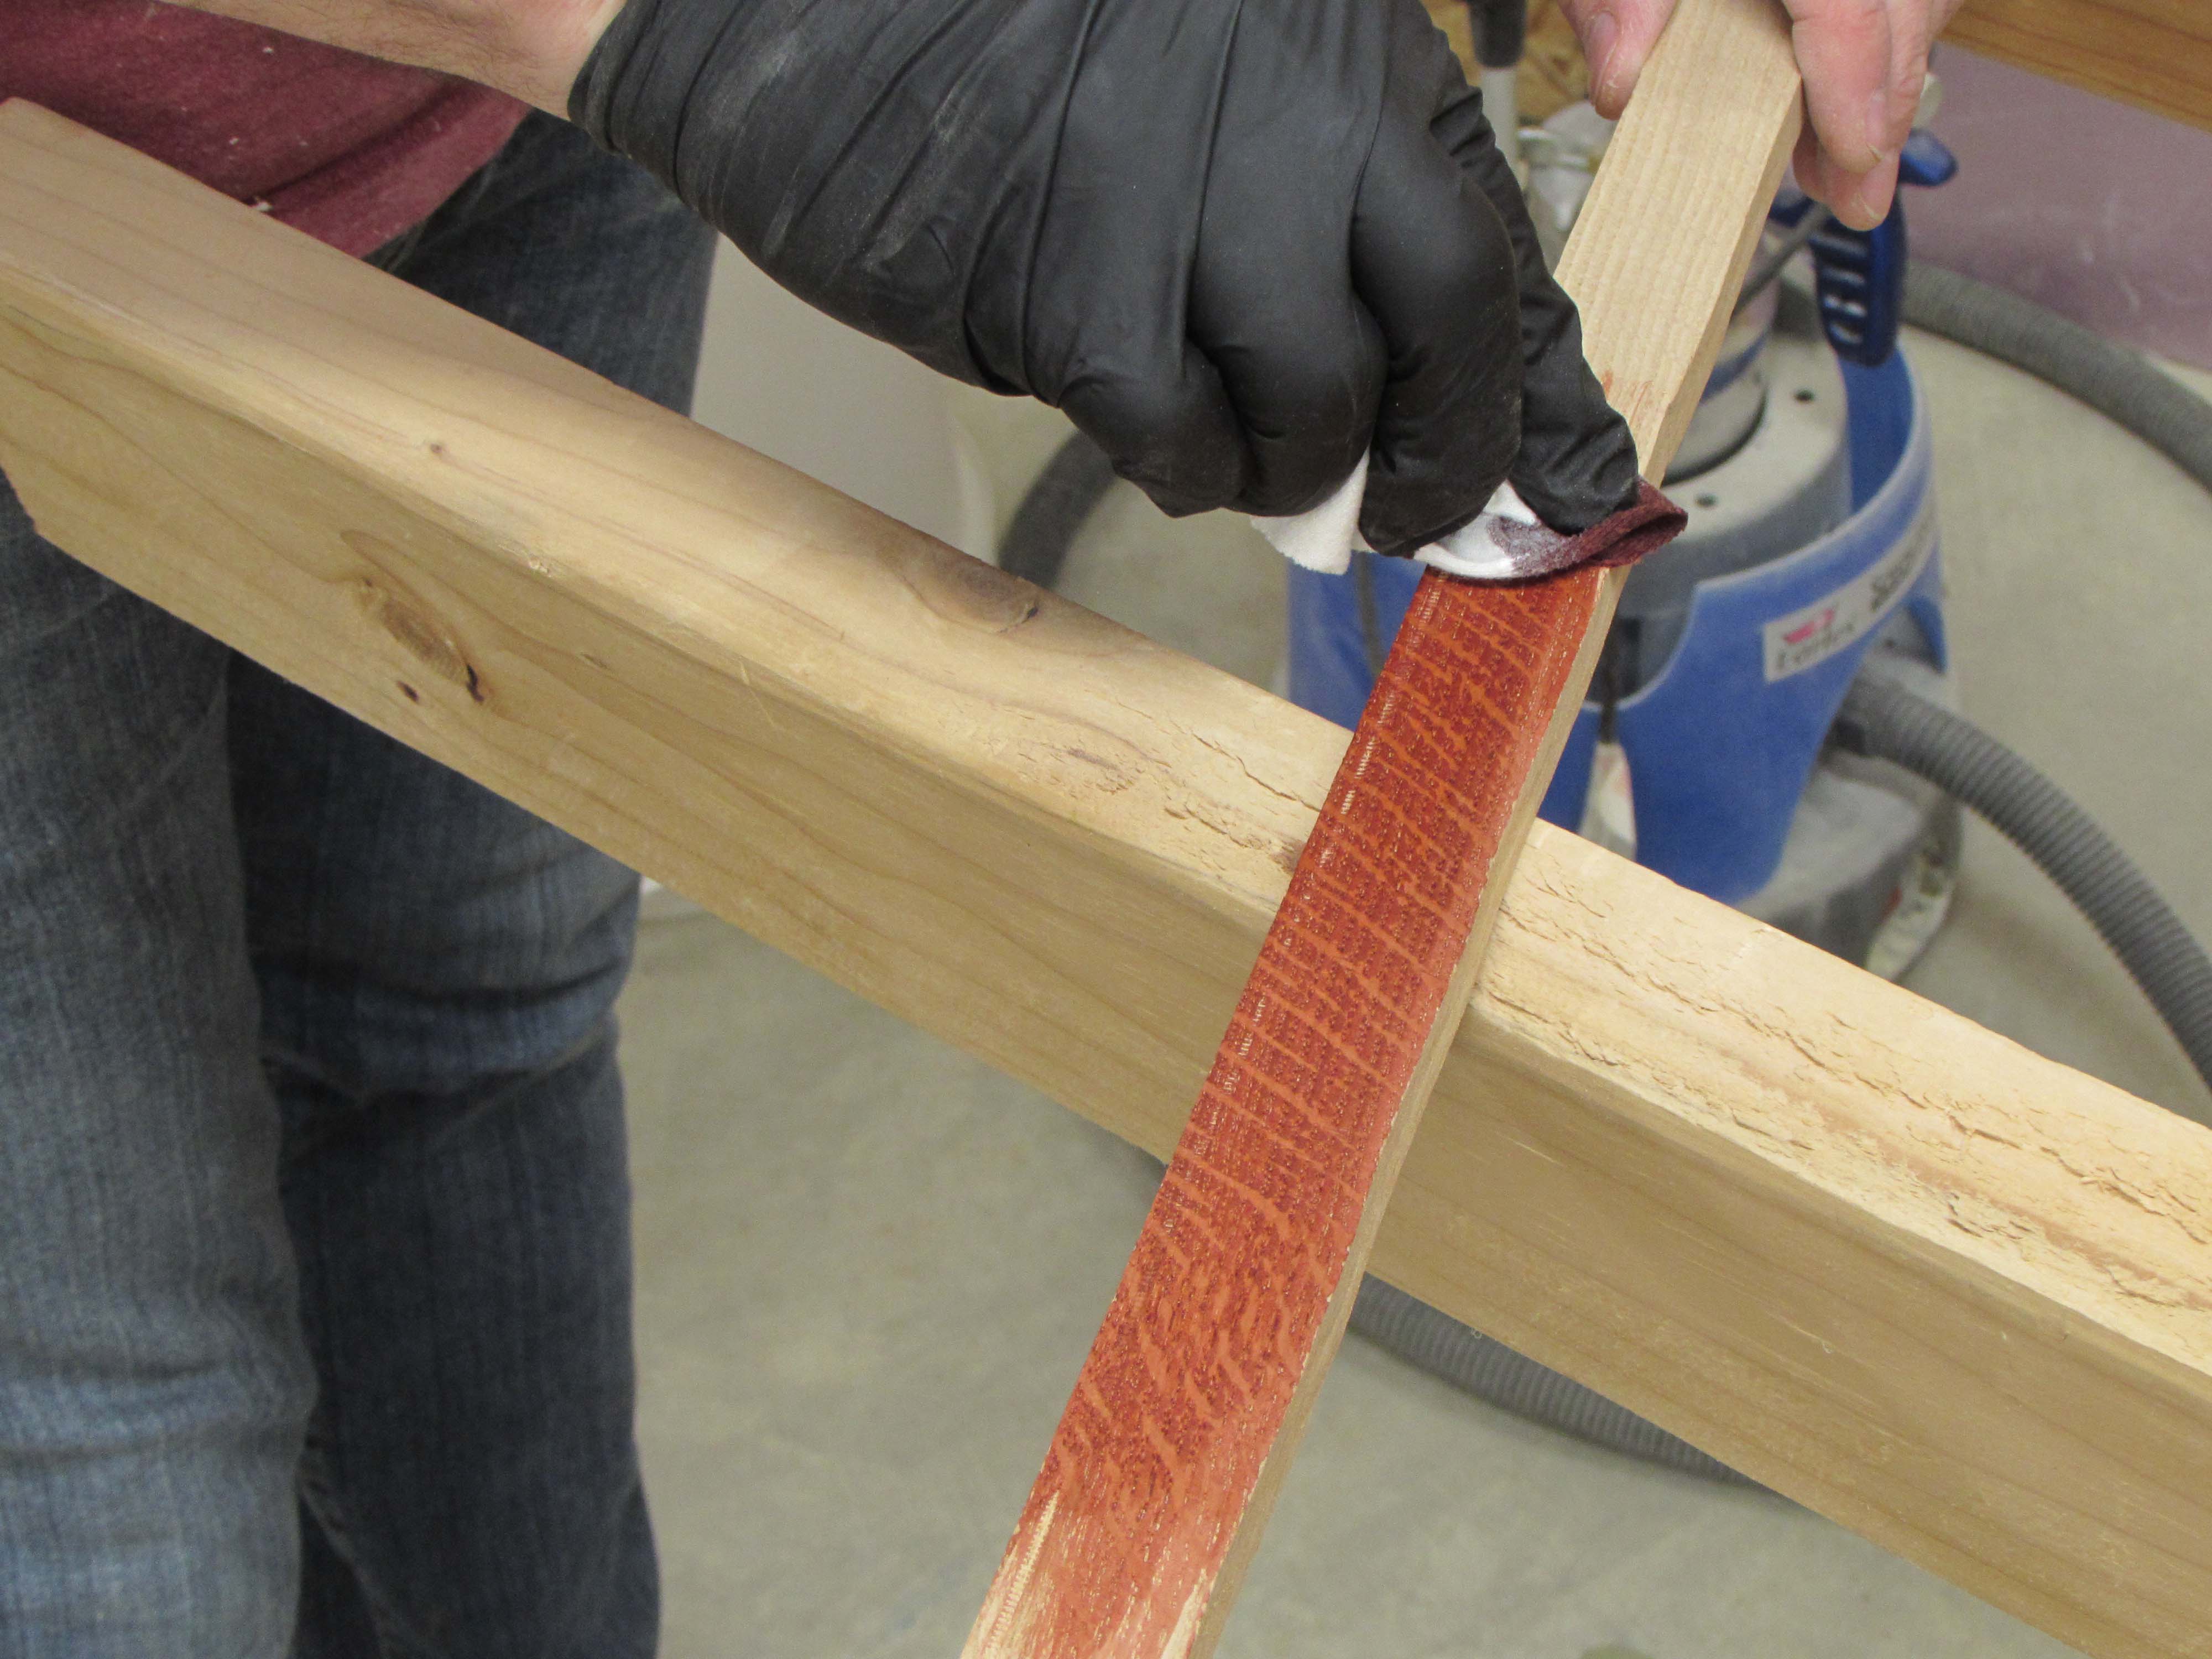
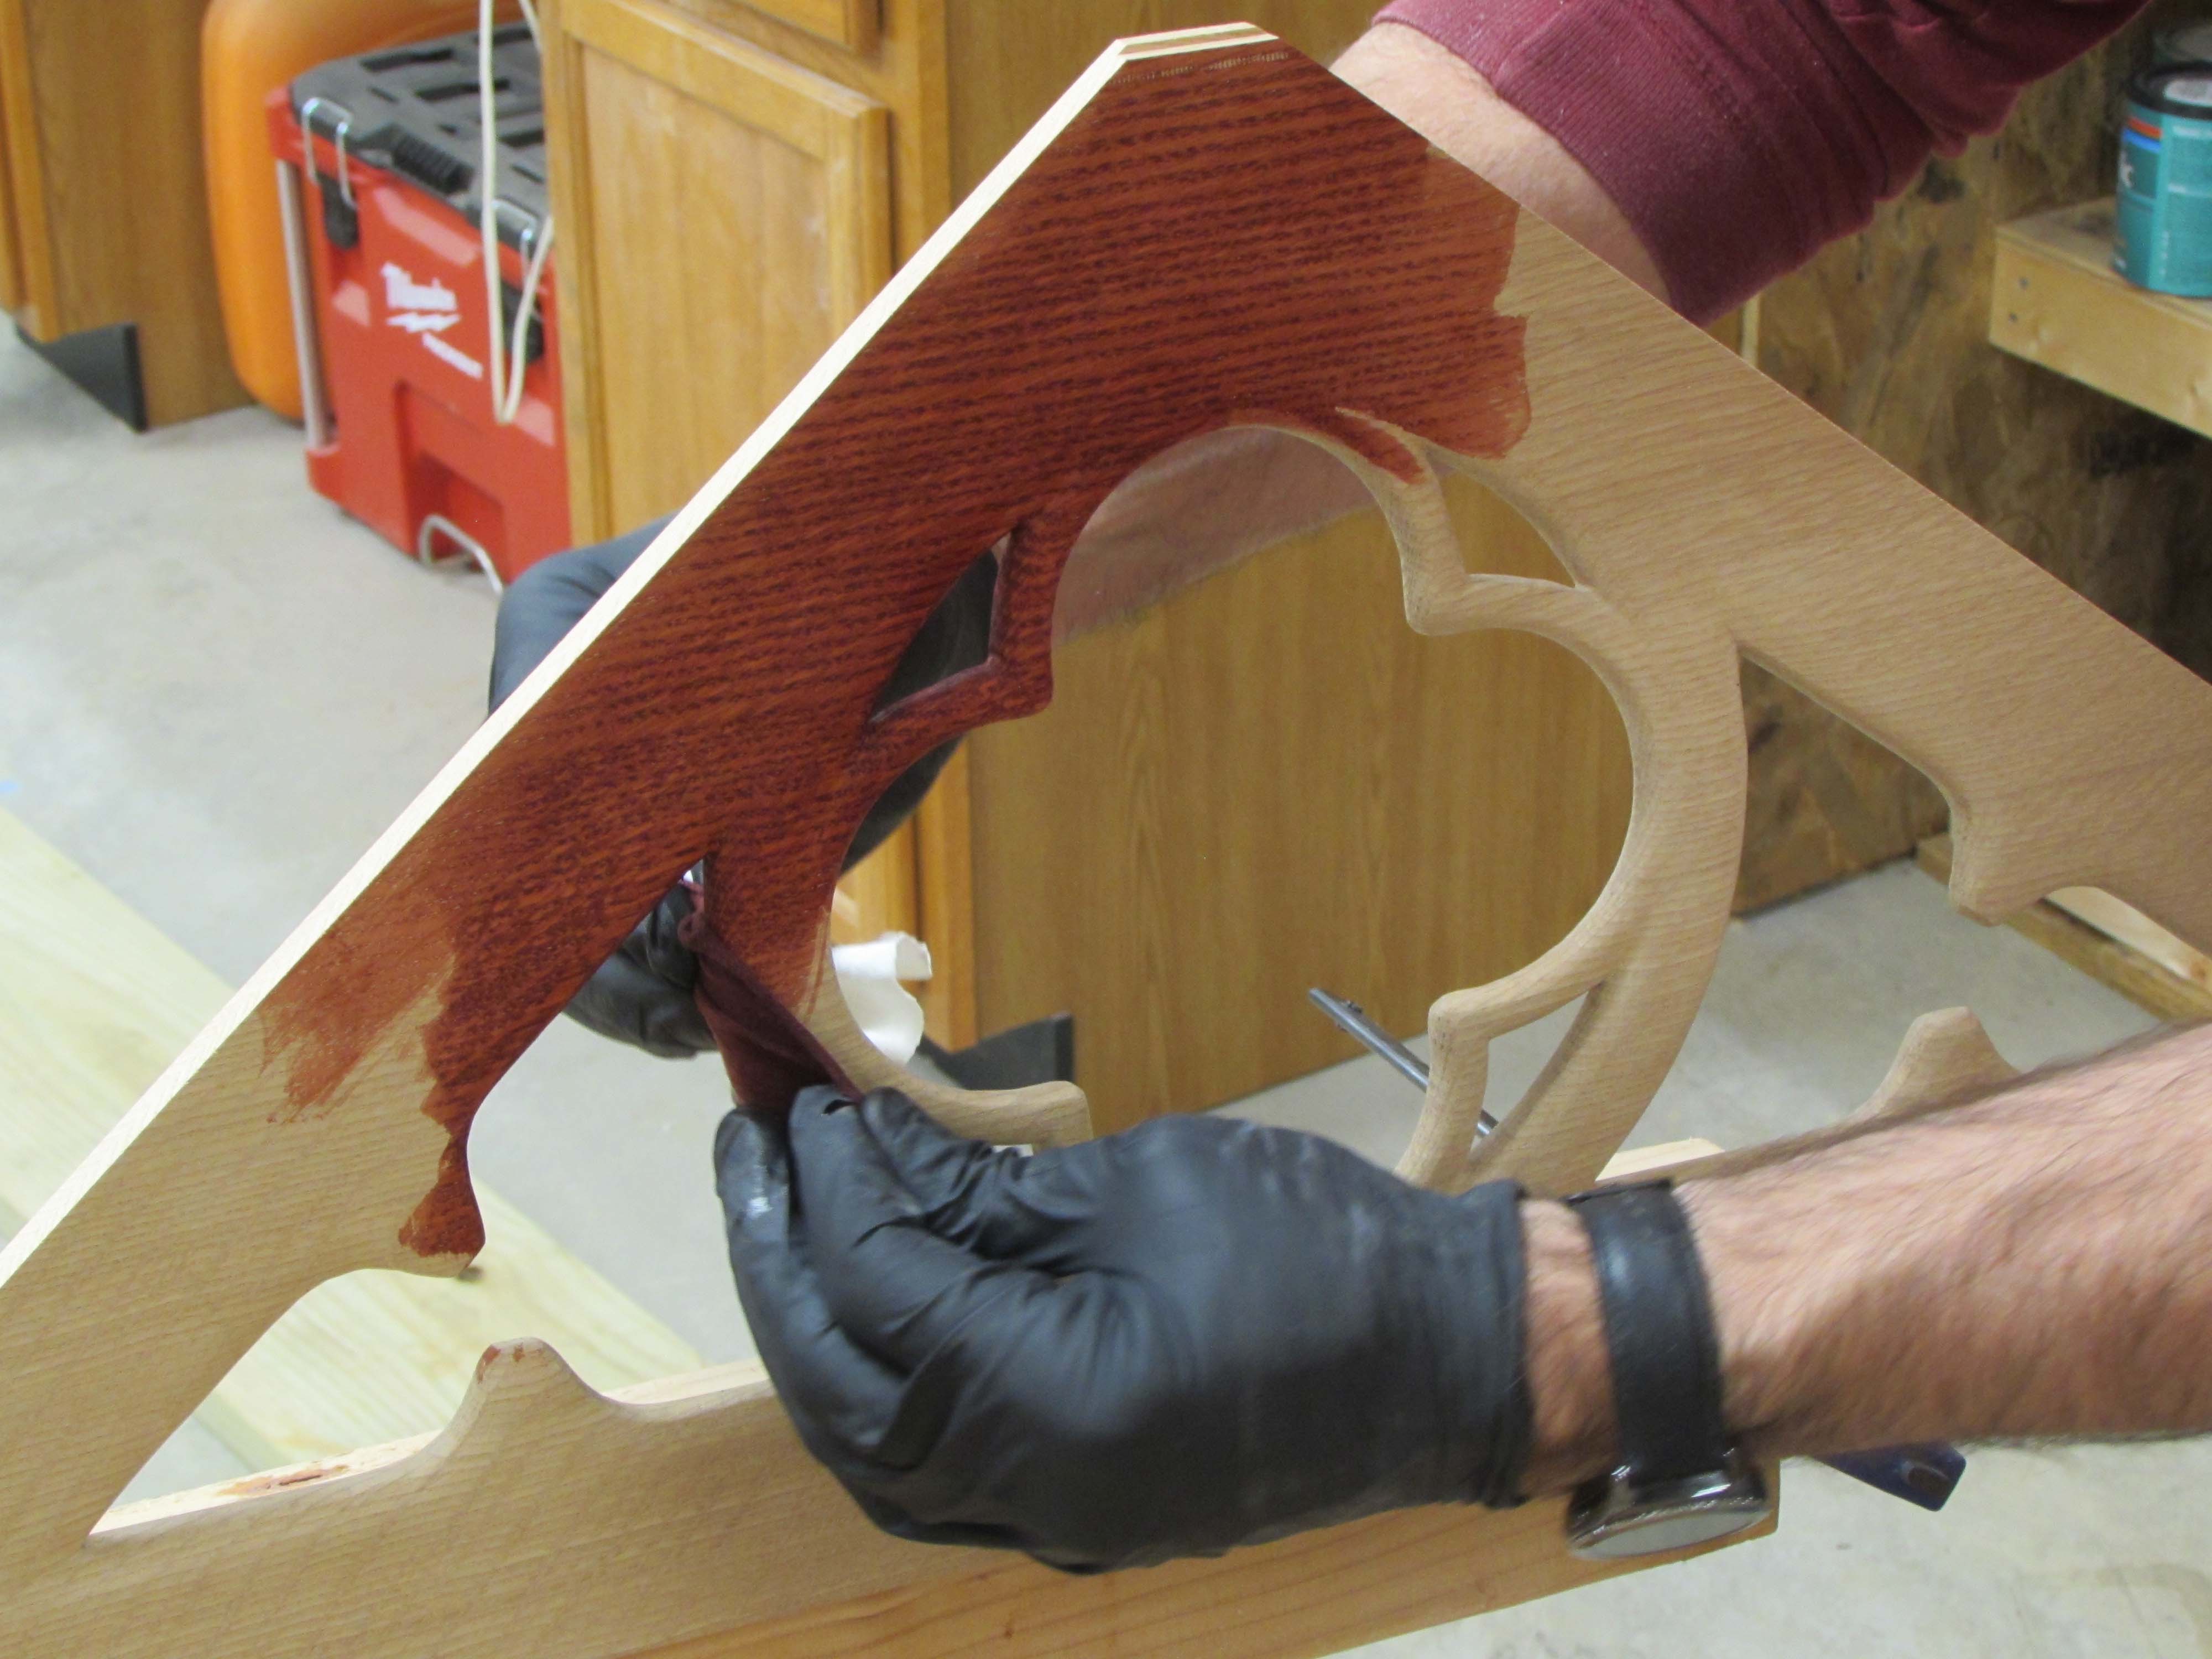
I took my time and applied stain to every surface and corner.

This thing really looks pretty.

