
Tenebrae Hearse for Holy Spirit church – part 1
I was approached by Holy Spirit Catholic Church with a request to make them a Tenebrae Hearse for their Tenebrae service on Good Friday. They have a beautiful church in Annandale, Virginia. They told me what they wanted and we walked around the sanctuary and discussed what elements we could put into the hearse to make it blend in with the existing sanctuary.


They have some very nice marble floors and the furniture is all red oak.
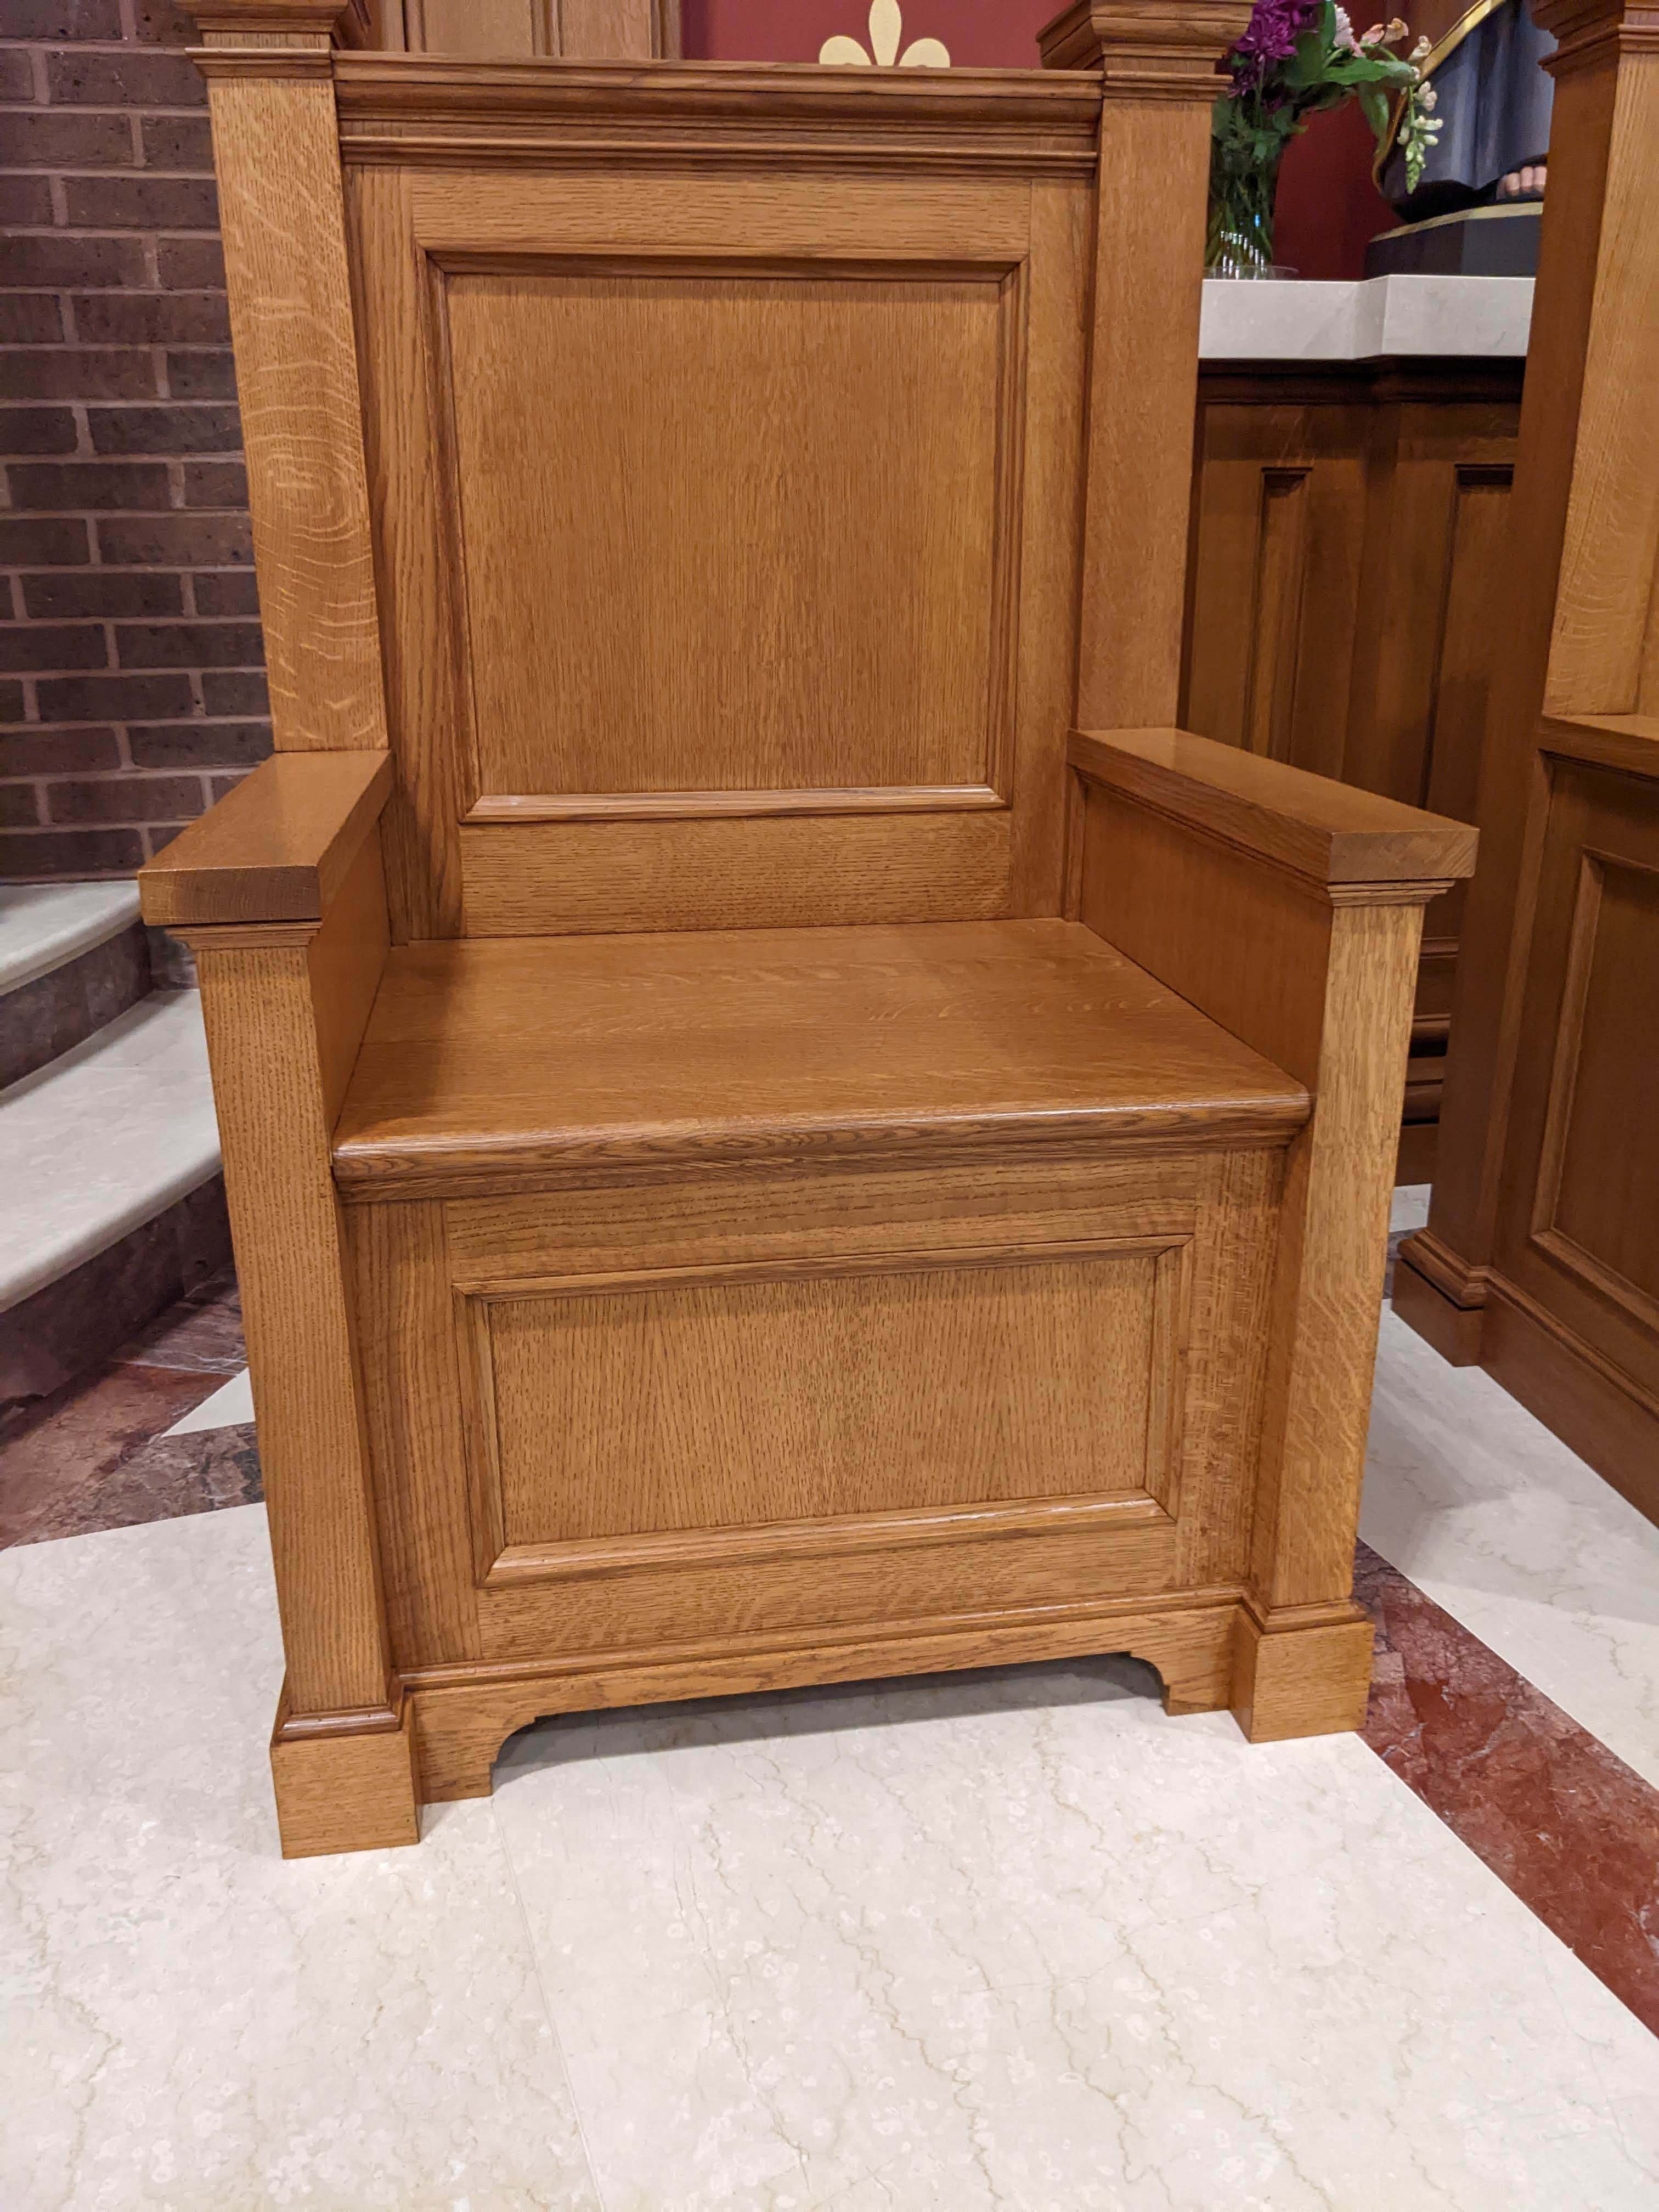
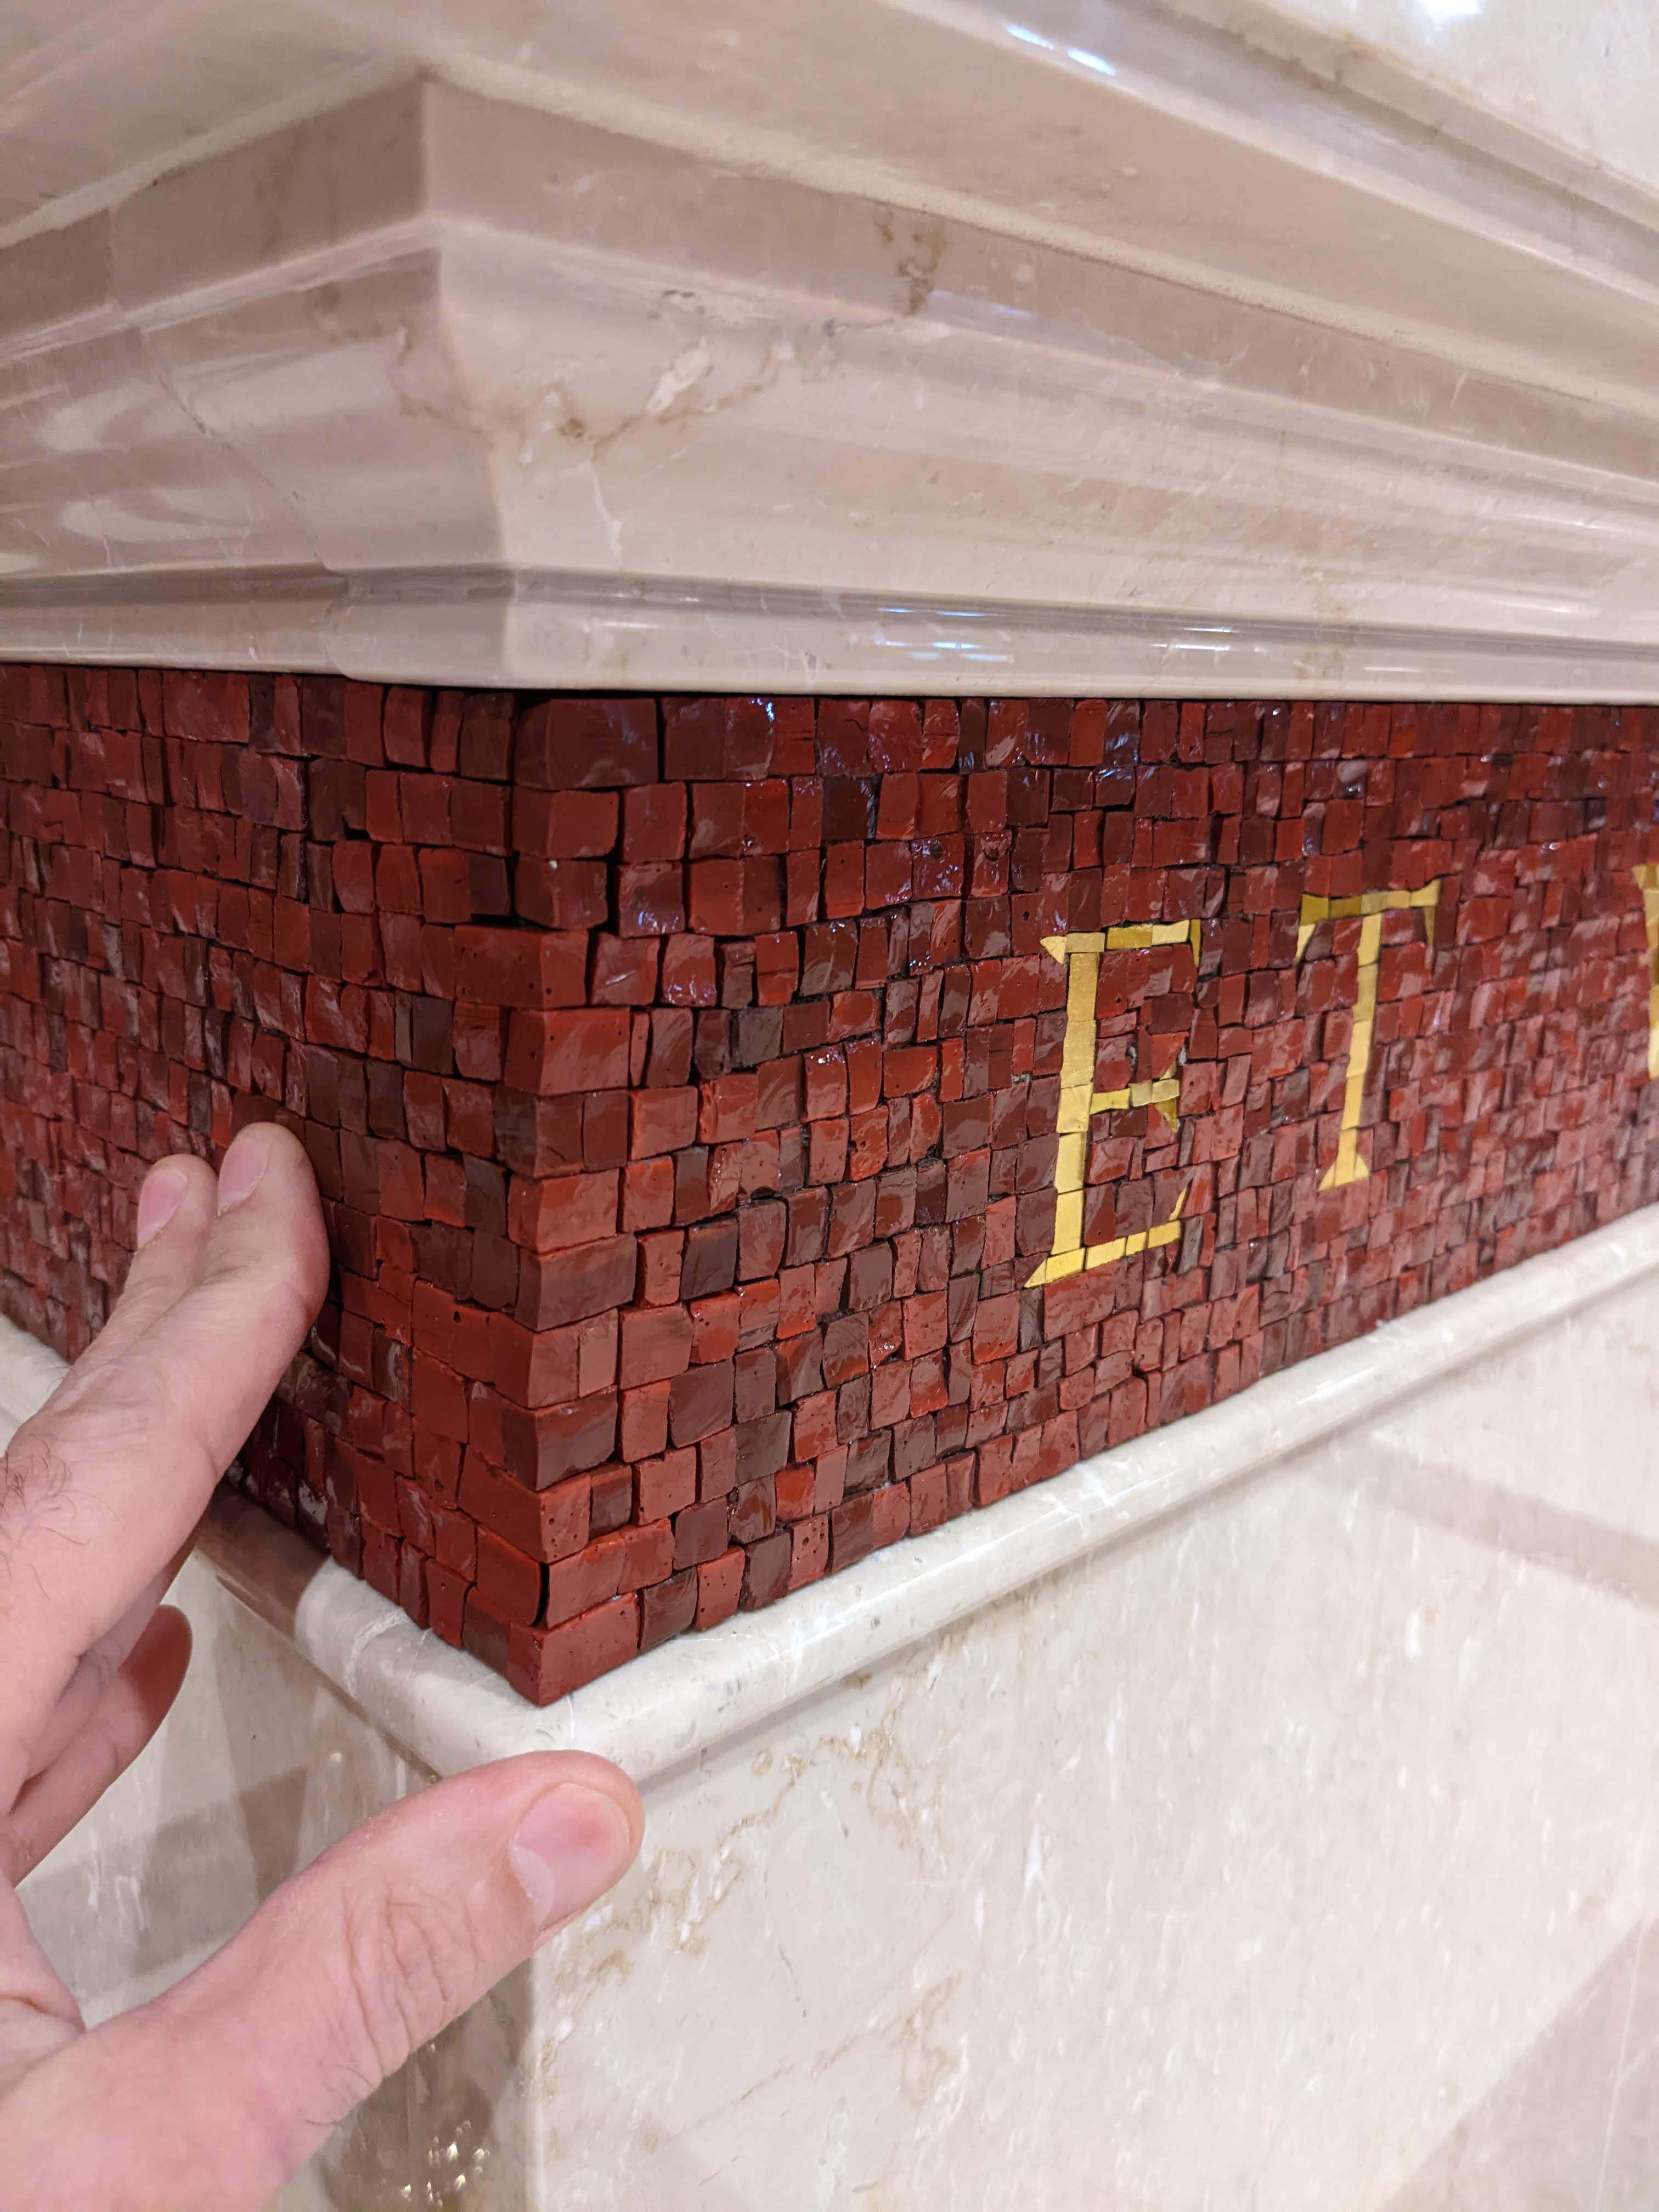
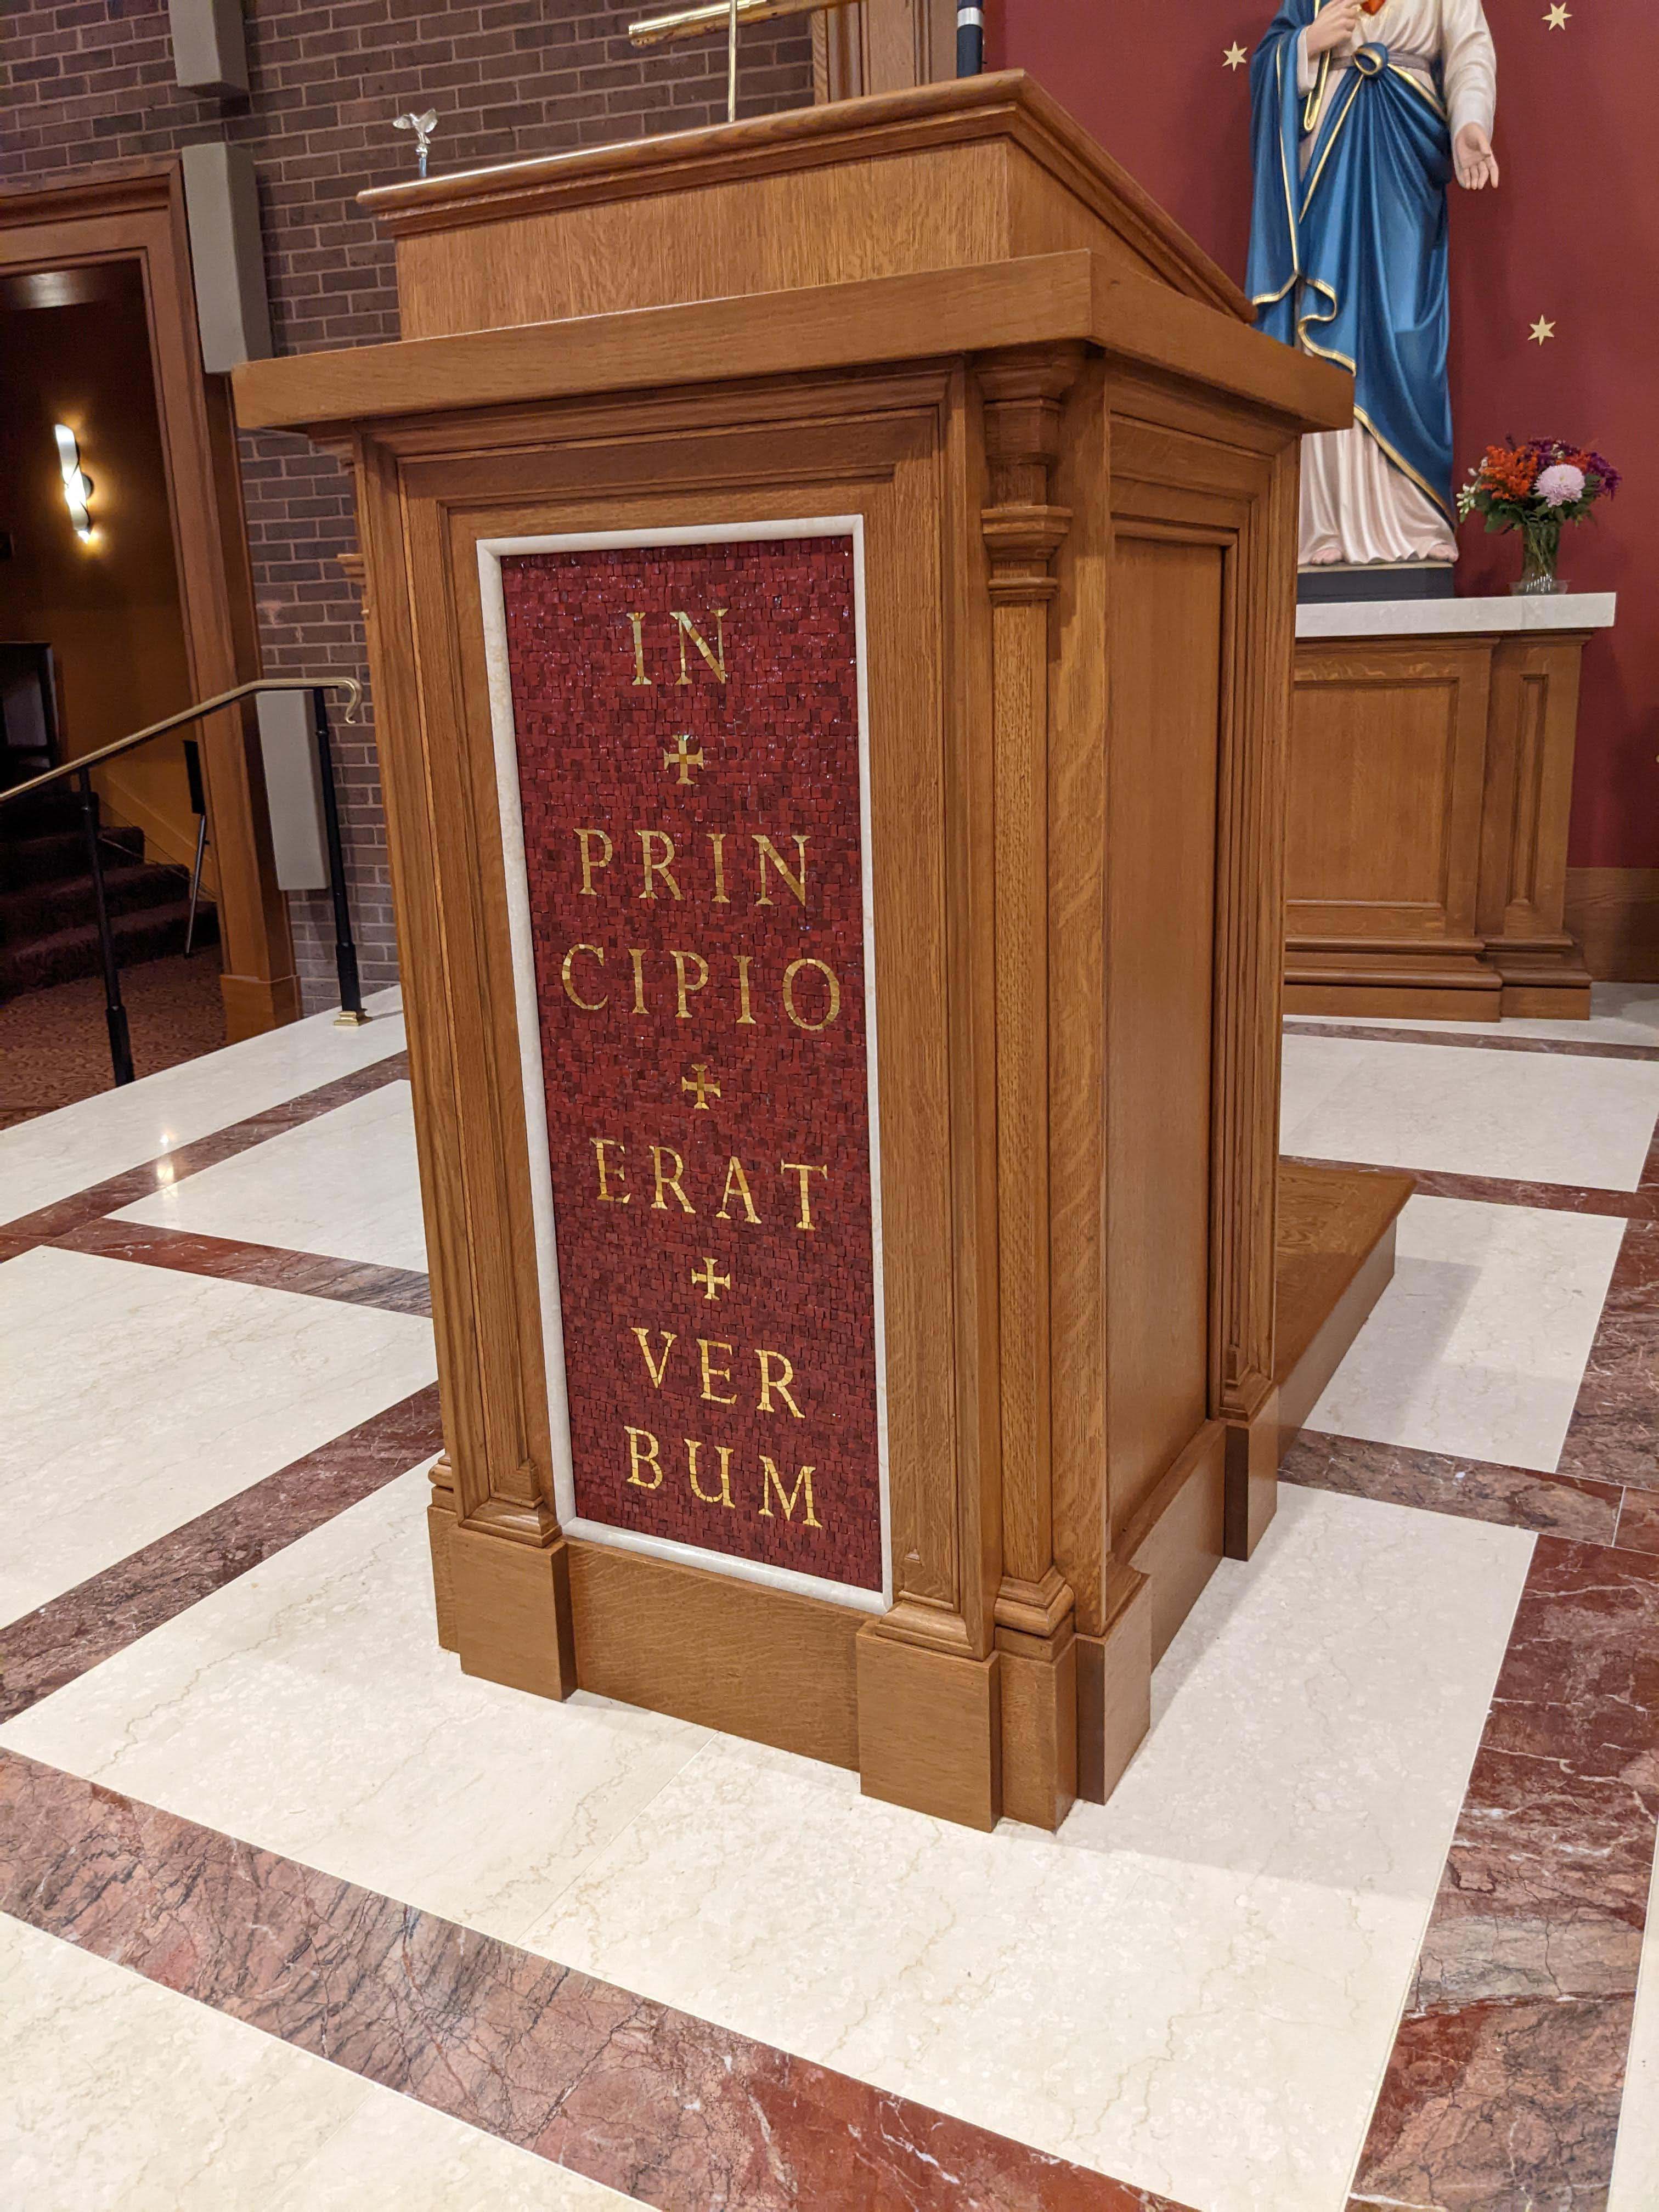
The altar is white marble with a mosaic of red with gold lettering. The ambo matches the altar with the red mosaic surrounded by a subtle marble trim and stained red oak.
I started with an example they found and created a design that mimics the sharp edges of the oak and has a dyed red oak center piece surrounded by holly trim to compliment the white marble.

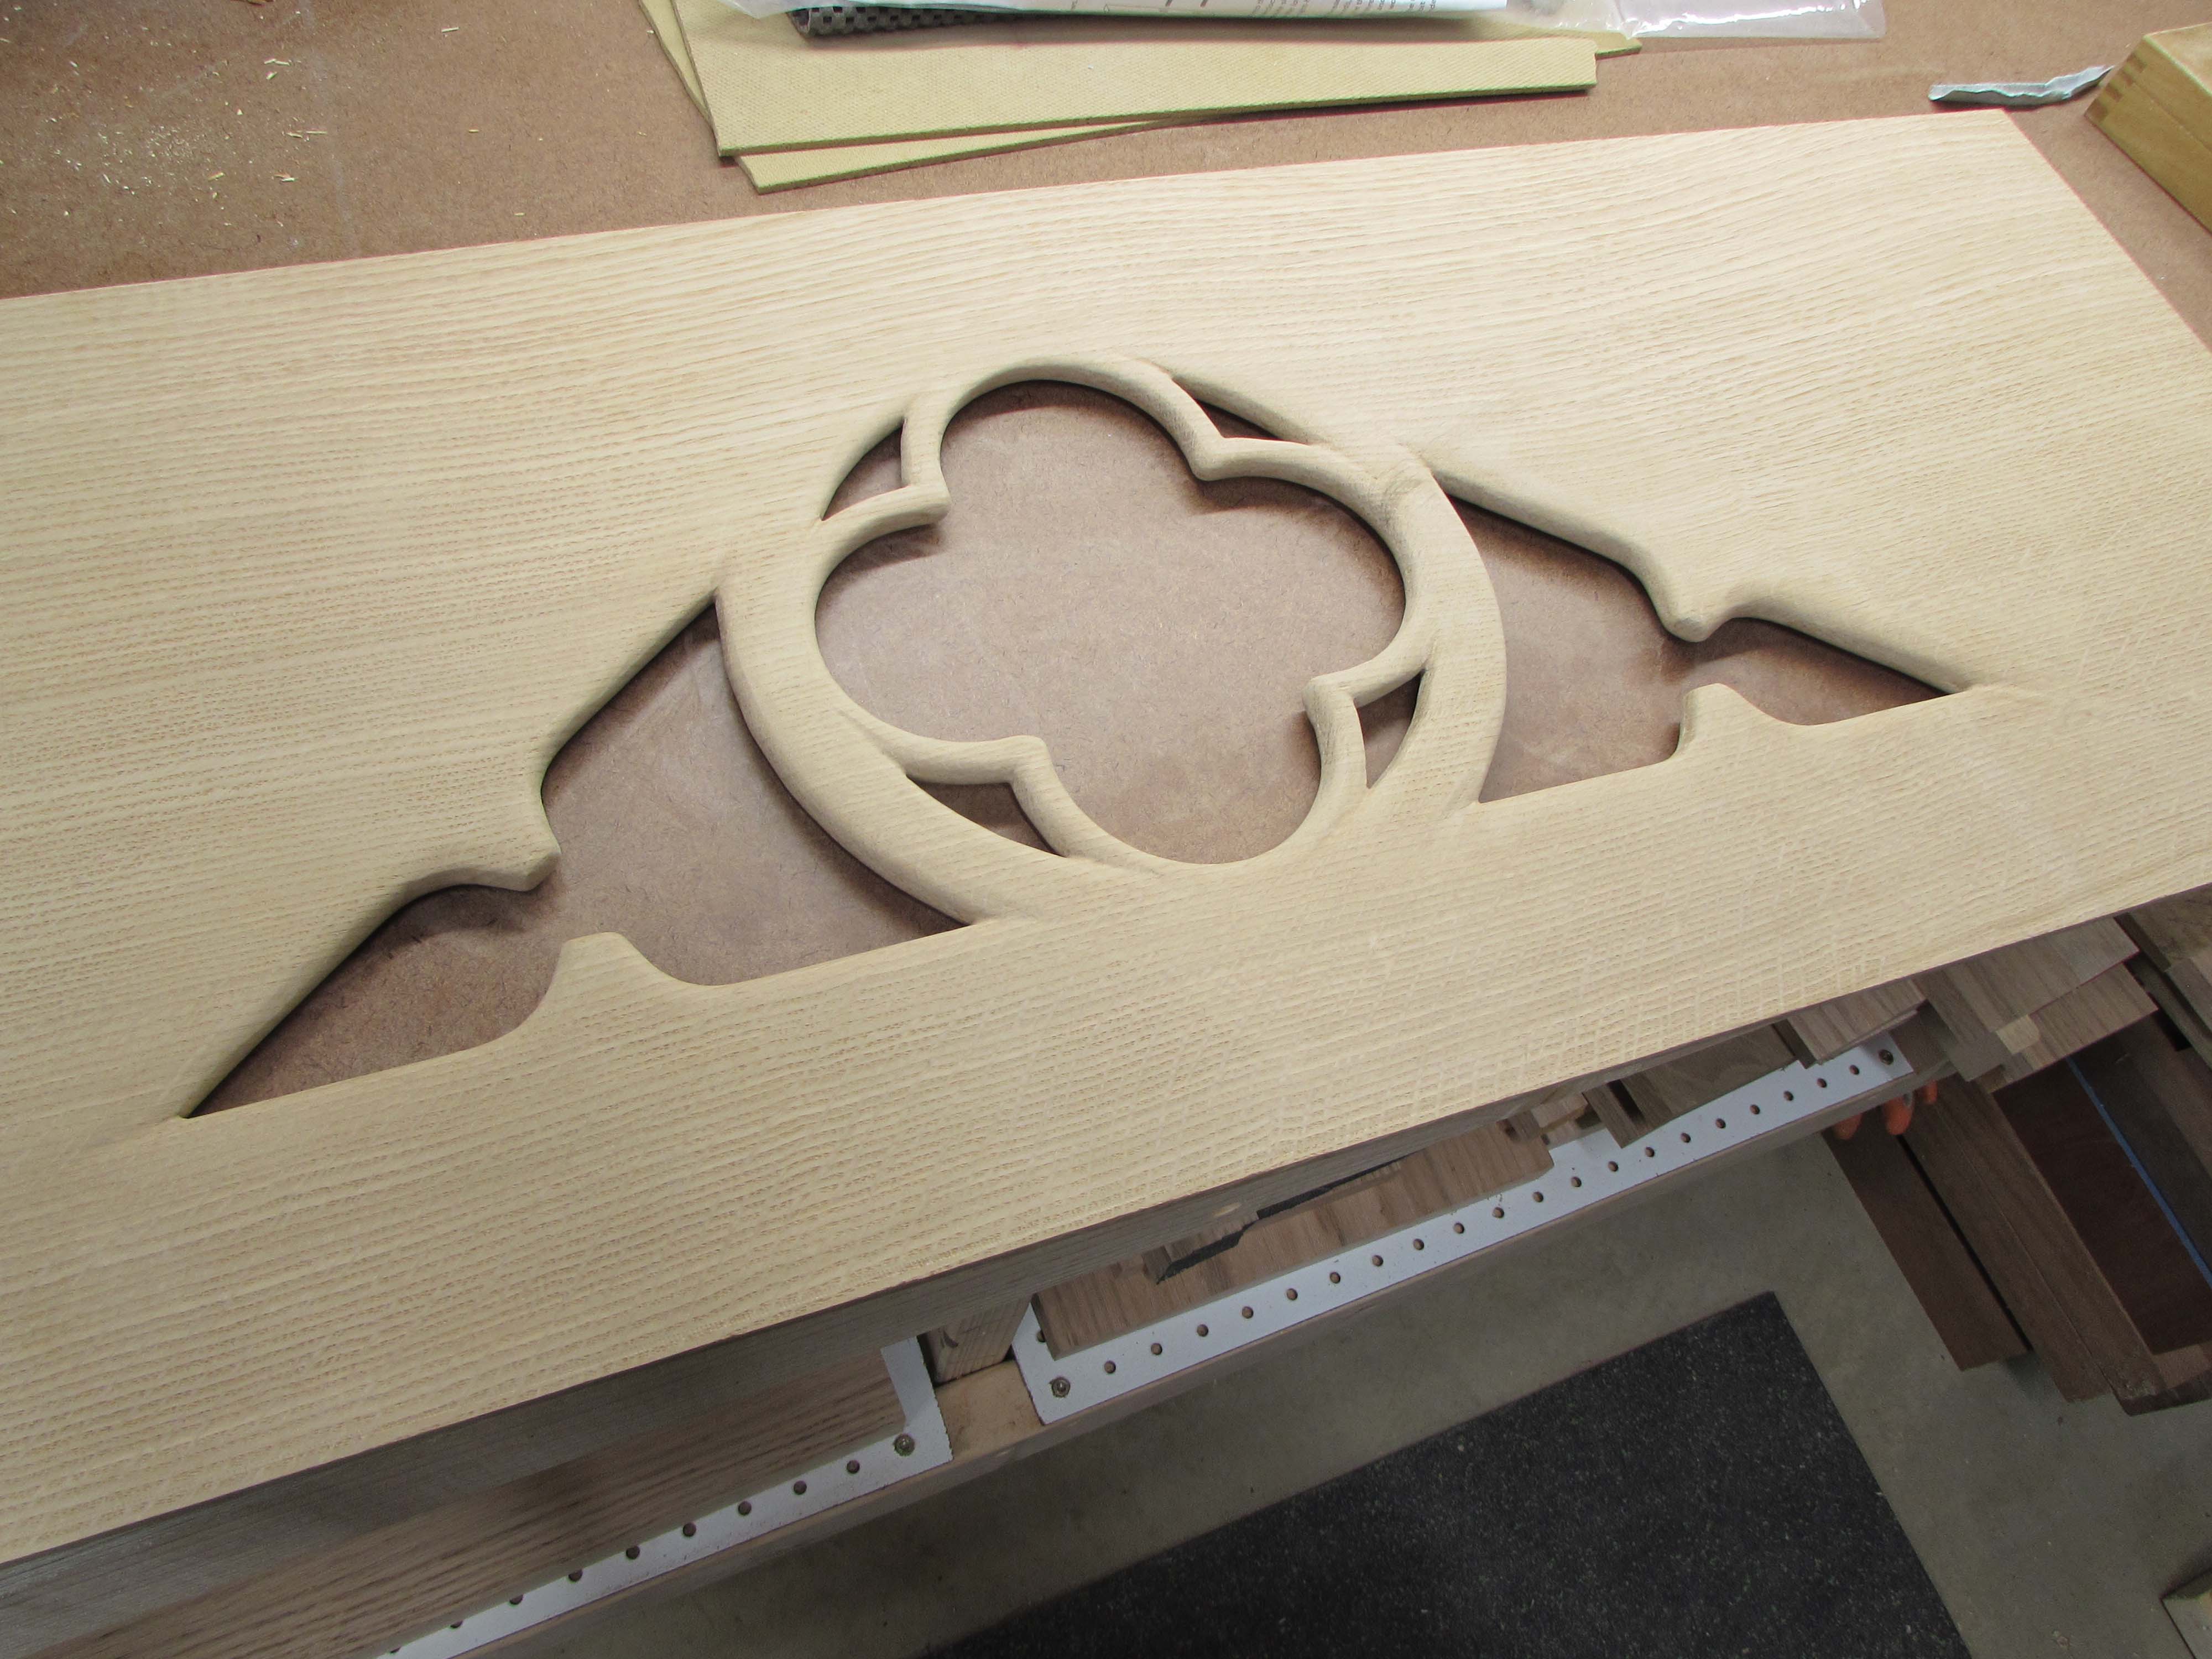
These are the preliminary plans that I came up with: HSC Tenebrae hearse.pdf. It will only be used one day a year so they wanted it to be able to be broken down into smaller, easy to store, components. I am going to start with the most interesting piece which is the carved center of the headpiece.

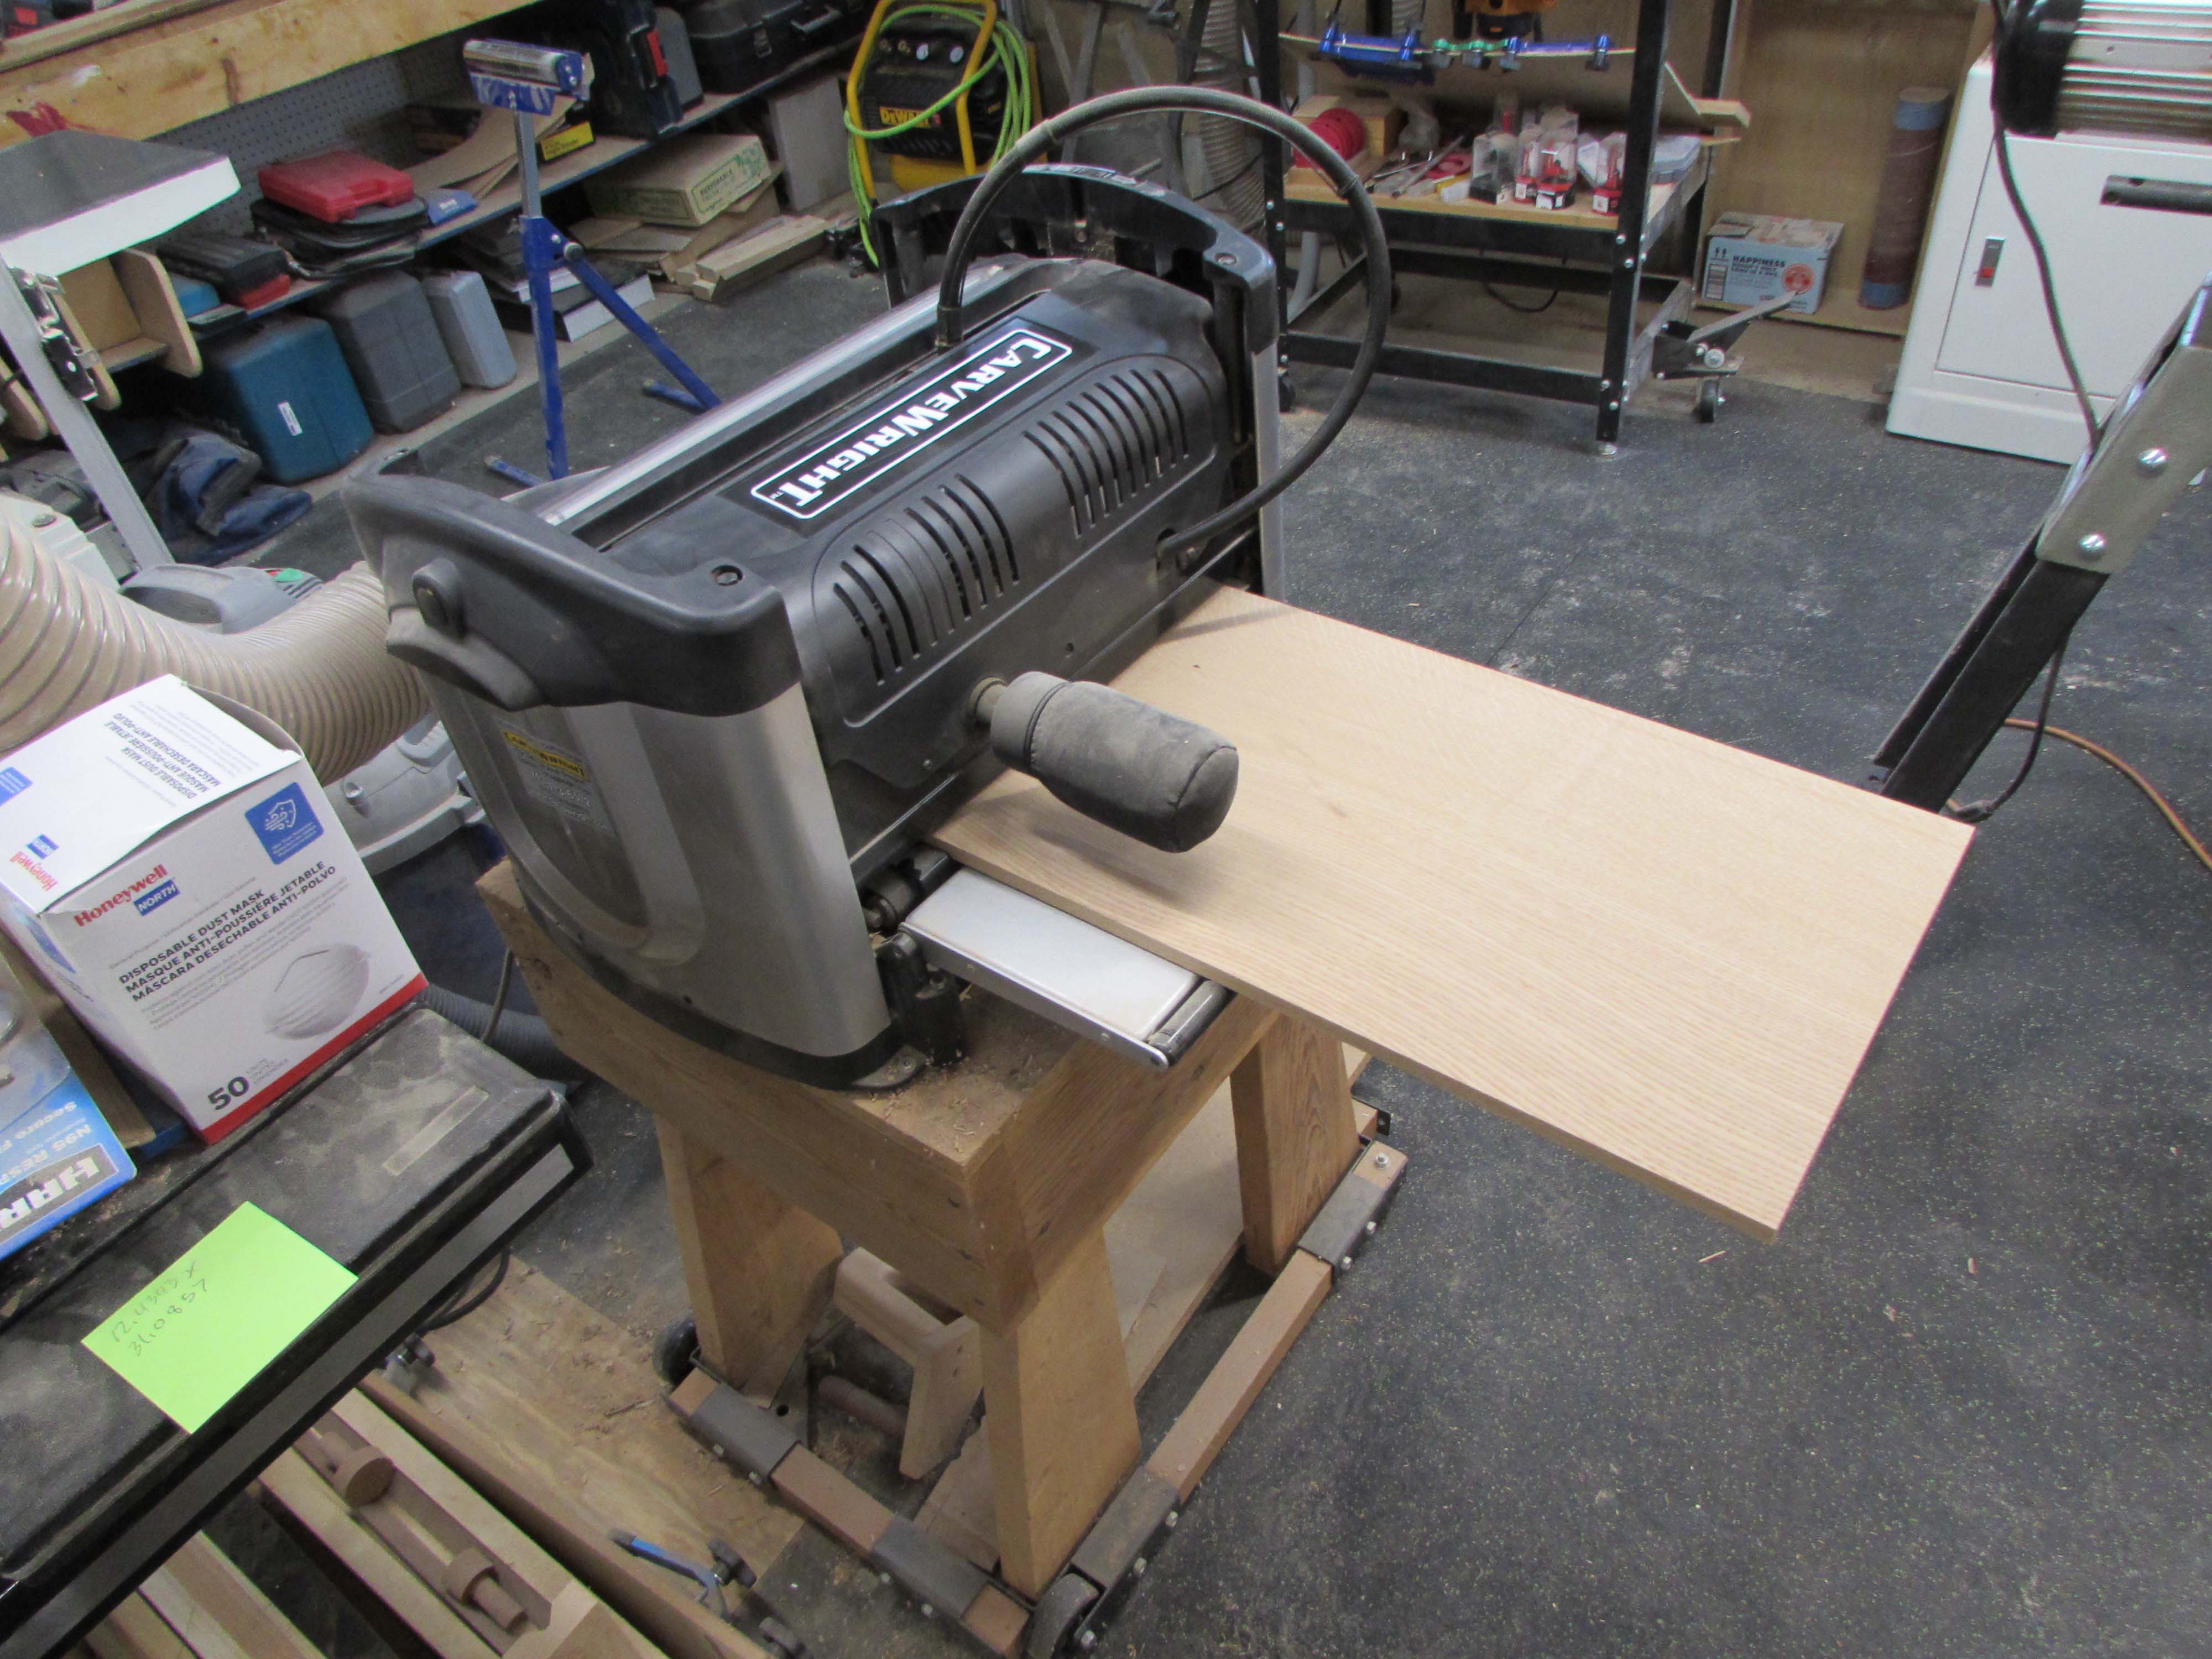
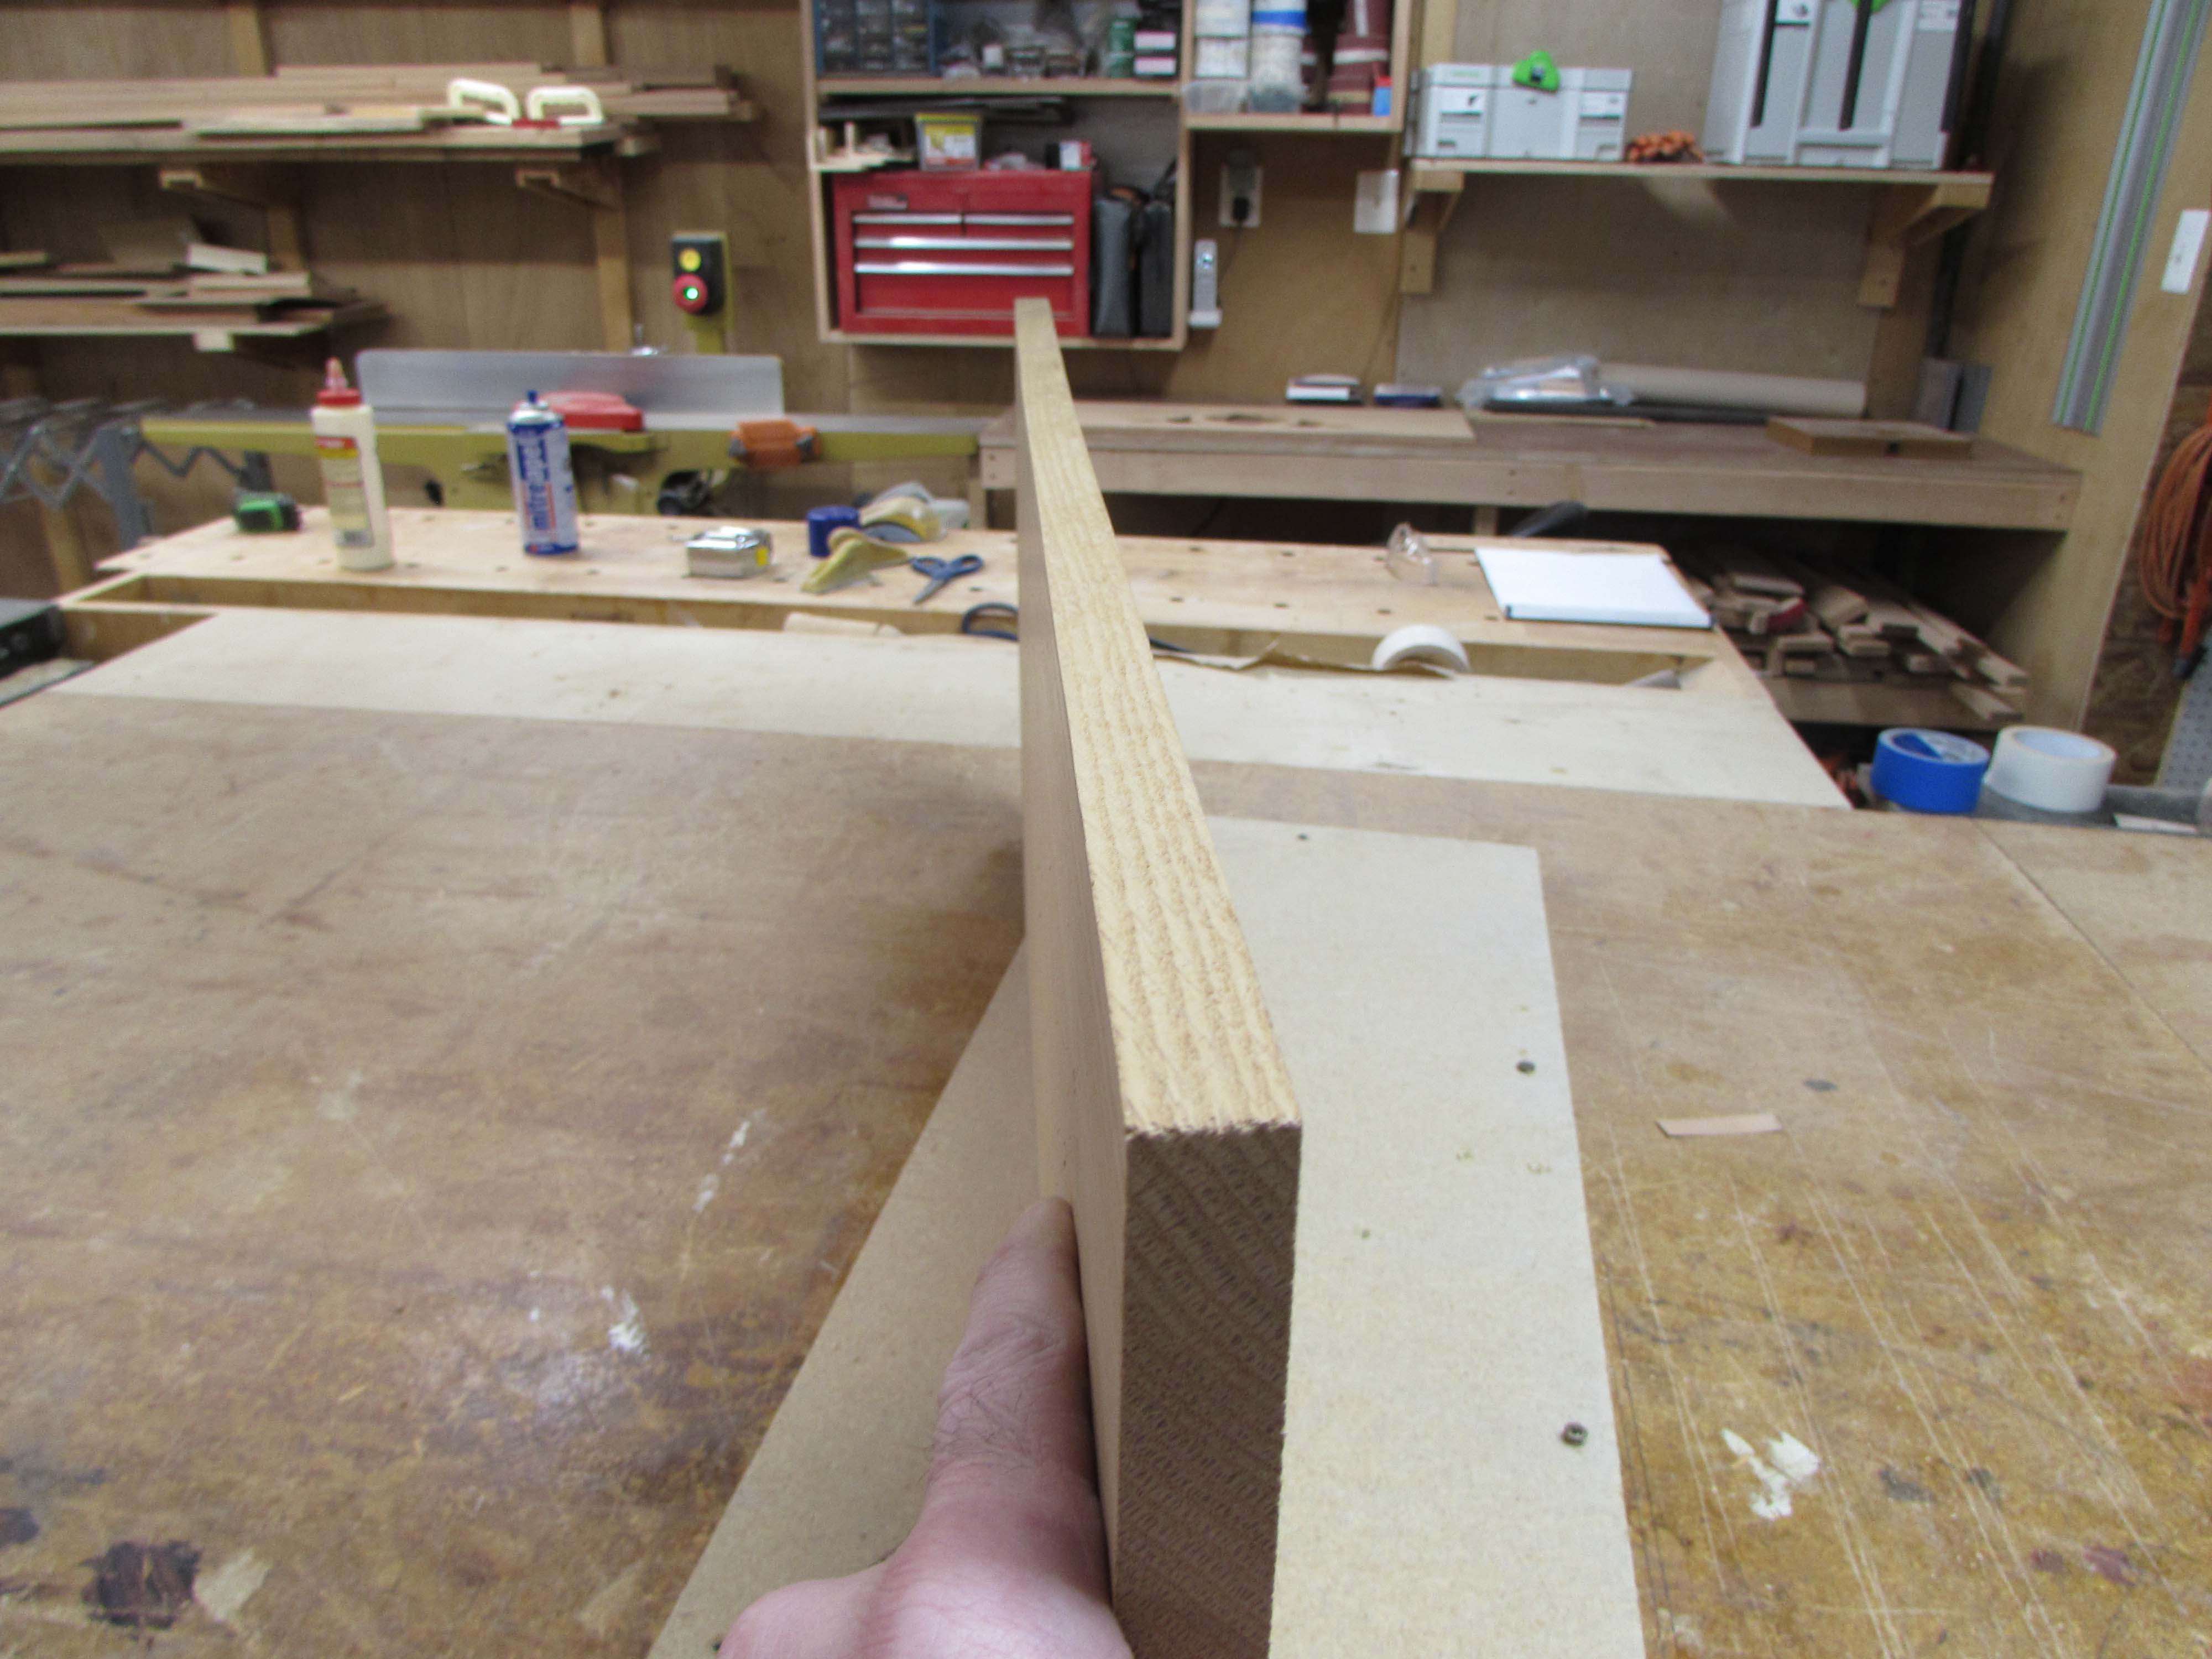
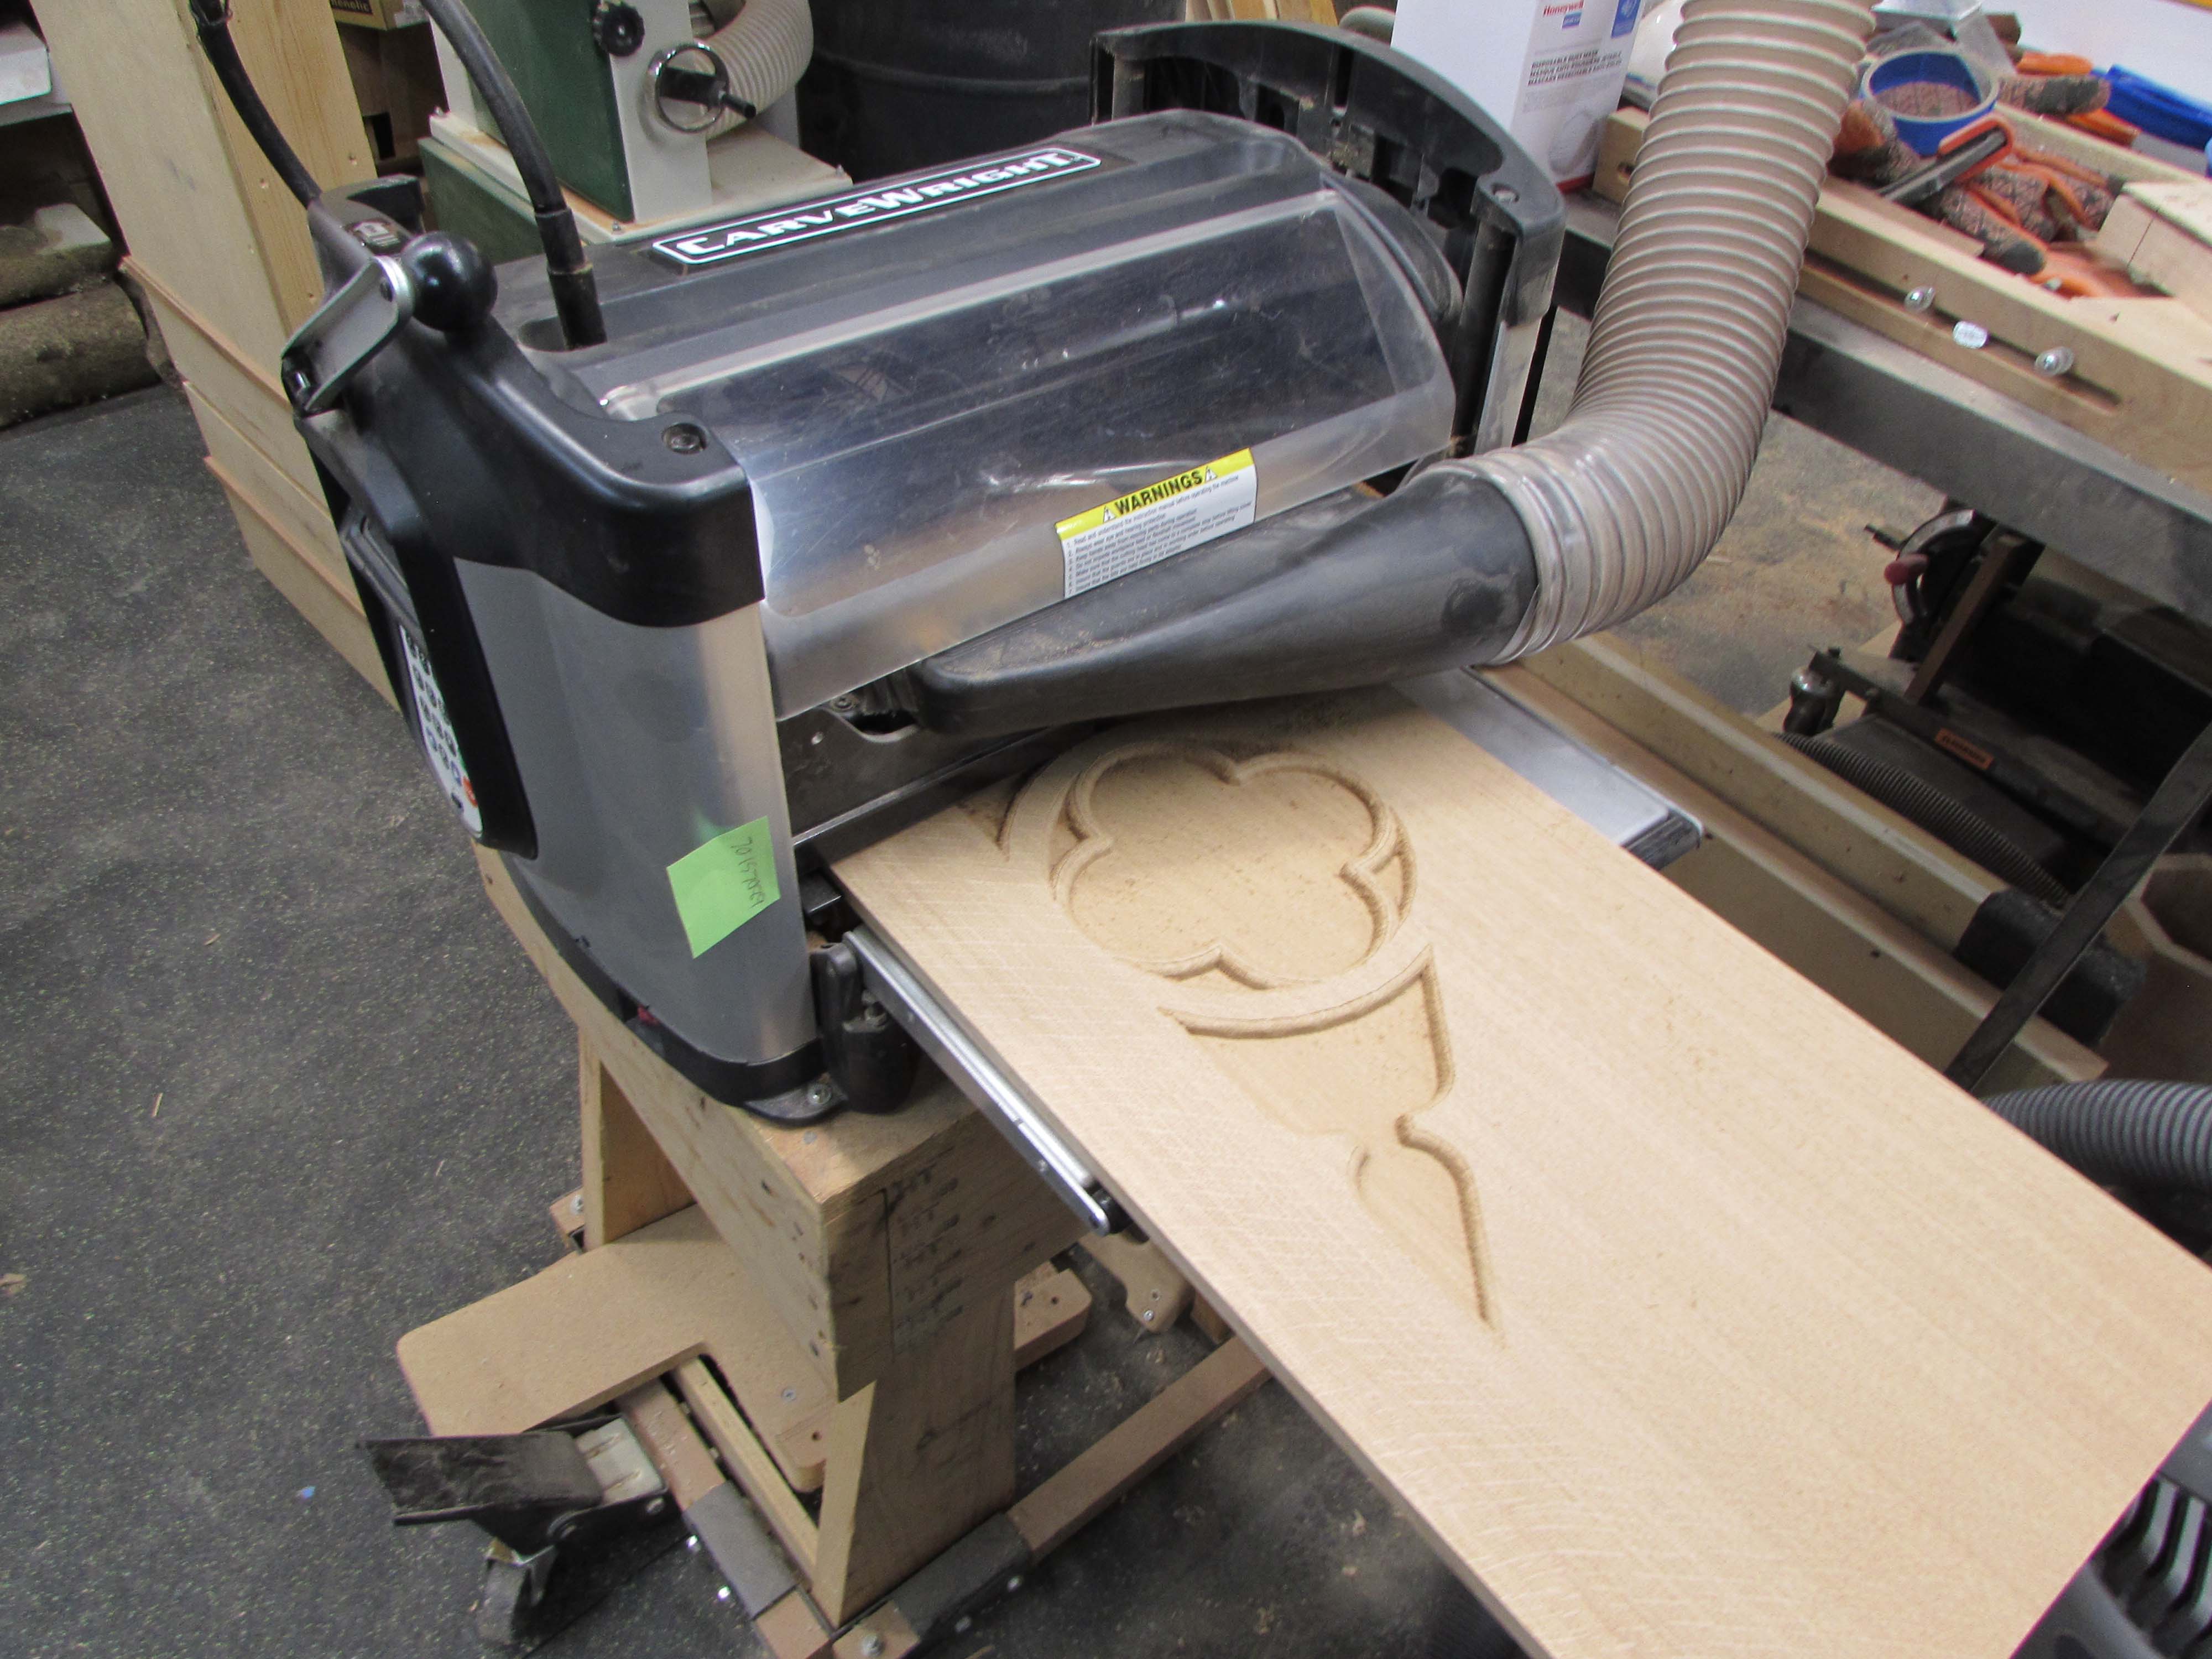
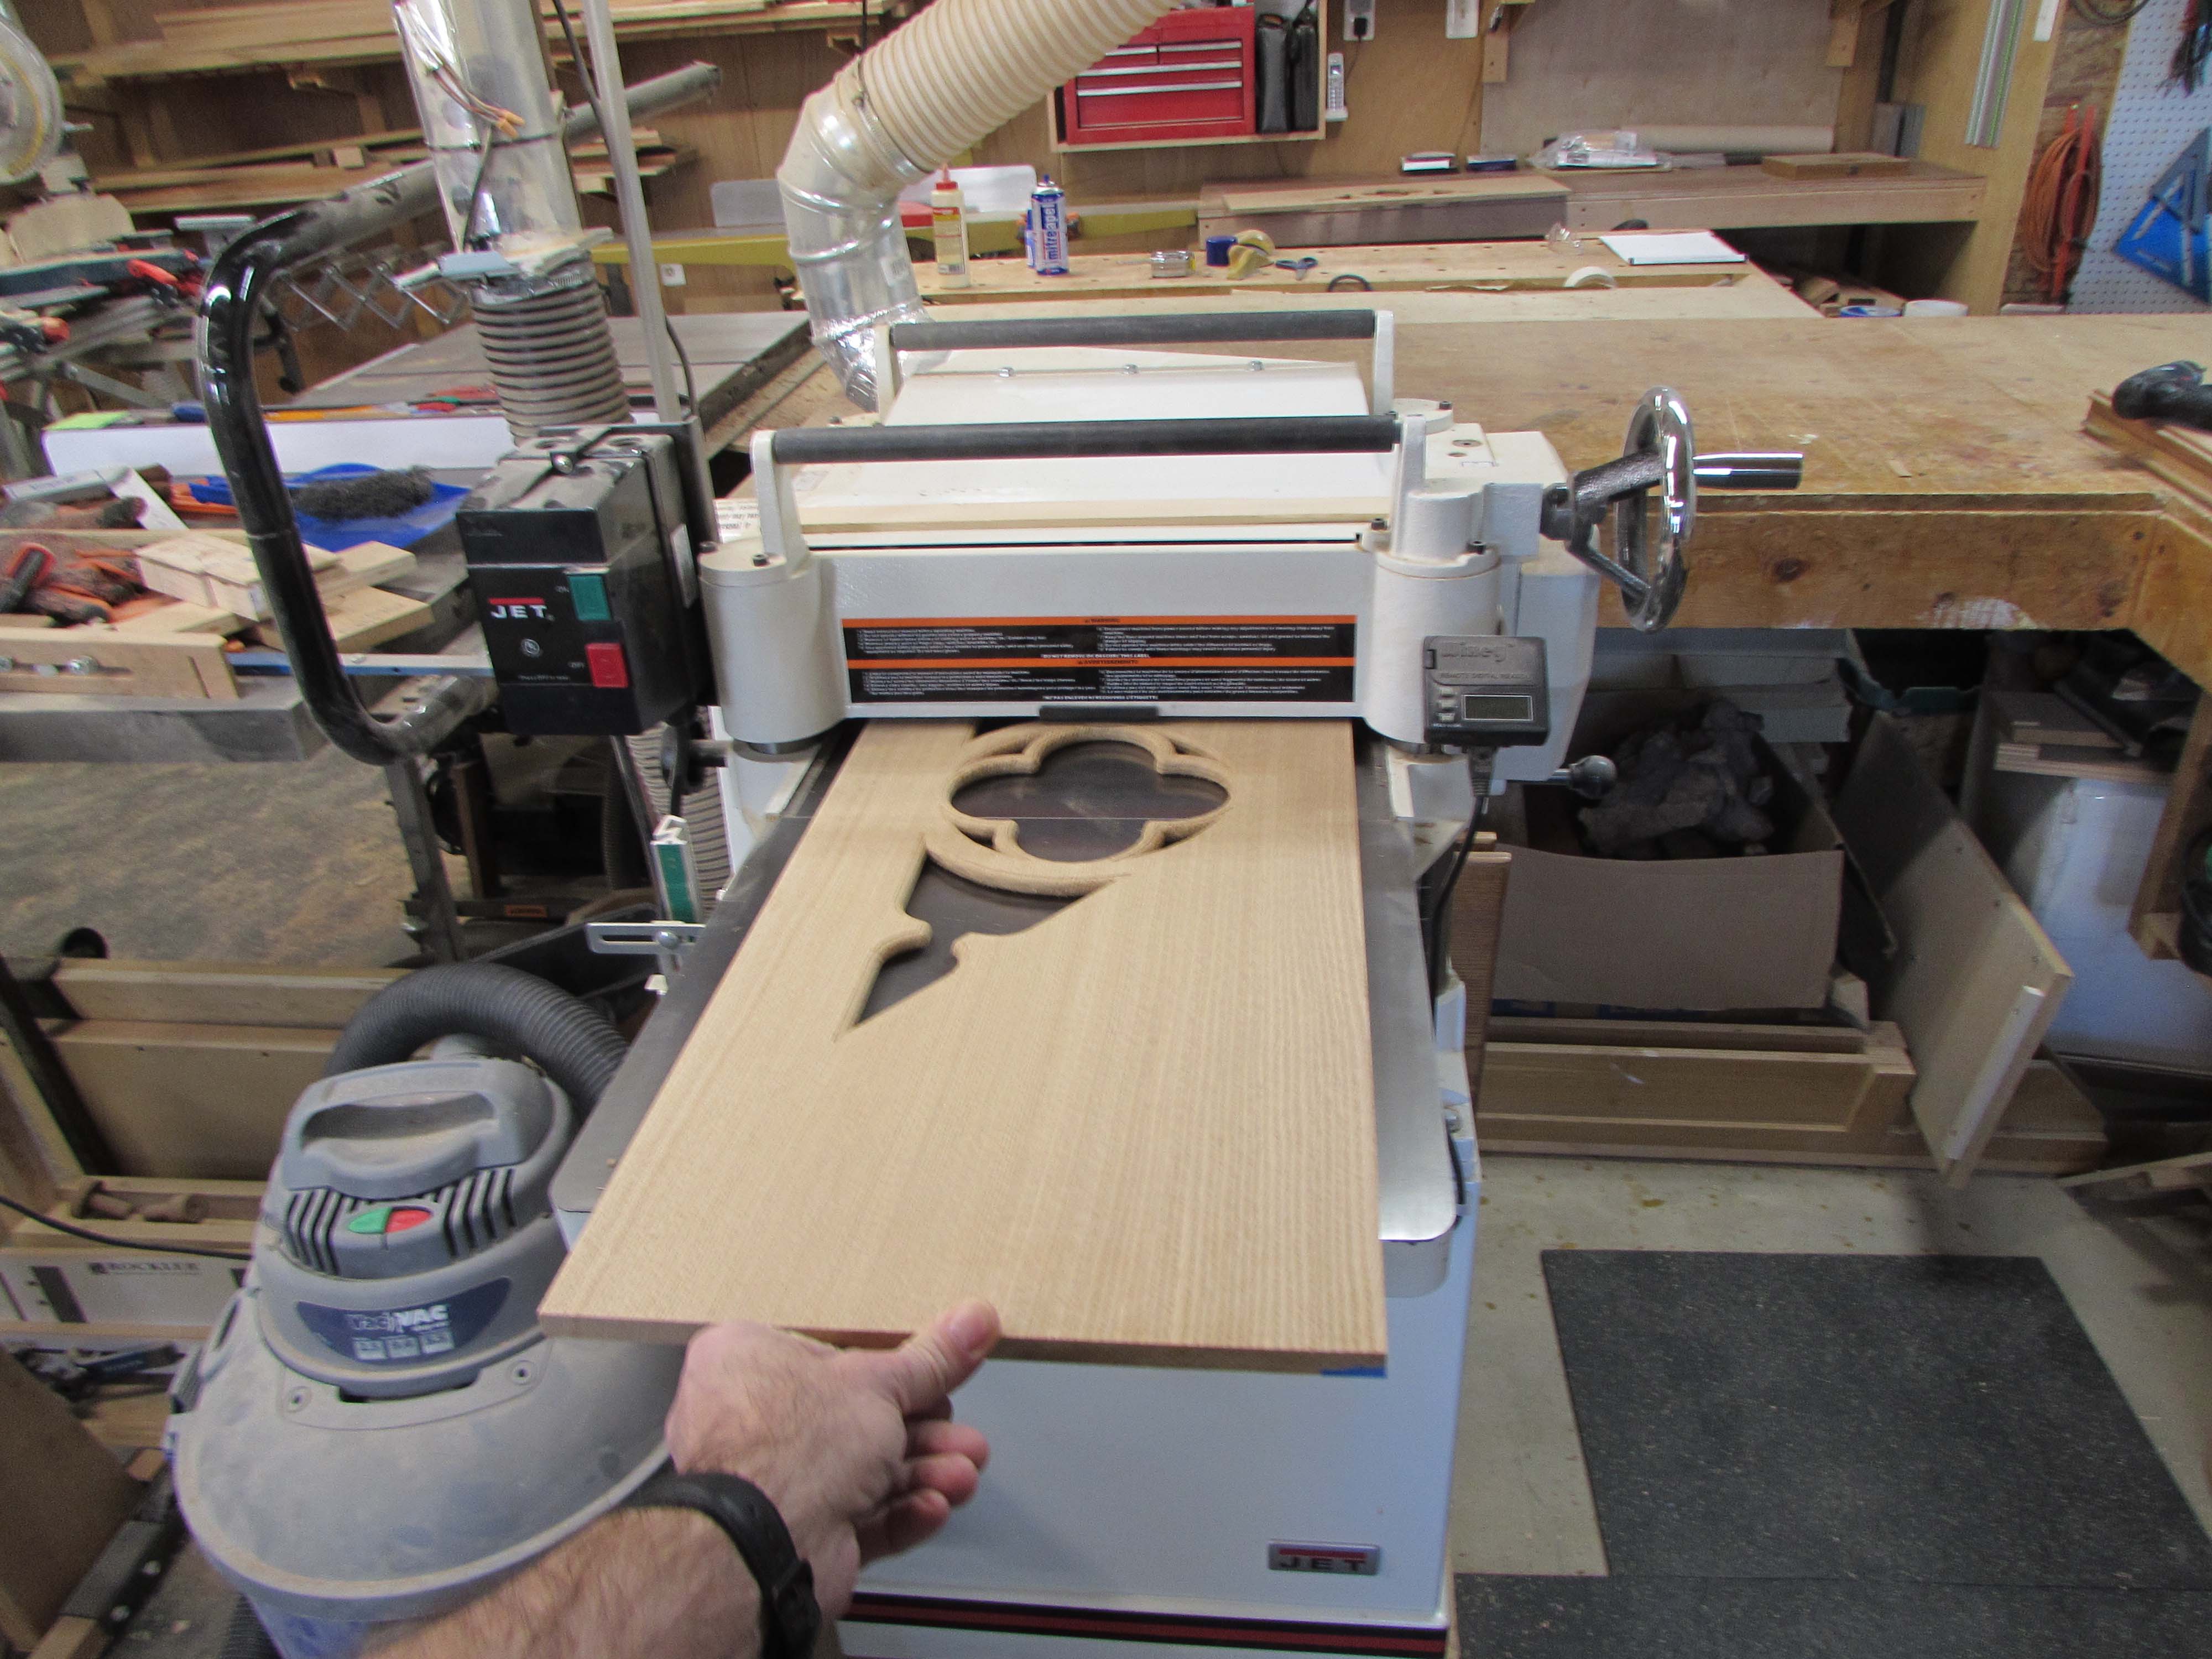
I have an 8′ long piece of quarter-sawn oak with some wild cross-grain. This should be perfect for the carving because the grain goes in just about every direction. That will be probably the most stable option for something so heavily carved. One end of my board is pretty flat, and the other end is twisted. I cut off the flat end and planed it down to 1/2″ thick, then loaded it into my CNC router.

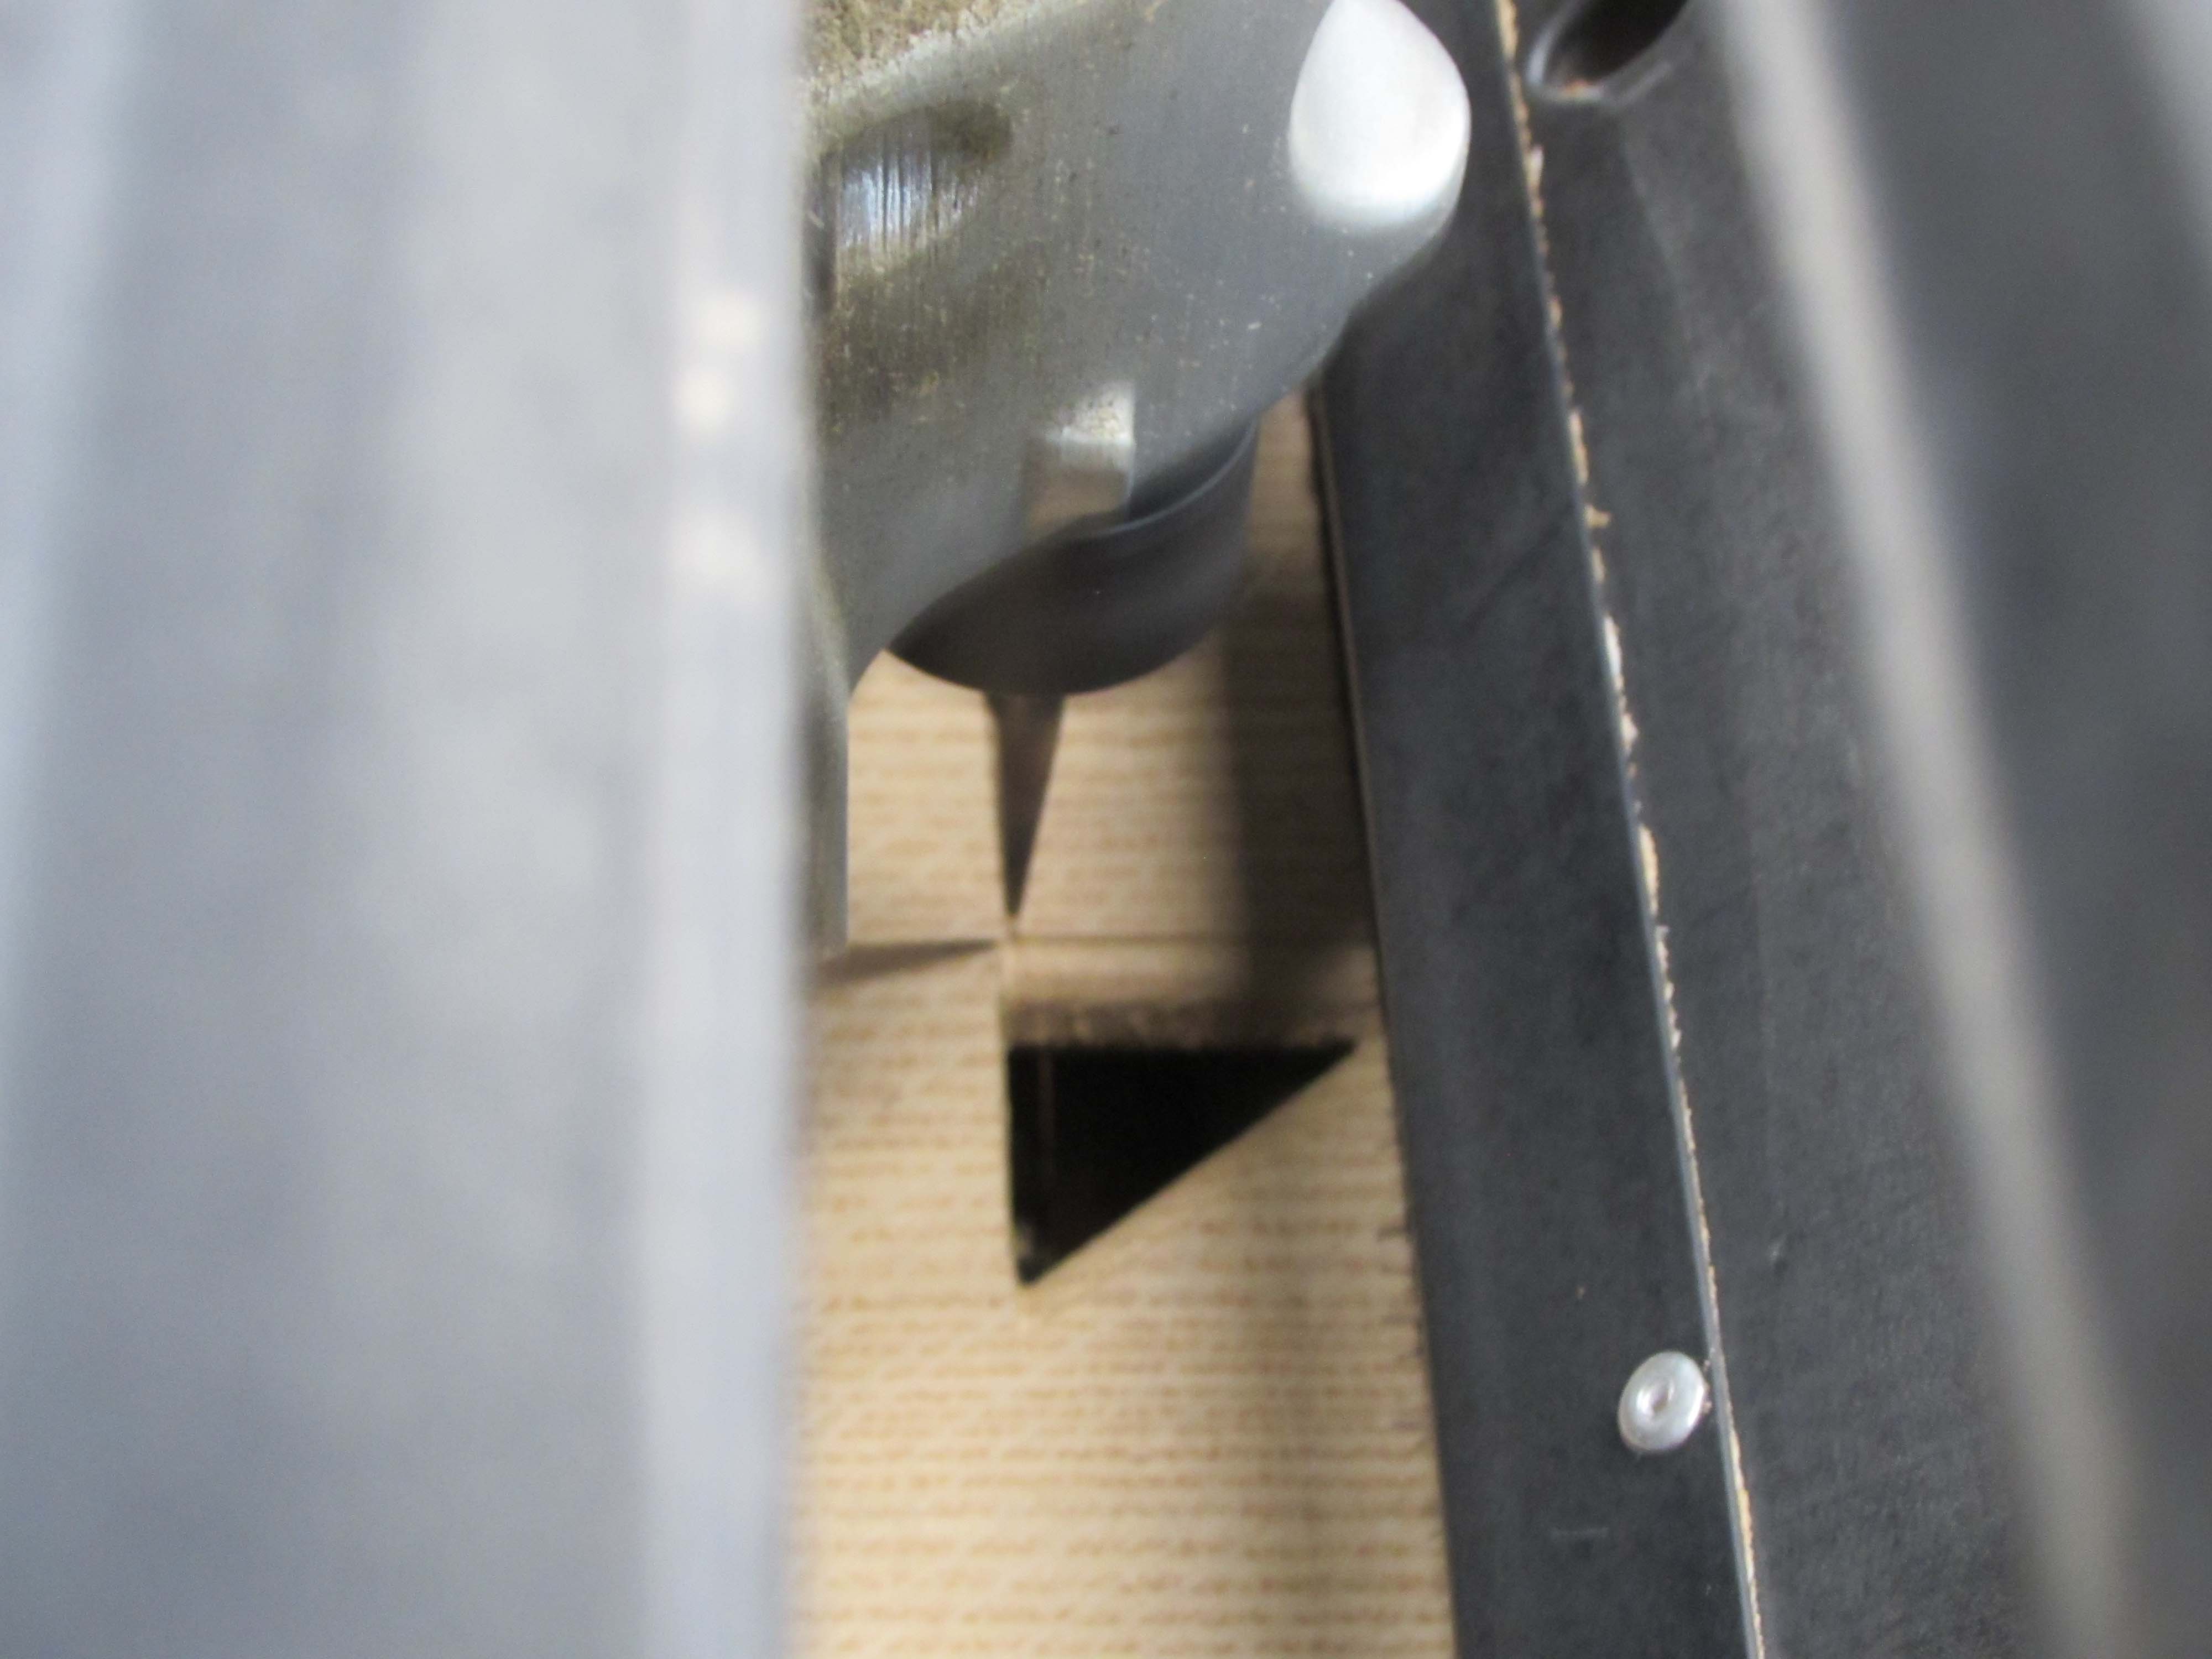
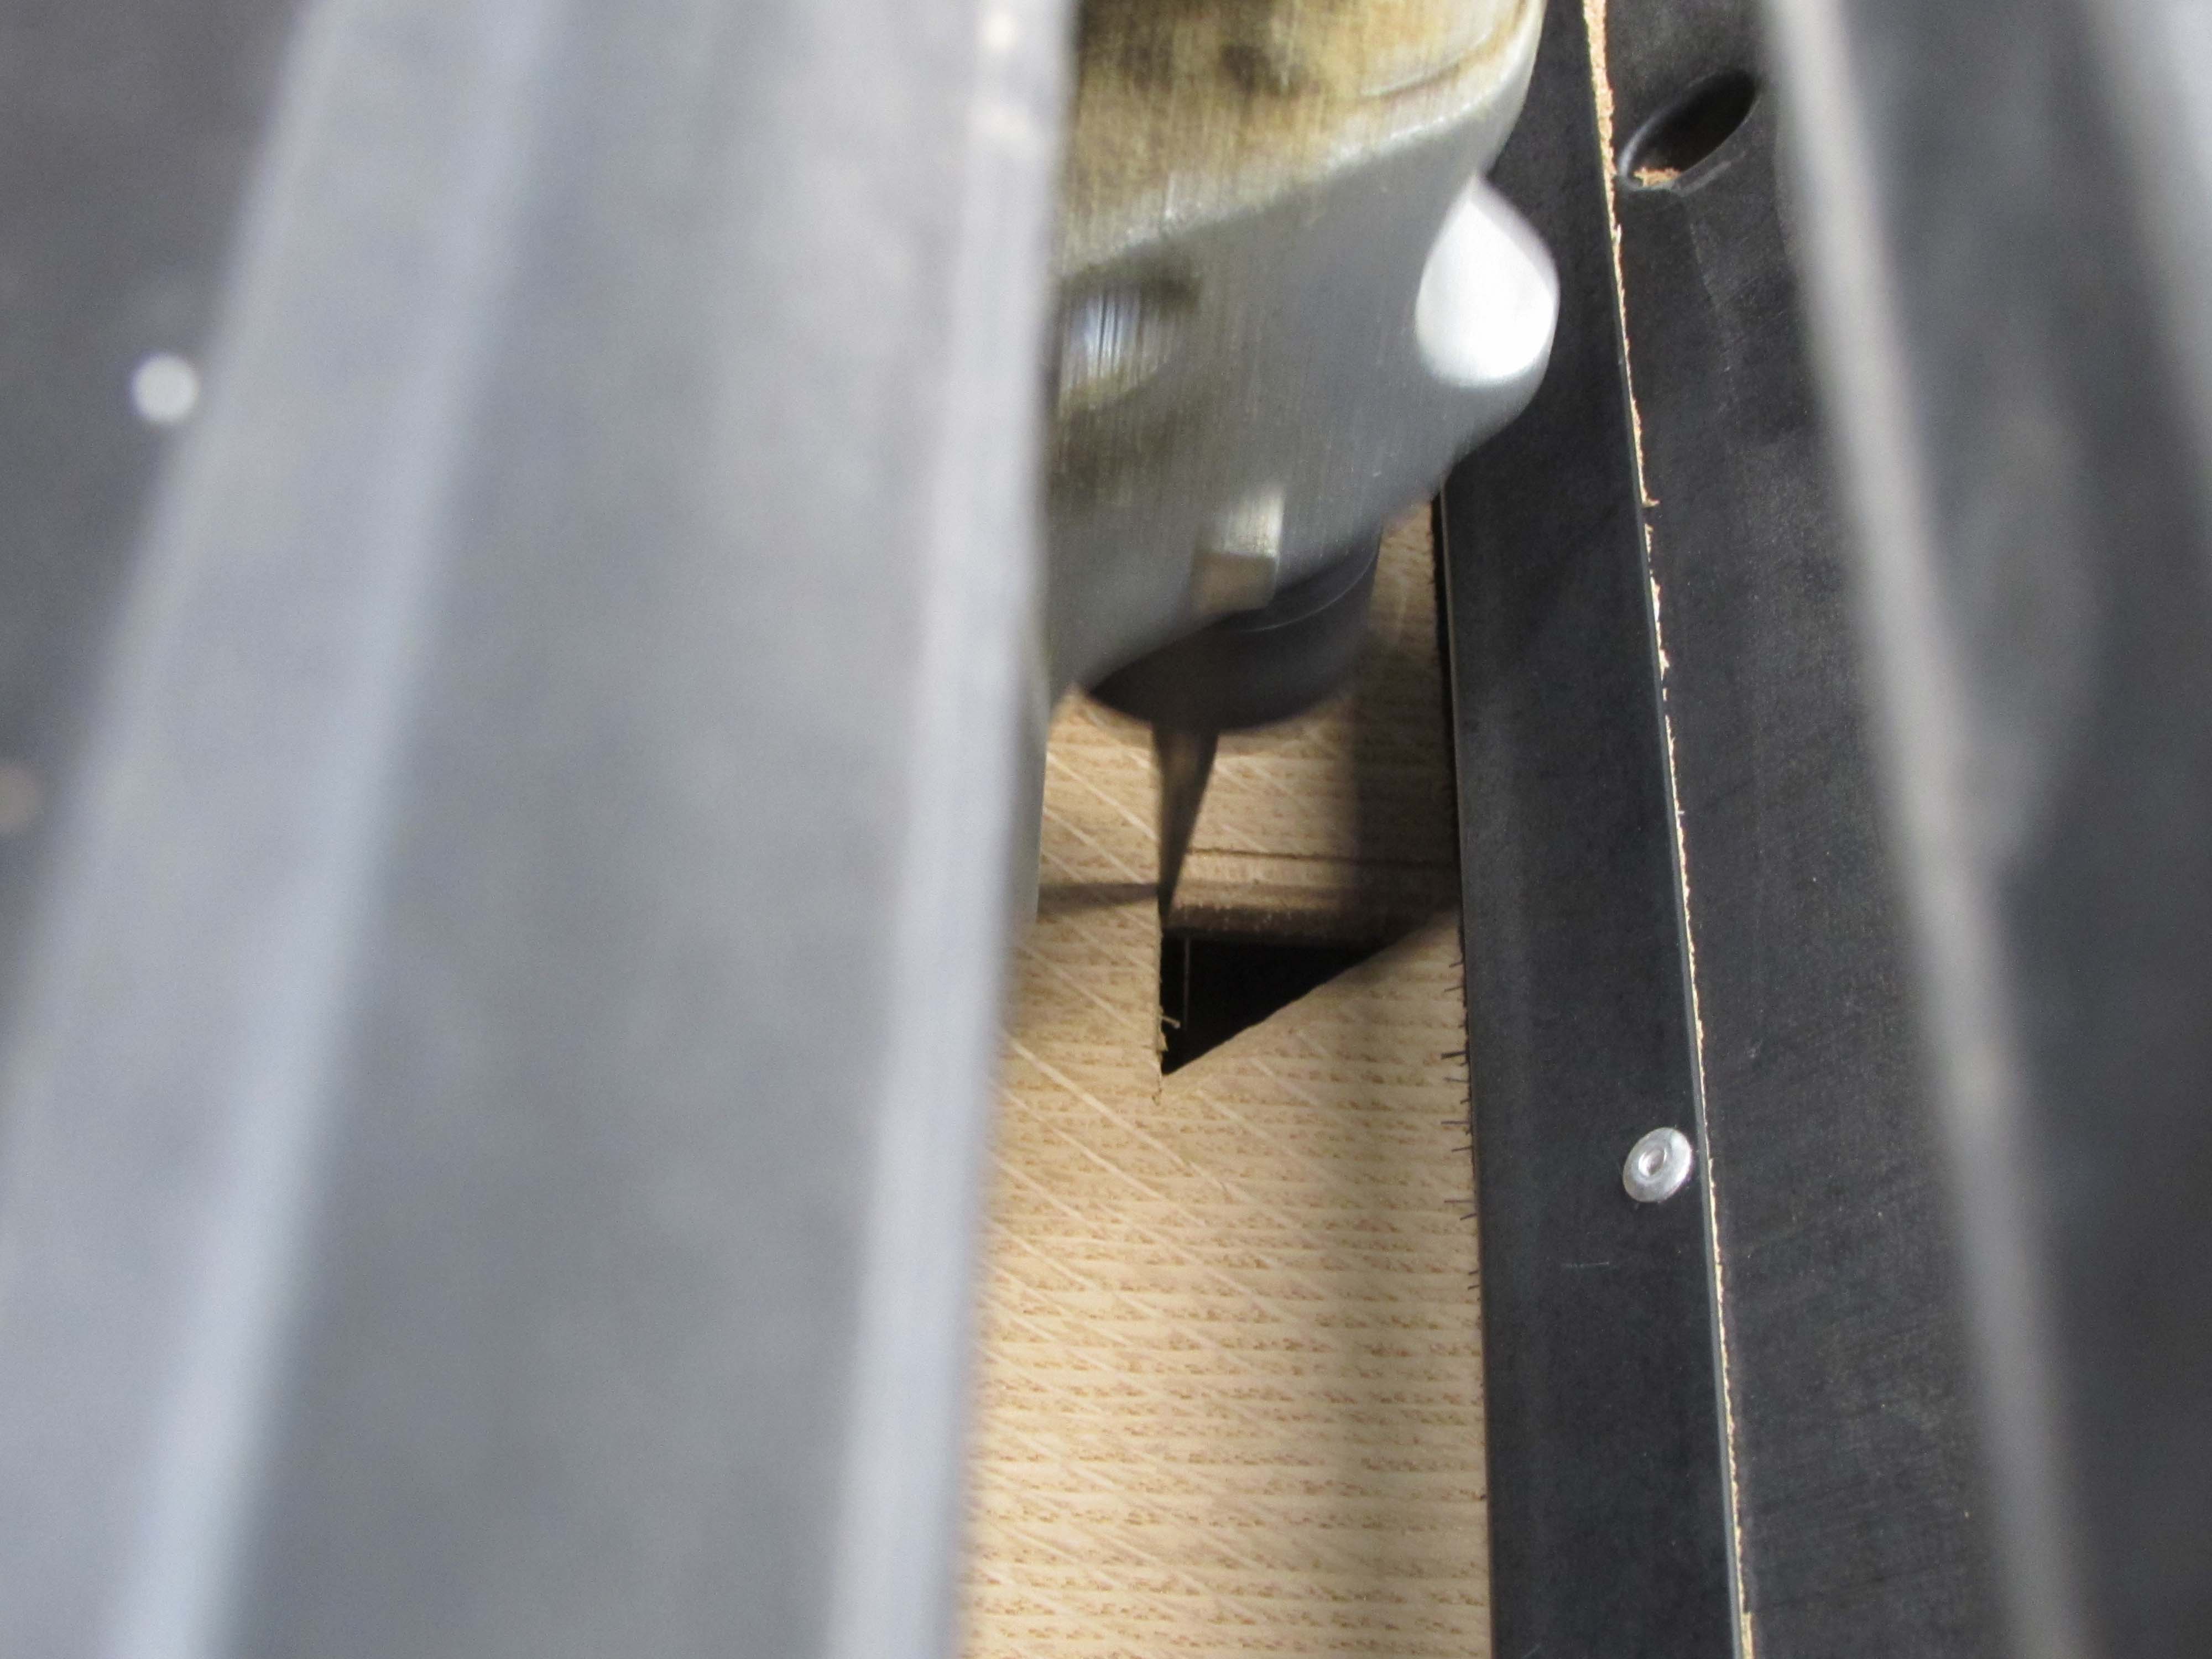
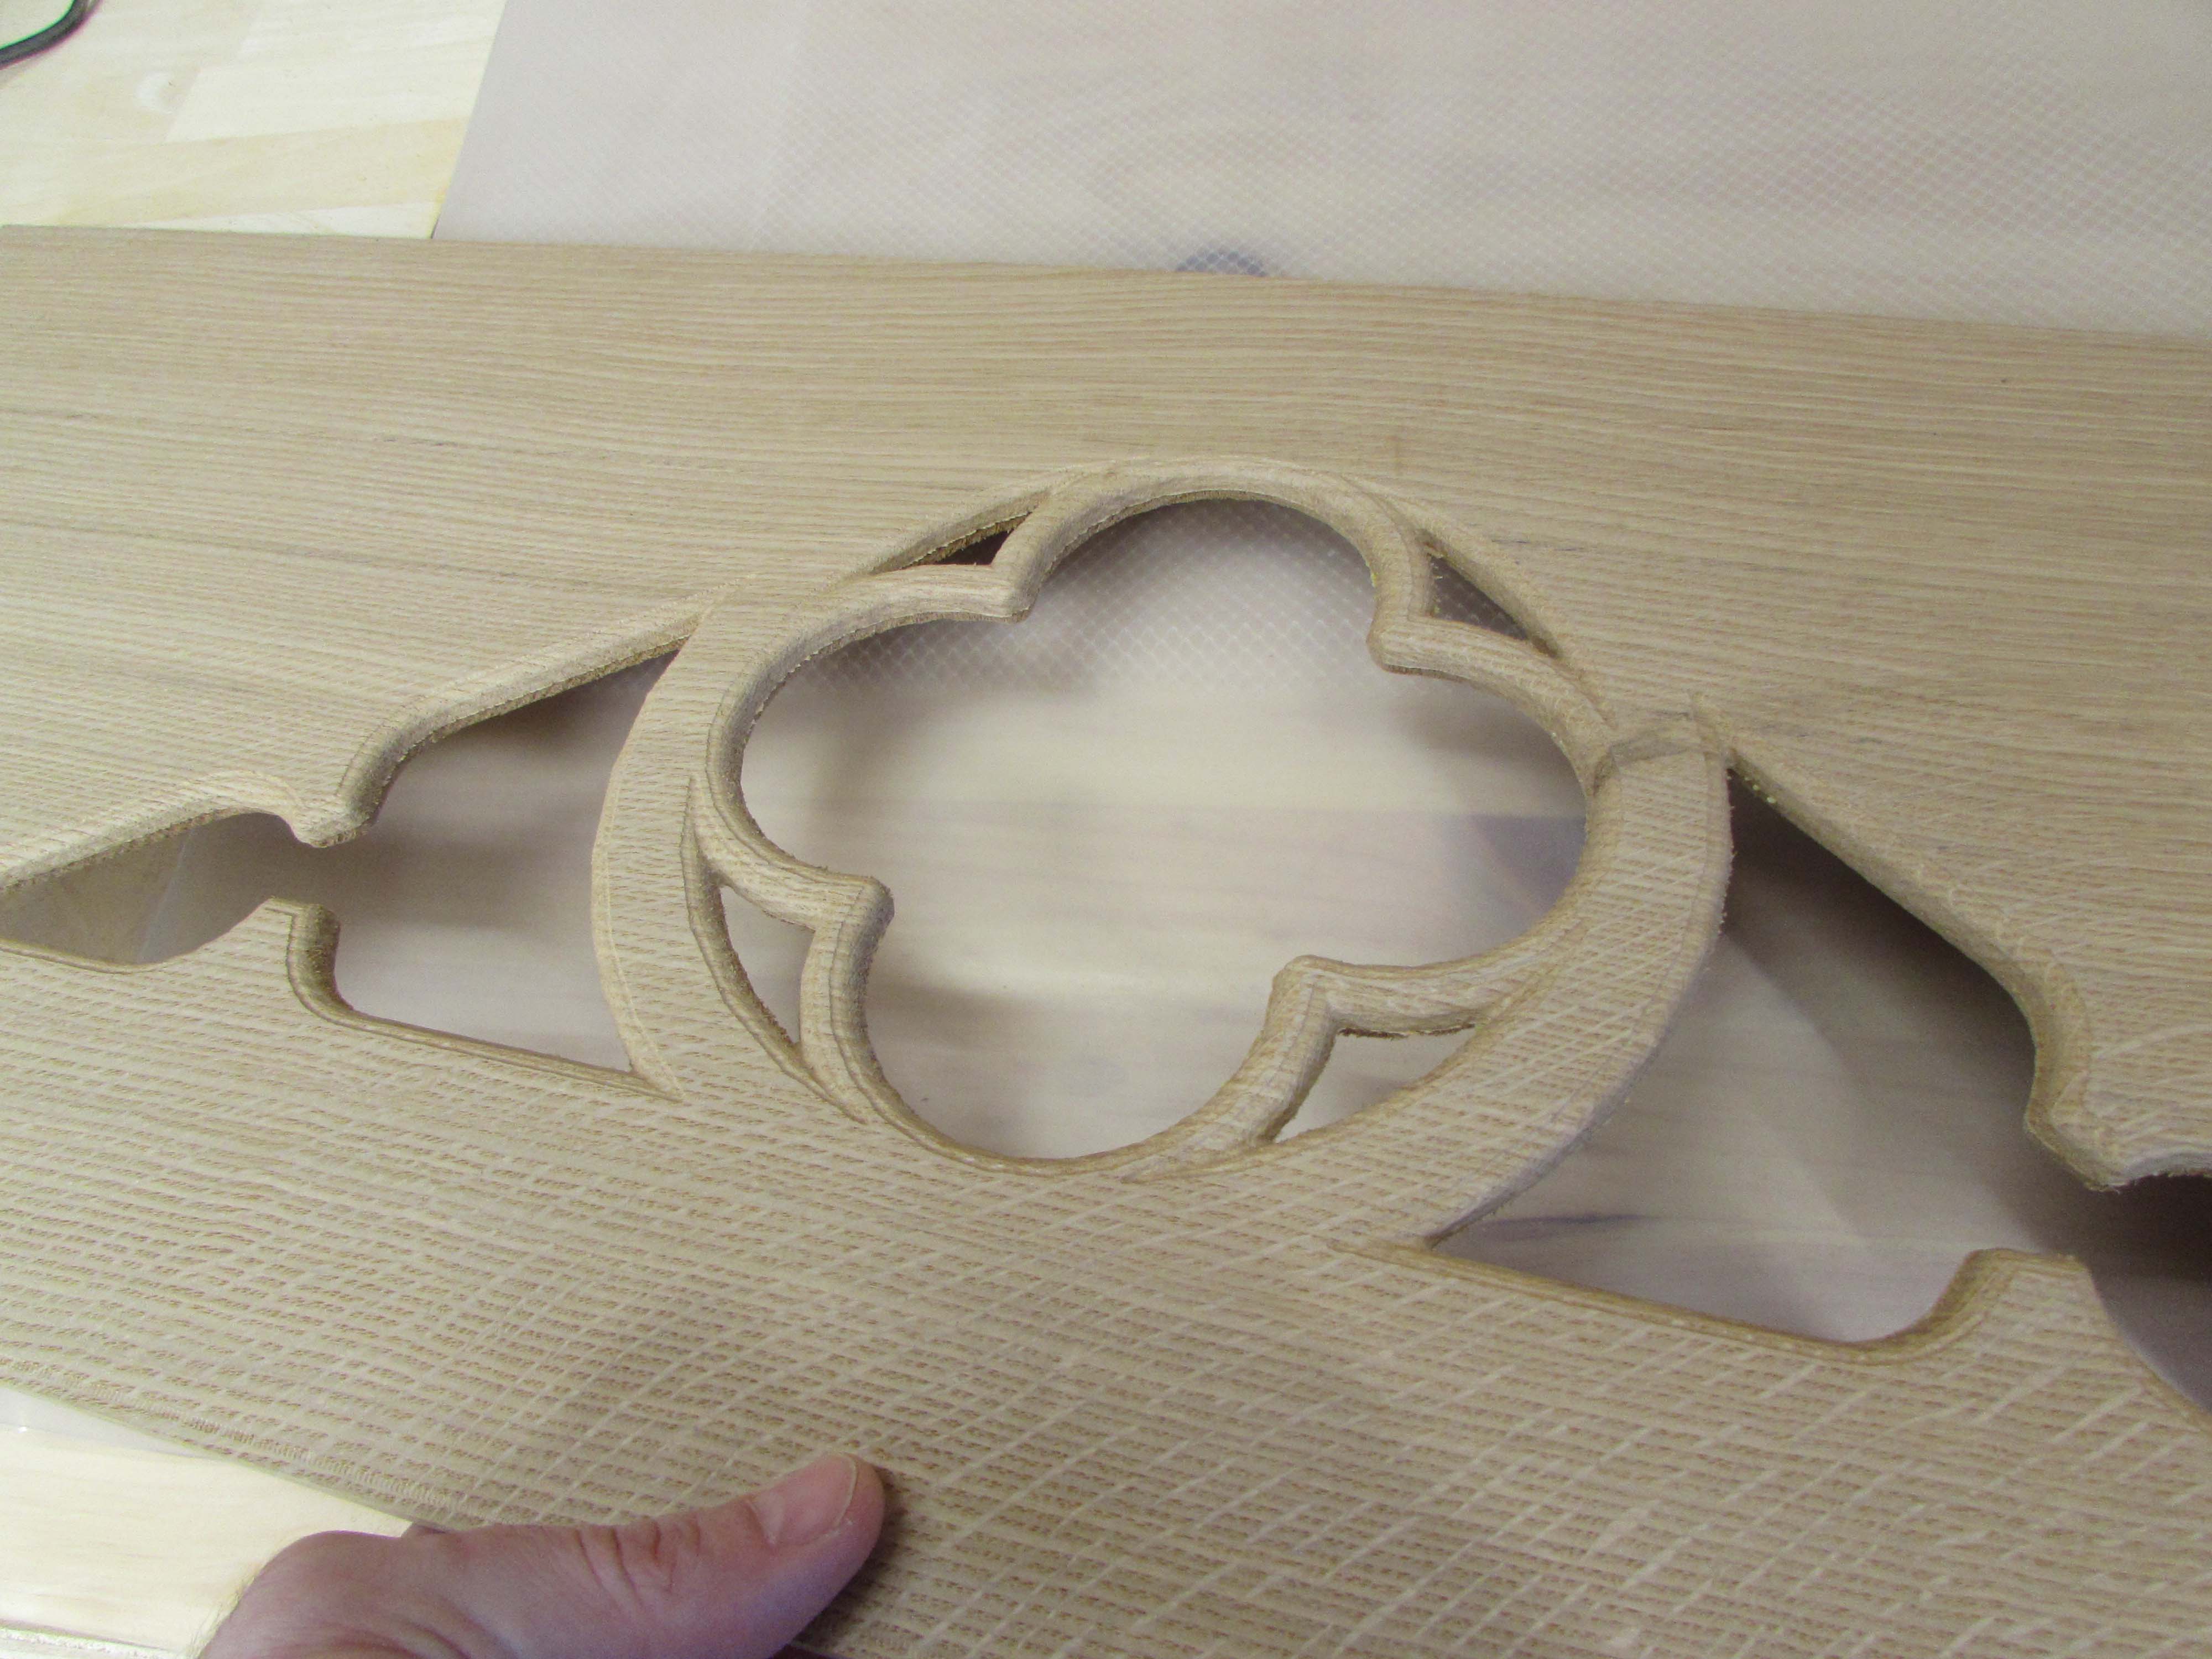
The goal is to cut all the way through but have all of the edges rounded over. To achieve that, I use my thinnest carving bit. The point is 1/32″ but to create the round edges, I will have to carve halfway through from both sides.
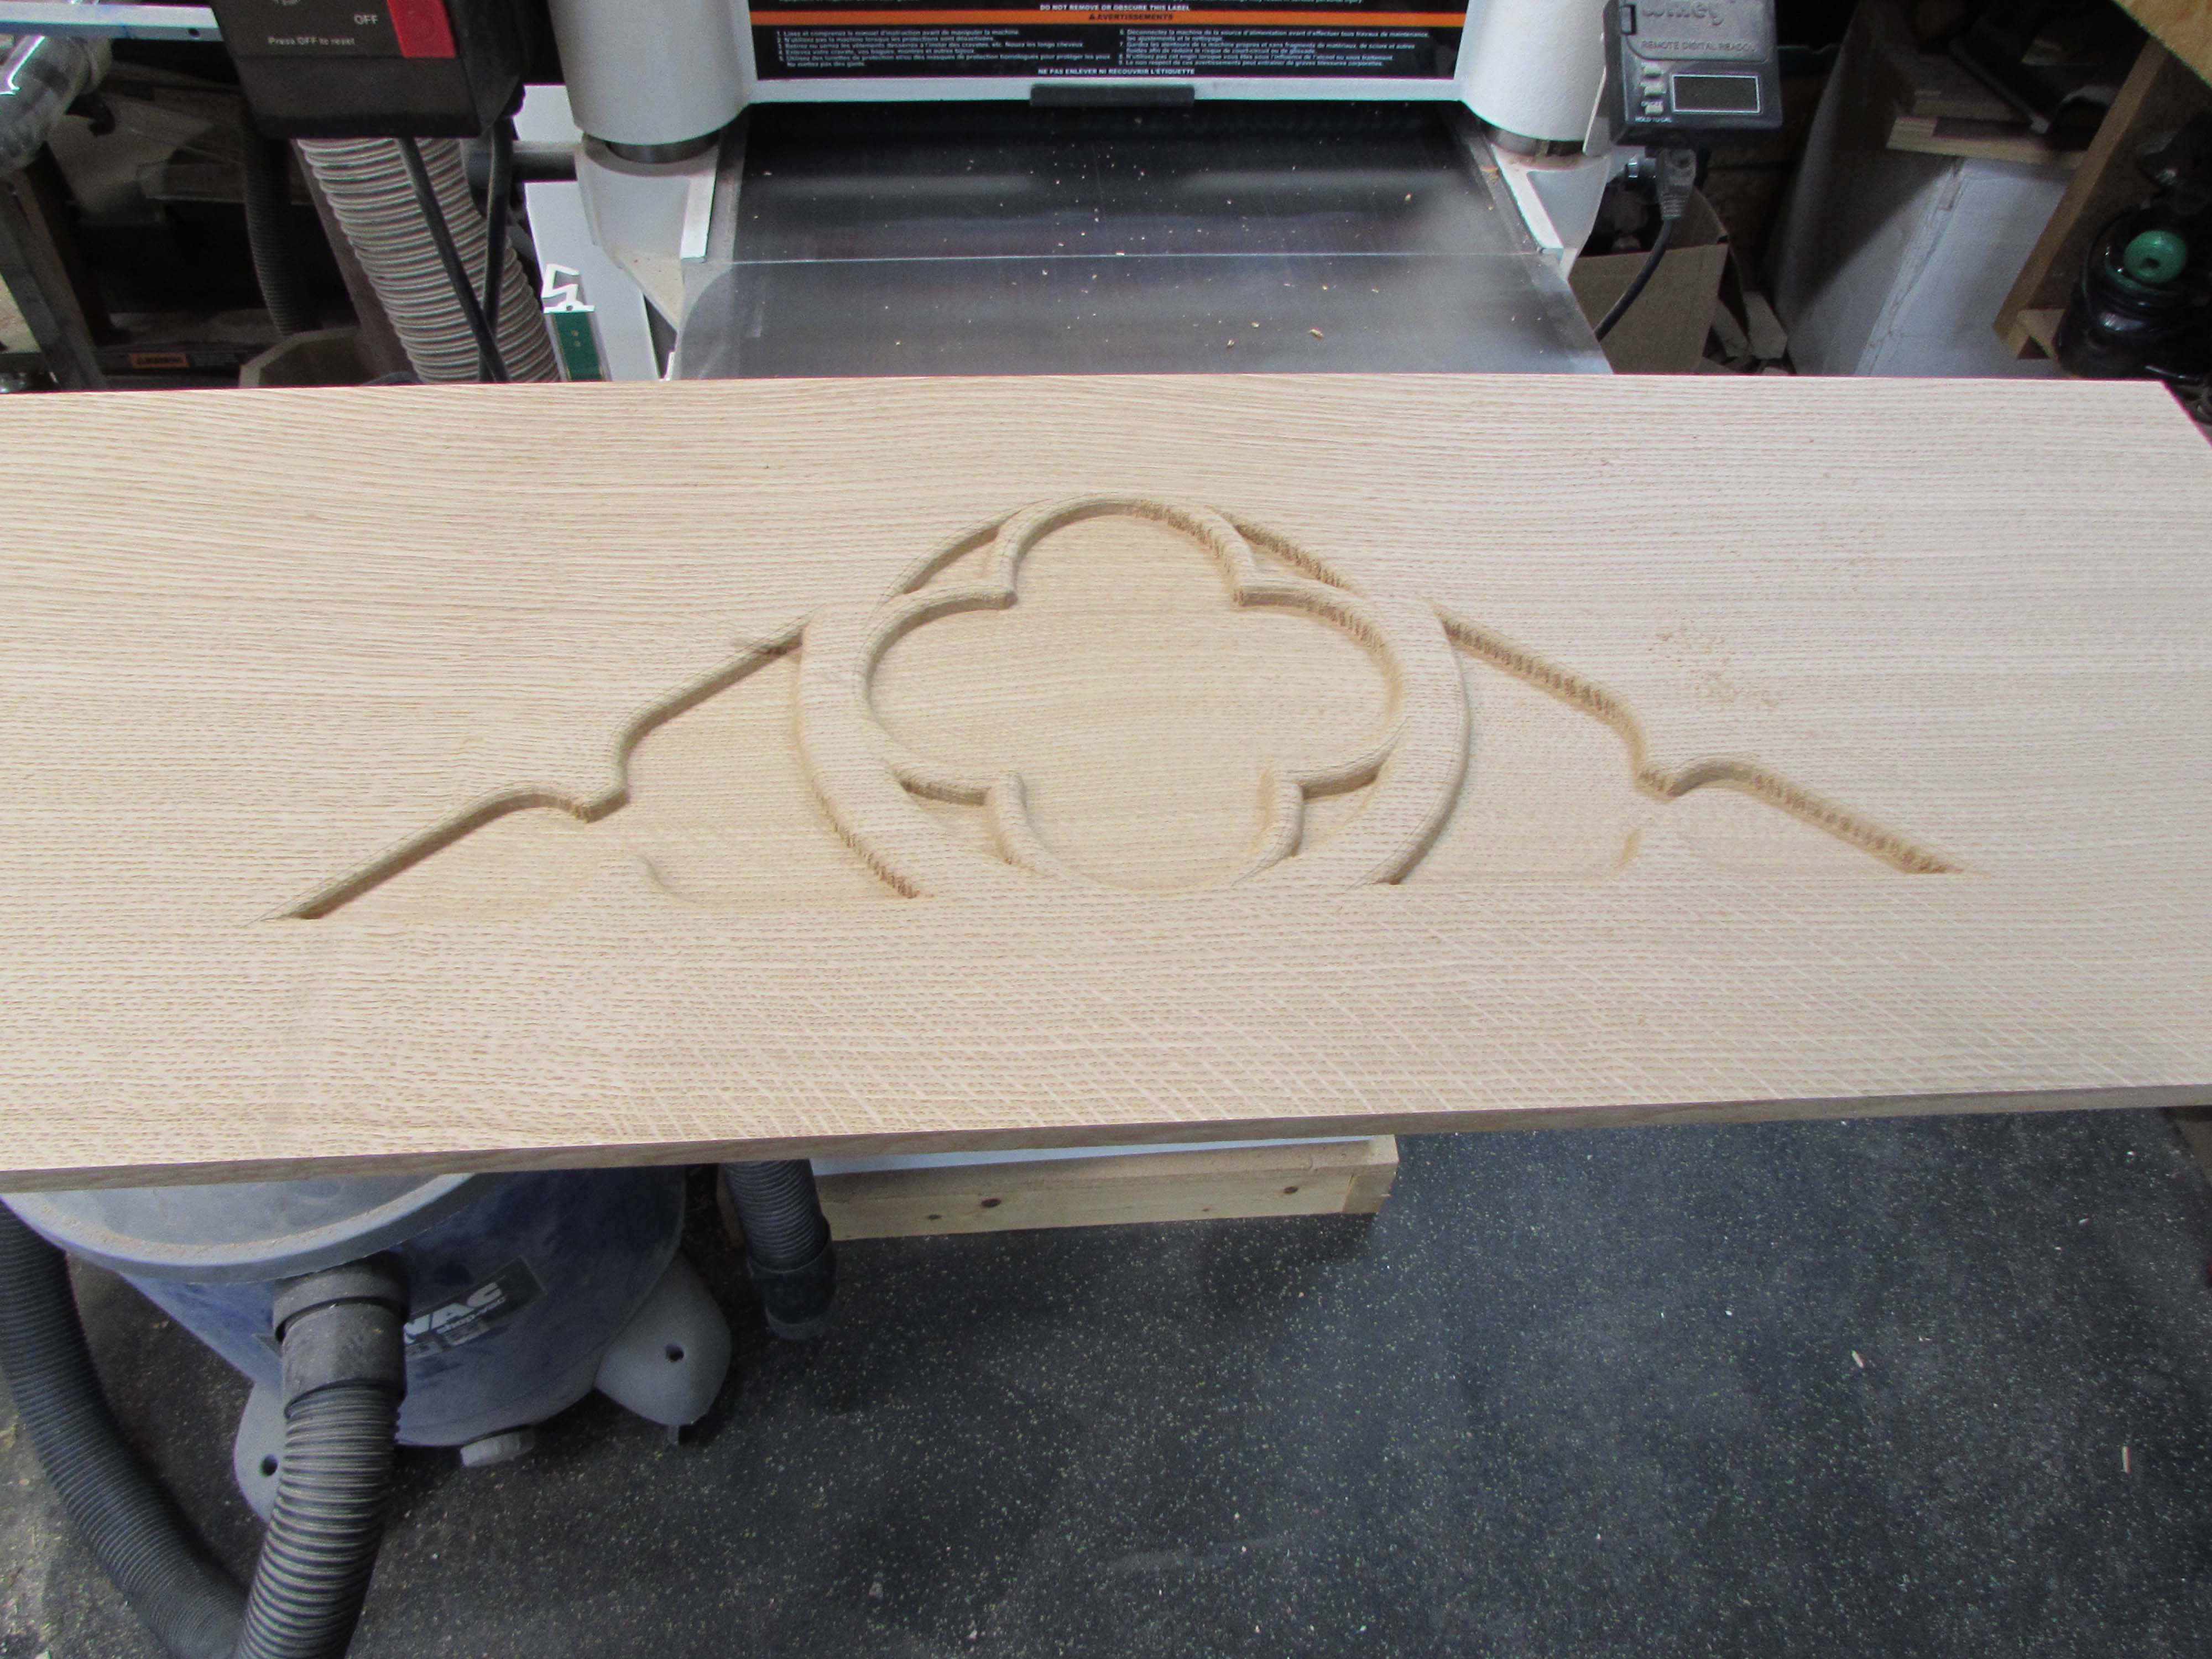
The first side took an hour and a half, but looked really good.
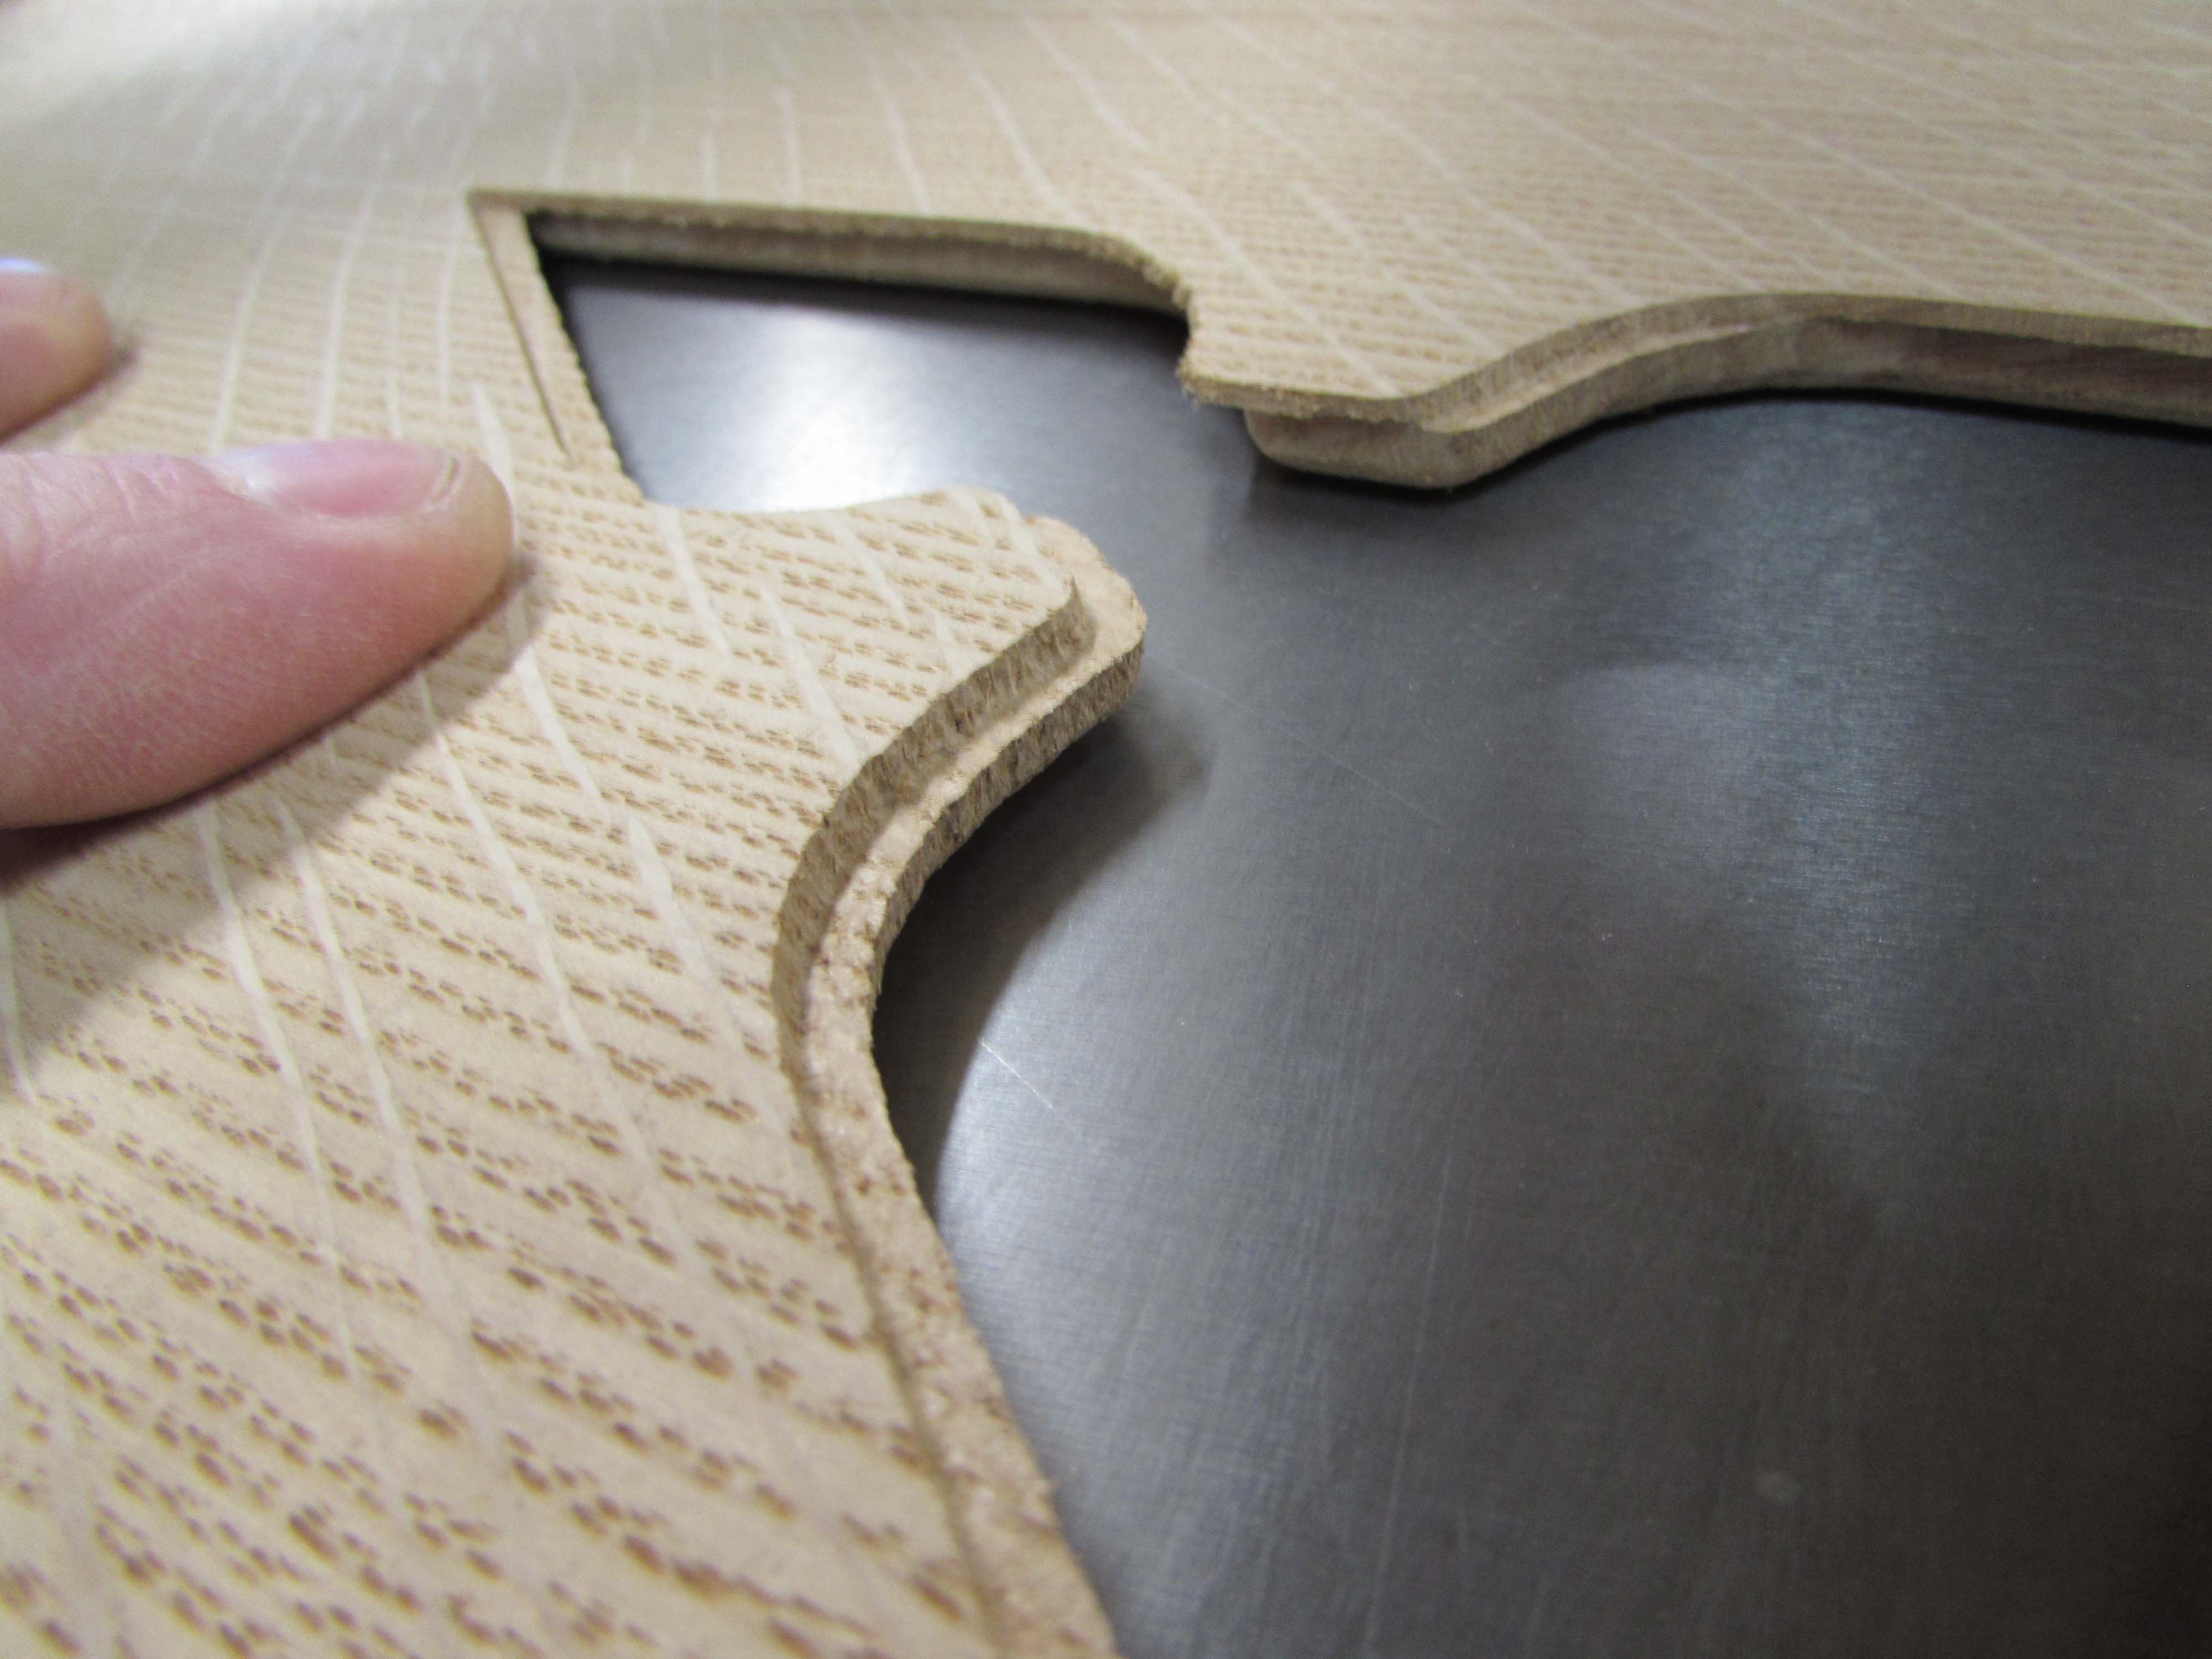
I flipped the board over and started on the back half.
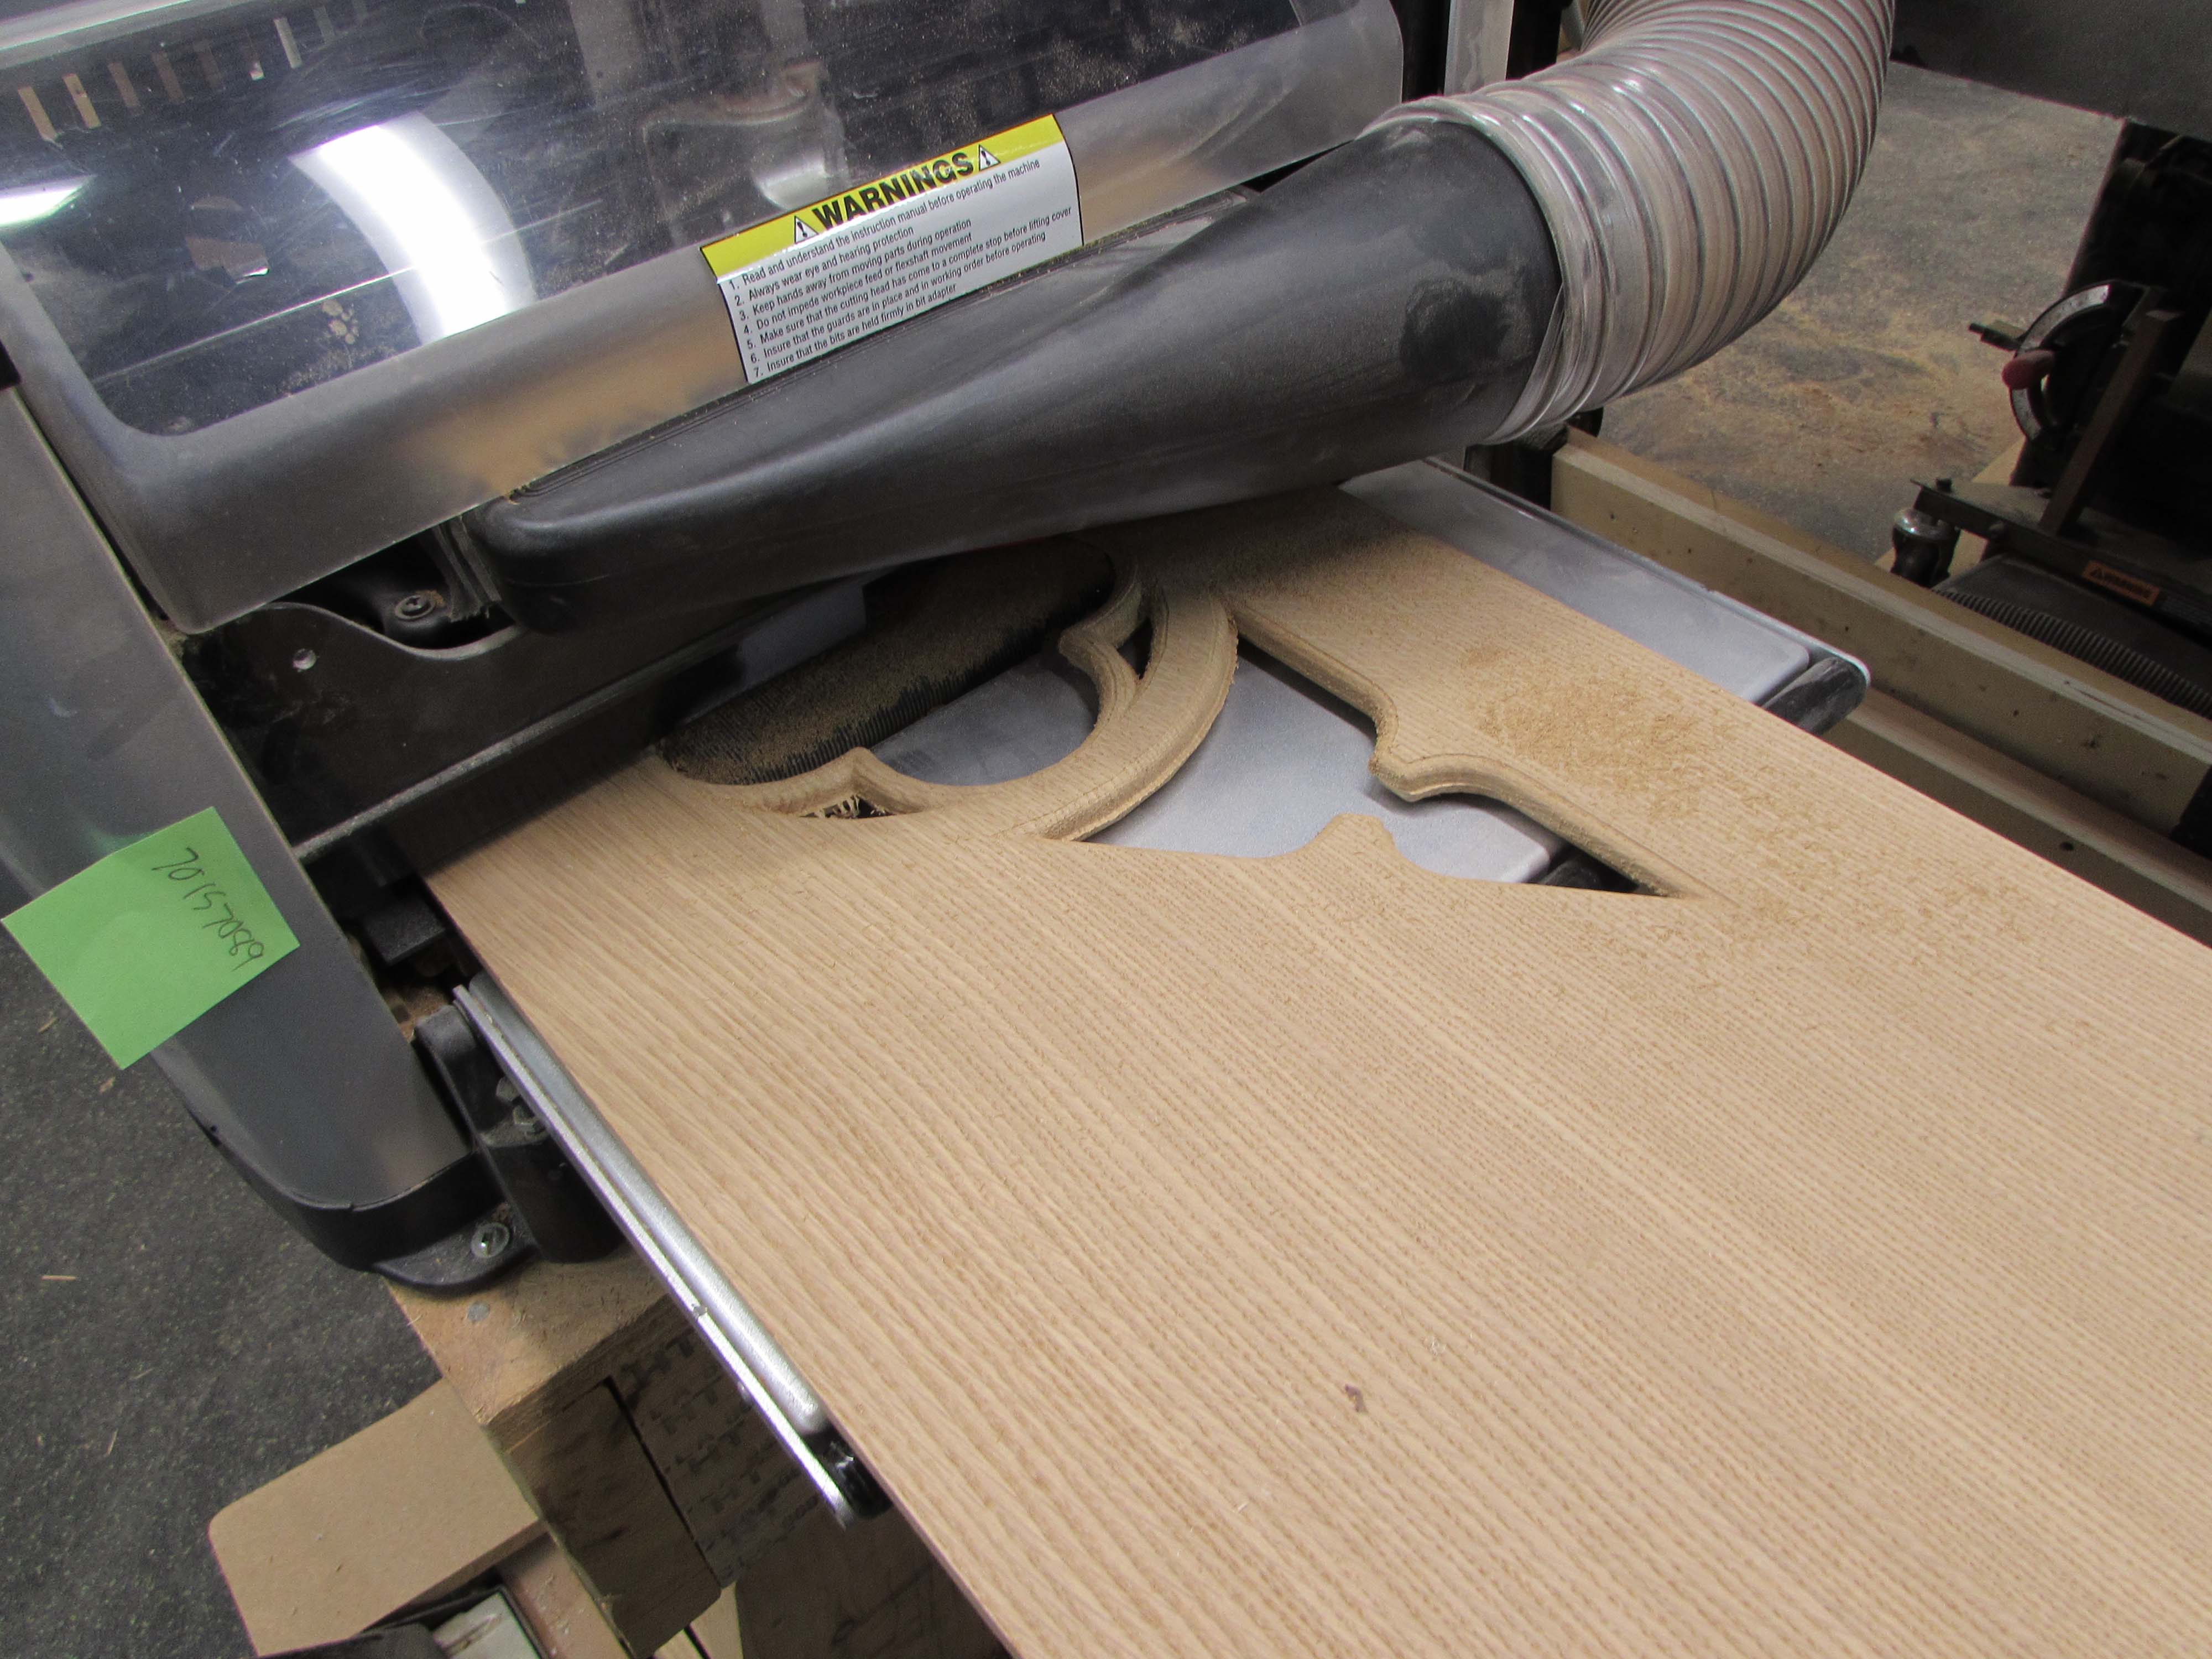
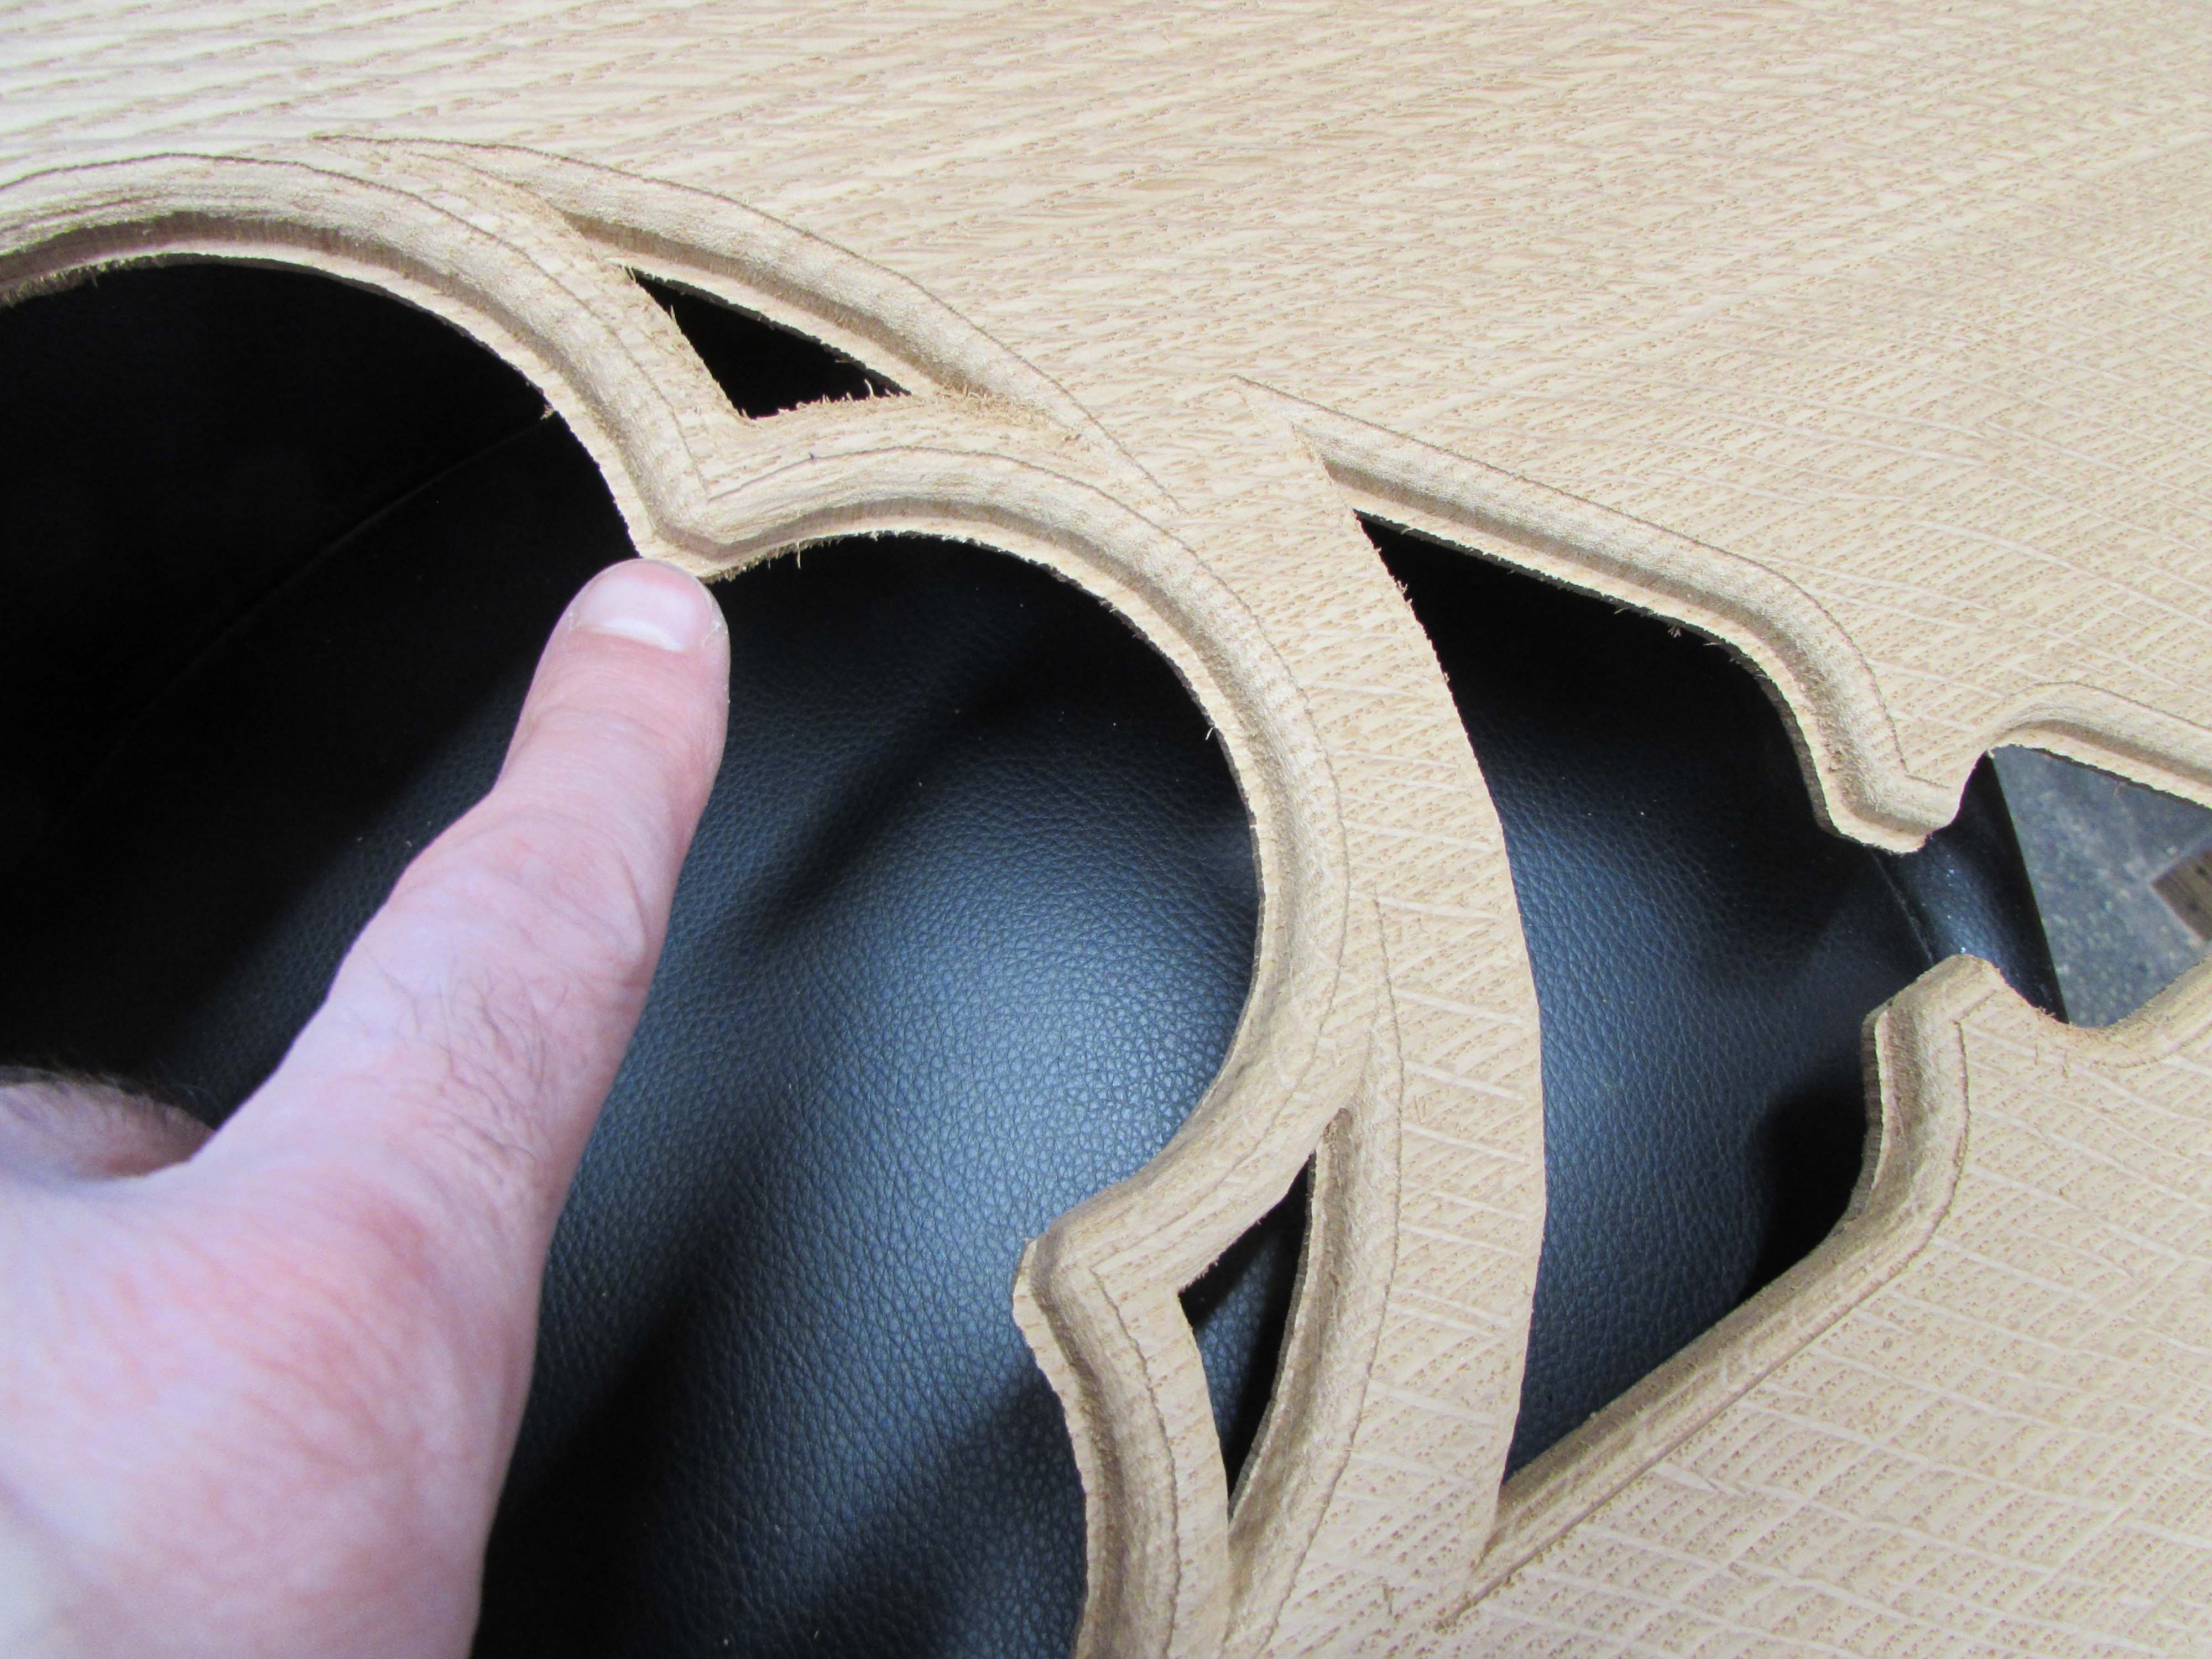
Unfortunately the sensor did not pick up the starting edge correctly and the entire back half was off, shifted by nearly 1/8″ to the side. I suppose I could use files and sandpaper to make it look right, but it would make the small sections even smaller and more easily broken by accident.
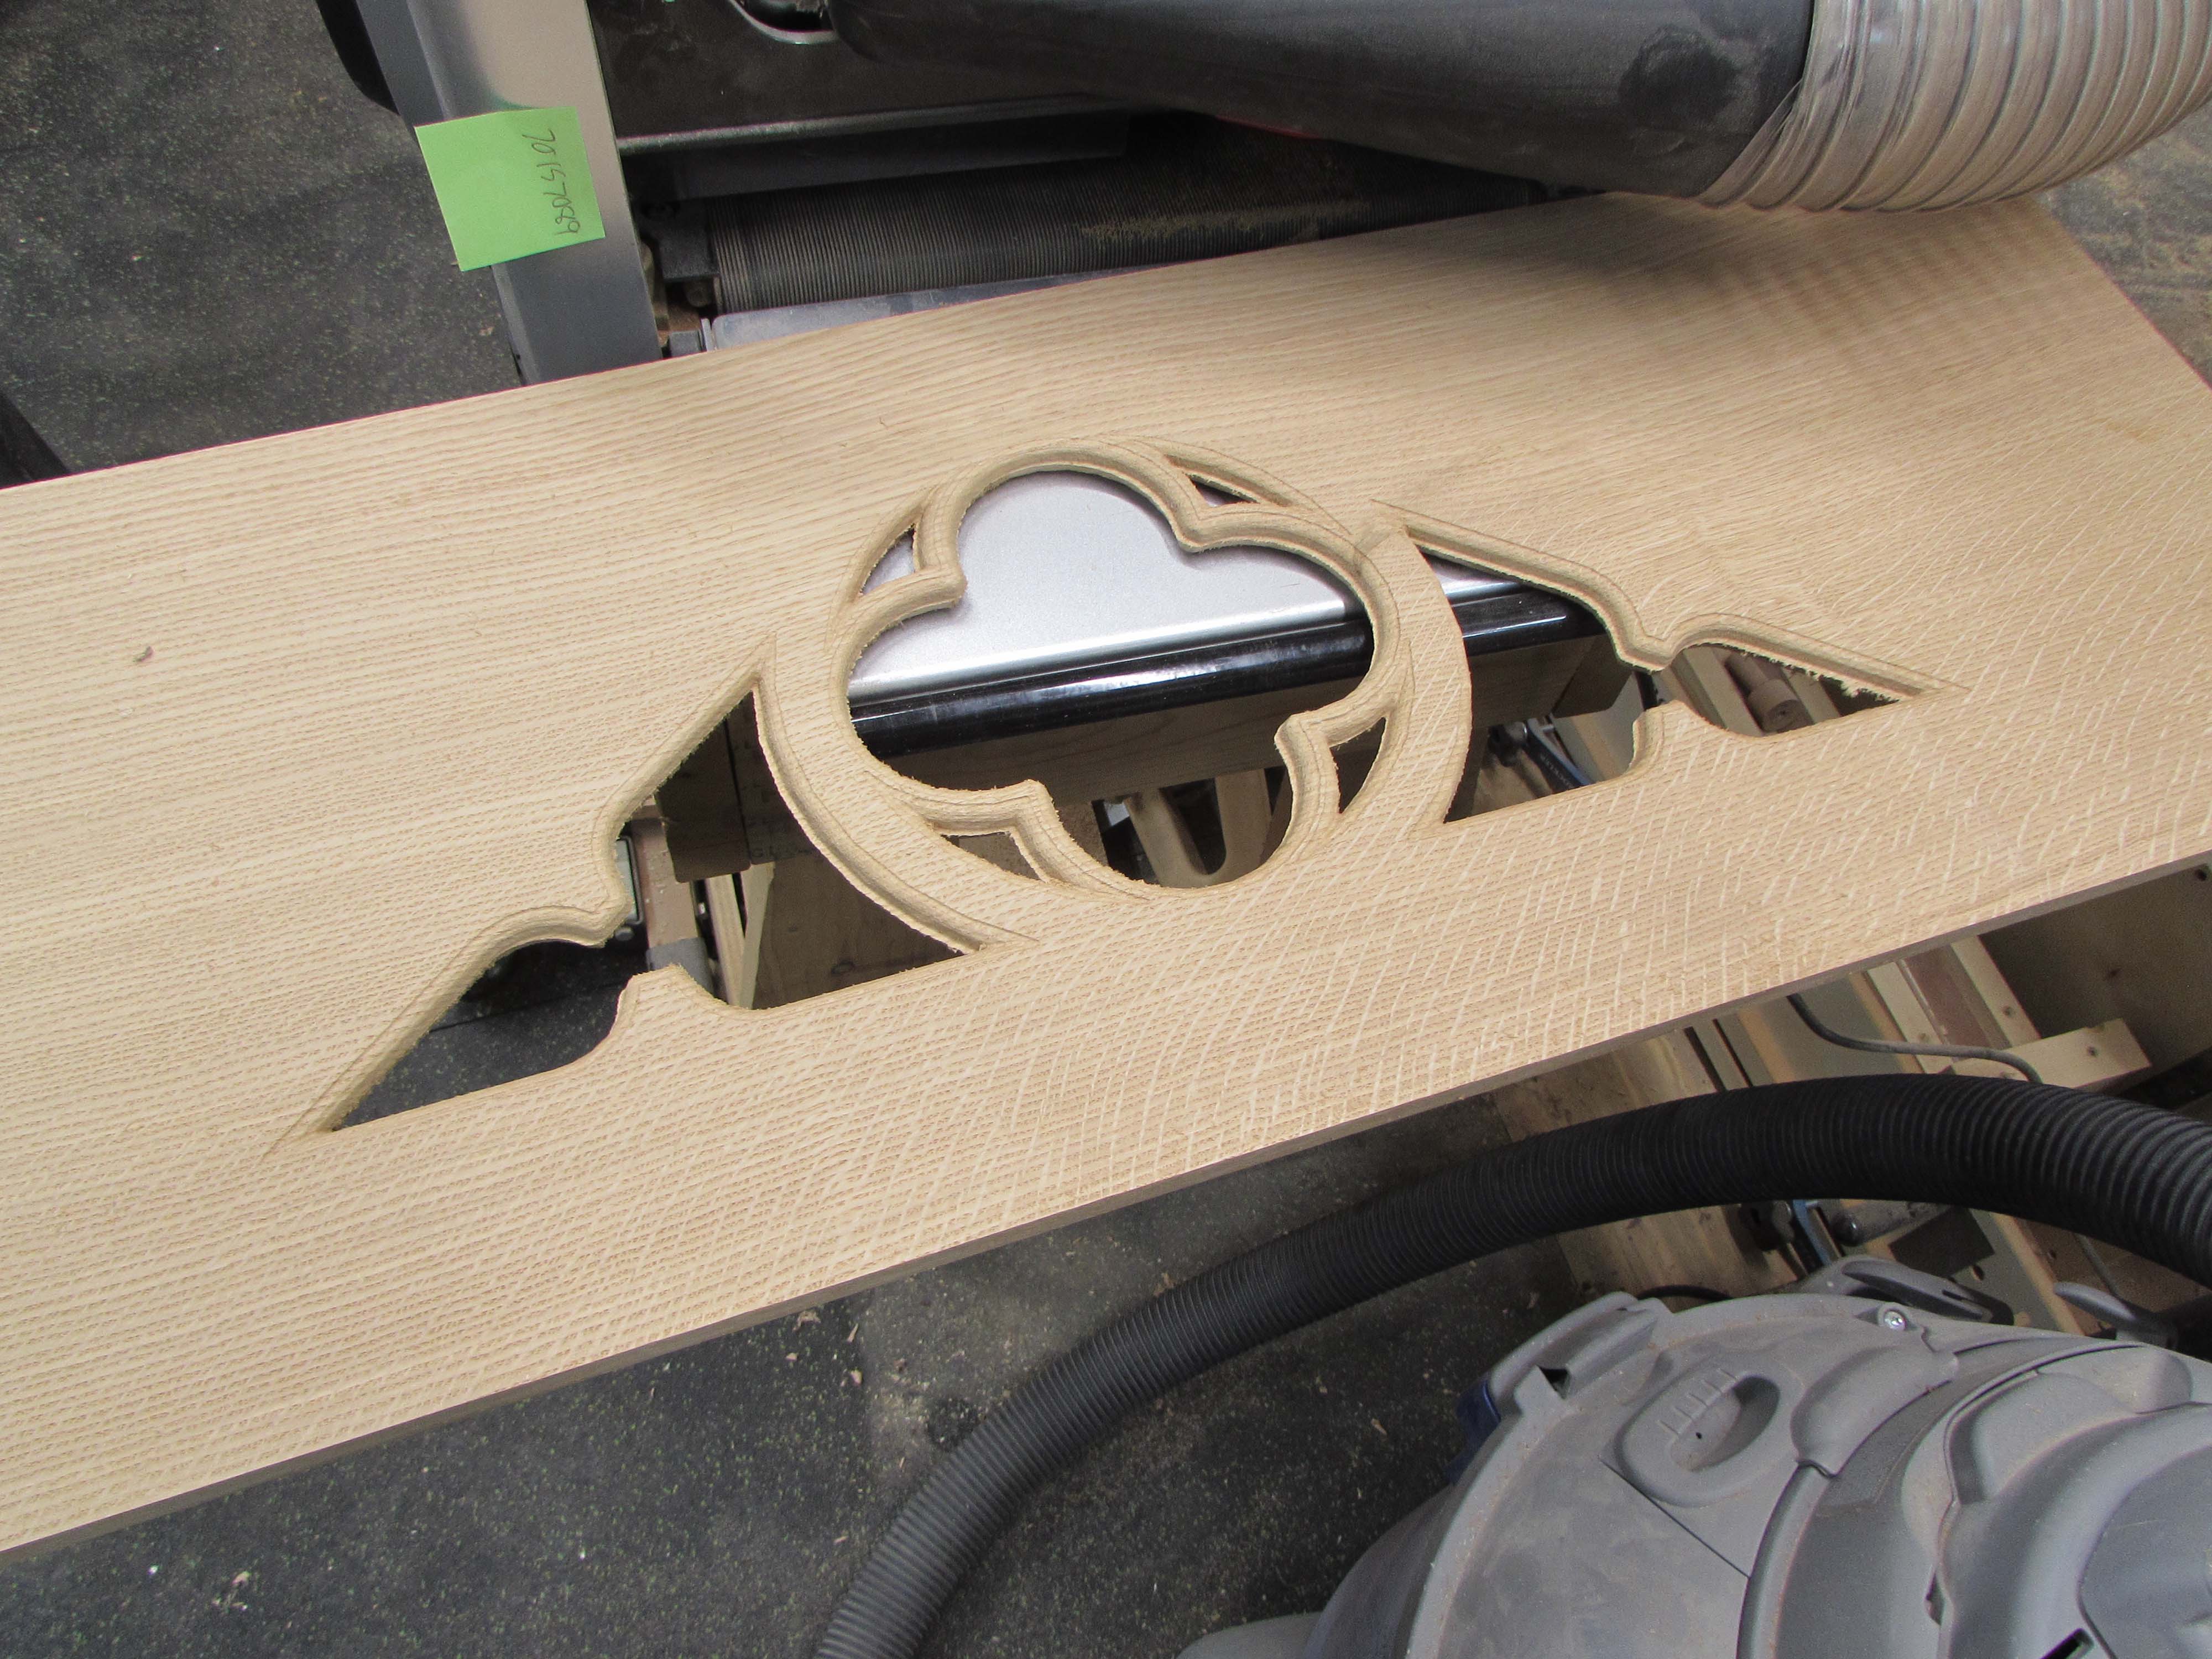
No, the best thing to do is start over. Since the remaining piece of oak is twisted, I need to remove the twist as I plane the board down thinner.

To do this, I am using a homemade planing sled.
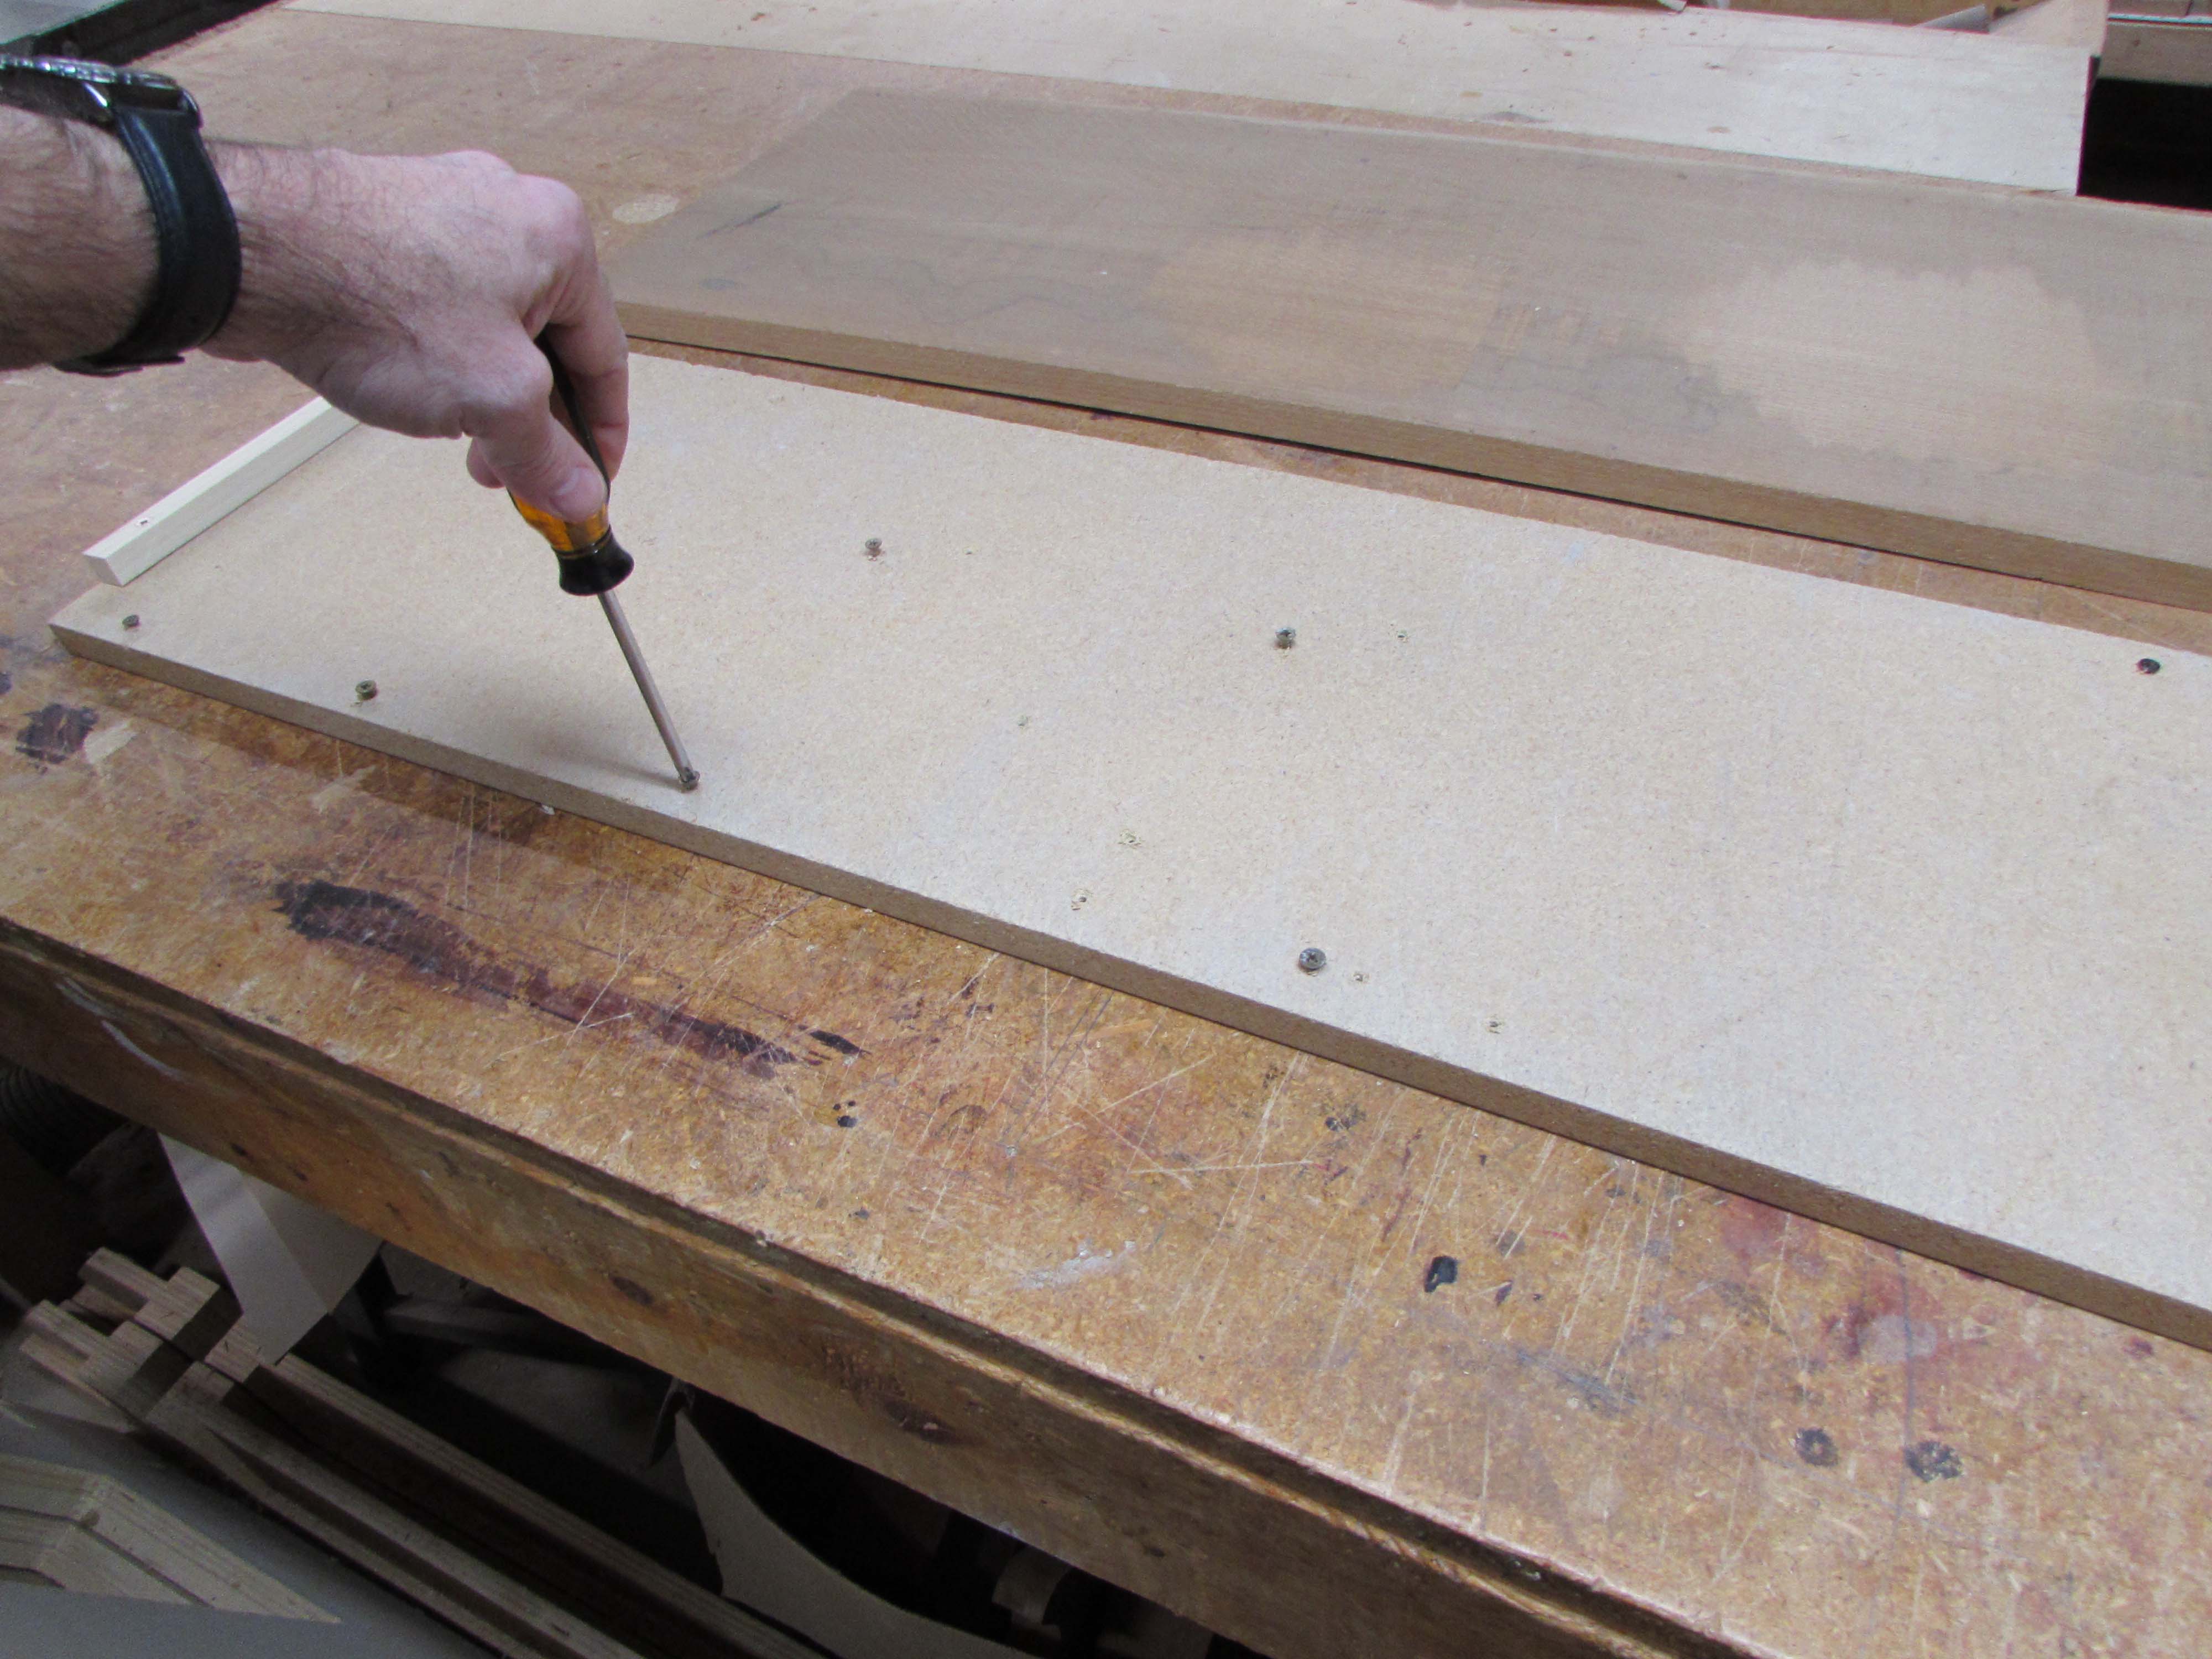
I place screws in the sled to support the high spots in the board so that the planer does not press them down.

When I run the board through the planer, the supported high spots are shaved off.

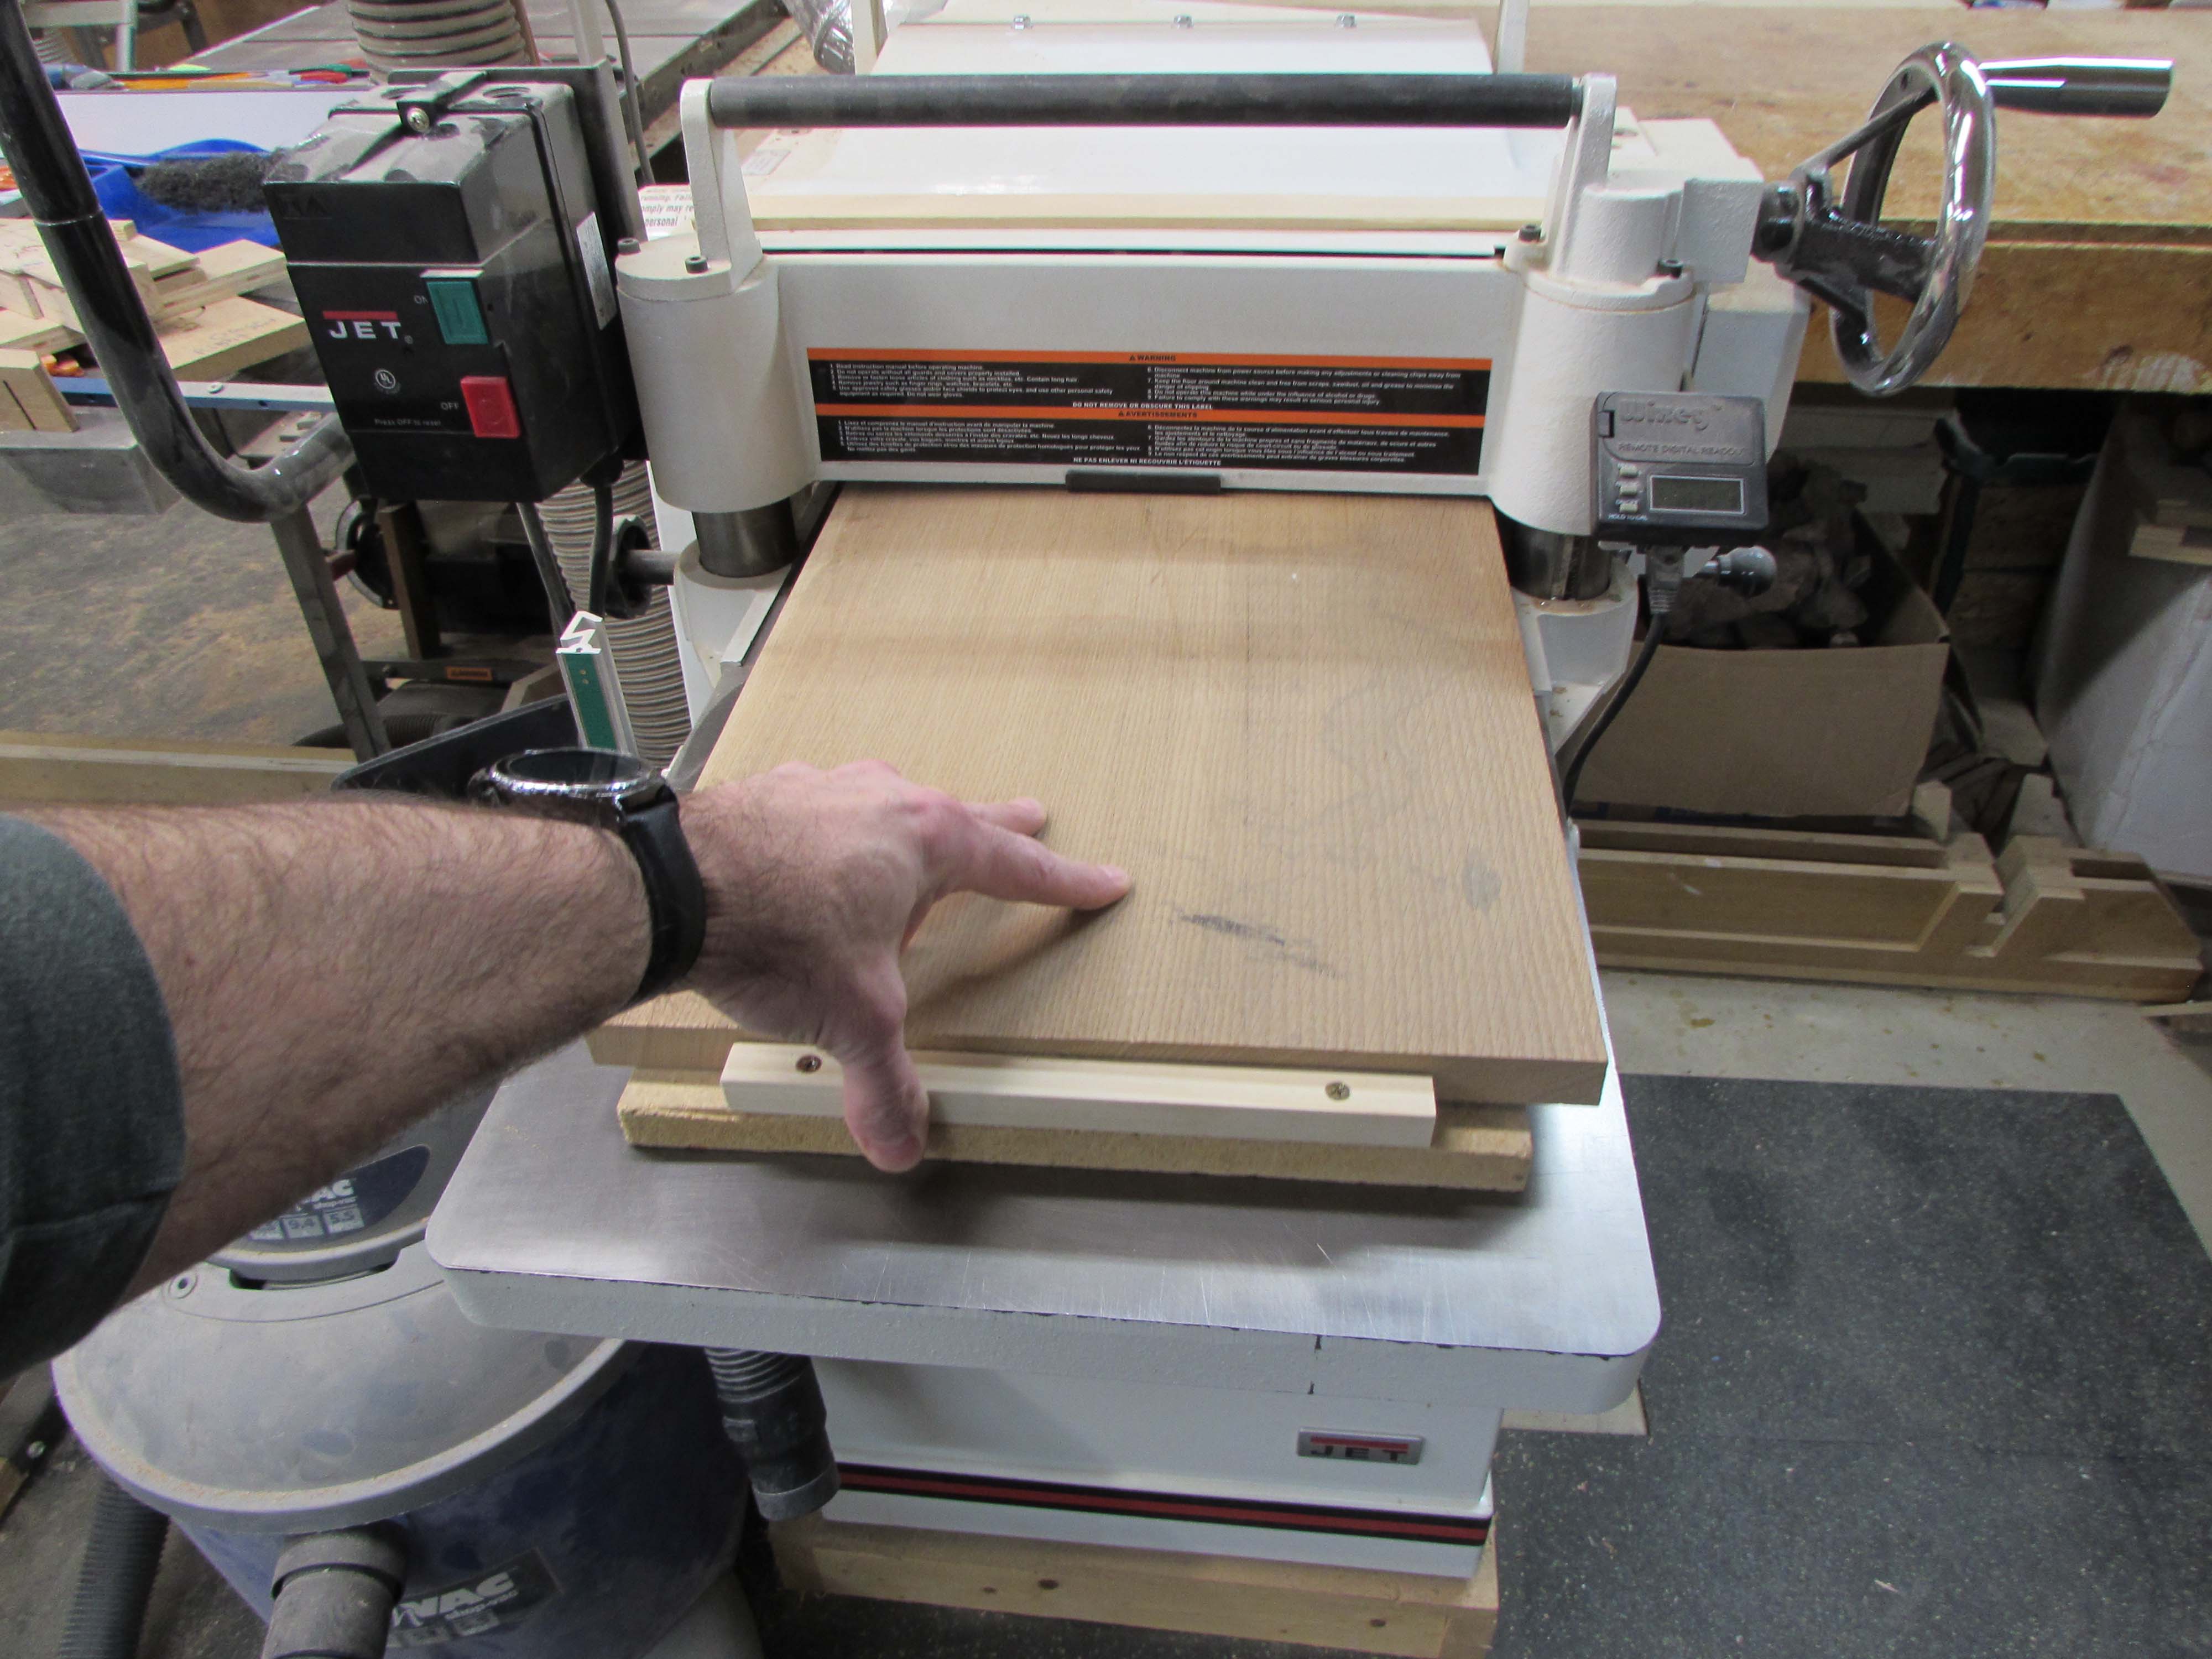
I continue planing the same side until I have one perfectly flat surface, then I remove the sled and flip that side down on the planer and run the opposite side through.
Note how the high spots on this side are opposite from the high spots on the other side.

You can see how much pressure the rollers apply to the board by the screw head pressed into the wood. I also have to plane these off as well…

By the time my board is down to the desired 1/2″ thickness, it is perfectly flat.

Time to try again, fingers crossed.
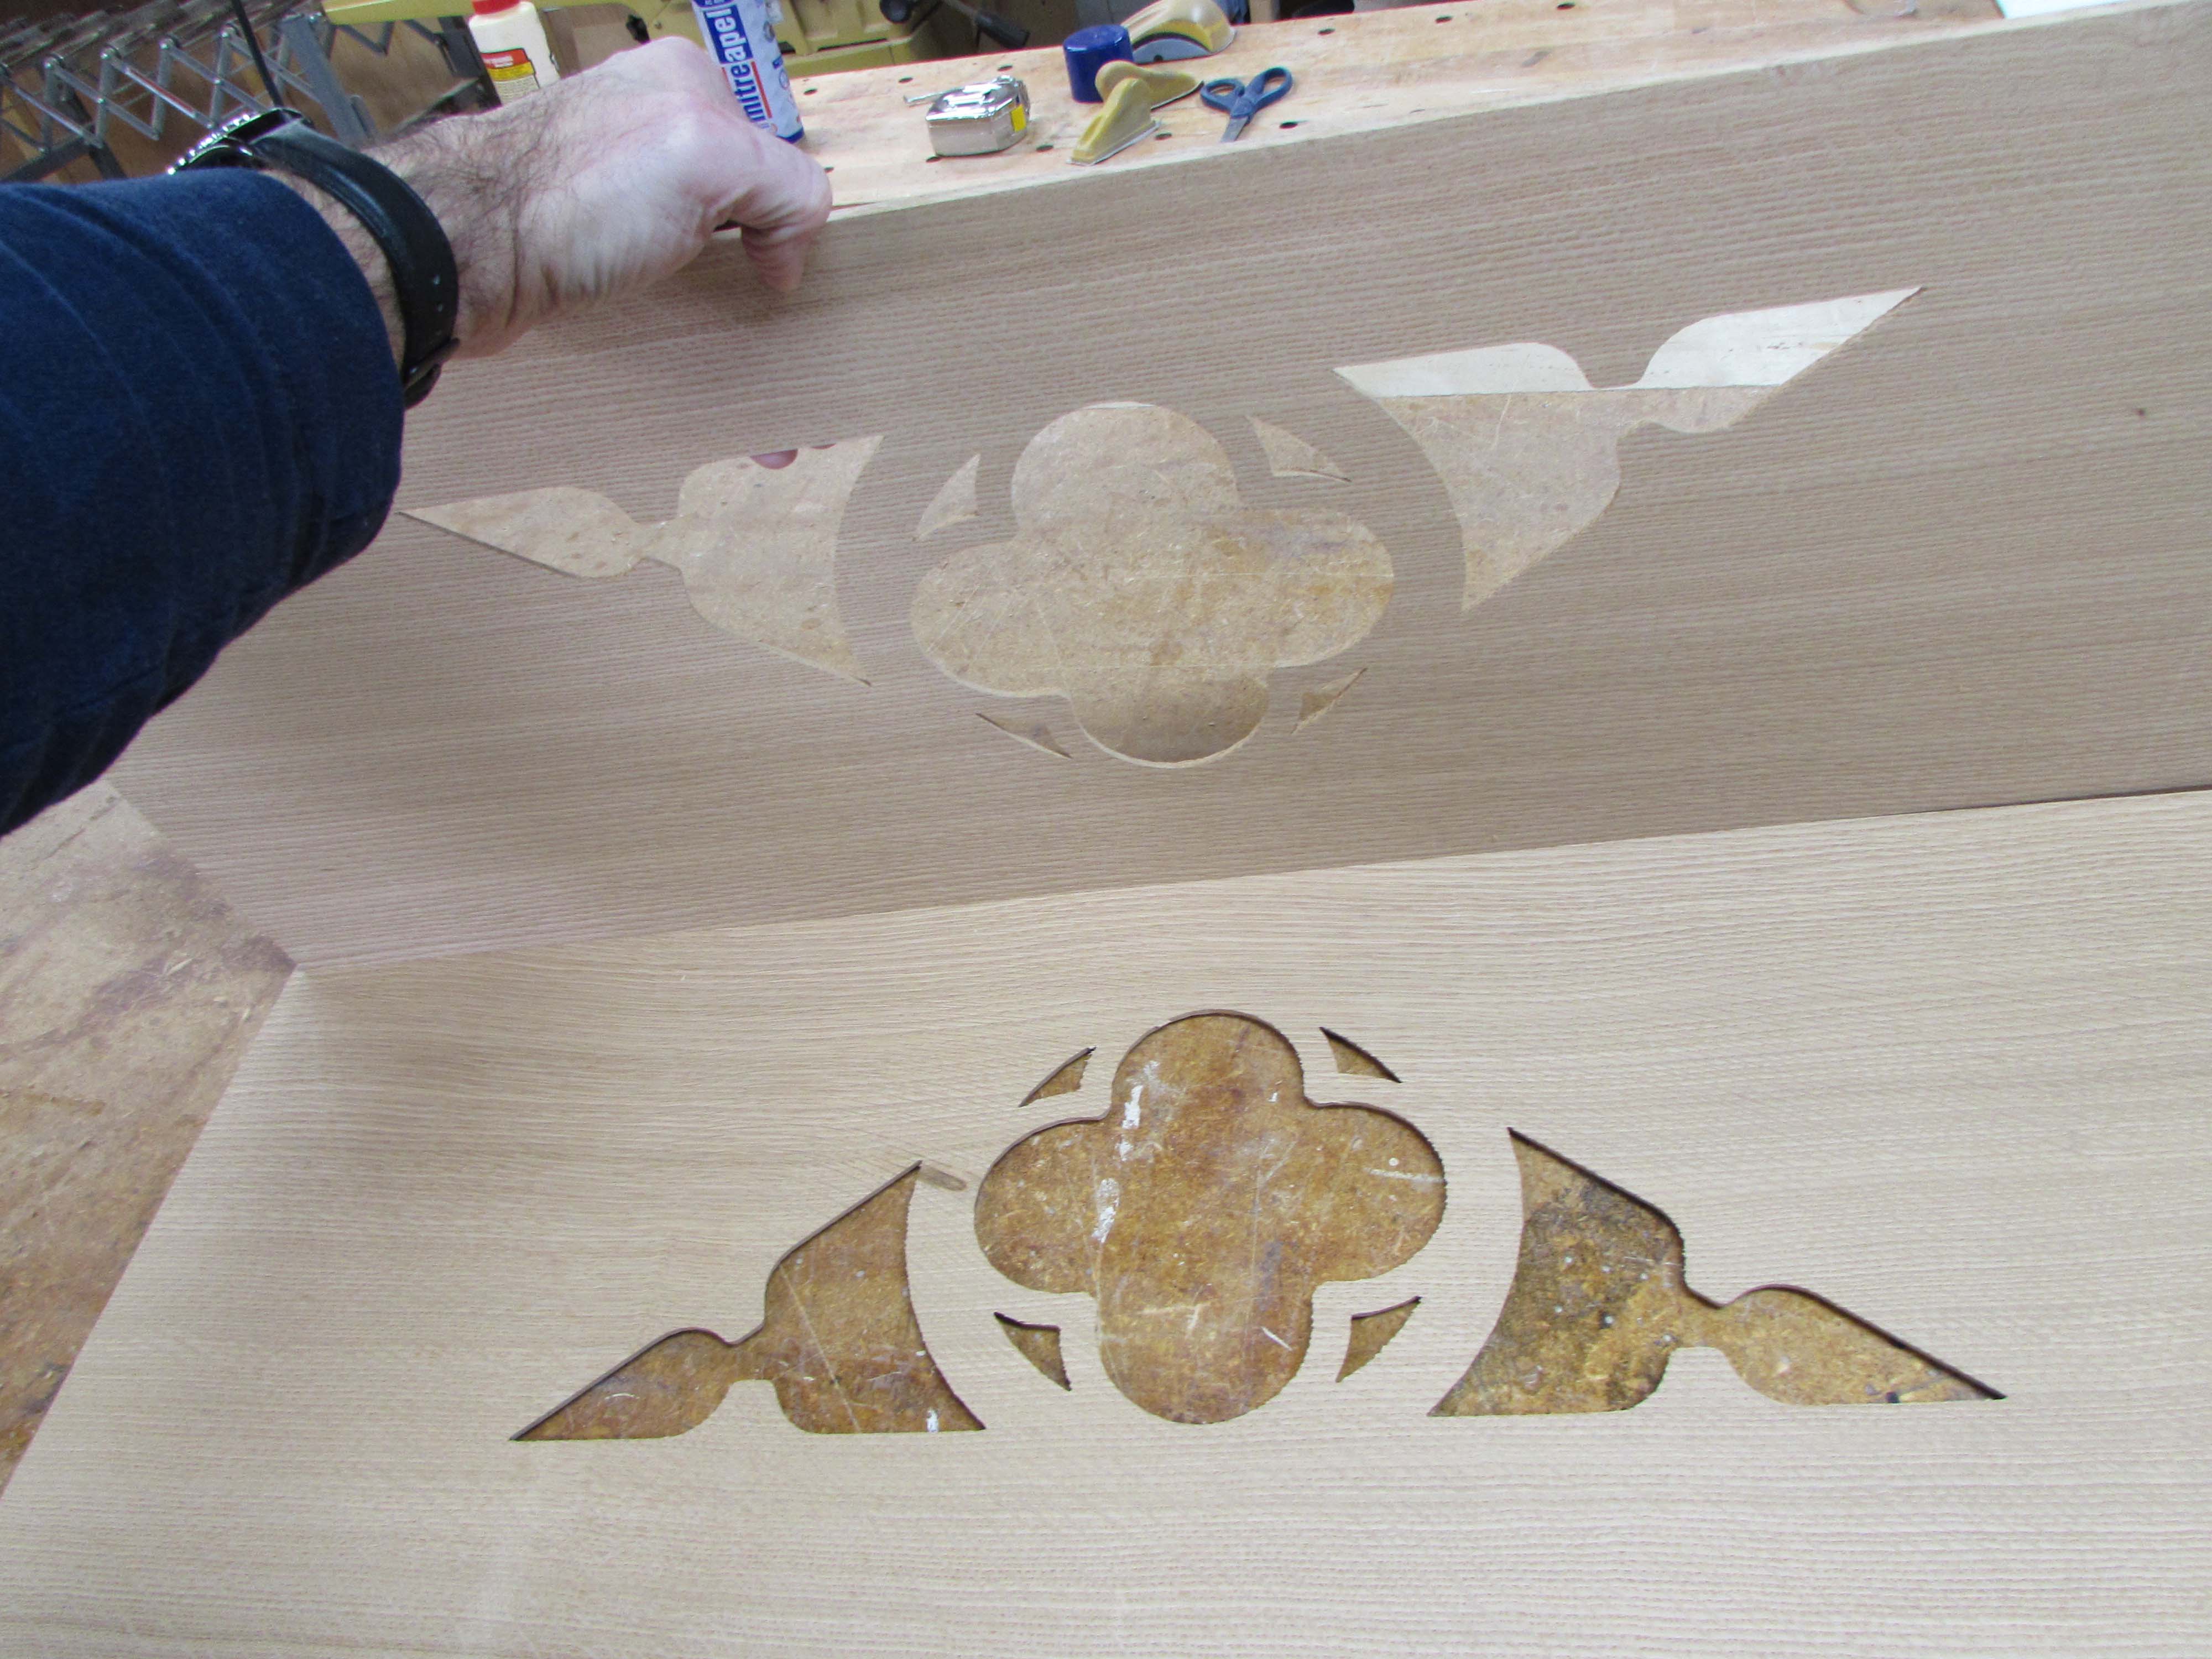
After the board is flipped, the first cuts look promising…
But when it was finished, I had the same problem. I think it will soon be time to invest in a new CNC…
I now have two boards with the exact same problem.
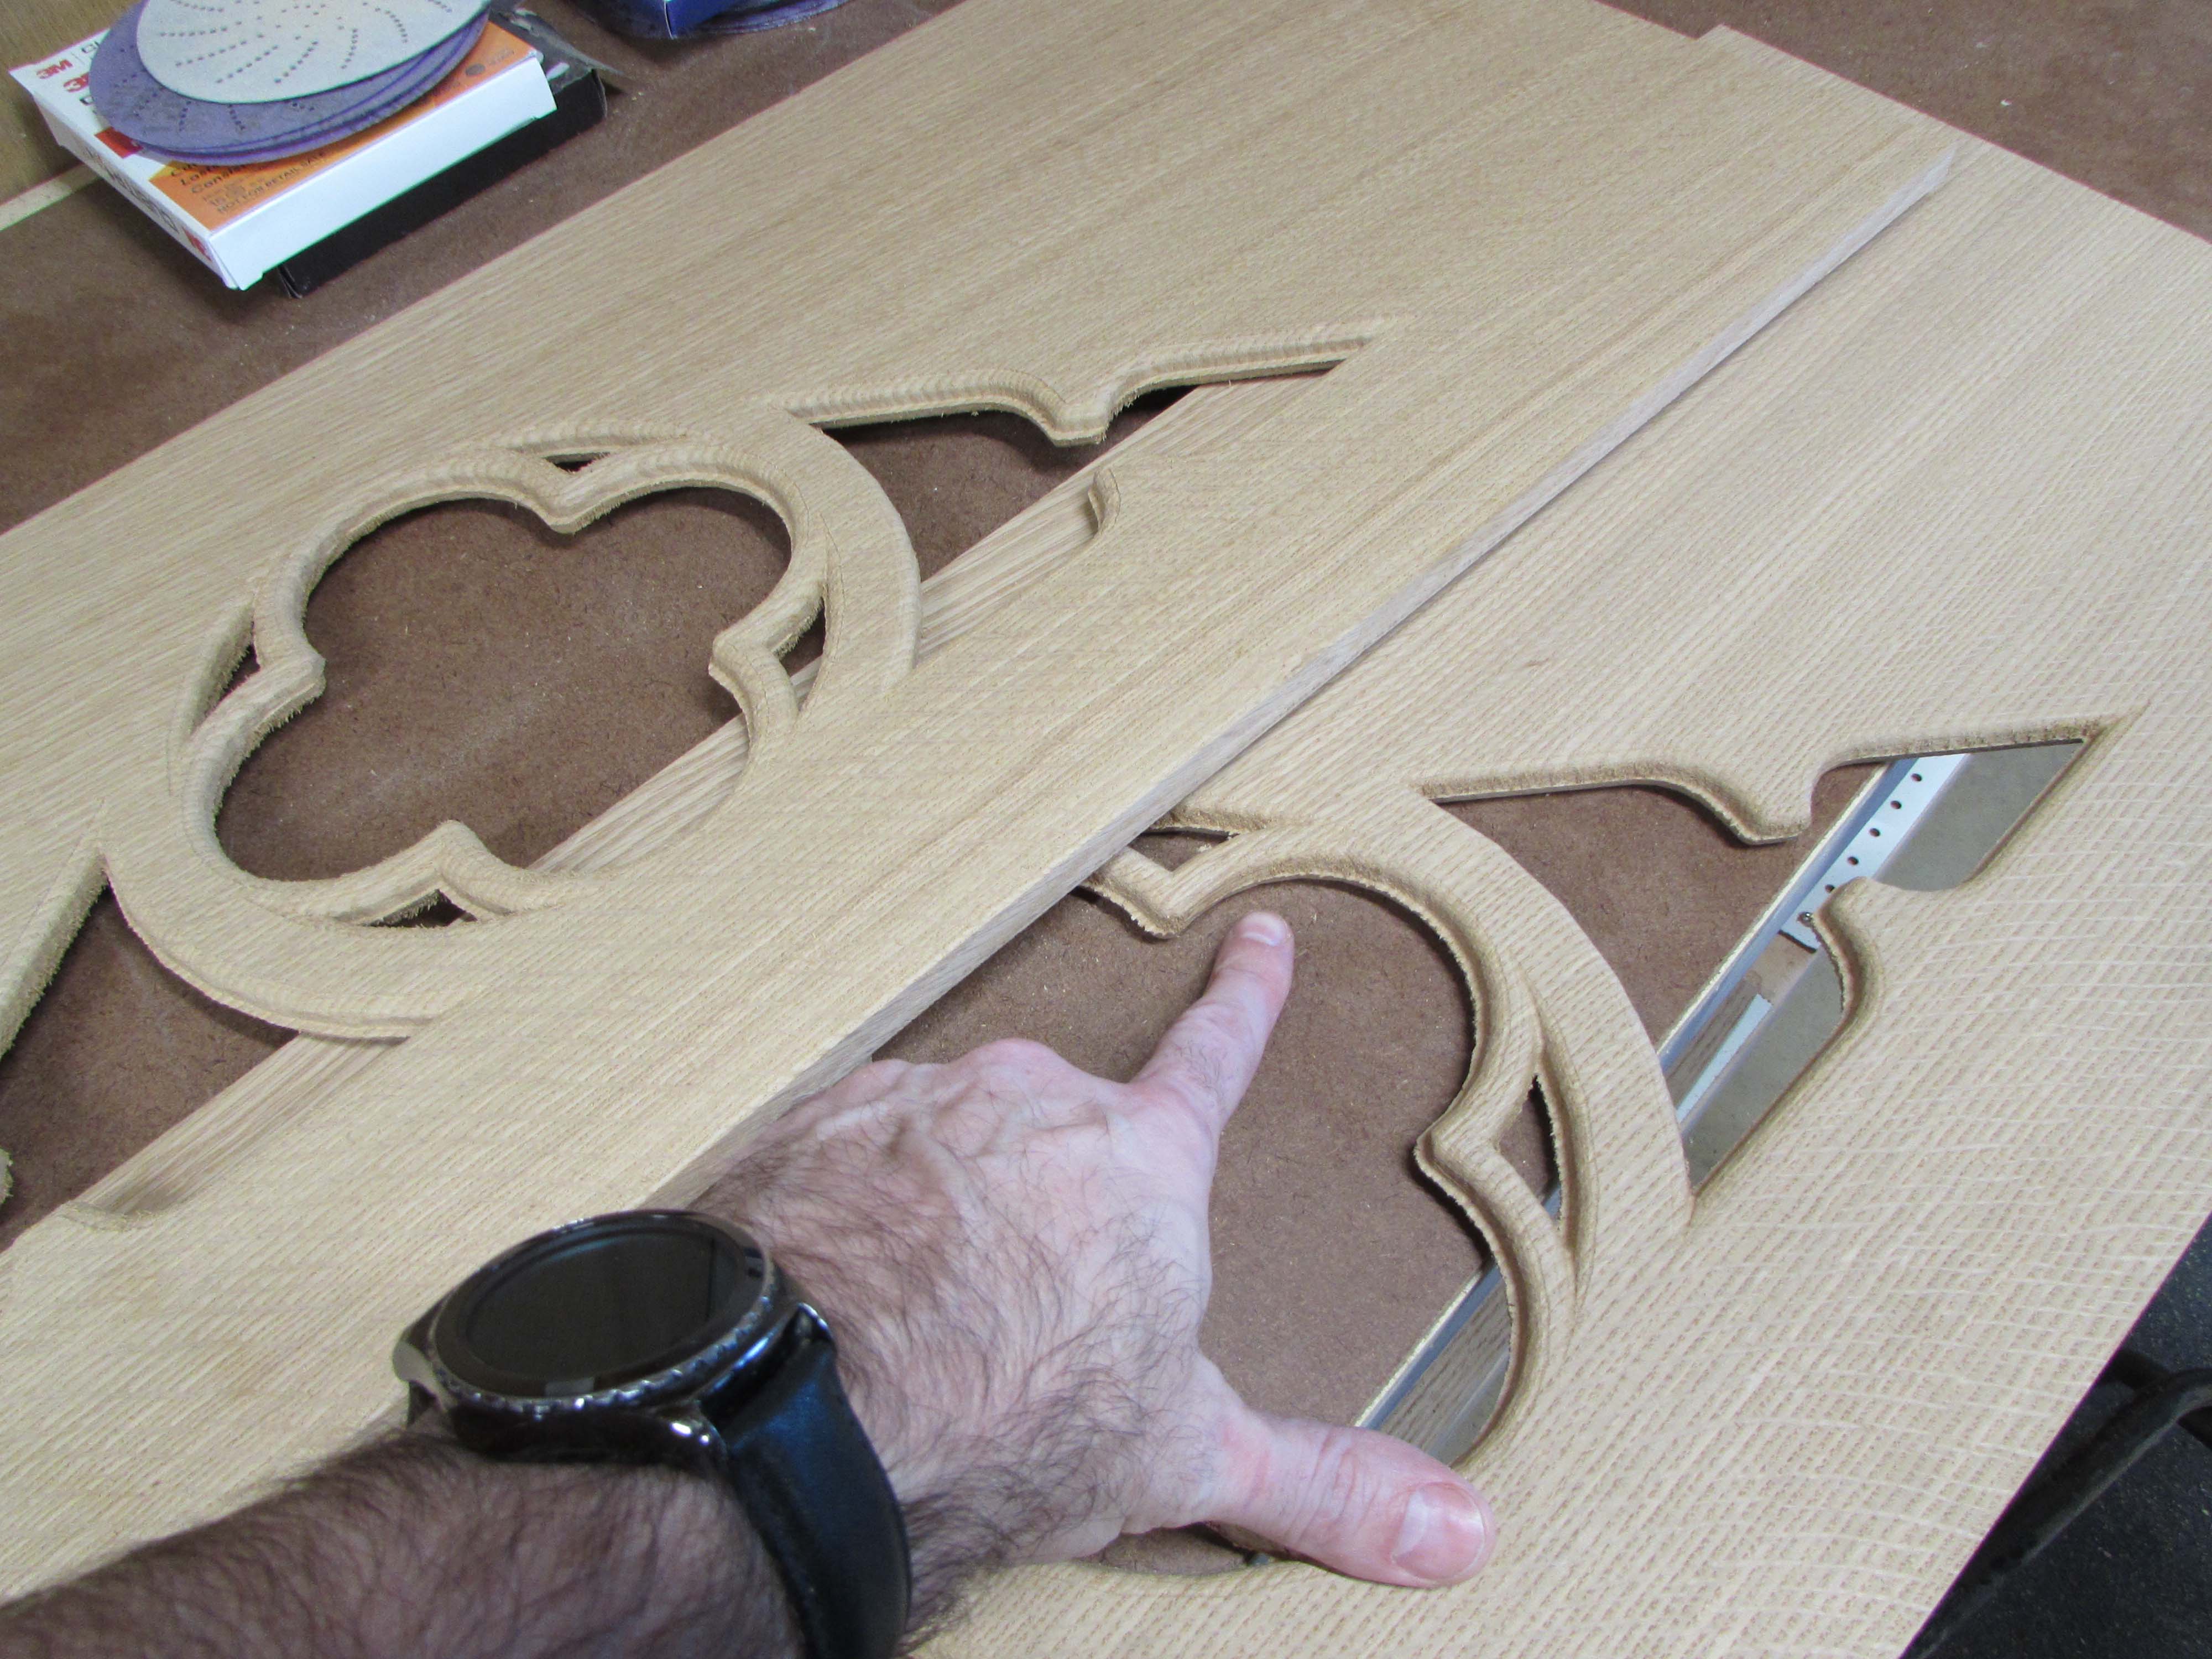
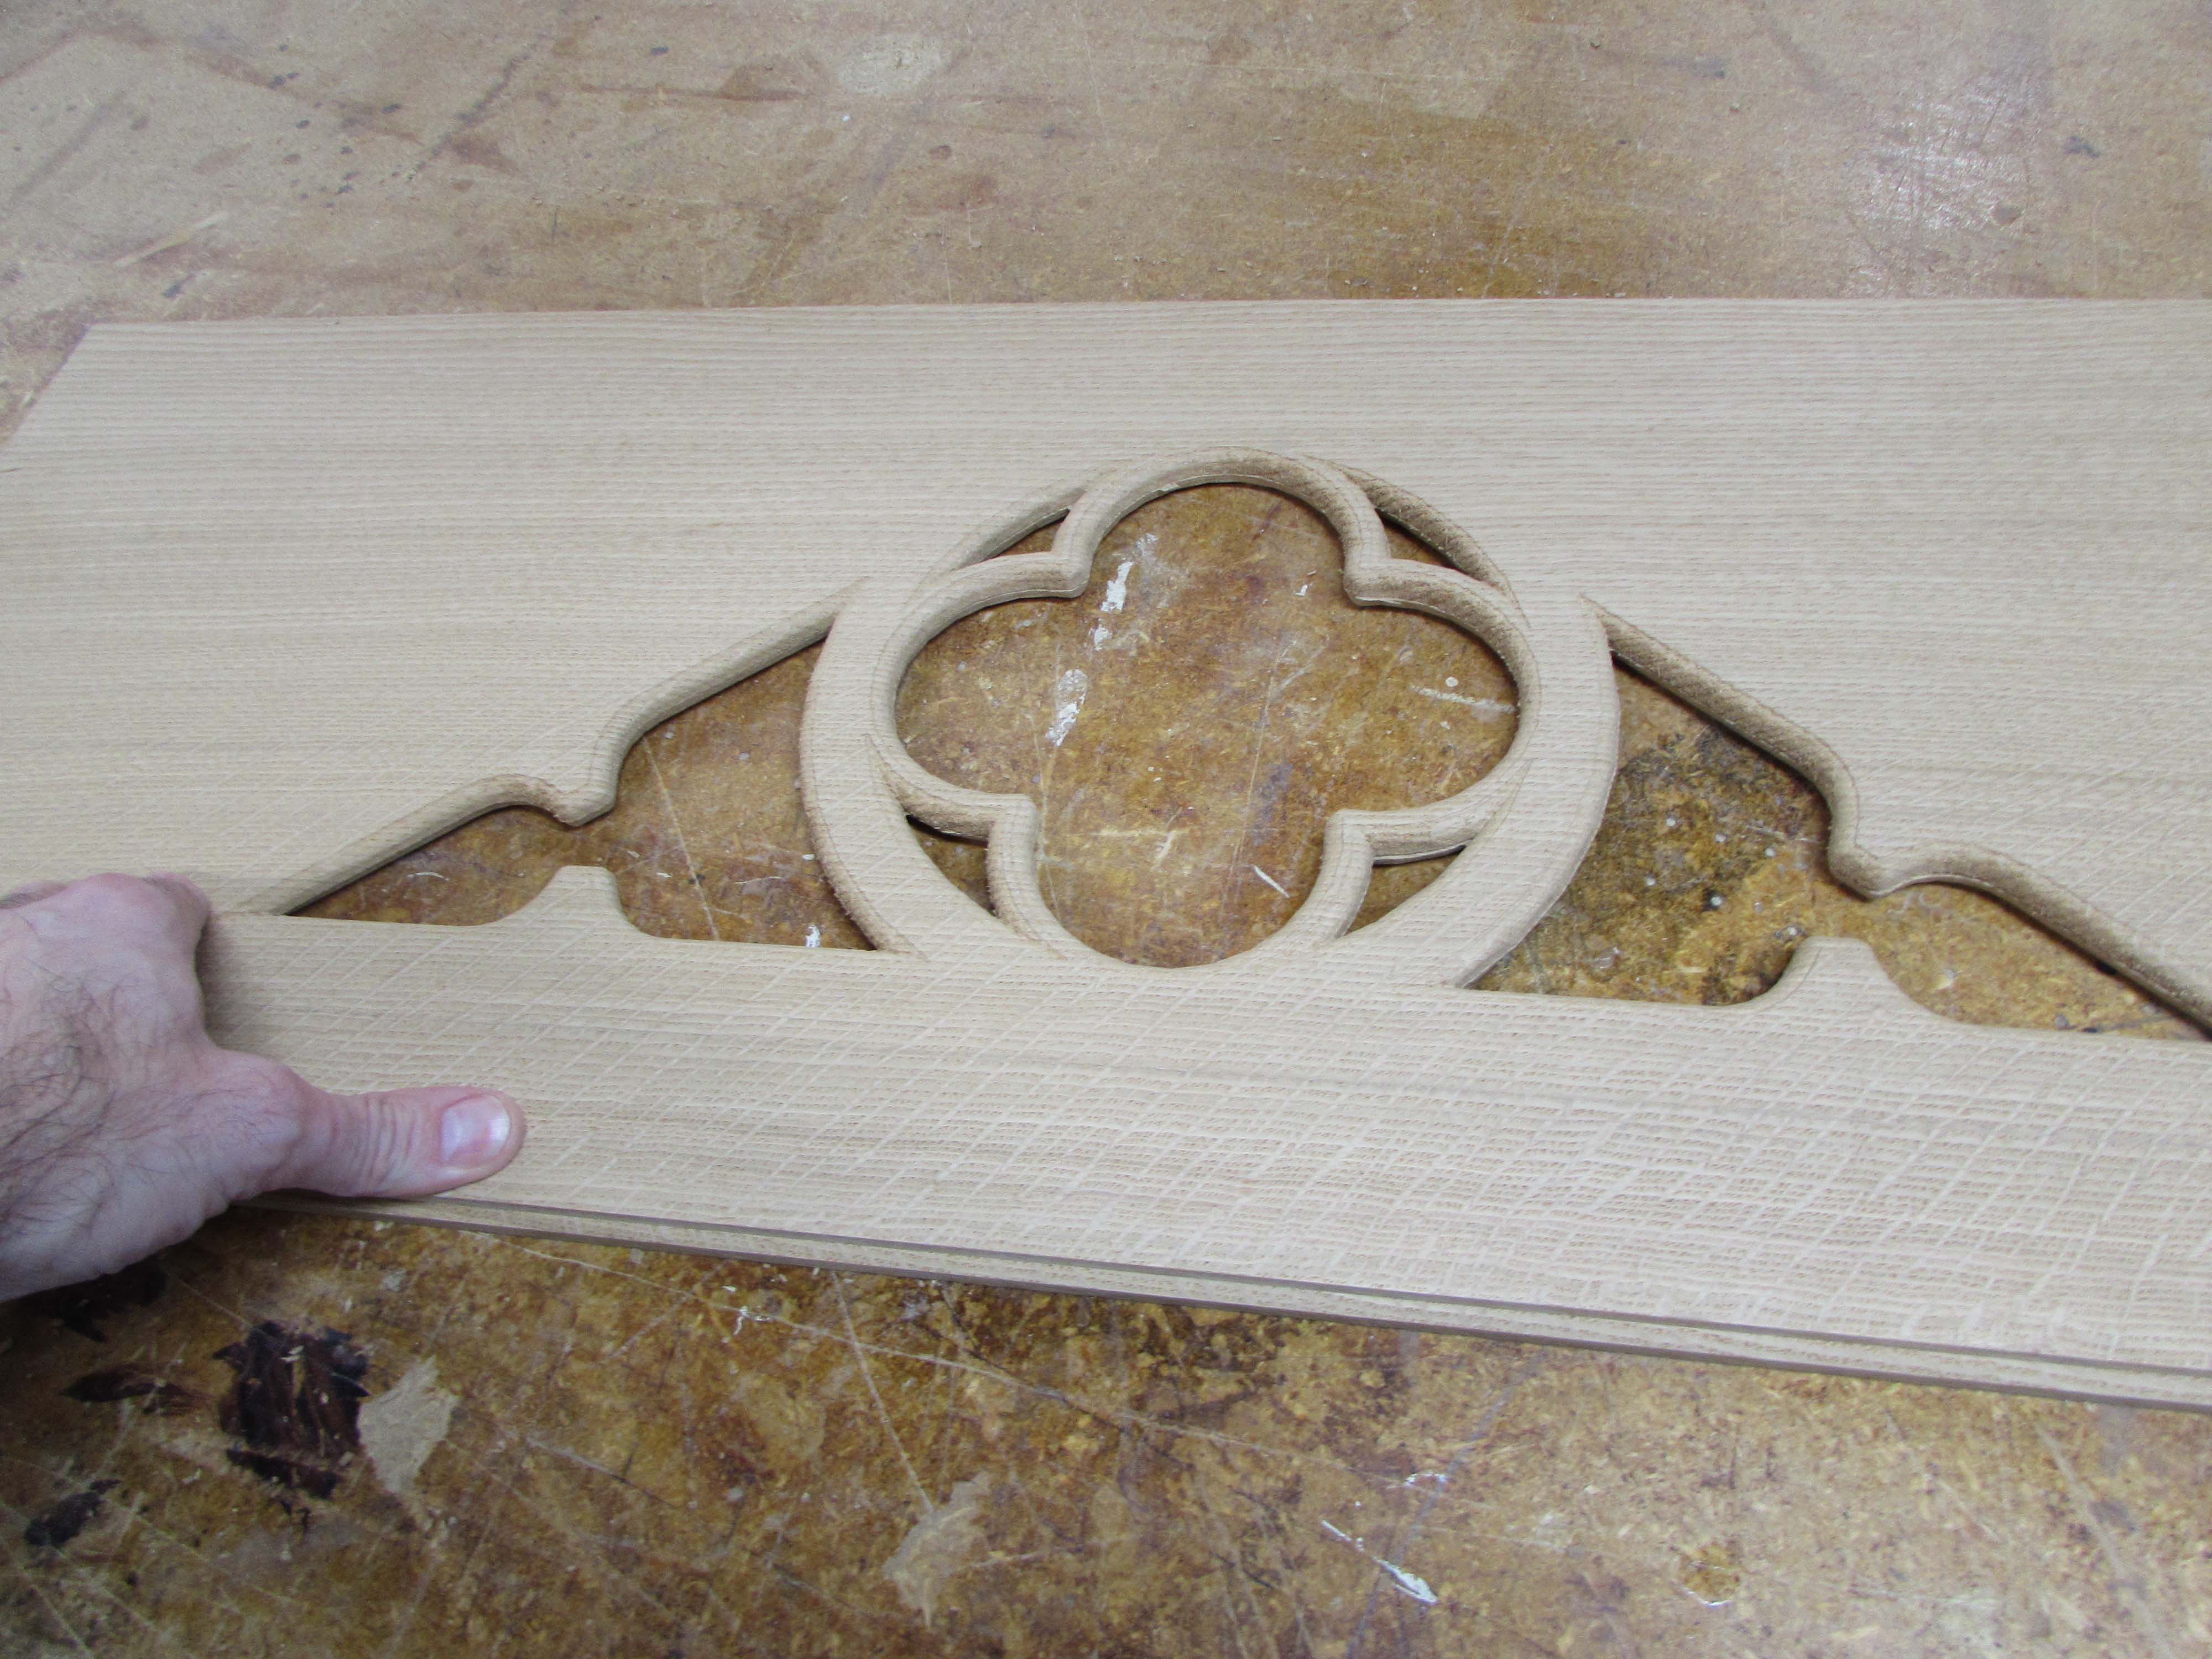
It occurred to me that this can be a good thing. If I plane down both sides 1/4″ further, I will have two perfect halves that can be glued back together, making the center piece stronger and even more stable.


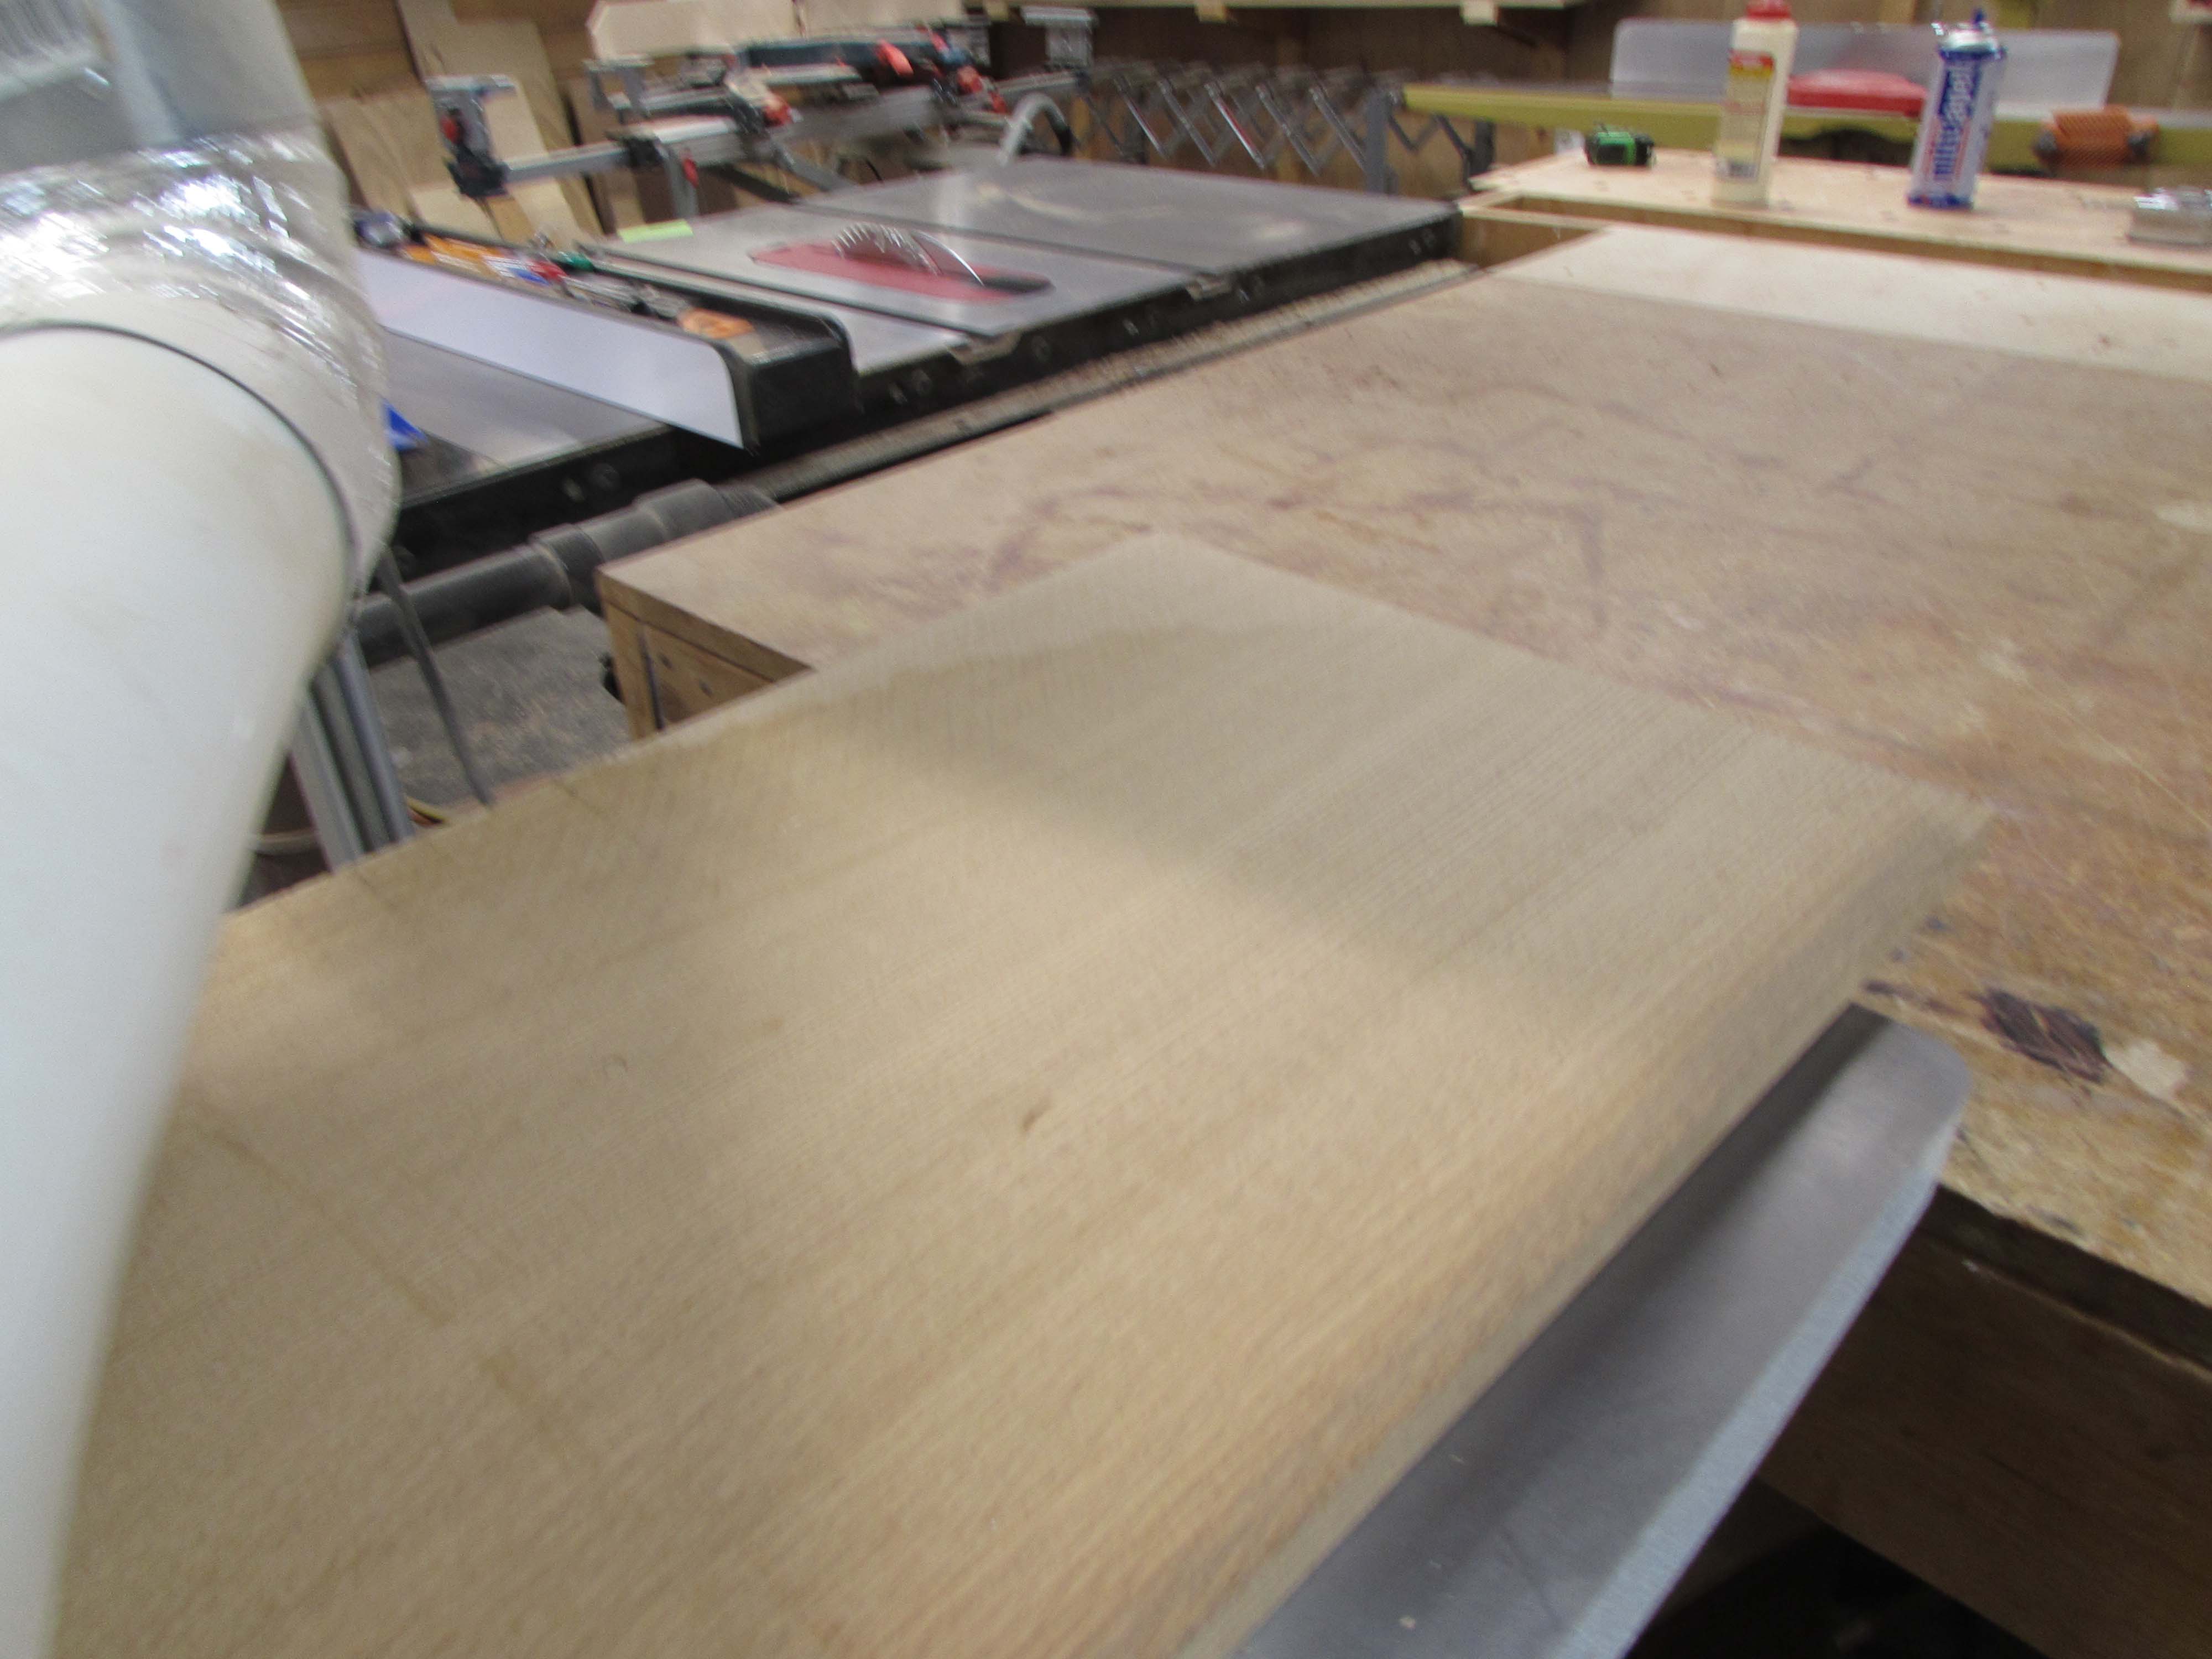
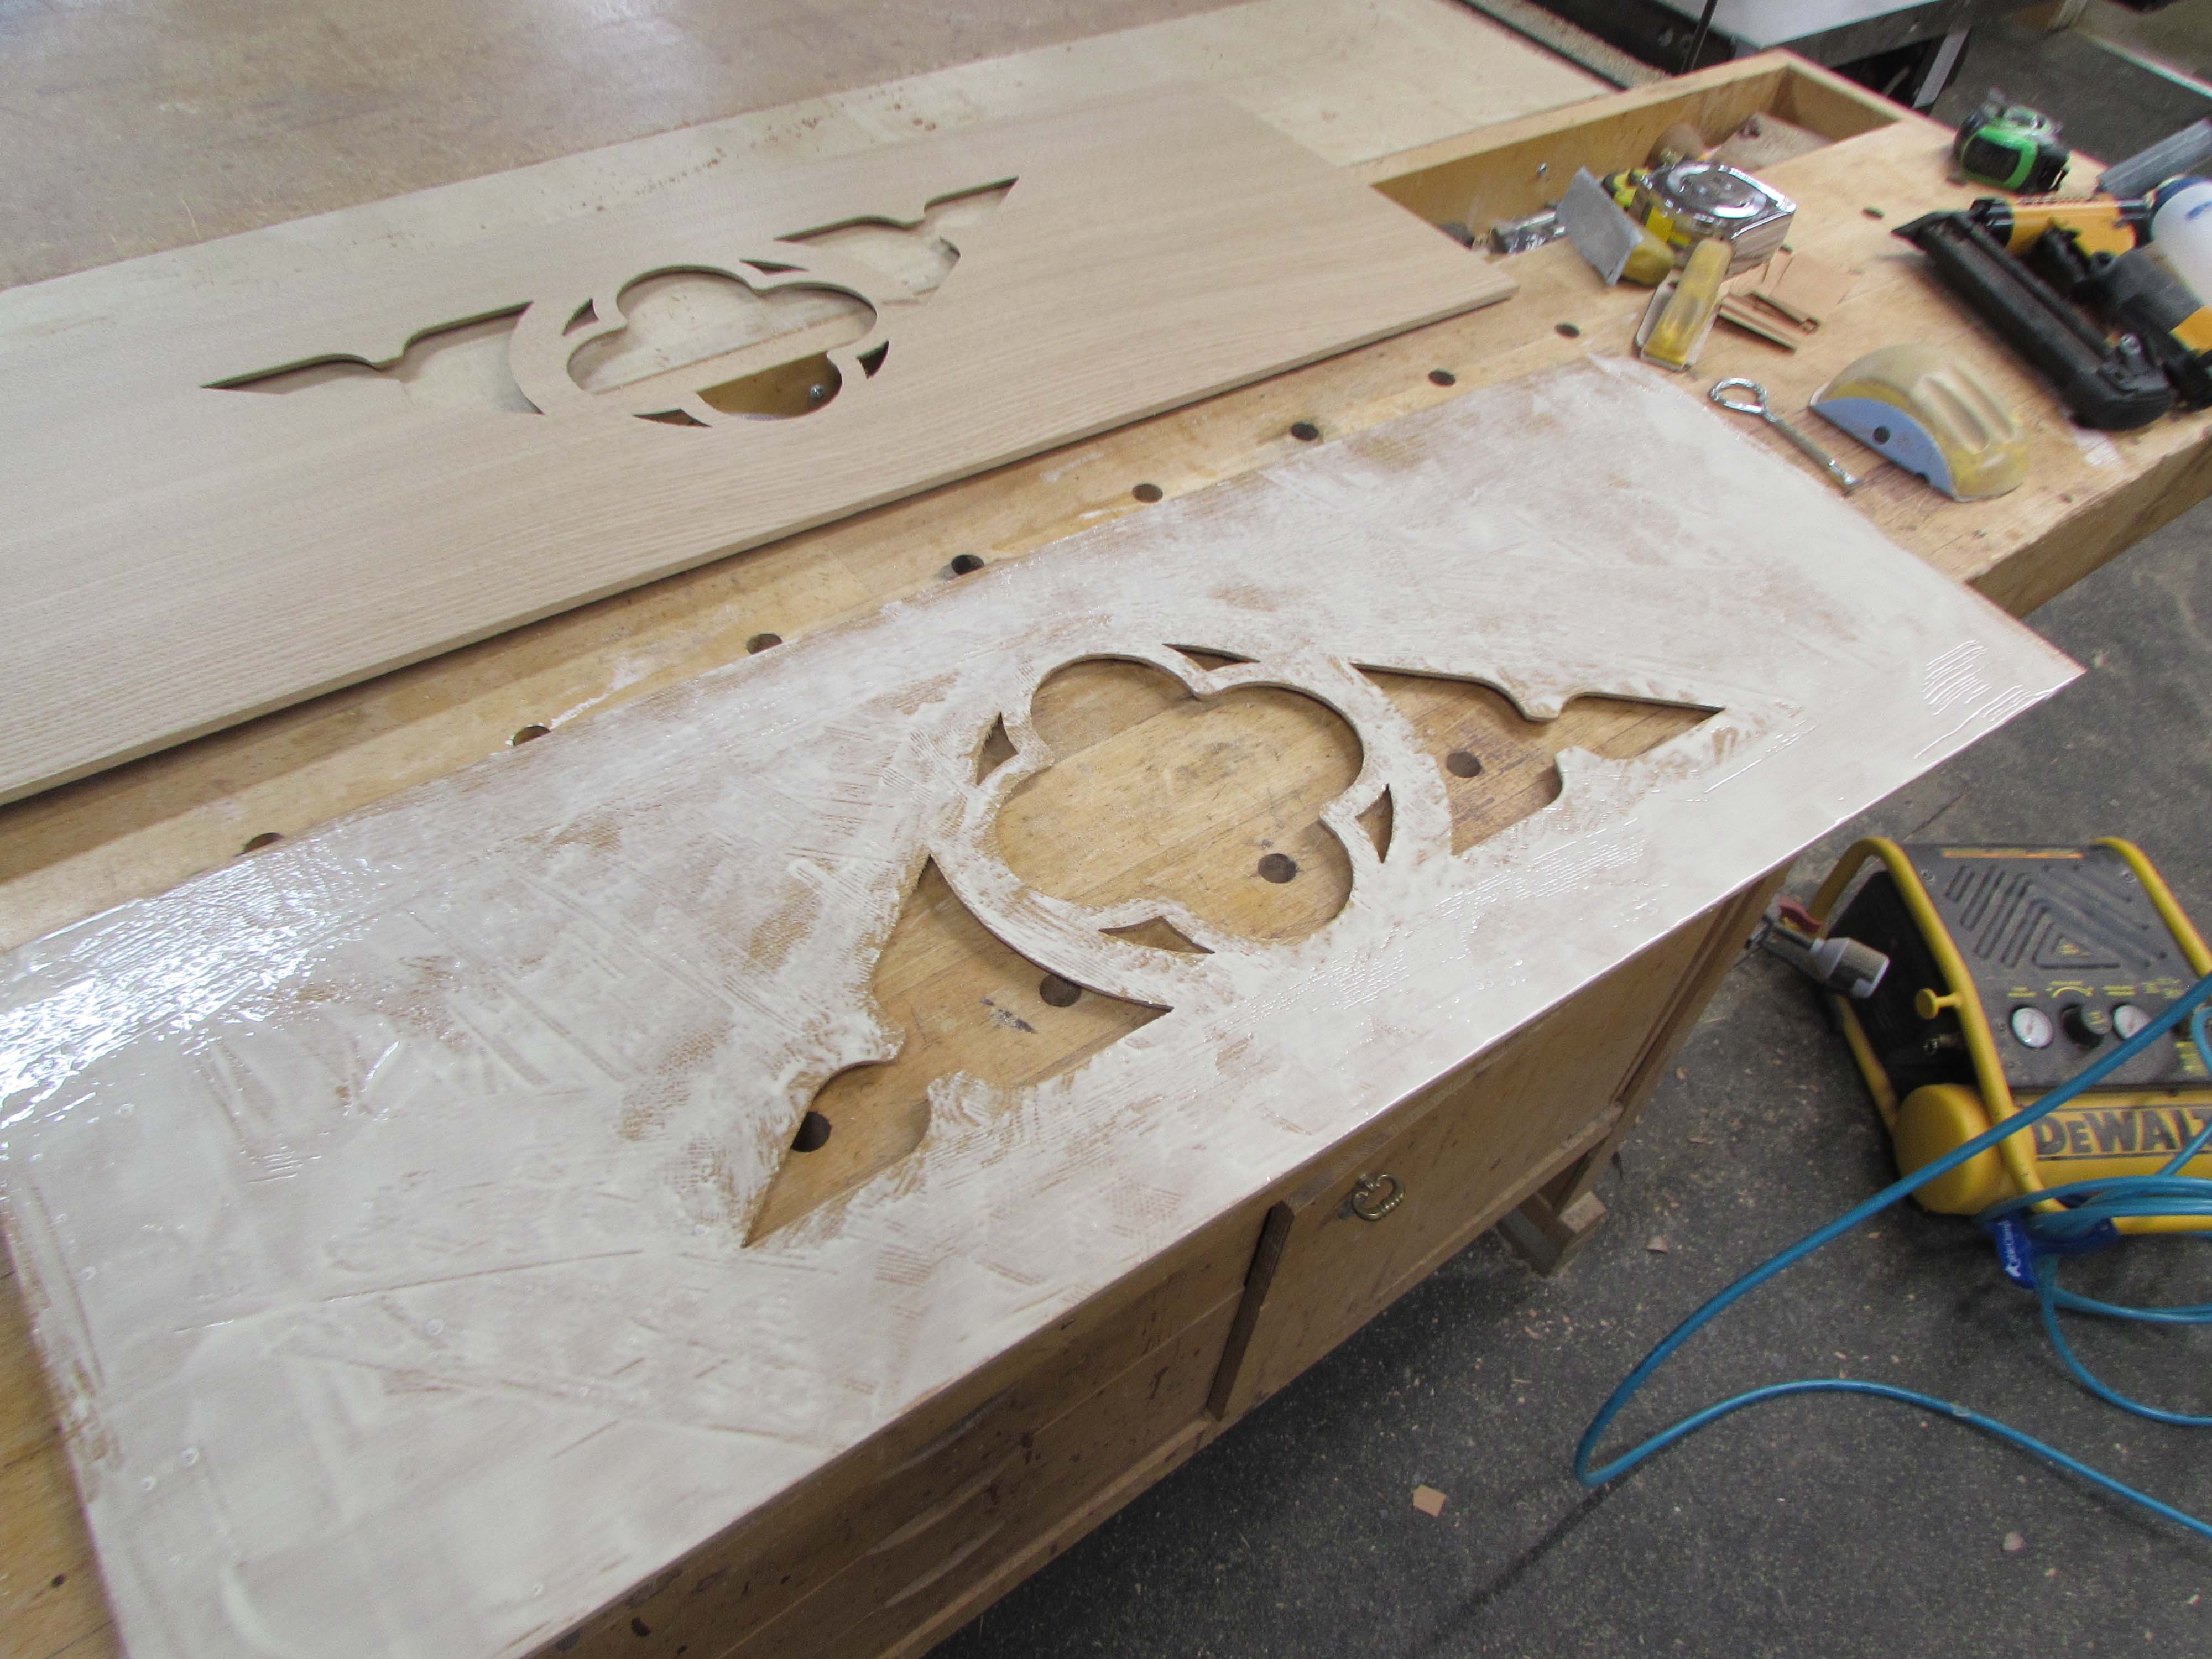
30 gallons of sawdust later, I have two perfect halves on my center piece.
When I align them they will look great.
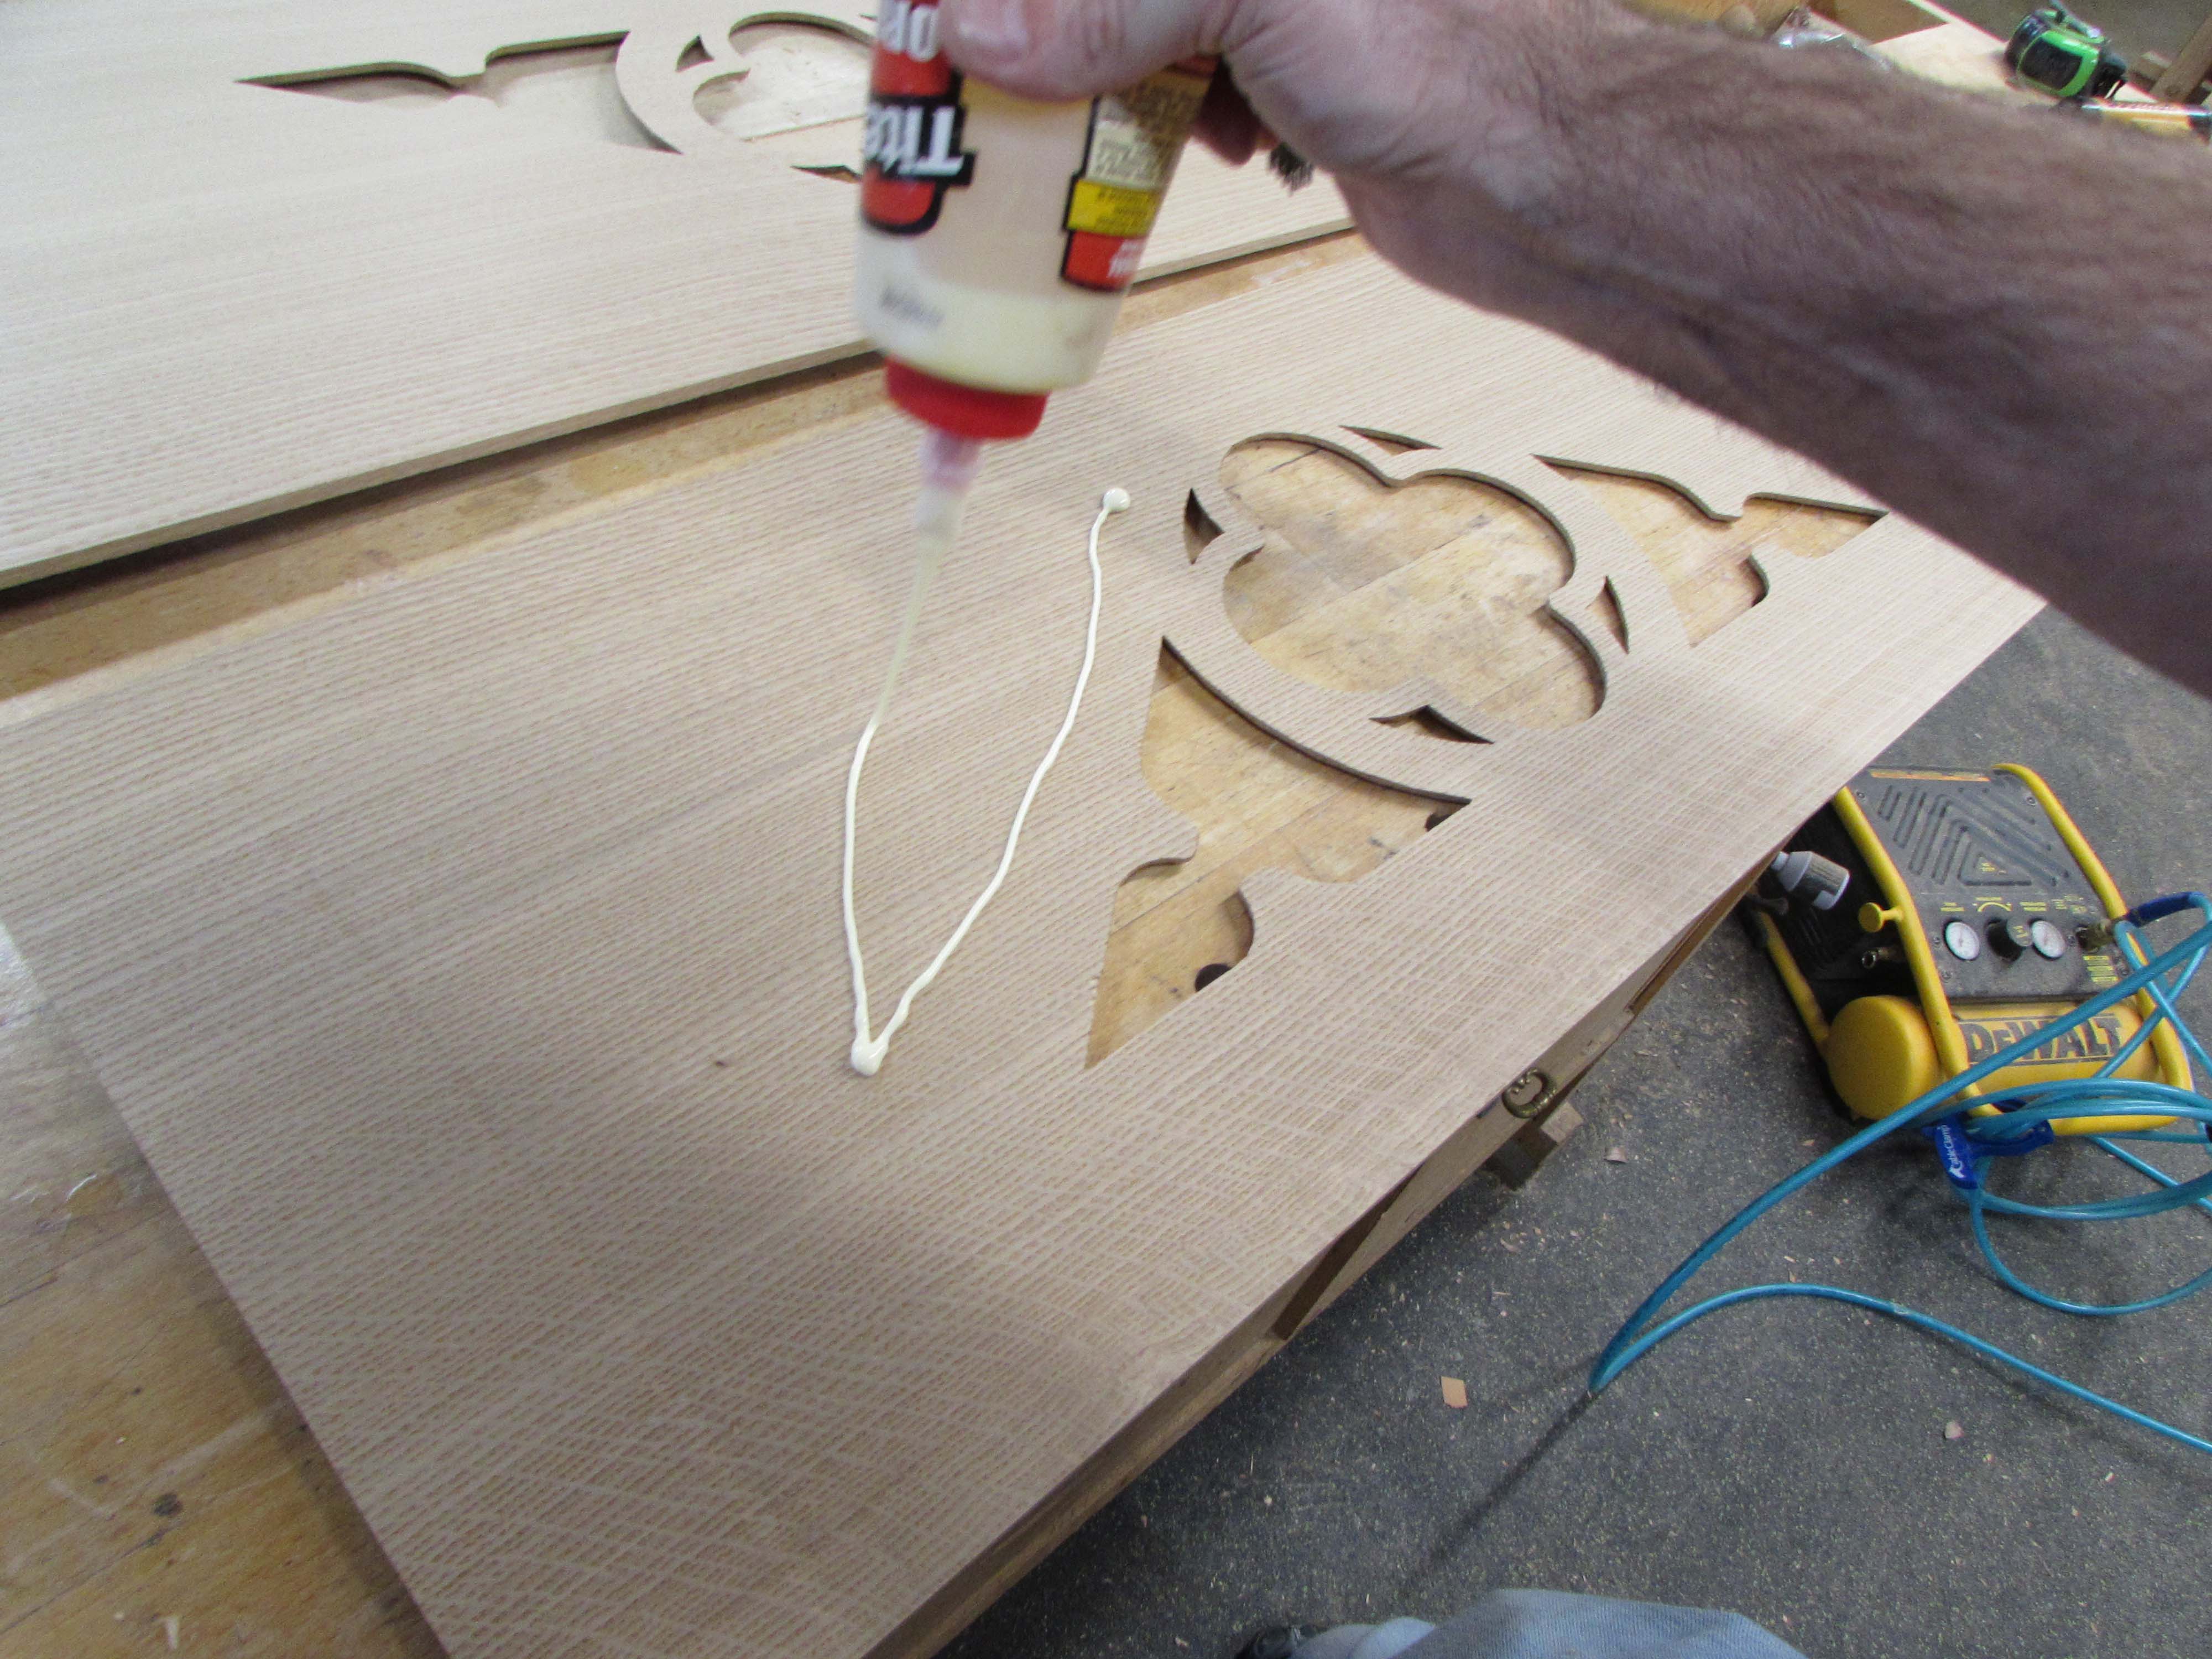
I need to work quickly to get the glue spread evenly before any of it starts to dry.

I only have a few minutes so I break out the roller for the larger areas.

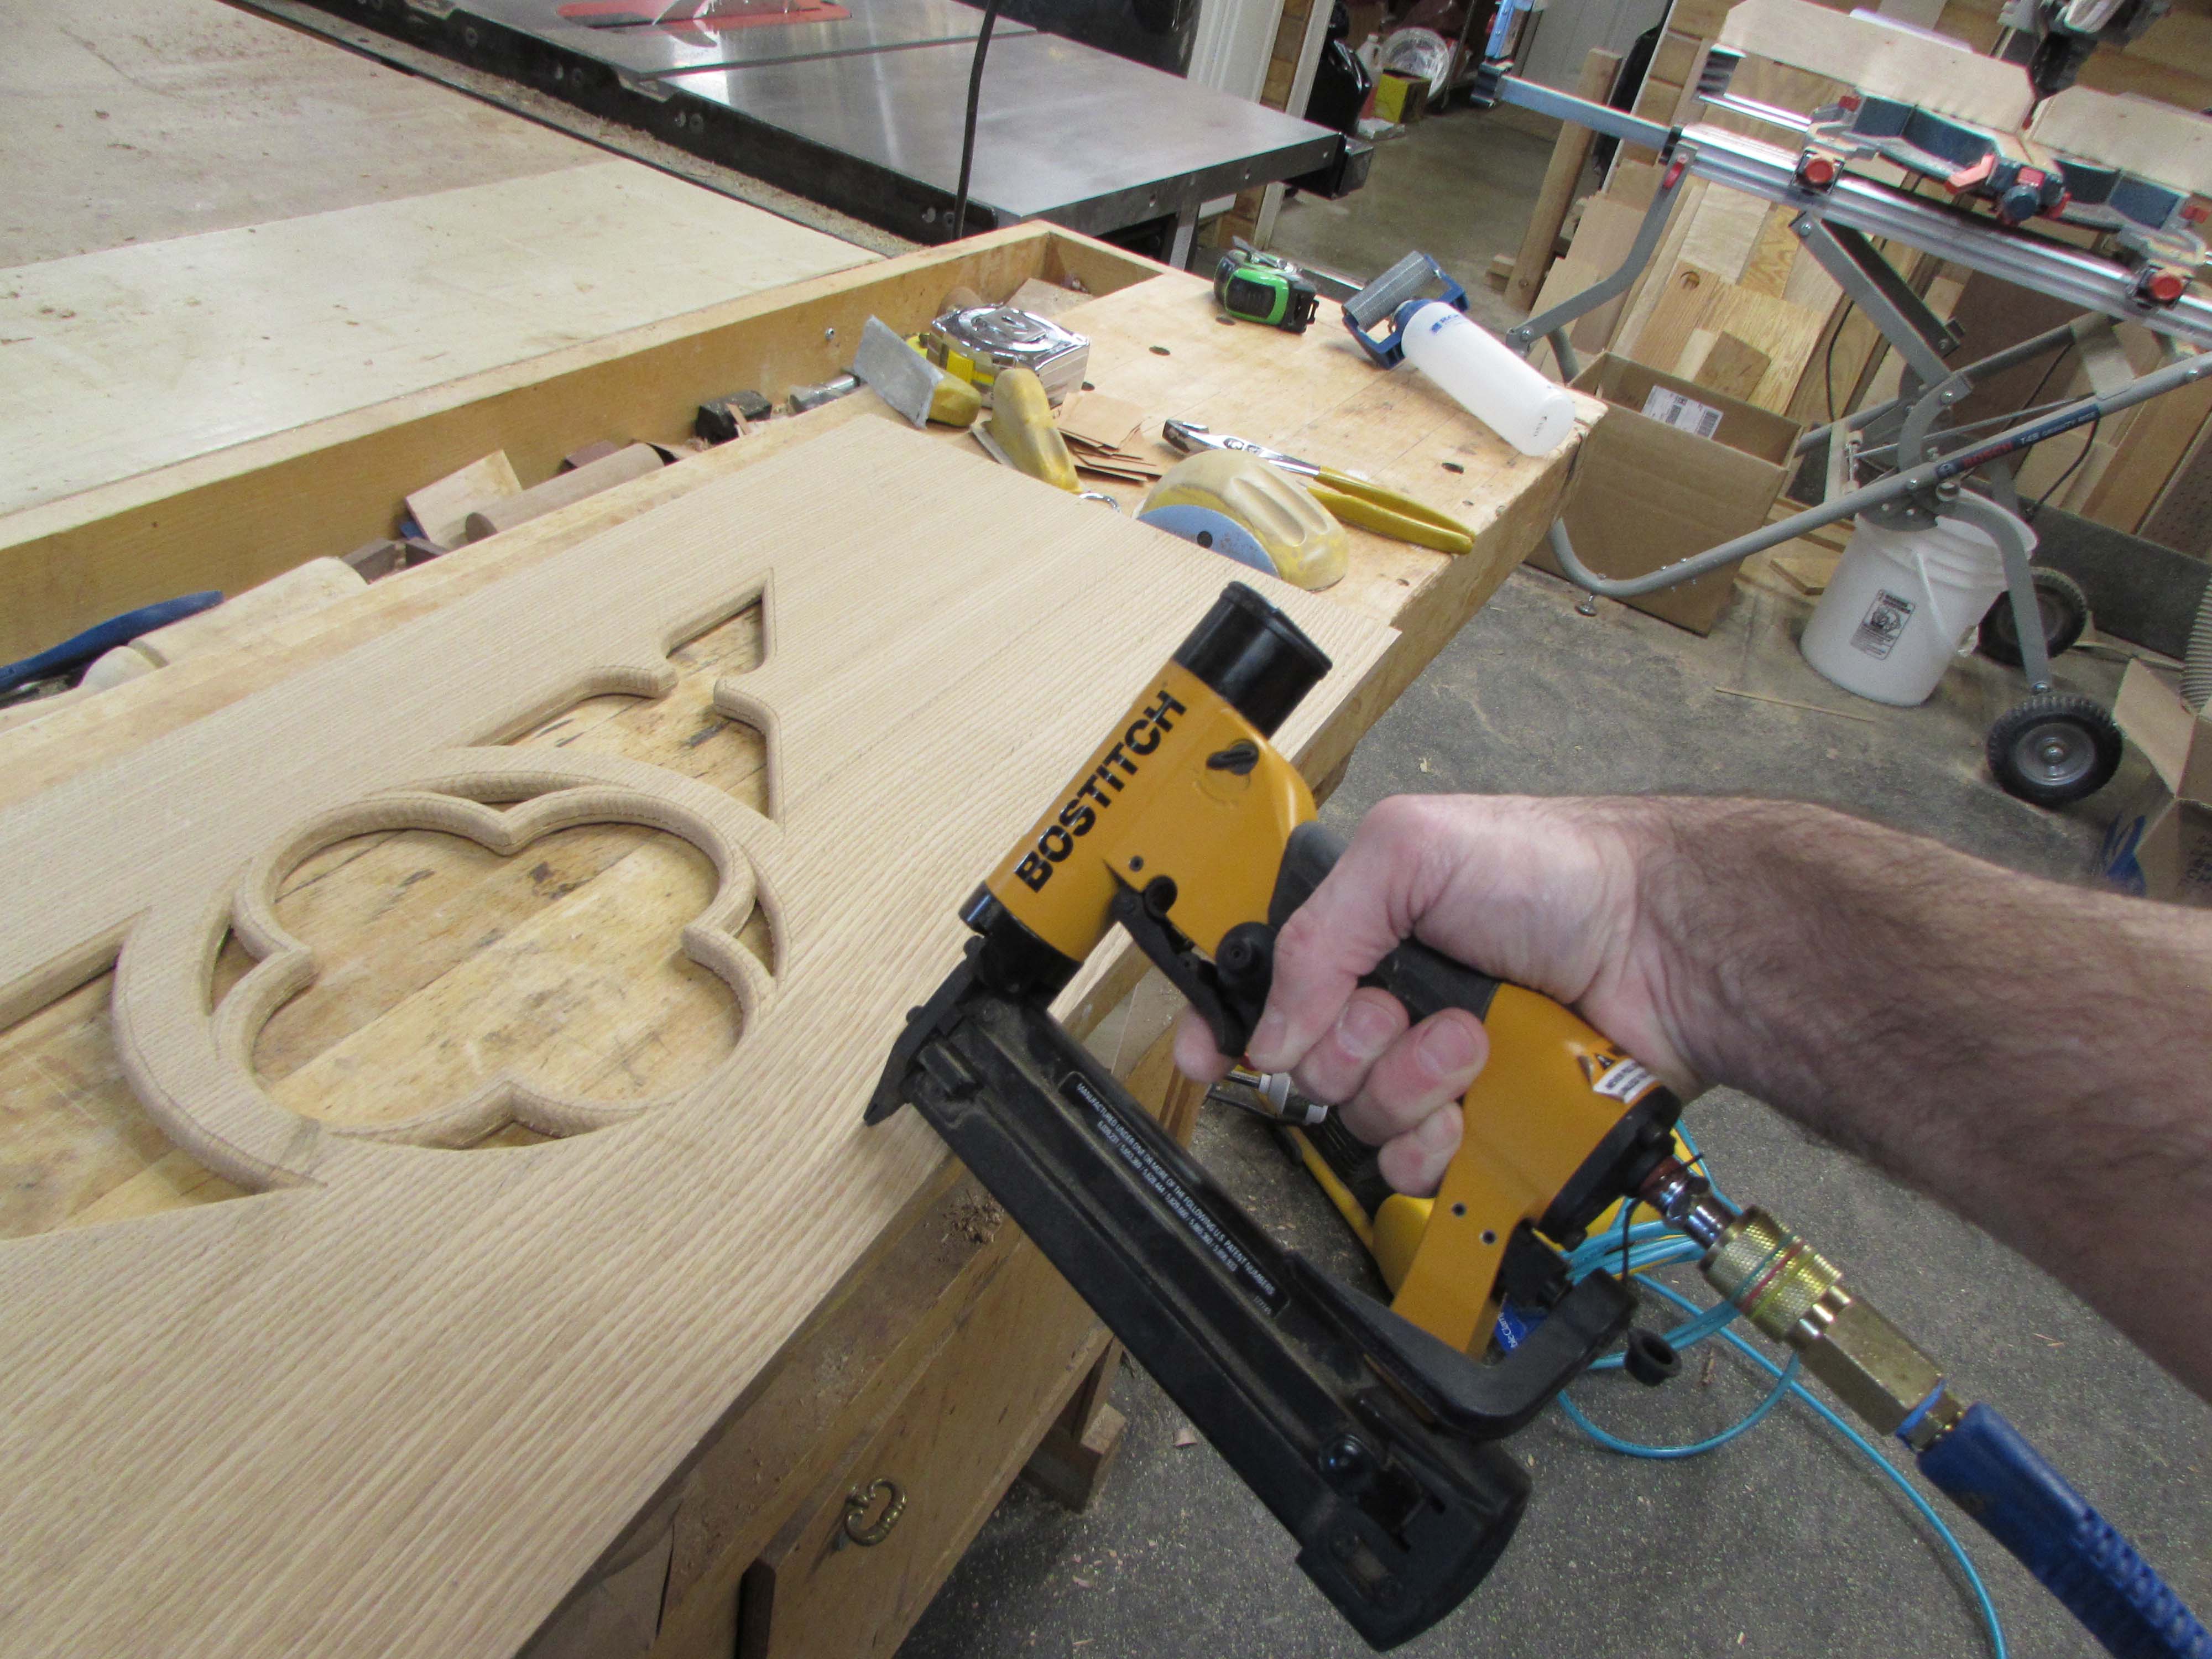
I pressed the two sides together and used some very short pin nails to keep the sides from sliding apart onder pressure.
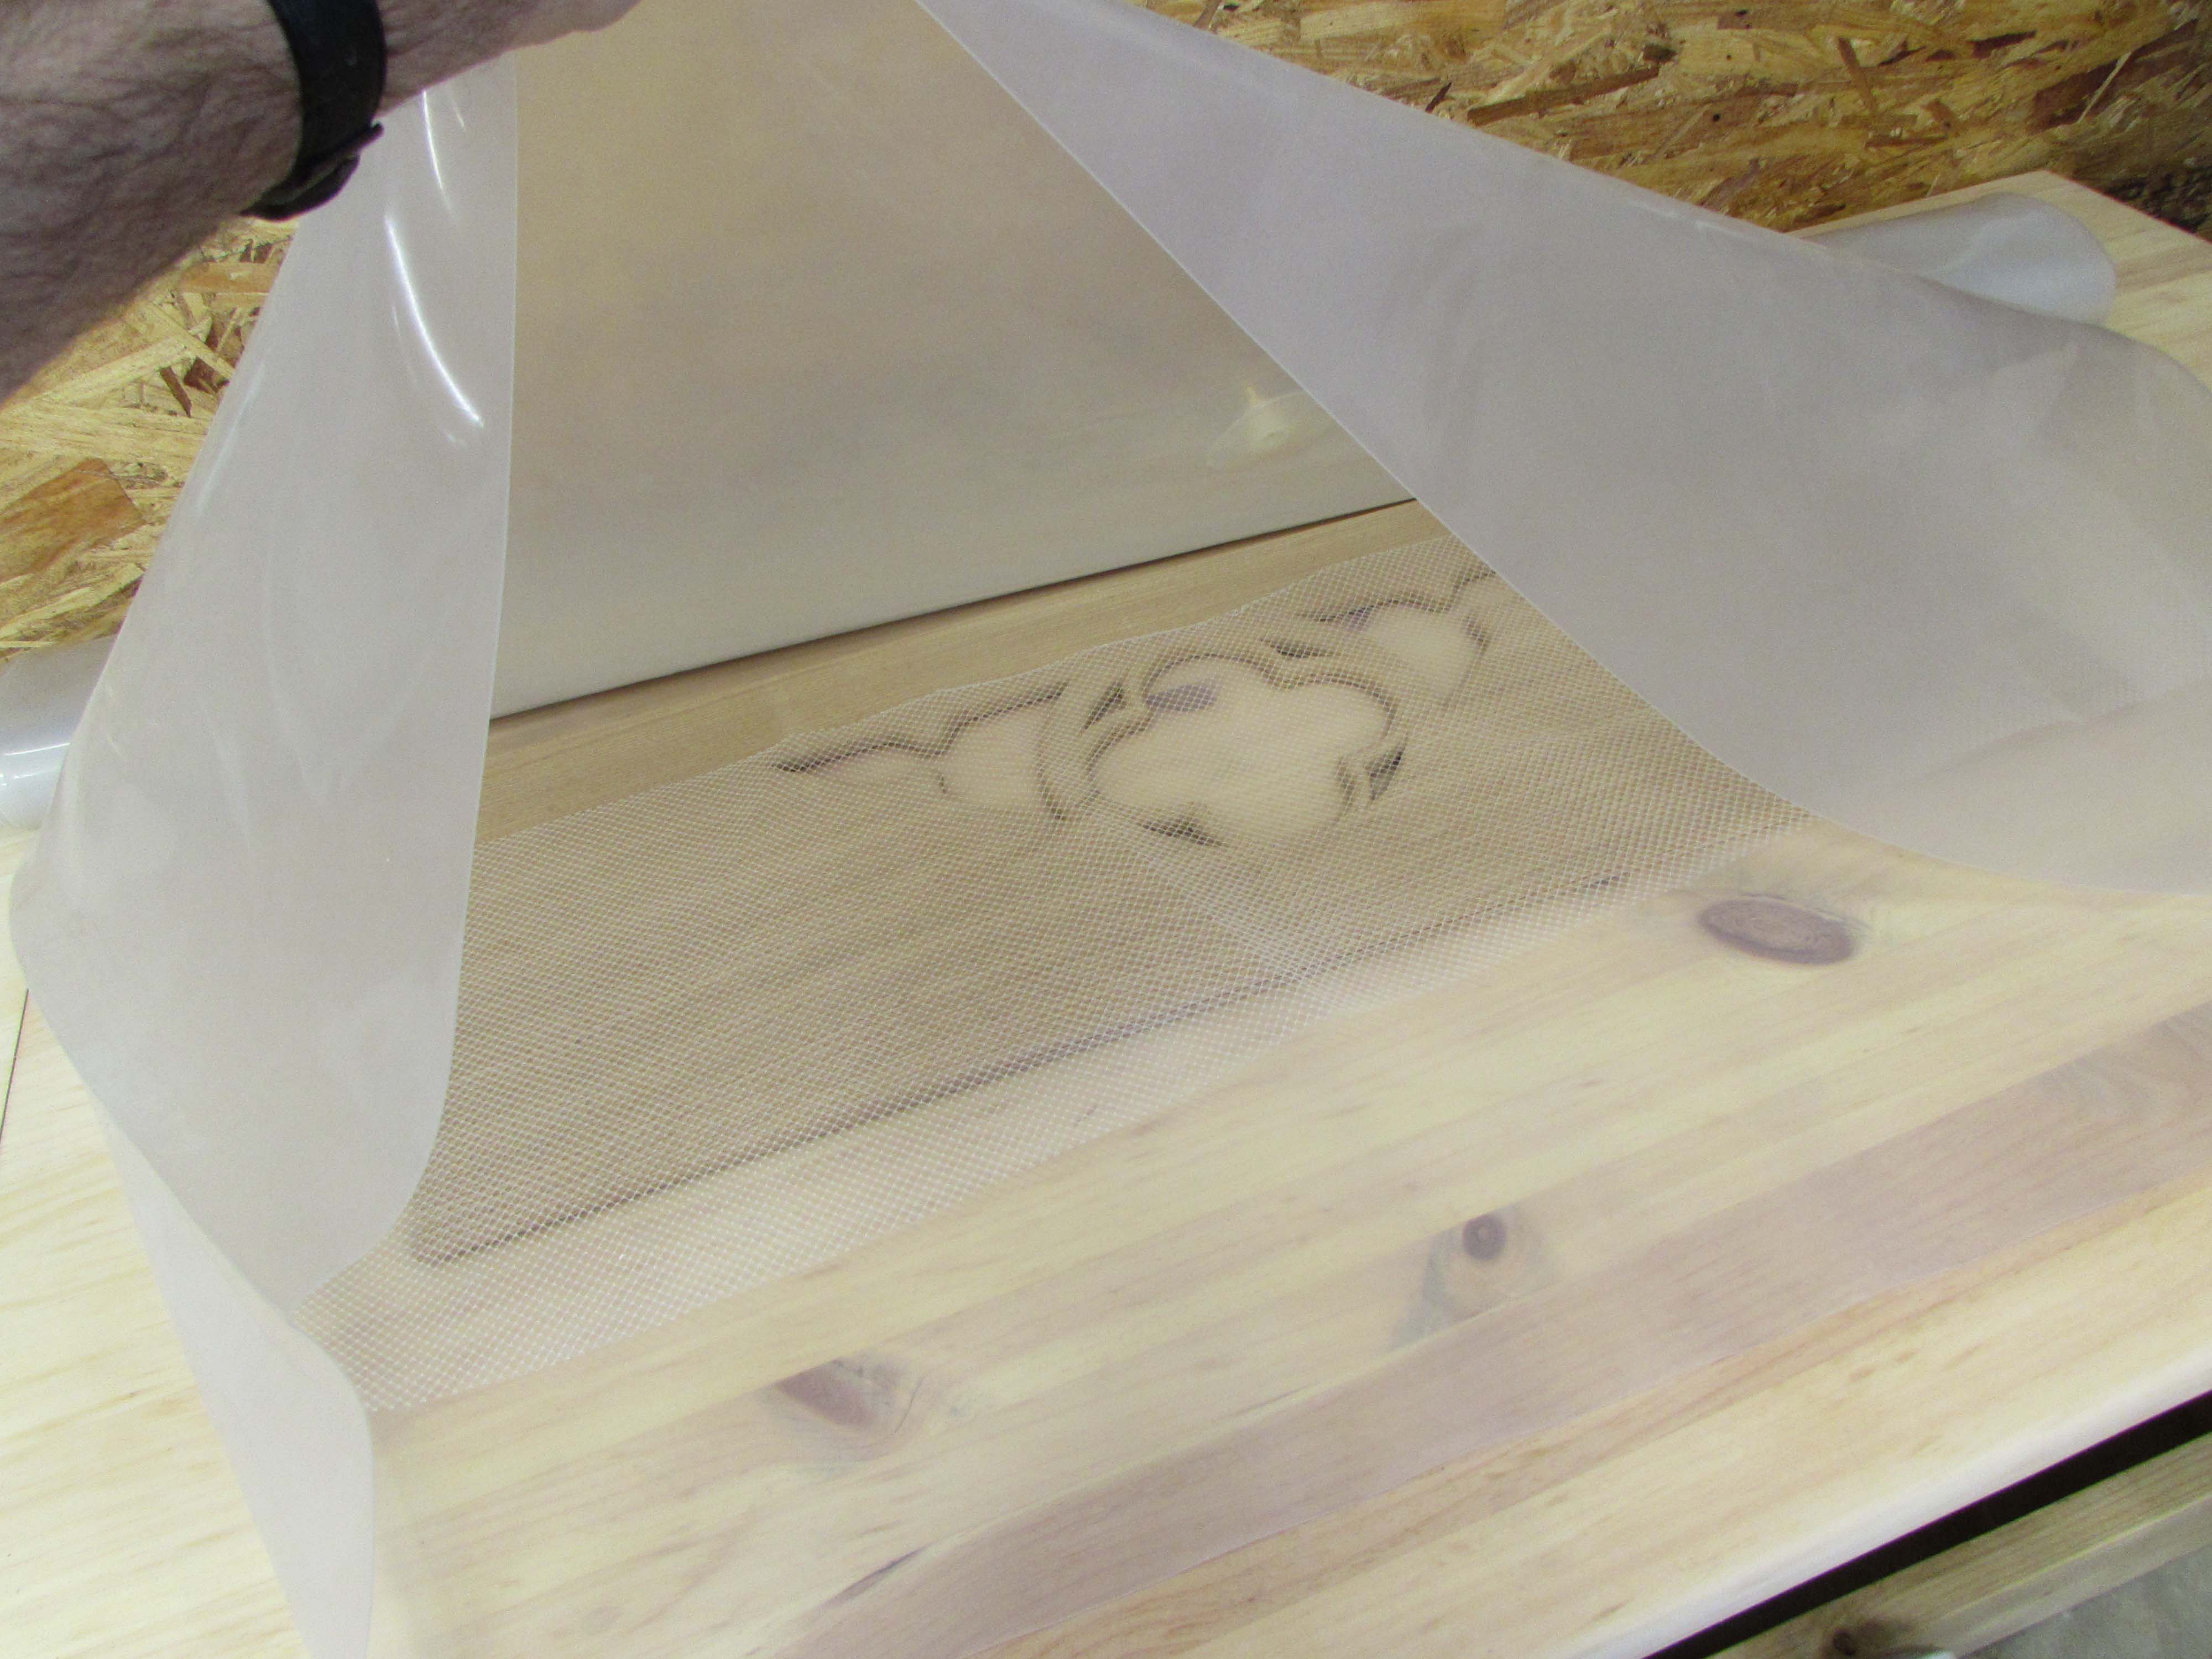
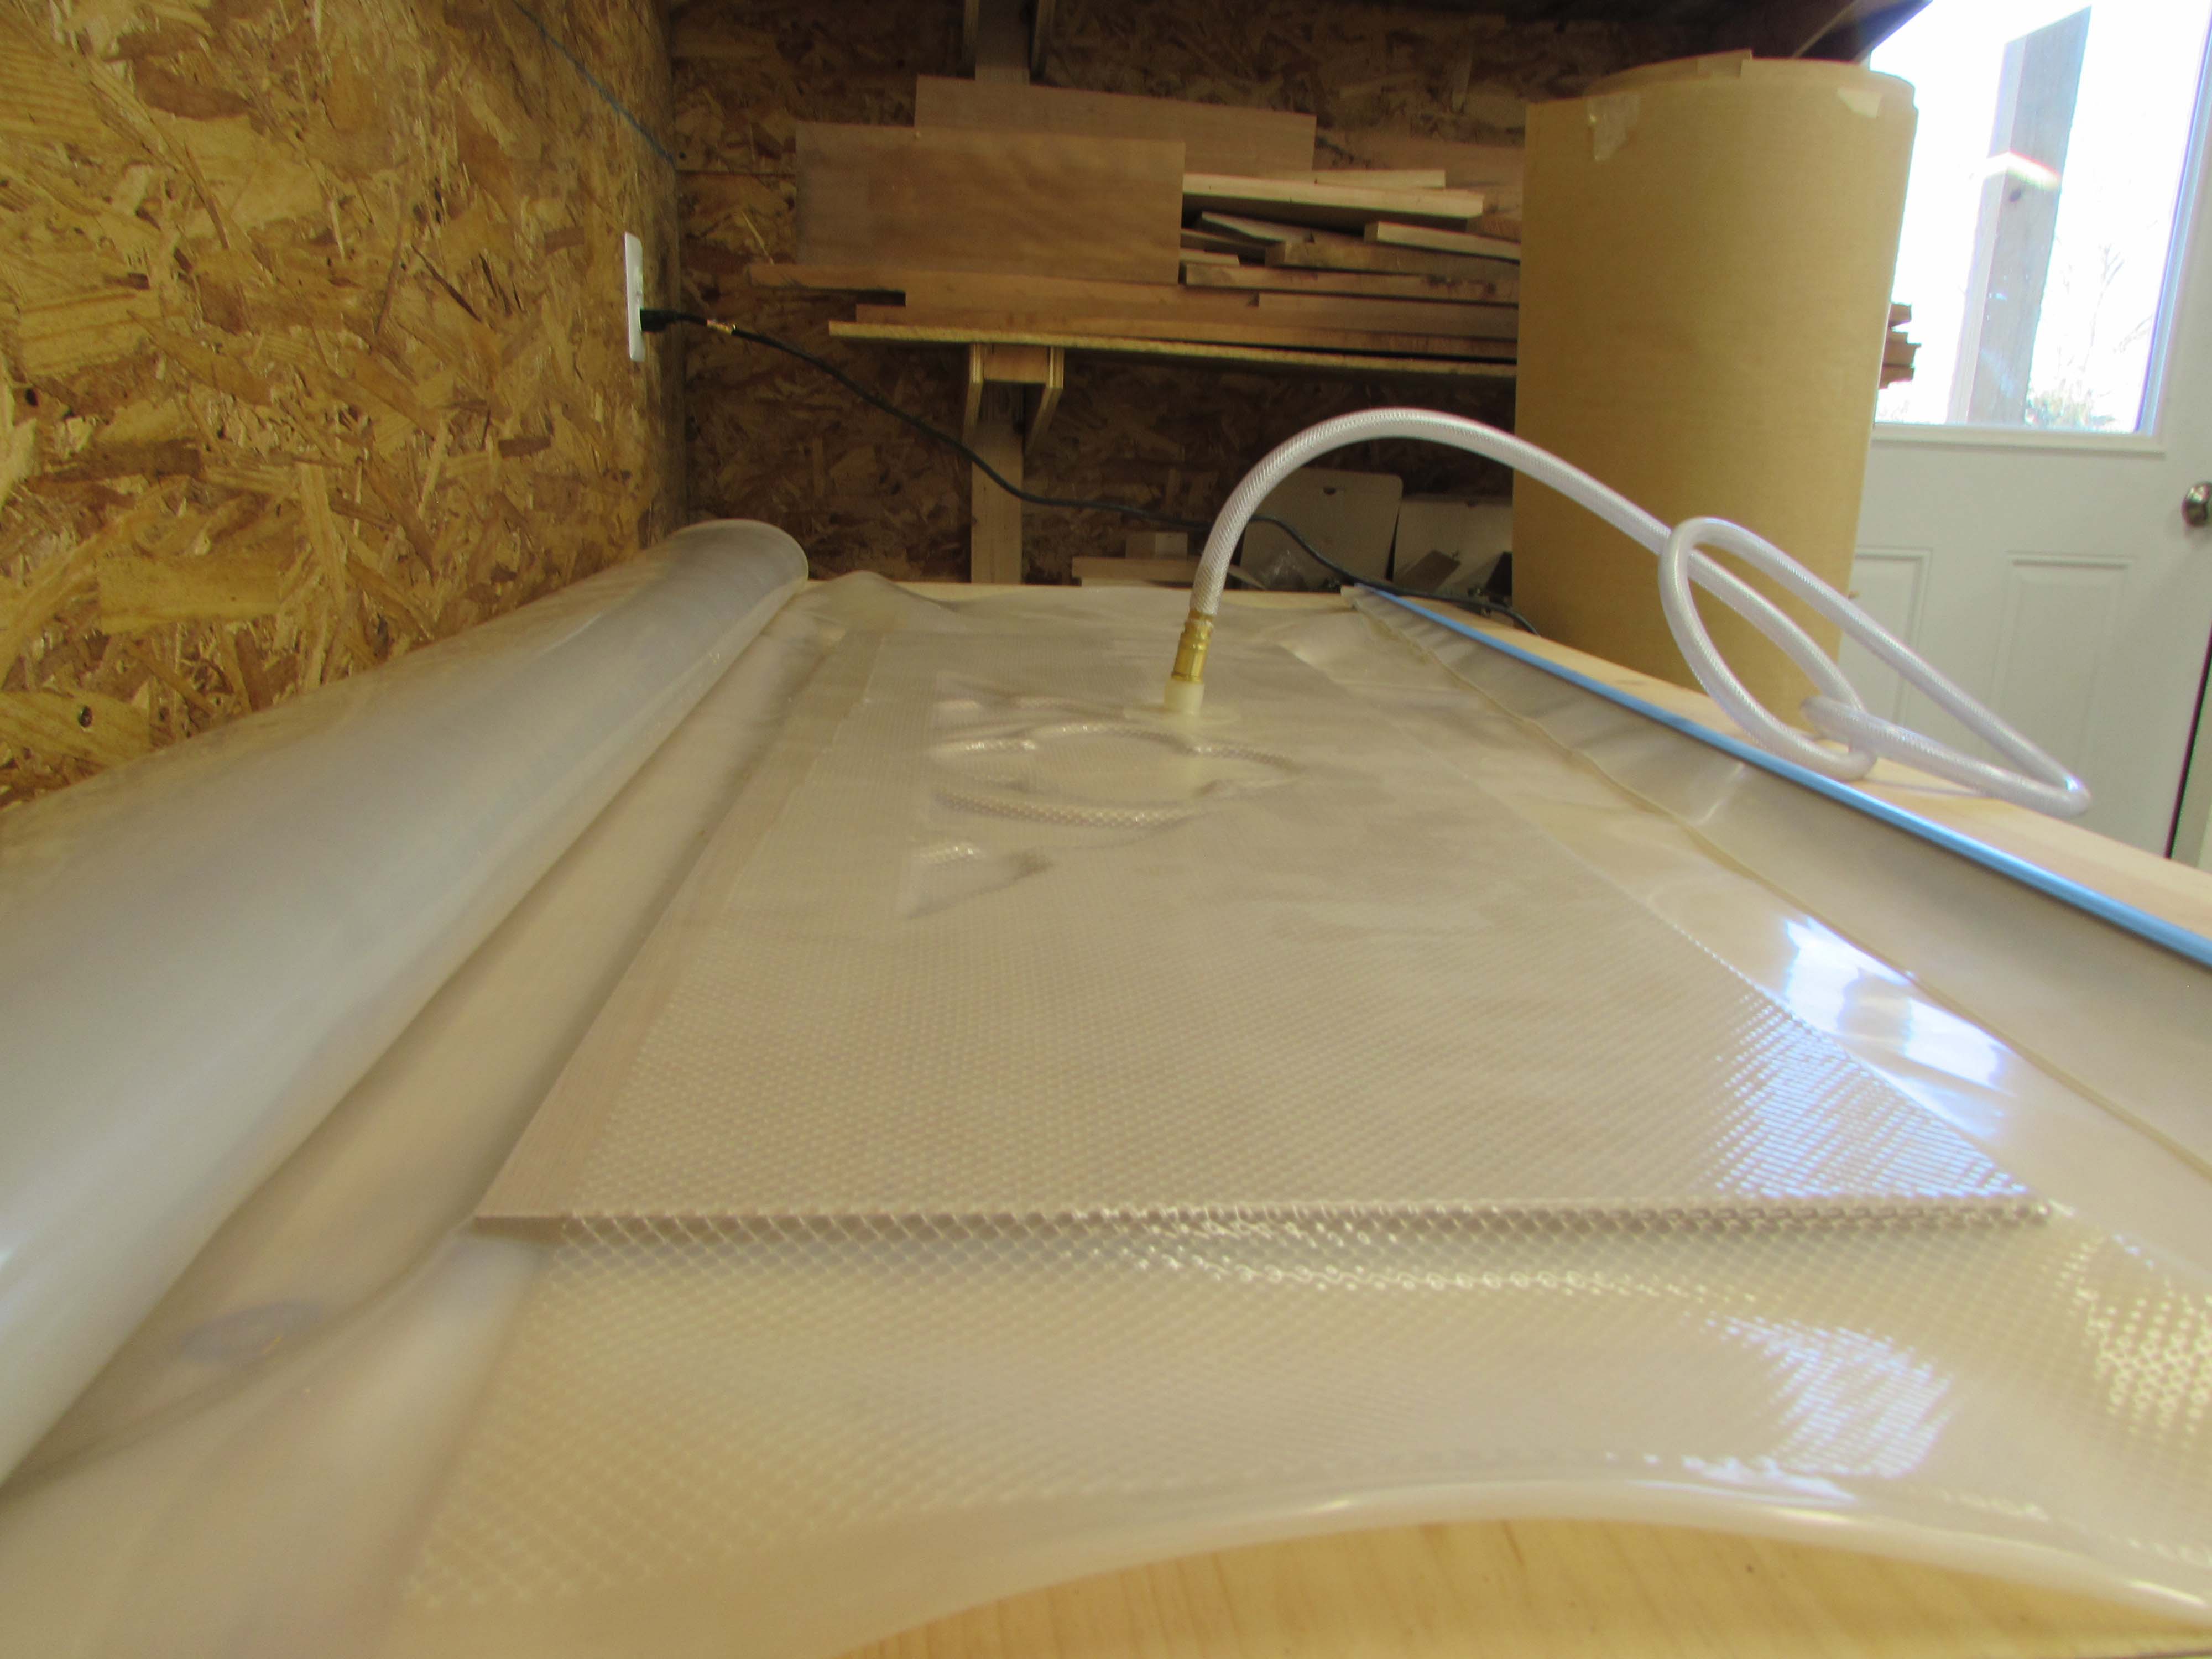
Then I loaded it into my new vacuum bag and fired up the vacuum pump.

This will clamp every surface of the two boards with equal pressure insuring that every glue surface makes contact with the opposite side.
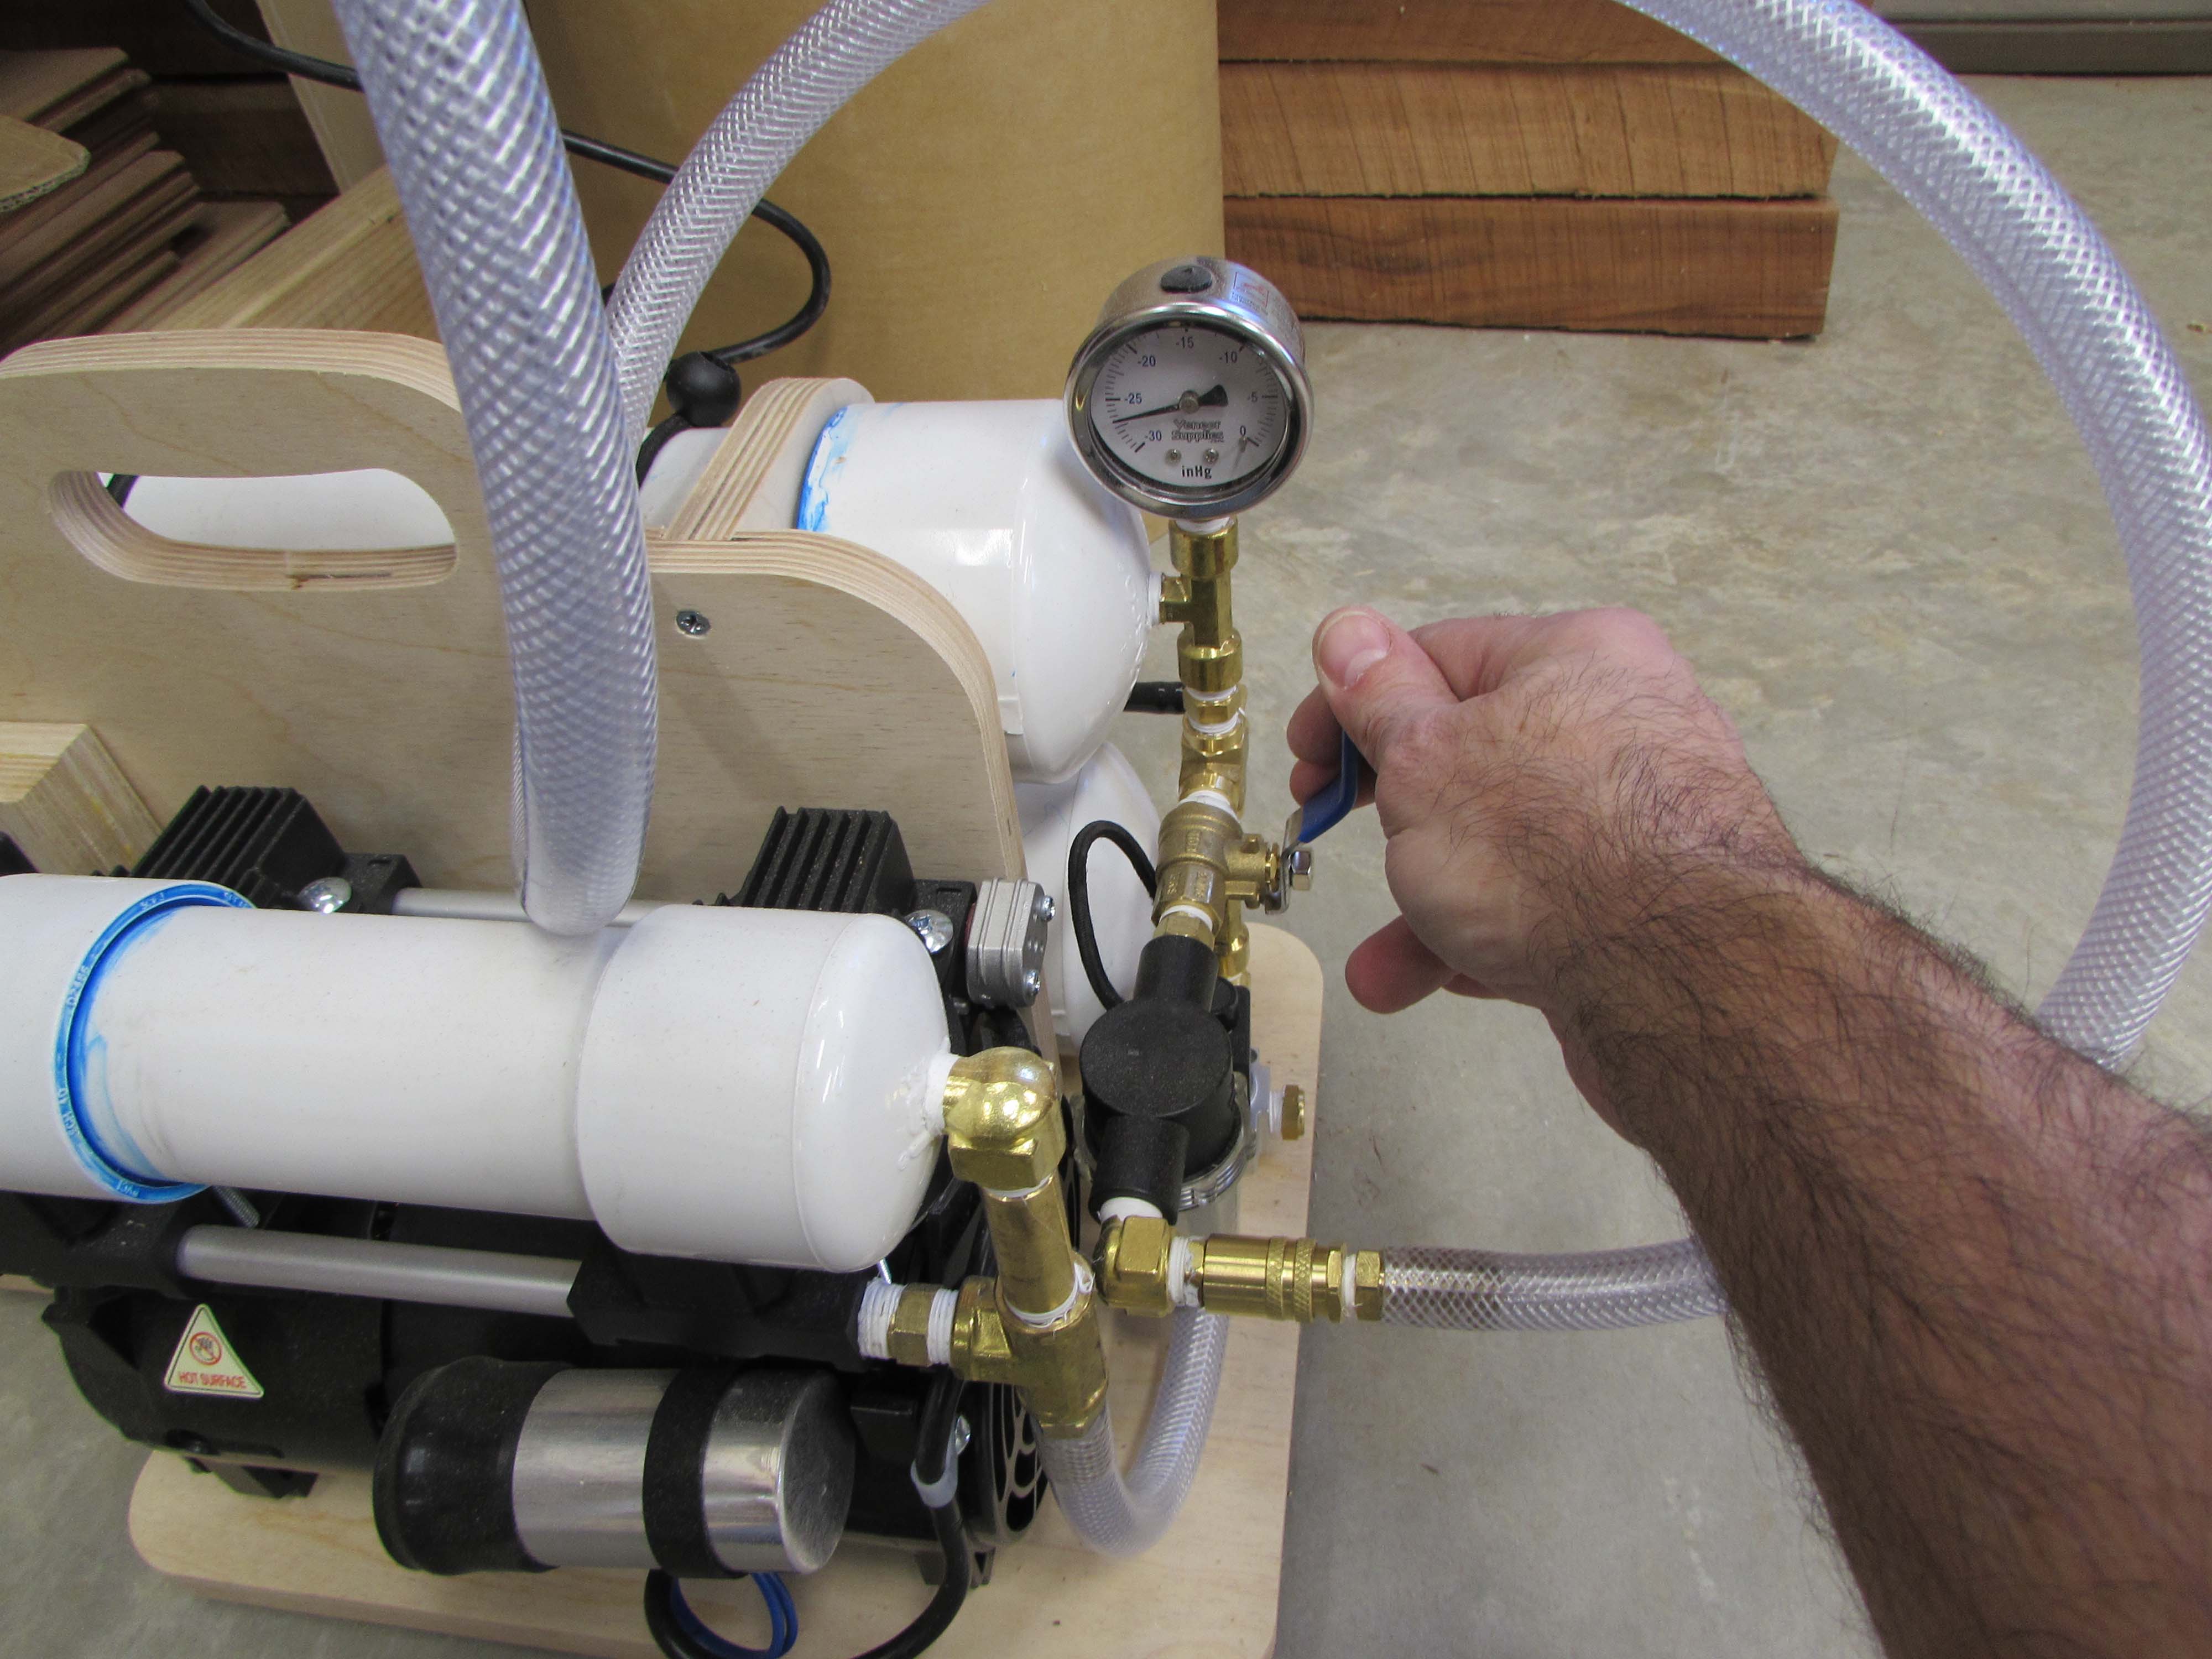
After an hour, I release the vacuum and see how it worked. It came out perfect and dead flat. I am very happy with that.
Now for the sanding.

I start off with 80 grit paper, carefully sanding every glue seam and mark from the router bit. It takes a while.

Then I repeat the process with 120, 180, and 220 grit.
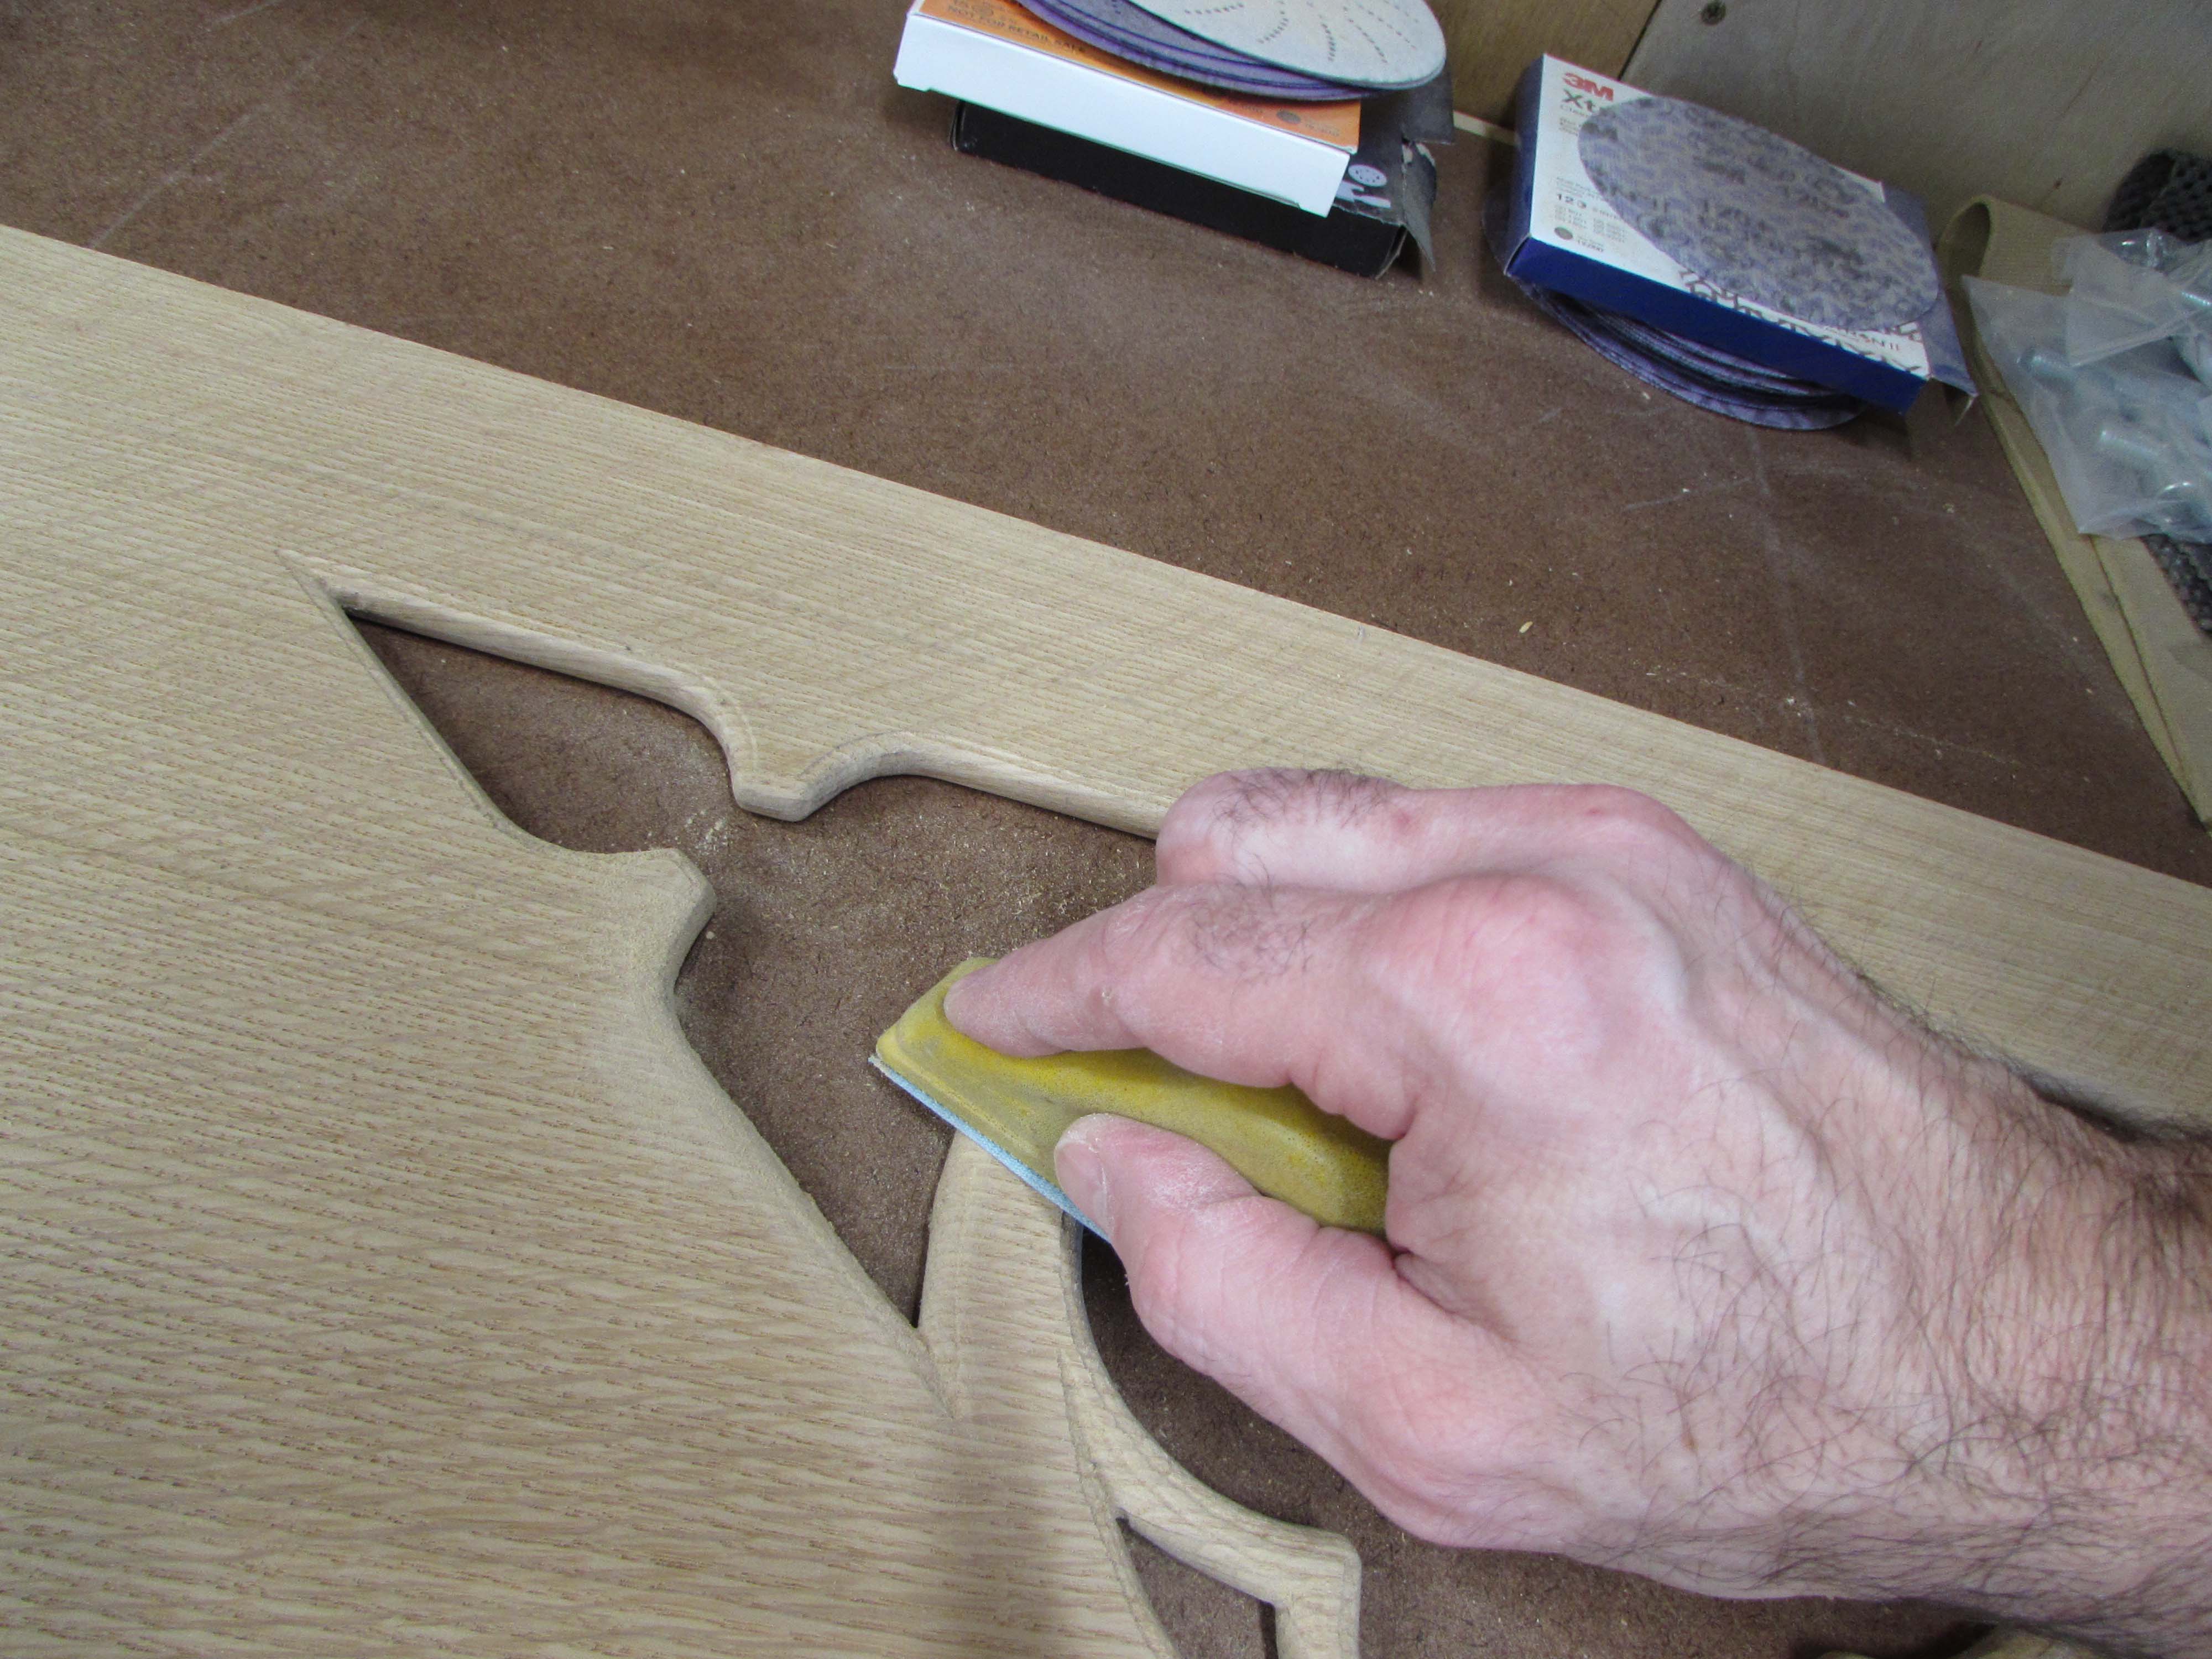
This took a couple of days, when I had spare time. I wanted it to be perfect so I installed a light right above the work area to better see the shadows of areas I may have missed.

Finally I achieved the surface that I was hoping for.
All that effort for just the first piece… I really like this project because it has several challenges. In the next post, I will start building the frame for this center piece. That will have a couple of challenges of its own.
