
Tenebrae Hearse for Holy Spirit church – part 8
Stain is dry and it is time to apply the finish. I will be spraying an oil-based polyurethane on all of the visible components. Polyurethane is a film finish that builds up on the surface to create a protective surface that is easy to clean. The ends of the post get inserted into some fairly tight sockets so I do not want to build up a film finish on those areas. Instead I will be applying a Tung oil finish that has varnish mixed in. The oil will draw the varnish below the surface of the wood where it will harden. I can apply about three coats before it starts to build on the surface. This will give me similar protection but without changing the dimensions of the parts. Having some finish applied will help prevent moisture from potentially penetrating and swelling the wood in an area that has a tight fit.
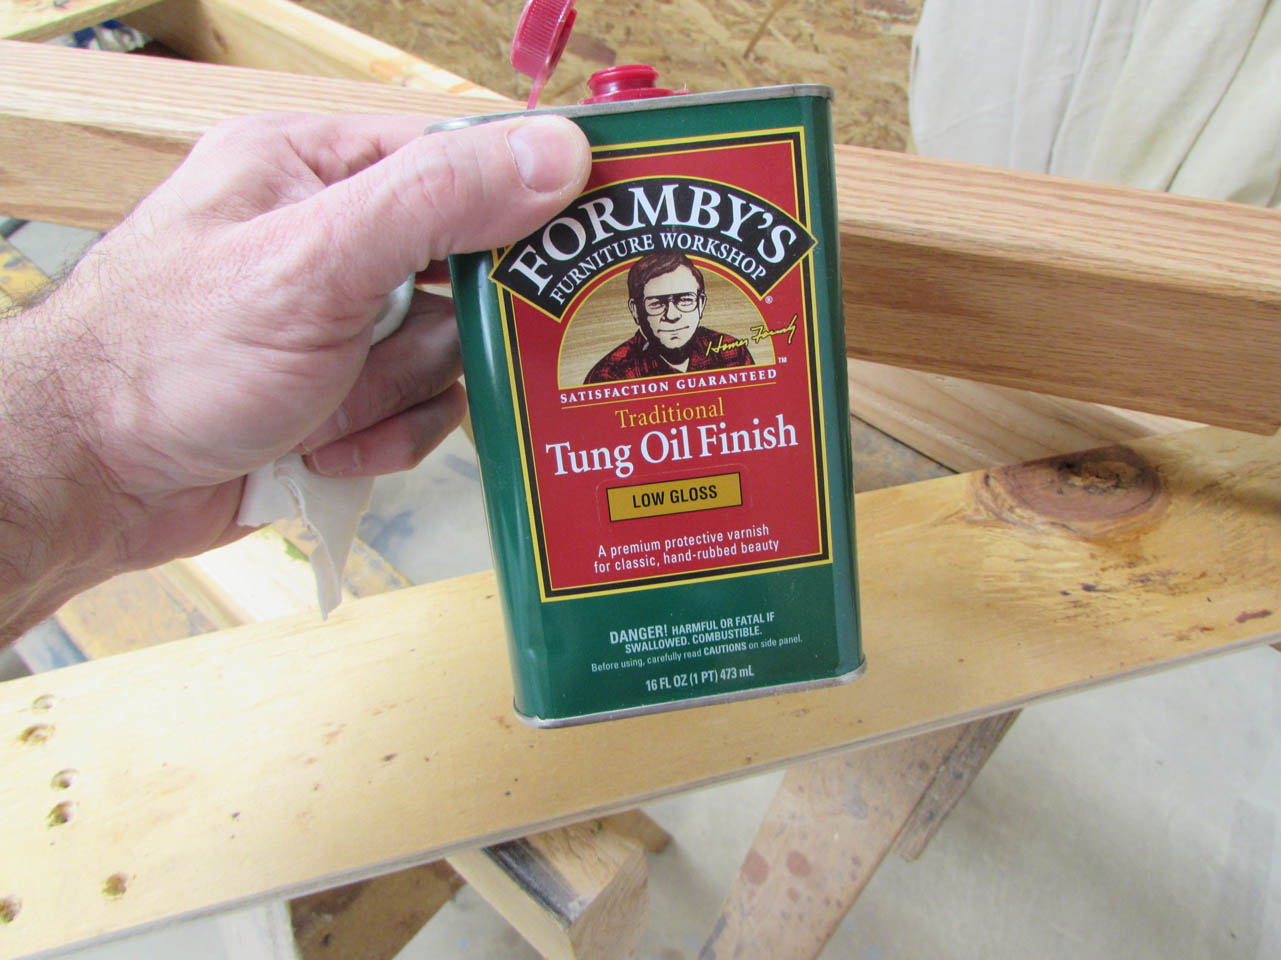
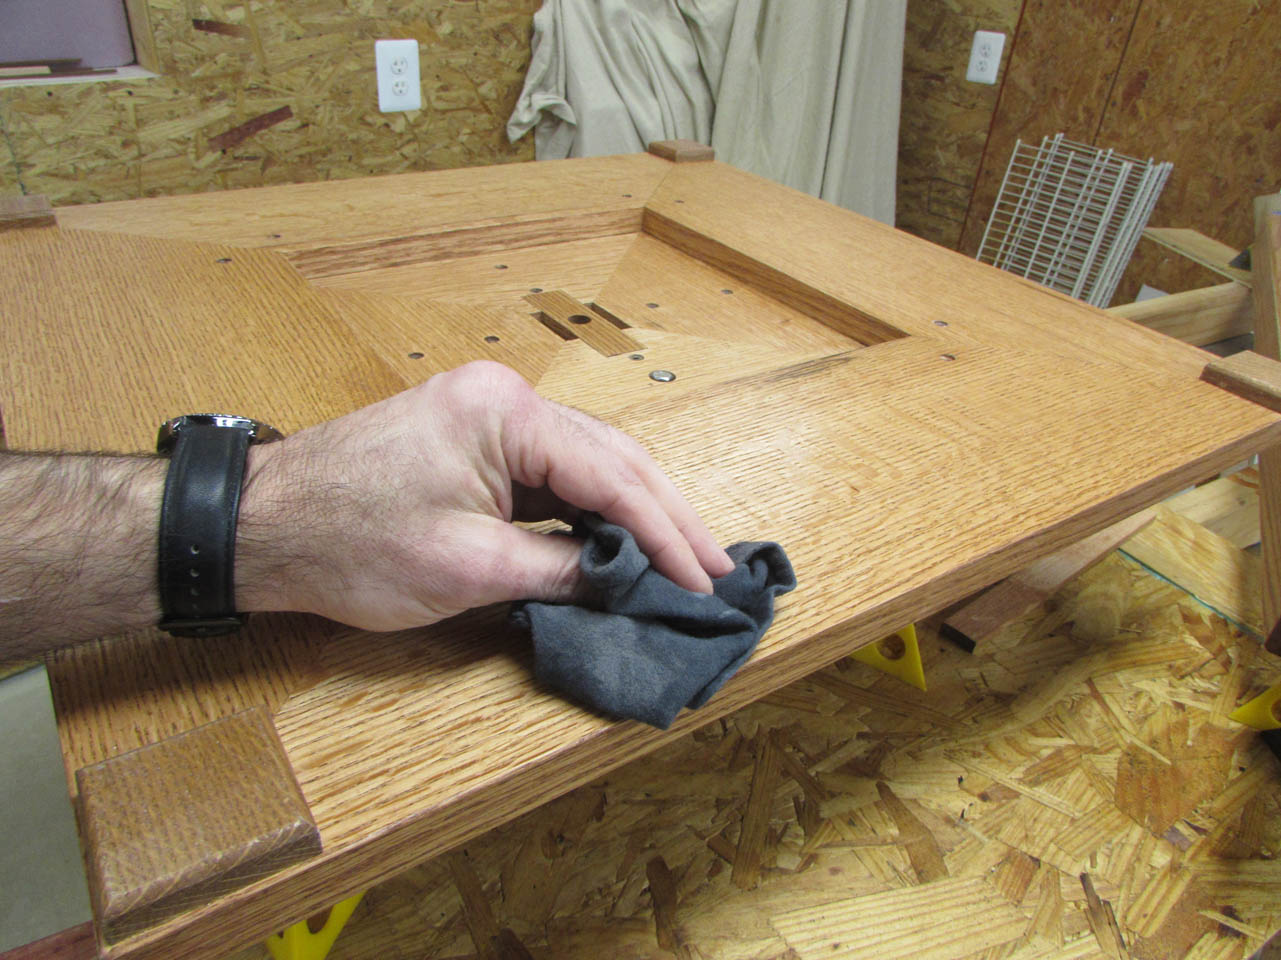
The Tung oil is a wipe-on finish so I soak a cloth with it and rub it onto the surface of the ends.

After the first coat is dry, I mask off those ends so the polyurethane won’t land on them.
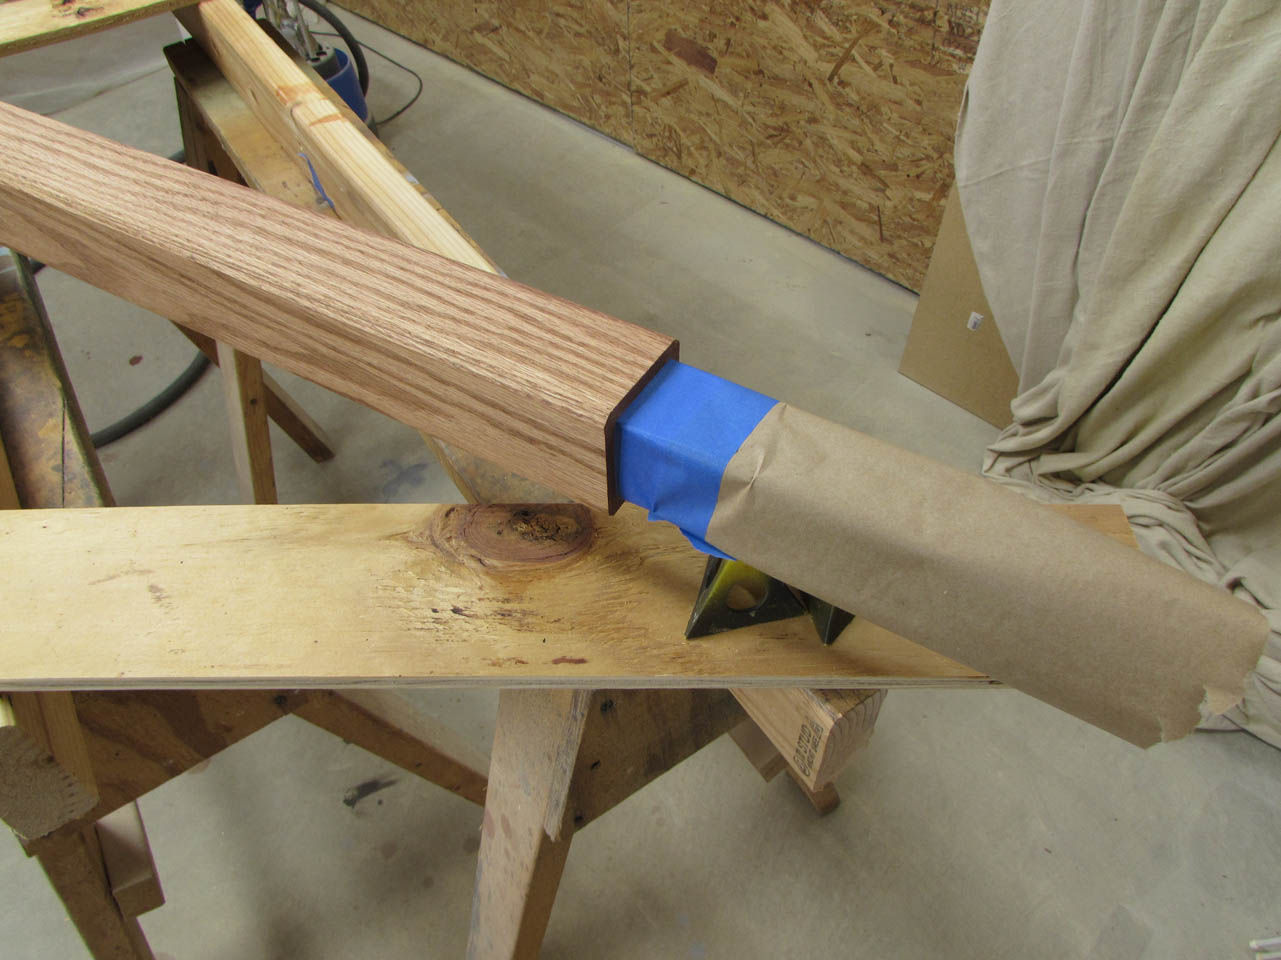

I set up my HVLP sprayer and apply the first coat to all of the visible surfaces.

To spray both sides at once, I spray the bottom first, then flip everything over onto painter’s pyramids to hold it up in the air a bit so that all sides can dry equally.

After I spray, I carefully remove the masking paper from the ends and apply a second coat of Tung oil.

The next day, when the first coat of poly was dry, I sanded down all of the coated surfaces with 400 grit sand paper to smooth down the surfaces and prep for the next coat. I also re-masked the ends.
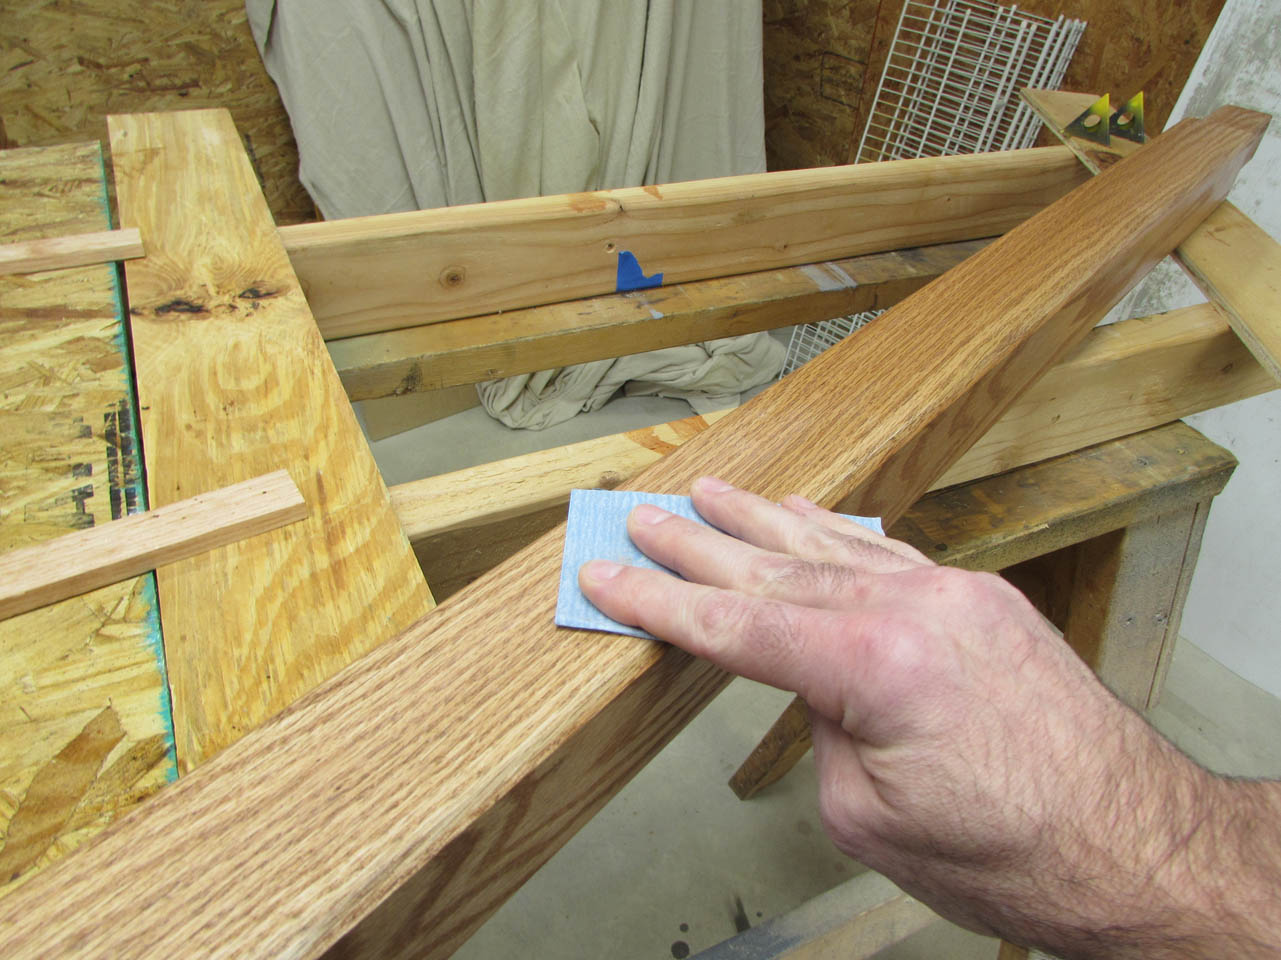
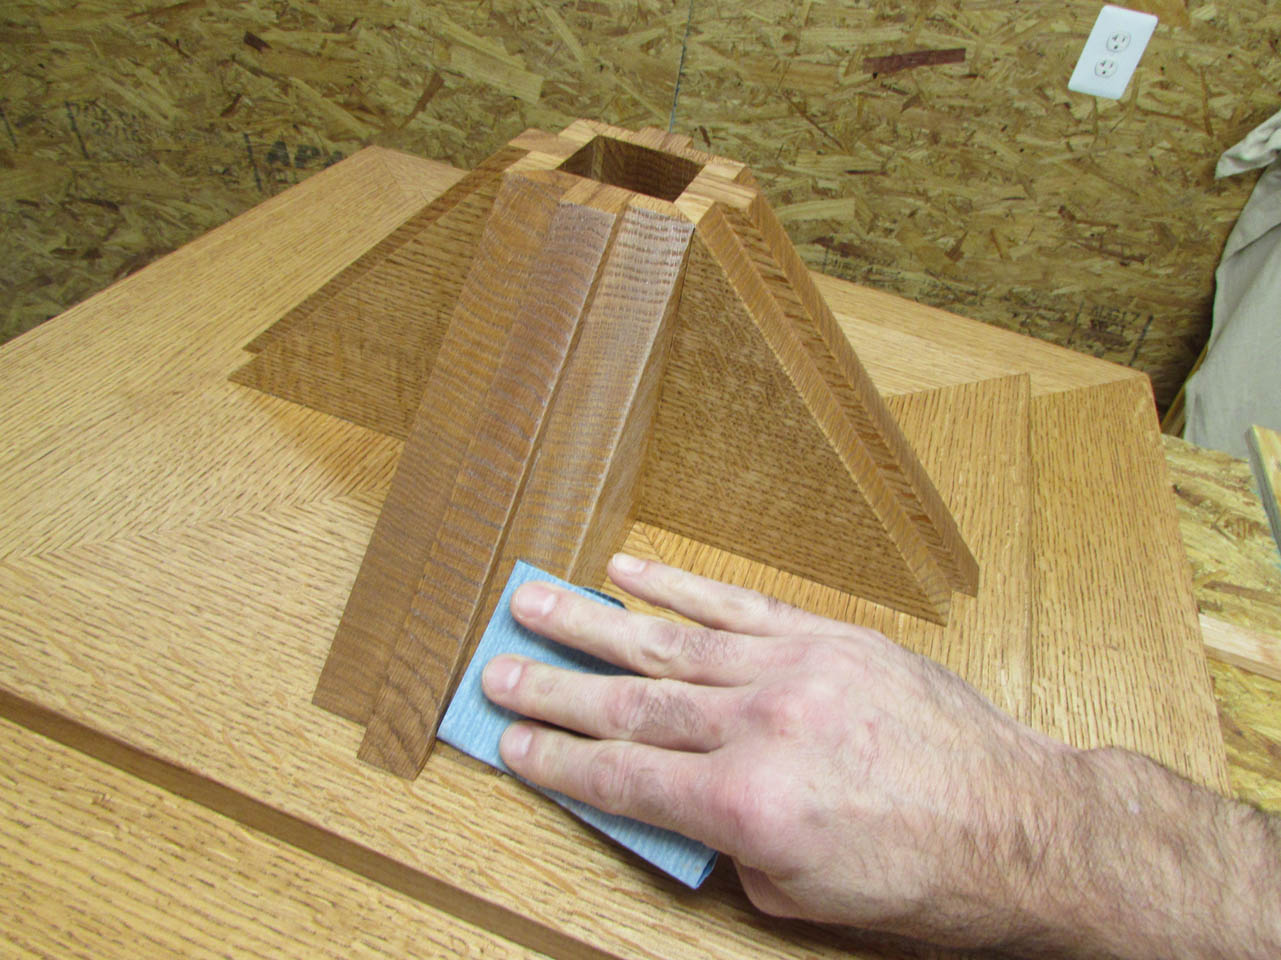
After you spray, aerosolized particles of finish, as well as dust, land back down on the drying finish, sometimes leaving a rough texture. The fine sand paper removes the roughness as well as leaving a fine etch on the surface for the next coat to bond with.
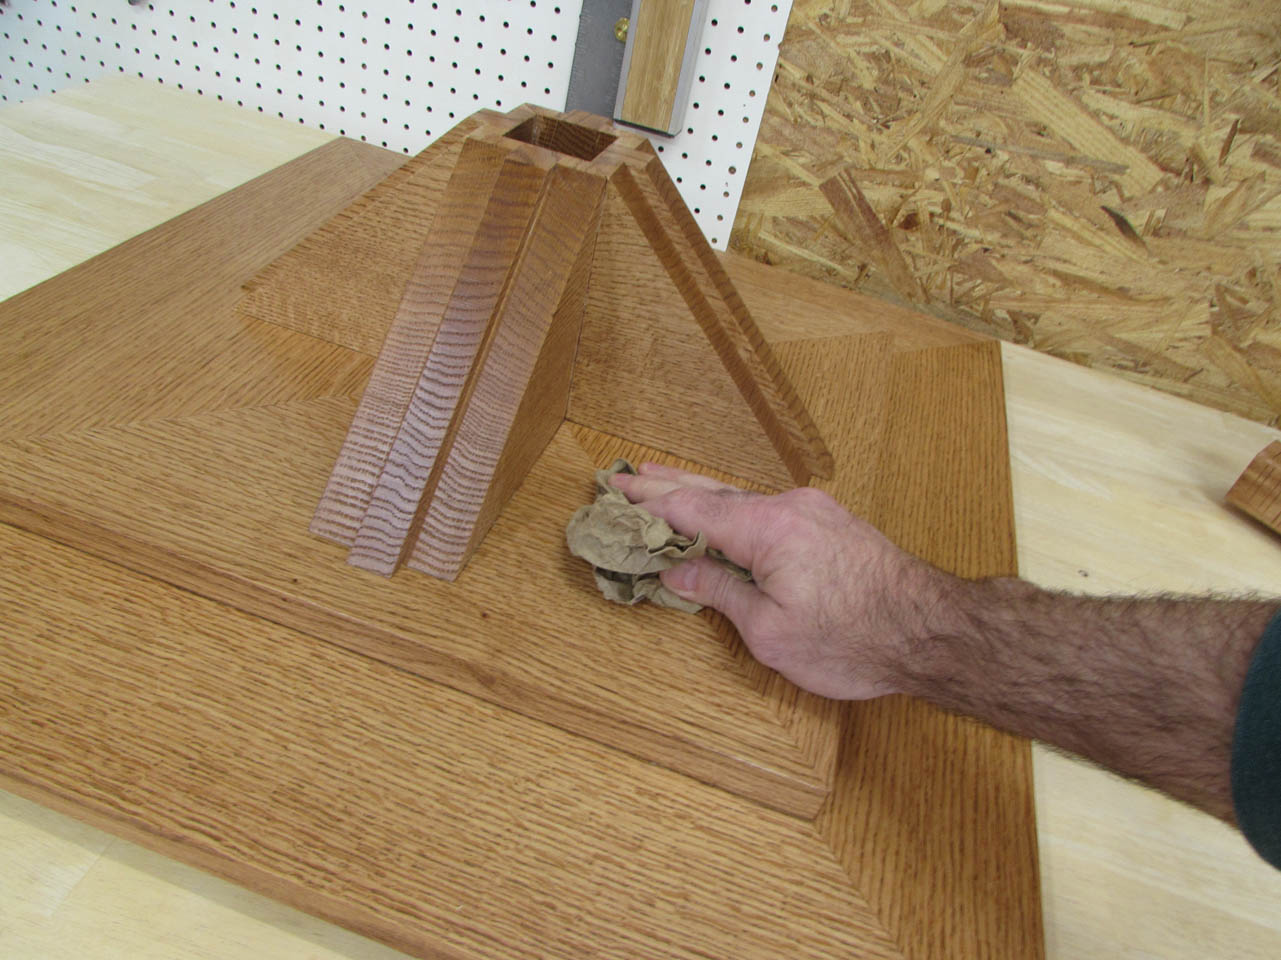
I wipe the loose dust carefully away, trying not to send it back into the air, just to land on my work again…

The second and final coat of poly was sprayed on. I also applied the third and final coat of Tung oil.

I let it all dry overnight again. To remove any more dust that may have landed on the final coat, I rub down every surface with crumpled brown paper. It polishes the finish without leaving any scratches.
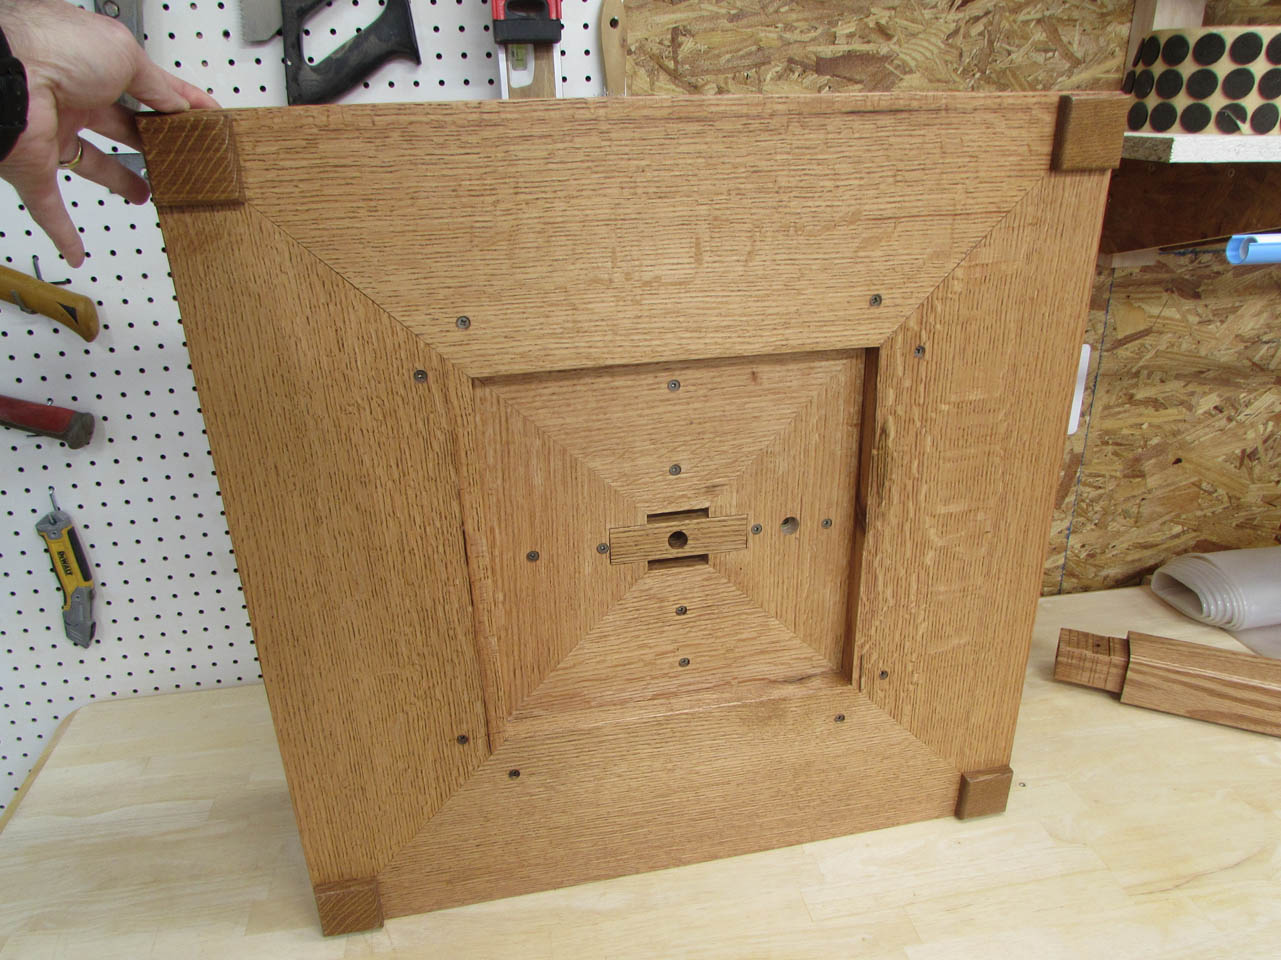
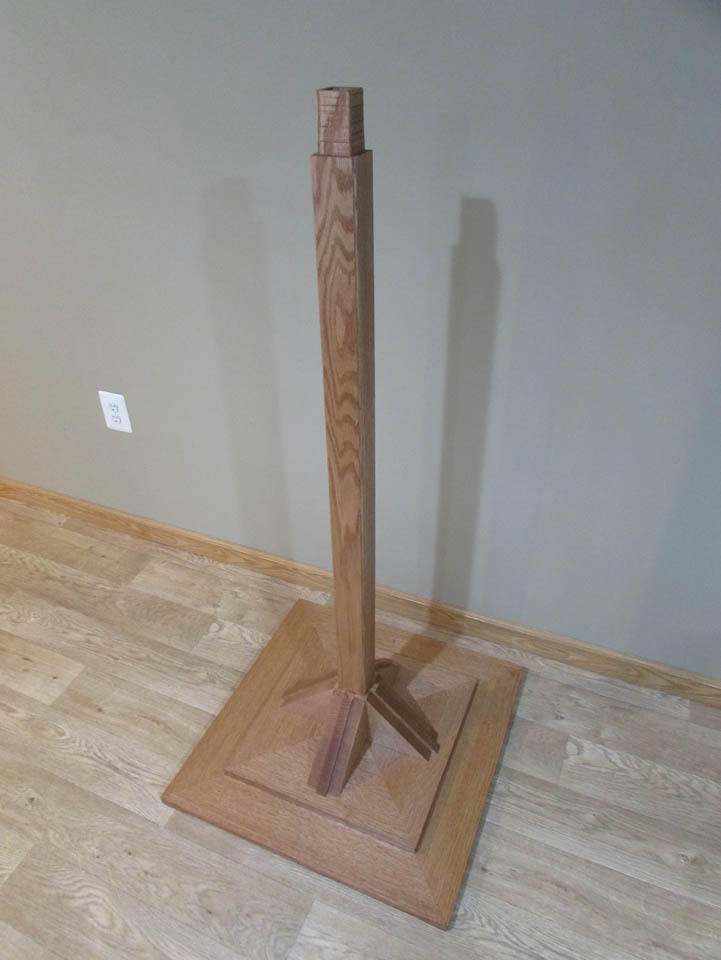
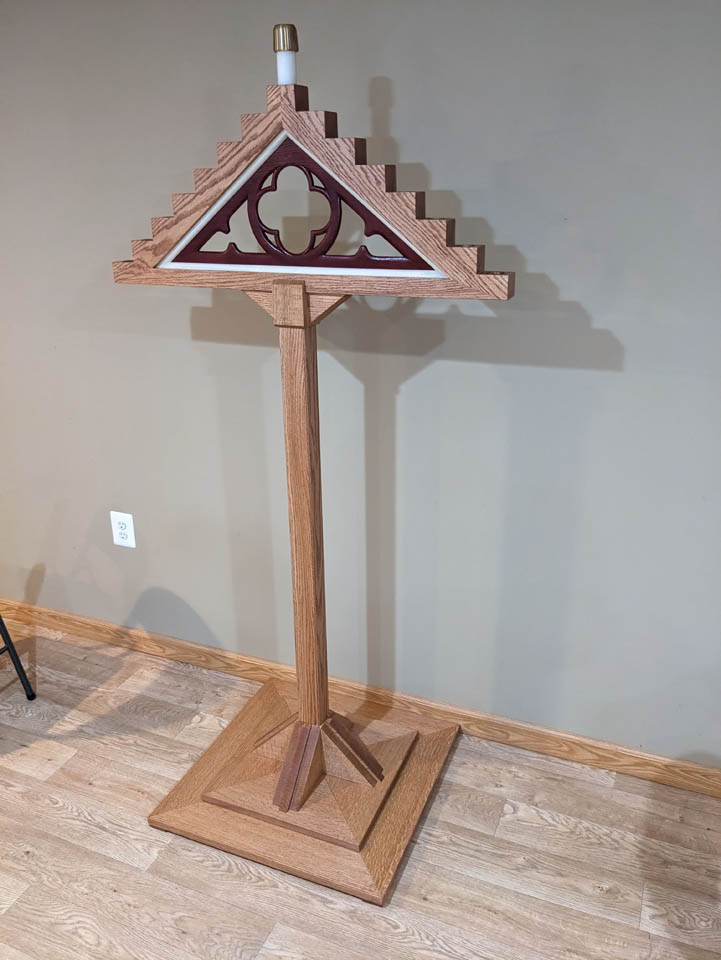
Here is the finished base, with and without the base attachment knob in it’s storage location.
This is the top of the finished base.

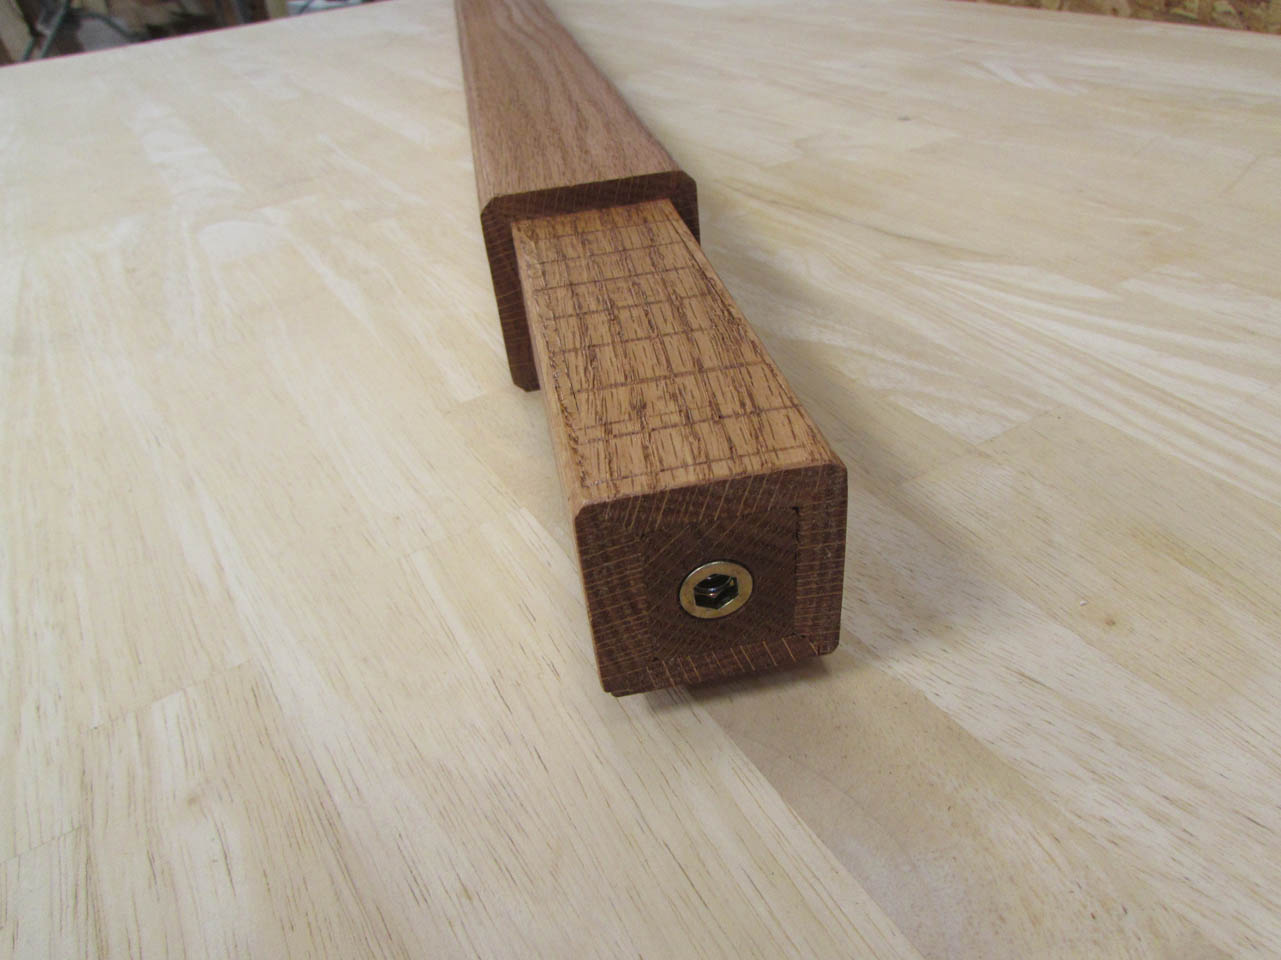
Here is the finished post with the threaded insert in the bottom.

As well as the open top with the hole for retaining the head piece, when it is installed.

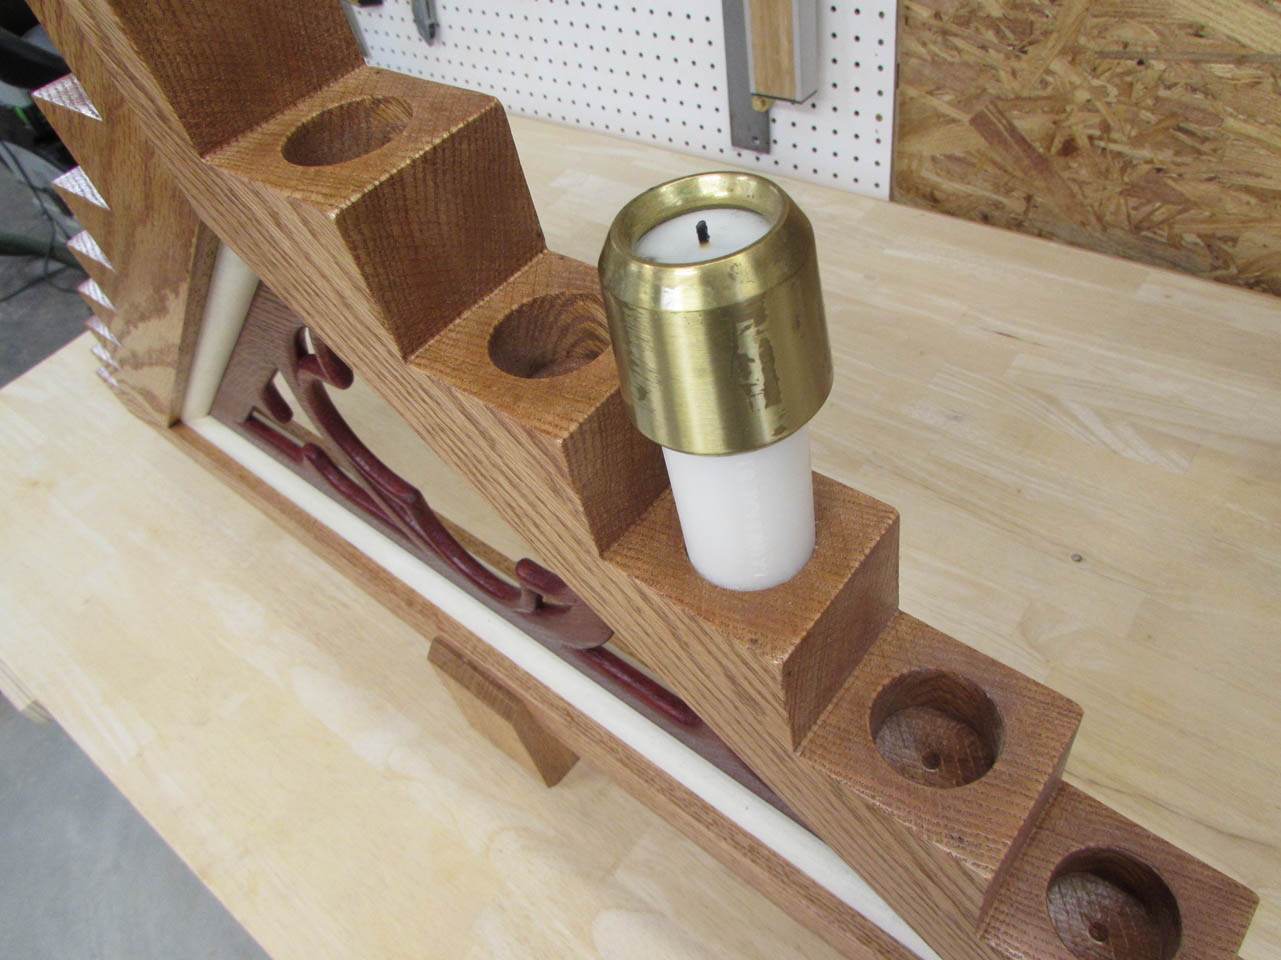
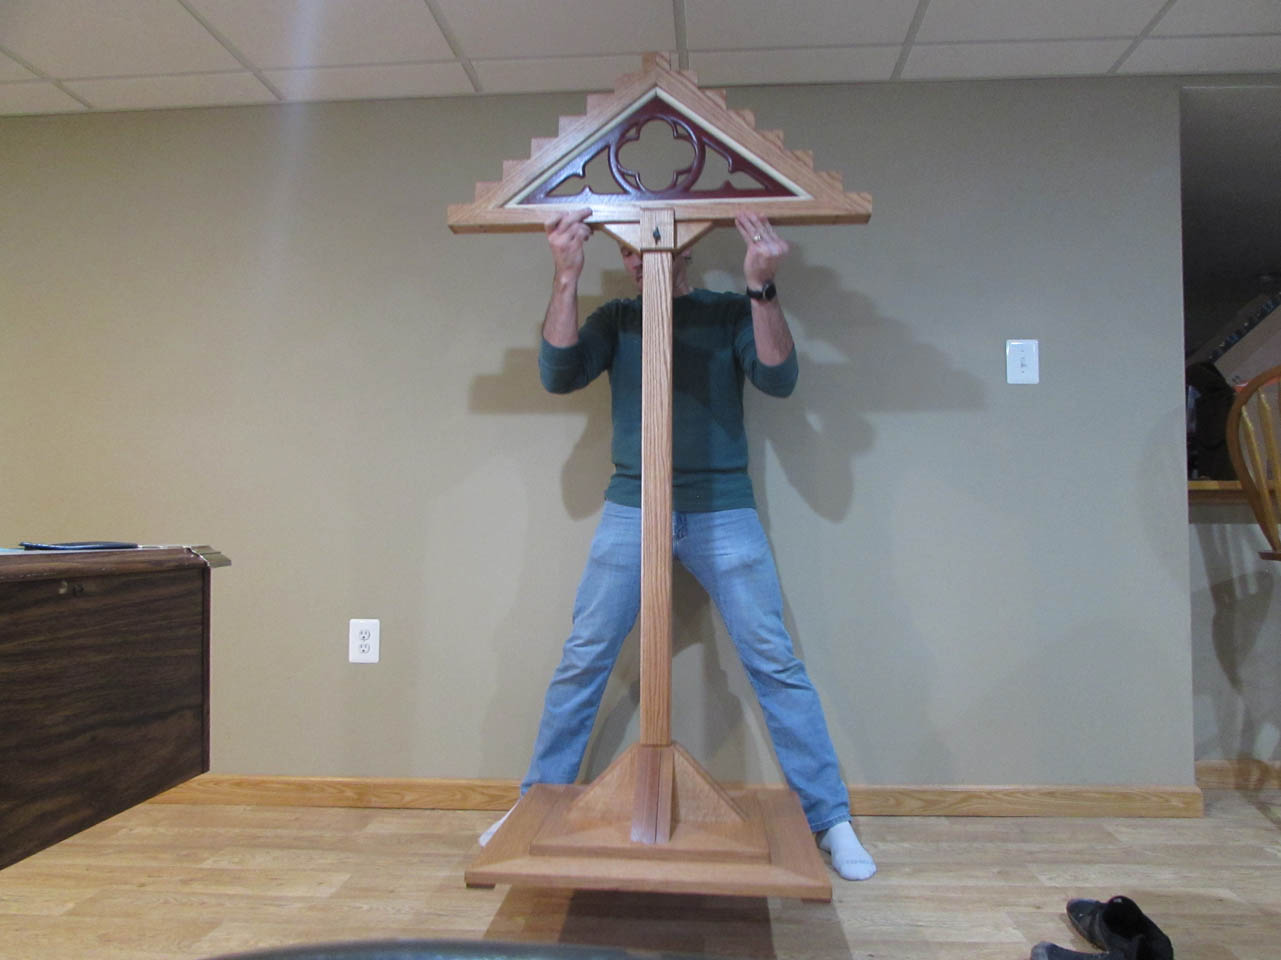
Here is the finished head piece with a single candle installed to show how tightly it sits in place. It installs easily but has very little wiggle room.
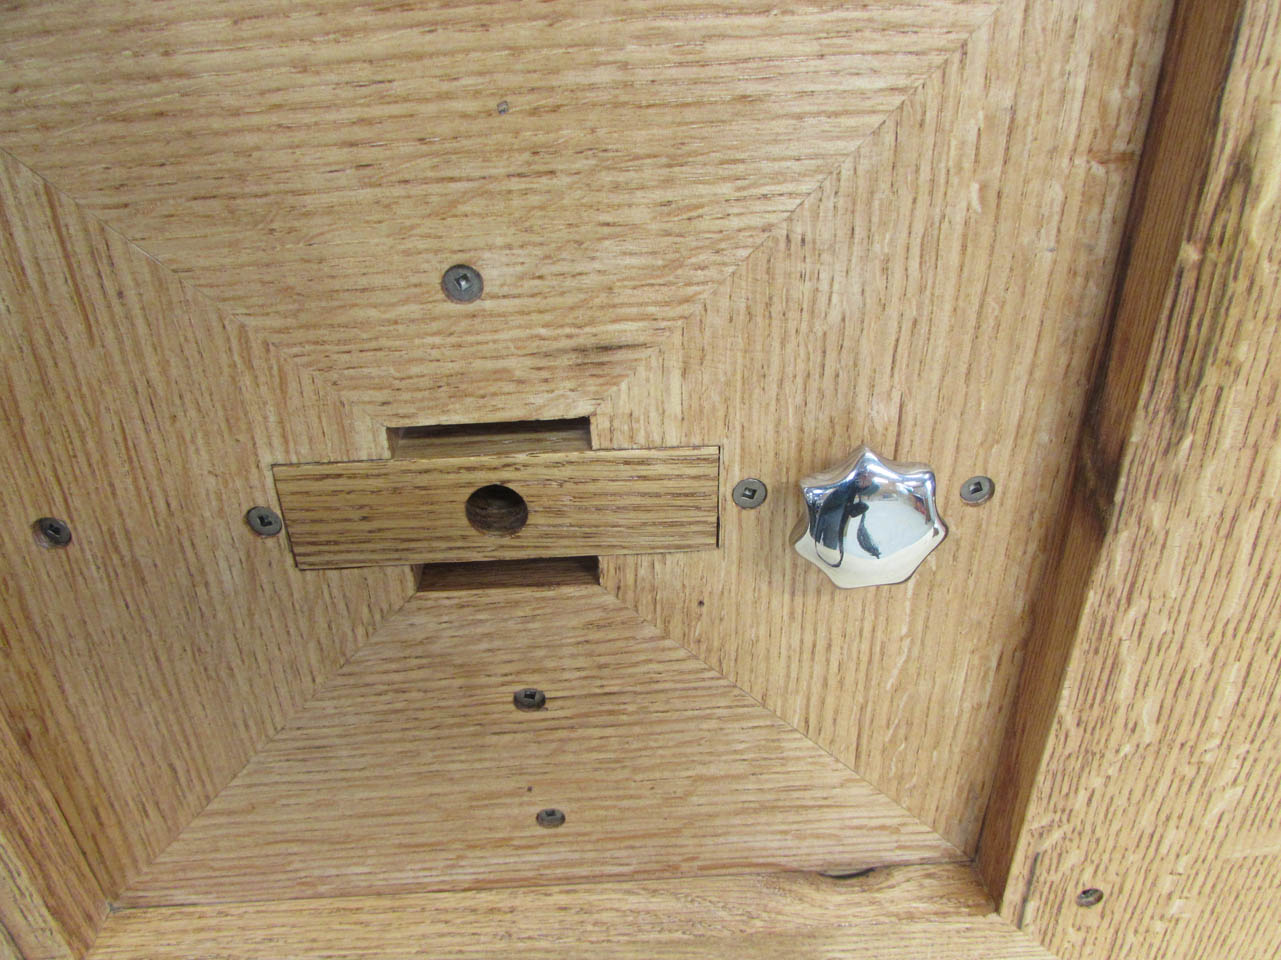
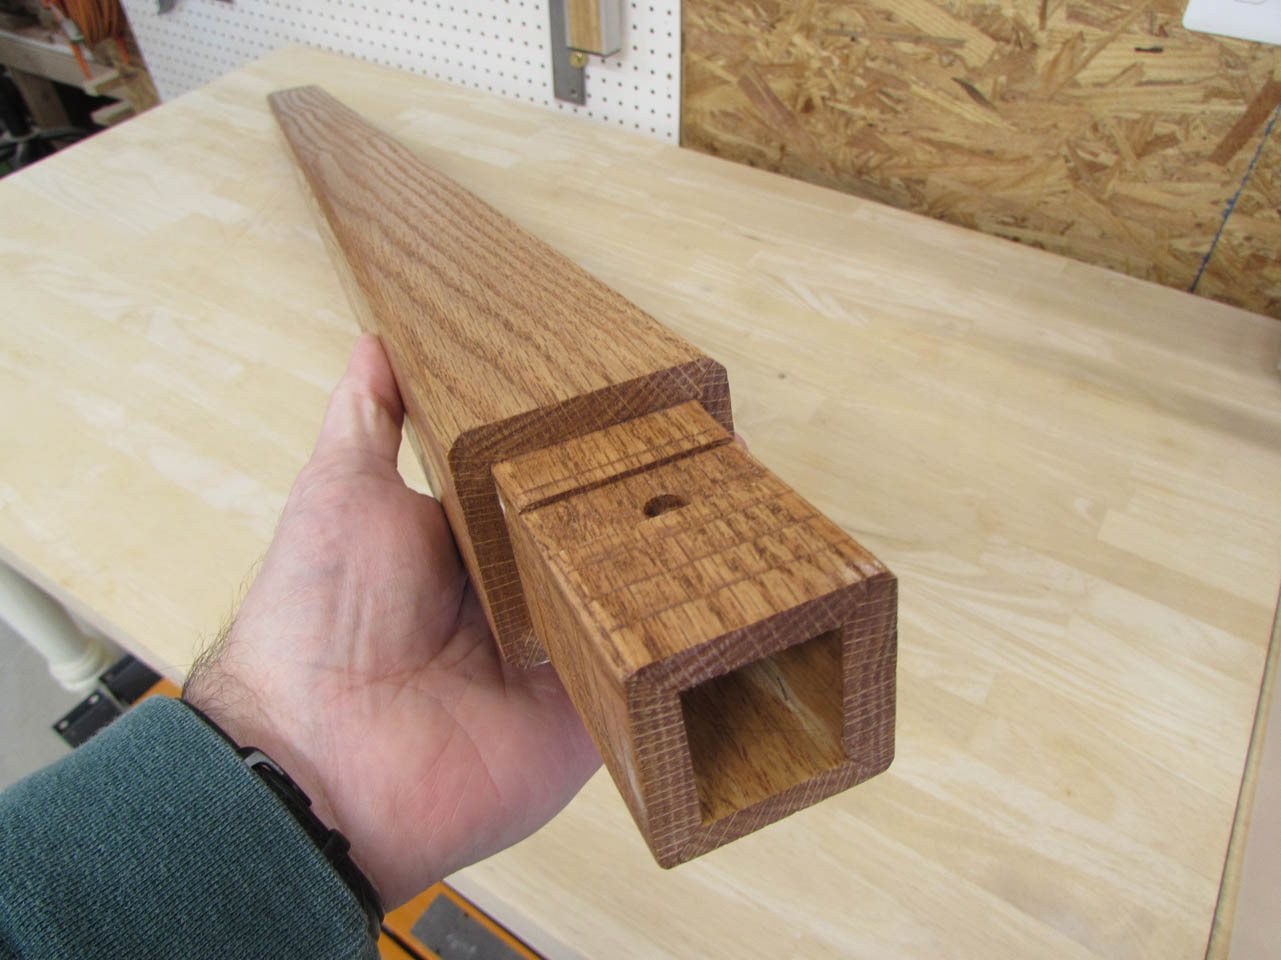
This is the base of the head piece that has the socket for attaching to the post.


To install the post on the base, simply lean the base on it’s side and slide the post in.

This is sufficient if the Tenebrae is staying in place, but you should install the threaded knob if you want the post to be held to the base, securely enough to carry it around.

The head piece slips down onto the top of the post with the thumb screw aligned with the side that has a hole in it.

Once the thumb screw is gently tightened, the head piece or the post can be lifted and the entire thing can be relocated. The knobs can again be removed in order to separate all of the parts for easier storage.
Individual weights for each of the components are:
Head piece – 10.6 lbs.
Post – 5.8 lbs.
Base – 28 lbs.
Total – 44.4 pounds
The base was designed to be heaviest and fairly wide, to lower the center of gravity, and reduce the likelihood of the Tenebrae being bumped into and knocked over. 12″ tall candles will likely add about 15-20 lbs. to the top, still keeping the center of gravity somewhere around the middle.
All that is left is delivery to Holy Spirit Church and maybe I will be able to get a few pictures with the candles installed.
This was a fun, as well as challenging project. Getting all of the miters to come together smoothly took a lot of careful planning but I think it turned out really nice. Hopefully all of my colors will match the existing furnishings and this piece will blend in well.
