
New shop\office addition
Its been a few months since my last post. Sorry about that, I have been really busy. For the last couple of years, I have been planning on expanding my shop. With the pandemic and rising cost of materials as well as supply issues, it seemed like the perfect time to get started… Well, maybe not, but I got impatient. I have been cramming my shed full of construction materials as I came across deals.

When I had collected enough materials to get started and the price of lumber had dropped back to only double what it was, I took the plunge. This is not as silly an idea as you might suspect. This is actually my fourth addition to my house. I design the additions myself and I do 90% of the labor myself so I save a substantial amount of money that way. I also spend a lot of time helping friends who have equipment and talent so I can call in a favor or two when needed.

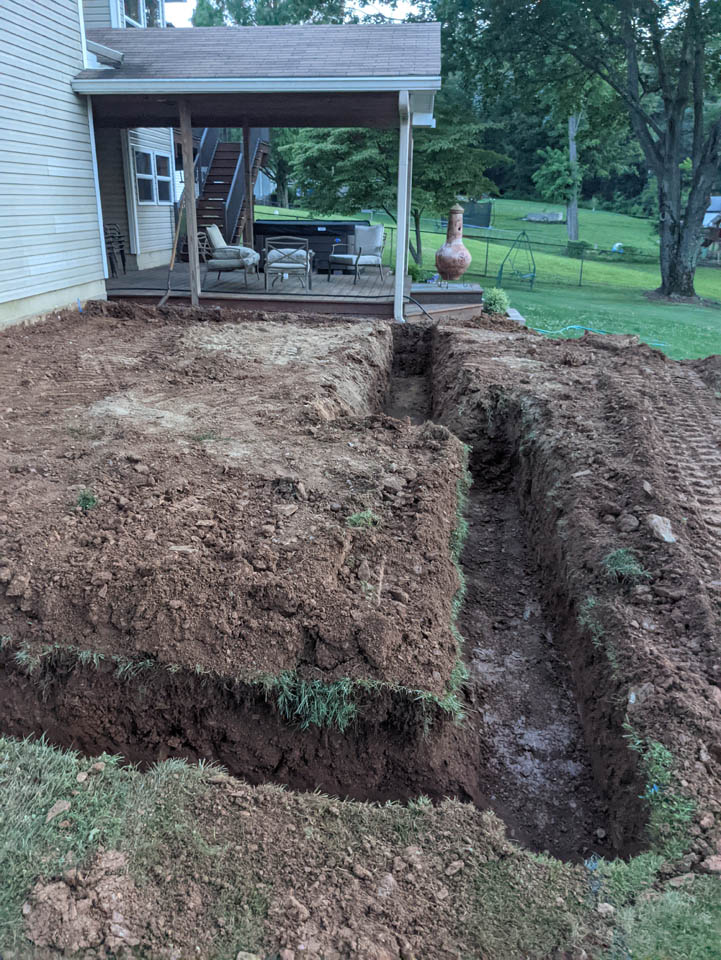
I called my buddy Tony when I was ready to dig footers. I marked them out and he double-checked my work, then he spent a couple hours with his trac-hoe digging my footers.
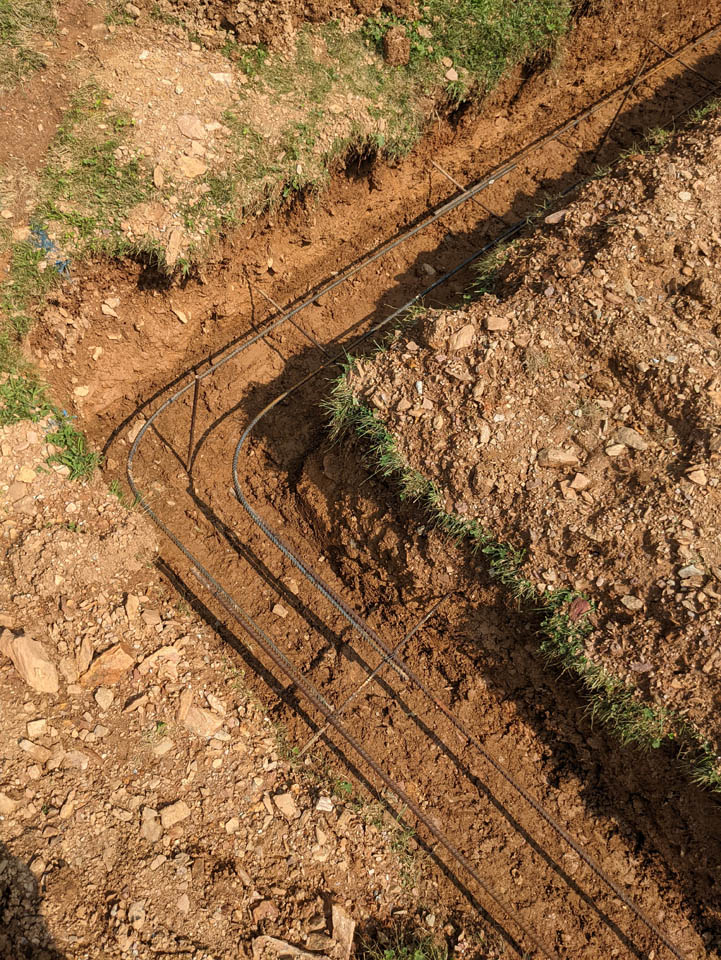
I set all of the rebar and called my buddy Tony again to get the footers poured and level.
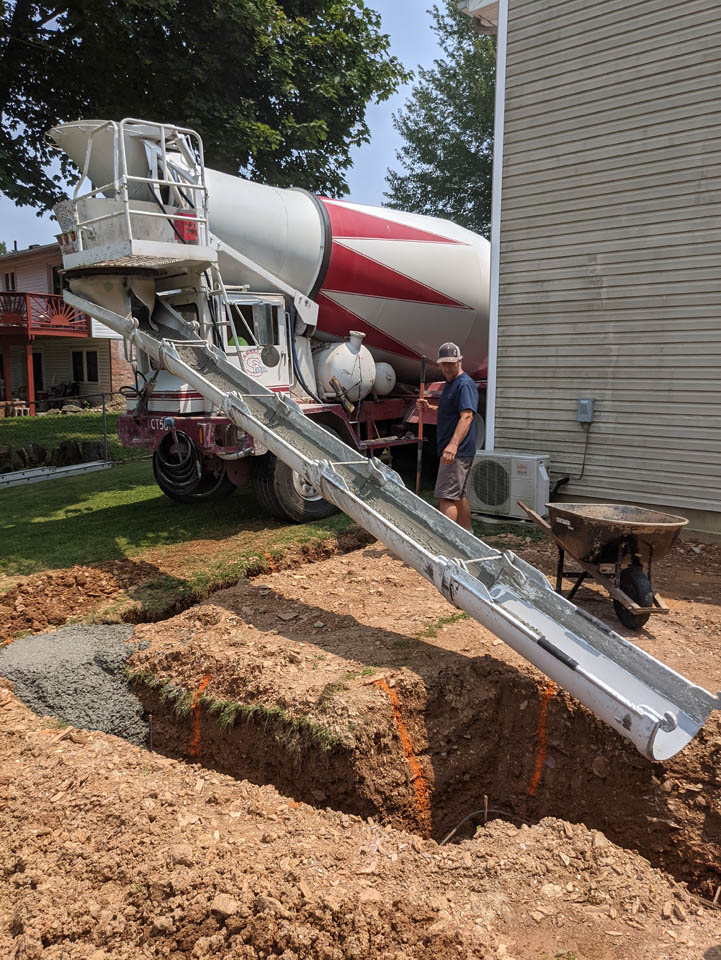
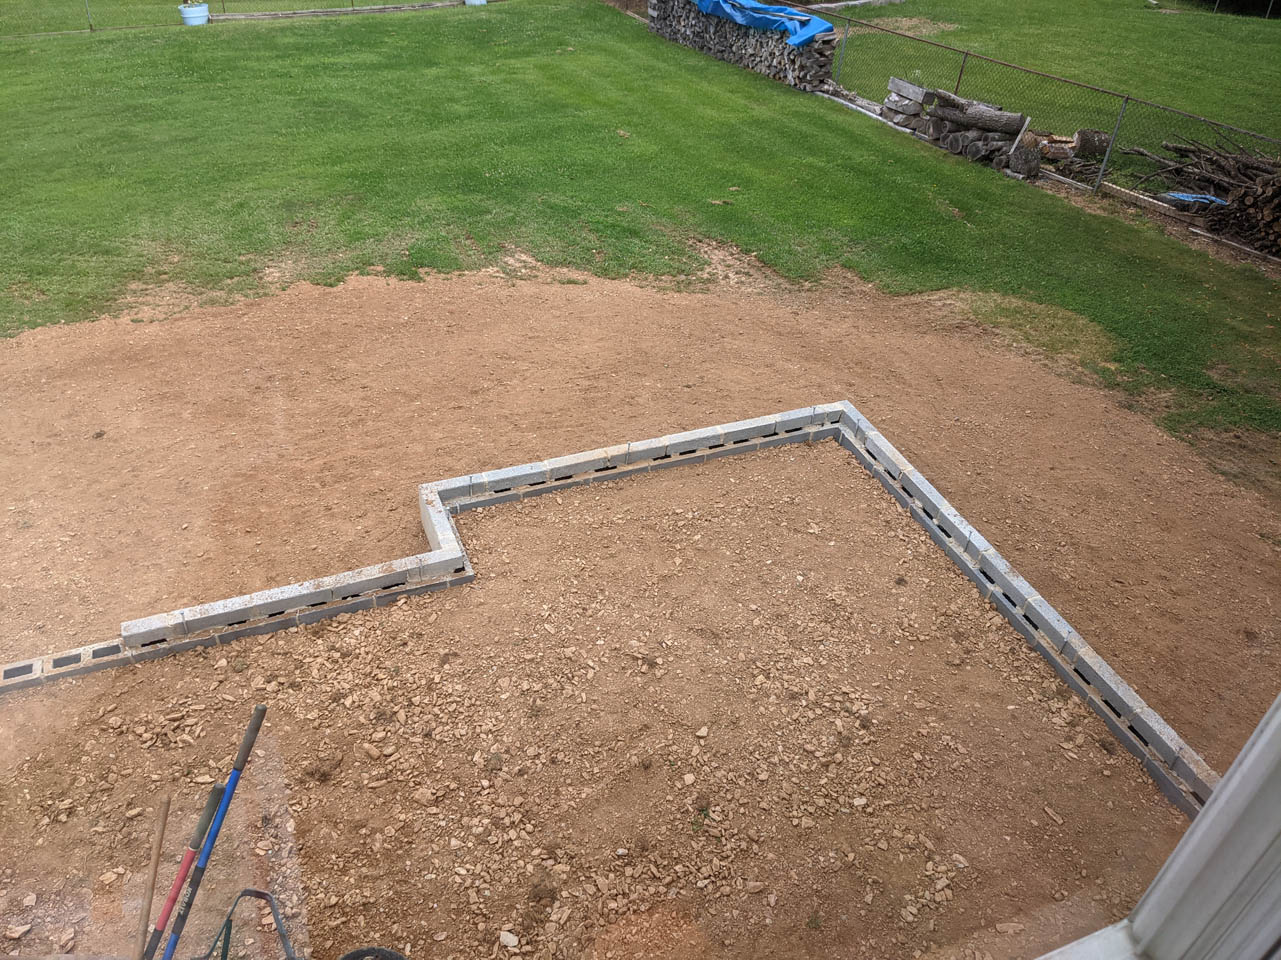
We poured the footers a little thicker to save a course of block.
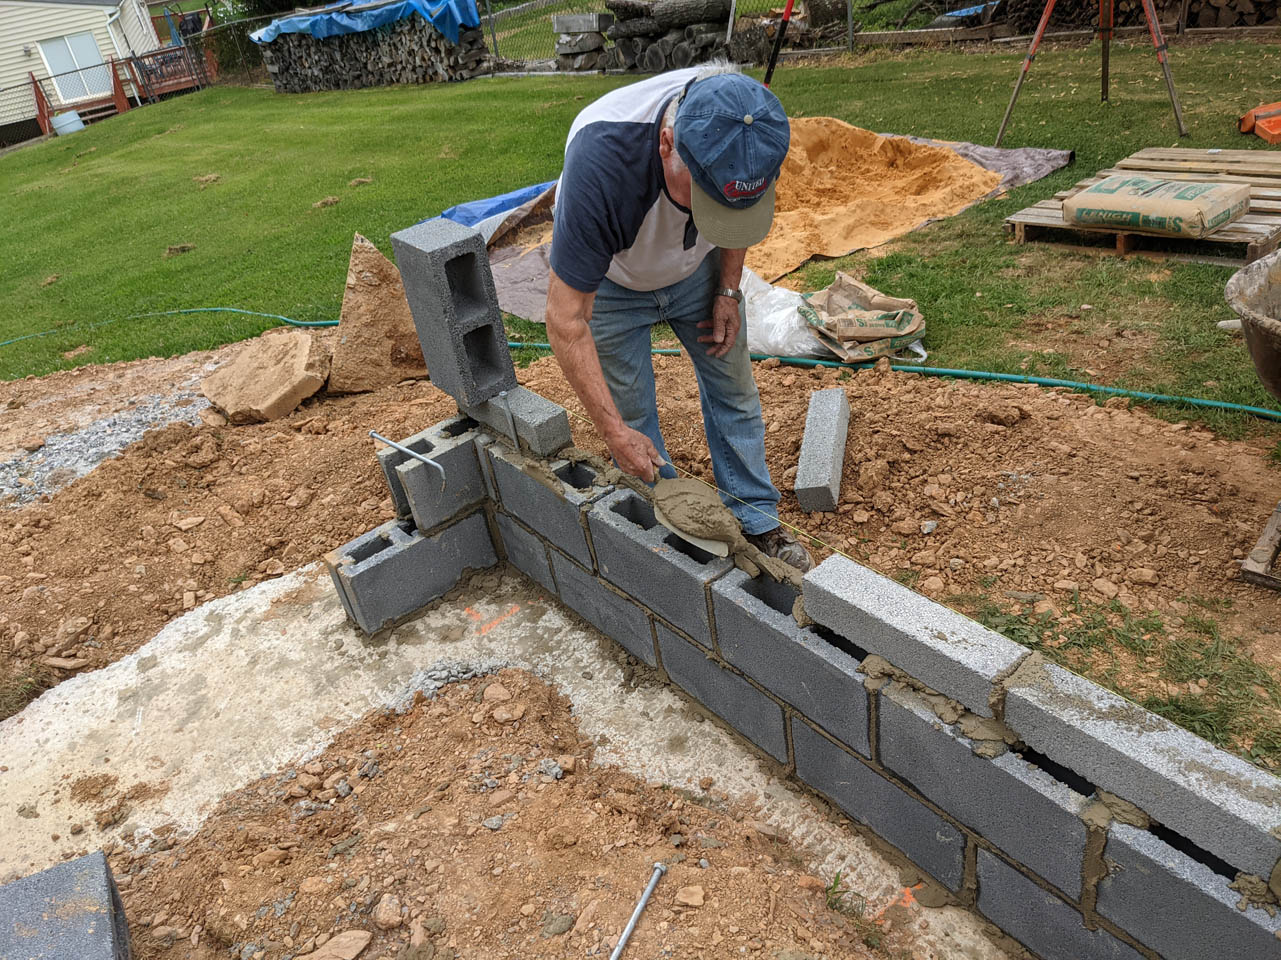
I have laid block before, but I will always prefer someone with more experience to do this kind of work. Tony’s buddy Jake was just turning 86 and wanted something to do. Since he had been a mason for over 30 years, I let him play while Tony and I did all the heavy lifting.

Jake did a great job getting the block laid and parged.

The next day, I used a shovel and rake to backfill and level out the area.
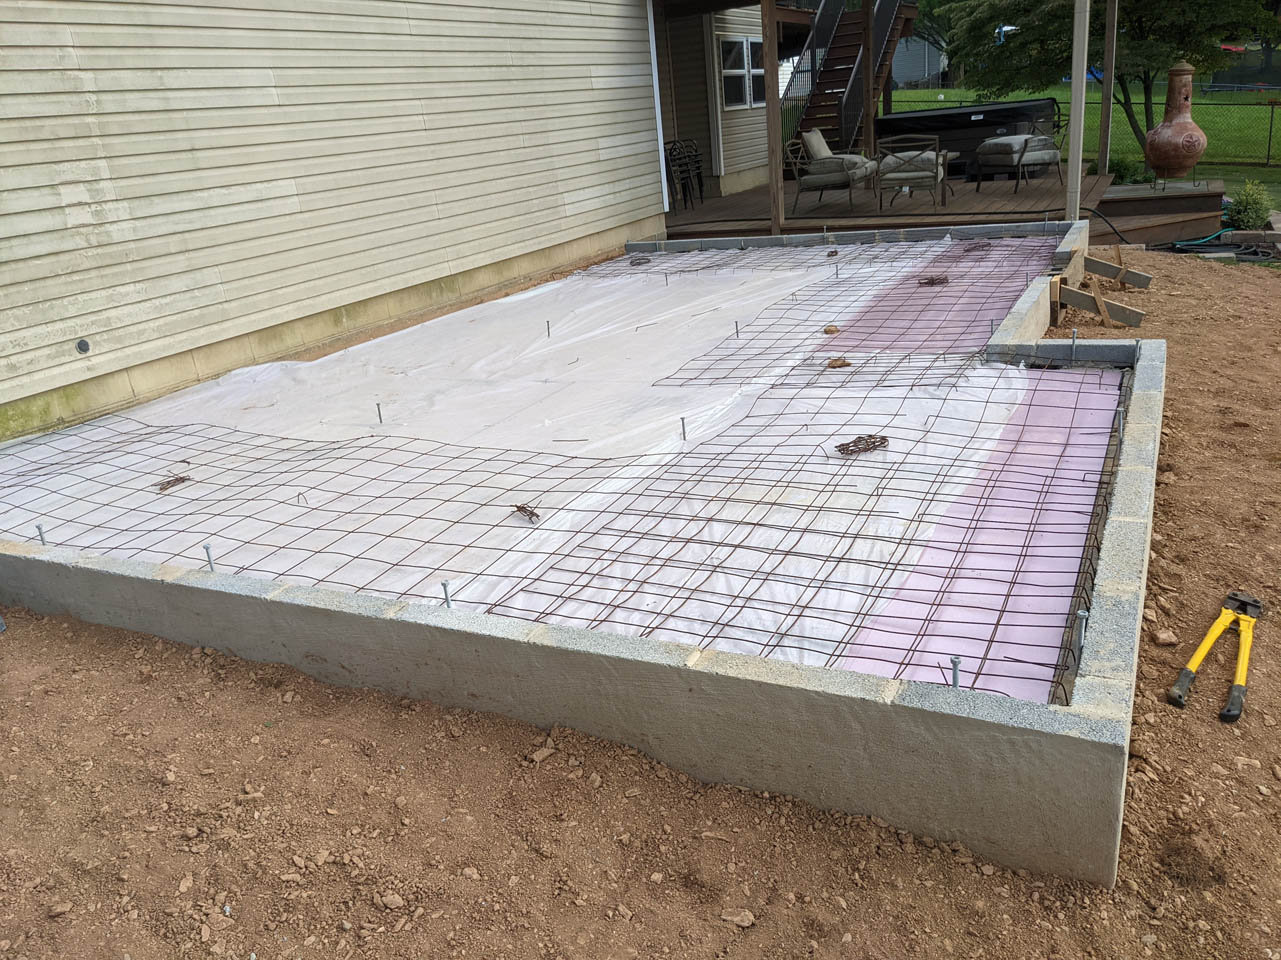
I put 2″ thick rigid foam along the entire floor for insulation. I also placed some wire mesh along the backfilled edges for extra strength in the concrete.
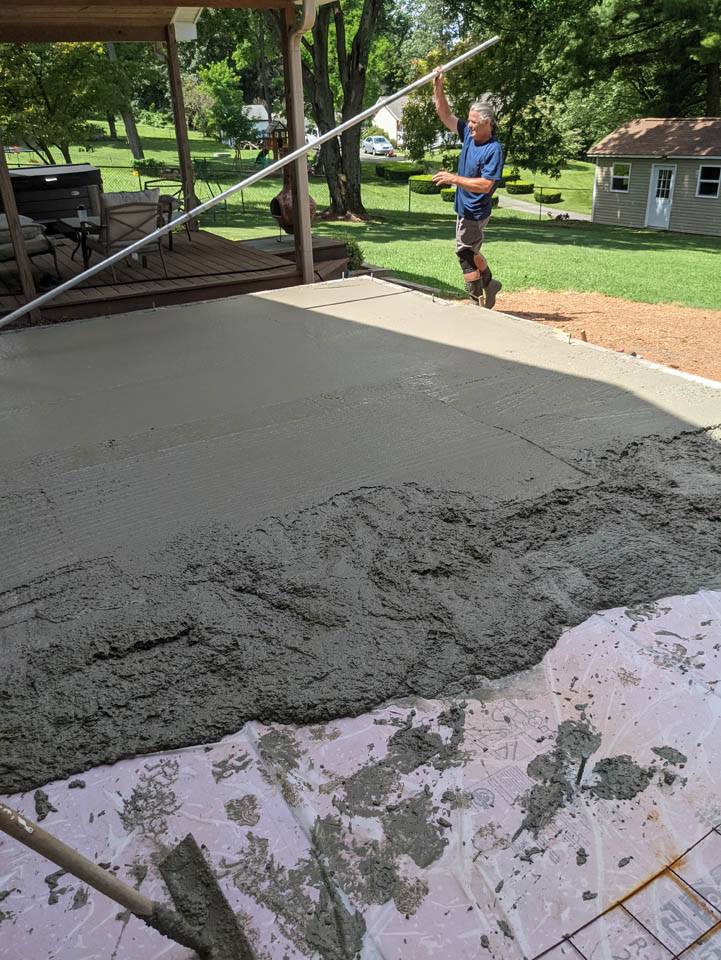
We had fiberglass added to the concrete so the steel wasn’t really needed but I had acquired a roll so I used it anyway. To save some money, Tony and I did the concrete work. I let him do the finish.
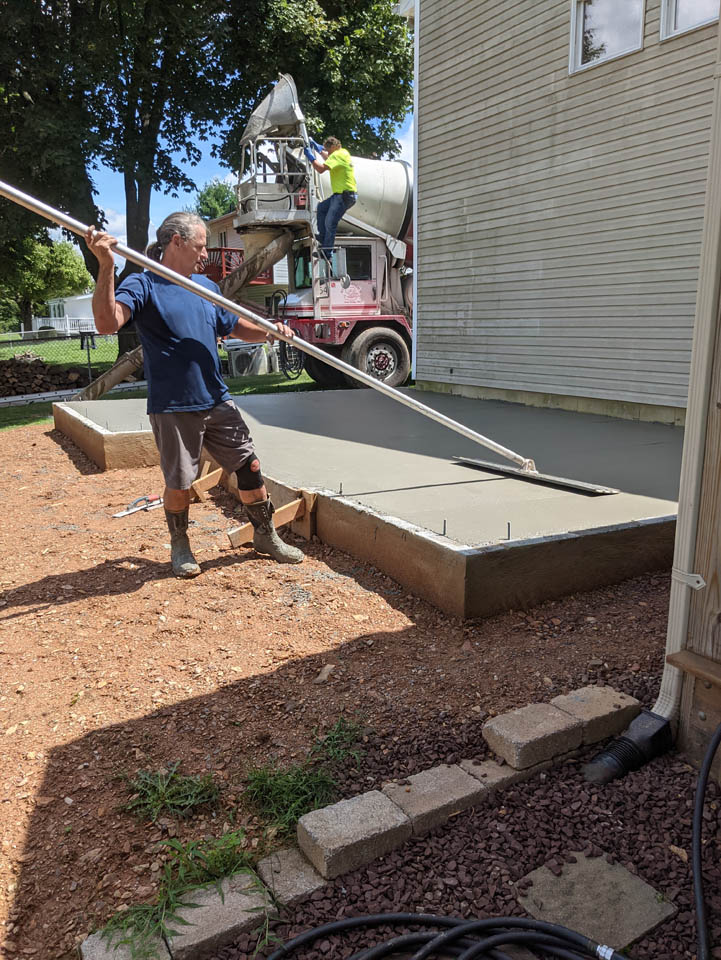
It turned out nice, with only a slight dip in the middle.

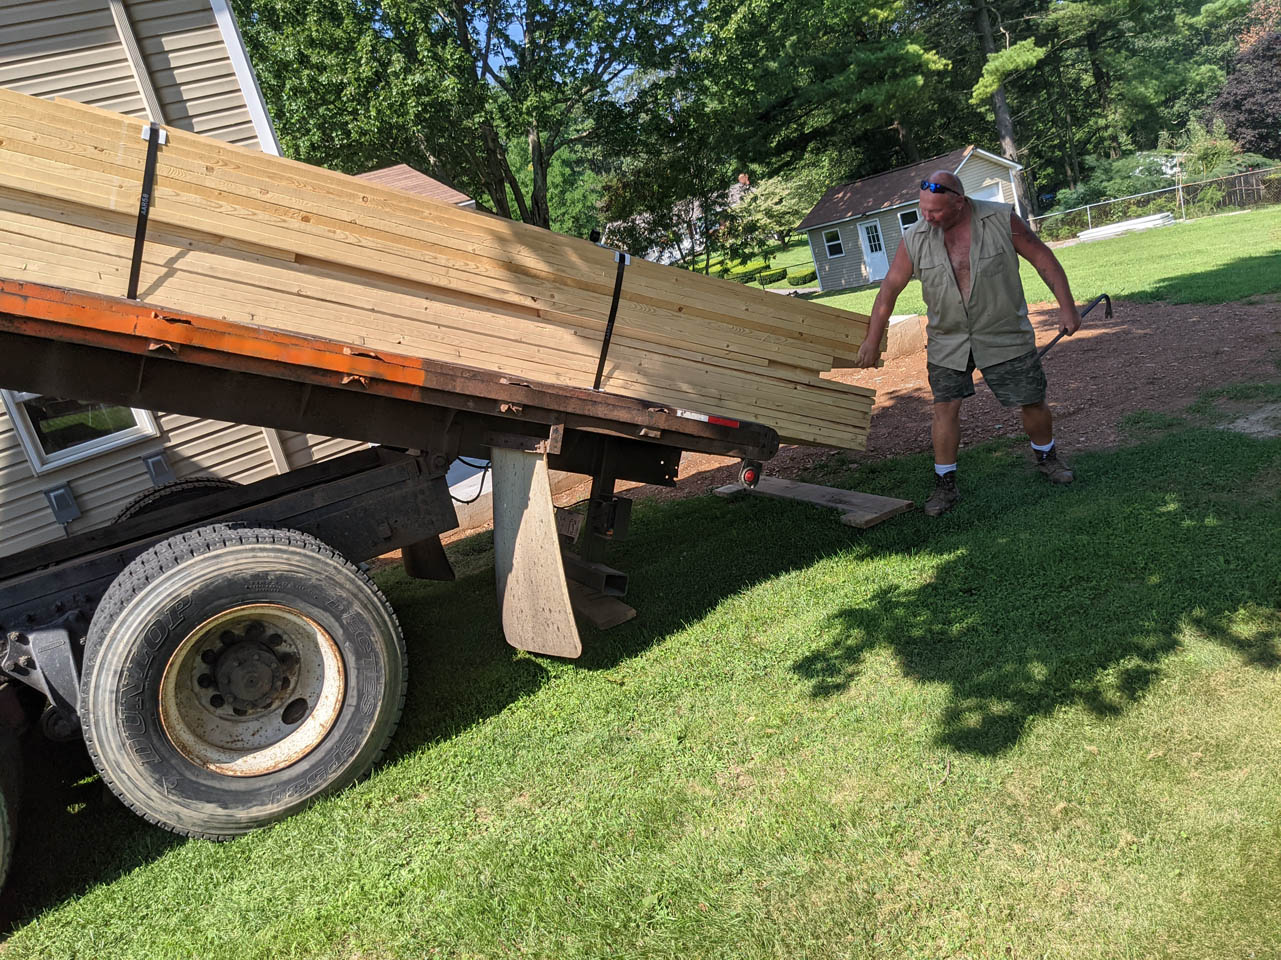
Once the slab was in place, I called for the rest of my lumber to be delivered. Prices were at the lowest they had been in a year and it seemed like a good time to buy. It was, because a few weeks later, the prices started rising again.
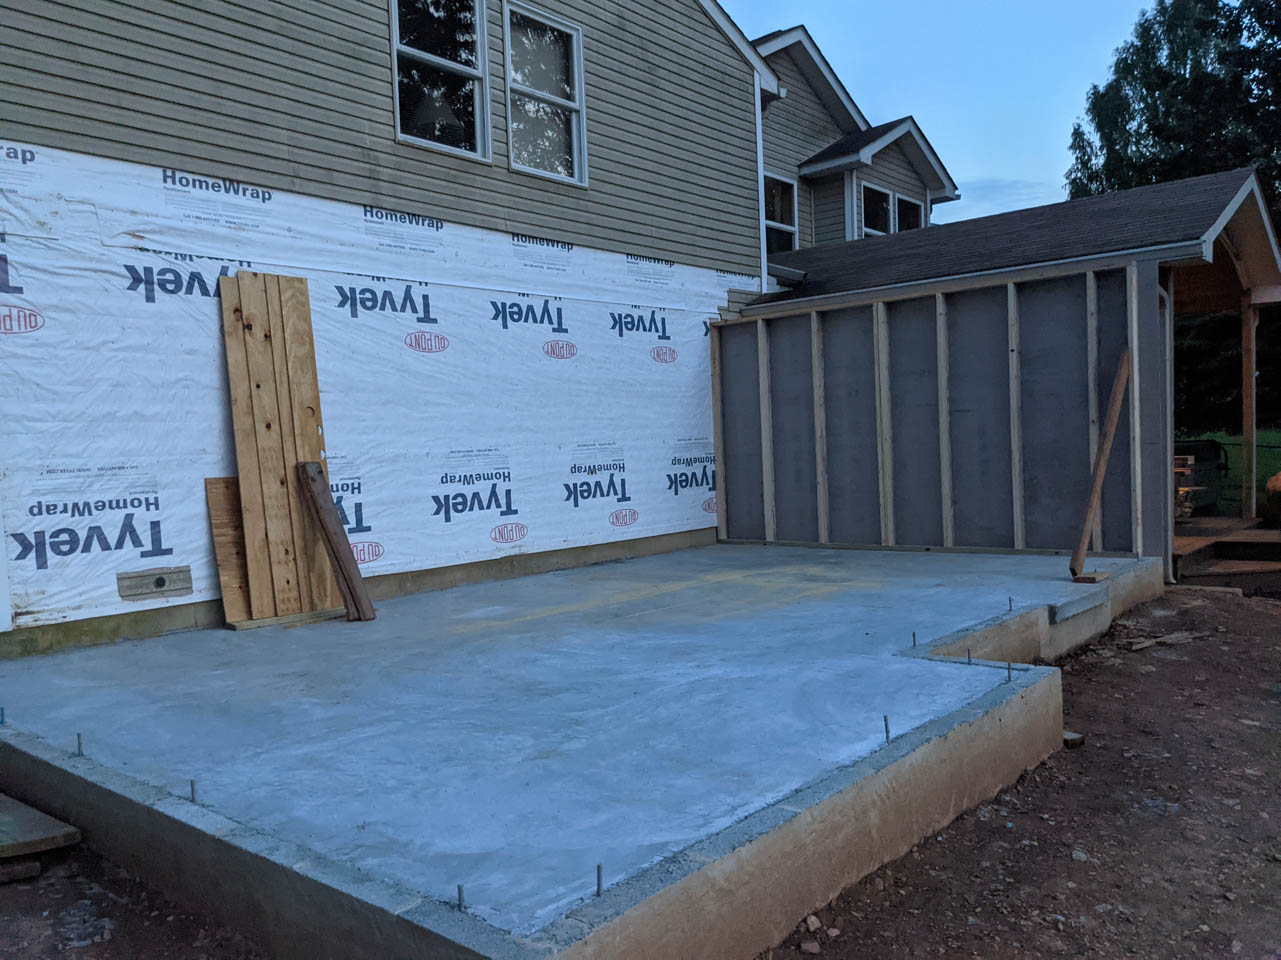
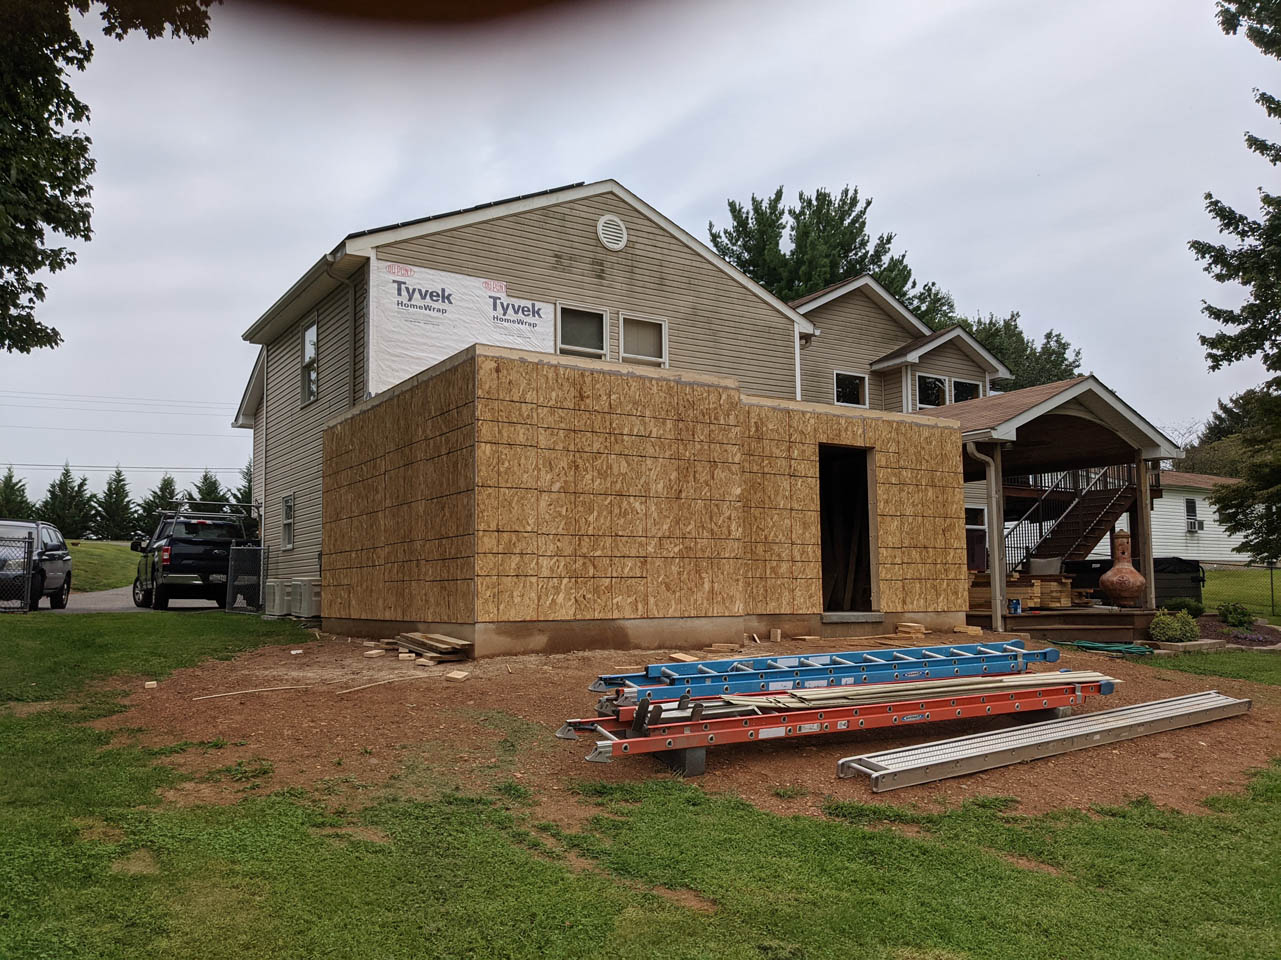
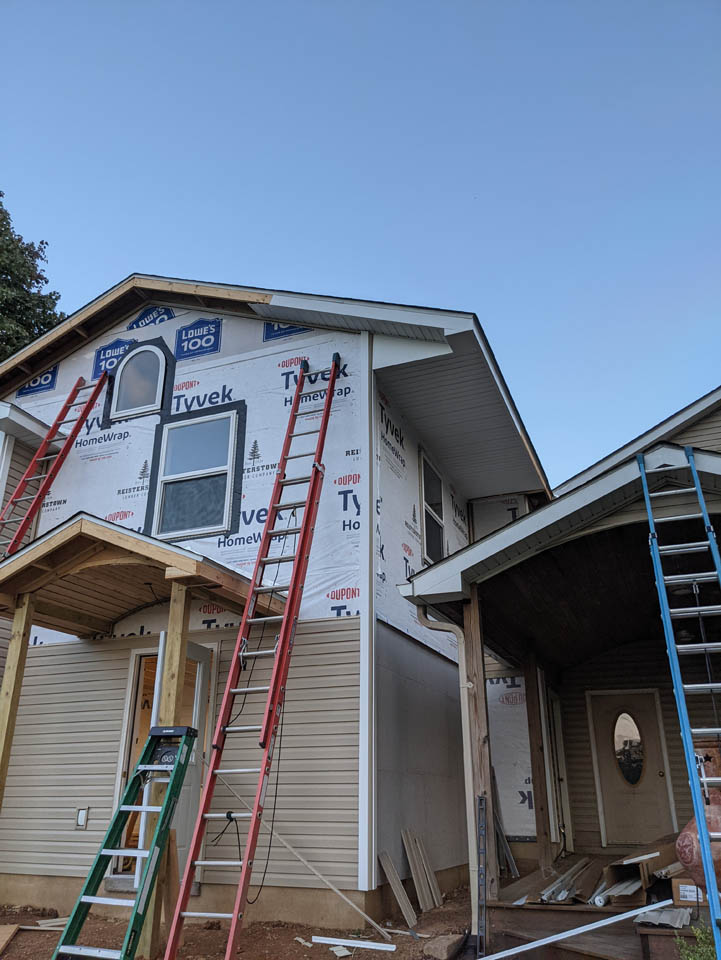
With the slab in place, I could start building walls. I pulled off the siding on the lower level of my house so I could attach the new walls. I left the house wrap and only removed siding as needed so I did not get rain into the existing finished house. This first wall is one that my wife wants to be an accent wall. It will eventually get stone applied to the side facing the back porch. Since that will probably not happen for a while, I painted the plywood with two coats of exterior paint to protect it from the weather.
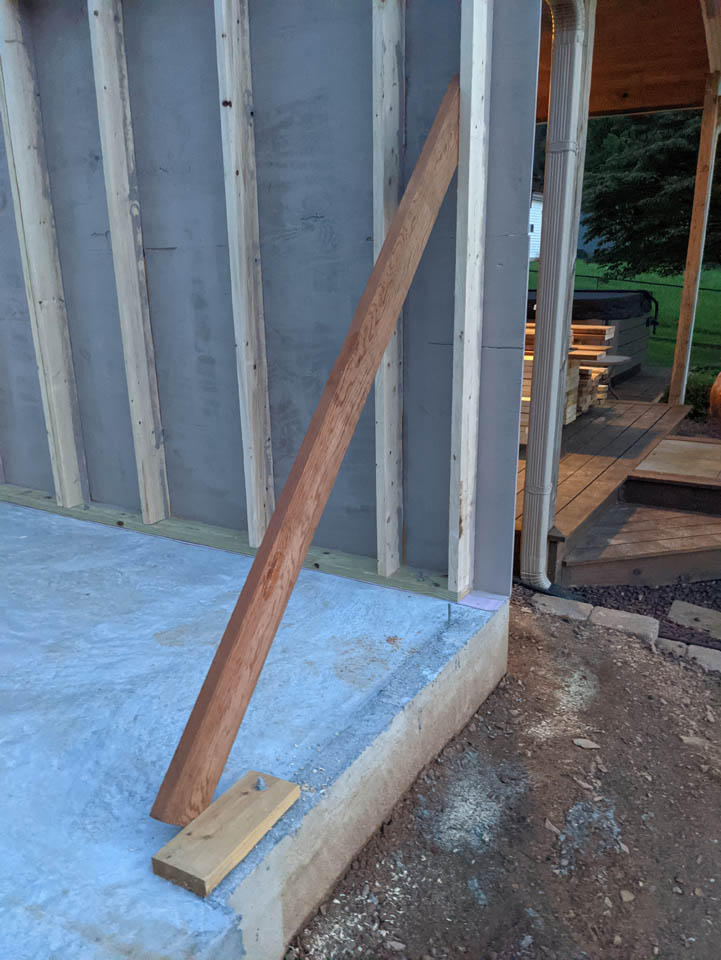
I built the lower level without help so the sheathing will go on later. I cannot lift a fully sheathed wall by myself…

My son came over to help me get the sub-floor installed. I bought the good stuff, but it was heavy. I needed a hand just to get it up there.
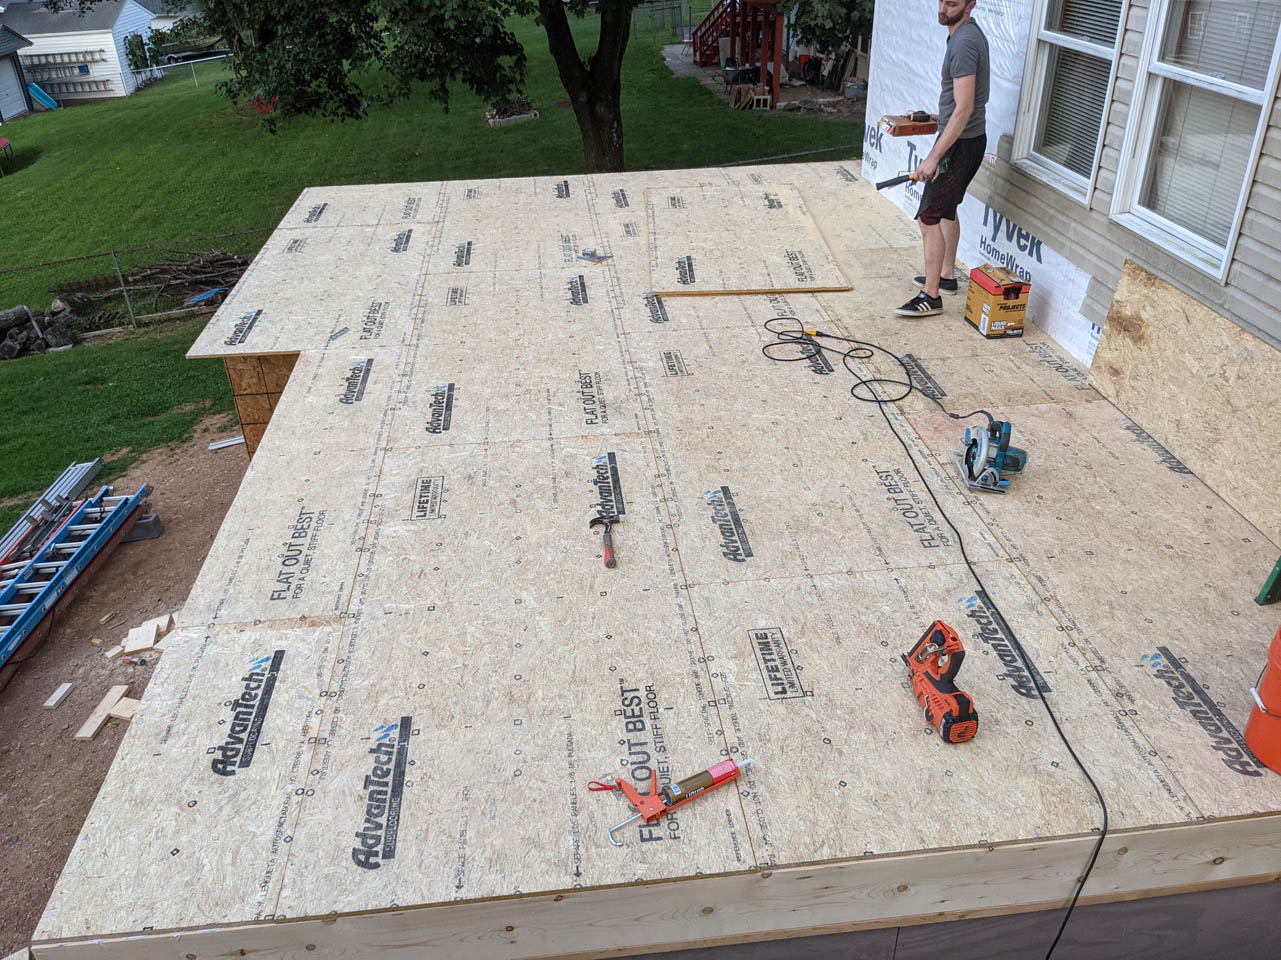
Once the floor was on, I added the sheathing below.
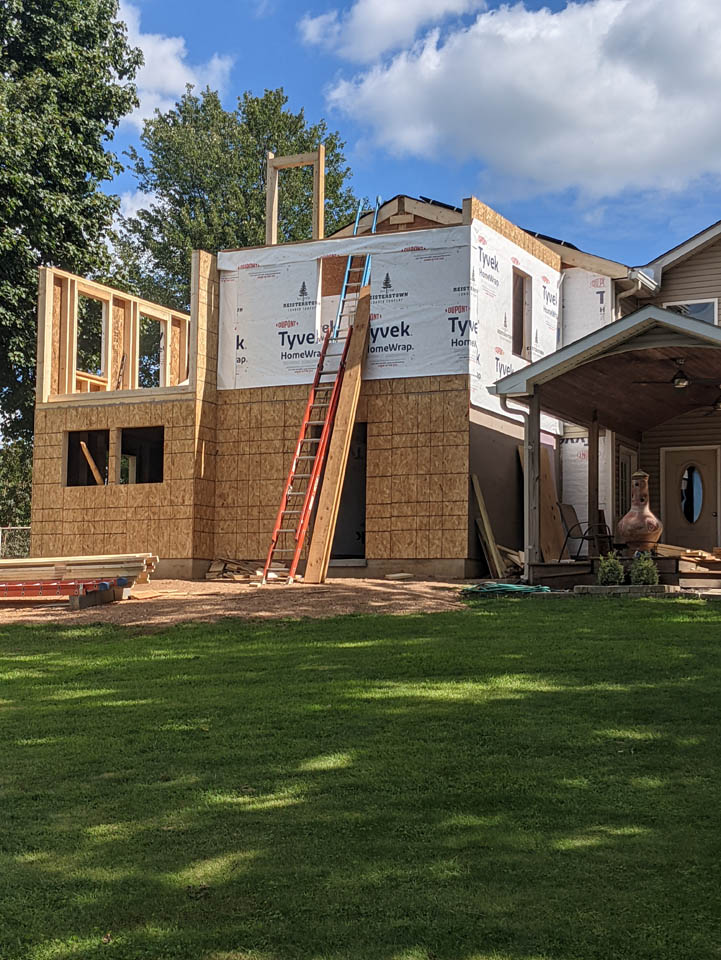
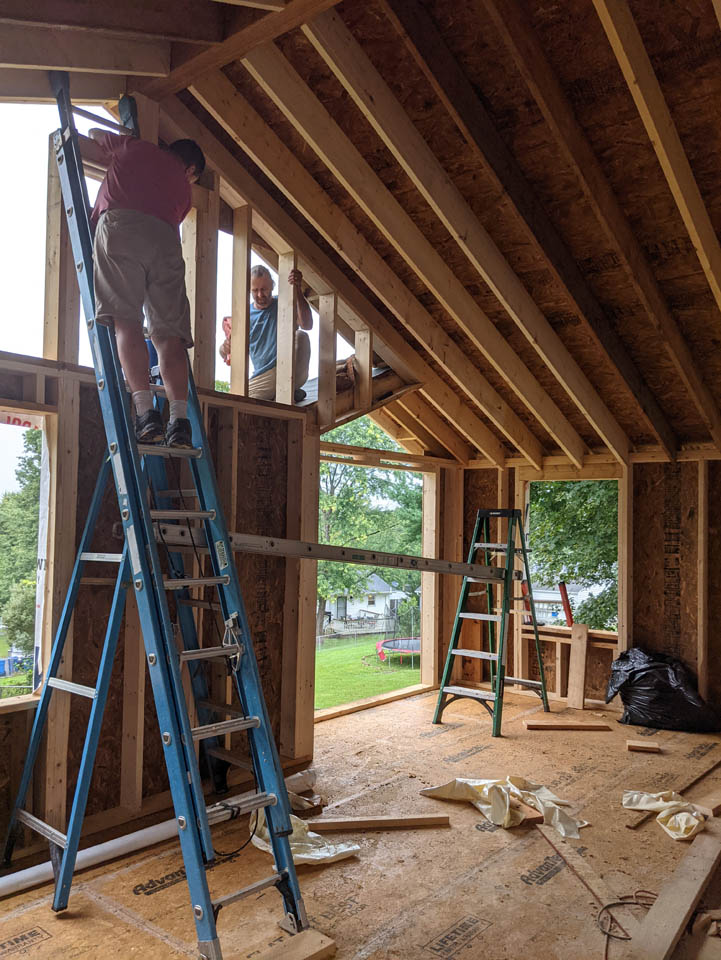
My buddy Tony came back over to help me put up the second floor walls, so these could be sheathed on the floor, then stood up.
Unfortunately, this where things went crazy. As we were setting these walls, I got a phone call from my parents. My Dad was having problems. Tony helped me get him into my truck and off to the hospital while he went back to the house to finish up a couple walls with the help of my youngest son. Turns out my Dad had a massive stroke. Luckily, we were blessed with it being a holiday weekend and the local hospital did not have a neuro-surgeon available. The only hospital that did was in the next state. As it turns out it was the best possible place they could have sent him. After a month of acute rehab, they had him back to about 85%. He is still improving a little every day. The immediate care and constant rehab are the reason he is walking and talking today.
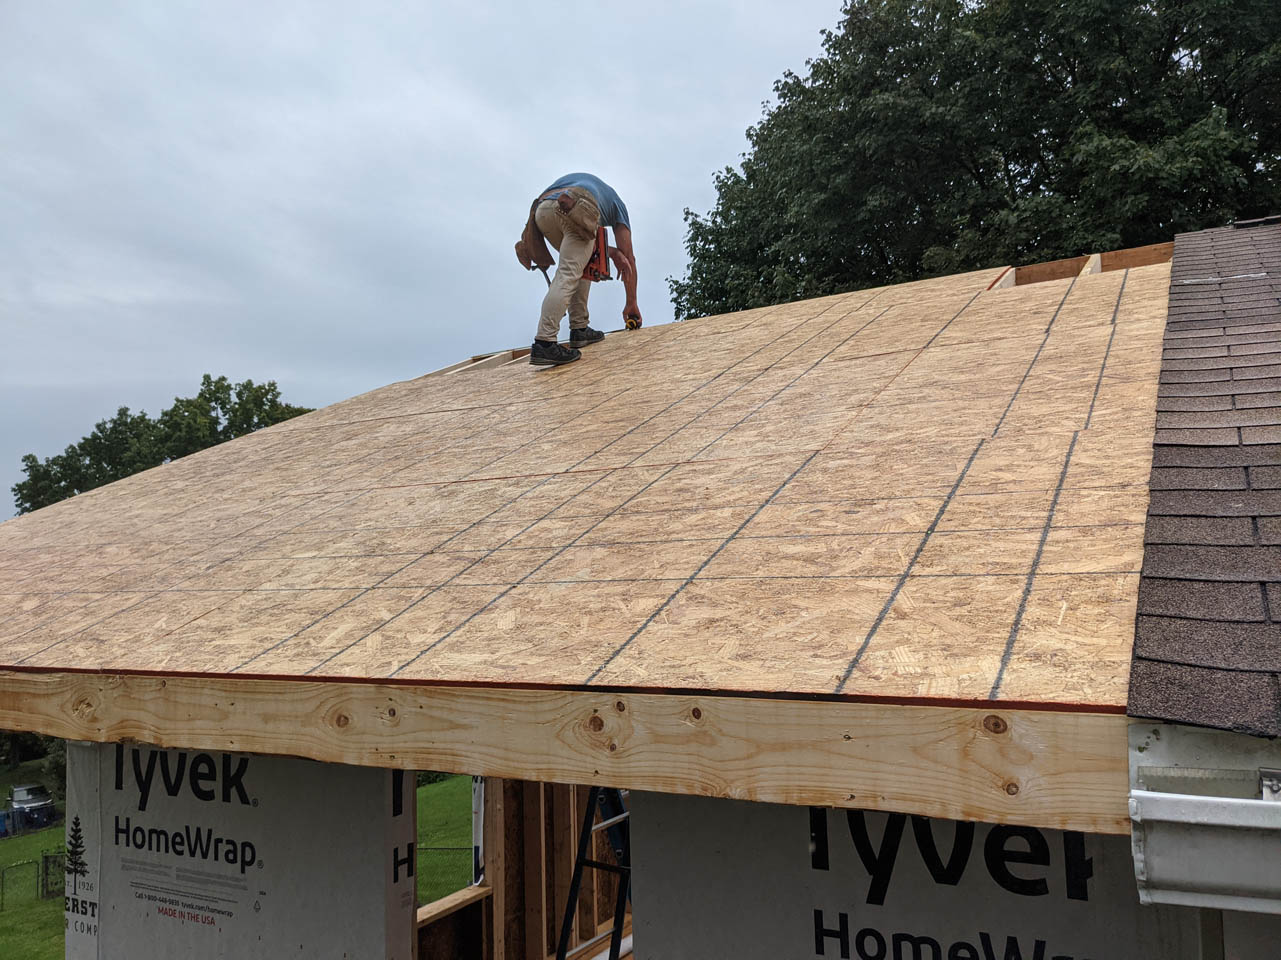
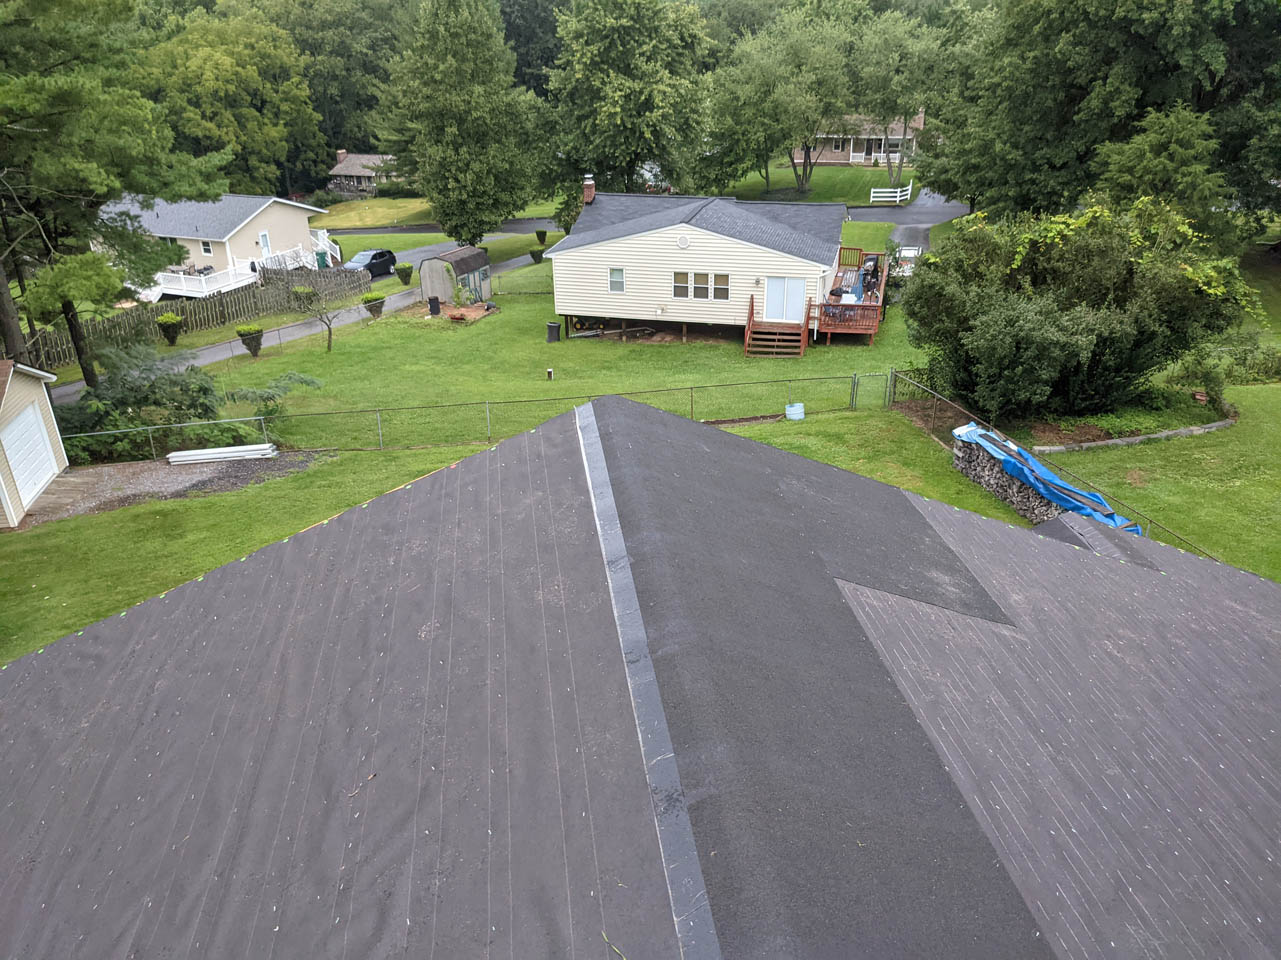
With COVID restrictions and the need for focused care, I couldn’t visit him much over the next couple of weeks. I focused on making sure my mother had everything she needed and getting the roof on the addition before it got too much rain on it.
Tony and my buddy Todd really helped me a lot that week and we got the walls up and the roof on.

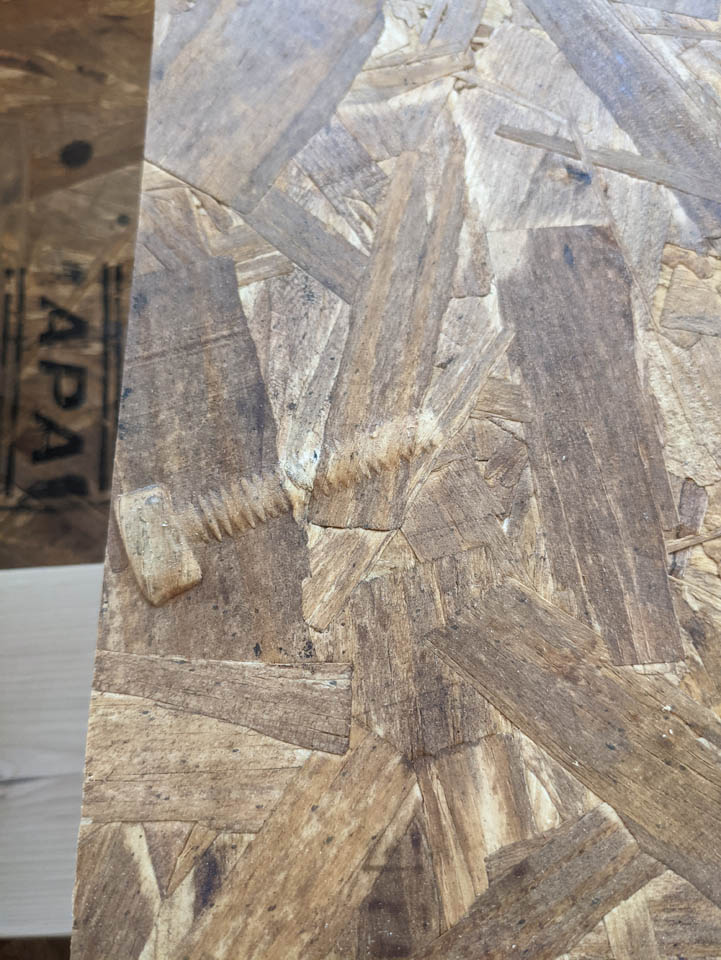
I even found a couple of fossils in the OSB…
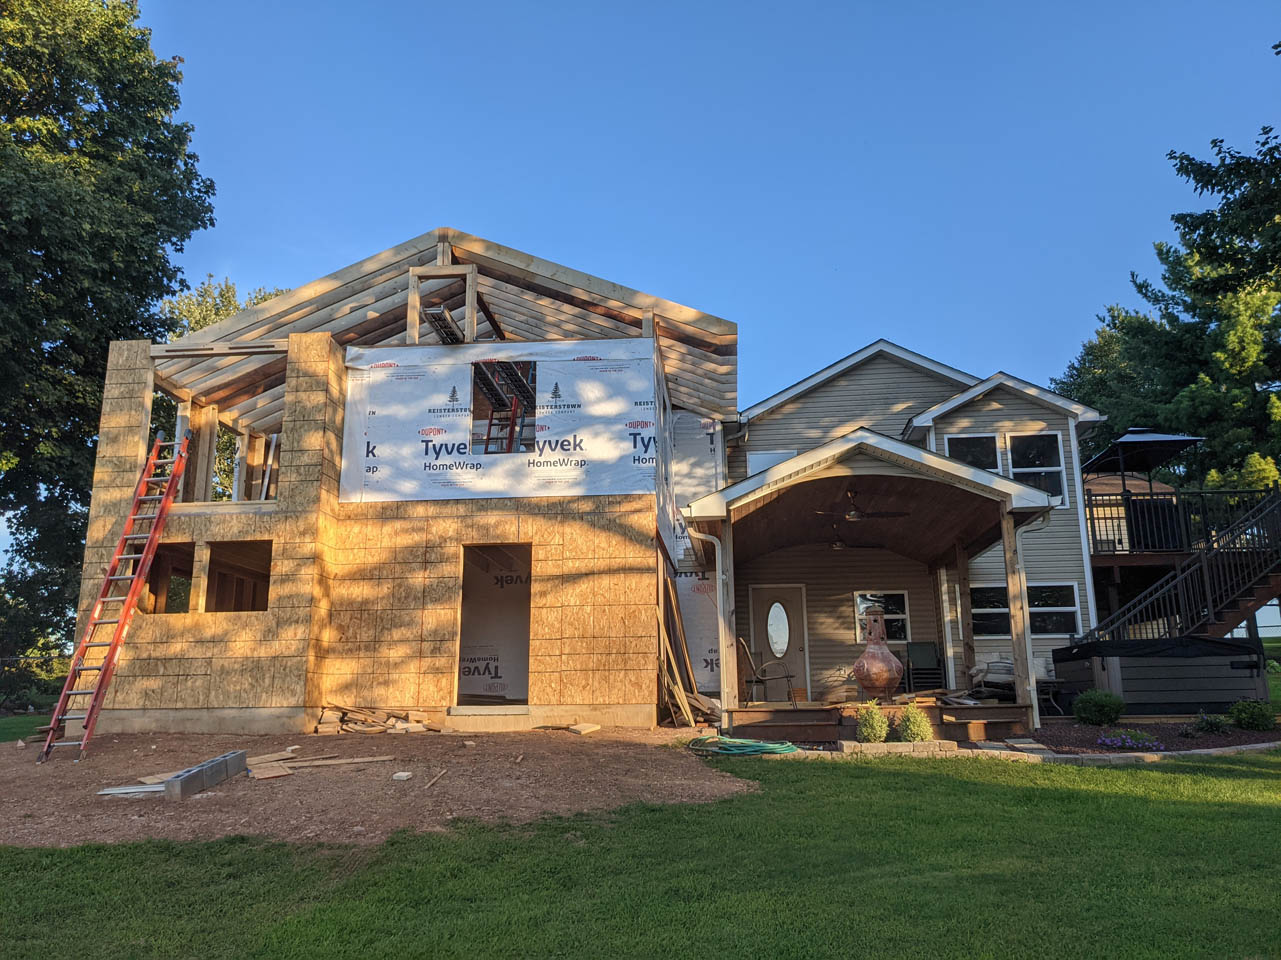
We had a long damp weekend, but we got things framed and protected from the rain.
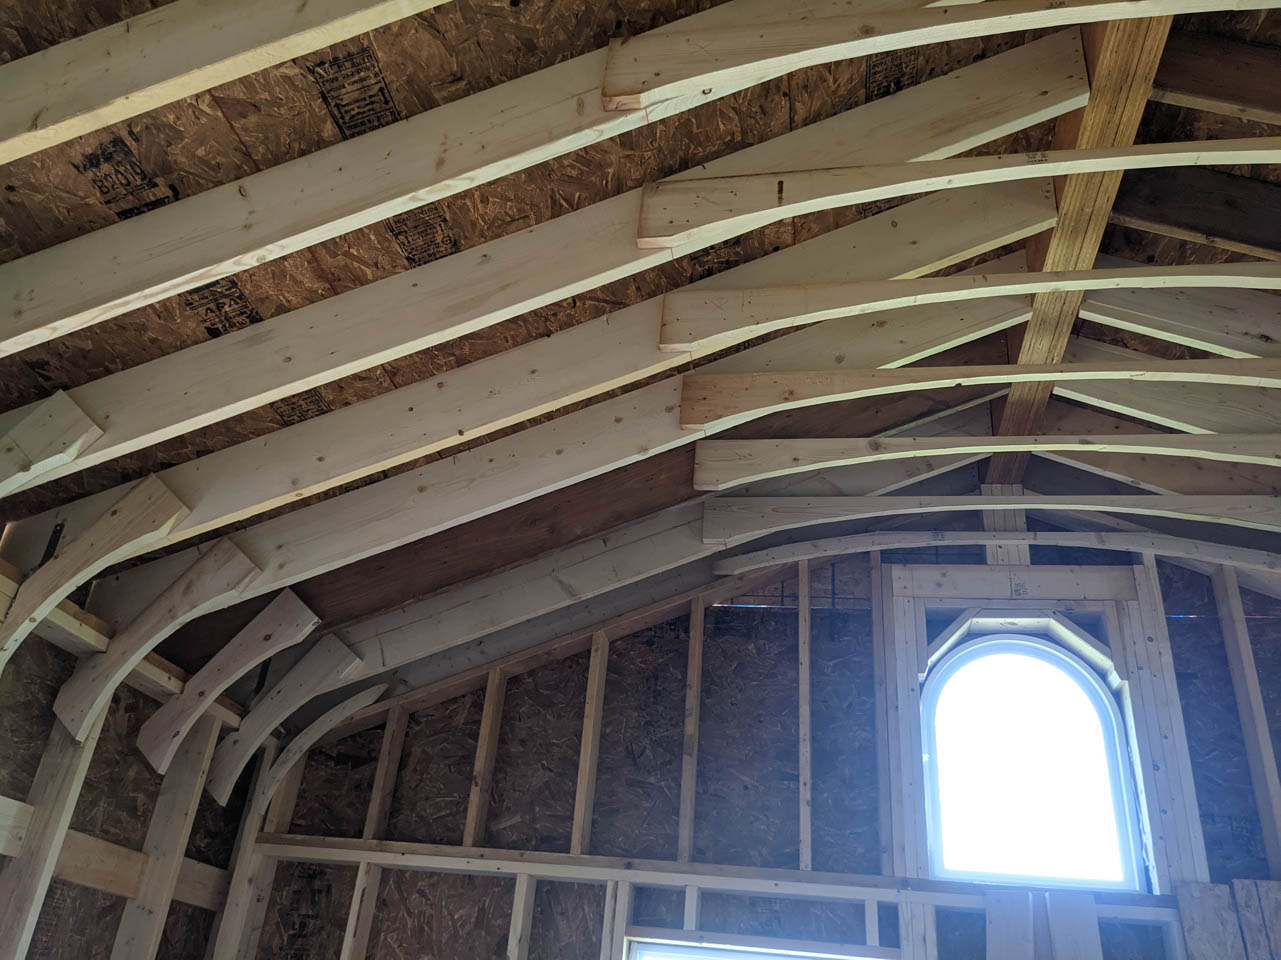
I have a plan for a really cool ceiling in the upper level but to get a large, open, cathedral ceiling, we had to set a triple microlam beam. It was heavy work and I couldn’t have done it without Tony and Todd.
Unfortunately my friends did have to eventually go back to work, leaving me to play on my own now that the heavy lifting was out of the way. We left a section of the bump-out unfinished so that I could get drywall into the room. Remember this was my fourth addition, I would have had a hard time getting twenty sheets of drywall through my house and around corners…
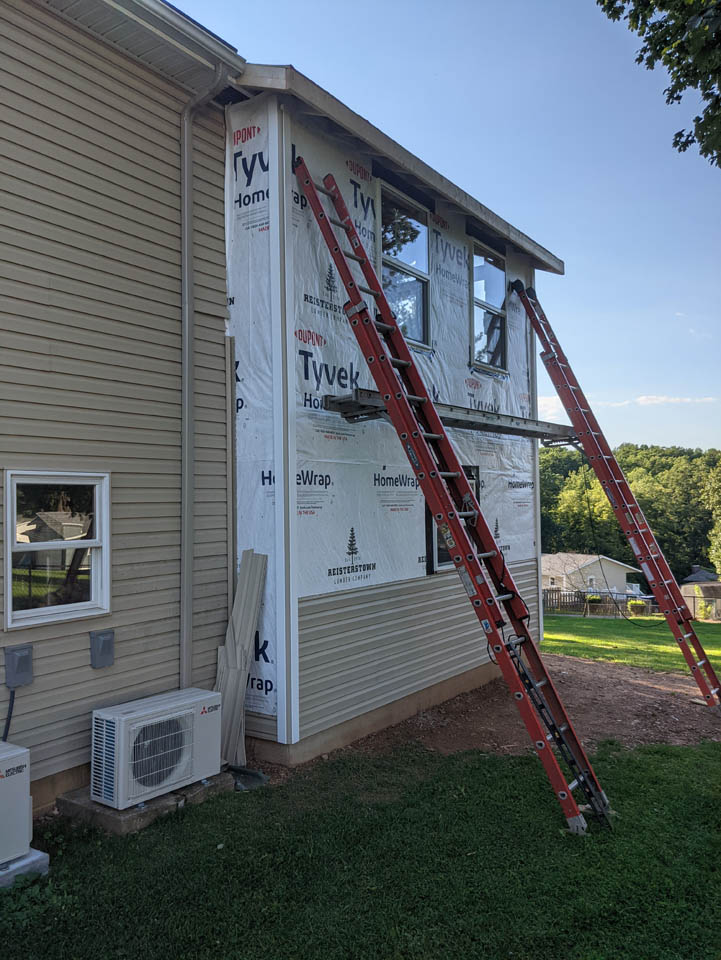
On the sunny days, I got started on siding, Working off a walk-board and ladder jacks, one wall at a time.
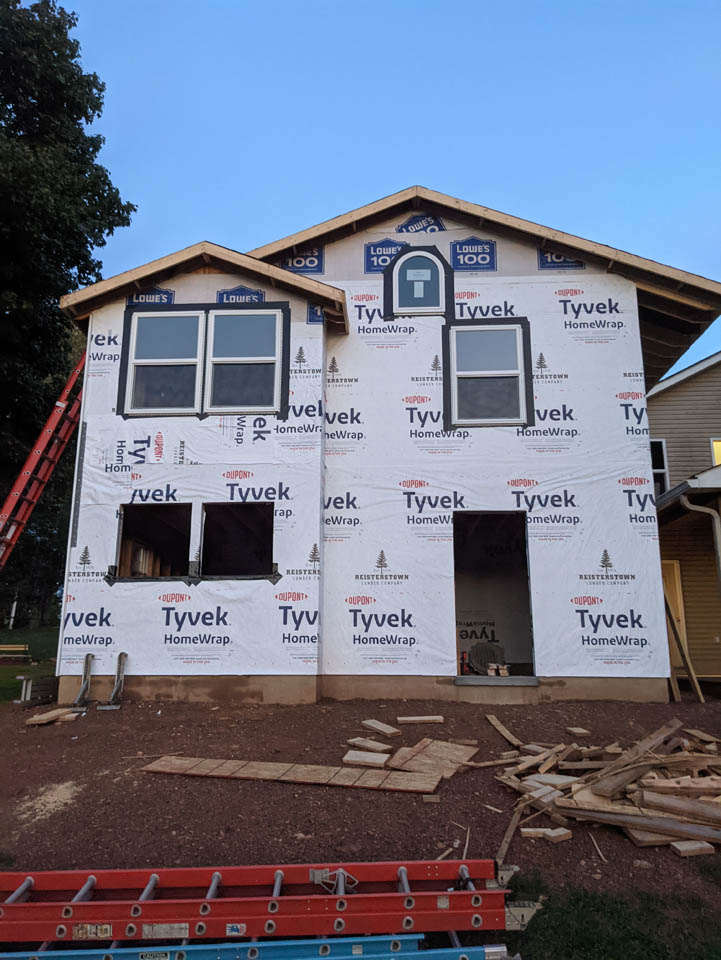
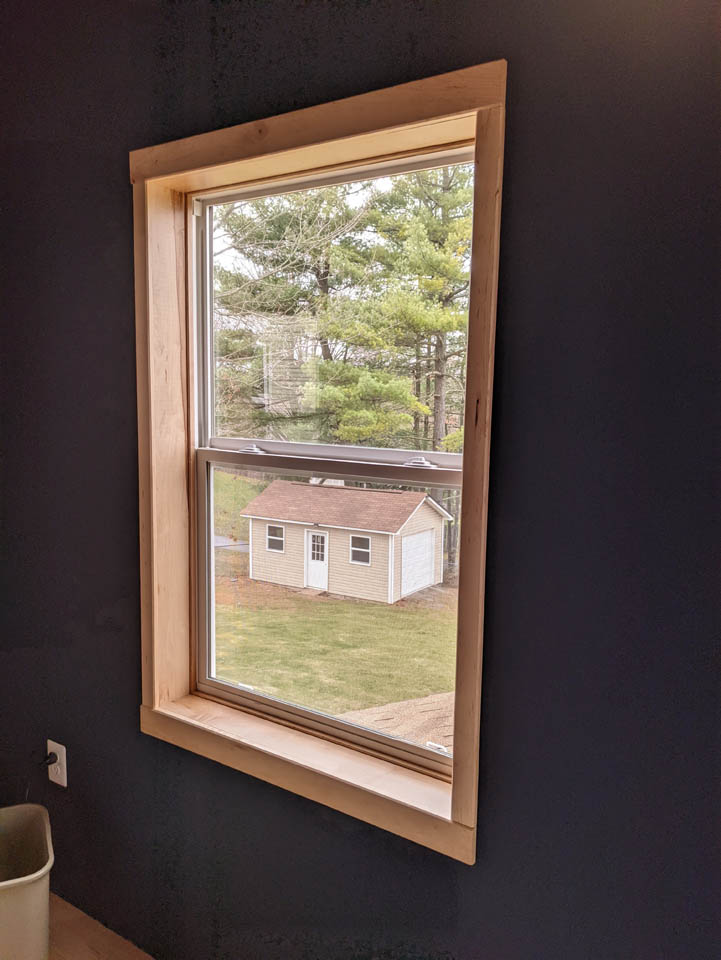
I did get my floor dried and the drywall loaded upstairs so I could close in the wall and install the windows to keep the rain out.

On the cloudy days, I got rolling with the shingles on the roof. I was lucky to find some that matched the color of my roof. With the supply issues, I had to find someone who had some old stock since the manufacturer reduced the colors they were offering. I had to drive over an hour to get them, but luckily they had enough and at a good price.

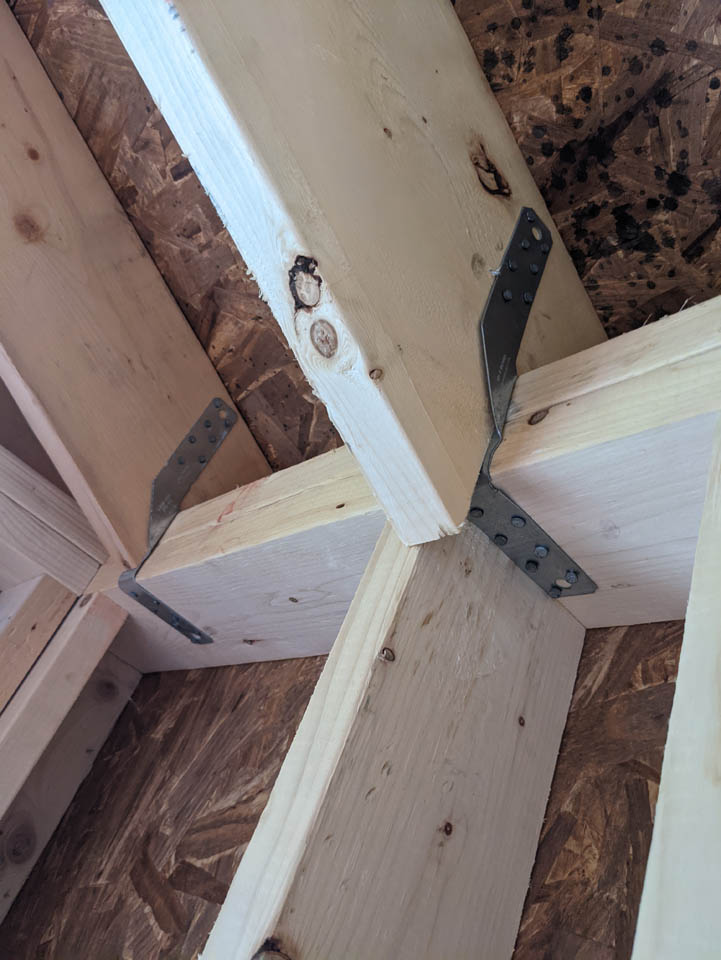
We had a couple of really windy days and that reminded me to install the hurricane hangers…
Somewhere around this time, my middle son and his wife had a beautiful little girl, my first granddaughter, Cecilia.

Getting back to work…

A few years ago, I had an idea for the ceiling of my back porch. I used 2″X12″ lumber for my collar ties and cut a tangent curve into them, leaving 3″ for the tie. The curve was perfect for me to install 4″ cedar siding along it creating a barrel ceiling. I repeated this detail on the small back porch, of the new addition, as well.

I know I am bouncing around, but I managed to get the first wall sided before getting distracted with babies and curved ceilings…
Now, I feel the need to pause here and blame my wife for all of the additional work that is going into the top level. My goal was to add more shop space. The upper level is off the back of my master bedroom and I really didn’t have a plan for it except maybe some workout equipment. However, my wife requested that we utilize the room that my office currently occupies, to expand the dining room for our growing family (Thanks a lot kids). She suggested that I move from my 50sqft office into the new 350sqft space I was building above the shop. That meant I had a large room all to myself to play with. Let’s just say the budget was tight, now it just went out the window…
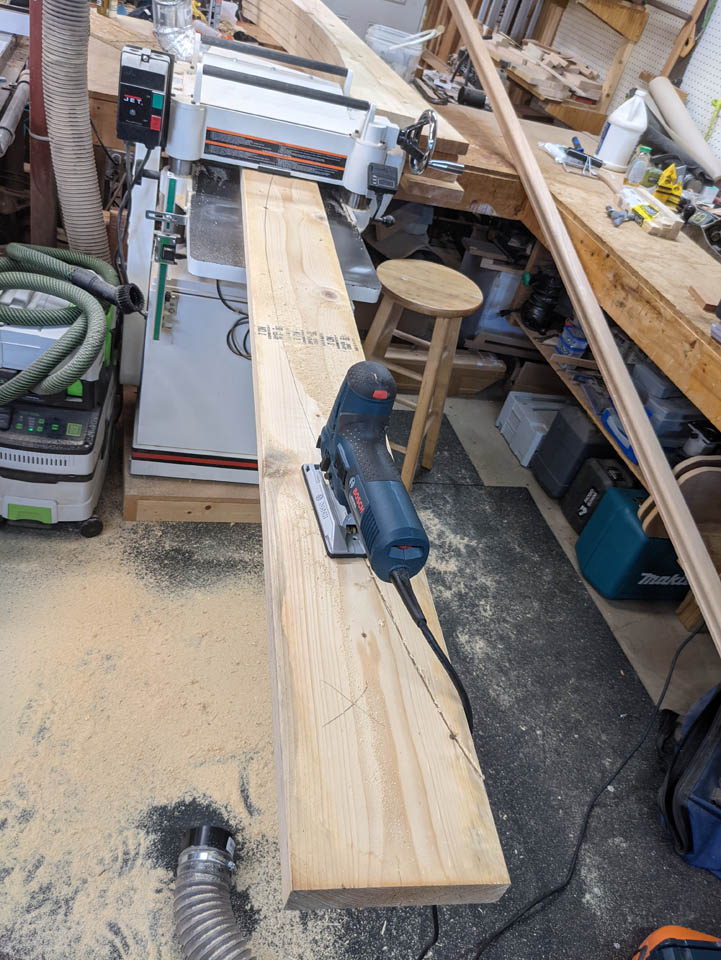
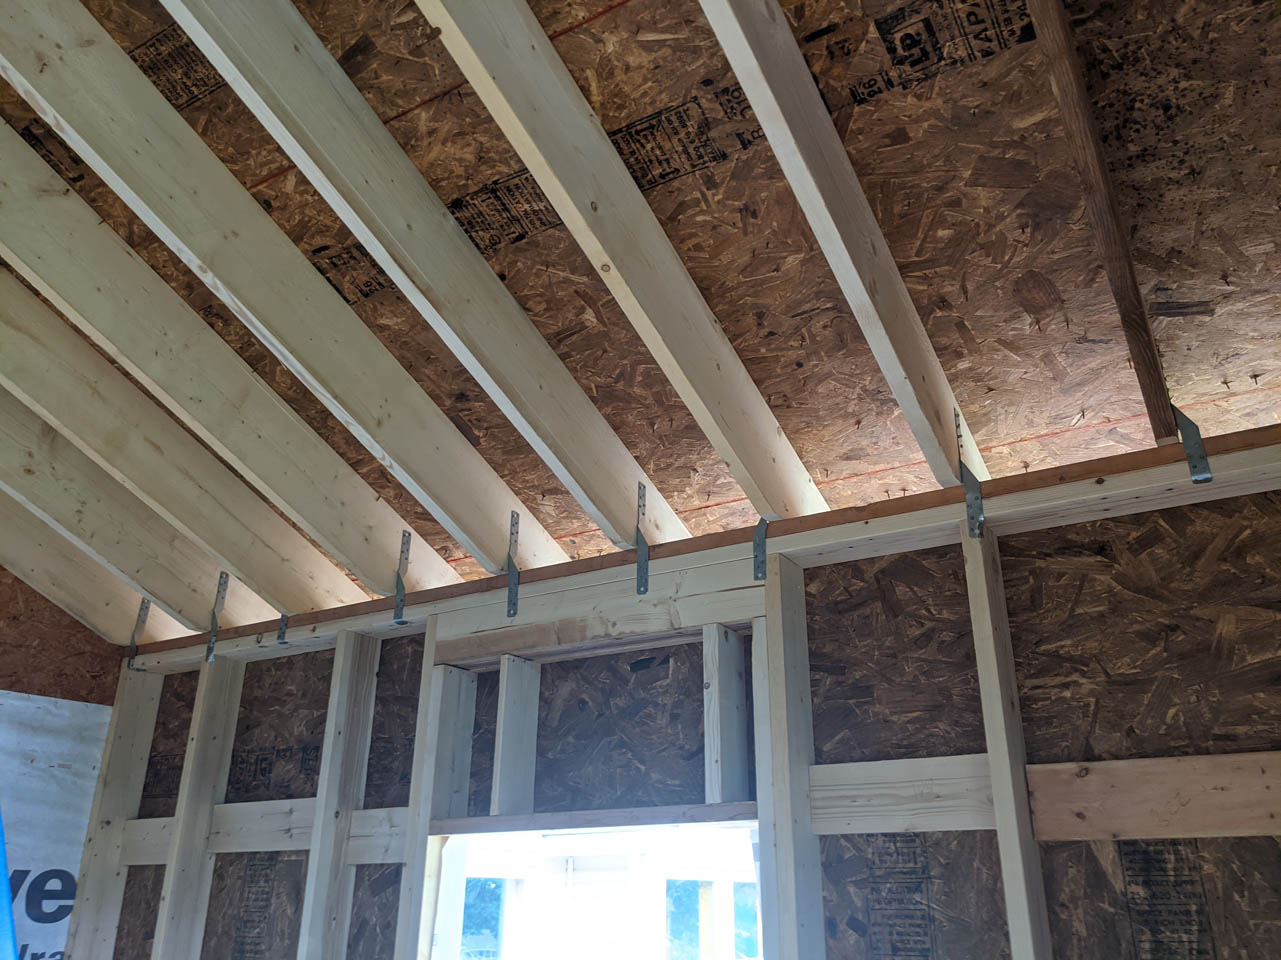
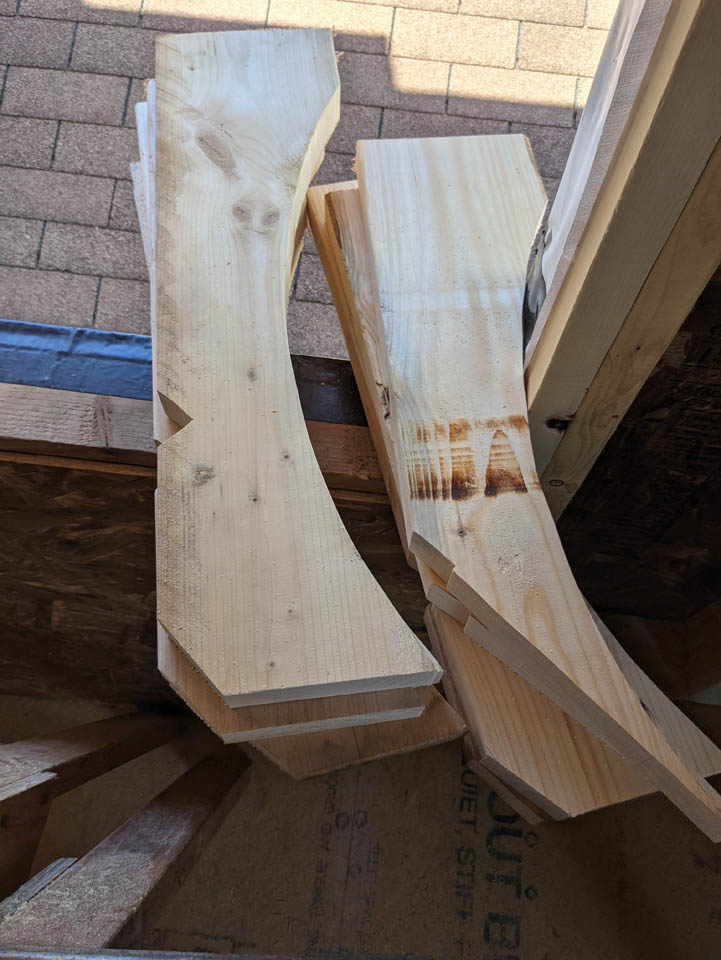
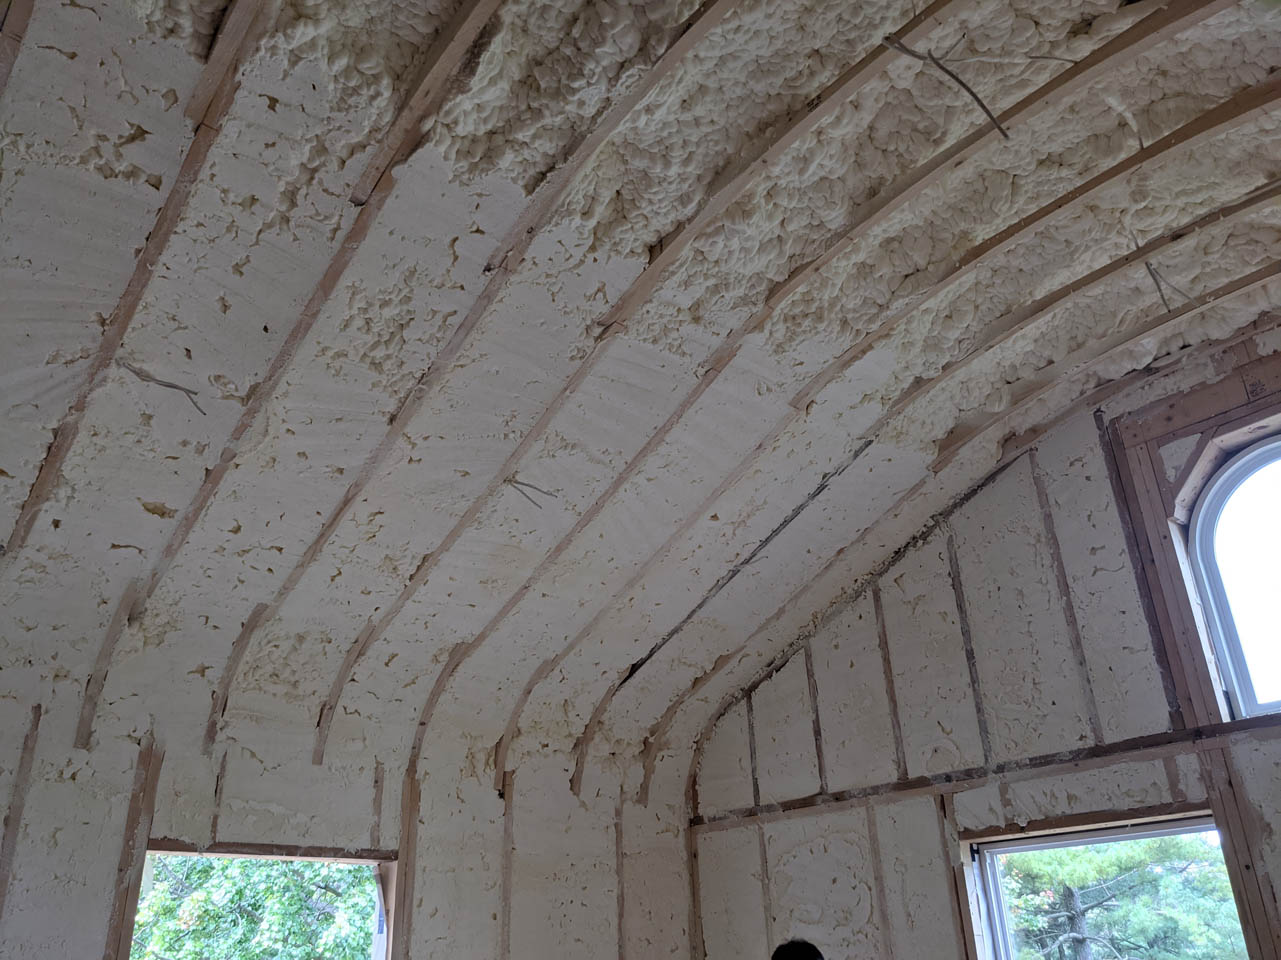
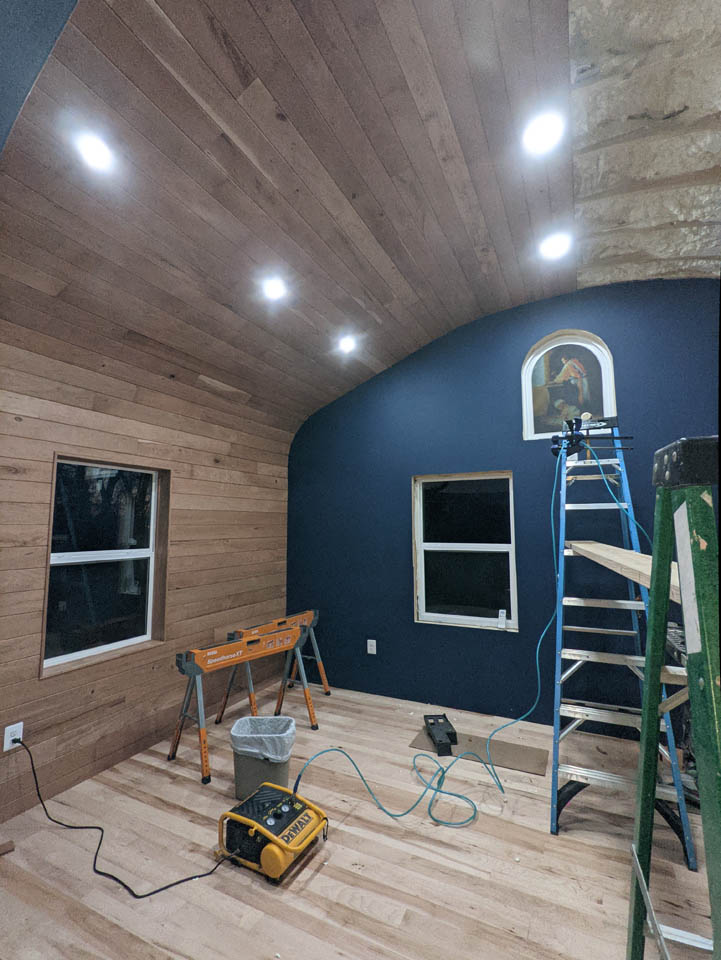
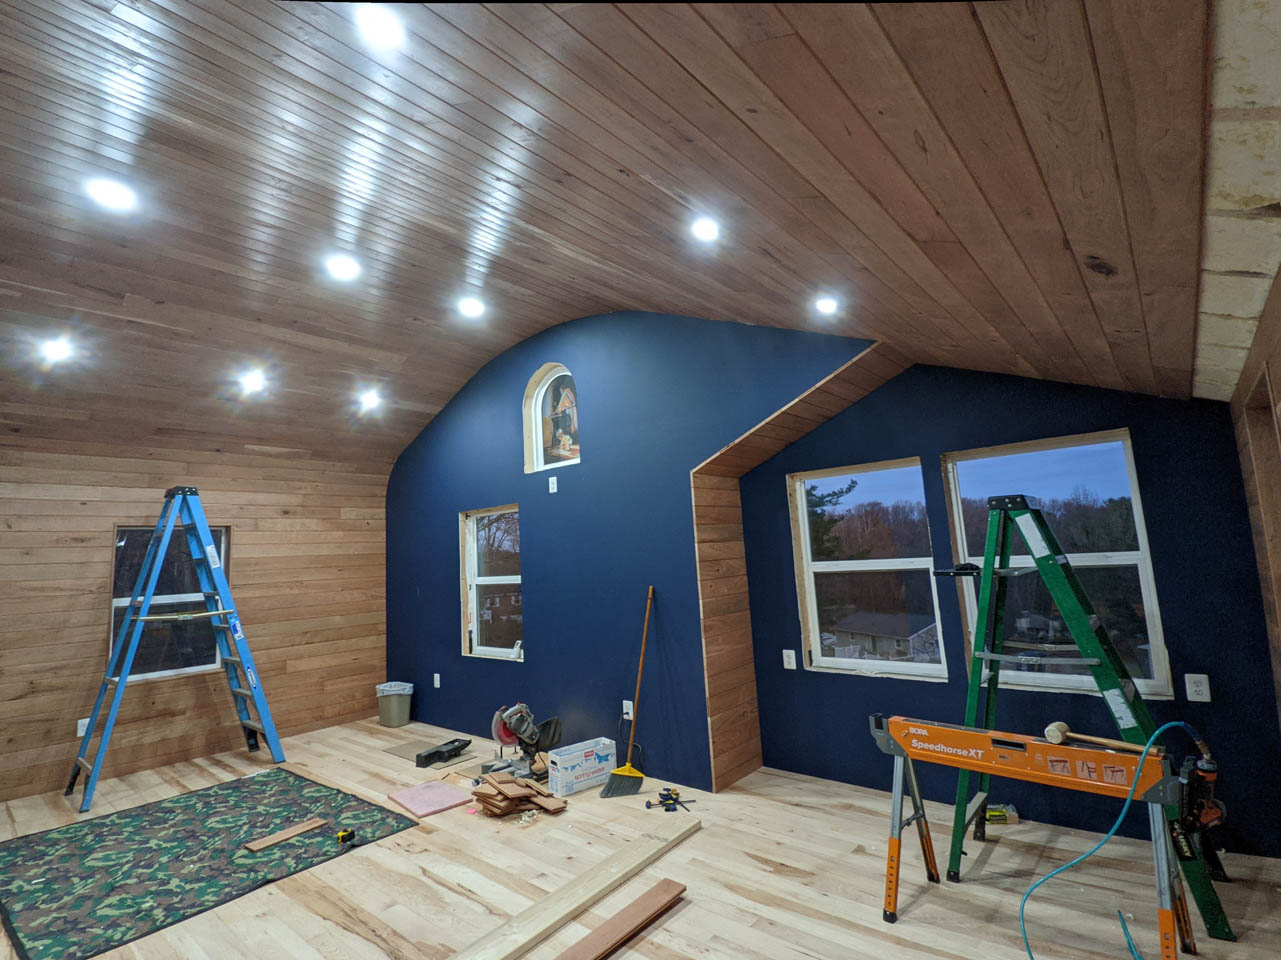
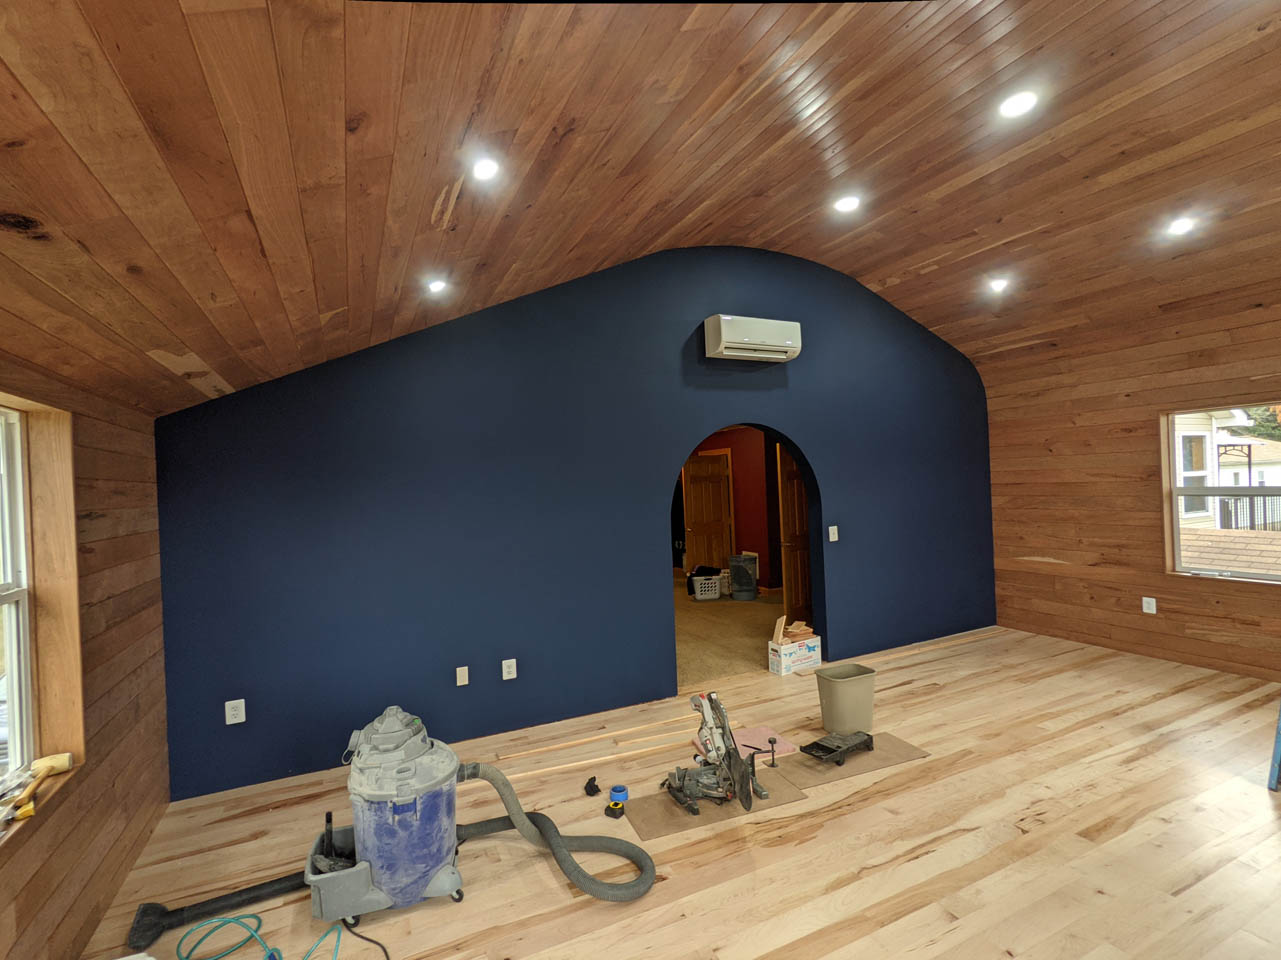
Since I have been working from home full time for the last two years, I want something more interesting to look at than drywall. I decided to repeat the curves in the upstairs part of the addition so I got some 12′ long 2″X8″ boards and cut a curve into them. With the massive ridge beam, I don’t need collar ties so I only left an inch at the top of the curve.

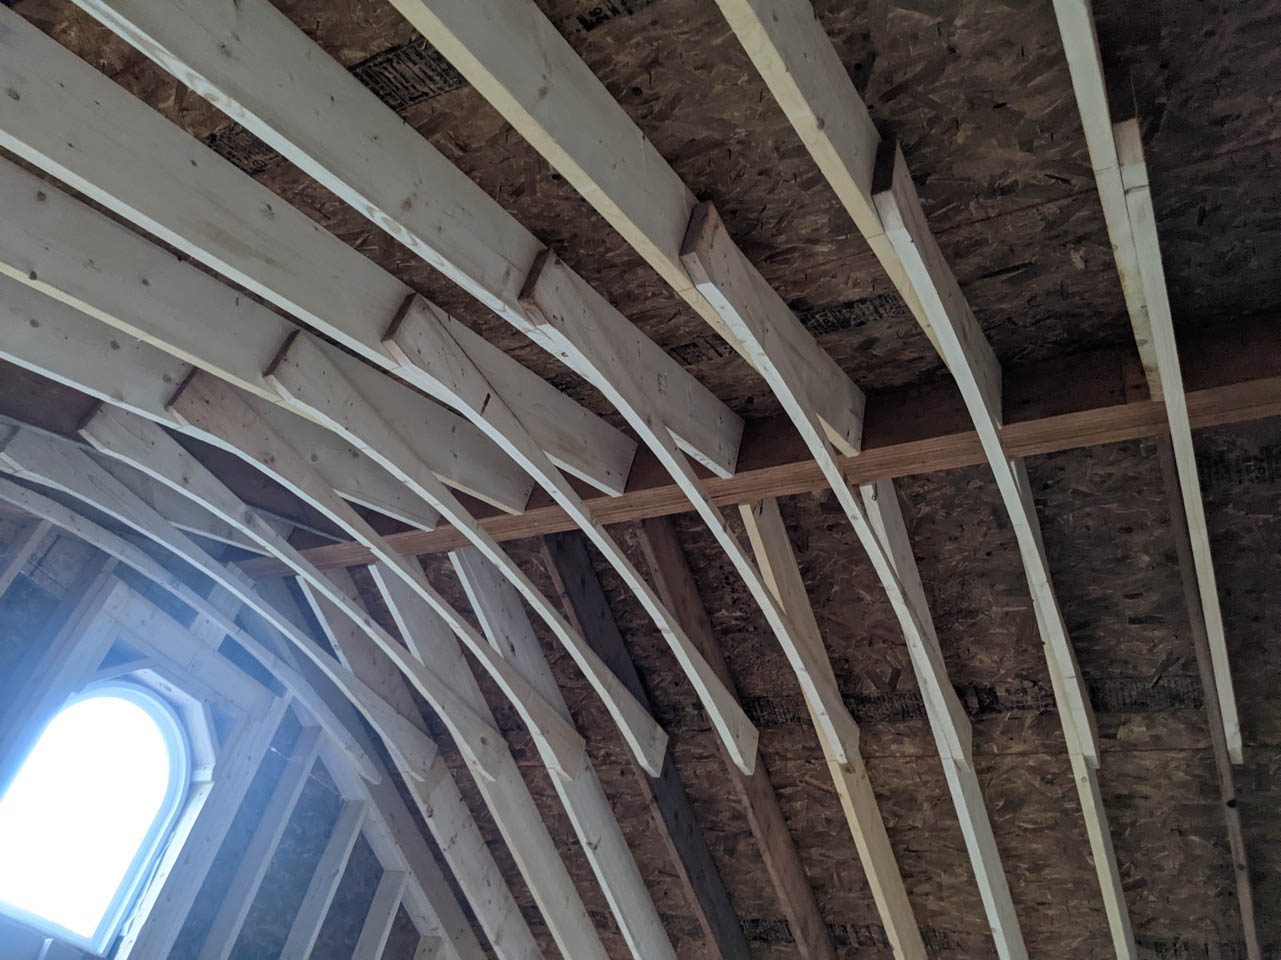
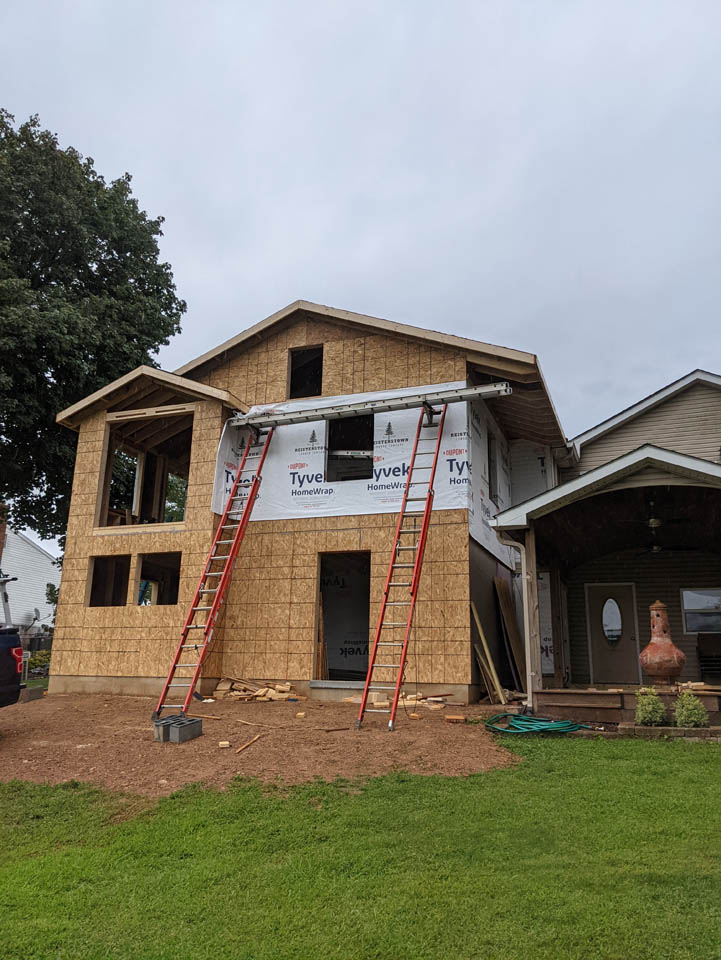
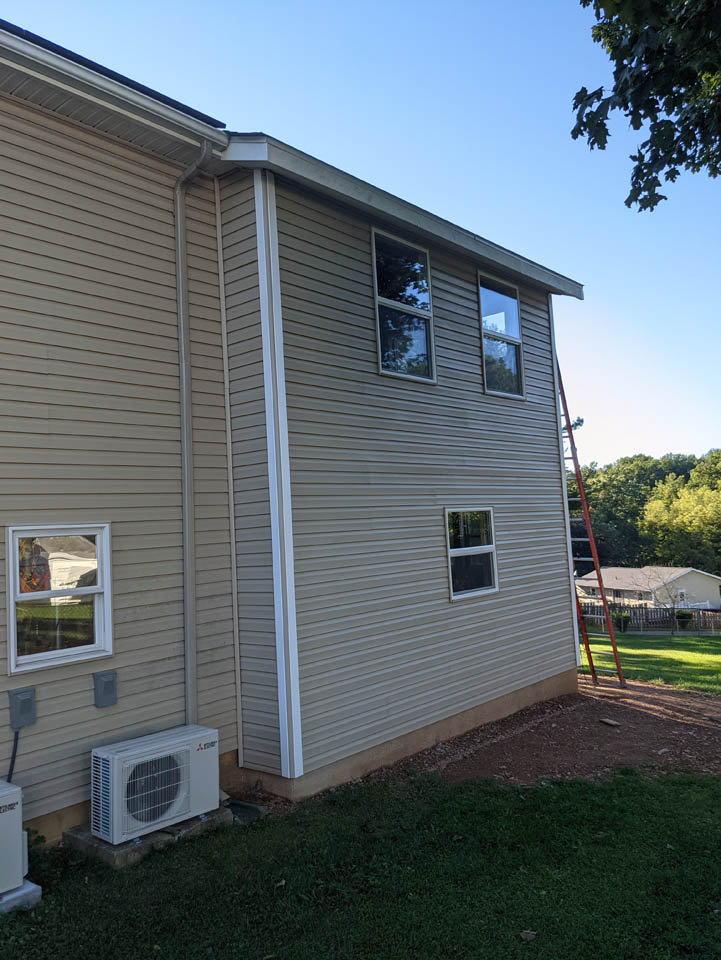
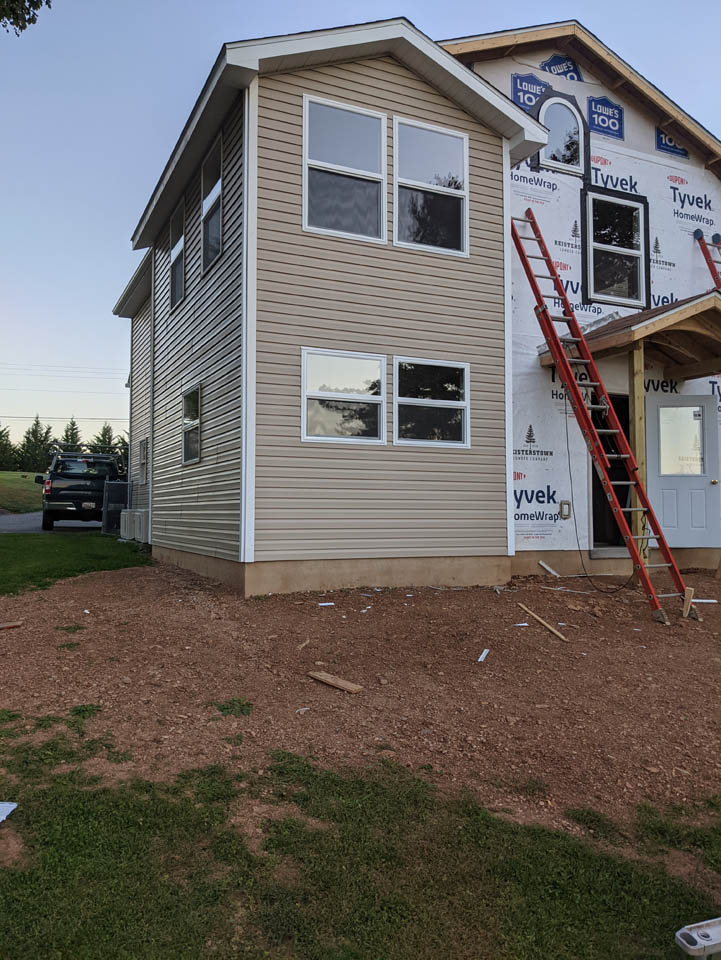
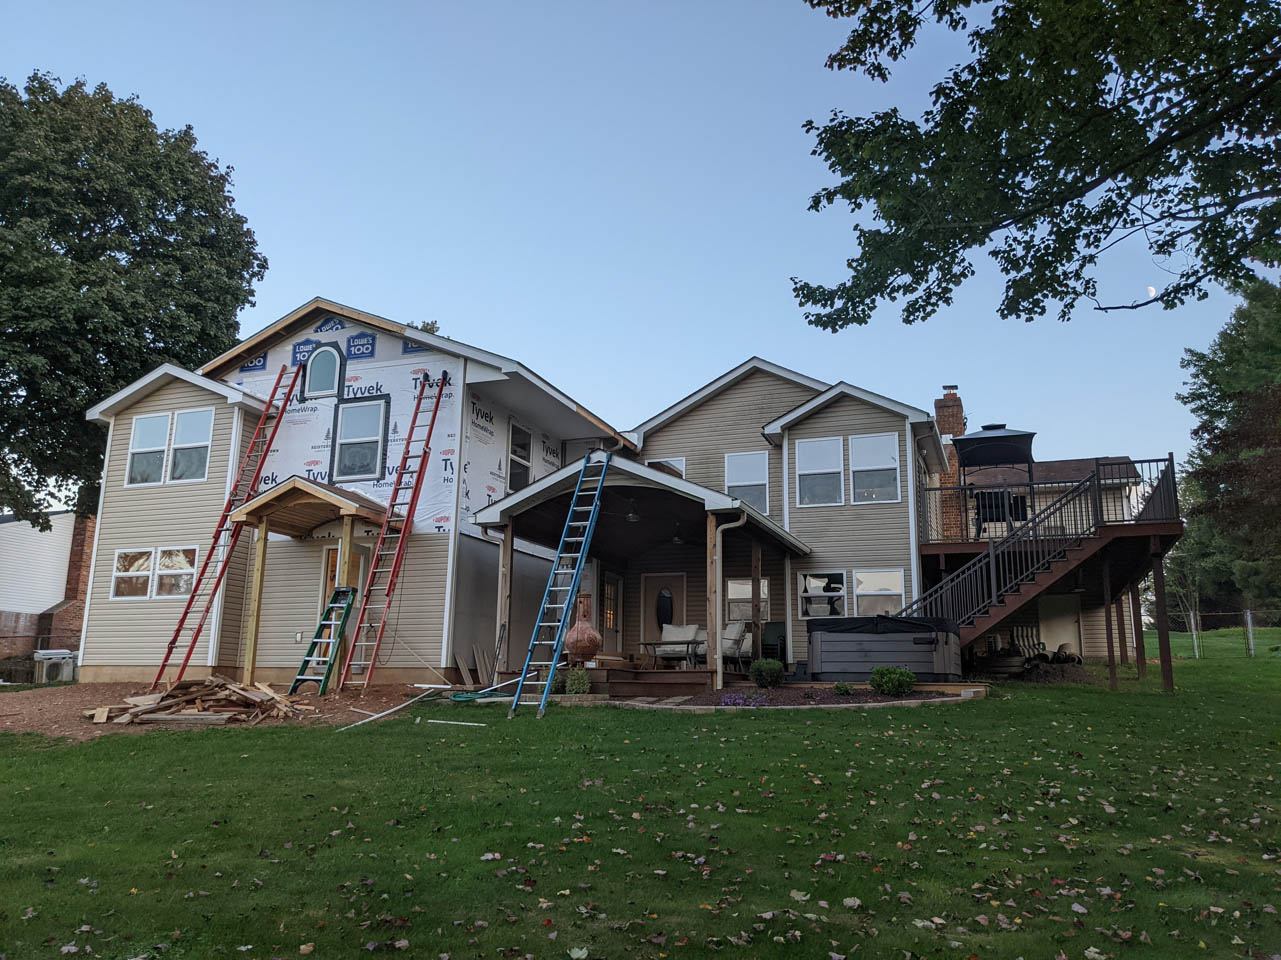
The ceiling now curved but I did not stop there, I cut curves for the one side as well. I don’t know if you noticed on the picture, of the back of the addition, but I had to shift it to one side of the part of the house I was building off of. This was because of restrictions building near my septic tank. Even though the building shifted, I wanted the roof to stay the same in case I wanted to add more solar panels later. This left me with an odd shaped room. One side has a 7′ tall wall and a 12″ overhang outside. The other side is 9′ tall with a 4′ overhang. It doesn’t look bad outside but it is kind of weird inside. I decided the curves would soften it a bit.
I like the curves, but I wasn’t sure what would cover them now. Wood is expensive and I don’t want to bend drywall.
Hey look, I managed to get another wall sided…
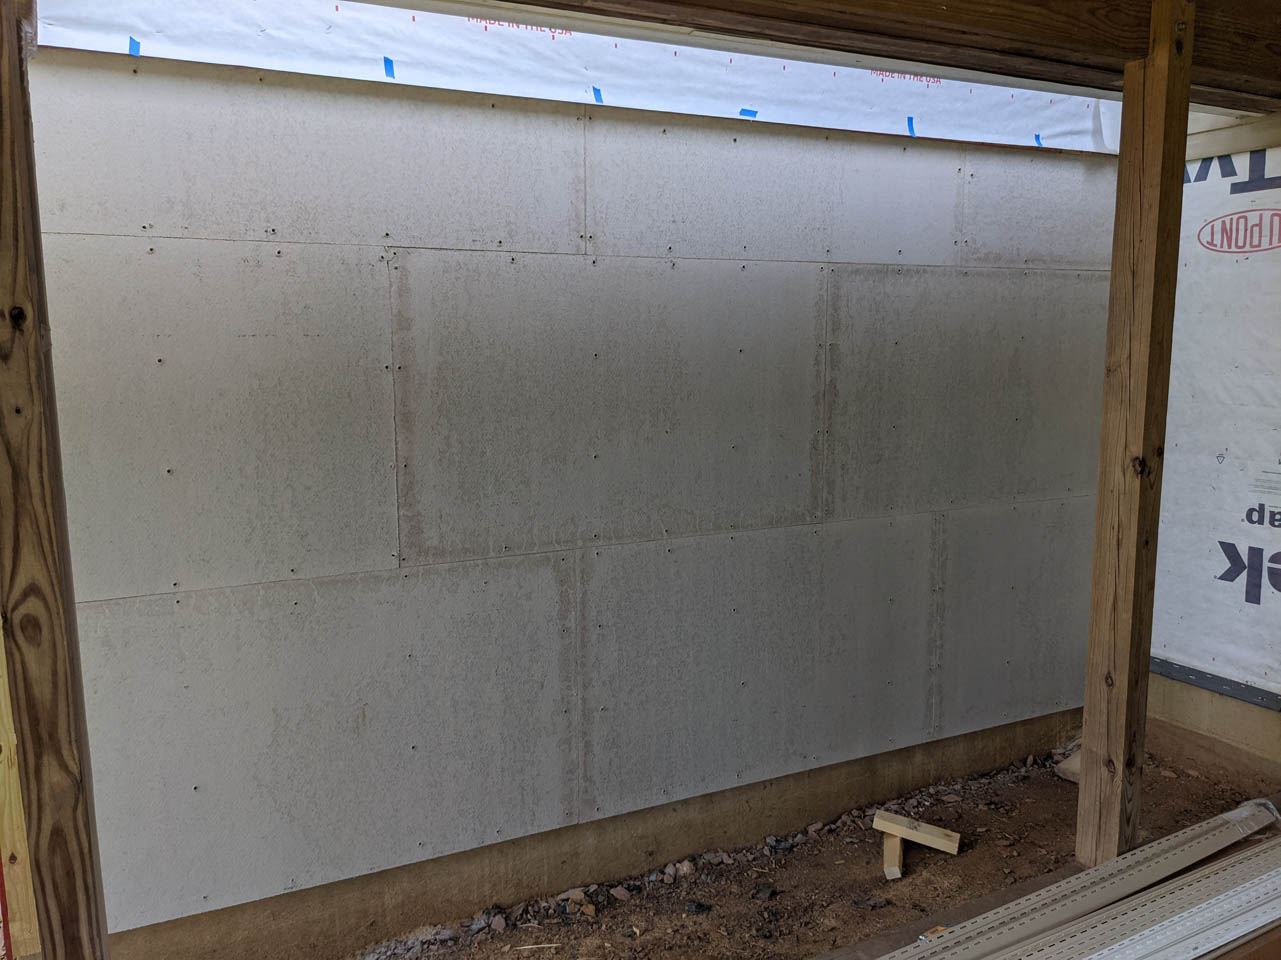
I finally have a plan for the accent wall. My wife wants stone, and it will probably take several months to order it so I have to prep the wall first.
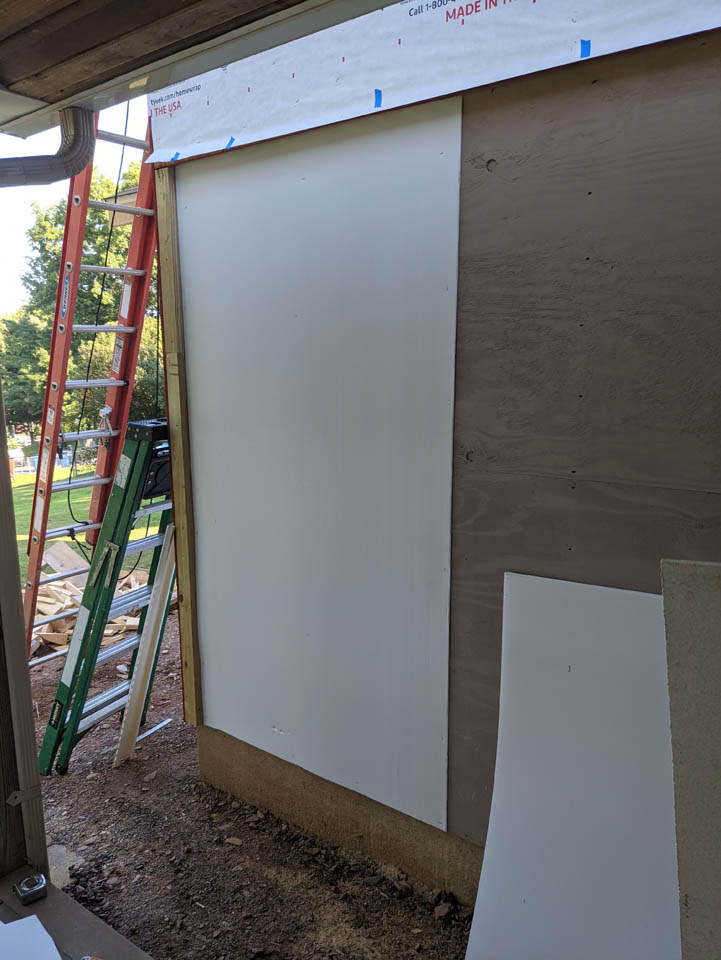
I got some corrugated plastic sheets for a rain screen and stapled them to the wall.

Then I screwed cement board onto the wall to give me a good surface to attach stone to.
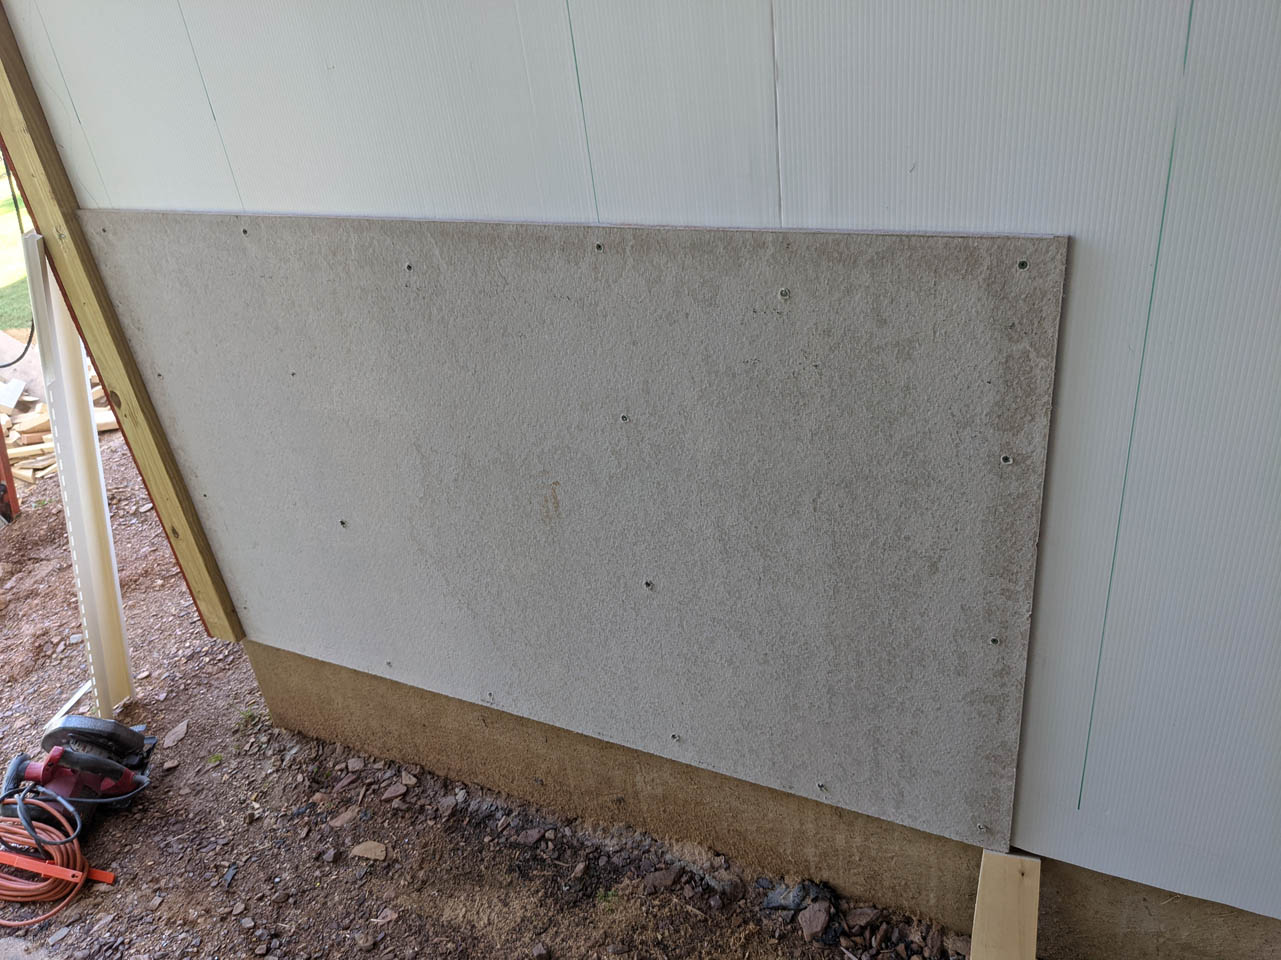
We actually decided to go around the corner with the stone, so I did the 24″ wide section to the right as well.
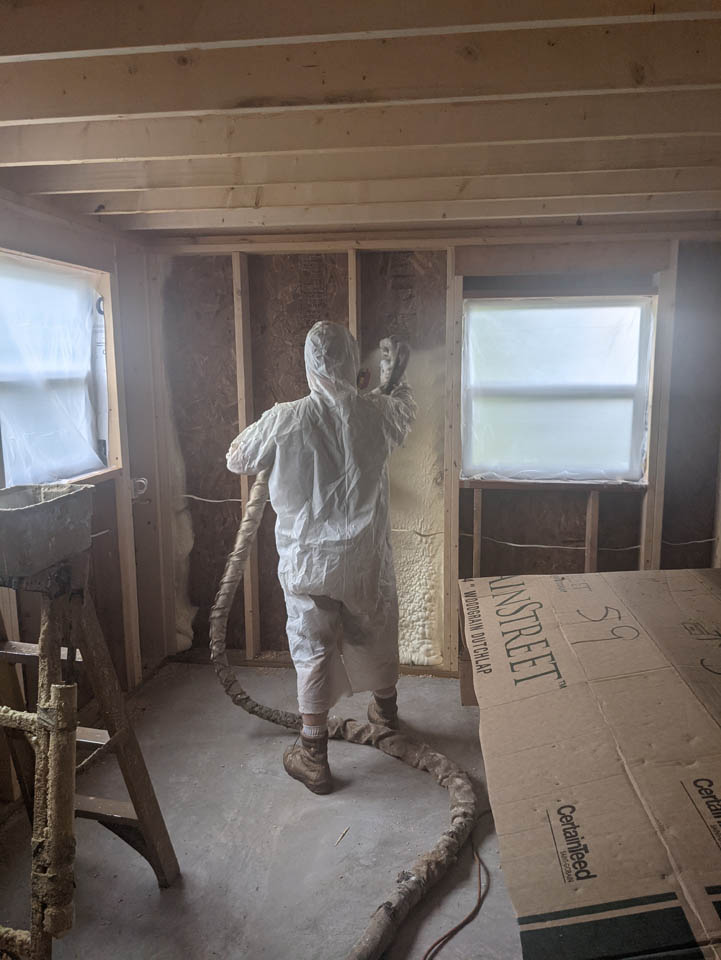
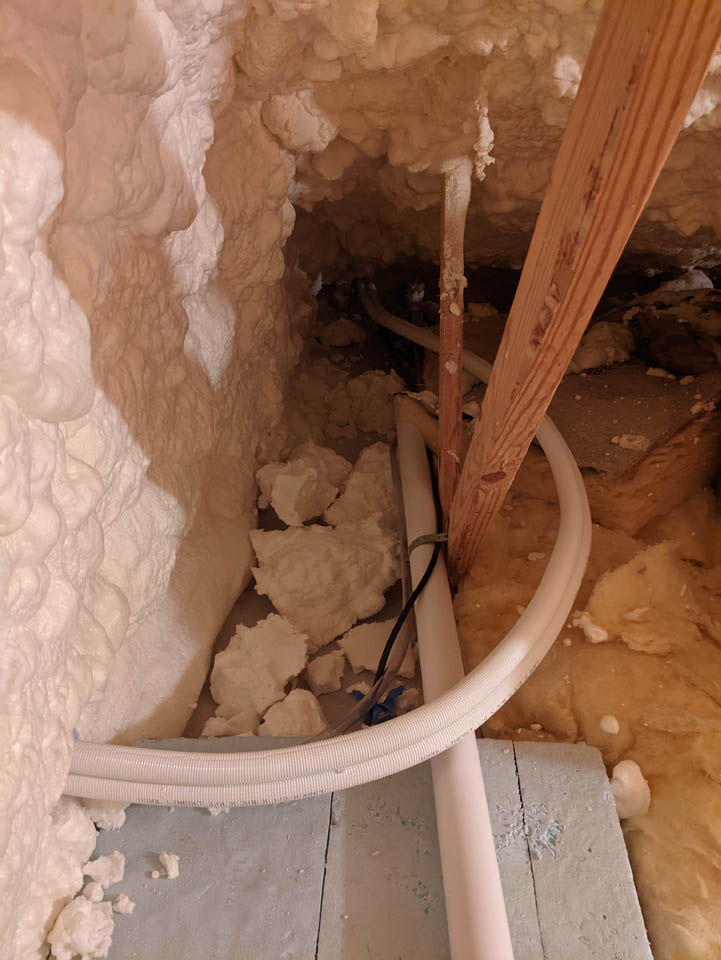
My original plan was to spray foam the roof and use fiberglass on the walls, but with the cost and availability of things, I just went ahead and had the entire addition spray-foamed. Before this happened, I had to run all of my wires and boxes for electrical. I hope I planned everything right, it will be a real mess if I have to cut the foam to redo anything…
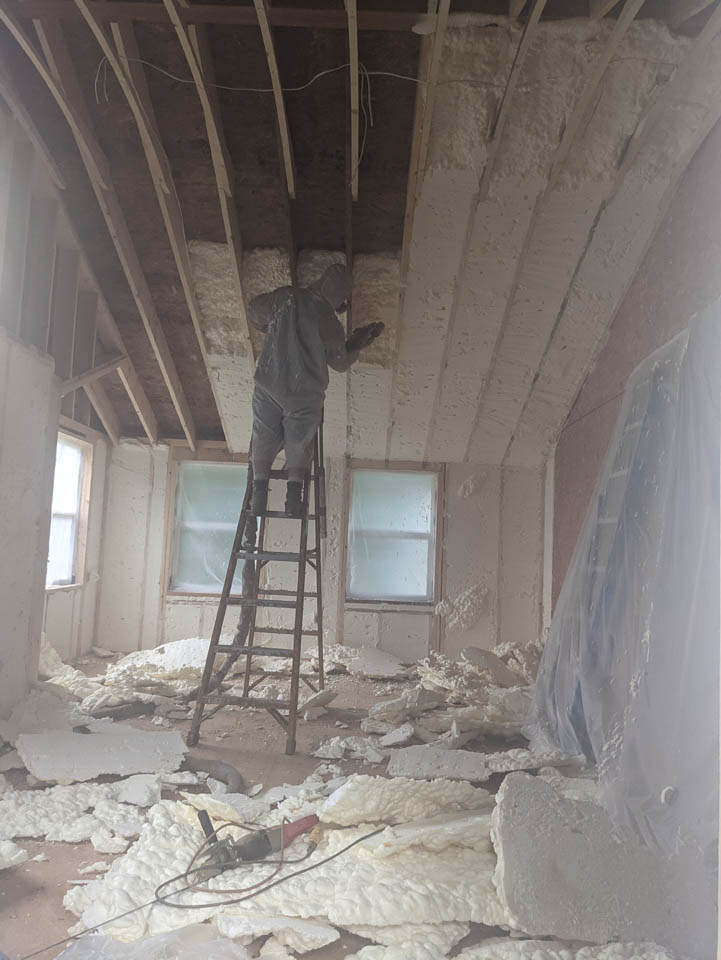
Spray foam costs a little more, but it seals all of the walls so there is no air infiltration. The cost savings in heating will pay for itself over time.

Now that the foaming is done, I set my last window and started closing in my 4′ overhang.

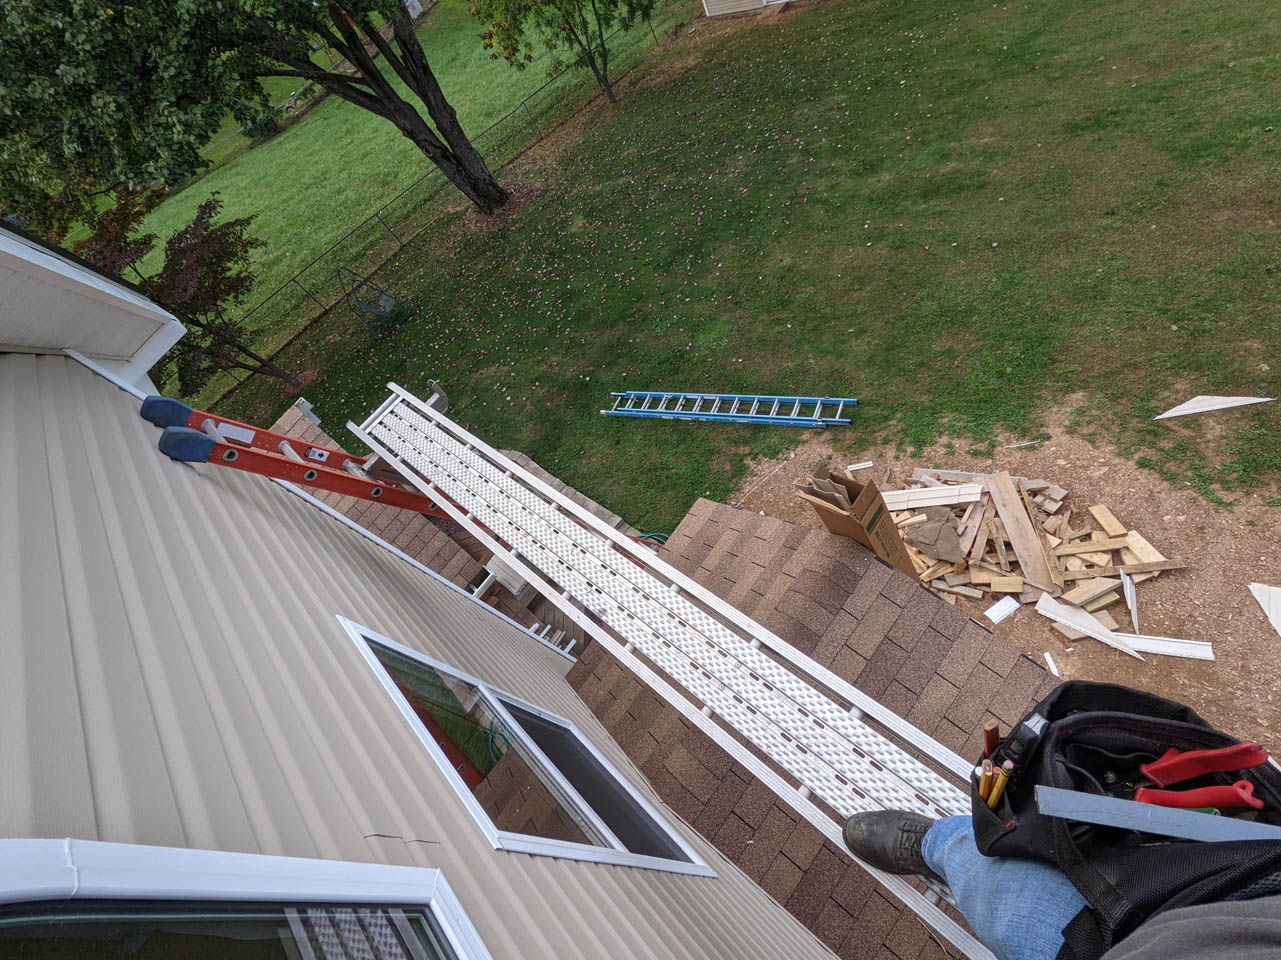
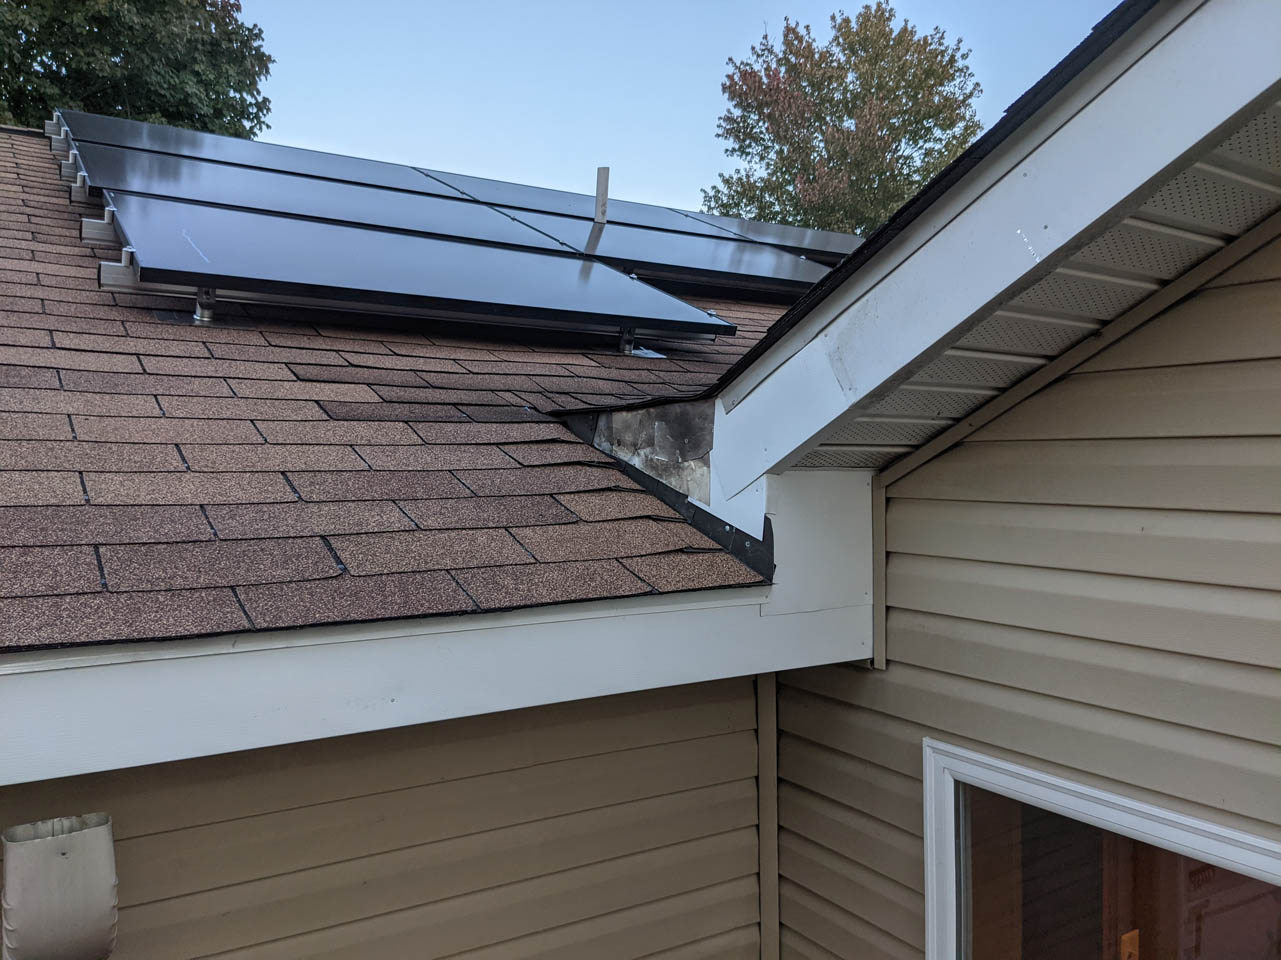
This is when I found some rot in my roof. I apparently made a mistake when flashing the roof of my third addition to my second. I had Tony come back out and show me what I did wrong. Apparently it was all correct except when I covered it all up with a nice white piece to make it look nice, I created a place to trap water. I redid the entire area. It is no longer as pretty as it could be but it will not rot. Luckily nobody can see that corner anyway…

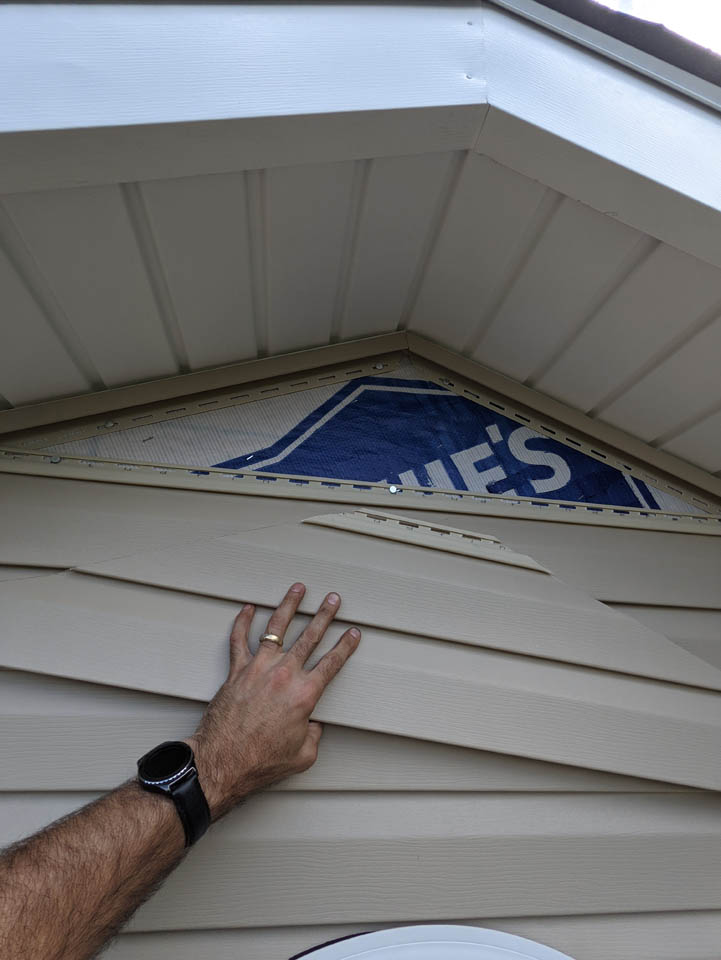
After that got repaired, I finished the soffit and got back to work in the siding.
I was starting to run out of warm weather and you cannot work on siding in the cold without breaking it.
Siding above the porch roof was tricky. I actually had the ladder slide out from under me while installing the shingles on the porch roof and fell about 10′ onto my back on the ladder. A couple days later, when I could walk straight again, I drove stakes into the ground to prevent that from happening again, and pulled up a small walk-board to finish the siding.
I was very happy to get the last piece installed. I don’t have a problem with heights, but I am really getting tired of going up and down ladders with awkward heavy things in my hands.
Just one small section left to side and I can work off of the porch roof for that.

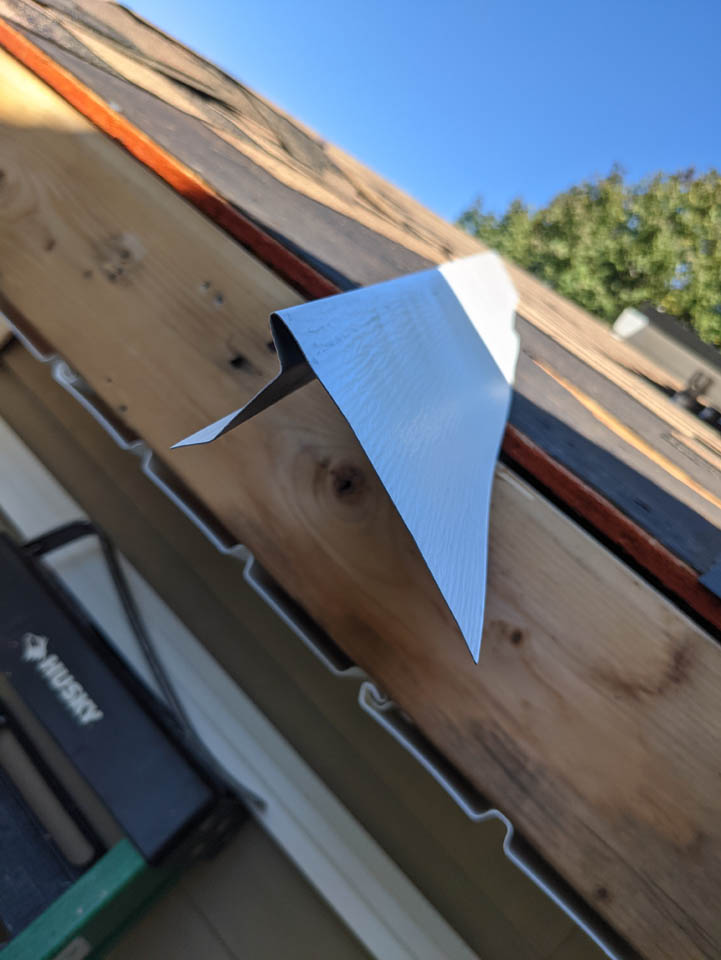
I usually plan my materials very conservatively. Due to the rotten area, I had to do more roofing than planned which meant I needed more drip edge. I had a bit of aluminum left over from the fascia so I tried bending a piece. It turned out pretty good.

Now the roofing, soffit, and fascia are done.
A few more hours of sunshine left so I wrapped up the siding as well.
And, see, you can’t see that ugly fascia spot from the ground anyway…

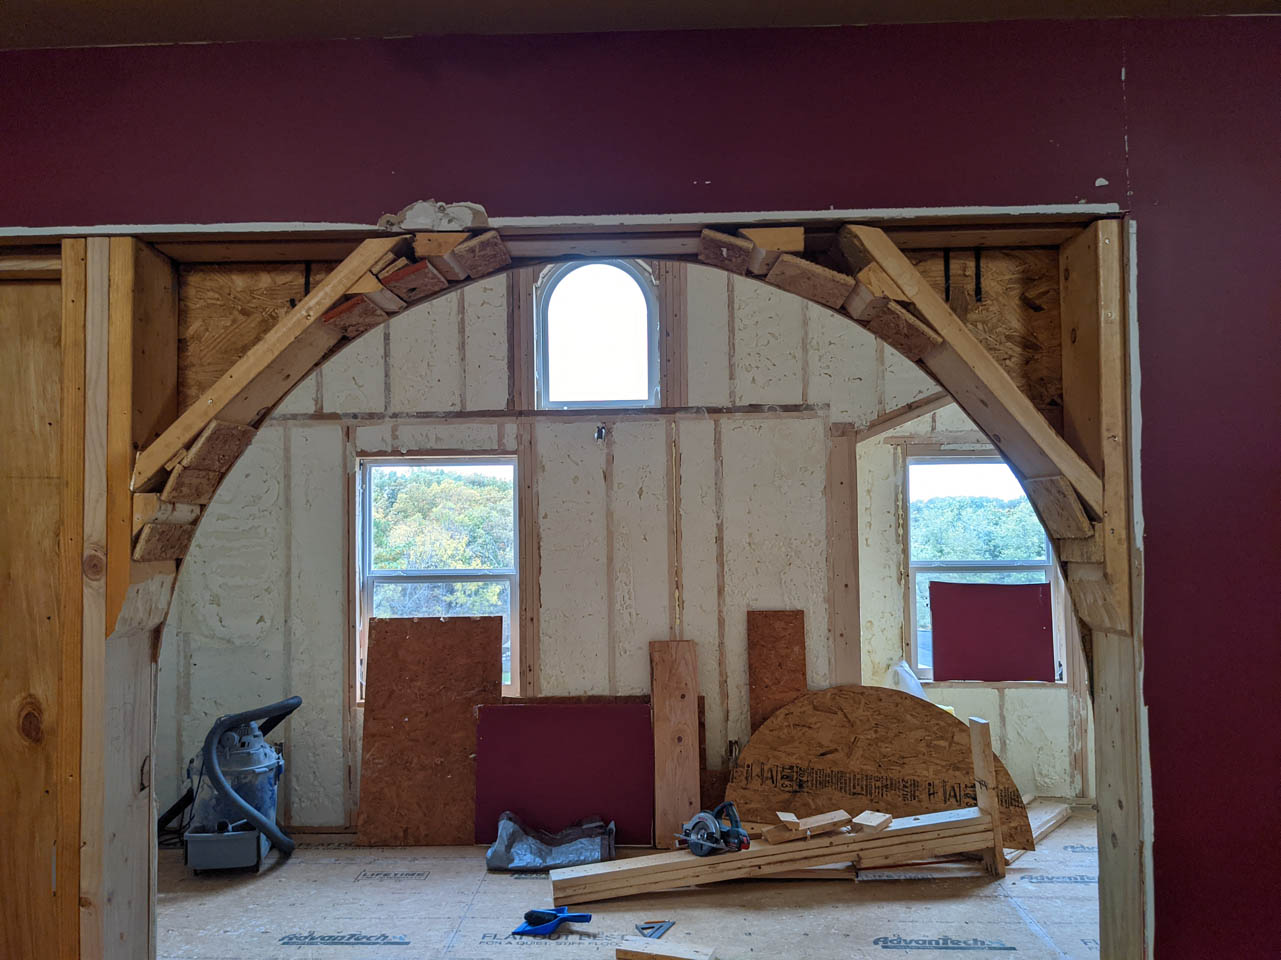
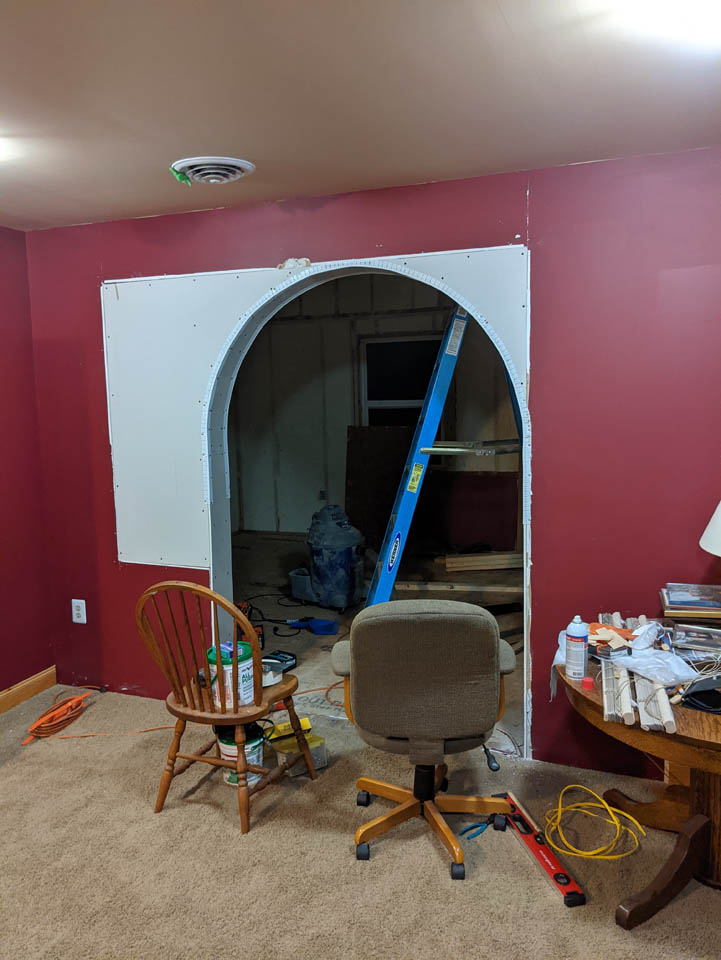
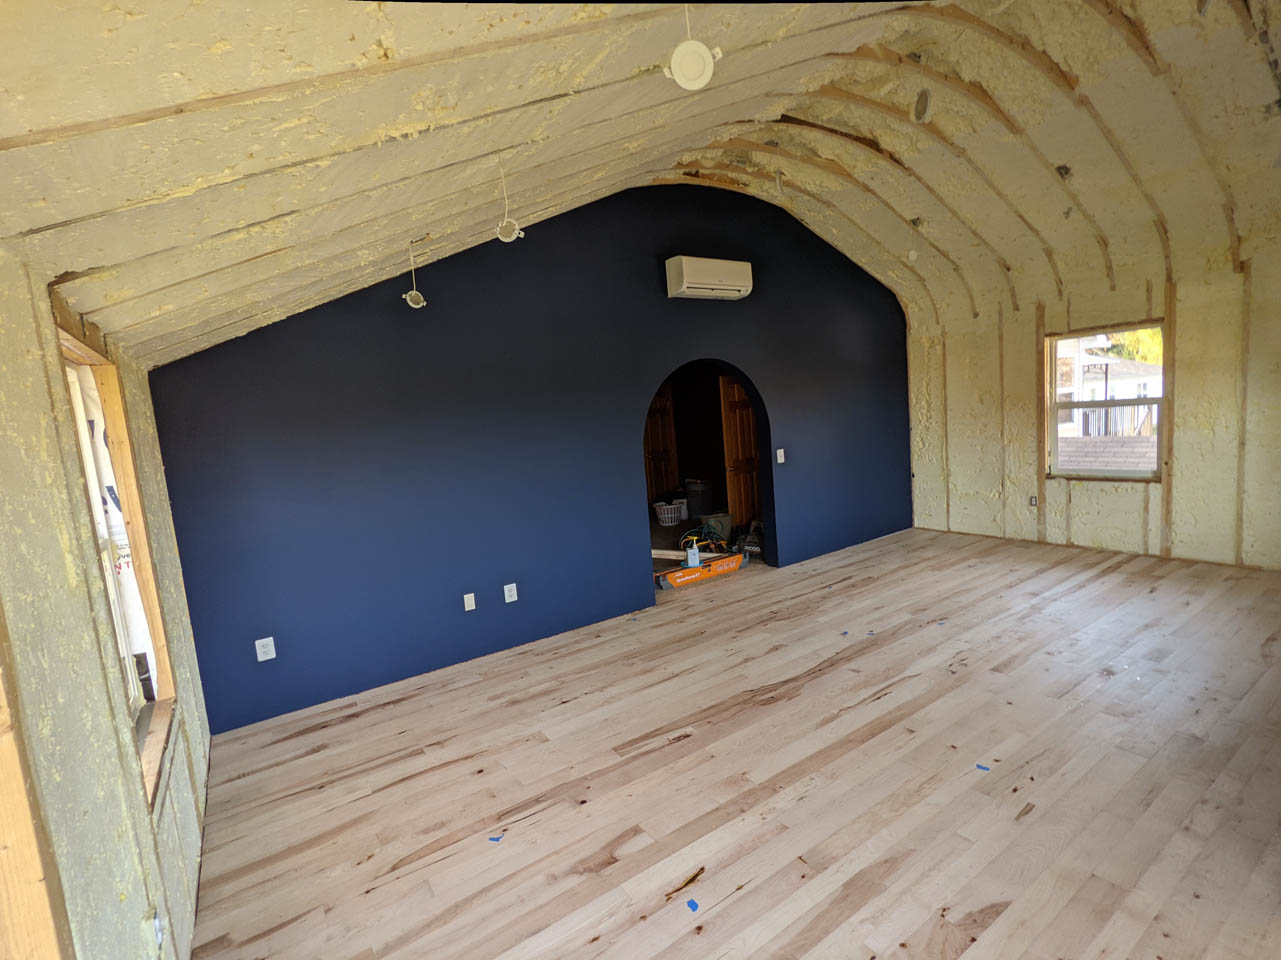
Now, time to work on the office. There were two windows in the bedroom that had to be removed so I could create a door to the new office. I decided to get a little crazy and create an arched doorway to mimic the arched window. I have never played with bending drywall before so I added a lot of blocking around the curve.
Then I started hanging the drywall. By the way, I hate drywall…
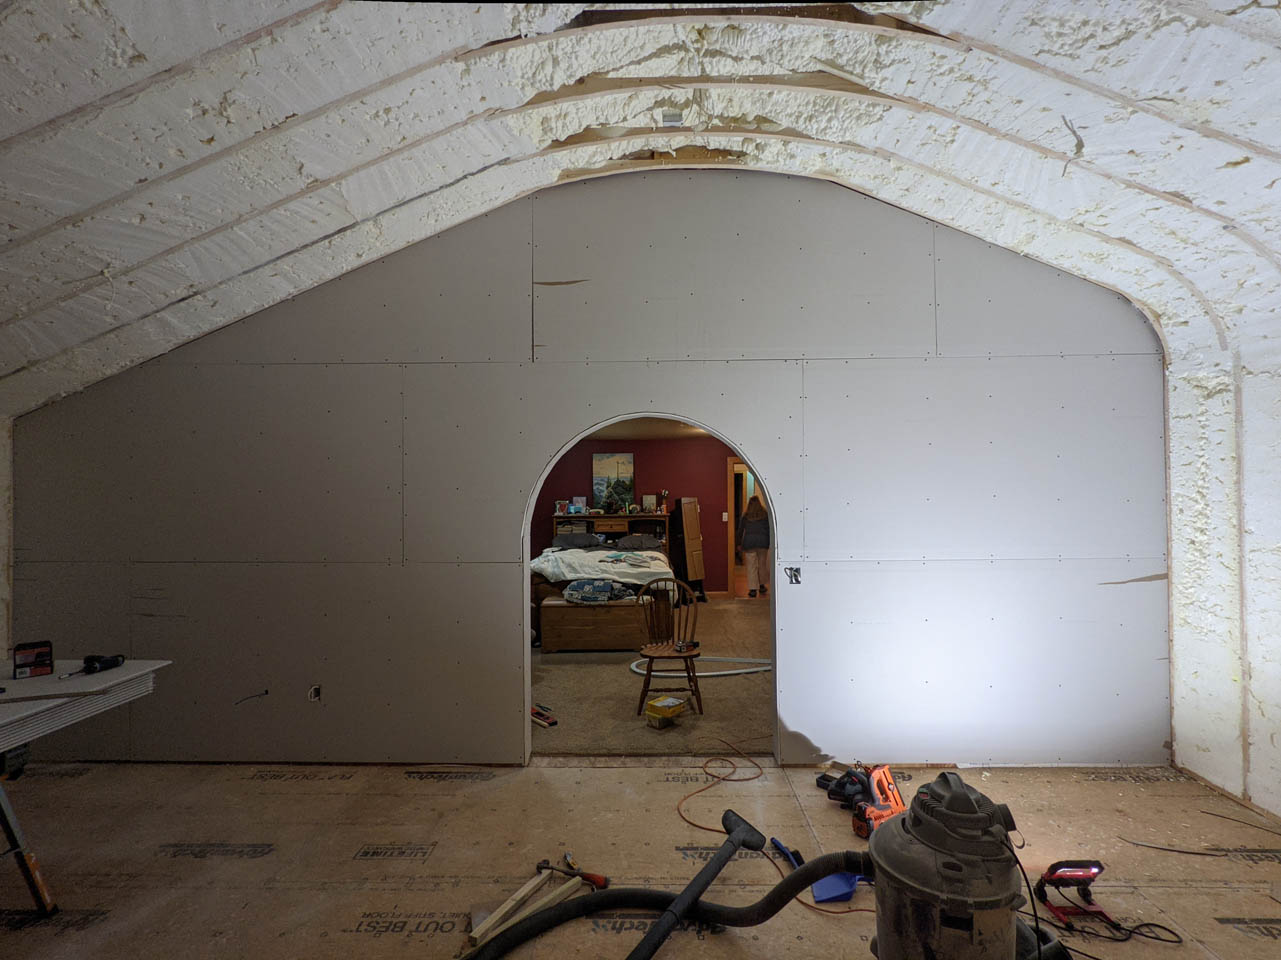
Hanging it is the easy part, finishing it requires skill and patience.

Where I lack in patience, I make up for with a lot of sanding…
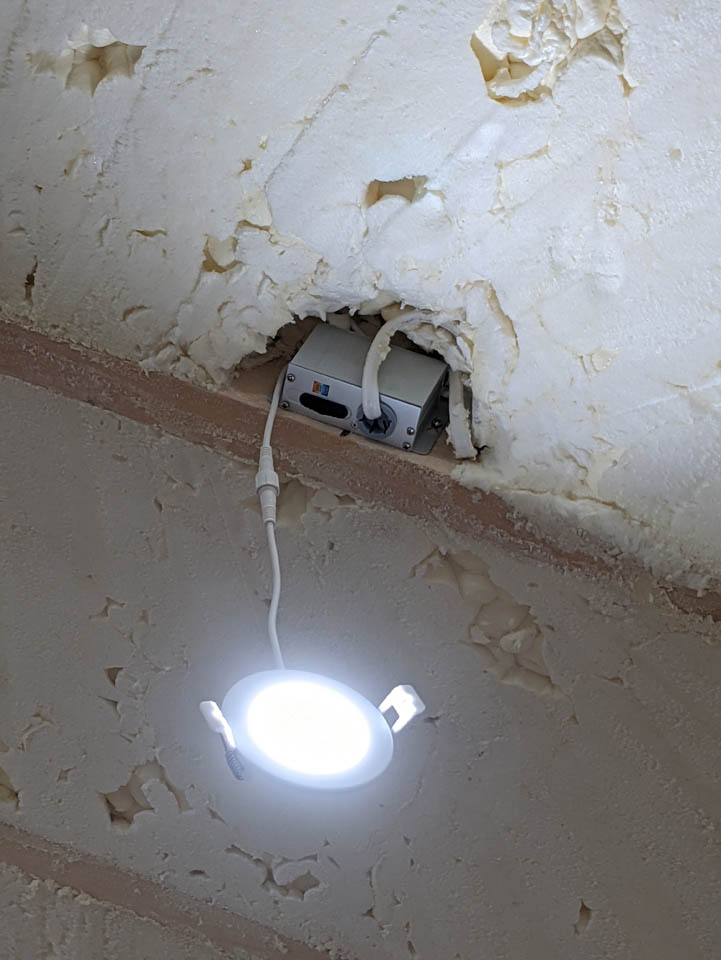
Since the days are getting shorter, I went ahead and started hooking up some of the electric so I could have some light to work by.
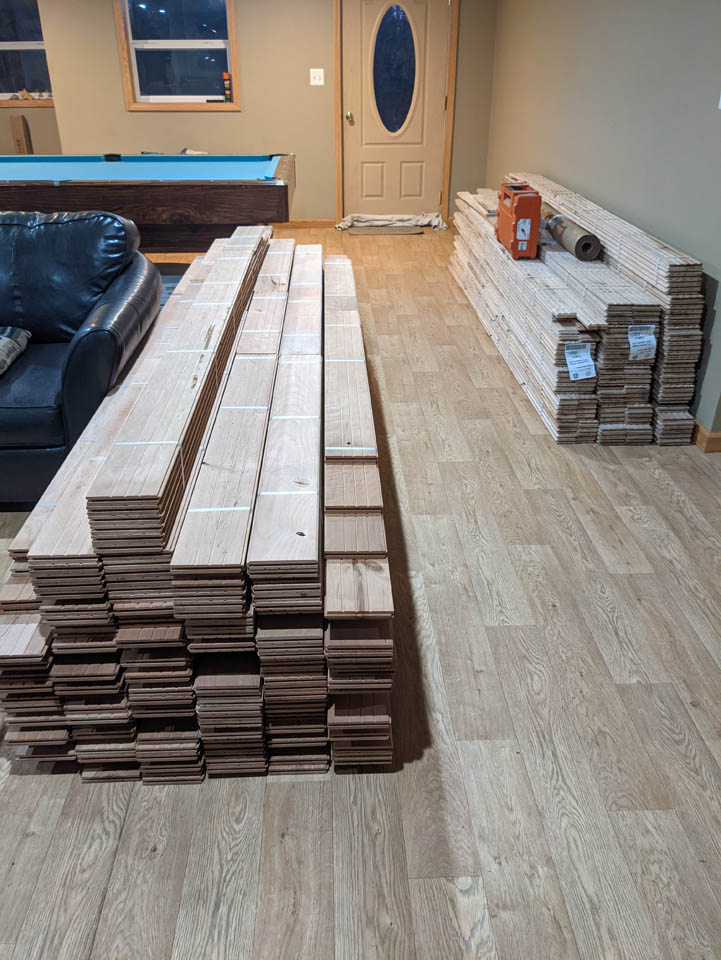
The original part of my house was built in 1973. That means most of the house has red oak floors. I like oak, but this is my office and the bedroom between my office and the rest of the oak floors in the house is carpet. That means I can do what I like in my new office. My wife and I went flooring shopping and were not happy with the price and availability. We spent some time talking to Brian at Baltimore Floor Works Inc. After we decided what we were interested in, Brian went rooting around the warehouse. We wanted something that looked like hickory, tight knots but lots of color and character. Brian found about 450 square foot of rustic maple, sitting around the warehouse. He had 3″, 4″, and 5″ wide stock. None of it was enough to sell by itself, but if we took the whole lot, we could have it at cost to get it out of their inventory. Perfect, it was about 100 sqft more than we needed, but I can mill the extra down to make trim.
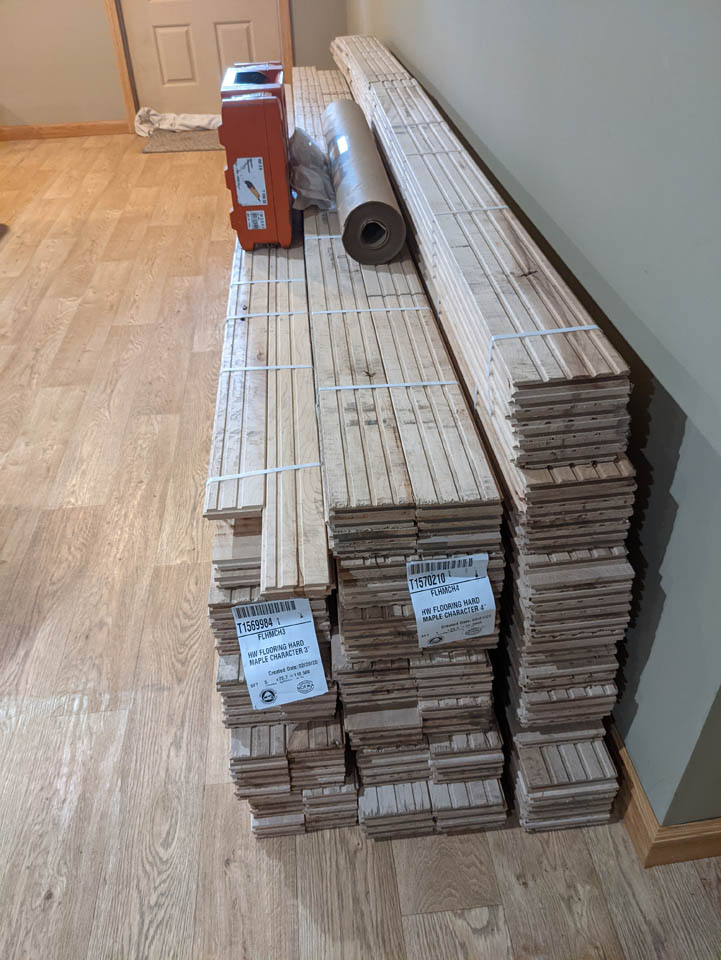
I brought the maple home and stacked it in the basement to start acclimating while I got back to the stupid drywall…

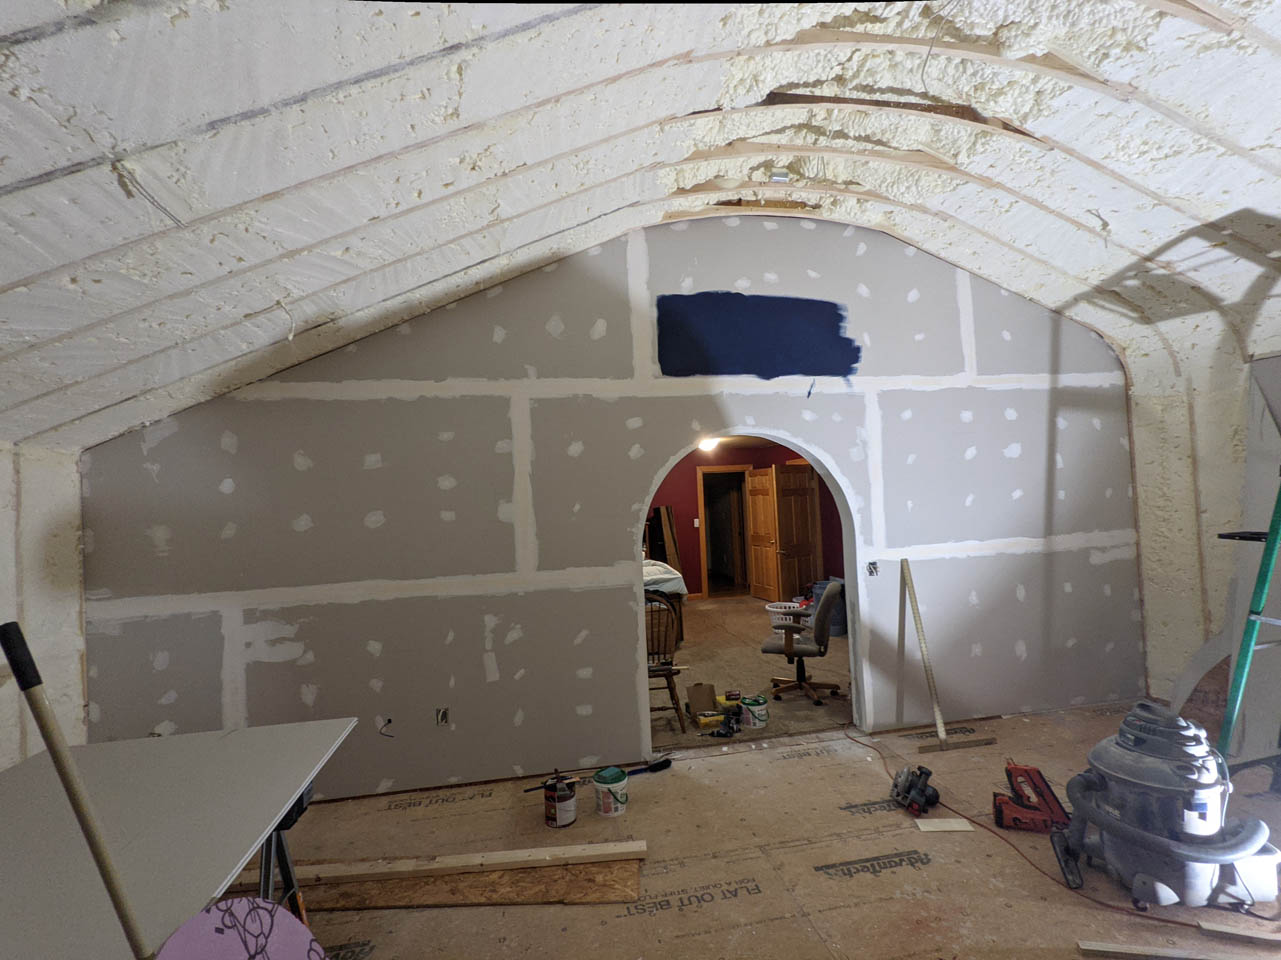
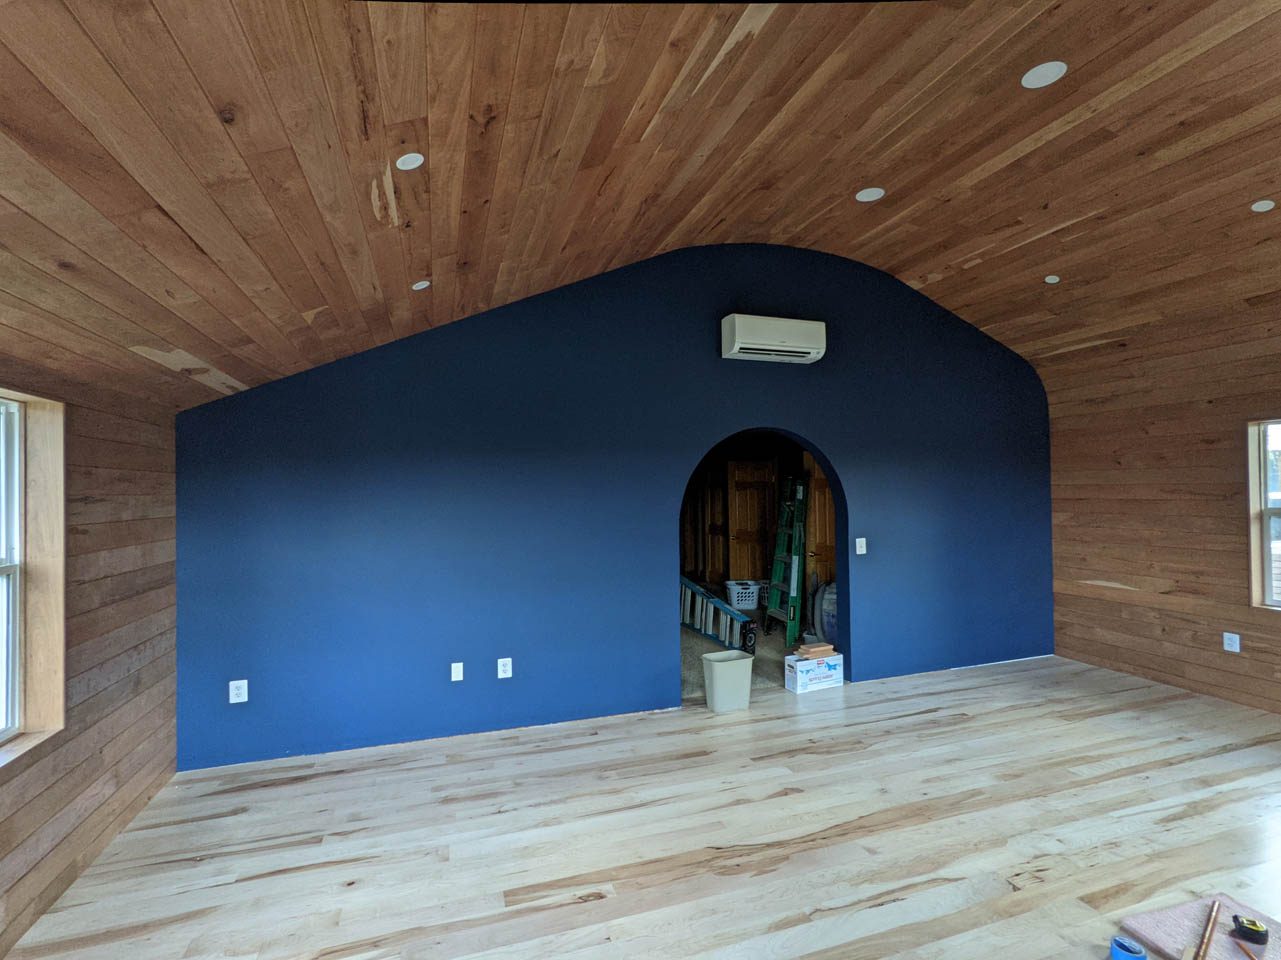
The arch turned out pretty good, the patchwork on the bedroom can use some work, but my wife wants some barn doors to match the bedroom doors, so that should get covered up anyway.
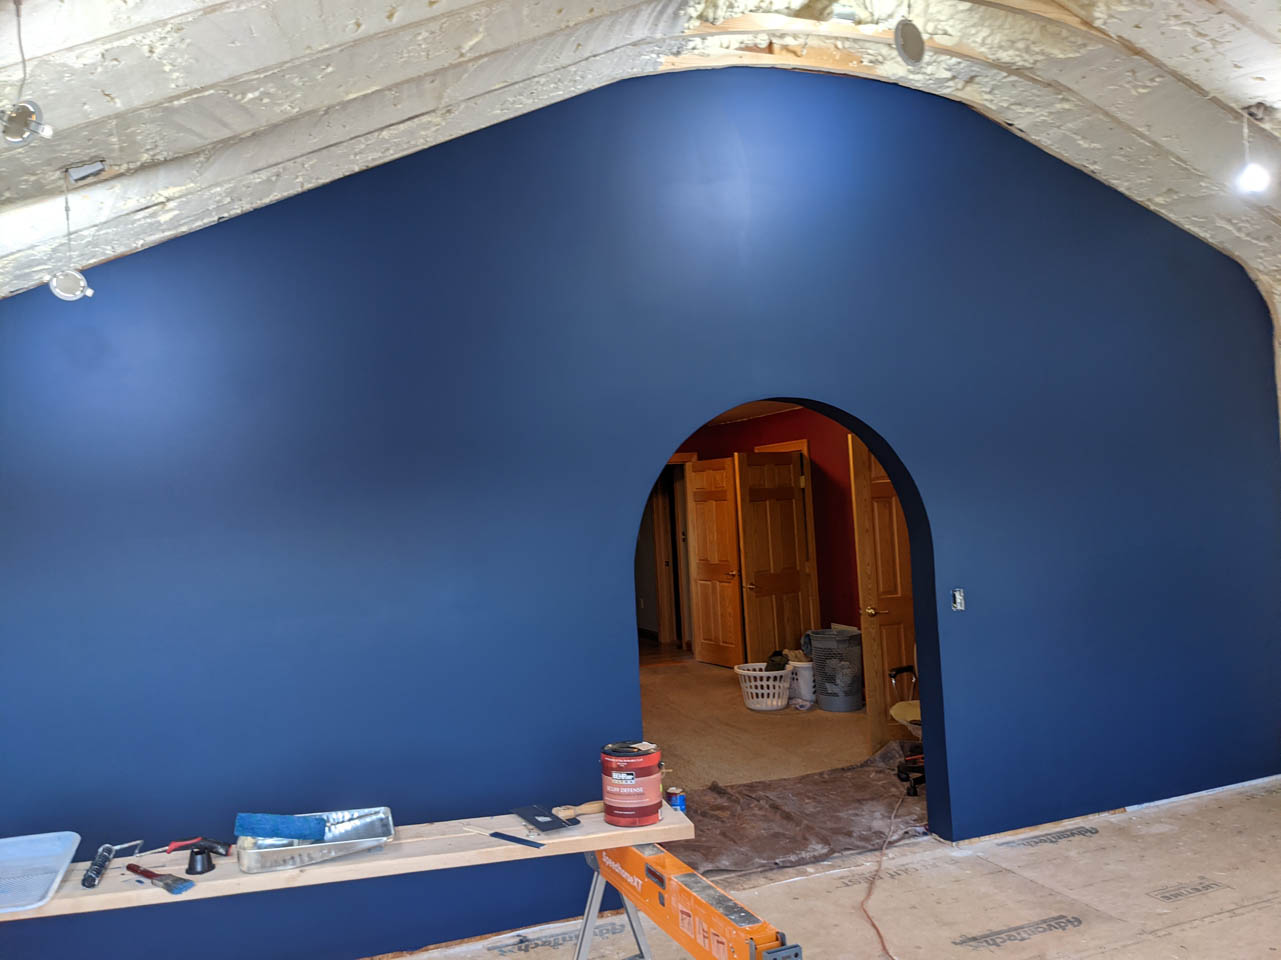
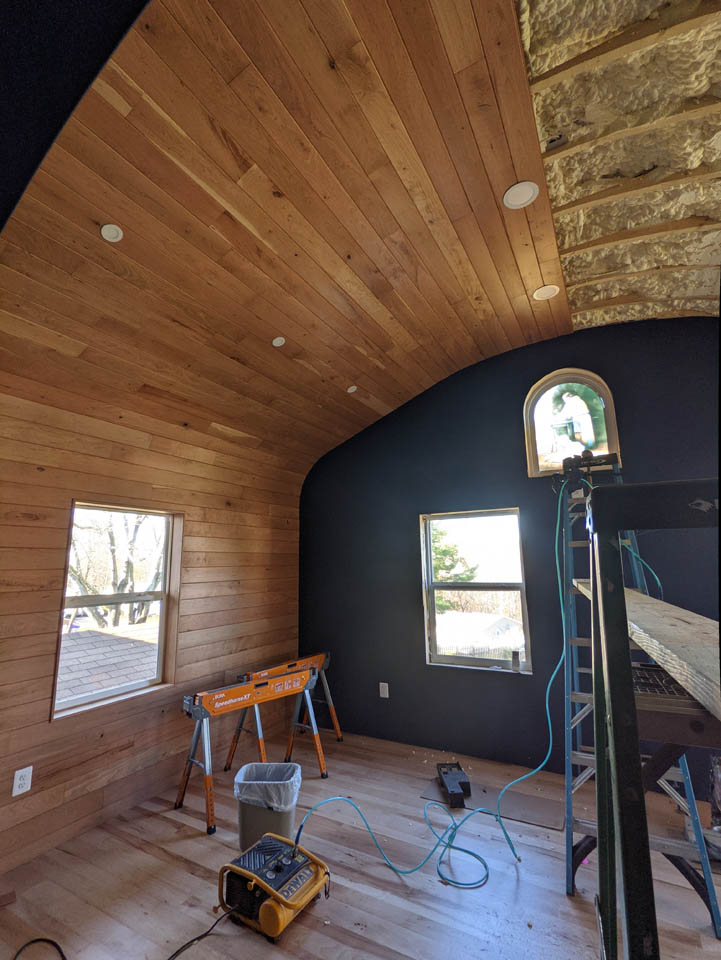
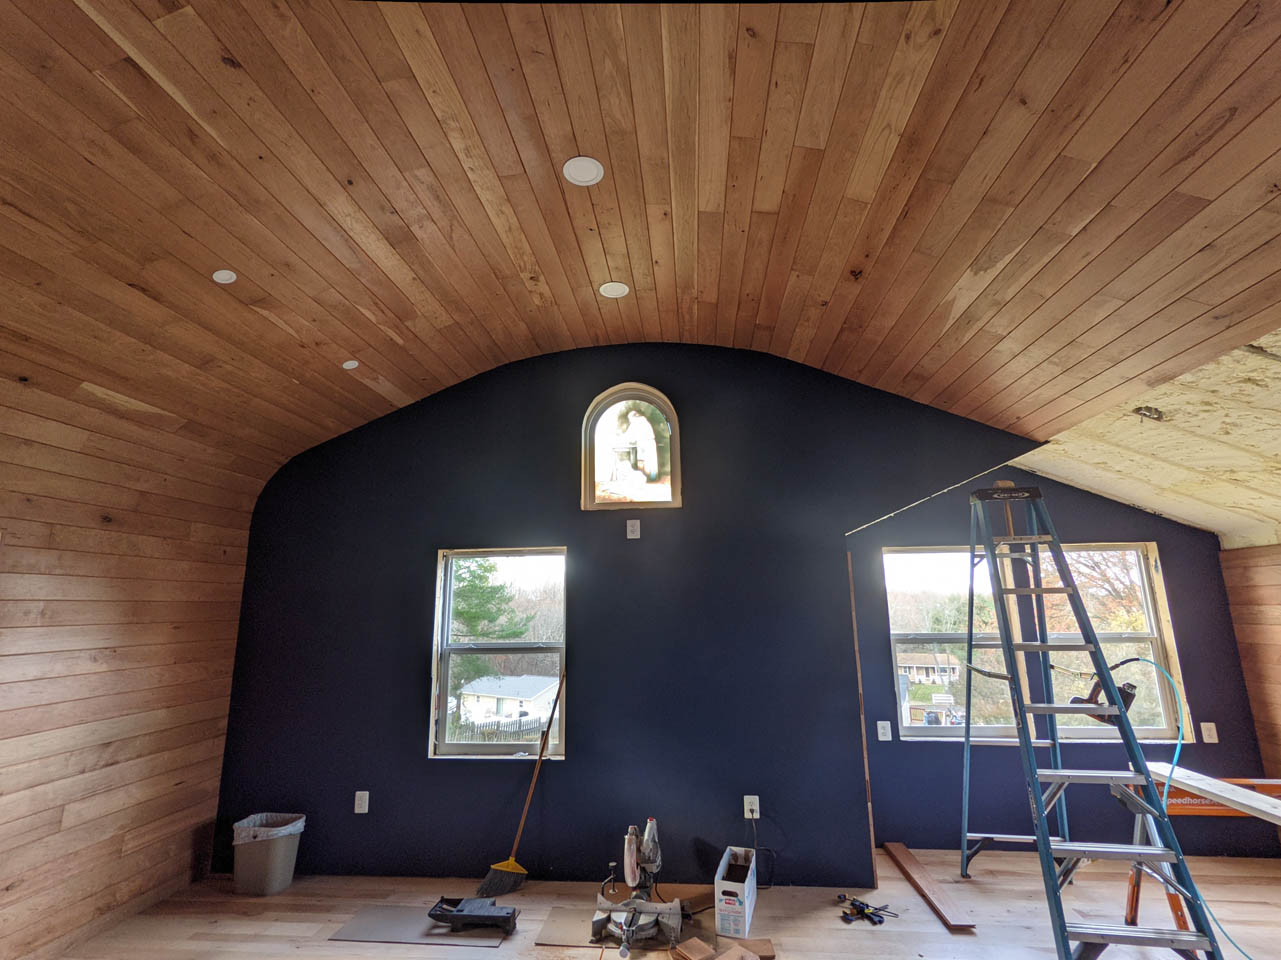
I really like the blue paint that I picked. It really hides my drywall finishing ability well…
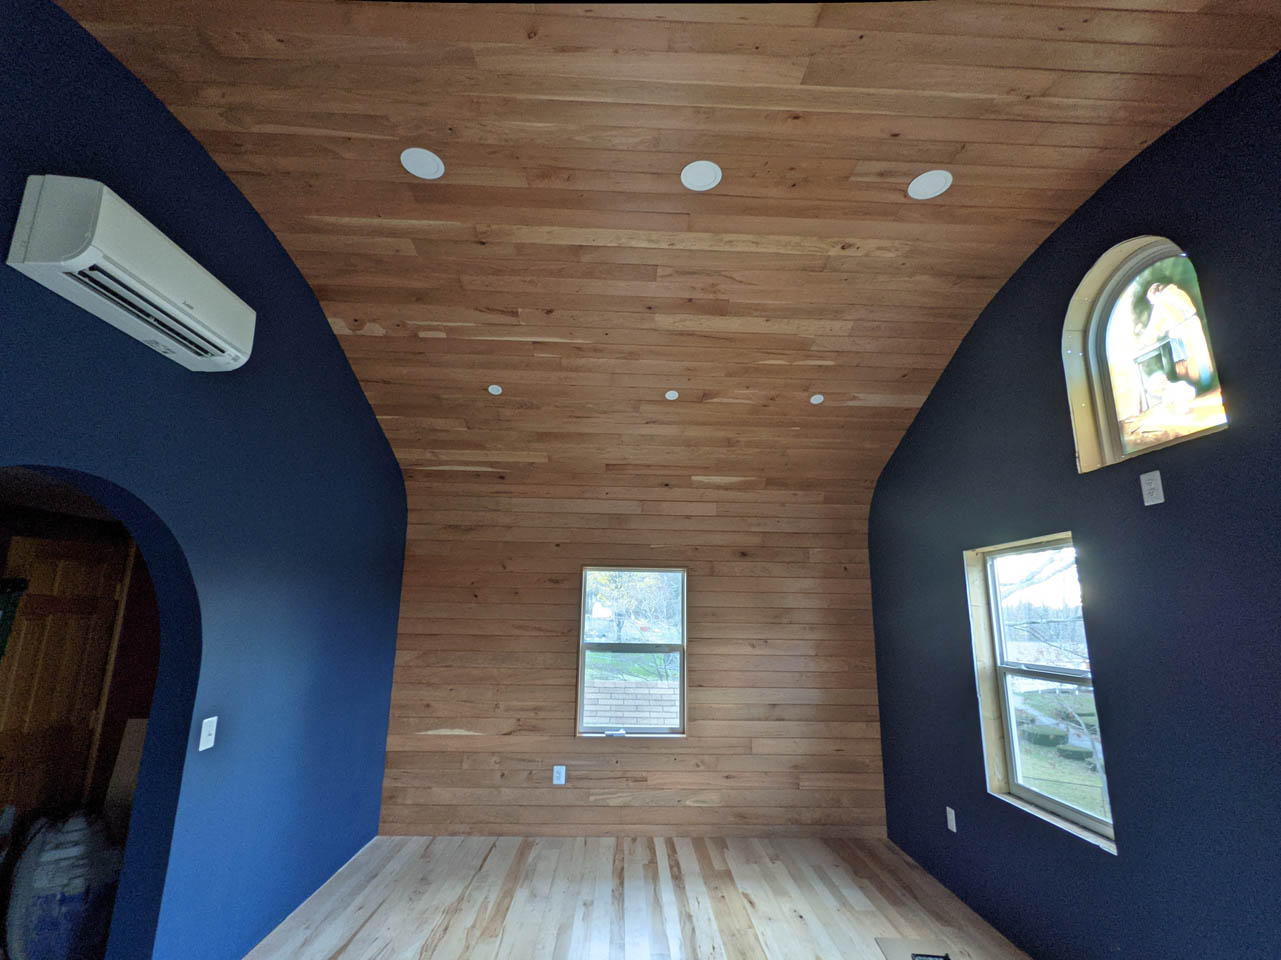
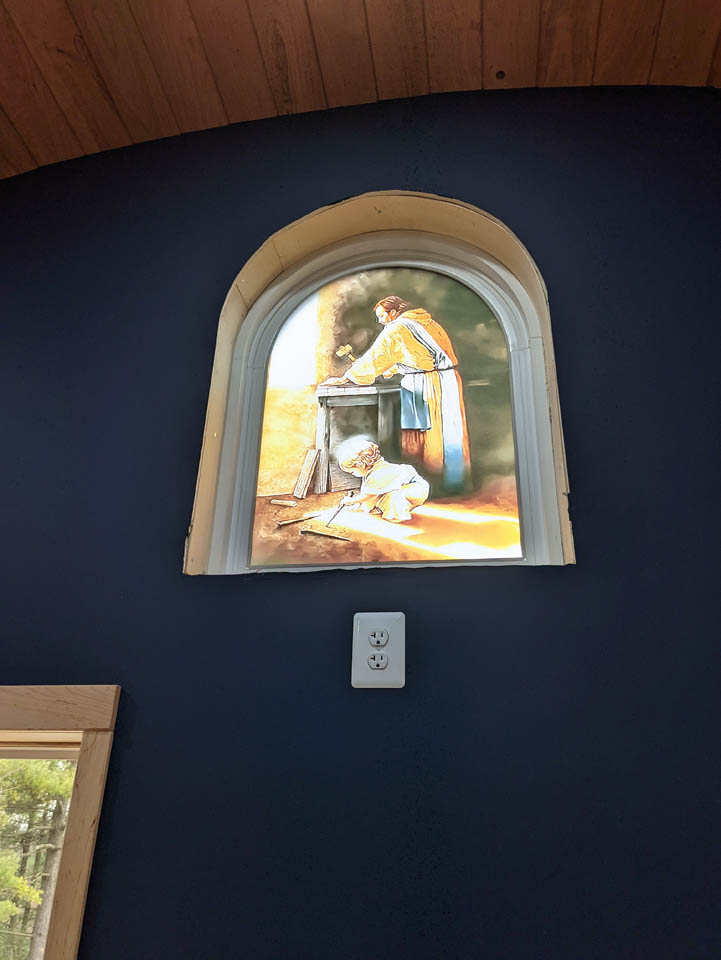
I had a plan for my little arched window. I wanted to do a stained glass of Saint Joseph, patron saint of carpenters. Until I can find the time to learn to make stained glass, I decided on another solution. I ordered a window cling of a picture that I liked from wallpaperforwindows.com. I was very happy with the vinyl cling I received. It cost about $40 and only took a week. I sprayed a little soap and water on the window and applied the cling. With a little trimming, instant stained glass. I still want to play with stained glass one day, but I think this may stay permanently installed, It looks really good.


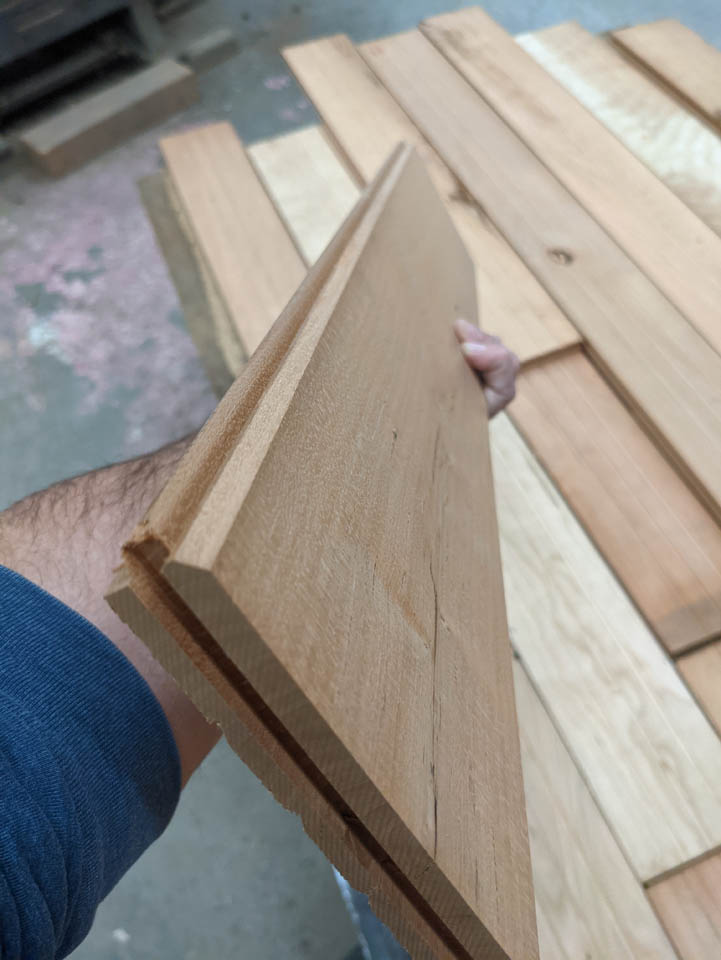
Now, I know you have been wondering what was going on the curved walls. Me too, I had a plan, but when I priced what I wanted, the plan changed. I happened to be having a conversation with my buddy Alex from Vintage Lumber and we worked out a labor trade. I won’t go into the details, but I now have 650 square feet of 5″ vintage cherry hardwood flooring. I came to his shop and helped one of his guys bevel the top and bottom edge of each piece, then repackaged it all and took in home.
That also got set in the basement to acclimate.
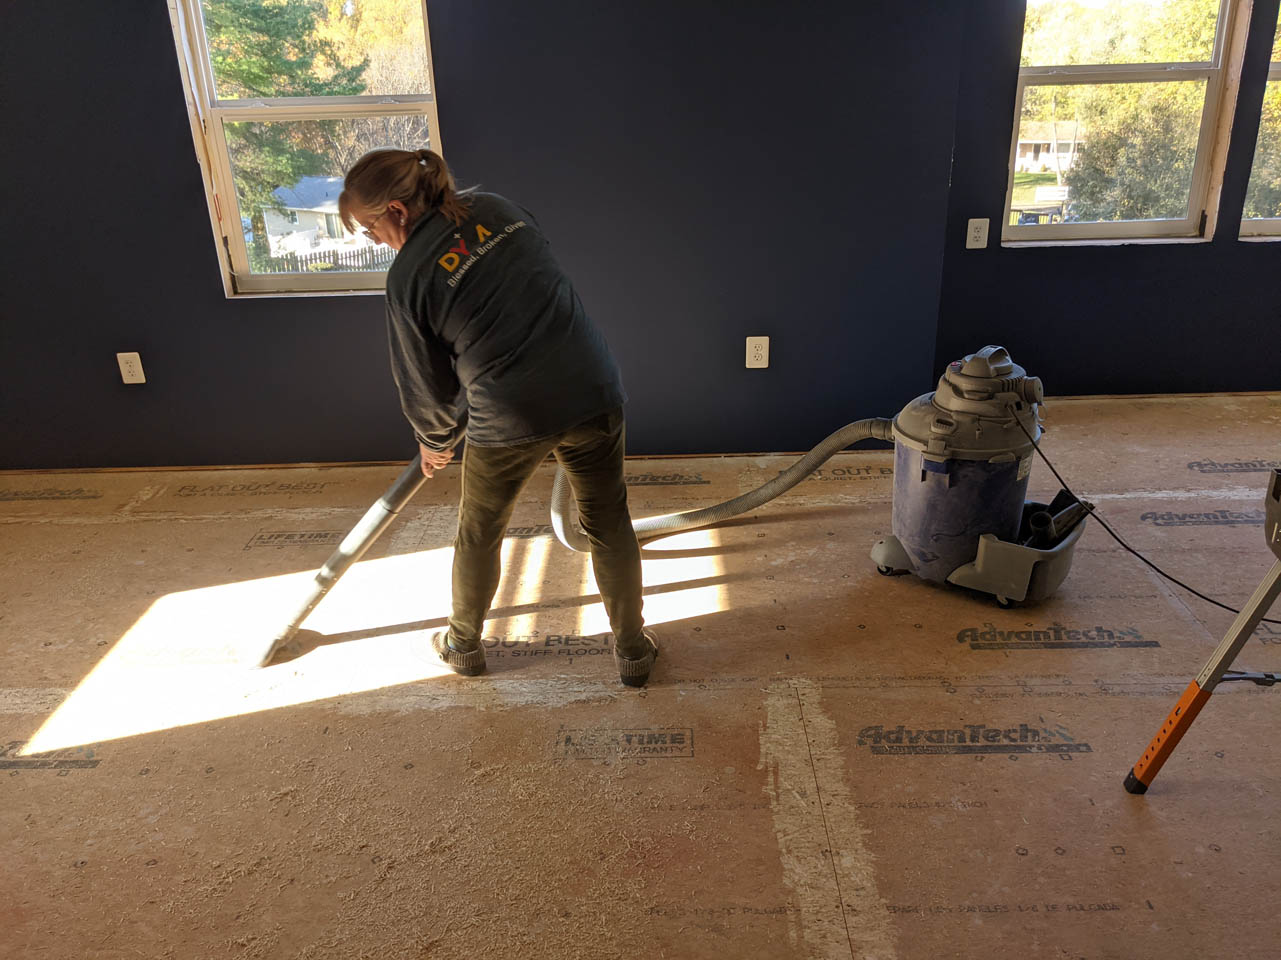
Meanwhile, the drywall is done and painted and my wife and I have been prepping the floor for the hardwood to go down.
I need to get a spotlight for the stained glass window. It looks really good at night, but I want to see it with the rest of the lights out.

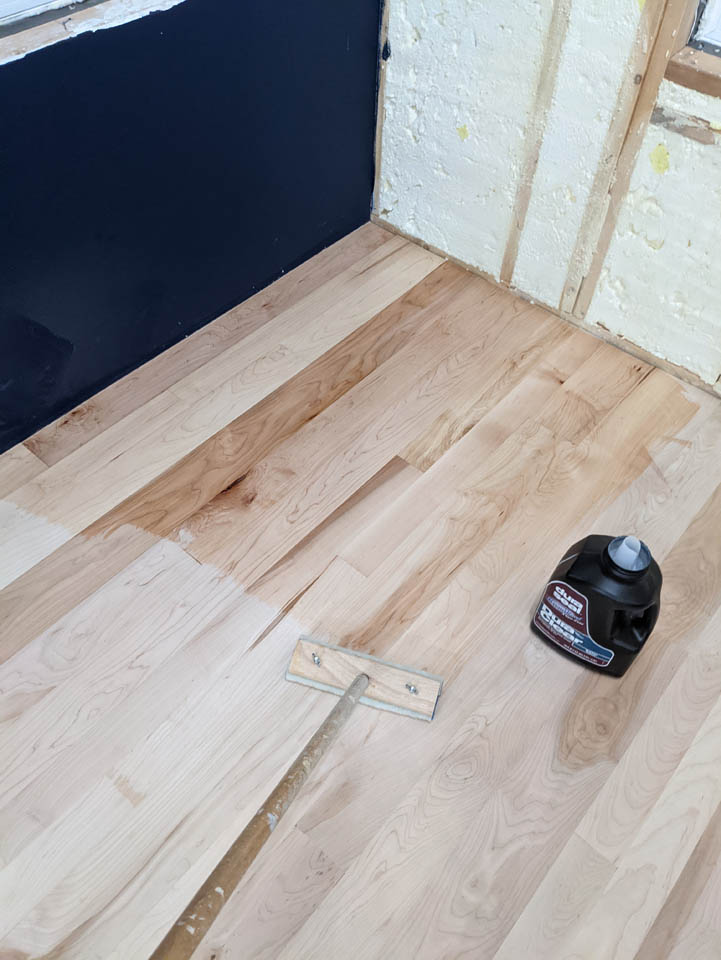
Another job, nearly as fun as drywall is laying flooring. My wife helped me layout the hardwood flooring, randomizing the widths but trying to line up the grain patterns end to end. It was a challenge but we were not in a hurry.
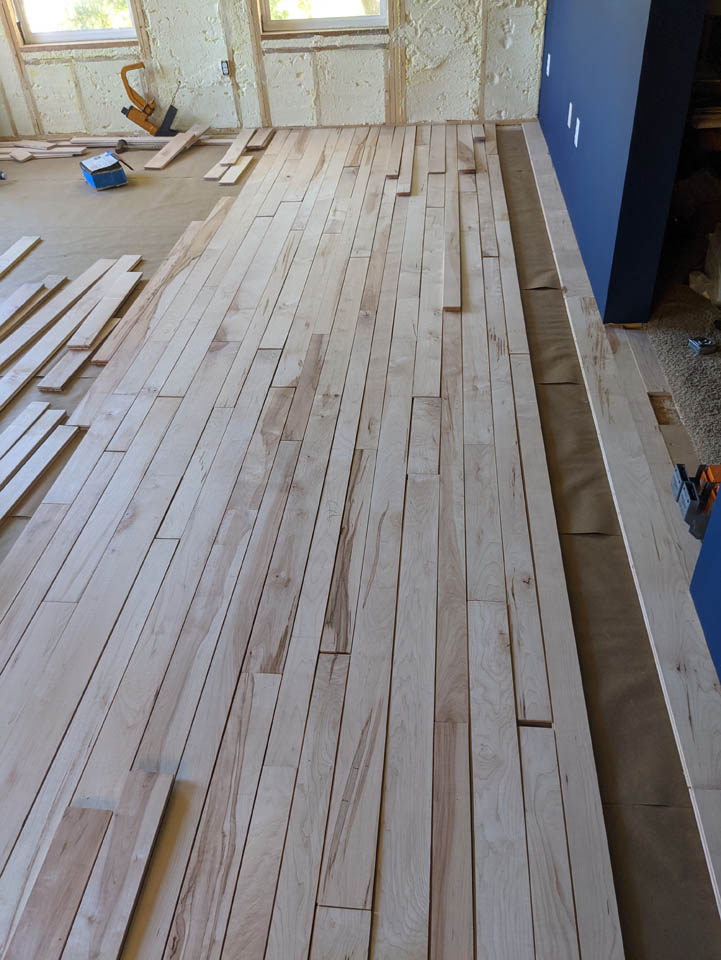
After the first 5′-6′ was done we laid out the next batch. I am being conservative with the 5″ boards so that I have some left over for trim.

Some of these boards had a mind of their own, I came up with a way to persuade them to straighten up. I screwed down a block and cut a wedge onto the tongue side of a 3″ piece of flooring leaving the groove to lock onto the flooring, I drove it tight with a hammer, then nailed the strip down.

After a couple of days of back pain, the floor was down. I marked every knot and went back to fill each one with epoxy. My dear wife spent a lot of time sanding the epoxy back, then sanding the floor smooth with a 5″ orbital sander. It went slower than renting a floor sander, but it was less dusty and the floors looked great when we were done.

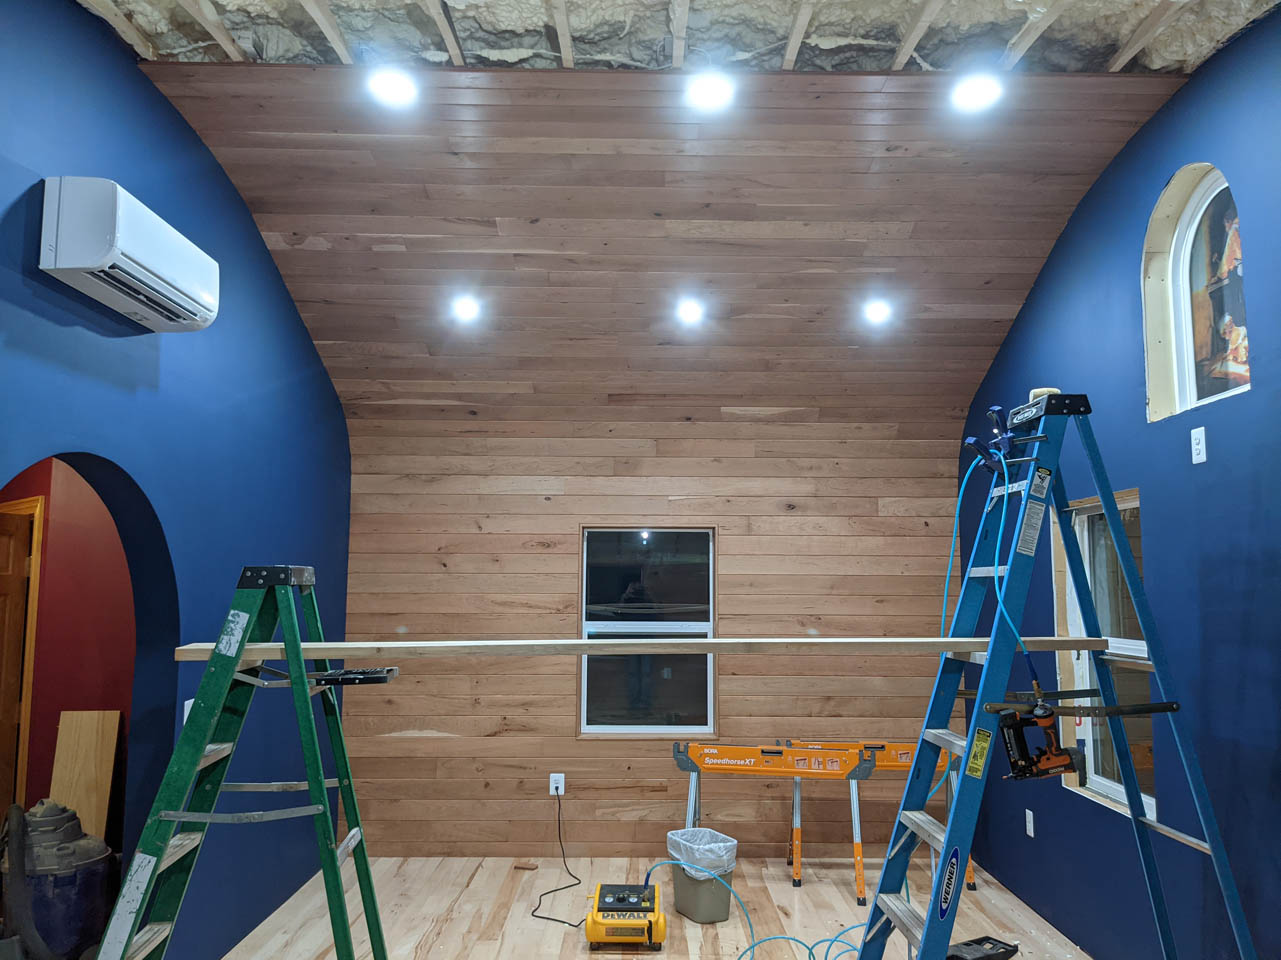
While she was doing that, I helped my buddy Dave install the mini-split heat pump. I got the fun job or crawling around in the attic feeding wires and condensate lines into tight places…
The heat\AC are now online.
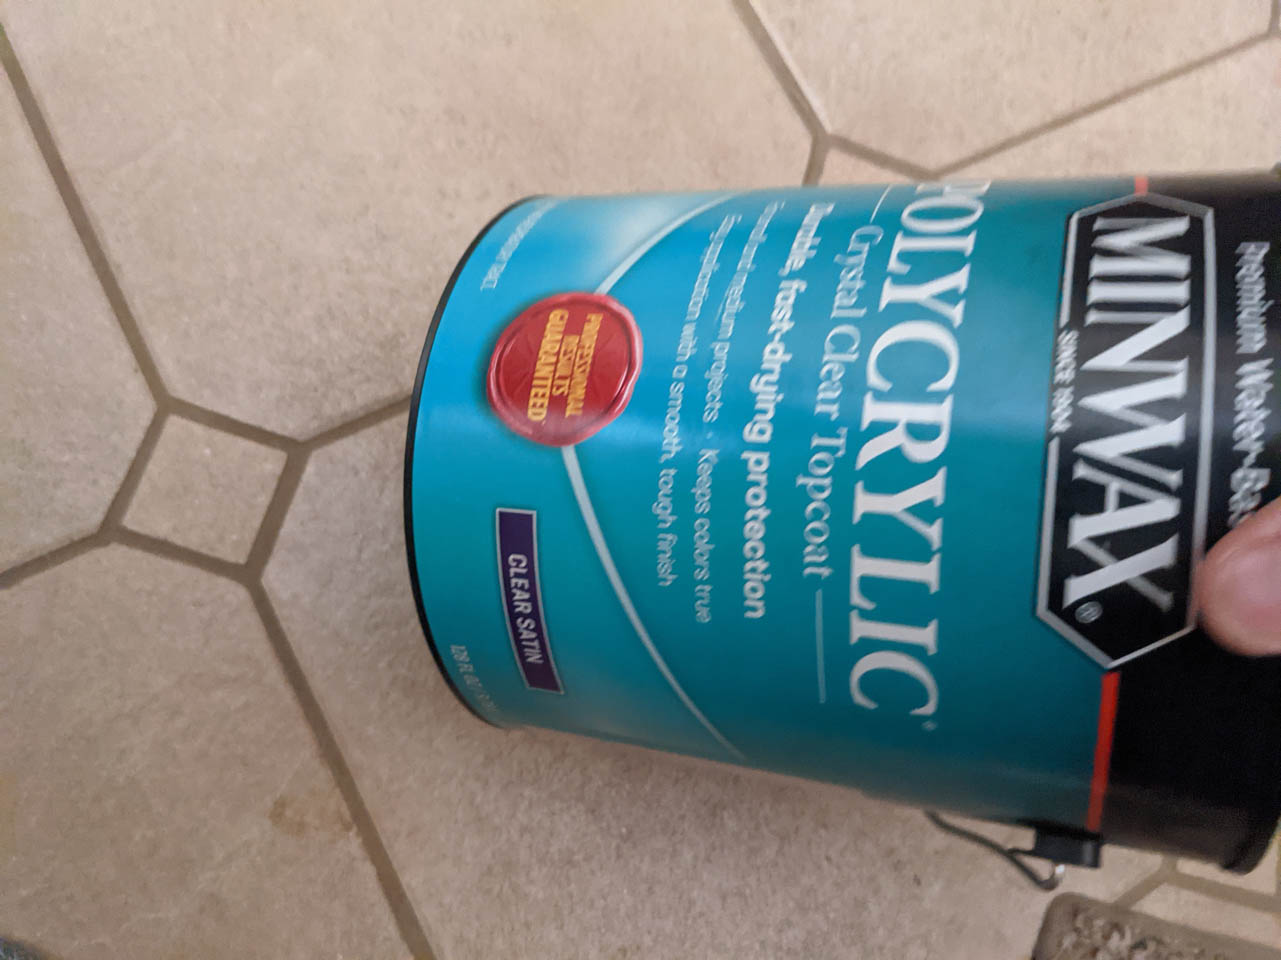
I started applying the first two coats of water-based poly with the recommended applicator and was very unhappy with the surface.

But after a bit of web searching, I found a recommendation to use a high quality paint roller and I tried that for the final coat. It worked fantastic. I used a satin finish and it looks really good.

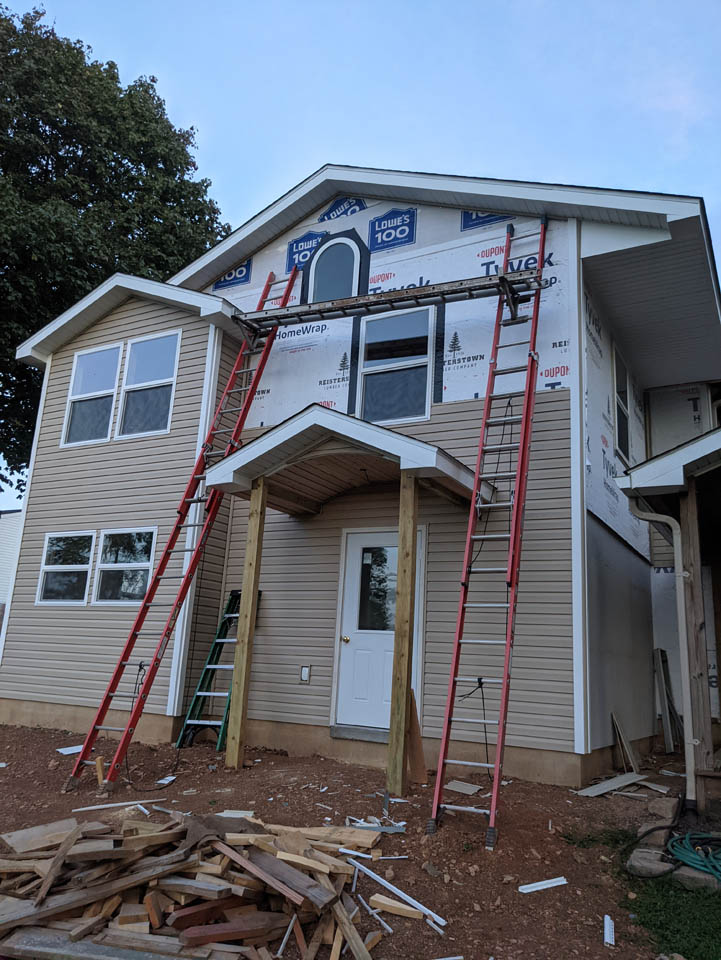
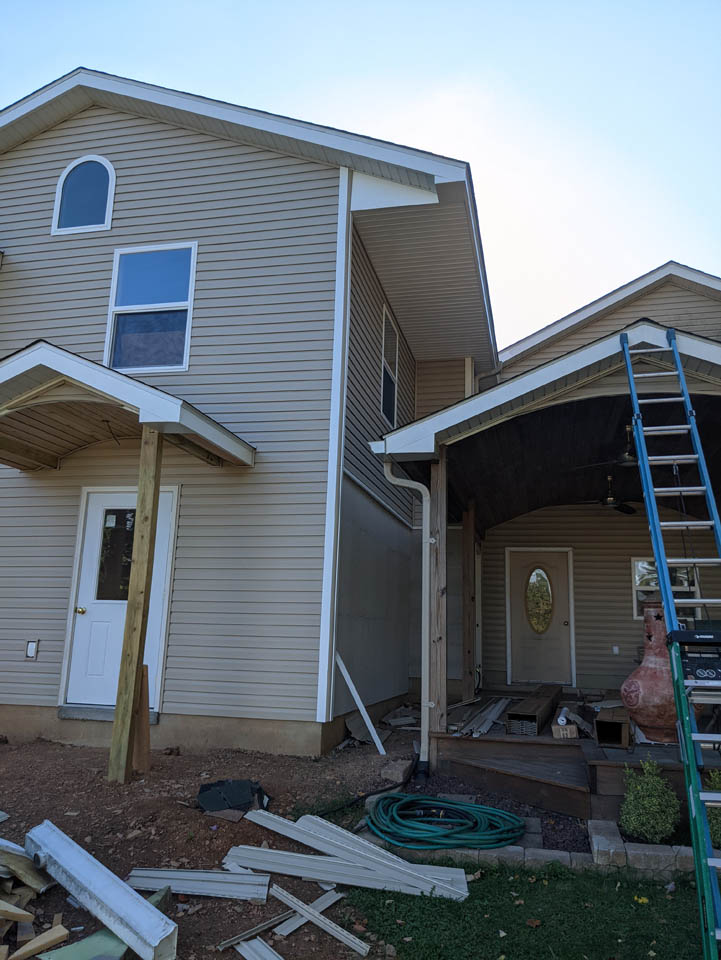
With the last little bit of warm weather outside, I decided to take a break and work on building a small porch. This might change later on, but it is good for now.

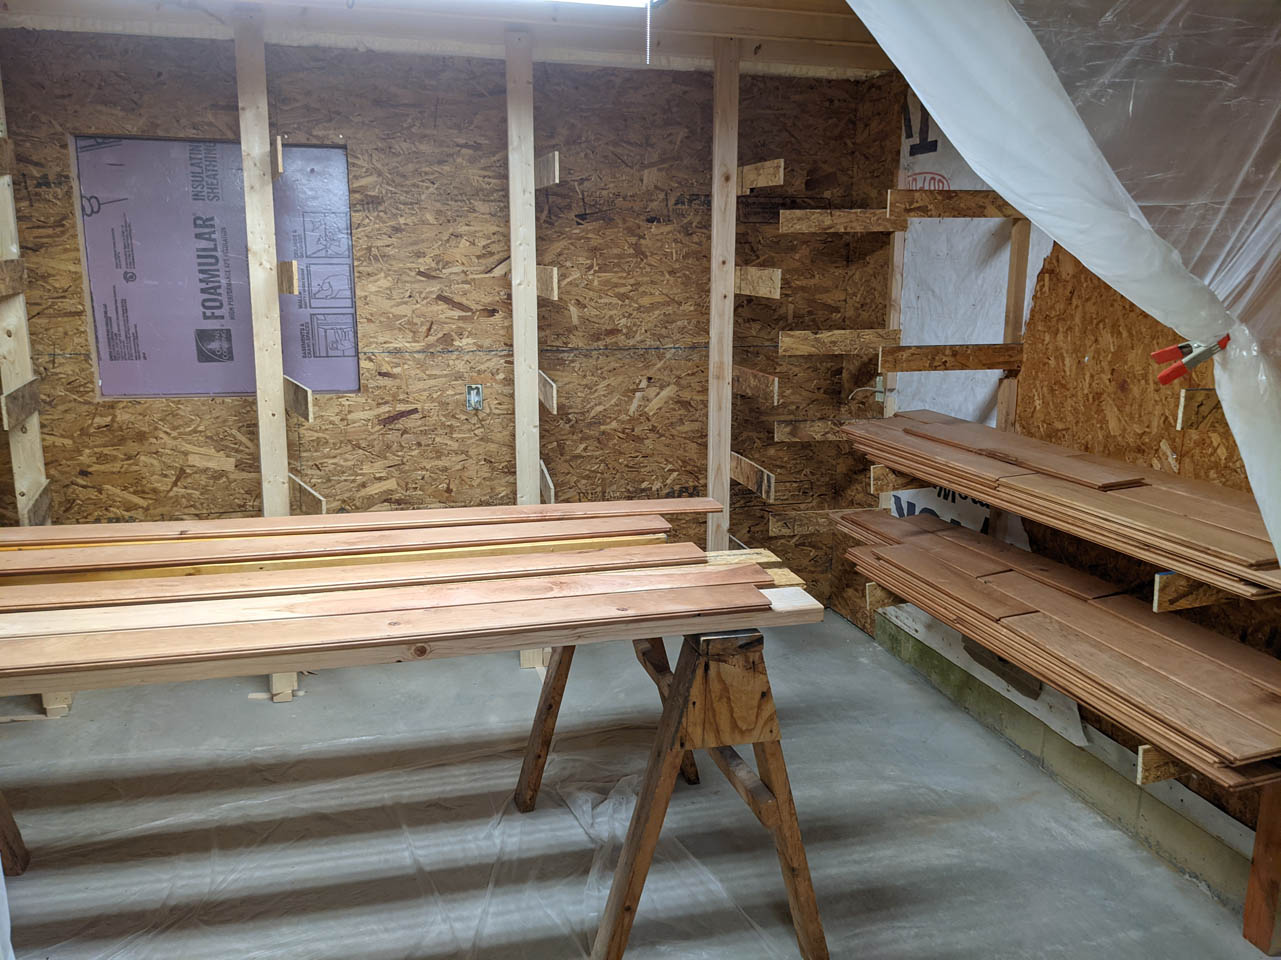
I realize this entire project was supposed to be a shop extension, so here is your first picture of the new shop. I have been so caught up with making the office that I haven’t even wired up the outlets in the shop. I did pick up some more OSB to attach to the walls. It is not pretty, but it was the cheapest thing I could find that I can screw stuff too. It is my shop the walls will be covered with wood and tools anyway. What you see on the walls below are a few 2″x4″s with scraps of OSB screwed to them to make temporary drying racks. I blocked off half of the new space to create a giant spray booth. I have to pre-finish every single piece of cherry before it is installed. This is the first batch below.

I sanded and pre-finished one bundle to see how it installed. I love it. the tongues and grooves on the ends are perfect for butting the boards together where there is not a stud.

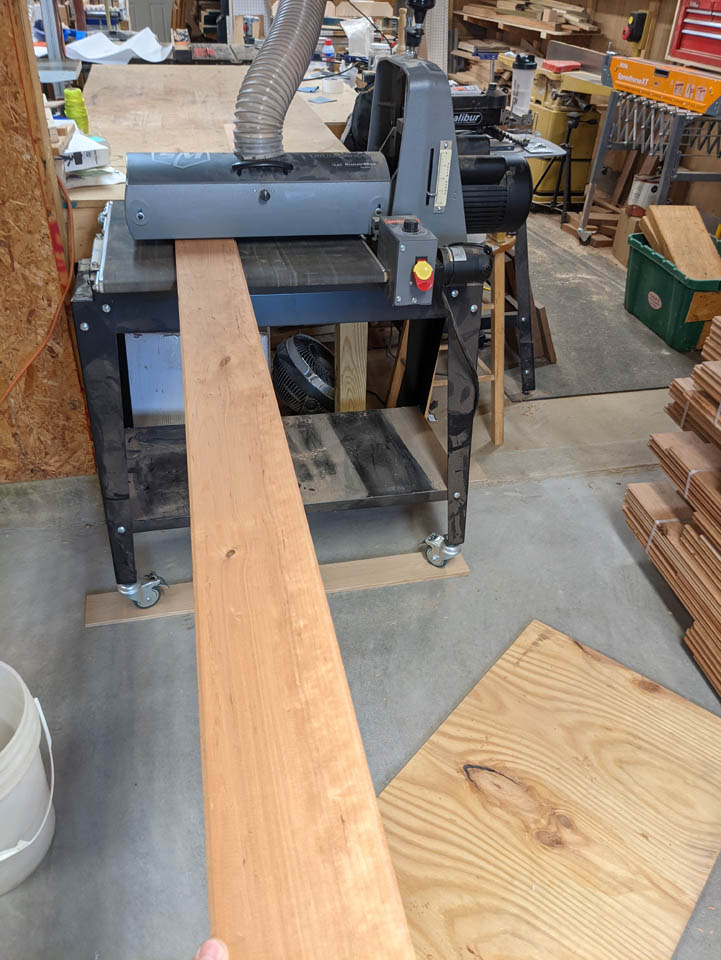
Knowing that it would work, I got to work. I tore down half of the back wall of my old shop so I could move my drum sander to the opposite side of my table saw’s outfeed table.
This allowed me to pre-sand every single board before applying three coats of water-based satin polyurethane. With the spray booth, I could easily process about 75-100 square feet of flooring at a time.
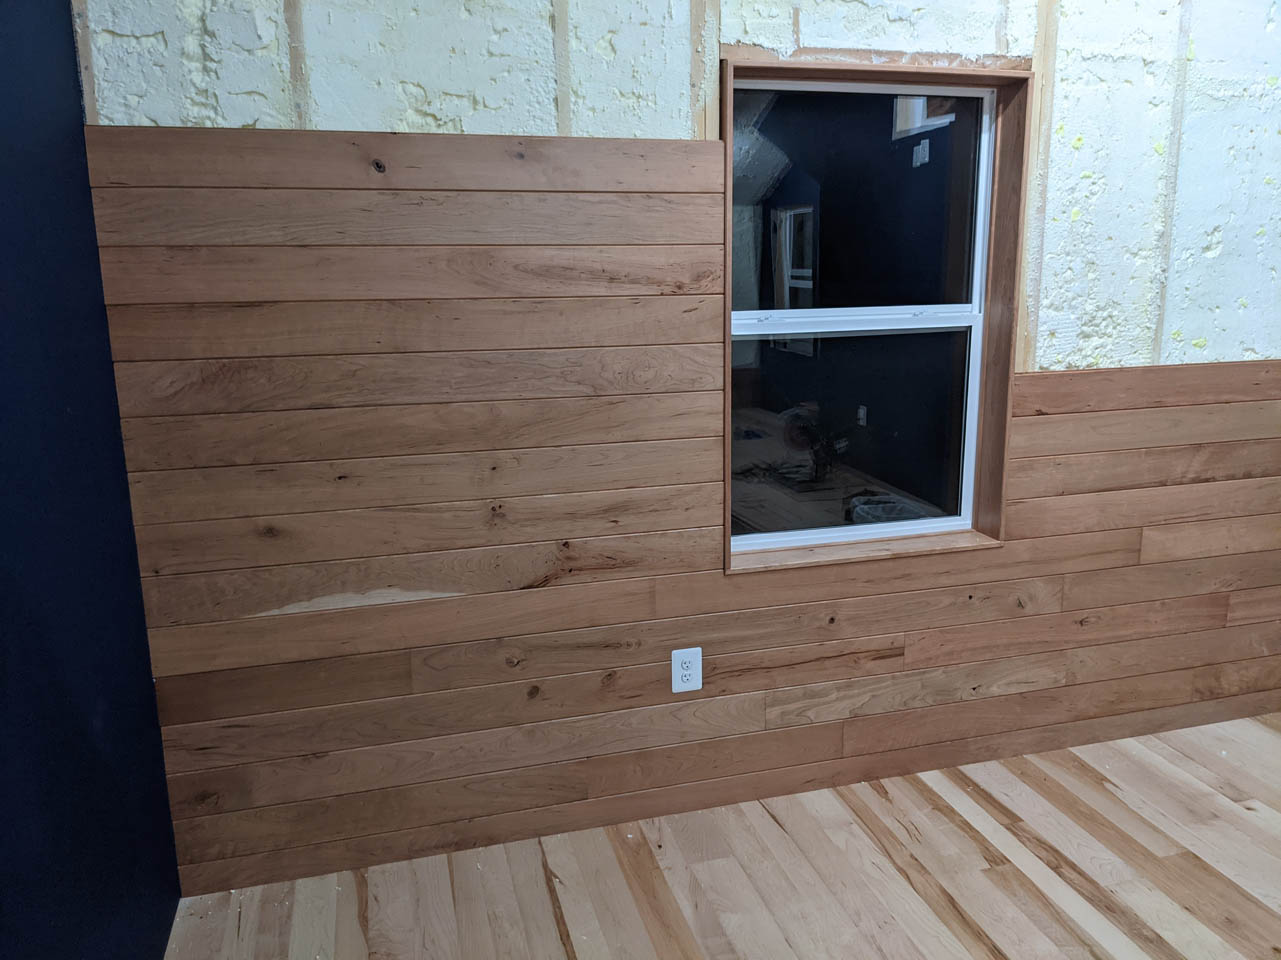
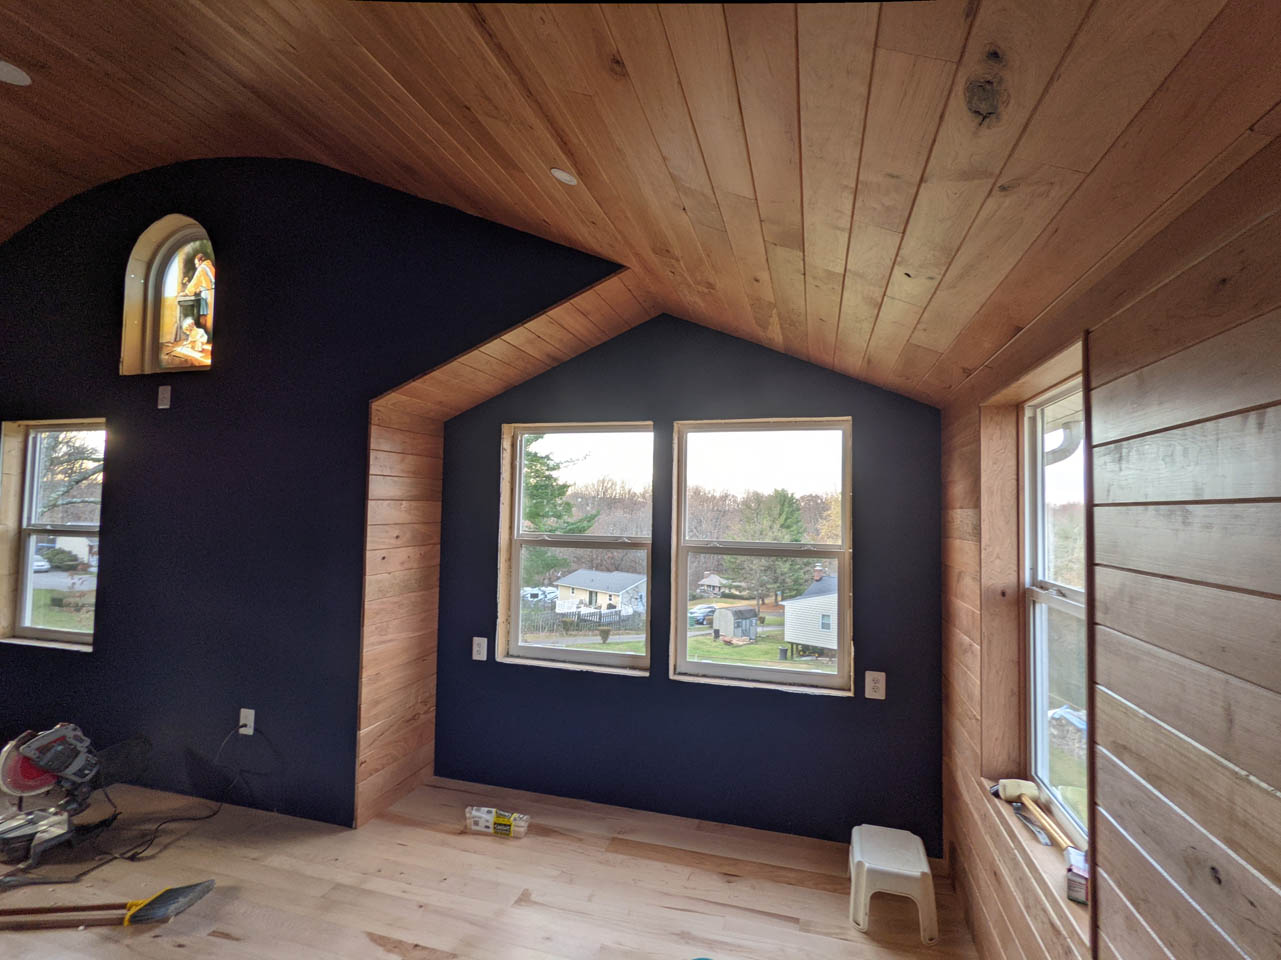
I love the way this looks. Each board is completely unique. I milled down a few pieces to case the window openings on the cherry walls with cherry.
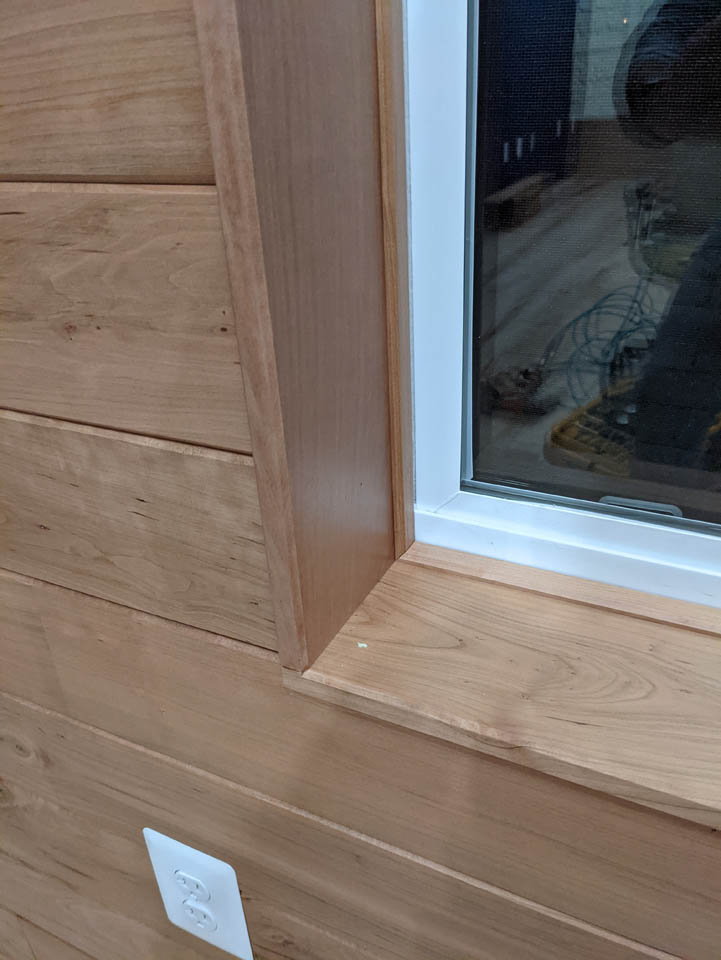
I just let the jamb extension stick out about 1/4″ and applied a small bevel to match the bevel of the siding.

My goal is to take my time and get every board tight to the trim and walls so that I won’t have to hide any gaps with trim.

The side walls went up quickly but I slowed down after the first curve.
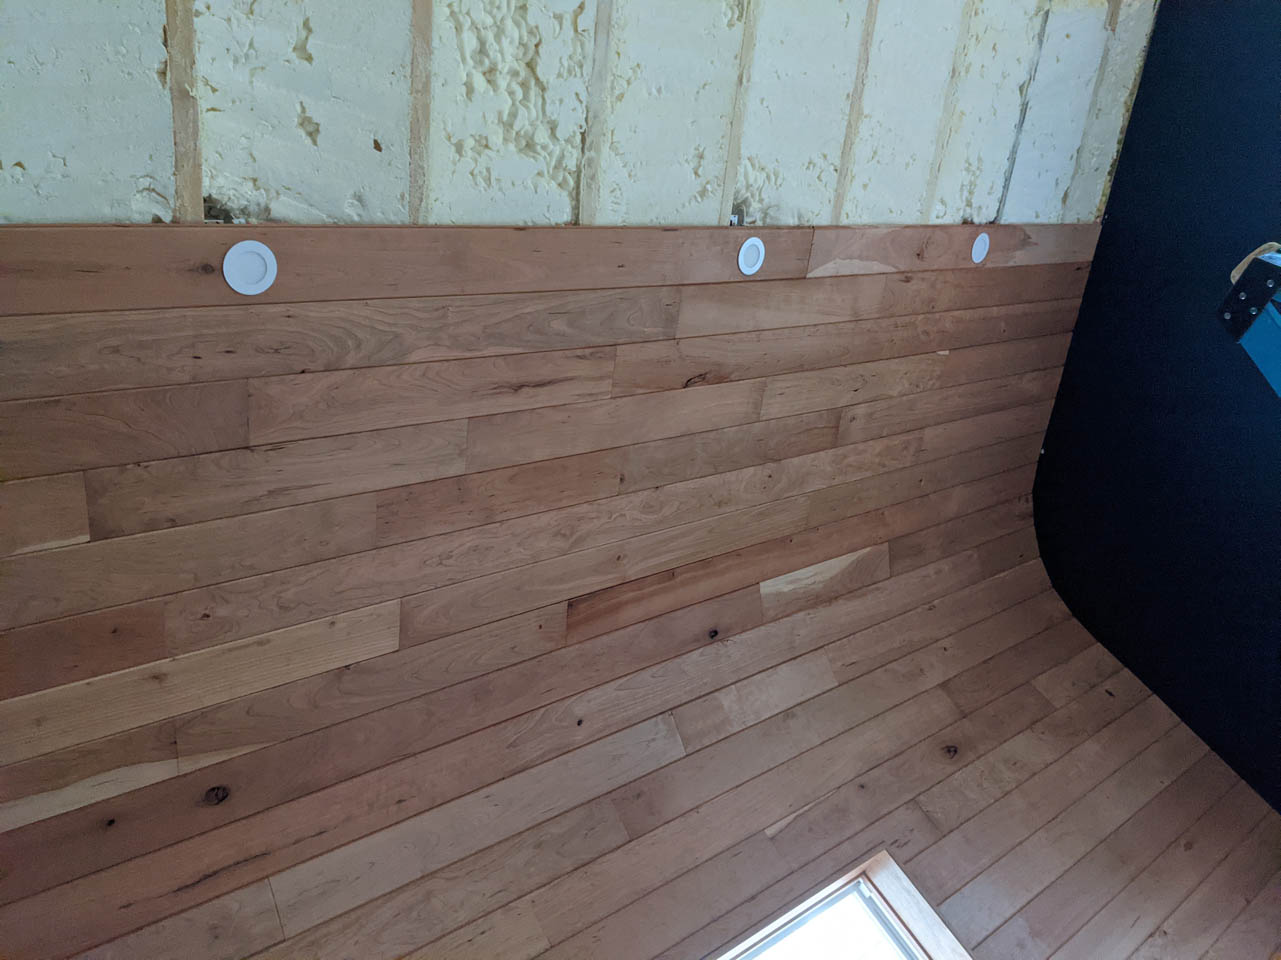
The bevels on the edges are allowing the cherry to follow the curve nicely.
But, once it got too high, I had to start working off of a walk board. The only thing I could use was a 10′ long 2″x8″ set on two steps of my step ladders. I only fell off once. Not bad…
My goal was to create a roll-top desk effect. I think it looks really good.
I decided to run some smaller pieces up the 24″ bump-out. It tied in nicely.

I was utterly amazed that the last piece finished out almost perfectly parallel to the far wall. It was within 1/16″ all the way down. That was the grace of God, because I certainly did not do anything to keep it parallel, in fact I was really worried how it would all come together.

I think it looks amazing. It probably took me three weeks to sand, finish, and install the cherry but it was worth the effort.

After the cherry was up, I started milling down the left-over maple to create window trim and base trim for the blue walls.


Just a couple of projects left in the que for the office. Trimming the arched window and building the barn doors. Those will be in other posts though.
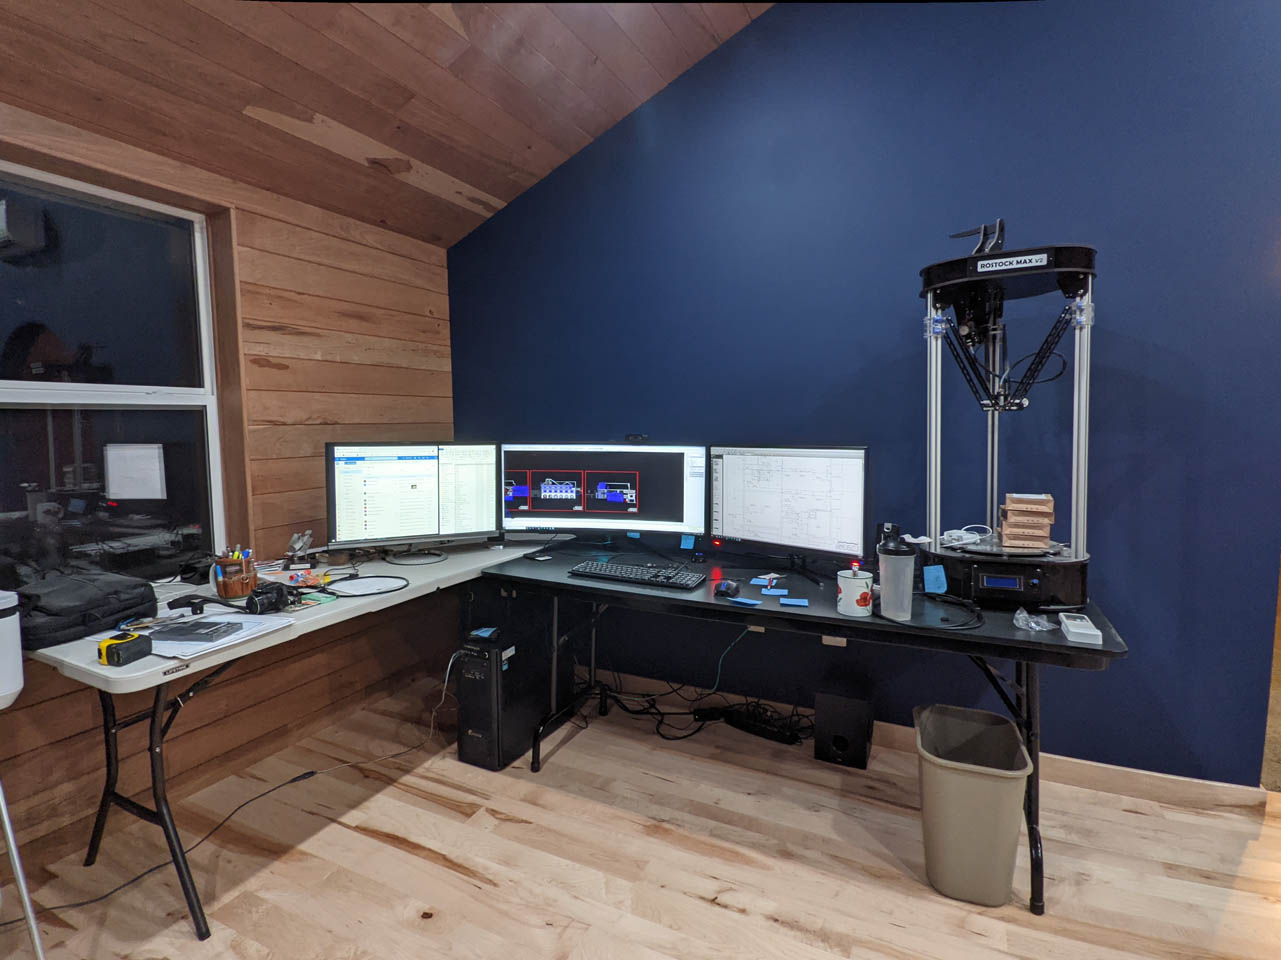
Oh, I also moved my folding tables out of my old office into the new so I could get back to work. They do not look very good in here. I guess that will be another project on the list, a new office desk, probably out of walnut. What do you think?

It looks fantastic! I appreciate all the pictures and detail. Looking forward to seeing it evolve over time.
That is really impressive, you did a great job! Something like this takes a lot of planning and design in order for it to come together this nice in the end. Thank you for sharing with us – gives me some ideas for future builds. What do you do when not building? 🙂
Thanks Jim, I actually do mechanical design for a living and a little architectural design on the side