Custom walnut shelf
My brother asked me to make him a walnut shelf for his kitchen. He wanted it to be 72″ wide to fit directly under some wall cabinets. He also wanted the top edge to have a large ogee to match his countertop. He had a few pieces of walnut that he wanted me to use. They ranged from 3″ wide to 7″ and they were already planed down to 3/4″ thick. After getting a few more dimensions, I came up with this plan: SHELF.pdf
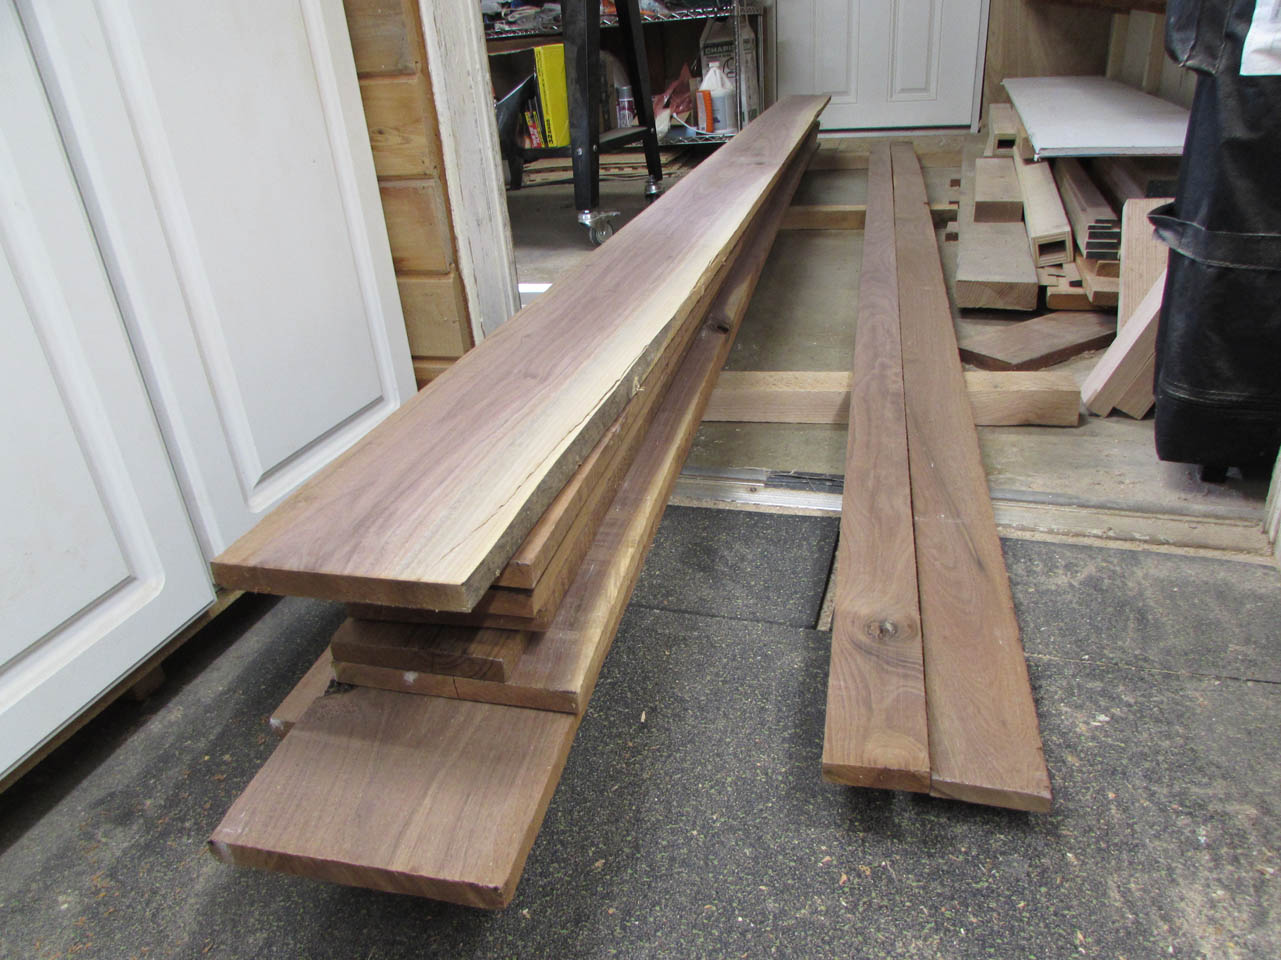
I pulled apart the stack of boards and started breaking them down, starting with the boards, with the least knots and cracks. Two of the boards were nice enough to cut in half, but the rest required some picking through.
I especially liked the boards with wide swaths of sap wood, but my brother wanted the top and sides to be completely brown so I guess the sappy ones will go on the bottom.

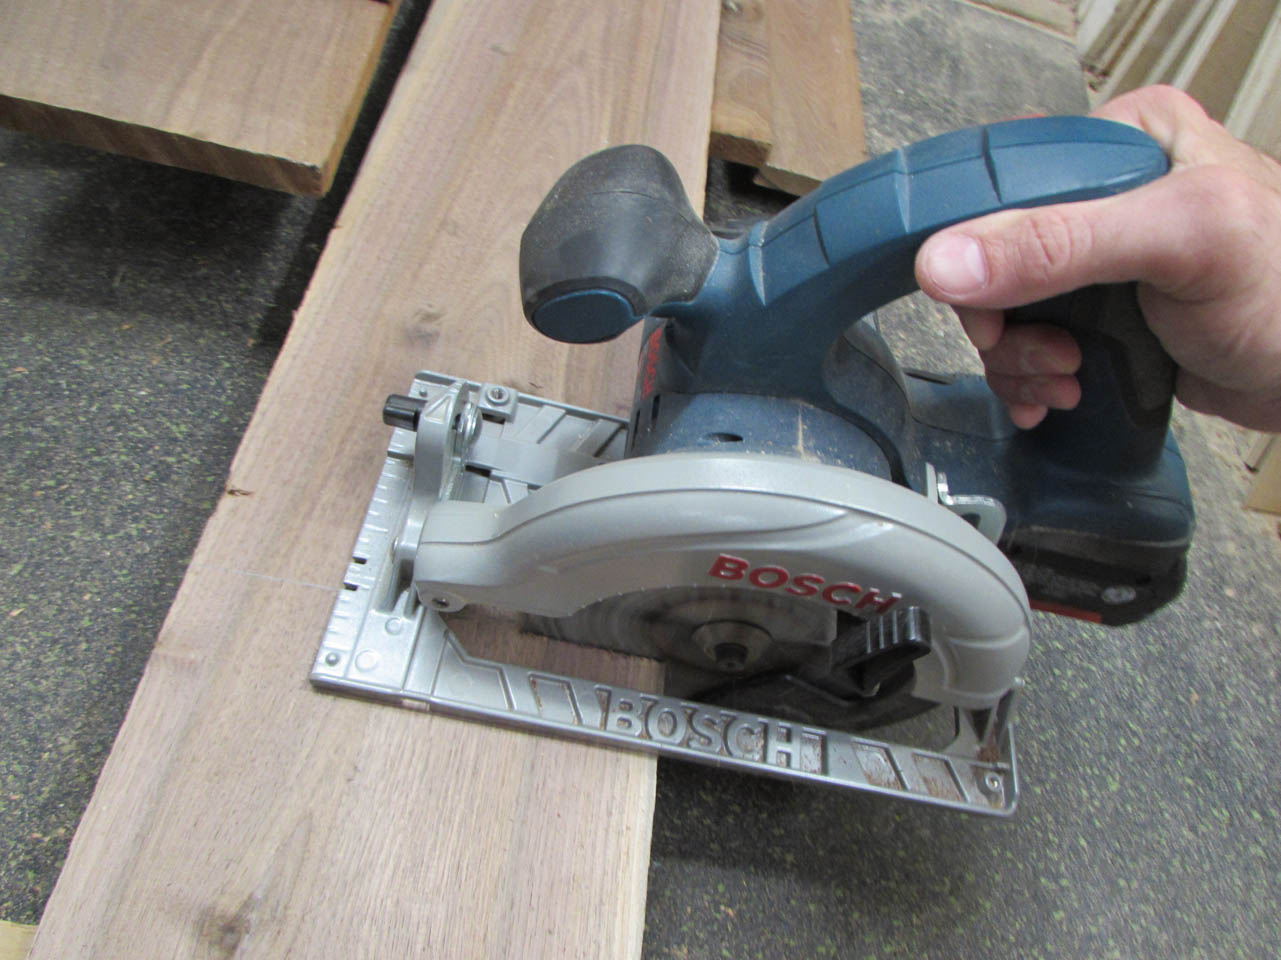
Since we were looking for mostly brown, straight grains, I had to cut away large white sections. Also, since the boards are on the thin side for a 72″ long shelf that will support books, I stayed away from swirly grain. It tends to be unpredictable and may warp.

These boards also had several random saw cuts on the edges. I had to shift my cuts to miss them or plan on that board losing an inch or two to avoid it.
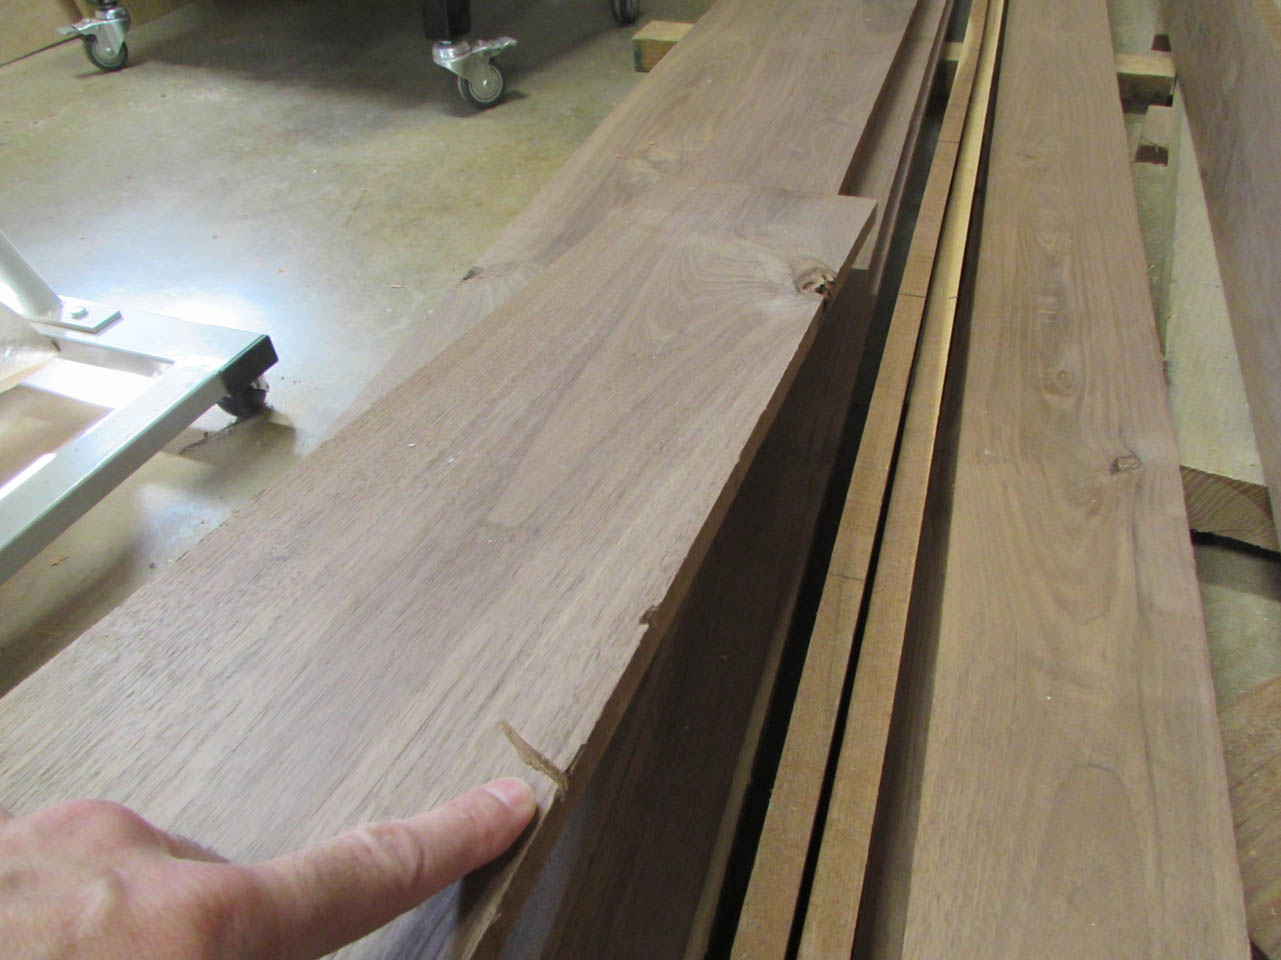
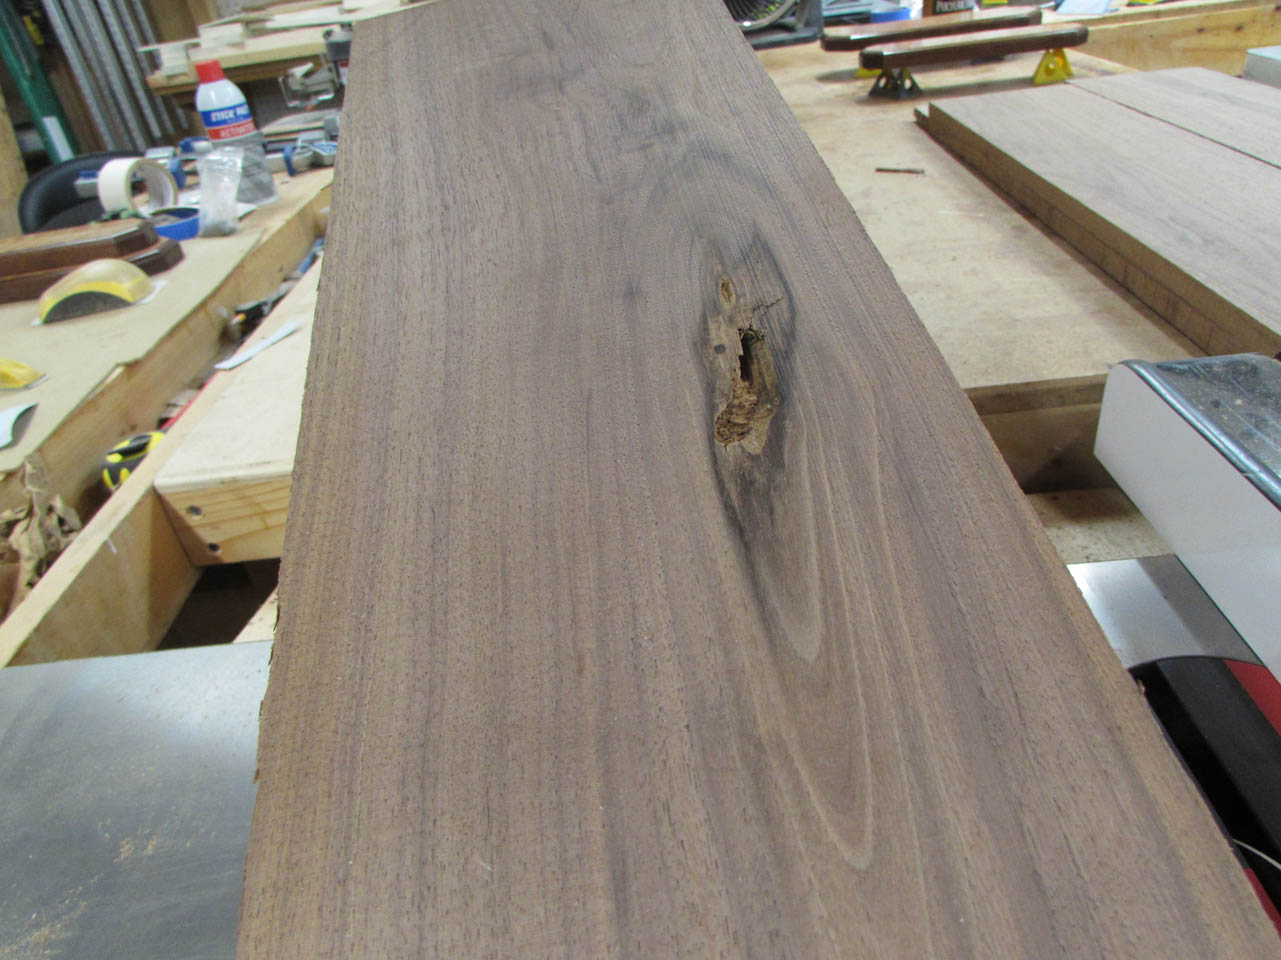
Smaller knots are ok and I can even fill the loose ones with CA glue or epoxy, but I try to avoid the punky ones with cracks radiating from them. I was only able to use short sections of some of the boards.


My top shelf is 14-1/2″ wide and the two lower shelves are 13″ so I had to find enough clear grain to make up panels wide enough for each.
Walnut tends to have a lot of branches so it is hard to find clear wood in the smaller diameter trees.
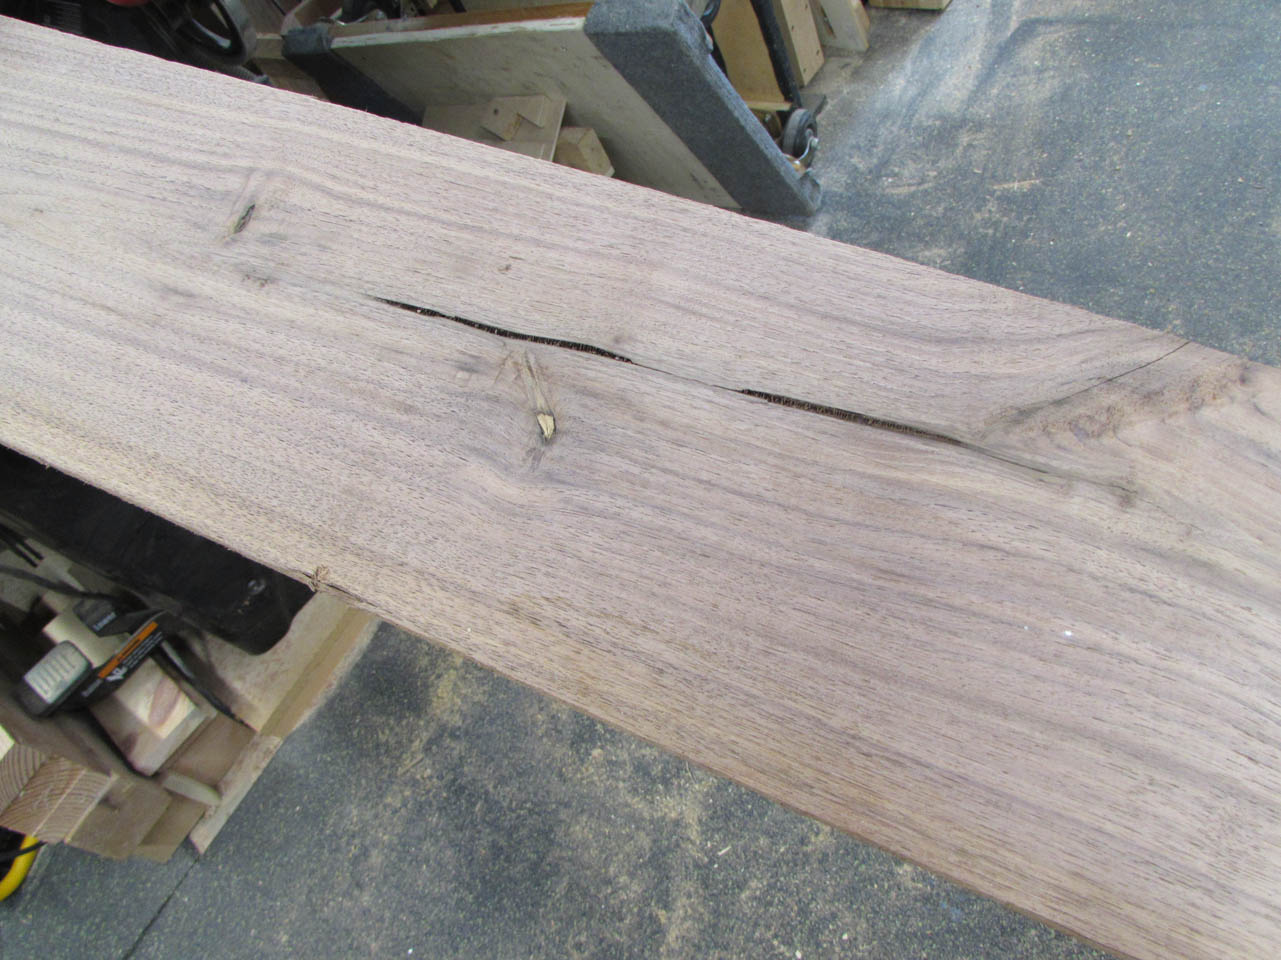
They also have weird veining in places near the heart of the tree sometimes. Some people call this “character” but it can cause cracks in the wood over time.
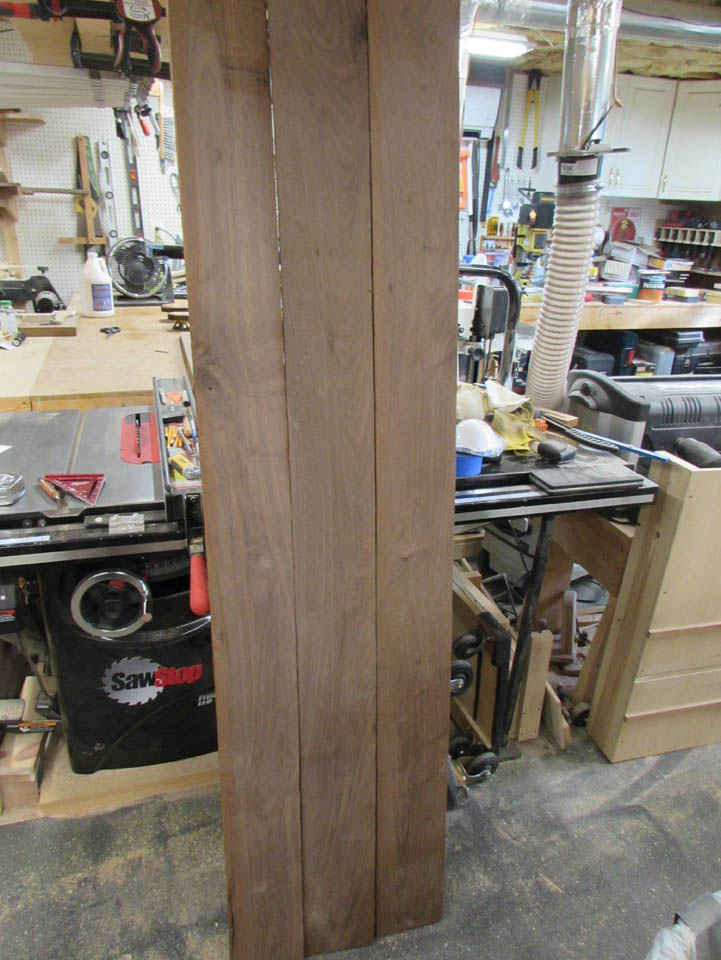
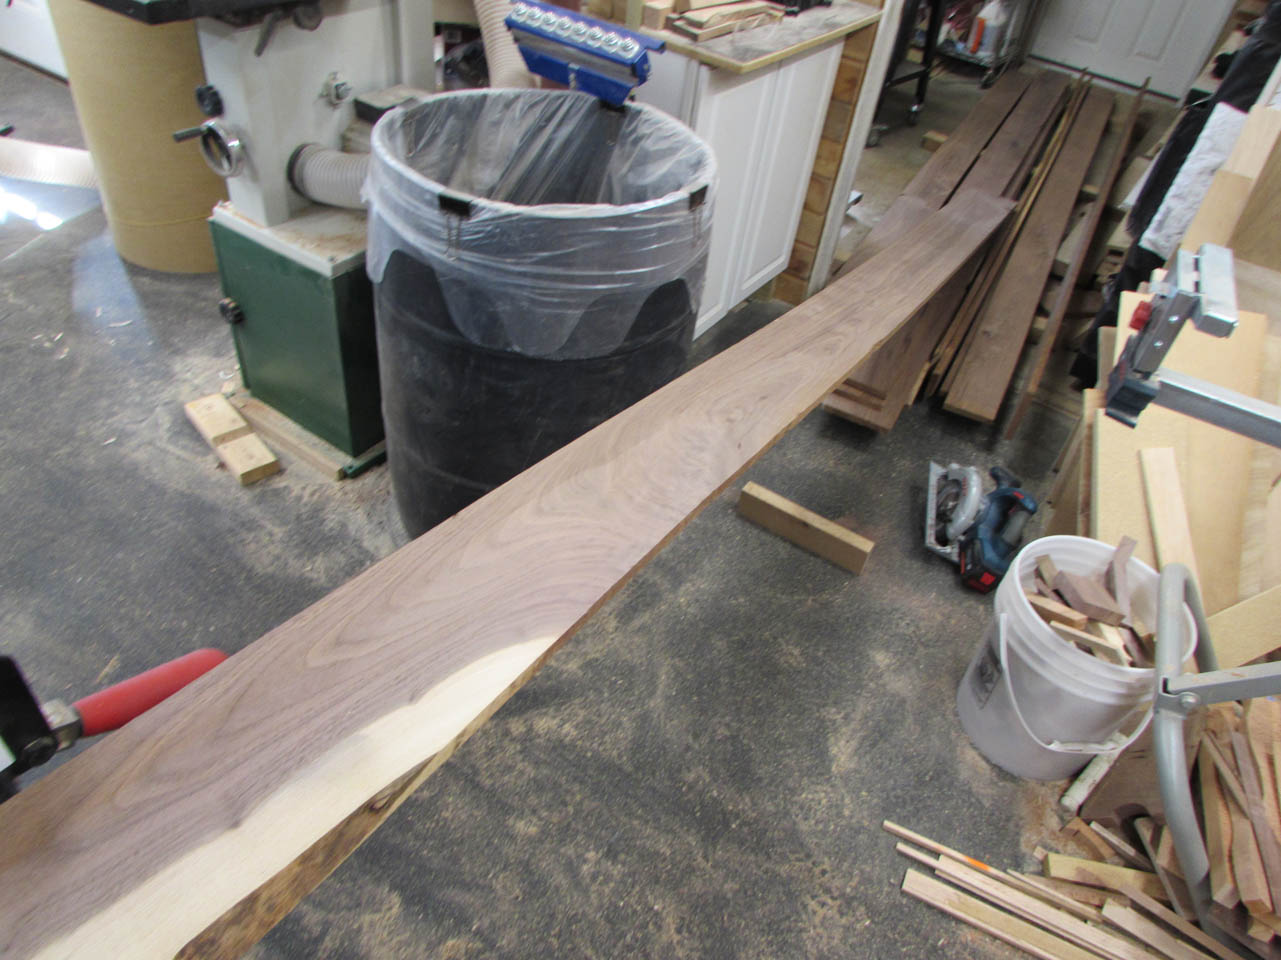
After a lot of picking through the pile, I had enough to make my shelves and the sides.
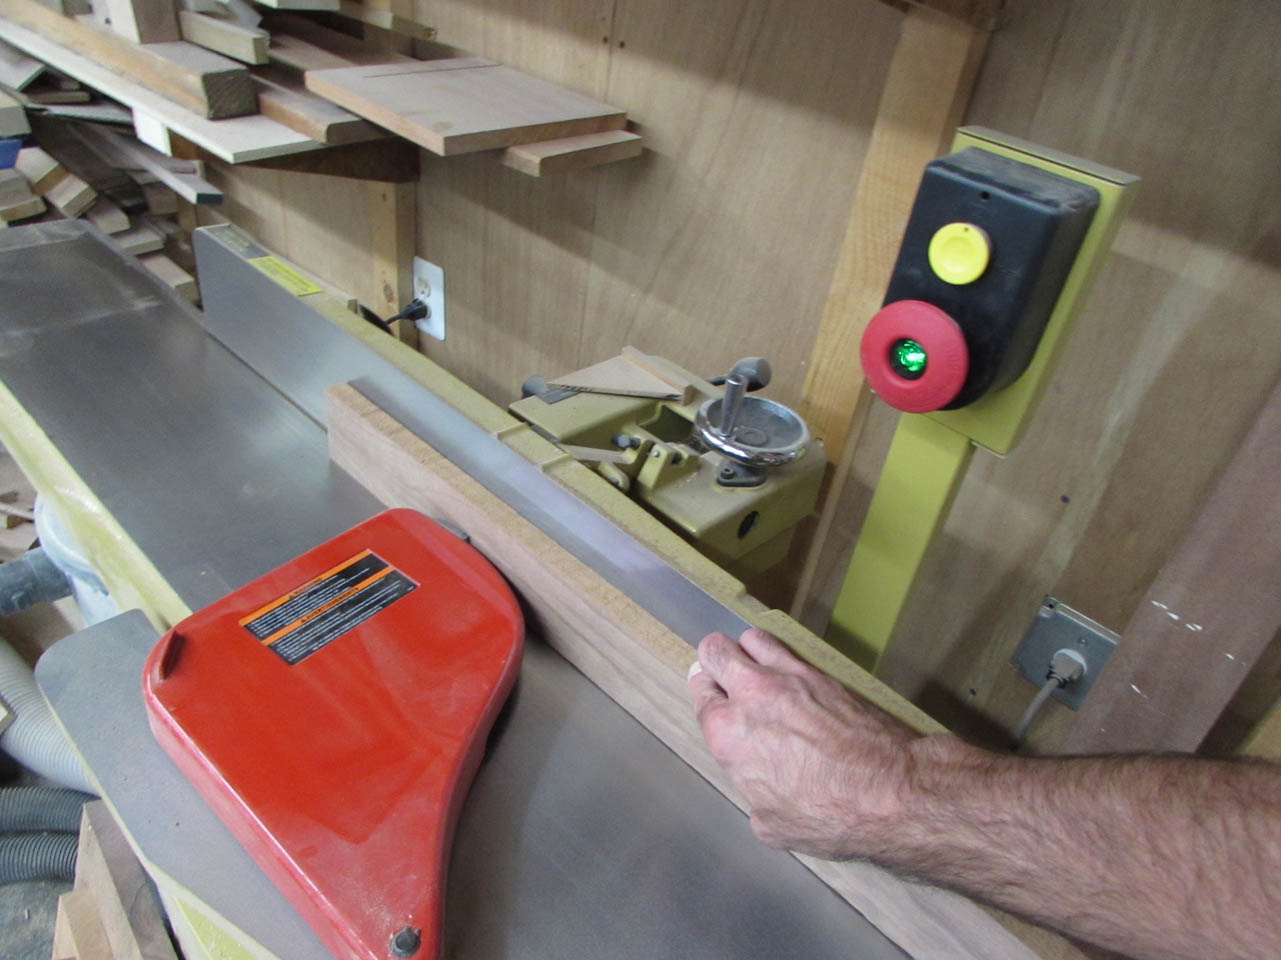
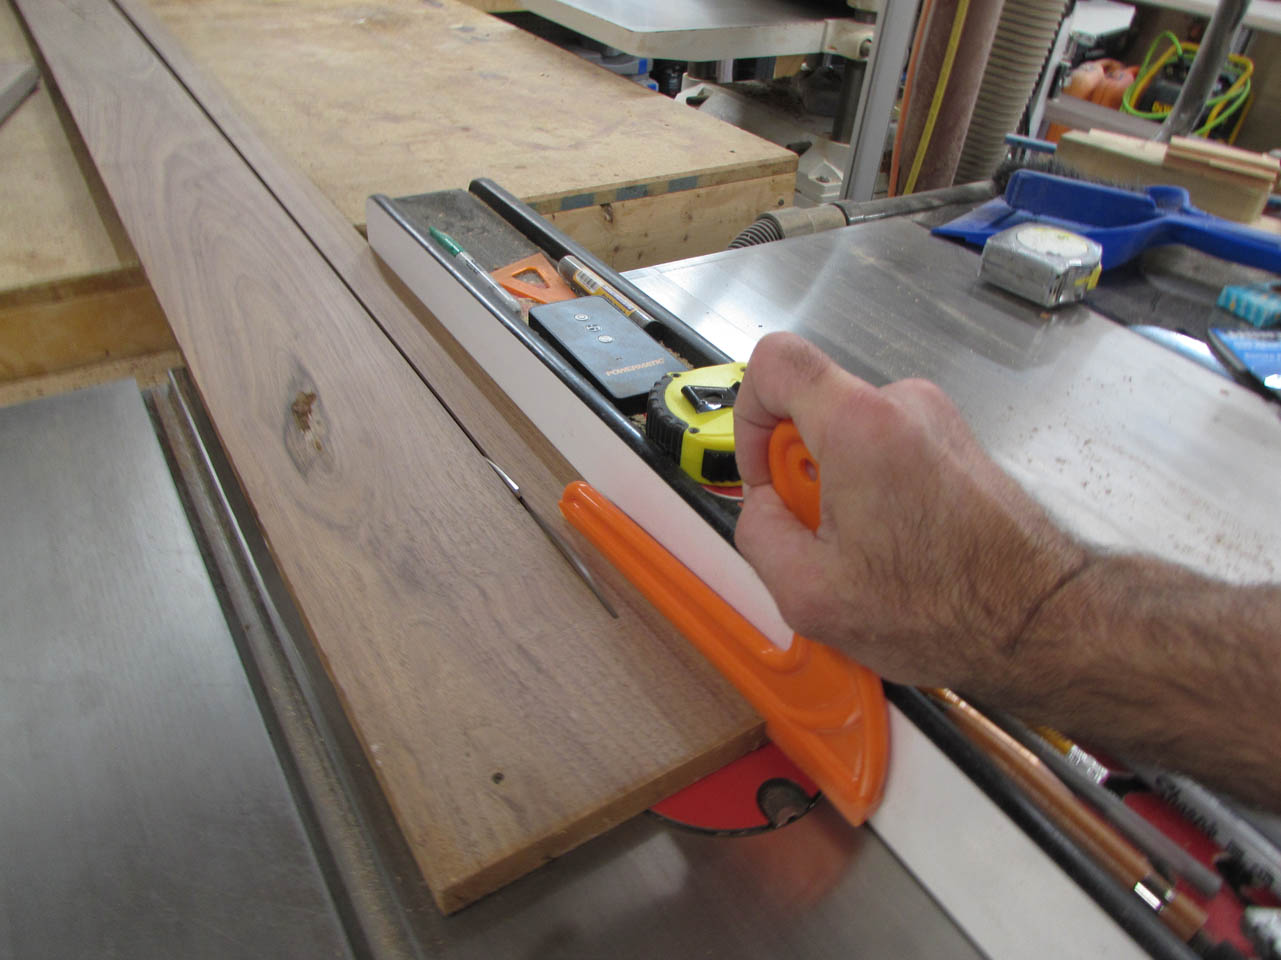
Time to clean up the edges the jointer.
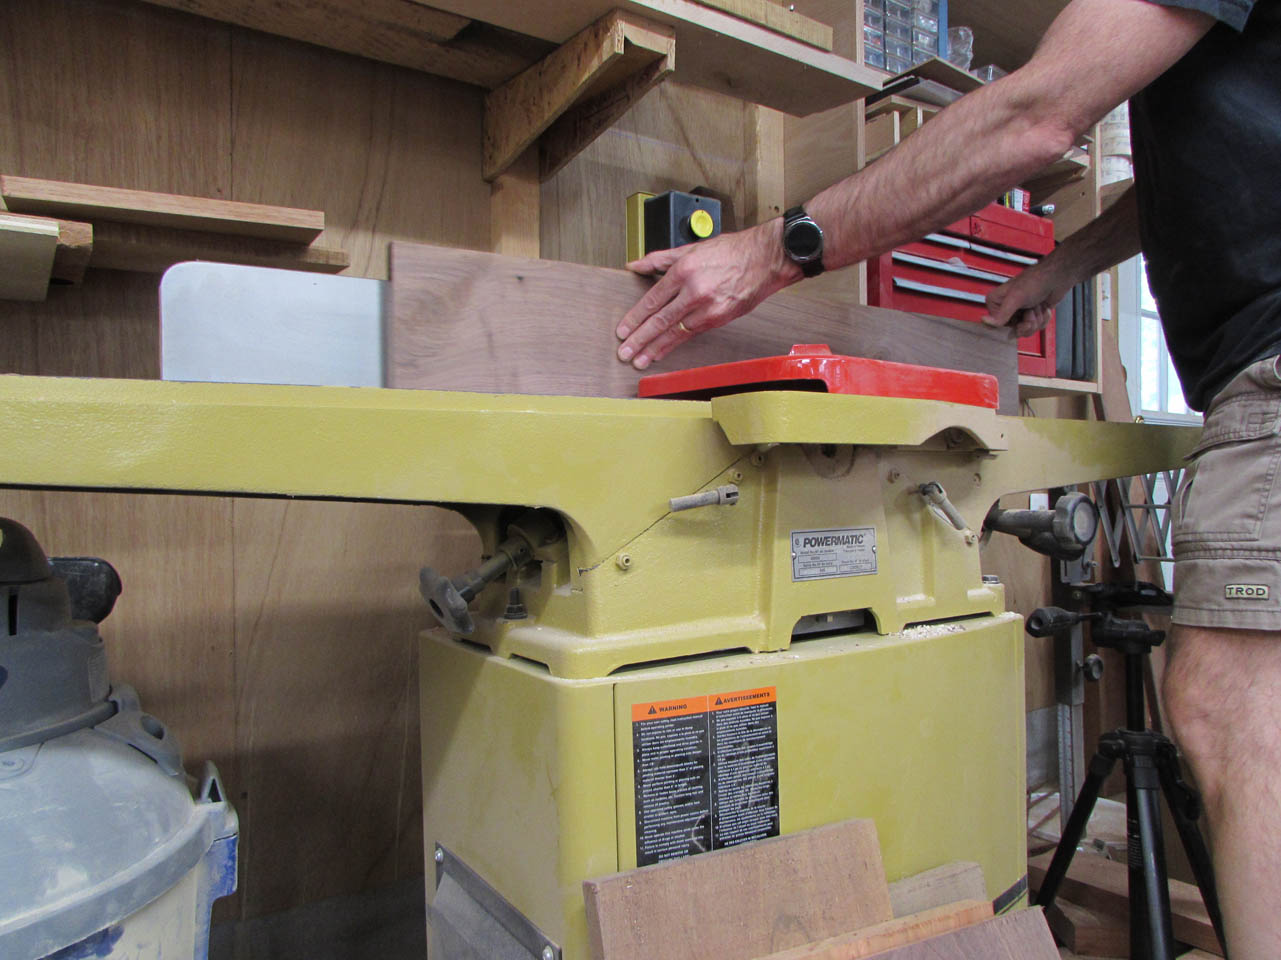
Some of the longer boards required a lot of jointing because they were a little bent.

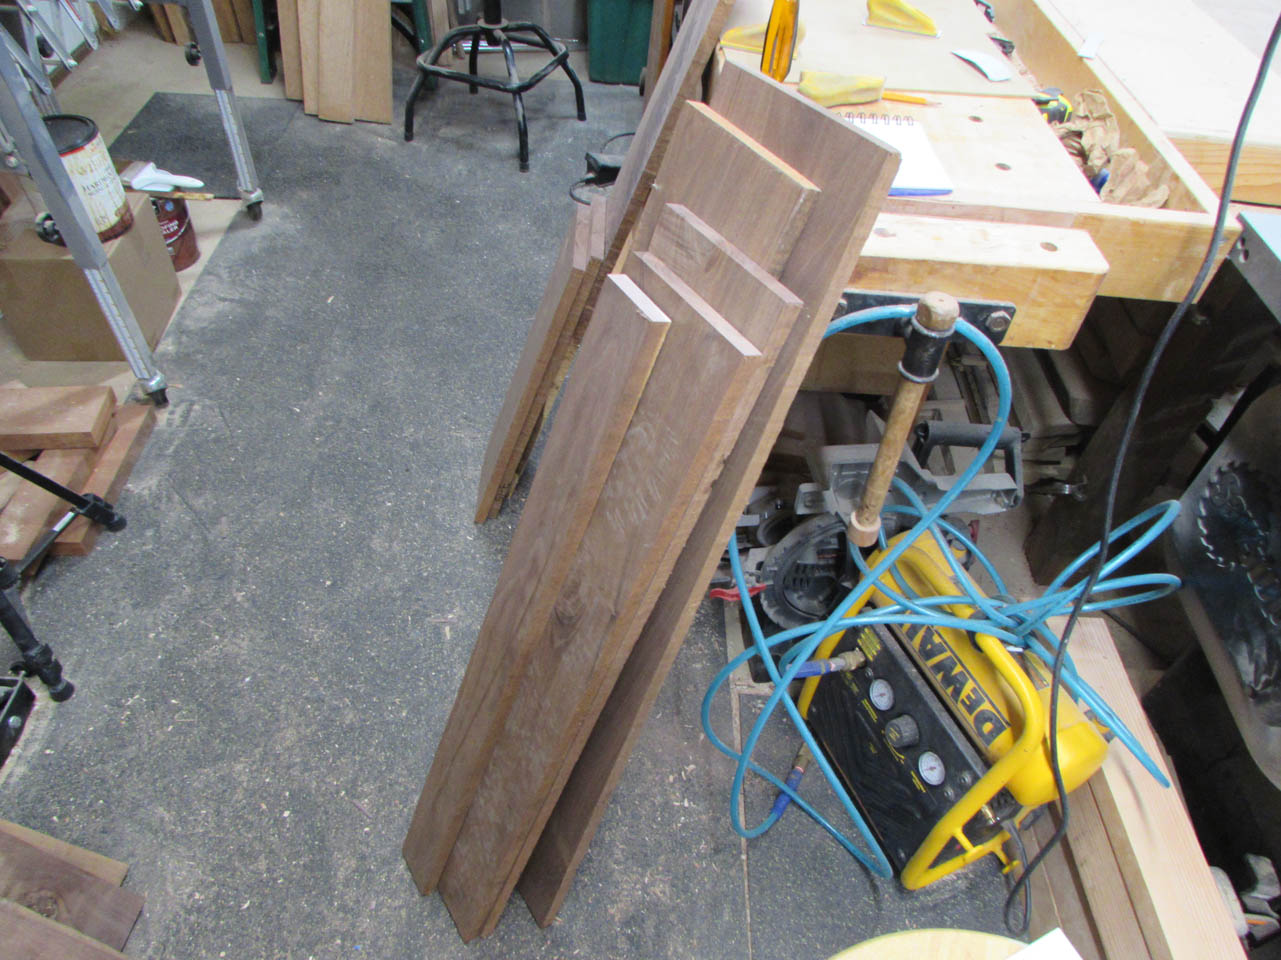
After getting one clean edge, I cut away any undesirable stuff on the opposite side, like the saw cuts. This cut also made the opposite side parallel to the jointed side. That will make either edge useable in the panel glue-up.
Unfortunately, the really sappy piece was split really bad, I had to cut most of the sap wood away to avoid it.

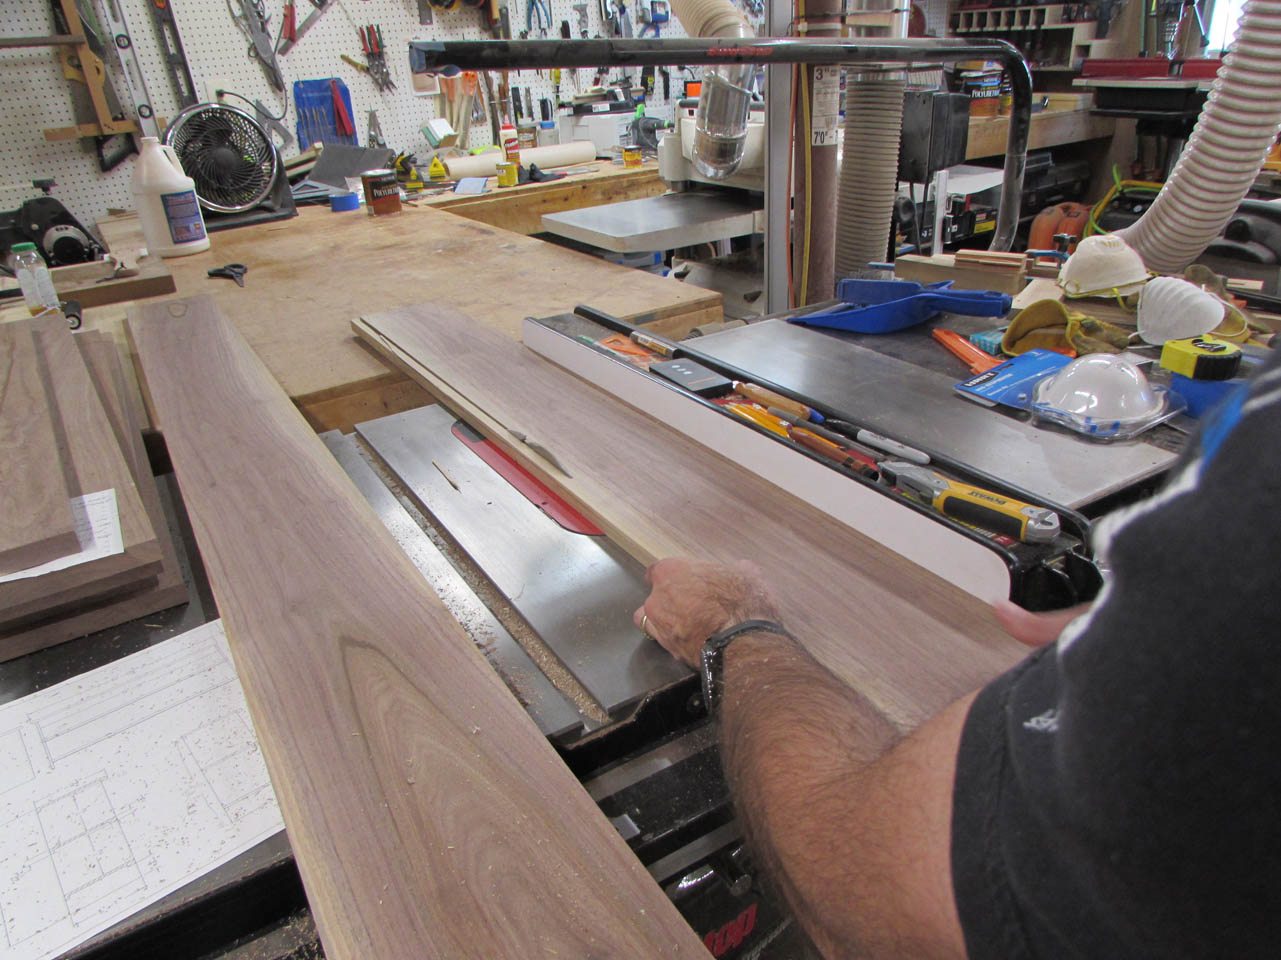
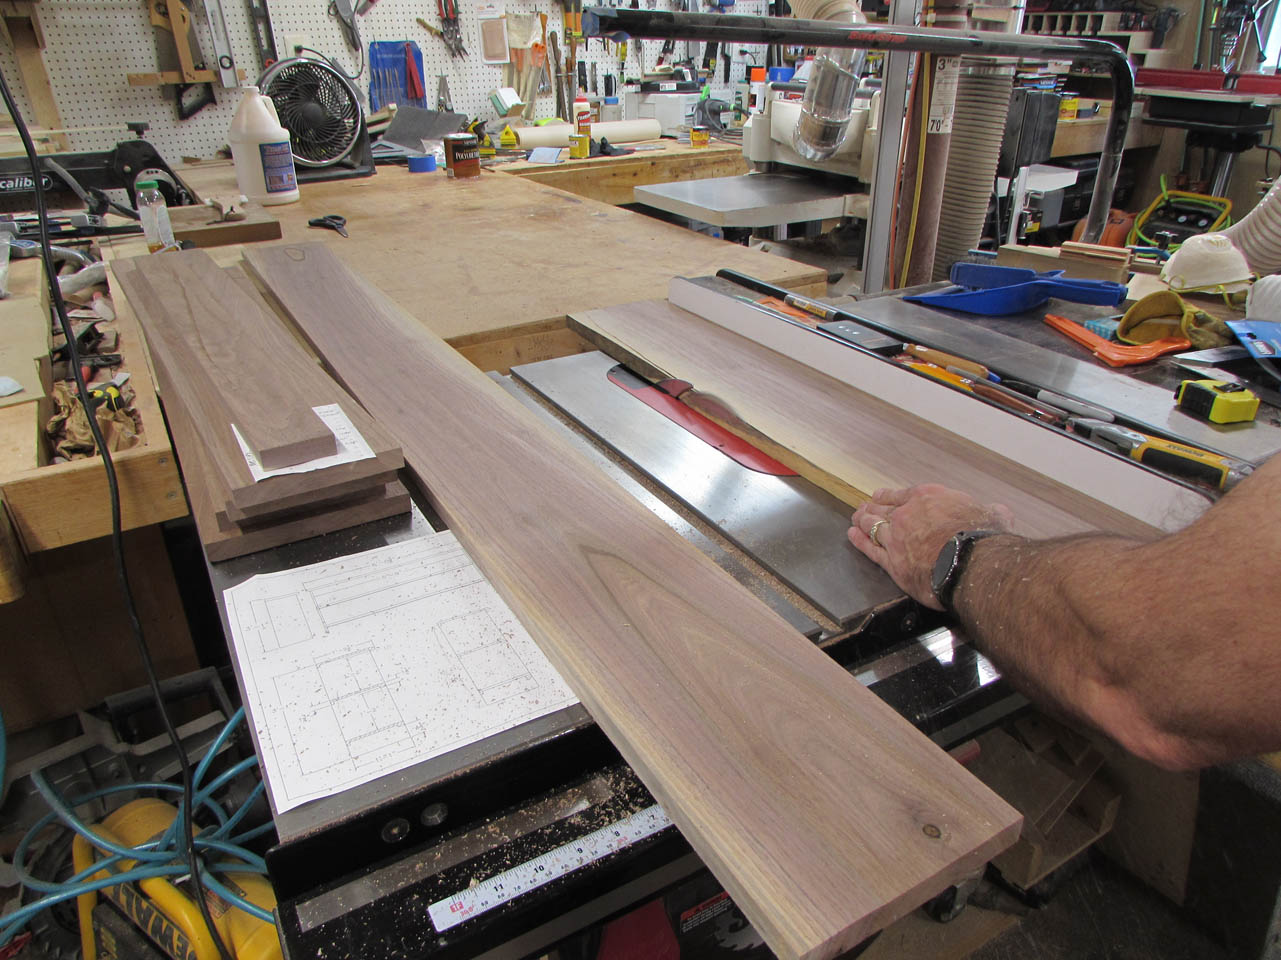
Once all the boards were cut down and grain matched, I started making up panels.
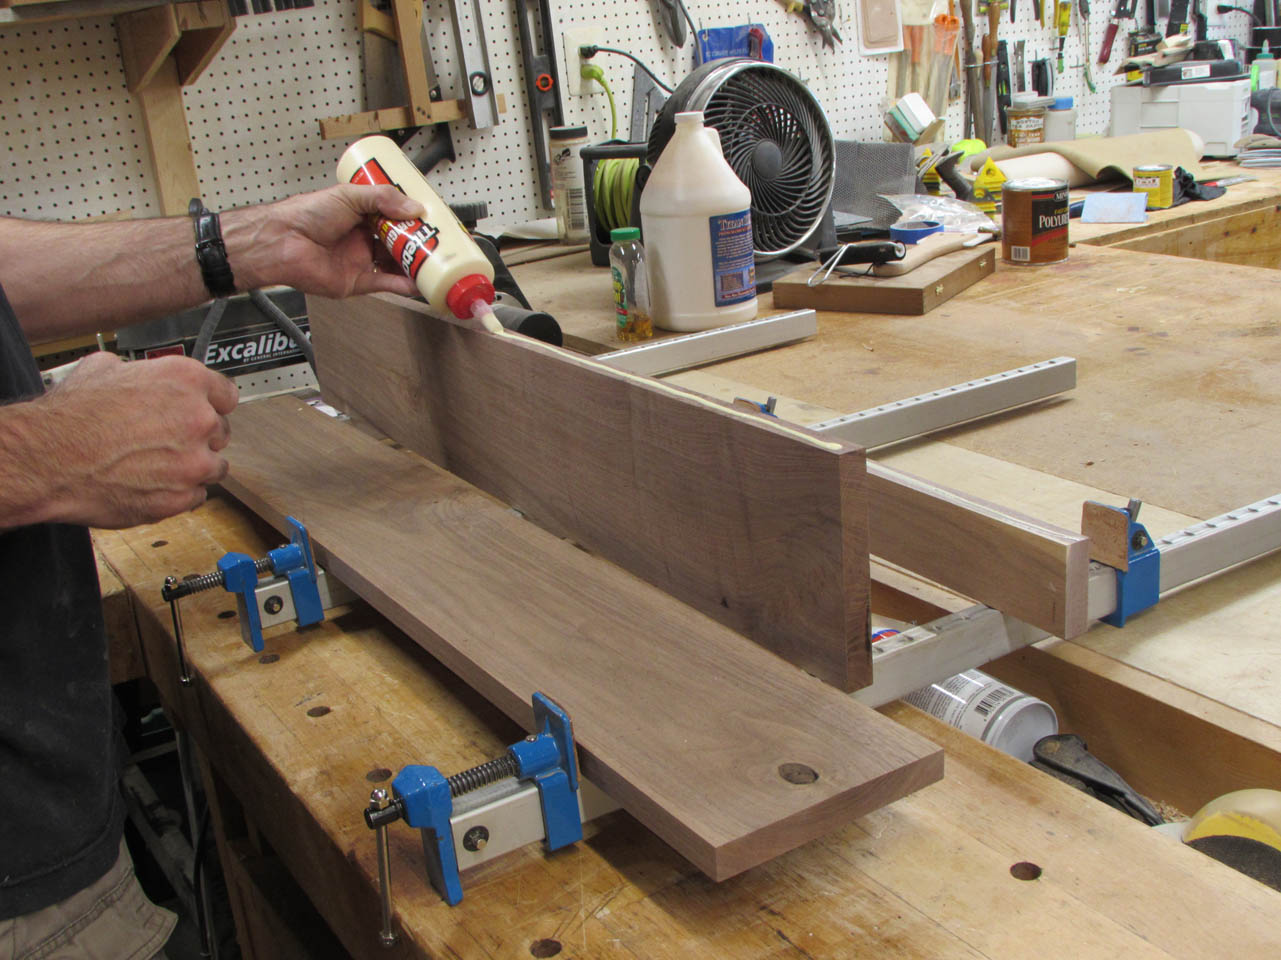
Most of the panels were three boards. I spread a thin layer of wood glue along each of the internal edges carefully clamped them together.
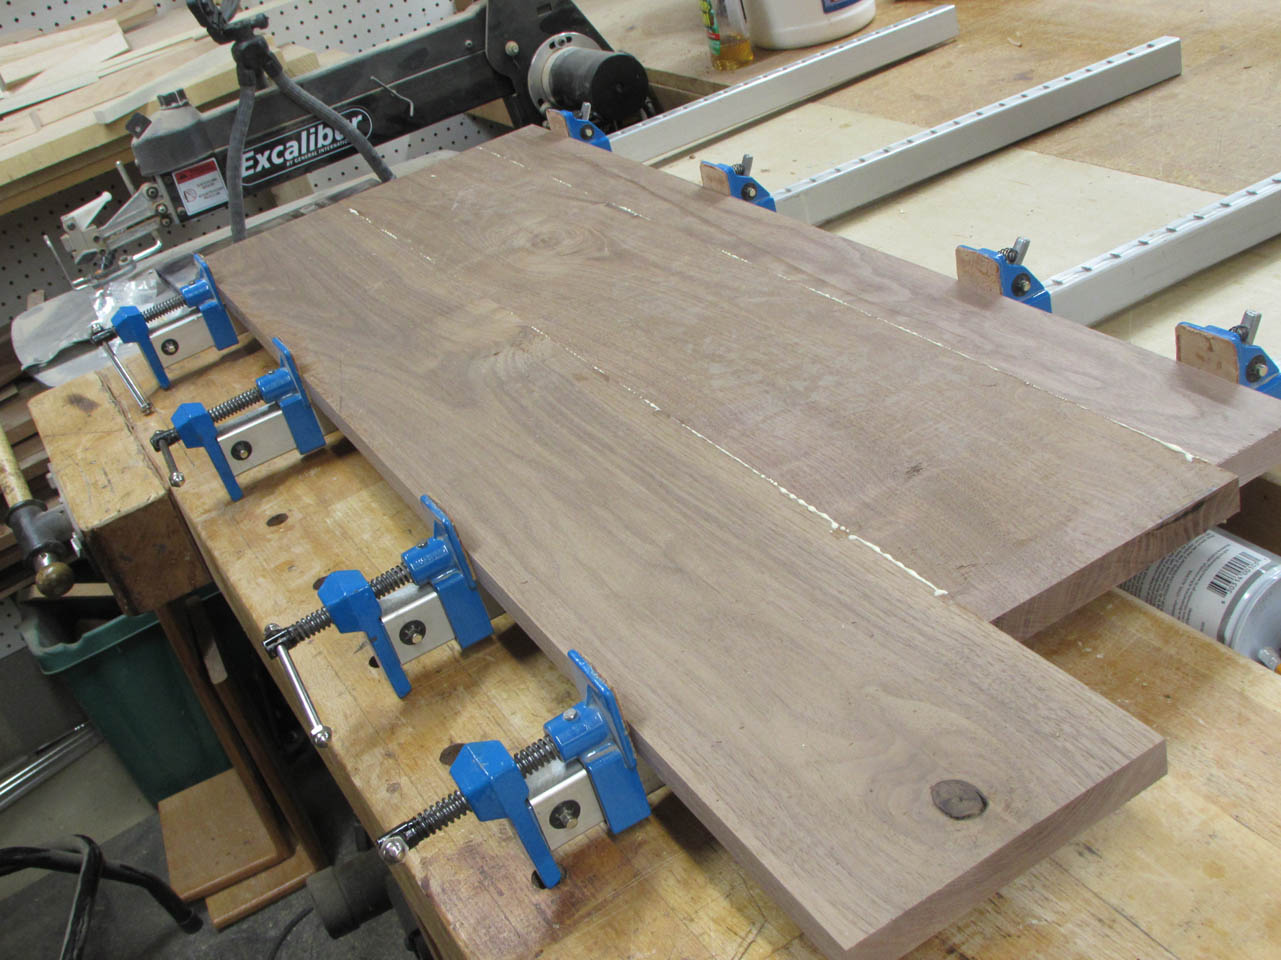
I used a wet paper towel to wipe away any excess glue squeeze-out.

I took care to keep the top faces as flush to each other as possible as I tightened the clamps.
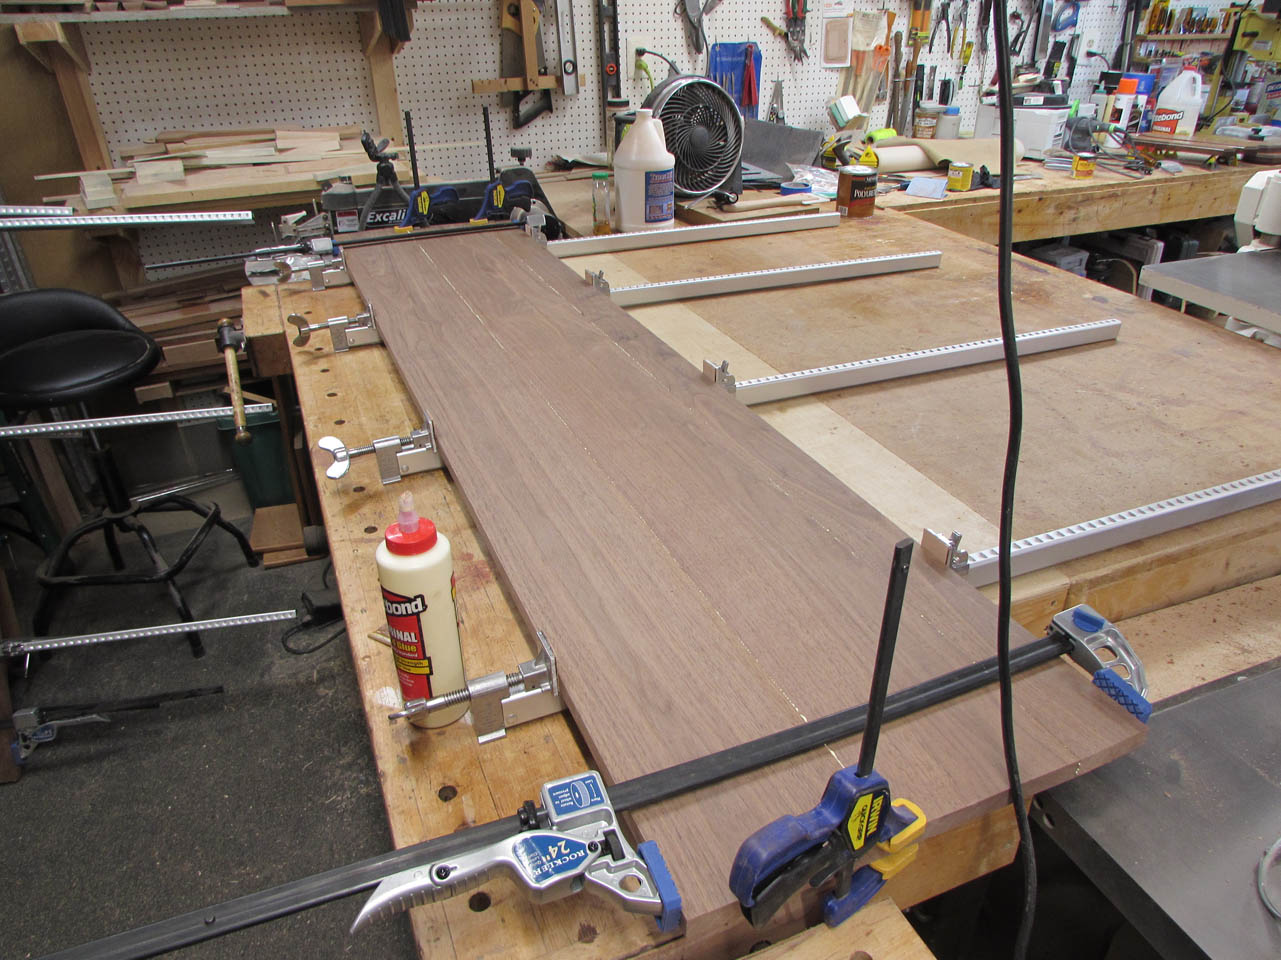
Inevitably the surfaces were not perfect, but none of the panels were too wide for my planer. After they had dried enough, I ran the panels through, only needing one pass on each side.

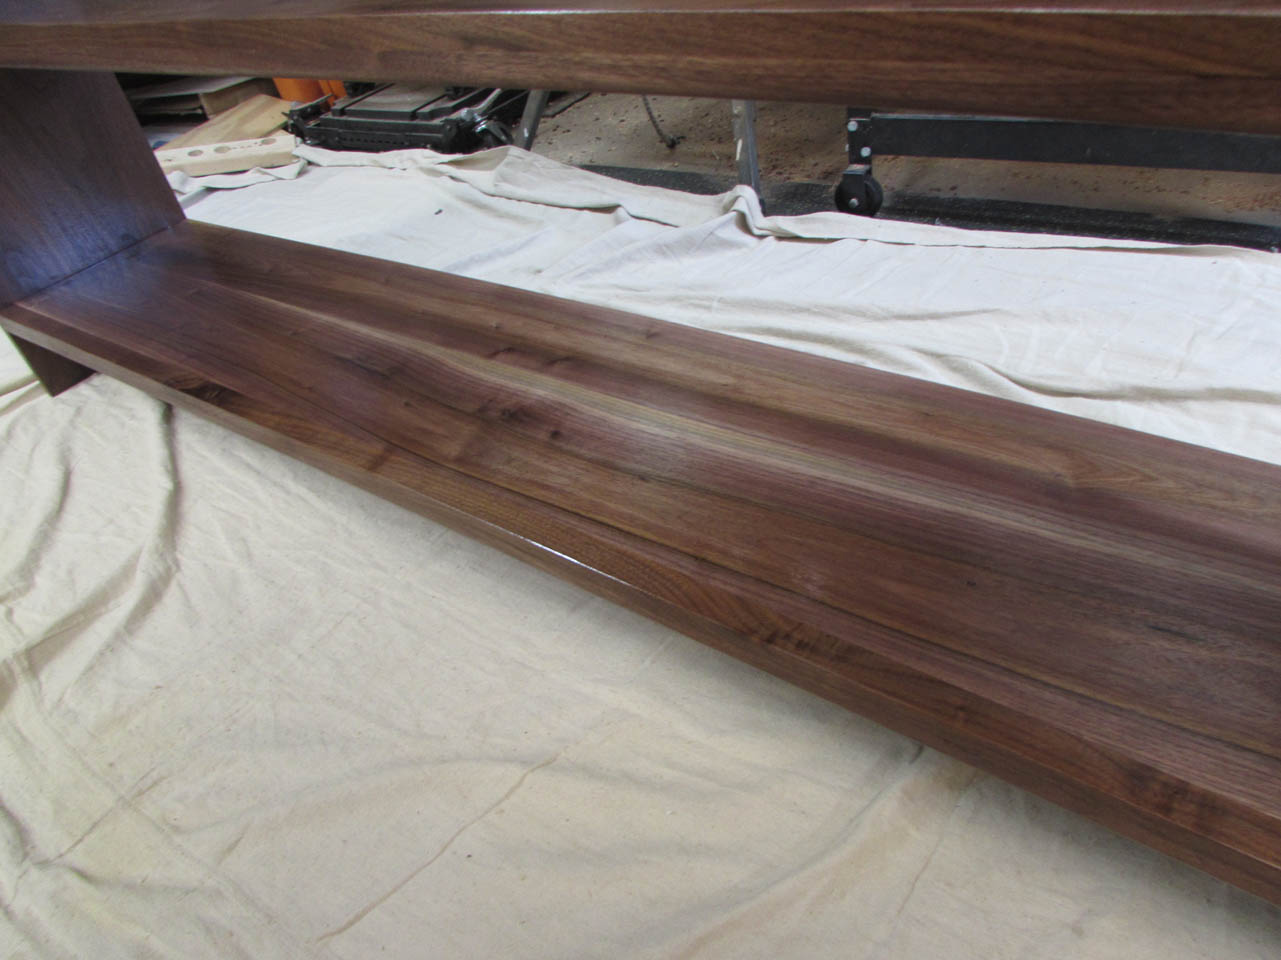
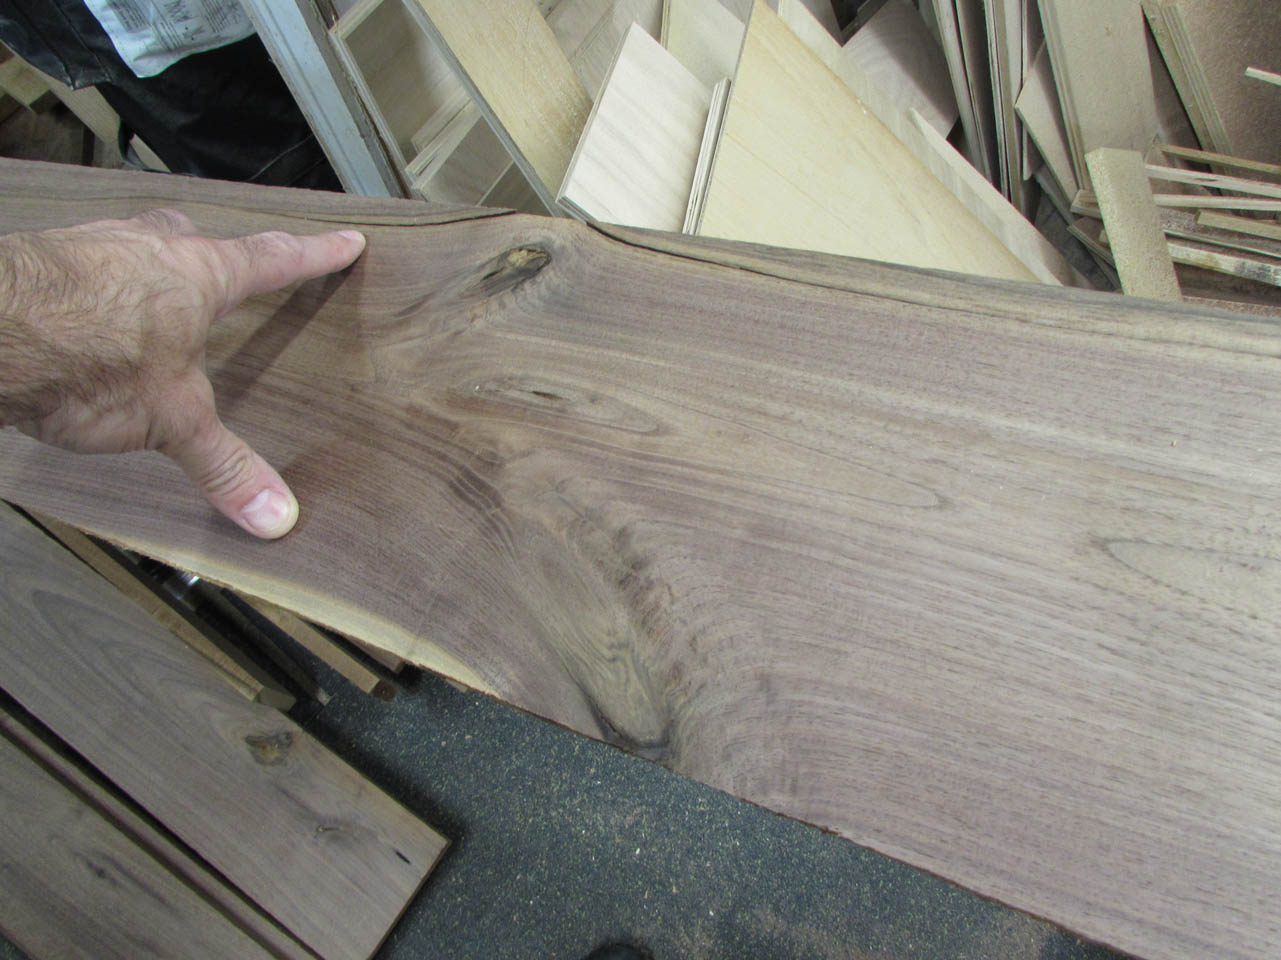
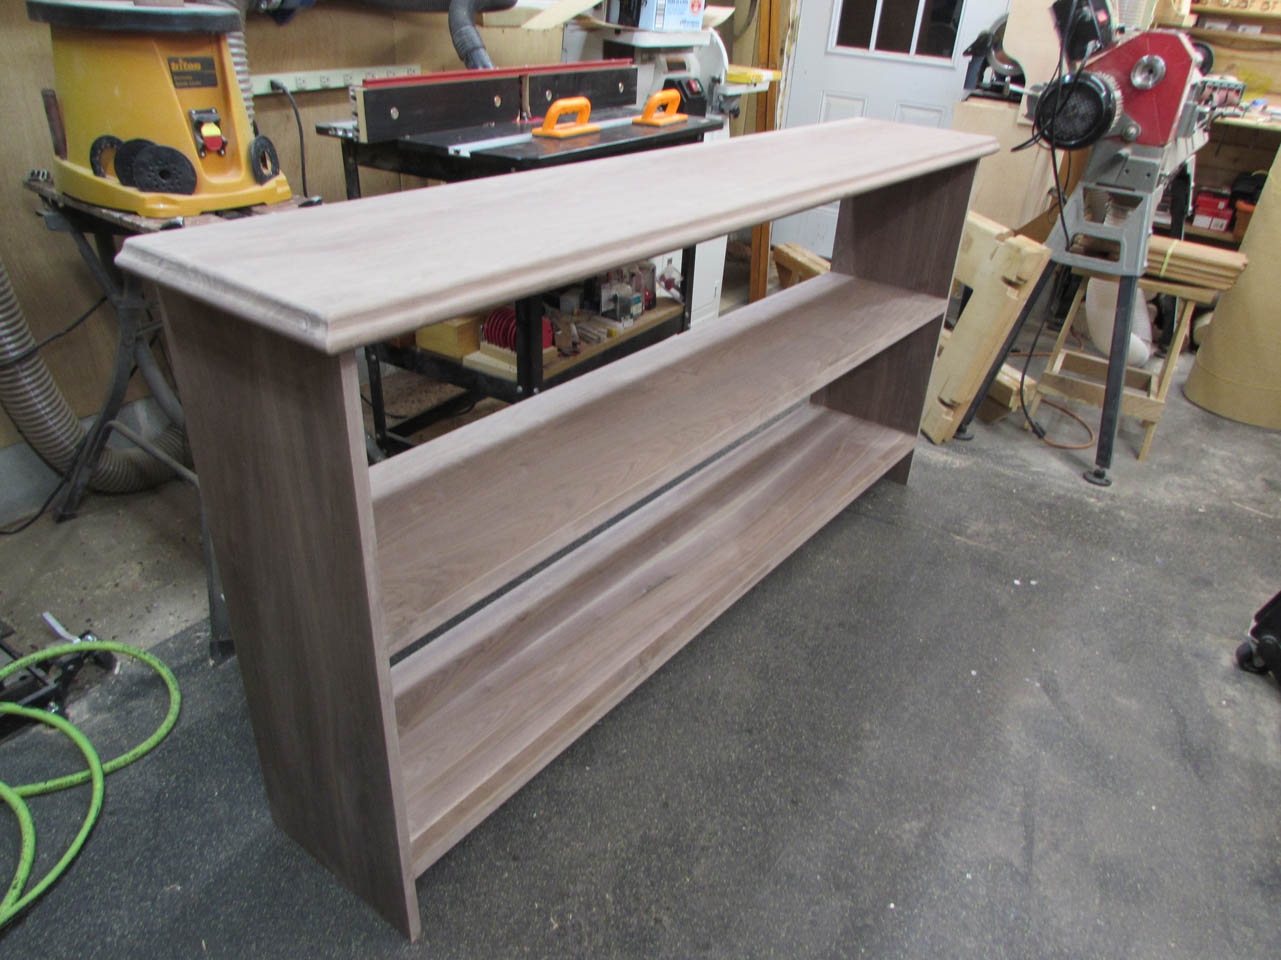
This is my top shelf. I think the grain match looks really good after the surface has been cleaned up.

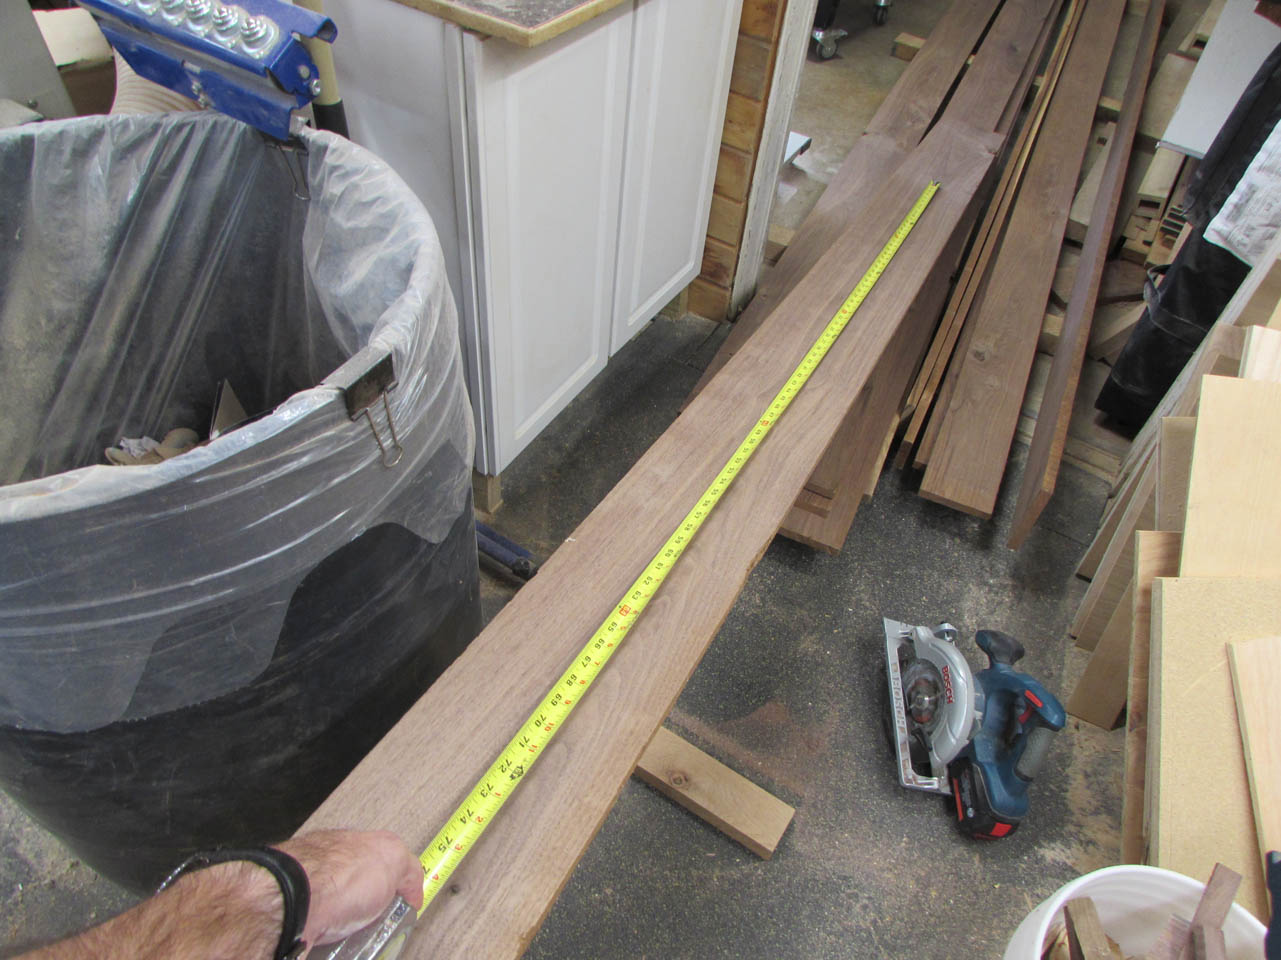
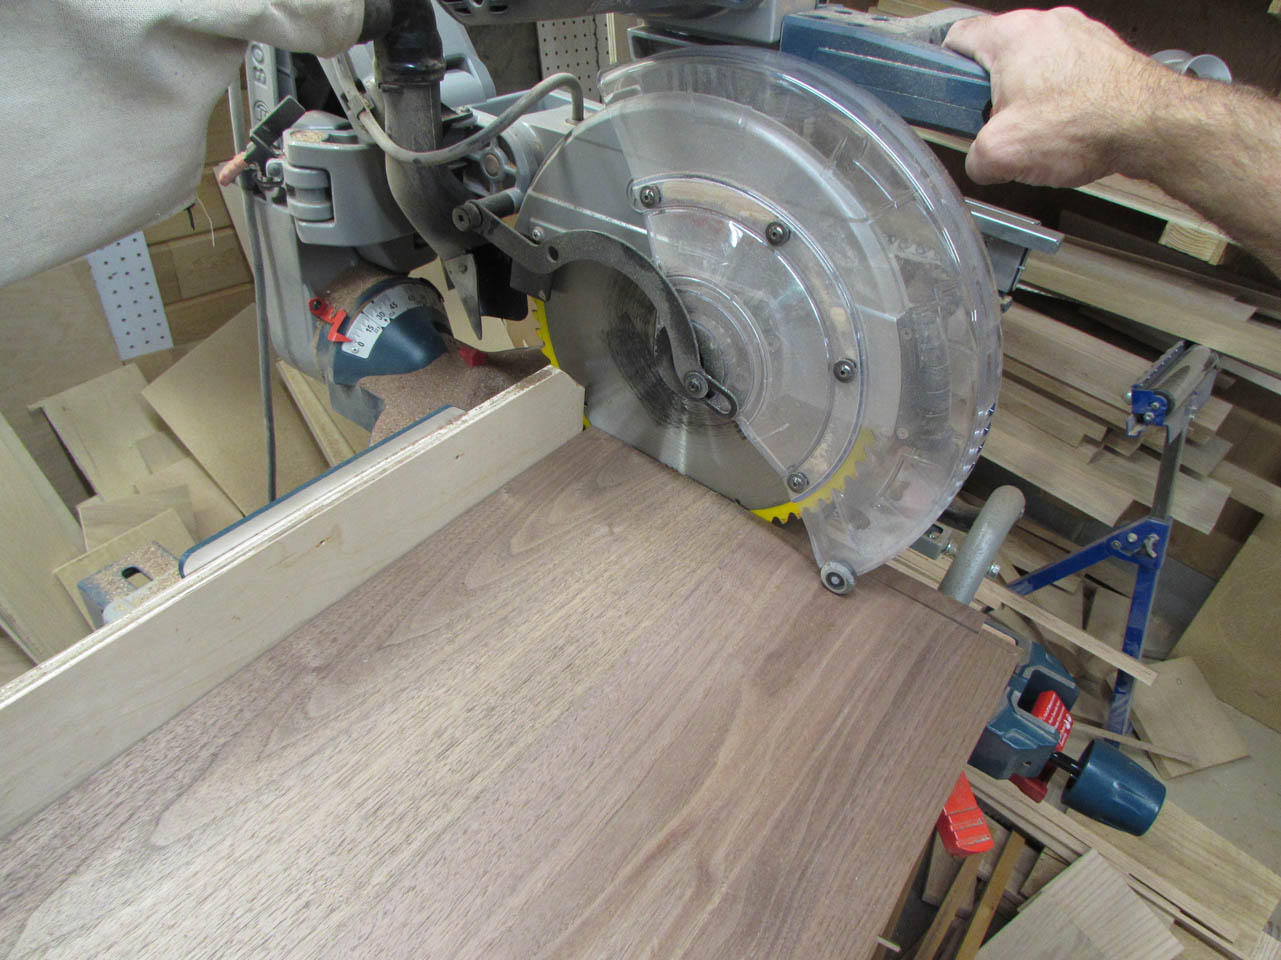
After the panels were all planed, I cut them to the correct length.
To make the shelves strong enough to hold a lot of weight, I need to add a stiffener along the front and back edges.
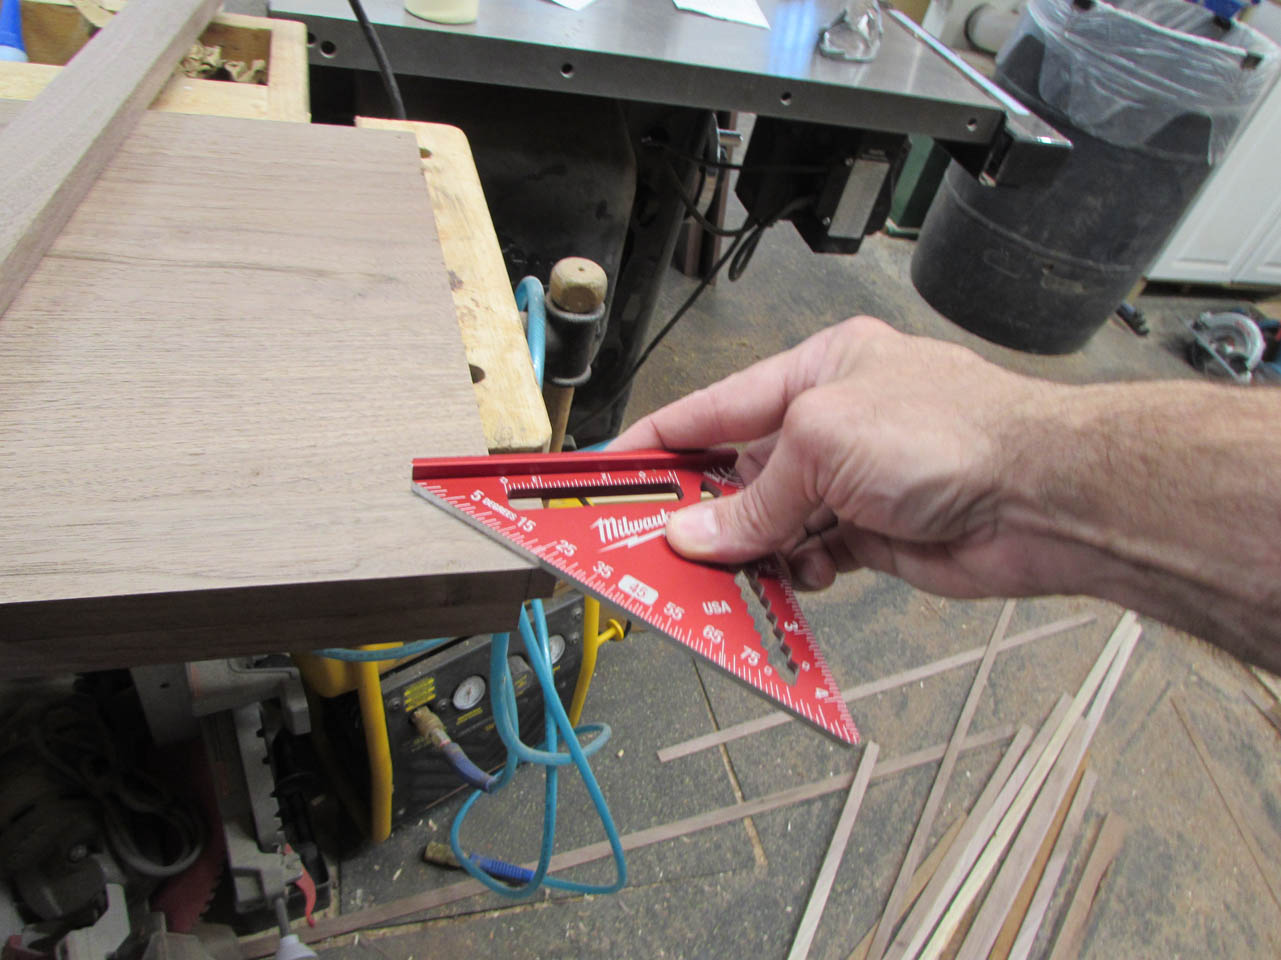
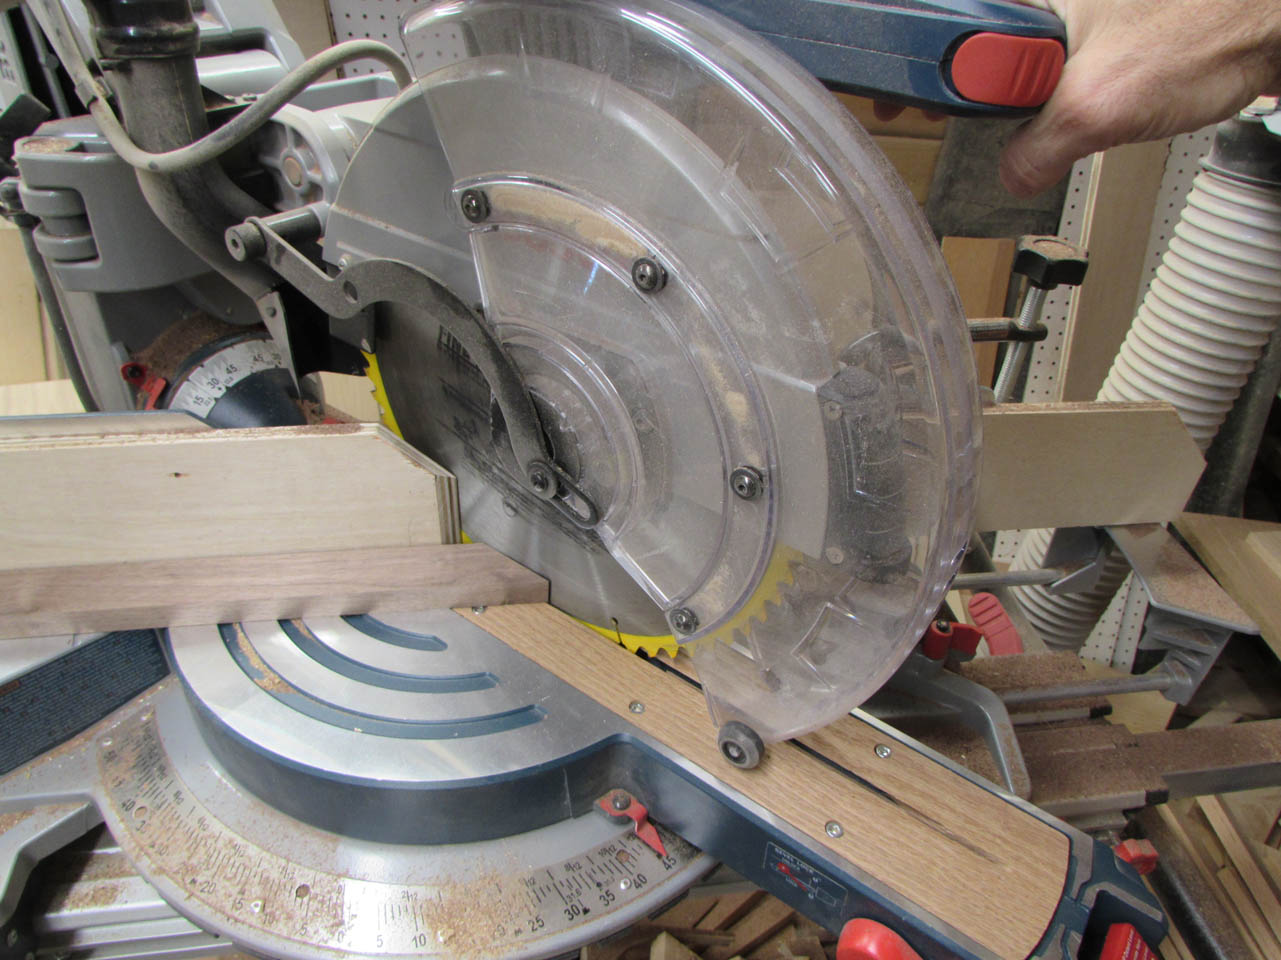
I am starting with the top. I cut a couple of 1-1/2″ wide pieces and mitered the corner.
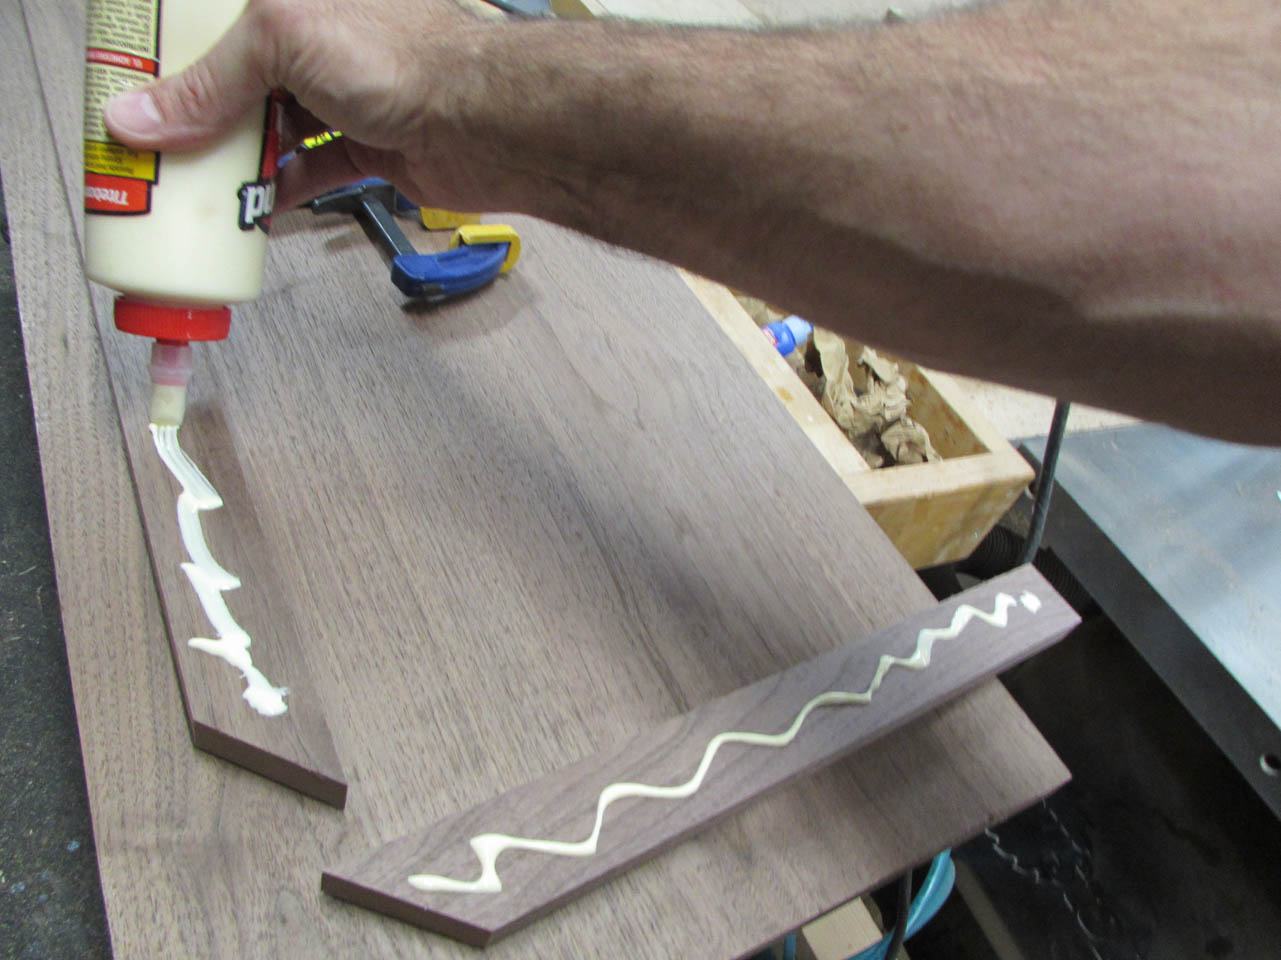
Glue was applied, then a lot of clamps.

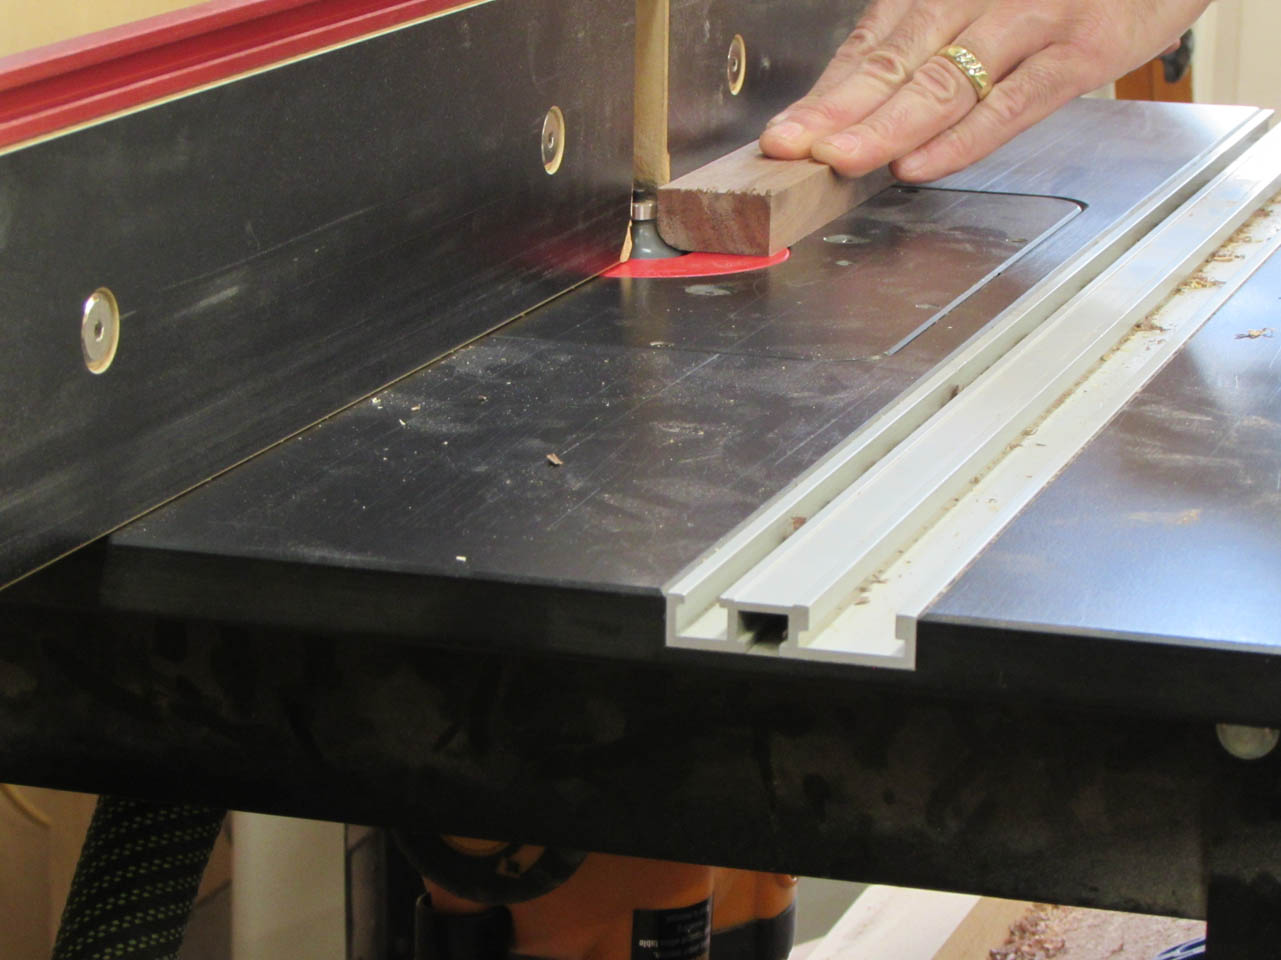
I need to create a large ogee. While the glue is drying, I played around with my router bits until I found a couple that will give me the edge I need.
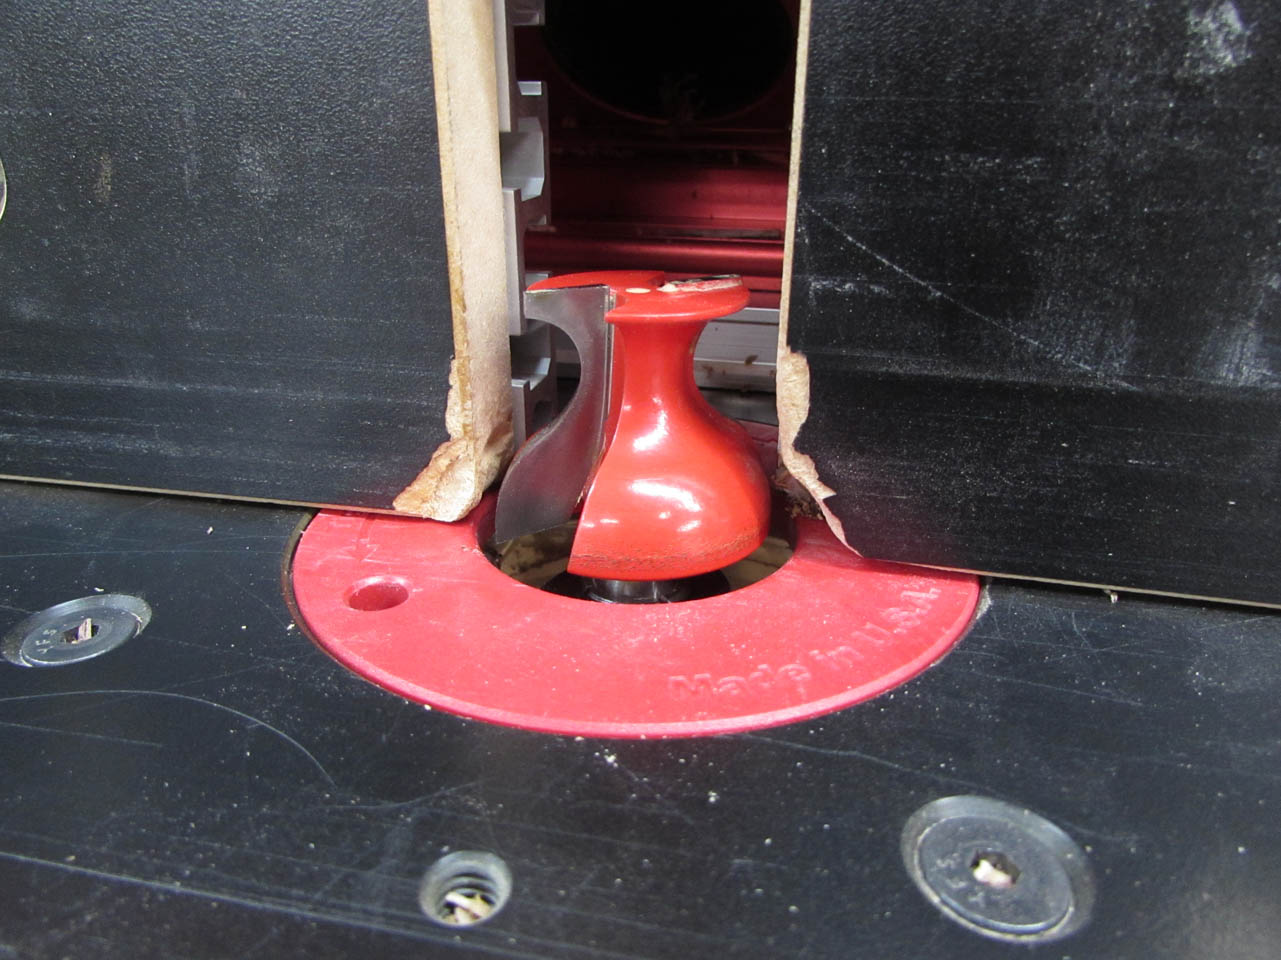
I set up a large base cap bit in the router table first.
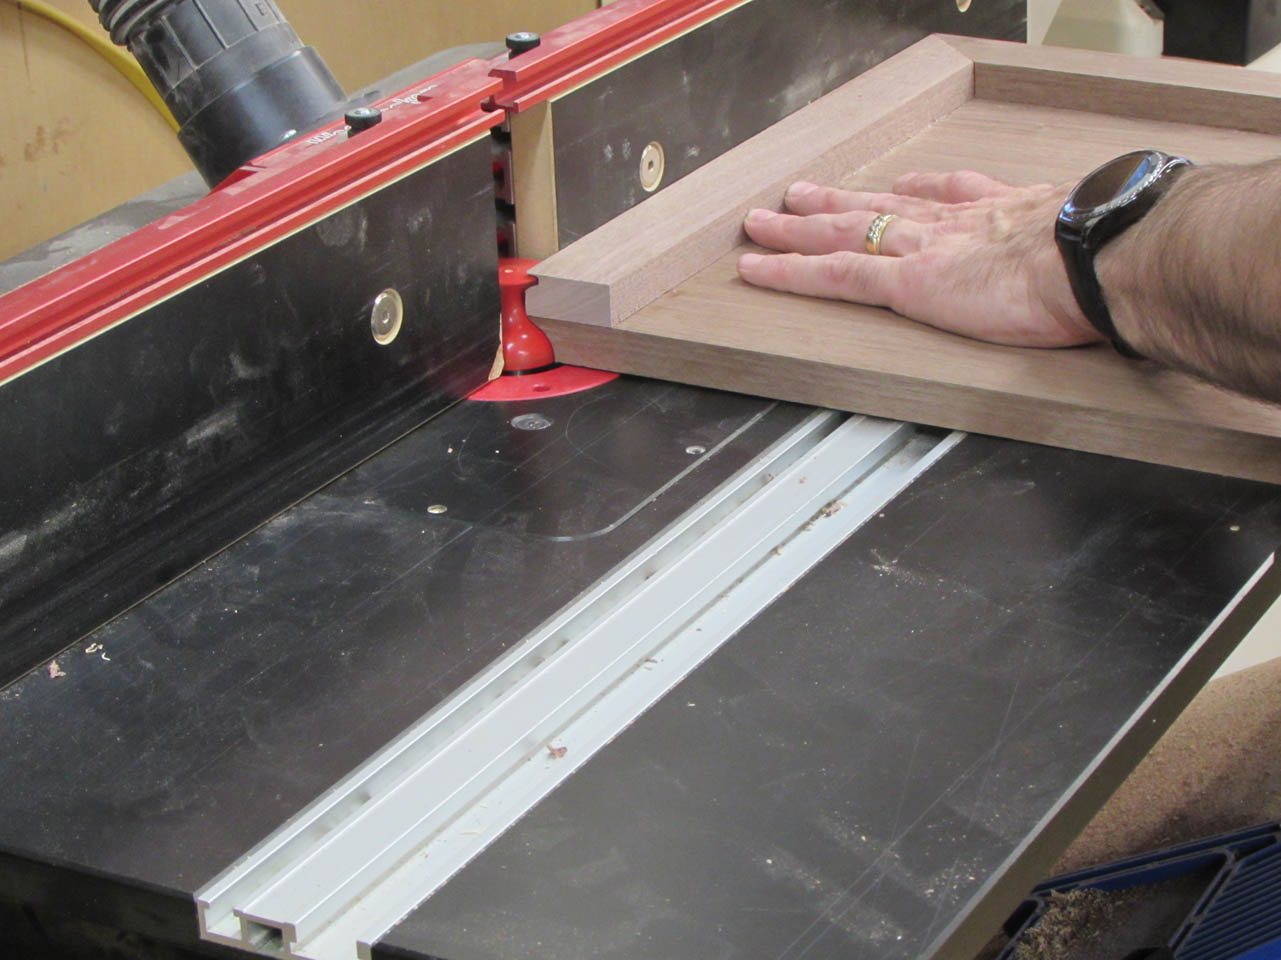
I made one pass that is only half the intended depth, then adjust the fence to the correct depth and cut the two outside edges again.
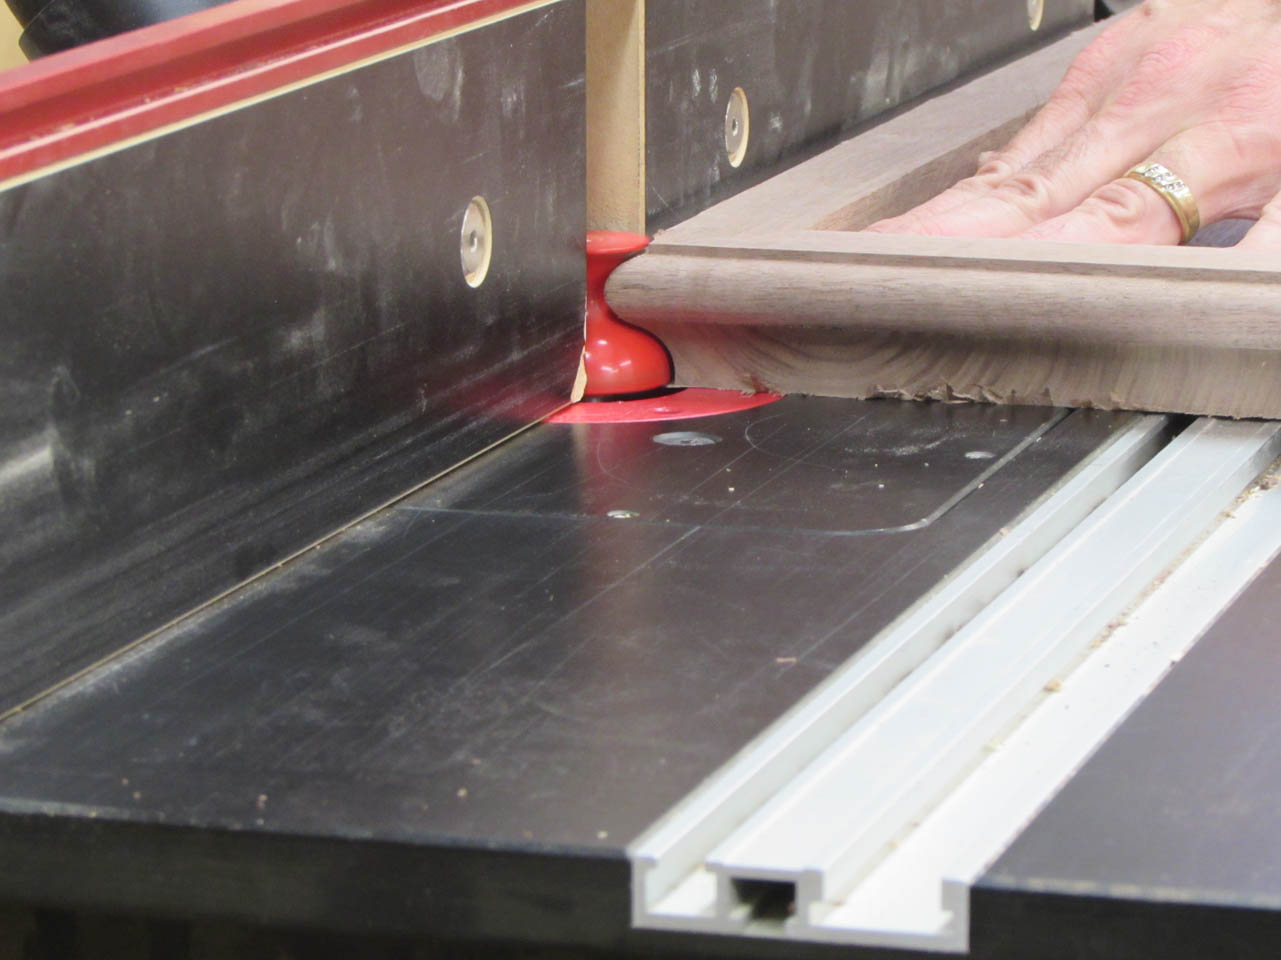
It looks pretty good but I need a radius where the sharp top edge is.

Since the last cut would interfere with a bearing bit, I have a round-over bit, with no bearing. It is usually used for cutting a double radius through the middle of a board but if I set the fence at the right spot, it may cut the radius that I need.

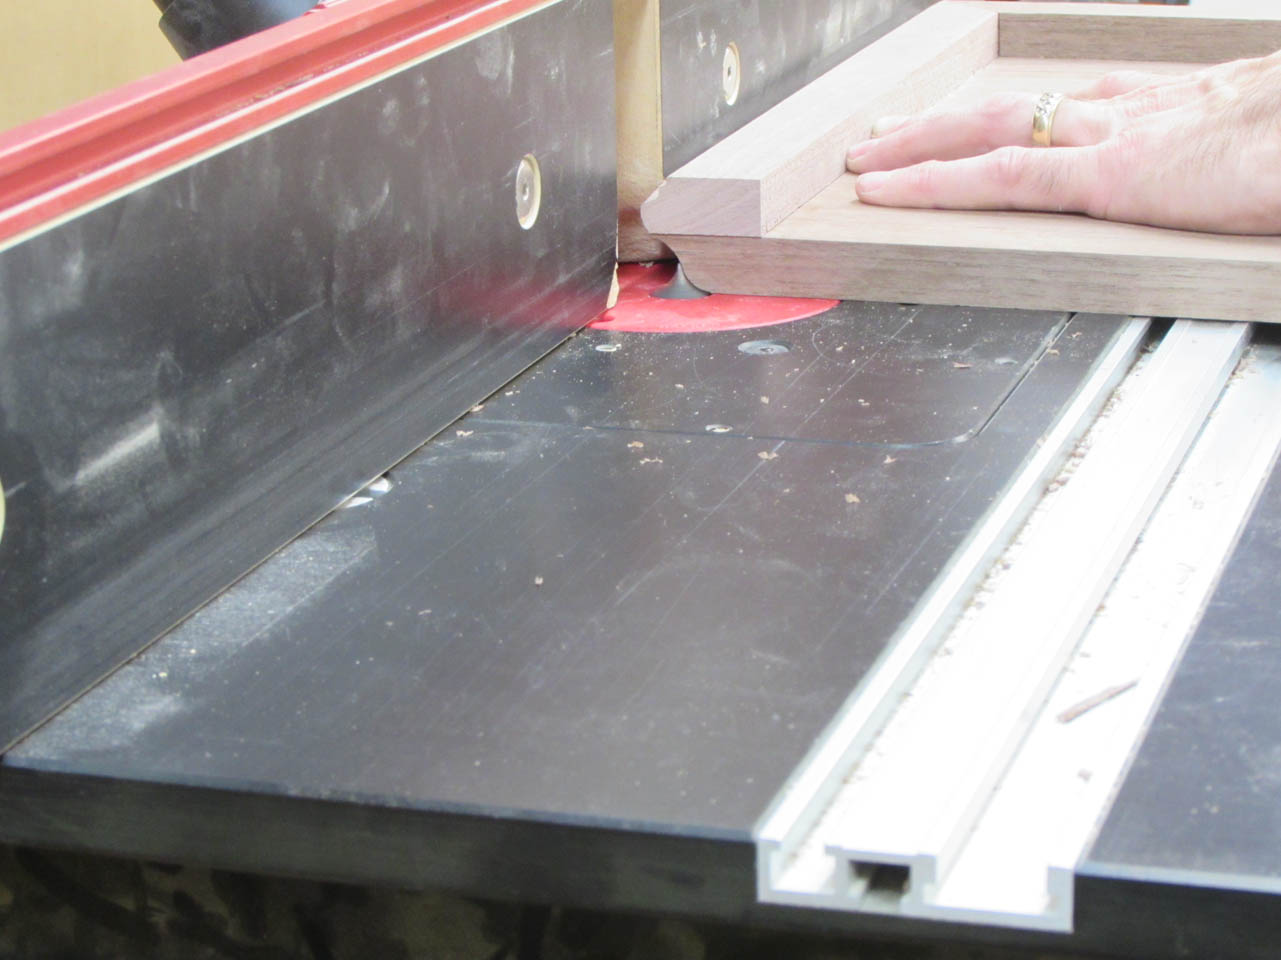
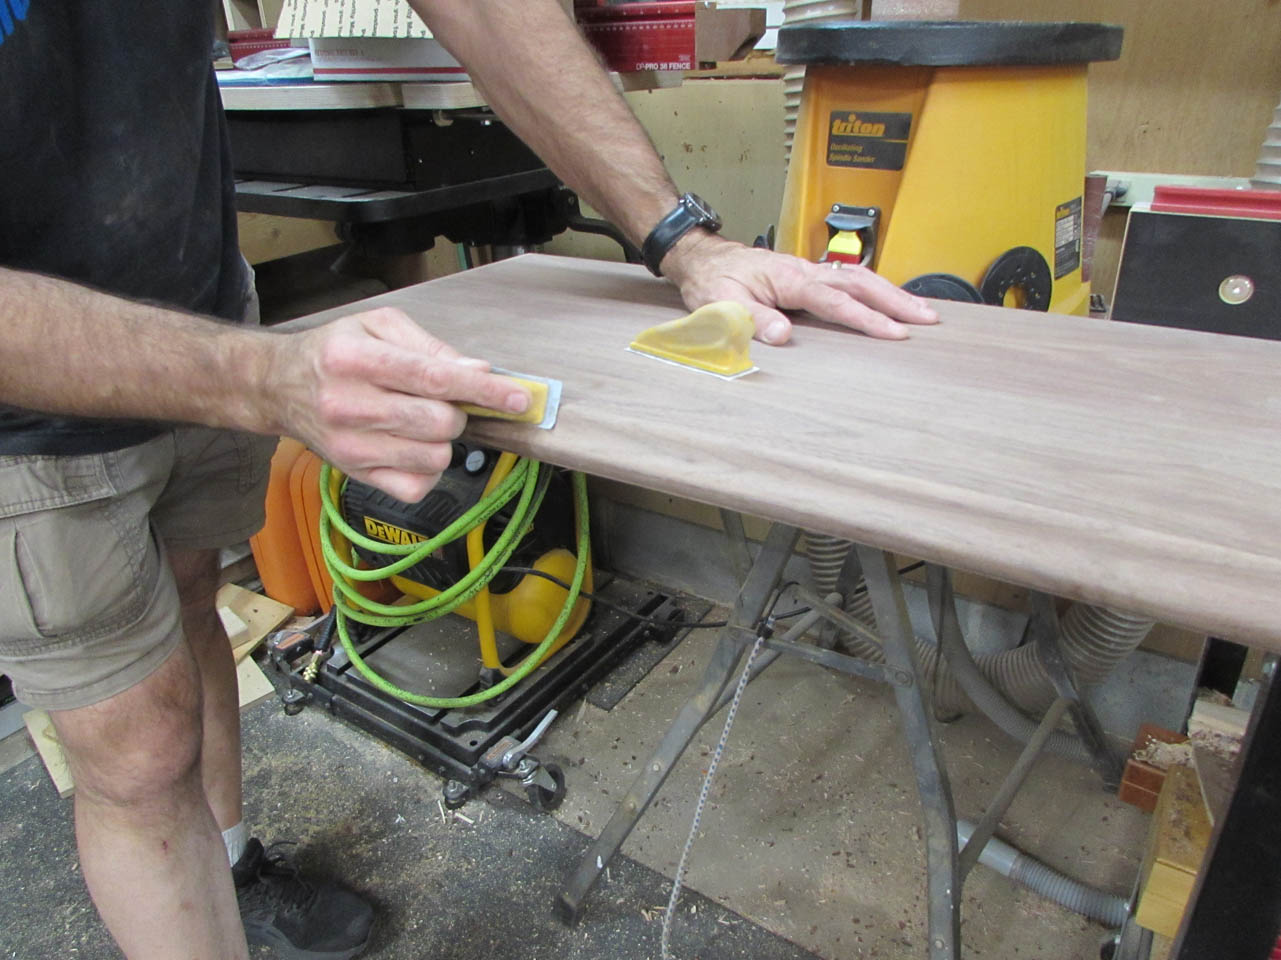
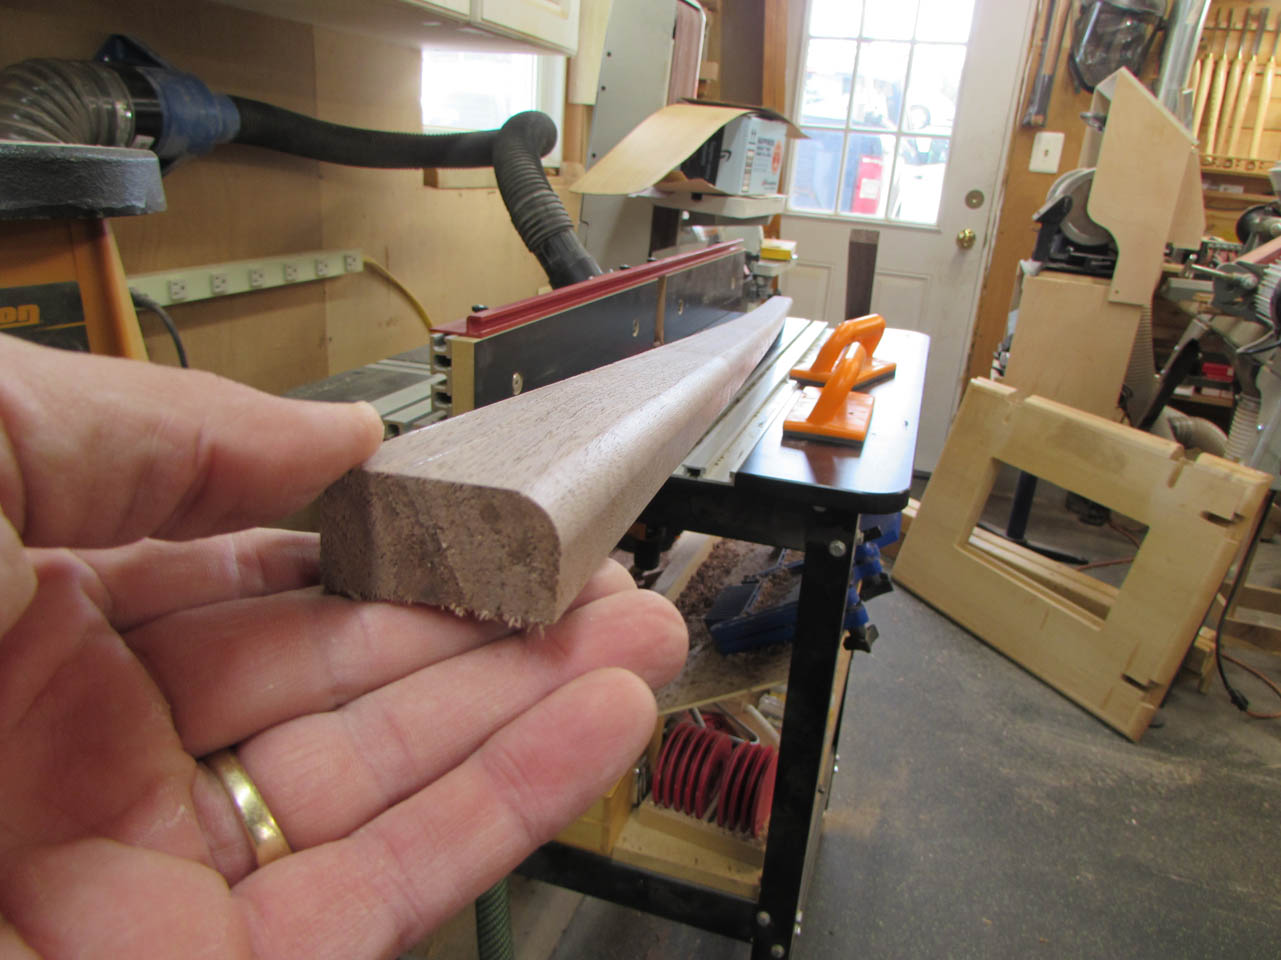
I think that worked really well. The sharp tip left a score in various spots.
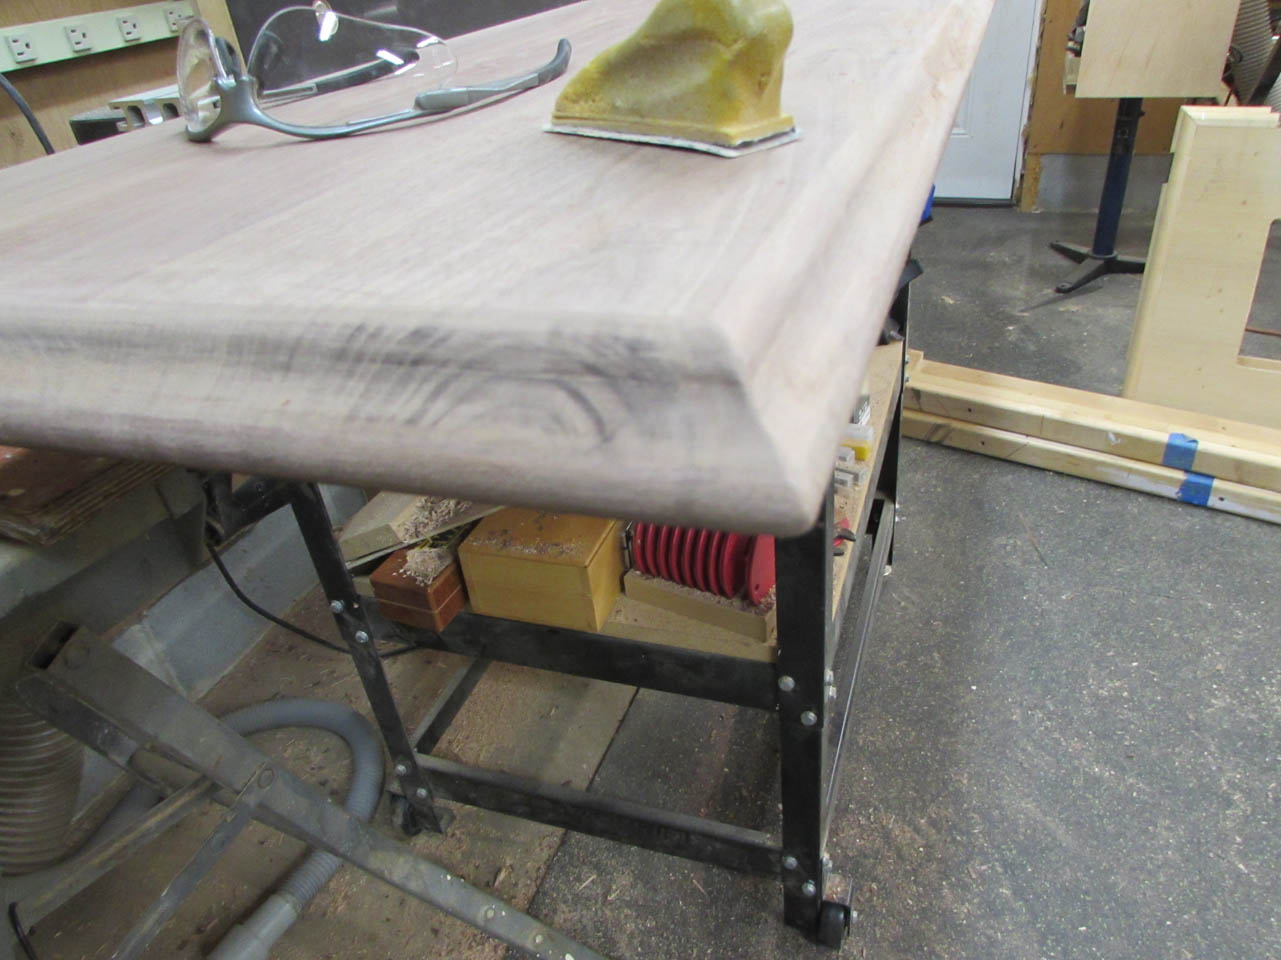
But a lot of hand sanding got rid of it.
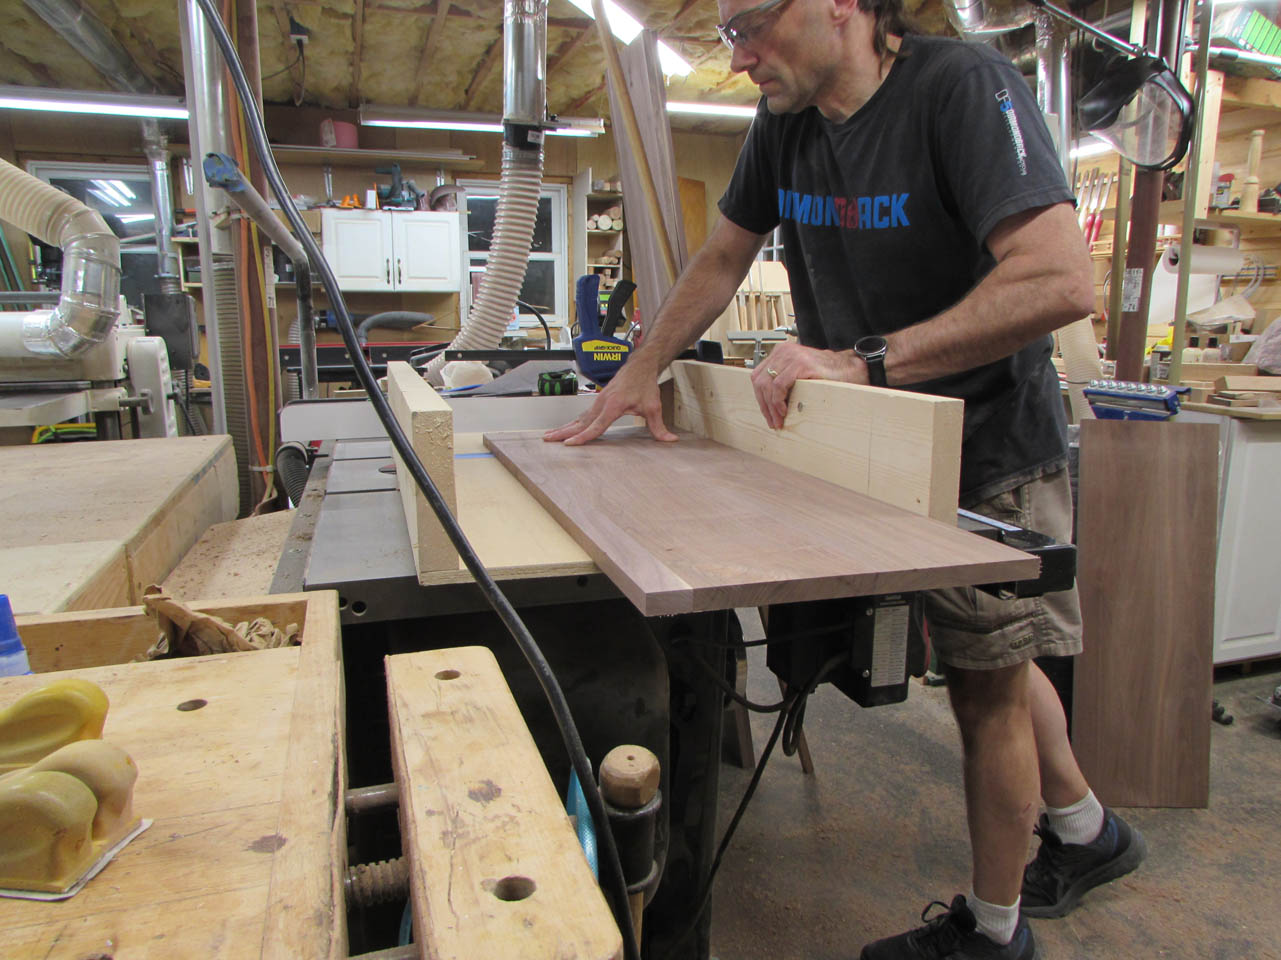
I wanted to cut 1/4″ deep dados into the sides so I set up my cross-cut sled and a stop-block at various locations to make multiple passes.


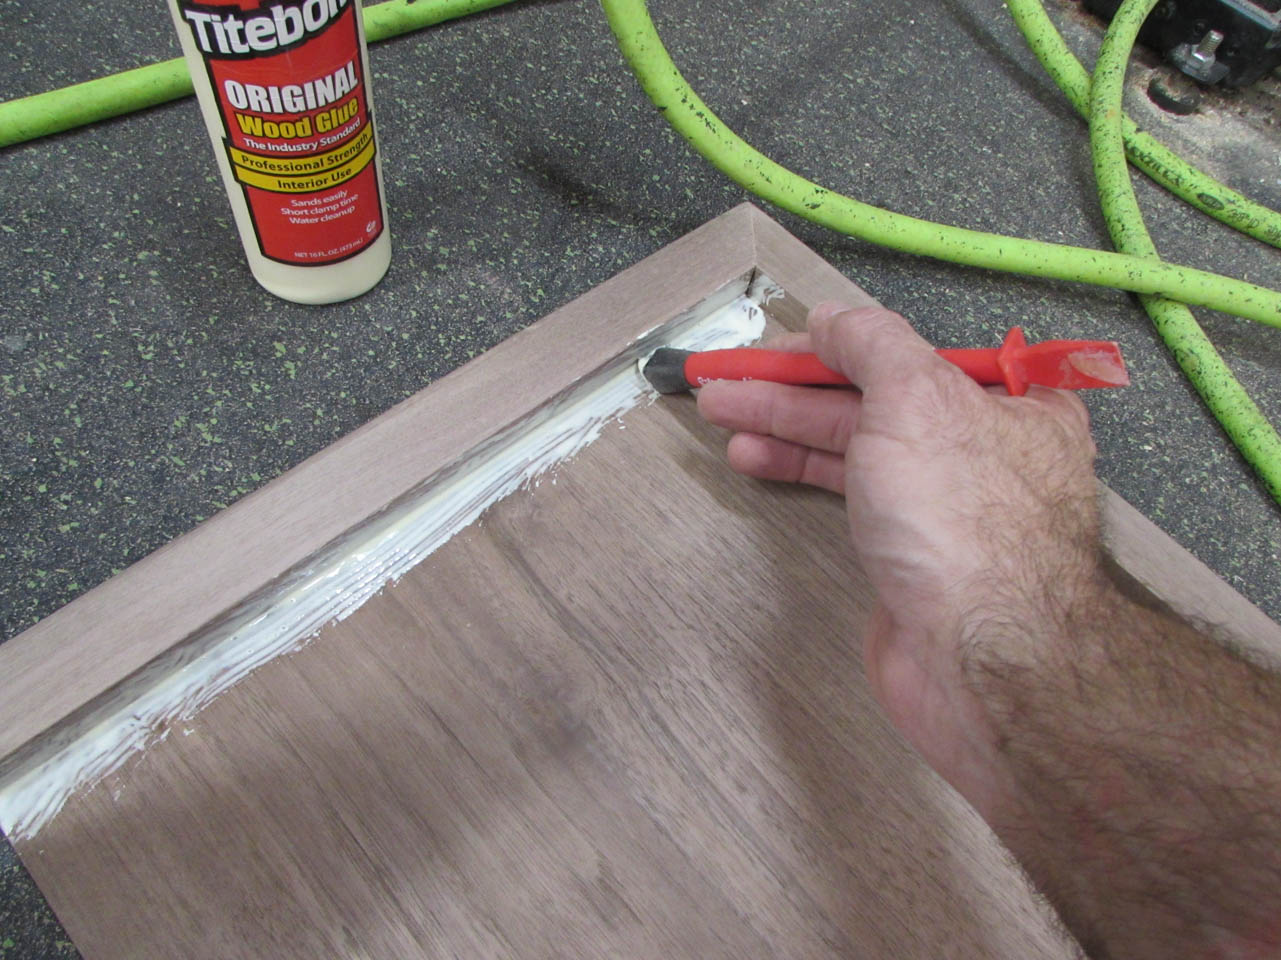
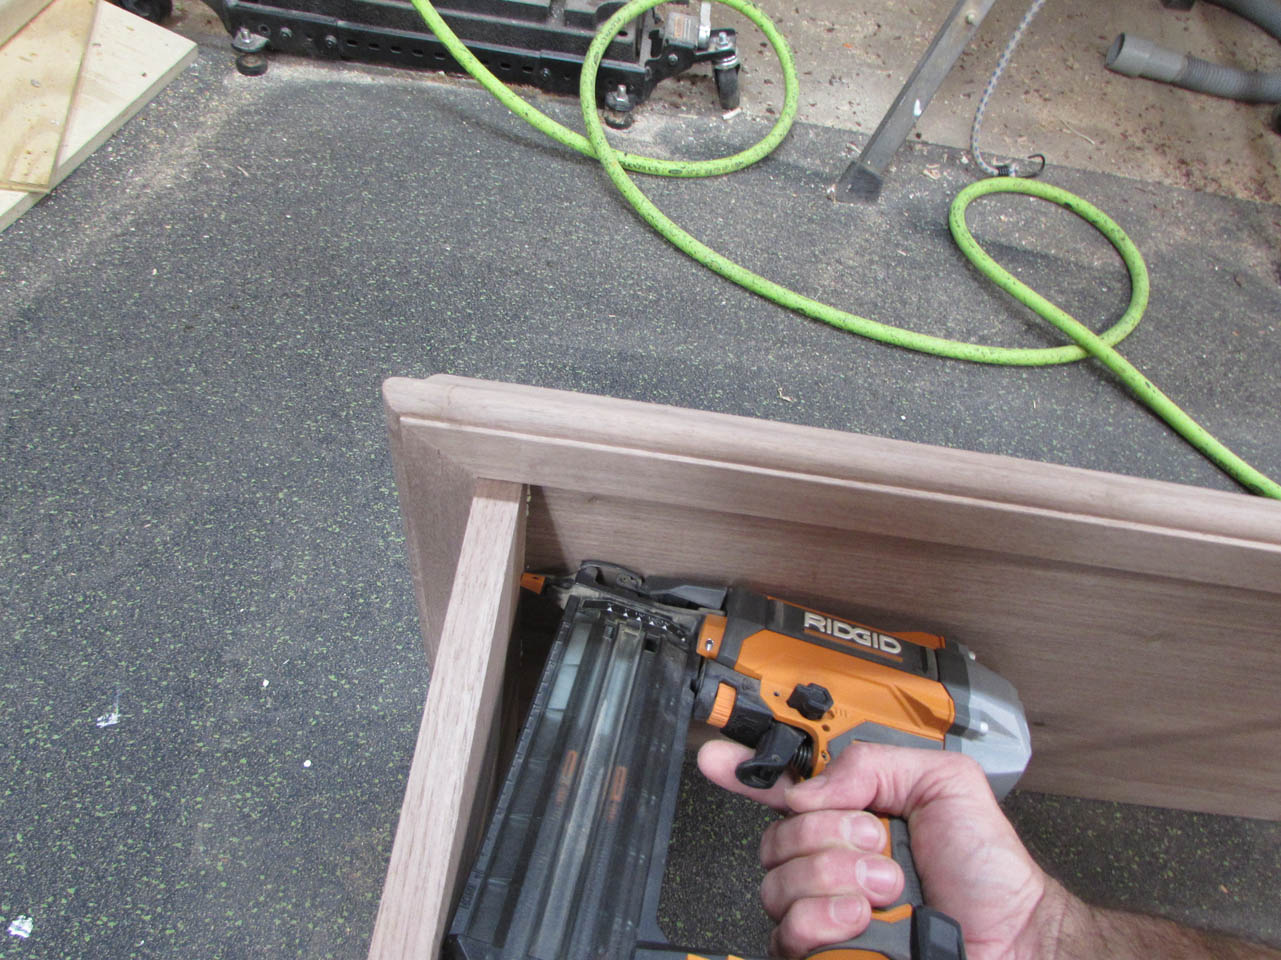
To hold the shelves in place, I applied glue to the dados and shot in a few 18 gauge brad nails to hold it while it dried.

I applied glue along the top edges as well and shot in a few more brad nails.
To square the shelf up, while it dried, I clamped a few 90° clamping blocks to each side.

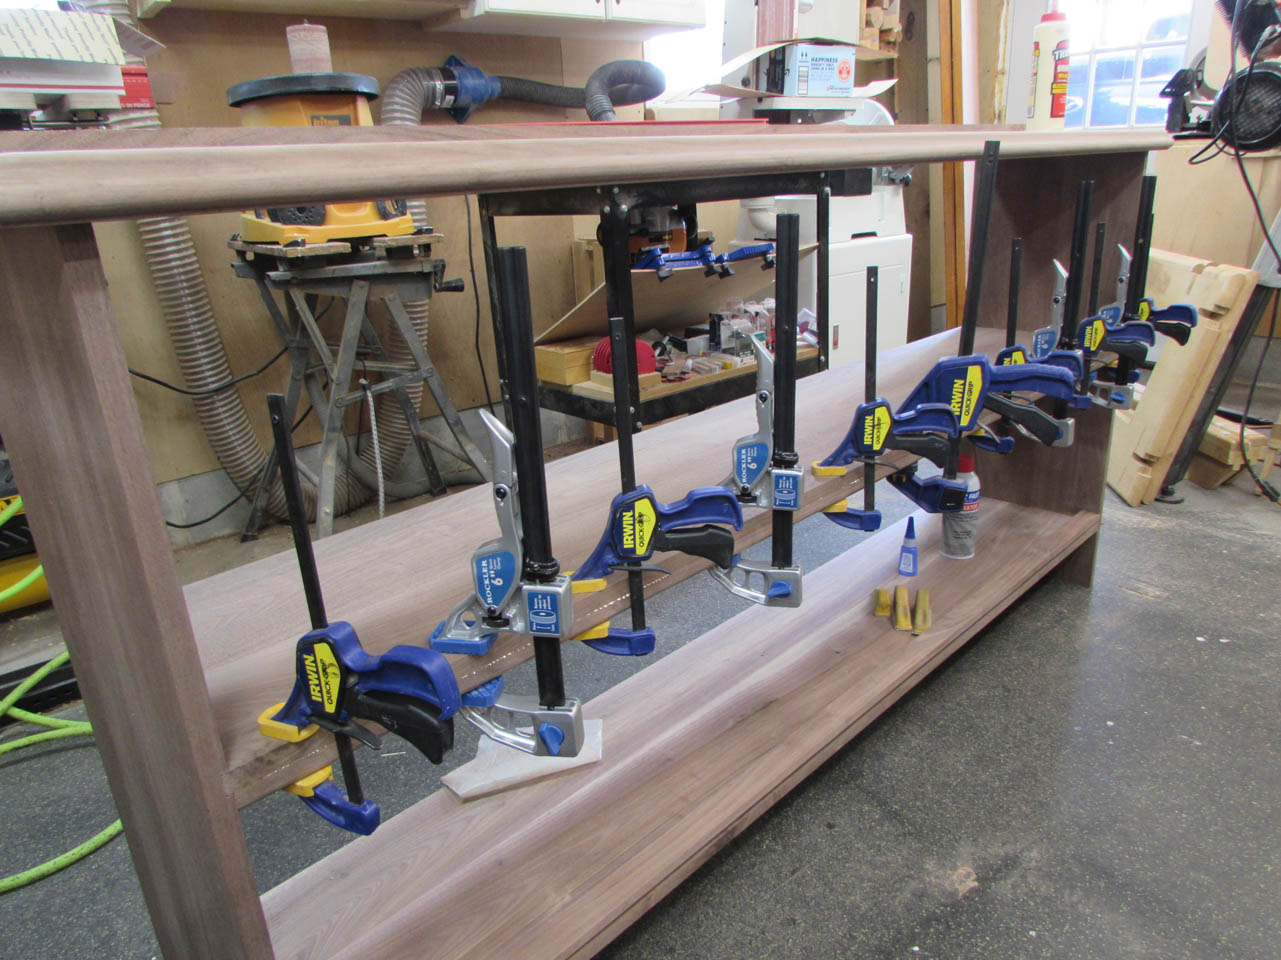
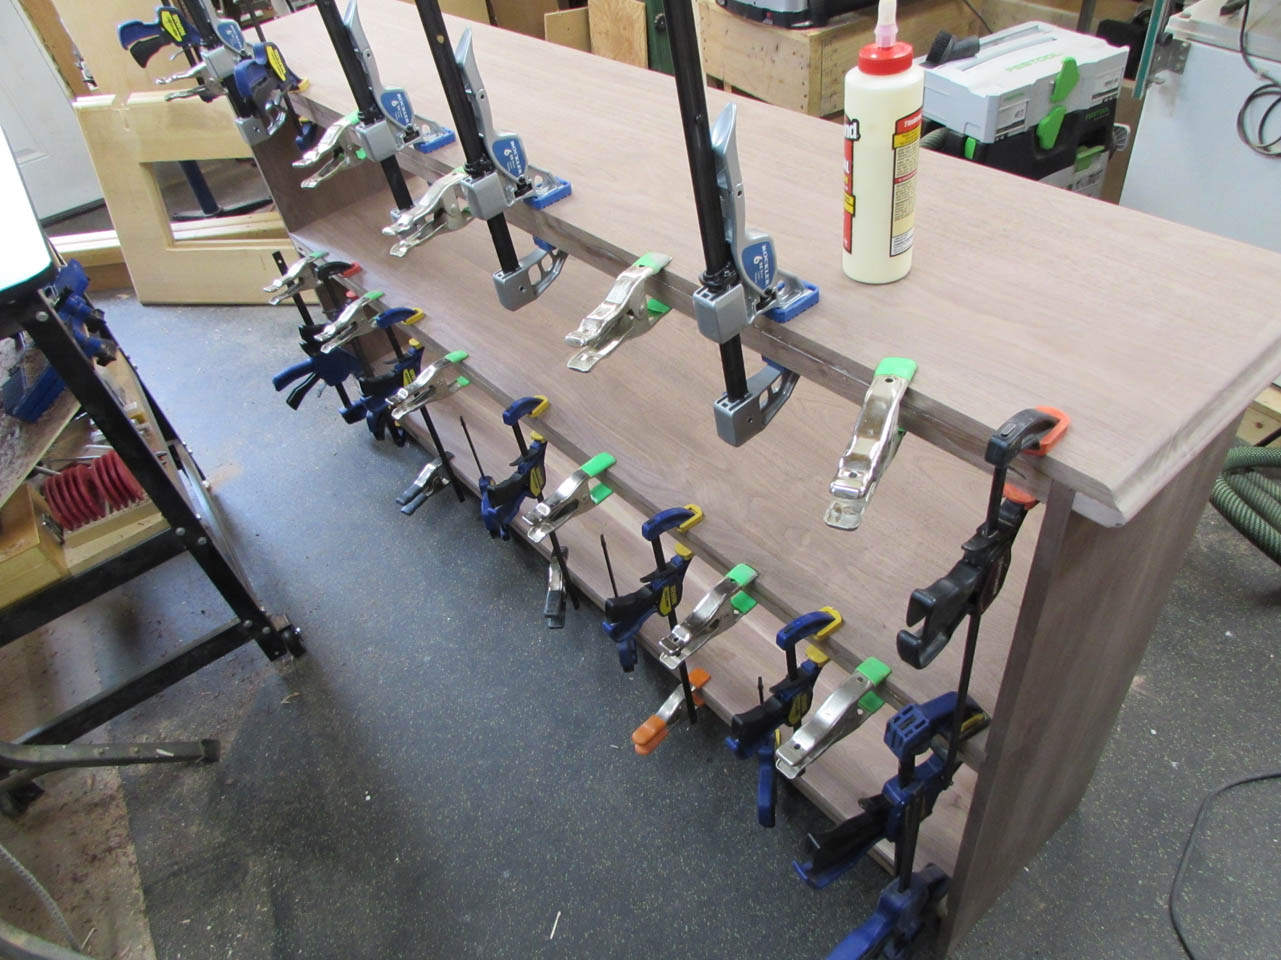
While the glue was drying, I cut more strips to support the front edges. I also added a 3/8″ radius to the bottom edge so there wouldn’t be a sharp edge to bang into.

These were glued and clamped to the front edges.
After it is dried and sanded, It will look like the shelves are 1-1/2″ thick.

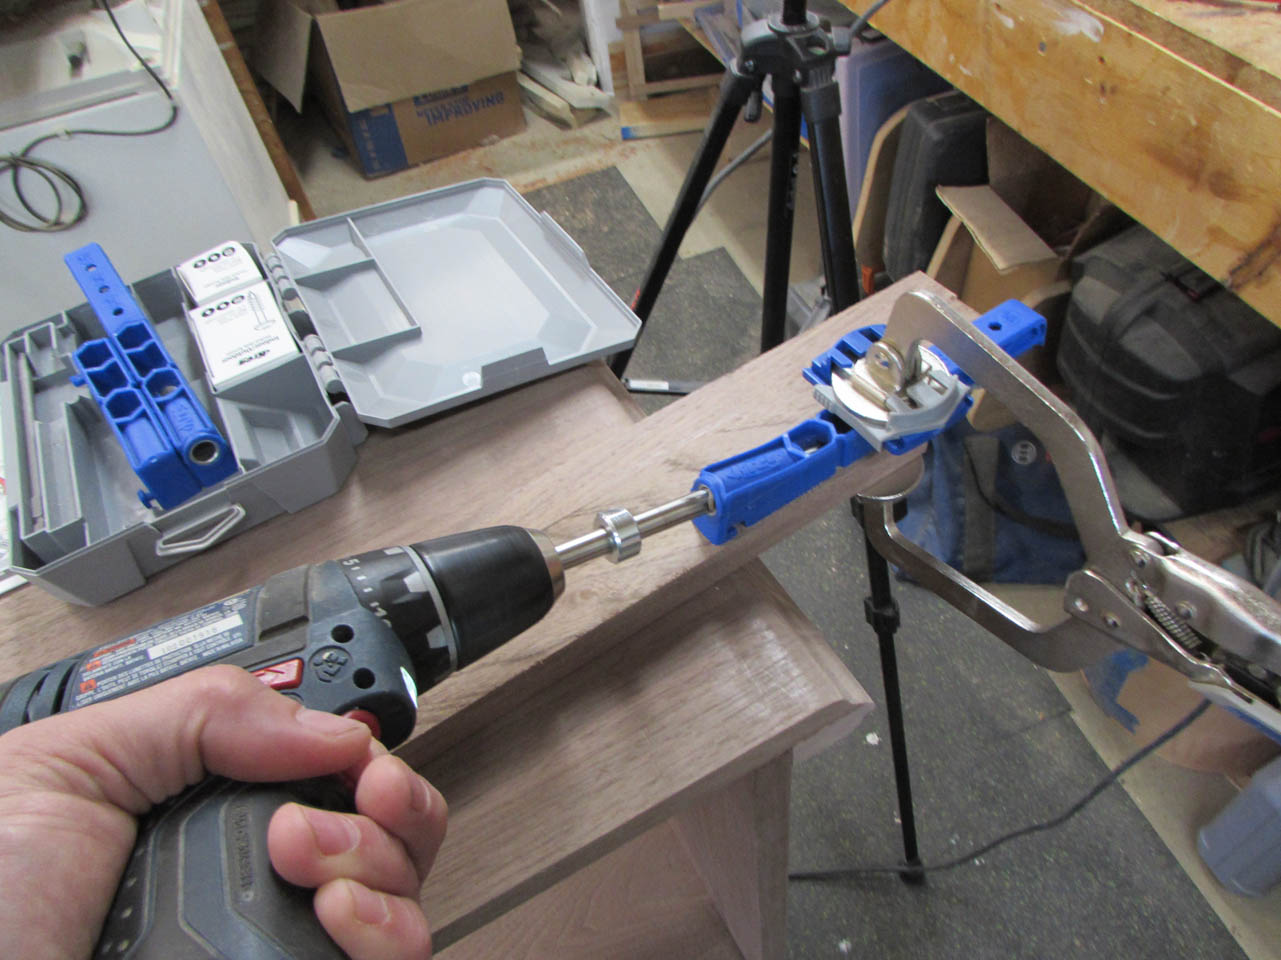
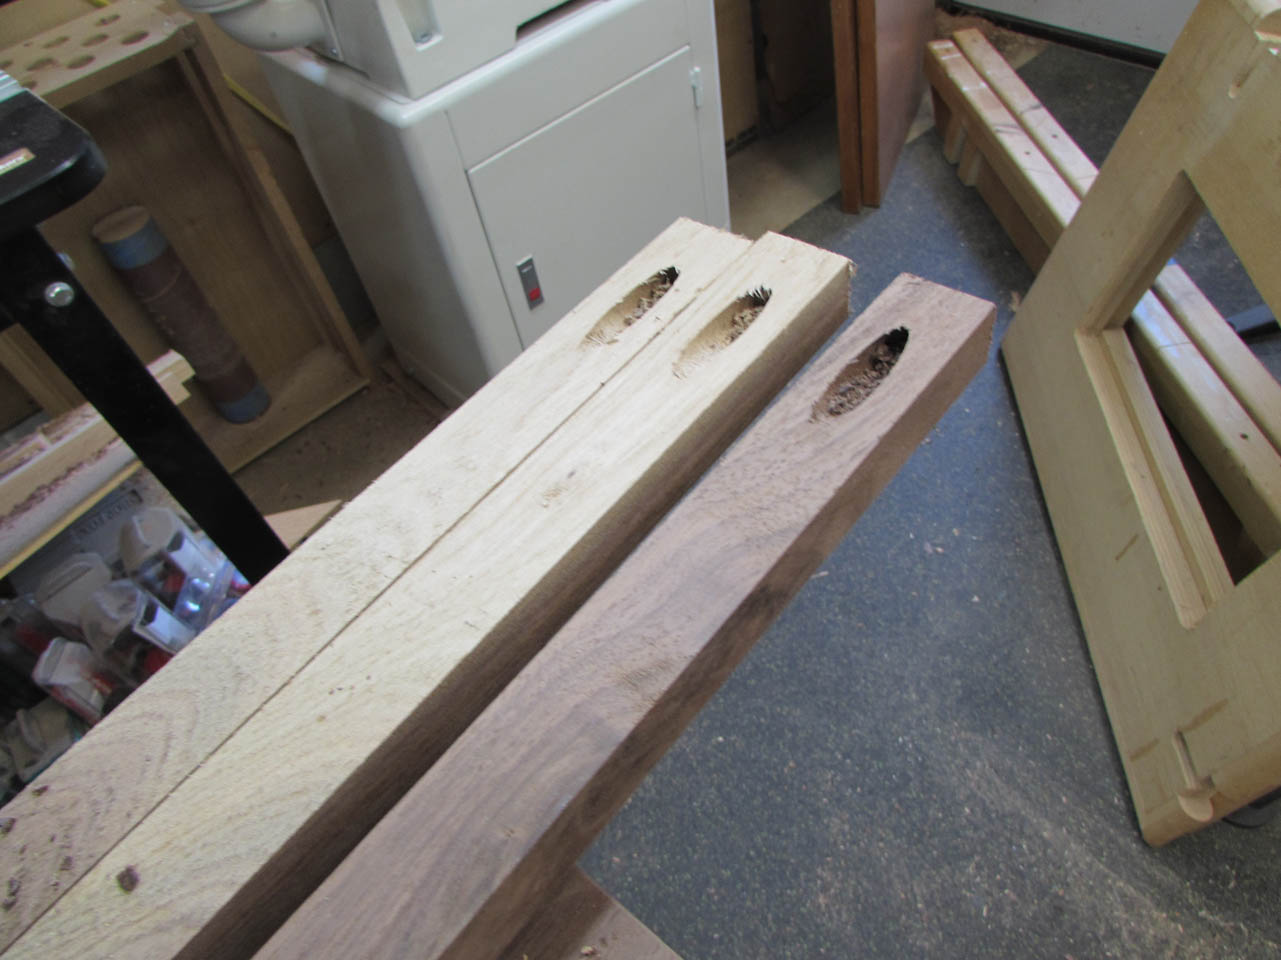
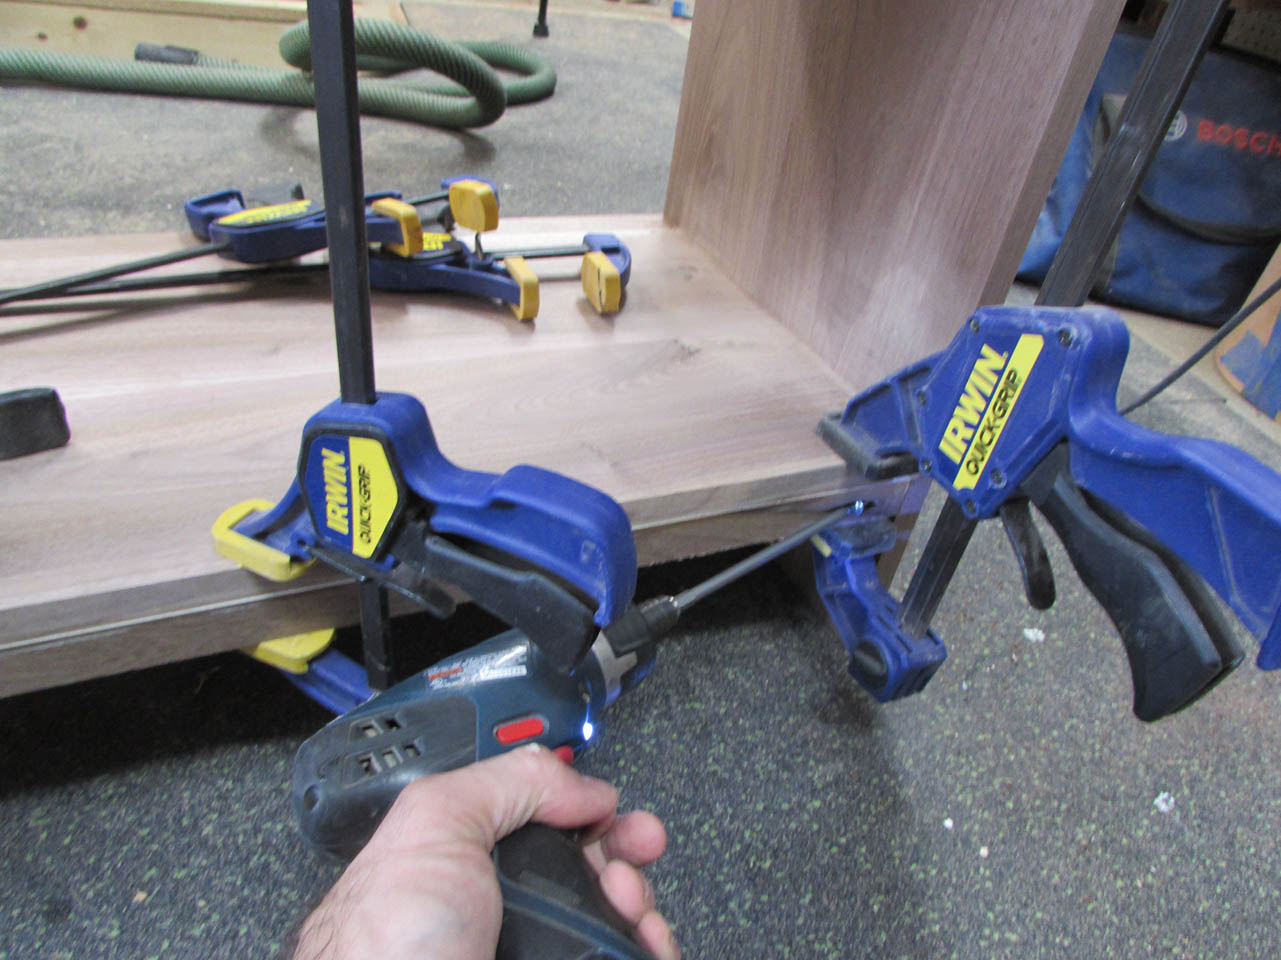
I wanted to hold the shelves to the sides a little better so I added a pocket hole to the ends of the 1″ wide strip, for the back of the shelves.
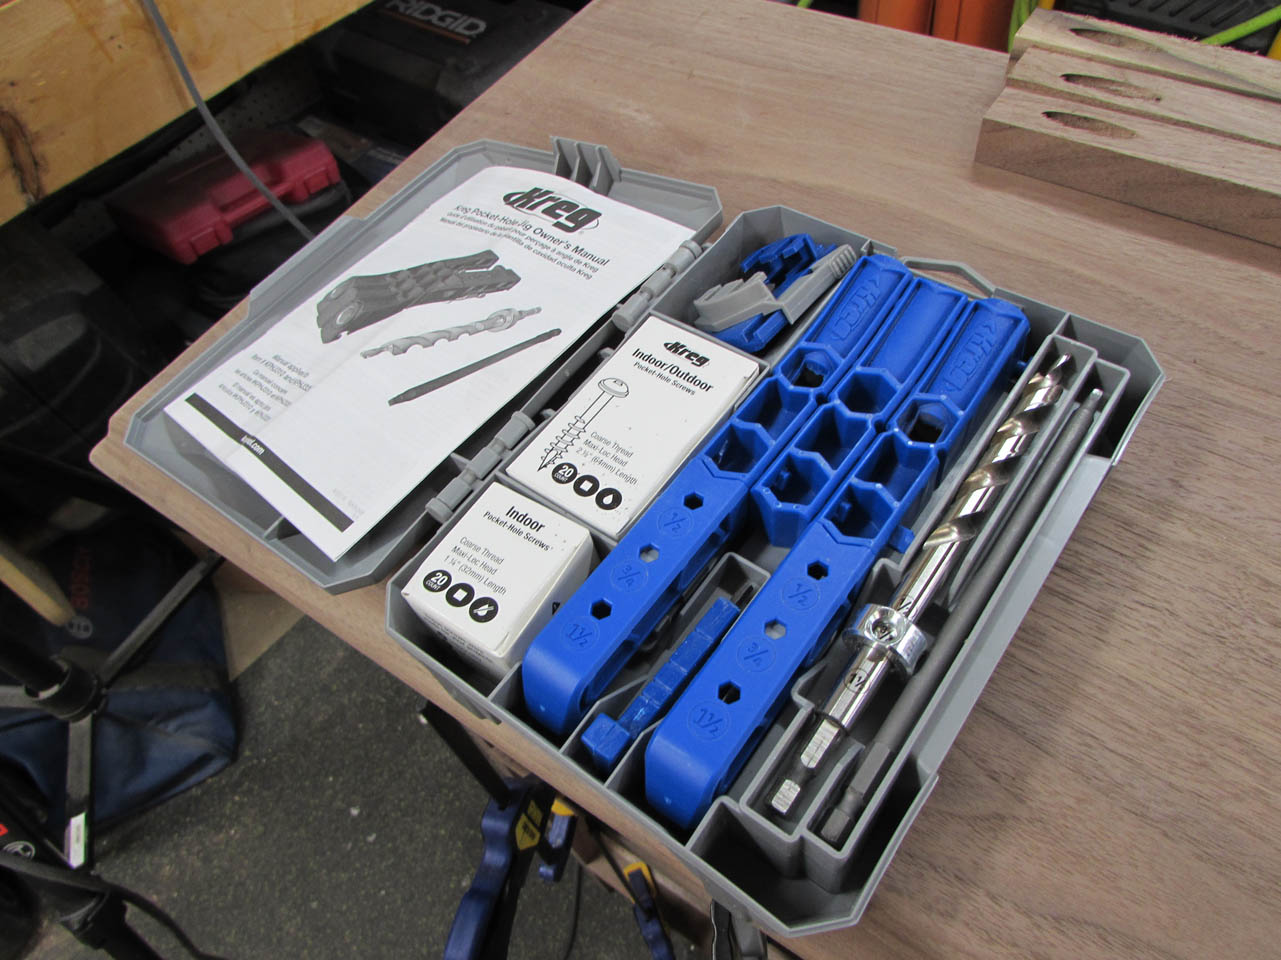
I have the full size Kreg pocket hole jig, but it is not easy to use on really long boards so I picked up this smaller version that you can just clamp to the end off the board. It works really well.
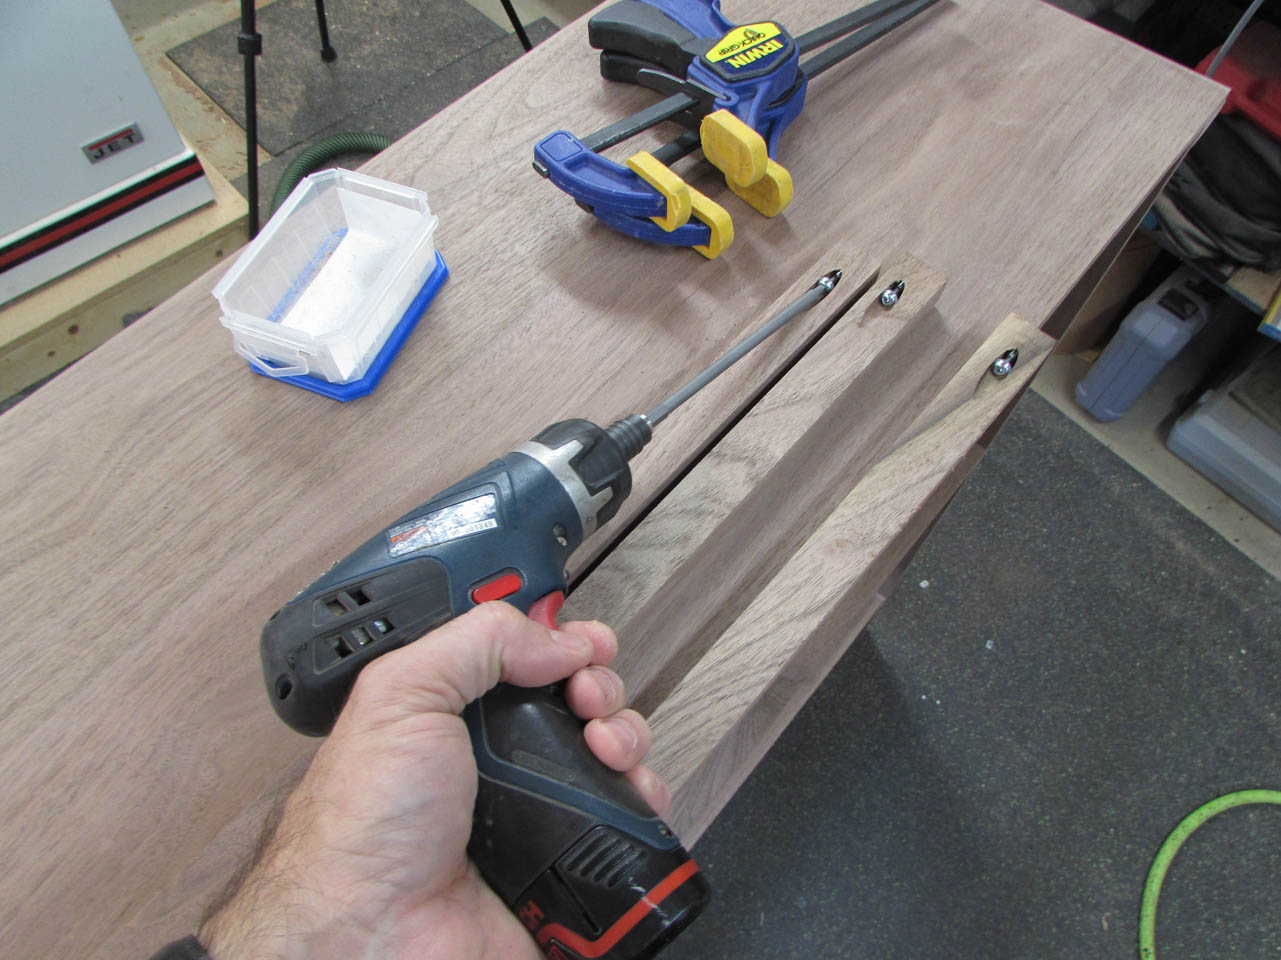
I added screws to the ends and glue to the top edge.

After clamping the rear strip in place, I ran the screws through into the sides.
If this were a free-standing shelf, I would add a back or gussets to prevent racking but my brother is going to use this rear strip to screw the shelf directly to the wall.
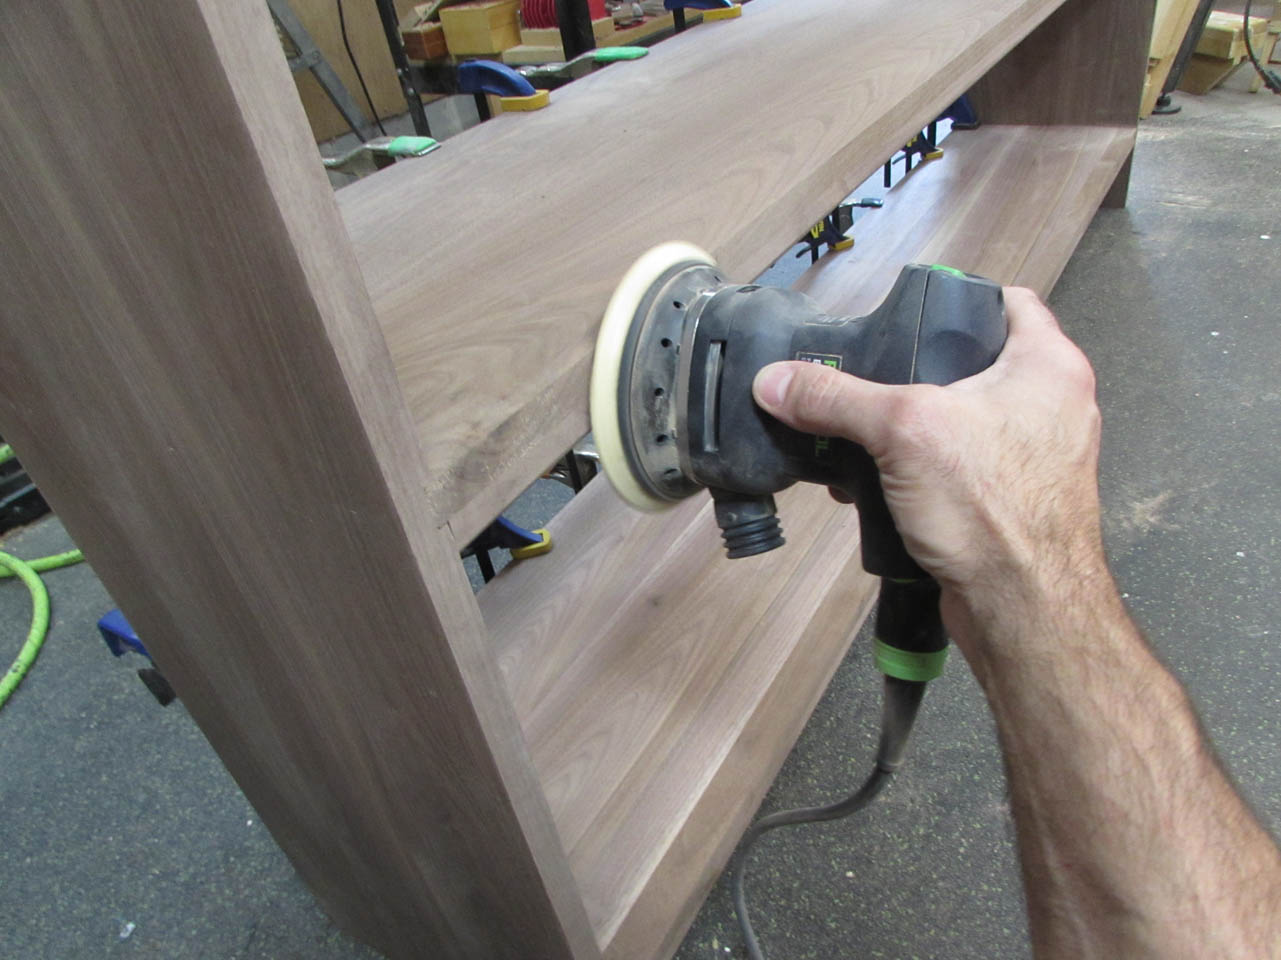
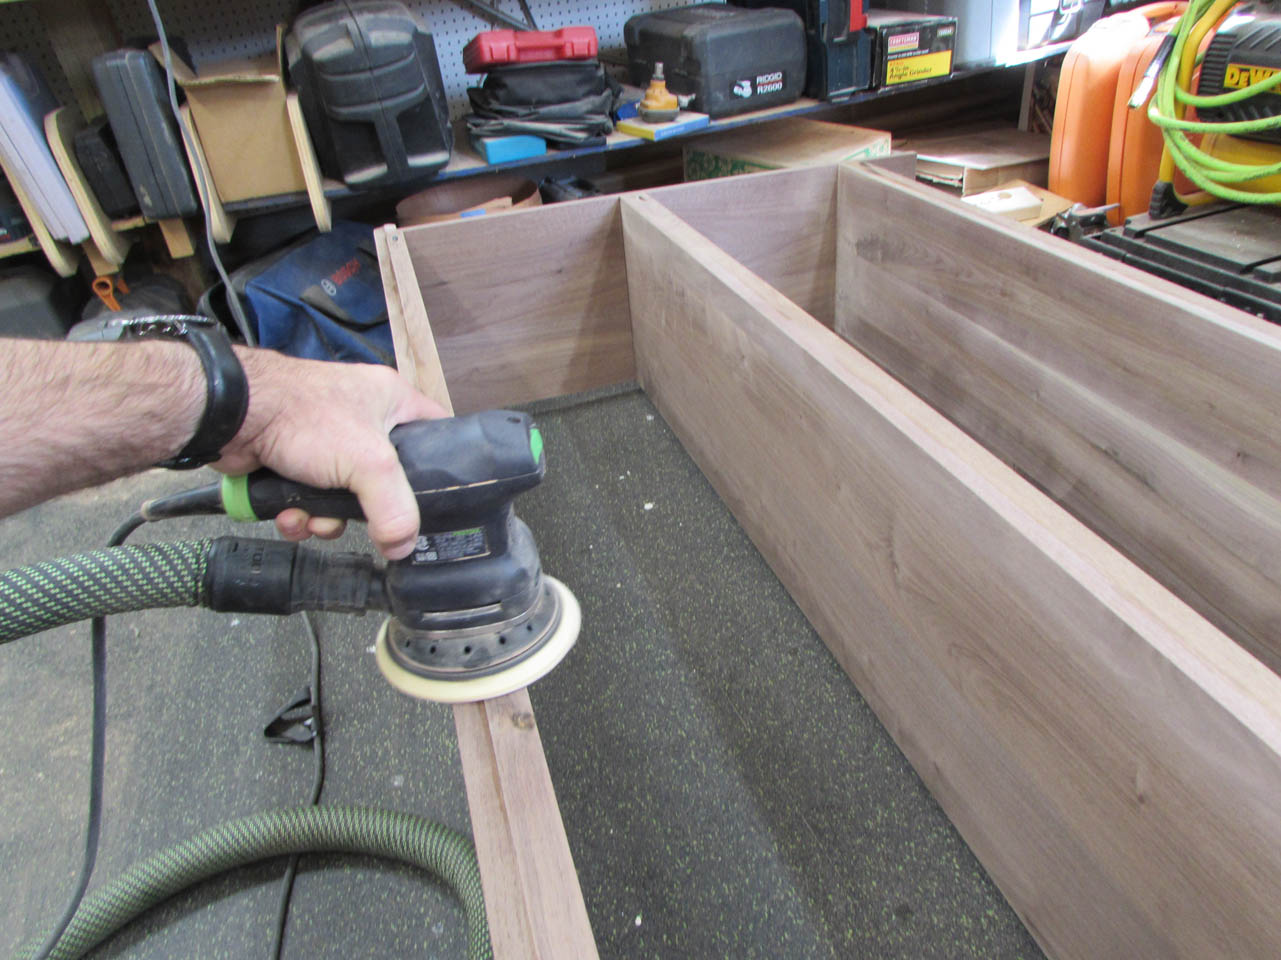
Once all the glue was dried and the clamps were pulled, I spent a lot of time sanding.

And, even though you won’t see it, I also sanded the back.
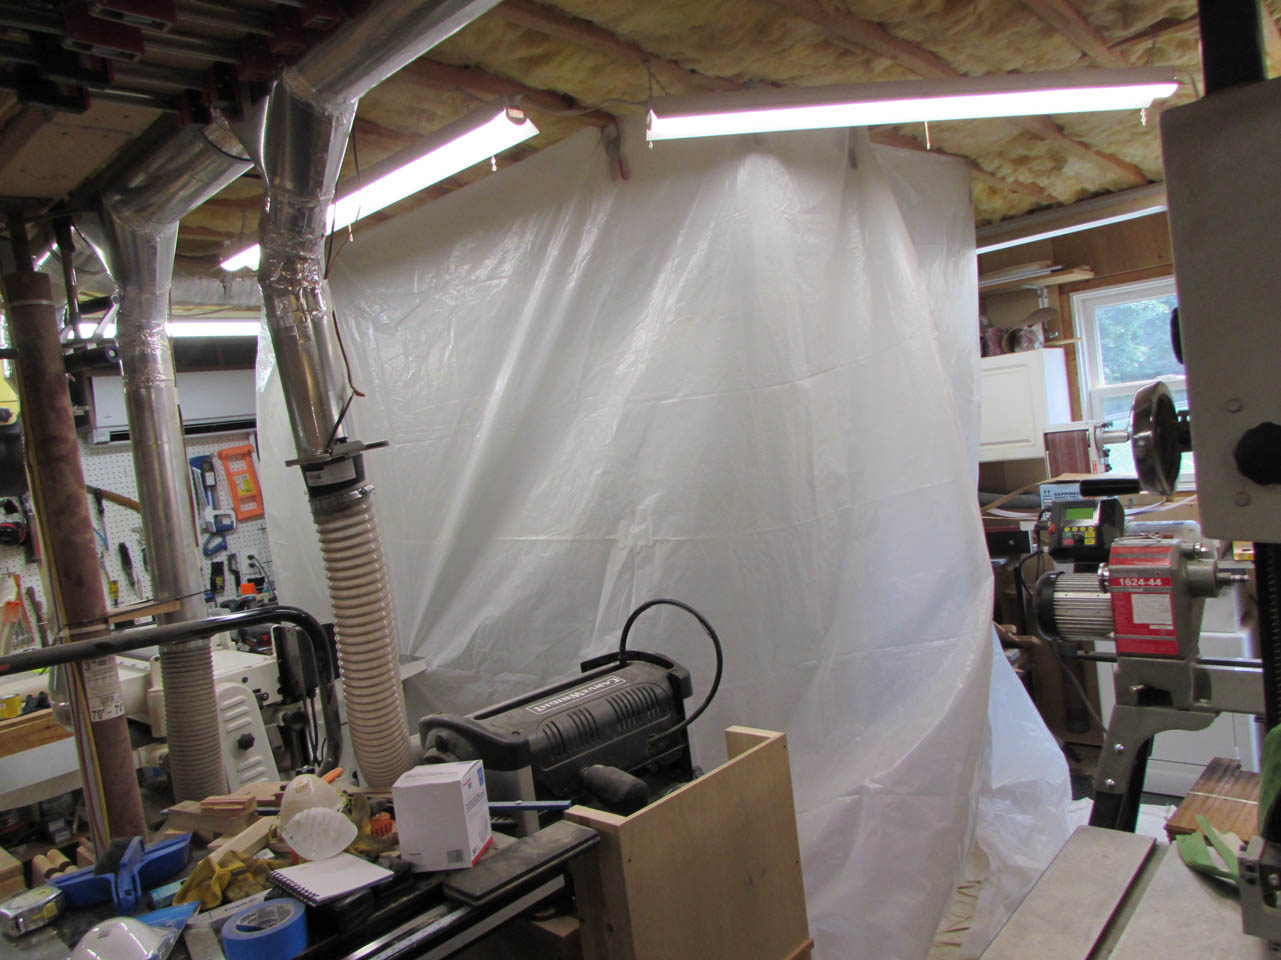
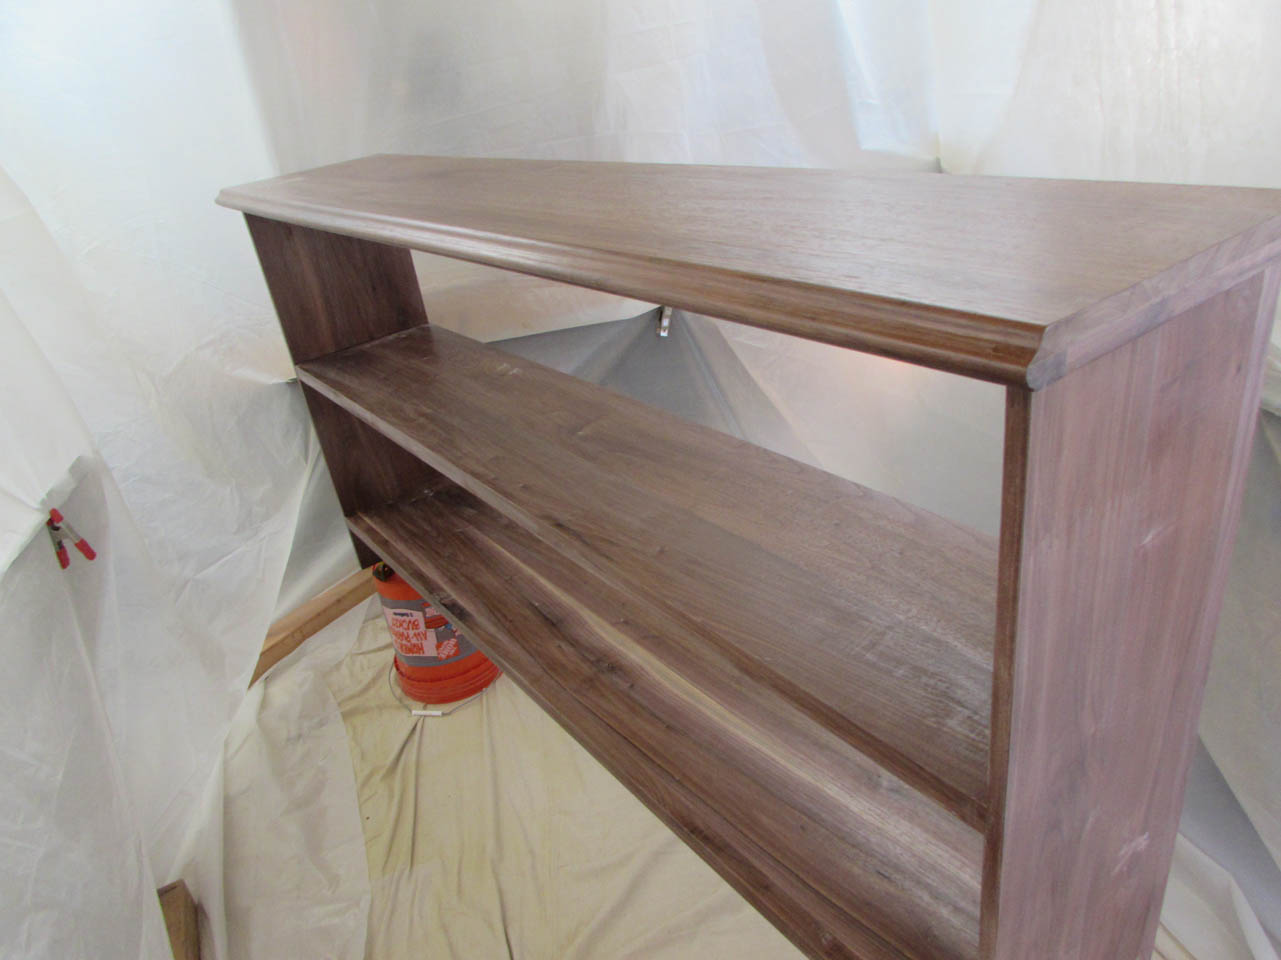
The shelf is done so I set up my temporary spray booth by clamping plastic sheets to the ceiling.


I am using oil-based semi-gloss polyurethane in my HVLP sprayer.
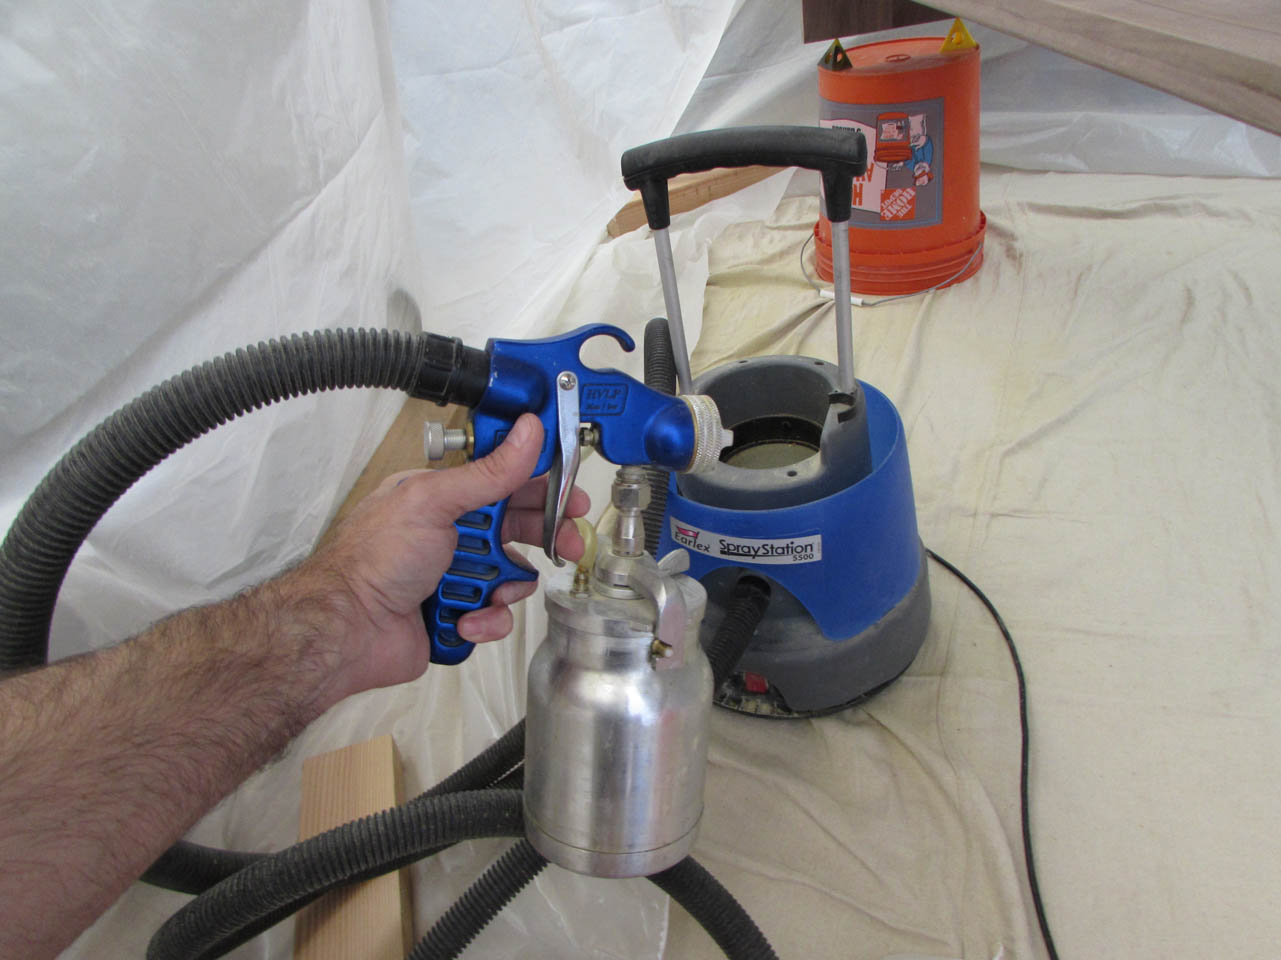

The sprayer does a really nice job and I am done my first coat in minutes.

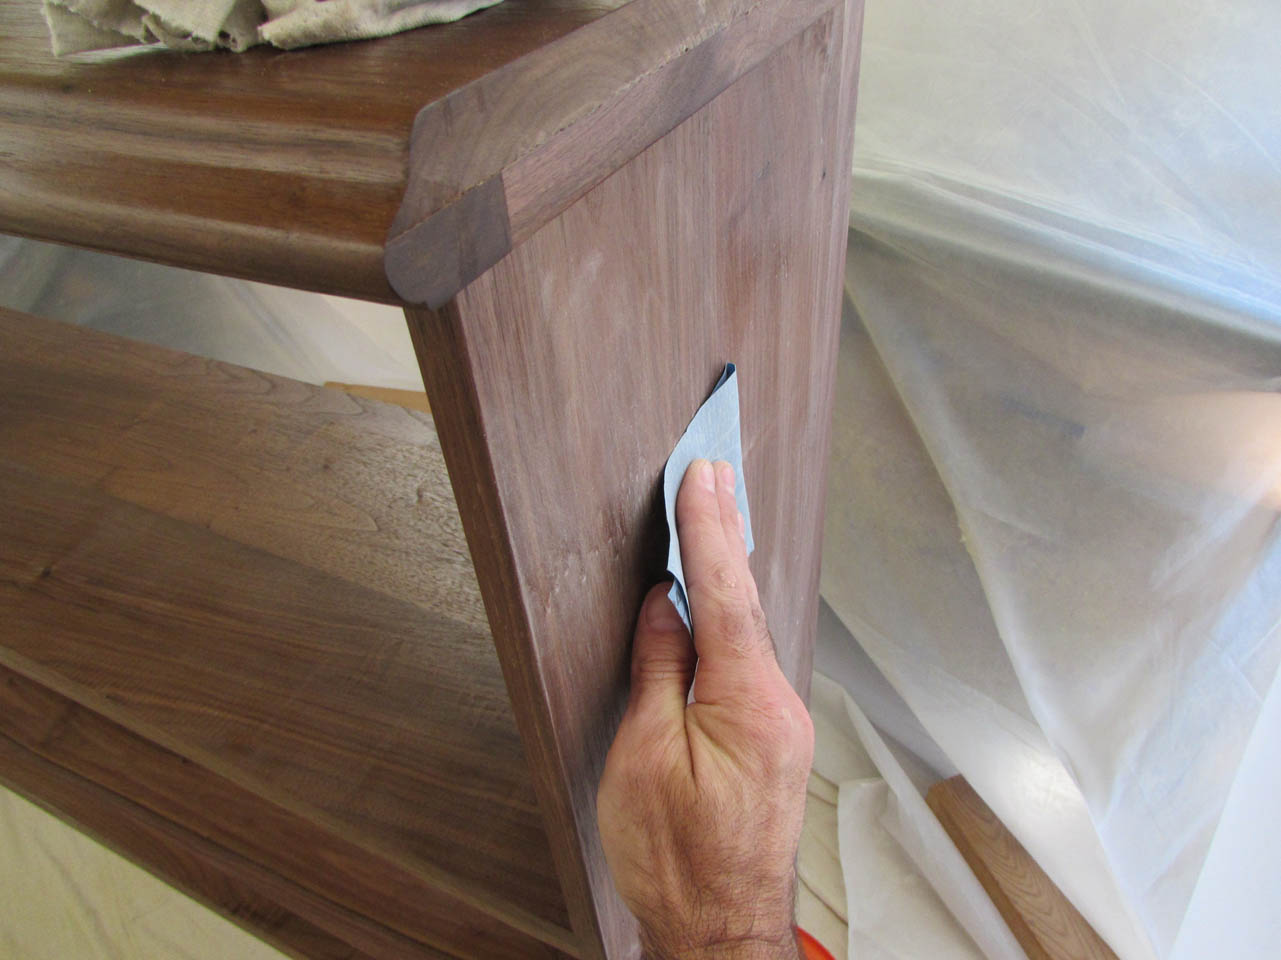
After the first coat dries, I sand all the surfaces with 400 grit paper to remove any rough spots or dust.

Then I put the respirator back on and fire up the sprayer for a second coat.

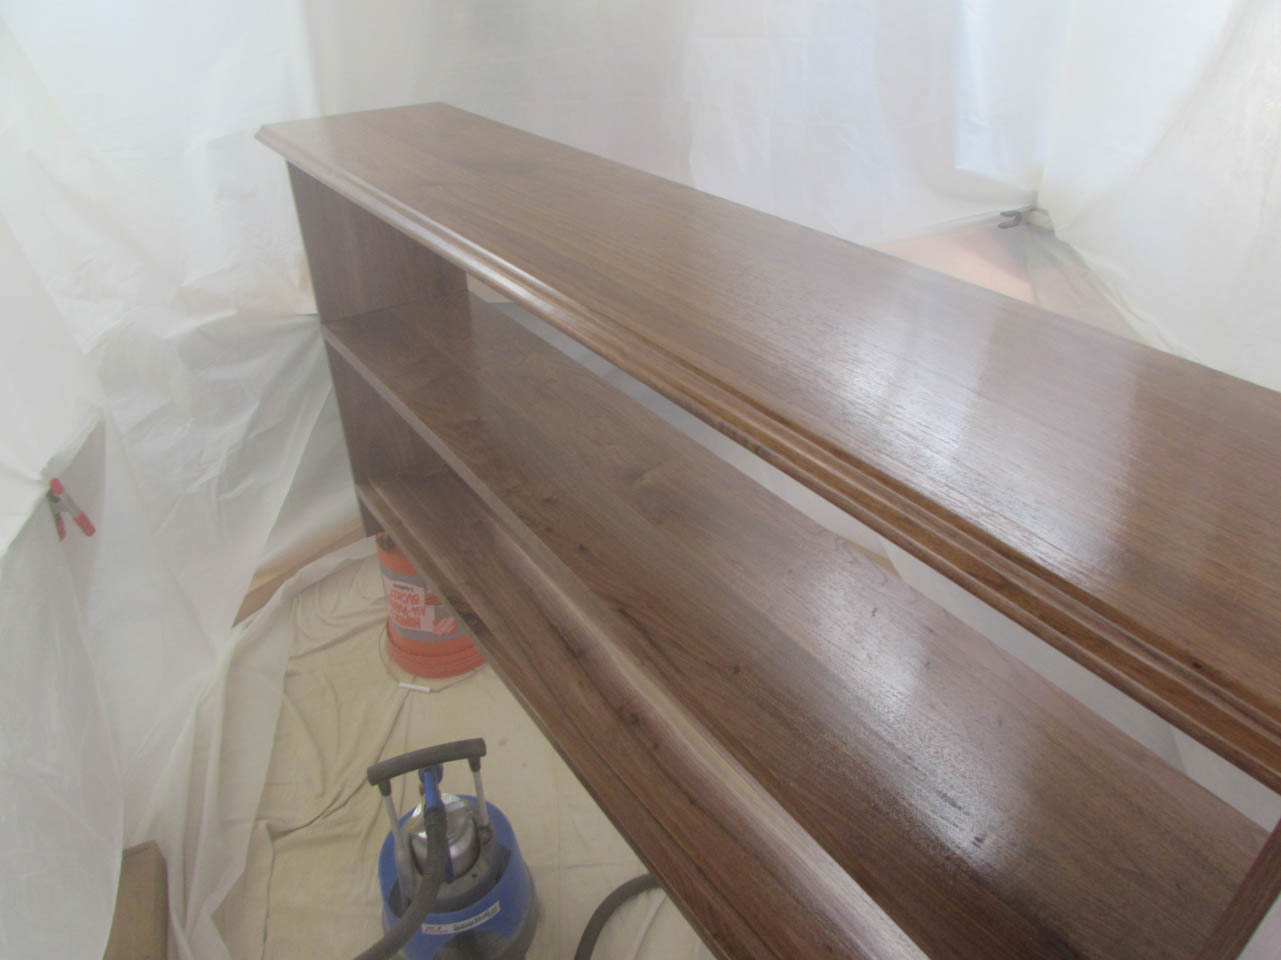
The next day, I pull down the plastic walls and polish up the finish with some crumpled brown paper.

It knocks down any dust nibs without scratching the surface, leaving it smooth to the touch.
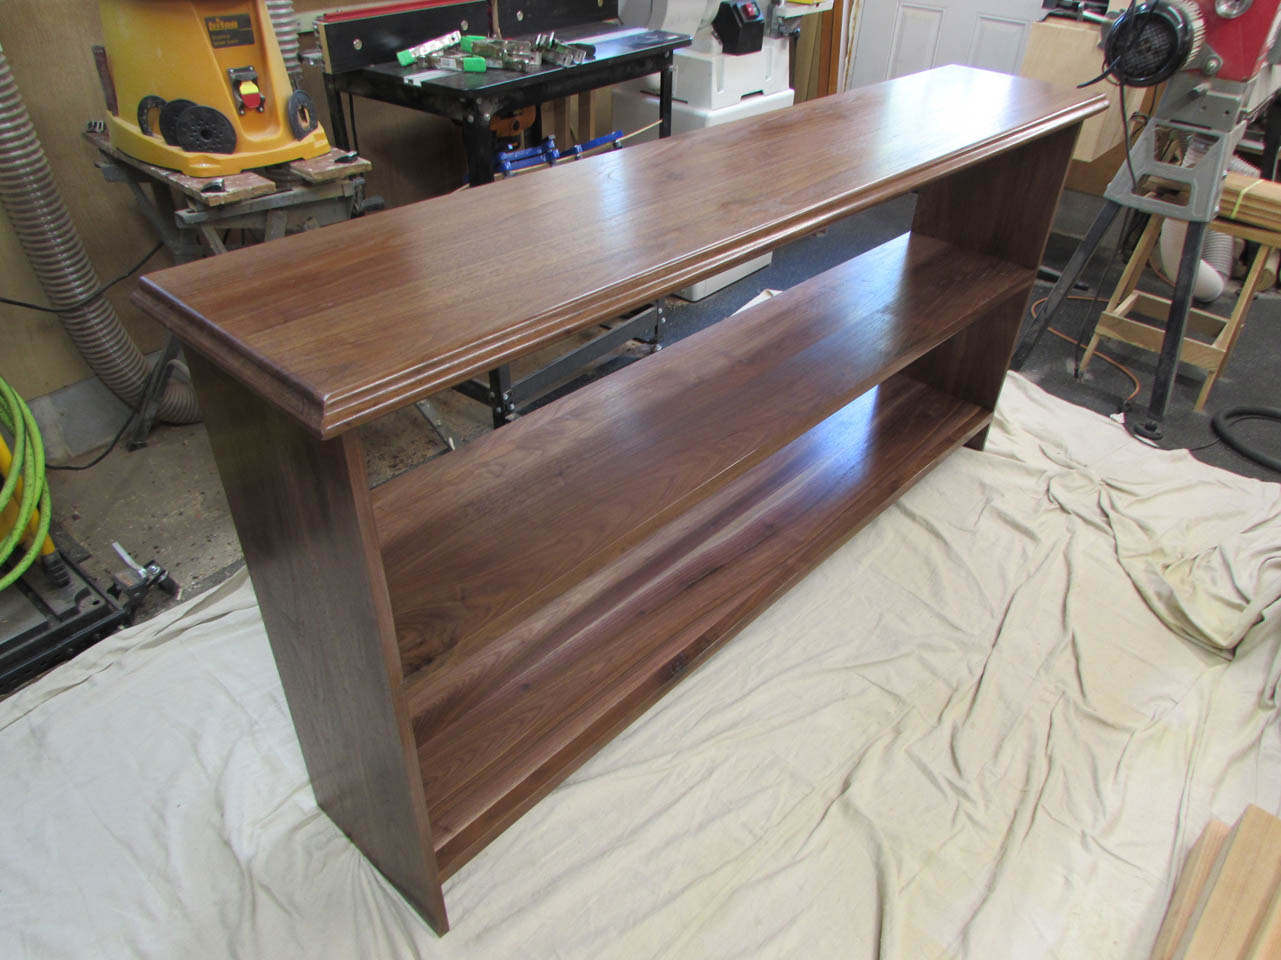
A nice little weekend project and I still managed to keep a bit of sapwood on the bottom shelf.