
A simple Salmon ladder
Two of my kids work out at Jump Climb Extreme, Frederick Ninja Warrior gym in Frederick, Maryland. The guys who run the place, make a lot of the obstacles themselves. They recently moved to a much larger location and are expanding the amount of obstacles they offer. They are in the process of installing a double Salmon Ladder and they requested some rungs made from something durable. Pine might be good for your backyard course, but their ladder will be taking a lot more abuse from the adult class.
I went through my wood stores looking for something appropriate. I came up with some Garapa, also known as Brazilian Ash. This is dense, South American rainforest hardwood. Should work great. This is a template for what I came up with. Feel free to modify and change to fit your needs: salmon ladder cleat.pdf
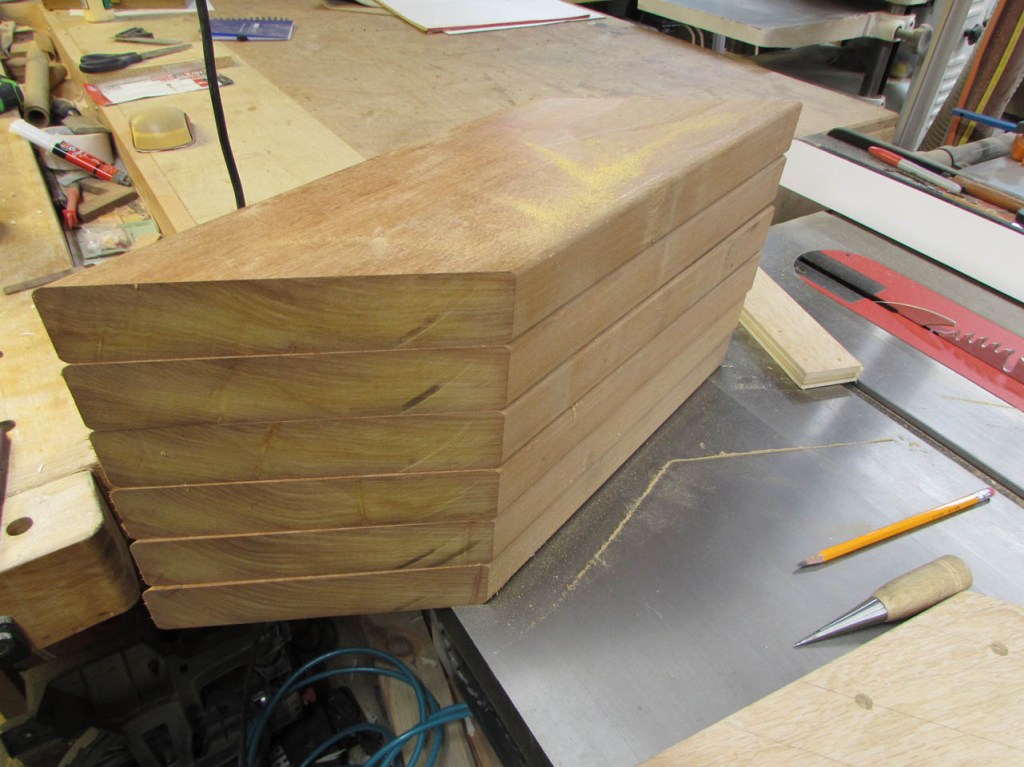
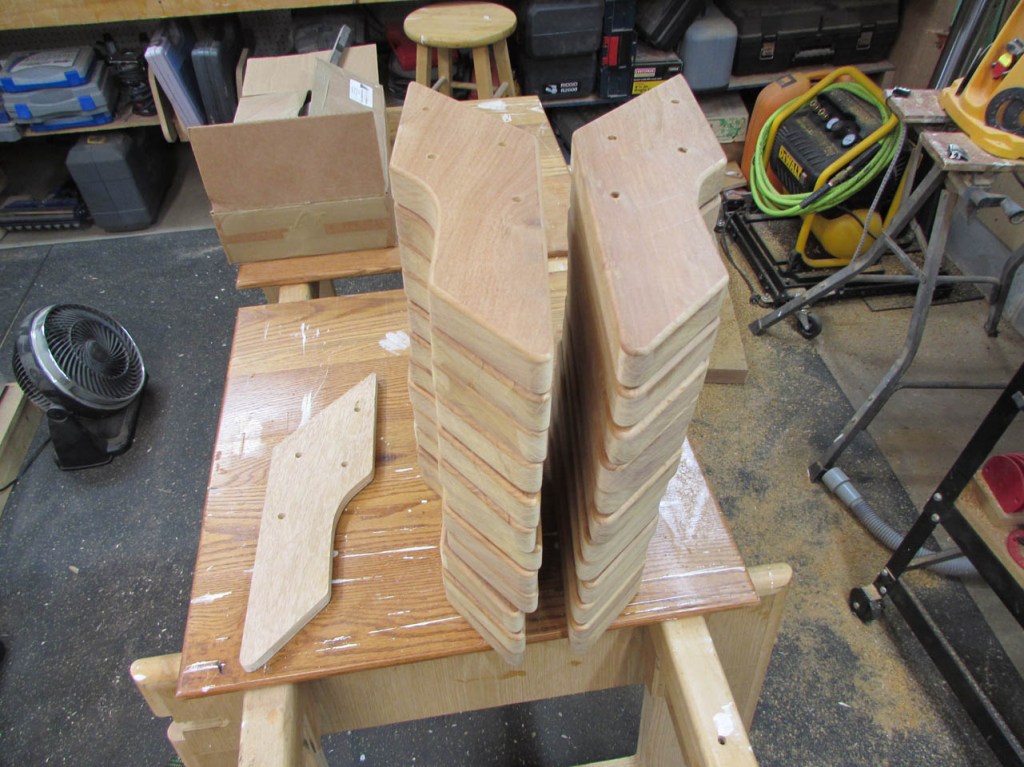
I start by cutting two dozen pieces, from 2″ x 6″ (1.5″ x 5.5″ actual) 13″ long. Both ends at a 45° angle.
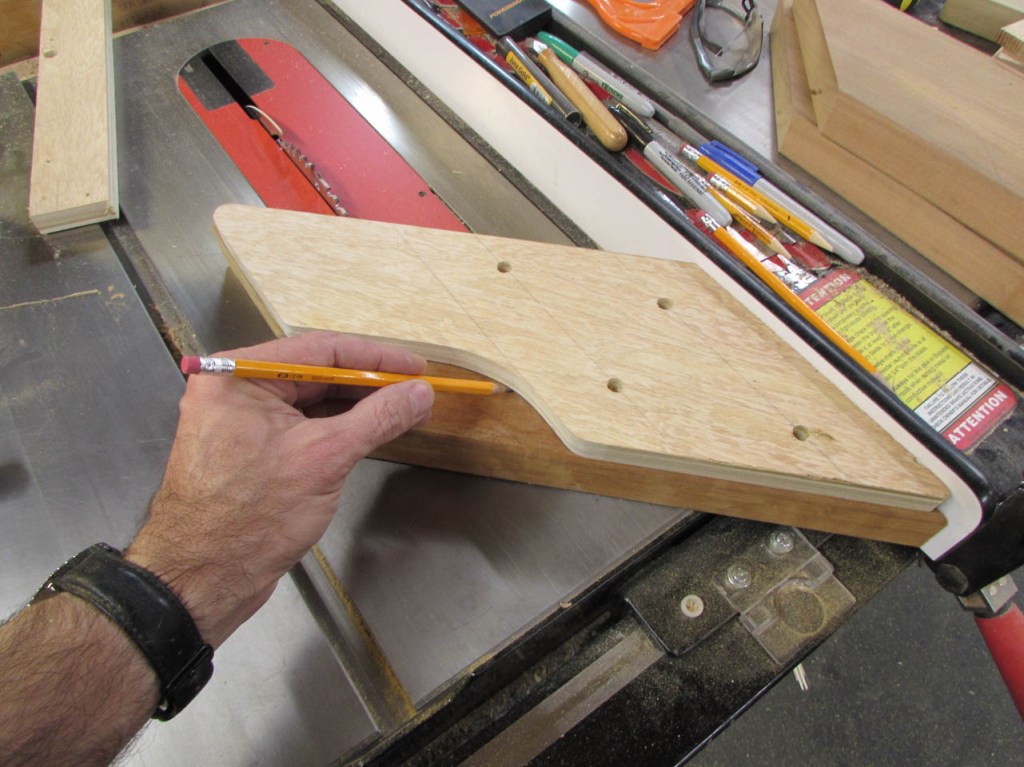
I only need the wider section to bolt to the supports. The arm can be narrower so that the rungs can be mounted closer together.
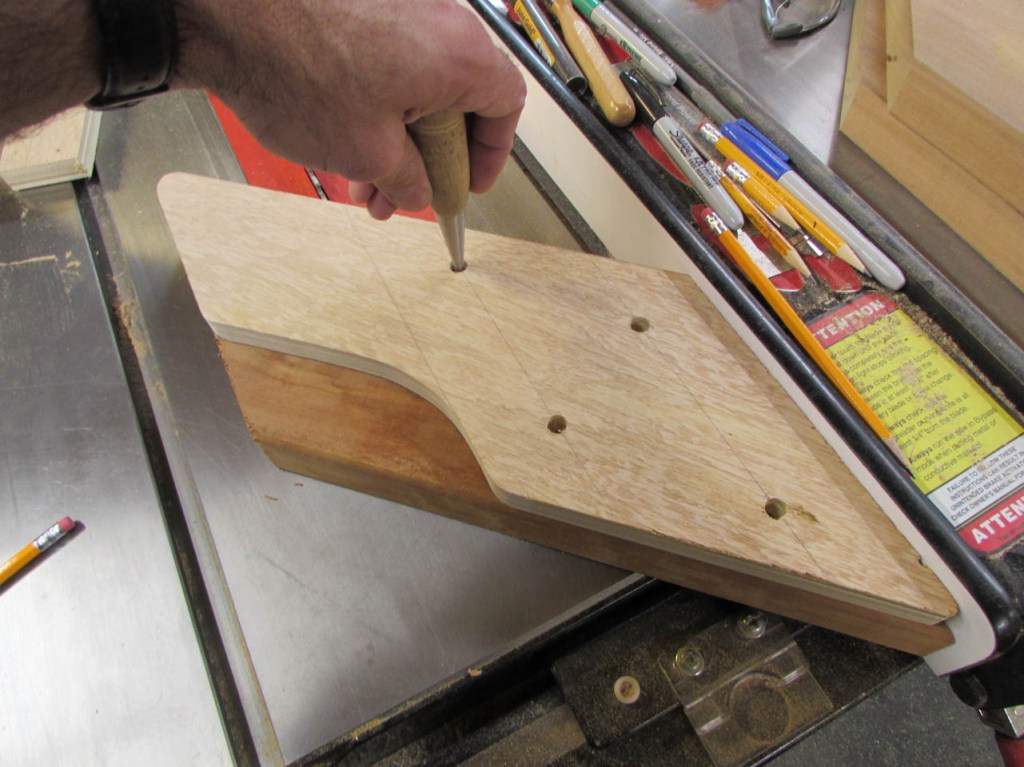
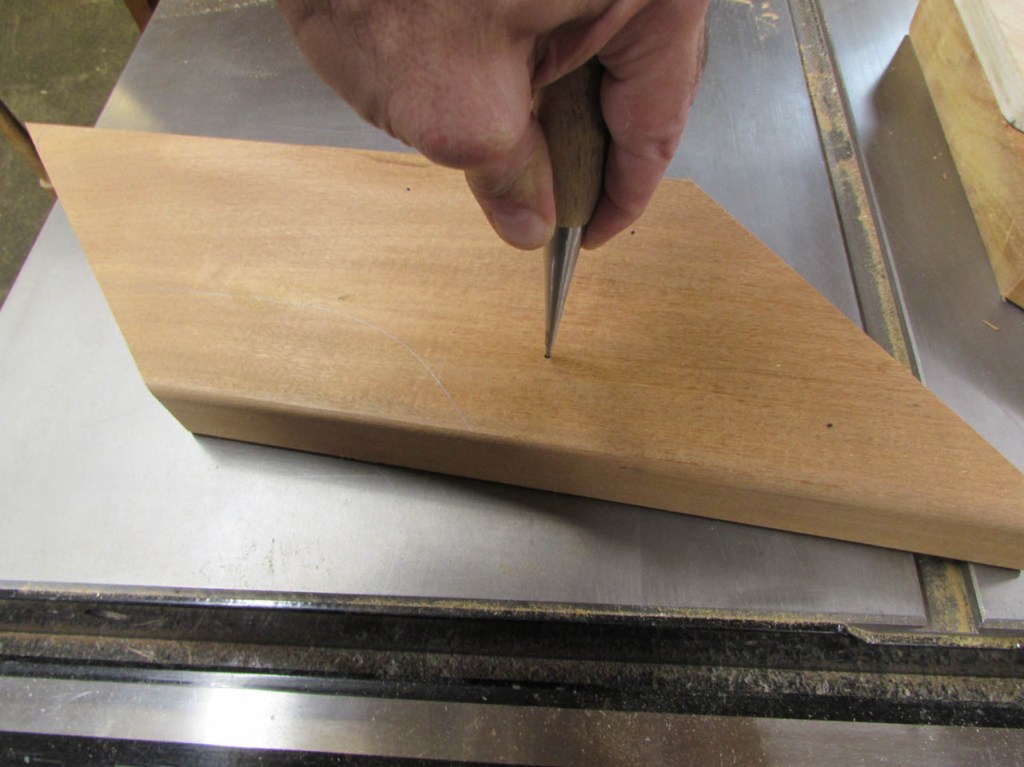
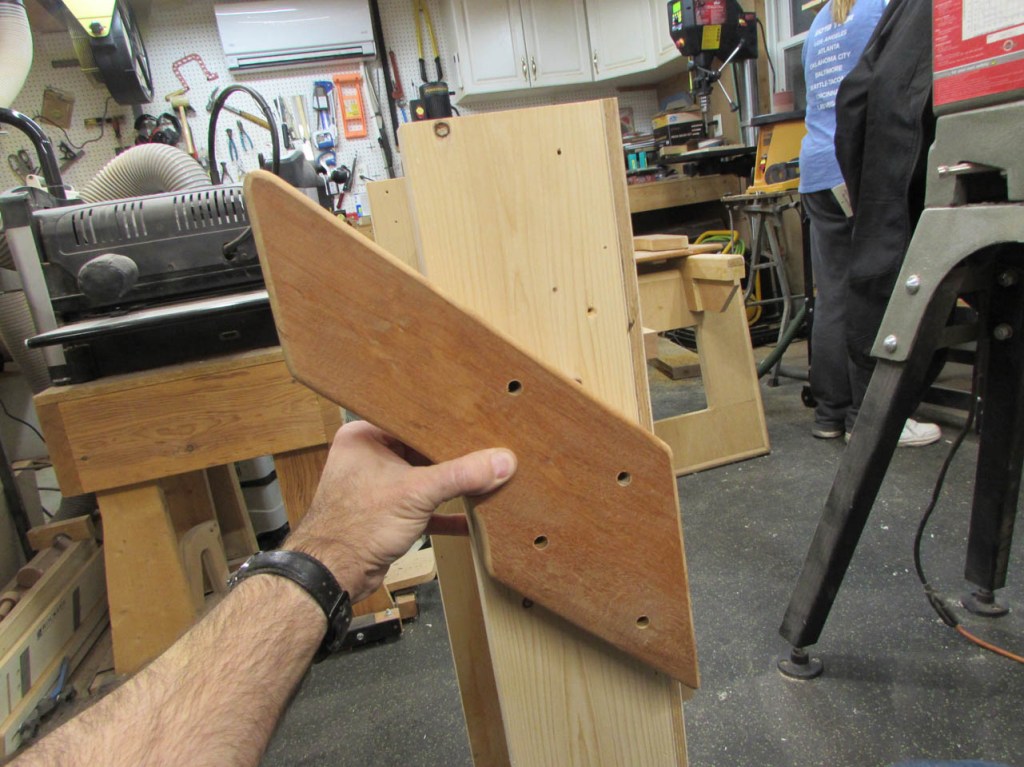
I made a template from plywood so I could mark each one the same way. I located the four mounting holes with an awl. I made sure none of the holes lined up with each other along the same grain lines. Too much stress along the same grain line and you get a crack.
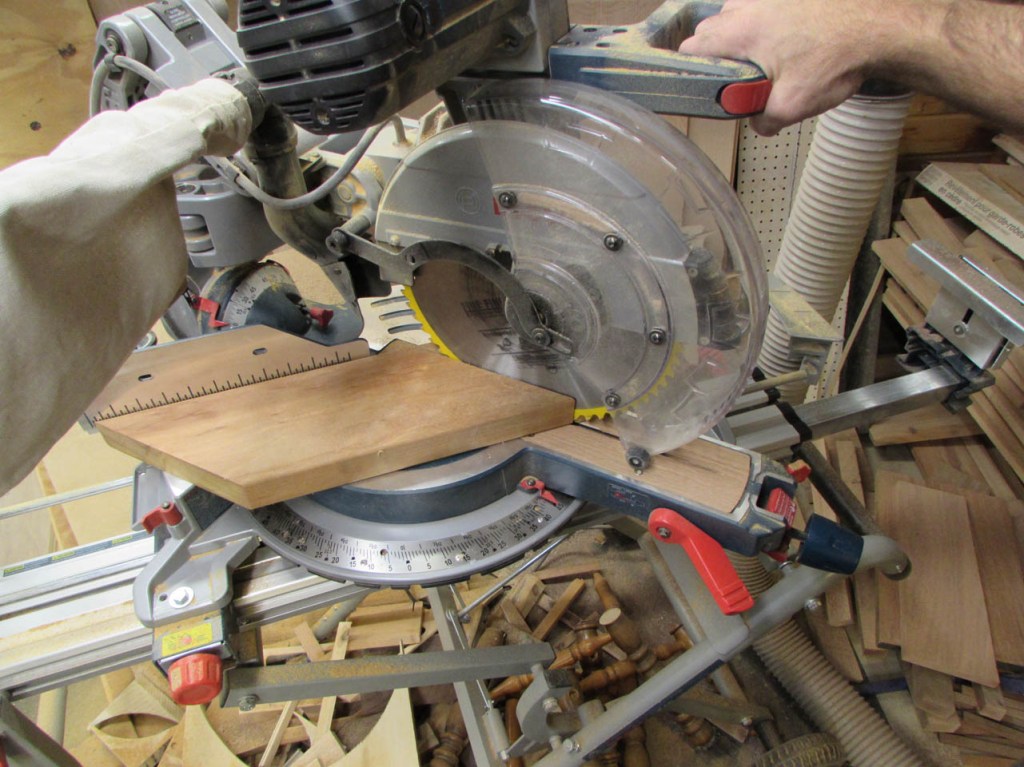
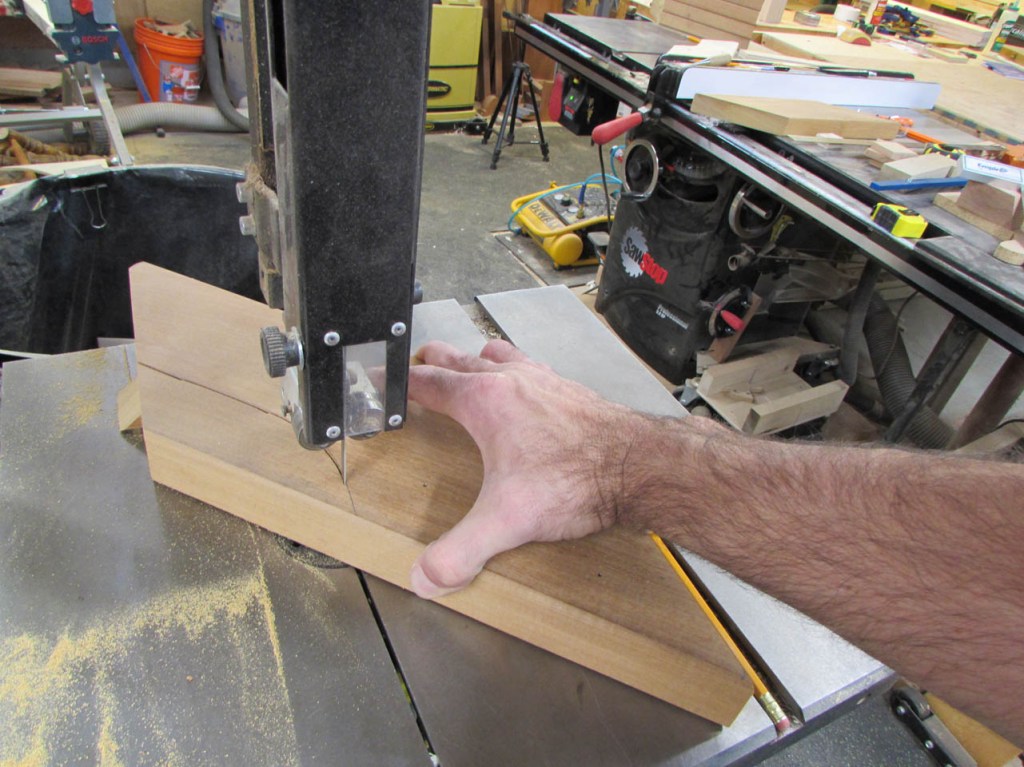
This stuff is dense and most South American tropical woods contain a lot of silica from the sand in the soil. This makes the wood fairly rot resistant, but also makes the wood more prone to dulling your tools. I chose to use an old bandsaw blade to cut the notch under the arm. If the blade is too dull when I am done, I won’t worry too much because it was time to replace it anyway…
Prior to drilling the mounting holes, I use a counter-sink bit to make a dimple to help align the bit on the drill-press.
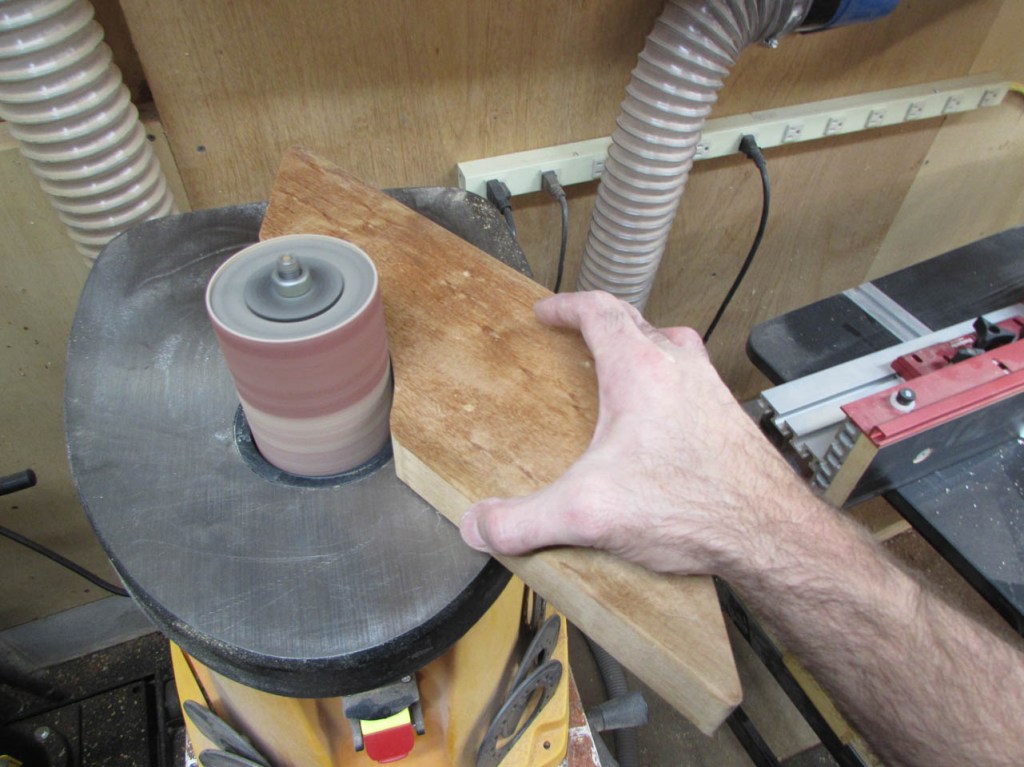
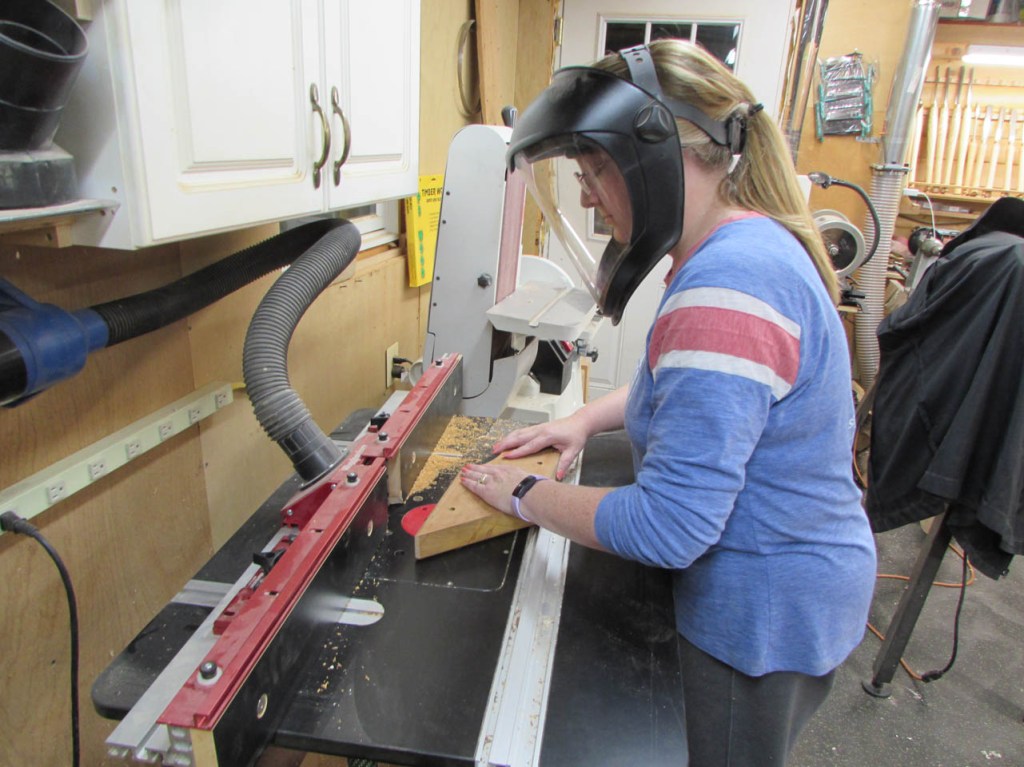
Before drilling, I used my orbital sander to smooth all the cut edges.
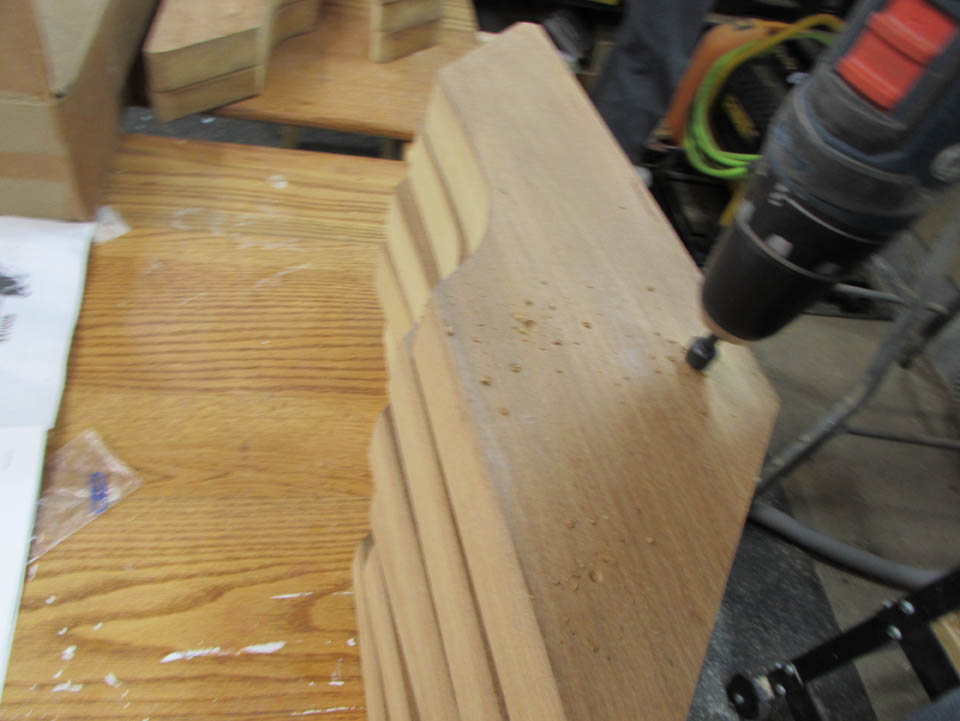
My wife offered to help with the drilling so I set her up on the drill press and let her do the drilling while I continued to make more pieces.

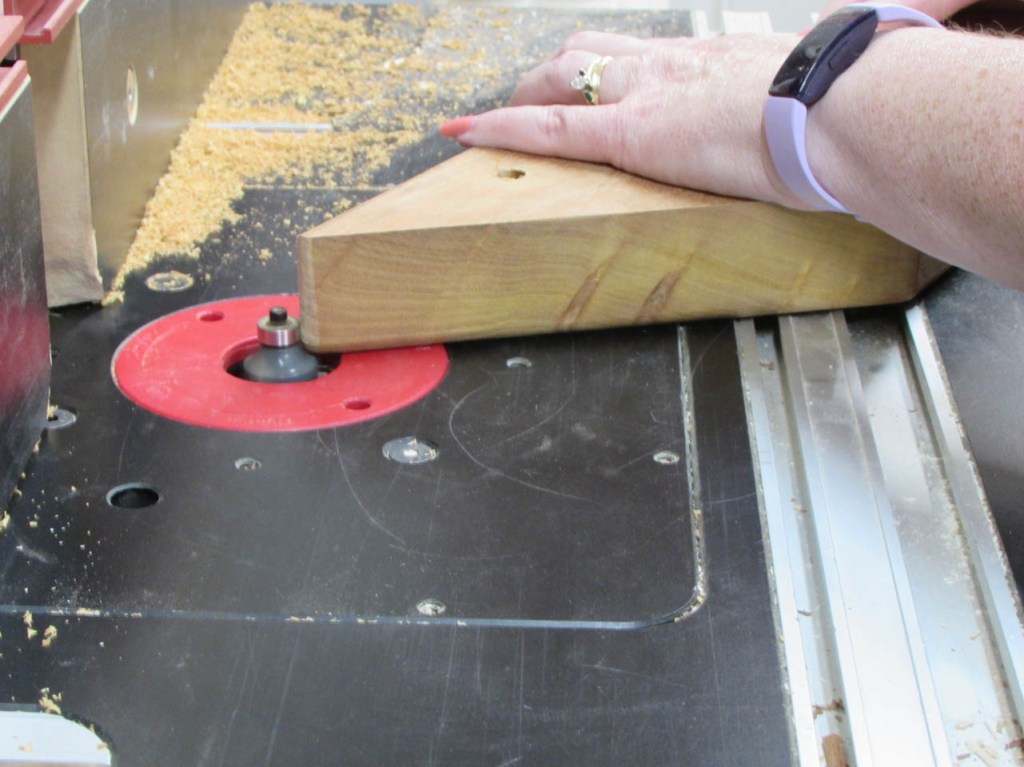
While she was waiting for more material to drill, I had her round over all of the sharp edges on the router table with a 1/4″ round-over bit.
Having the extra hand in the shop saves me a lot of time.
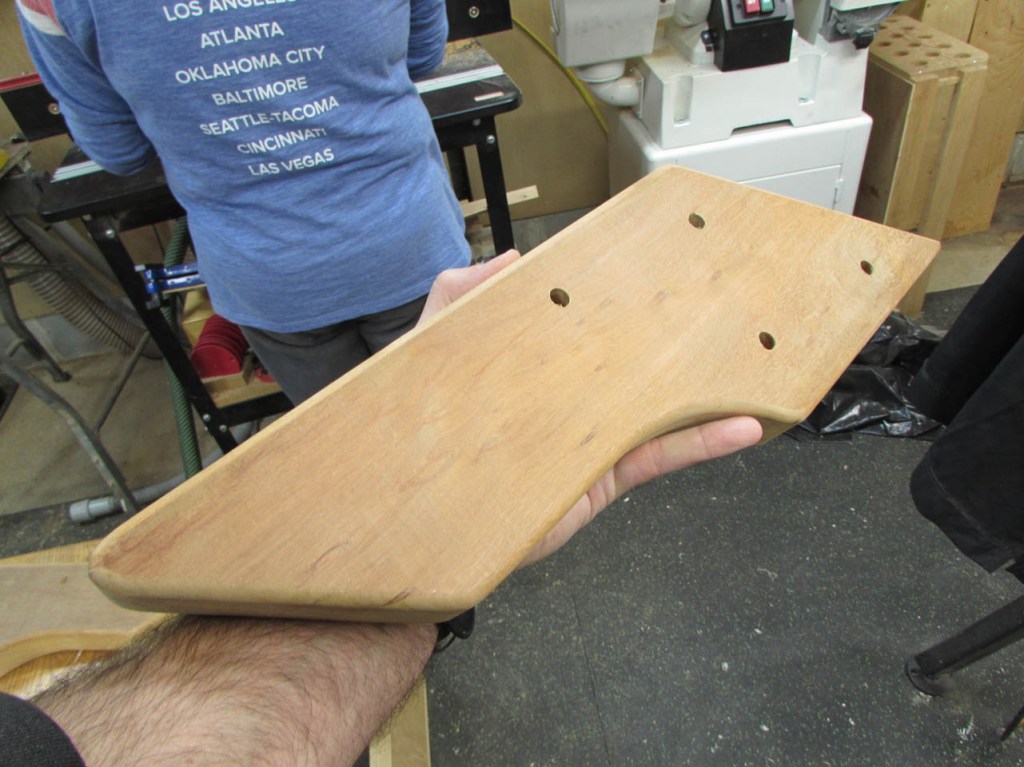
Here is the first finished rung of the ladder. It will be mounted to a 4″ x 6″ column at the gym.
After a couple of hours, playing in the shop, we had a couple of dozen ladder rungs. I packed them up and handed them off to one of my sons to take in to the gym for installation.
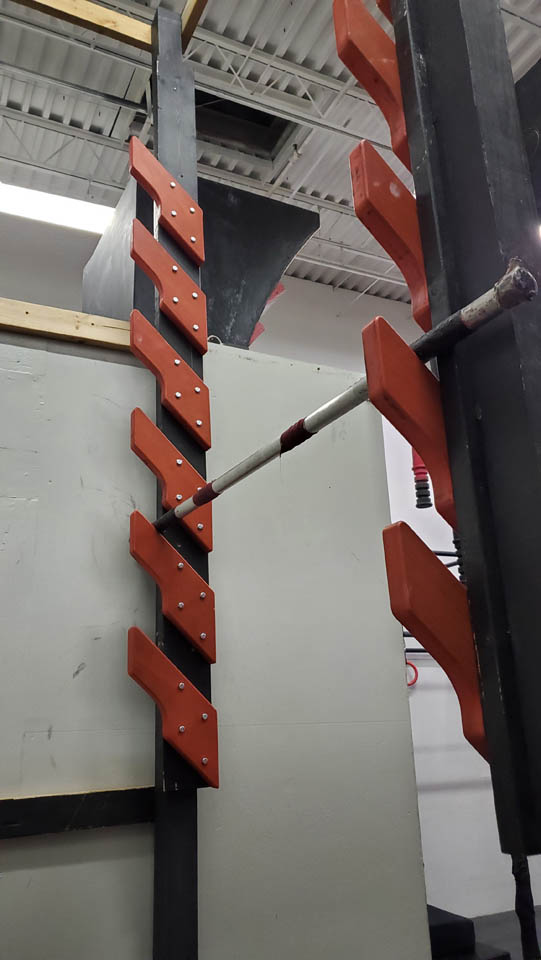
The gym’s colors are black and red. With the abuse that these boards will see, I recommended that they use a red dye/stain instead of paint. My son took some pictures of the first section, installed. It looks like they took my advice.
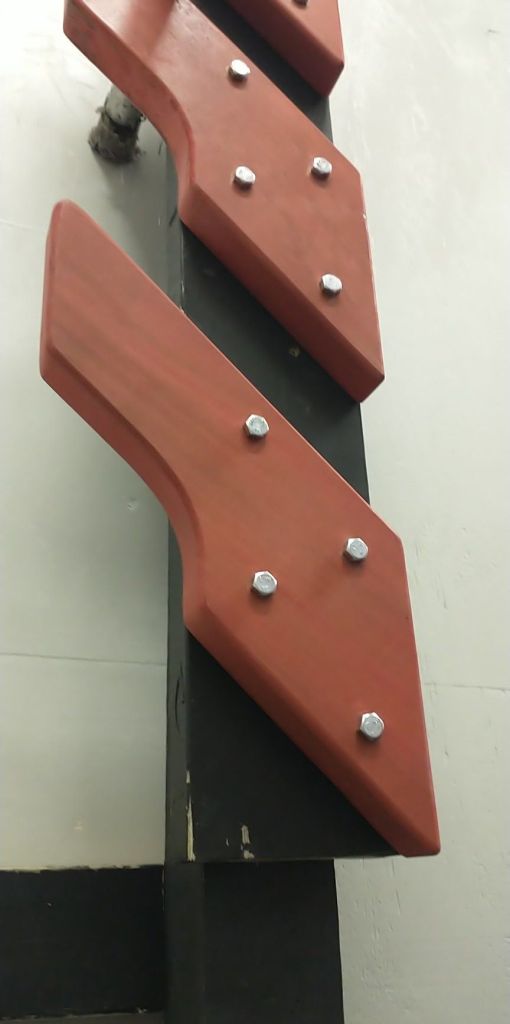
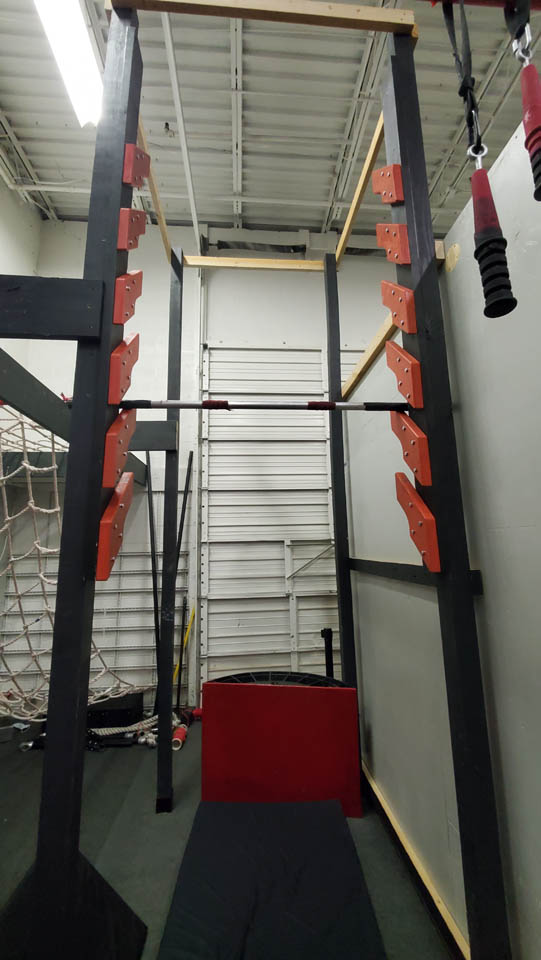
Each rung of the ladder was installed with four 1/2″ lag bolts.
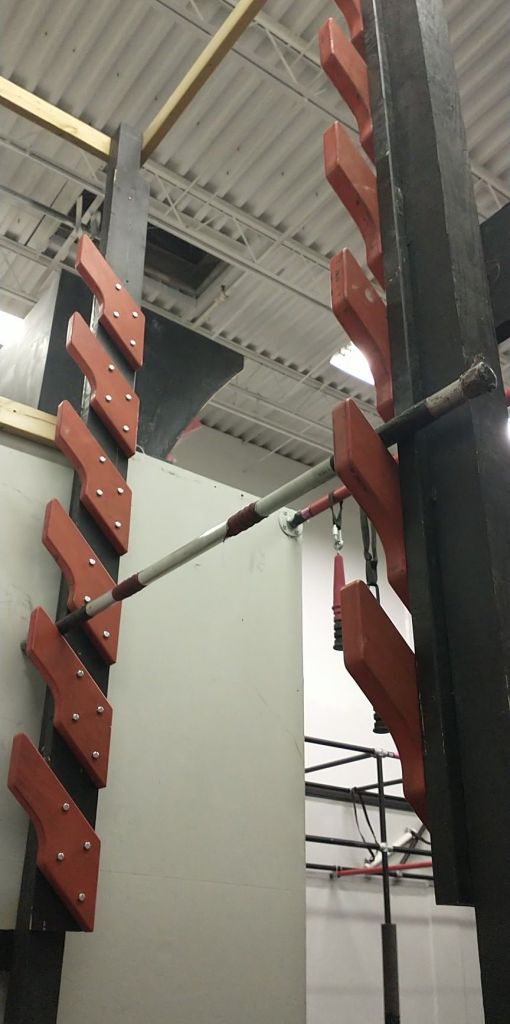
I do not know the exact spacing between each rung, but there appears to be about 3″ between each one.
The red stain looks like it matches the red paint on the rest of the equipment. The stain will not chip or flake off when the metal bar slams into it though.
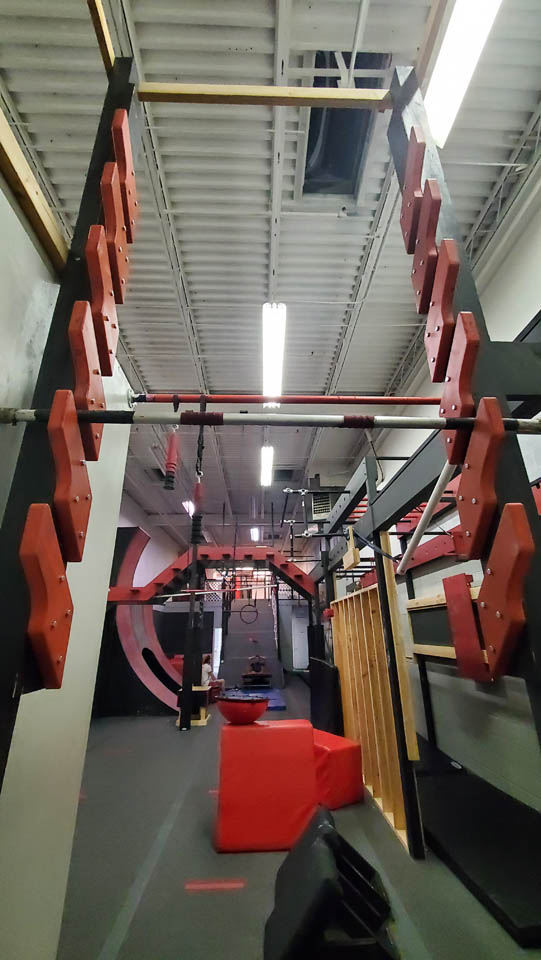
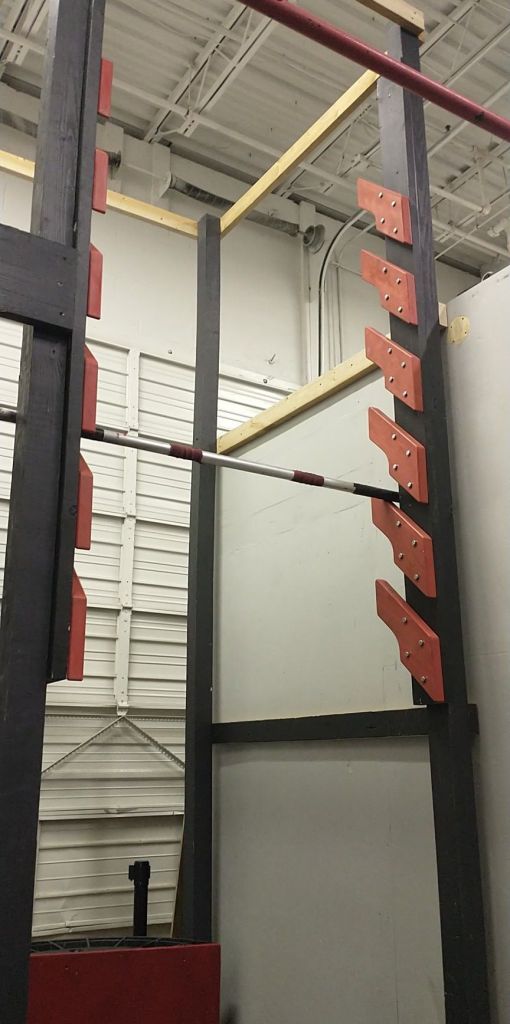
This is the first of two parallel Salmon Ladders. I believe the second one will go up as soon as they are done testing this one.
I asked one of my sons to shoot a video for me.
Looks sound and stable. I look forward to seeing the second ladder go up.

Any chance you have a downloadable template file available for this project?
Sure, I will draw something up when I get a chance and add it to the Post.
I just added it to the Salmon Ladder post. Should be a pdf link around the second paragraph. Enjoy!
You are amazing! Thank you!!!