
Big fish project
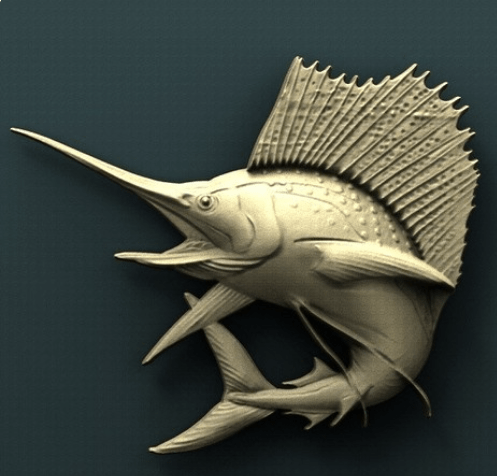
I had a request to do a carving for an anniversary gift. Since I do not carve by hand, I need to start with a 3d model, then convince my CNC carver to work with me (It is sometimes a bit feisty and refuses to cooperate with my designs). The intended recipient of the gift is really into fishing so I searched until I found an acceptable 3d model of the desired fish.
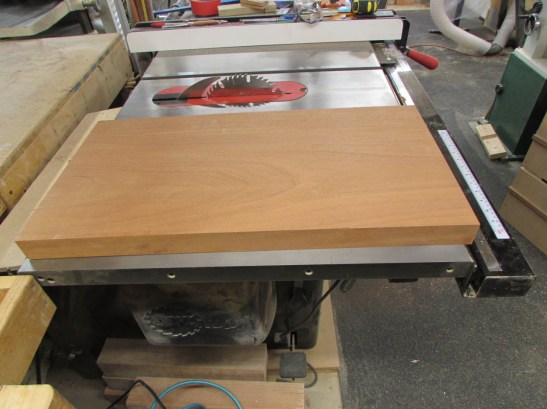
The wood I will be carving into is mahogany. We wanted something fairly thick so none of the skinny pieces would break off easily so I found this big piece.
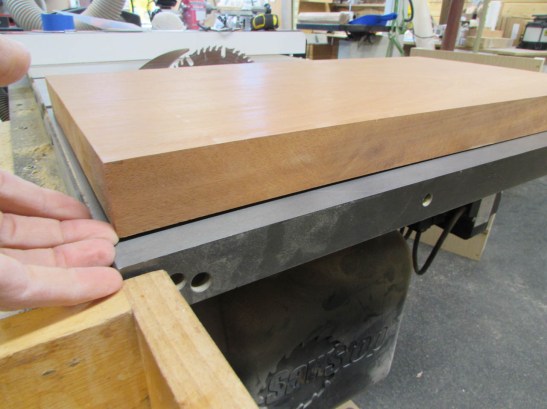
The only problem is a slight twist to the board. I don’t think that would be a problem for the carving, but the CNC disagreed. It is really finicky if the board is not perfectly flat.
After determining which corners were the high spots, I started to bring them down with my jack plane.
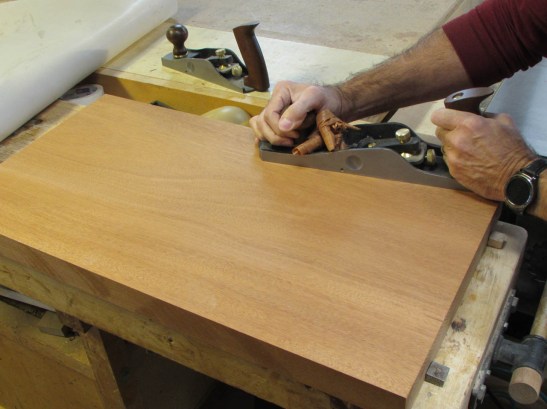
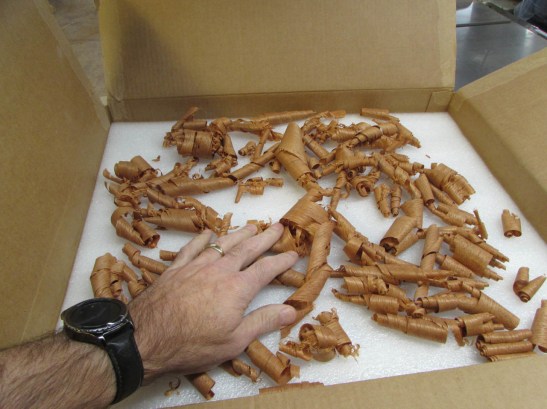
After a small pile of plane curls had accumulated, I had one side flat.

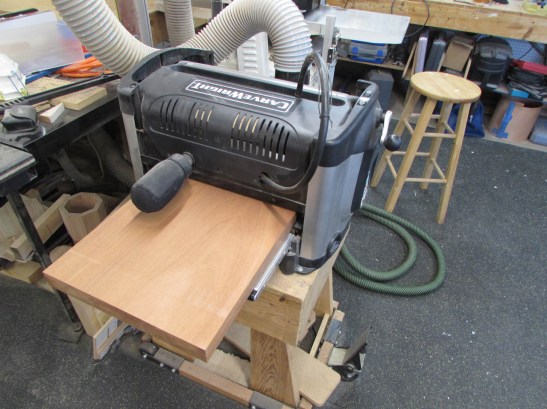
Flattening the opposite side was a lot easier. Since I now have one flat side, it was easy for the planer to make the other parallel.
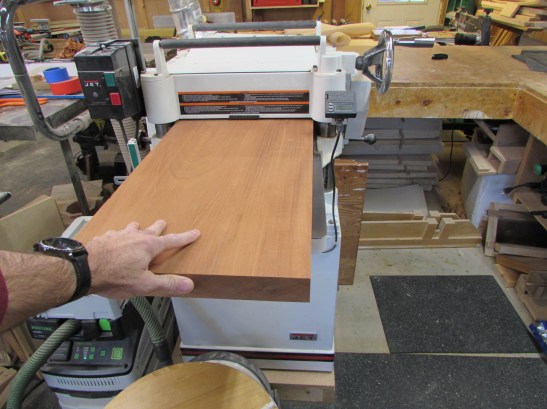
With both sides smooth and flat, I loaded it into the carver and started the program.
After a little negotiating with the cranky little machine, it finally agreed to start working properly.

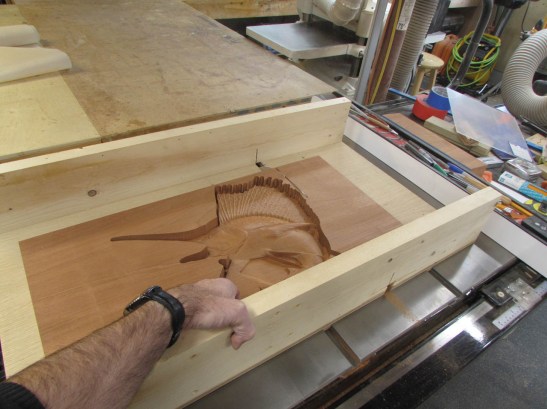
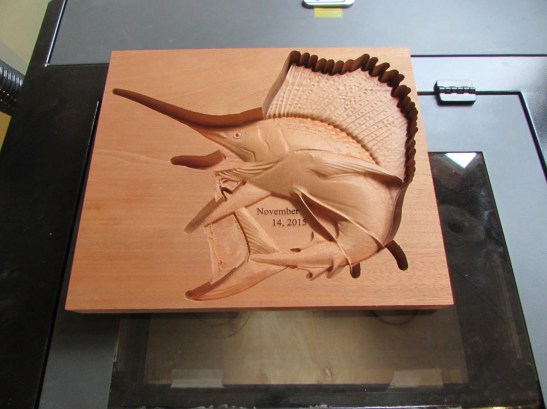
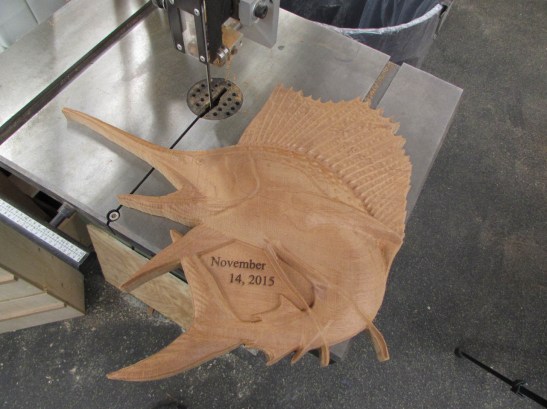
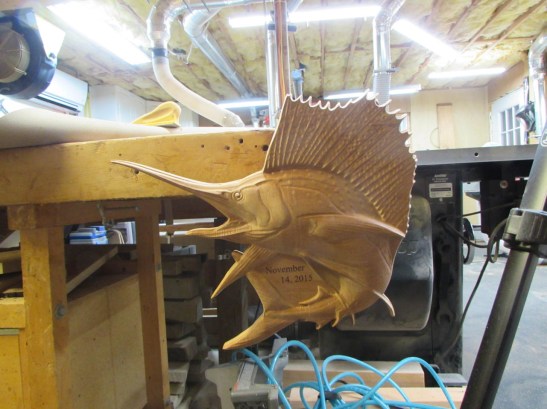
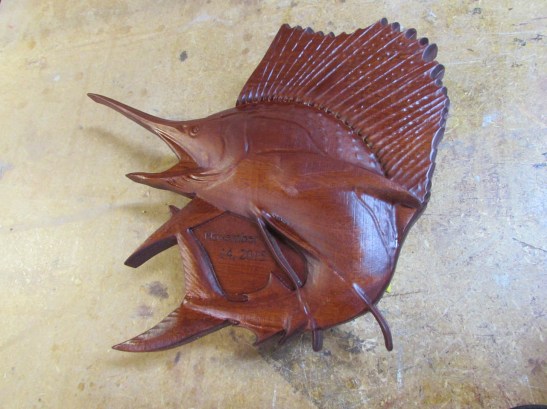
Close to nine hours later, I had a 1″ deep carve of a really cool looking fish.

I could have had the CNC remove the rest of the wood along the upper 1″ of the board, but that would have taken several more hours. Also, I needed some of it for the next step anyway.
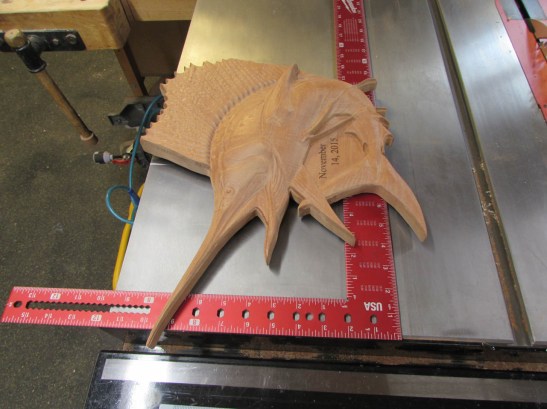
I used my large cross-cut sled to cut away a couple of inches off each end, leaving me a smaller footprint to work with.
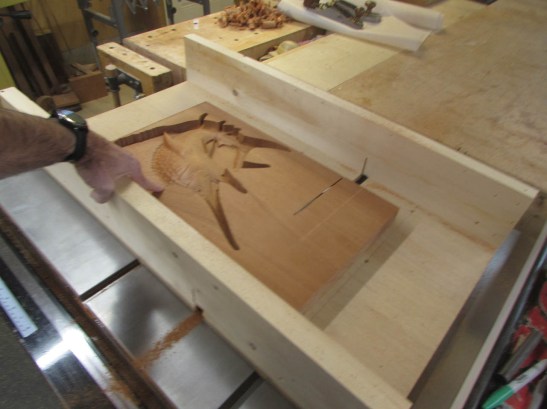
This will actually be an interesting project combining the CNC carver with my new laser. I will be lasering the anniversary date onto the front, but there is some wood still in the way. I will show you why in a minute.
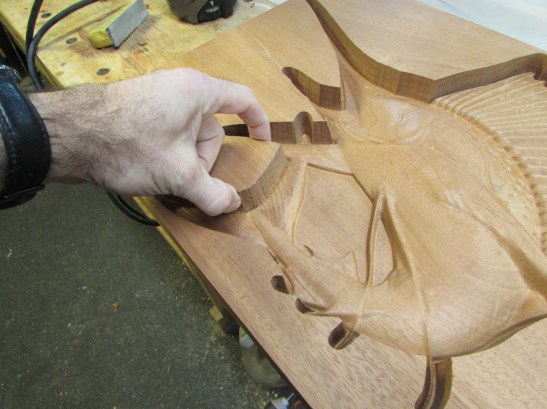
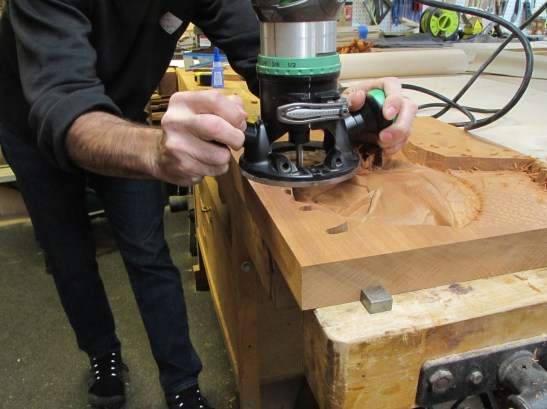
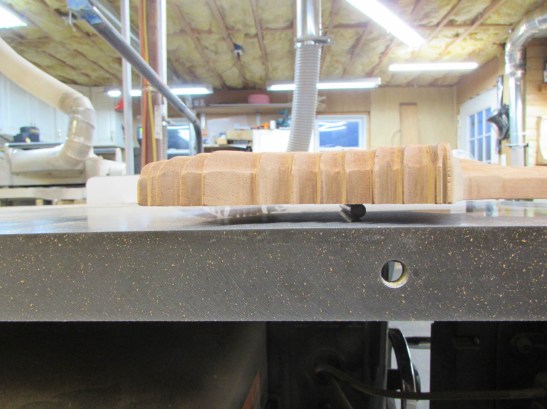
To remove this obstruction, I am choosing to use a 1/2″ spiral cutter bit in my router.

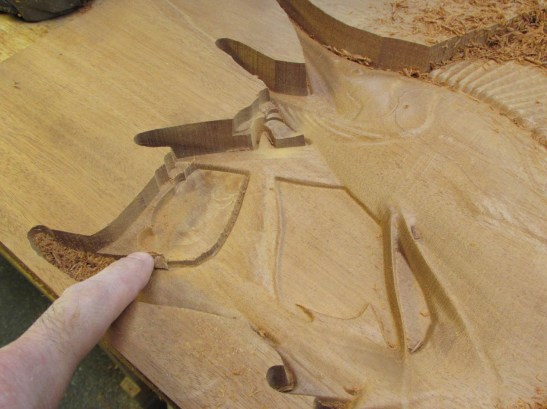
I lower the bit about 1/4″ at a time and work my way down, removing a layer at a time until the wood is the same height as the fish tail.
This area is now low enough that it will hopefully no longer be in the way.
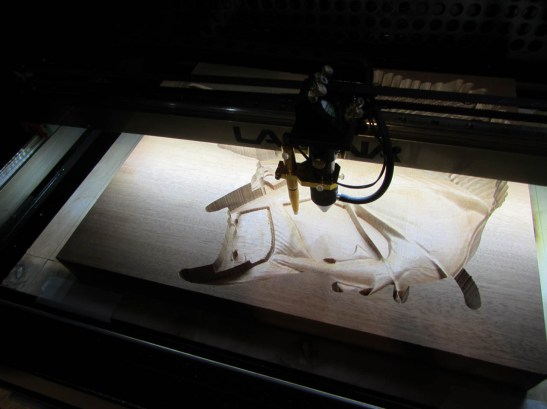
As you can see, in the picture below, my laser has an additional probe on the left side that is used to sense how far above the surface the tip of the laser lens is. This is used to auto focus the lens for etching and cutting. The probe is not easily removed and will smack into the taller piece of wood, that I just removed since it barely clears the fish tail. I actually ran a simulation of the etching operation and it hit the board and moved it. That was why I went back to the shop and cut that section down.
After focus and alignment, I ran a very quick, low power pass of the laser to make sure there were no problems. If there had been a problem, the etch was shallow enough that I could sand it away and start over.


After the initial etch, I ran it again at a higher power and a slower speed to get a deeper burn.
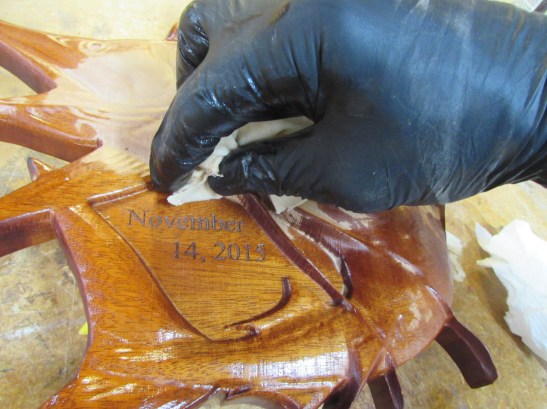
The reason I had to leave the edges at full depth was that I am also carving some song lyrics, from their wedding, on the back. If I had carved away the edges, the fish would have not laid flat and I would have had to block it up very carefully to achieve the same effect.
It was just easier to leave the board flat. I located the best location on the back of the fish and marked the center of my lyrics then centered the lens over that spot and started the etch. I used the same power and speed settings from the date on the opposite side, since I liked the final outcome of that.
The carving and lasering are done.
Time to remove the excess wood around the edges. But first, I need to do one of my least favorite shop tasks, changing the bandsaw blade. I am pulling off the old blade because it is course and fairly dull. I am loading in a 1/4″ – 10 tpi blade, hoping that it will give me a fairly smooth cut.

Once the blade was installed and calibrated, I start by carefully cutting some of the longer sweeping curves, getting the easier cuts out of the way first.
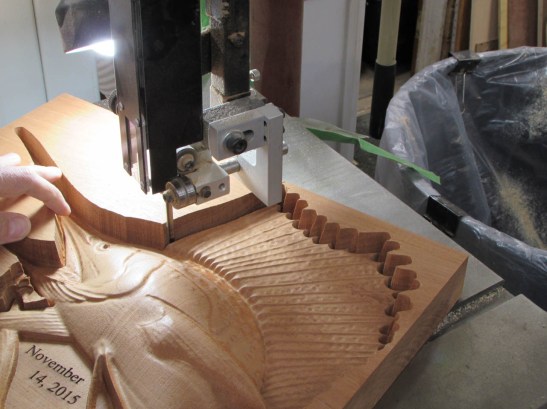
I am staying just outside of the carve, hoping to minimize how long I will be sanding afterwards…
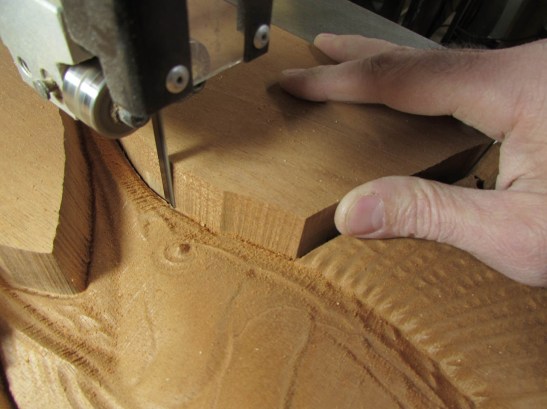
I cut away as much of the bigger waste areas as possible to allow me some light to see by, down in the crevises.

For the small, pointy bits, I have to make a lot of relief cuts.

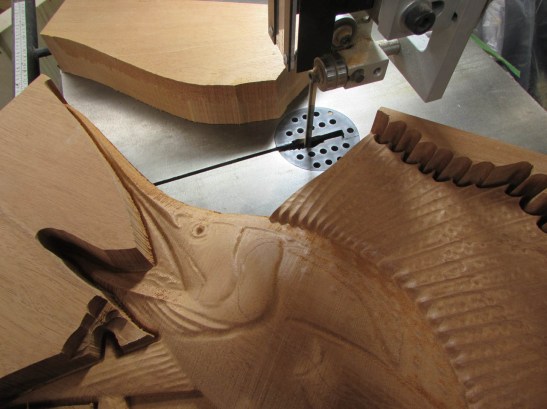
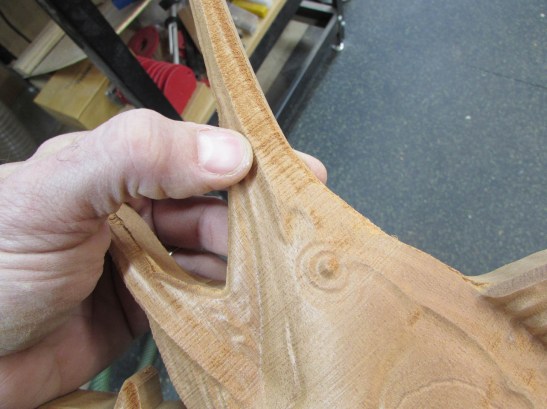
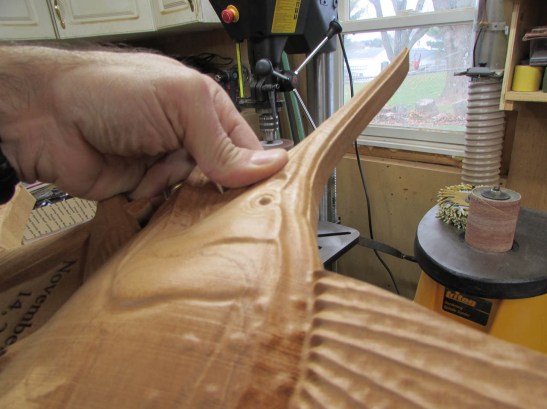
I have to be very careful around the tips of the dorsal fin.

But after some careful work, I have the fish freed up.
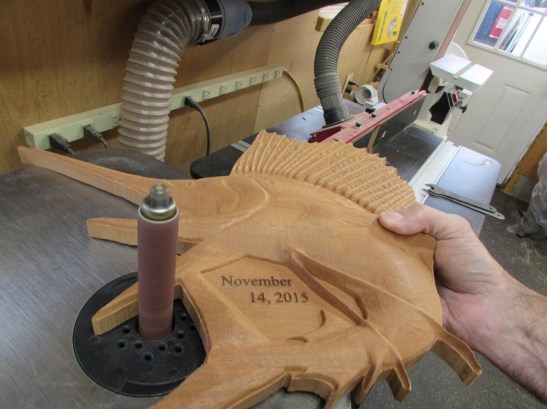
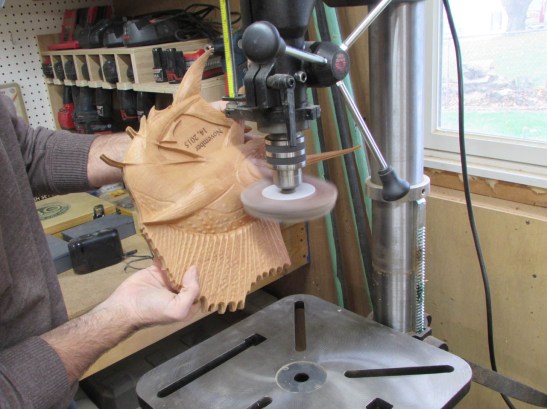
I use the orbital sander for the longer sweeps.
The carving tool does a fairly good job on half of the fish, but it raises the grain on the other half.
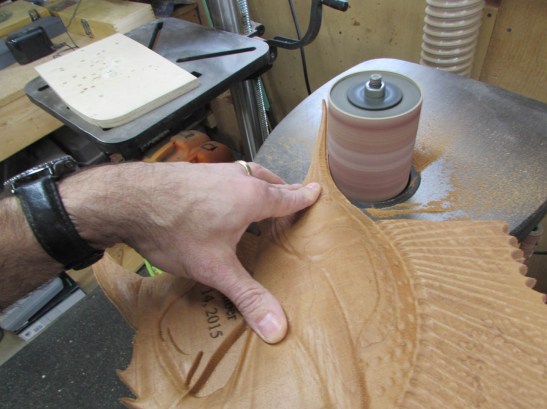
The best way, that I have found, to combat this is to use mop sanders.
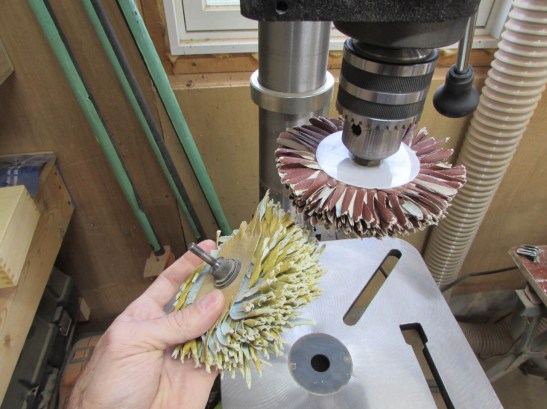
The key is to run them as fast as possible to avoid deteriorating the sanding medium. I am running them at 3,000 rpms.
It tends to smooth and burnish the wood. If you hold it too long in one spot, it can burn as well. But, it does a great job removing the fuzzy bits without eroding the details.
Looks pretty good. I carefully avoided sanding the areas that were lasered.

I now have to get down into the tight spots that the electric sanders cannot reach. I am using jeweler’s files for the most part, and some small pieces of sand paper.
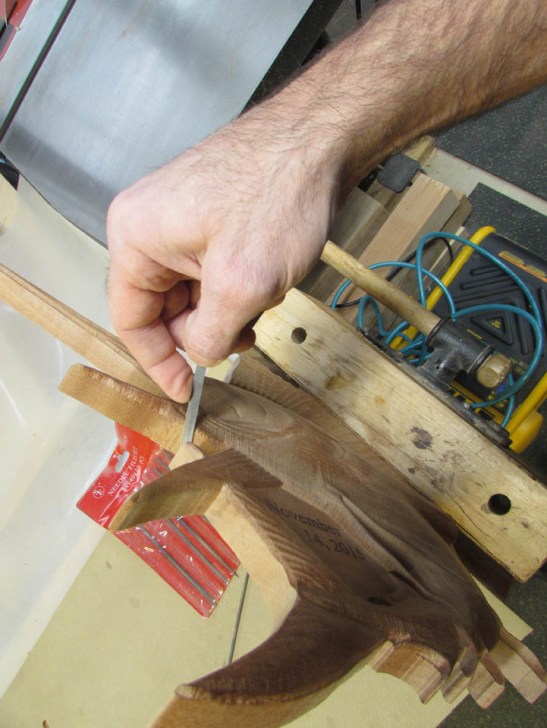
A long time later… the sanding is as good as it is going to get.

An interesting challenge will be finding the correct location for the hanger, on the back of the fish.
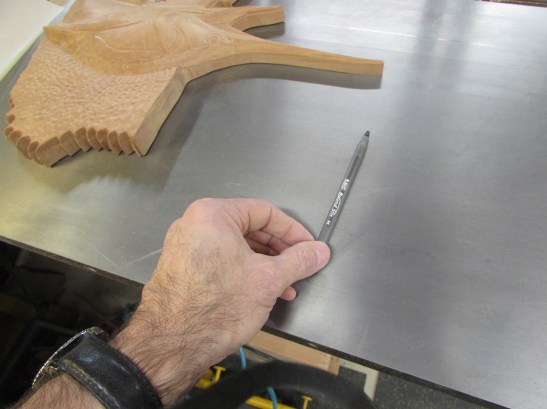
I am using a simple Bic pen, mainly because it is the first cylindrical object I could find.
I balance the fish as carefully as I can, vertically, while aligning the text with a framing square, horizontally.
Laying a long ruler aside the pen, below, I then flip it over and mark where the center of the pen body was.

Along this center line, I trace the outside of the metal hanger, I want to use.

Balancing the fish on a block, to keep the back flat, I bore a 1″ diameter hole, 1/16″ deep.

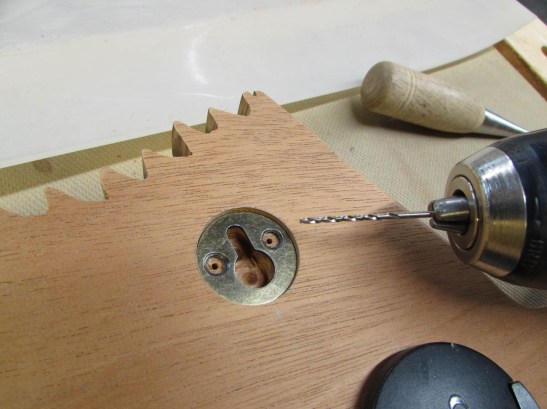
I laid in the hanger and marked the keyhole next.
For the slot, behind the keyhole, I bore two 1/4″ deep holes with a 3/8″ bit.

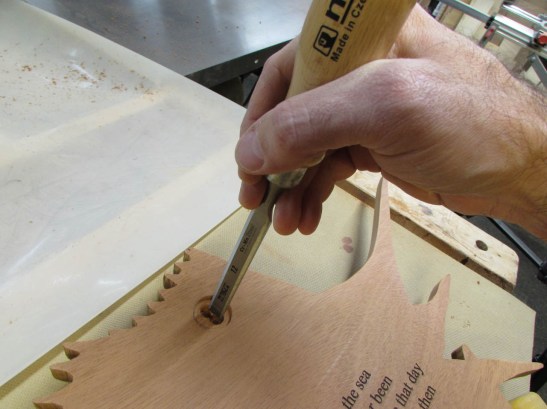
After opening up the space between them, with a chisel, I drilled pilot holes for the screws.

After screwing the plate on, I did a test hang of the fish to see if the text stayed horizontal. Looks pretty close.
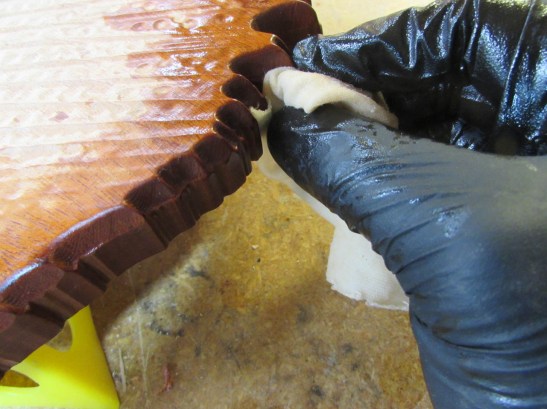
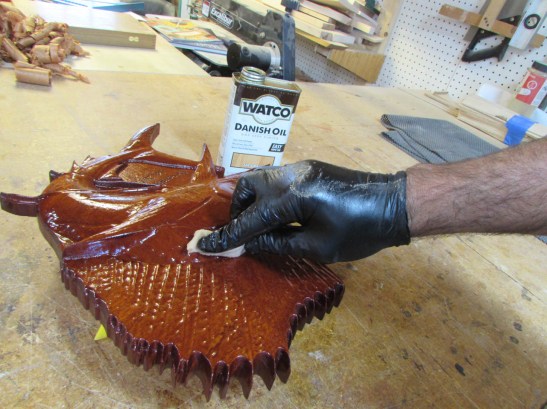
Now it is time for finish. Since this will hang on a wall and not receive a lot of abuse, I am going to use Danish oil and give it a couple of coats.
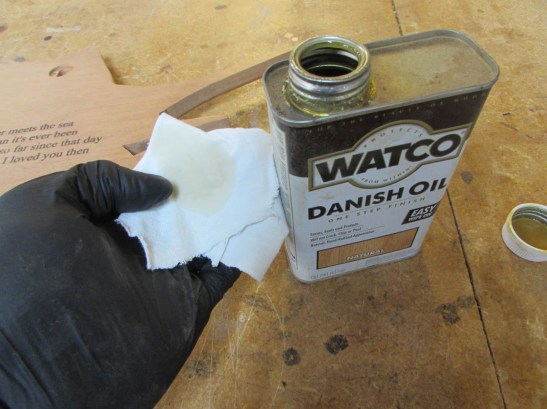
The oil deepens the color, but brings out the grain in the wood nicely.

And, it works into the nooks and crannies better than brush on finish.
Looks pretty good.
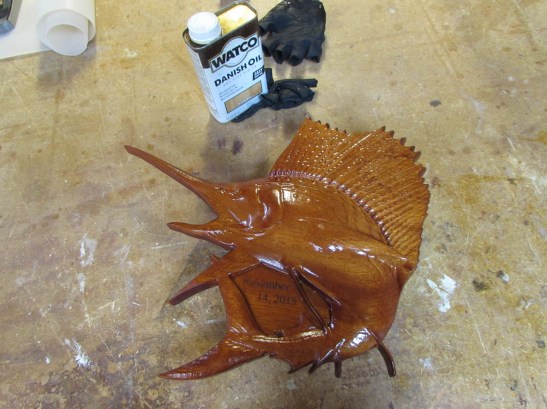
I let it dry about 10 hours between each coat. It got a lot darker, but it looks pretty good.
After everything was dry, I reassembled the hanger.

This little guy has to travel 4 or 5 hours to get delivered, and I believe that it will be packed into a car full of luggage so I am going to pack it in foam.
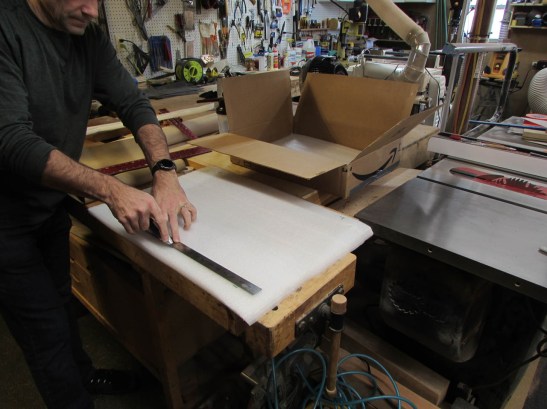
My laser was packaged in several layers of this stuff and reusing it for packaging seemed better than throwing it away.

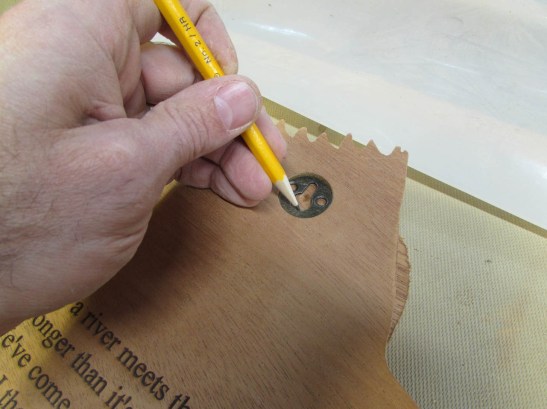
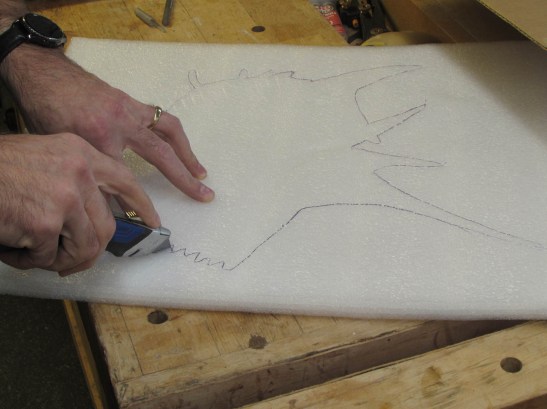
I traced the fish out on the foam with a ball point pen, then cut it out with a sharp utility knife.
That worked better than I expected.
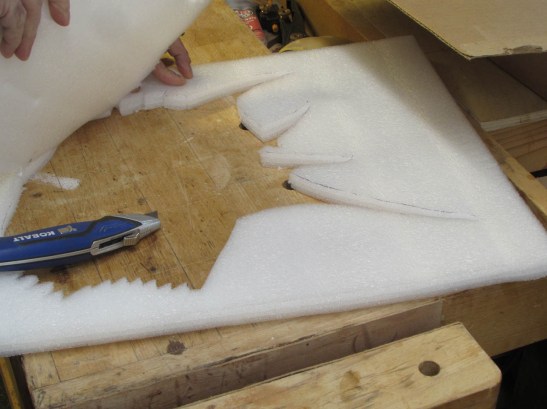
The fish fit perfectly.

I decided to make a second layer as well.

A solid piece was placed on the bottom and top as well, making 4″ of foam in total. I even threw the mahogany planer curls on top to fill out the empty space…
This was an interesting project. I like being able to combine the laser with the CNC to create something. The CNC does not always do well with text, but the laser does very well with it. I will have to see what else I can come up with in the future…
Oh, and “Happy Anniversary” To Keith and Noelle.
