
Chris’s little train table – part 4

While each one of these table tops are different and each presents unique challenges, I don’t think you need a detailed walk-thru of each one so I will give you the highlights of the last five tables…
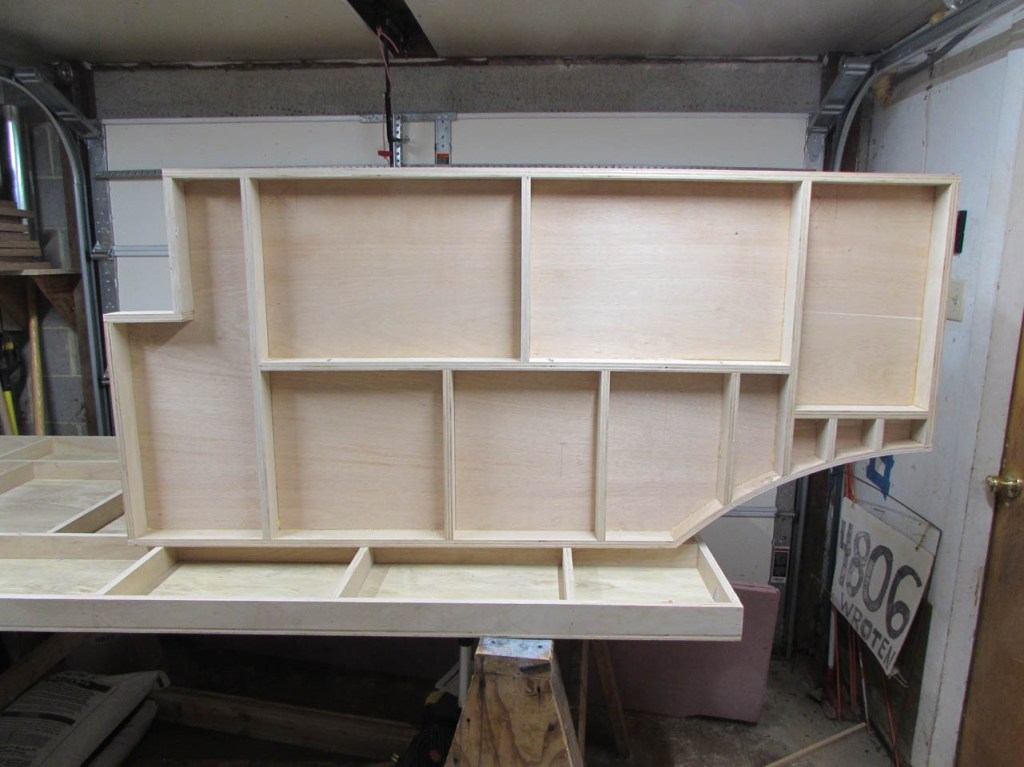
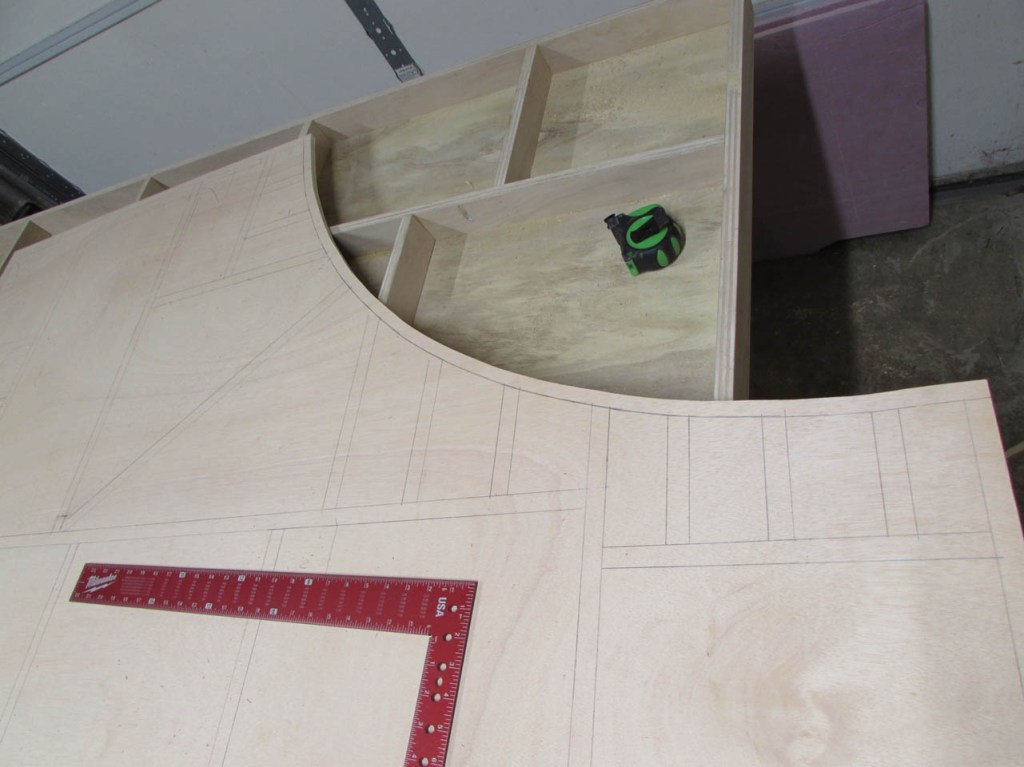
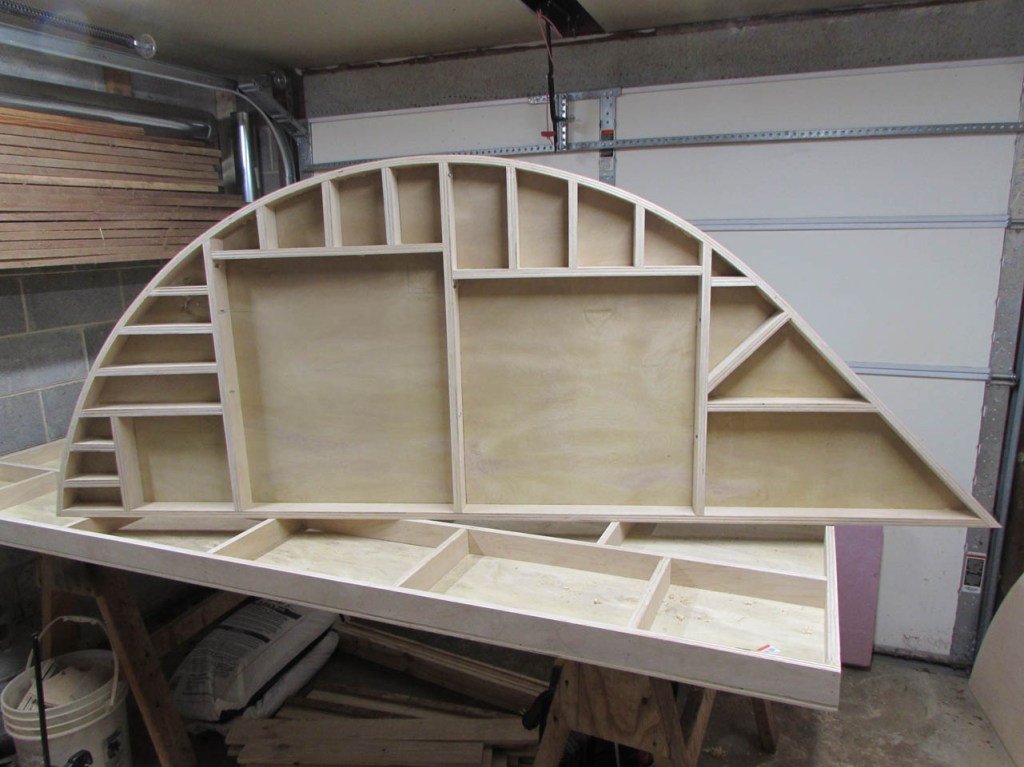
Tables six and seven have an additional notch in the corners to fit around brick corners of the fire place hearth at the end of the room.

The square notches were not that hard, but the curves were rather time-consuming.

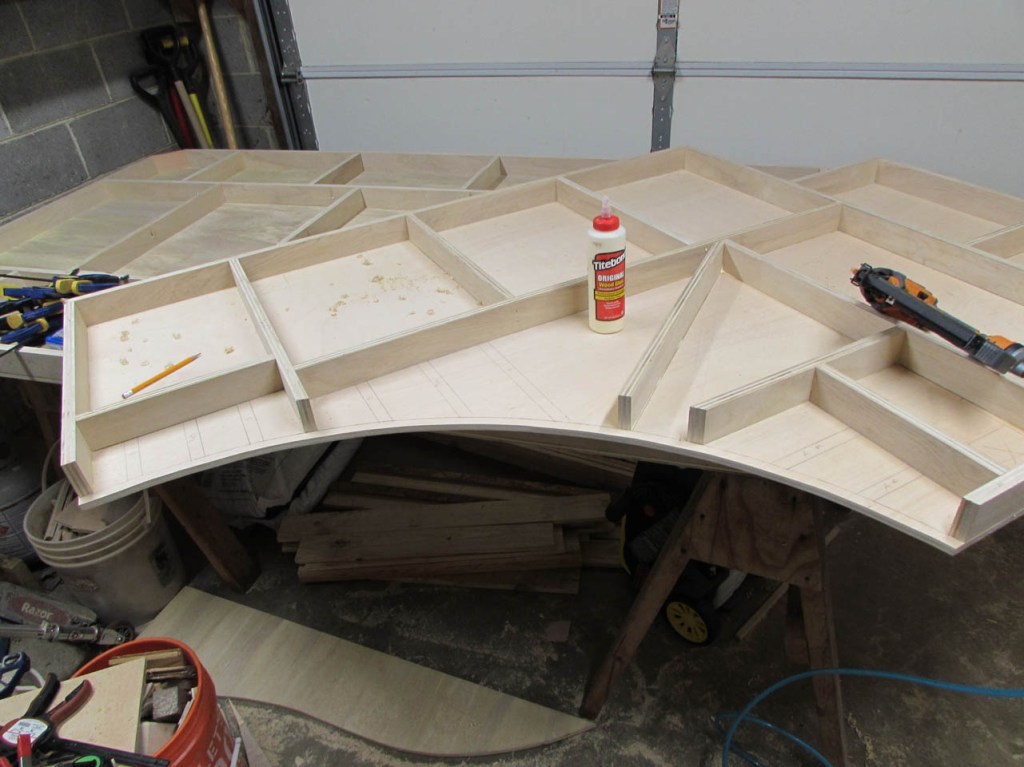
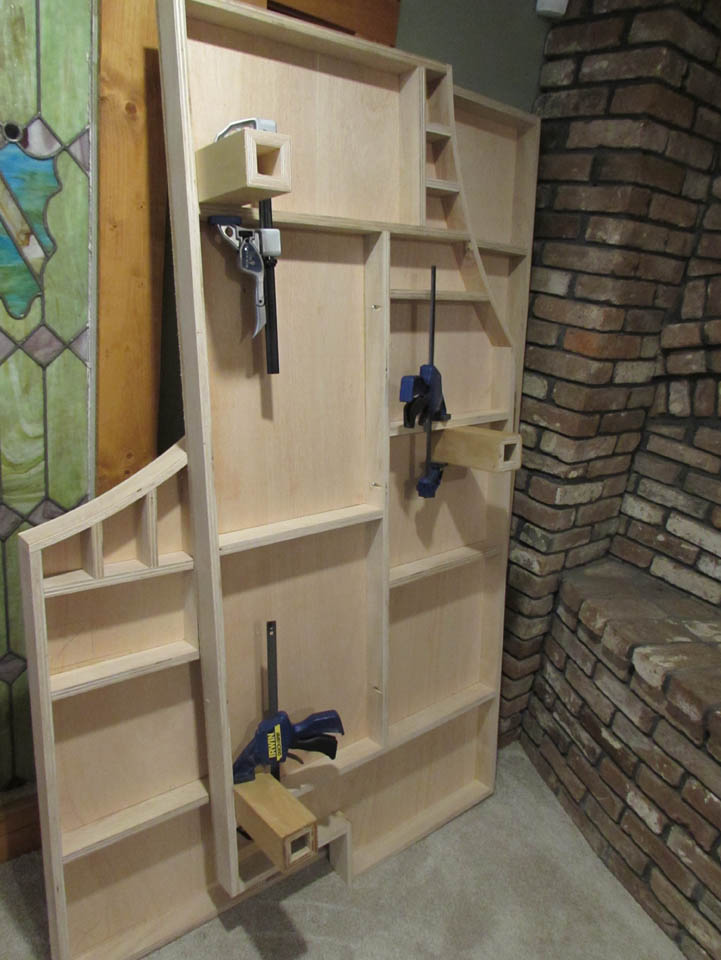
I am finding that the concave bends require more structure. I am placing a rib every 4″ or so. Each piece requires a custom bevel.
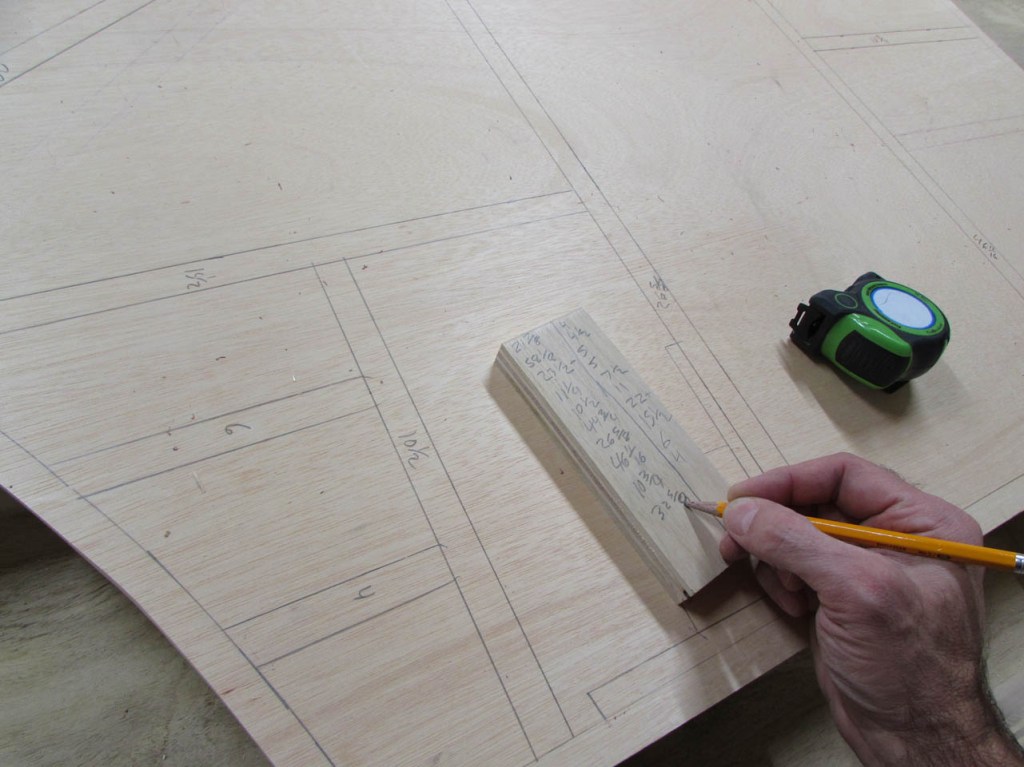
To save time, I have started laying the entire structure out in pencil, then I measure the length of each piece.

I use this to make a cut-list. The numbers on the left side are exact for all of the straight pieces, and the numbers on the right have a “plus (+)” next to them to indicate they could be longer because they will be cut down after being marked around the curve. This enables me to grab off-cuts that are close, but not exact. (It saves a little time and uses up scrap.

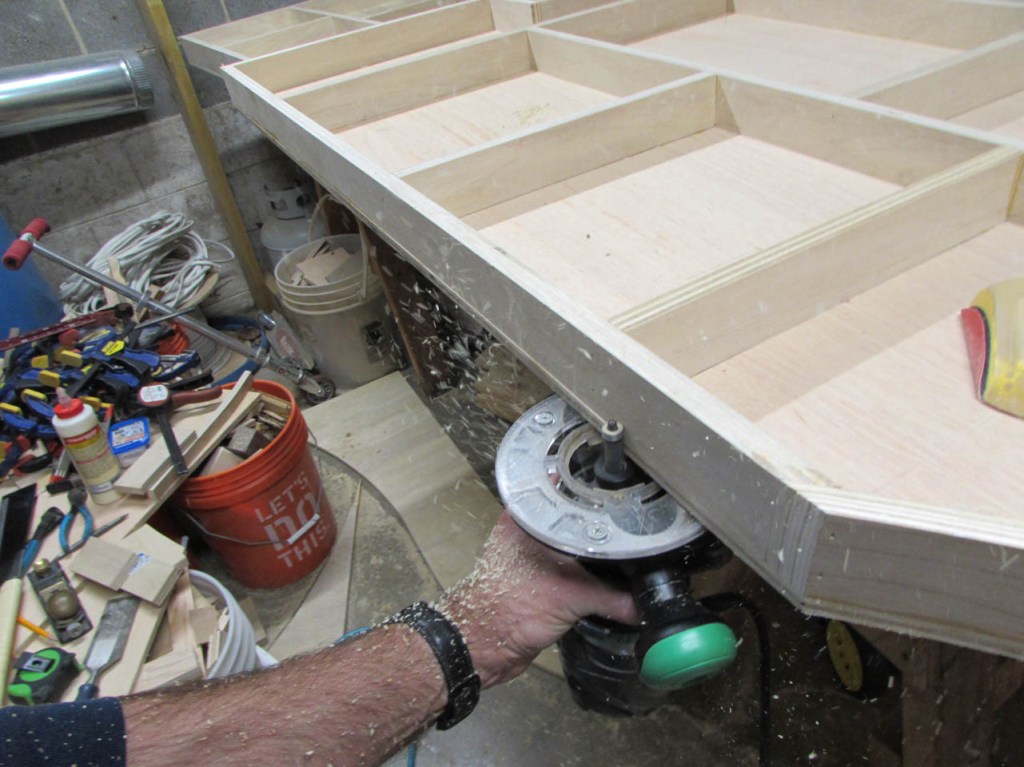
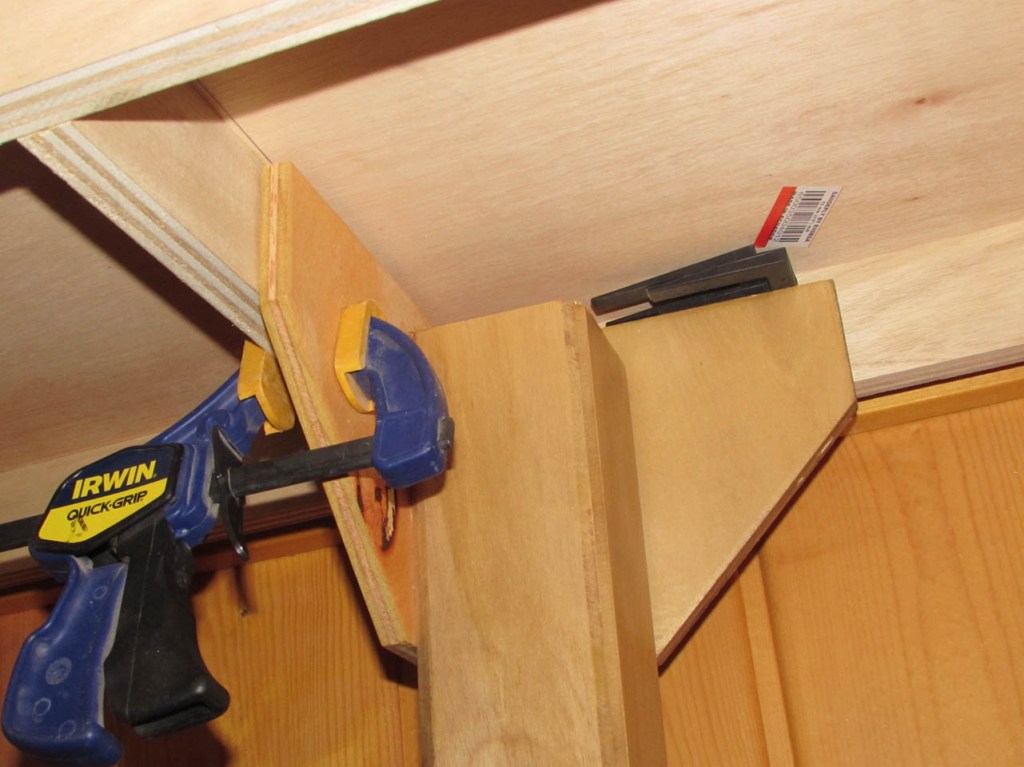
I get all of the square pieces installed first. This allows me to have structure to nail the back end of the curve ribs to, so I do not have to add pocket screws to each piece to hold it while the glue dries.
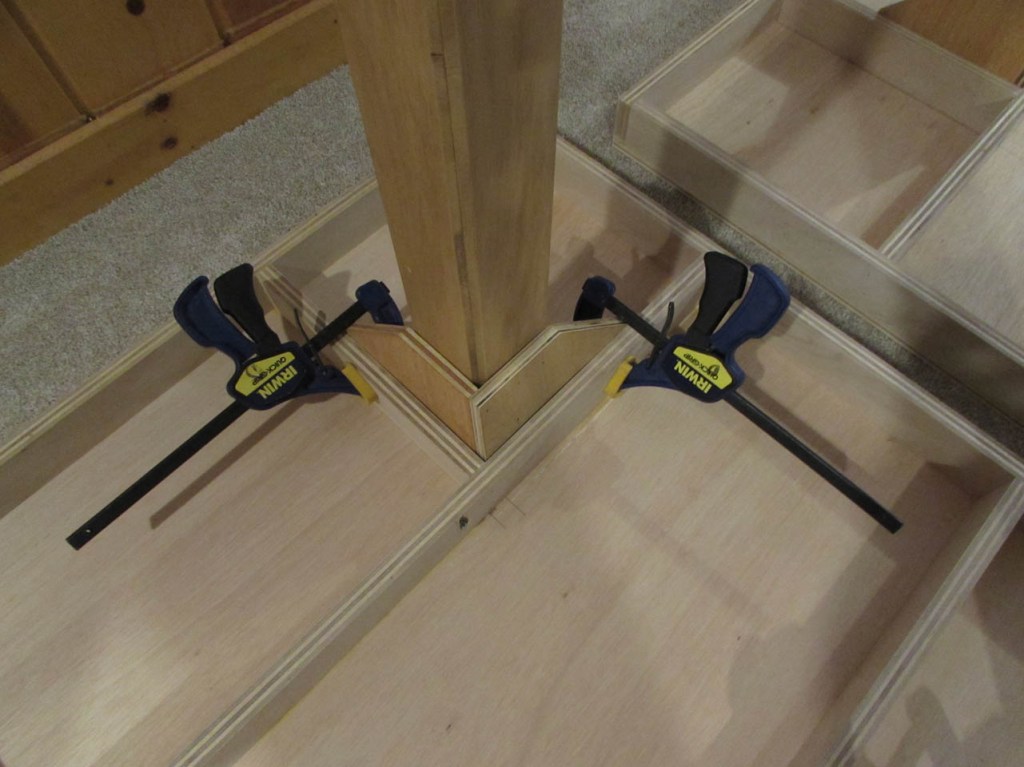
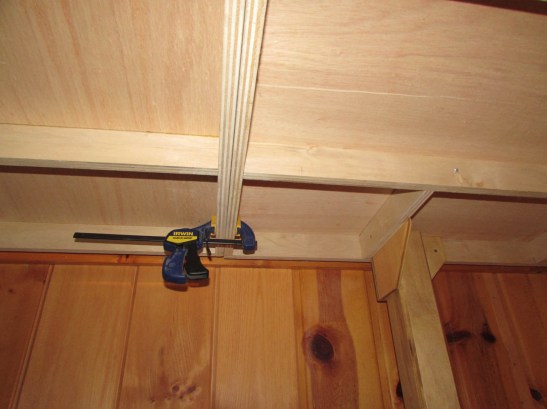
I can then either clamp or nail the front end from below.

A lot more clamps are required for the concave bends. It makes it difficult to get the brad nailer in to attach the strips sometimes…
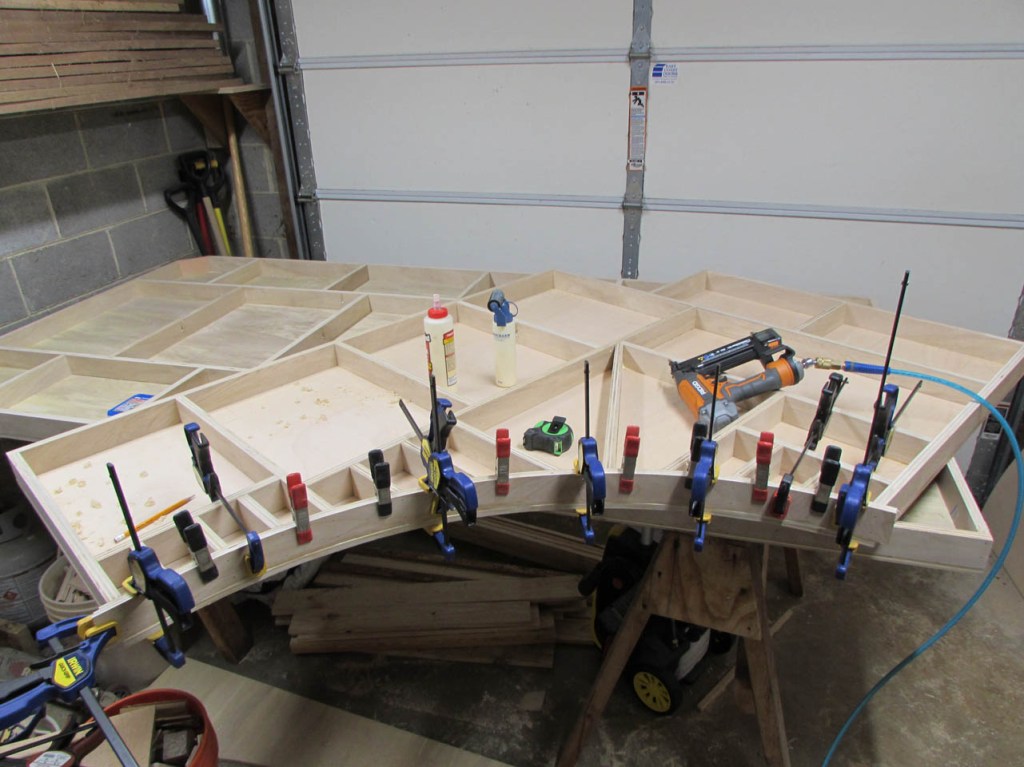

Table eight was fun.

This one needed a lot of ribs as well.

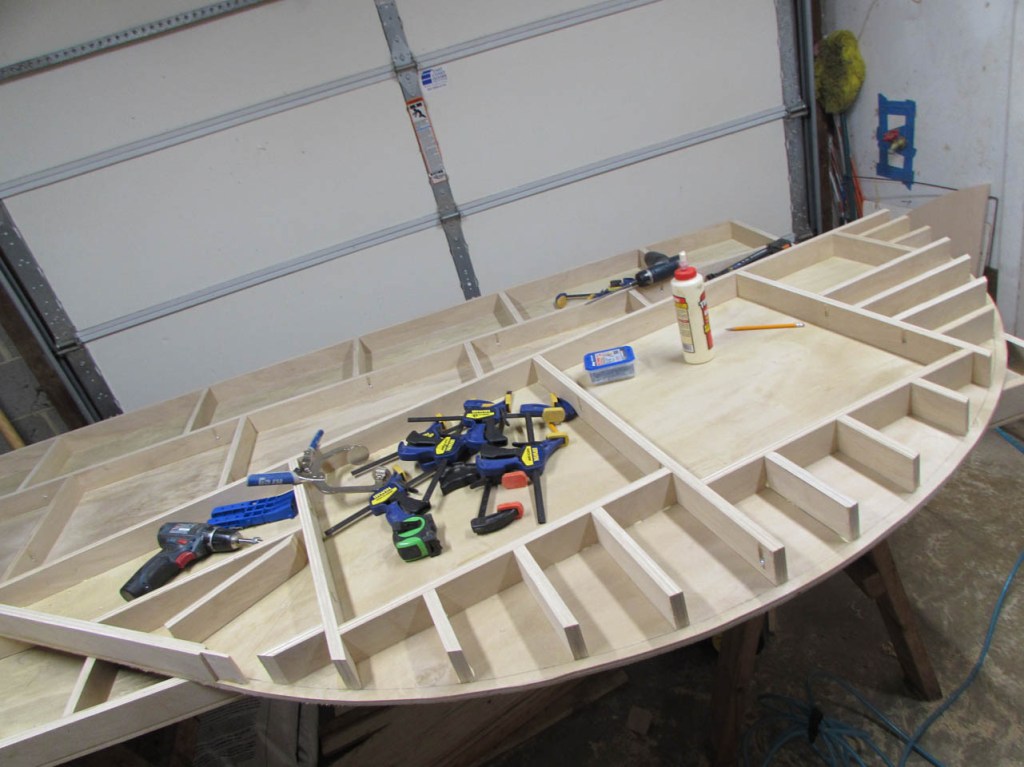

Since the face was about ten feet long, I was worried that I would have to blend short and long strips together. I was not looking forward to that. Luckily I realized that the last 2-1/2′ were perfectly straight so I made another piece of 3/4″ with a tongue. I actually started the 1/4″ strips a few inches back along the straight section so they were not being spliced on the bend, it worked really well.
Still a lot of structure though.
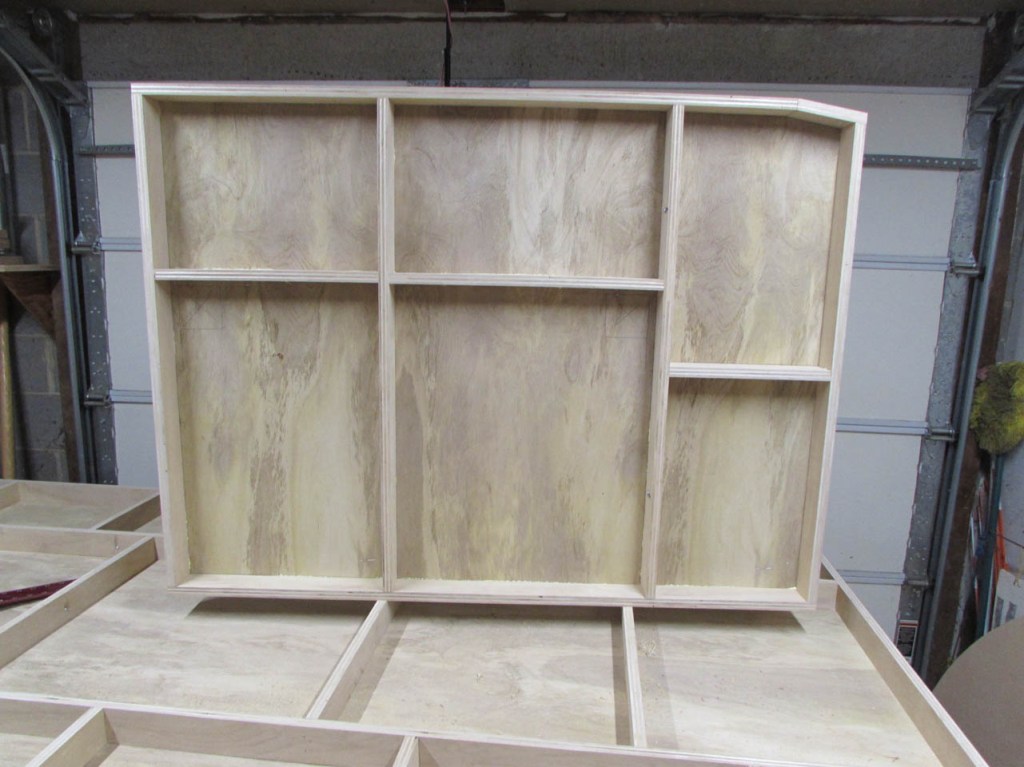
Depending on how complicated a table is, it can take between 2-4 hours to get the structure cut and attached. Then you have to wait a couple of hours for the glue to dry before pulling all of the clamps to use on the next one. Of course top #9 went a lot quicker. No curves on this one, just a straight bevel on one corner.

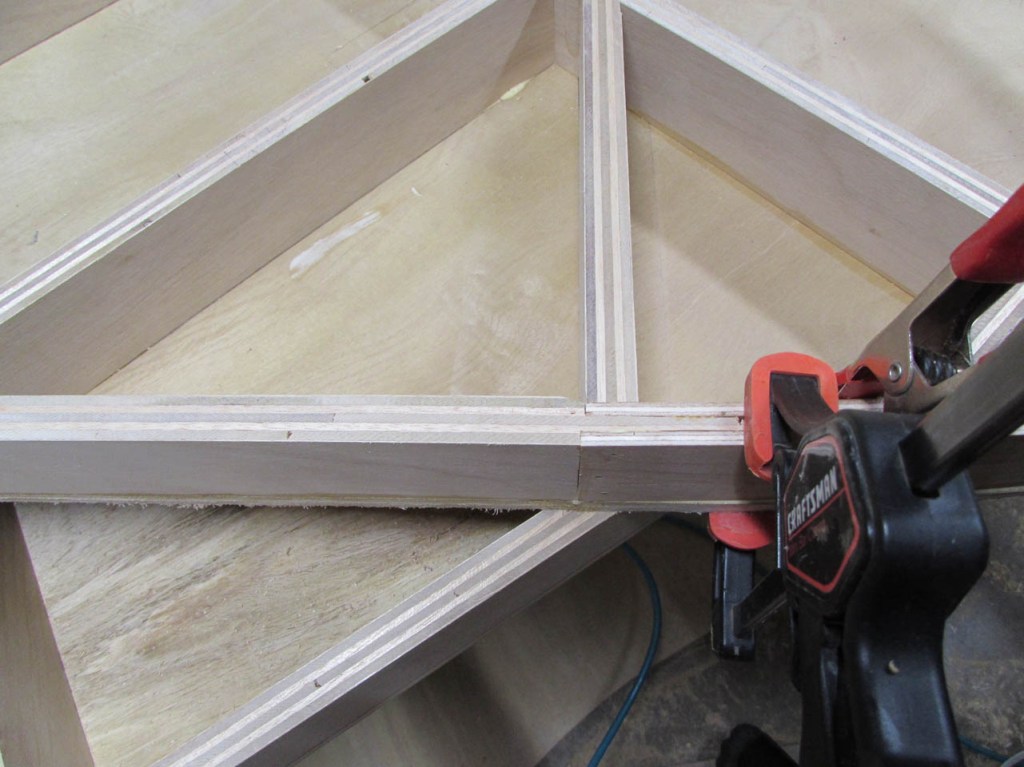
By number 10, I am finally getting pretty good at trimming the bent laminations by hand.

The tops are finally complete. I estimate that it took about 60 hours to construct the legs as well as the tops.

Time to pack up the truck and head to Chris’ house.

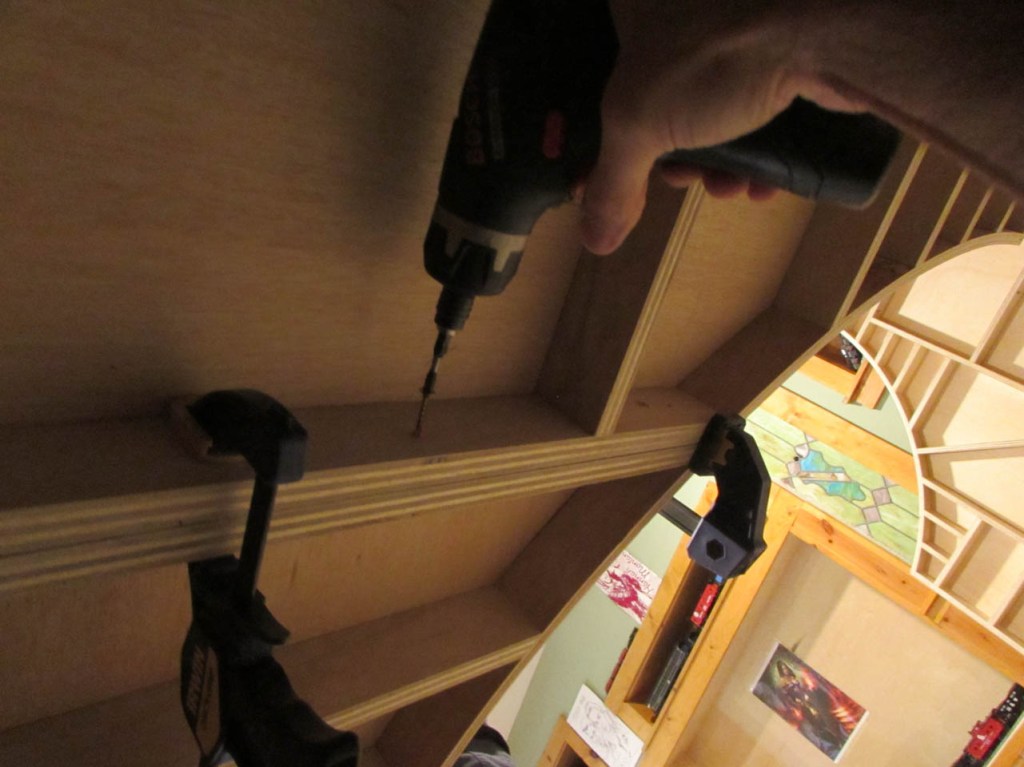
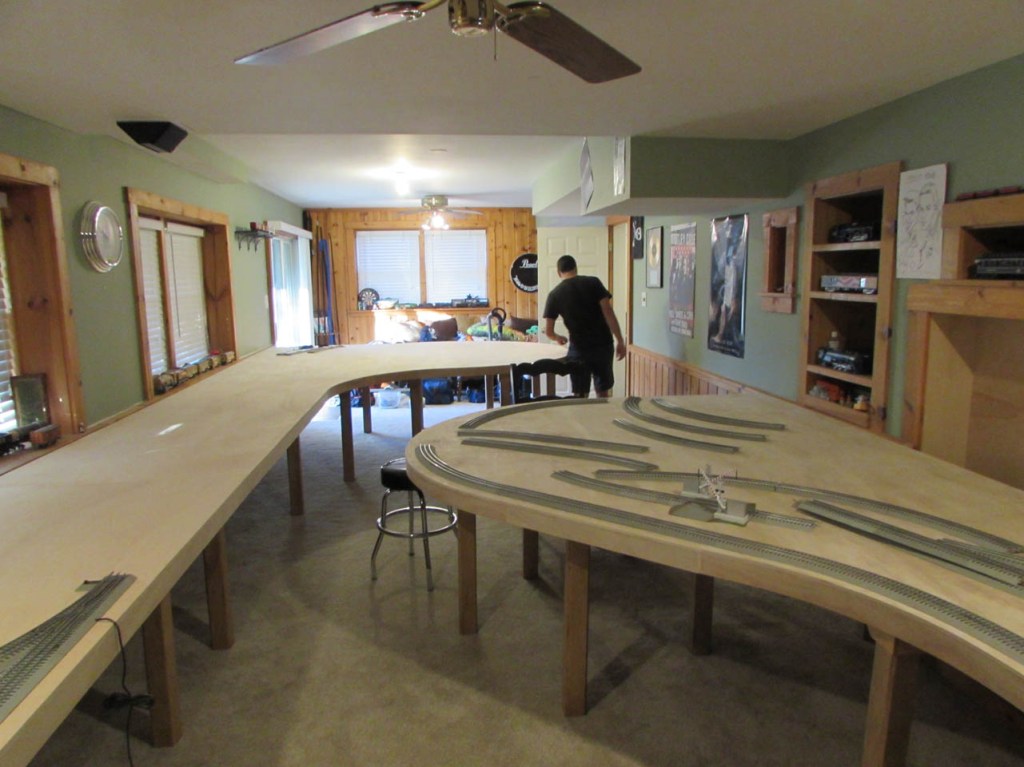
I started at the window wall, close to the hearth. The hearth will be the tricky part, but the height has to match the window sill and every table has to be the exact same height and dead flat.
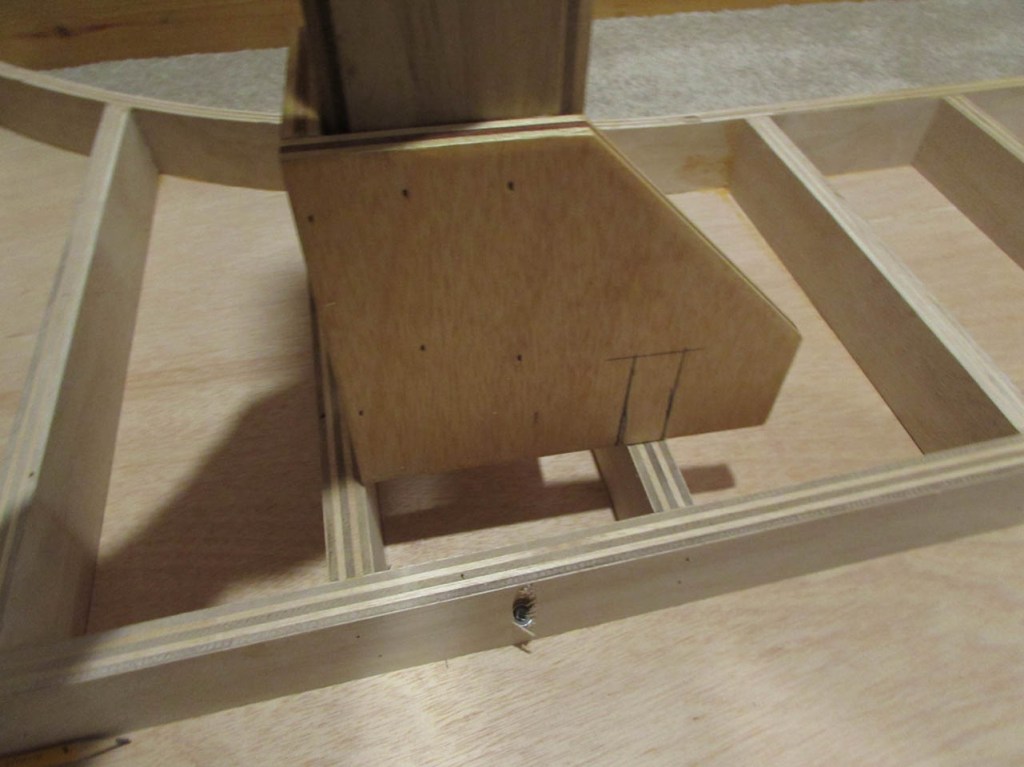
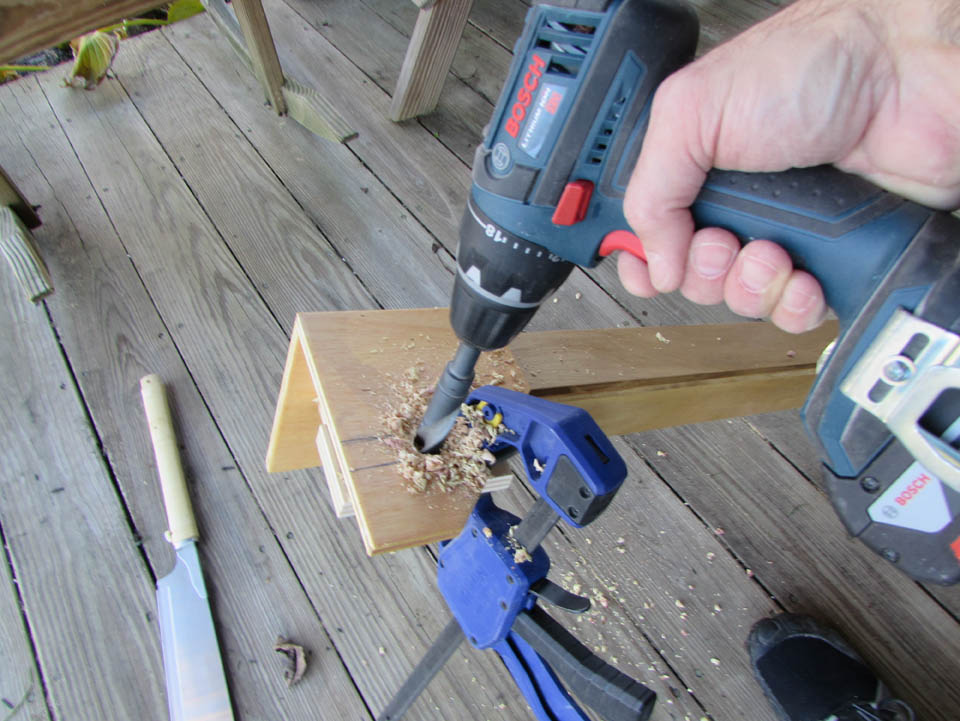
And, of course, the first leg I tried to install had a rib in the way. I actually started laying out the leg locations, on the board after these first two tops. And this one was the one where I figured out how the bent laminations were going to be installed, so I gave no thought to leg location… Oh well, it is easy enough to work around. I marked the rib location and drilled a 3/4″ hole at the top.
Then I used my pull saw to cut away the rest. There are several other methods I could have used but I left all of my other tools at home…
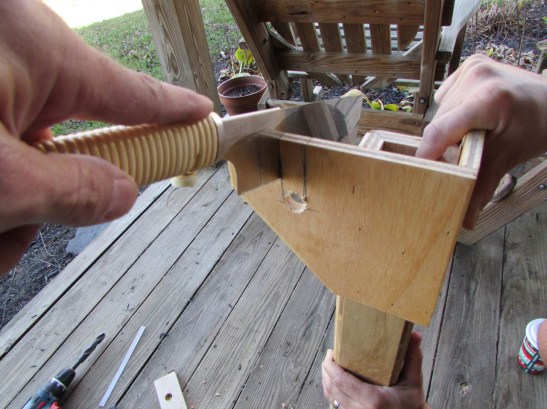
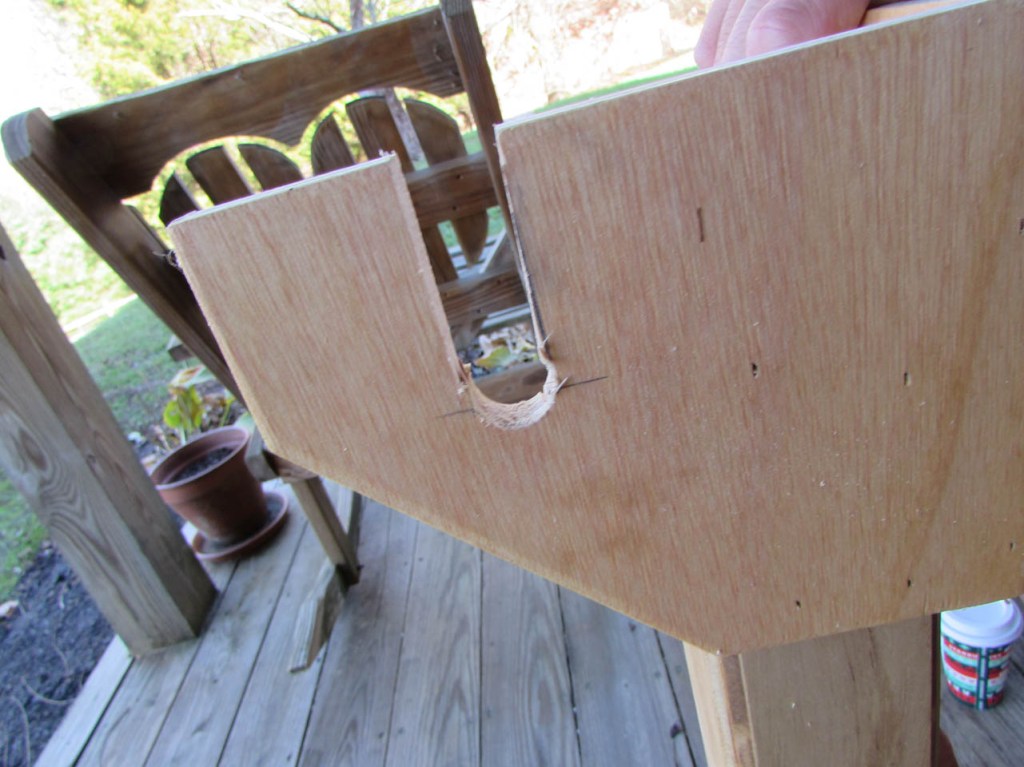
No matter, it installed perfectly. For the other three legs, I used clamps to hold them in place temporarily.

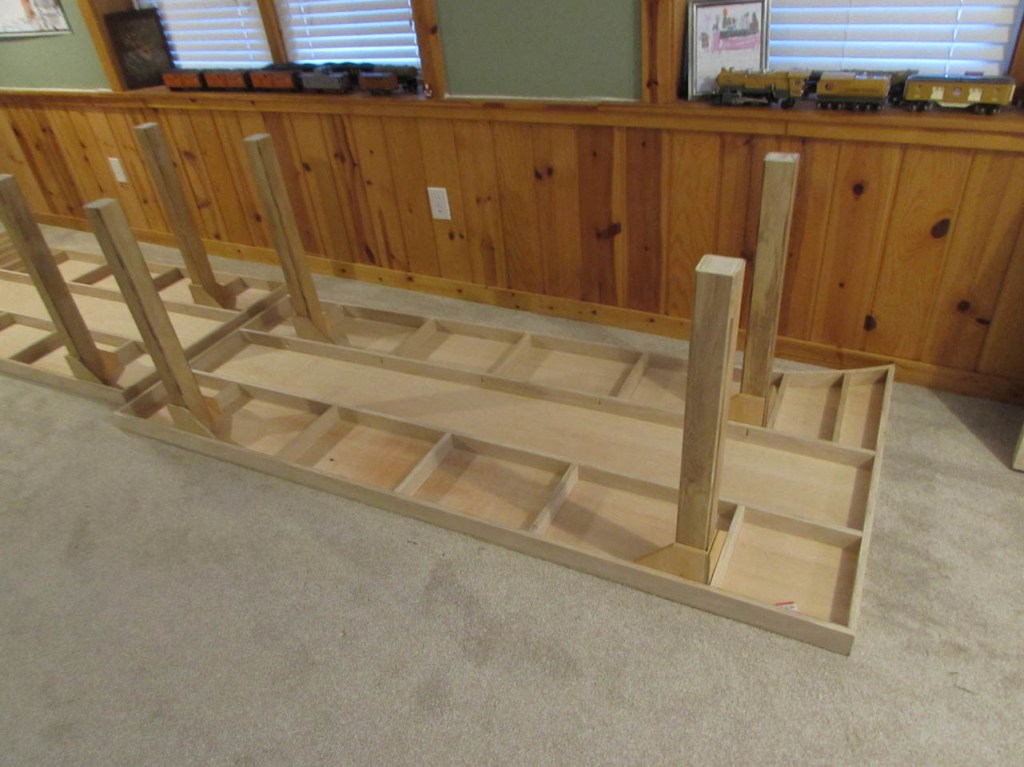
Chris and I flipped the first table top over and stood it on it’s new legs, next to the window.
I used some shims to raise the table so that the top matched the height of the window sill.

After the height was achieved, at the wall, I used shims atop the front legs to make everything level.
Then I crawled underneath and added three screws through the ribbing, into each gusset. I also made sure the leg was straight with a level.

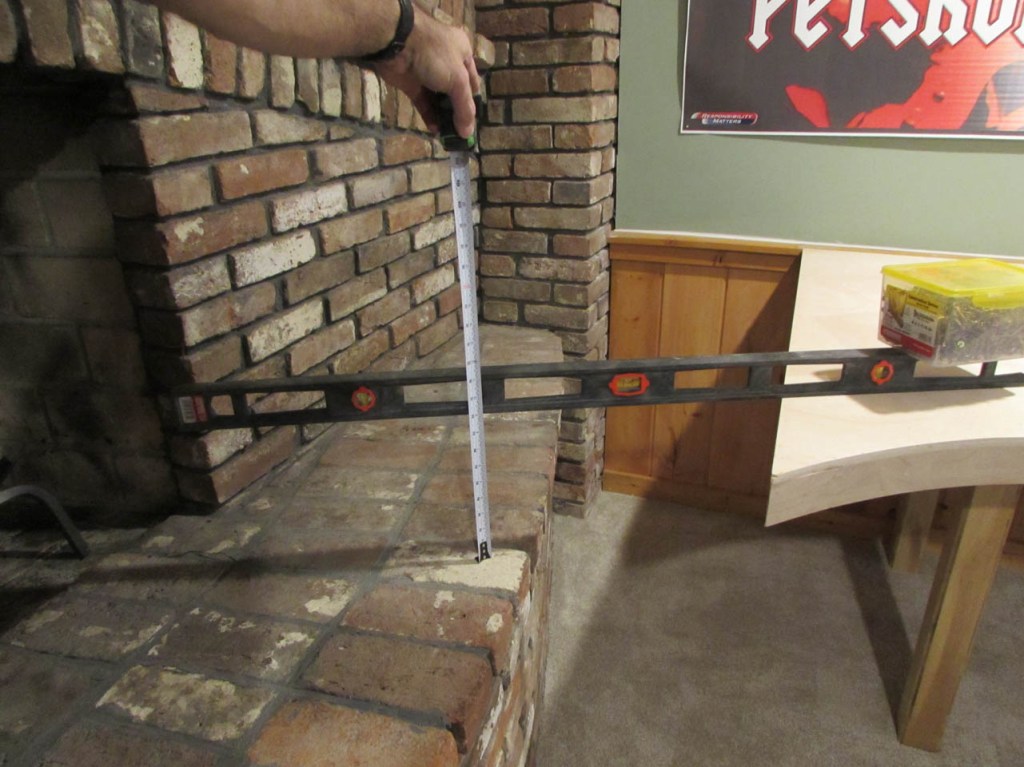
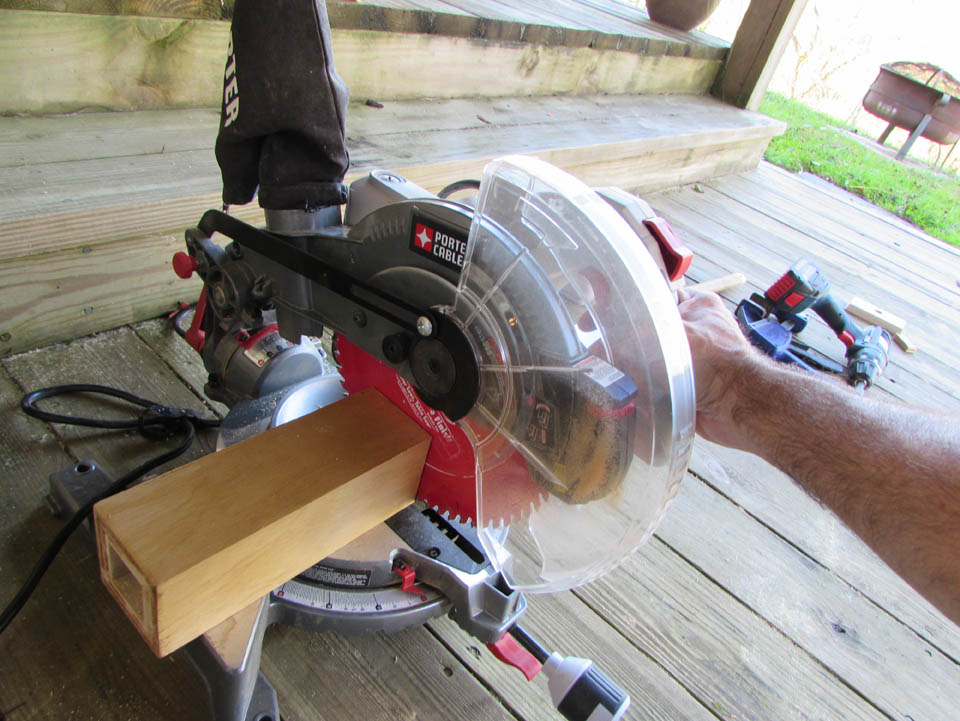
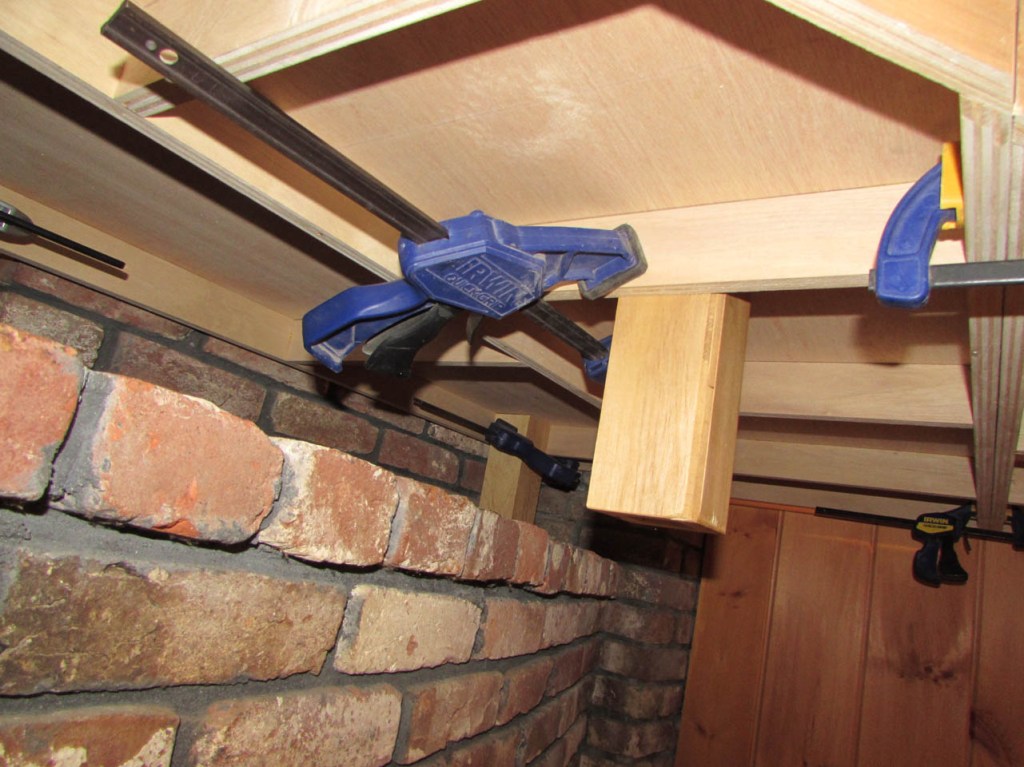
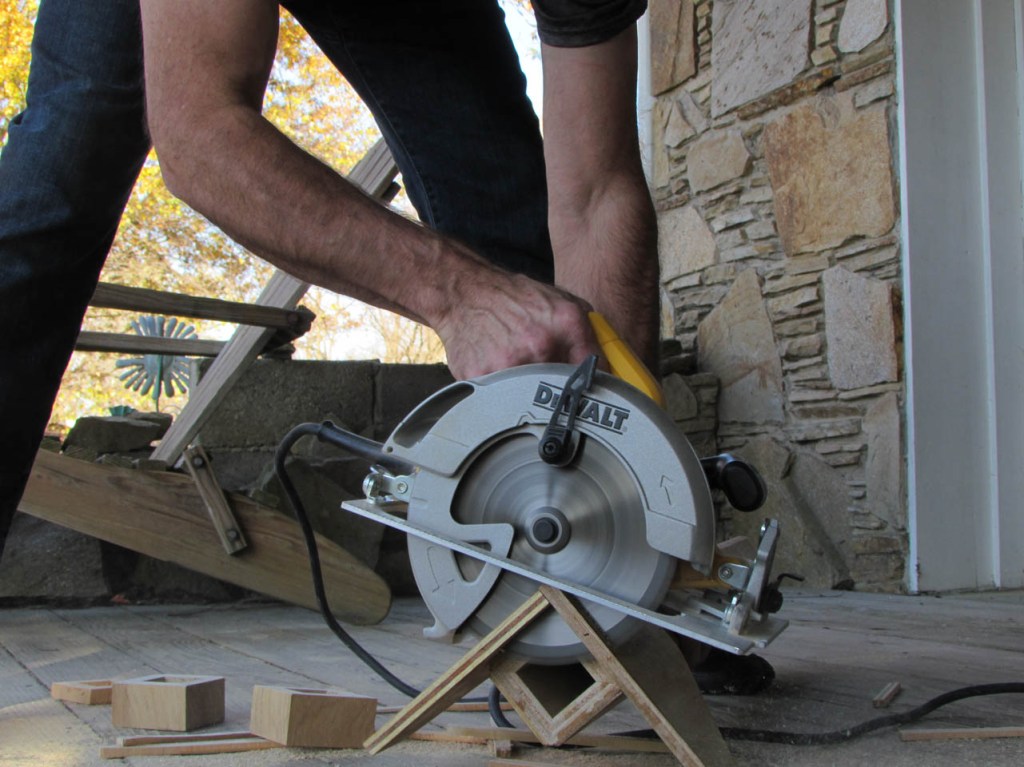
I used my 48″ level to project the height above the hearth so that I could estimate the required height for the short legs. I originally made them all at least 1″ too long. After getting the new dimensions, I cut the legs down on my portable miter saw.
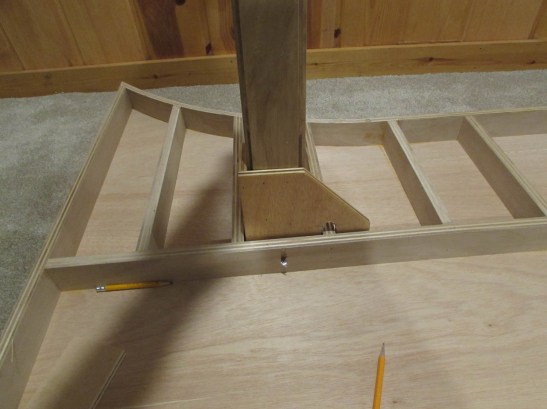
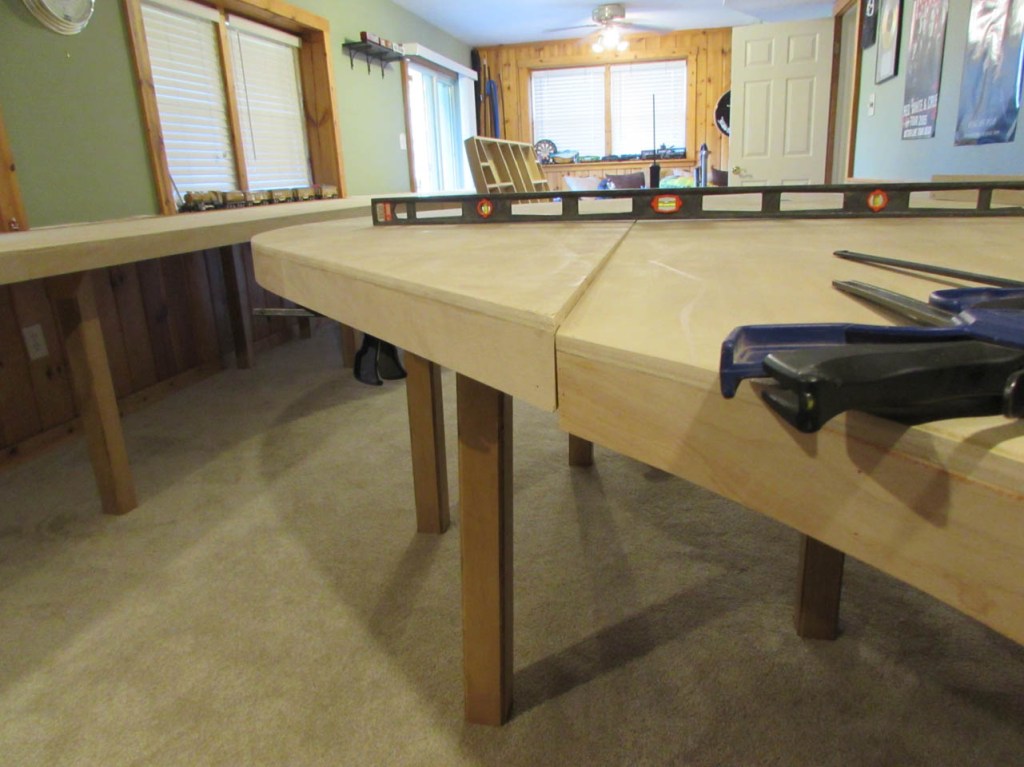
The new legs were clamped into their assumed locations, then the table was flipped and set into place. I clamped the adjoining sides together to get one side to the correct height.
As you can see below, I guessed wrong on one of the leg locations. That is why I clamped them first…
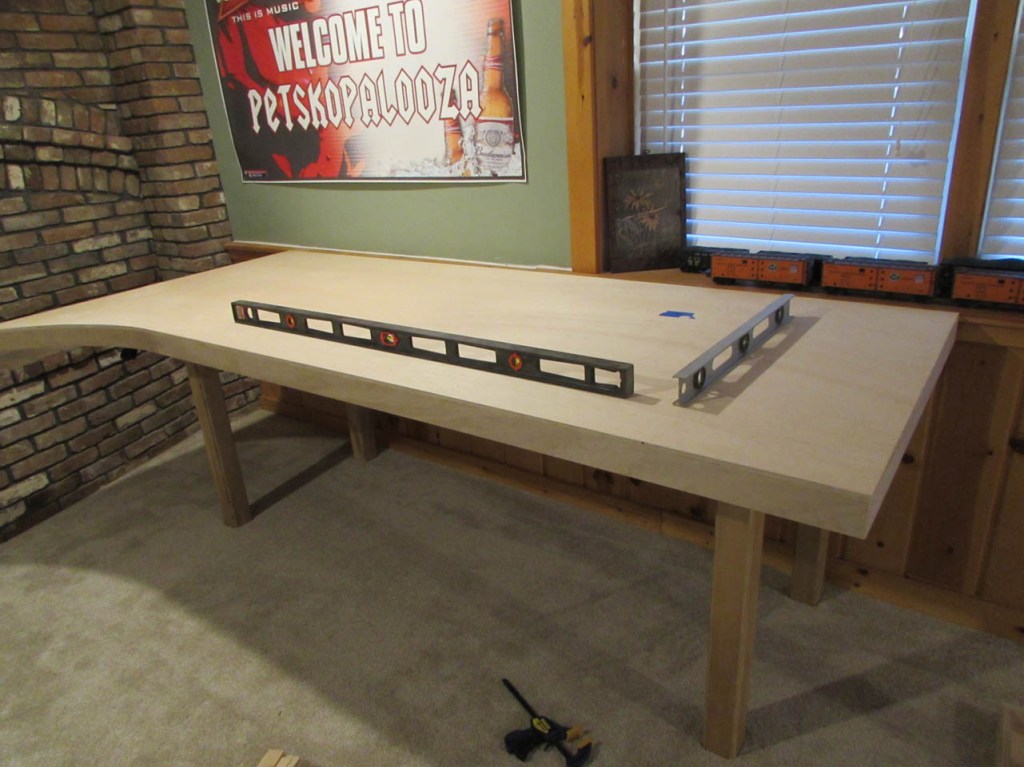
After the legs were properly located, I checked to see how flat and level the top was. To do this, I screwed together two of the left-over 3/4″ plywood strips that I used to make the under structure.

This gave me an 8′ long straight-edge. With a level on top, it became an 8′ long level as well.

As you can see, there was about a 1/8″ drop at the hearth.

I placed a shim or two at the top of the legs to raise the top a bit. Then we removed the section and screwed the legs in place. Next, we reinstalled the top and lined up the curves on the face, then screwed the ribs together at the join.
Similar steps were taken for the third section with the addition of two longer legs at one end. There are three short ones over the hearth as well.

After leveling the top and screwing the legs on, the next section was added.

I was amazed that the trim on the front side of the room matched the height of the trim on the back side perfectly. I expected it to be all over the place, but it was installed well.

Everything was rolling along smoothly as we added sections 5 & 6.

Until we found a high spot on the floor…
I had to adjust the height of the leg by removing 1/2″ from the tops of the gussets on just one leg.
After that, the curve attached without a problem.

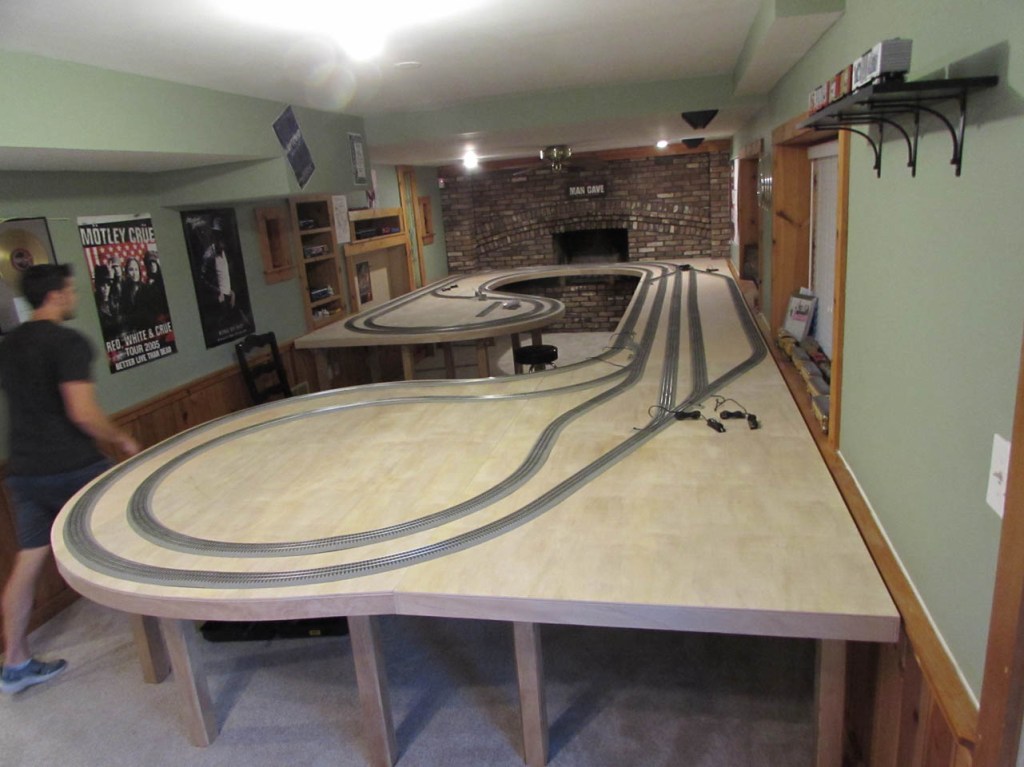
A couple of hours later, we got the last couple of tables set up and attached.


And, of course, before I could even get the legs screwed together, on the last two sections, the train tracks were already out and being installed. I did not take a picture of it, but I did a load test by climbing on top at one end and walking around the center of the entire length of the track. A few creaks, but it was very stable and supportive.
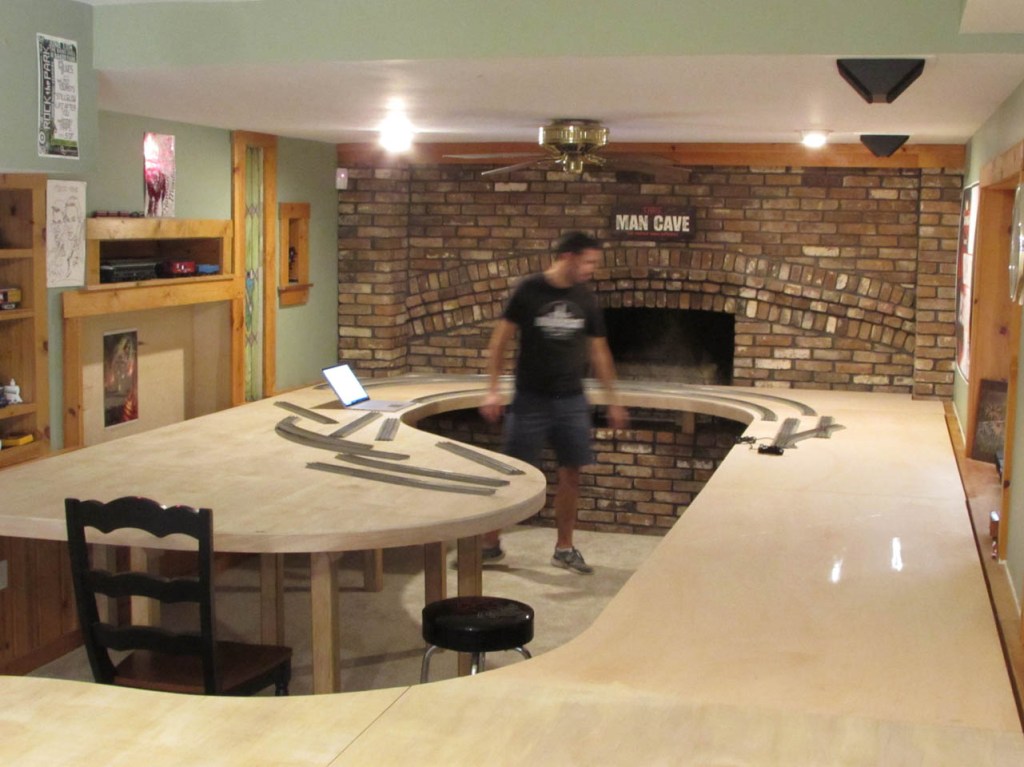
Chris’ wife had concerns that we would block off the door from the basement to the patio, but we managed to leave most of the path still usable.

The final dimensions of the table are 11′-7 1/2″ x 26′-1″. Chris assures me that it is not too big.

Personally, I like the view from below. 35 total legs and a lot of low-profile, structural supports that are incredibly flat. There is one area that dips less than 1/16″, but the rest is almost perfect.

The wiring will be run from below. Chris intends to drill 3/4″ diameter holes through the ribbing where needed. I gave him a bunch of scrap to clamp to the back of each piece he drills to avoid blow-out. His kids will turn the area below into their play area so we want to minimize splinters and sharp edges. This is also the reason for the 1/2″ bevel on each corner of the legs.


The table matches the window sill height, down the right and the chair rail, down the left. Chris is very happy with the final product. He even managed to get the entire thing set up while I was cleaning up my tools. We may have one or two more components to add so I will get pictures as things get added on.
This was an interesting challenge. All of it was made from 8 sheets of 1/2″ plywood, 5 sheets of 3/4″ and one sheet of 1/4″. Not cheap, but considerably cheaper then building from standard framing lumber which is three times more expensive than normal right now. If you have nothing to do in your spare time, this is the way to go..

Beautiful. I love the size A train layout is never big enough l can’t wait too see trains running on it. Nice long trains.